Speak to Tristan at the hub after the main mission.
Pickups in this mission
Open this mission’s independent boss guide →
01Tristan's request: return to the laser laboratory
Back at the hub, speak to Yulian to unlock another area.
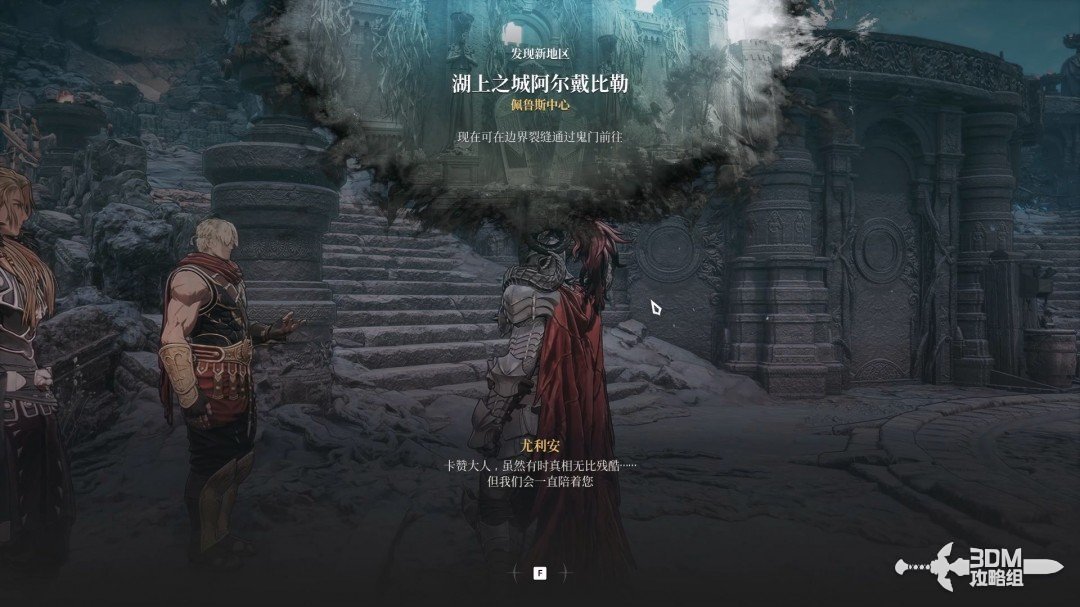
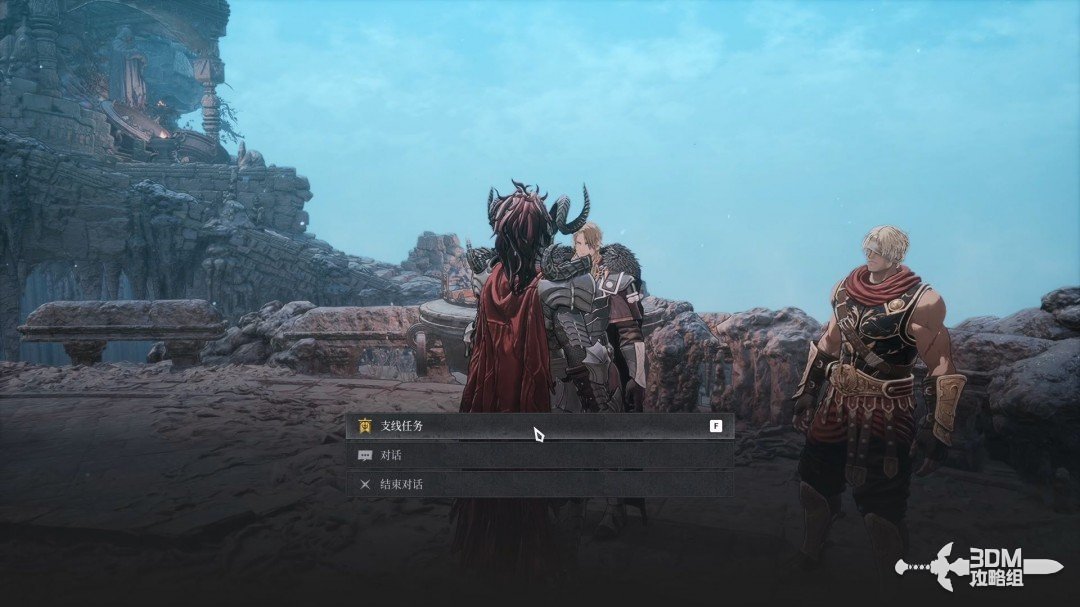
Speak to Tristan beside him and accept Why Did You Abandon Us.
Beyond the red portal, a new staircase opens on the left.
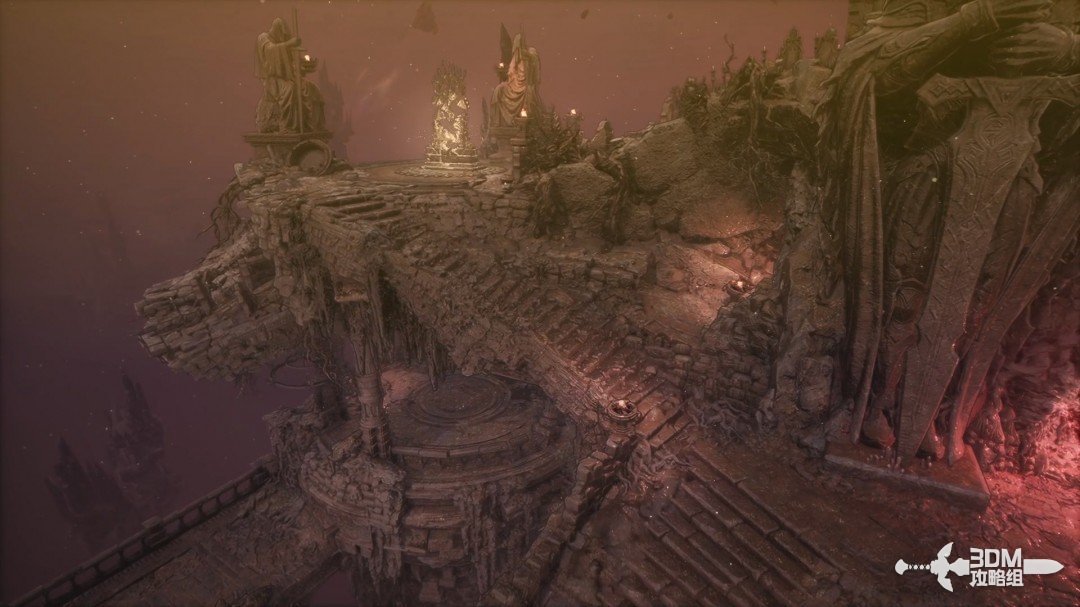
The side mission remains at the original right-hand portal.
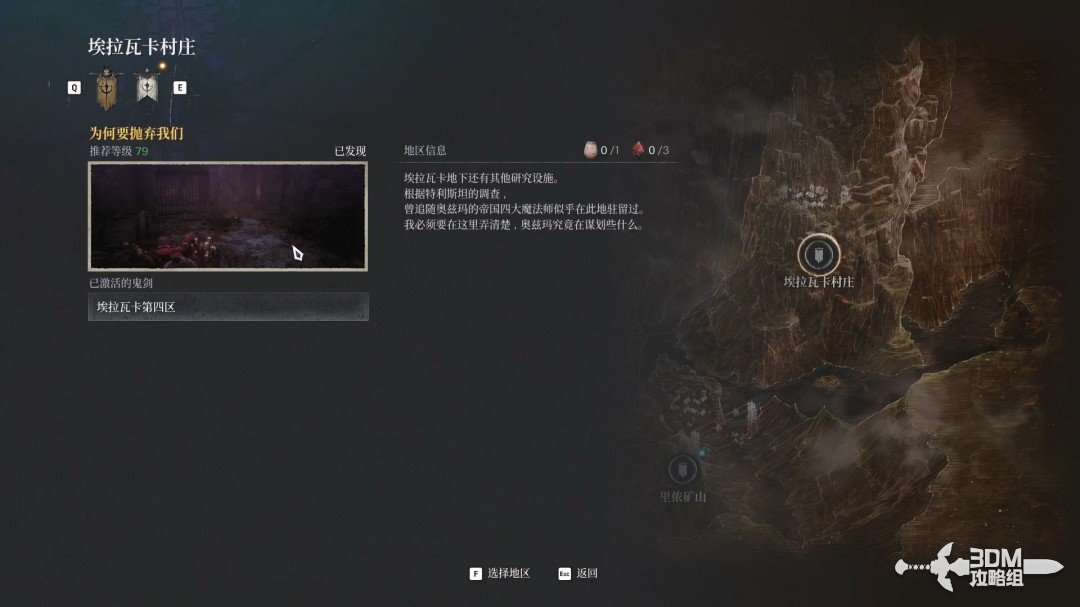
Rest after entering.
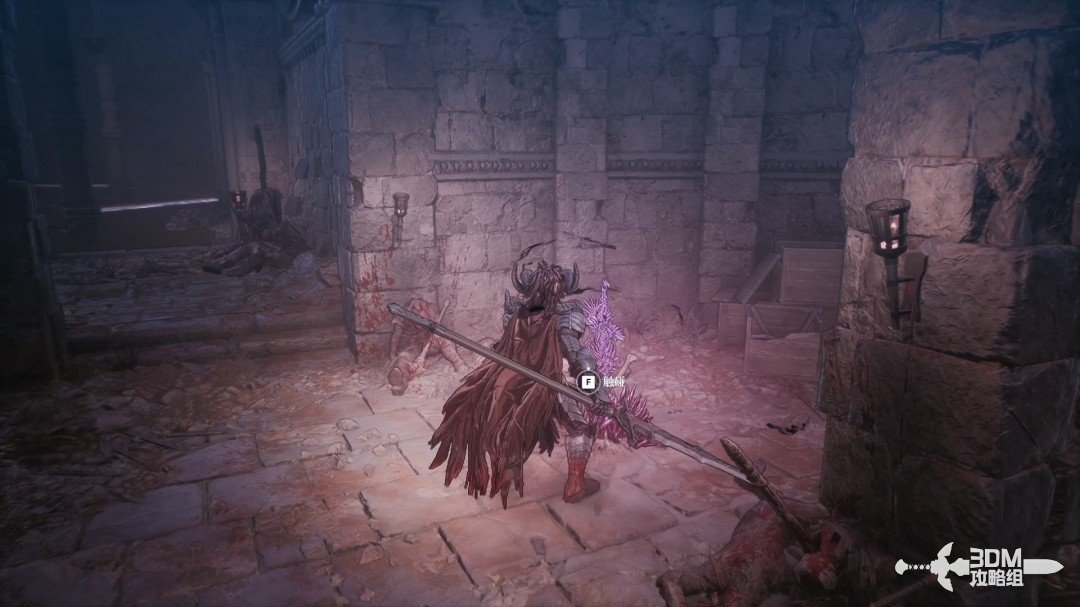
02Lasers and cell switches: use the beams against enemies and open the gates
Use the lasers against the enemies ahead by maneuvering around their beams, rather than fighting every enemy directly.
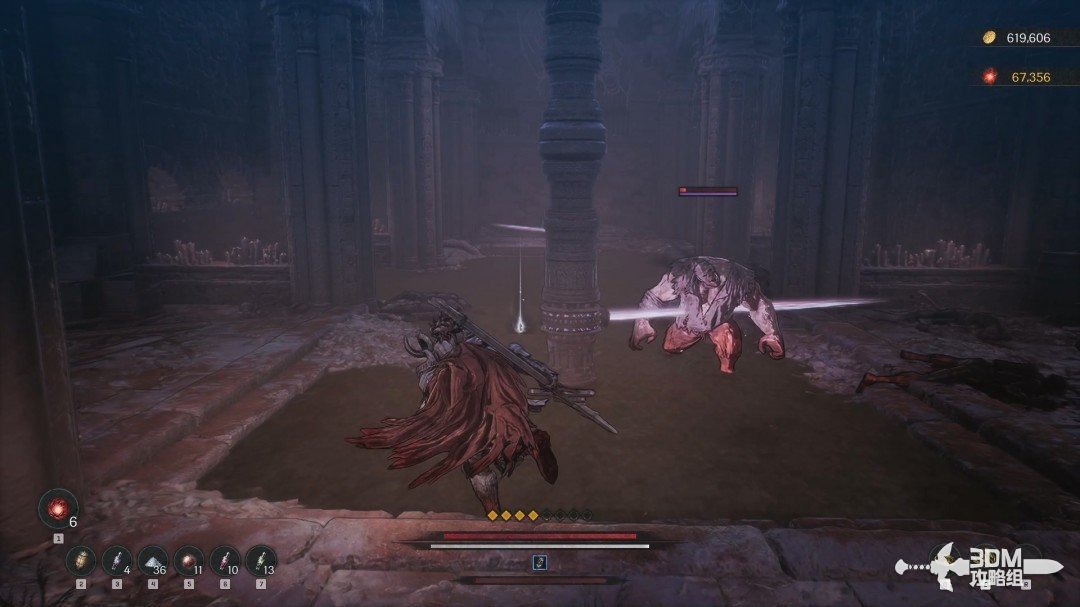
After clearing them, activate the switch to open the nearby door.
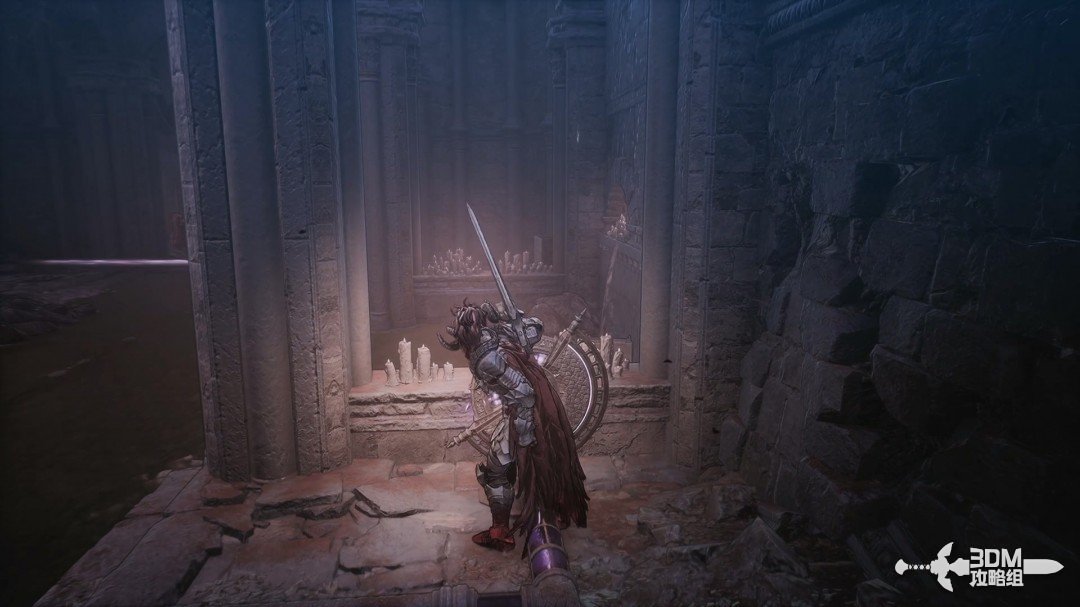
Enter this doorway.
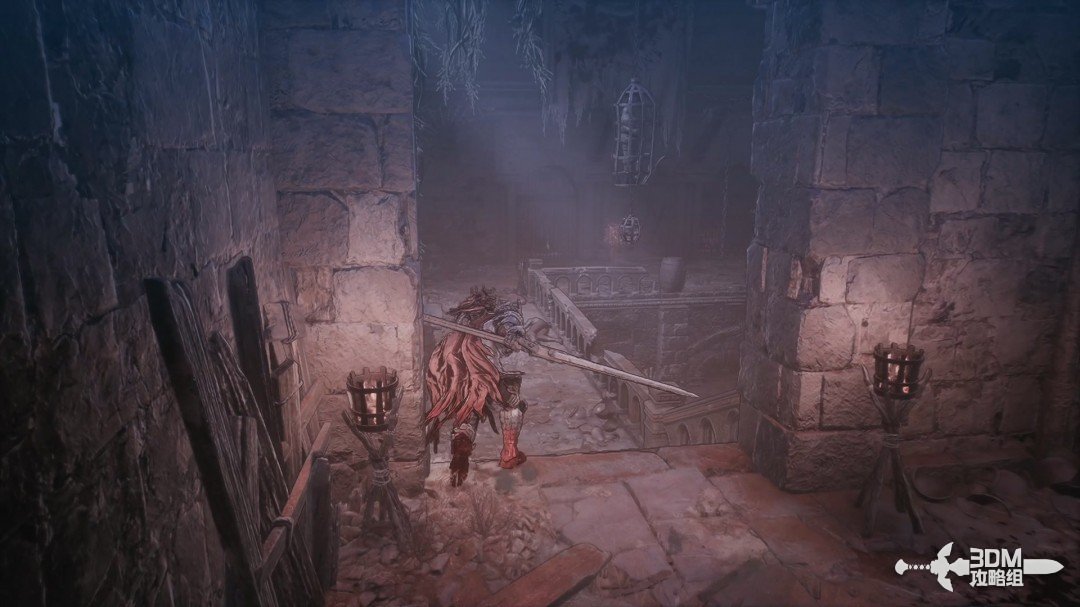
Clear the undead and activate the next switch to open the left iron gate.
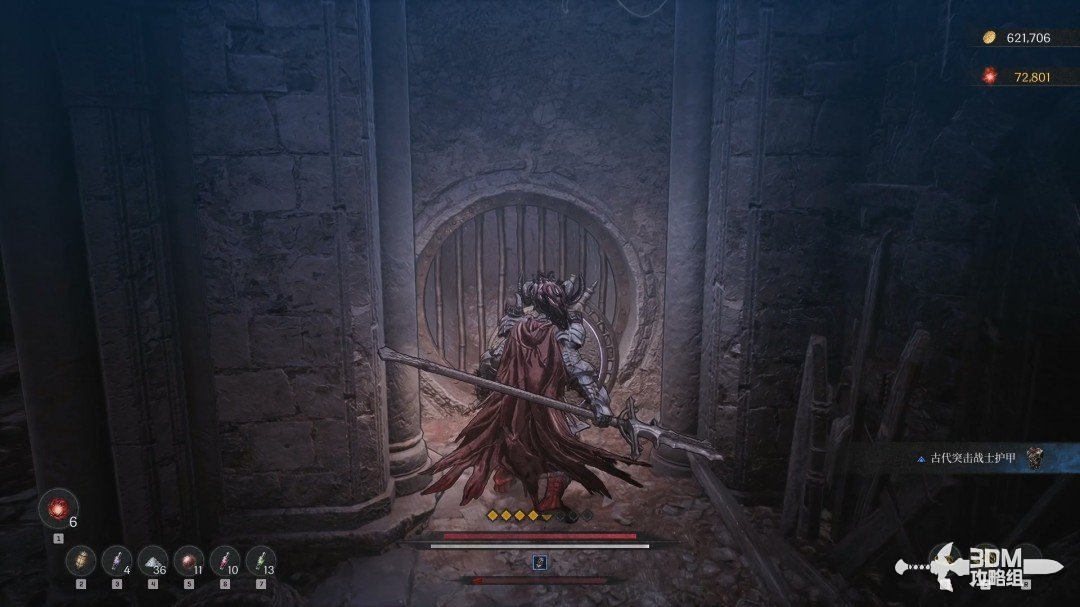
Collect the purple equipment inside the cell.
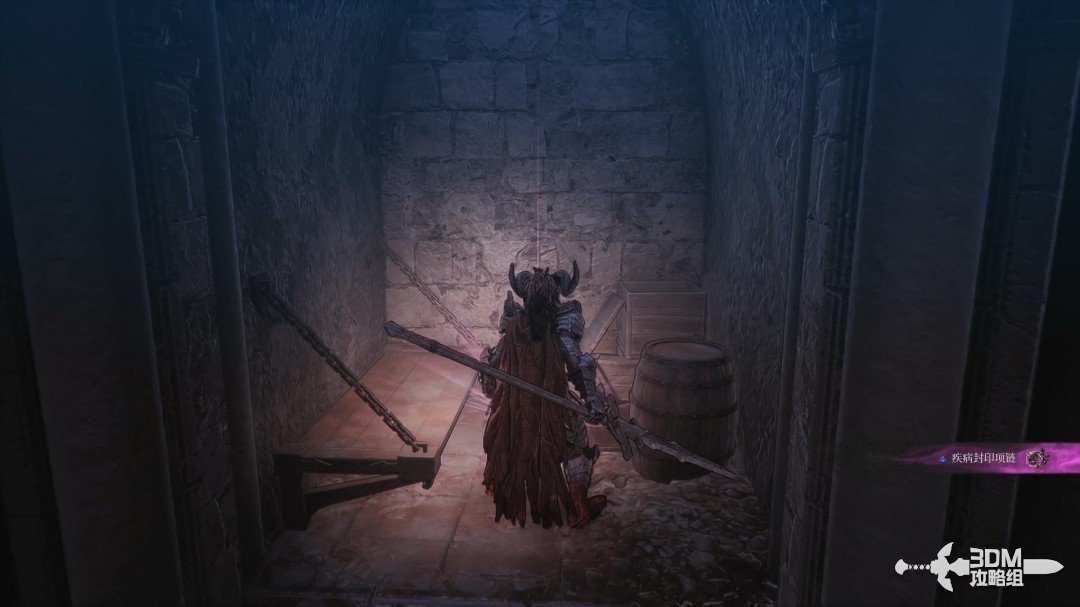
A white item lies in the first cell.
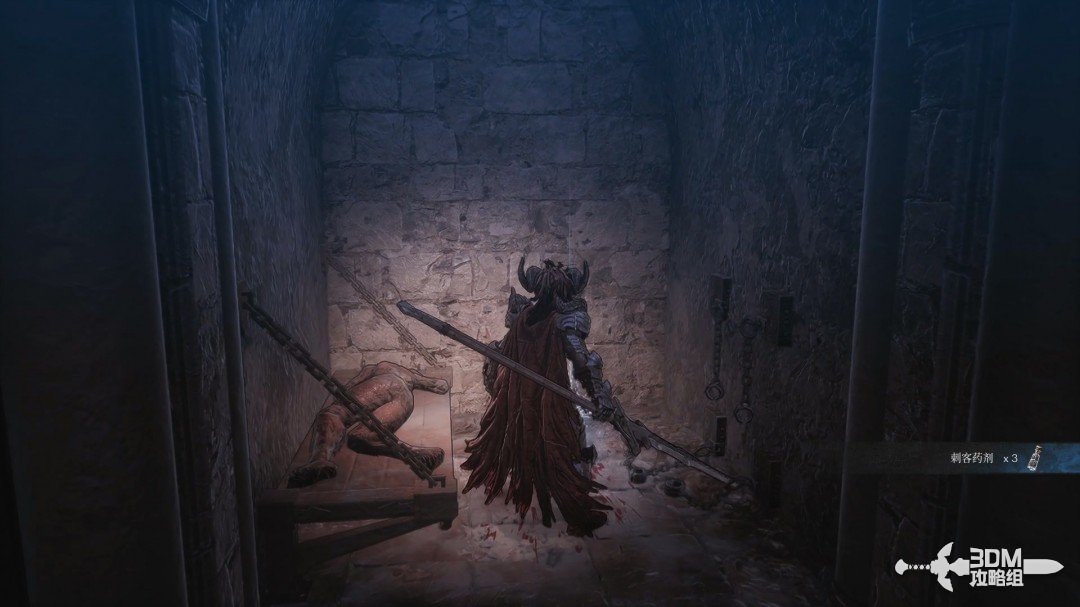
03Bookshelf passage below: operate the switch for the Warrior Scroll
Descend and collect the blue item.
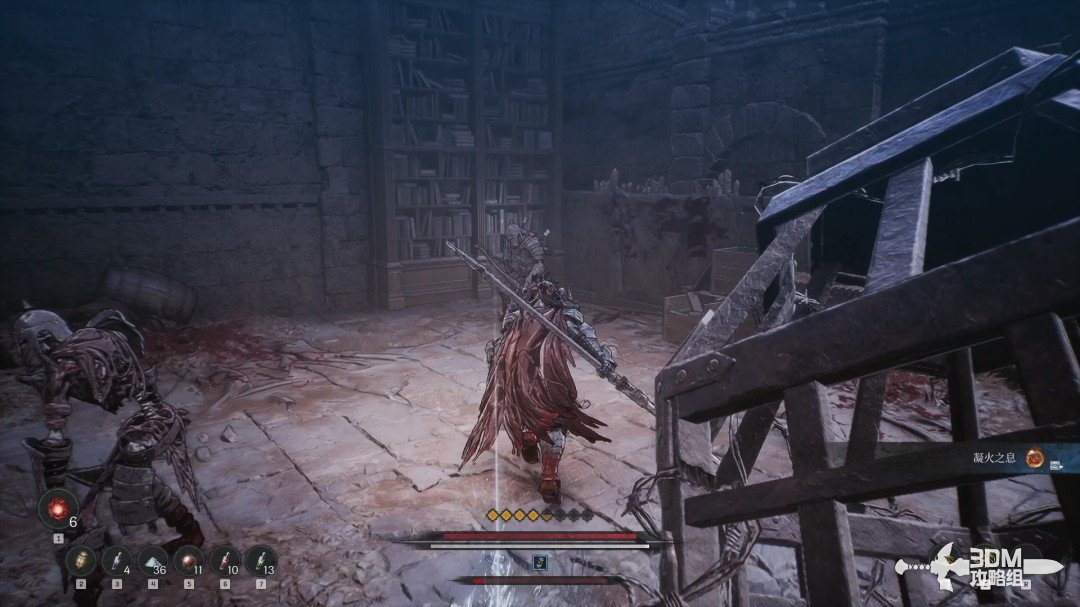
A bookshelf in the corner conceals a passage.
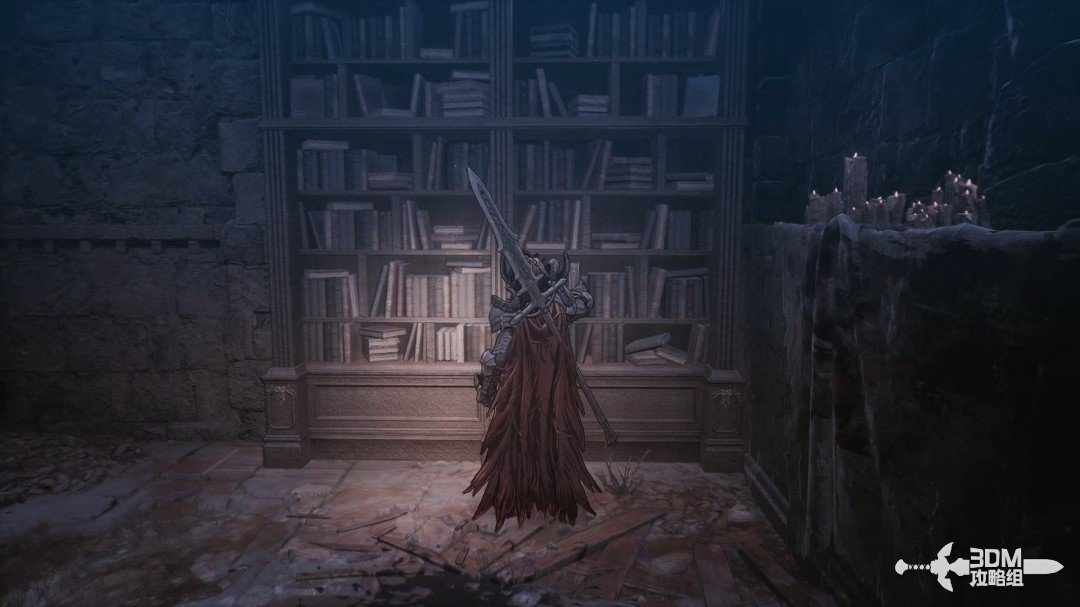
Enter and activate the mechanism on the left.
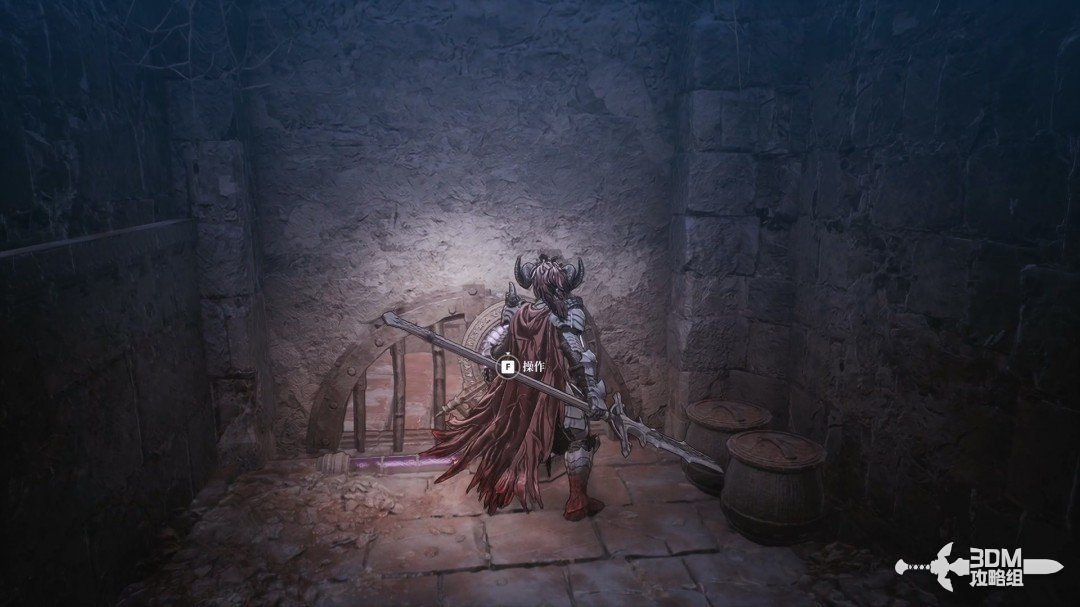
Collect the Warrior Scroll on the right.
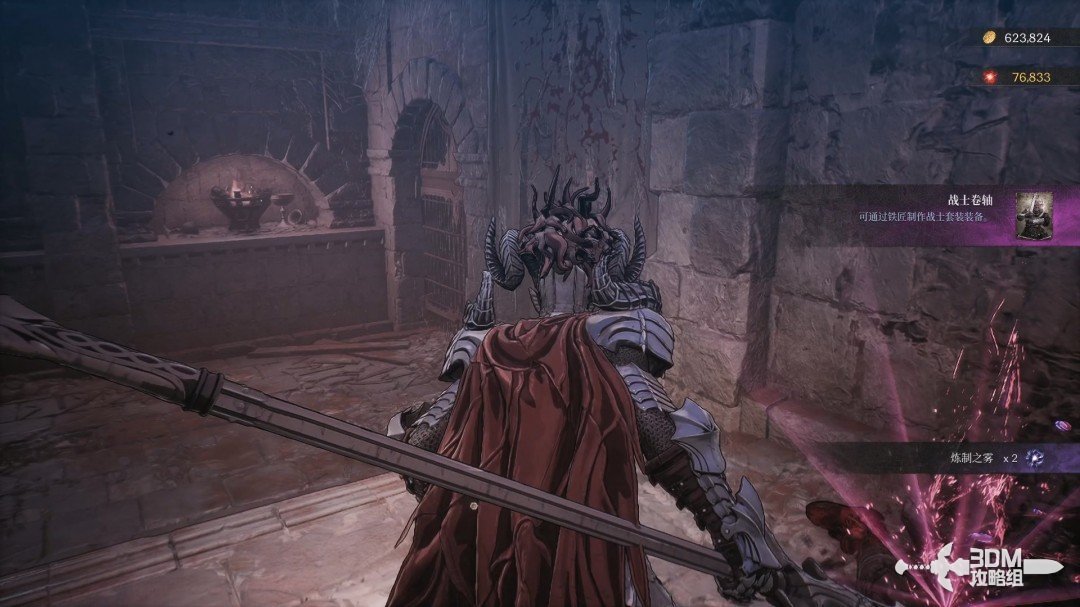
05Shield guard behind the planks and Soulstone in the right tank
Continue behind the boards, watching for an ambushing shield soldier.
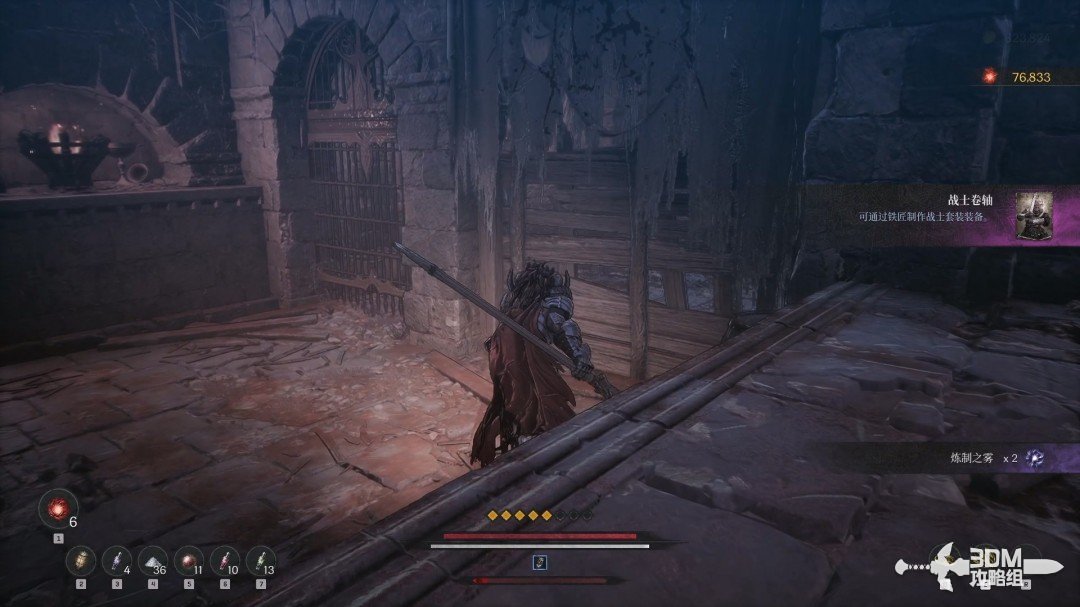
A Soulstone is concealed inside the tank on the right.
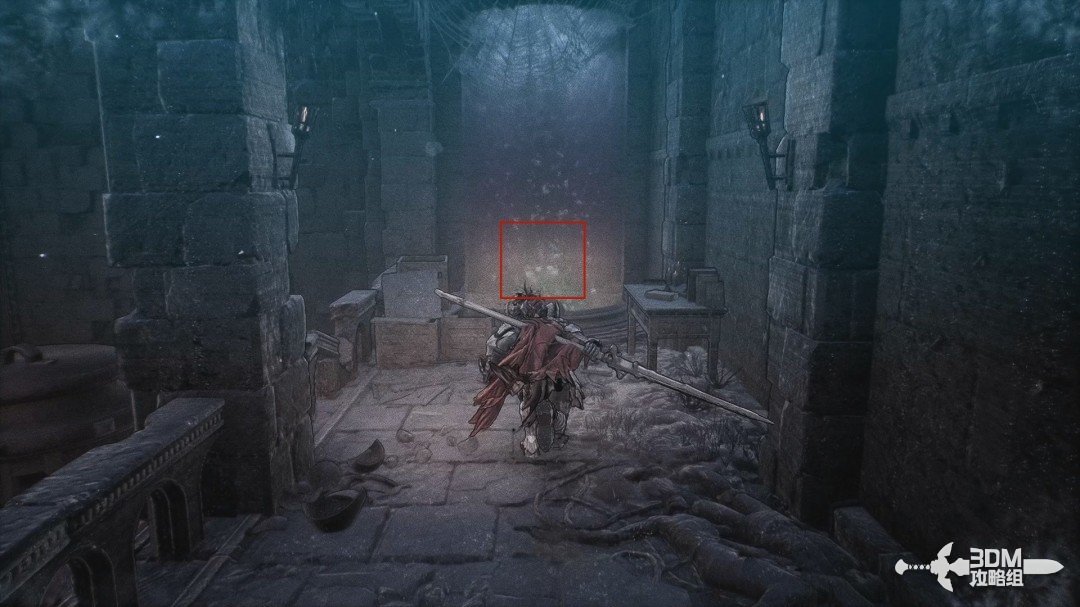
07Lower elite and cell switch: pass the Nexus and continue straight
Descend the stairs.
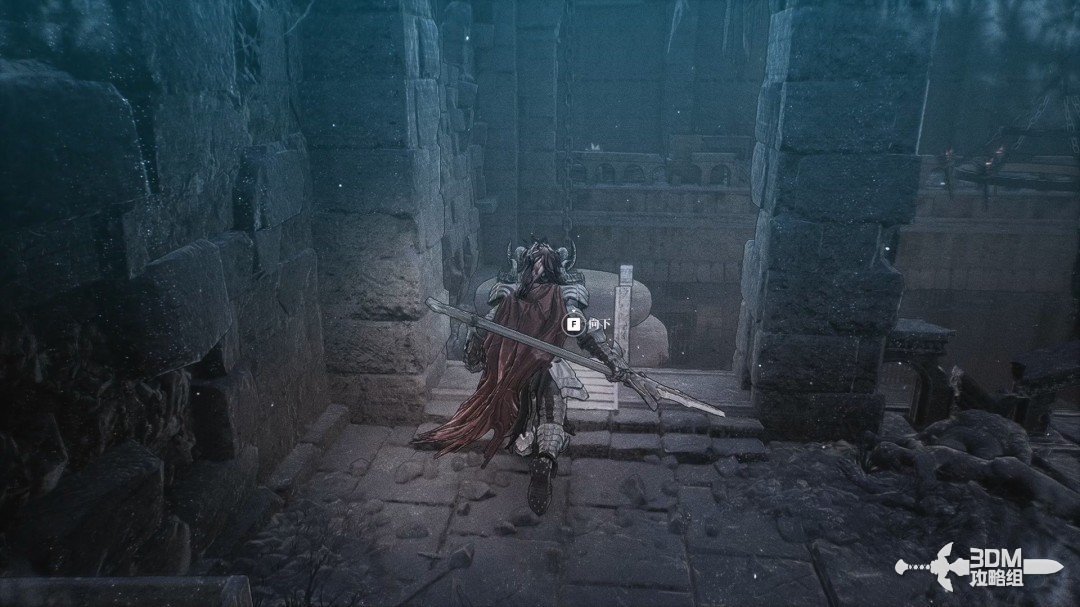
Defeat the elite below; it can drop a Crusader Scroll.
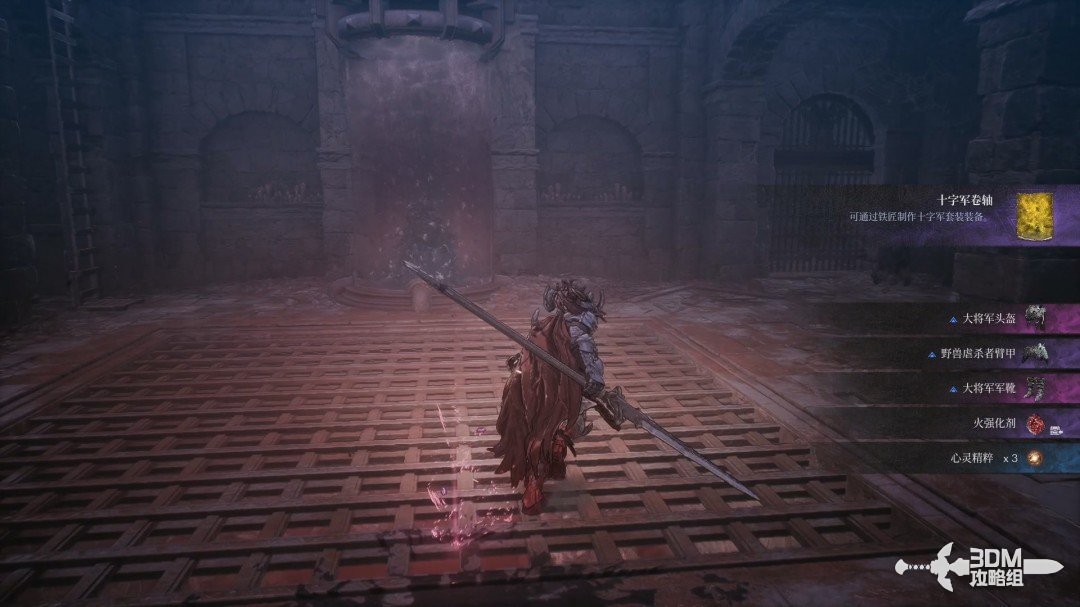
Activate the nearby mechanism.
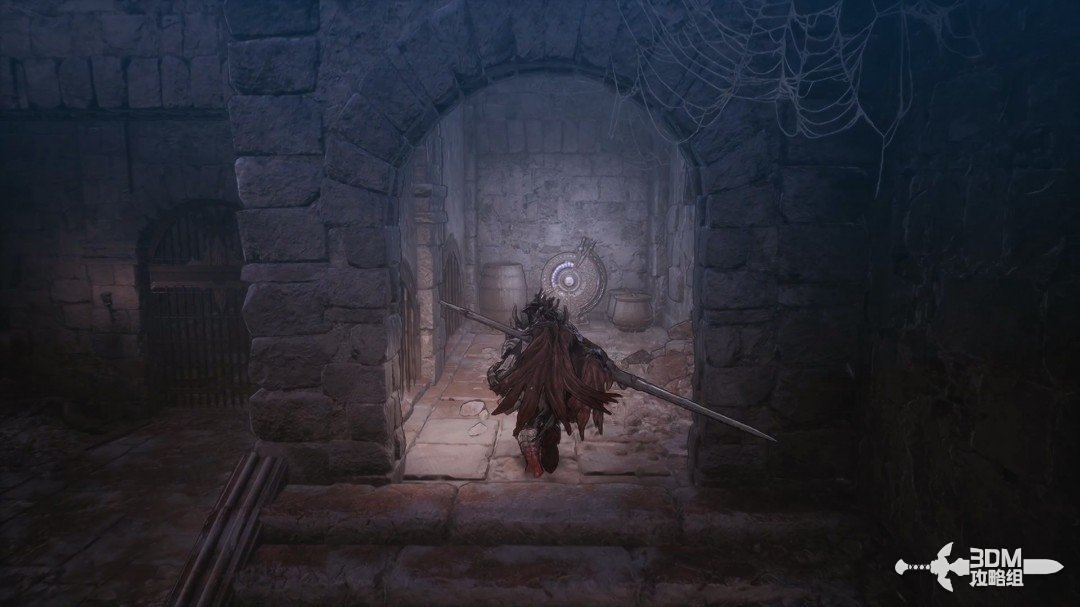
Clear enemies emerging from the cells and take the pictured route.
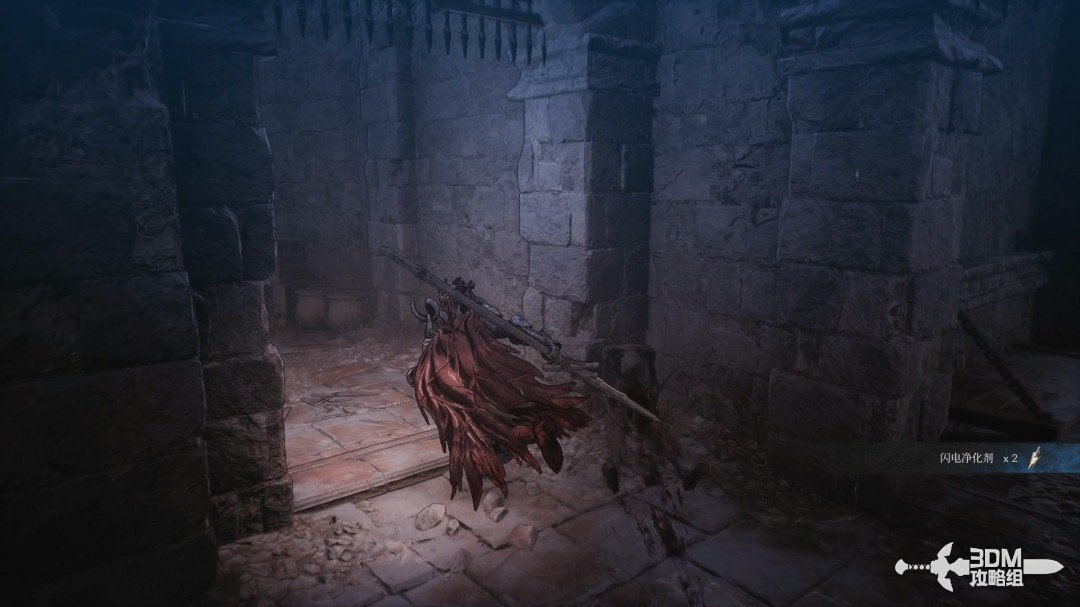
Descend the stairs to a new Blade Nexus.
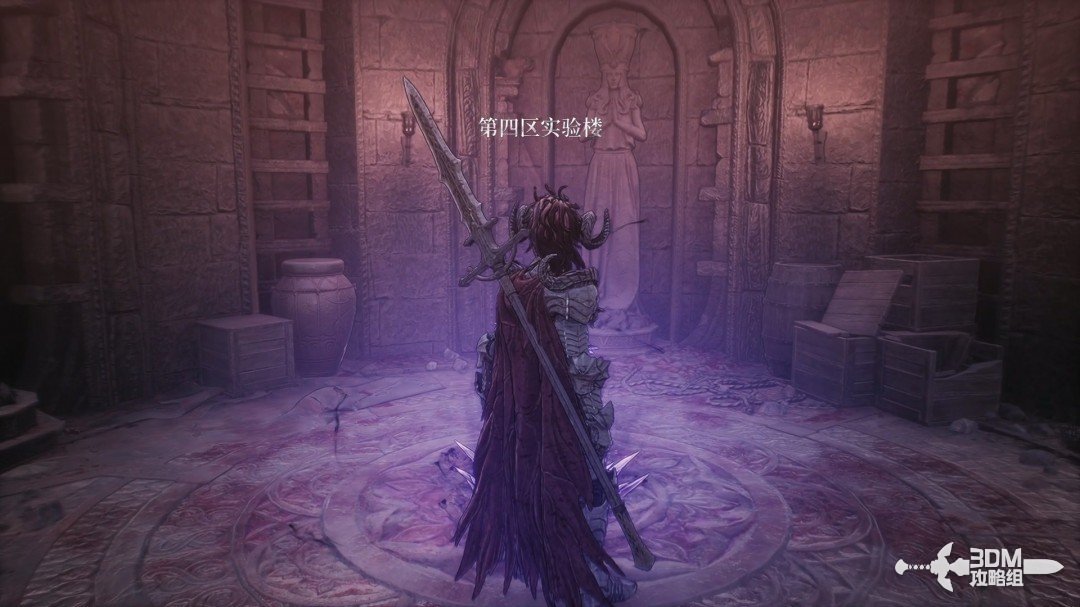
Continue straight. The lower right branch is currently a dead end.
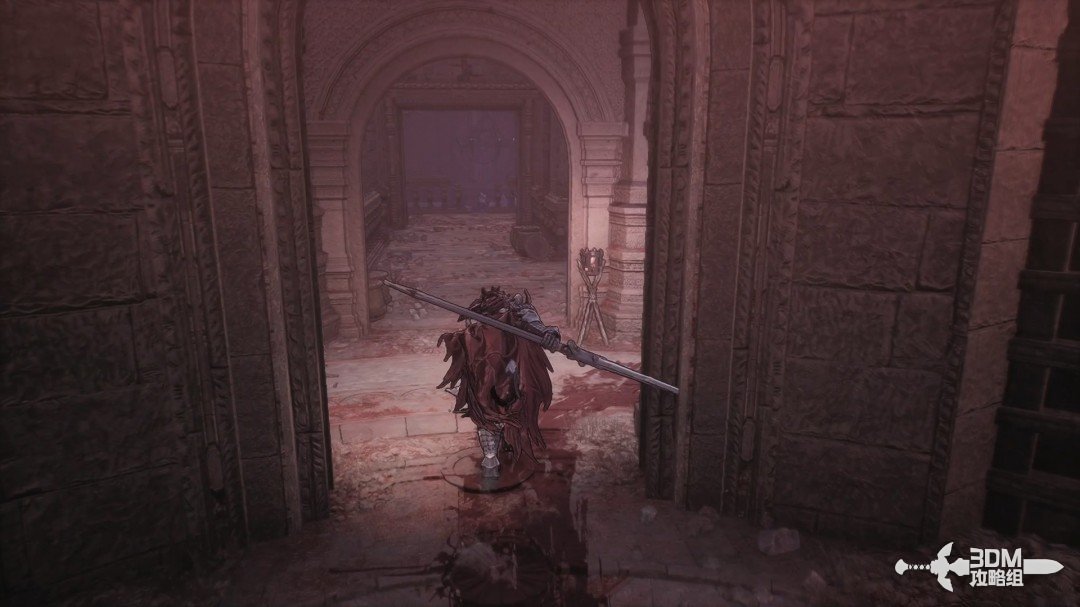
Break the Soulstone on the left.
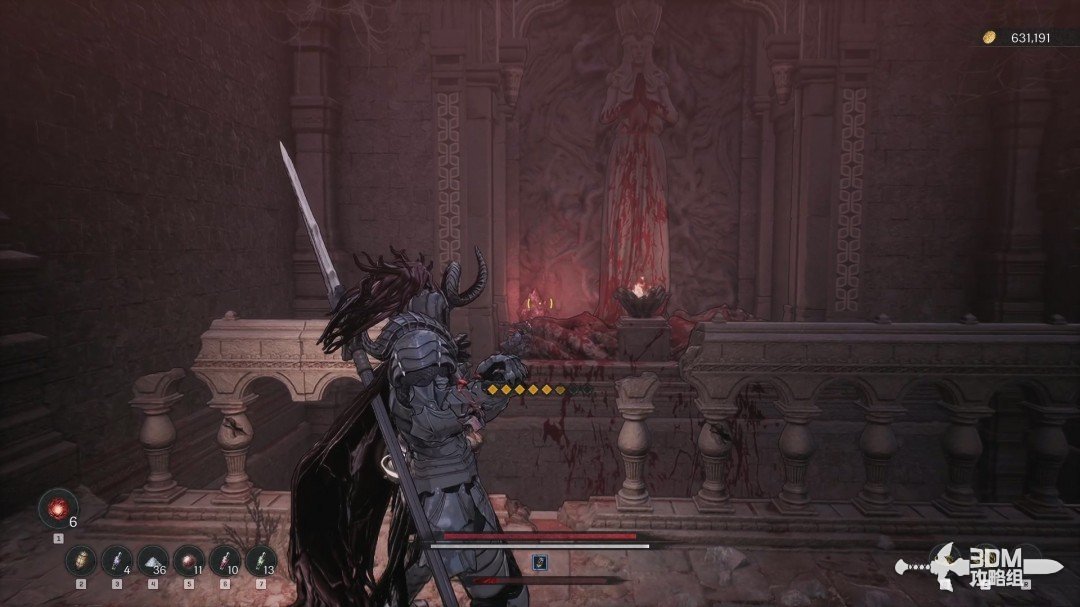
09Stairs beyond the zombie platform: enter the giant spider tank room
Clear the undead and collect the white item on the platform.
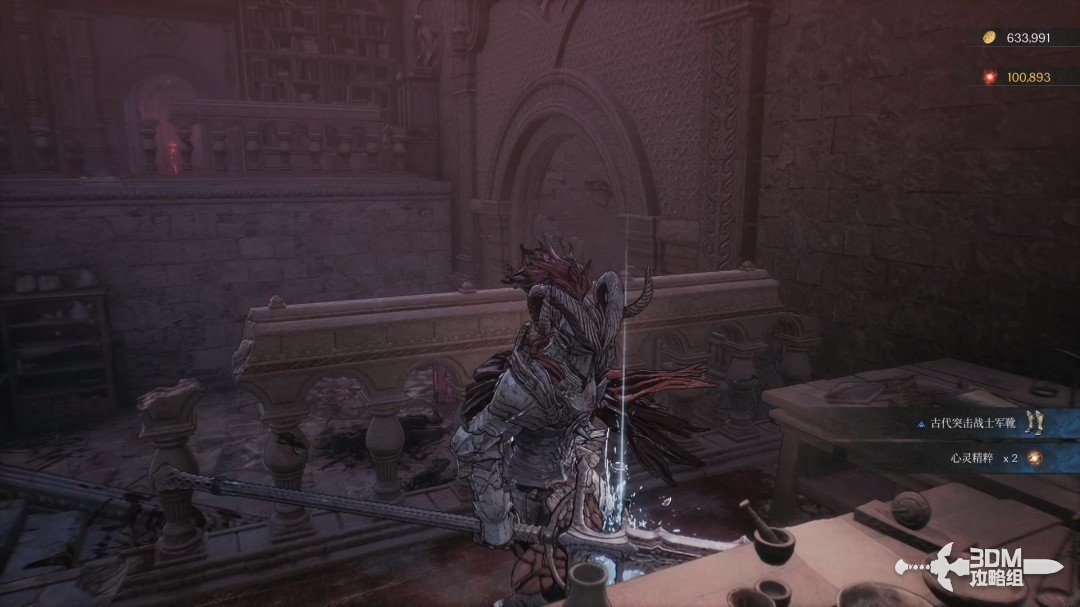
Watch for an enemy dropping from above at this doorway.
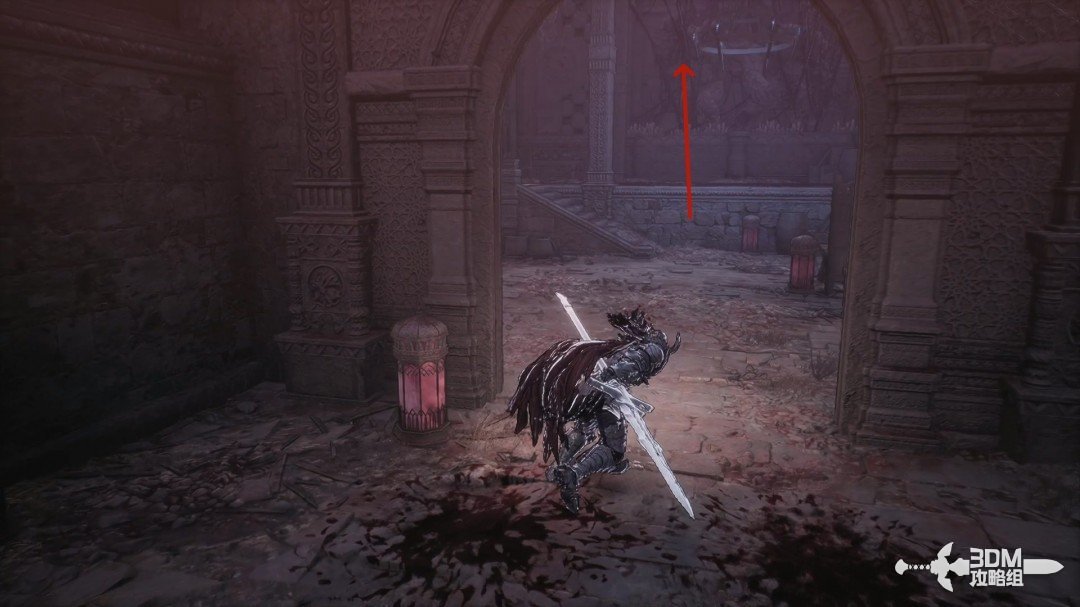
Defeat it and open the chest on the right.
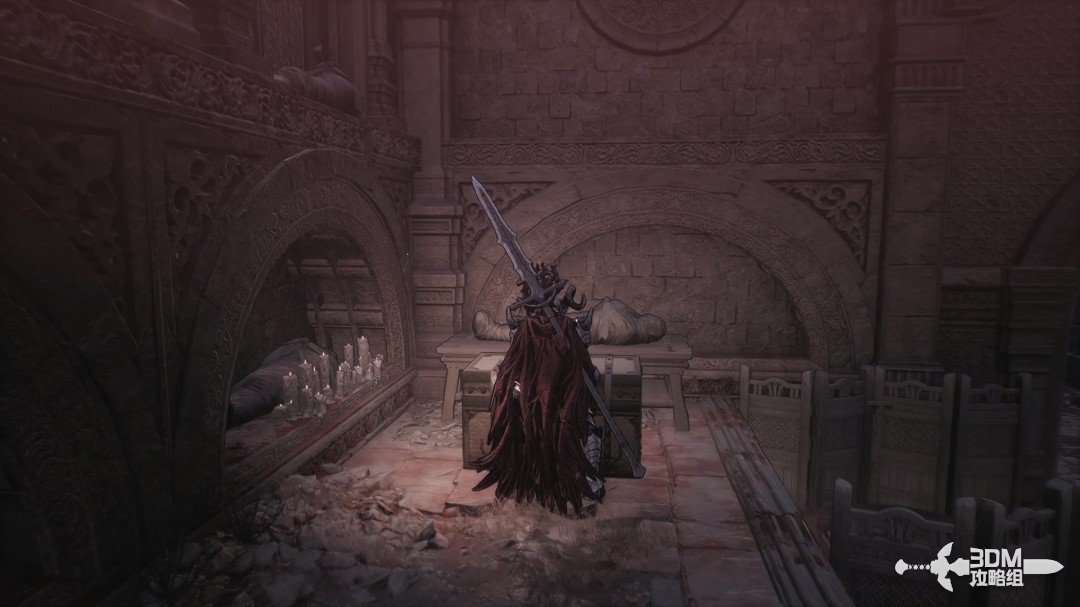
Continue forward and descend these stairs.
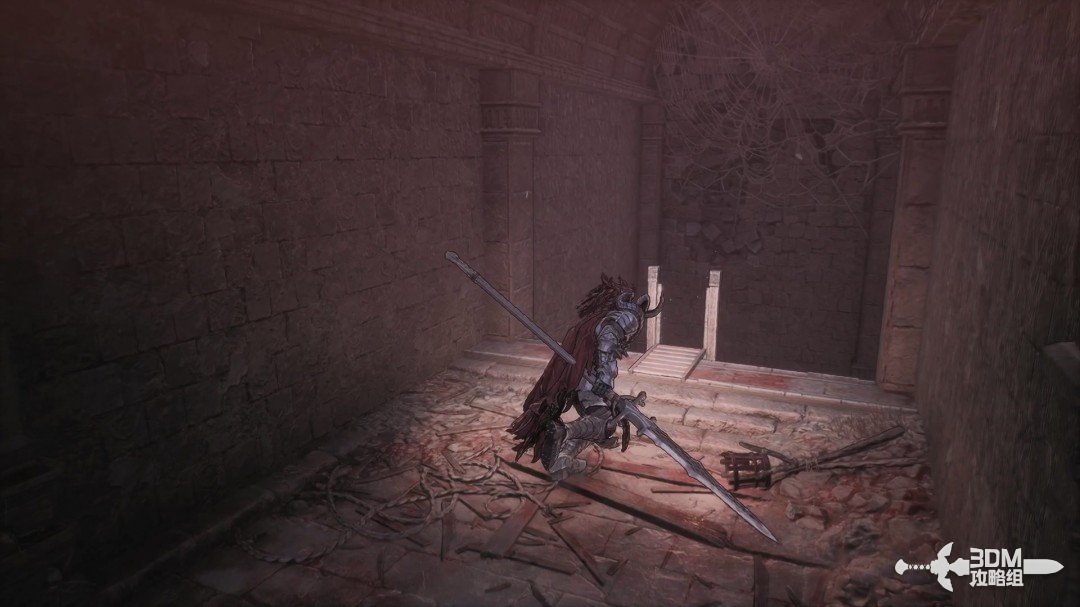
A large spider emerges from the right tank below.
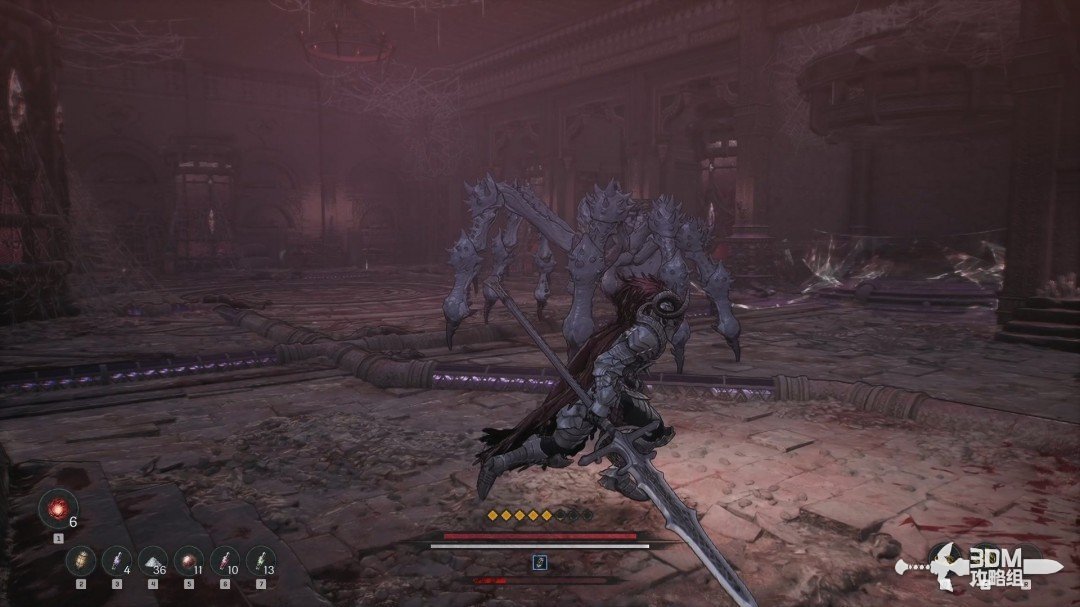
Defeat it and collect both red items.
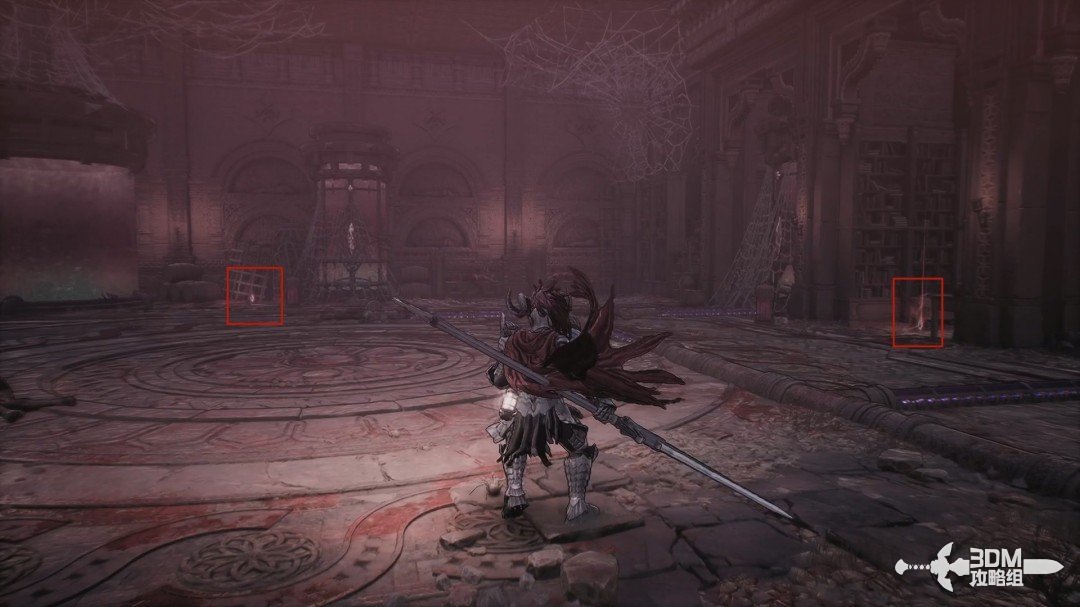
The right item is The Day the Black Moon Rose I.
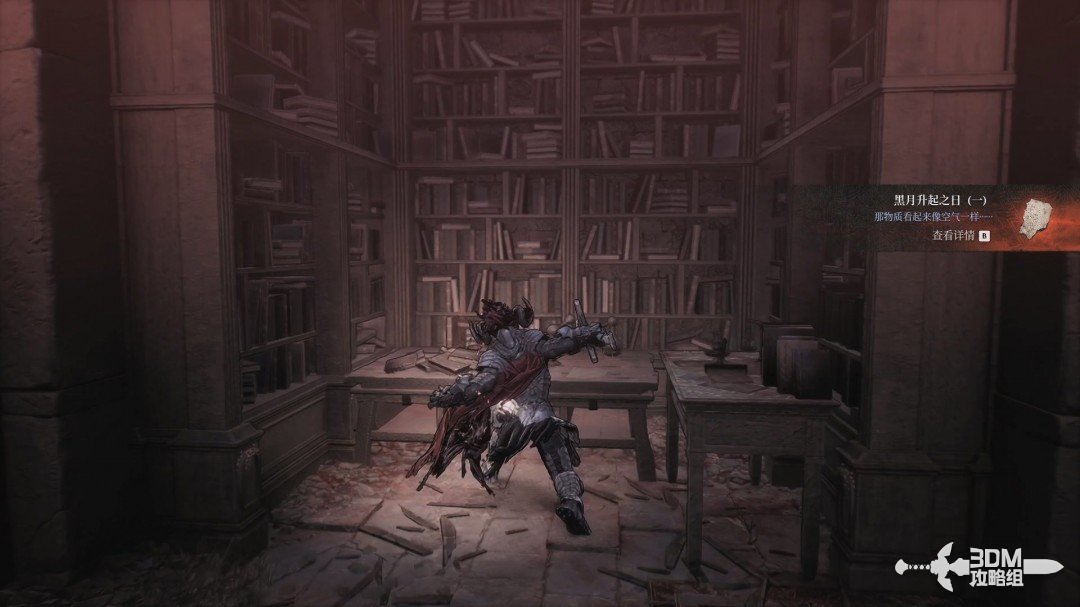
11Laboratory revisit: The Day the Black Moon Rose II
Supplemental pickup: The Day the Black Moon Rose II. If it is missing, turn back from the Sector No. 4 laboratory Nexus and drop through the railing gap into the room. Turn left into the passage, go up the steps and through the room on the right, then descend the ladder into the laboratory hall. Follow the right wall of the large specimen-container room and collect the record beside the desk. Return to the current mission route afterward.
13Lever left of the tank room: ride the elevator to the coffin platform
Another monster emerges from the tank when you take the left item.
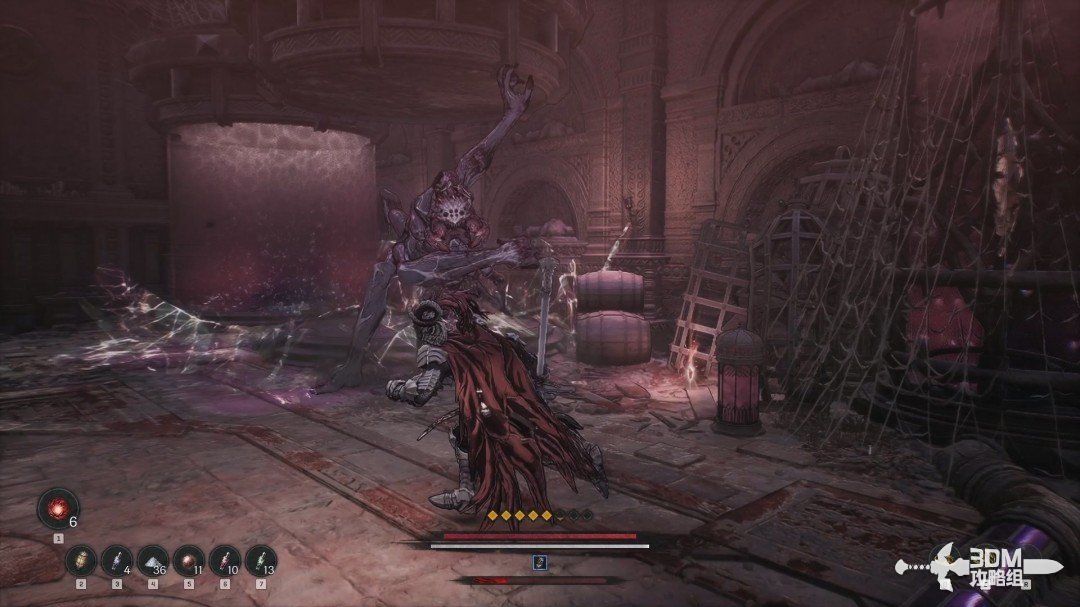
Defeat it and collect the red material.
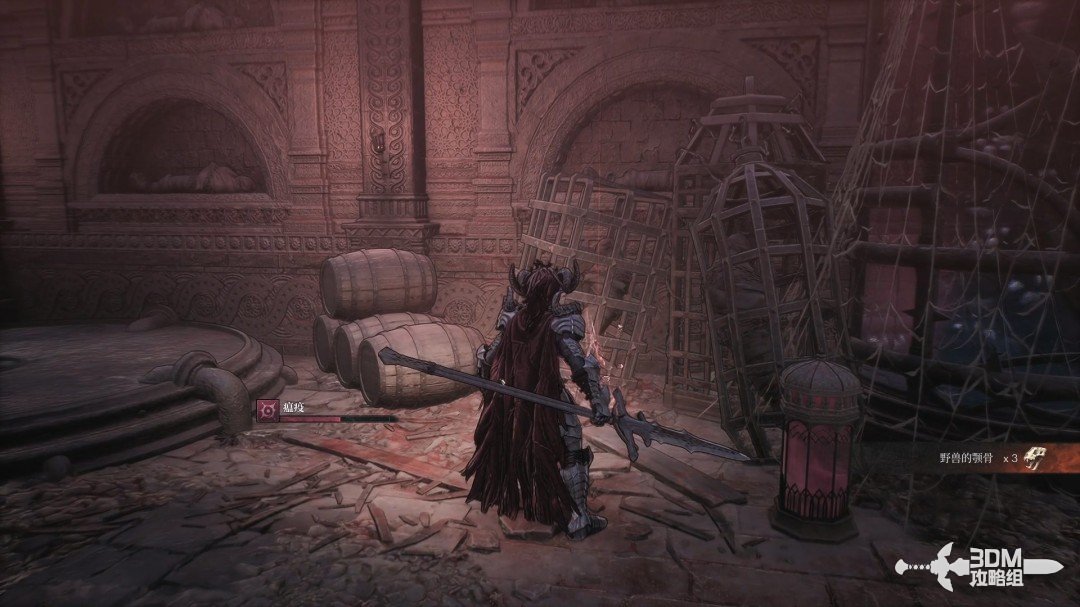
Pull the left lever and take the elevator.
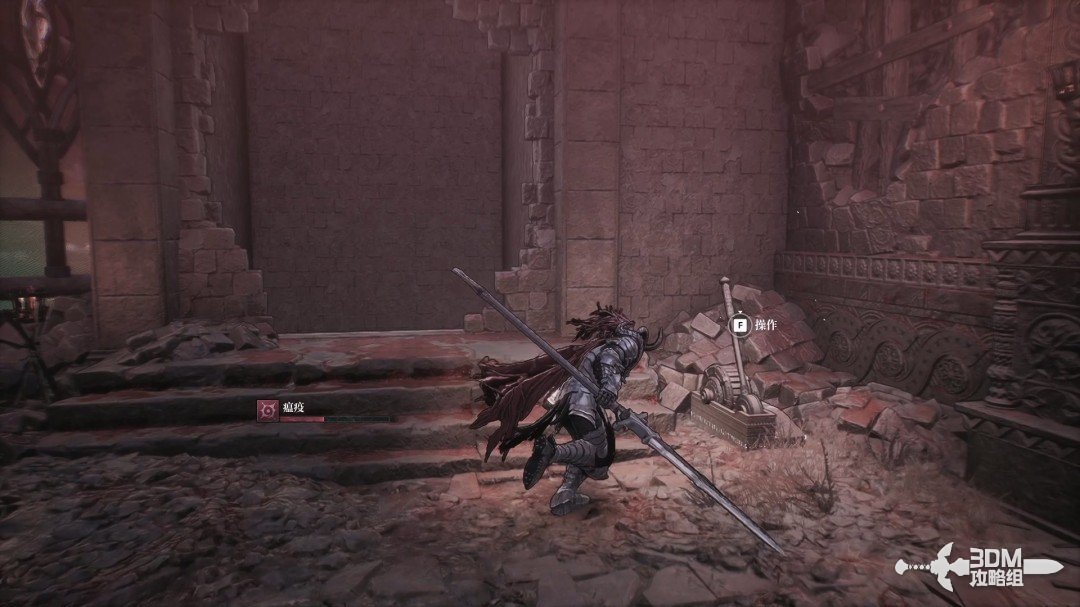
Open the chest behind the coffin above, then dodge its explosion.
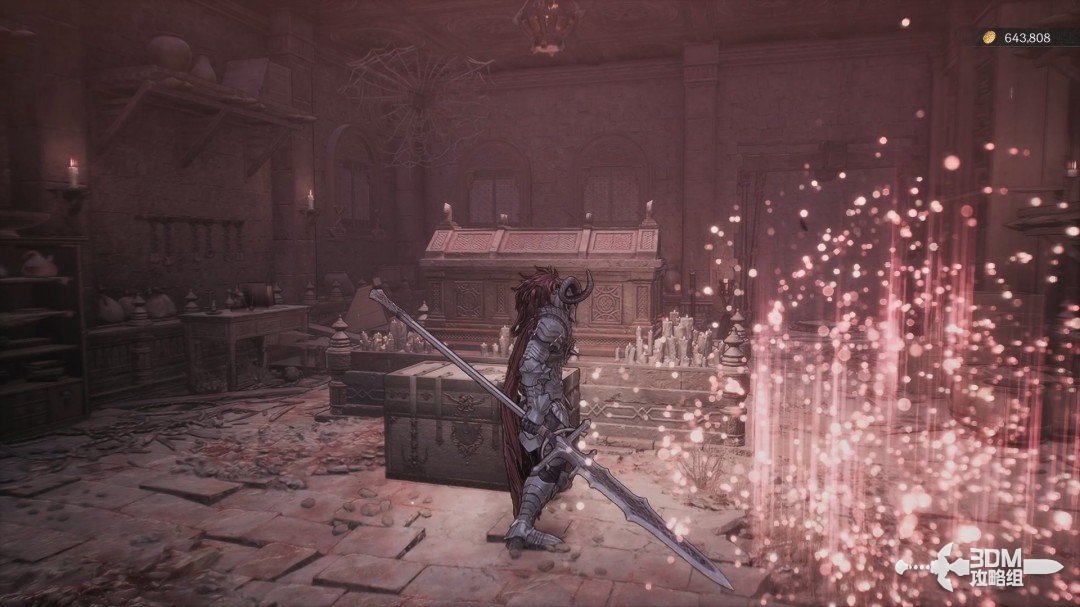
14Left path beyond the invisible foe: running jump to the scroll ledge
A short distance ahead, use your lantern to reveal an invisible enemy on the right.
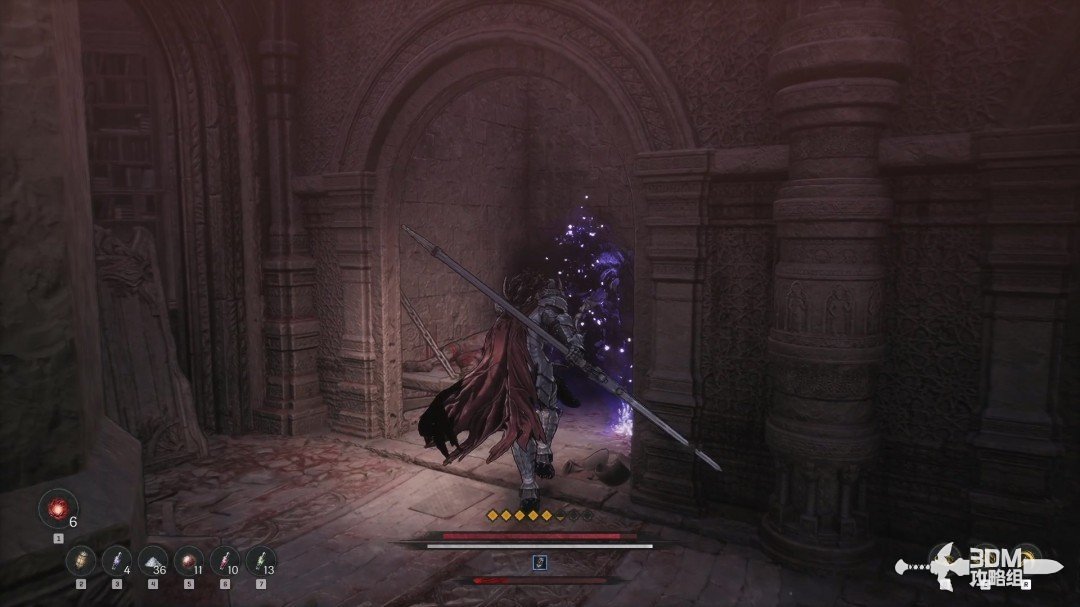
Defeat it and collect the memory ahead.
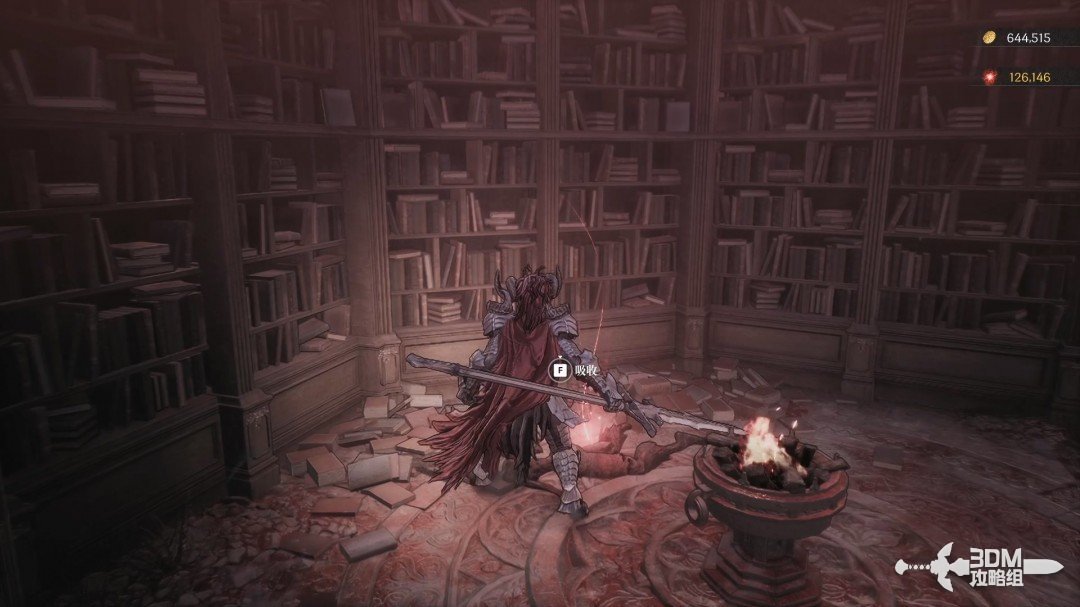
Turn back. The downward stairs return to the area already explored.
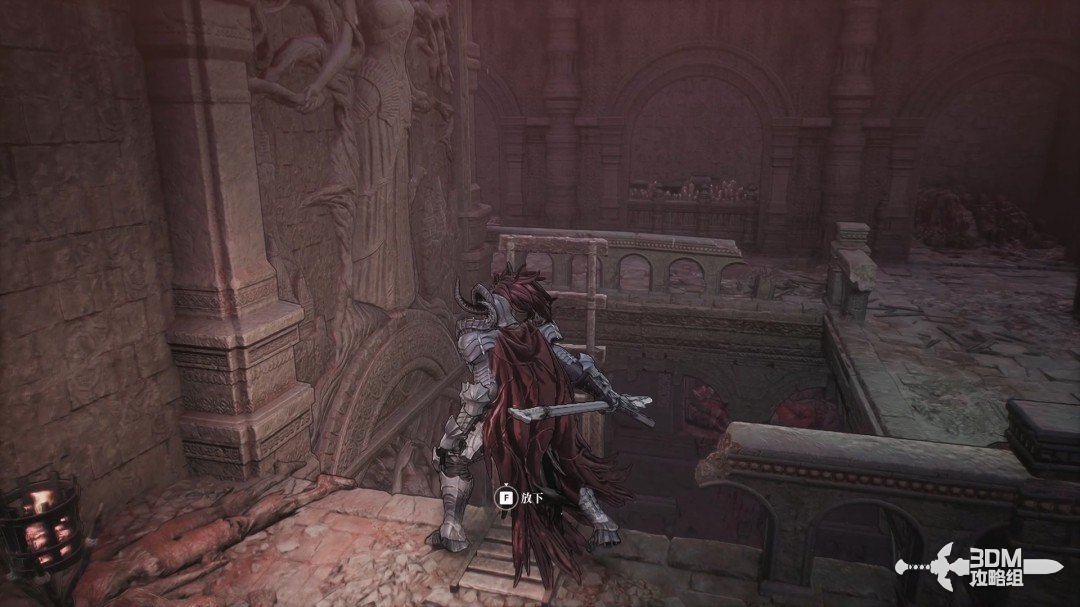
Take the small left path, defeat the undead and ignore the locked left gate.
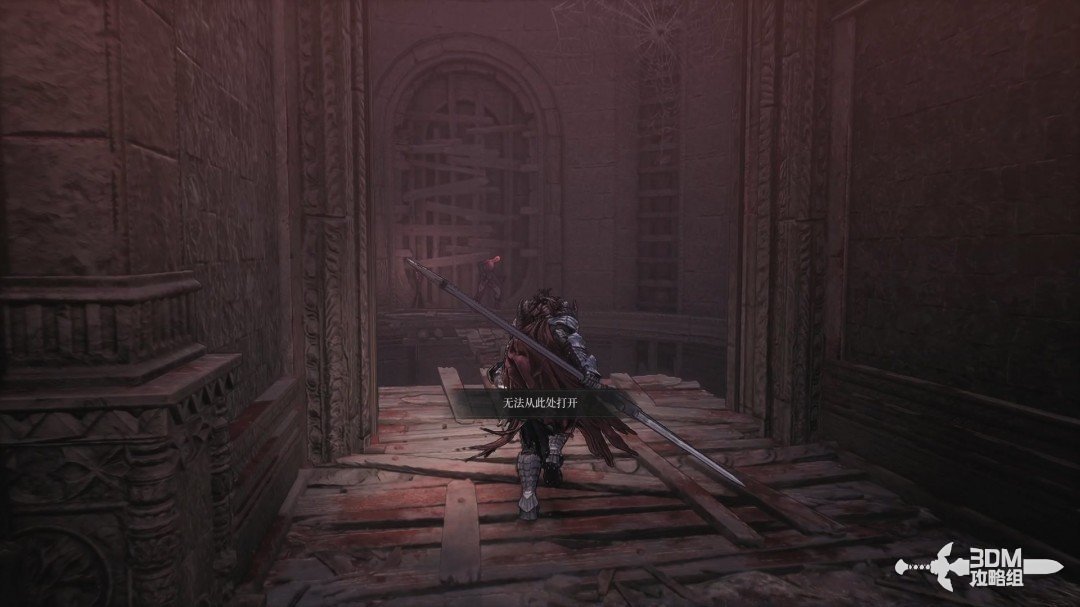
From the boards, spot a red item below. Use a running jump to reach its platform; walking off misses it.
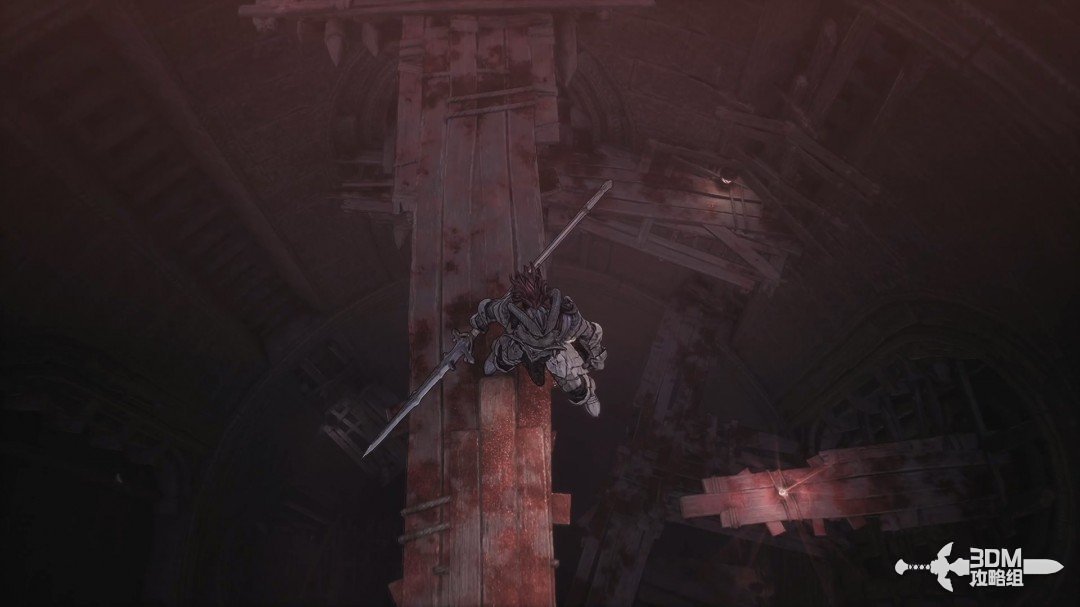
Collect the Beast Slaughterer Scroll.
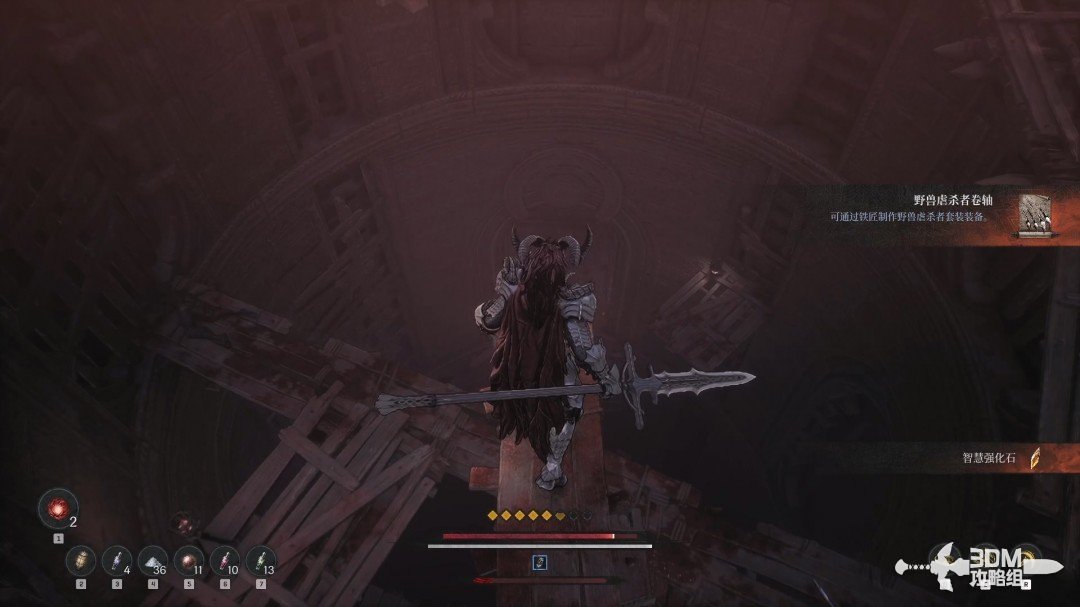
16Study below the planks: record and jar in the bookshelf corner
Absorb the memory below after taking the scroll.
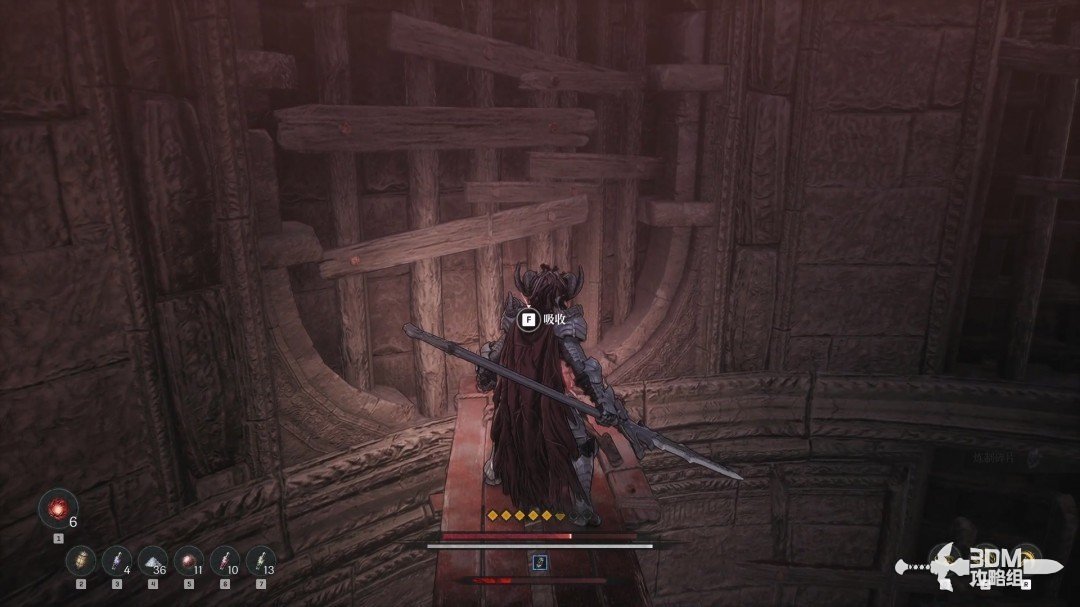
Enter from the lowest boards. A board breaks beneath you; heal first if low on health to survive the drop.
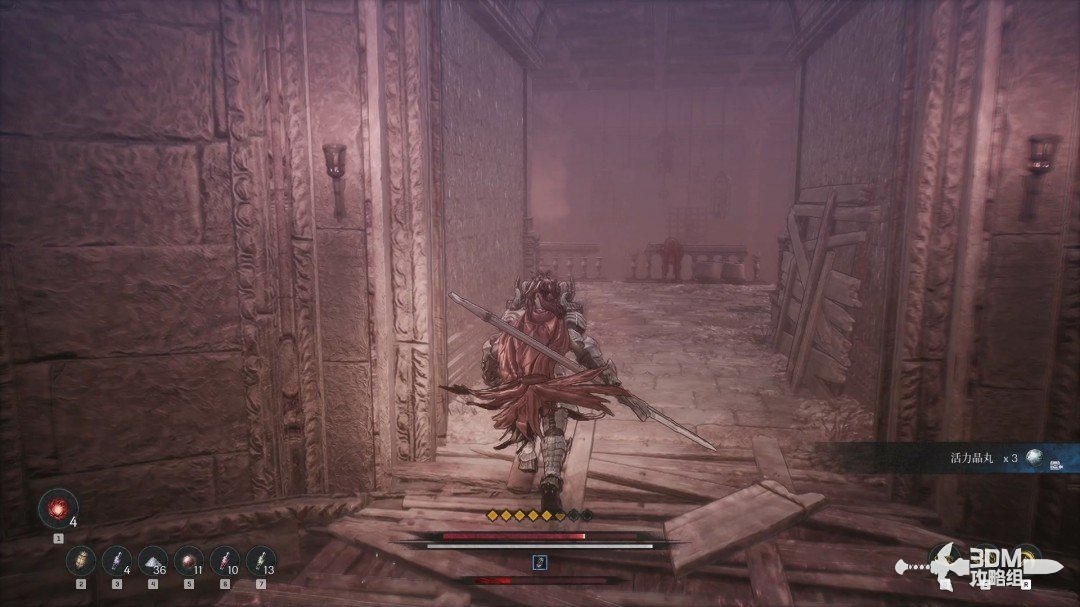
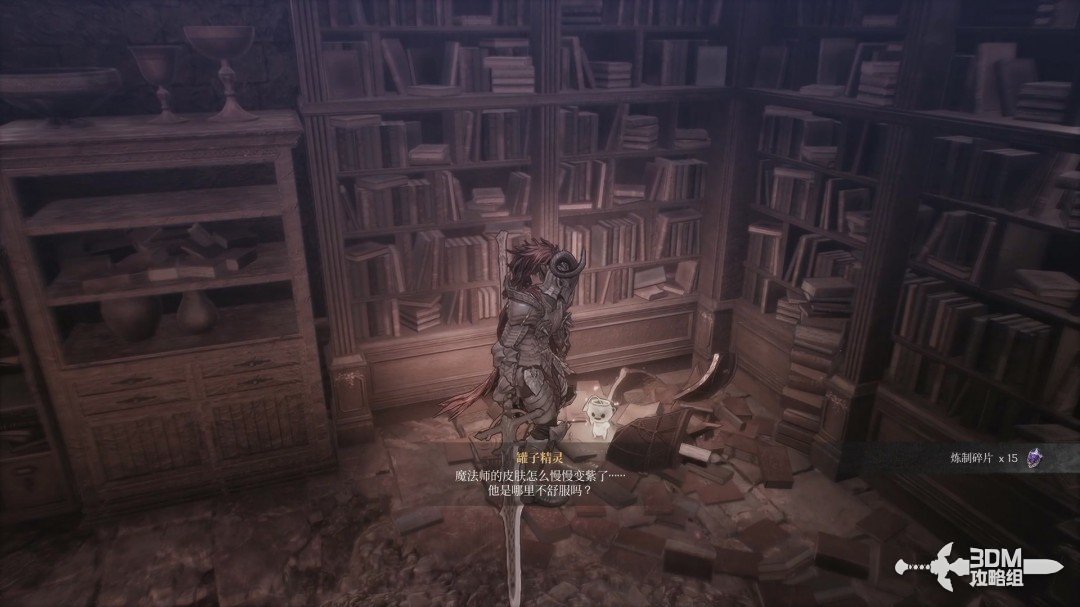
Collect Journey of Life's Creation on the left inside.
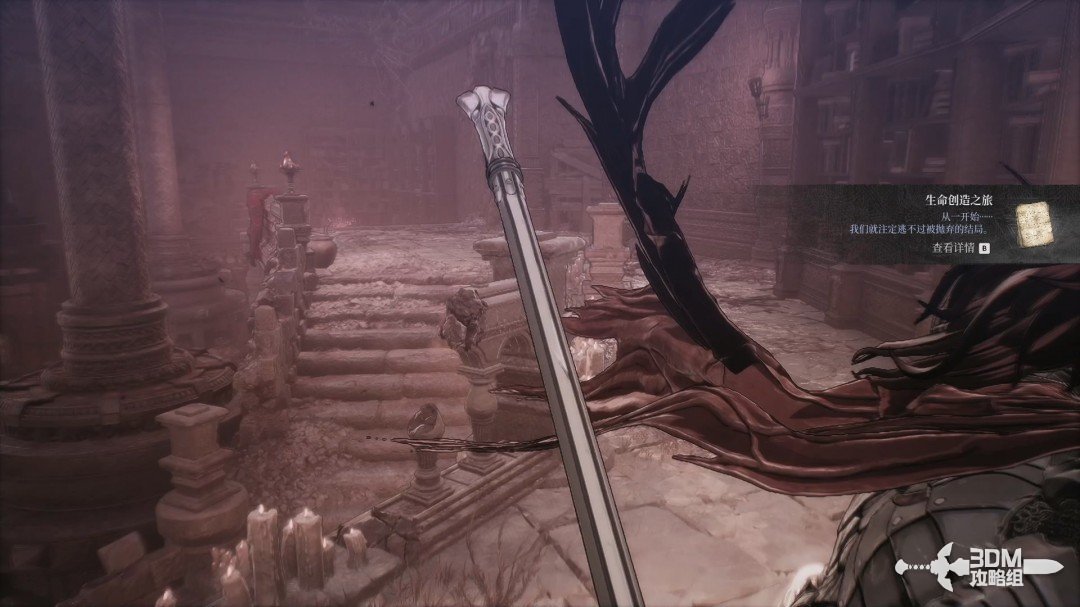
Collect the white item on the right.
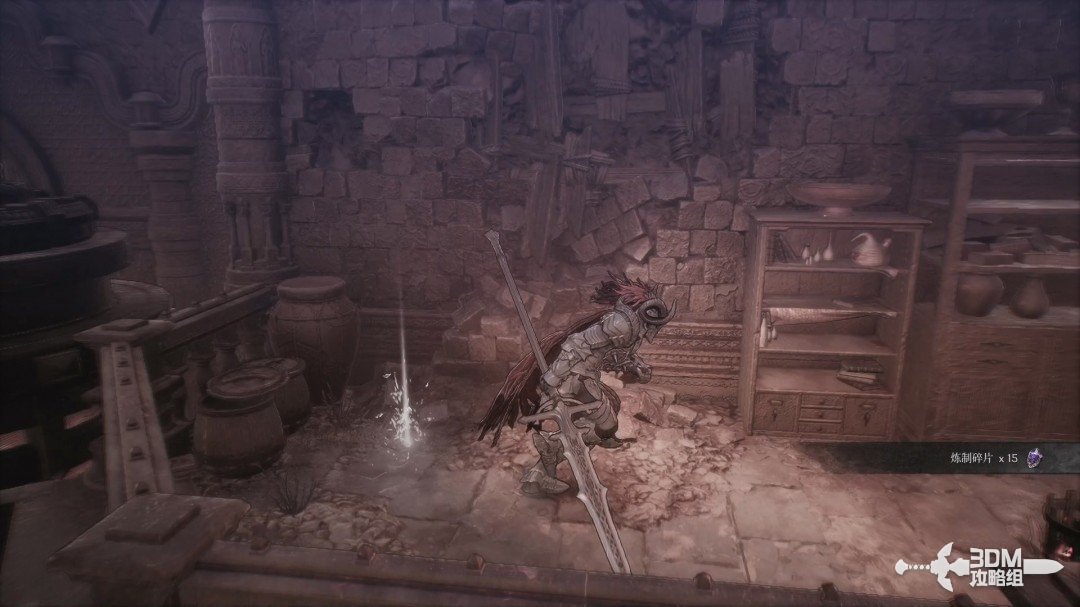
A Jarling hides in the pot by the corner bookshelf.
19Below the study stairs: break the tank for the ghostly swords
Descend the stairs and clear the enemies below.
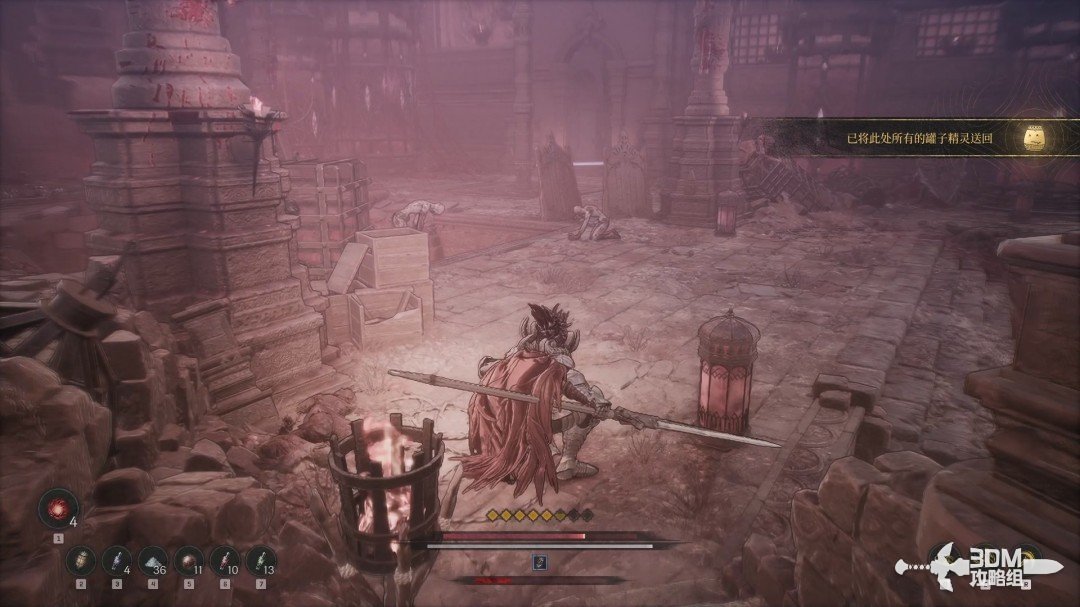
Break this tank for the Ghostly Dual Blades.
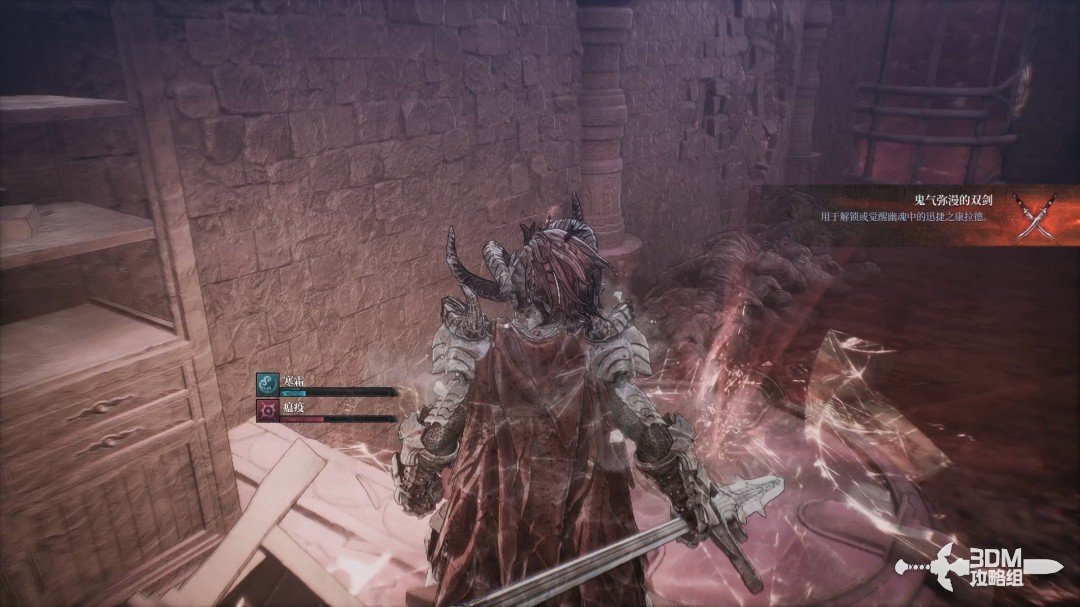
21Opposite laser area: clear the enemies and break the third Soulstone
Cross for the white item. A laser-firing enemy appears here.
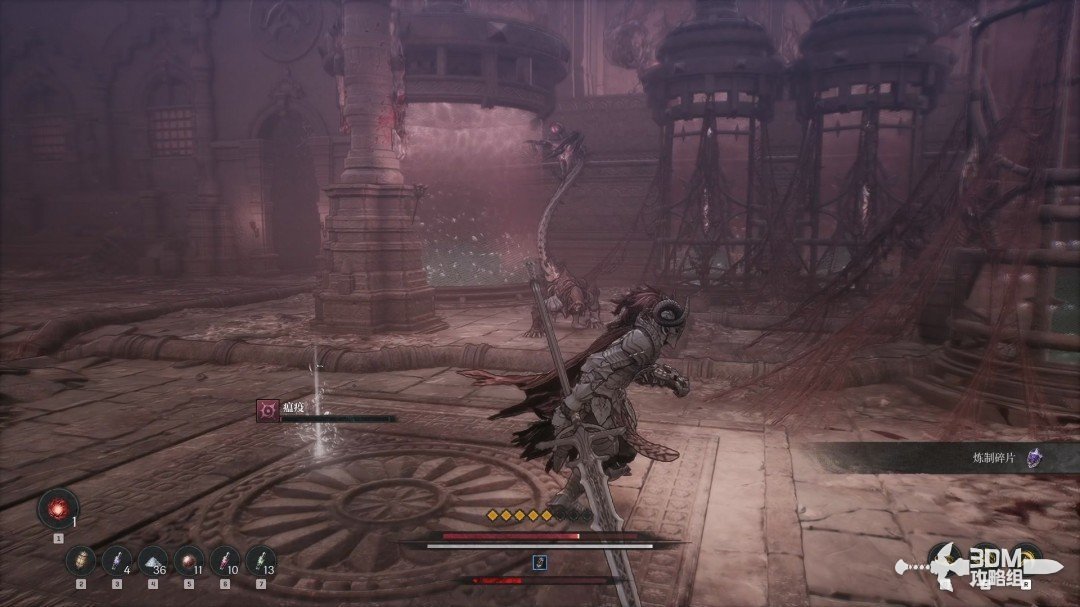
Another may attack from behind. A Soulstone lies beside it.
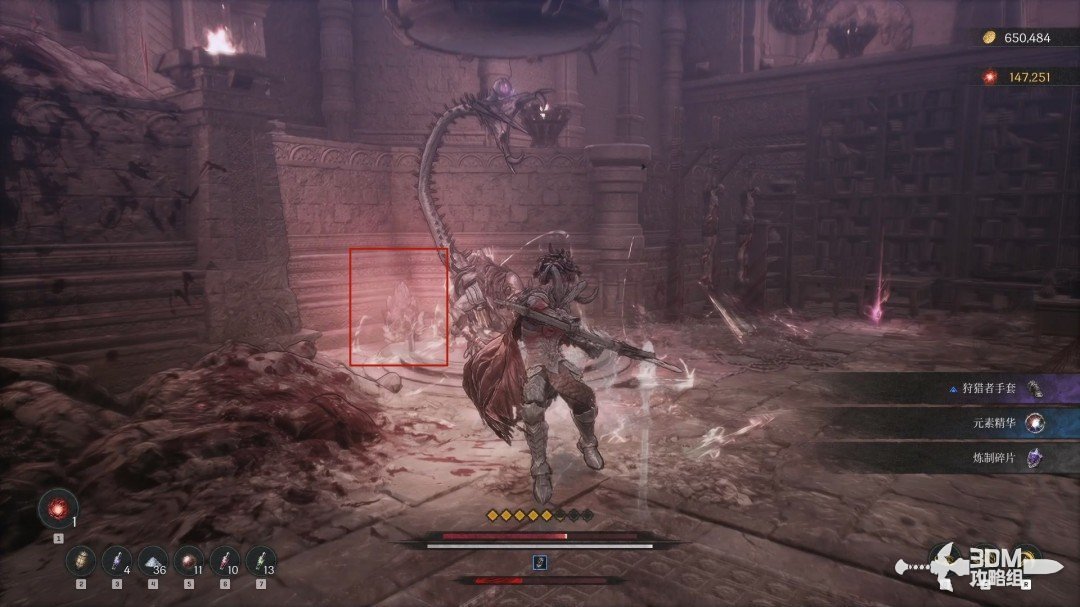
23Left chest and right doorway drop: open the supply route and enter the boss room
After the fight, loot the chest on the left and enter the right door.
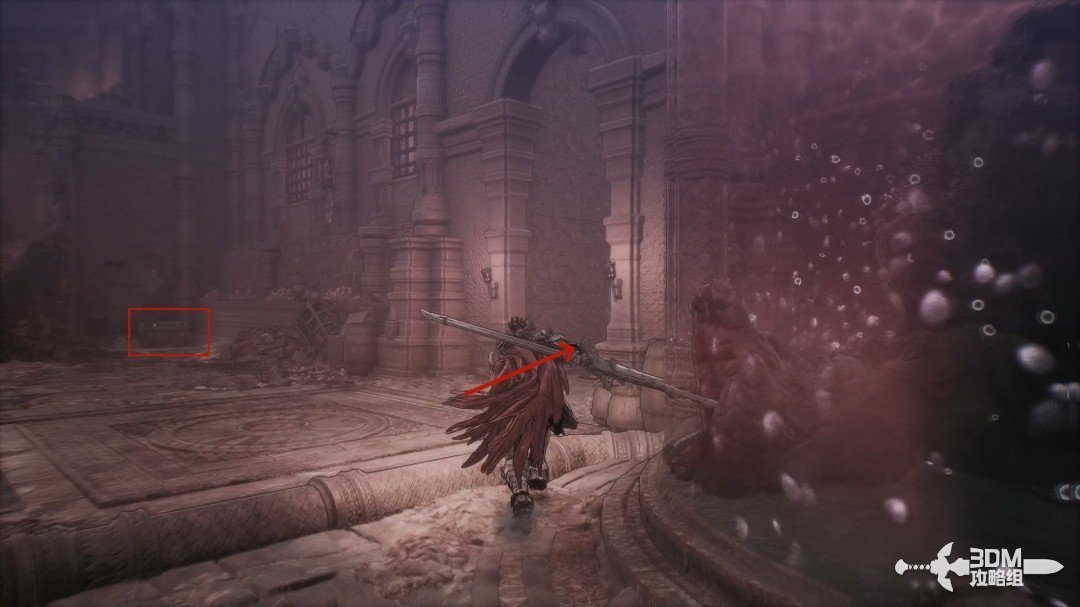
Drop to the boss room on the left. The iron gate ahead reconnects to a Nexus if you need to recover.
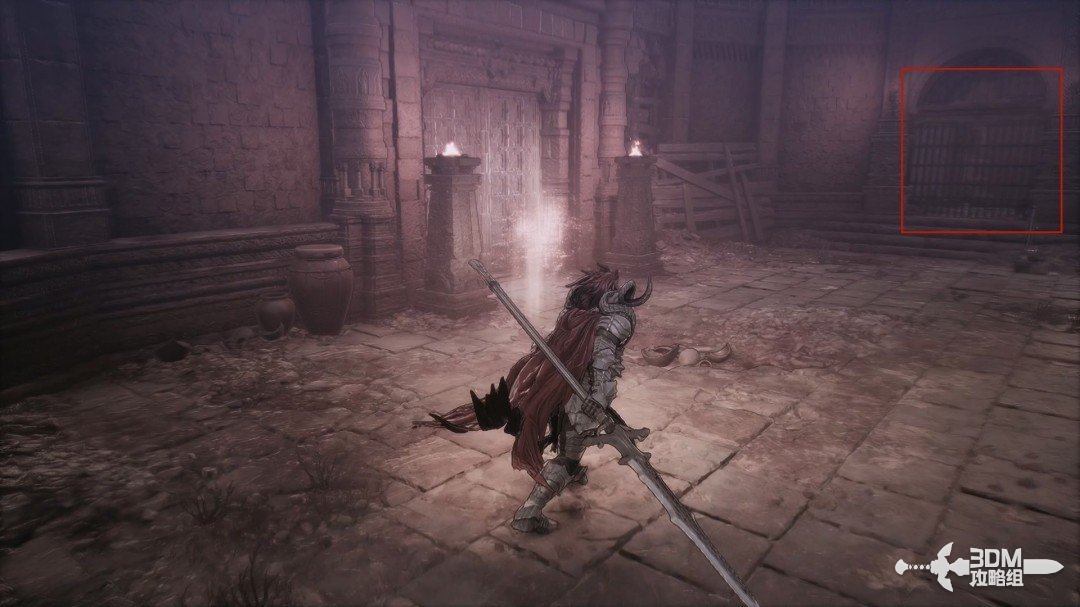
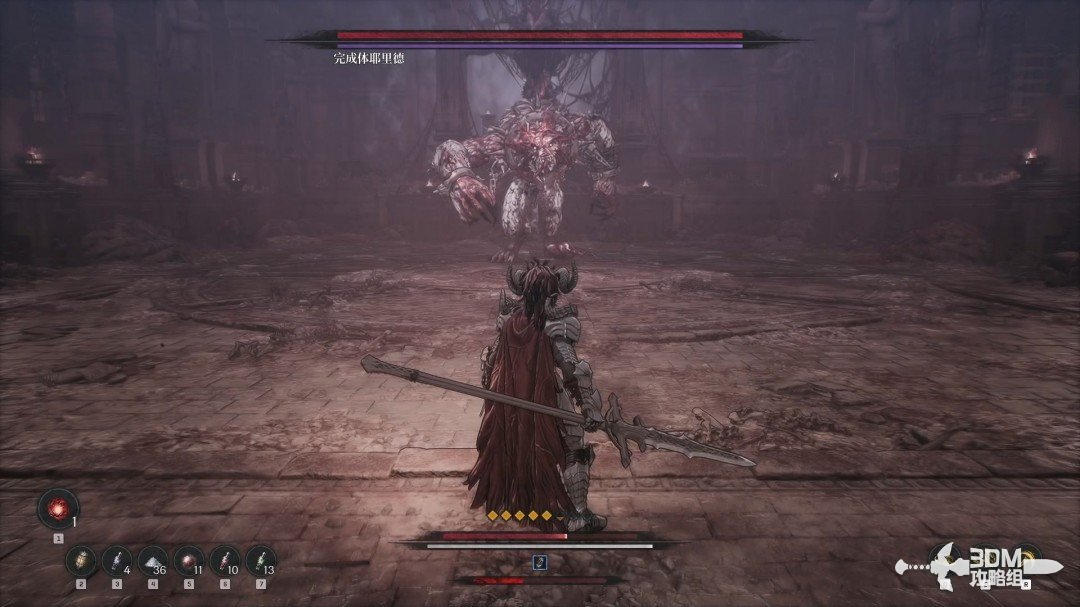
The boss reuses an earlier enemy's attacks. Apply the strategy for that encounter.
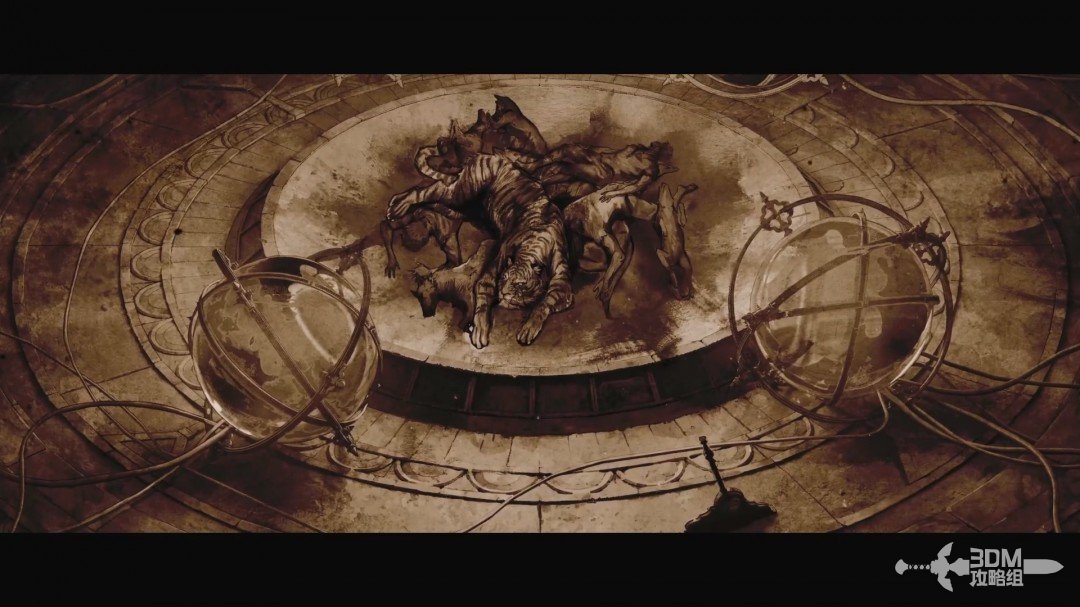
The cinematic confirms that the laboratory's monsters were created by combining humans and animals.
Continue
Reference: 3DM Guide Team
GAME NOTE has reorganized and rewritten the routes from this walkthrough.