Complete the greatsword, spear and axe trials before facing Blade.
Pickups in this mission
Combat basics: guard, dodge and resources →
01Ladders at the Bantu shelter: climb into Stormpass
Speak to Quimuk at the start of the second chapter to learn more about the setting.
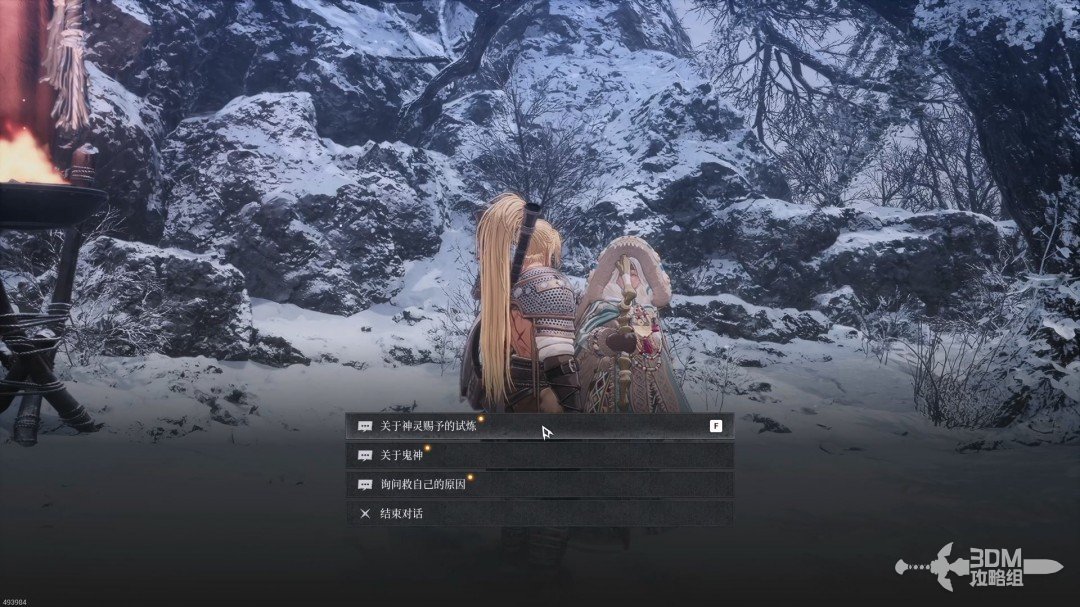
Climb the nearby ladder, holding Space to climb faster. The mysterious voice speaks again after the first level.
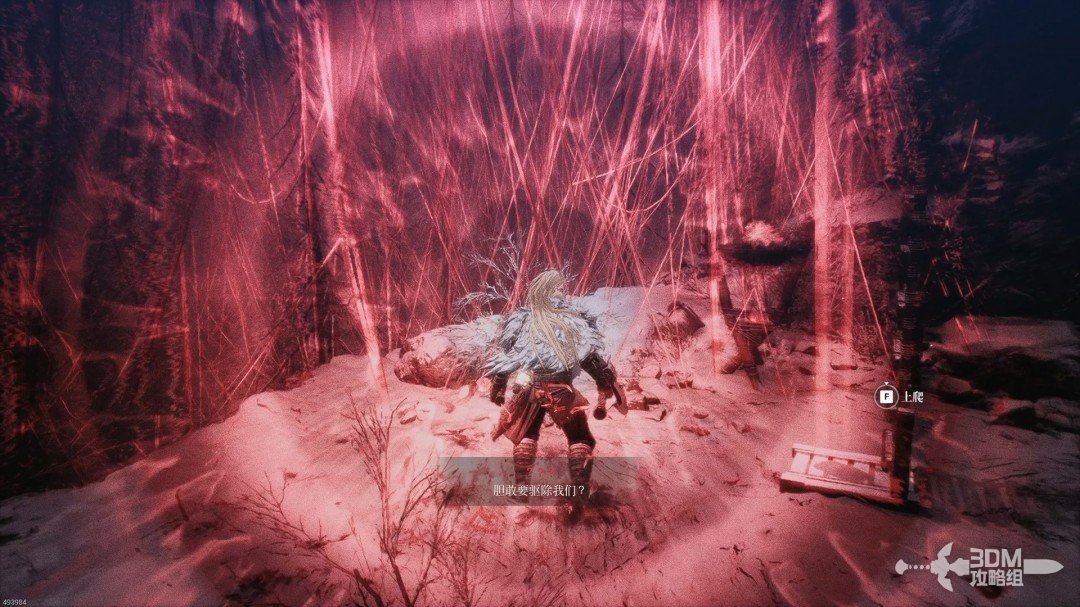
At the top, you enter Stormpass.

Use the Blade Nexus on the left to upgrade attributes.
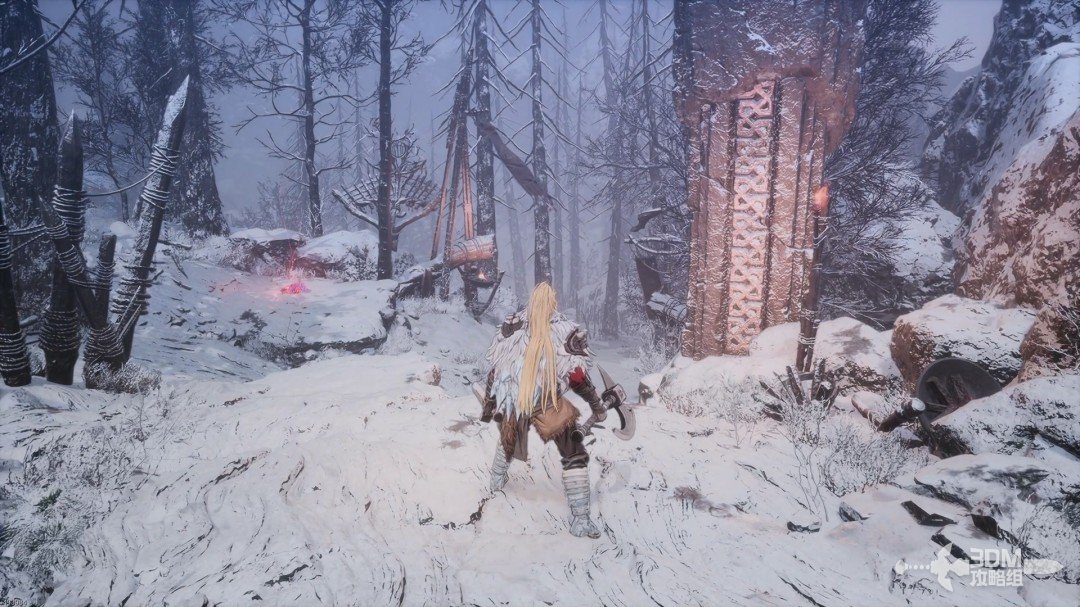
02Snowfield wolves and lookout: unlock Spirit and find the Soulstone
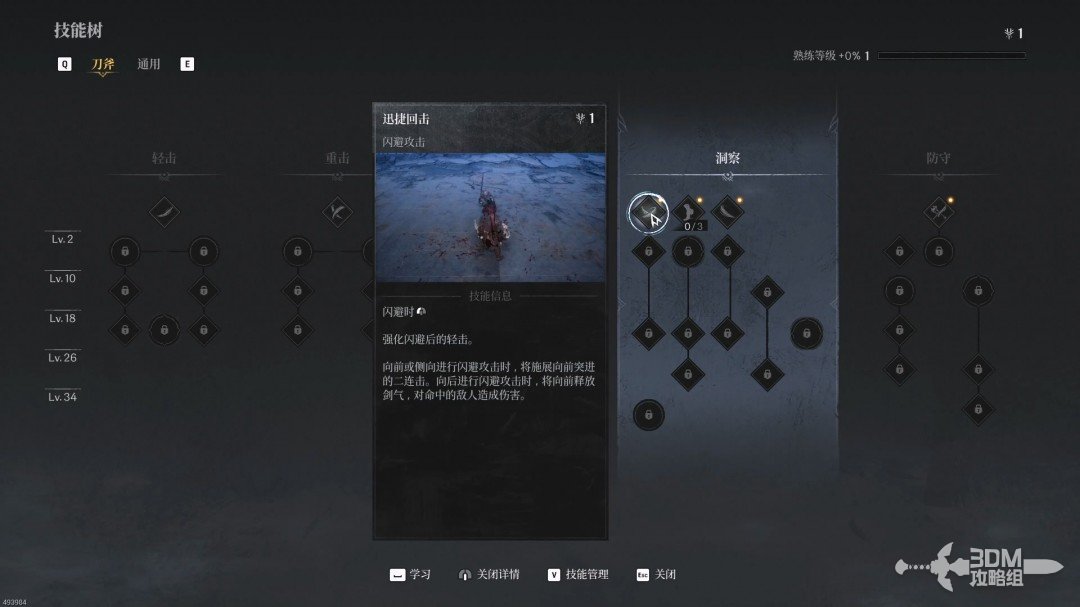
Combat now builds Spirit, spent on powerful skills. The skill tree also unlocks. The six diamonds above your health bar show Spirit; filled yellow diamonds are available to spend.
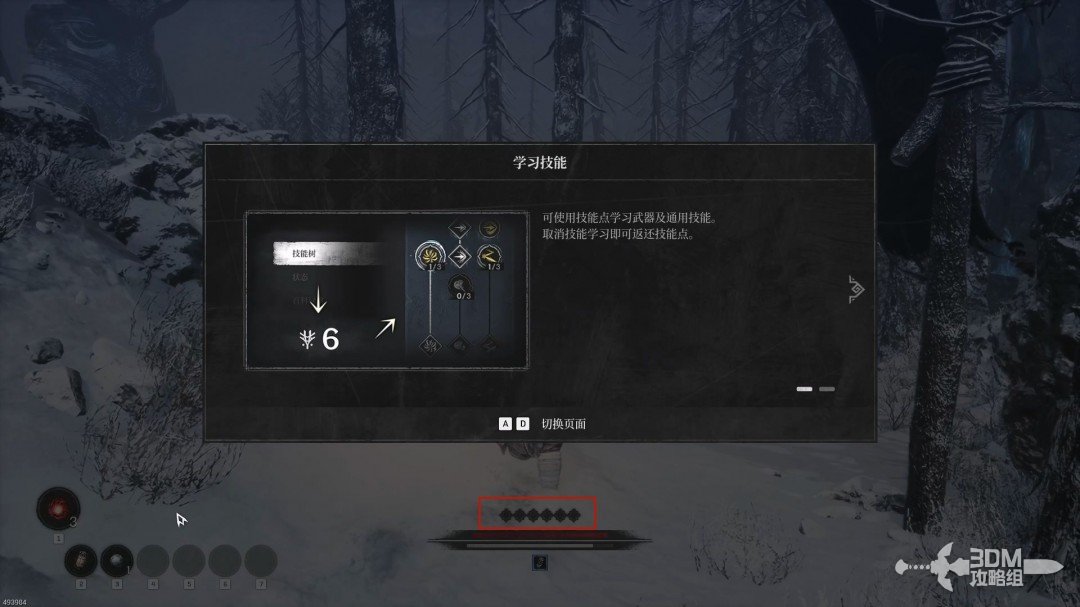
You can reassign skills at any time, so experiment freely.
Go right for a blue item, defeating the two fragile wolves.
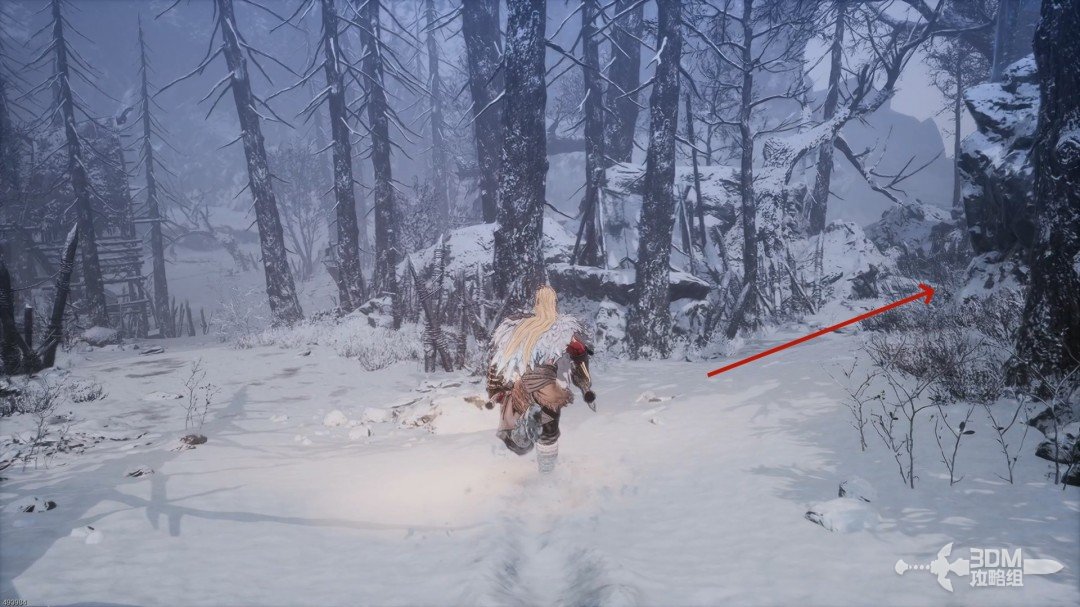
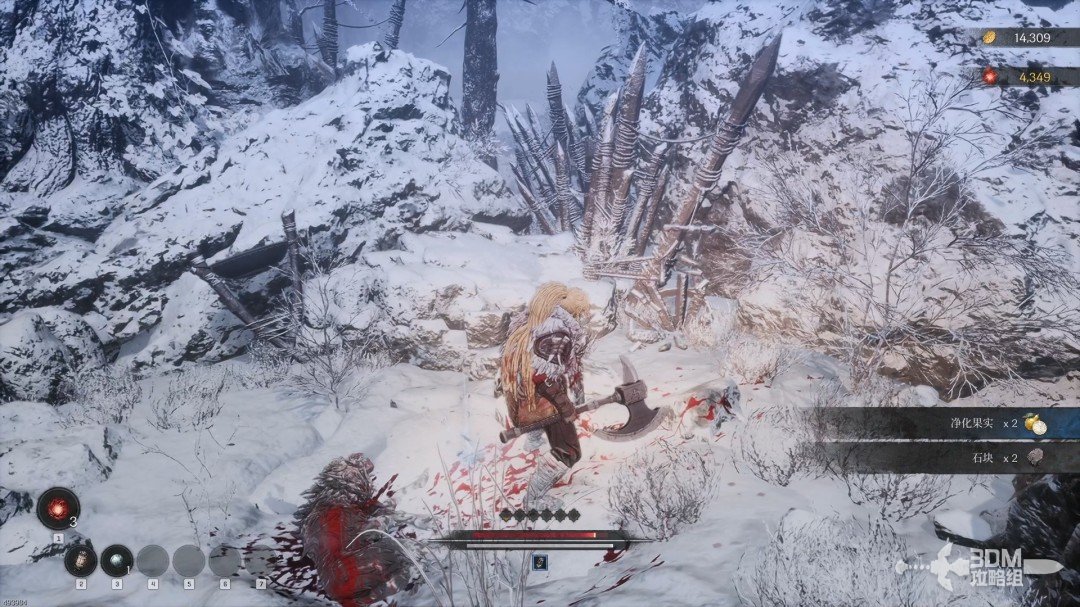
The broken cliff on the left is impassable. Follow the main path toward a pack of wolves.
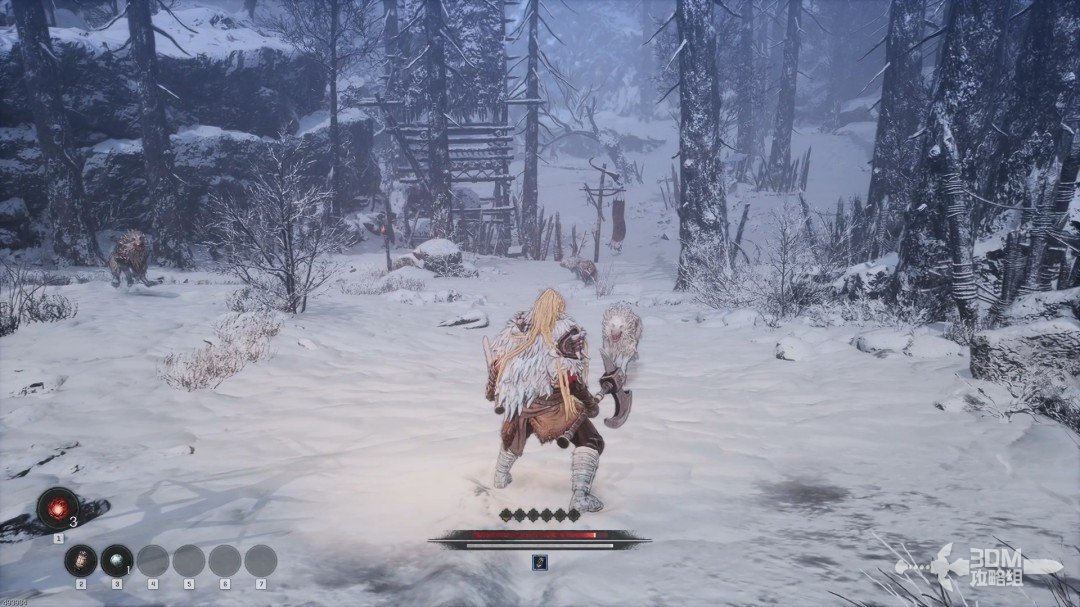
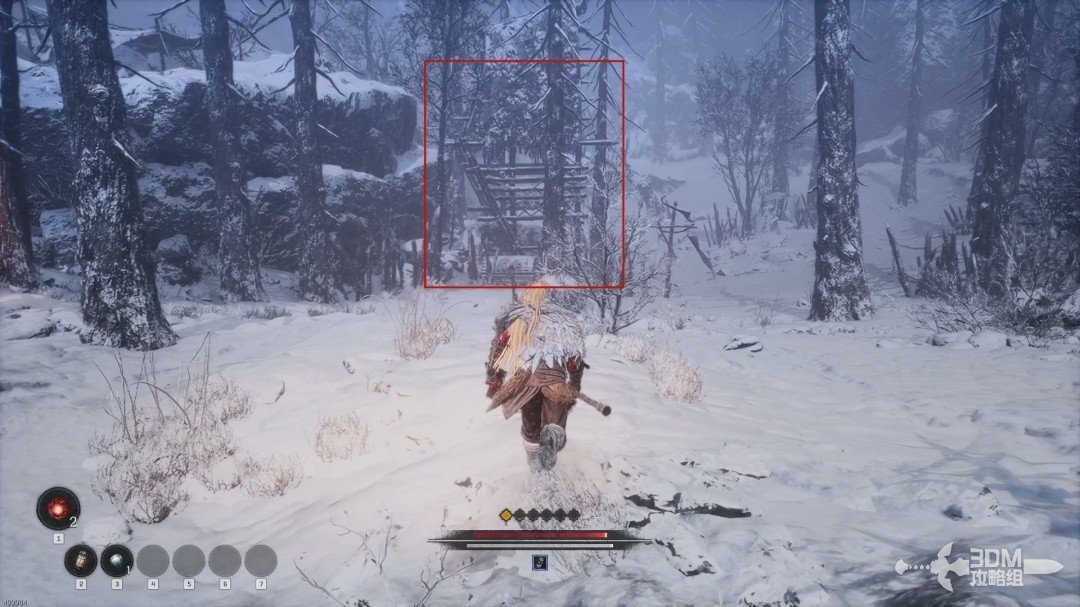
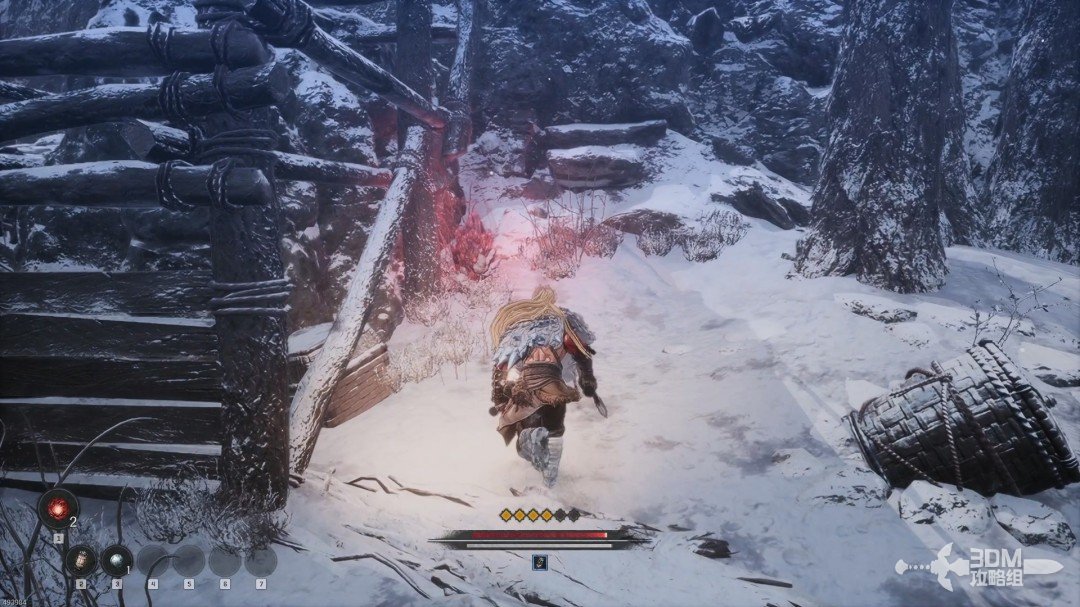
After the pack, check behind the lookout tower for a Soulstone.
04Forest slope: throw javelins and search the branches
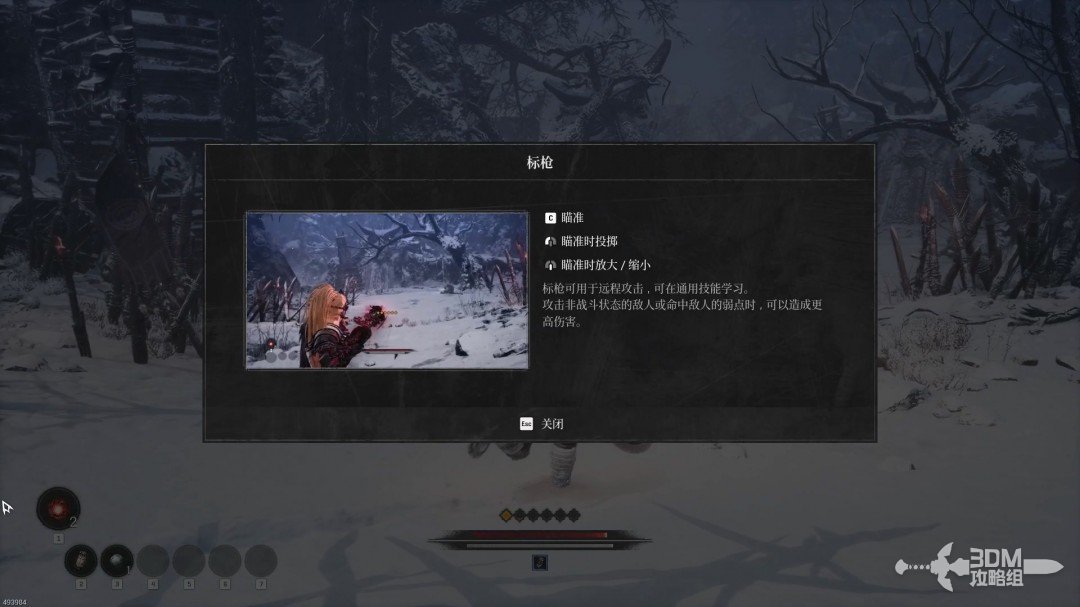
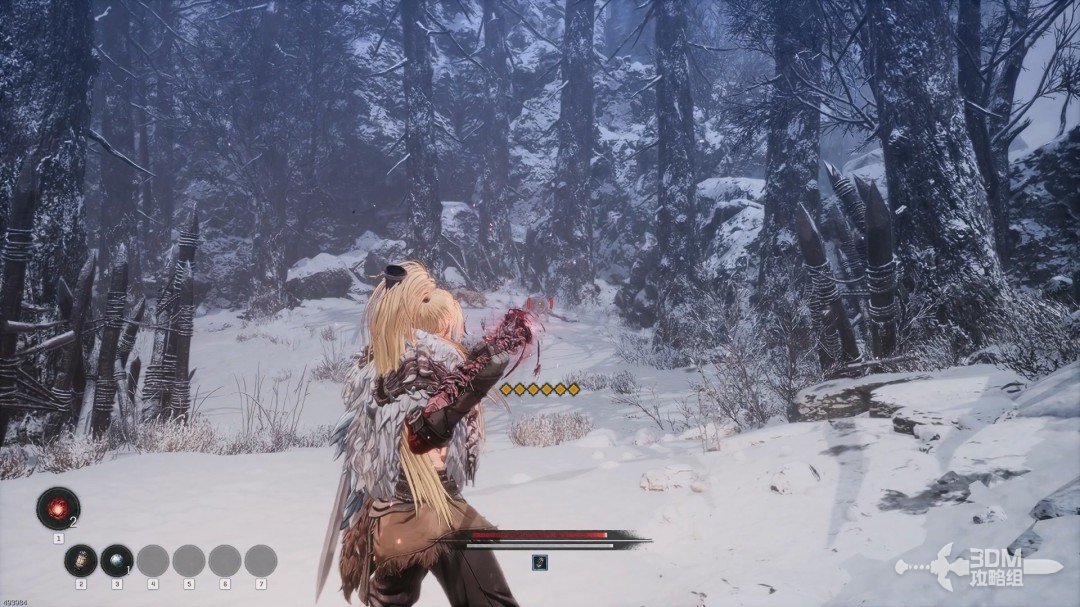
The next tutorial introduces Javelin with C. It is useful against distant enemies and costs one Spirit diamond per throw.
Practice on the two wolves to the right and collect their drops.
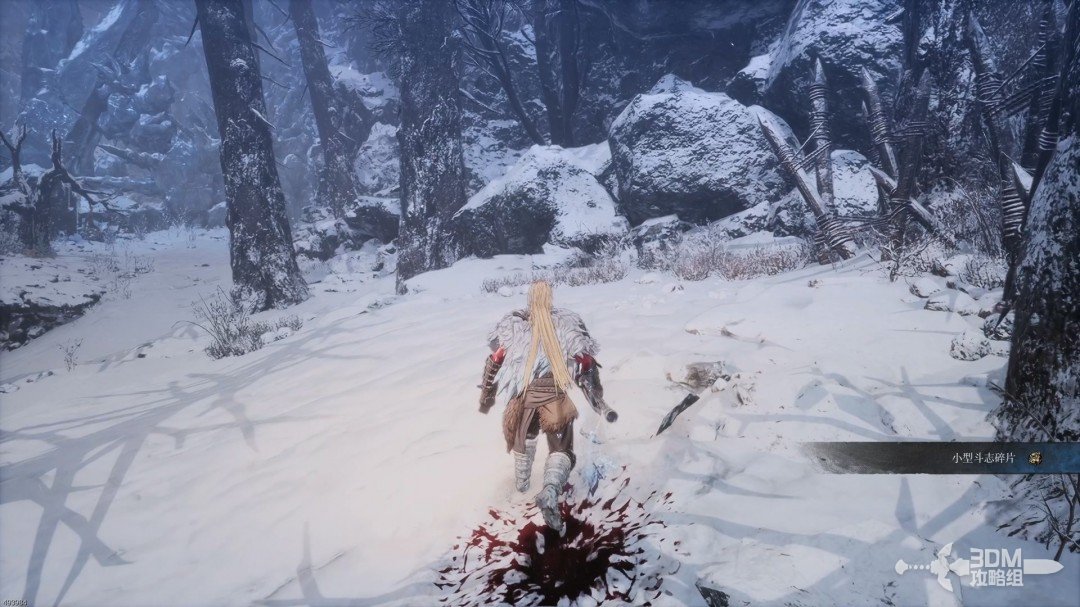
Collect the white item beneath the tree on the path.
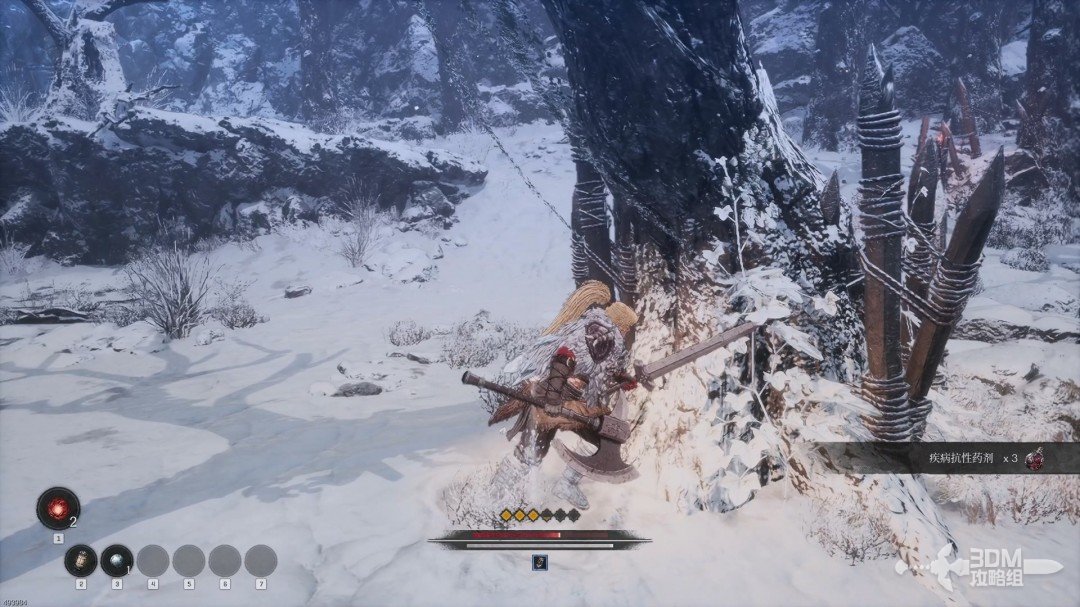
Several monkeys occupy the raised area on the right. Check beneath the tree for items.
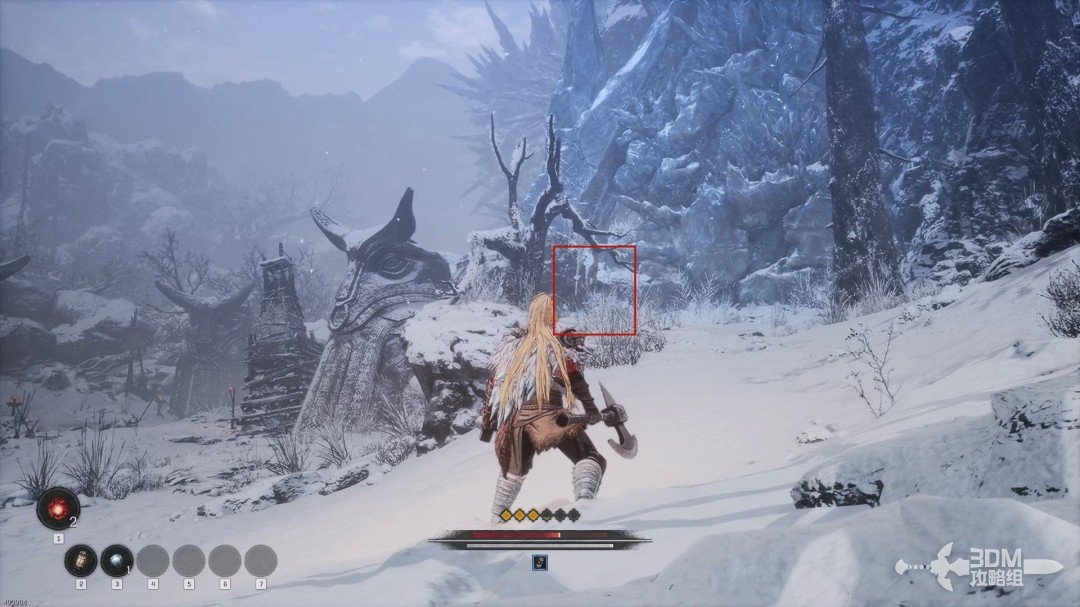
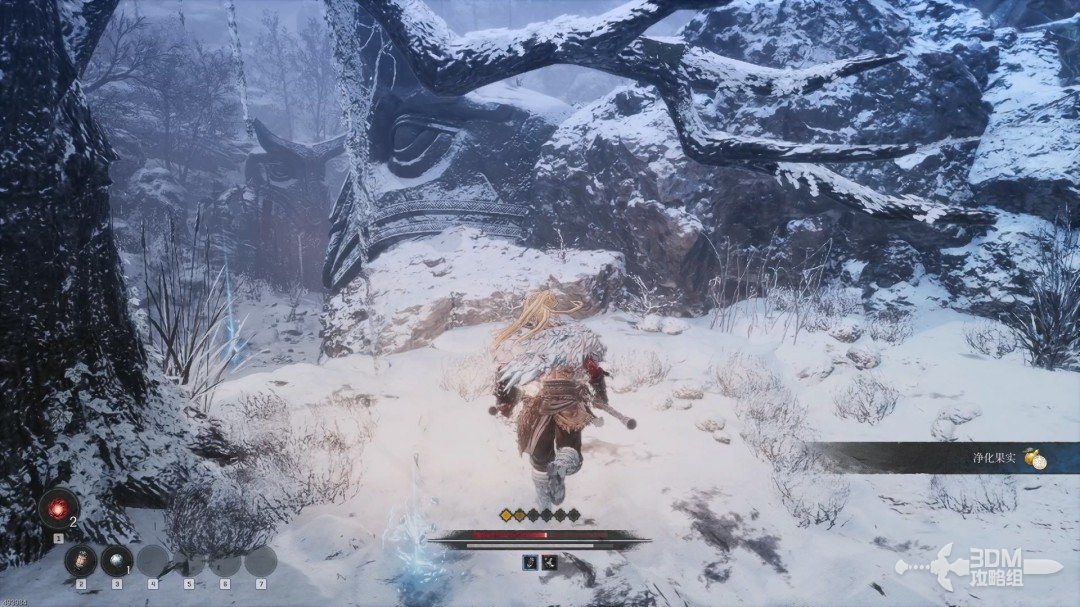
Descend to the fork. The right branch ends at a blue item; collect it, then continue left.
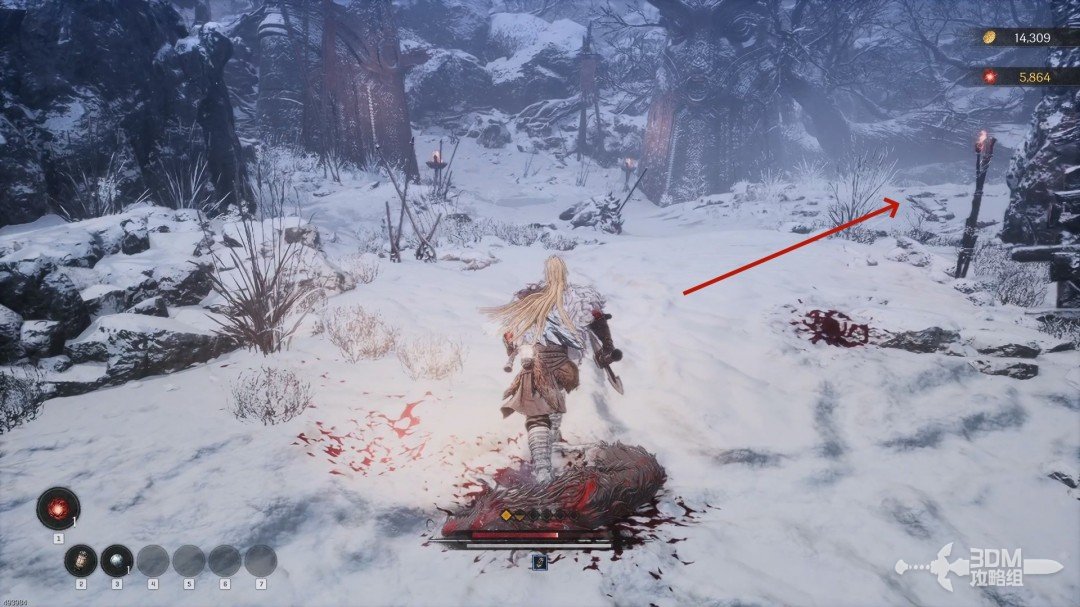
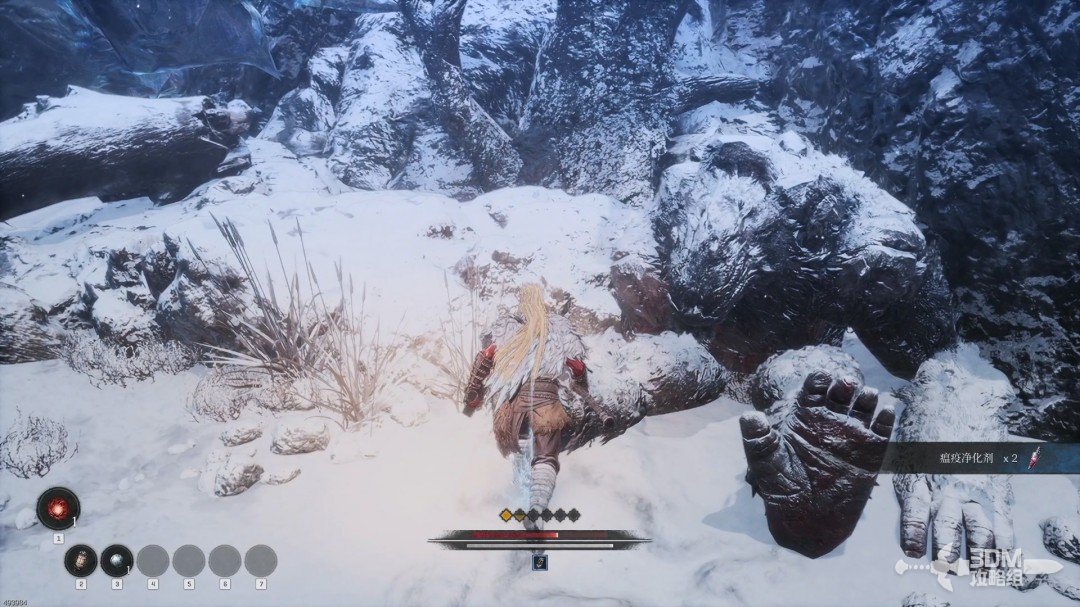
A boar charges along the route. A Javelin can knock it down. Defeat it for equipment.
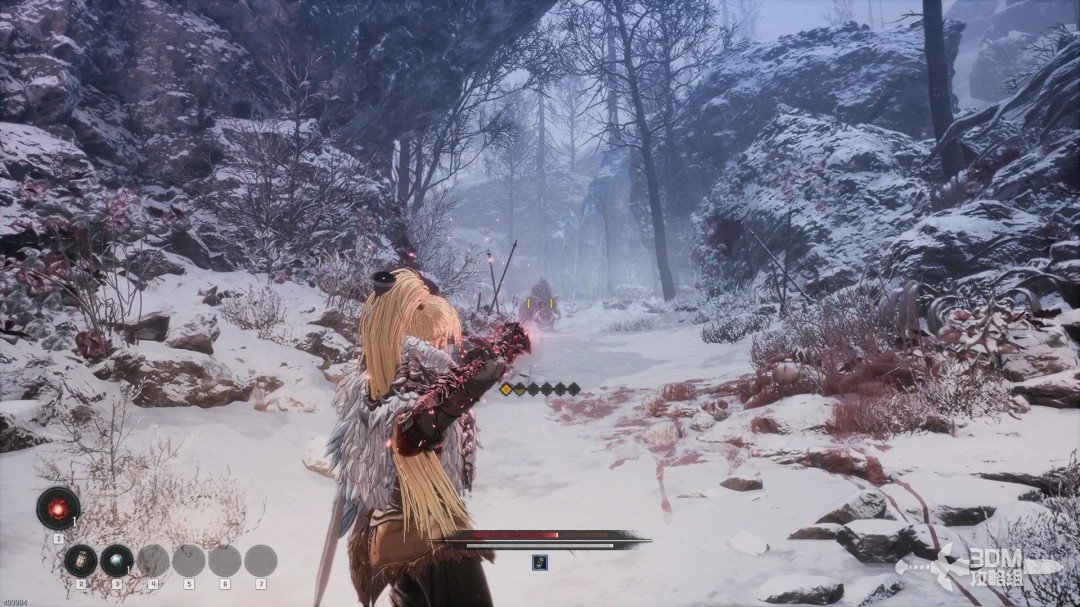
05Beneath the stone bridge and the fallen-tree shortcut
At the next fork, explore the left branch first.
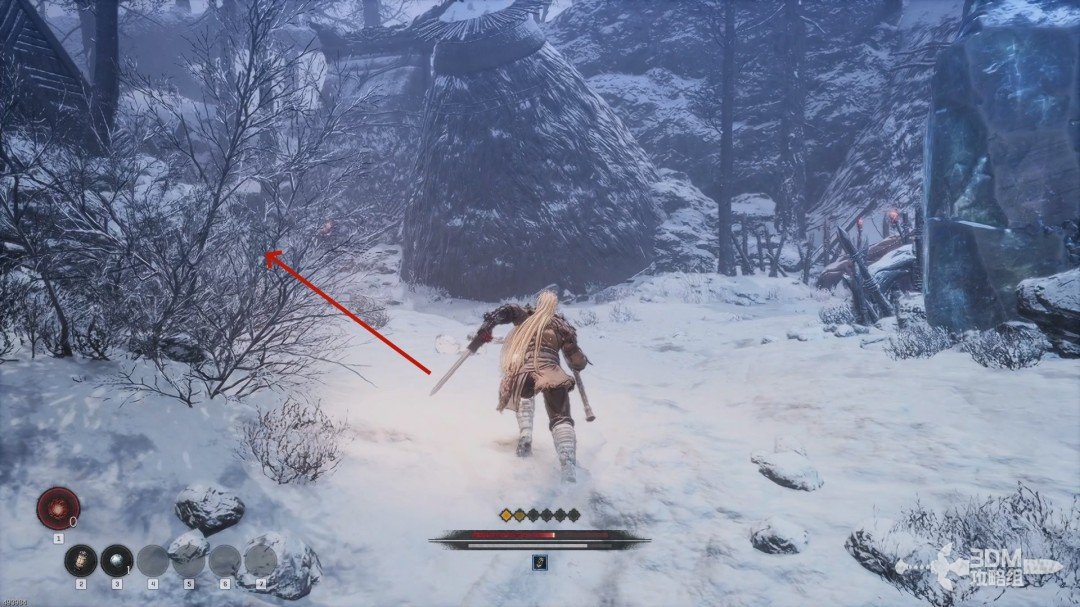
Defeat the wolves and collect the purple item beneath the stone bridge.
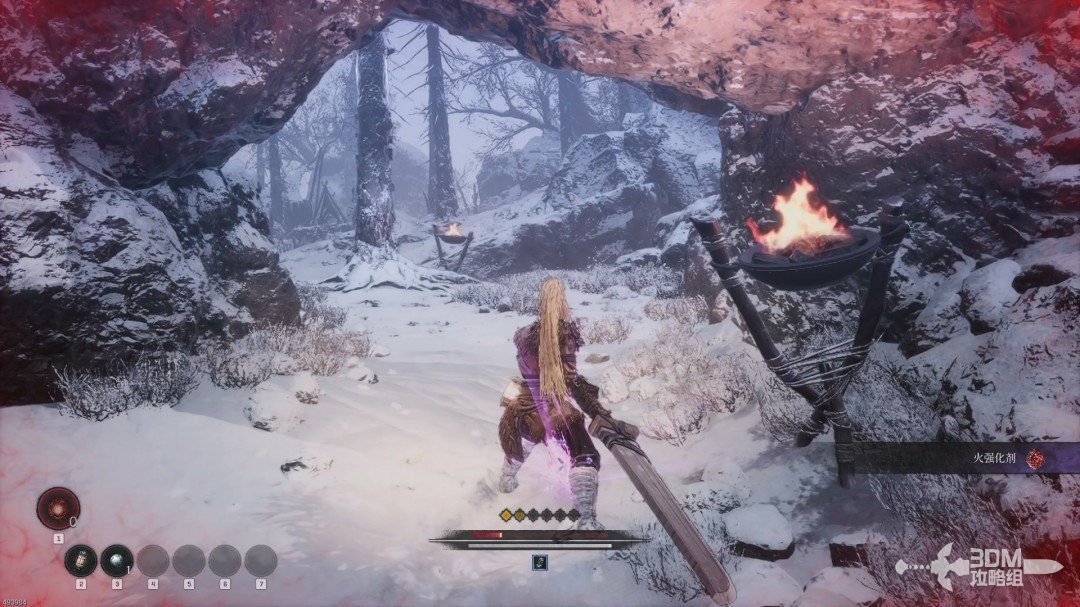
Push down the tree to open a shortcut to the earlier area.
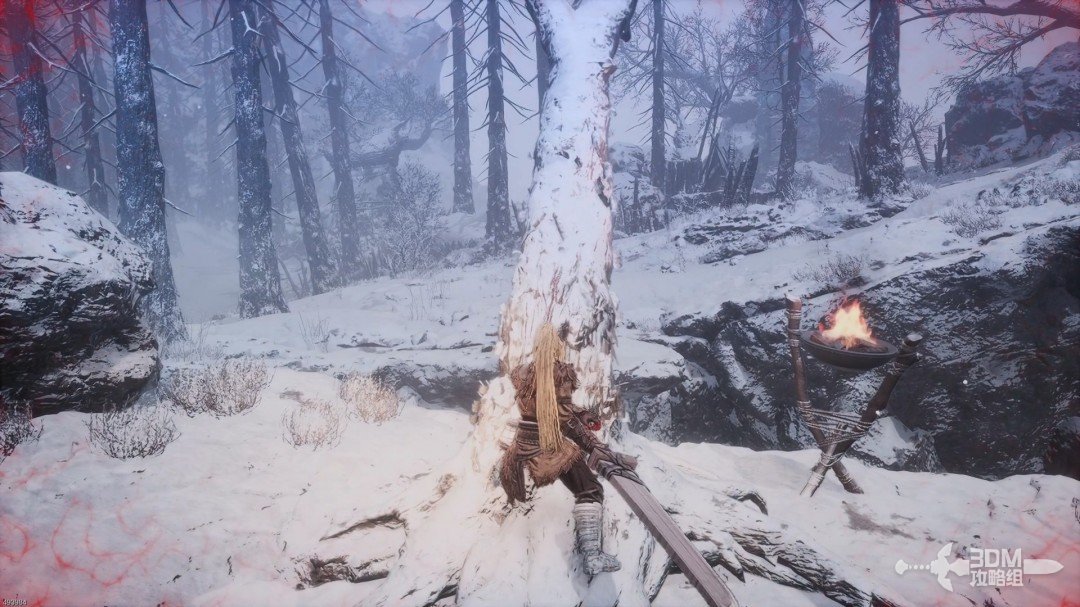
06Cemetery entrance: complete the Greatsword trial
You need not cross the shortcut now. Return to the fork, take the right branch and absorb the memory.
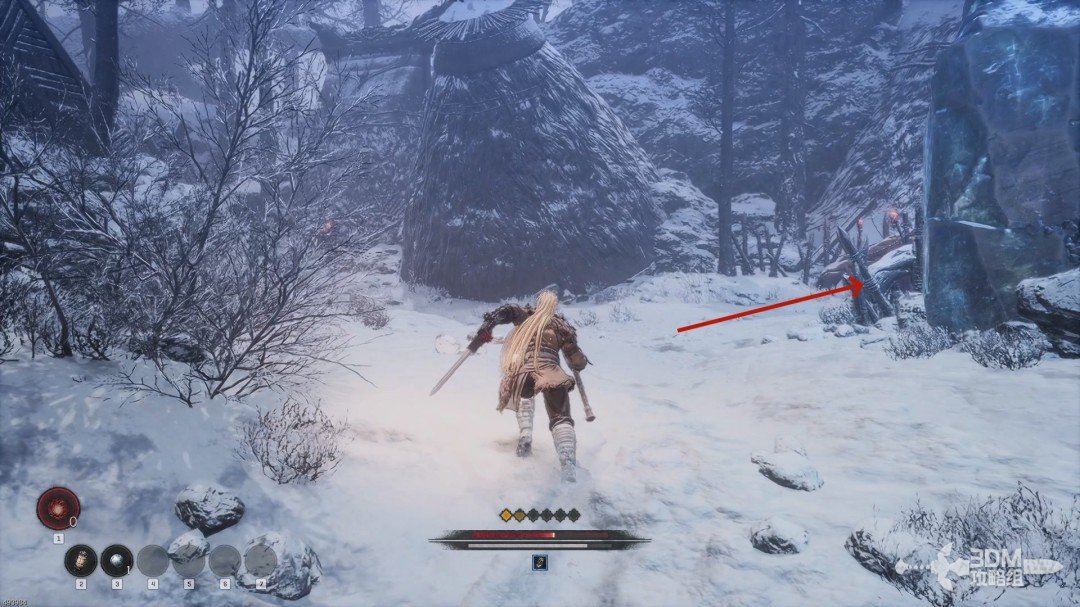
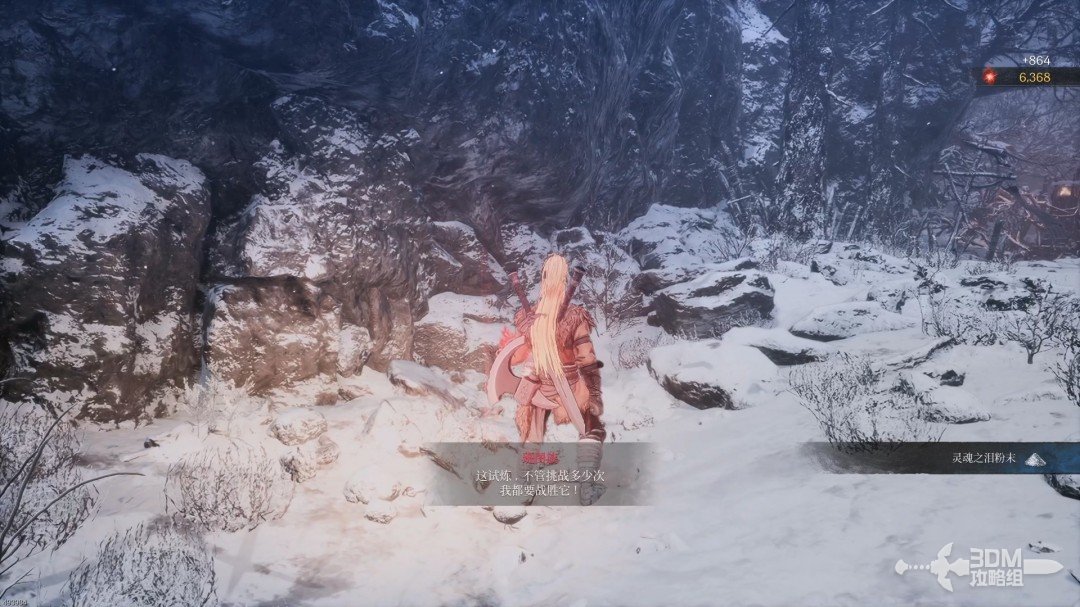
The path triggers a Greatsword trial that awards a new weapon.
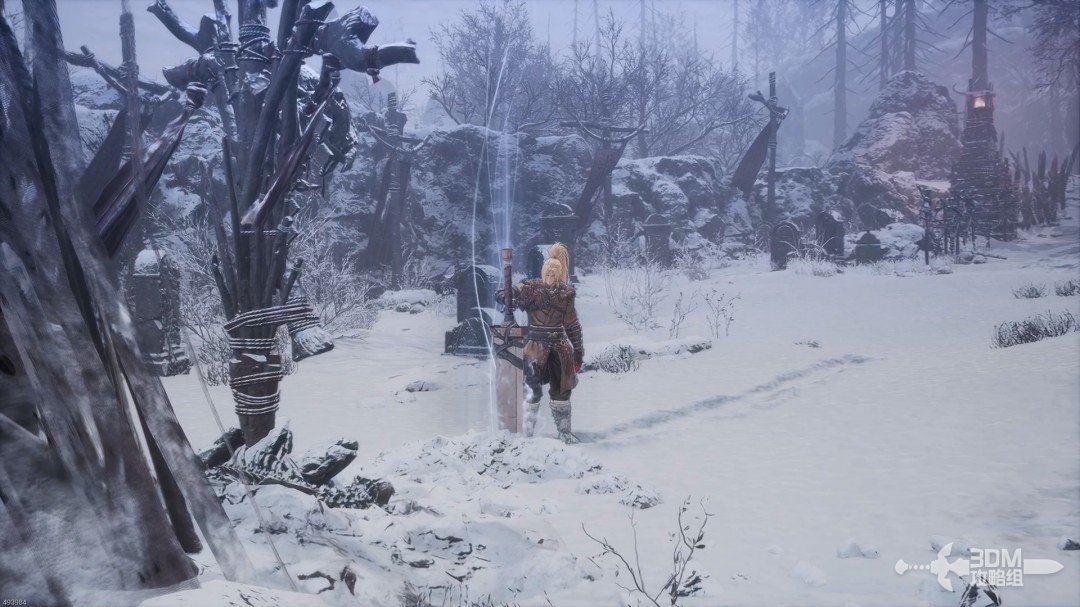
Clear the cemetery's spirits to complete the trial and receive an Ancient Greatsword. You can switch back to your preferred weapon afterward.
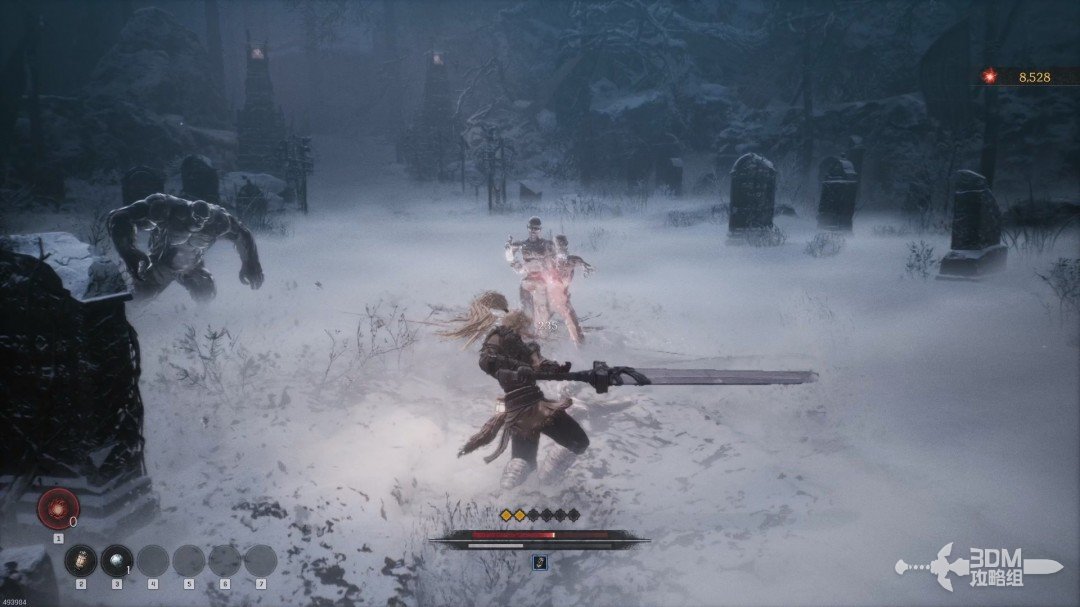
07Nexus before the ice: search the cave on the right
Follow the small path beyond the trial to another Blade Nexus. Collect the item on the left before resting.
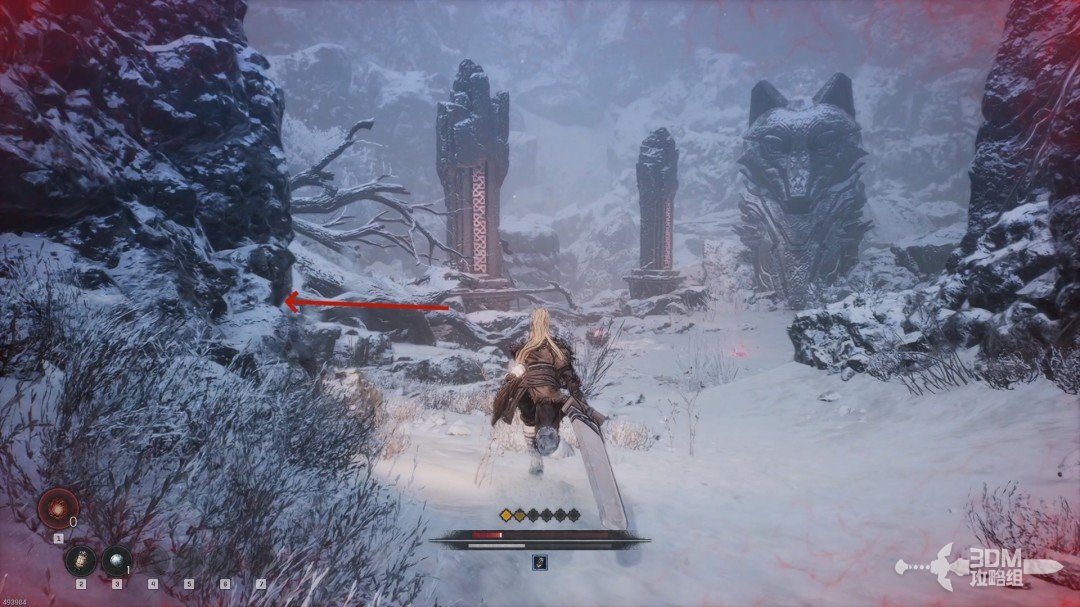
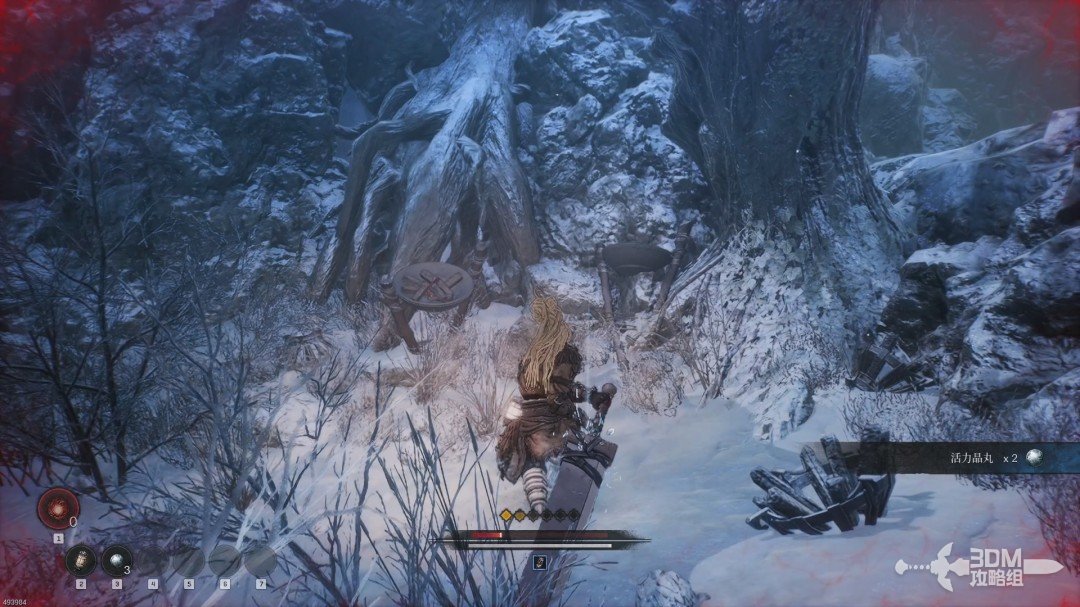
Paths leave both sides of the Nexus. Explore the right side first; its forward and right branches are dead ends with loot.
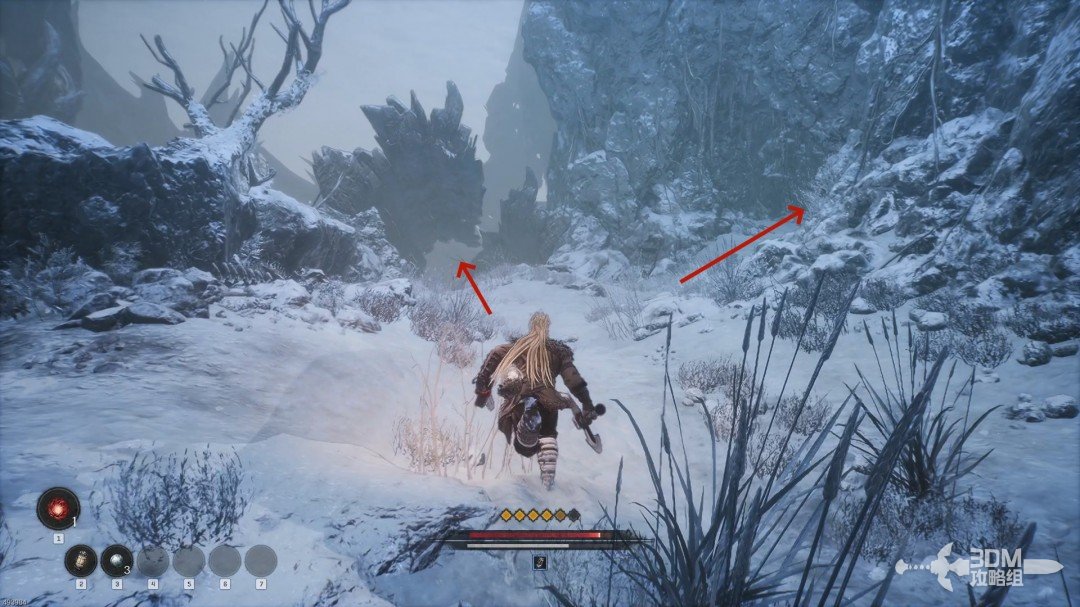
Kill the small yeti in the right cave for equipment, then collect the item above.
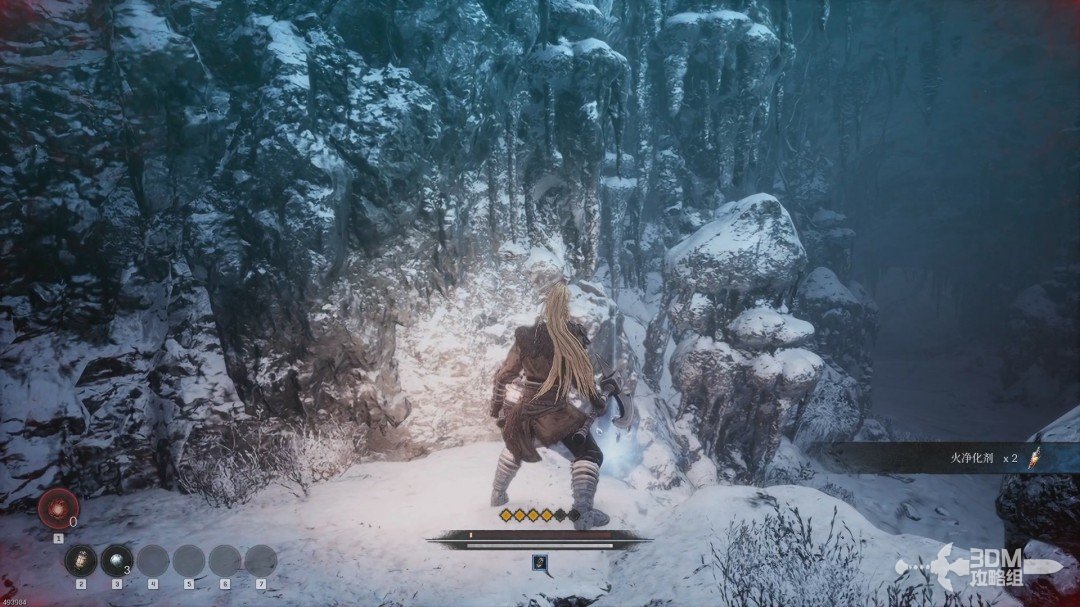
Leave the cave and turn right for an item beside the cliff.
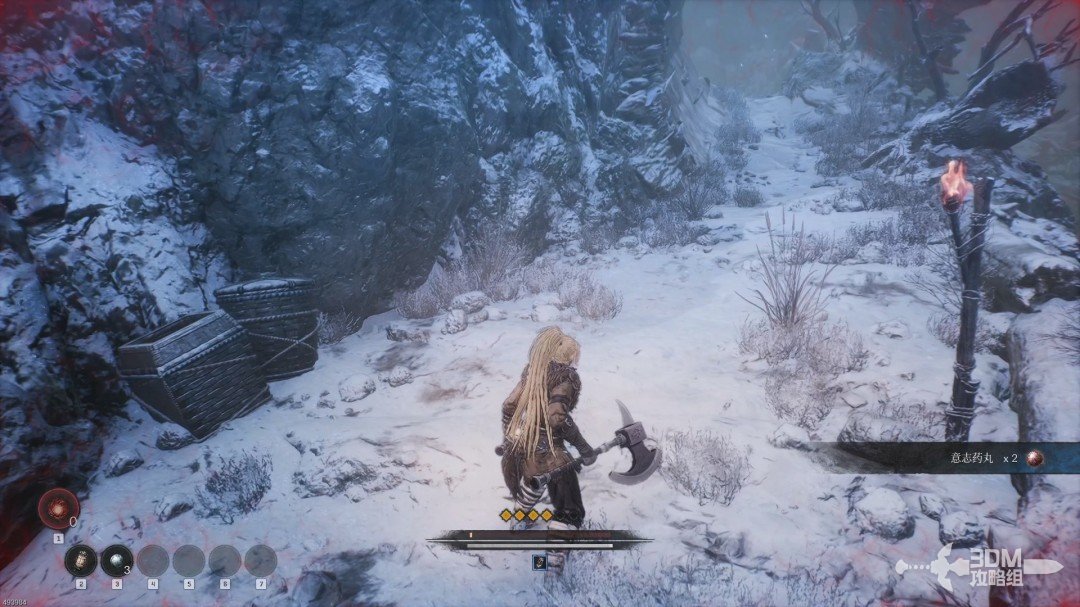
08Bear on the left ice field: practice Burst Attack counters
Return to the Nexus and head left toward the bear on the ice. This fight introduces a new mechanic.
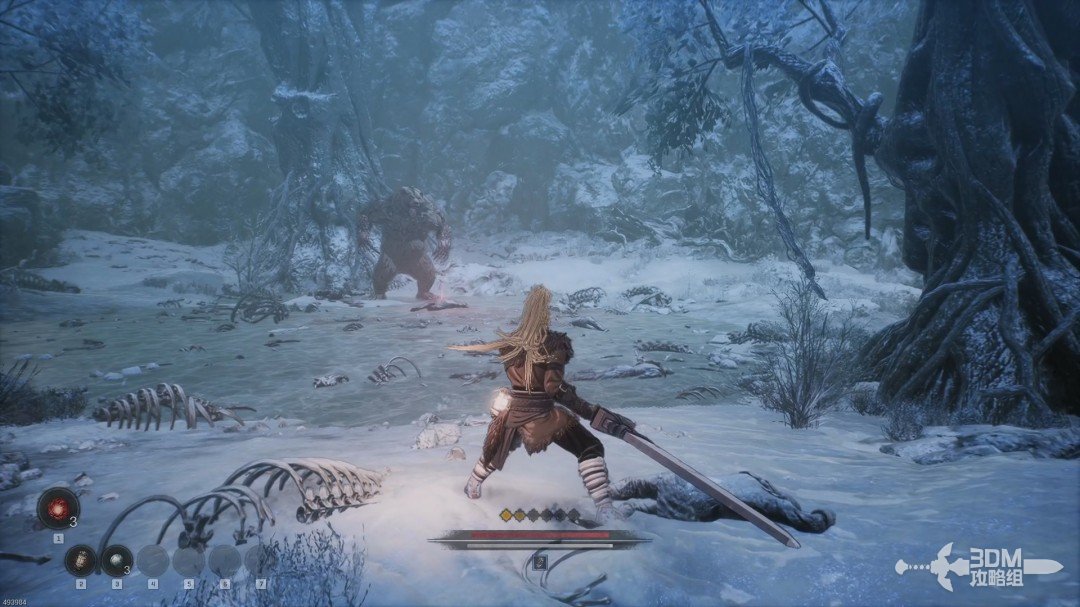
An icon marks a Burst Attack, which cannot be guarded normally. Dodge it or time Shift+F to counter it.
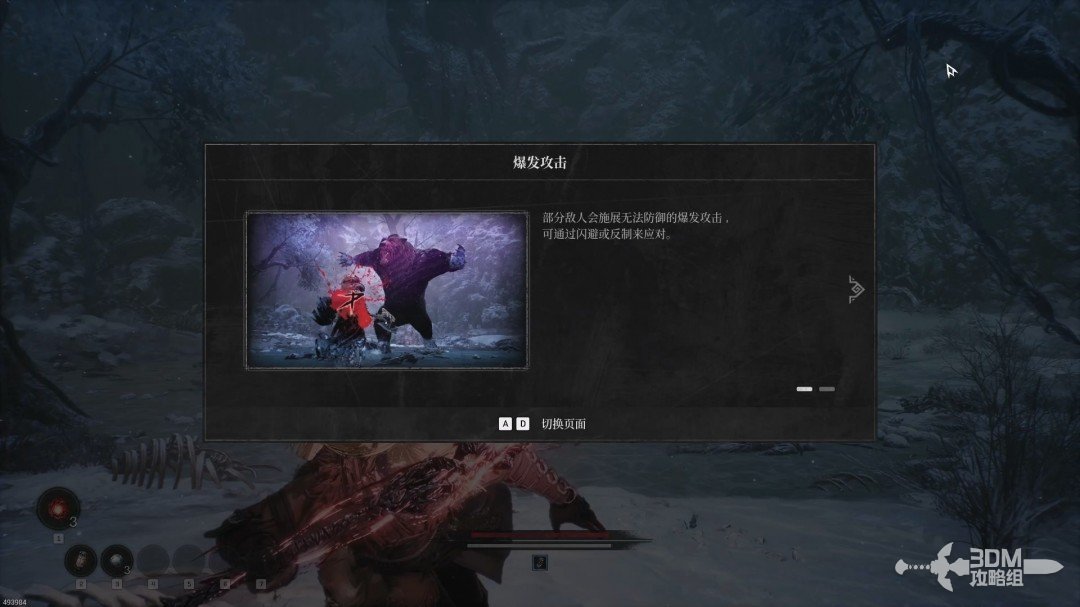
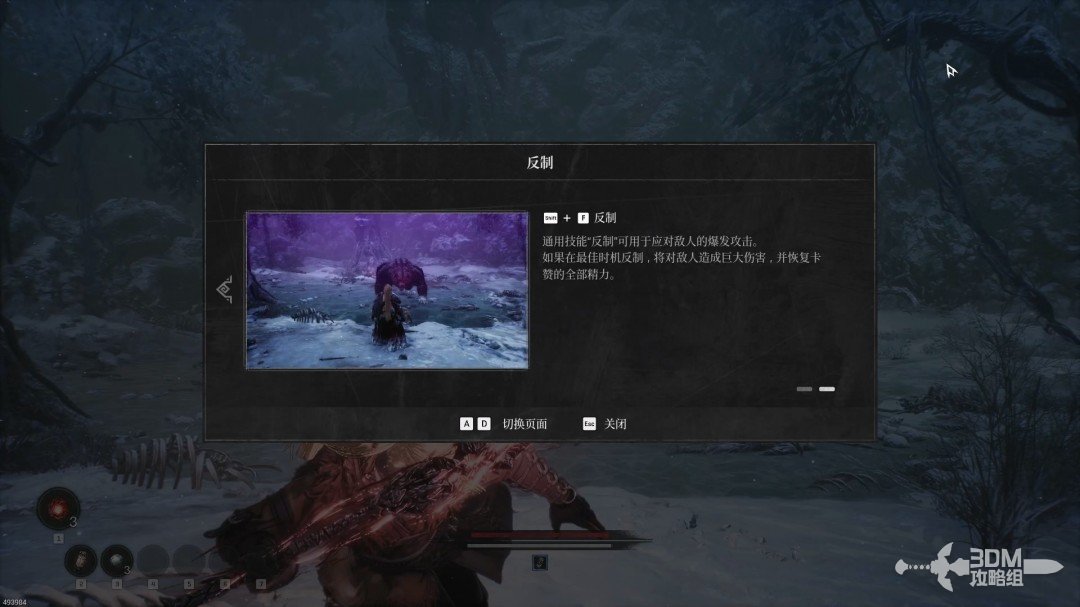
The elite bear uses the following attacks.
Attack ①:
An icon-marked Burst Attack. Time Shift+F to counter it.
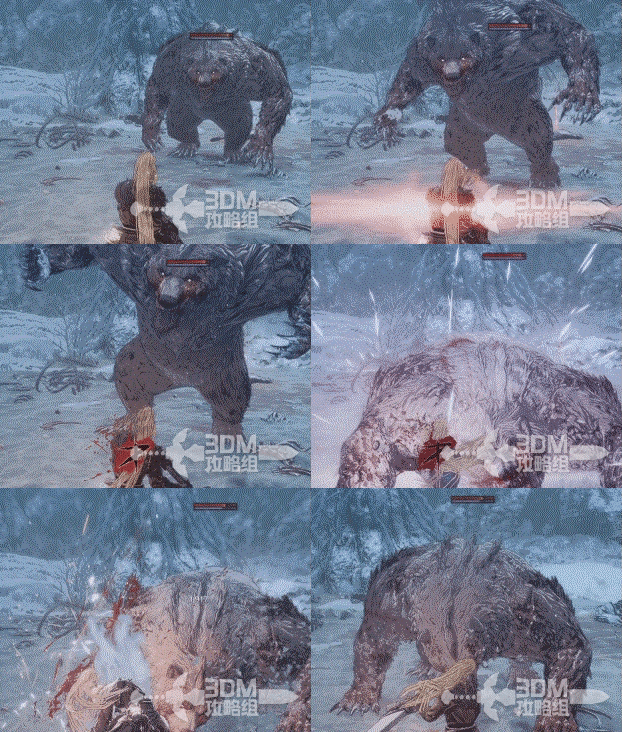
Attack ②:
A straightforward pounce.
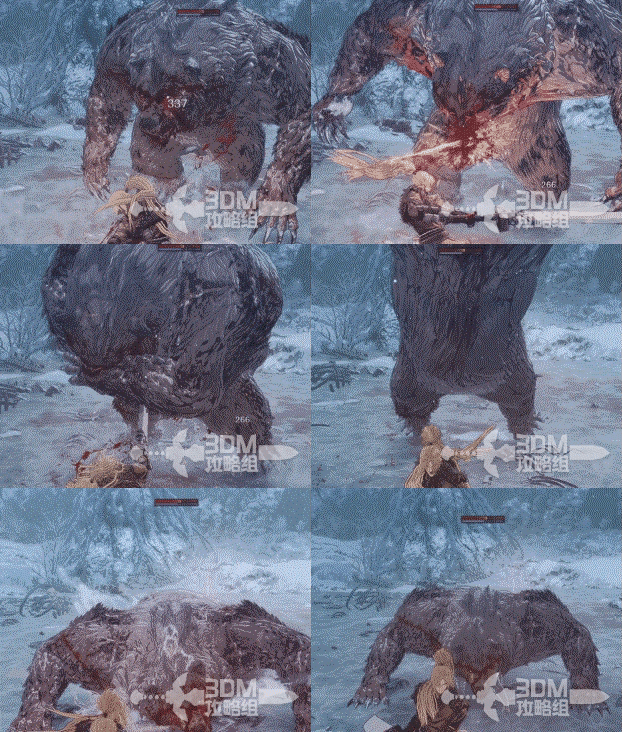
Attack ③:
A bite with a long wind-up.
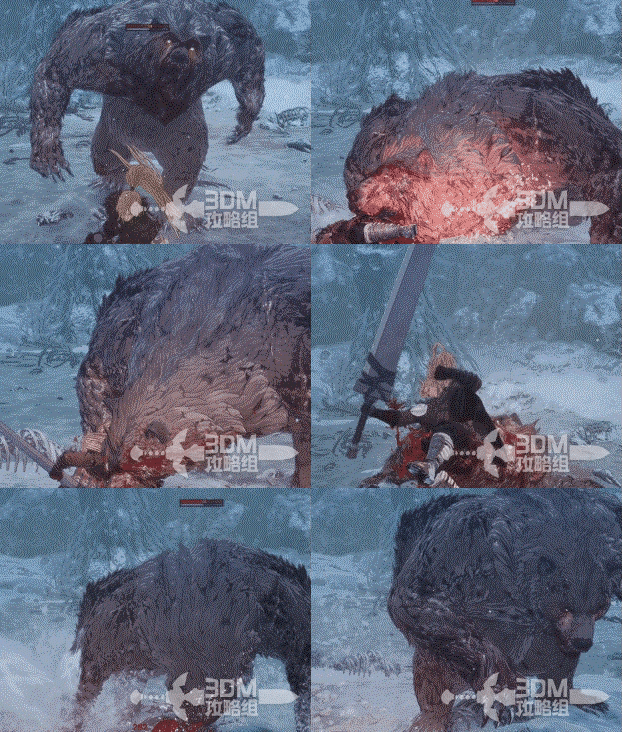
Attack ④:
A simple downward claw swipe.
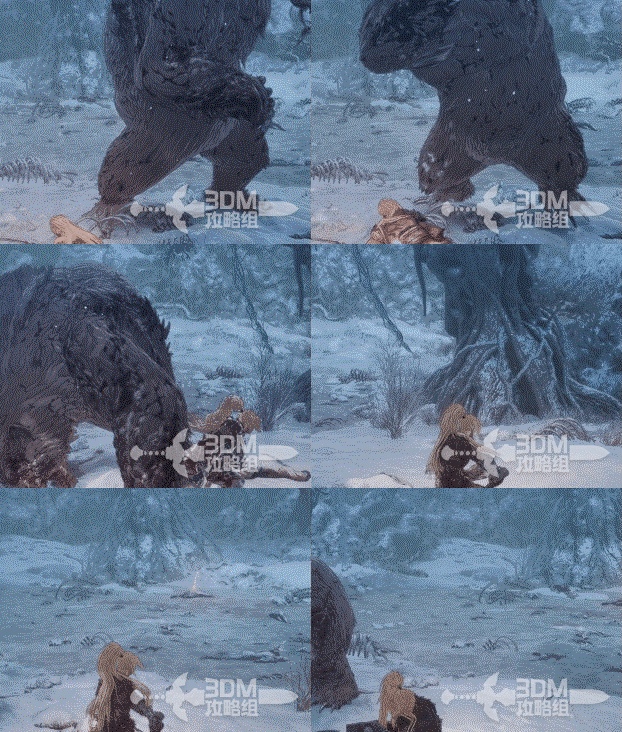
Attack ⑤:
A backward body attack with a large preparatory motion.
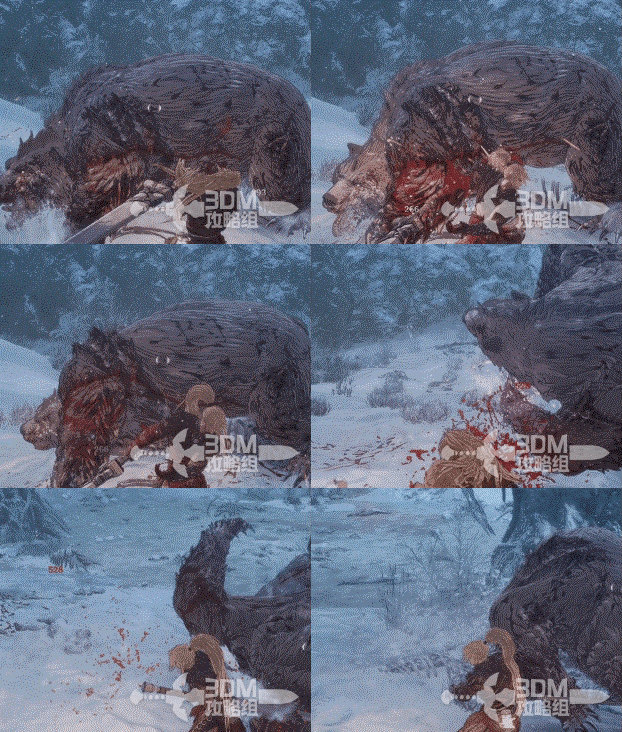
Attack ⑥:
A standard three-hit combo.
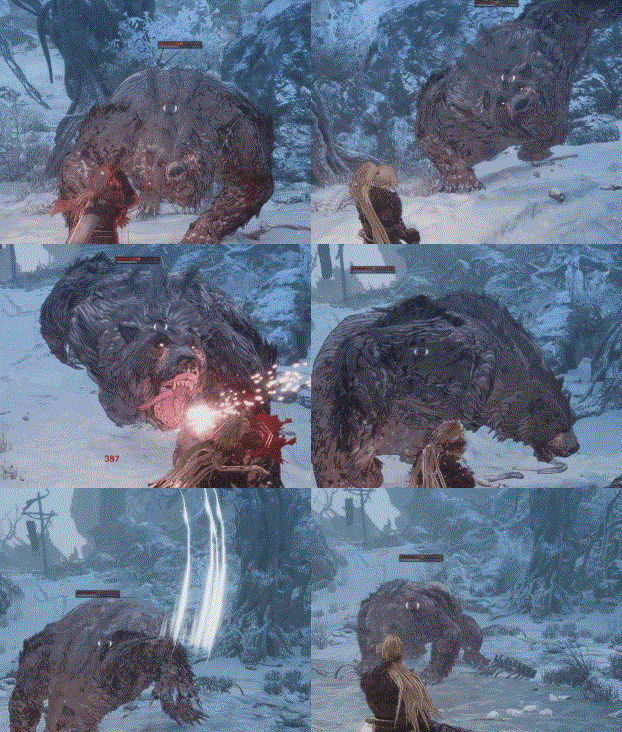
Defeat the bear for equipment and collect the memory on the ground.
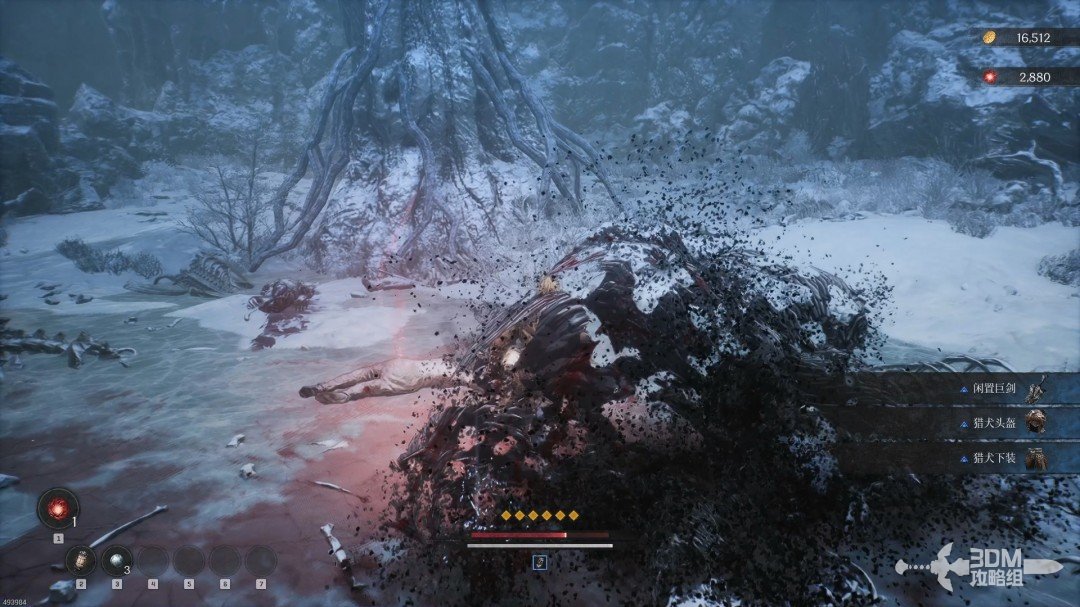
09Monkey descent and wolf slope: enter the cave on the left
Descend to a fork. The straight route leads to an item guarded by three monkeys; eliminate the ranged one first.
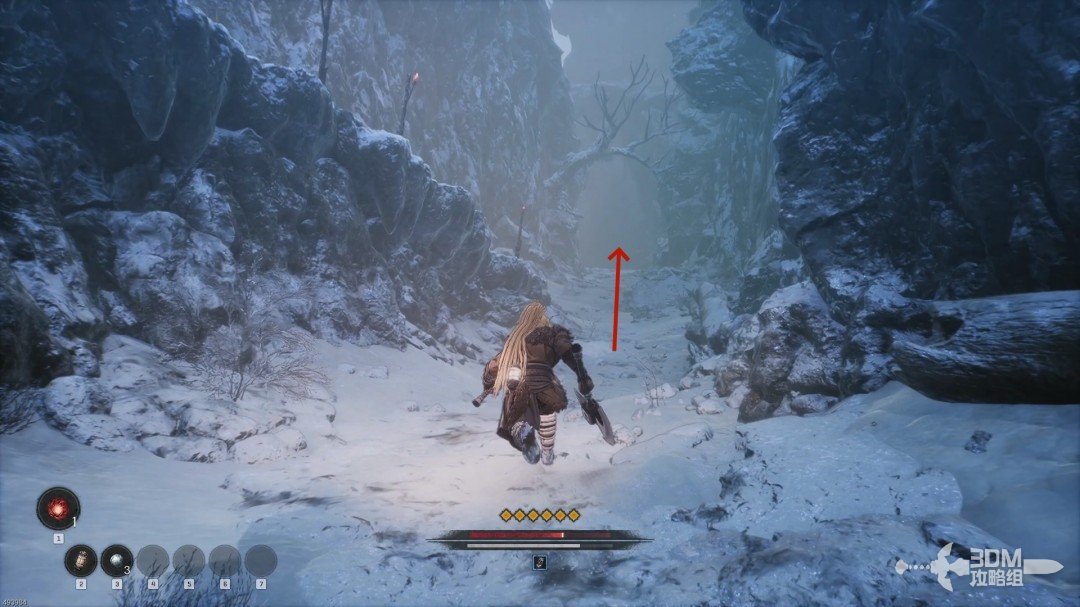
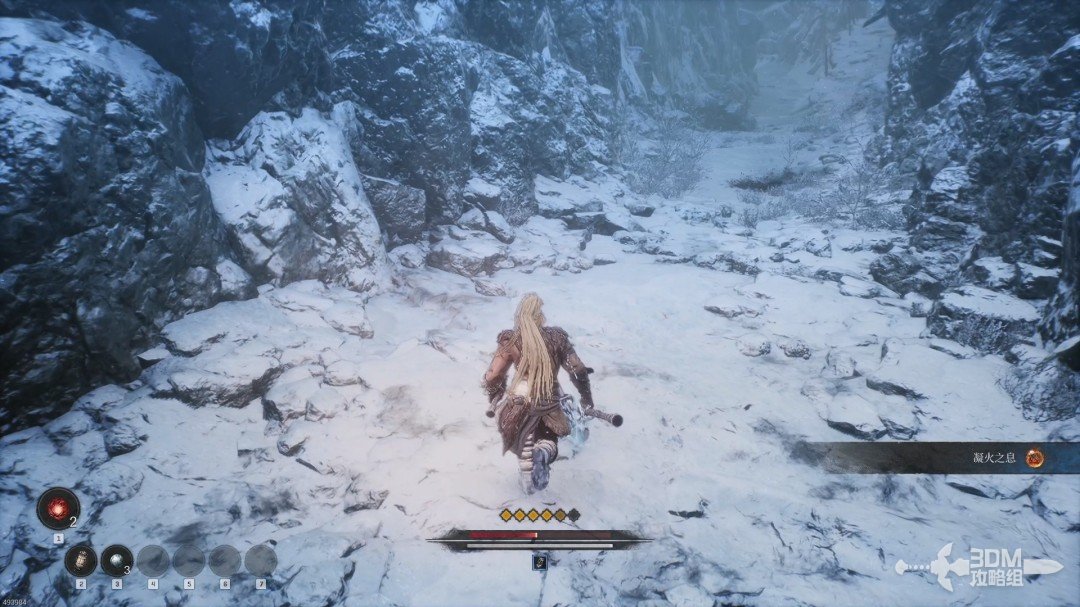
After collecting the item, take the uphill path.
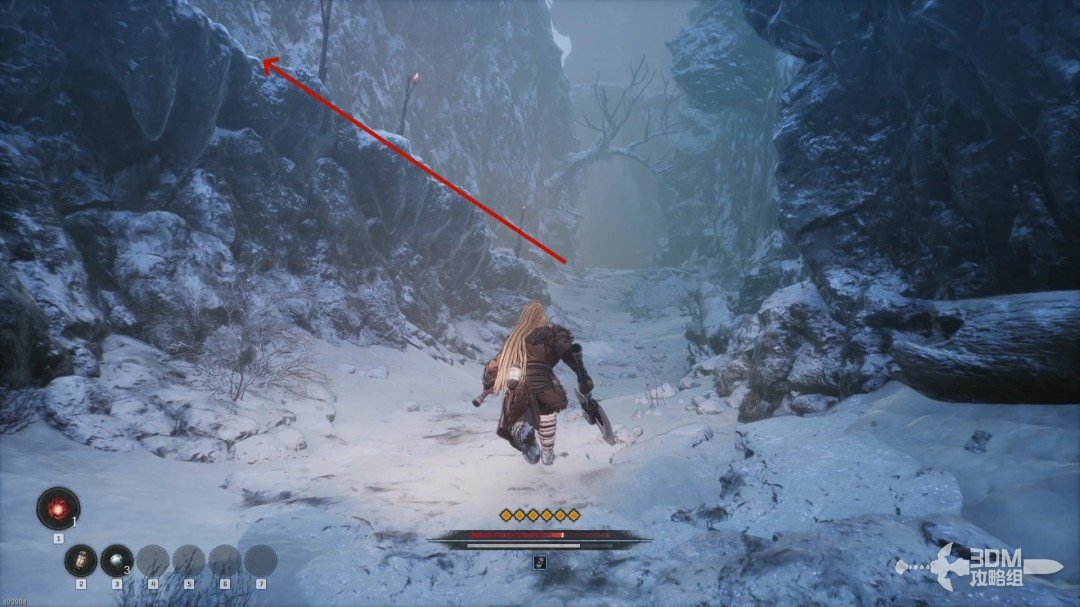
Pass the wolves and enter the cave on the left.
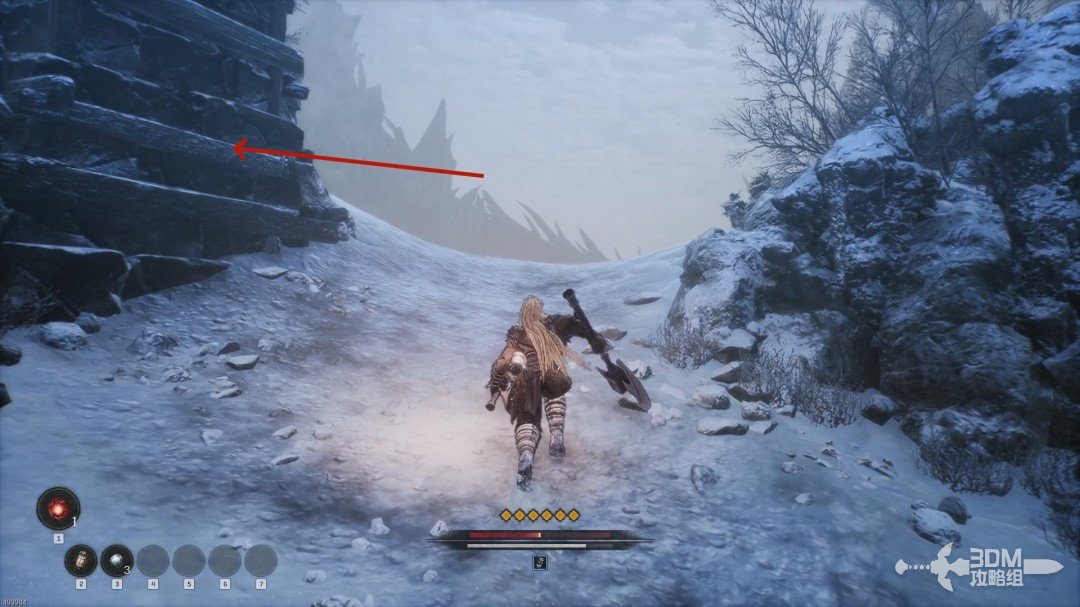
A swarm of bats flies out inside. Hold guard to block their attacks and avoid heavy damage.
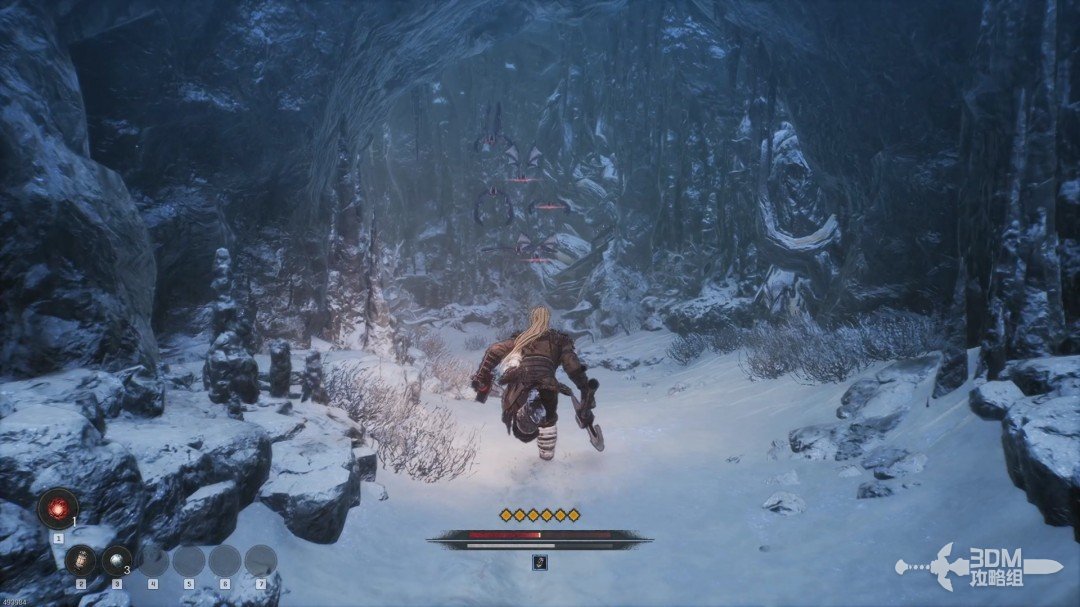
10Soldier deep in the cave: diary and the second Soulstone
Ambush the soldier at the cave's end from behind, then finish him for equipment.
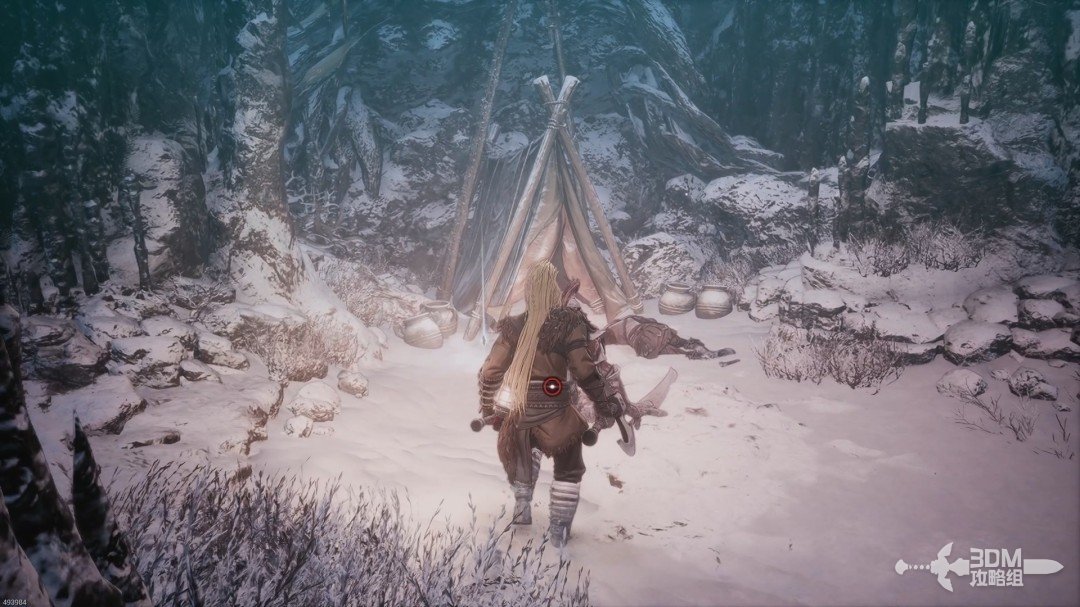
Collect the Imperial Soldier's Diary beside the corpse and break the second Soulstone on the left.
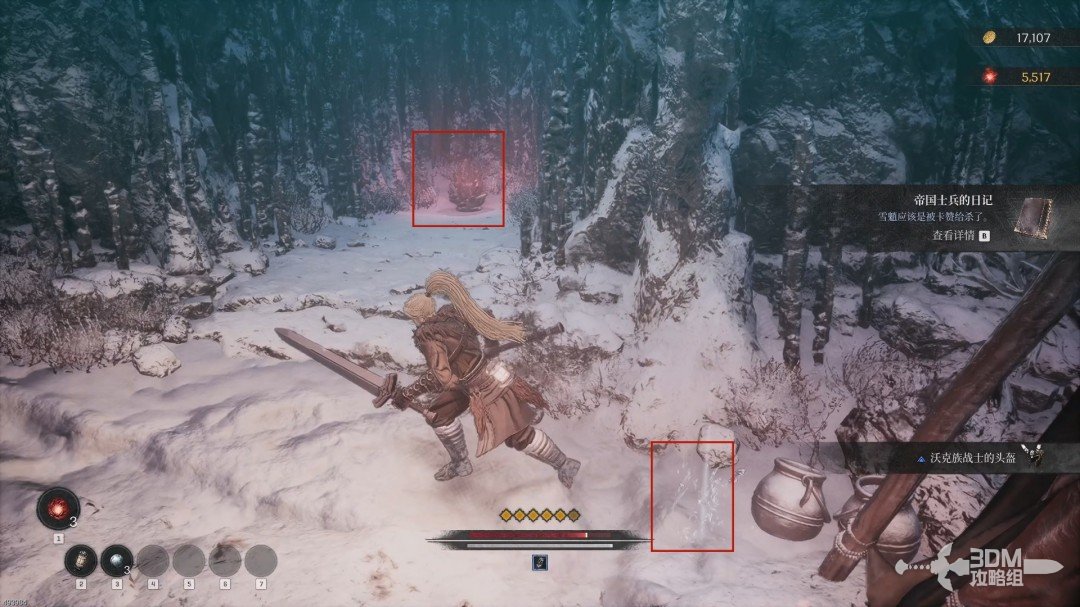
13Other cave exit: follow the boar path to the Nexus
Leave by the other route, defeating the boar and monkeys. A Blade Nexus waits at the end.
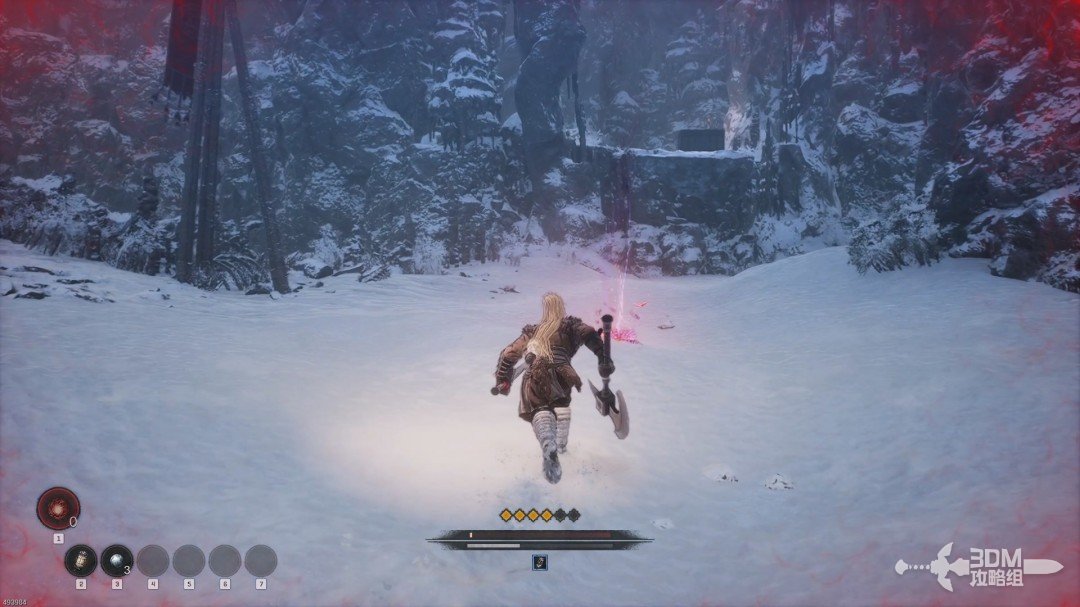
14Left of the Nexus: complete the Spear trial
Rest, head left and absorb the memory ahead.
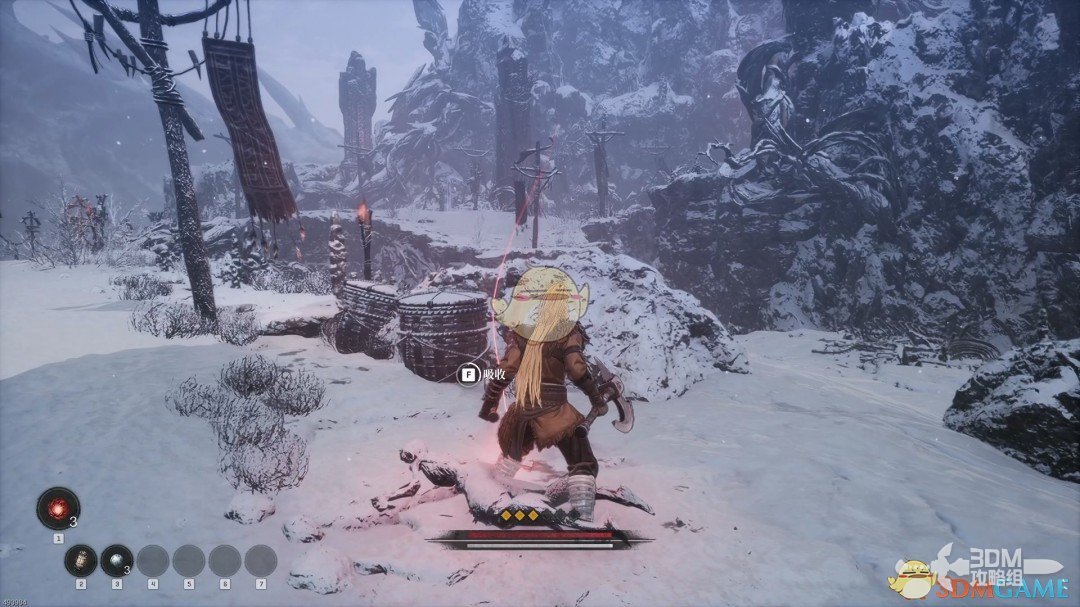
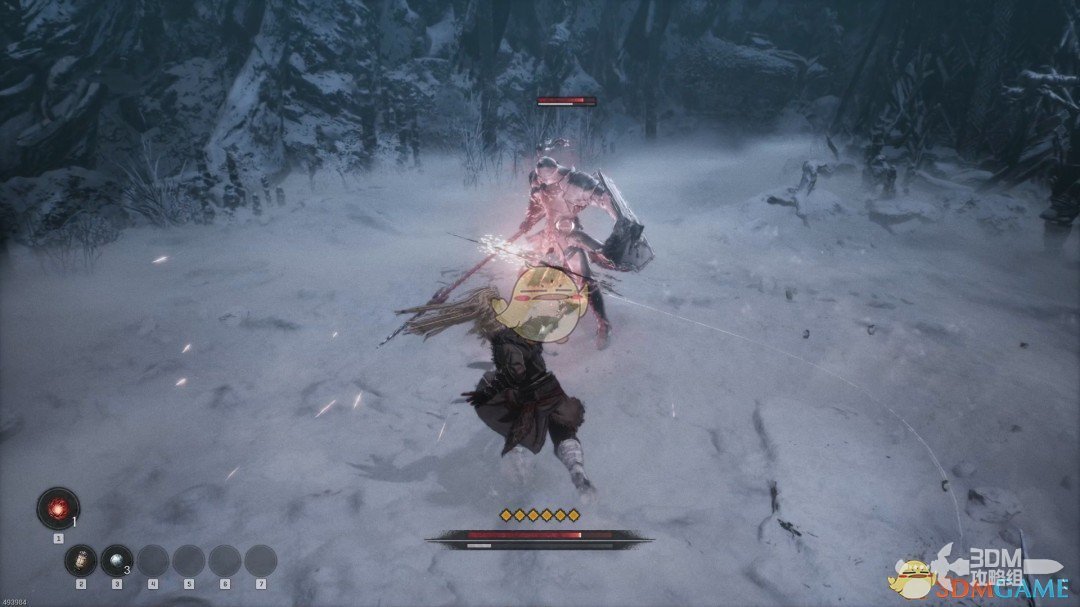
The second weapon trial awards the Spear. Use potent attacks against the two shield soldiers to break their defenses.
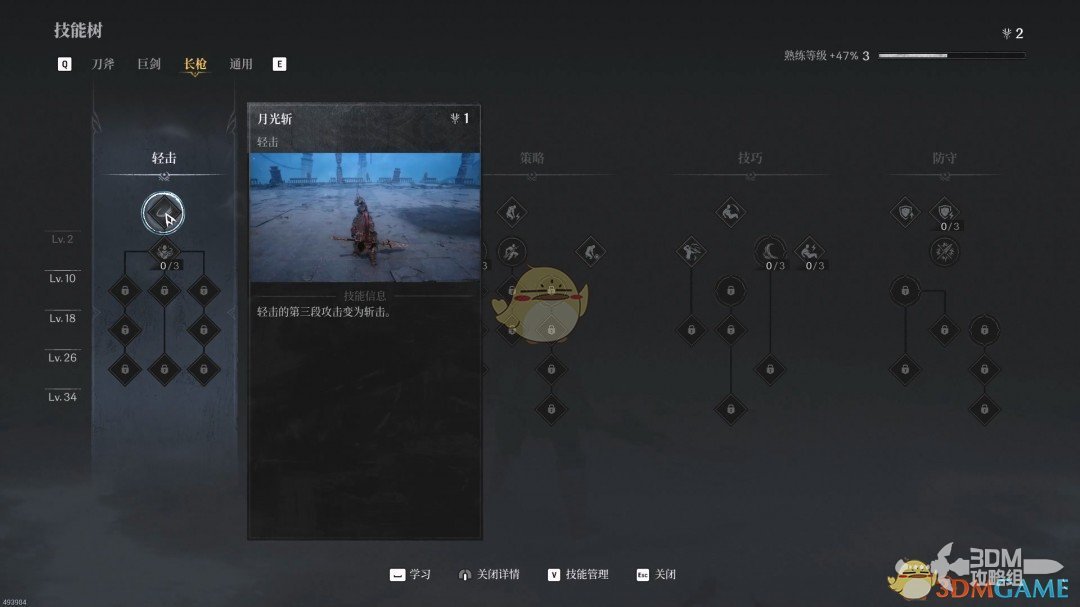
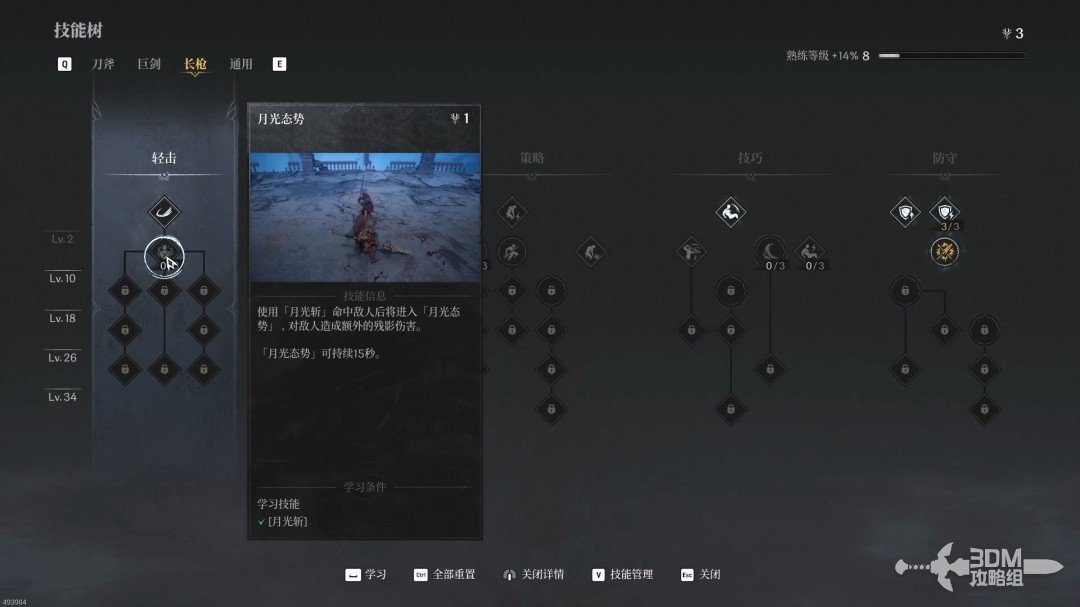
Spear skills are now available. Its combination of reach, damage, attack speed and stamina pressure makes it a useful option to develop.
15Bridge chest and cave entrance: take the route left of the Nexus
Continue to the fork and loot the chest on the right.
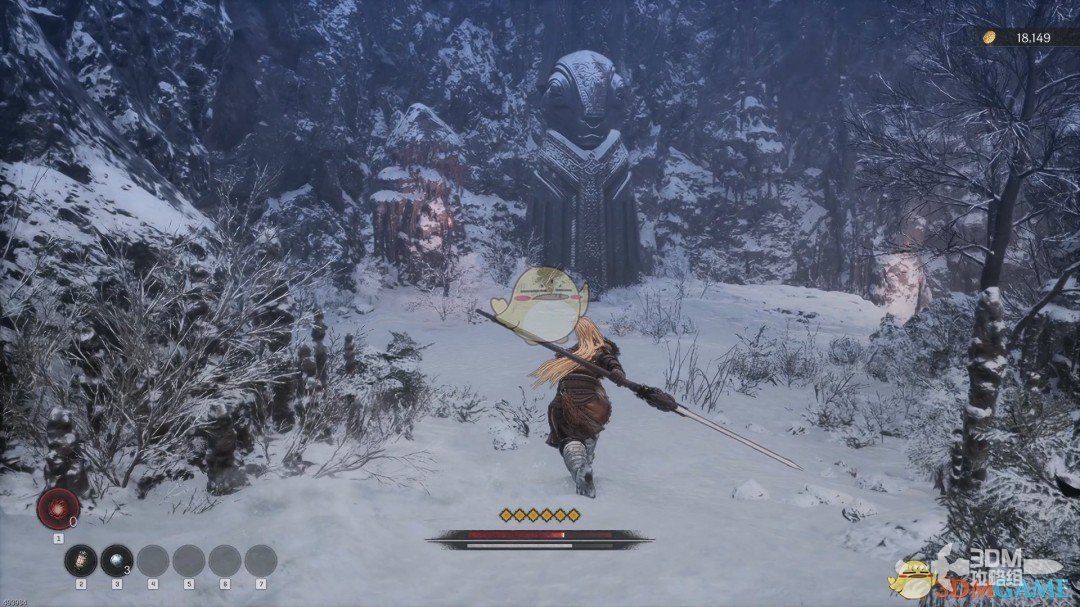
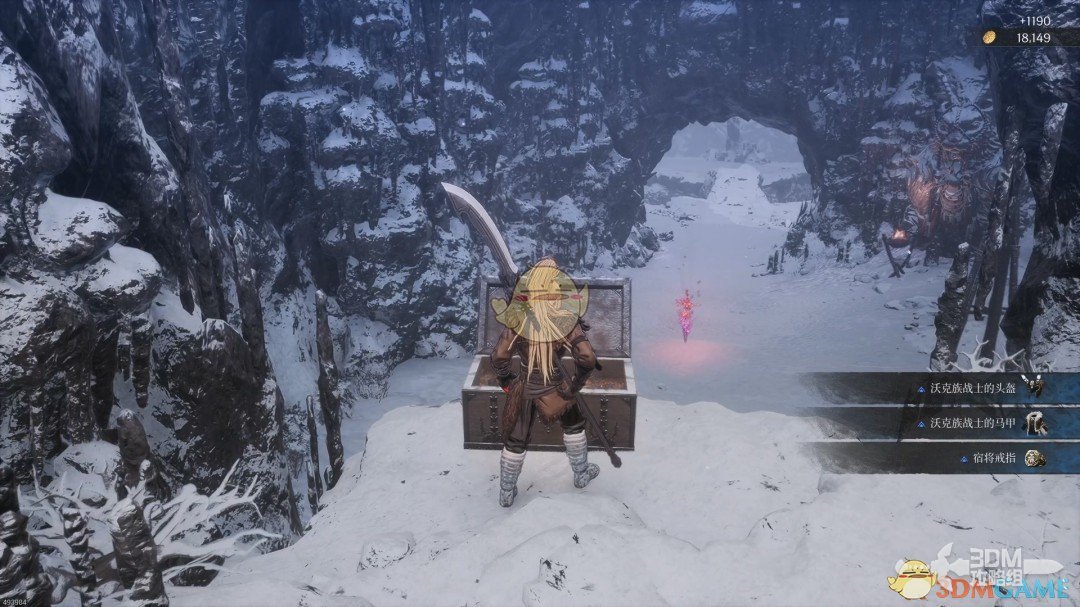
Take the other branch across the bridge, using Javelin or ambushes against soldiers. Rest at the Nexus on the right, then enter the left cave; the Nexus-side route is blocked.
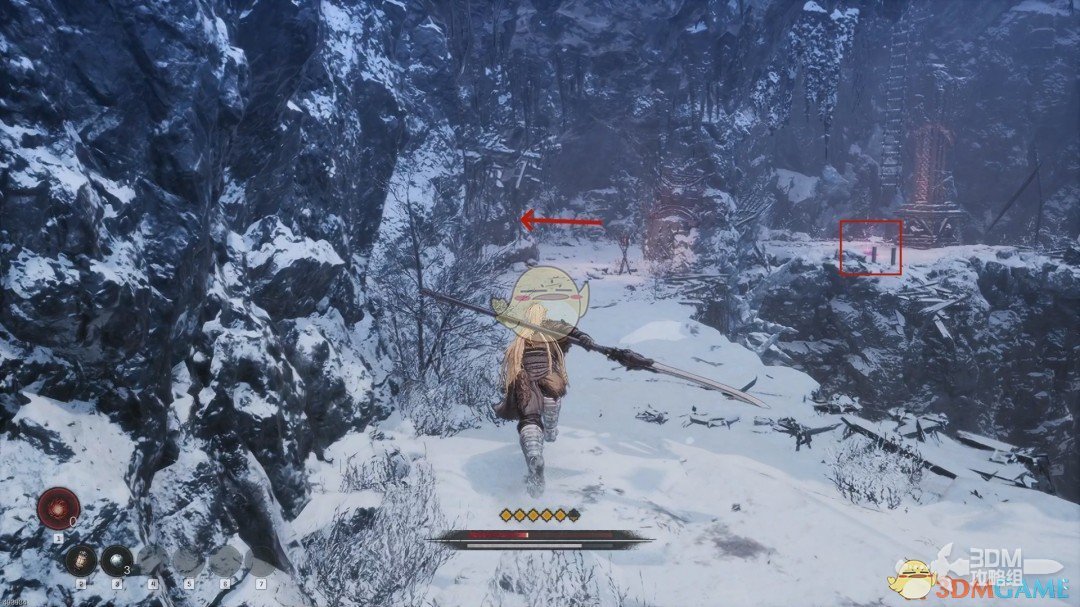
Several soldiers guard the cliff. Eliminate the archers first.
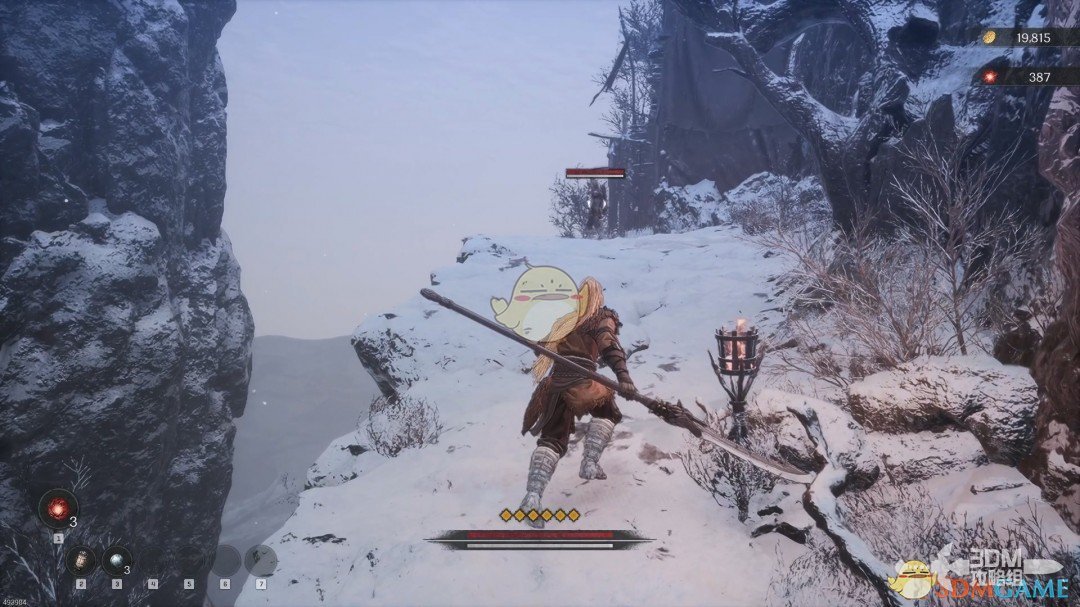
Drop one level and collect the red item beside the cliff.
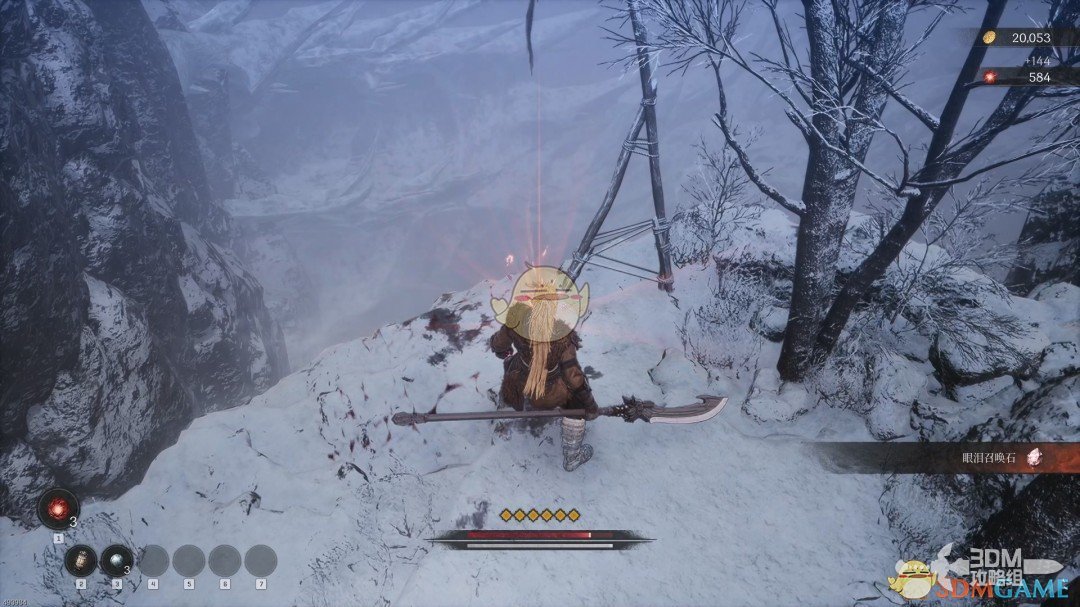
16Paired ladders: locate the Soulstone and circle down to the right
Climb both ladders behind you, deal with the soldiers above and absorb the memory across the way.
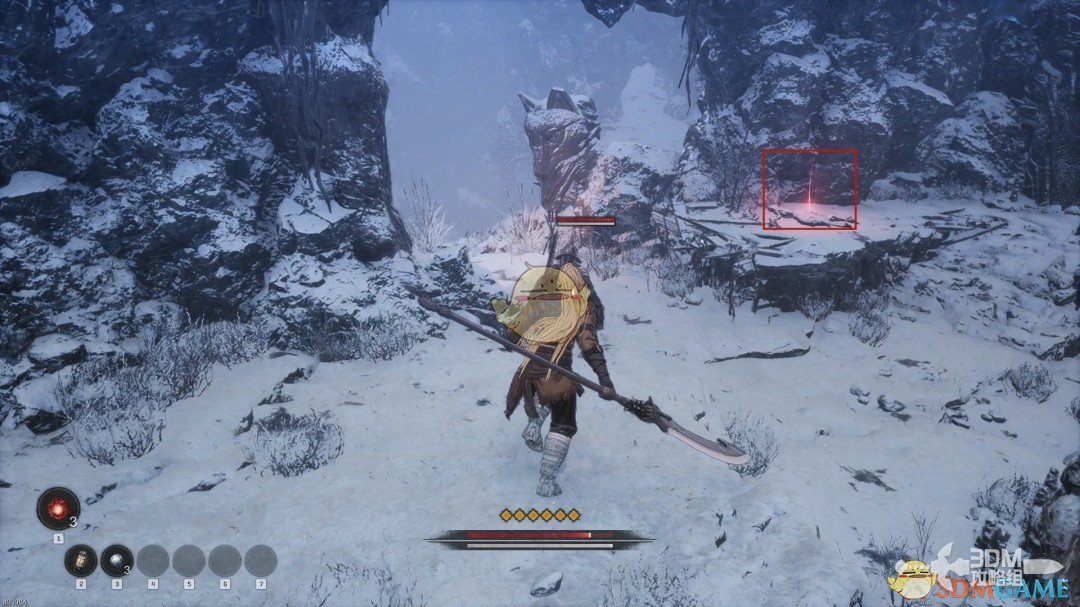
A Soulstone is visible to the left but cannot yet be reached. Go right and drop down.
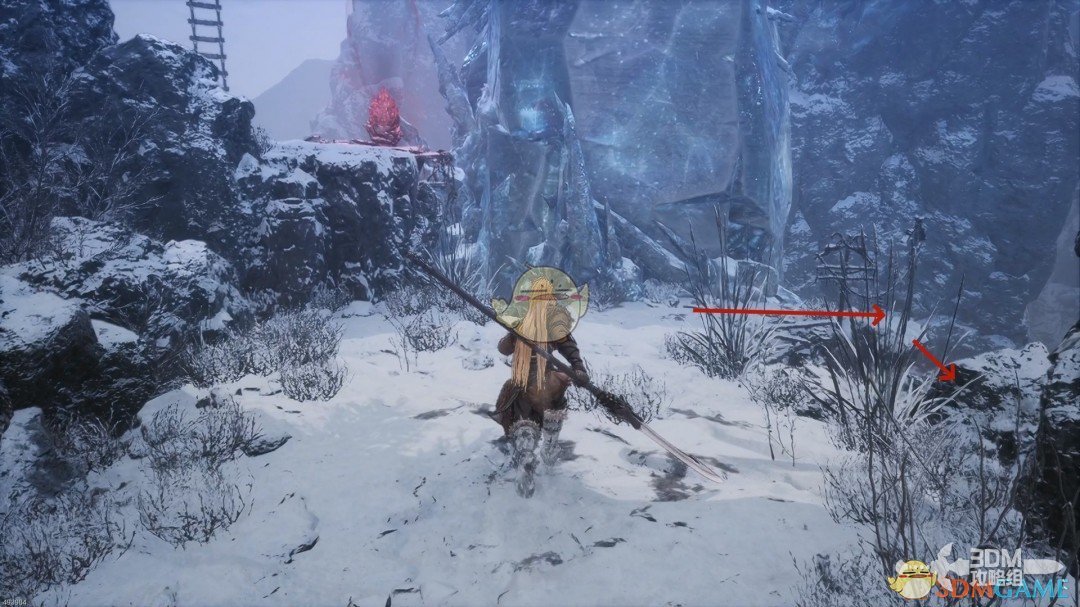
17Right cave: guard against bats and descend the ledges
Enter the cave on the right after landing.
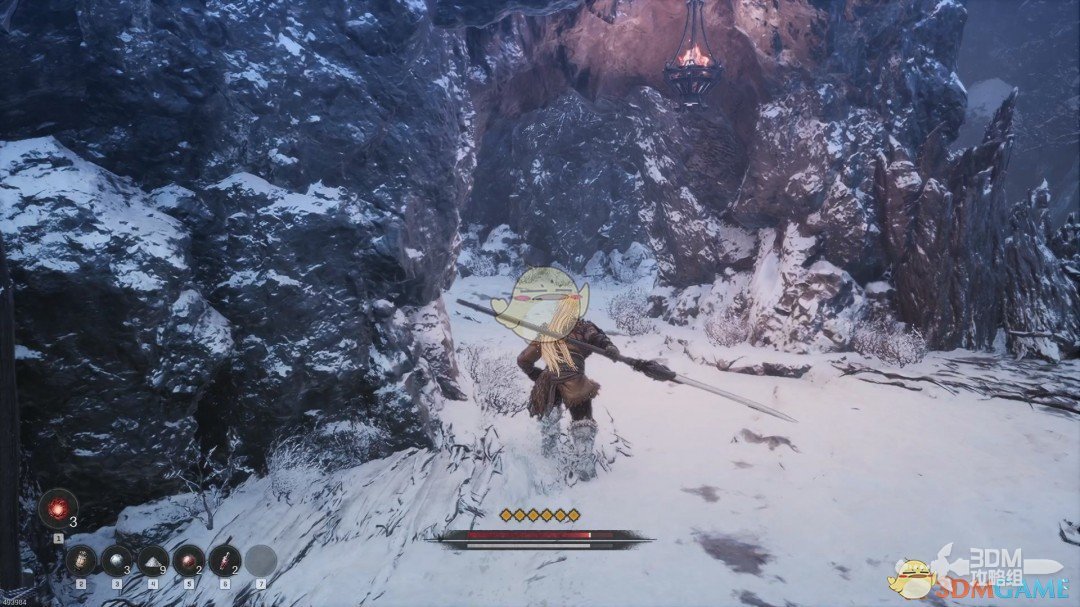
Collect the item on the right.
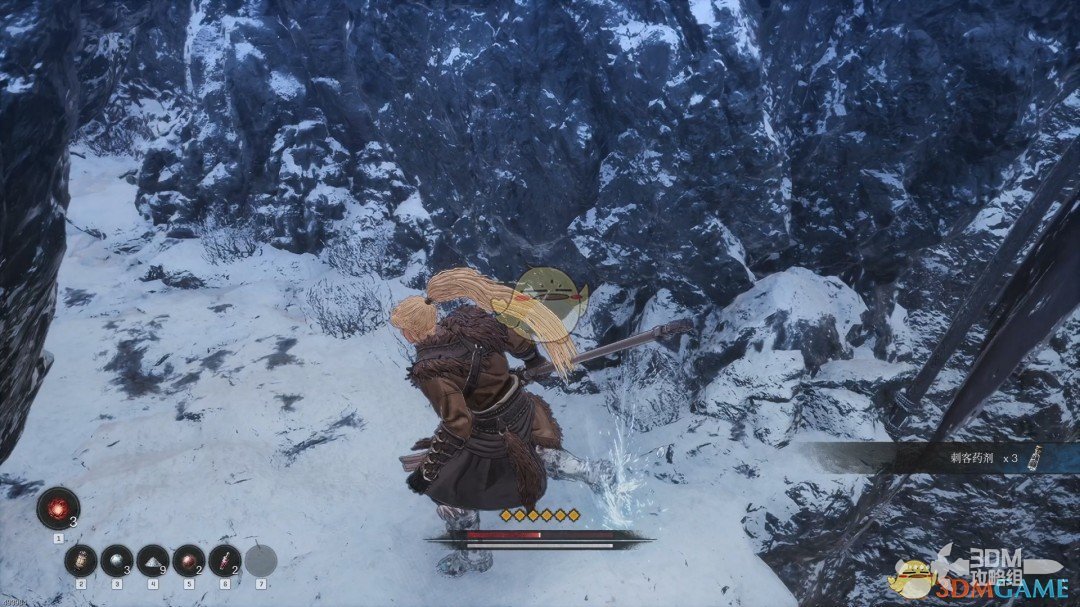
Guard against the bats on the left.
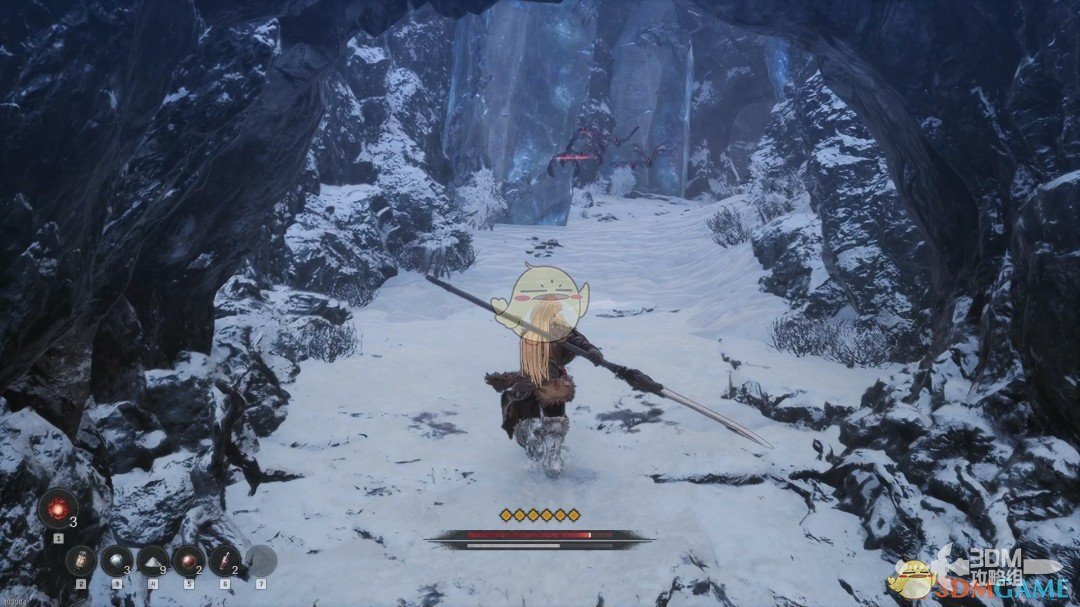
At the end, drop toward two soldiers and collect the purple item.
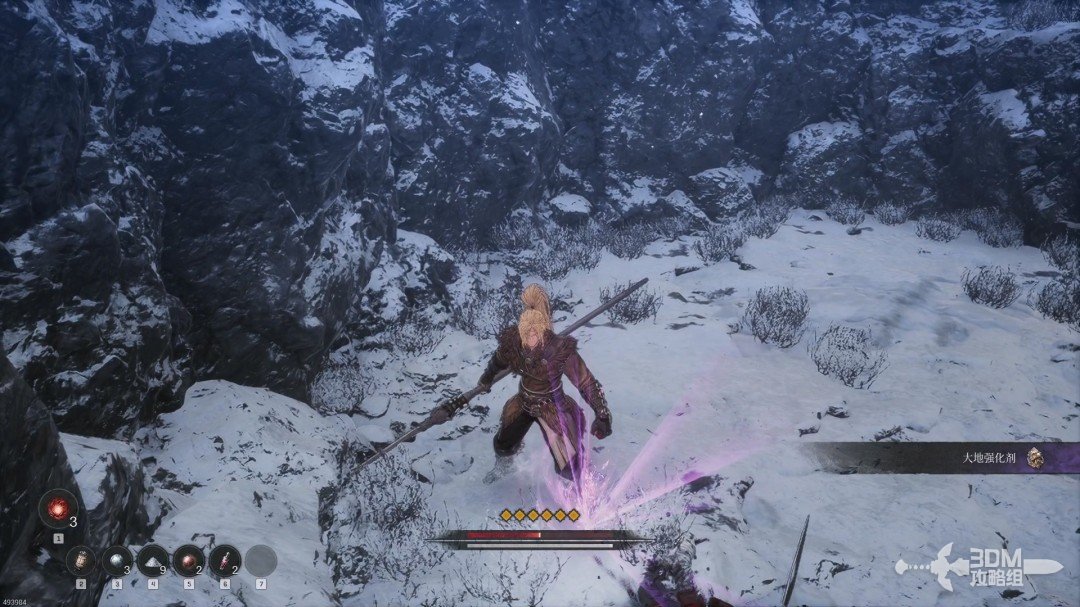
18Left fork: clear the archer and climb to the Soulstone
Drop again to the fork's left branch. Three enemies wait here, including an archer above. A Javelin can remove the archer from a distance.
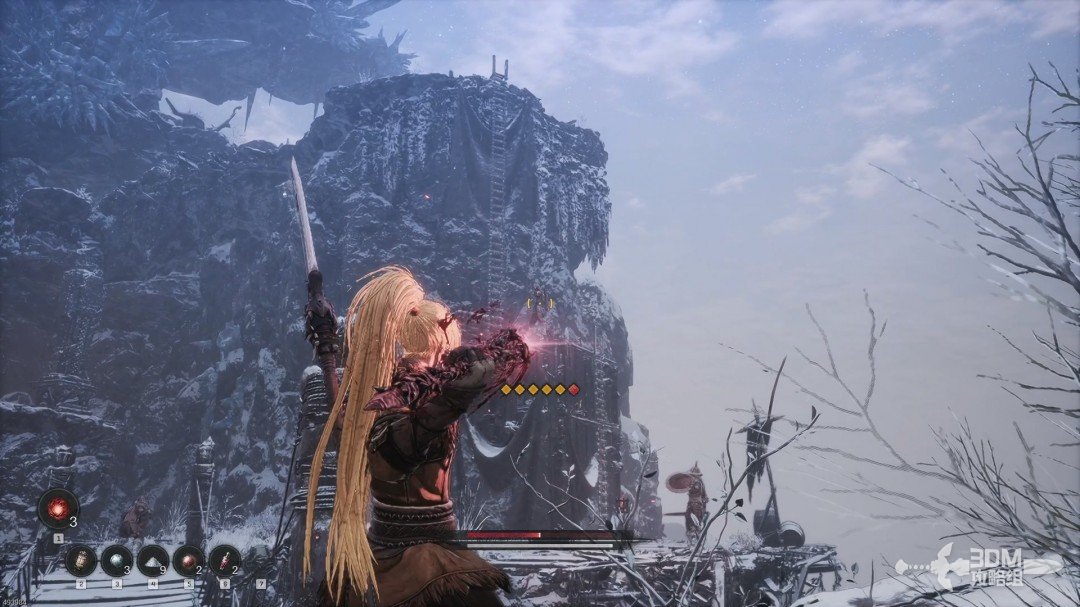
After the soldiers, open the chest beside the cliff.
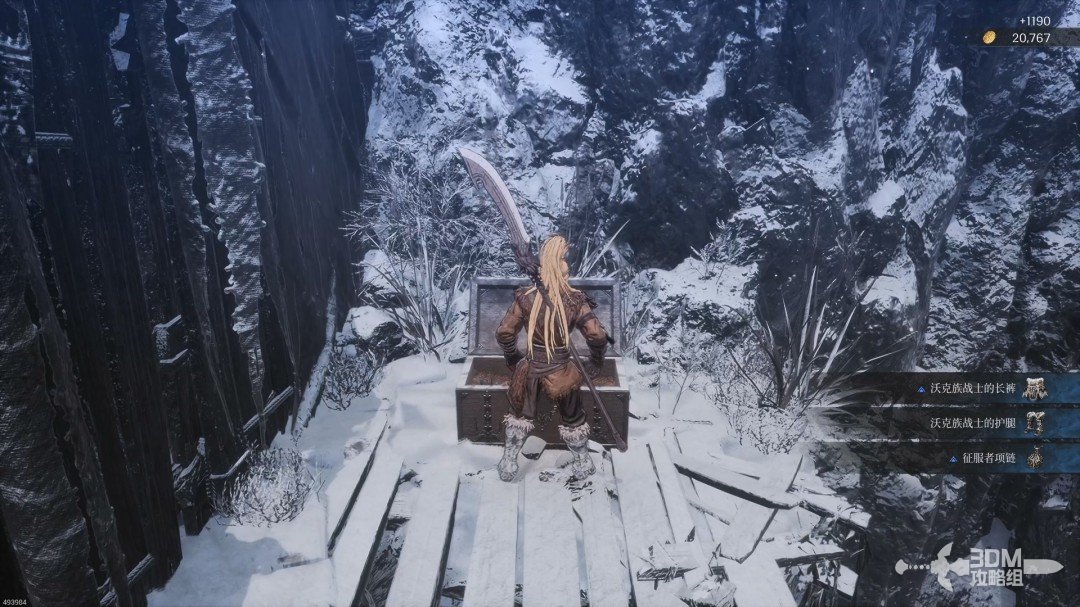
Climb the ladder. Two soldiers guard a blue item in the left cave.
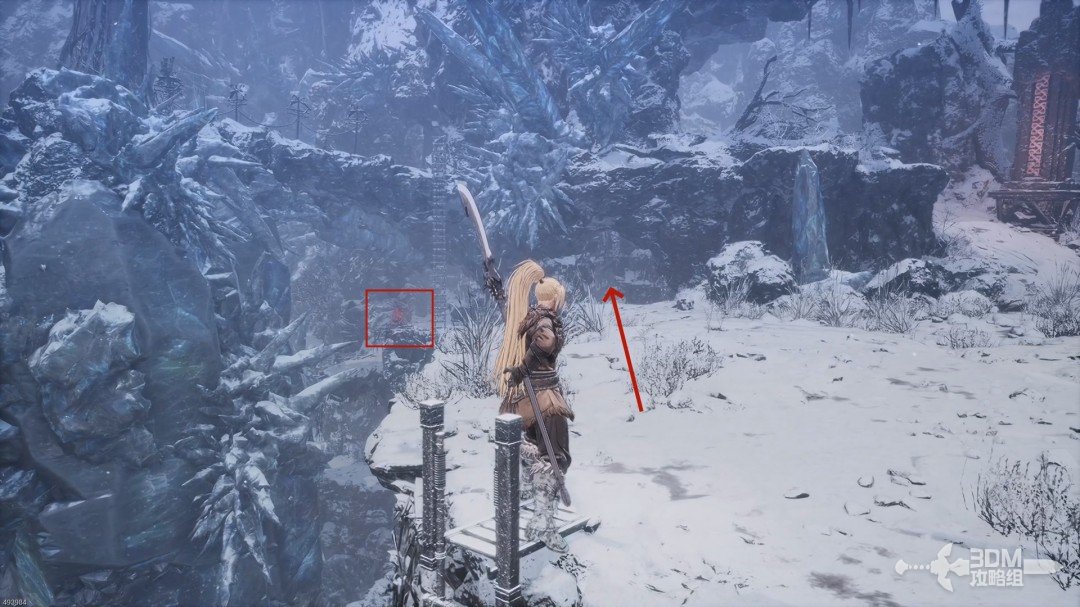
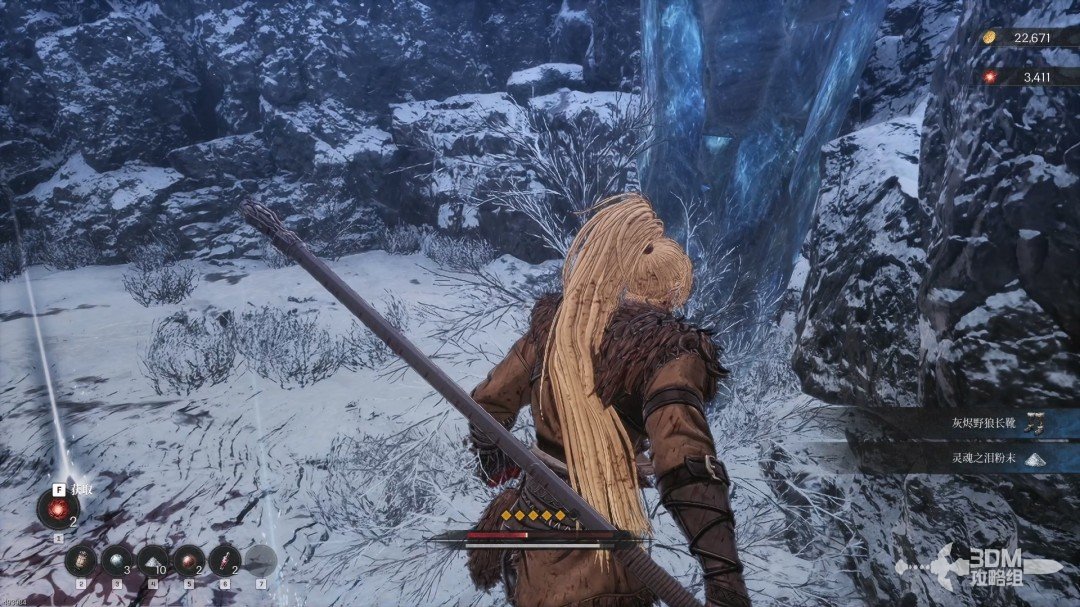
Break the third Soulstone beside the left cliff.
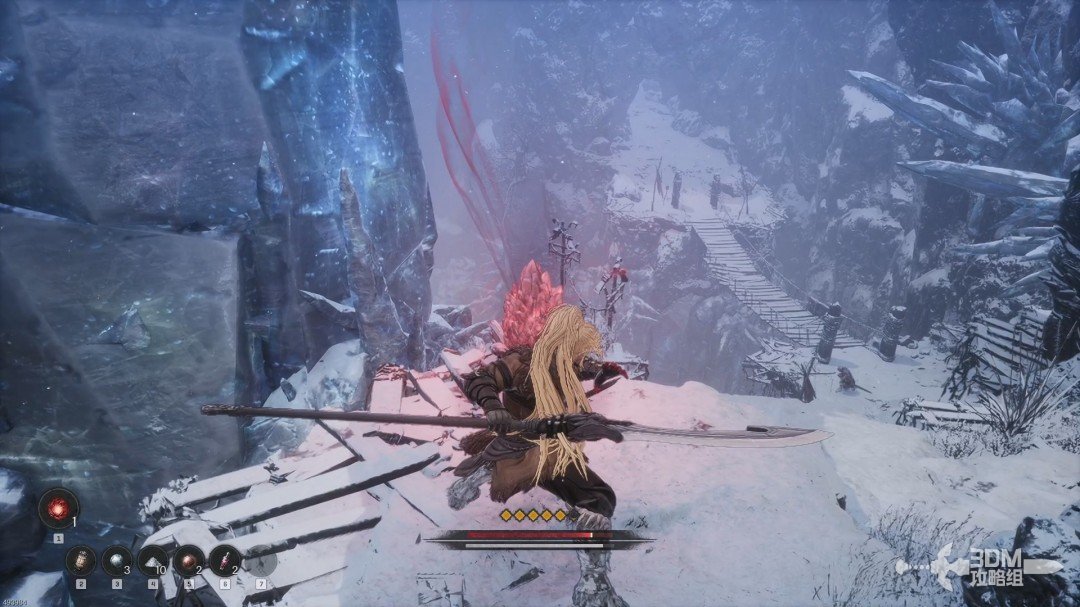
20Axe warrior path and the Dual Wield trial approach
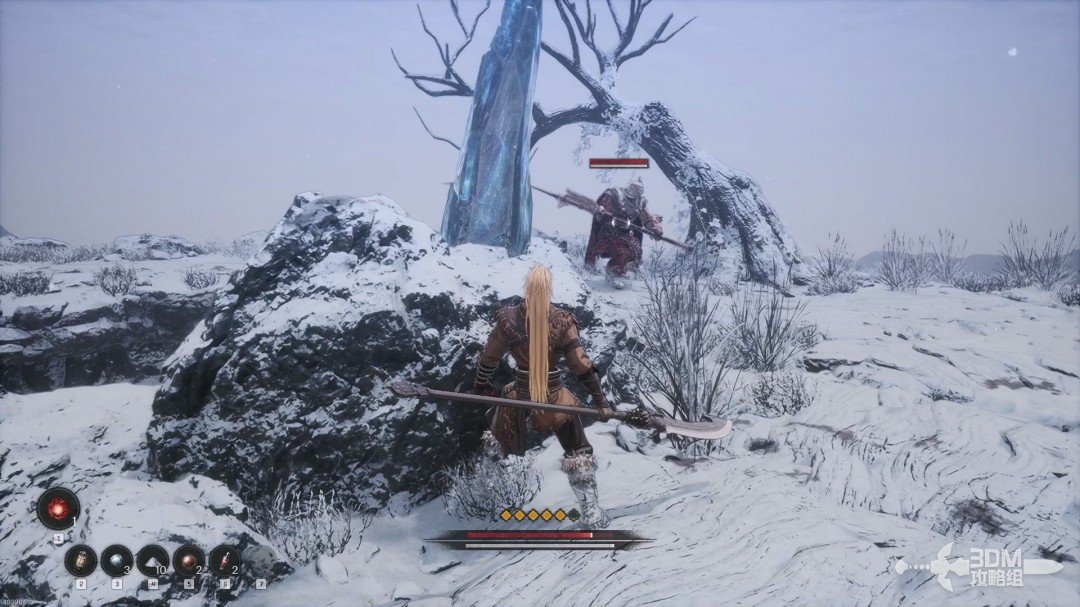
An axe-wielding elite spawns on the other path. Defeat it for equipment, or run past if necessary.
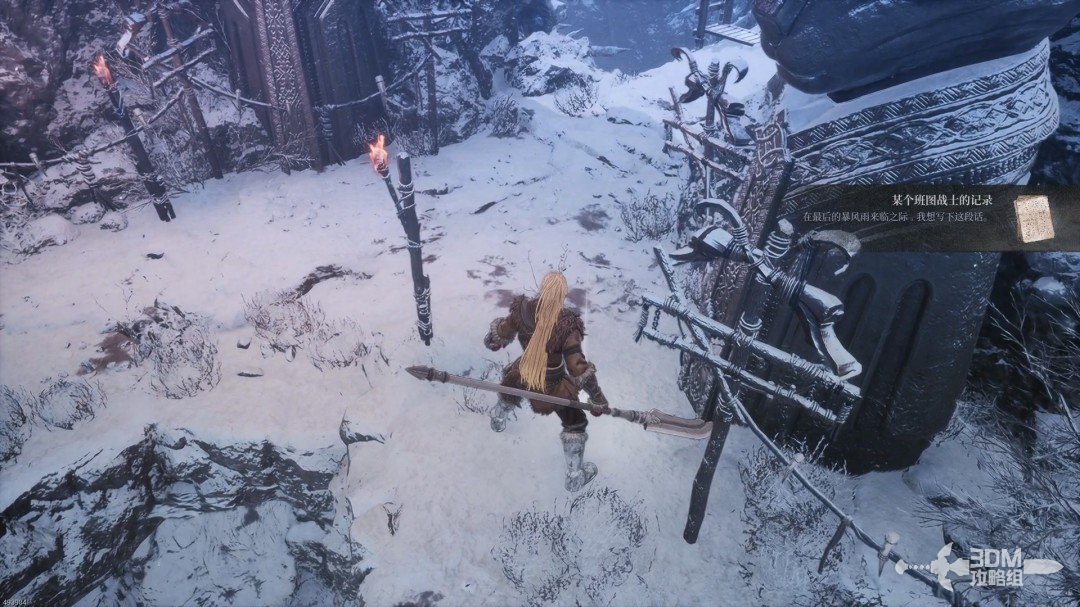
Continue inward and collect a Bantu Warrior's Record beside the path.
22Dual Wield specter: complete the third weapon trial
The third trial tests Dual Wield against Khazan's inner demon, which uses the same weapon. Watch for its quick attack strings and evade the follow-ups.
After a failed attempt, you can switch to Spear for greater reach and pressure. Victory grants equipment and items.
23Right side beyond the bridge: collect the prophet's record
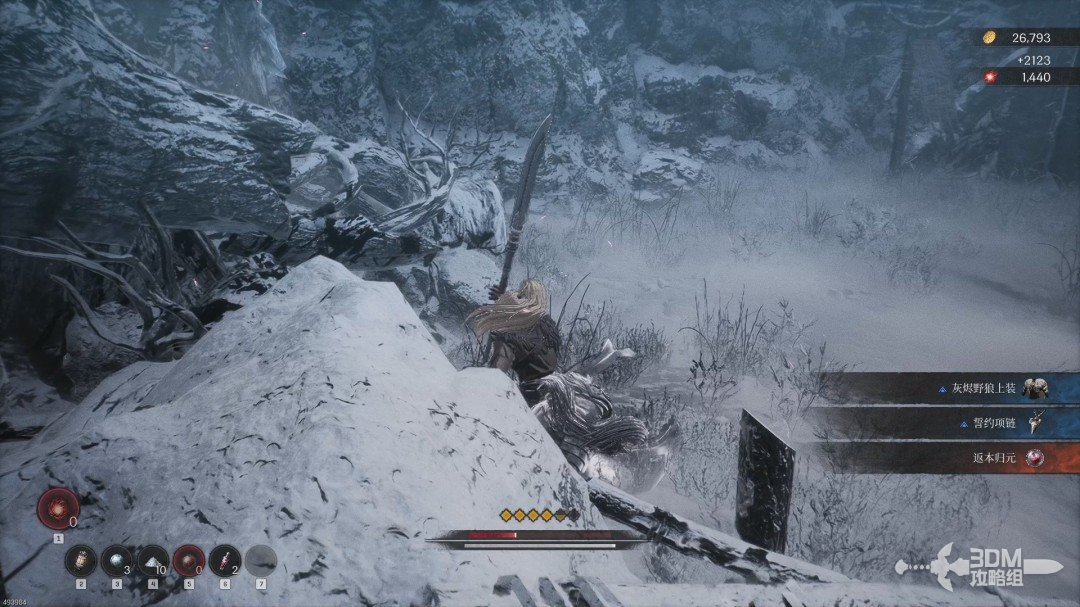
Continue inward and collect the blue item beside the path.
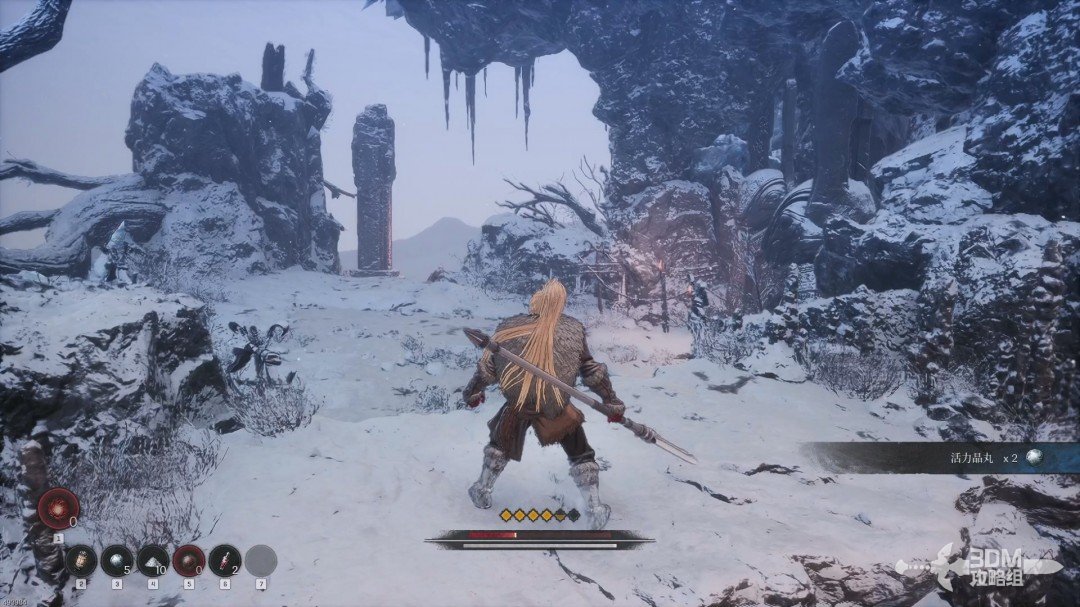
Cross the bridge and collect a Bantu Prophet's Record on the right.
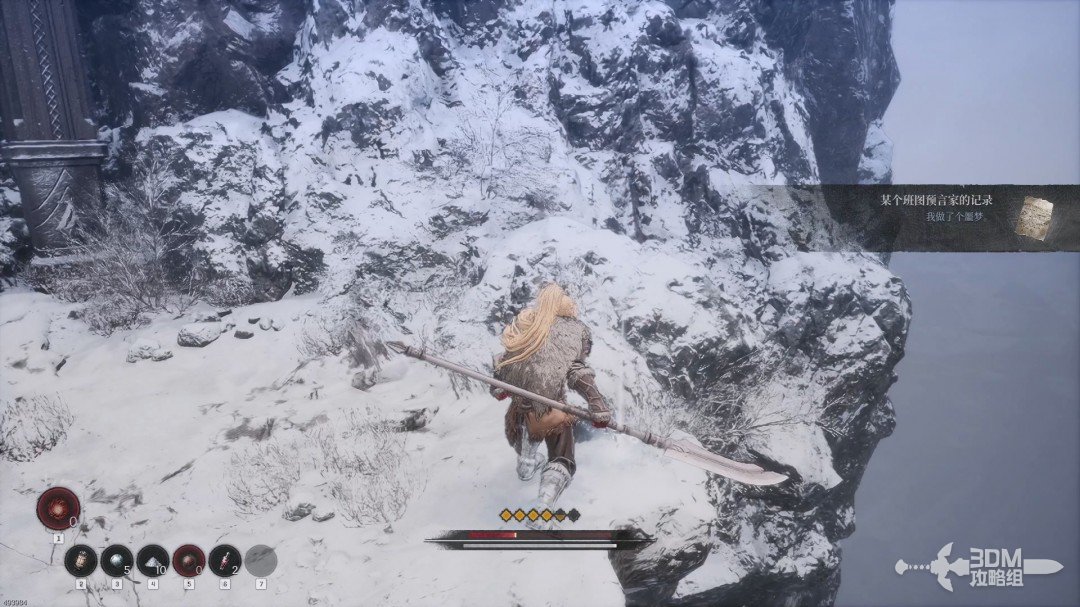
25Mountaintop Nexus and Blade Phantom's arena
A Blade Nexus stands just ahead.
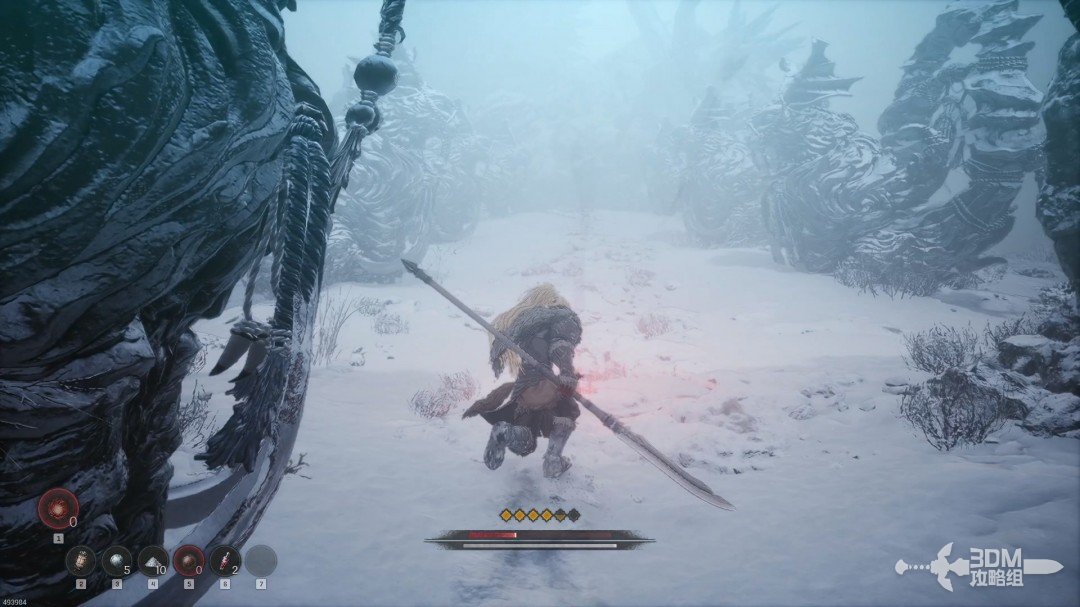
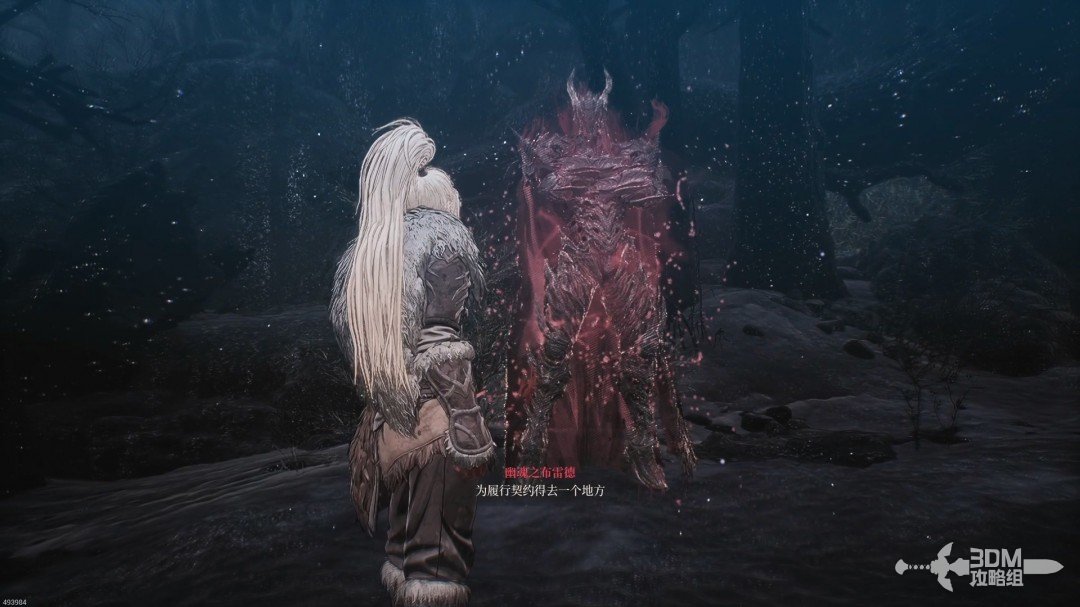
Rest and advance into the cinematic. The voice reveals itself as Blade Phantom, who wants Khazan's body. This is the chapter's final boss.
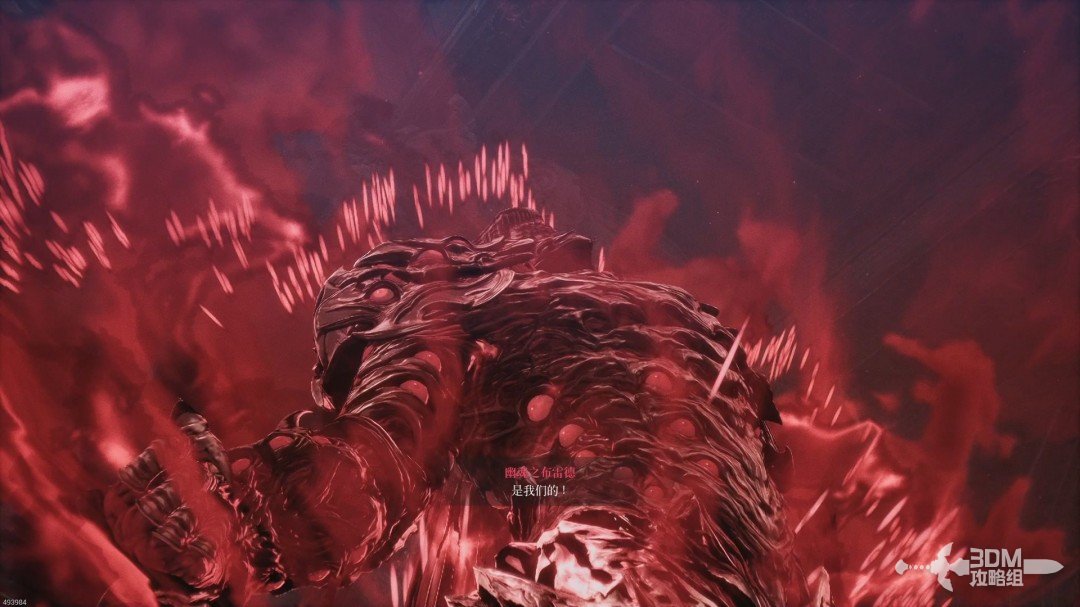
Blade Phantom has two phases, with more aggressive attacks in the second. The source recommends Spear and its first-row skills for a more manageable fight.
Dodging the opening hit often prevents the rest of a combo. Prioritize dodging if you struggle, or use well-timed guards to exhaust the boss faster.
The following descriptions cover its full attack strings when follow-ups are triggered.
Attack ①:
In its unarmed form, it performs a relatively slow six-hit combo.
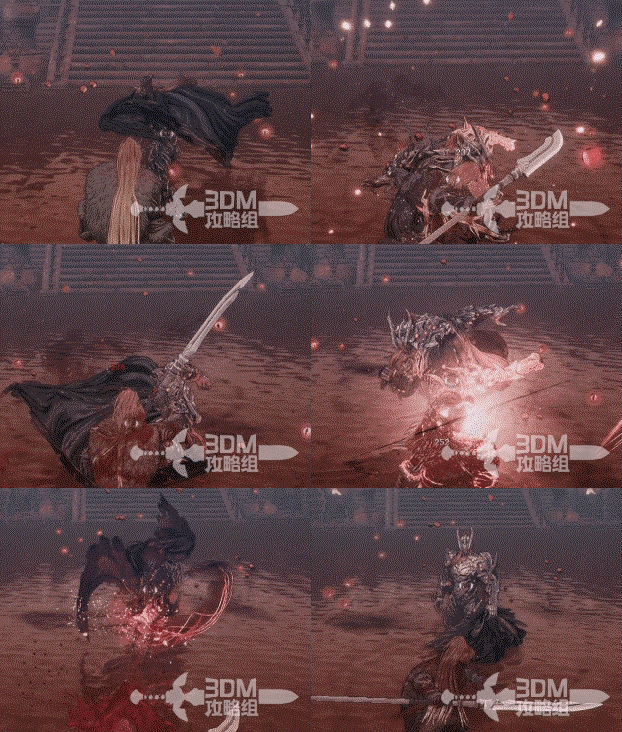
Attack ②:
It jumps before delivering a downward kick.
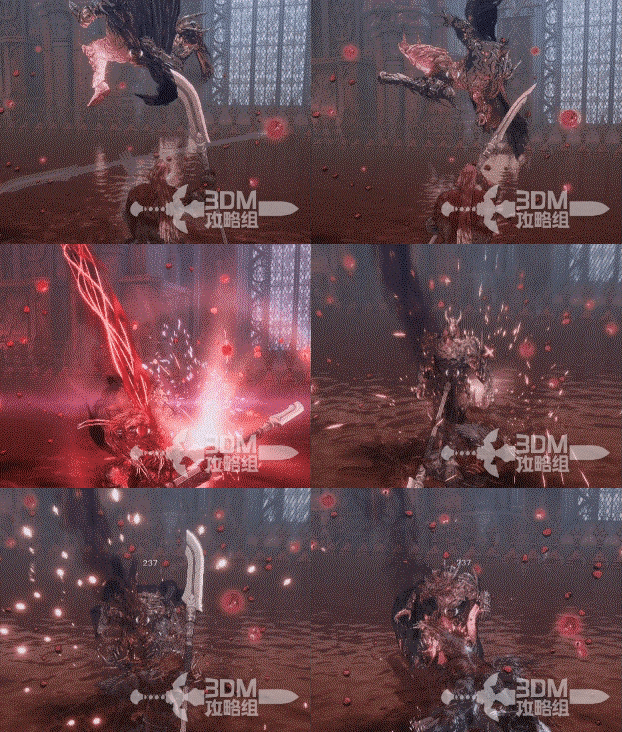
Attack ③:
In hammer form, it raises the weapon for a powerful slam. Dodge or guard just before impact; guarding requires precise timing.
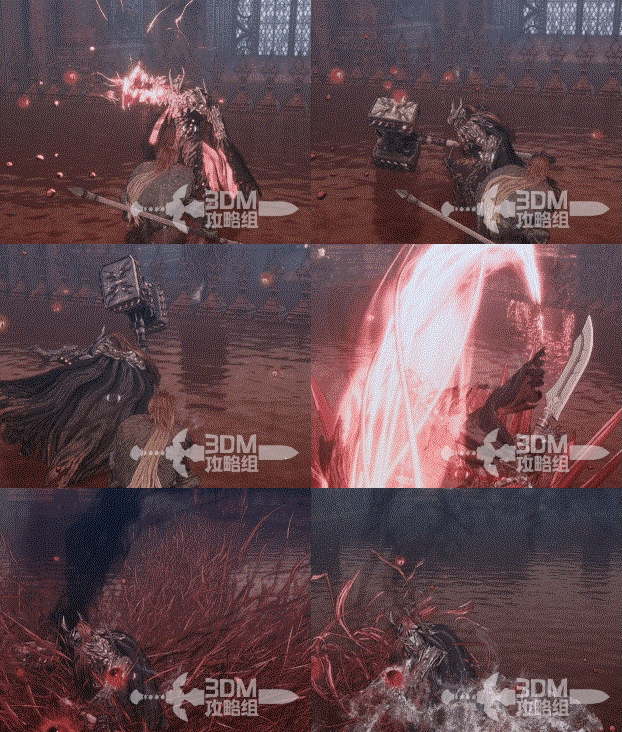
Attack ④:
It throws a spear forward. If this connects, a second spear attack follows from above.
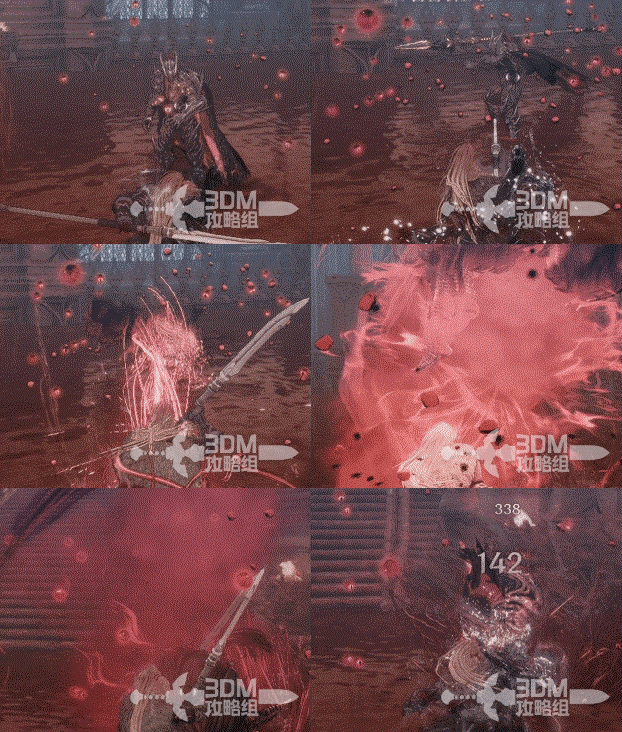
Attack ⑤:
It occasionally becomes a shadow, rushes into close range and attacks twice.
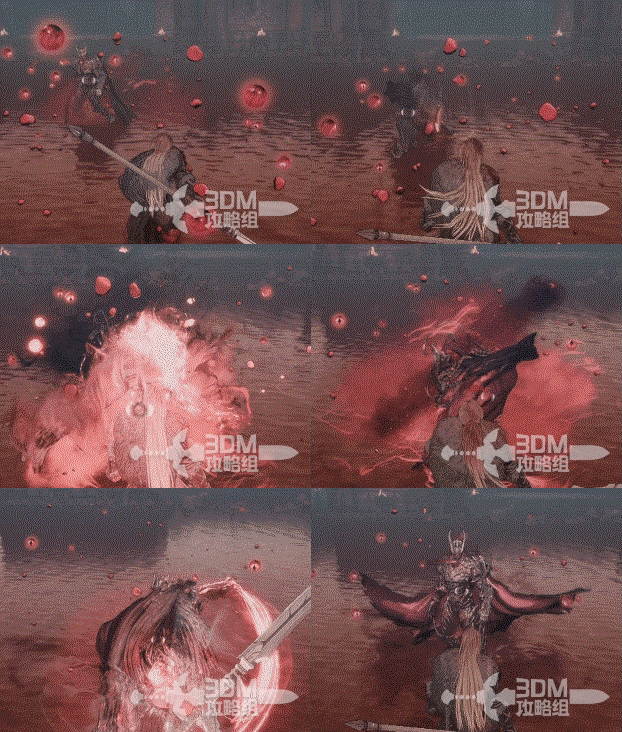
Attack ⑥:
The Dual Wield form performs six quick slashes even if its opening misses. Dodge to the side and let its momentum carry it past.
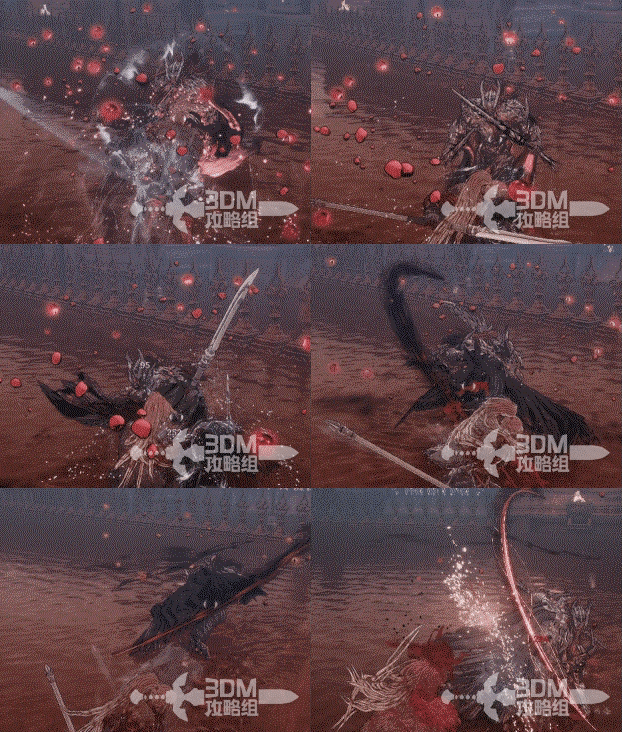
Attack ⑦:
Another uncommon attack emerges from a shadow with a claw strike, then charges a grab that slams and stomps Khazan.
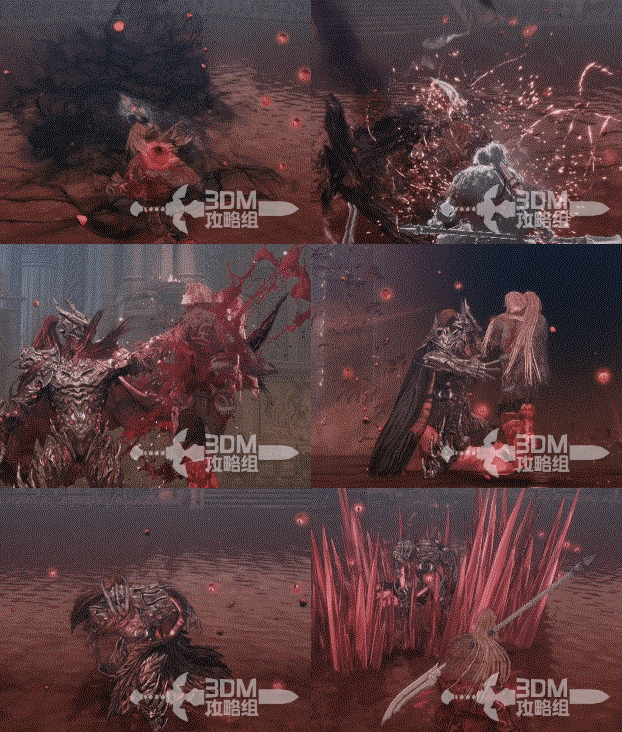
26Blade Phantom phase two: claws and Greatsword attacks
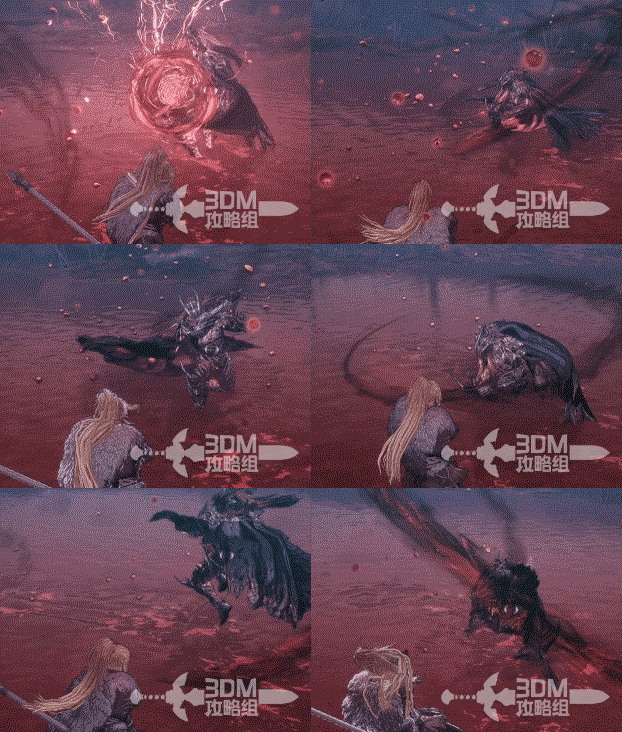
At half health, phase two opens with claws. Their follow-ups can lead into random first-phase weapons, with Greatsword added to the selection.
Phase two — Attack ①:
The claw form begins with four rapid strikes. Guard or dodge quickly. Spear and teleporting-claw follow-ups may follow; their exact trigger was uncertain in the source.
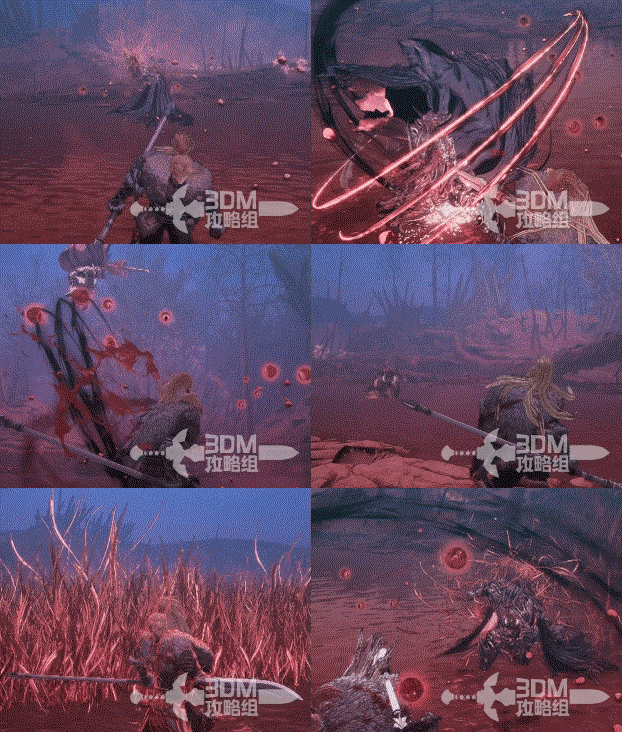
Attack ②:
The Greatsword form mixes delays into a four-slash combo. Wait for the blade to move before guarding or dodging.
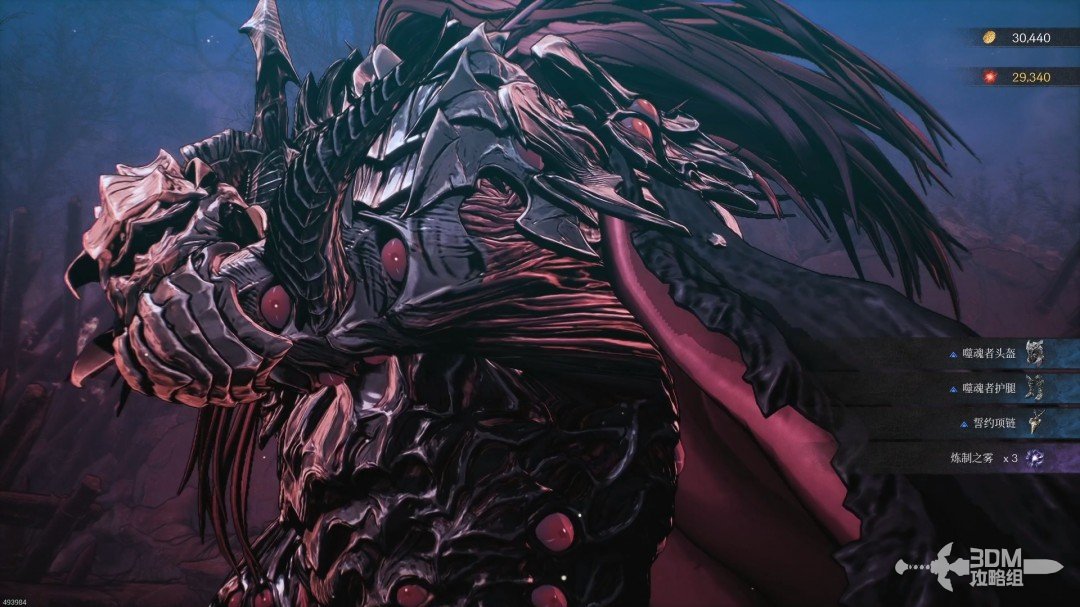
Defeat Blade Phantom to receive equipment.
27Form the pact and return to the Bantu shelter
Khazan and Blade Phantom form a pact: the phantom restores his arms, and Khazan helps restore order to the Netherworld.
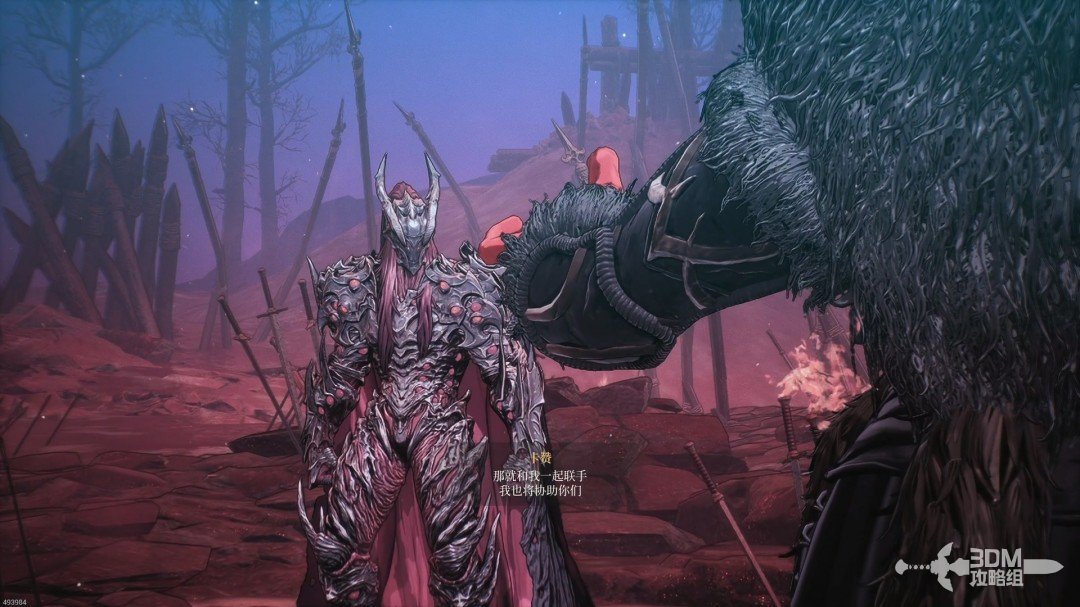
The story returns you to the chapter's starting area. Speak to Quimuk; fulfilling the pact requires another journey.
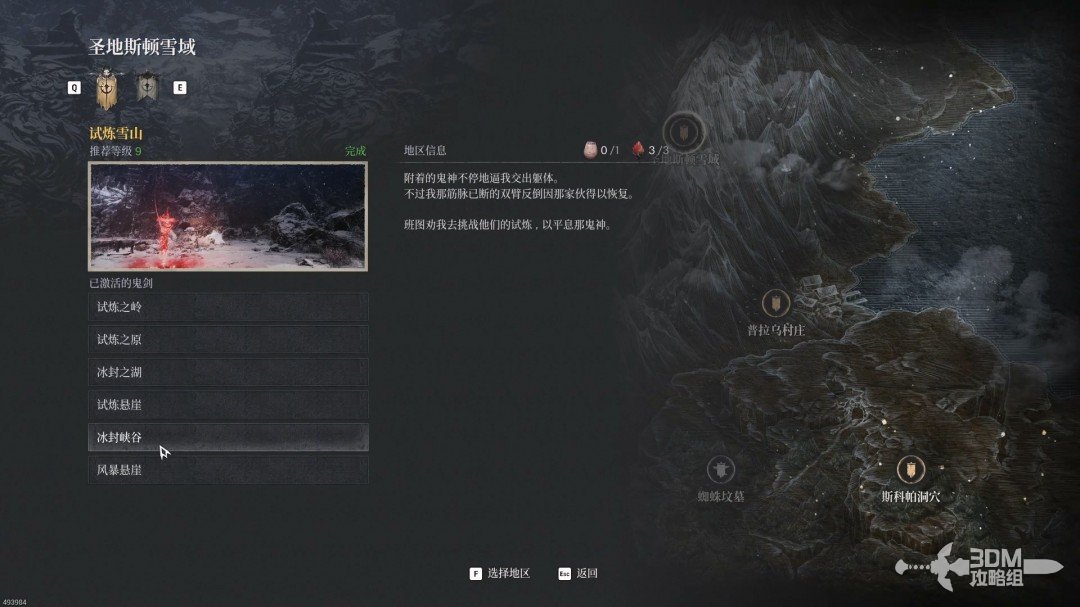
28Revisit Ice Canyon: the jar beside the arrival point
Travel to Ice Canyon.
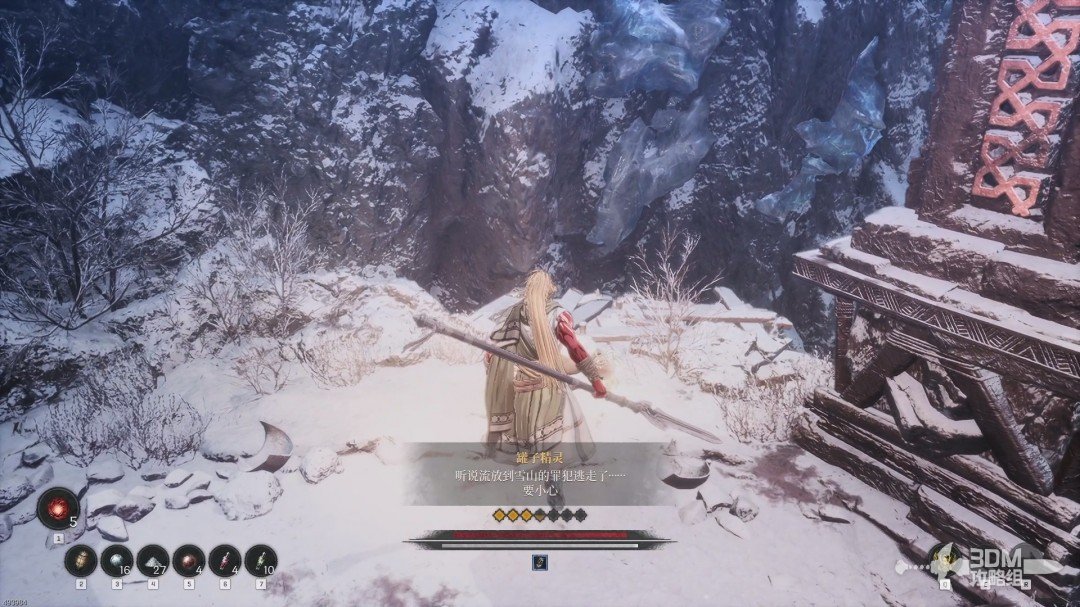
The nearby jar contains the Jarling.
Related side missions
Spirit of the Ston Snowfield →
Select the challenge from the mission portal after reaching the Crevice.
Reference: 3DM Guide Team
GAME NOTE has reorganized and rewritten the routes from this walkthrough.
- Snowfield entrance: climb up and circle behind the lookout ↗
- Forest forks: search beneath the bridge and enter the Greatsword trial ↗
- Icy fork: search the right cave, then face the bear on the left ↗
- Cave left of the wolf slope: the diary and second Soulstone ↗
- Left of the Nexus: absorb the memory and complete the Spear trial ↗
- Cliffs and paired ladders: circle through the cave to the third Soulstone ↗
- Axe warrior path: collect the Bantu Warrior’s Record ↗
- Mountain trial arena: defeat the inner demon in the Dual Wield trial ↗
- Bridge toward the summit: collect the Bantu Prophet’s Record ↗
- Summit Nexus and arena: face Blade Phantom ↗
- Ice Canyon: find the Jarling beside the Nexus ↗