Skip to content

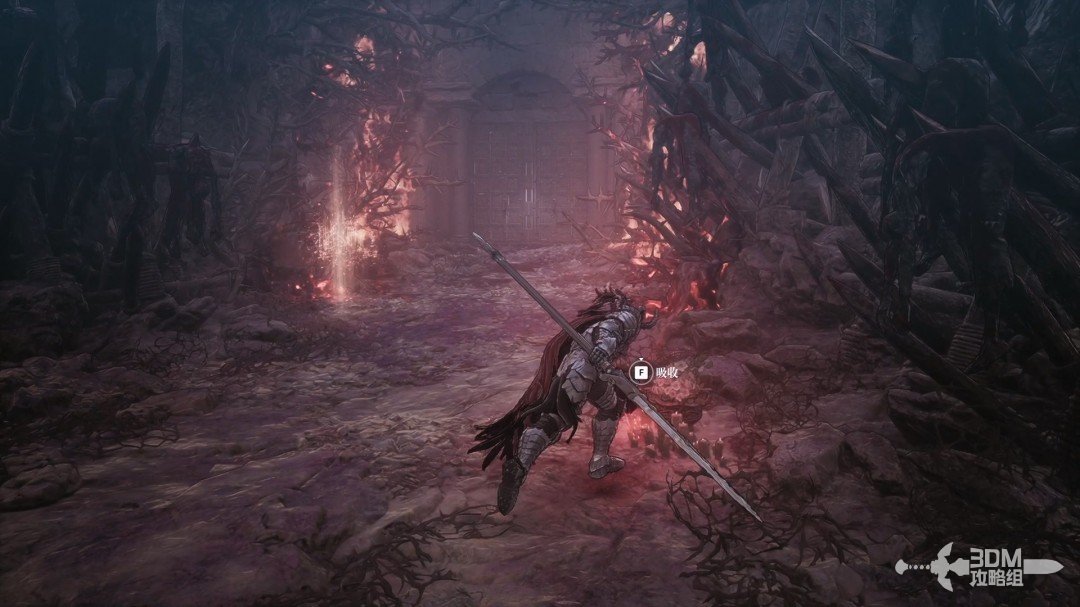
Pavel’s Final Words

Guide editor: GAME NOTE

GAME NOTE CLASSIC · GUIDE LIBRARYThe First Berserker: Khazan

Select the mission after Devoured Village.

Pickups in this mission

Open this mission’s independent boss guide →

01Return to the old town with Tristan: search the right corner

Back at the hub, speaking to Tristan unlocks Linon Mine.
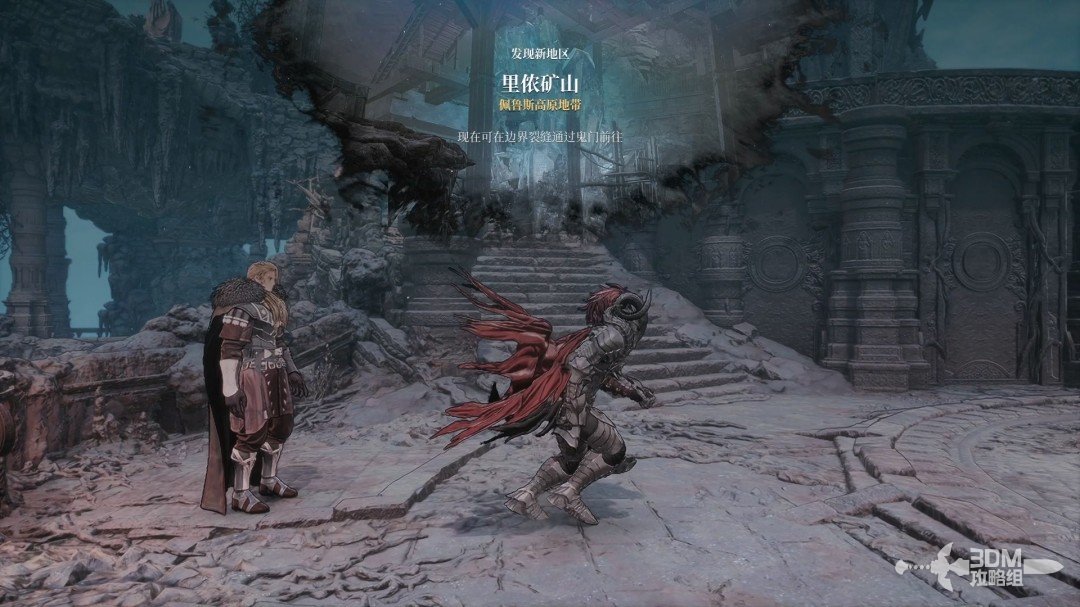
Return to the old town with Tristan: search the right corner · route image 1

First complete the Pavel's Final Words side mission.
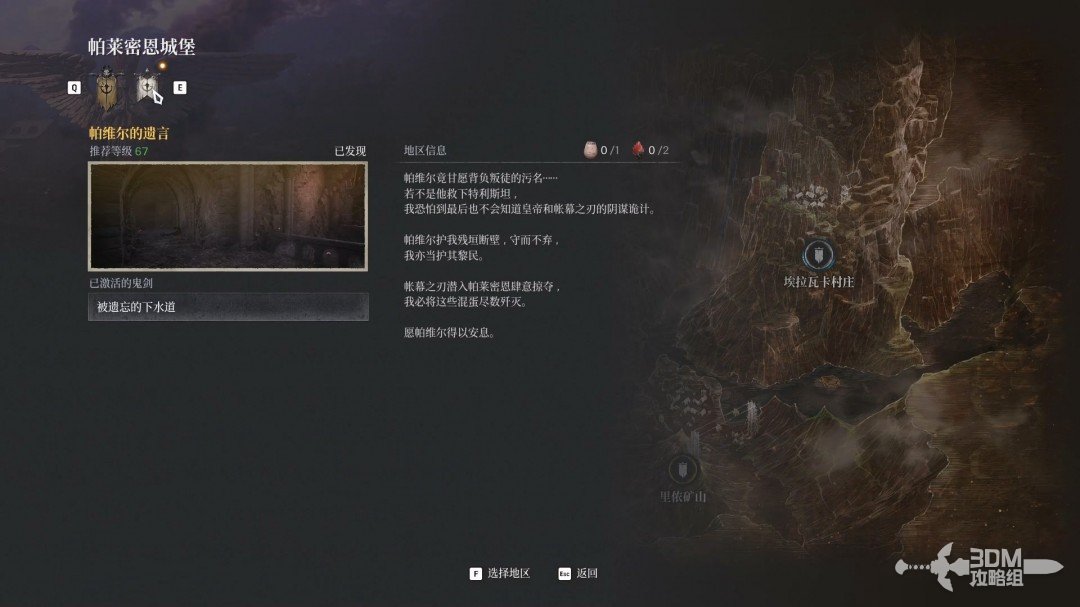
Return to the old town with Tristan: search the right corner · route image 2

Rest on arrival, turn right and speak to Tristan.
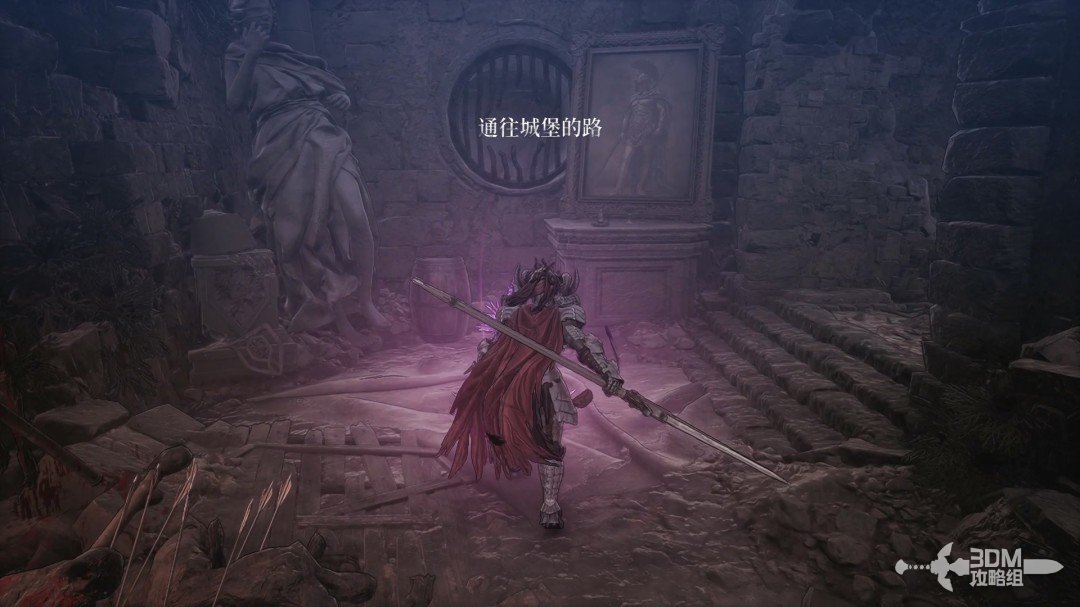
Return to the old town with Tristan: search the right corner · route image 3

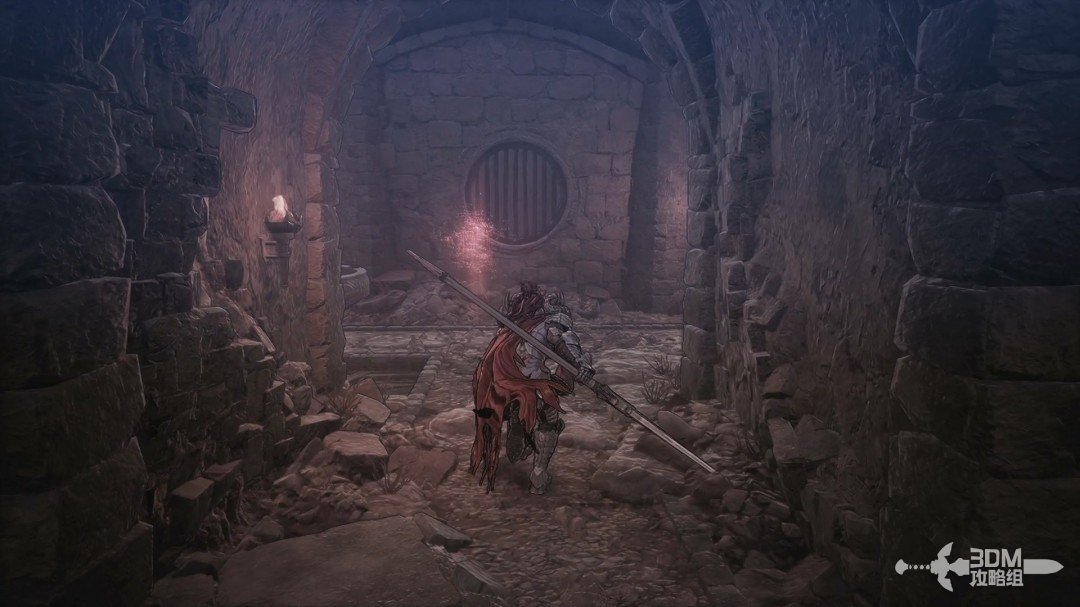
Advance and turn right. Enemies release pursuing skulls when killed; dodge those as well.
Return to the old town with Tristan: search the right corner · route image 4

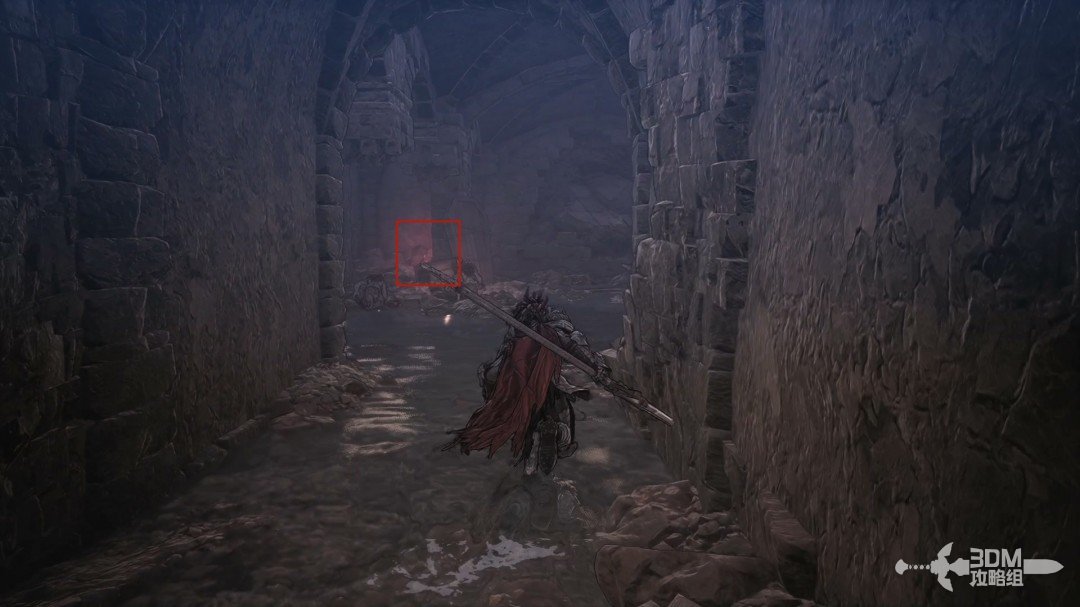
Continue straight for a Soulstone in the corner.
Return to the old town with Tristan: search the right corner · route image 5

03Raised area left of the gate: clear ranged foes before climbing to the Nexus

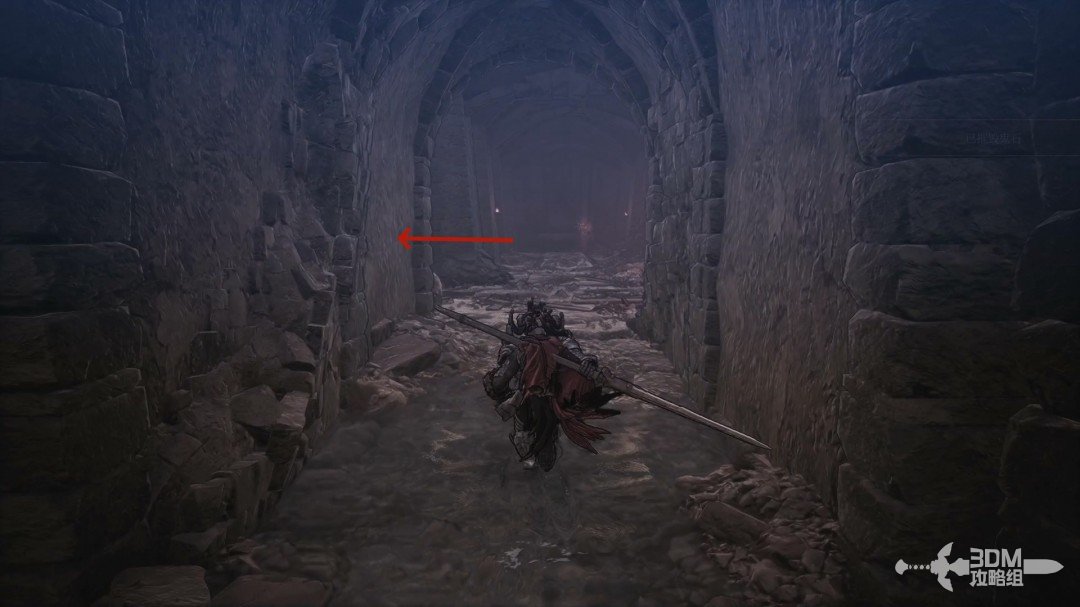
Return from the Soulstone and go left of this doorway.
Raised area left of the gate: clear ranged foes before climbing to the Nexus · route image 1

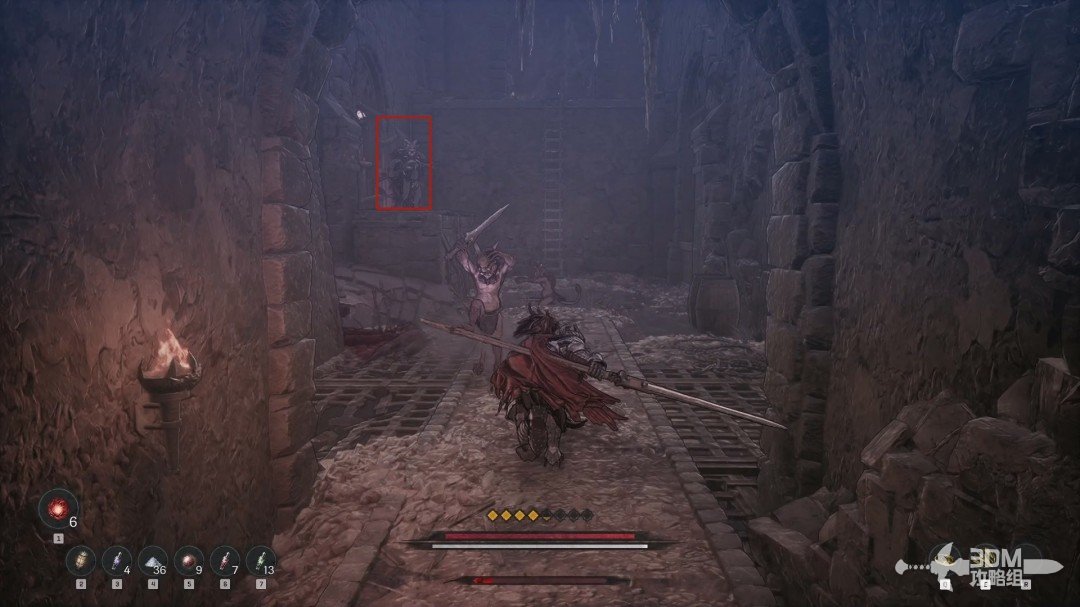
Several enemies guard the area. Use Javelin against those on raised platforms first.
Raised area left of the gate: clear ranged foes before climbing to the Nexus · route image 2

Collect the white item in the right recess after the fight.
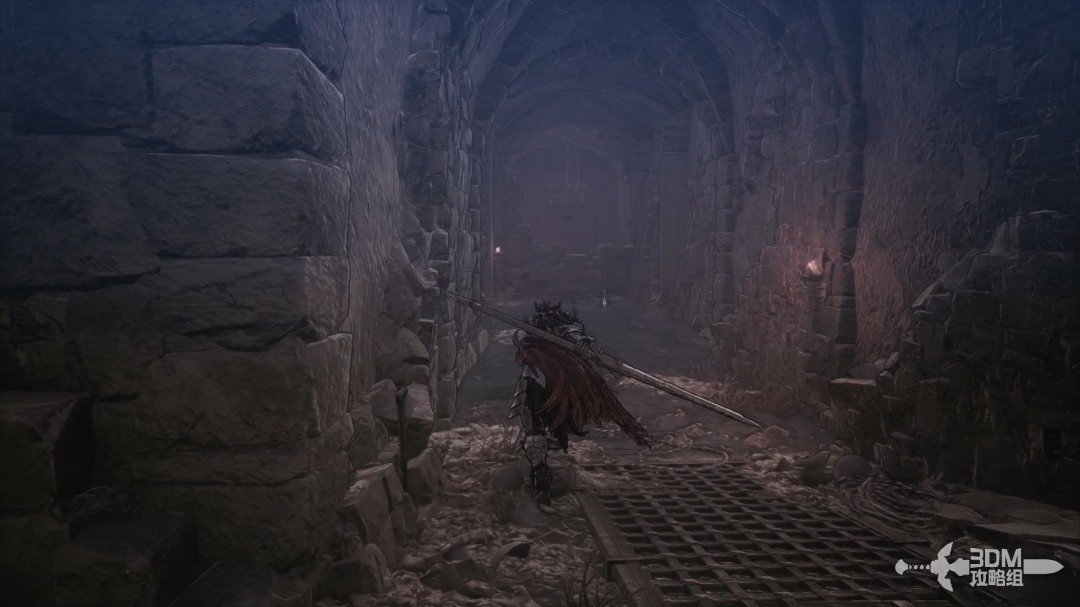
Raised area left of the gate: clear ranged foes before climbing to the Nexus · route image 3

Climb the ladder for a purple item on the platform.
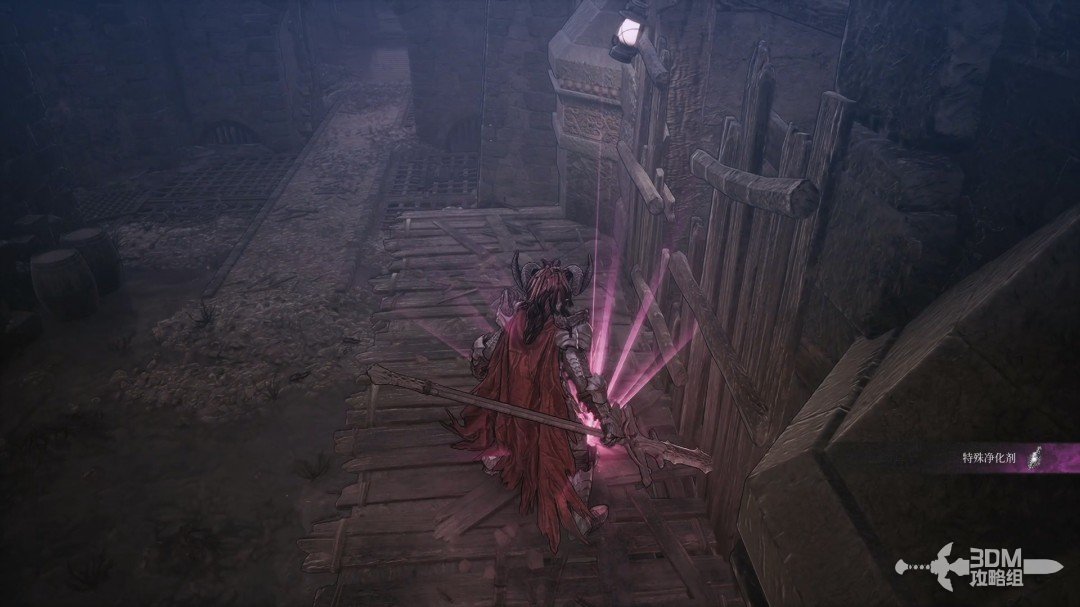
Raised area left of the gate: clear ranged foes before climbing to the Nexus · route image 4

Rest at the Nexus above.

Raised area left of the gate: clear ranged foes before climbing to the Nexus · route image 5

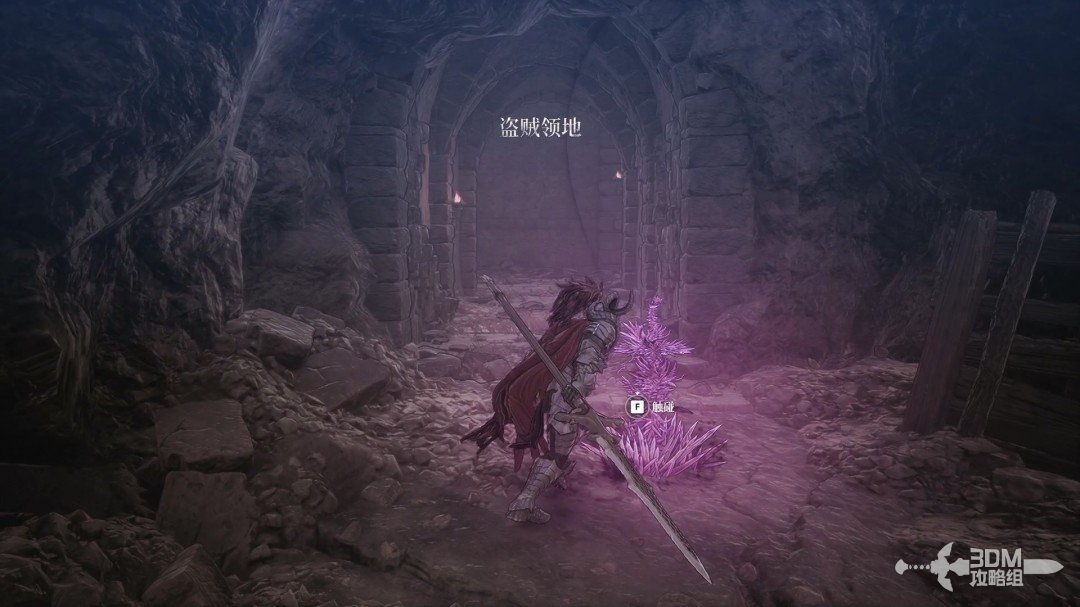
04Houses beyond the elite guard: chest on the right and jar on the left

An elite waits deeper inside.
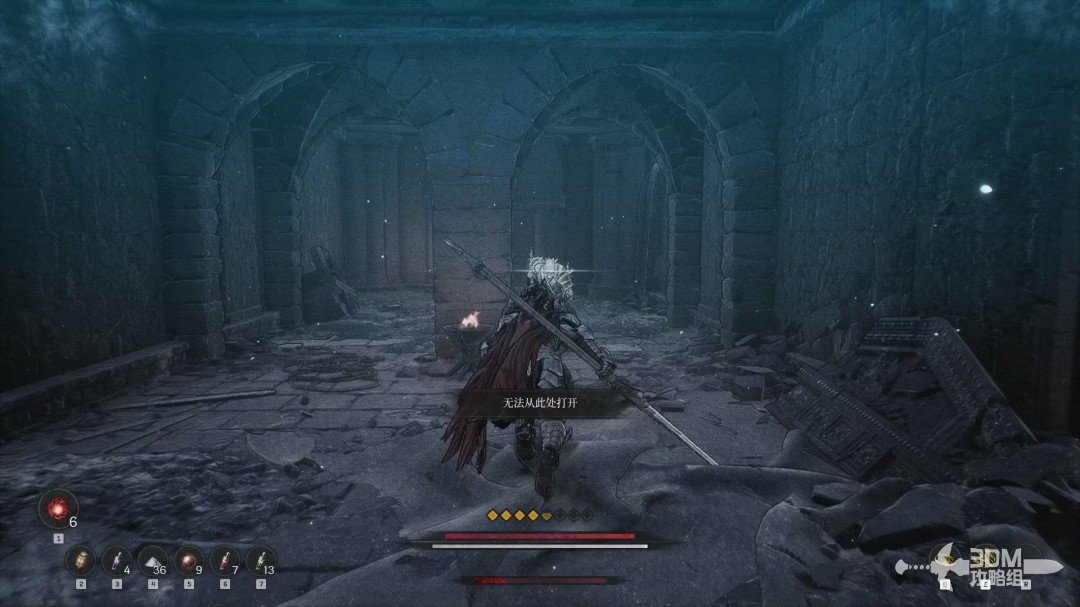
Houses beyond the elite guard: chest on the right and jar on the left · route image 6

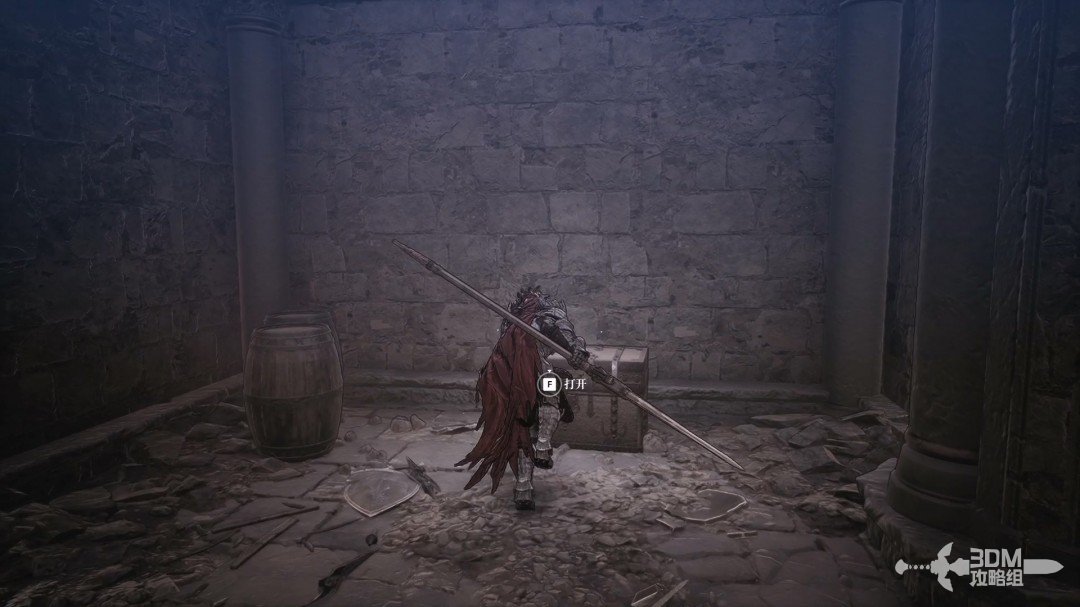
After defeating it, check the right dead end for a chest.
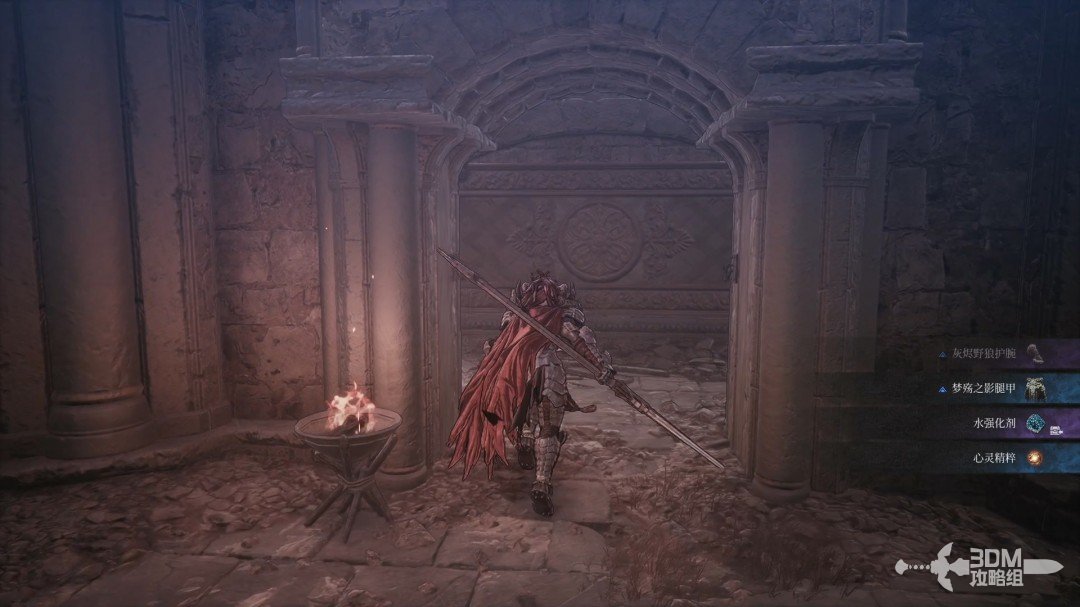
Houses beyond the elite guard: chest on the right and jar on the left · route image 7
Houses beyond the elite guard: chest on the right and jar on the left · route image 8

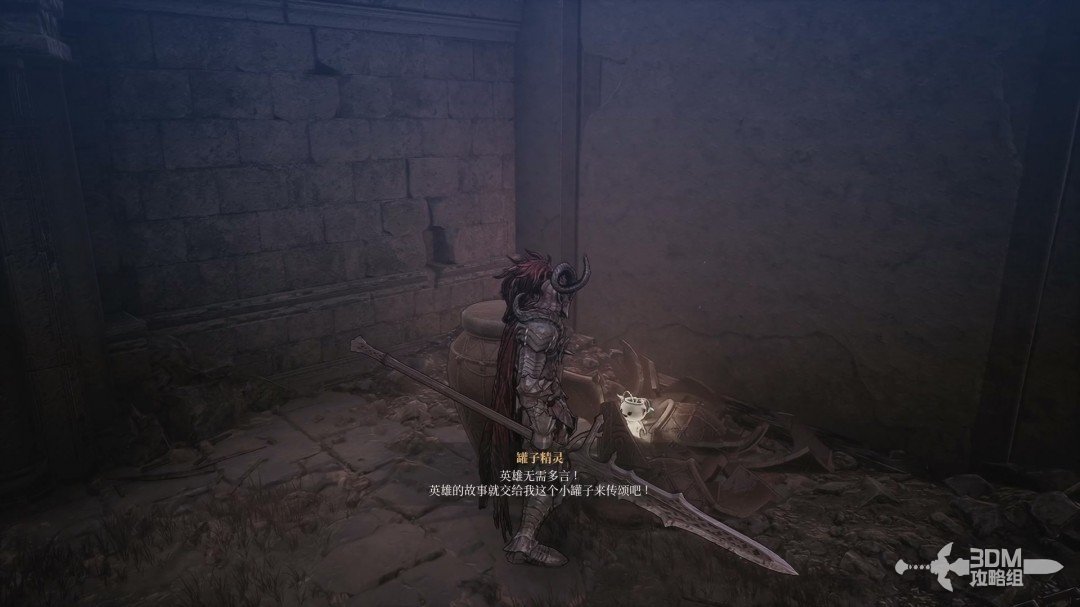
The first house on the left contains a Jarling.
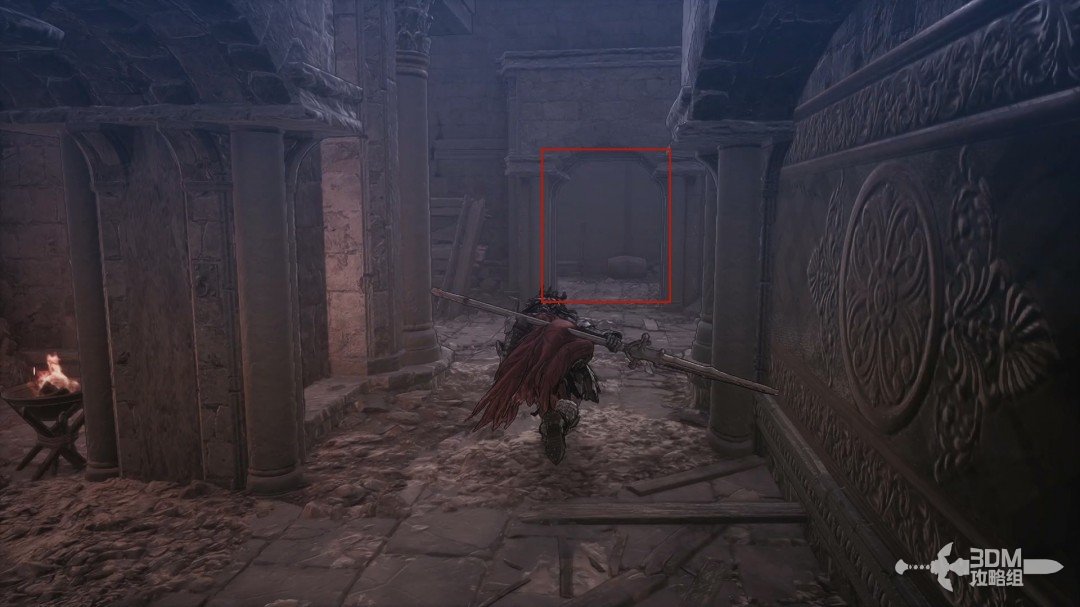
Houses beyond the elite guard: chest on the right and jar on the left · route image 9
Houses beyond the elite guard: chest on the right and jar on the left · route image 10

06Second house and corridor ladder: collect the recipe and search upstairs

Collect the Assassin Recipe inside the second house.
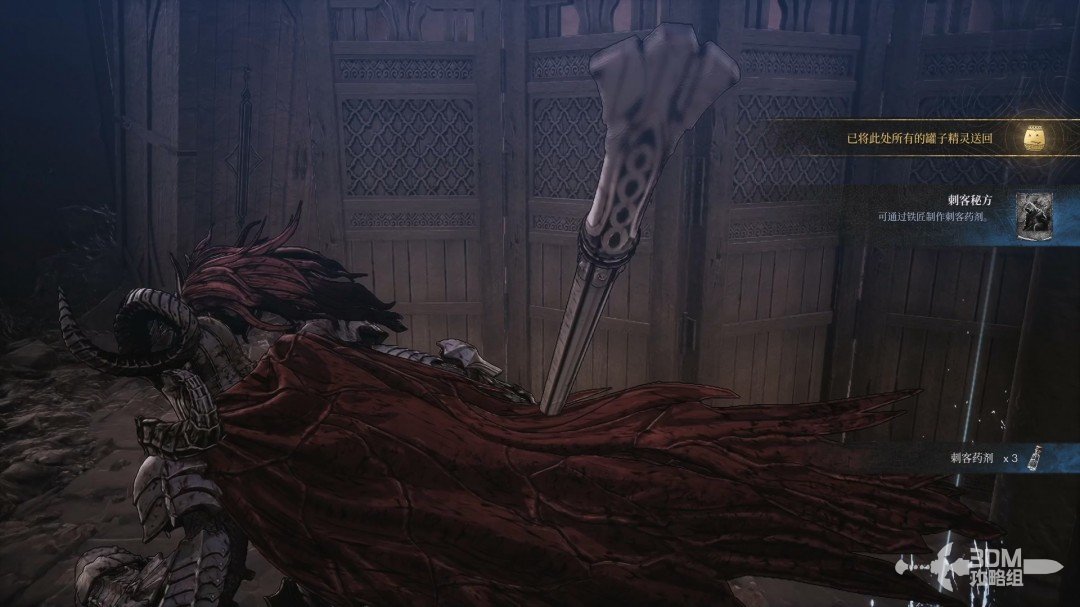
Second house and corridor ladder: collect the recipe and search upstairs · route image 1

Absorb the corridor memory and open the left gate, then climb the right stairs.
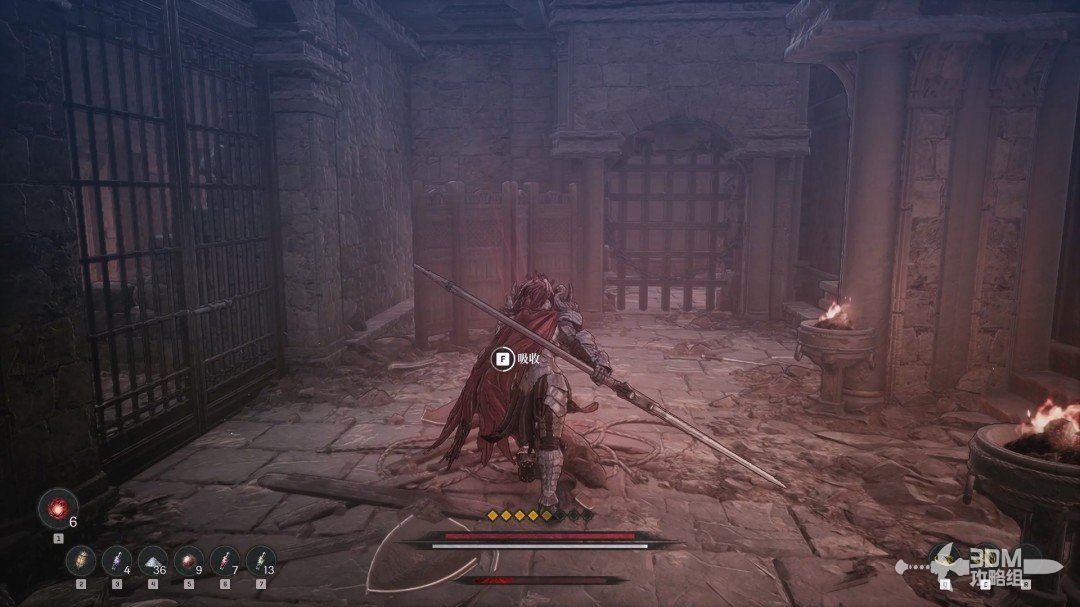
Second house and corridor ladder: collect the recipe and search upstairs · route image 2

08Upper fork: search right before exploring deep into the left branch

Both directions are accessible above.
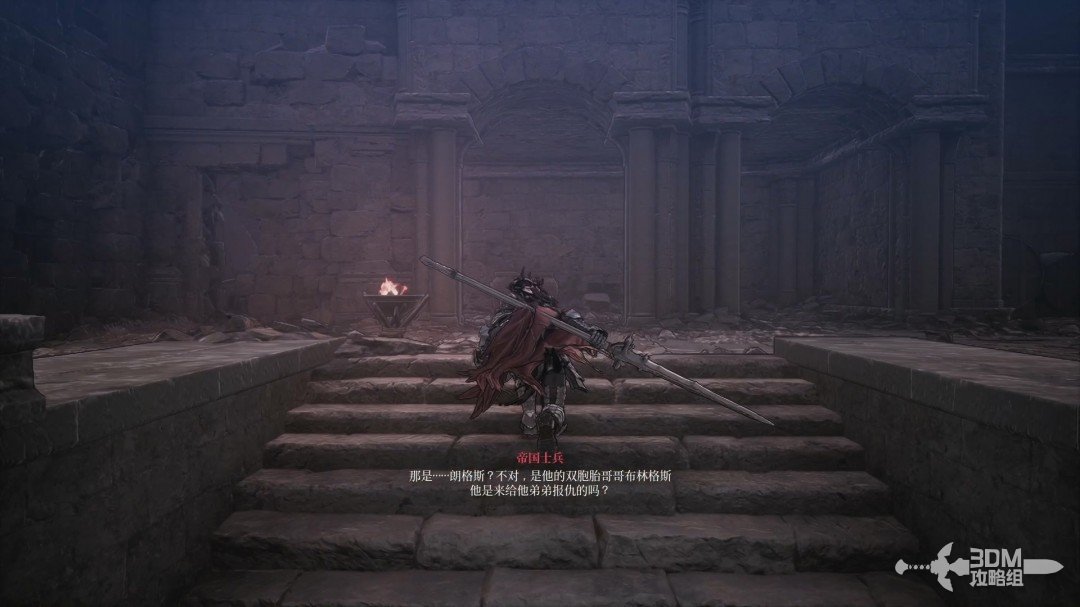
Upper fork: search right before exploring deep into the left branch · route image 3

Explore right first, defeating enemies for a white item at the dead end, then return left.
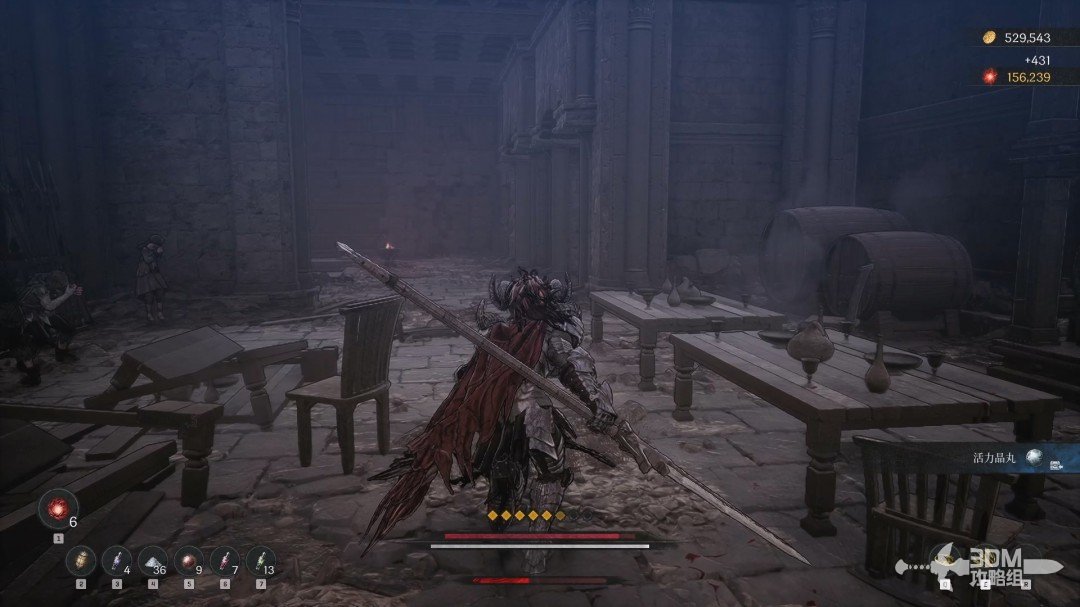
Upper fork: search right before exploring deep into the left branch · route image 4

Fight through the enemies to the chest farther left.
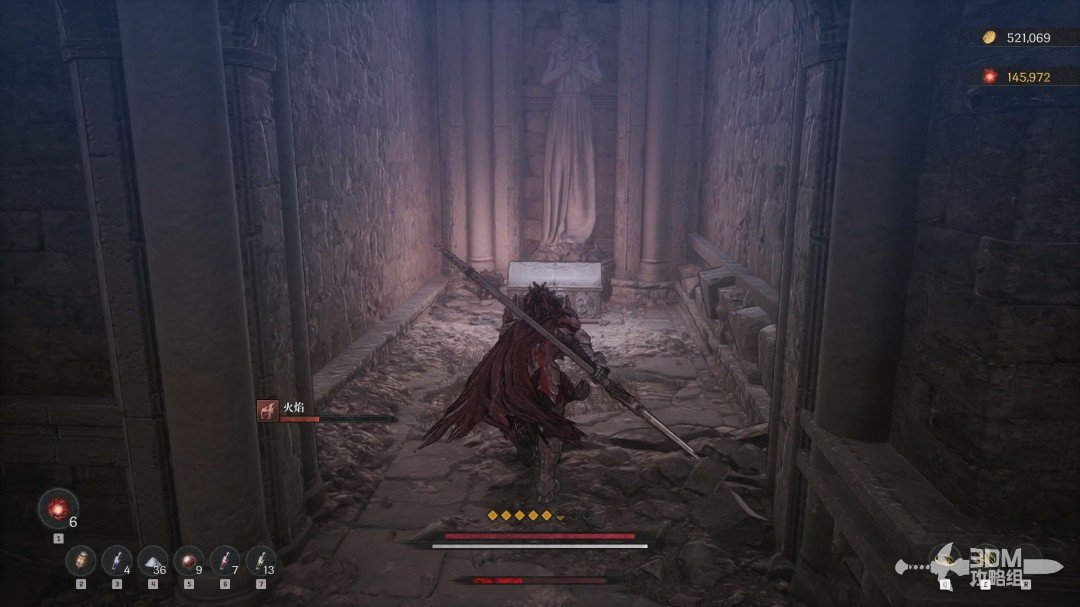
Upper fork: search right before exploring deep into the left branch · route image 5

Collect the Angry Bandit Scroll beside the corpse in the corner.
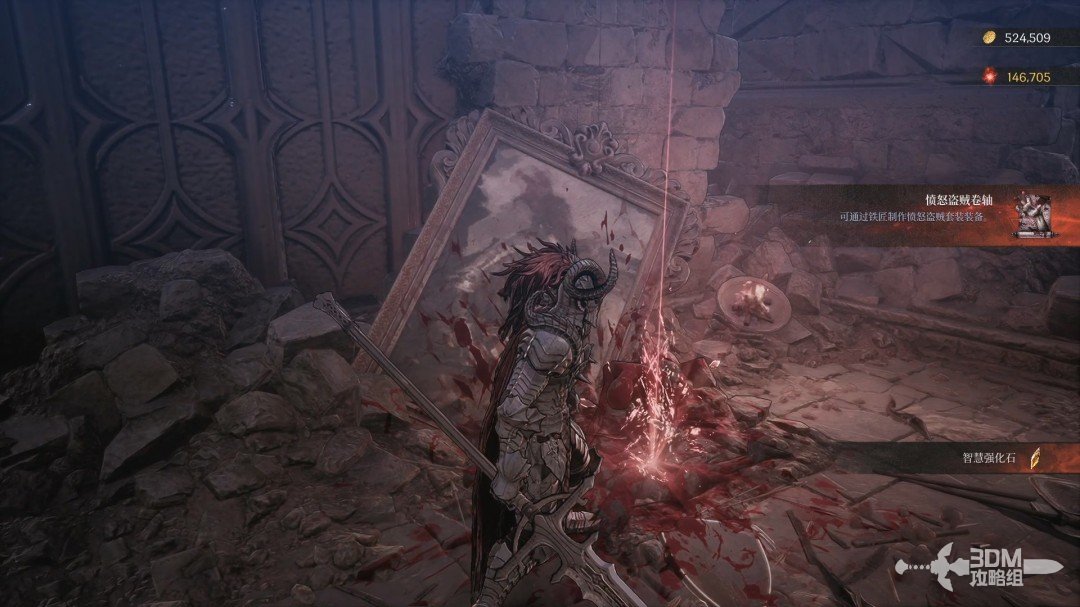
Upper fork: search right before exploring deep into the left branch · route image 6

10Elite beneath the stairs and elevator switch: orders and Soulstone

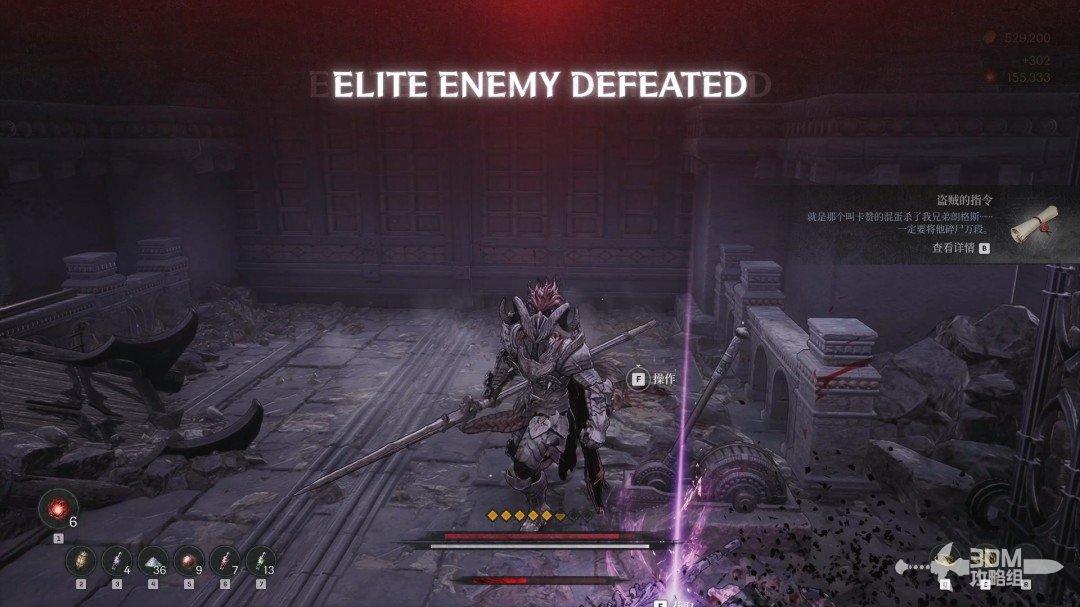
Defeat the elite beneath the stairs for the Bandit's Orders.
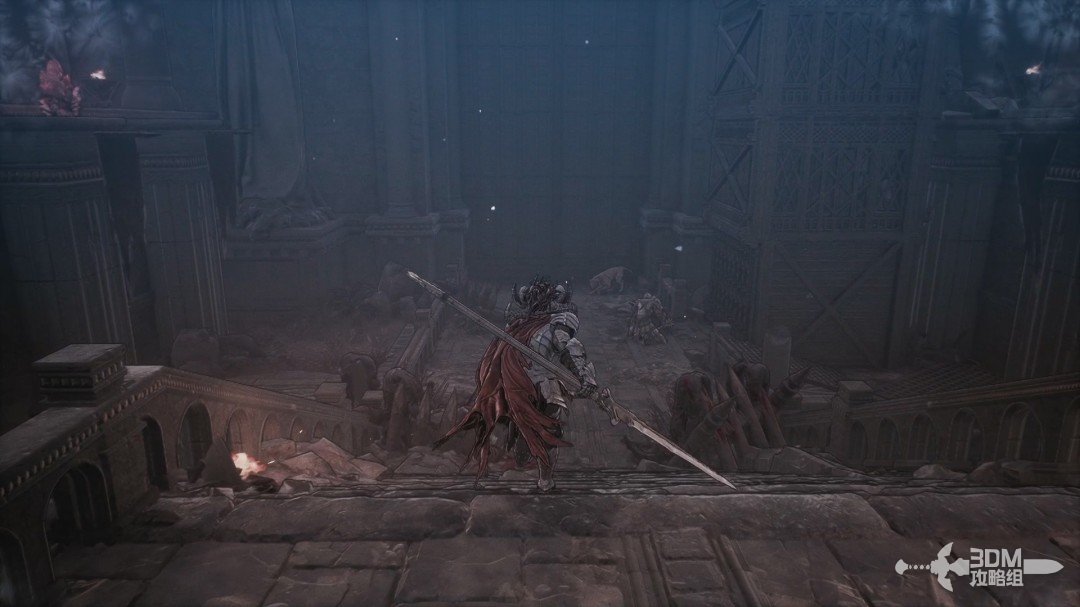
Elite beneath the stairs and elevator switch: orders and Soulstone · route image 1
Elite beneath the stairs and elevator switch: orders and Soulstone · route image 2

Activate the elevator switch. While waiting, turn around and destroy the Soulstone above, then board.
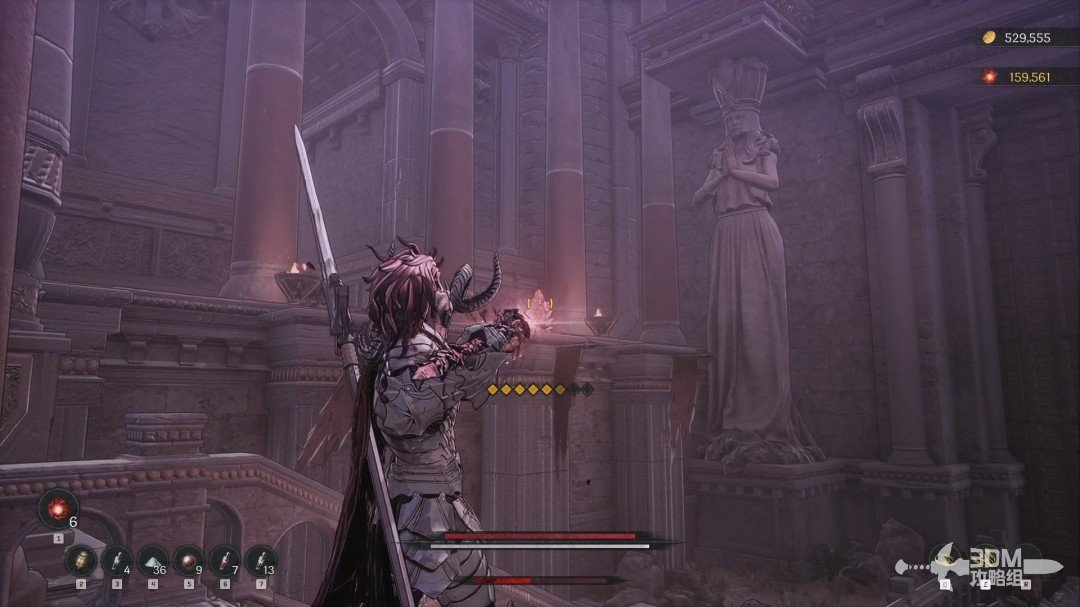
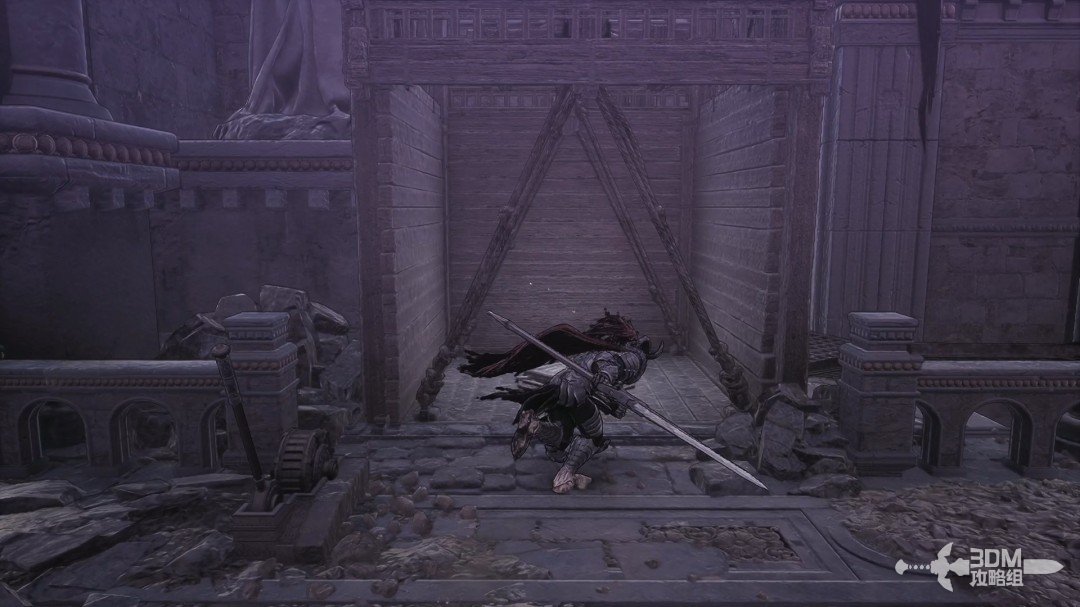
Elite beneath the stairs and elevator switch: orders and Soulstone · route image 3
Elite beneath the stairs and elevator switch: orders and Soulstone · route image 4

13Save at the elevator landing: challenge the Rangkus-like foe

Rest at the new Nexus below.
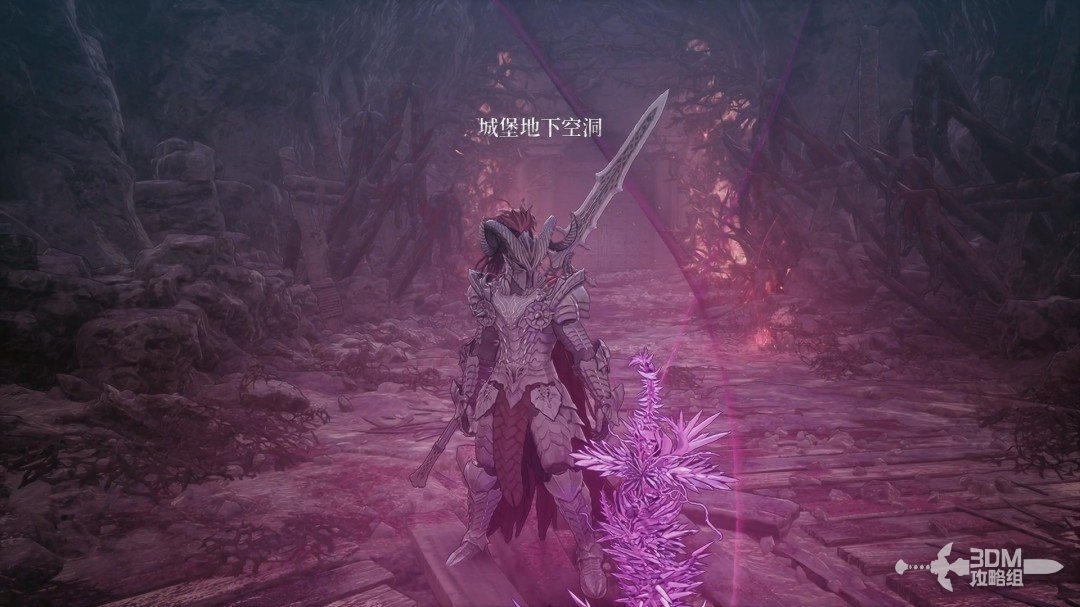
Save at the elevator landing: challenge the Rangkus-like foe · route image 1

Absorb the memory ahead.

Save at the elevator landing: challenge the Rangkus-like foe · route image 2

Enter the boss room. This enemy reuses Rangkus's moves, so apply that strategy.
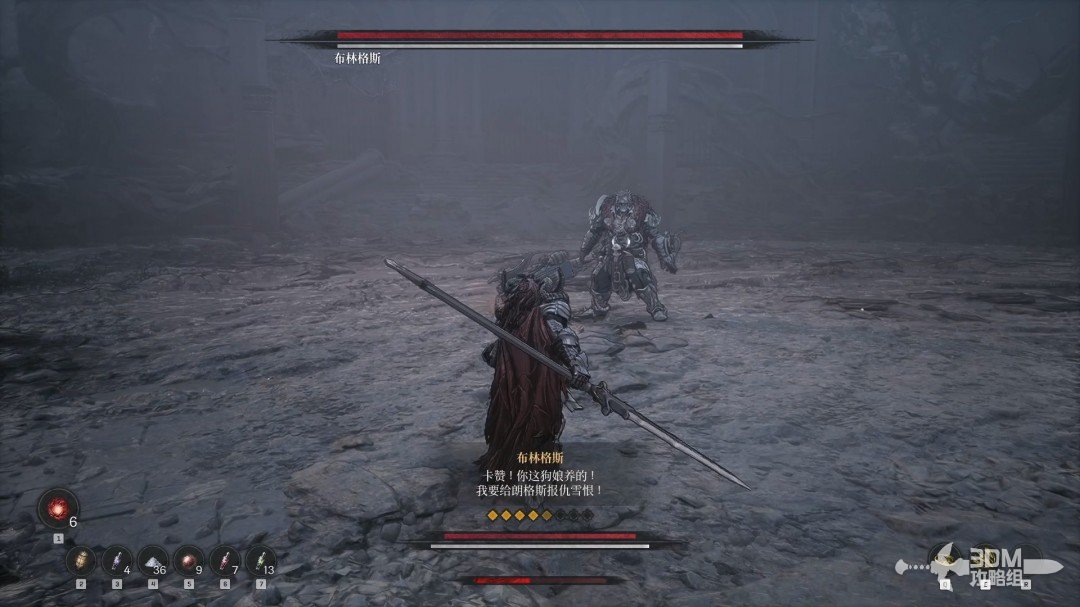
Save at the elevator landing: challenge the Rangkus-like foe · route image 3

Continue

Back to mission index →

Reference: 3DM Guide Team

GAME NOTE has reorganized and rewritten the routes from this walkthrough.