Enter the temple, work through its mechanisms, and open the Viper arena.
Pickups in this mission
01Embars Ruins entrance: search the three-way fork
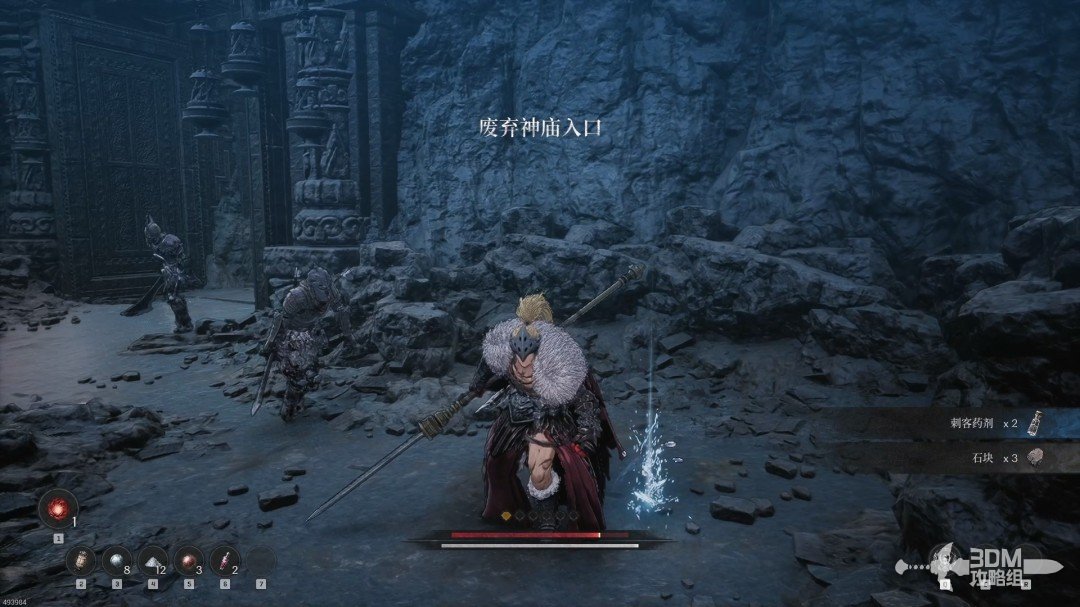
After the side mission, travel to Embars Ruins to resume the main story.
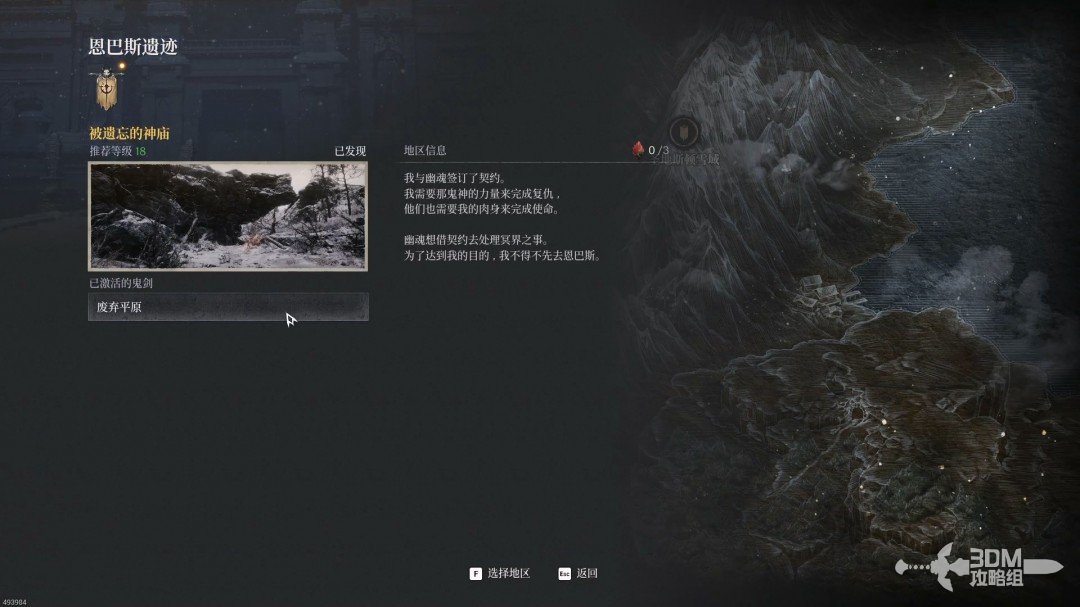
Rest on the left. Skeletons ahead revive unless you destroy the purple glow after knocking them down.
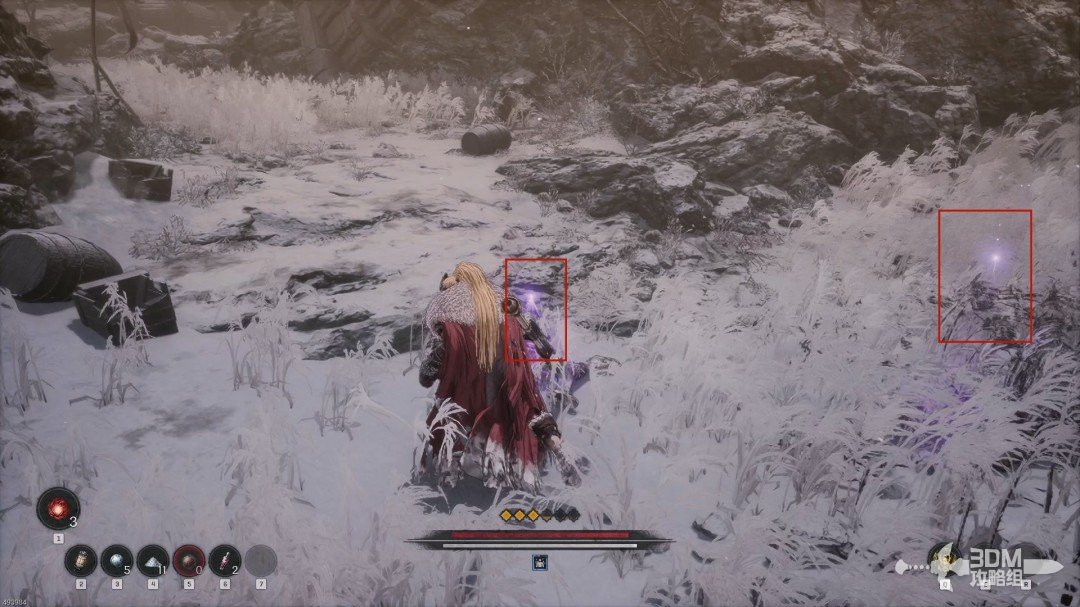
Defeat the two enemies at the three-way junction and explore straight ahead first.
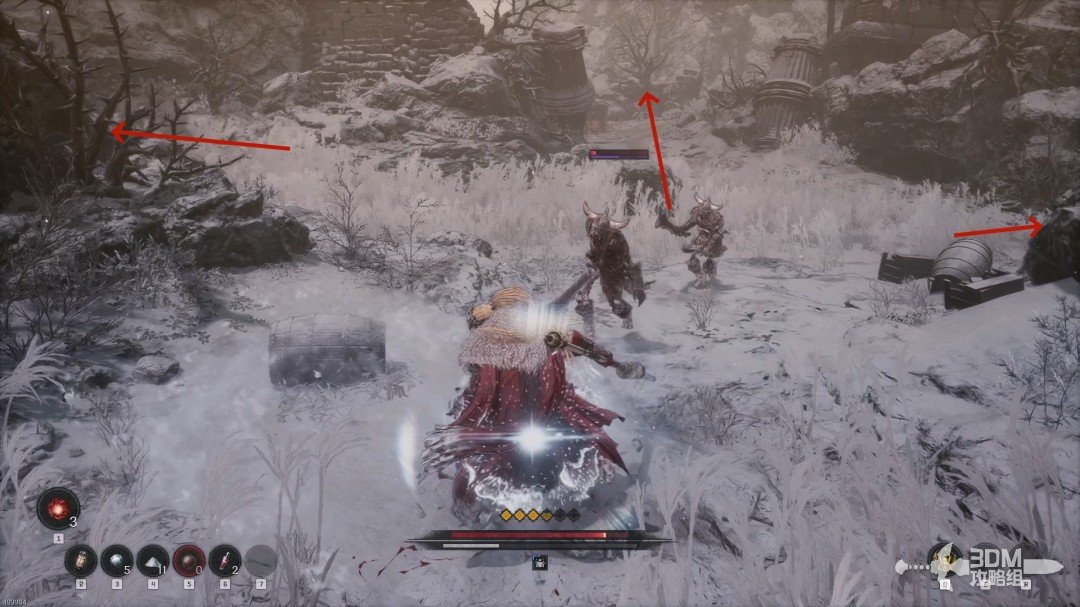
This dead end contains a purple item.
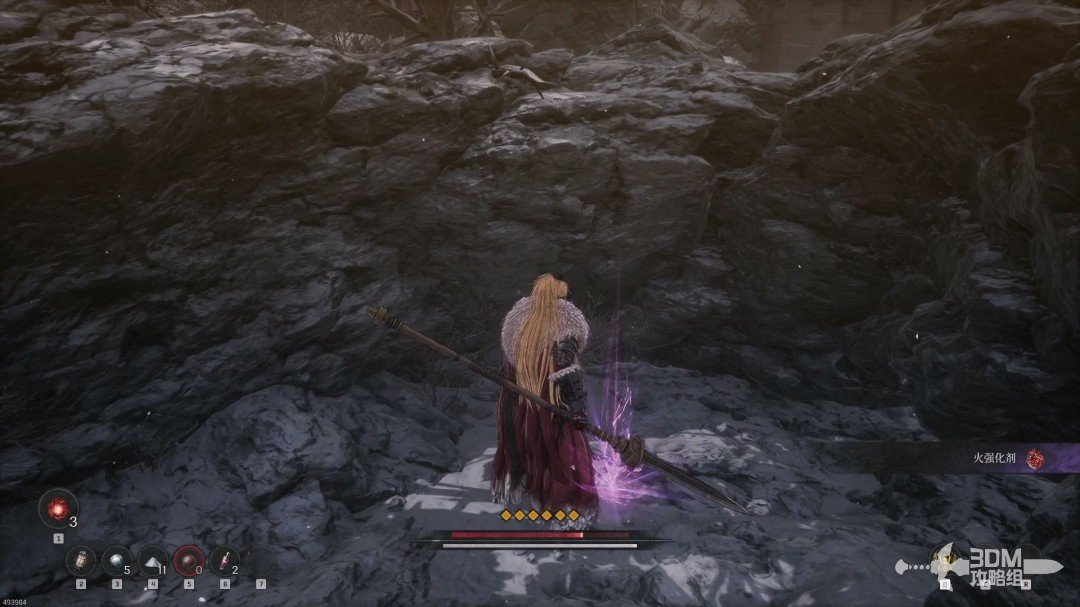
Return and explore the right branch for a blue item. It is another dead end, with several enemies.
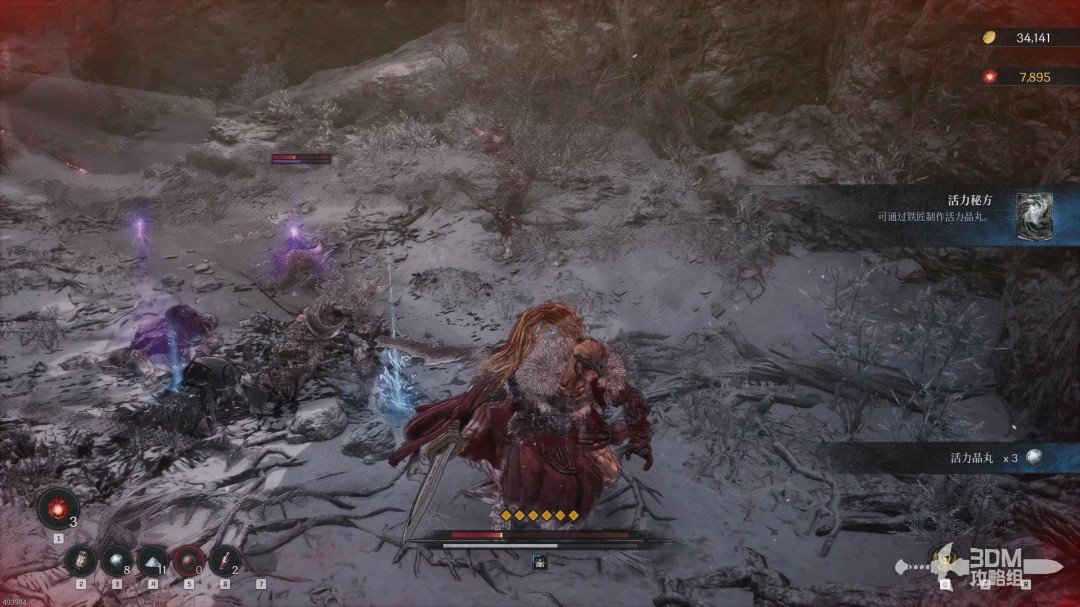
02Left plank passage: break the wooden barrier for the Soulstone
Take the left branch last. At its next fork, first check the right cliff for a purple item. Remove the archer above with a Javelin.
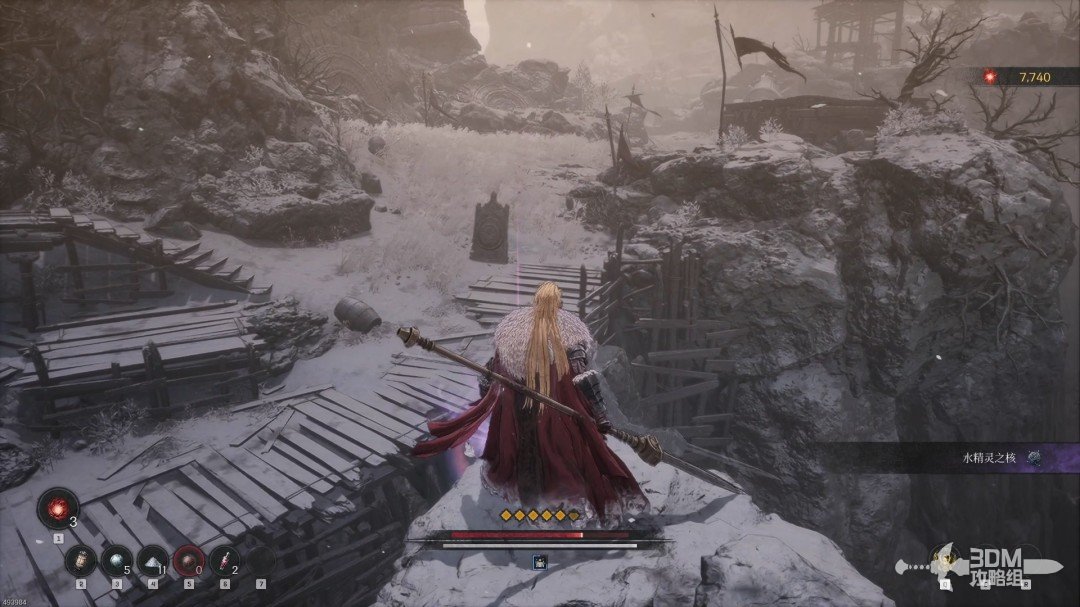
Continue along the wooden boards on the left.
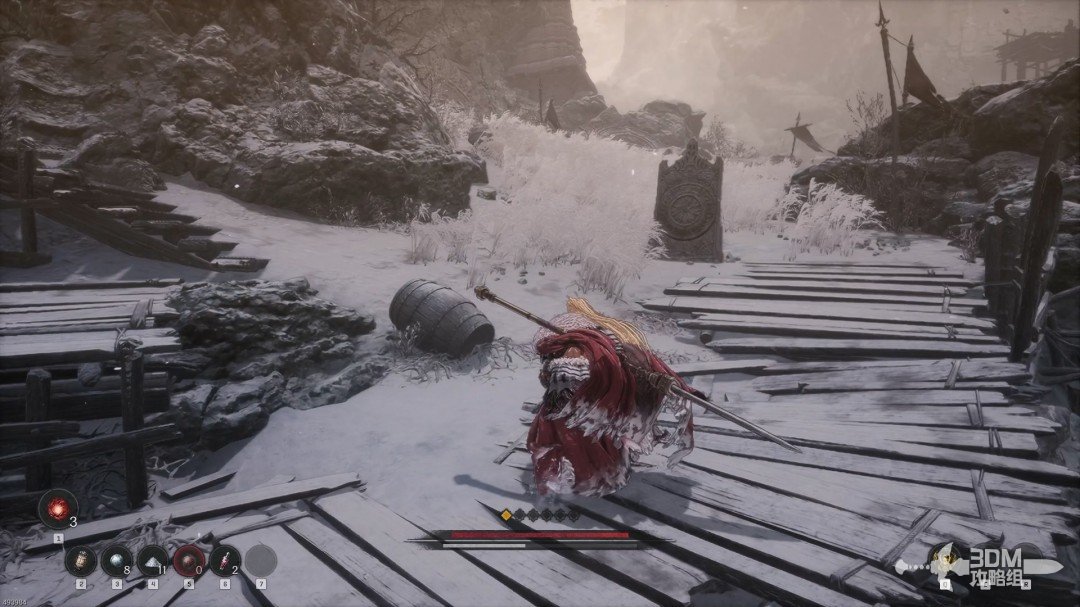
Break the wooden barrier on the hidden left branch to reach this mission's first Soulstone.
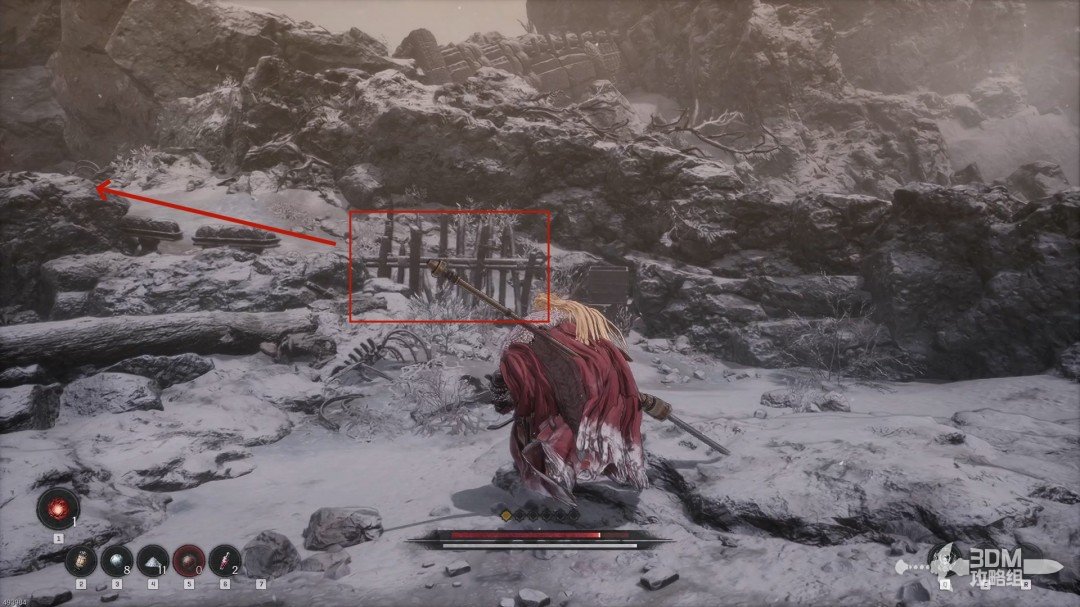
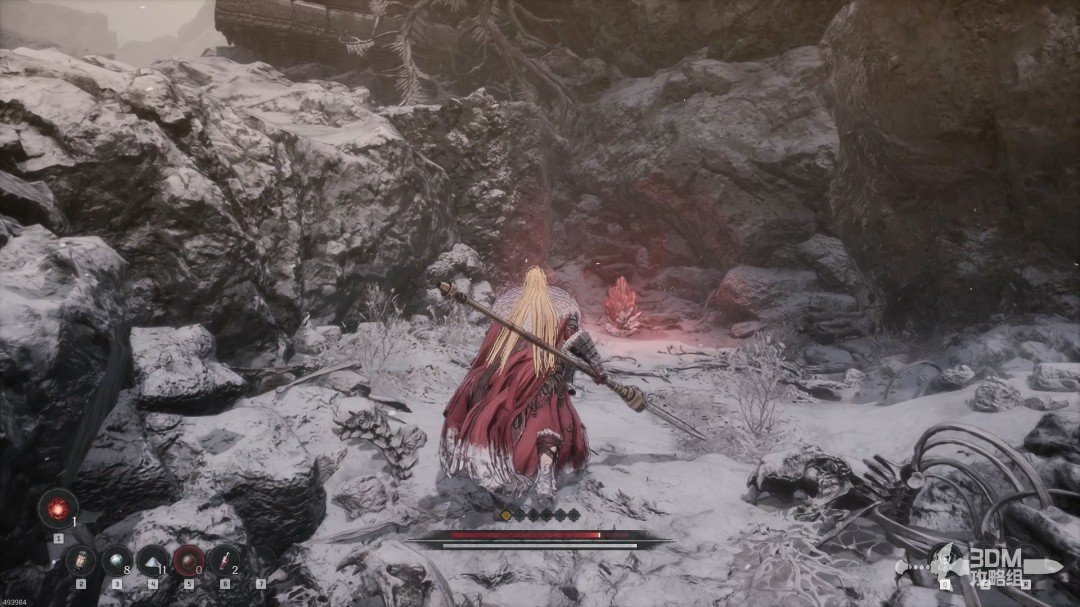
04Chest beneath the lookout and the soldier ahead
Return to the route and turn right at the next fork.
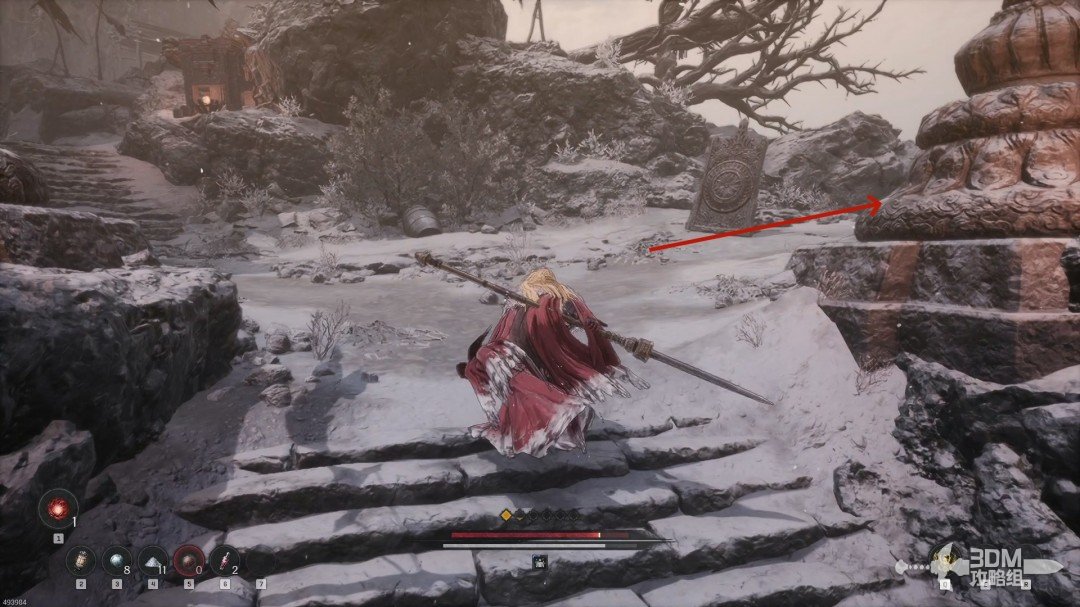
A durable greatsword skeleton guards the area. Open the chest beneath the right-hand lookout tower.
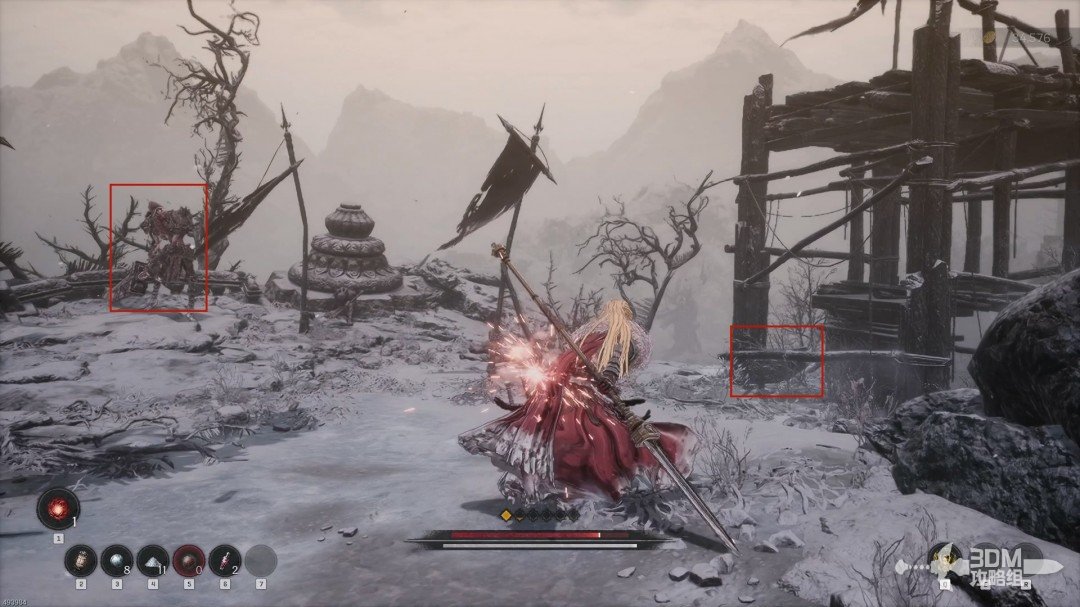
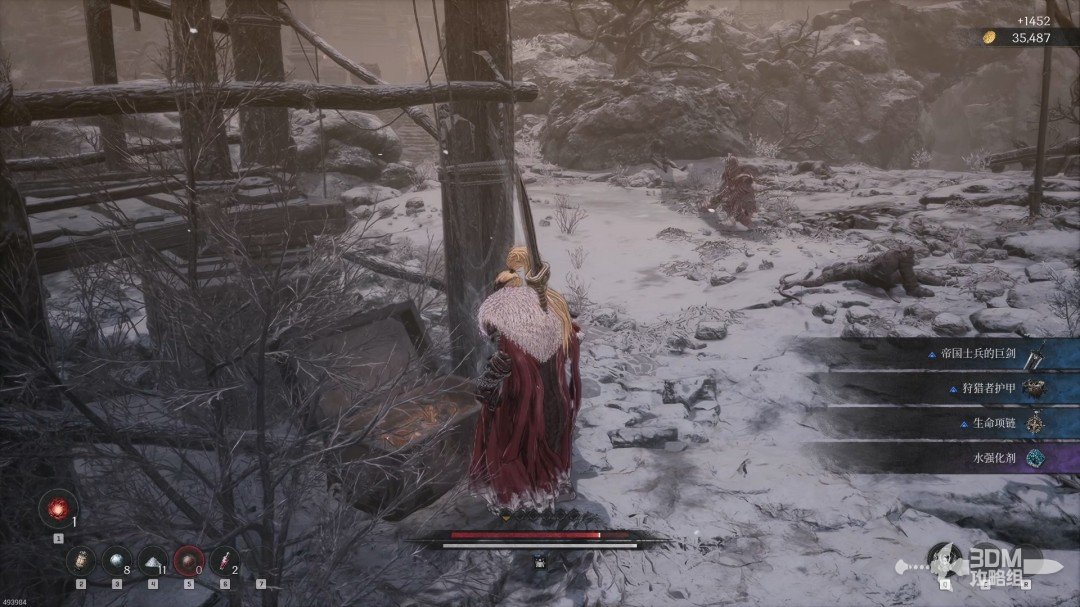
Cross to the other side of the path for a blue item.
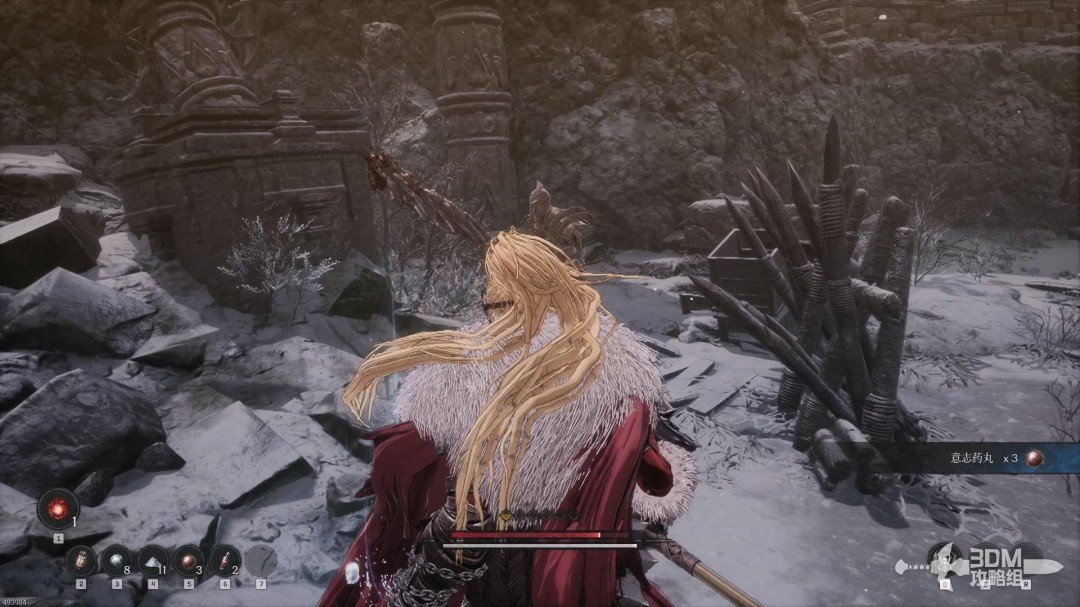
Continue straight from the junction and collect the Grave Robber's Notes from the corpse ahead.
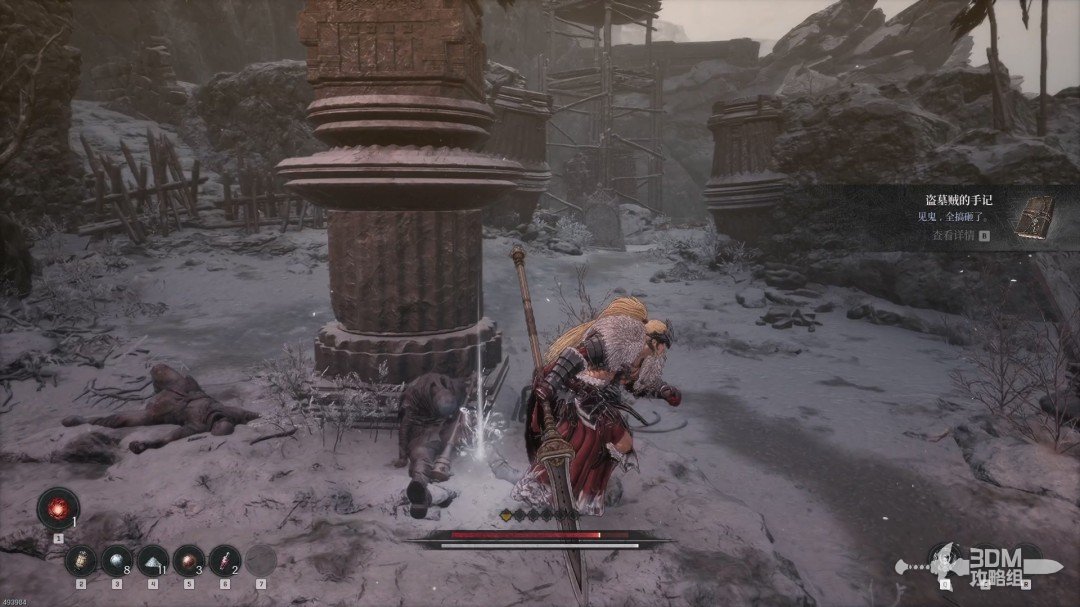
06Temple gate: search right before opening the Nexus
Before opening the large gate, explore right and absorb the memory.
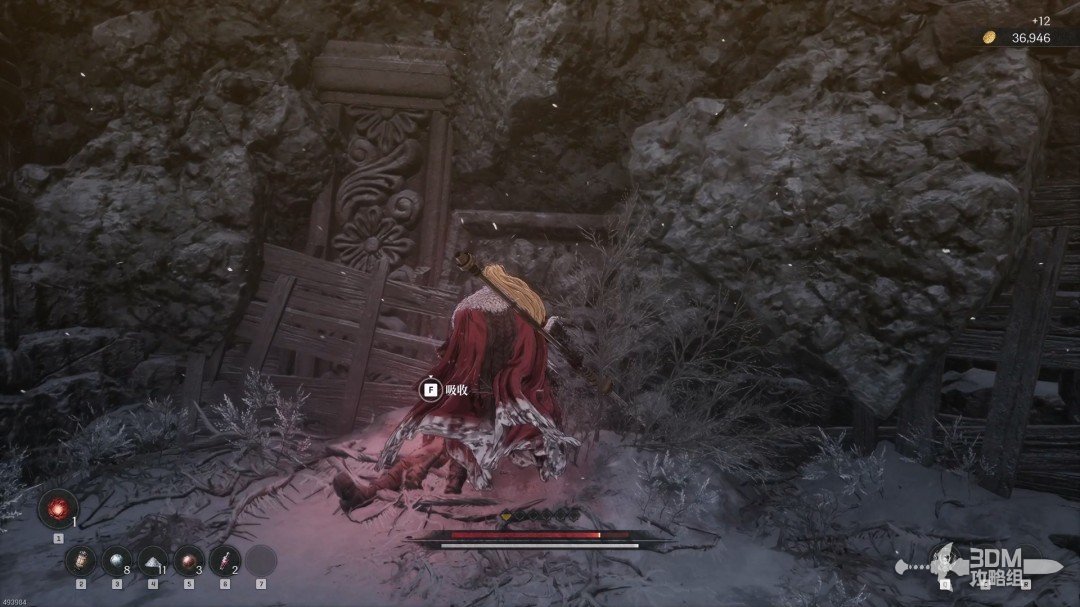
Return and open the gate.
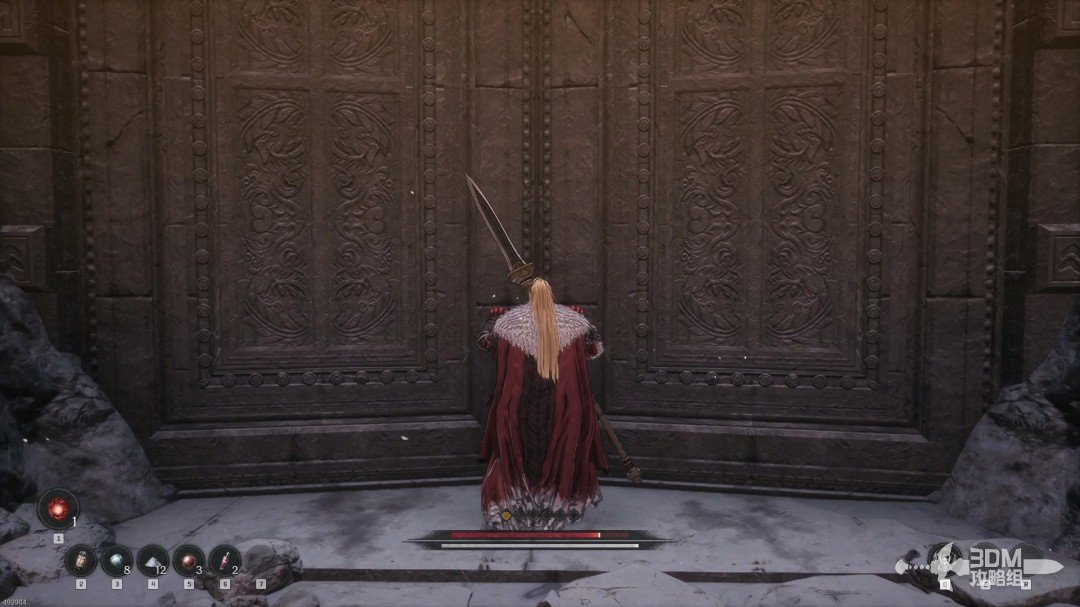
A Blade Nexus waits beyond it, with a blue item on the left.
07Hall of worshipping dragonkin: search the corner pots
Three lizard-like enemies worship ahead. Ambush the largest, defeat the group and absorb the soldier's memory.
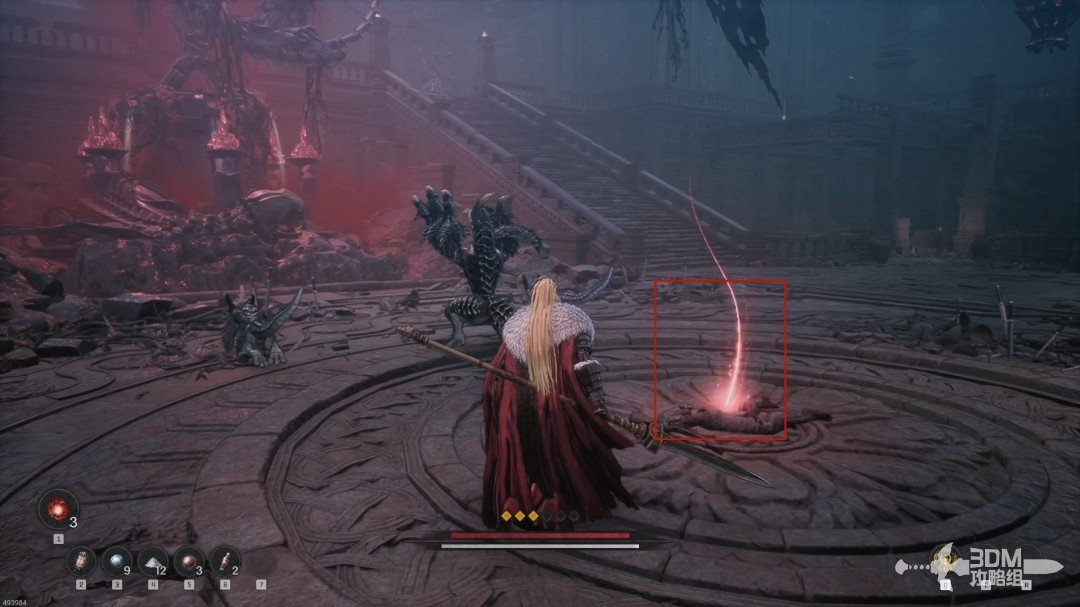
Search this level first. Someone speaks from above, but you need not reach them yet.
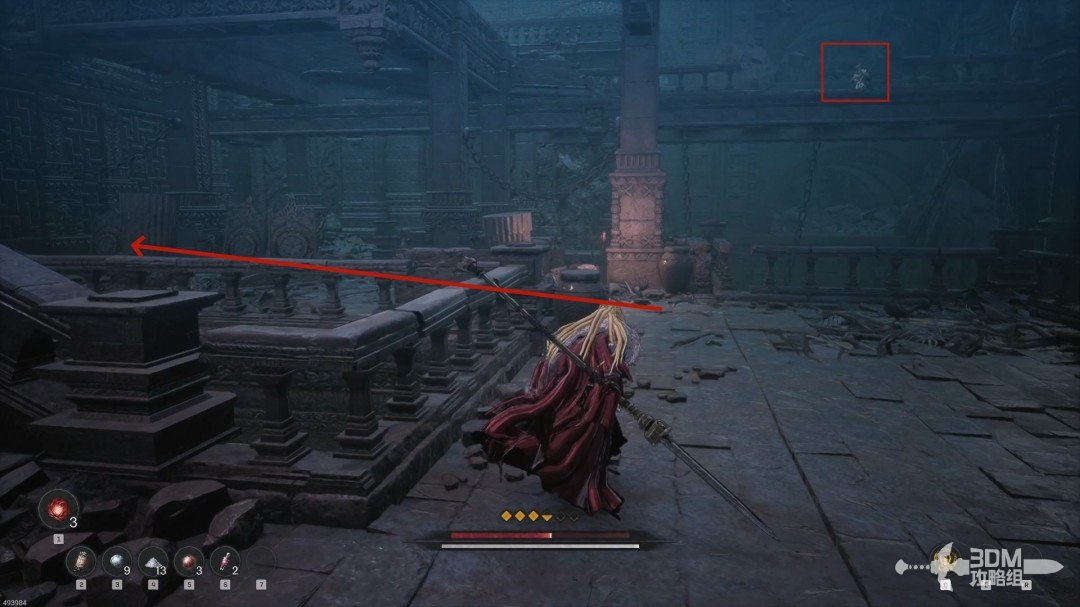
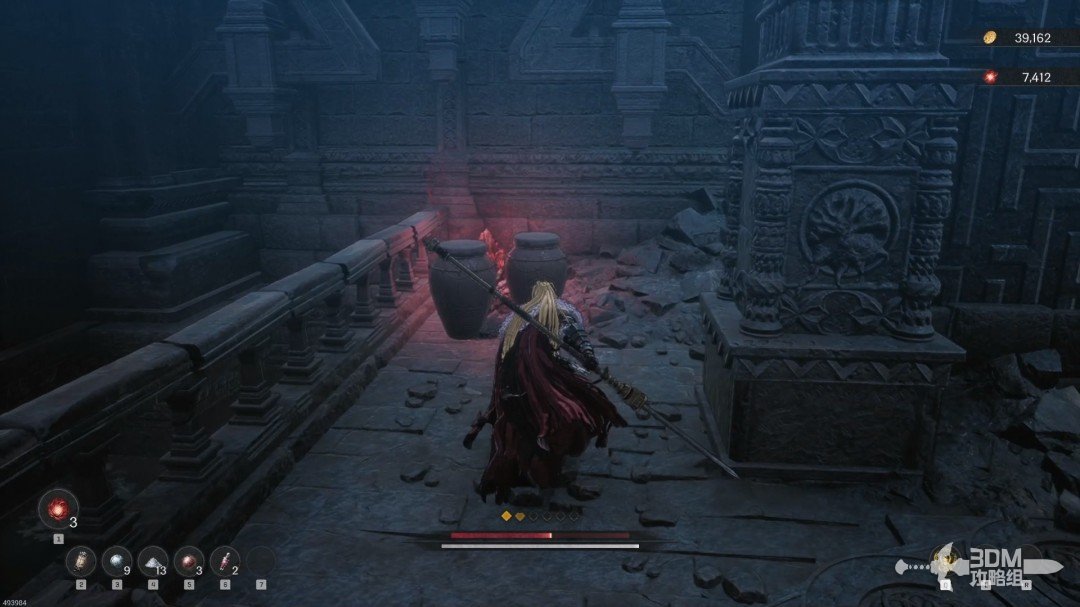
The second Soulstone is behind the pots in the corner.
09Right of the central stairs: drop through the gap to the merchant
Climb the central stairs. Two enemies and a white item are on the left.
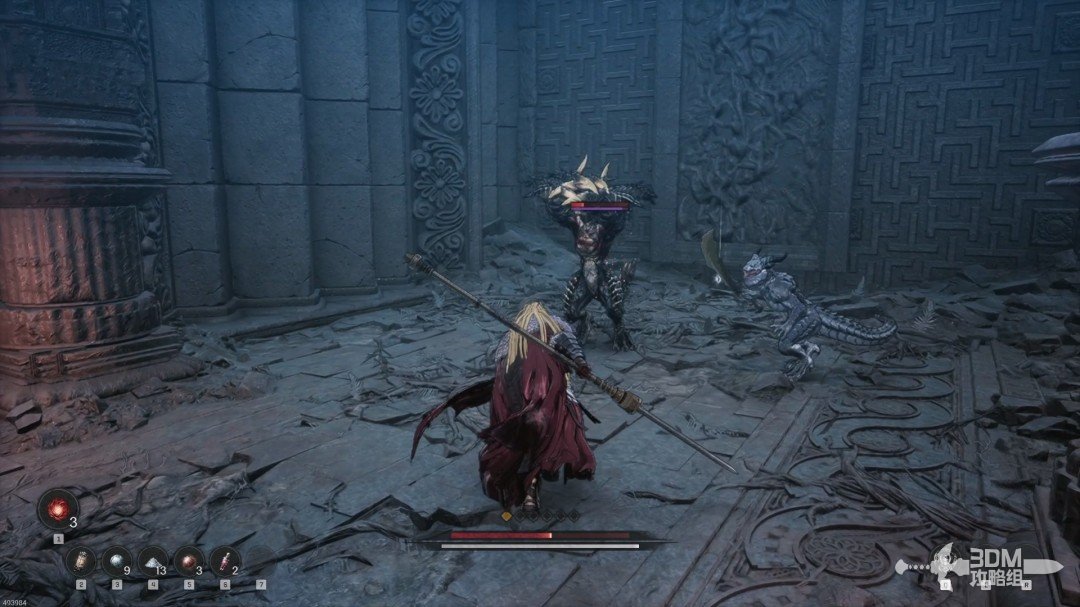
Collect the blue item behind the crates at your back.
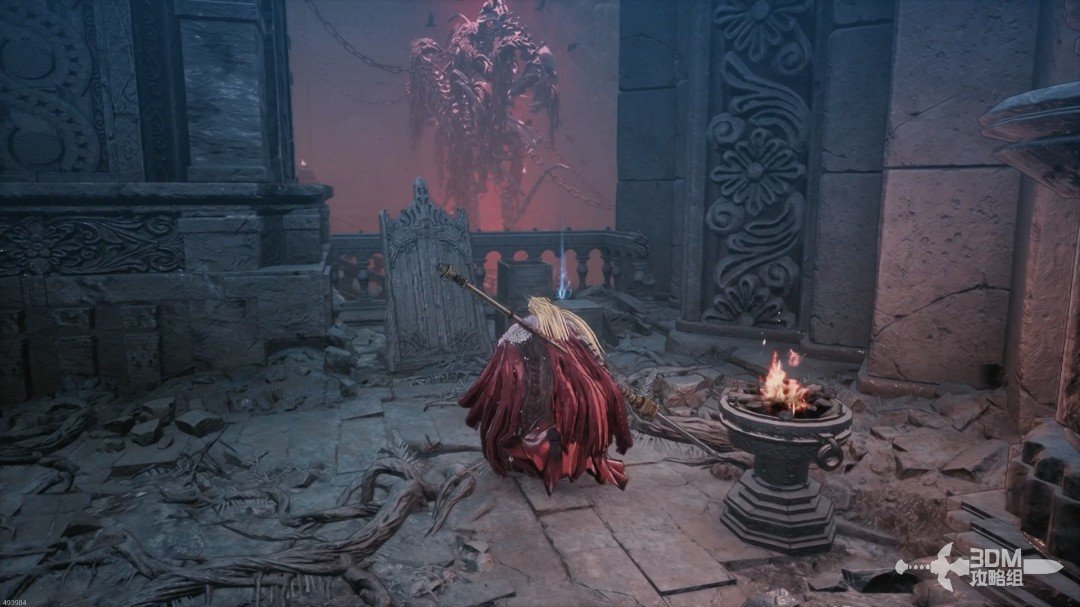
Go right of the large staircase, then take the right branch.
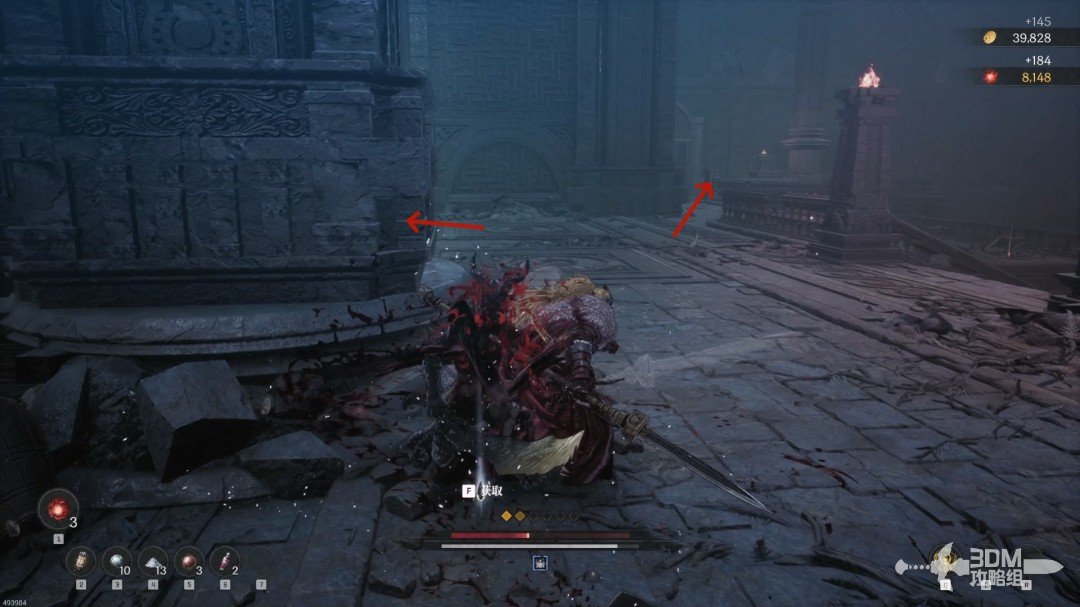
A gap overlooks the person you heard. Drop through it to reach the ledge.
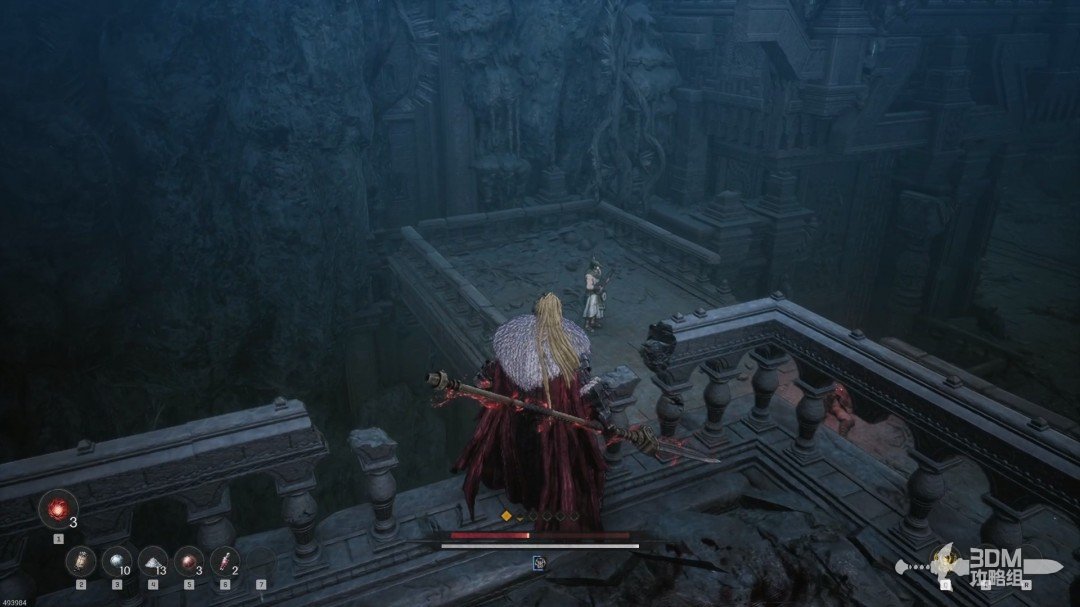
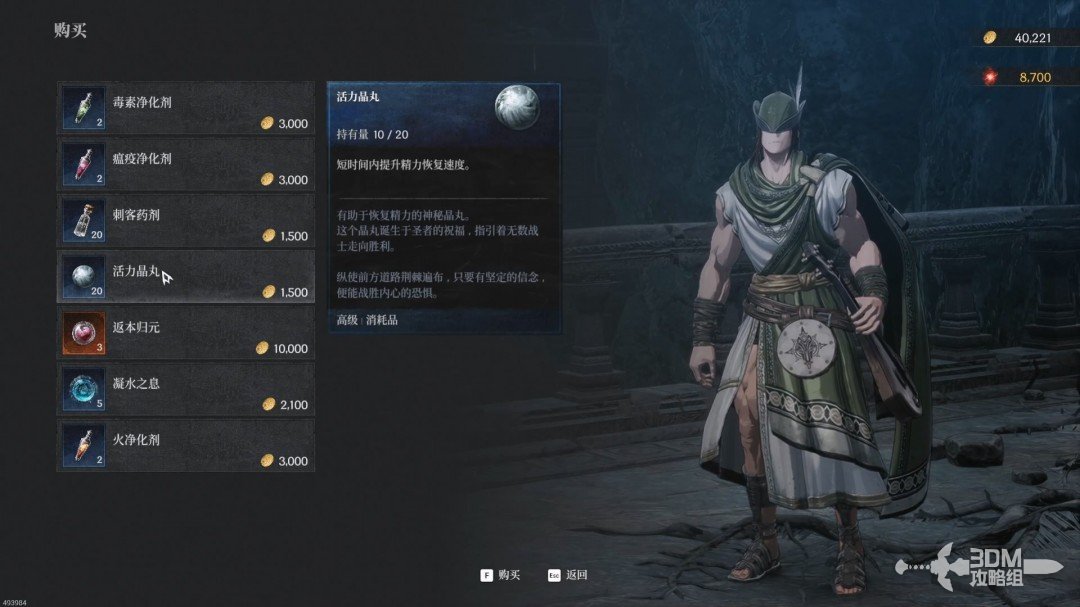
Speak to the merchant for information and shopping.
Absorb the memory beside the merchant.
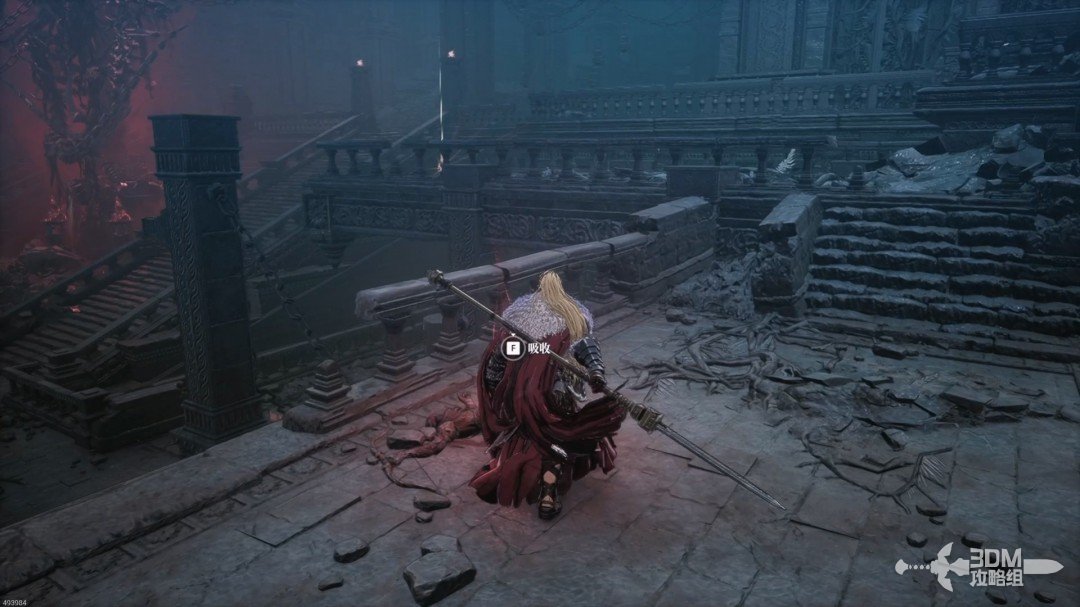
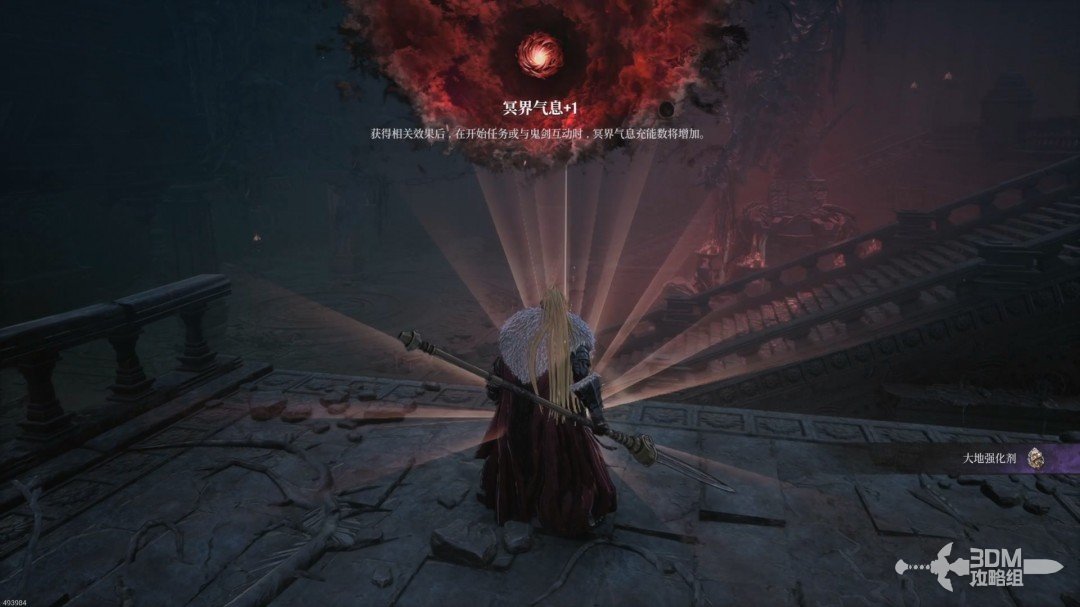
Collect the glowing Netherworld Energy upgrade ahead to gain another healing use. Drop back to the staircase afterward.
11Slope left of the stairs: cross the trap-filled temple
Take the previous fork's left branch and descend the slope.
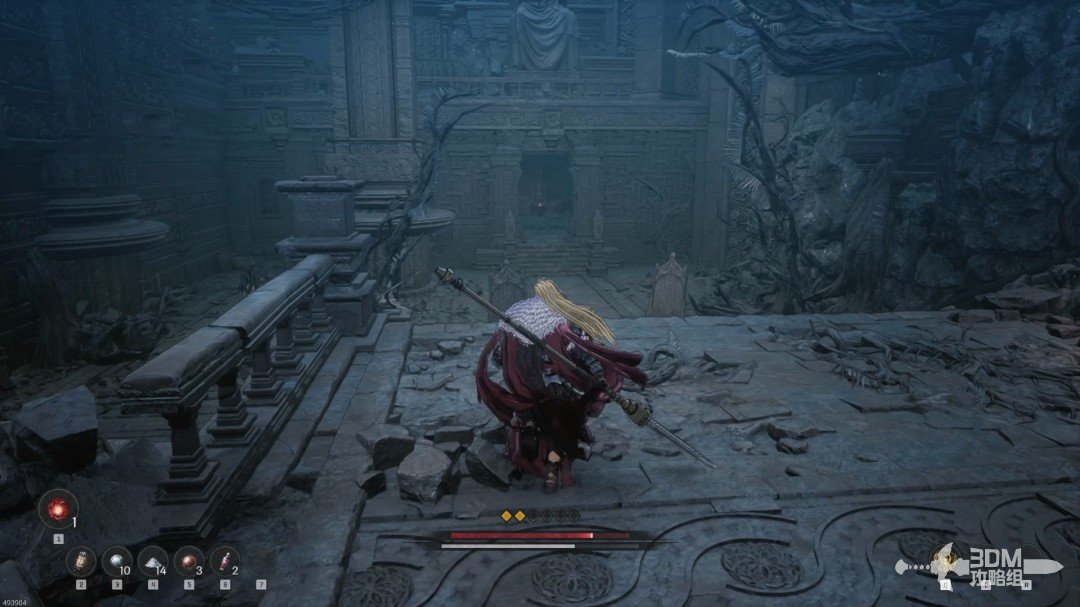
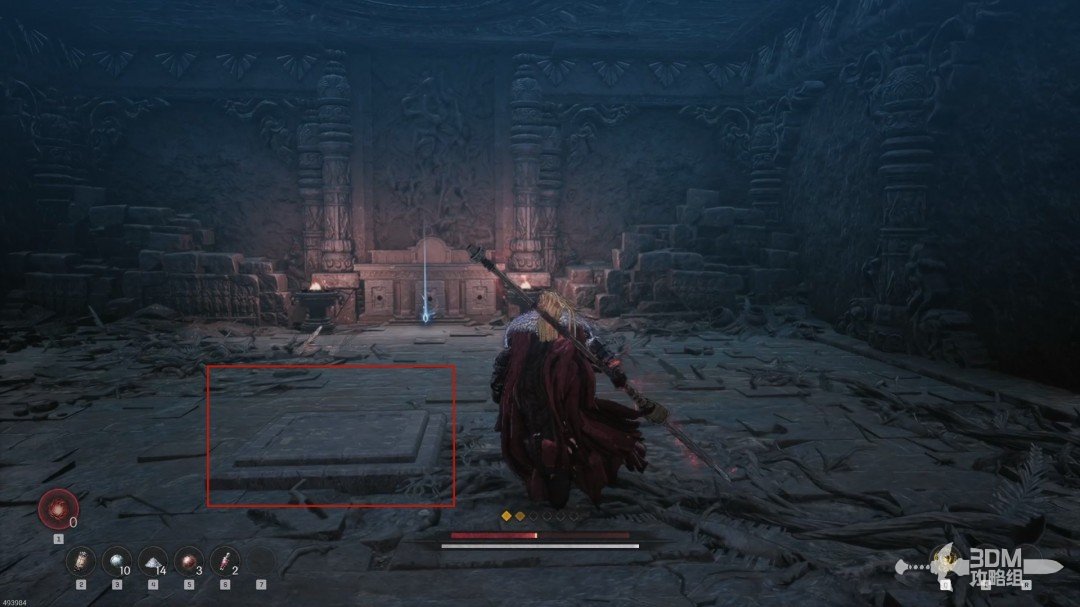
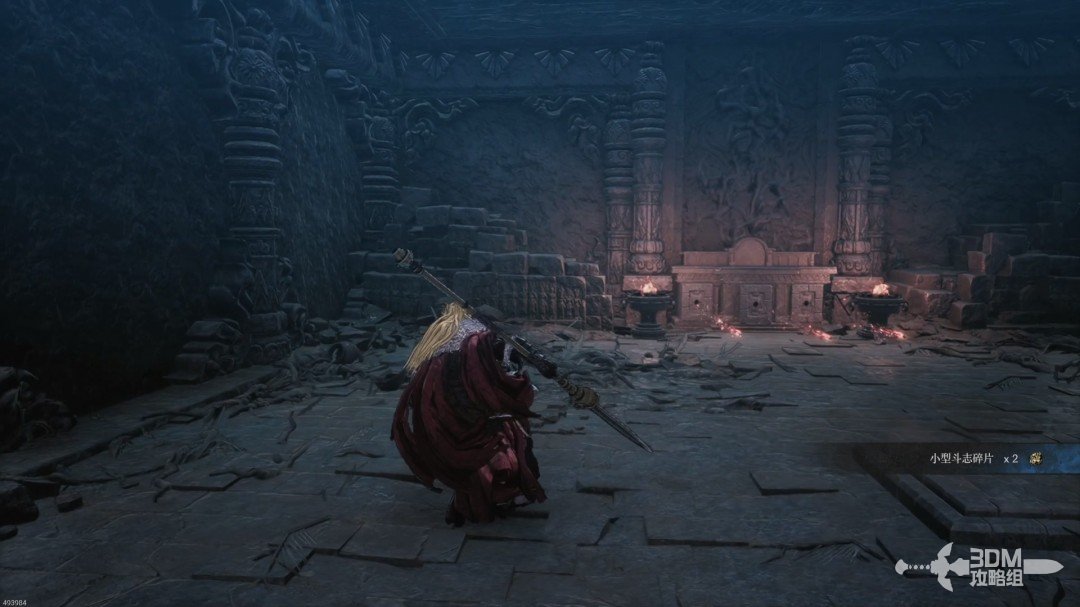
Collect the blue item inside the temple-like room, avoiding the obvious floor mechanism in the middle.
12Closed upper gates: find the dragonkin report on the left
Climb the central stairs and defeat the large, durable enemy.
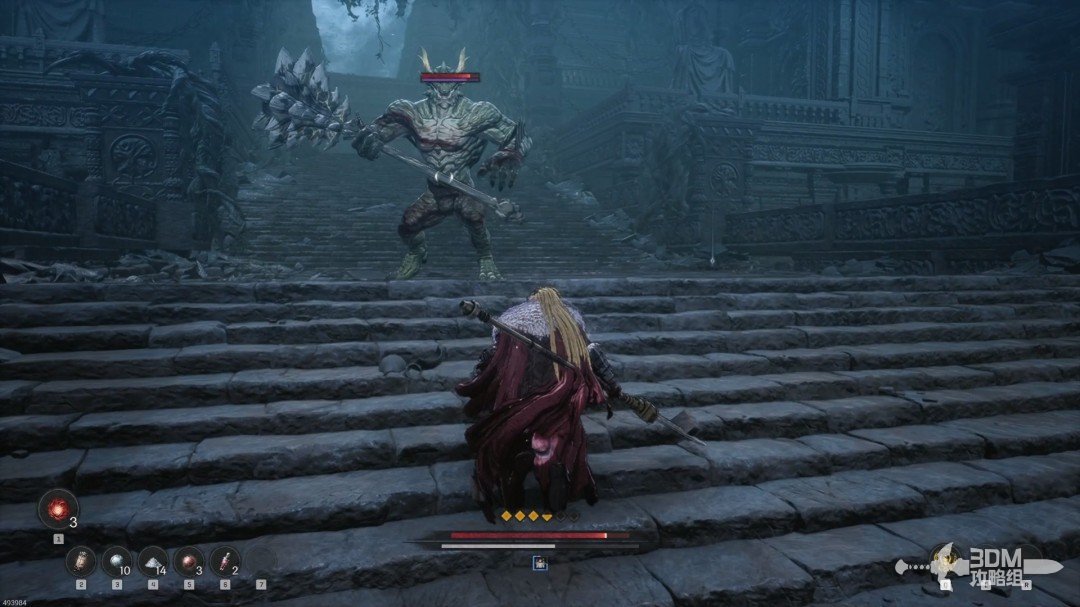
Continue upward. Both the central gate and the right iron gate are locked.
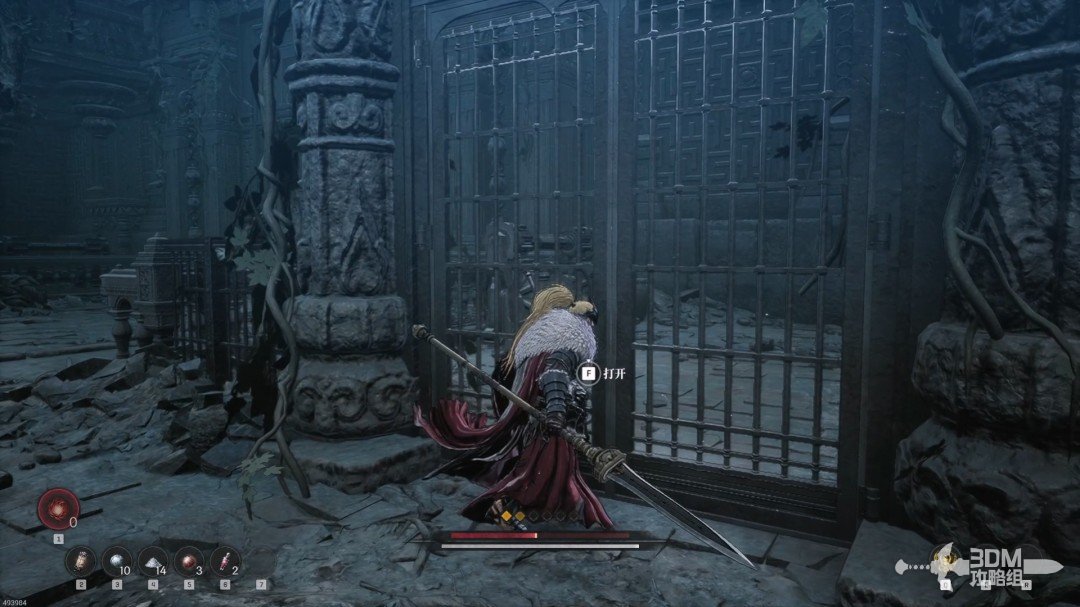
Head left and collect the Report on Dragonkin, identifying the lizard-like enemies.
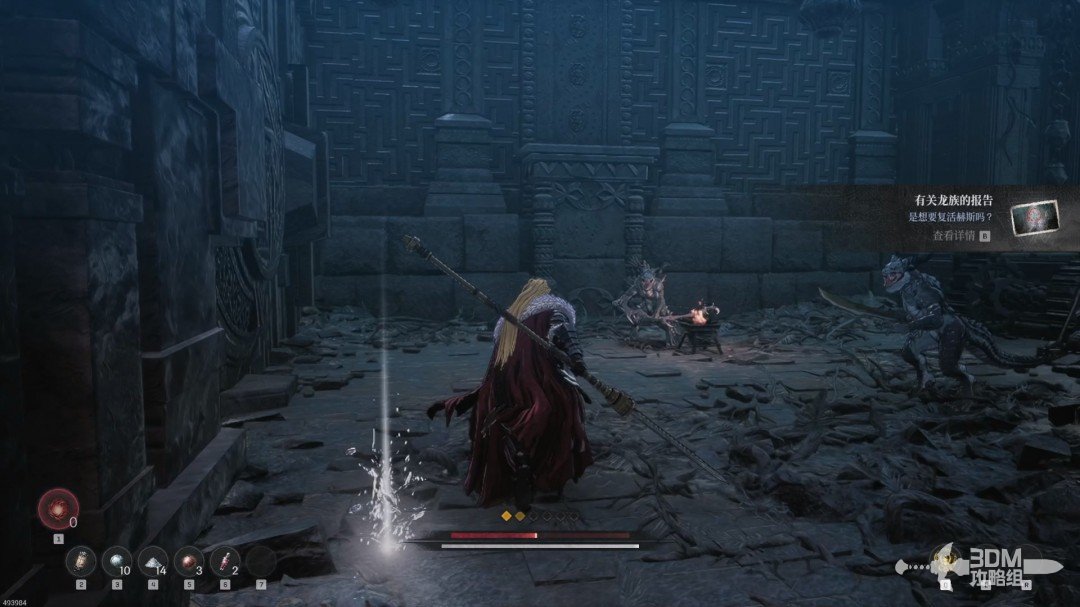
14Switch and elevator: reach Daphrona's Nexus
Defeat the two dragonkin and activate the switch.
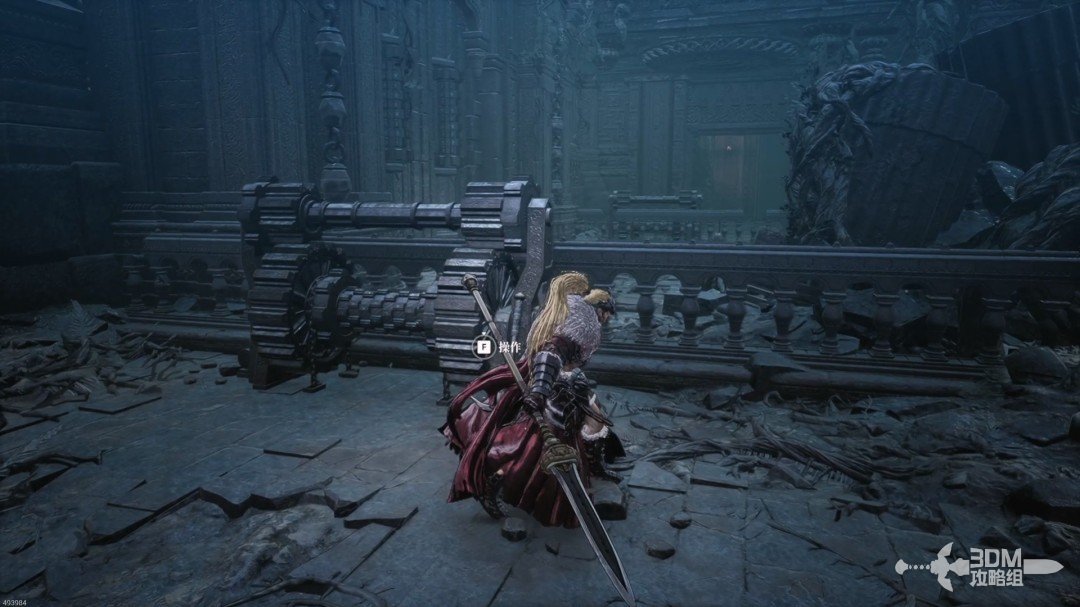
Take the elevator on the left downward.
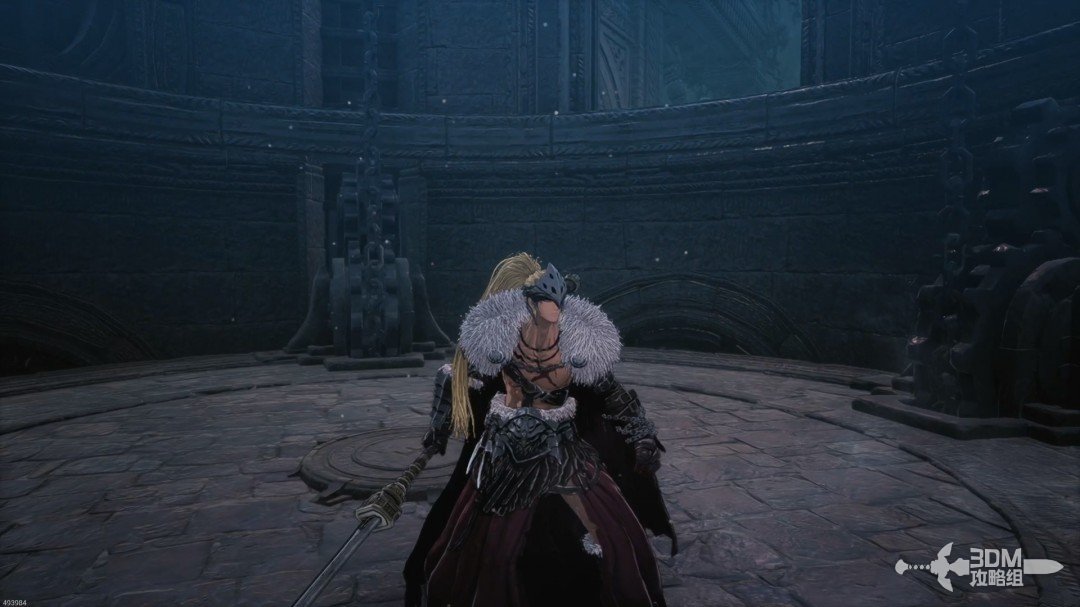
A Blade Nexus and Daphrona await below.
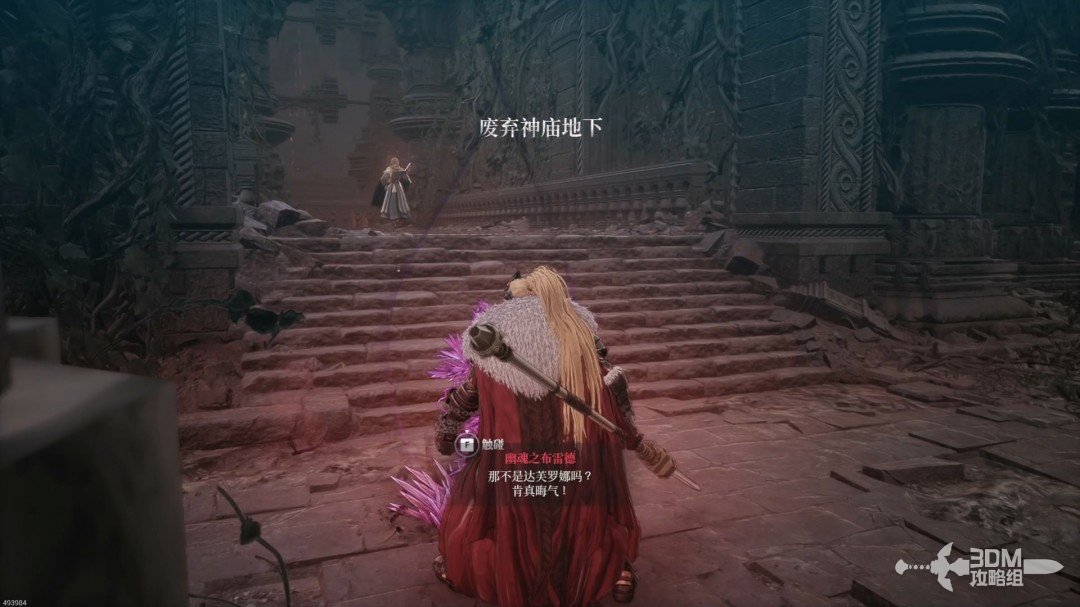
At the Nexus, choose Khazan's Memories and press R for ability upgrades, spending the points shown at the upper right.
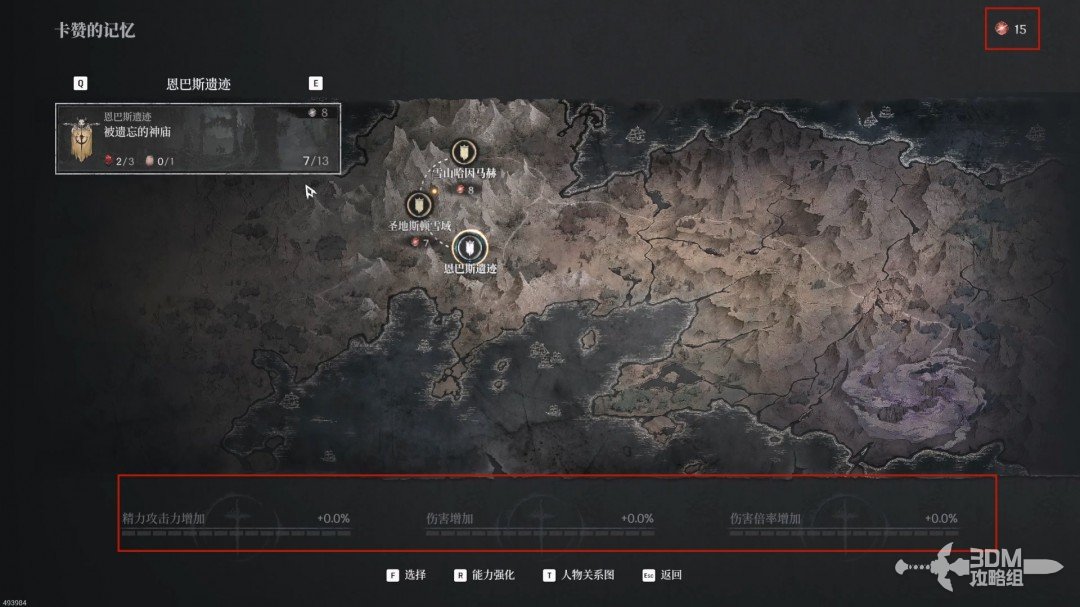
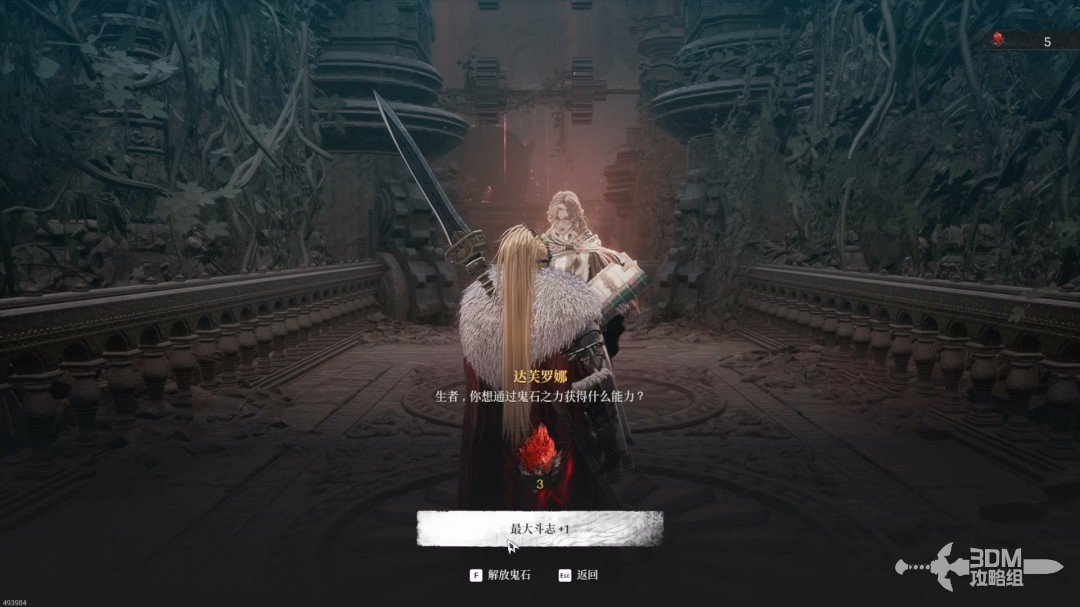
Speak to Daphrona to learn more and spend Soulstones. Each upgrade offers mutually exclusive left and right choices.
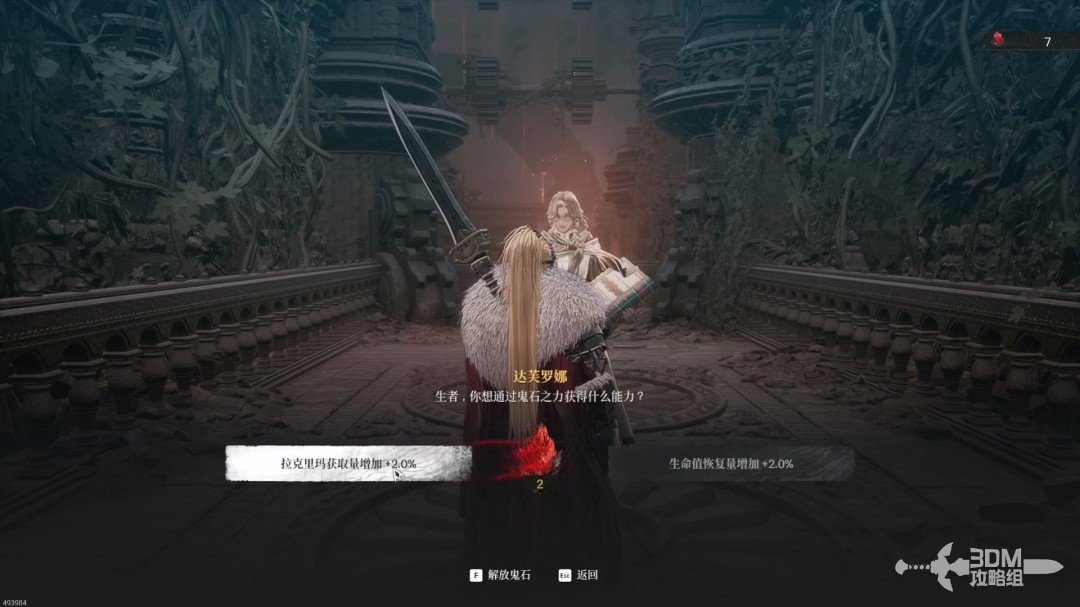
The available upgrades vary between levels.
15Room beyond the dragonkin elite: climb to the statues
Continue inside, watching for an ambush on the left.
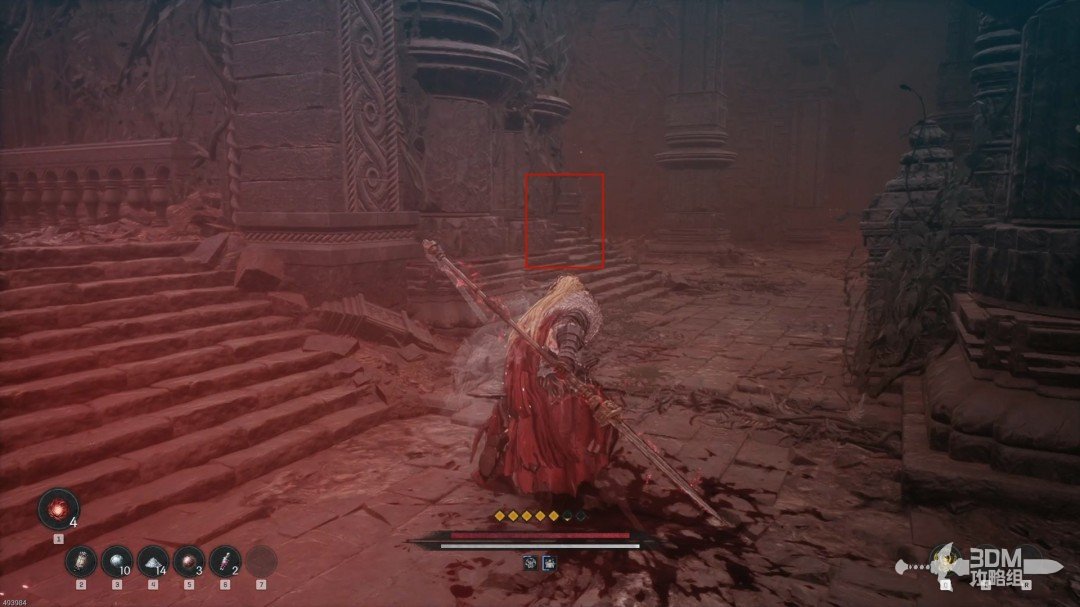
Defeat the elite dragonkin ahead for gear and materials.
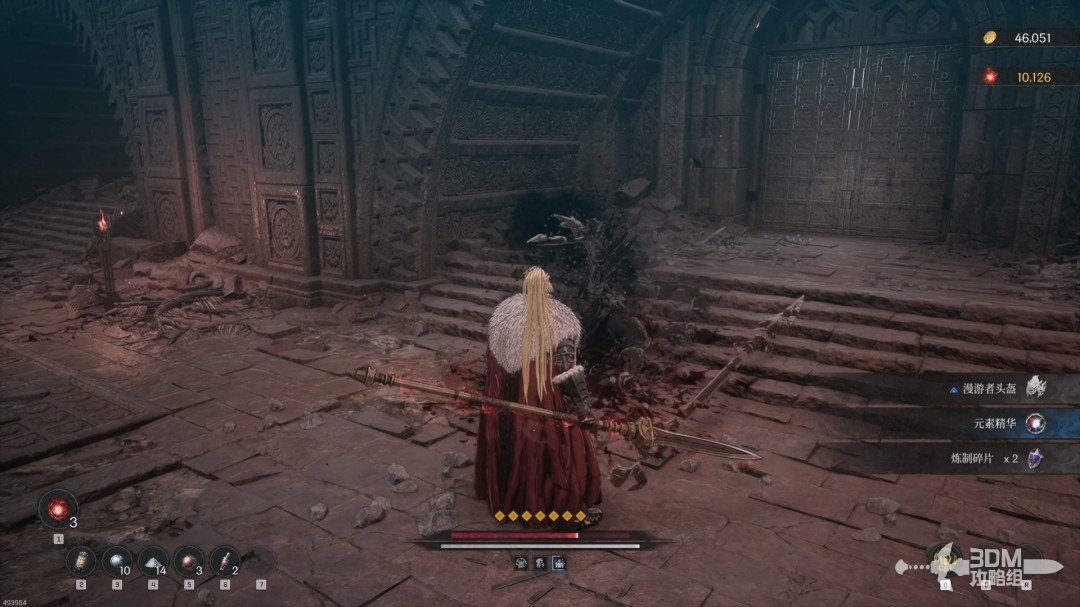
Open the right door, absorb the memory inside and collect the white item on the left.
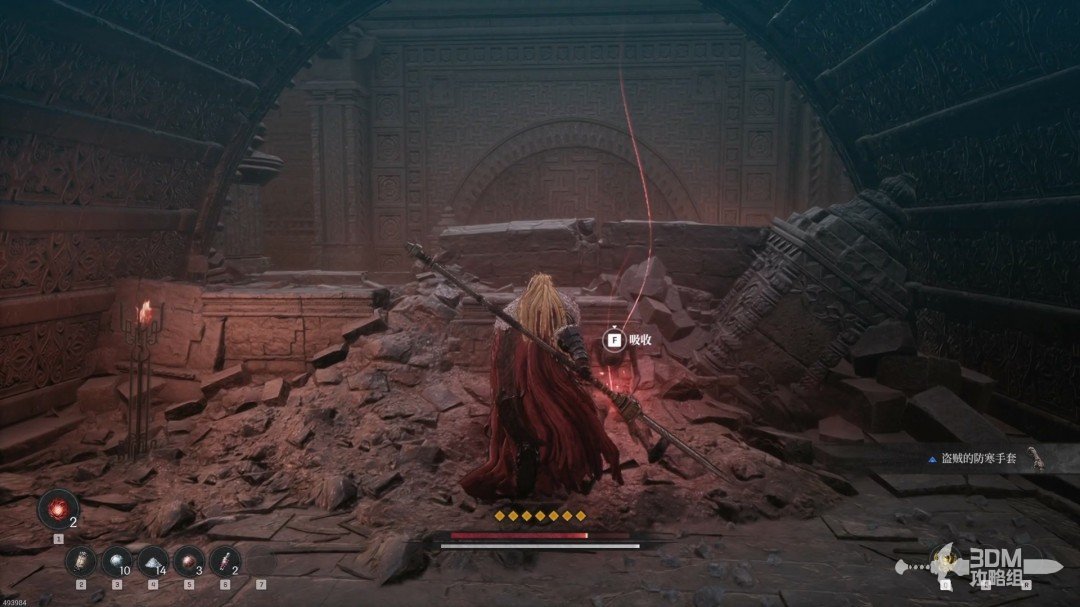
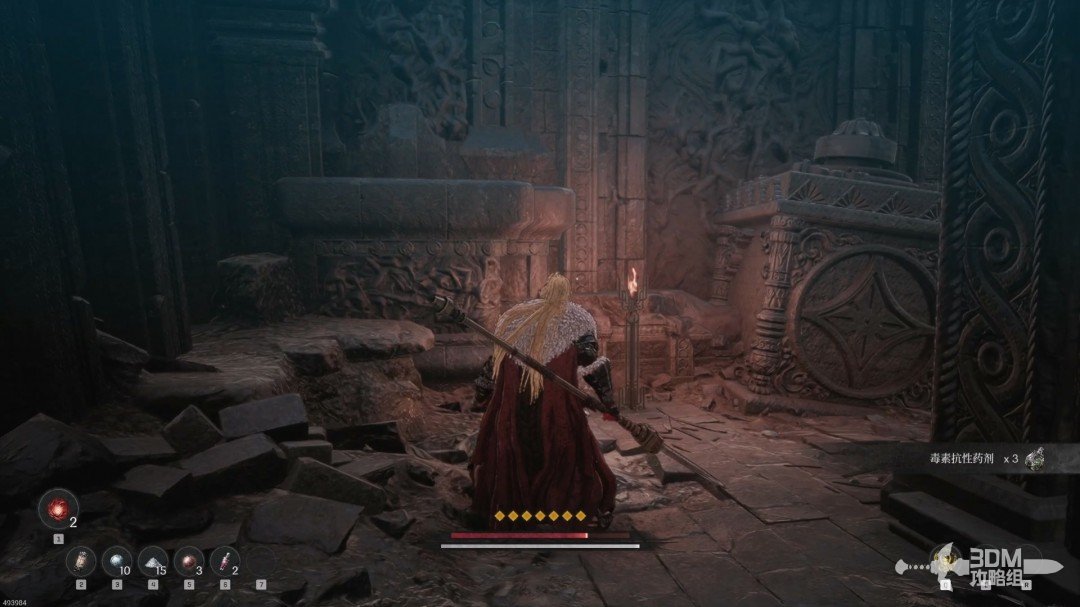
Climb the left stairs for the Scout's Worn Diary. Search around the statues before operating them.
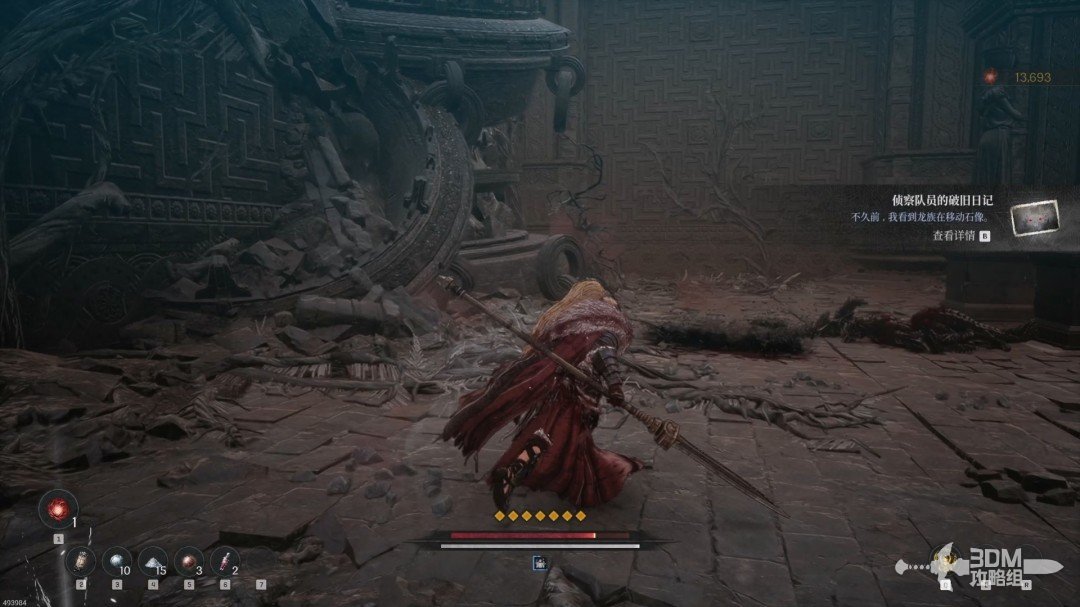
17Room right of the statue hall: beware the explosive chest
The right-hand door is open.
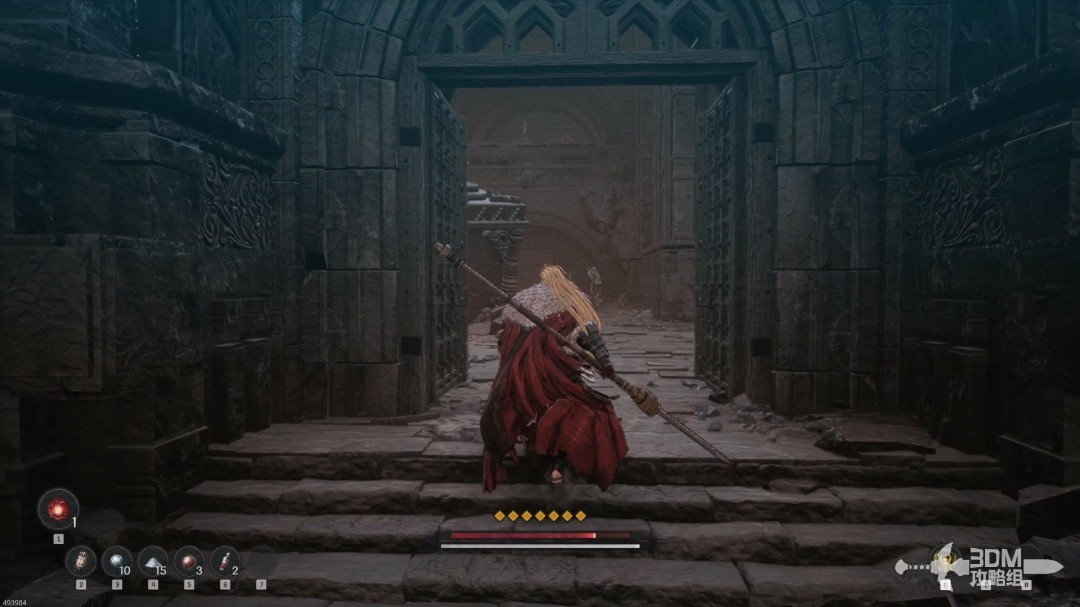
Fight through the enemies to the chest on the right. Dodge immediately after opening it: it explodes.
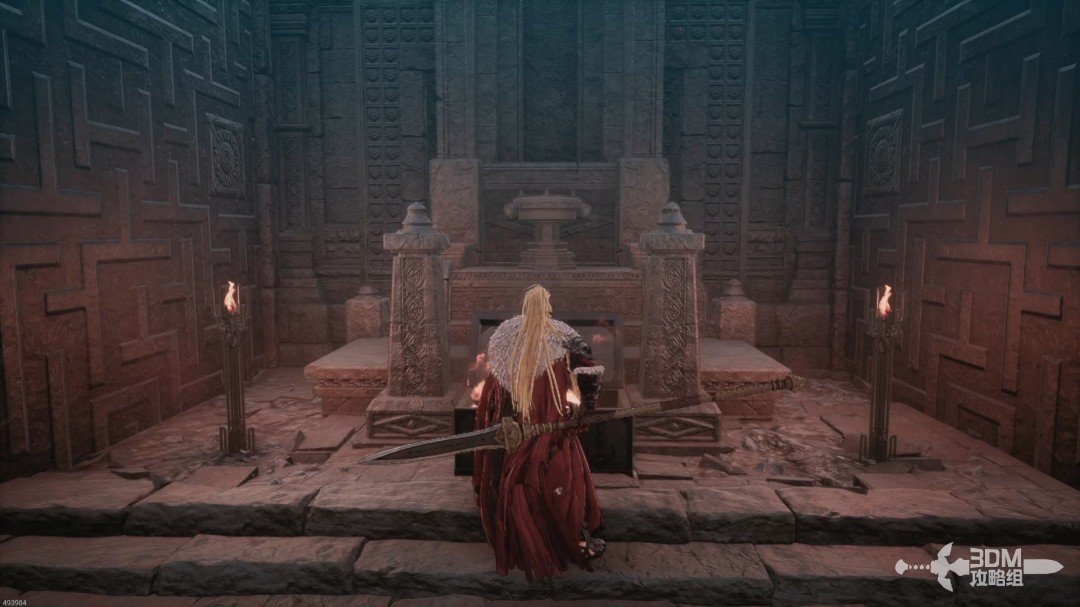
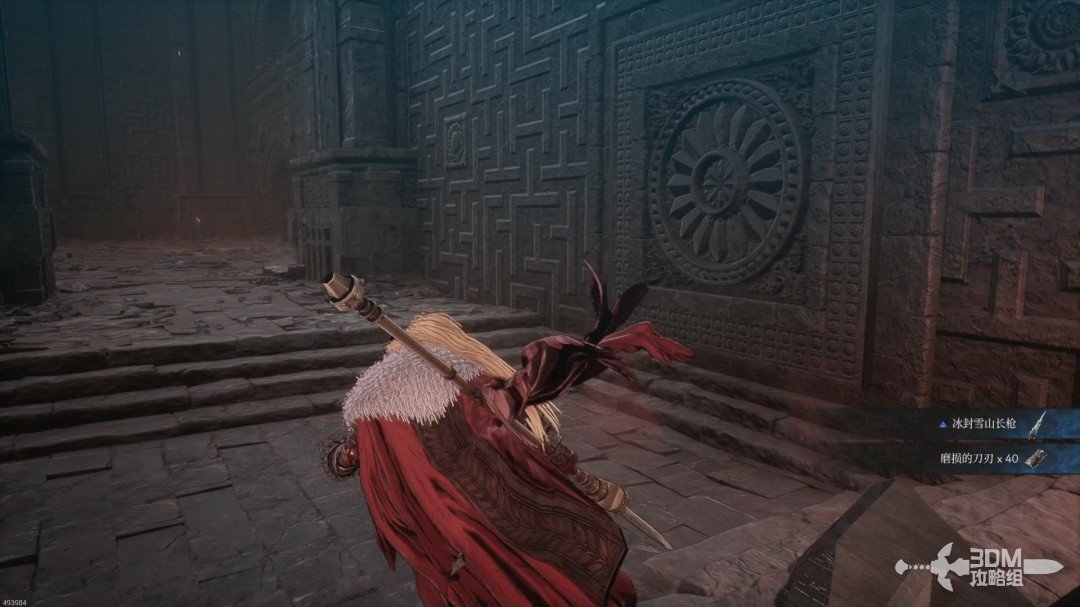
Turn back and collect the purple item in the right-hand cell.
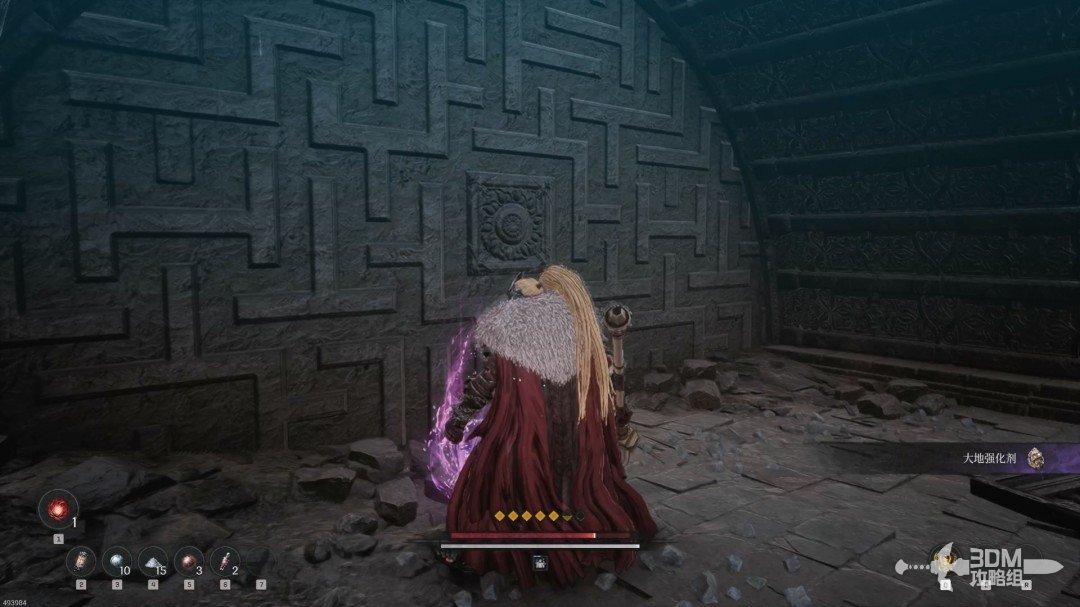
18Align the facing statues: climb up and stop the first mechanism
Return to the statues and rotate them to face one another.
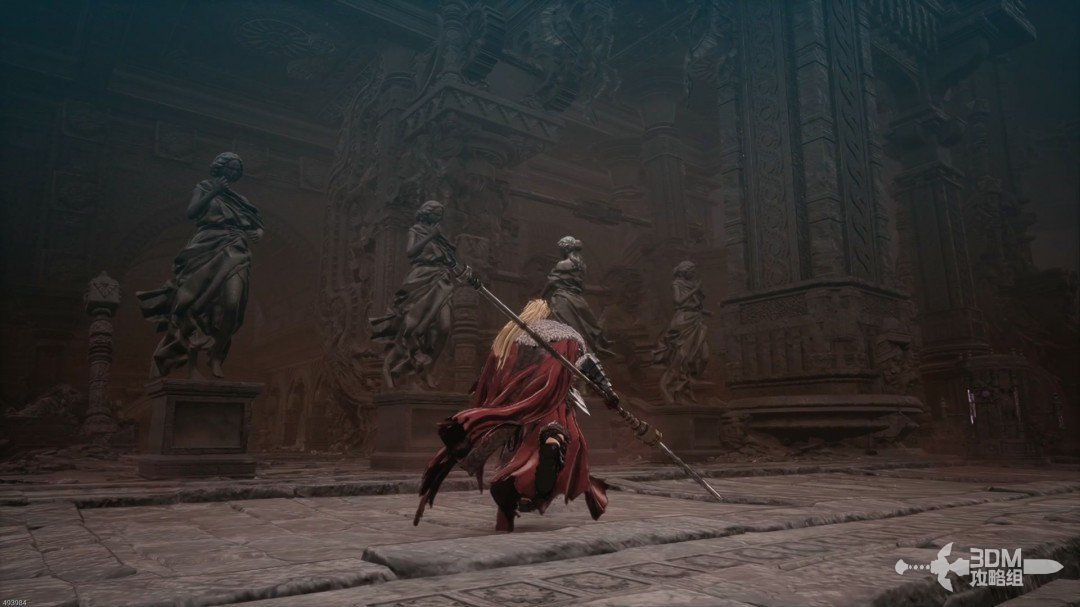
White markings on the bases identify movable statues.
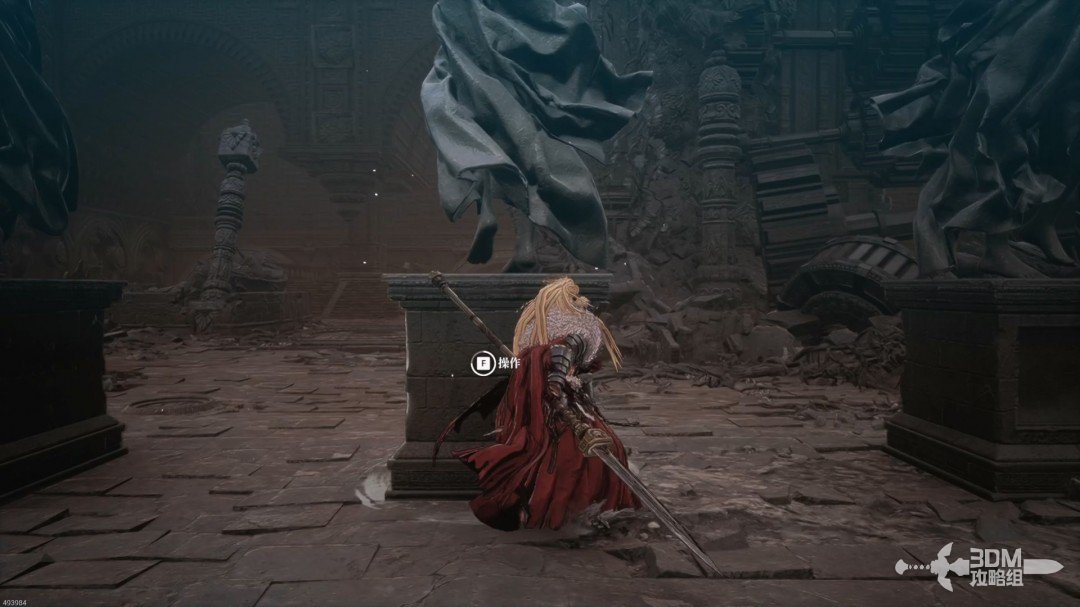
Solving the mechanism raises a platform behind you. Reach the upper level through the right room, or drop to the ladder at the cost of some health.
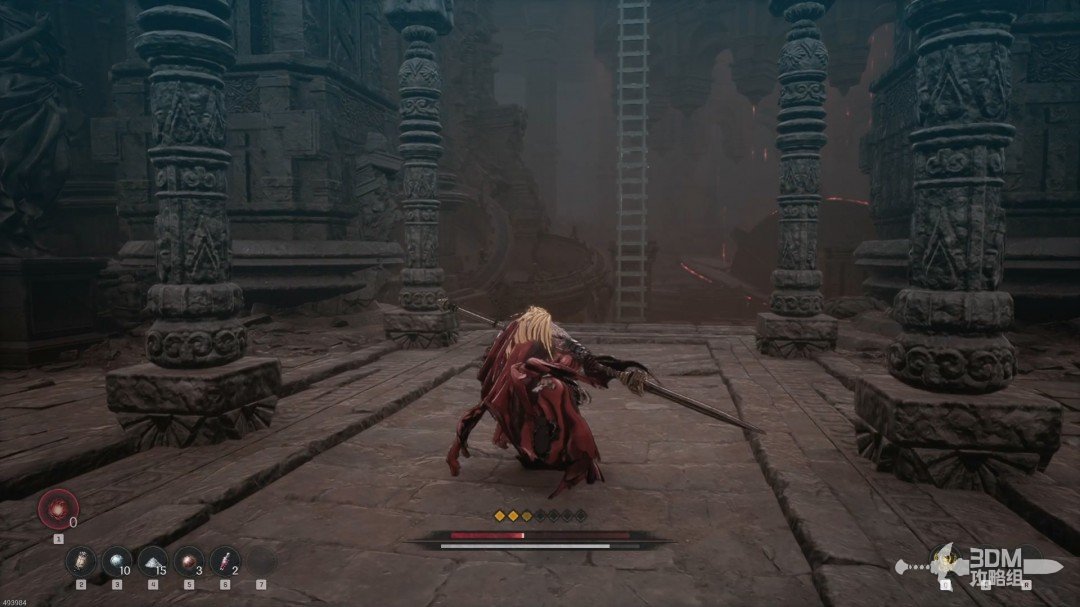
Activate the mechanism above to stop one rotating disc, then return downstairs.
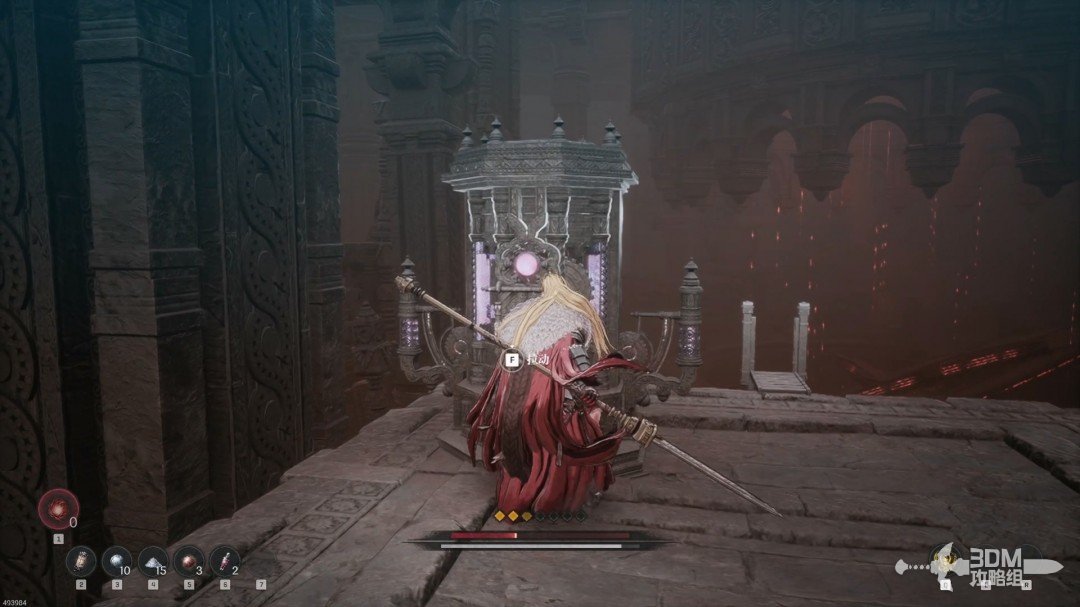
19Stairs right of the discs: pass explosive pots and dragonkin
At the discs, explore the left end for a purple item.
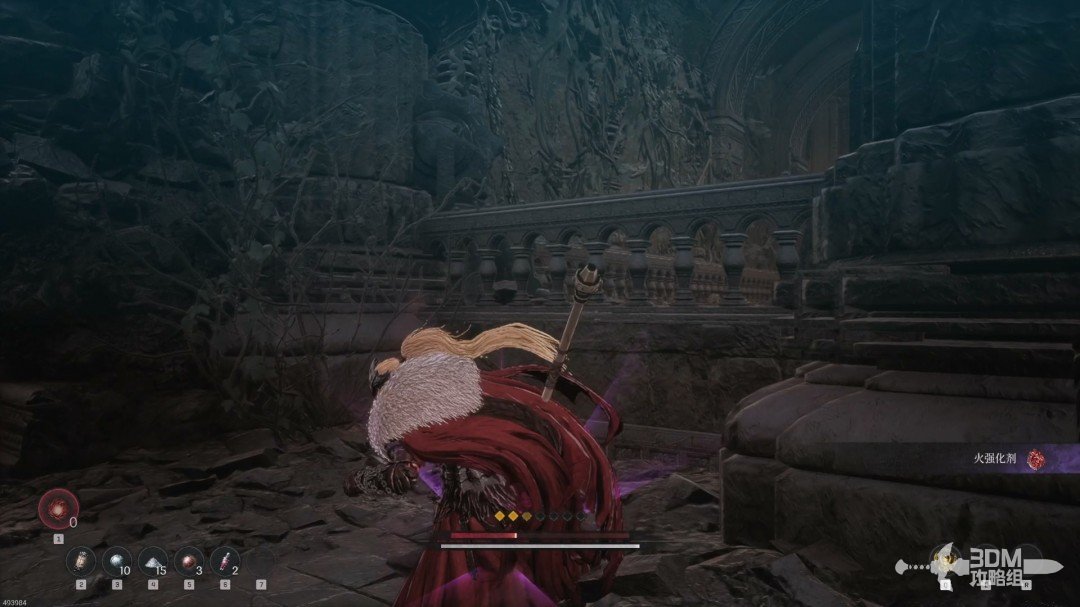
Go right to a fork: stairs lead right and a Blade Nexus lies left.
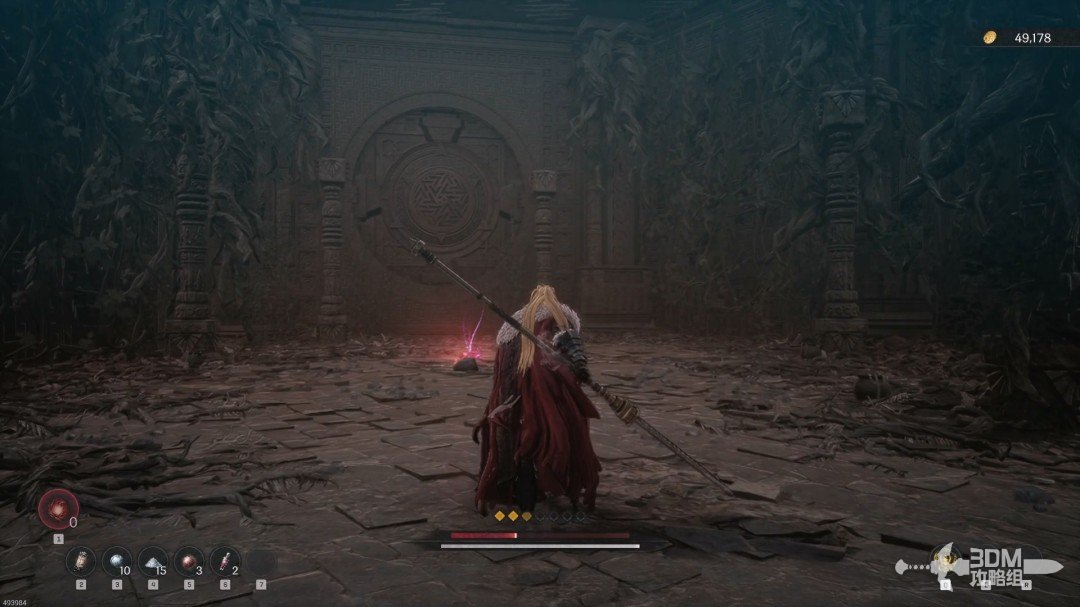
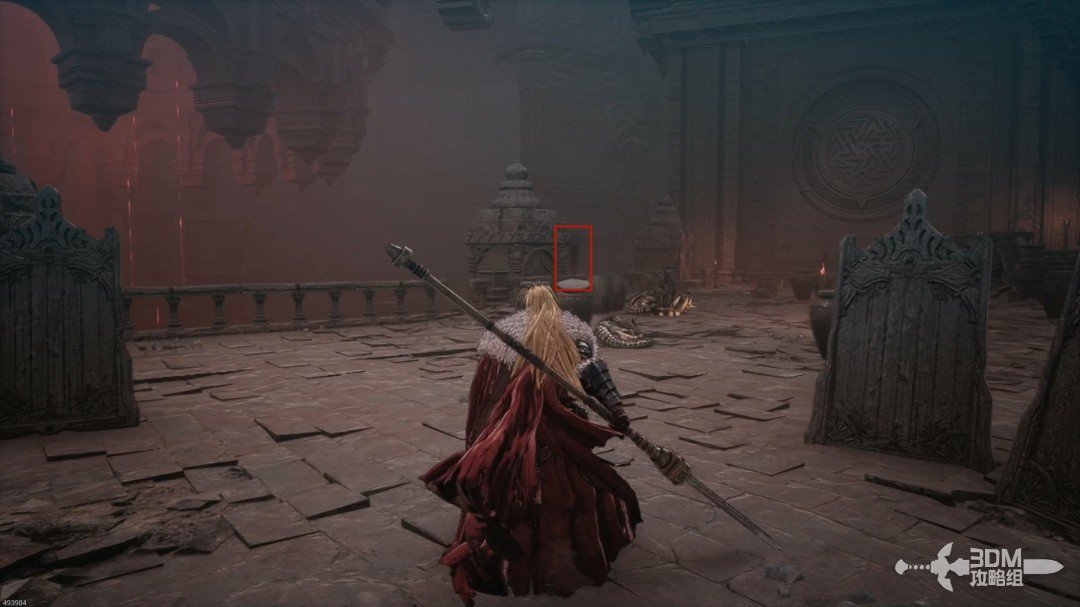
Rest, then climb the stairs past dragonkin. Smoking jars explode when hit and can damage the group.
Descend the left ladder for a blue item.
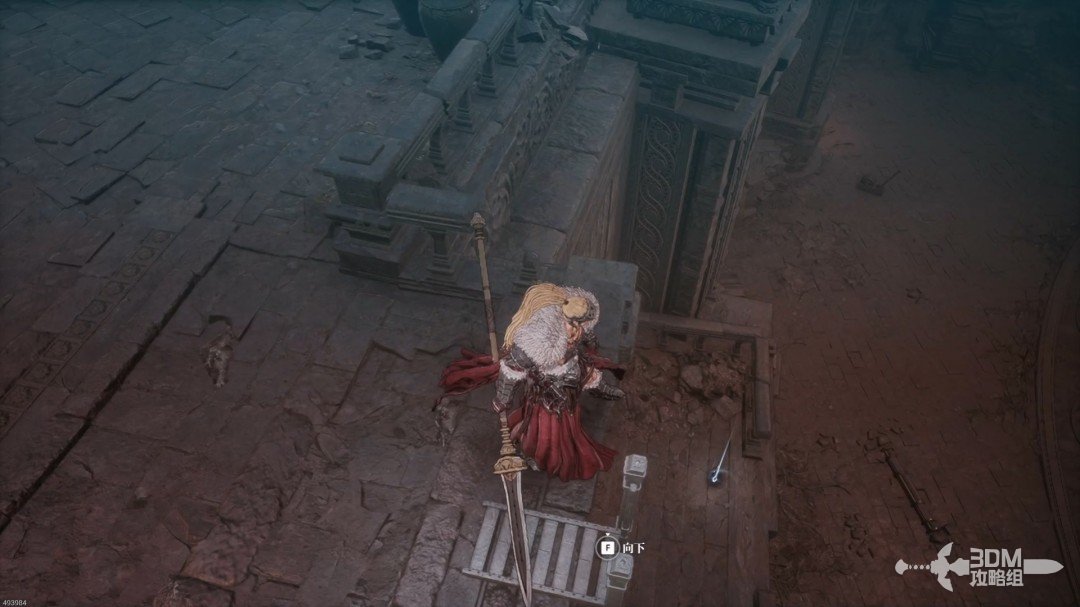
Return and advance through more enemies, using explosive jars to thin them out.
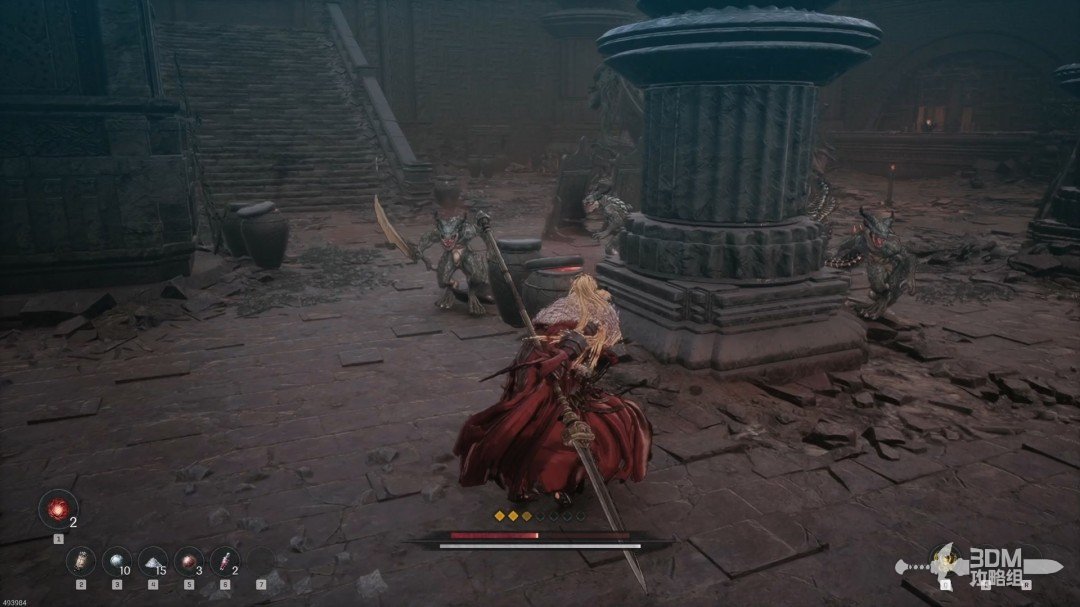
Collect the memory on the left.
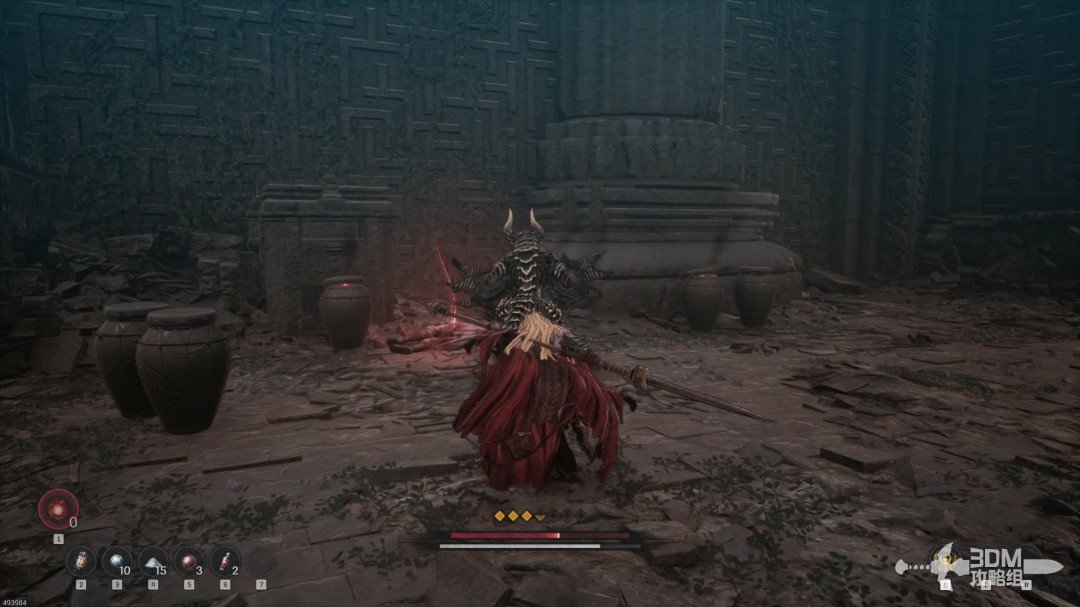
20Upper ladder and powerful foe: unlock Veronika
Climb the nearby ladder toward the ranged dragonkin.
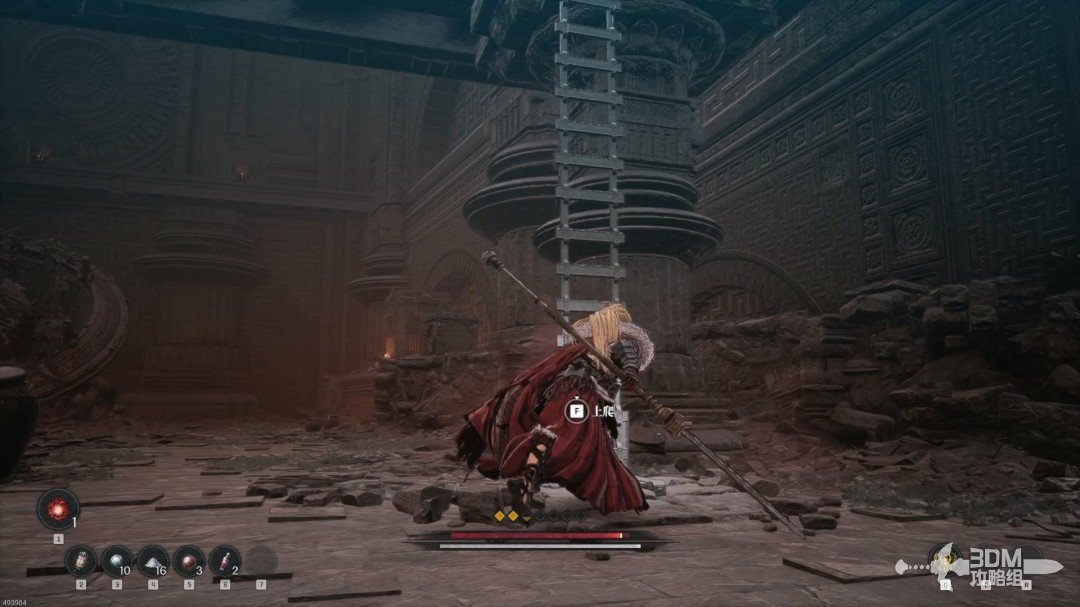
Open the chest on the platform.
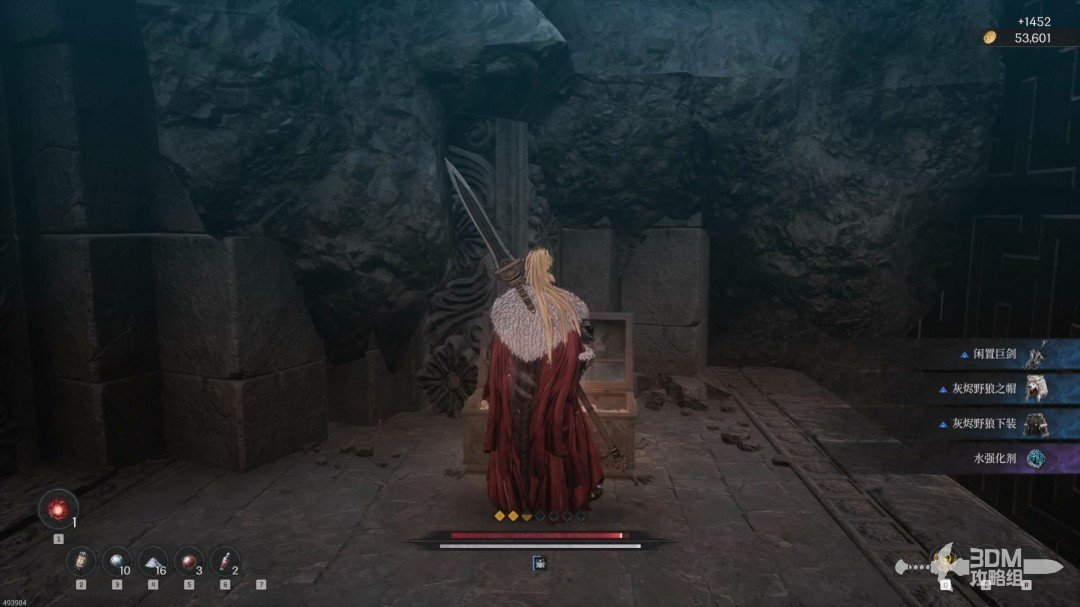
Descend and continue to a large dragonkin Powerful Enemy. These foes have more health and stamina, may have effects such as frenzy, and do not respawn after defeat.
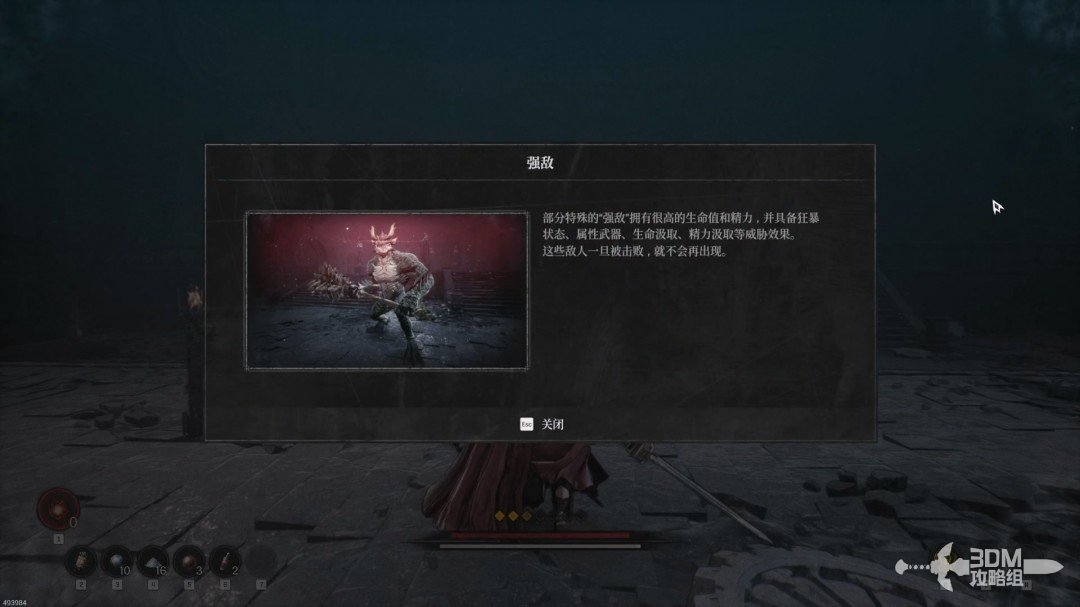
Defeat it for equipment and items. The source did not establish whether the equipment scroll drop is fixed.
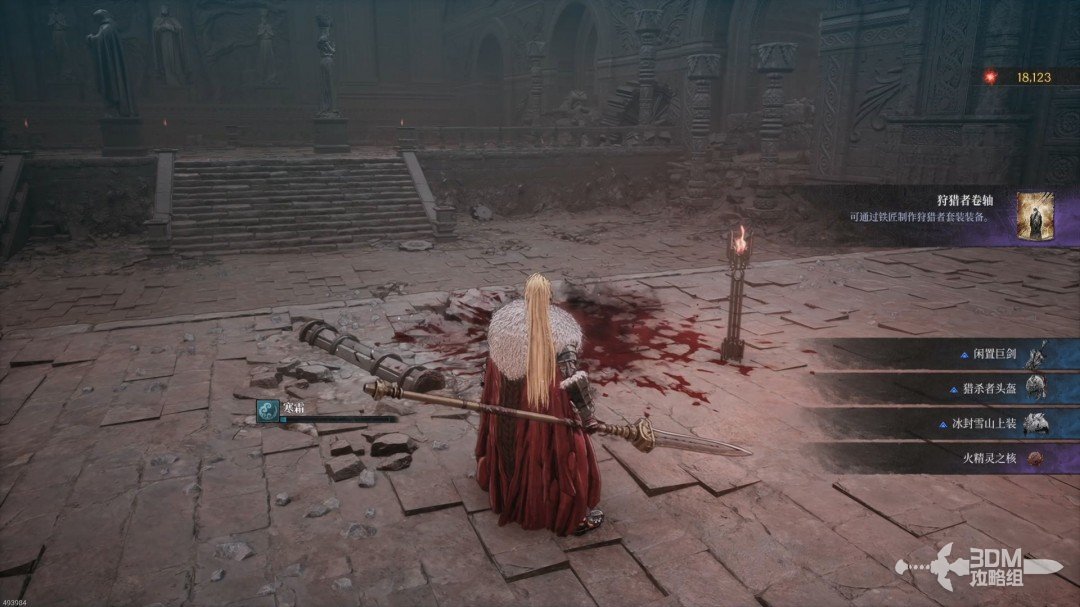
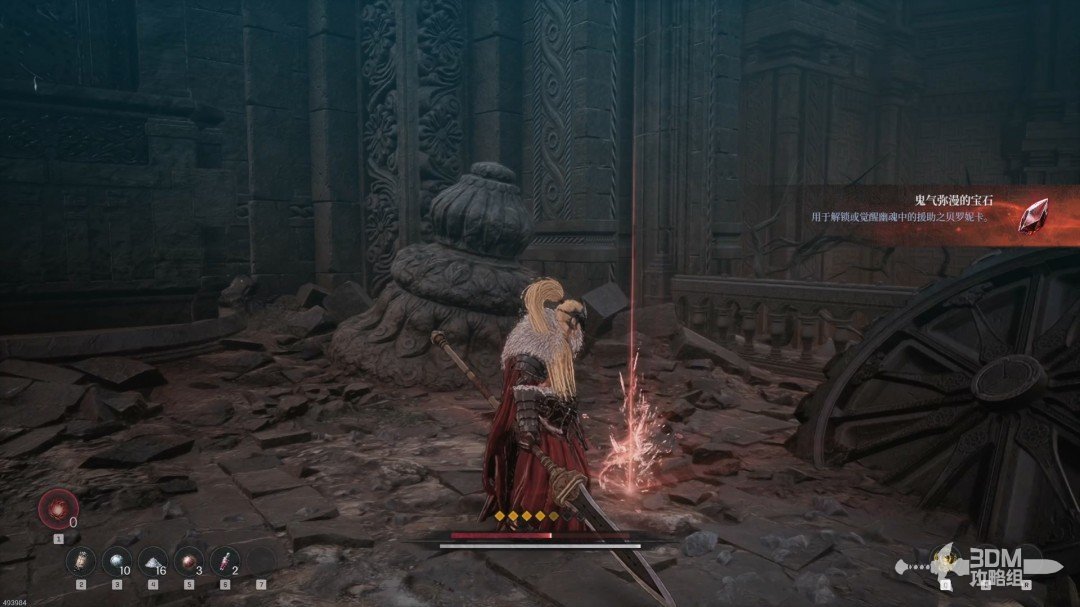
Collect the red item to its left to unlock Veronika's assistance among your phantoms.
21Second statue puzzle and vanishing tiles: hit the distant Soulstone
More statues stand ahead. Avoid the slabs on either side: they disappear underfoot and cause a fatal fall.
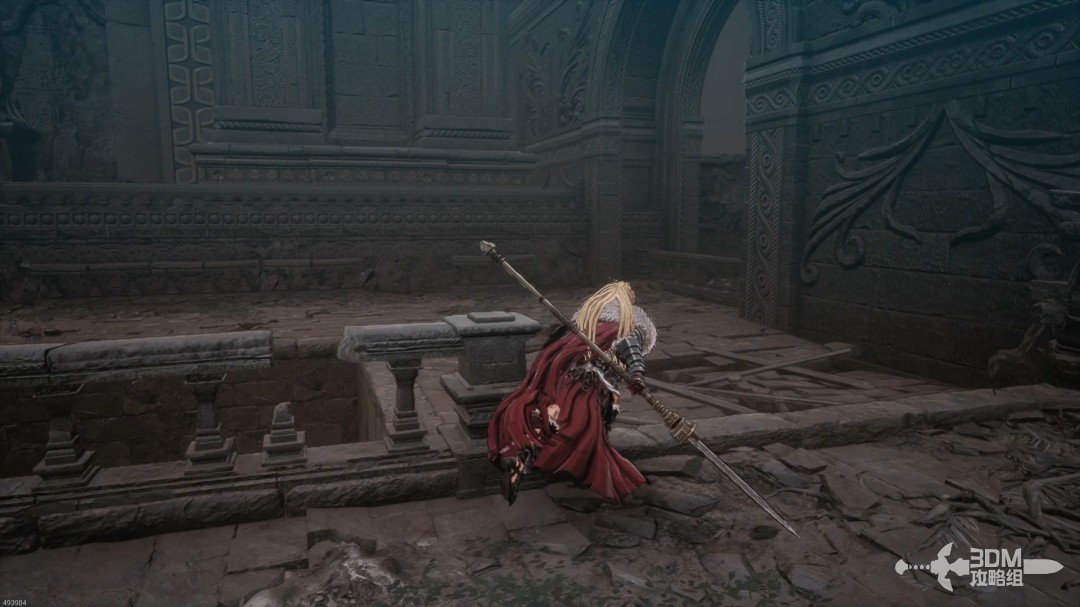
Rotate the statues to face one another, raising a platform across the central gap.
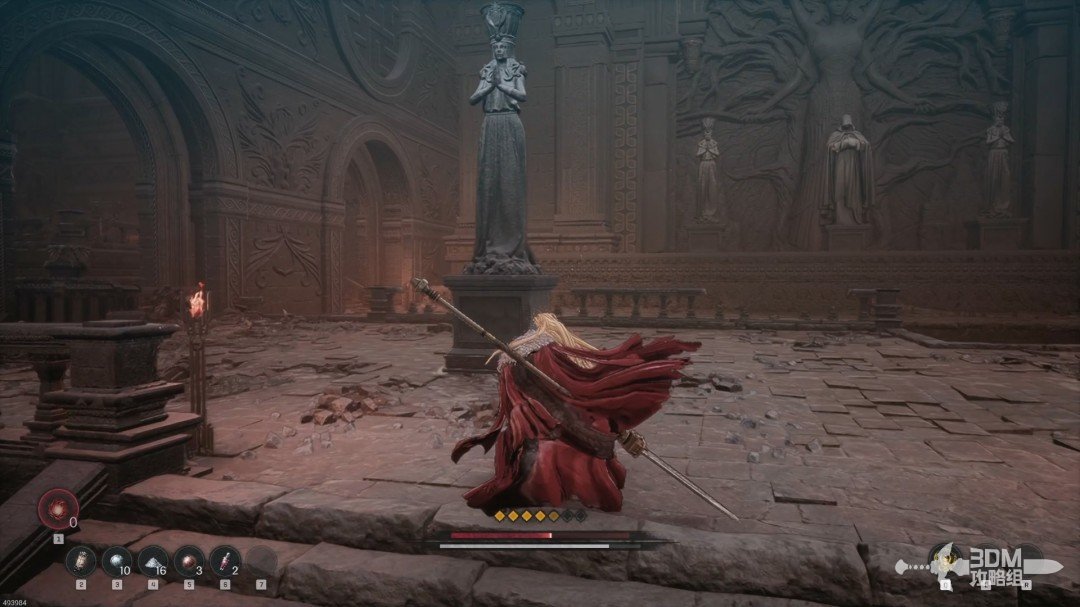
Throw a Javelin at the Soulstone on the carved platform opposite.
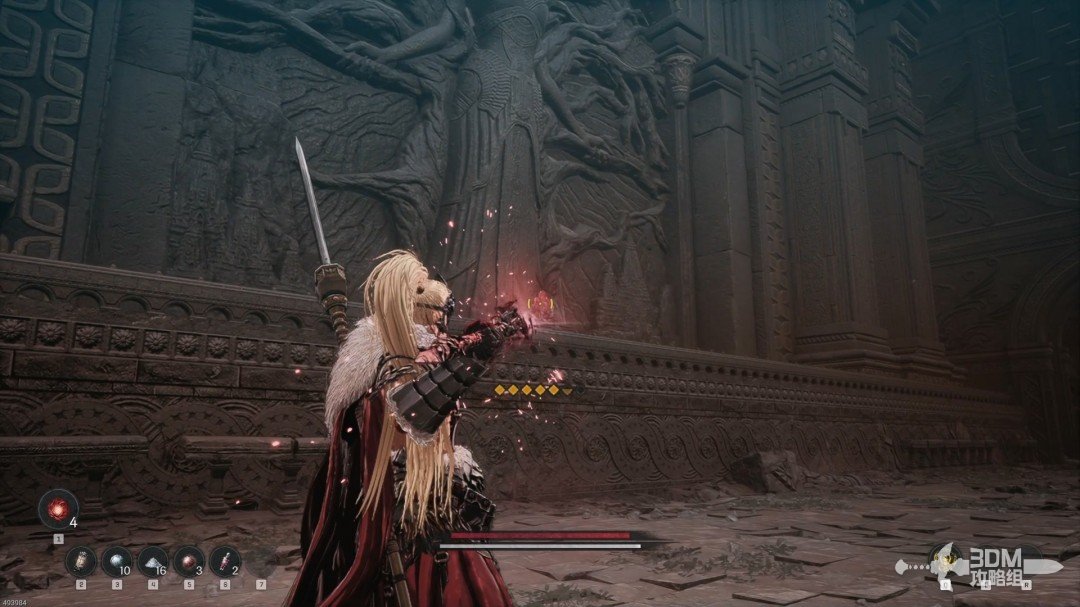
23Outer stairs around the discs: stop the remaining mechanisms
Go left and activate the mechanism.
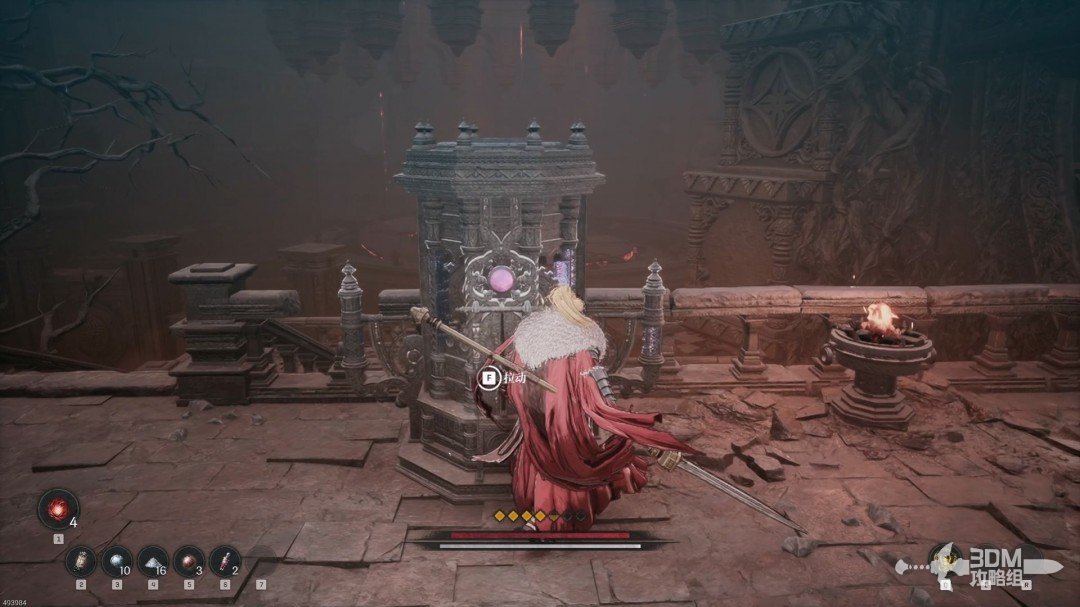
Another disc stops. Descend and collect the white item left of the stairs.
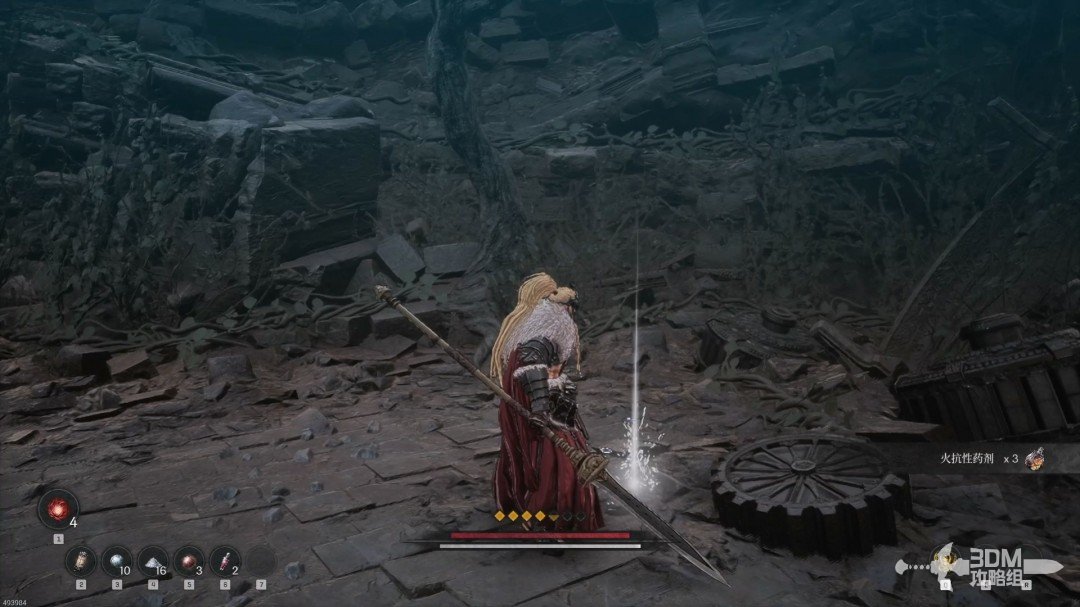
Collect the blue item in the outside left corner, then continue down.
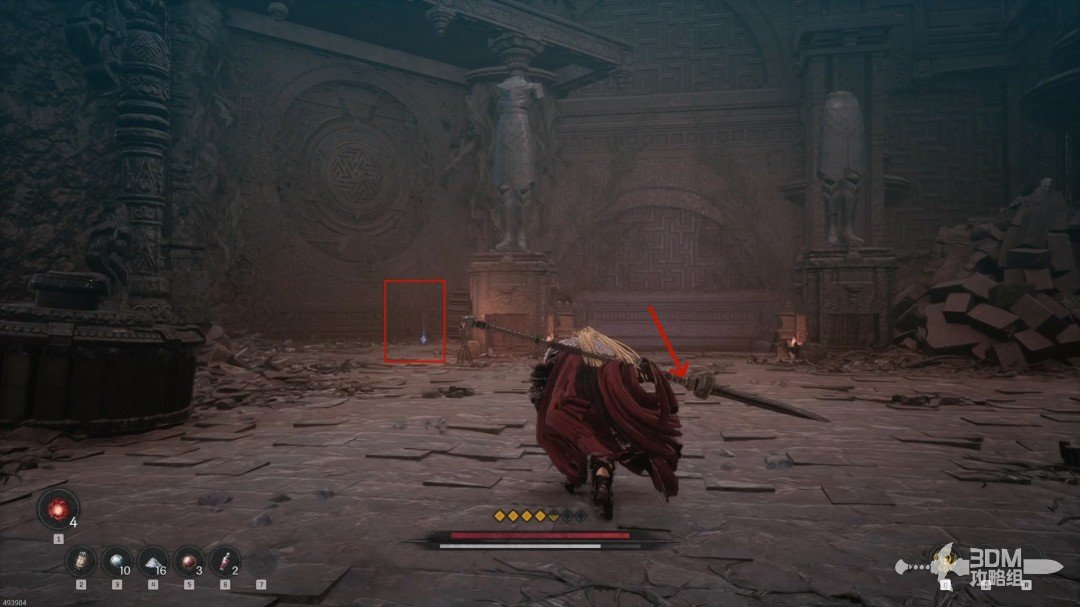
Clear the skeletons around the lower disc and climb the left stairs.
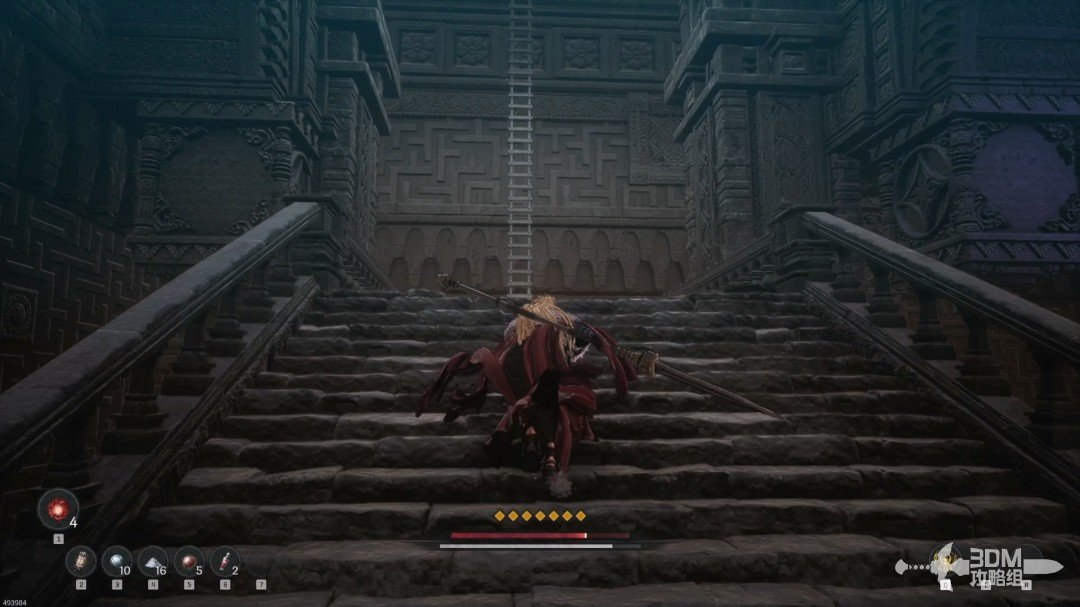
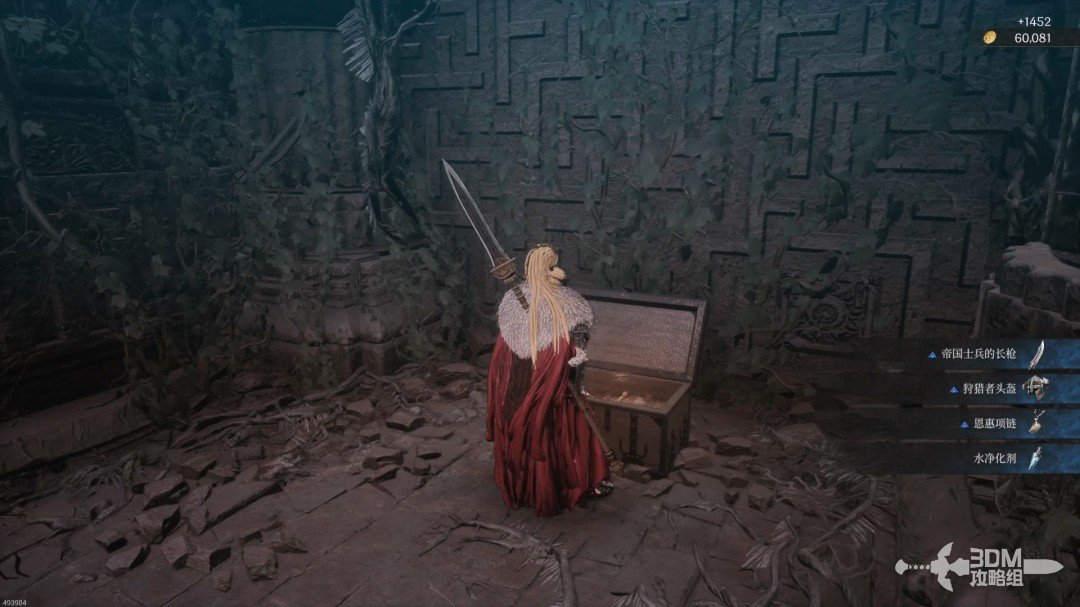
The right side is a dead end. Head left past a chest.
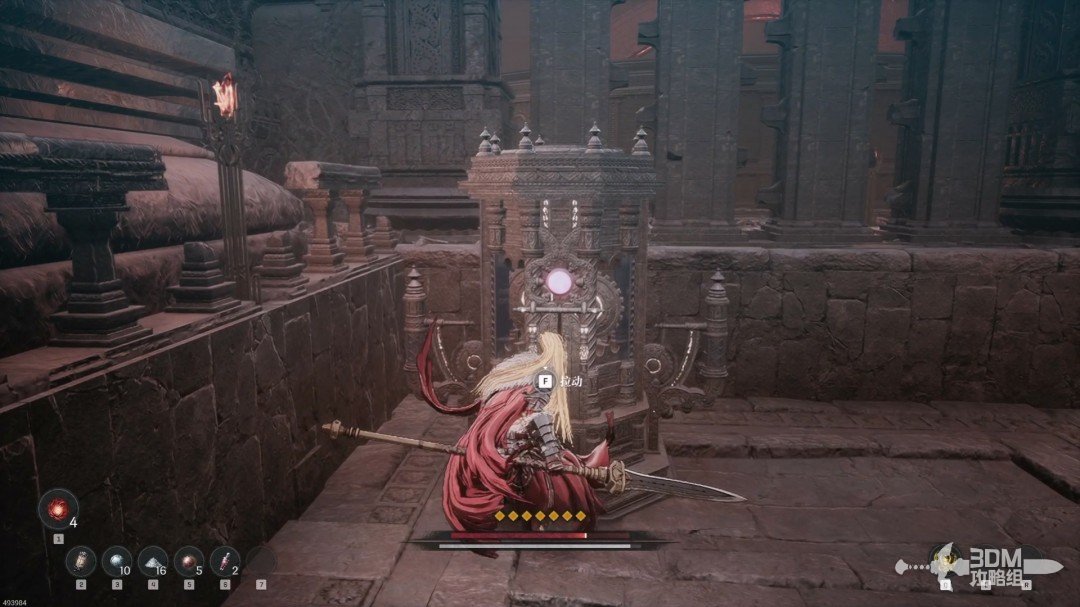
Activate the next left-hand switch to stop all the central discs.
24Specter at the central discs and the elevator to the gate
Approach the discs and defeat the fragile revenant that appears.
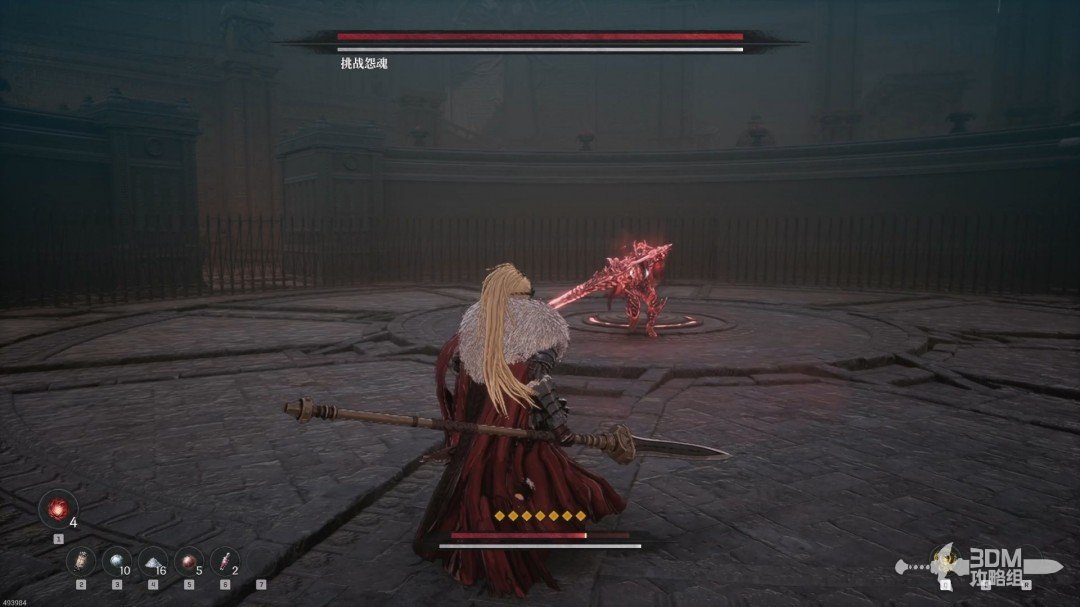
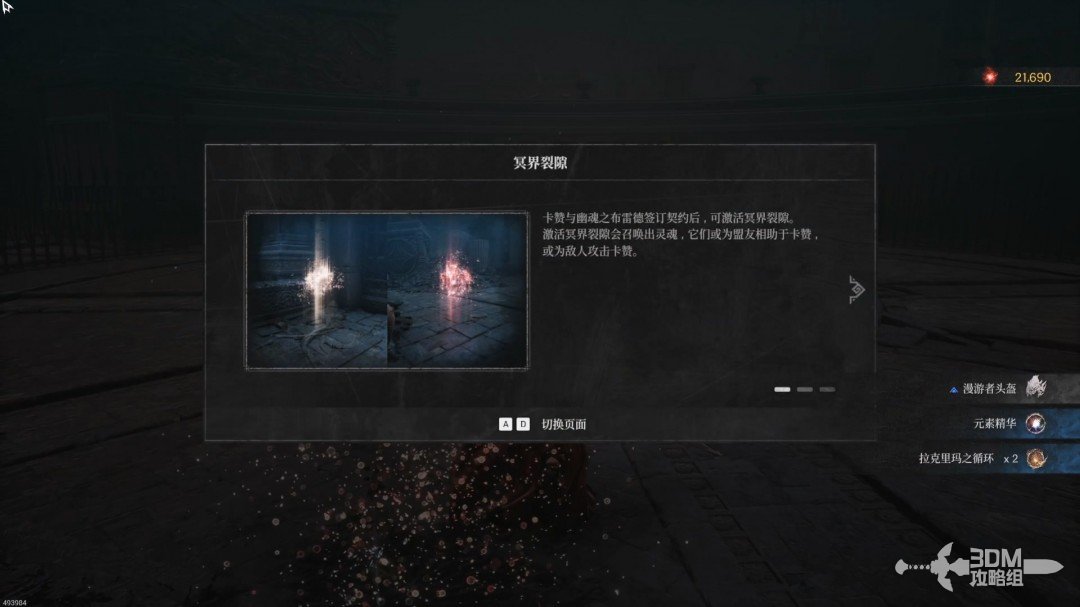
The tutorial introduces red hostile revenants and golden assistance spirits. Red challenges replenish summoning uses; golden summons spend them to help you.
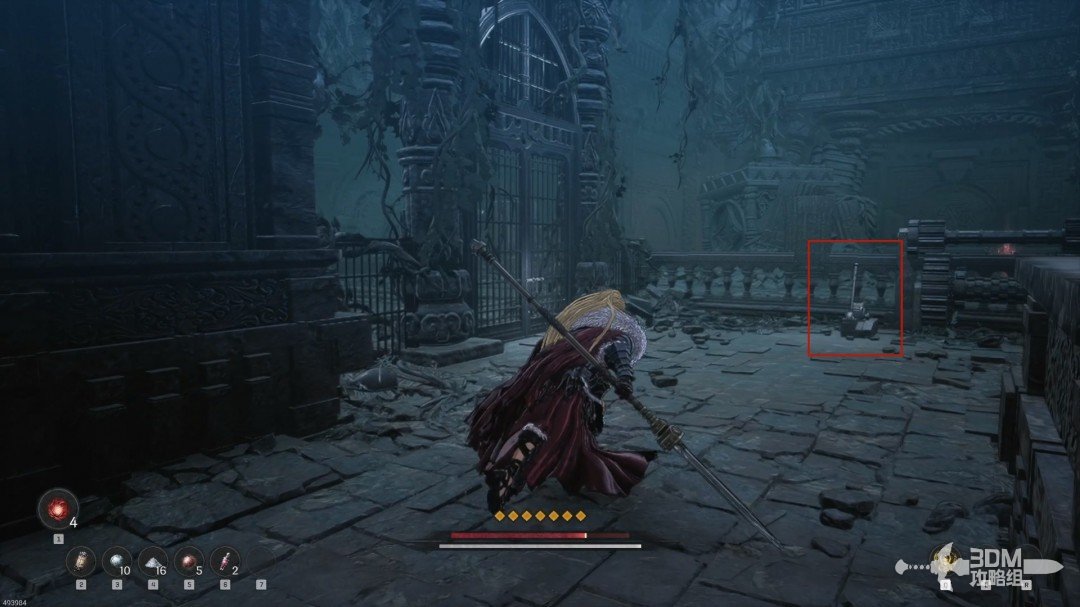
The elevator reaches the area behind the previously locked iron gate. Activate its mechanism before leaving.
25Open the central gate: prepare the Spirit of Advocacy and boss fight
The central boss gate is now open. Spirits appear before the fight. After a failed attempt, red challenges can replenish assistance uses, though their positions may change.
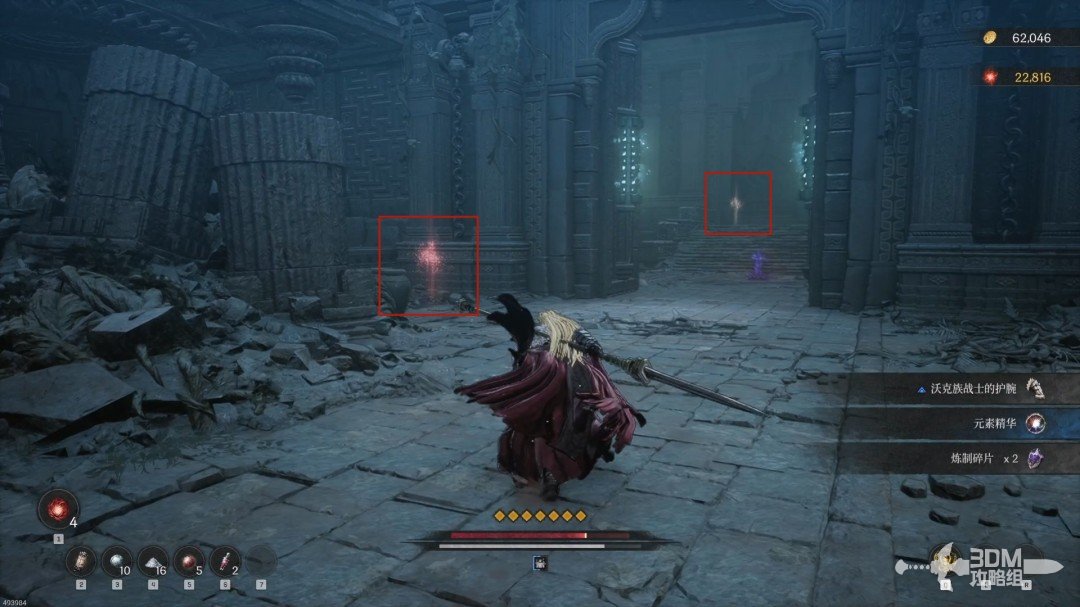
Rest before the boss. Assistance can distract it, but do not summon if pursuing the no-assistance achievement.
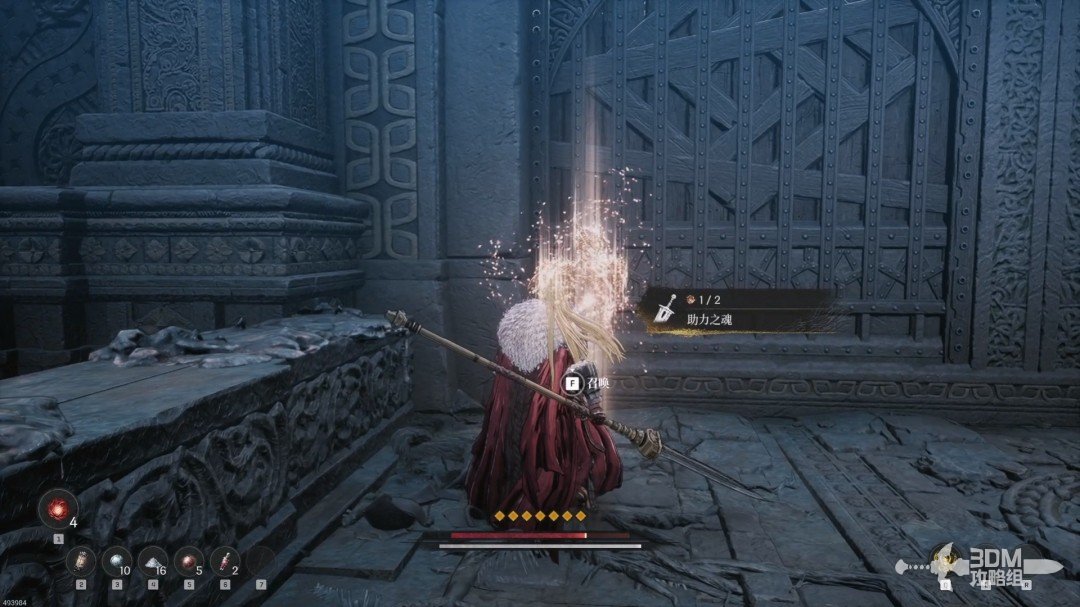
26Viper in the temple depths: polearm attacks and whirlwinds
Viper, the dragonkin leader, has two forms with two phases each. Preserve healing during the first form.
Many of Viper's attacks follow recognizable sequences.
Attack ①:
Two broad, slow slashes that are easy to guard.
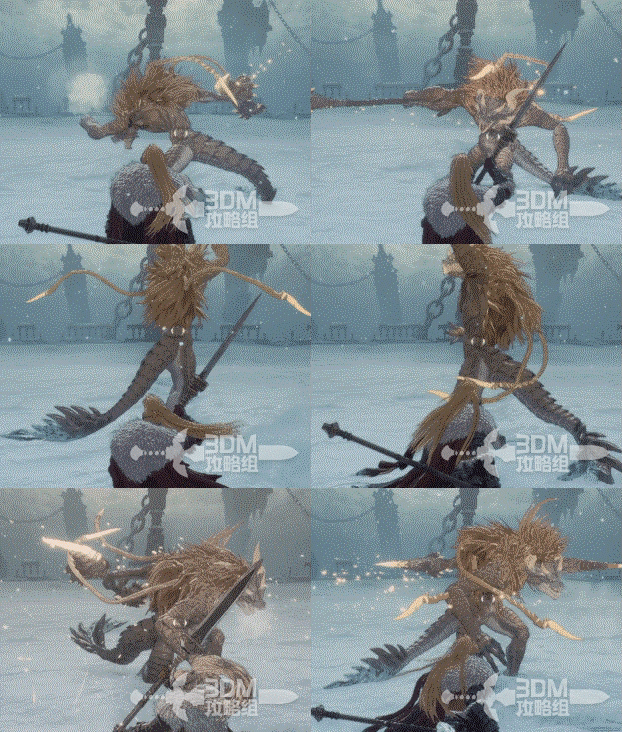
Attack ②:
A hit while spinning the weapon, followed by a downward slash.
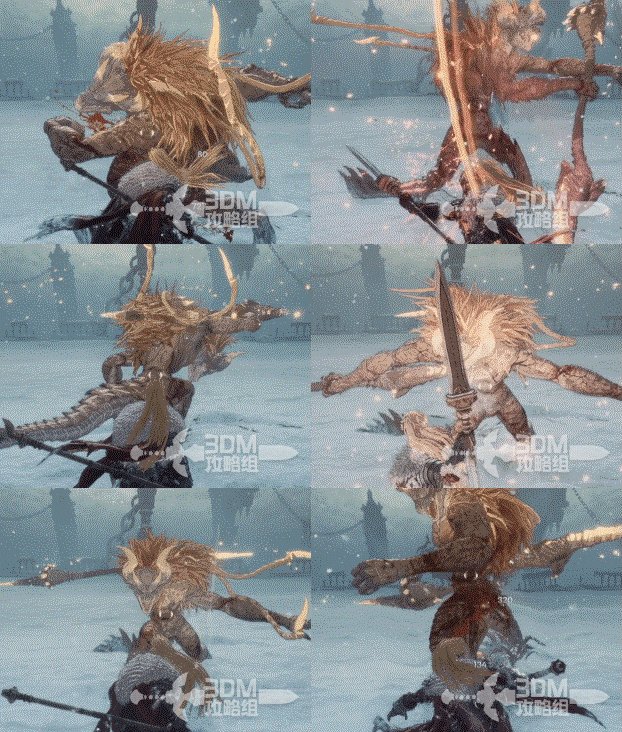
Attack ③:
Two fast frontal slashes. Guard or dodge consecutively, especially against the quicker second hit.
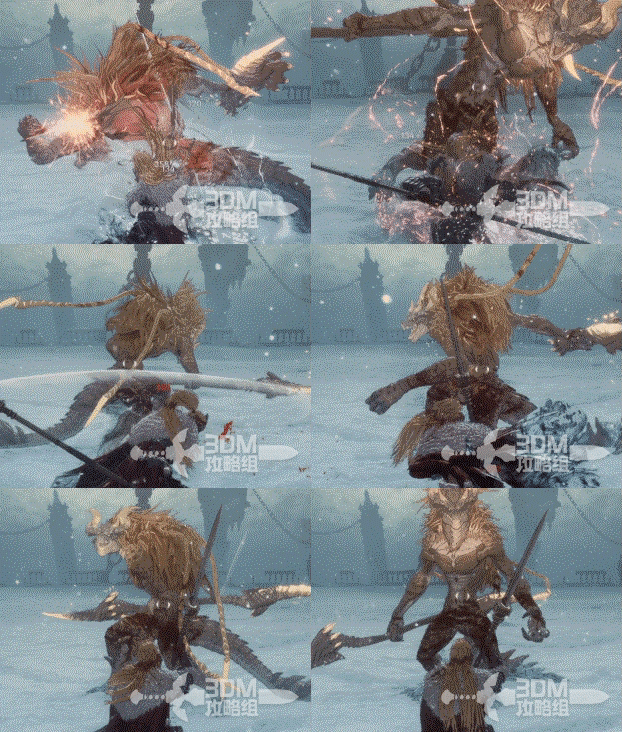
Attack ④:
A short charge leads to a jumping slash and a retreating weapon throw. The weapon also hits on its return.
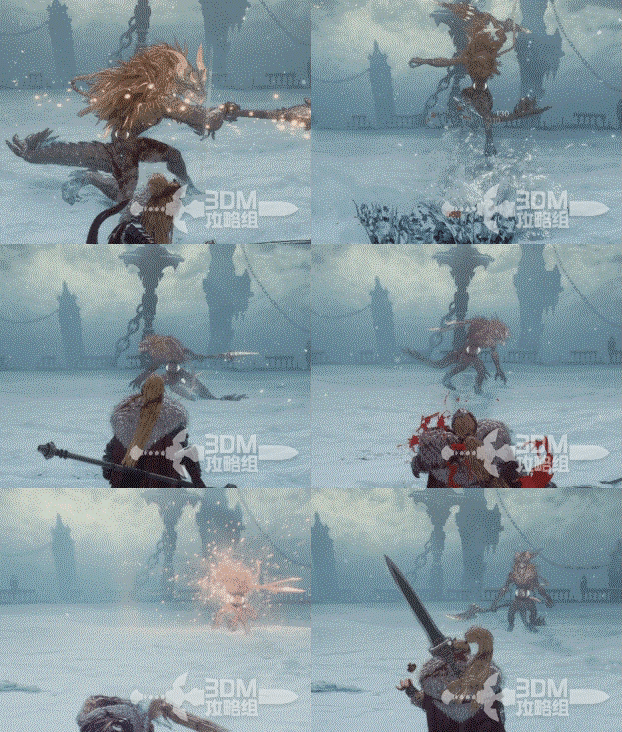
Attack ⑤:
A forward thrust followed by a horizontal sweep.
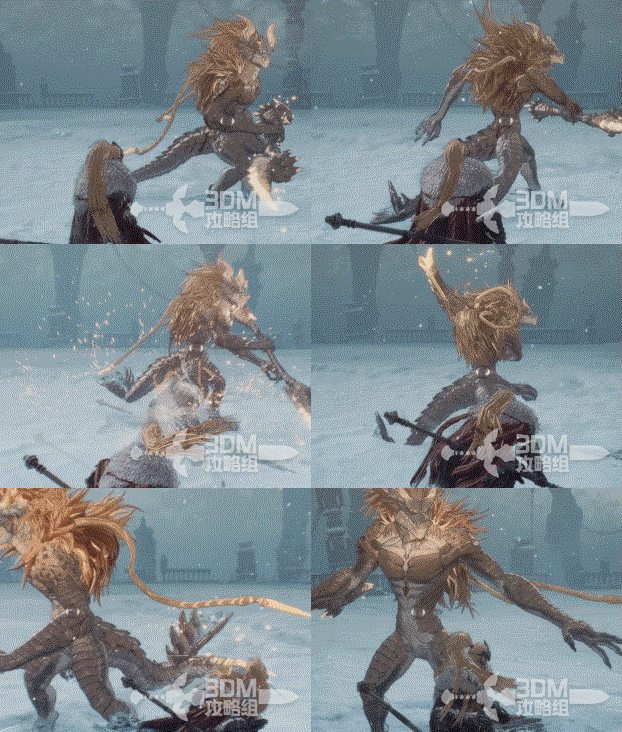
At half health, the first form adds the following attacks.
Attack ①:
A tornado pulls you inward. Stay about three body lengths away. Interrupting it may only delay a repeat unless you finish the boss quickly.
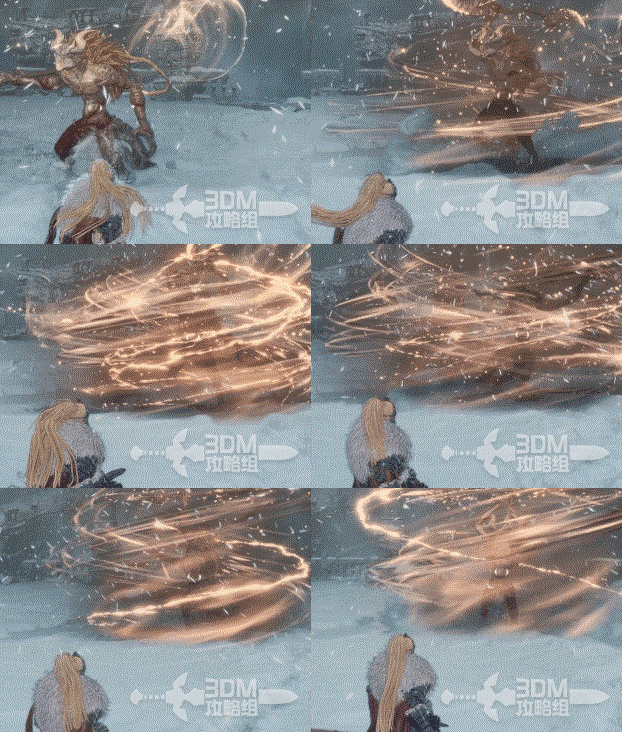
Attack ②:
A jumping attack followed by a vertical weapon throw and a forward lunge as the weapon returns.
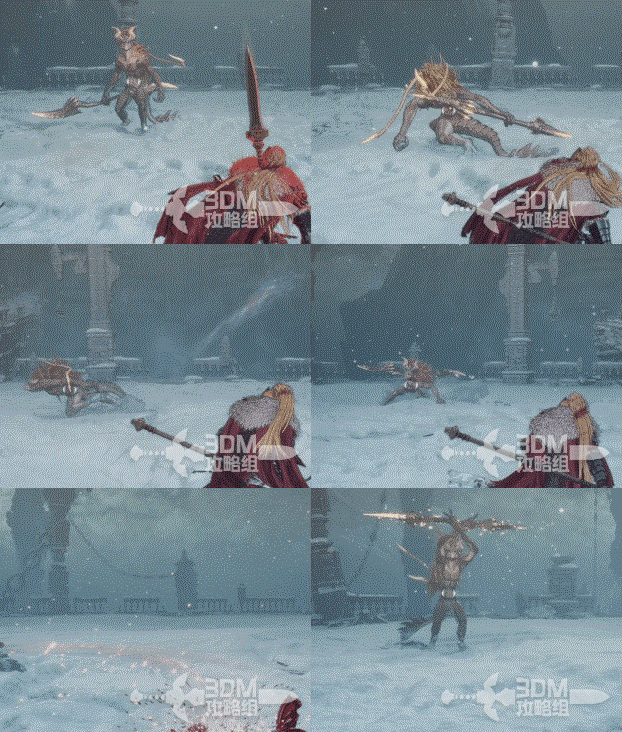
Attack ③:
A leaping downward stab with a long punishable recovery.
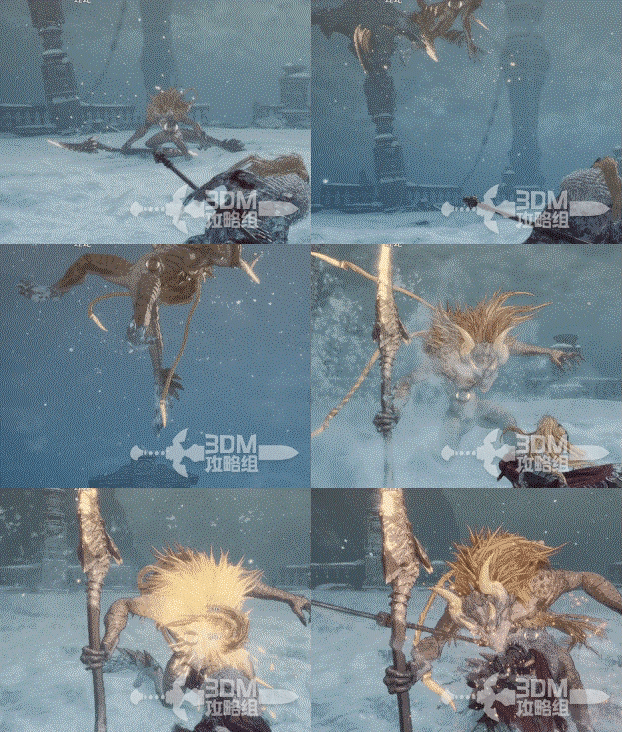
Attack ④:
A charged forward stab marked by a yellow glow at the weapon tip. Evade it rather than guarding.
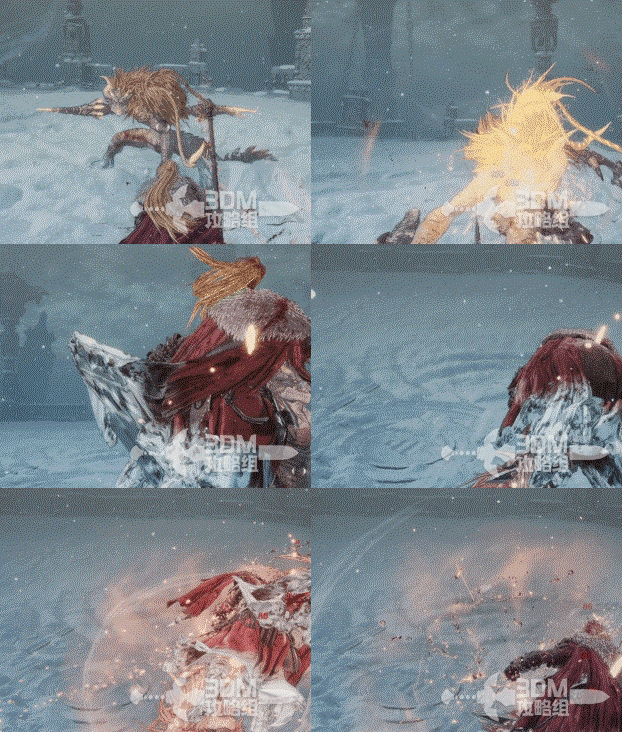
Attack ⑤:
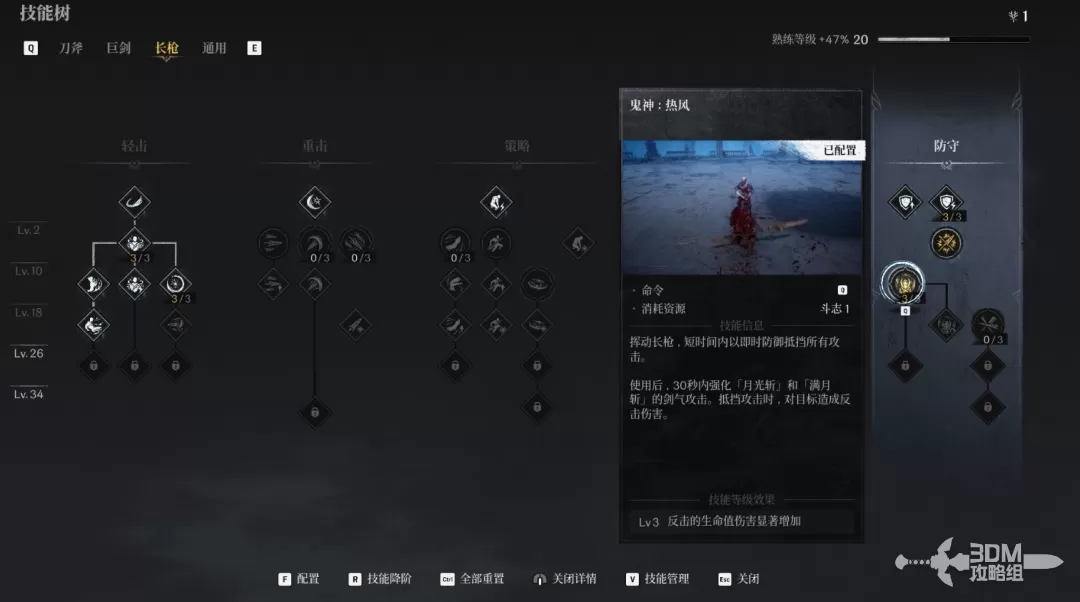
It pulls its weapon from the ground and spins it, with an active hitbox, then performs five quick slashes. The defensive skill pictured can help guard the sequence.
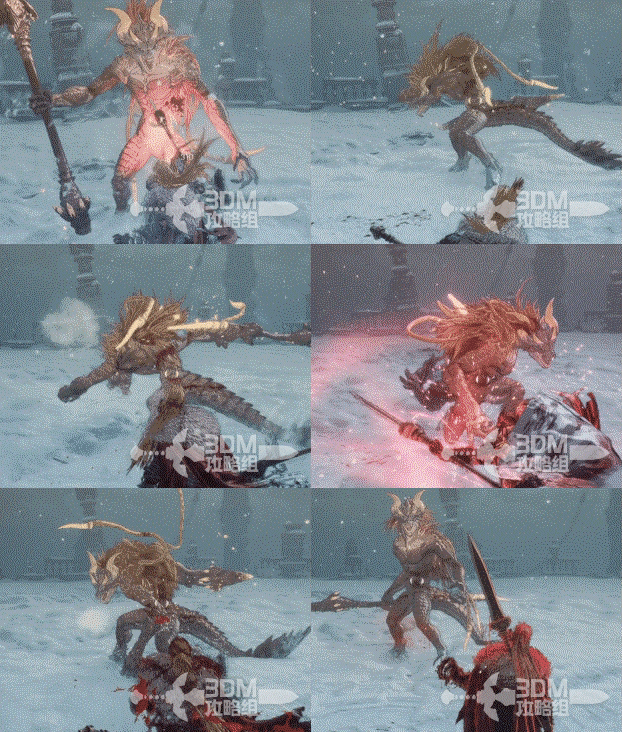
27Viper's transformation: arm weak points and dark ambushes
Expect earlier moves chained together at half health. The next form appears vulnerable around its arms, although lock-on generally does not target them.
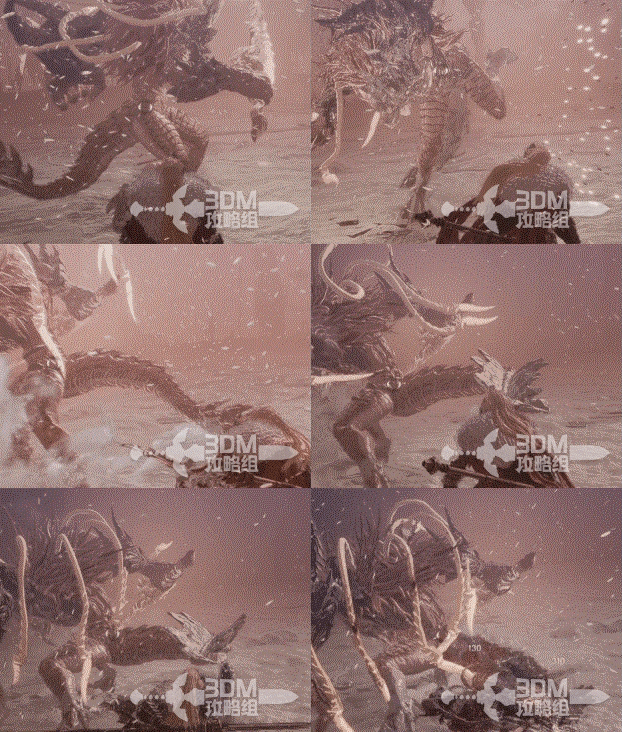
Second form — Attack ①:
A low punch with a clear wind-up.
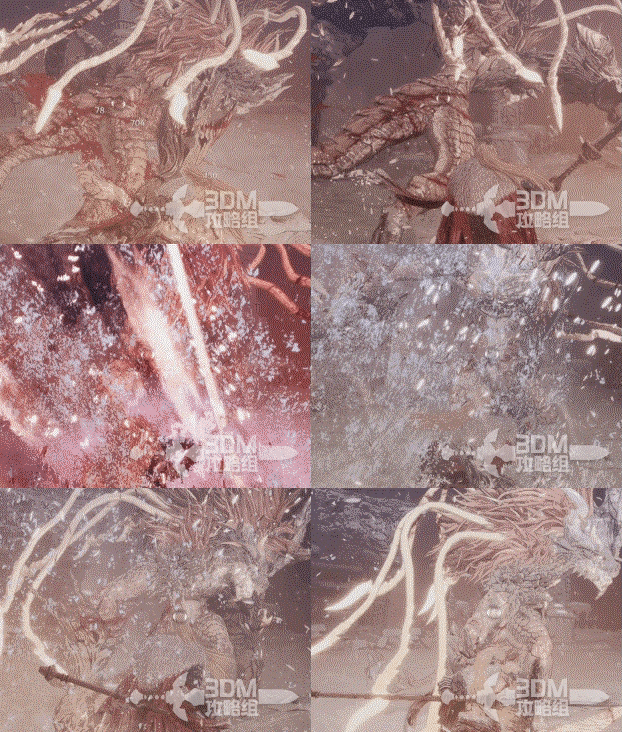
Attack ②:
A straightforward uppercut.
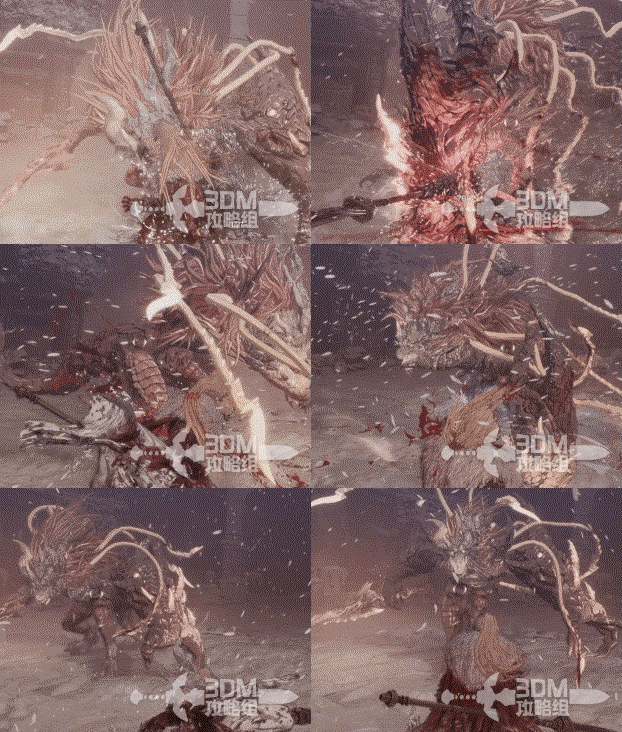
Attack ③:
Two quick slashes, preceded by a weapon flourish.
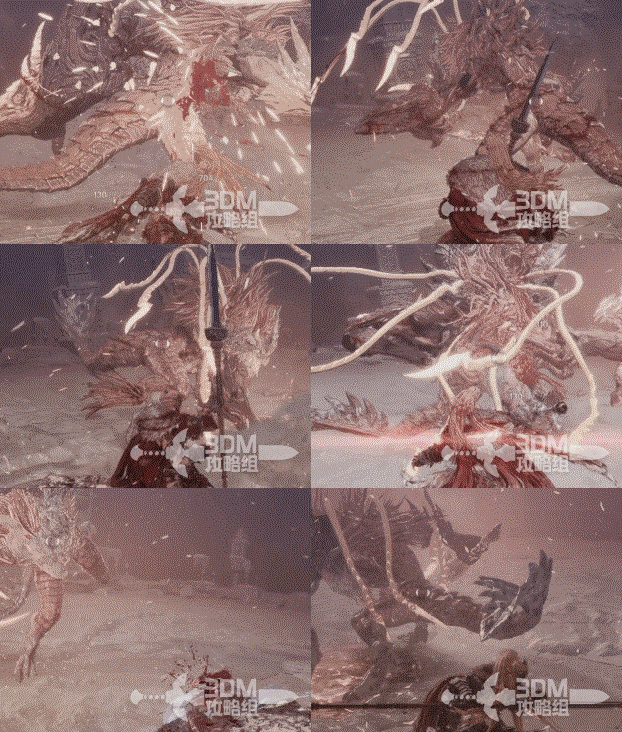
Attack ④:
A large turning wind-up leads to two punches. Dodge or counter the final slam with Shift+F.
Attack ⑤:
Four rapid claw strikes requiring quick consecutive guards.

Attack ⑥:
It scoops up and throws rocks. Start moving early enough to avoid them.
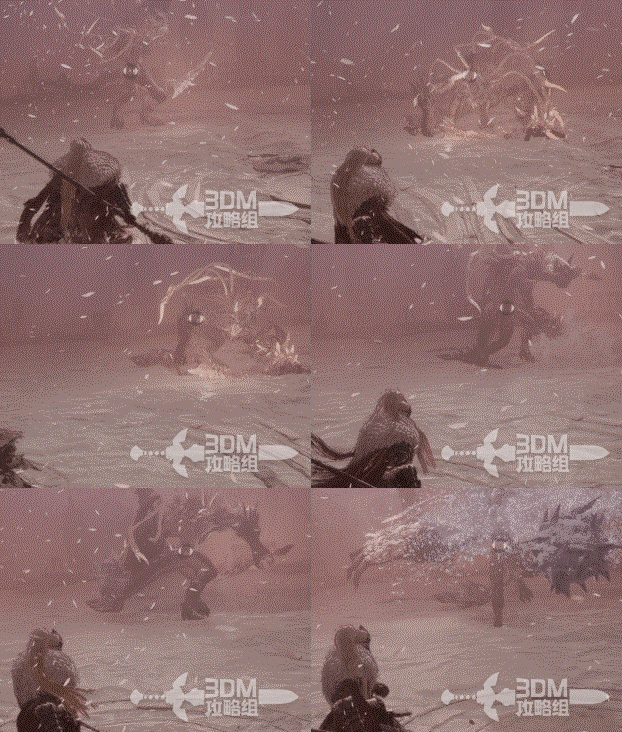
Attack ⑦:
A combined low-punch and uppercut sequence. Do not mistake it for a single punch.
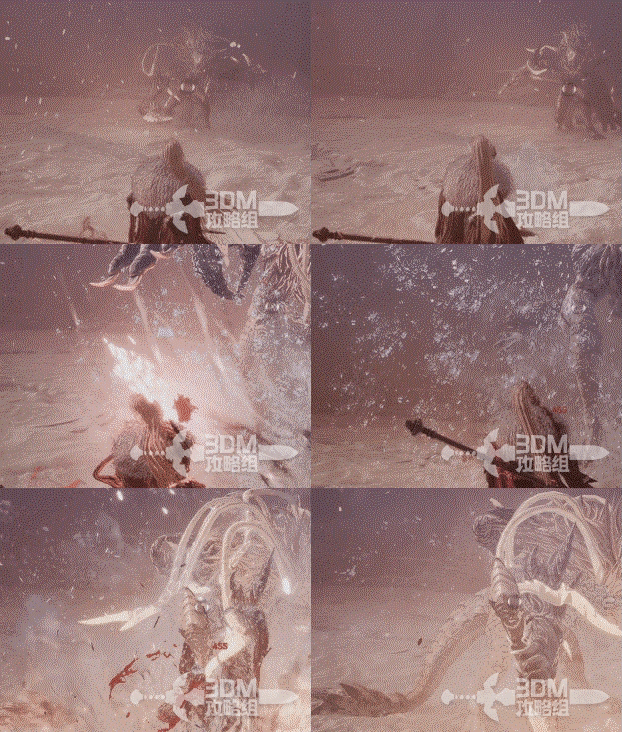
At half health, this form adds darkness: the arena dims, lock-on becomes unavailable initially and the boss leaps around.
Second form — Phase two — Attack ①:
Side-to-side jumping claw attacks.

Attack ②:
A roar precedes a flying stomp, followed by a horizontal claw swipe. Remember the final swipe.

These are its main attack patterns.
28Post-battle memory and Blade Phantom: return to the Crevice
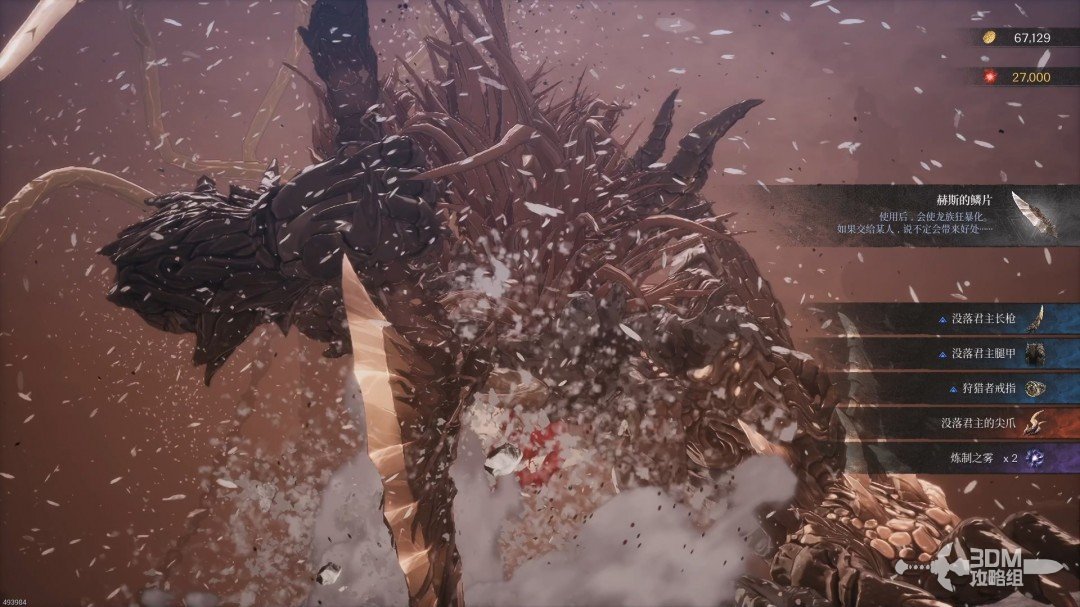
Defeat Viper for equipment and items.
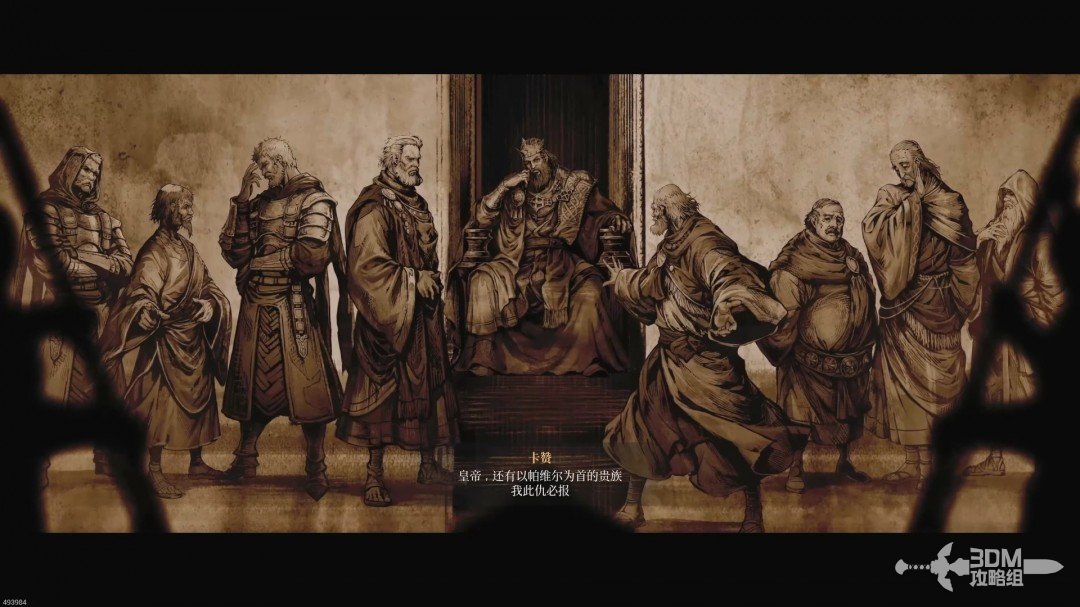
The cinematic further explains Khazan's reasons for revenge.
Speak to Blade Phantom to return to the Crevice.
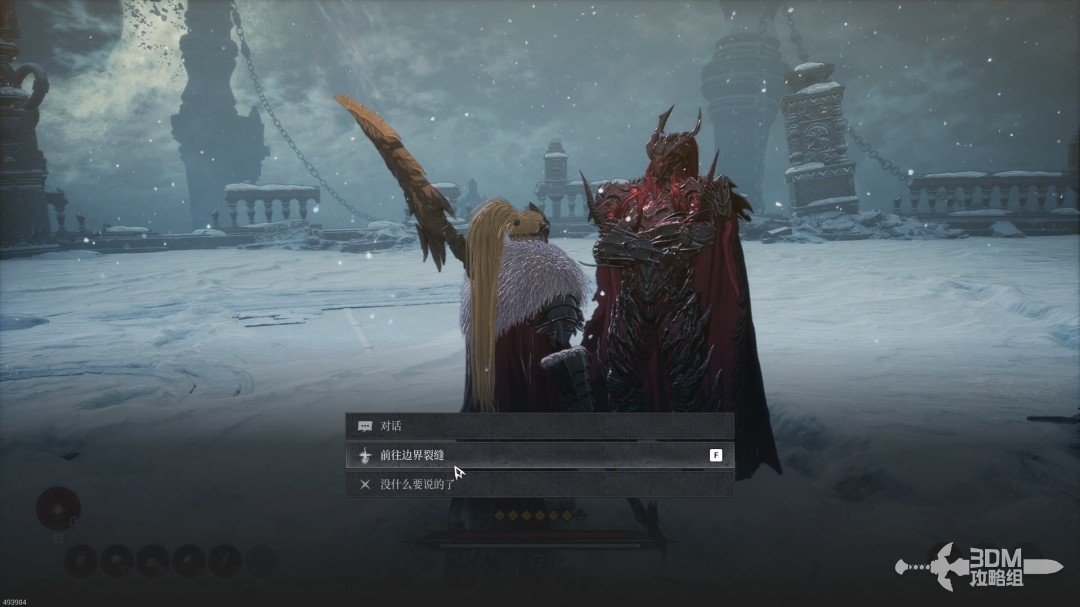
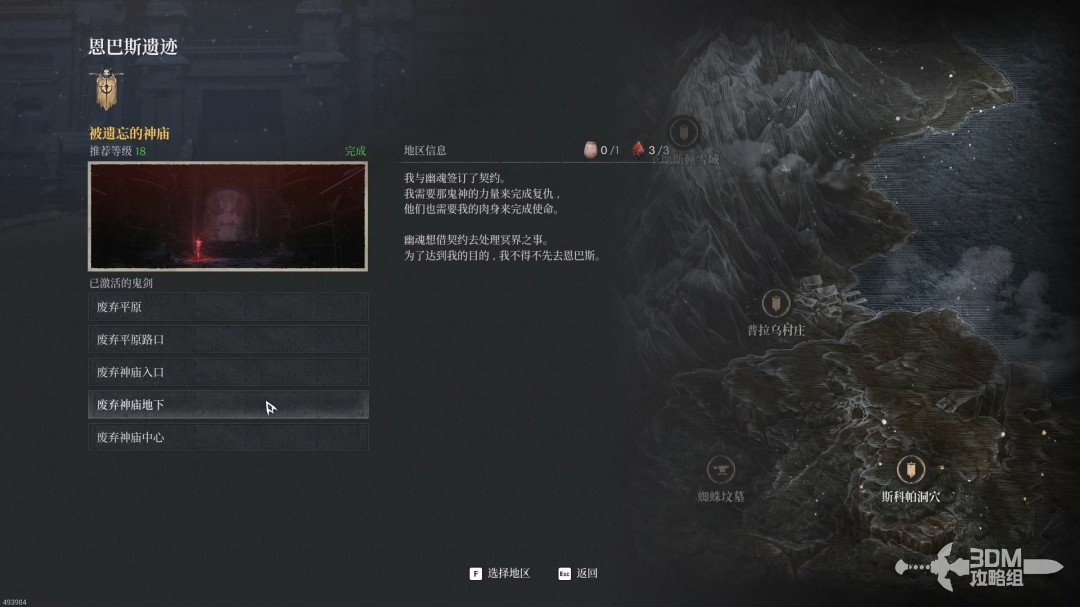
29Revisit the underground temple: repeat the puzzle and enter the left passage
Travel to the temple's underground checkpoint.
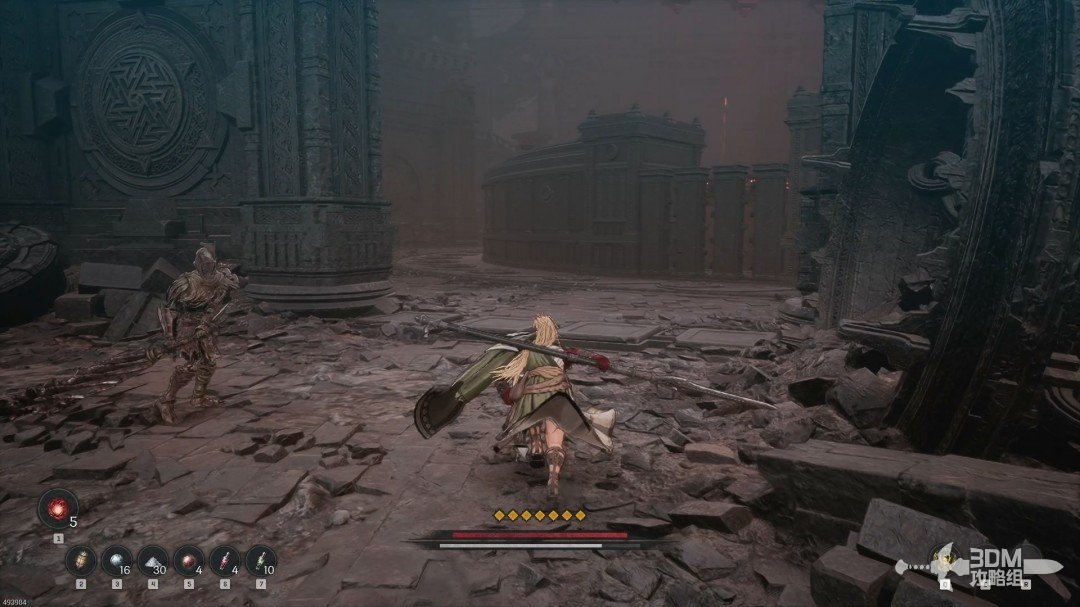
Repeat the earlier mechanisms until you reach this disc, then turn left.
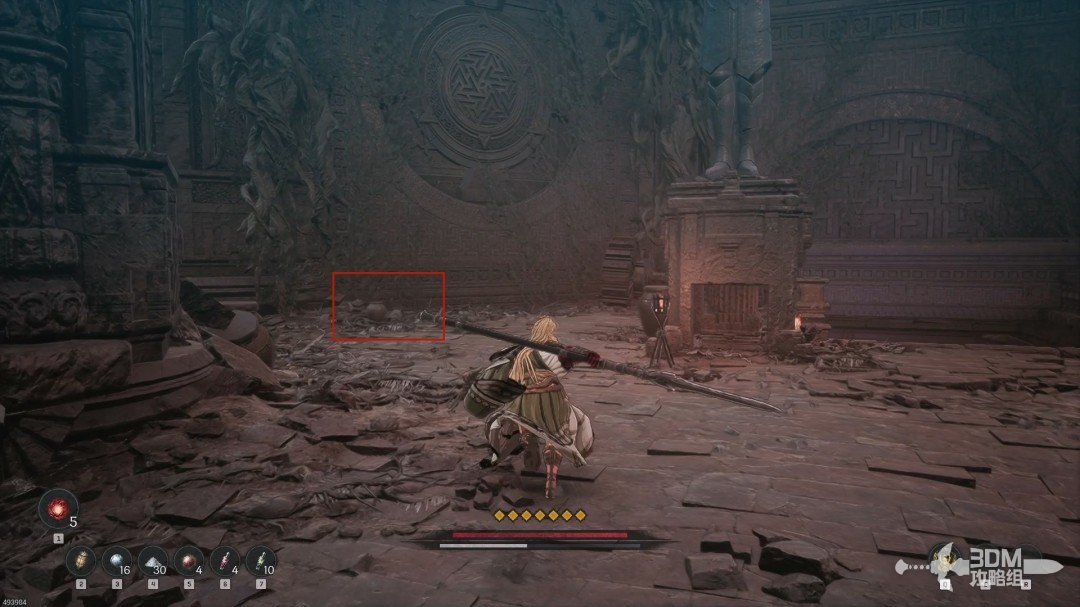
Break the jar on the left side of the underground passage.
Continue
Reference: 3DM Guide Team
GAME NOTE has reorganized and rewritten the routes from this walkthrough.