Skip to content

Strange Melody

Guide editor: GAME NOTE

GAME NOTE CLASSIC · GUIDE LIBRARYThe First Berserker: Khazan

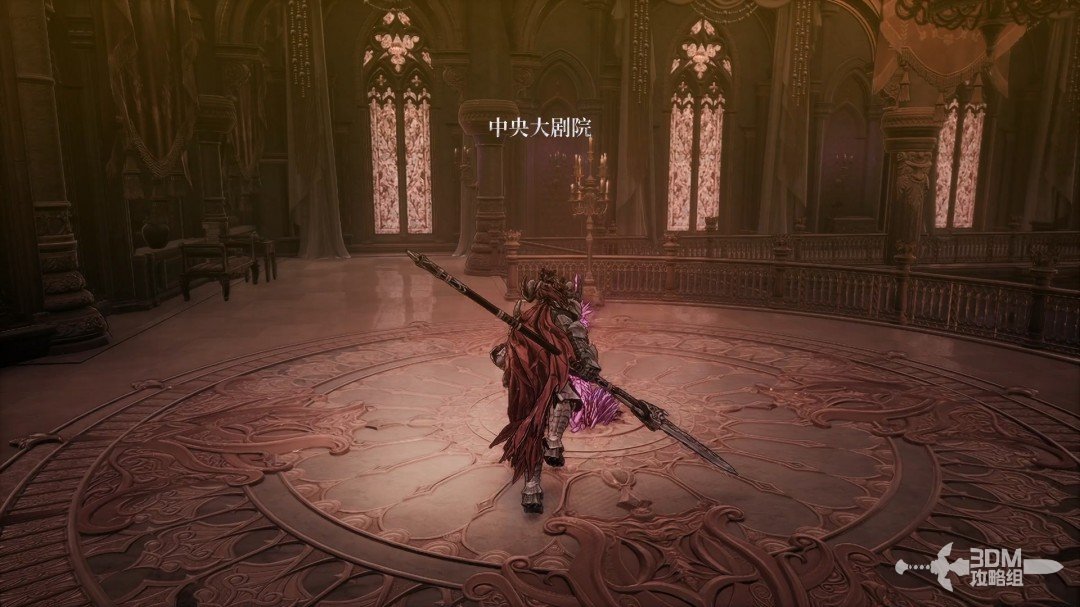
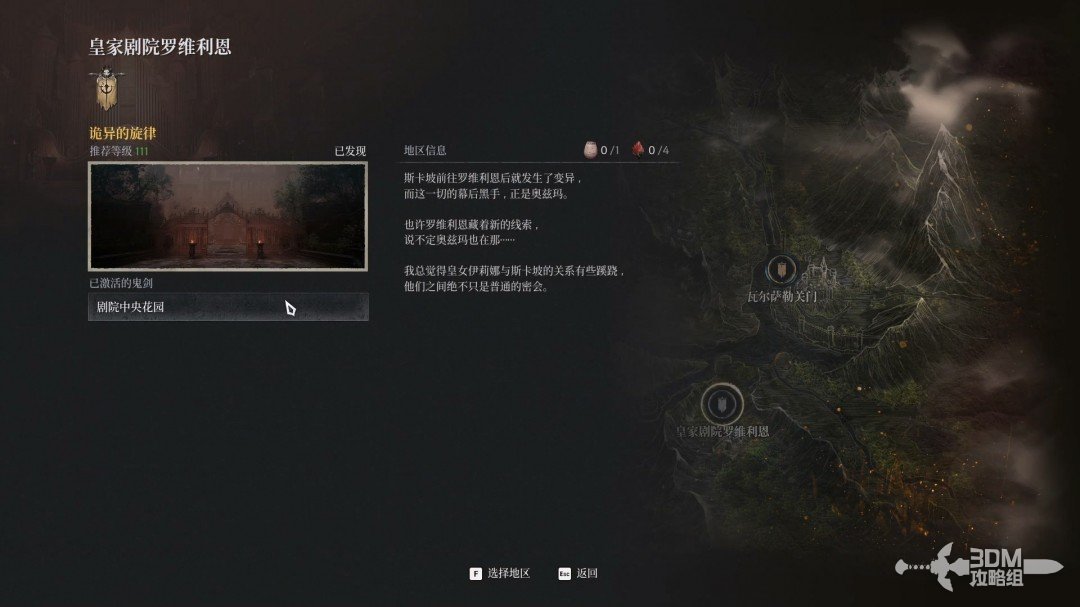
Explore the theatre, falling floor and transport paintings before Ilyna.

Pickups in this mission

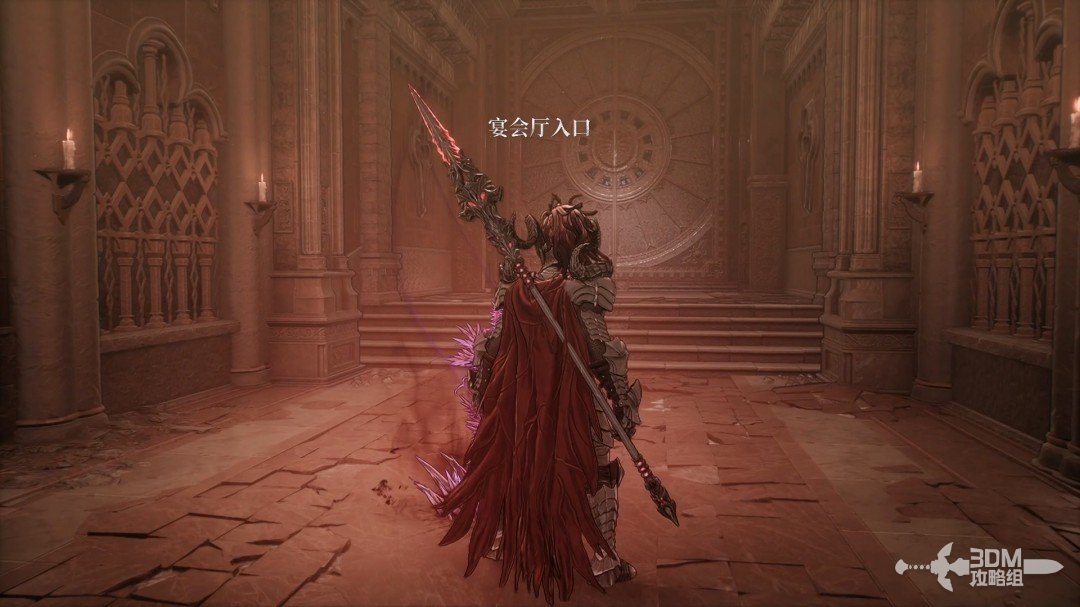
01Theater hall entrance: use cover and climb through the small doorway

Resume the main story with Strange Melody.
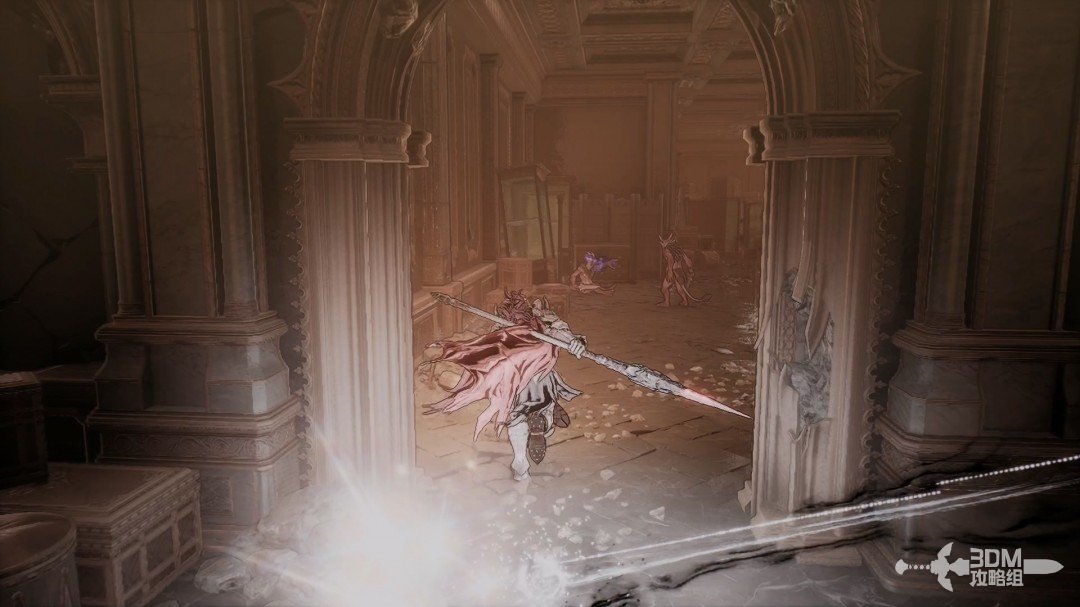
Theater hall entrance: use cover and climb through the small doorway · route image 1

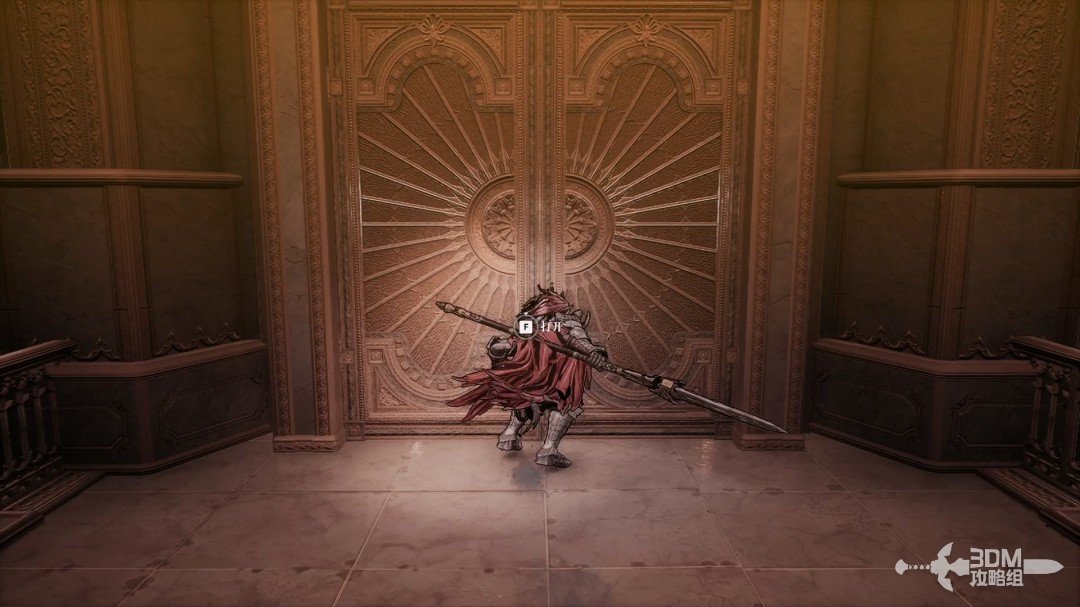
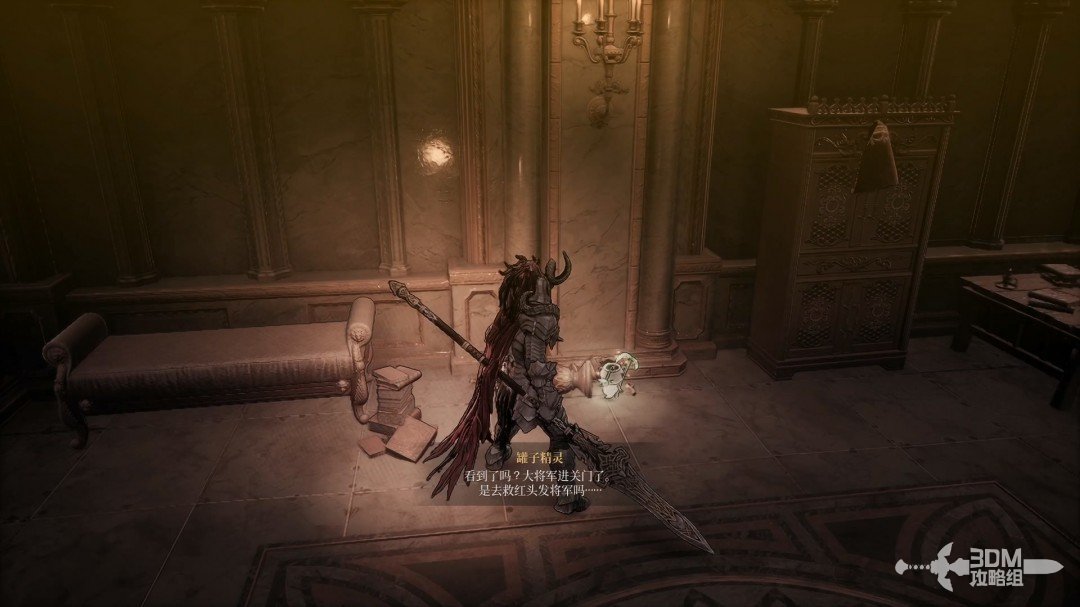
Rest on arrival and enter the large gate.
Theater hall entrance: use cover and climb through the small doorway · route image 2

A woman continually fires projectiles into the hall. Fight near cover.
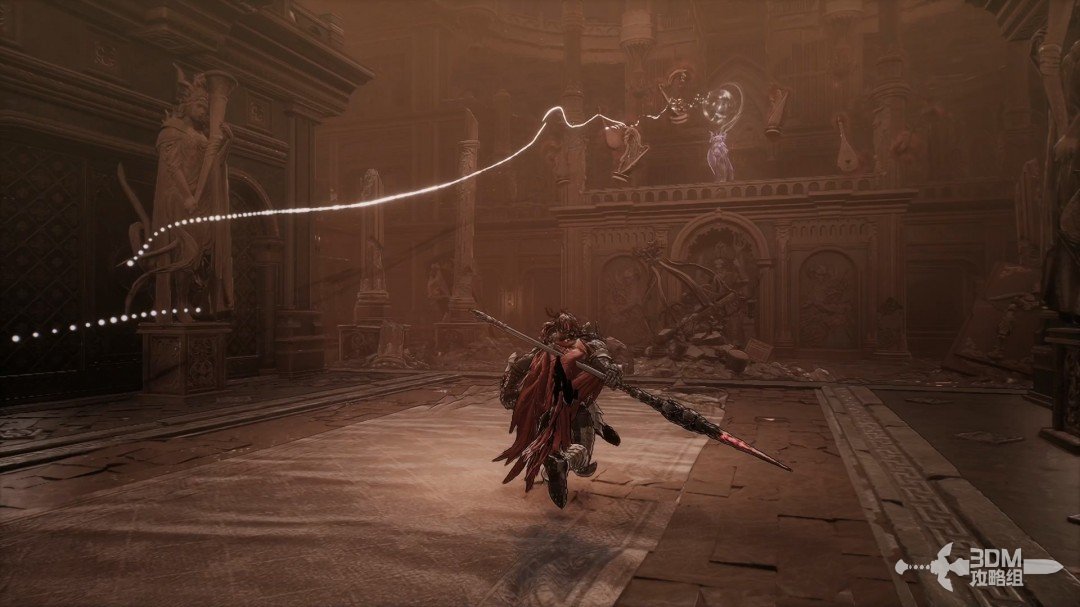
Theater hall entrance: use cover and climb through the small doorway · route image 3

The left side is empty. Absorb the memory on the right.
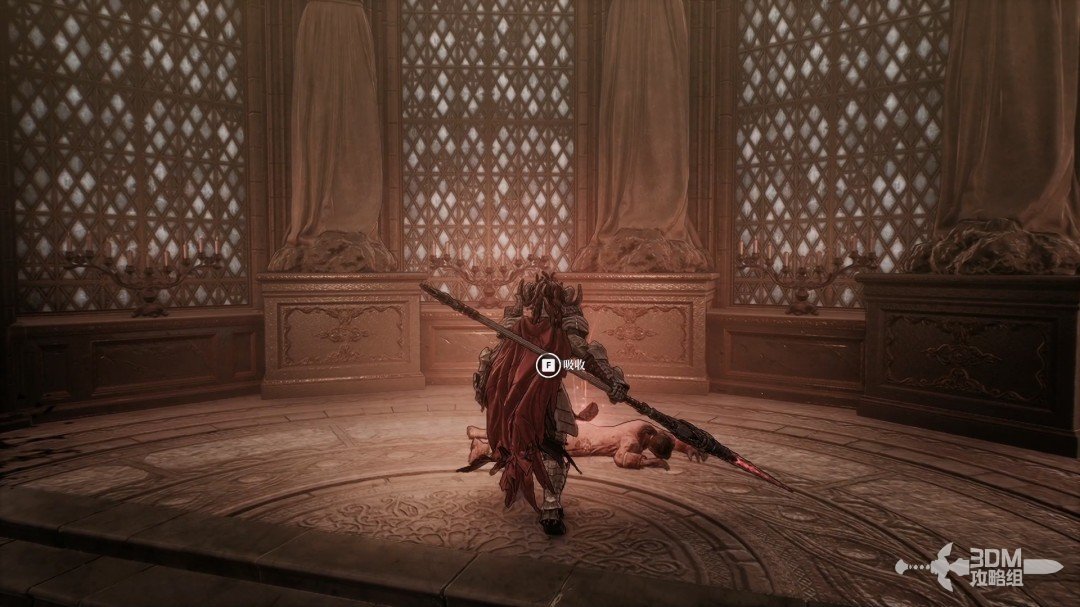
Theater hall entrance: use cover and climb through the small doorway · route image 4

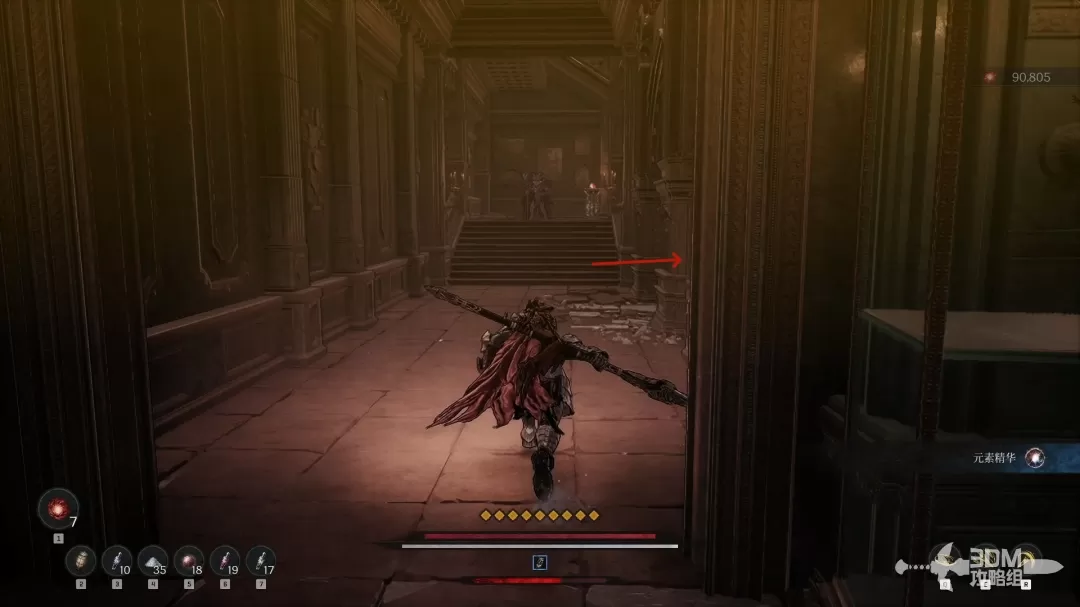
Take the small nearby doorway.

Theater hall entrance: use cover and climb through the small doorway · route image 5

Clear the enemies and climb these stairs.
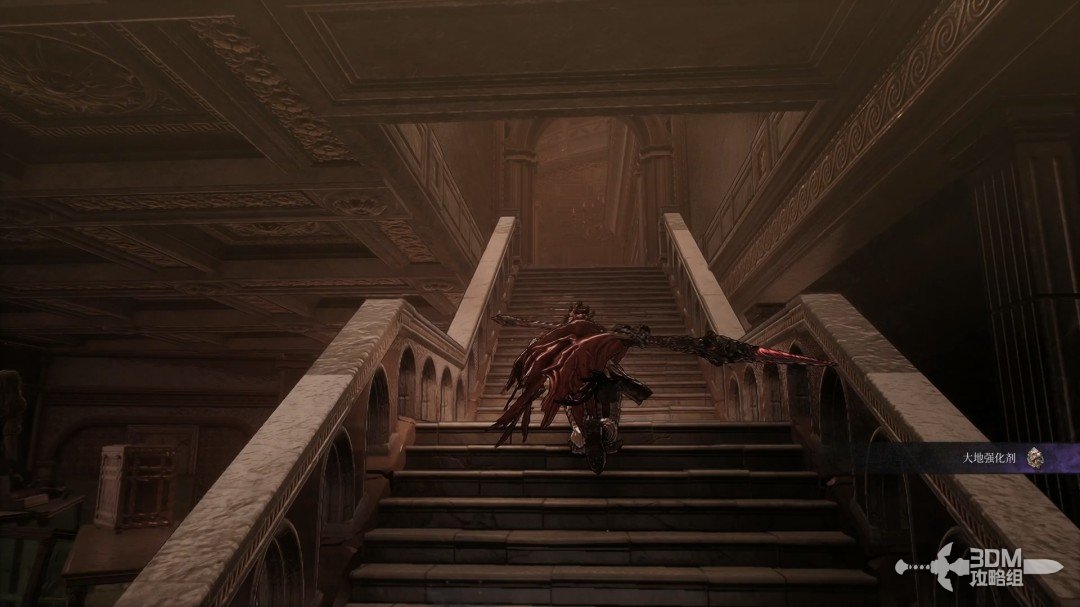
Theater hall entrance: use cover and climb through the small doorway · route image 6

02Upper statue and paired murals: circle through the hidden doors

Go right above. A Soulstone is visible behind a gate but cannot be reached yet.
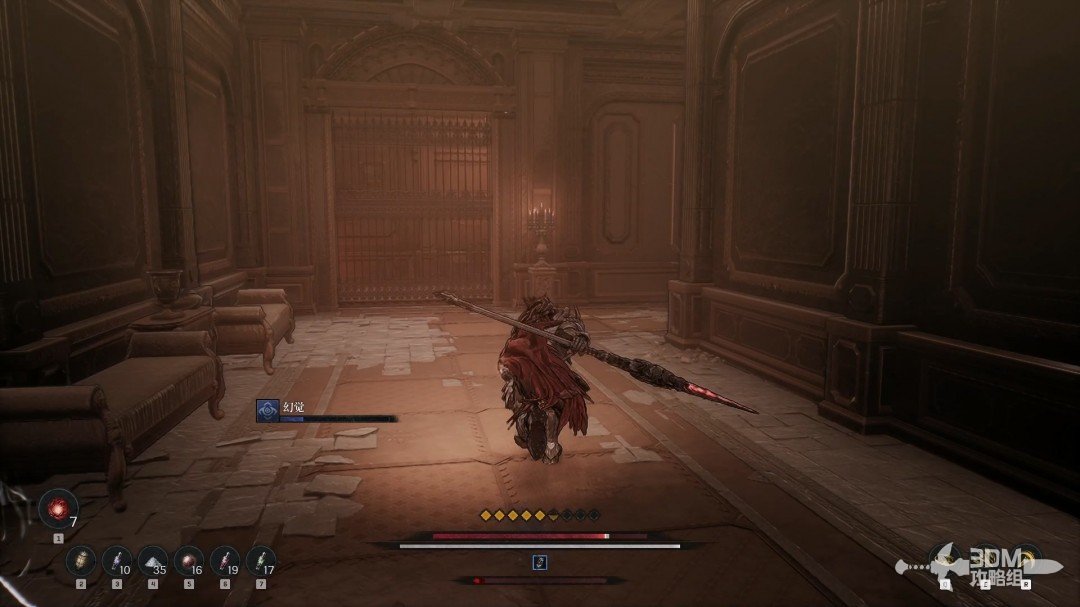
Upper statue and paired murals: circle through the hidden doors · route image 7

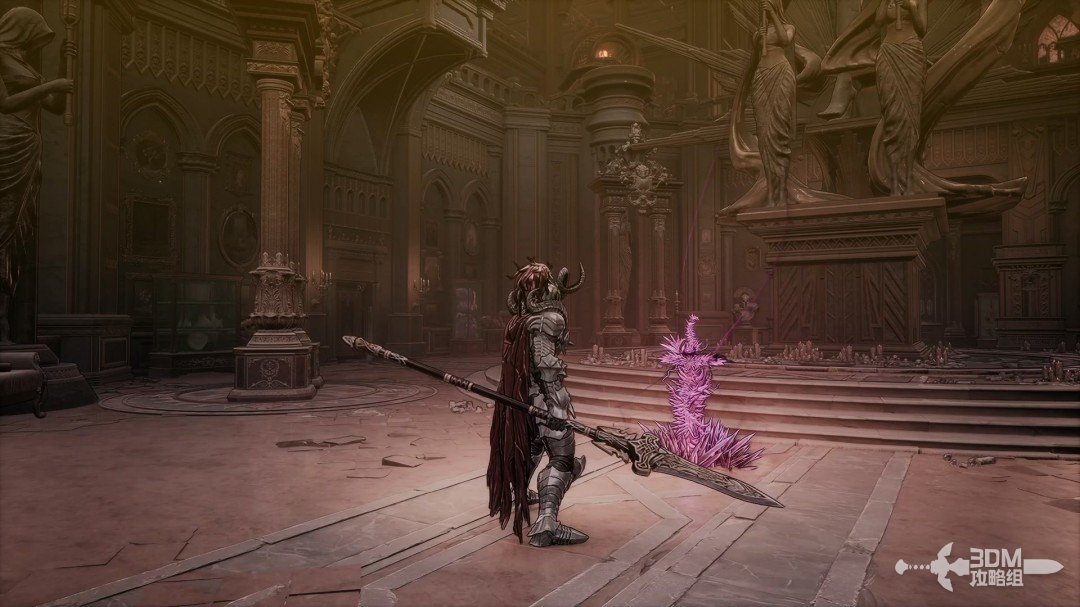
Continue inside for a red material beneath the statue.
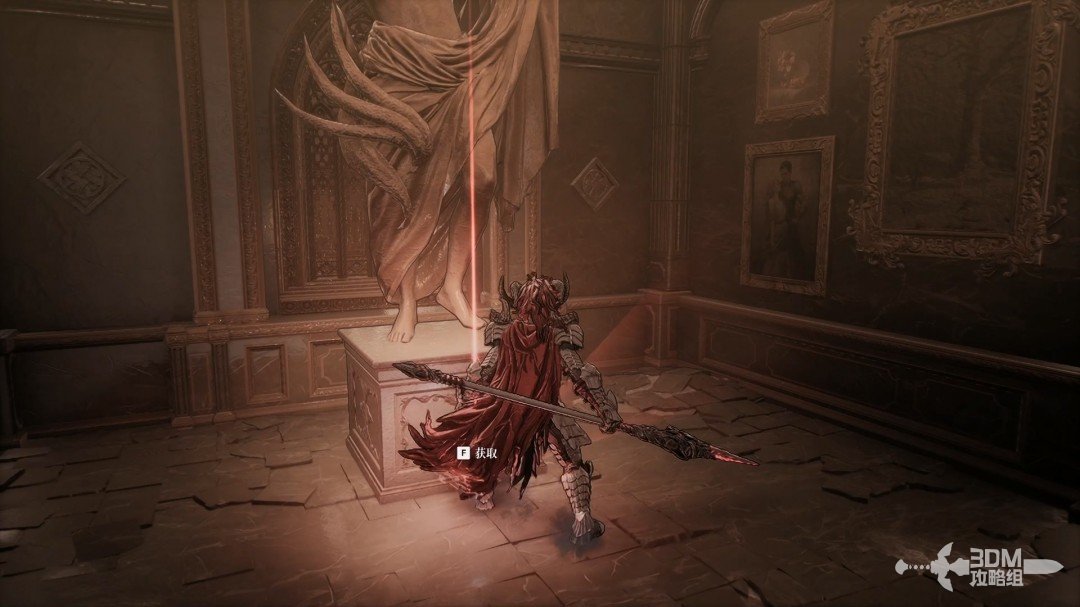
Upper statue and paired murals: circle through the hidden doors · route image 8

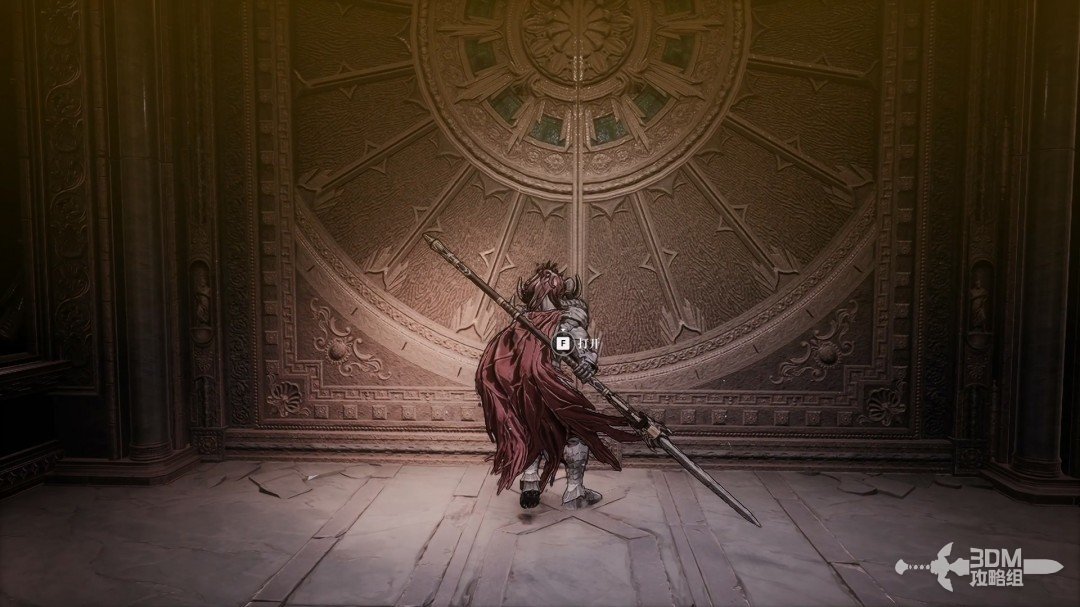
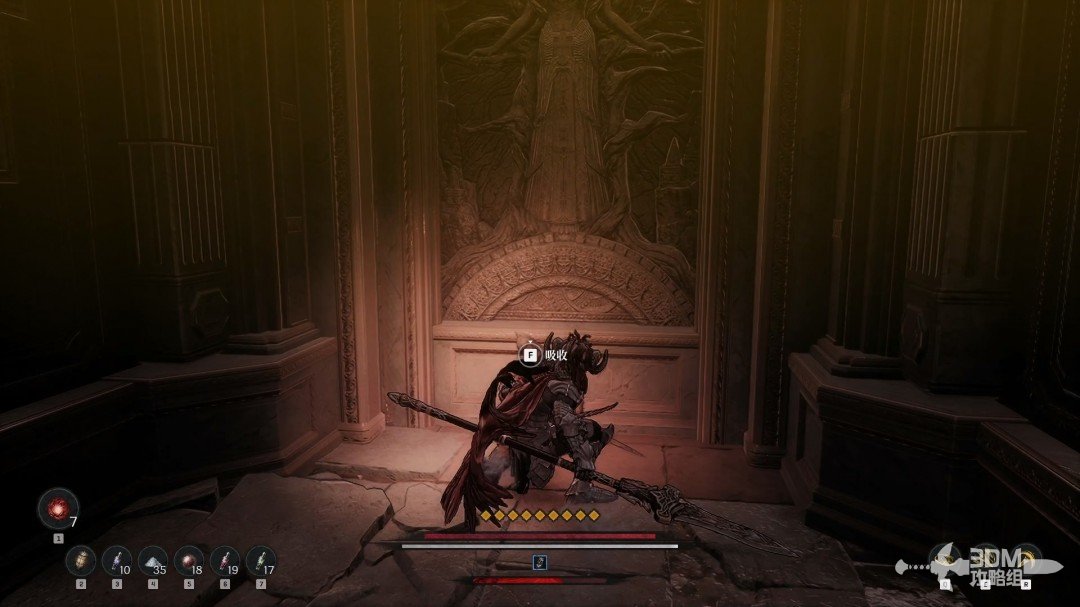
Turn back and open the hidden door behind the mural.
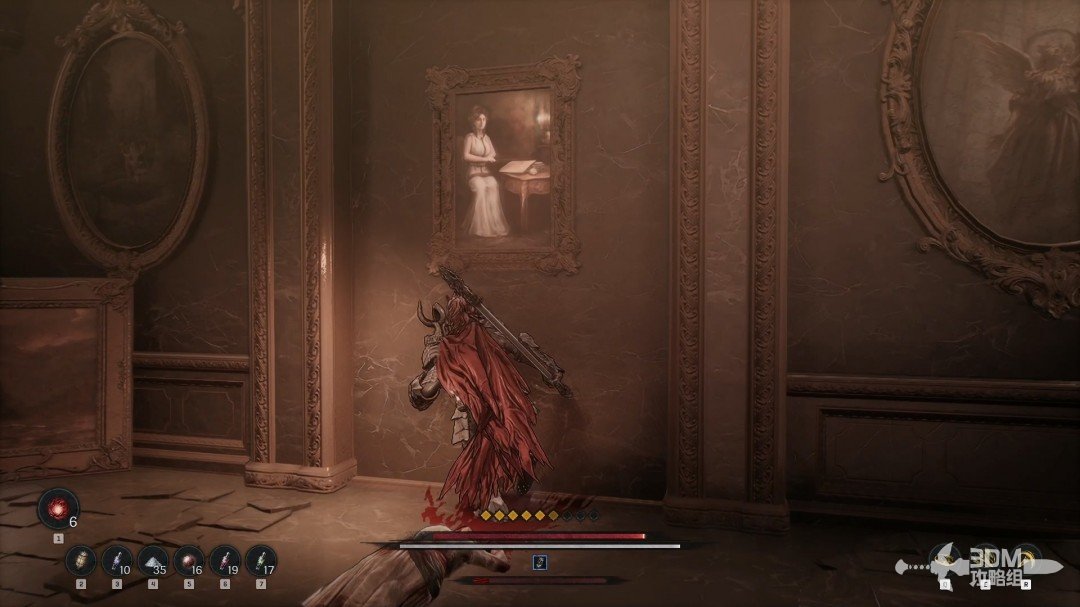
Upper statue and paired murals: circle through the hidden doors · route image 9

Follow the passage back onto an exterior corridor.
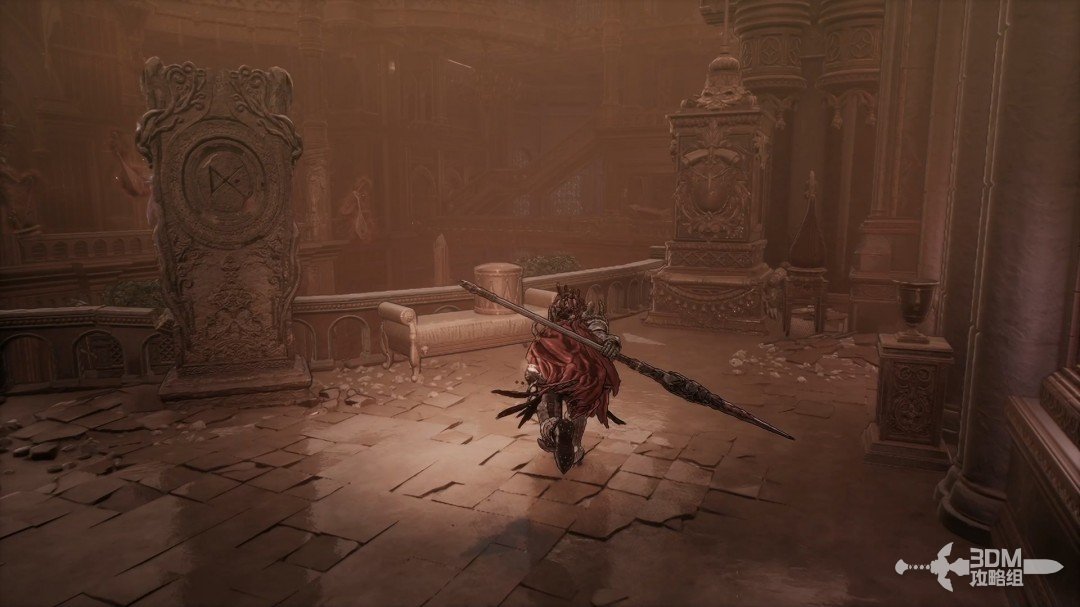
Upper statue and paired murals: circle through the hidden doors · route image 10

Continue toward the enemy guarding the doorway.
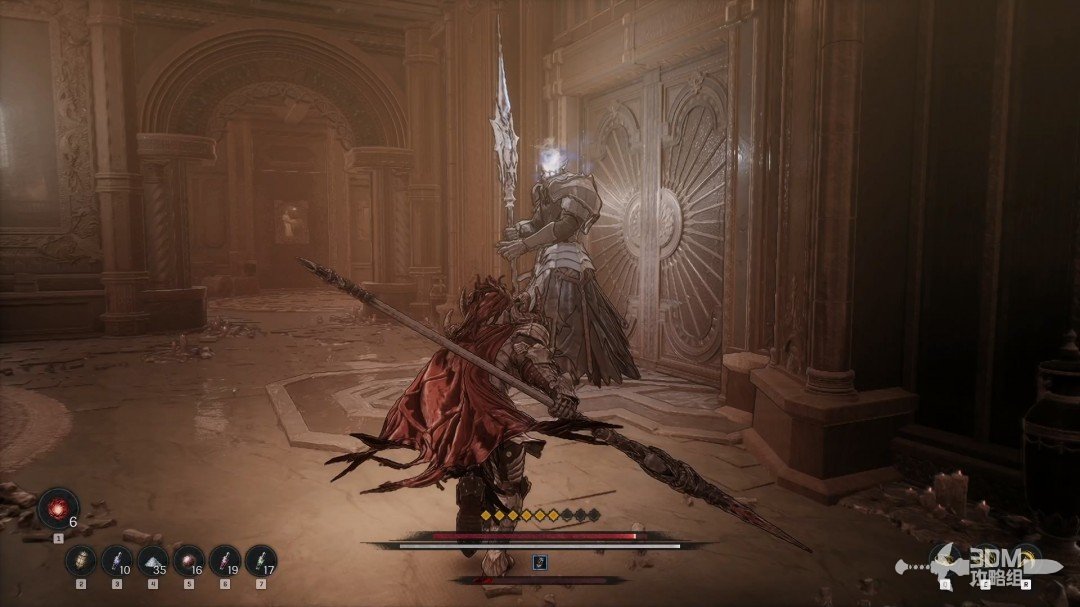
Upper statue and paired murals: circle through the hidden doors · route image 11

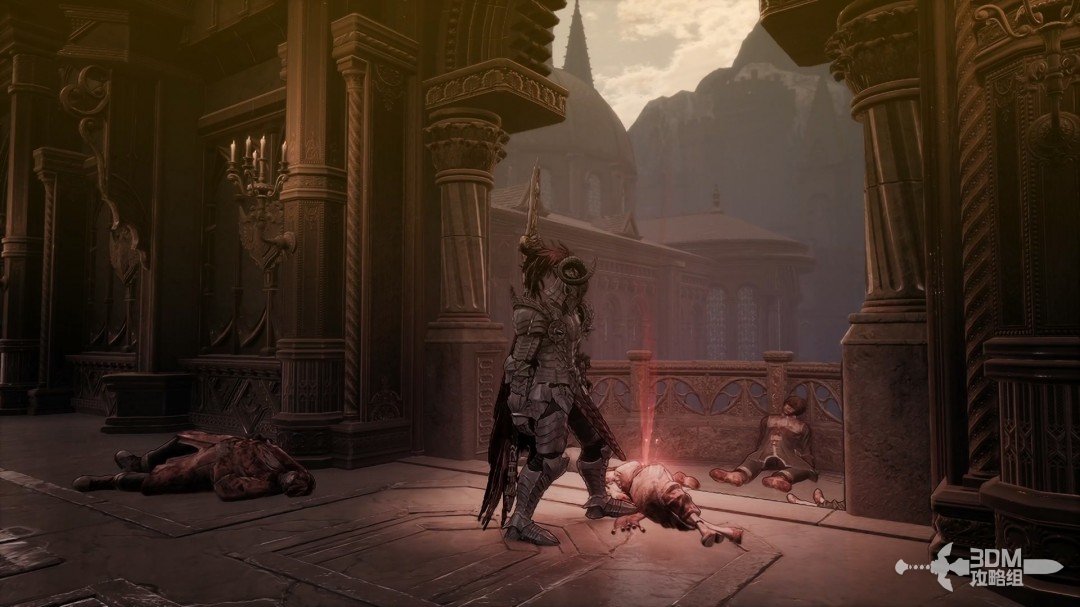
Defeat it and absorb the memory on the left.
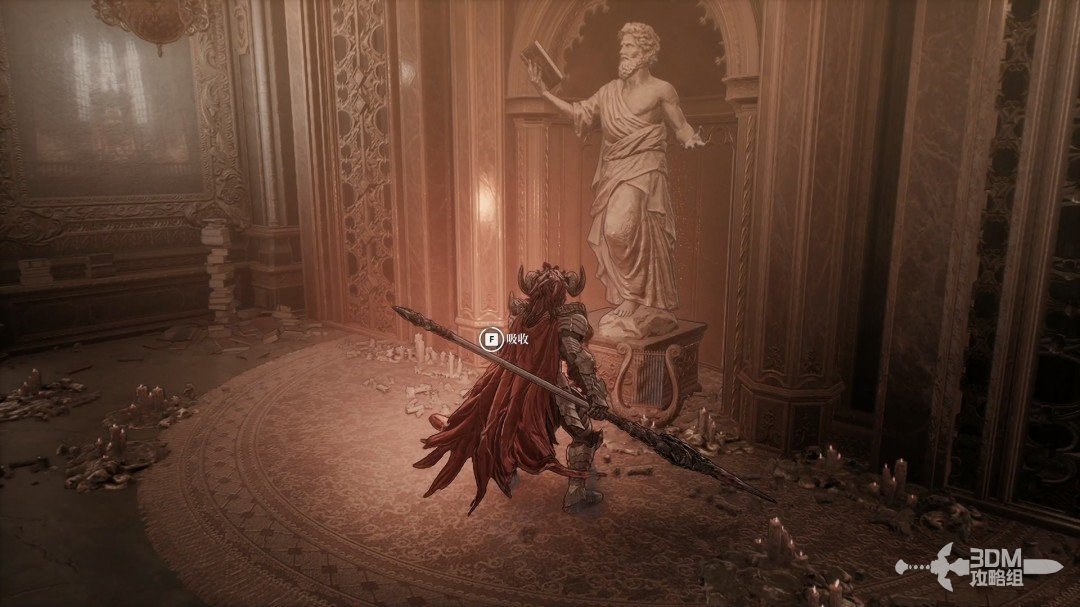
Upper statue and paired murals: circle through the hidden doors · route image 12

A few steps ahead, another mural conceals a door.
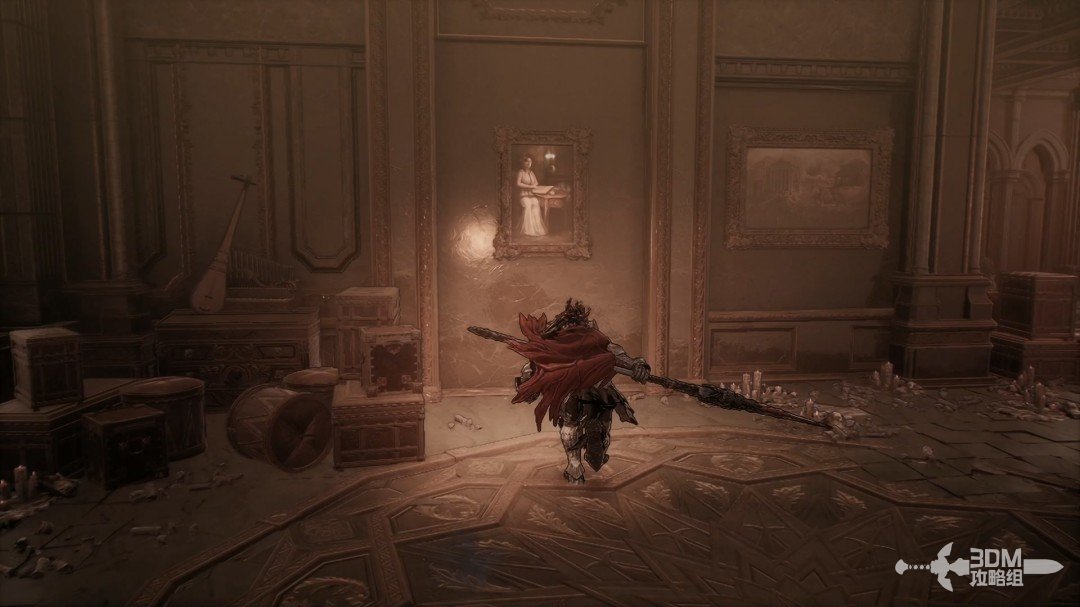
Upper statue and paired murals: circle through the hidden doors · route image 13

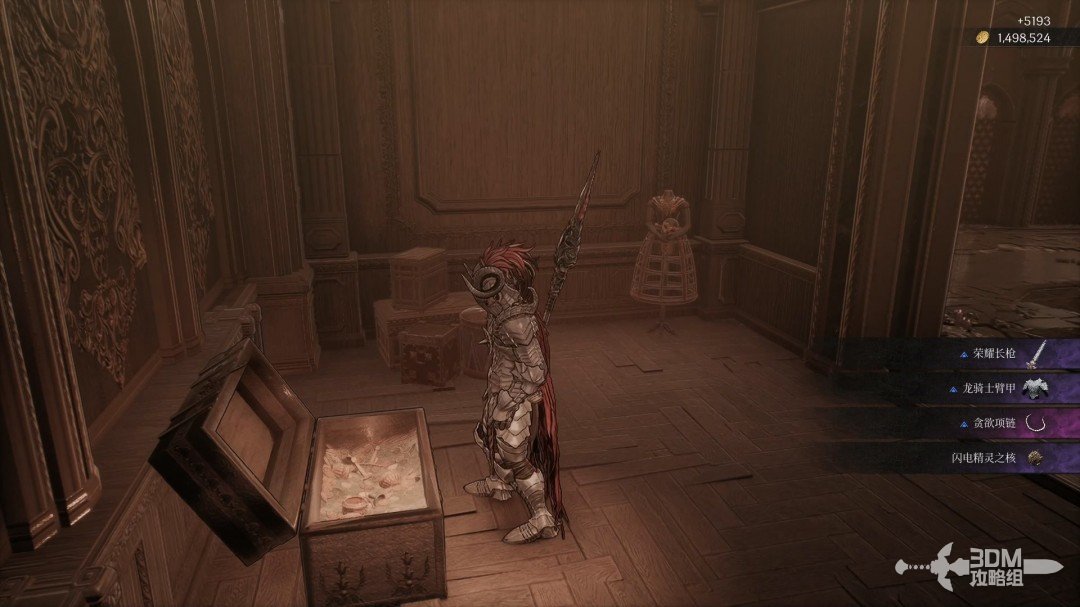
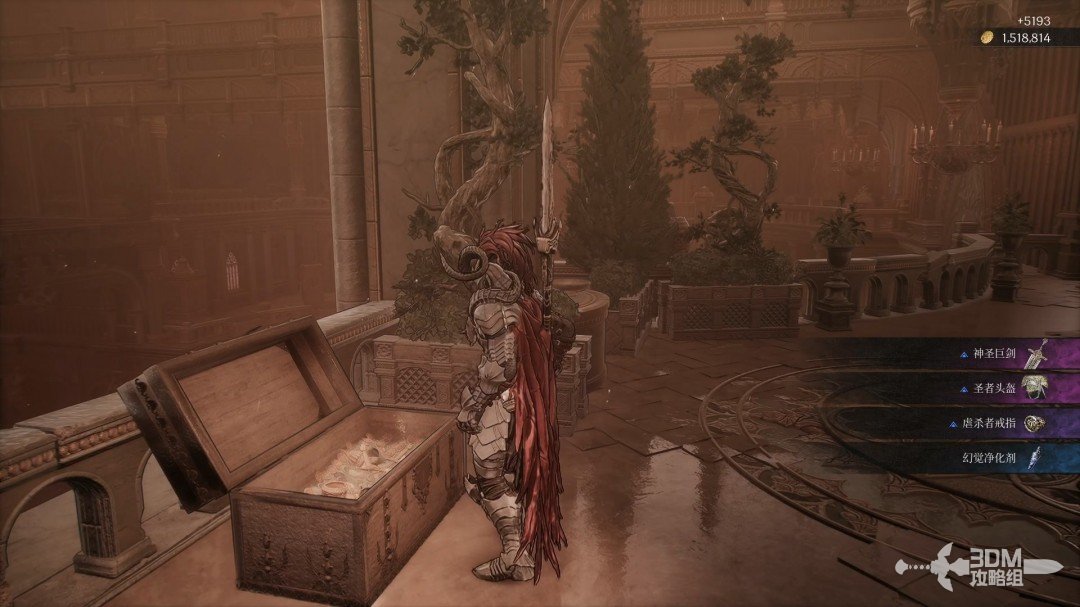
Open the chest inside.

Upper statue and paired murals: circle through the hidden doors · route image 14

03Performer's room and left stairs: follow the vanishing floor edge to the scroll

Return and enter the doorway the enemy guarded.
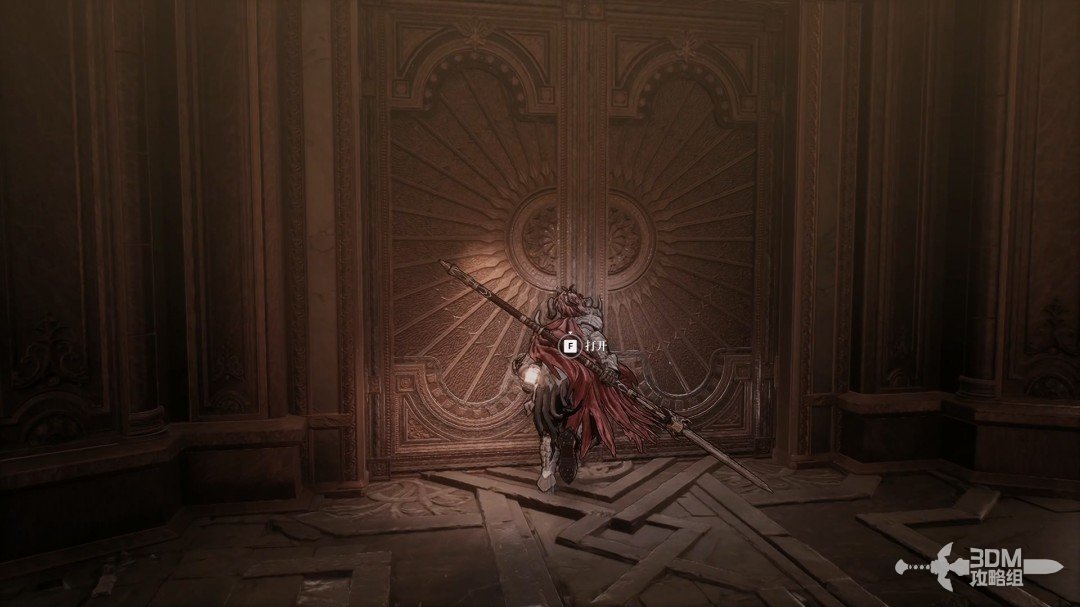
Performer's room and left stairs: follow the vanishing floor edge to the scroll · route image 15

The performing woman appears, then teleports away.
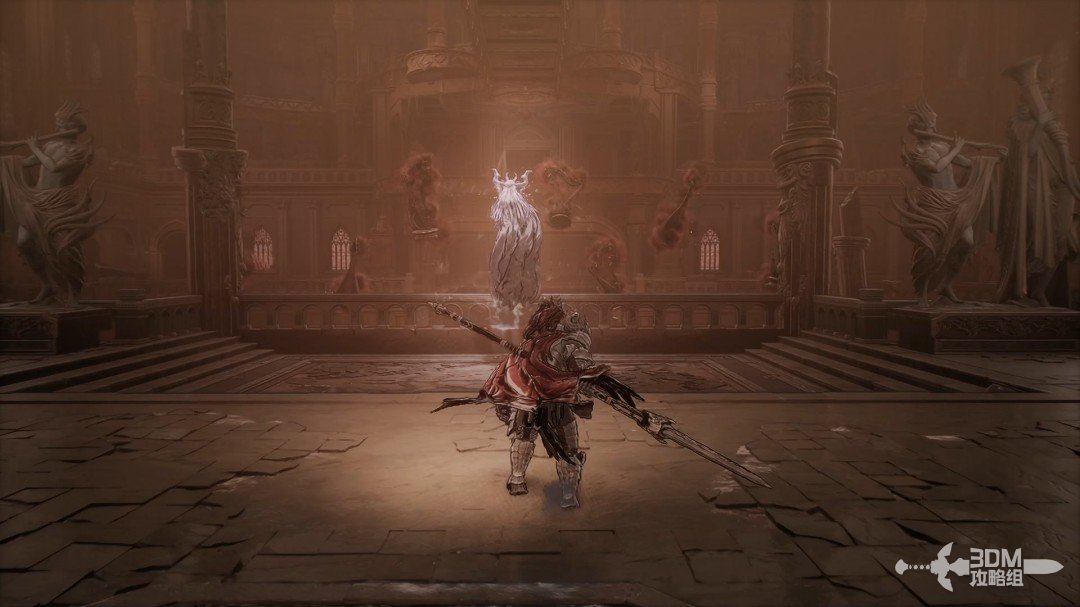
Performer's room and left stairs: follow the vanishing floor edge to the scroll · route image 16

Turn back and go right. Pull the lever to open the shortcut gate, then climb the left stairs.
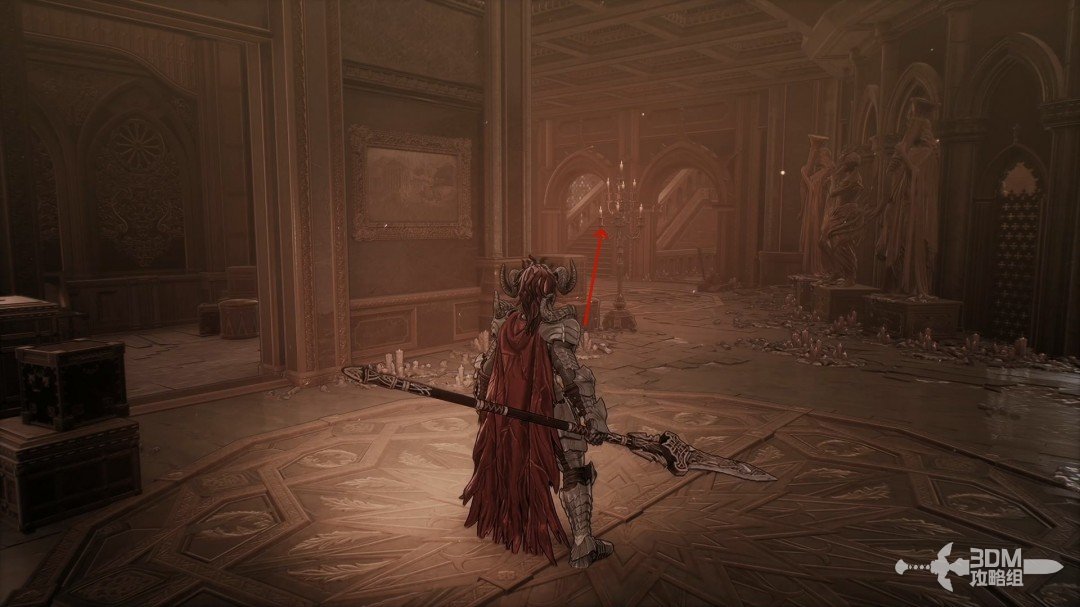
Performer's room and left stairs: follow the vanishing floor edge to the scroll · route image 17

Continue left above and open the door.
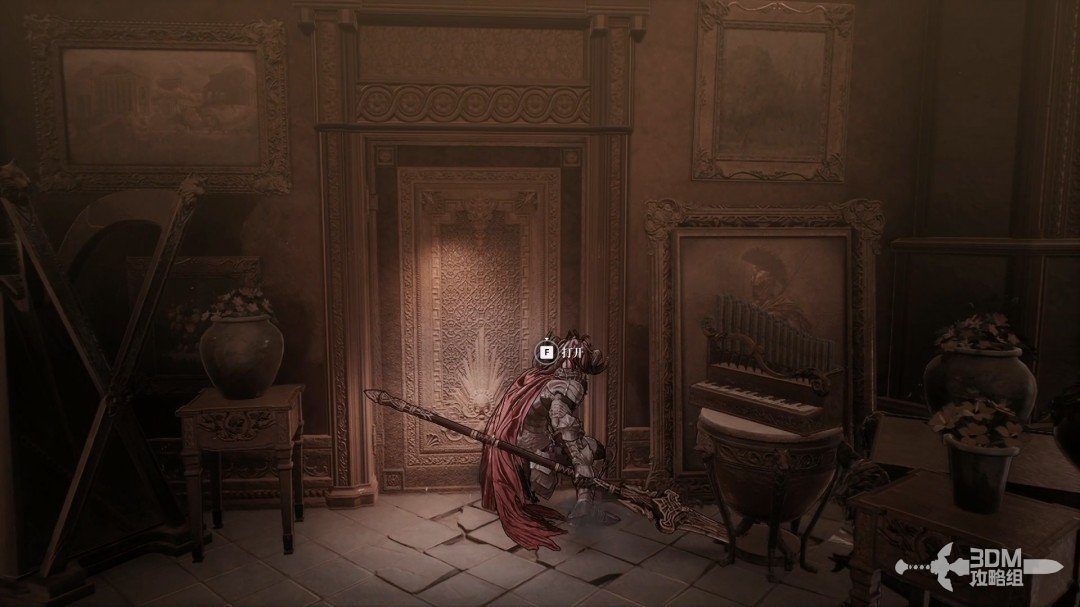
Performer's room and left stairs: follow the vanishing floor edge to the scroll · route image 18

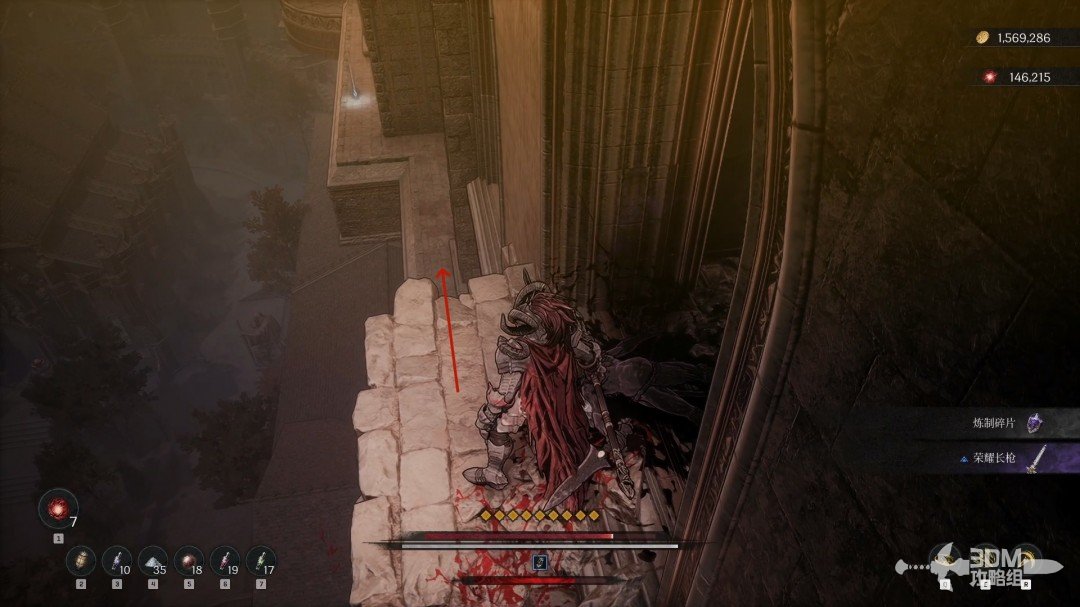
The floor disappears inside. Hug the edge to collect the purple item before dropping for the Soulstone.
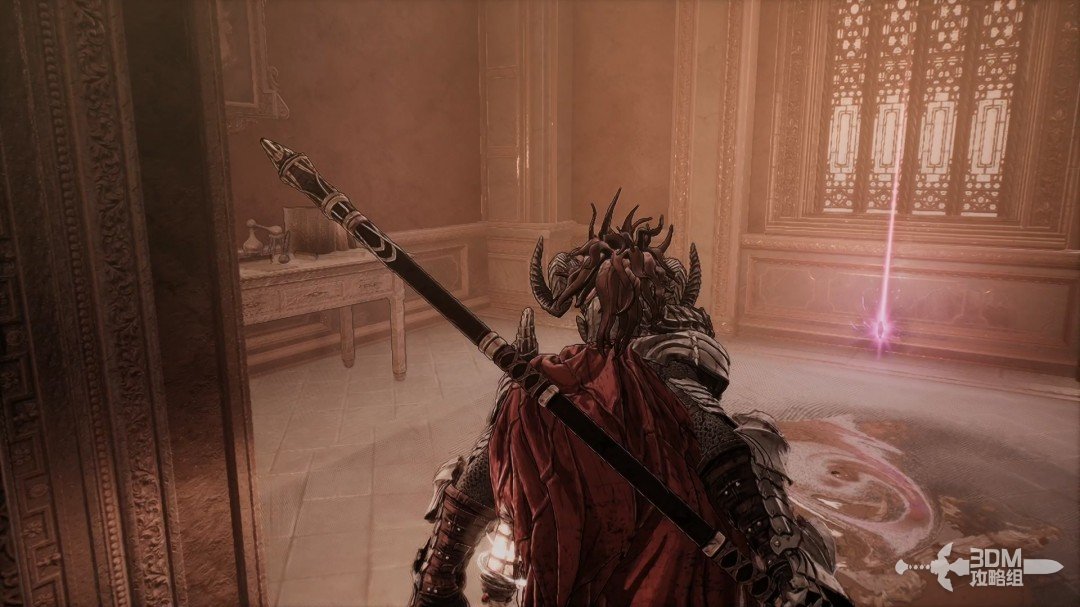
Performer's room and left stairs: follow the vanishing floor edge to the scroll · route image 19

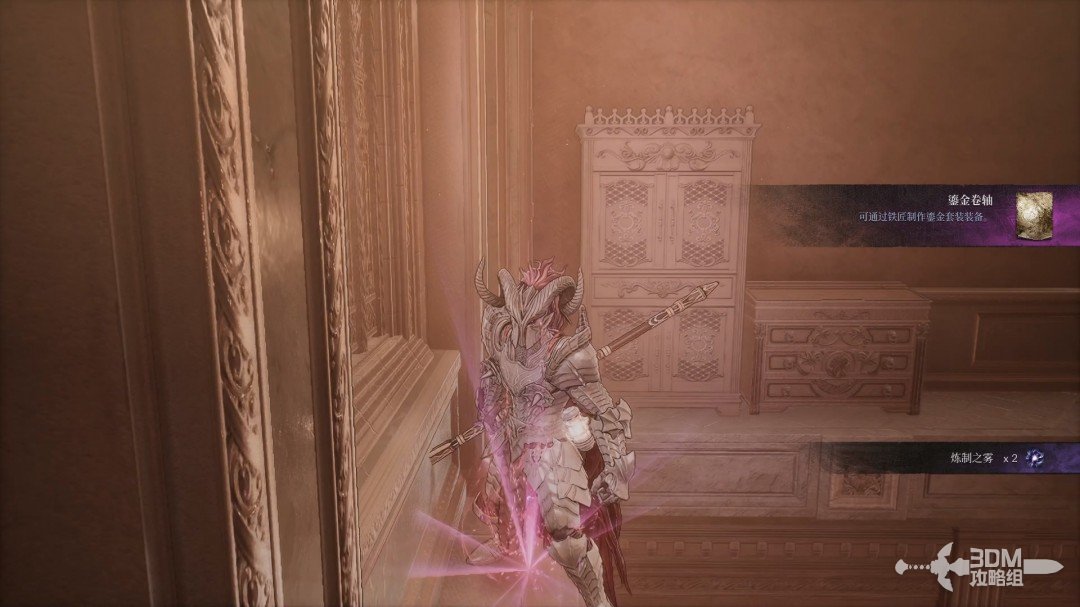
Collect the Gilded Scroll.

Performer's room and left stairs: follow the vanishing floor edge to the scroll · route image 20

06Soulstone below and teleport painting: return to the central room upstairs

Drop to break the Soulstone, then use the painting behind you to return upstairs.
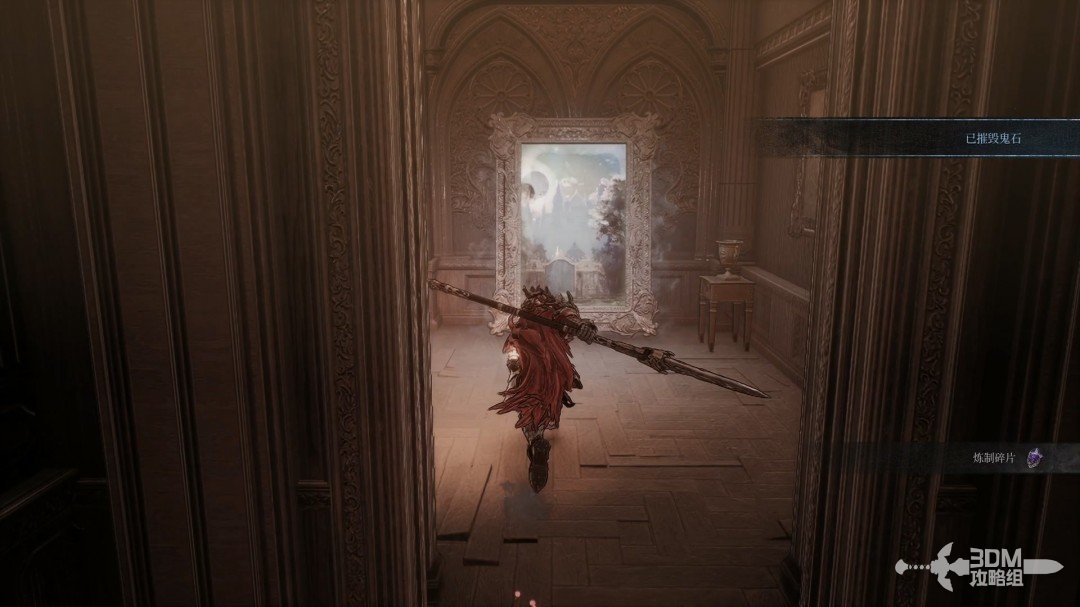
Soulstone below and teleport painting: return to the central room upstairs · route image 1

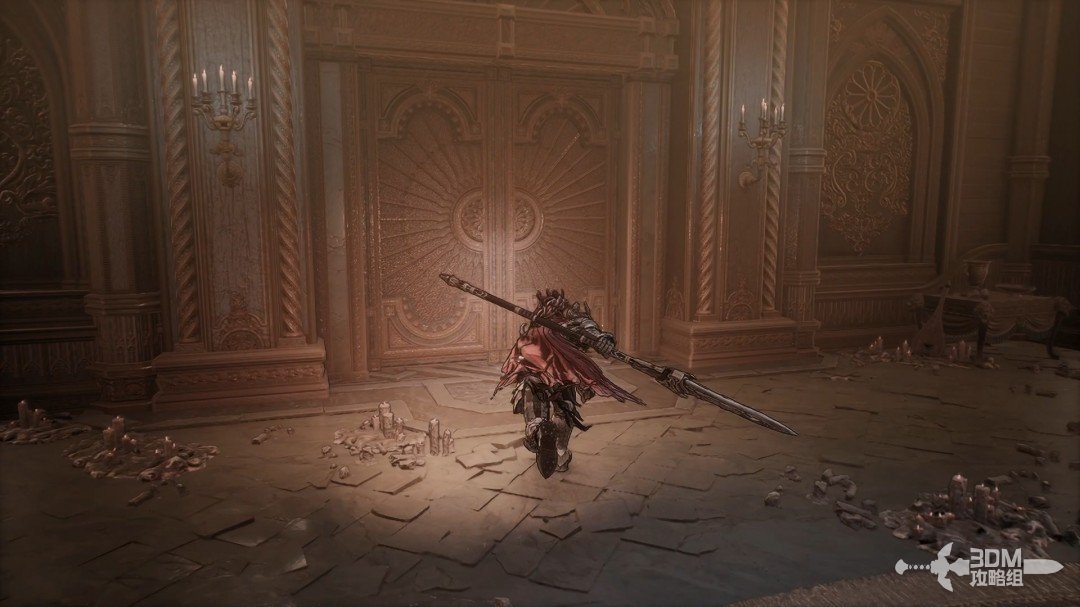
Open the central door again.

Soulstone below and teleport painting: return to the central room upstairs · route image 2

07Hidden mural in the left corridor: visit the bard in the piano room

The woman speaks and teleports away. Turn back left into the corridor.
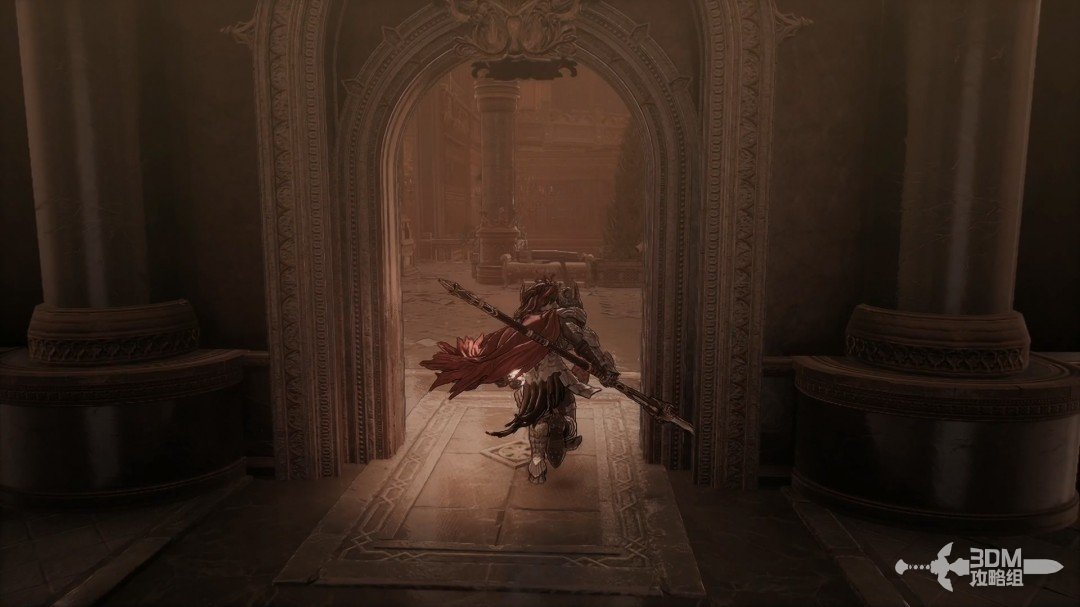
Hidden mural in the left corridor: visit the bard in the piano room · route image 3

Clear the enemies while continuing left. Collect the purple item on the obstructed stairs.
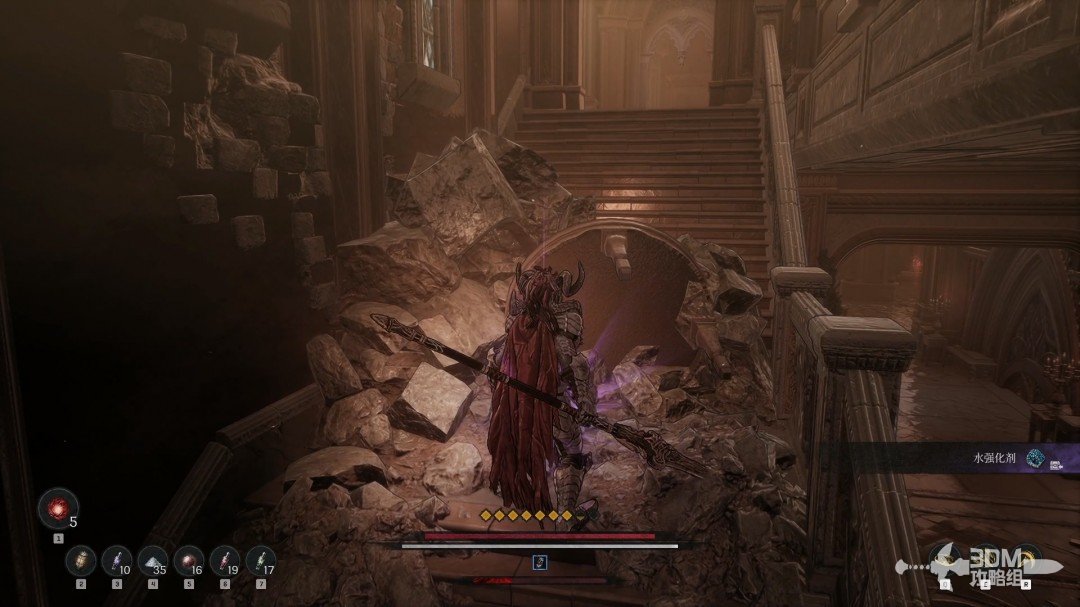
Hidden mural in the left corridor: visit the bard in the piano room · route image 4

The painting on the corridor's left conceals another doorway.
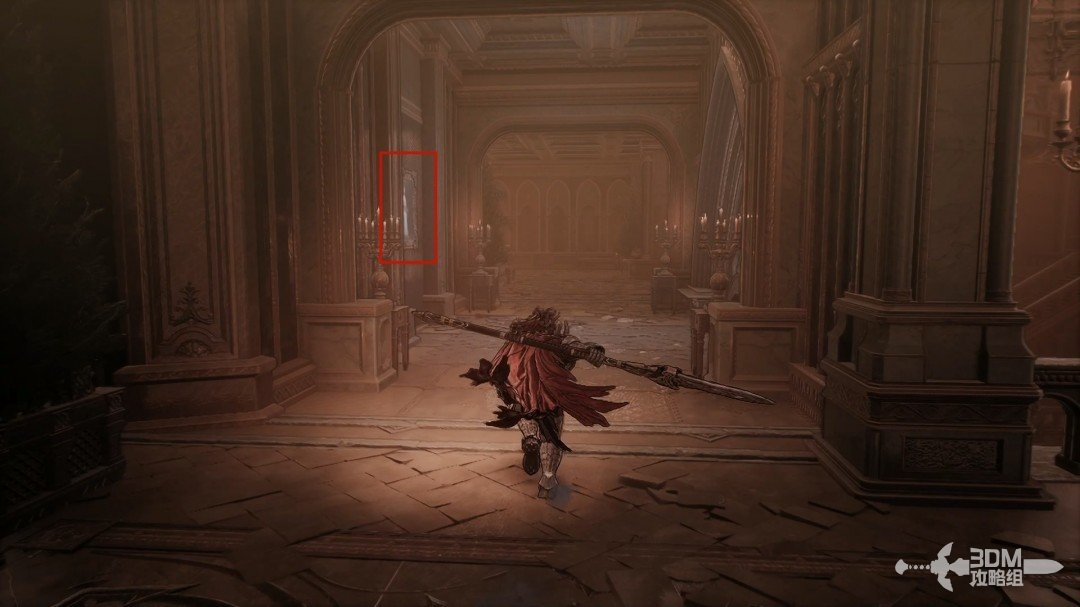
Hidden mural in the left corridor: visit the bard in the piano room · route image 5

Enter and use the teleporting mural to reach Digor the bard. Speak to him about the area's story.
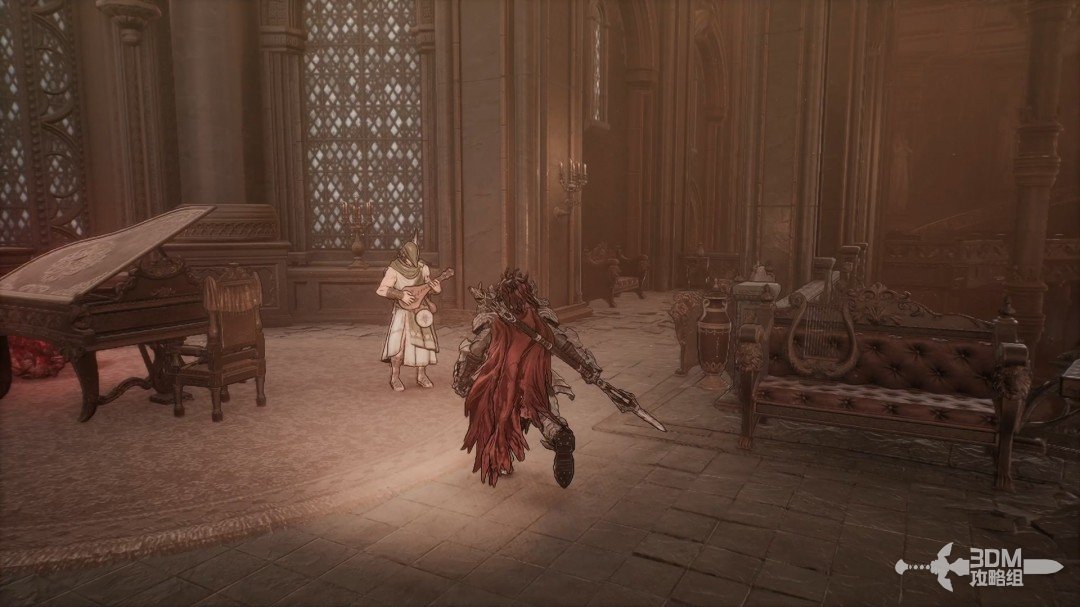
Hidden mural in the left corridor: visit the bard in the piano room · route image 6

A Soulstone stands behind the piano.

Hidden mural in the left corridor: visit the bard in the piano room · route image 7

09Rear piano-room door and side stairs: search the chest and challenge the singing reaper

Leave through the rear iron gate.
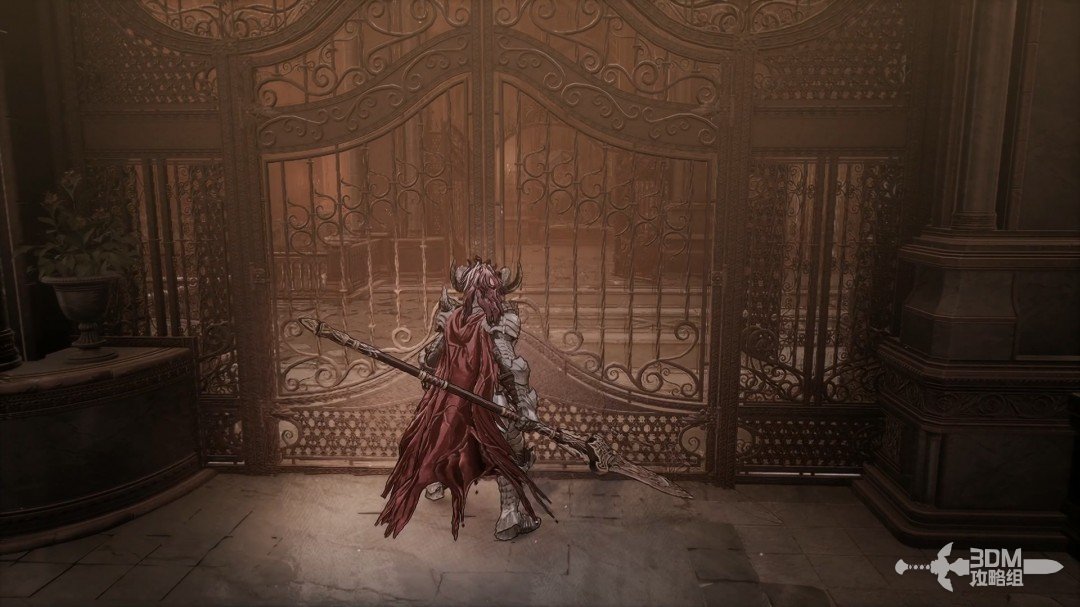
Rear piano-room door and side stairs: search the chest and challenge the singing reaper · route image 1

The stairs on its right return toward the earlier area, with a chest below.
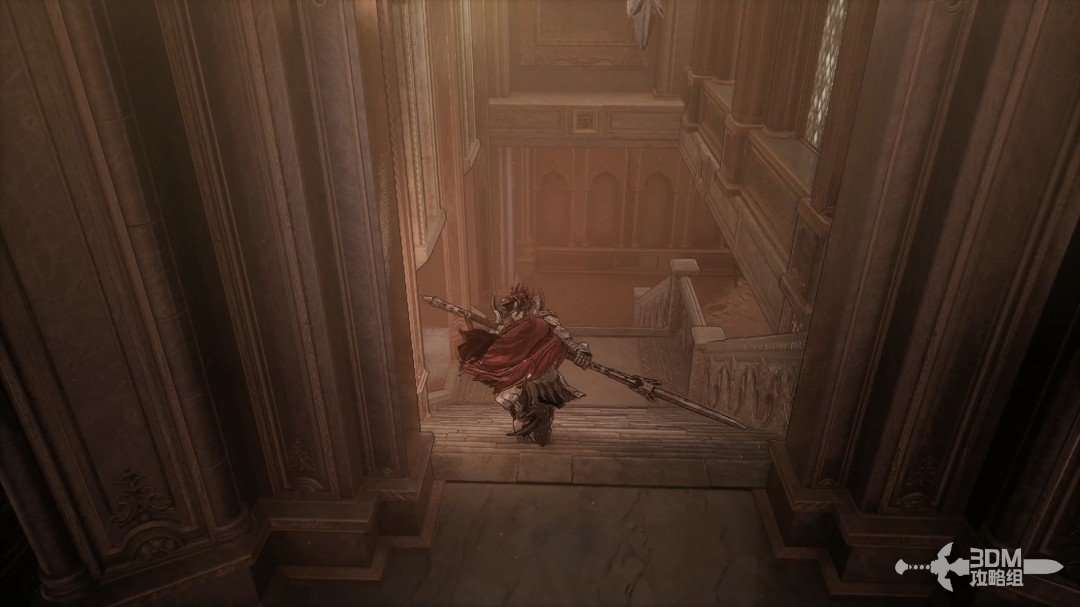
Rear piano-room door and side stairs: search the chest and challenge the singing reaper · route image 2
Rear piano-room door and side stairs: search the chest and challenge the singing reaper · route image 3

Return upstairs and follow the corridor toward the next fight.
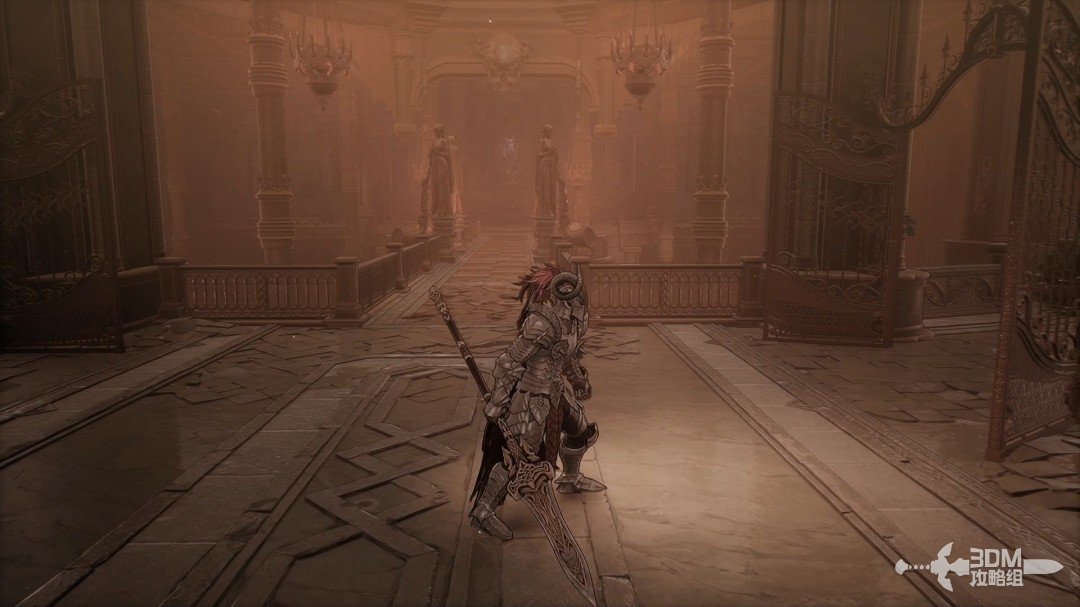
Rear piano-room door and side stairs: search the chest and challenge the singing reaper · route image 4

Use the right elevator to reach a Nexus if you need to rest.
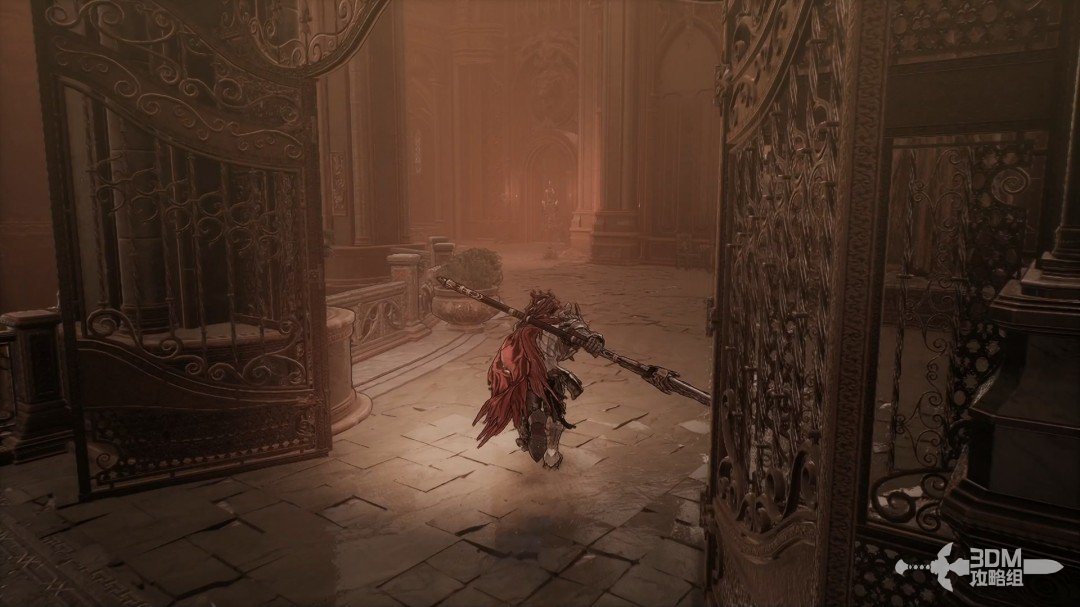
Rear piano-room door and side stairs: search the chest and challenge the singing reaper · route image 5

Approach the singing woman. She transforms into the familiar reaper enemy, allowing you to reuse that strategy.
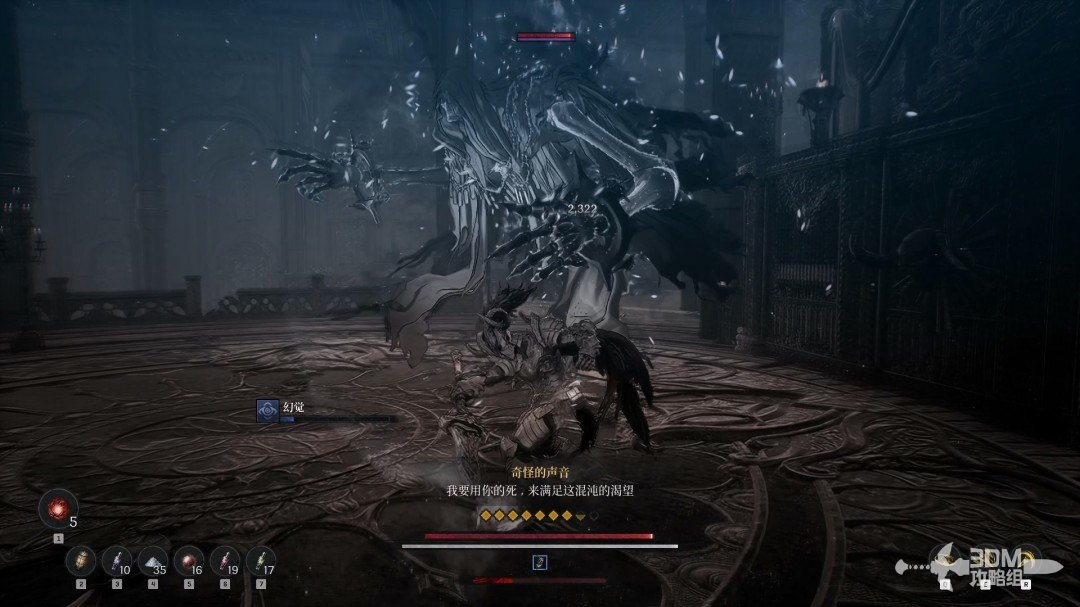
Rear piano-room door and side stairs: search the chest and challenge the singing reaper · route image 6

Victory grants gear and may grant a crafting scroll. Later enemies can also drop the scroll, so farming here is unnecessary.
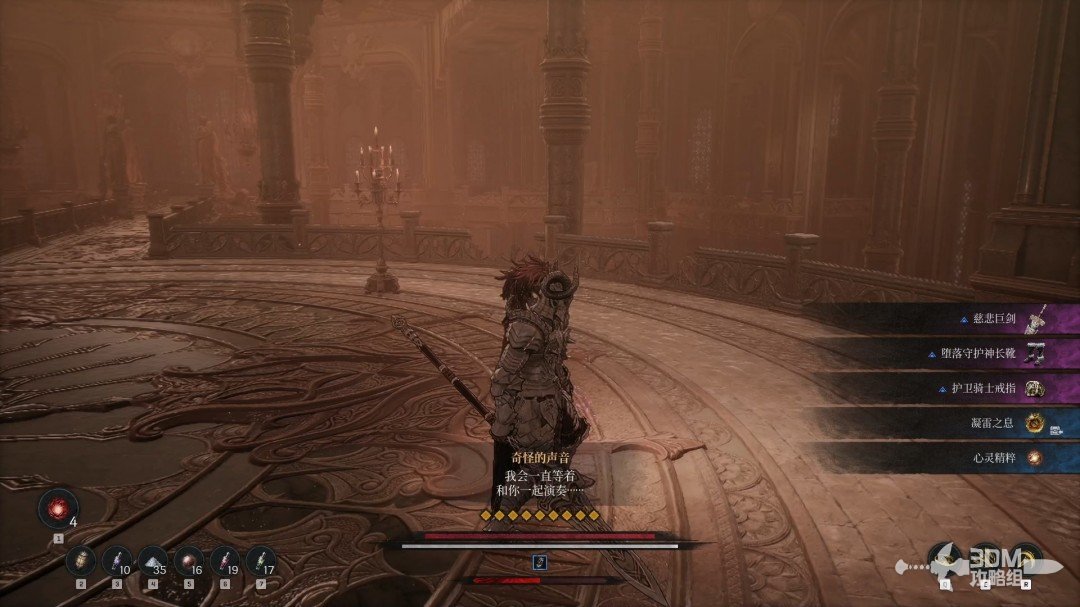
Rear piano-room door and side stairs: search the chest and challenge the singing reaper · route image 7

10Spiral stairs after the fight: collect the teacher's notes before the piano

Climb the spiral stairs and collect the Royal Music Teacher's Notes in front of the piano.
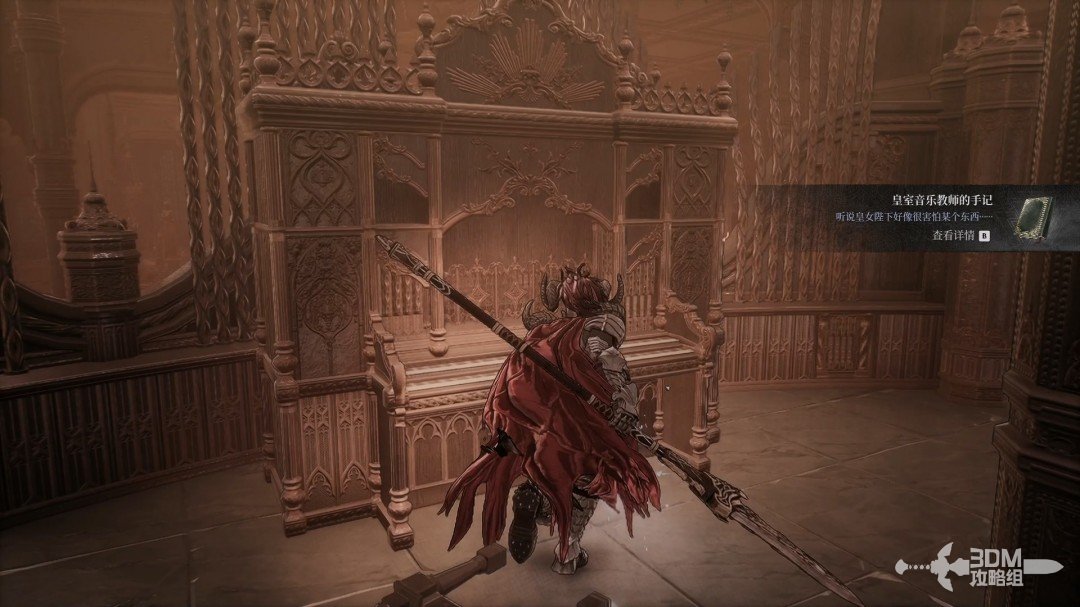
Spiral stairs after the fight: collect the teacher's notes before the piano · route image 8

12Long corridor balcony and new Nexus: enter the phonograph area

Continue into the long corridor.
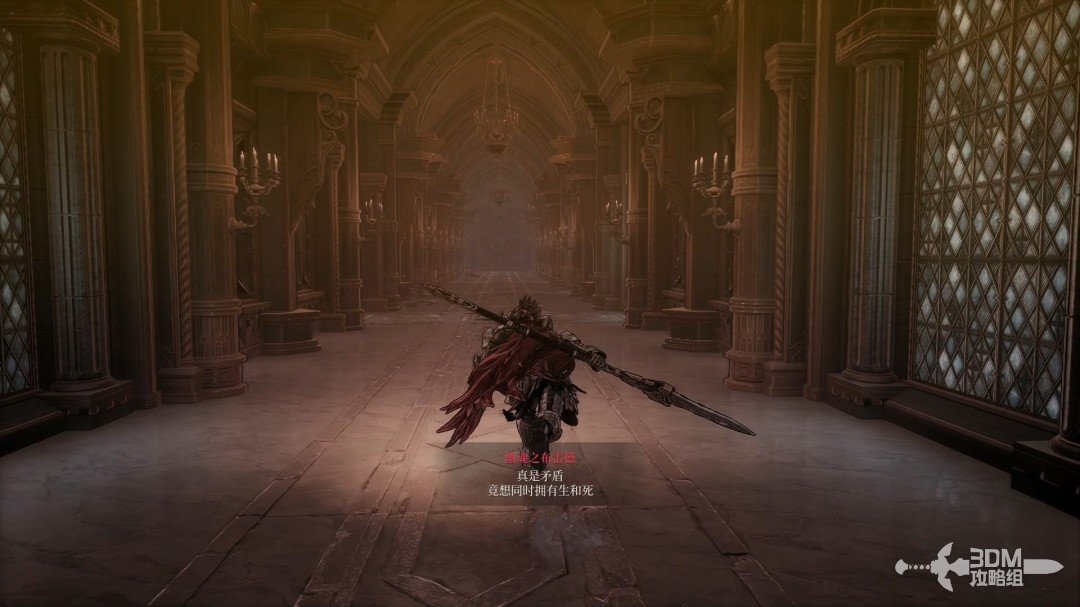
Long corridor balcony and new Nexus: enter the phonograph area · route image 1

Collect the blue item on the left balcony.
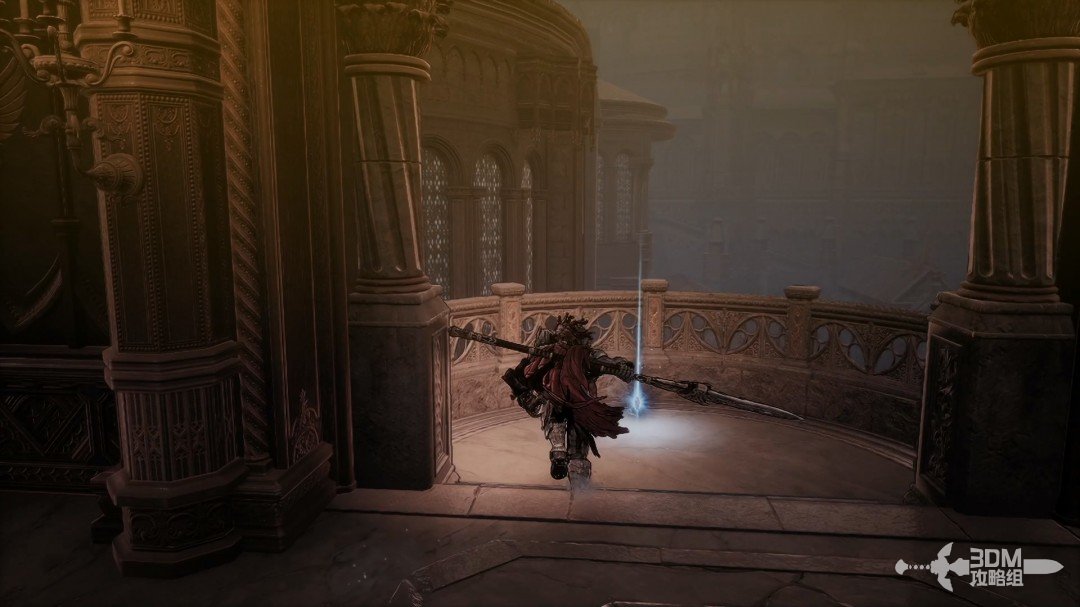
Long corridor balcony and new Nexus: enter the phonograph area · route image 2

Absorb the memory farther ahead.

Long corridor balcony and new Nexus: enter the phonograph area · route image 3

Enter the doorway.

Long corridor balcony and new Nexus: enter the phonograph area · route image 4

Rest at the Nexus inside.

Long corridor balcony and new Nexus: enter the phonograph area · route image 5

The left door is locked. Continue straight.
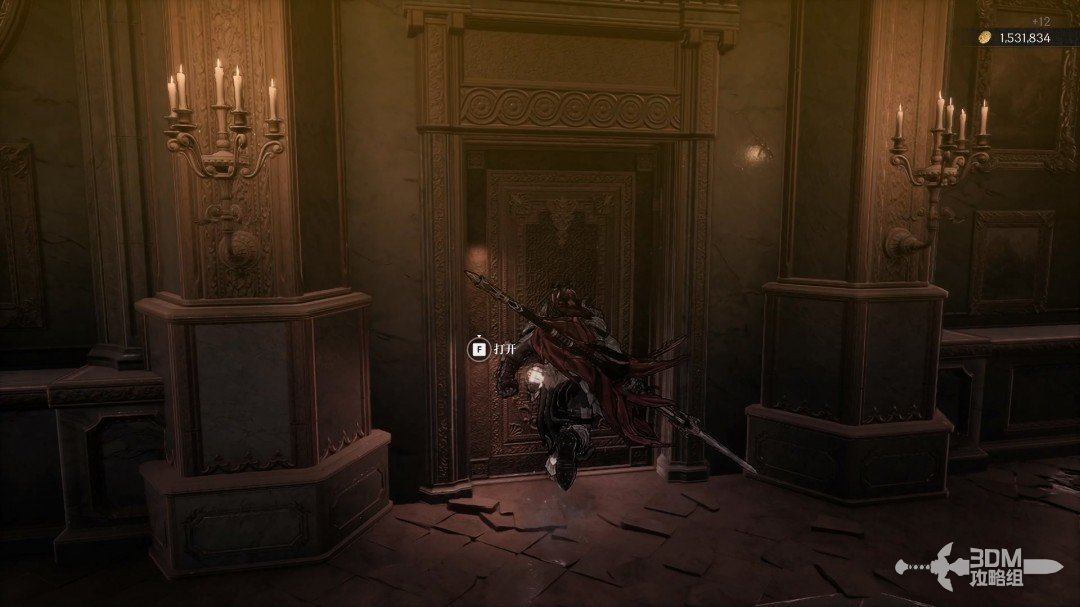
Long corridor balcony and new Nexus: enter the phonograph area · route image 6

13Interrupt the melody: search the right branch and circle around the study balcony

Blade Phantom asks you to stop the melody. Destroy the record player along the route.
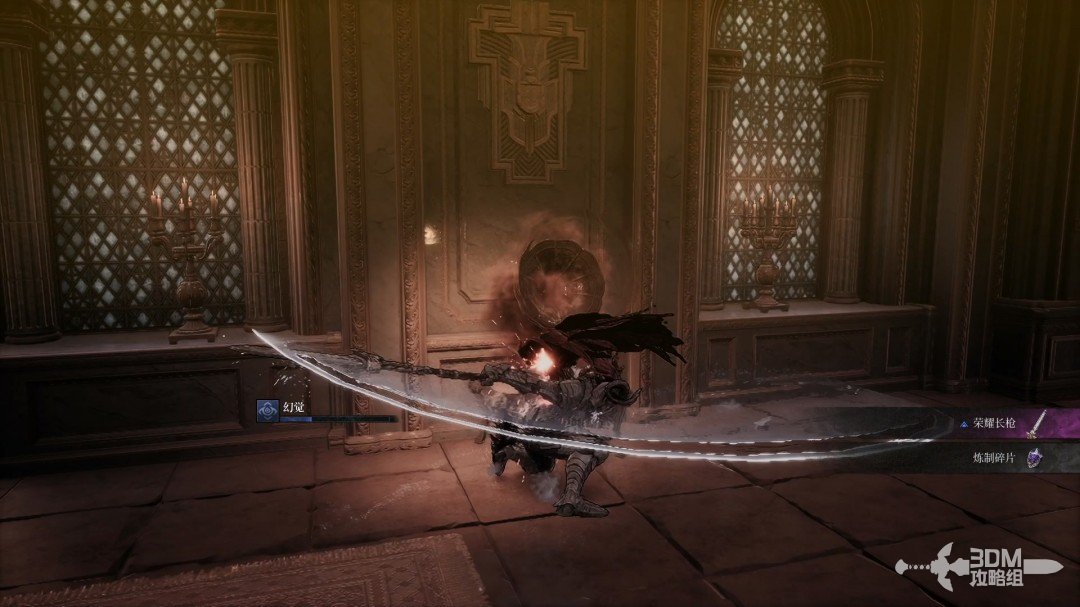
Interrupt the melody: search the right branch and circle around the study balcony · route image 7

Continue toward the goblin mage in the corridor.
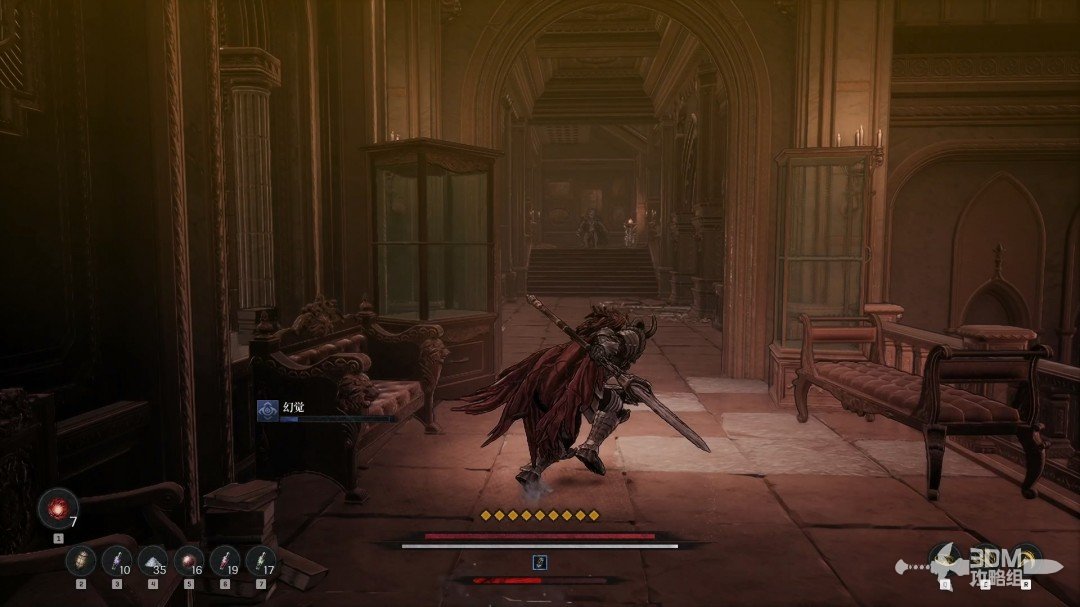
Interrupt the melody: search the right branch and circle around the study balcony · route image 8

Do not miss the right branch here.

Interrupt the melody: search the right branch and circle around the study balcony · route image 9

Absorb the memory inside.

Interrupt the melody: search the right branch and circle around the study balcony · route image 10

Return and proceed into the study-like area.
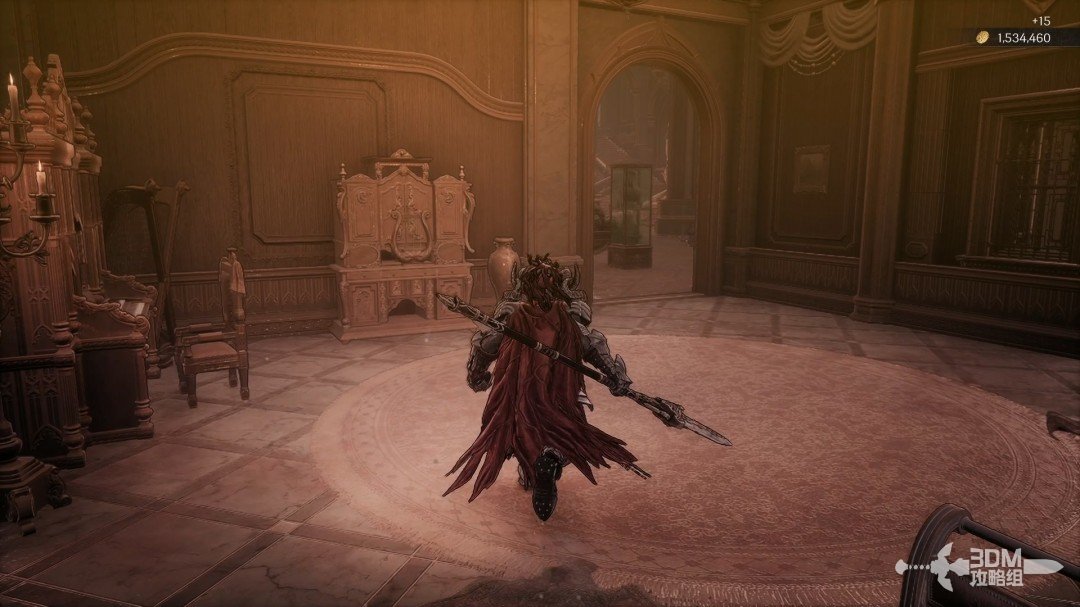
Interrupt the melody: search the right branch and circle around the study balcony · route image 11

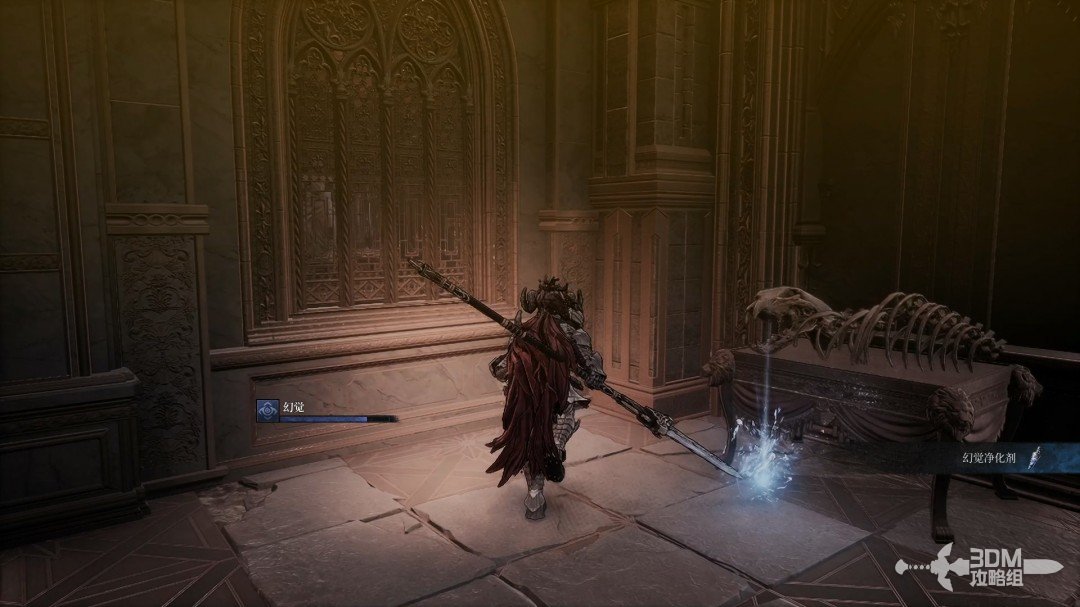
Collect the white item in the outside corner.
Interrupt the melody: search the right branch and circle around the study balcony · route image 12

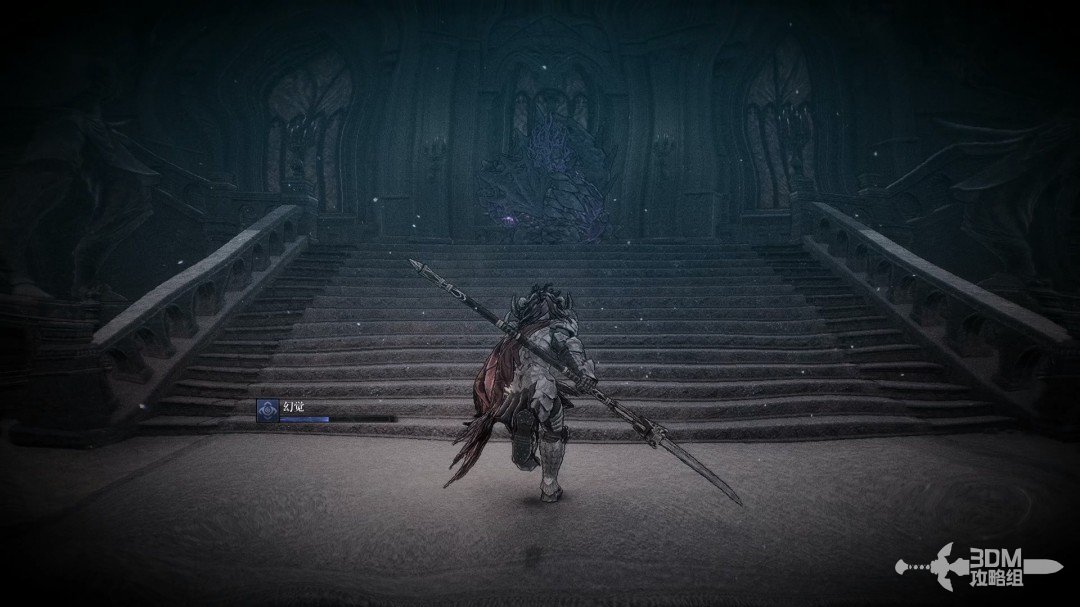
Leave the elite on the main staircase for a moment and explore left.
Interrupt the melody: search the right branch and circle around the study balcony · route image 13

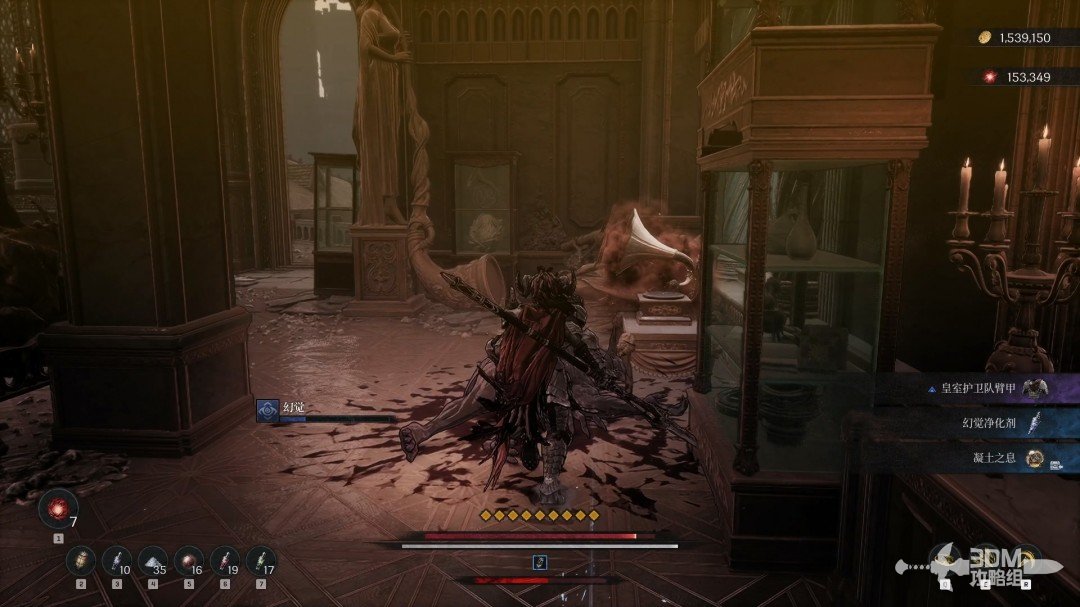
Destroy the other record player on the left.
Interrupt the melody: search the right branch and circle around the study balcony · route image 14

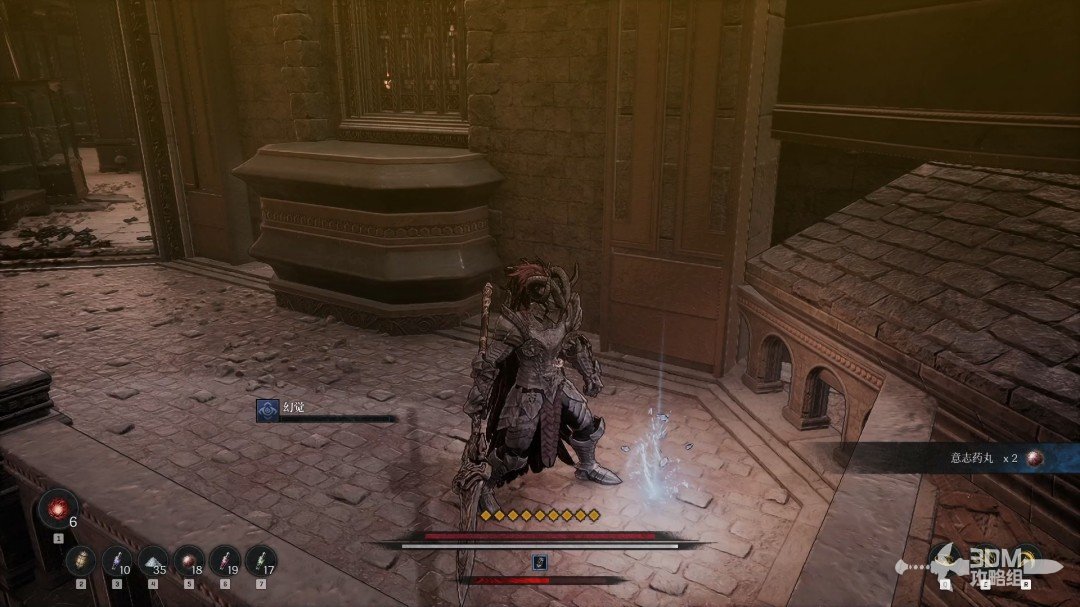
Take the blue item on the balcony, watching for an enemy dropping down.
Interrupt the melody: search the right branch and circle around the study balcony · route image 15

14Elite on the main stairs and the room opposite: collect the third Soulstone

Return and defeat the staircase elite; it can drop a Saint Scroll.
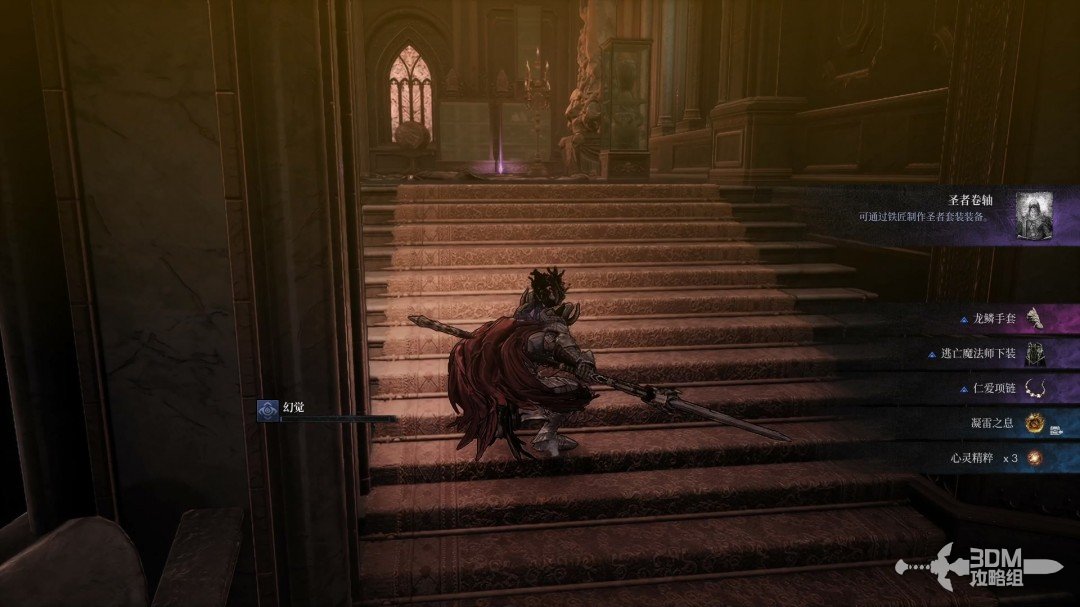
Elite on the main stairs and the room opposite: collect the third Soulstone · route image 16

Take the left stairs for a purple item.
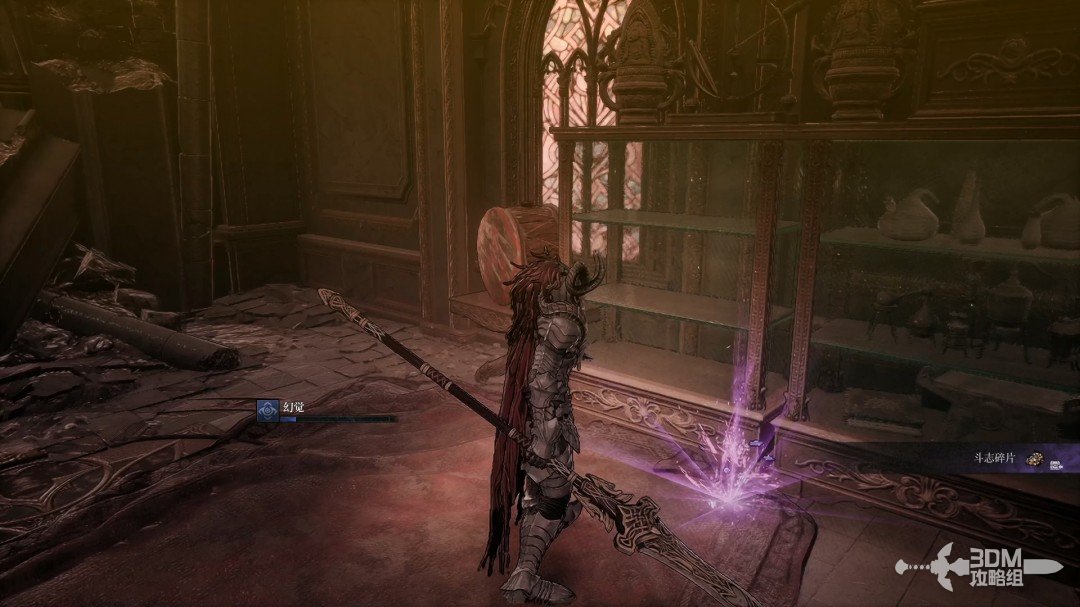
Elite on the main stairs and the room opposite: collect the third Soulstone · route image 17

Return and climb the opposite staircase.
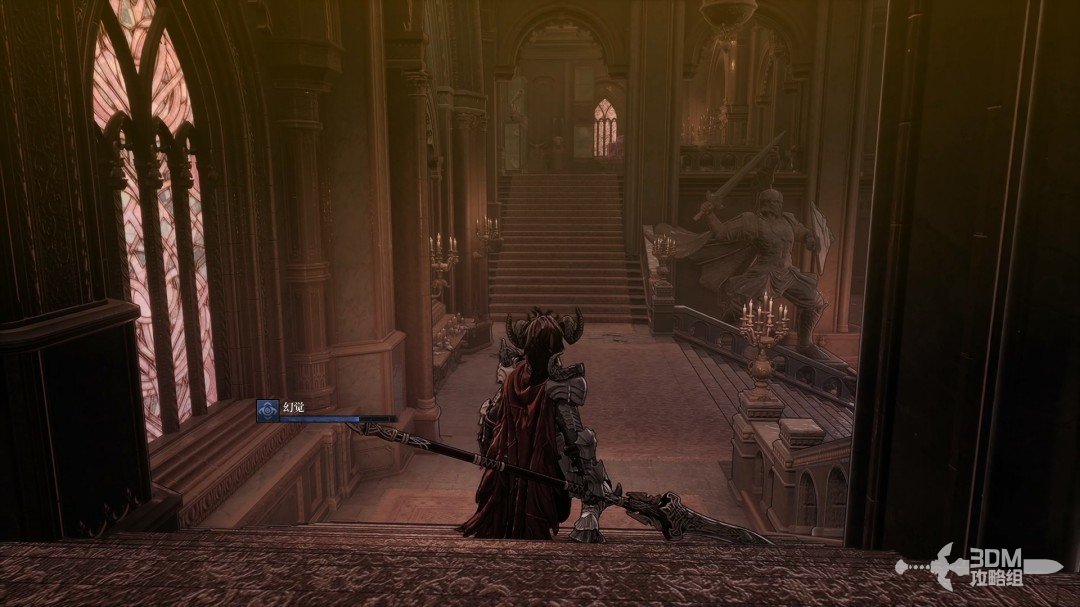
Elite on the main stairs and the room opposite: collect the third Soulstone · route image 18

The room on the main route contains an obvious Soulstone.
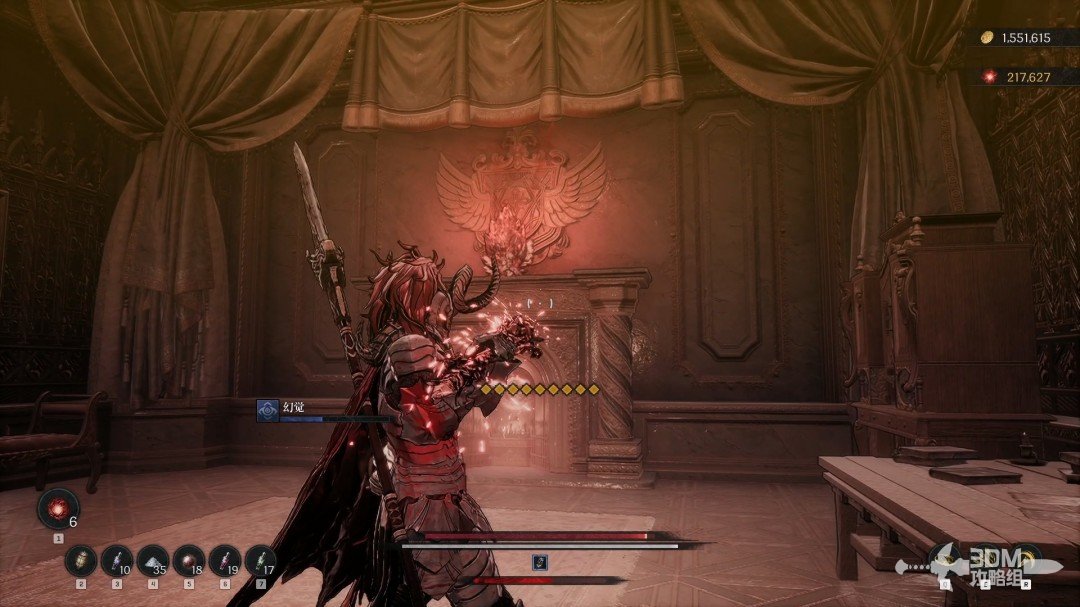
Elite on the main stairs and the room opposite: collect the third Soulstone · route image 19

16Bridge guarded by a laser foe: break the phonograph and open the hall shortcut

Destroy the record player at the room's entrance.
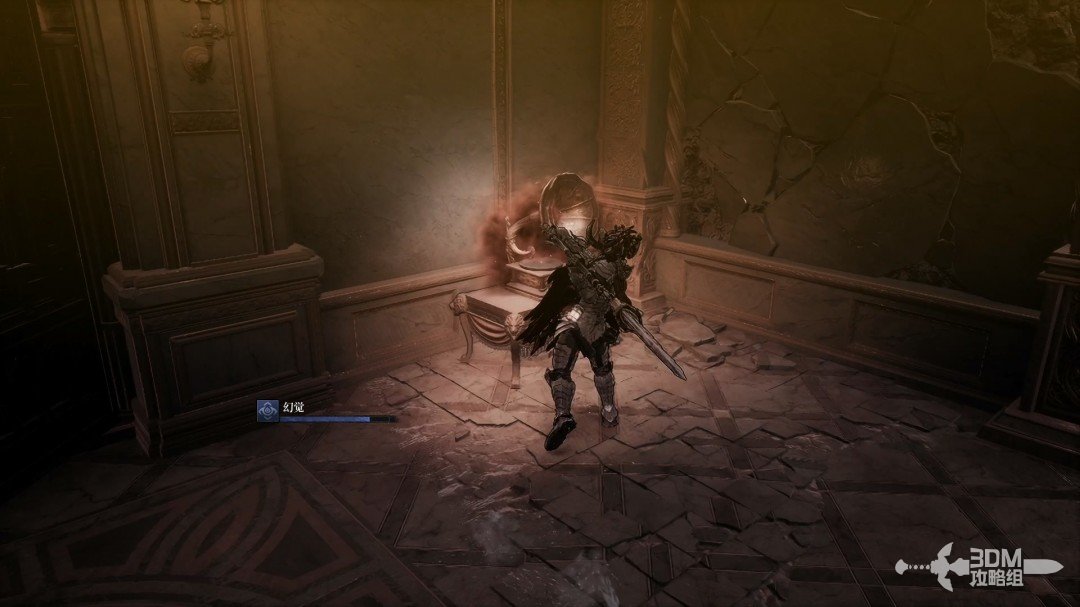
Bridge guarded by a laser foe: break the phonograph and open the hall shortcut · route image 1

Cross the bridge carefully past the laser-firing enemy.
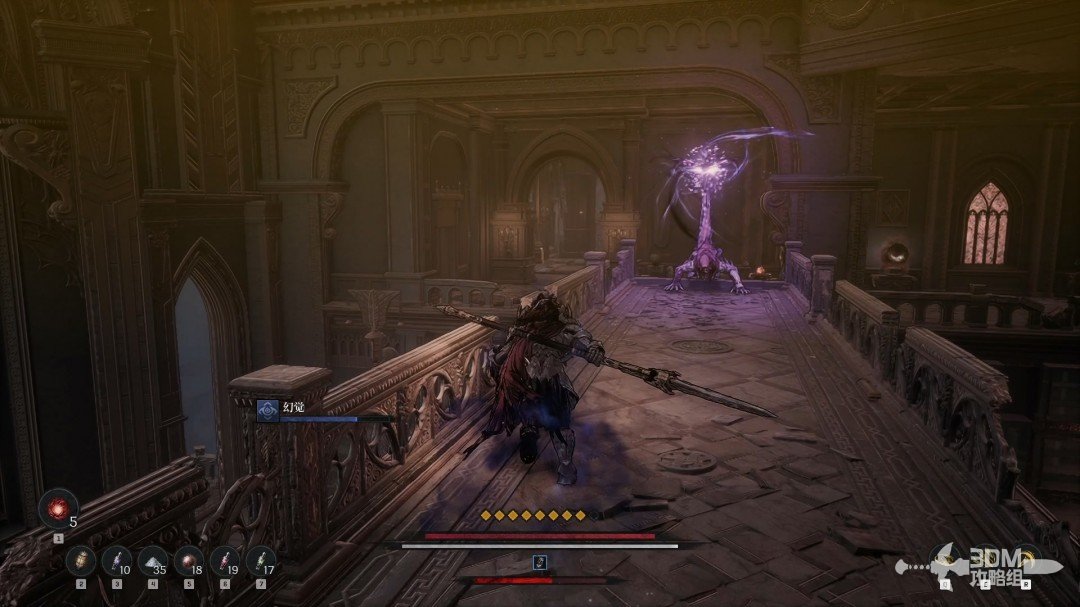
Bridge guarded by a laser foe: break the phonograph and open the hall shortcut · route image 2

Destroy another record player on the right beyond the bridge.
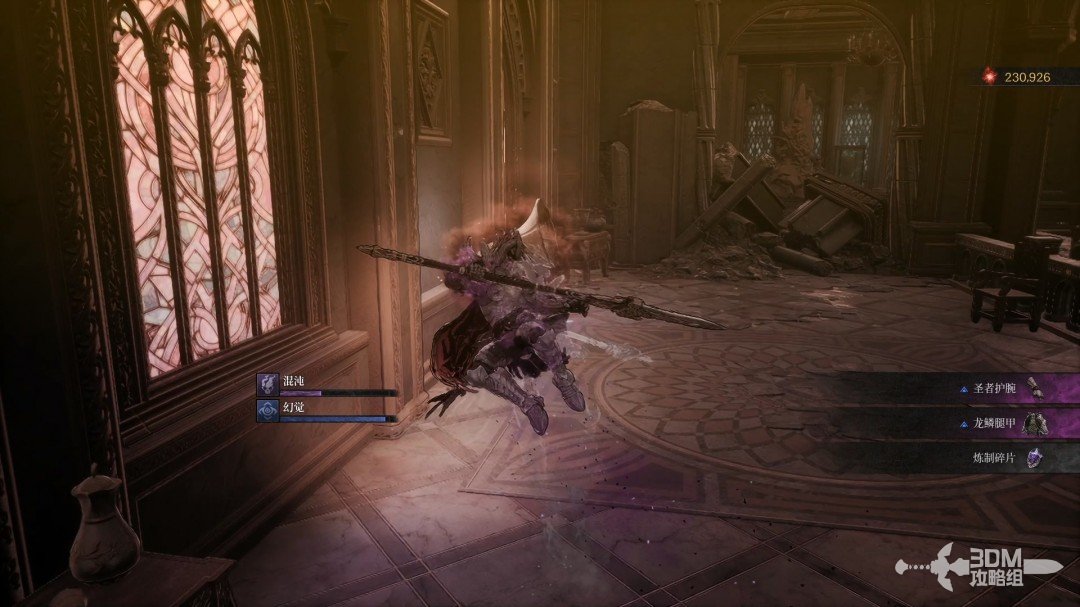
Bridge guarded by a laser foe: break the phonograph and open the hall shortcut · route image 3

The stairs left of the bridge reconnect with the hall's locked door and a place to rest.
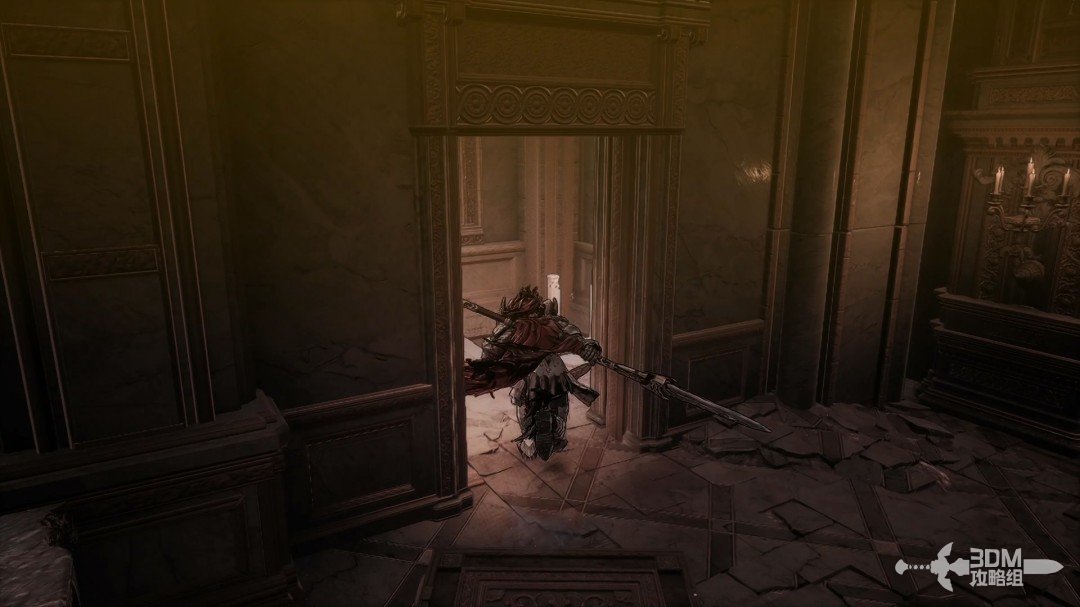
Bridge guarded by a laser foe: break the phonograph and open the hall shortcut · route image 4

17Balcony left of the locked gate: circle along the outer edge to the key room

The gate ahead requires a key. Reach it from the left balcony rather than the stairs on either side.
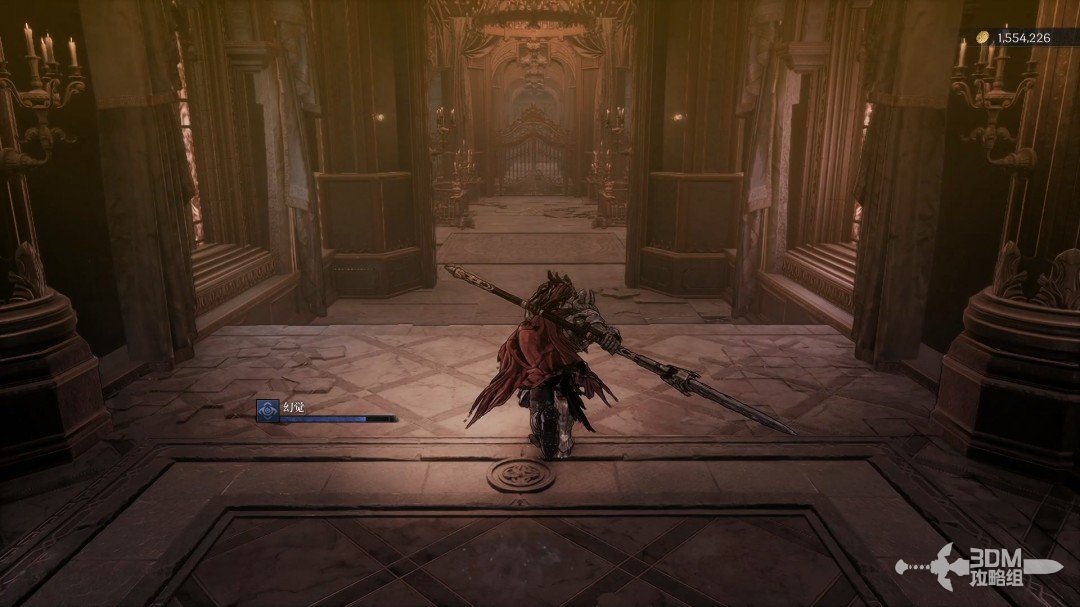
Balcony left of the locked gate: circle along the outer edge to the key room · route image 5

First defeat the enemies on the left.
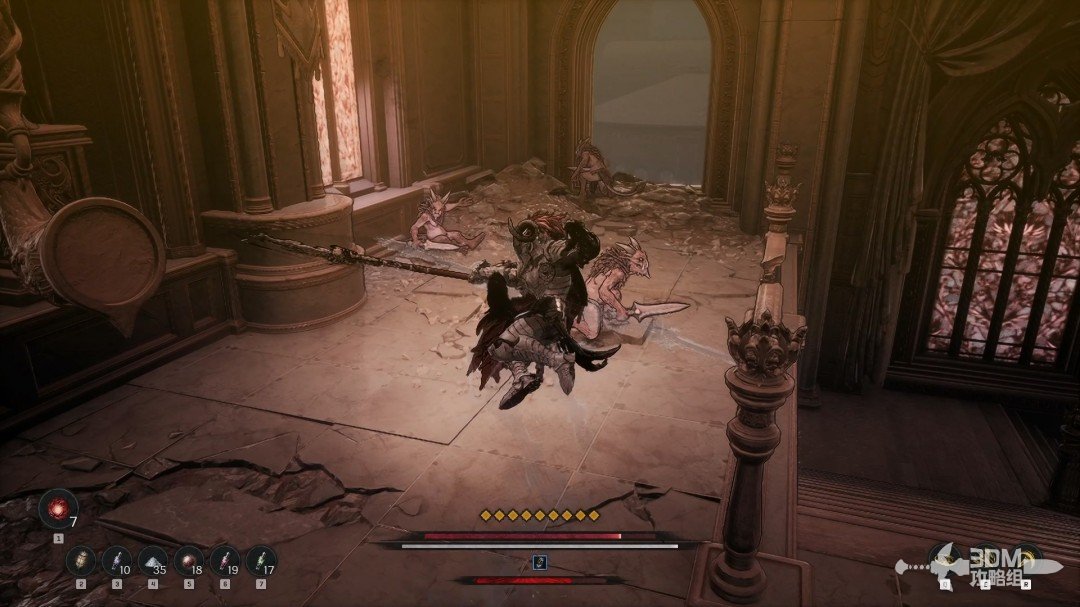
Balcony left of the locked gate: circle along the outer edge to the key room · route image 6

Leave outside and drop here.

Balcony left of the locked gate: circle along the outer edge to the key room · route image 7

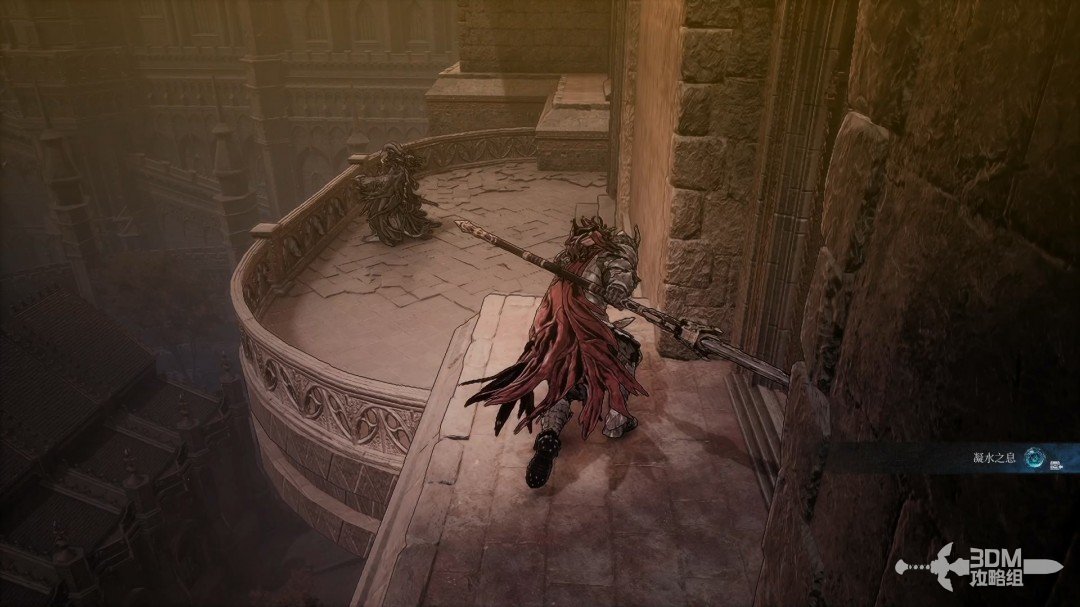
Follow the edge into the balcony.

Balcony left of the locked gate: circle along the outer edge to the key room · route image 8

18Key chest and hidden door on the right: collect the fourth Soulstone

Inside, a chest lies left and a hidden doorway right.
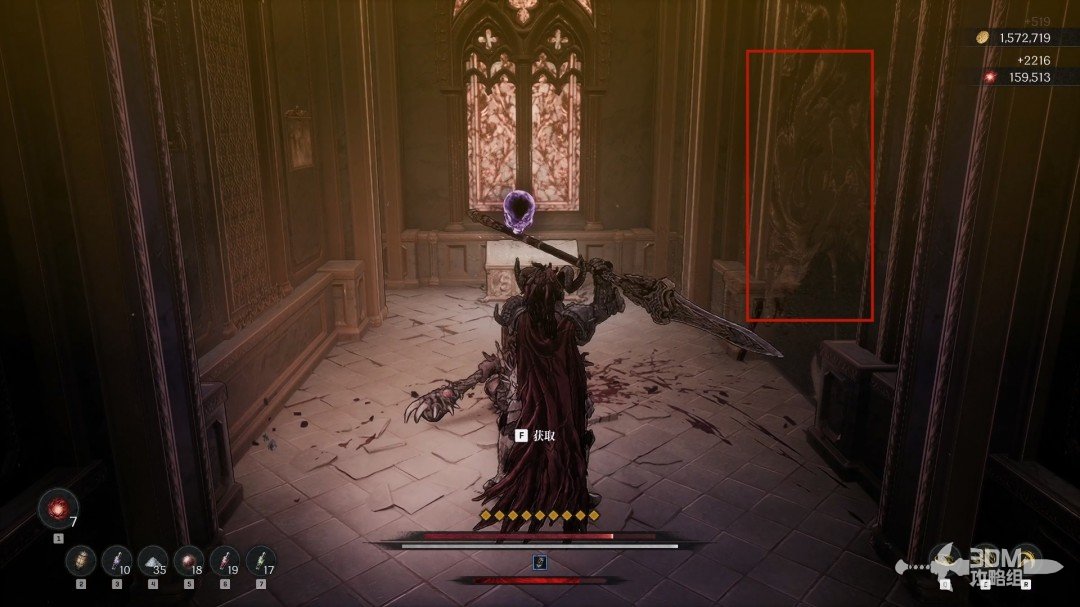
Key chest and hidden door on the right: collect the fourth Soulstone · route image 9

Collect the Central Theatre Key from the chest.
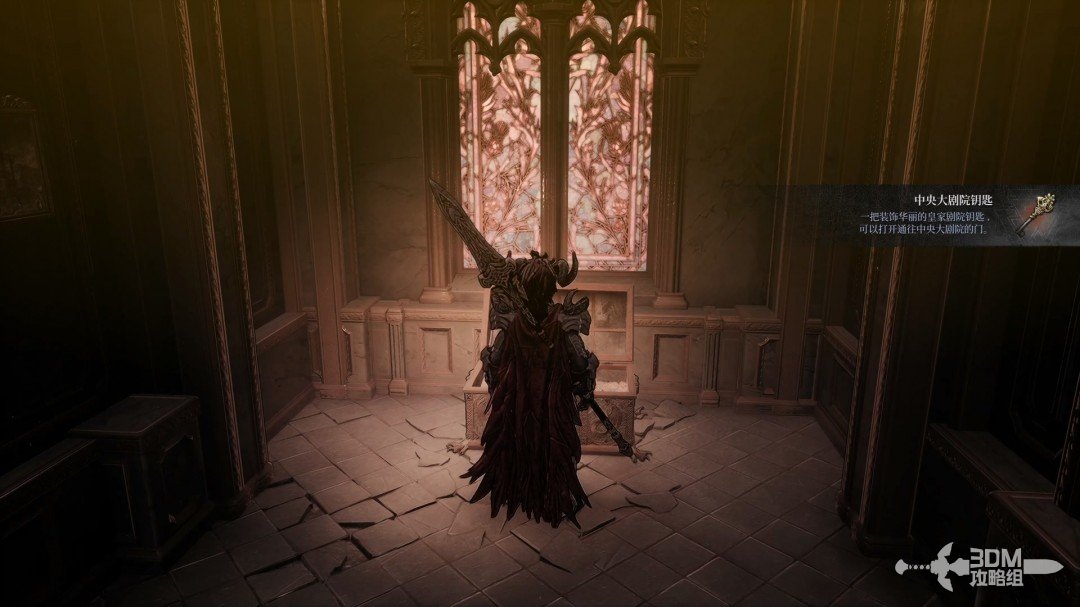
Key chest and hidden door on the right: collect the fourth Soulstone · route image 10

The hidden room on the right contains a Soulstone.
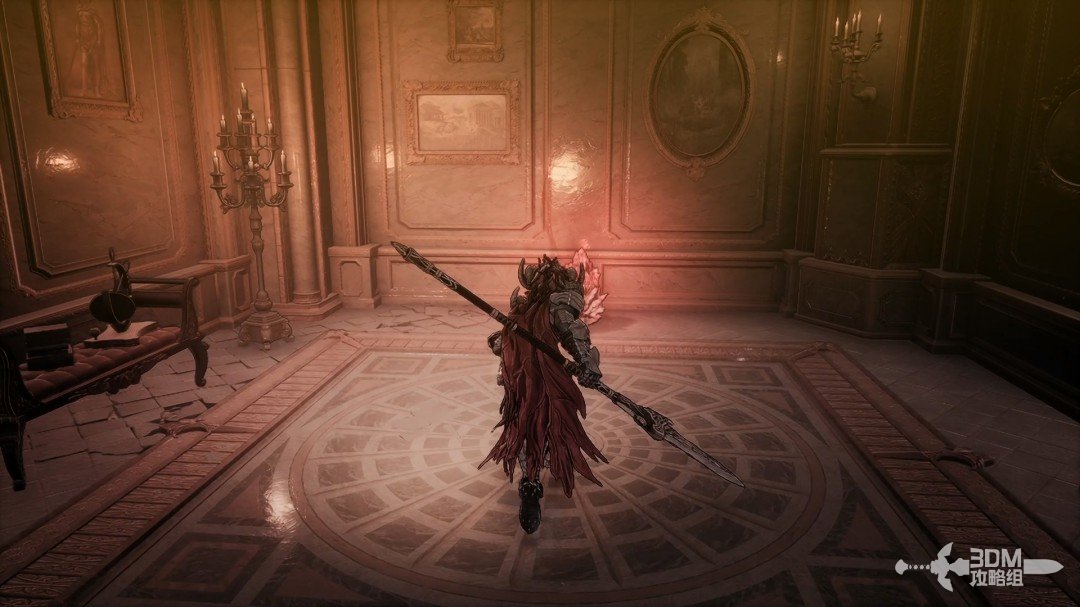
Key chest and hidden door on the right: collect the fourth Soulstone · route image 11

21Theater model beyond the iron gate: disc fragment and phonograph

Leave through the iron gate, which reconnects with the lower staircase routes.
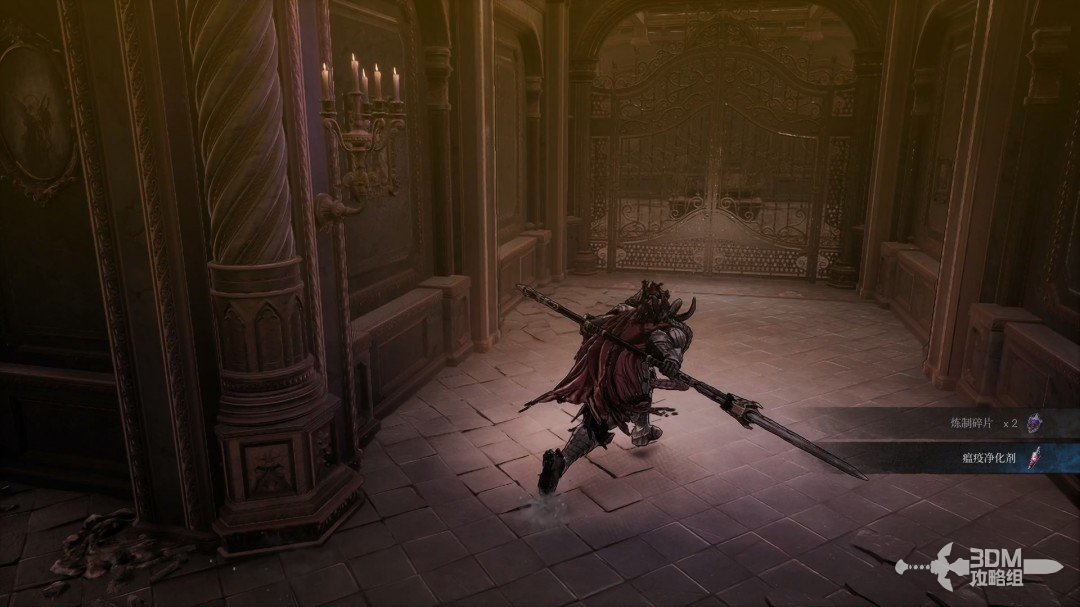
Theater model beyond the iron gate: disc fragment and phonograph · route image 1

Collect the Rovelion Disc Fragment beside the model beyond the gate.
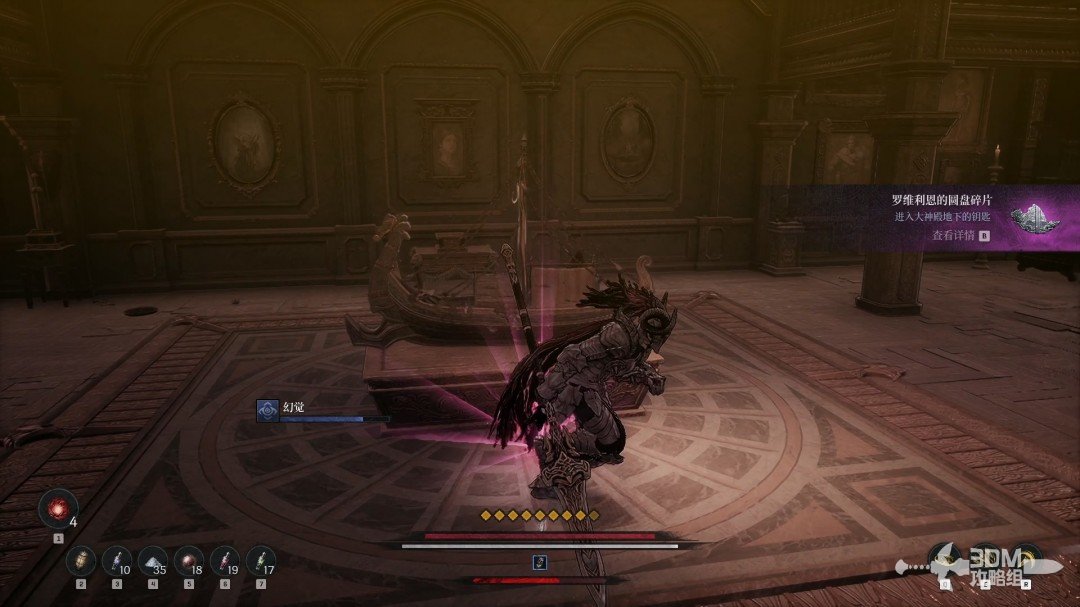
Theater model beyond the iron gate: disc fragment and phonograph · route image 2

Destroy the record player behind the model.
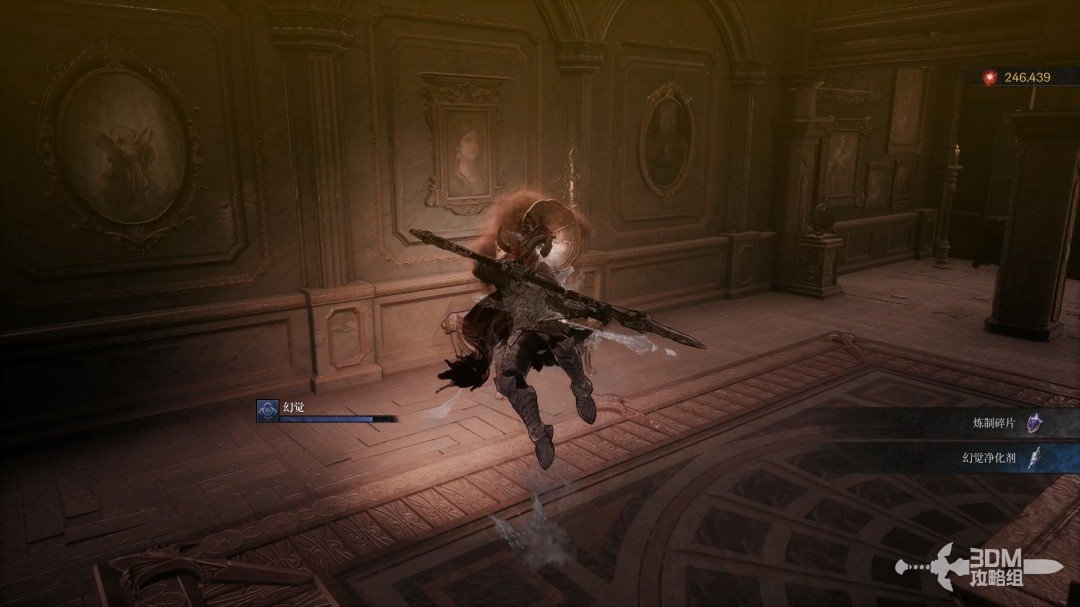
Theater model beyond the iron gate: disc fragment and phonograph · route image 1

Collect the white item in the corner.
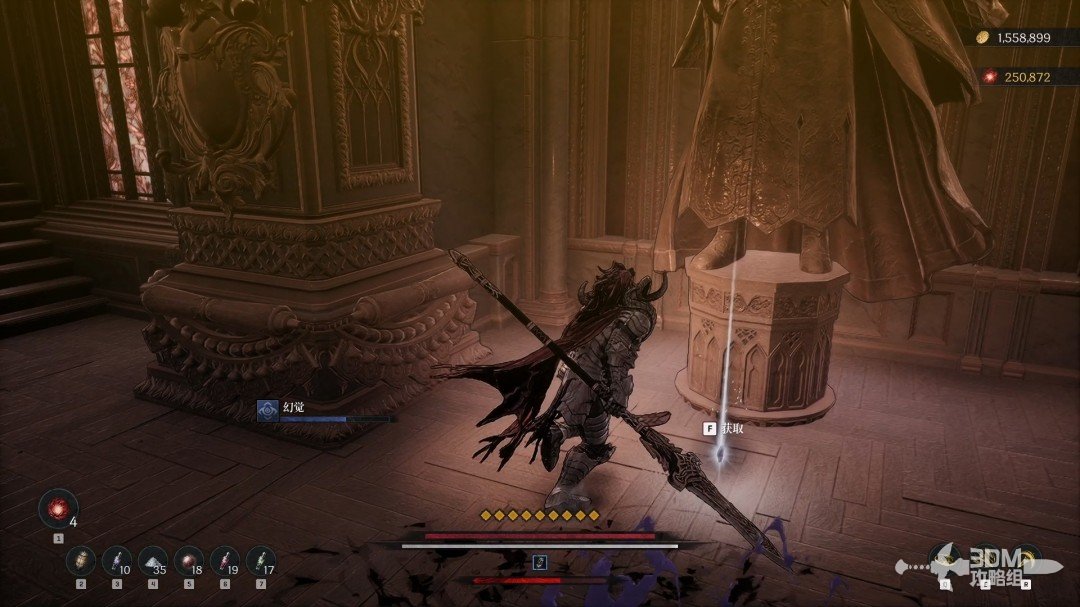
Theater model beyond the iron gate: disc fragment and phonograph · route image 2

23Unlock the main gate: defeat the elite and search behind the statue

Climb back to the previous iron gate and unlock it with the key.
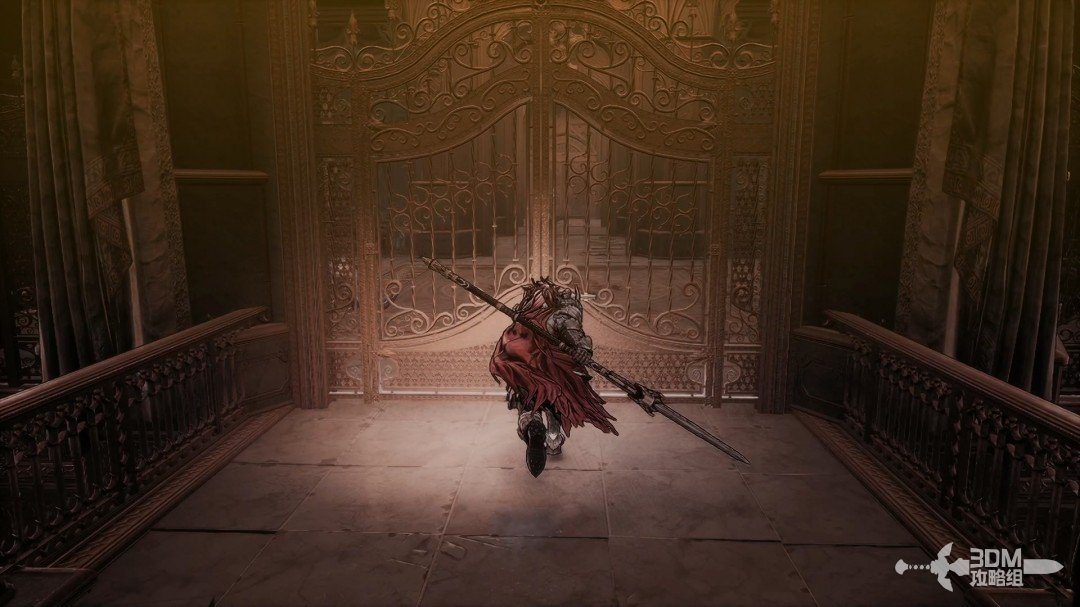
Unlock the main gate: defeat the elite and search behind the statue · route image 3

Defeat the elite beyond it and collect the purple item on the right.
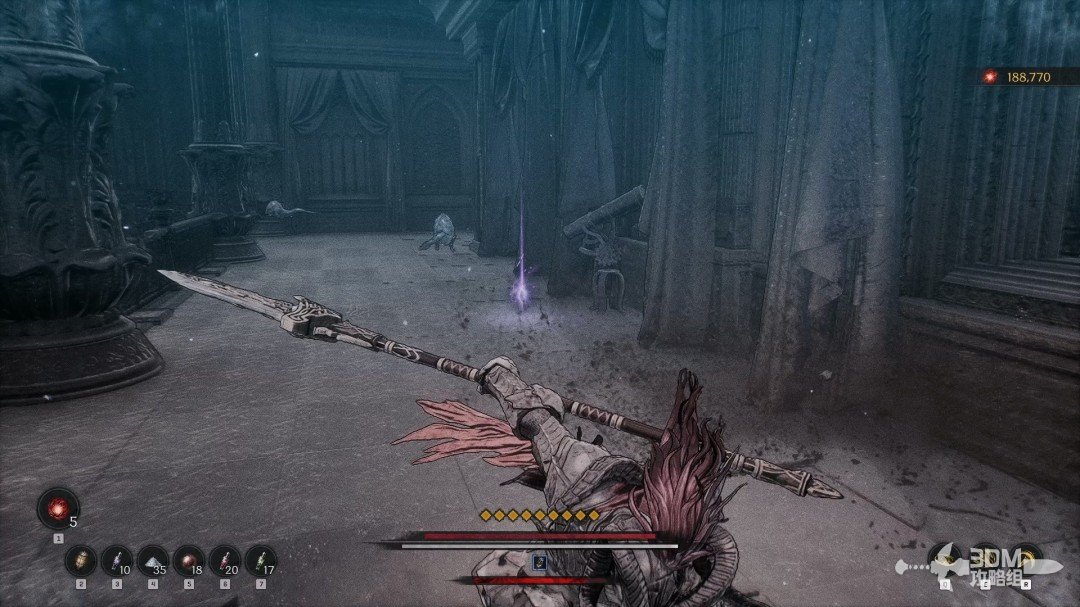
Unlock the main gate: defeat the elite and search behind the statue · route image 4

Absorb the memory in the corner after the fight.
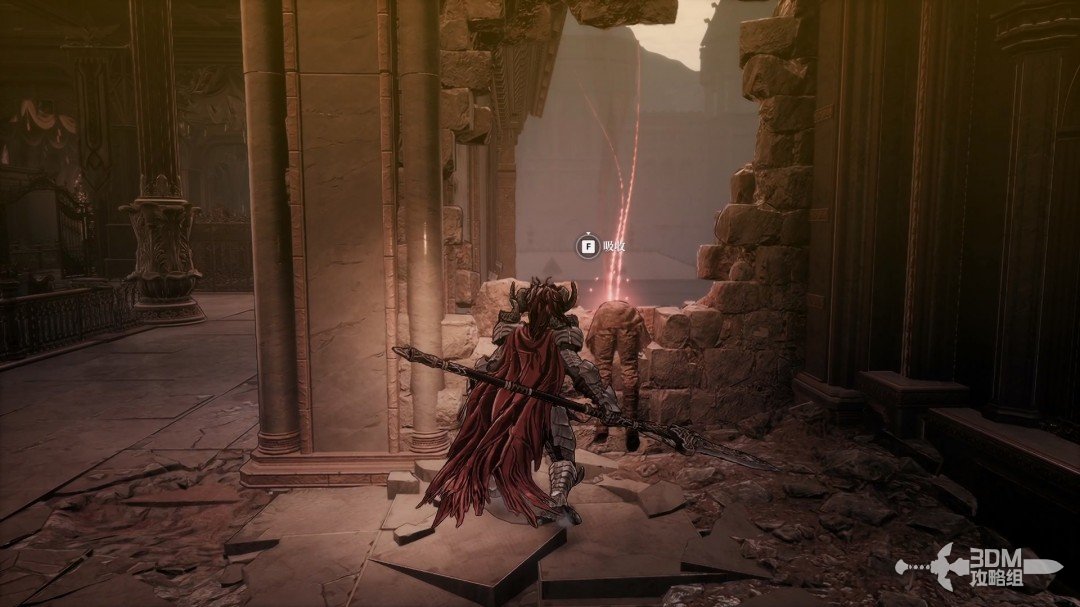
Unlock the main gate: defeat the elite and search behind the statue · route image 5

Enter the central doorway.

Unlock the main gate: defeat the elite and search behind the statue · route image 6

A hidden door lies behind the statue on the right.
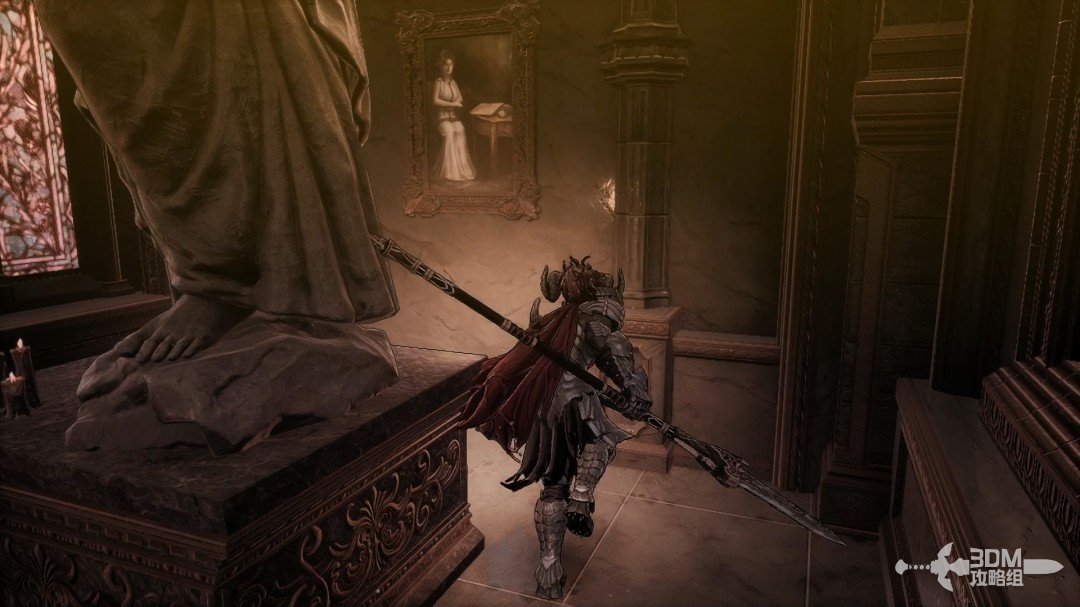
Unlock the main gate: defeat the elite and search behind the statue · route image 7

The pot inside contains a Jarling.

Unlock the main gate: defeat the elite and search behind the statue · route image 8

25Nexus beyond the hidden room: search along the left wall for the subjugation record

Open the chest on the right.
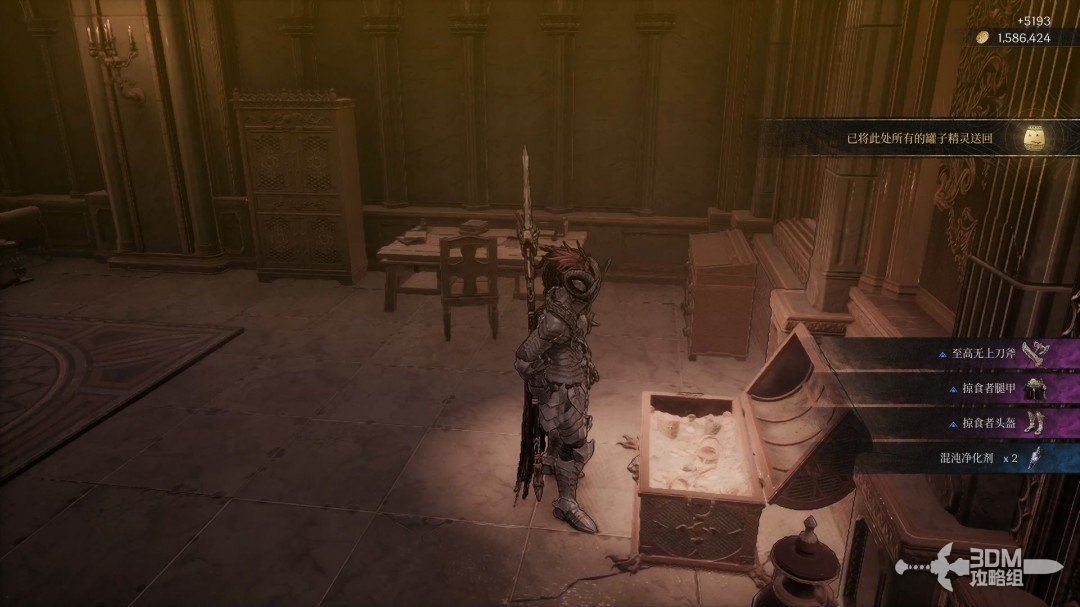
Nexus beyond the hidden room: search along the left wall for the subjugation record · route image 1

Continue to the Blade Nexus.

Nexus beyond the hidden room: search along the left wall for the subjugation record · route image 2

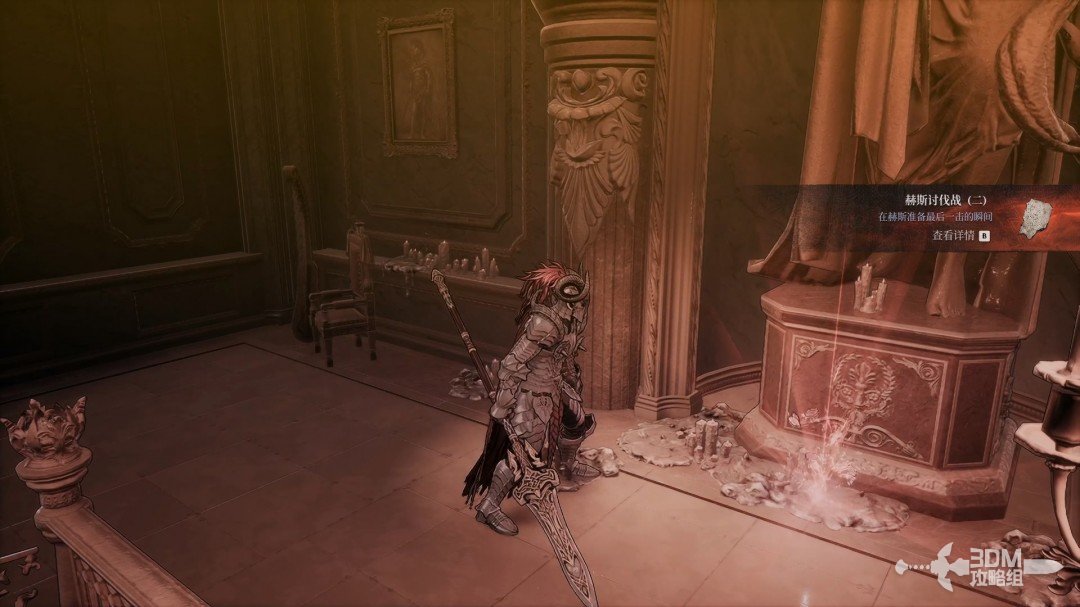
Follow the left wall for Hismar Campaign II.
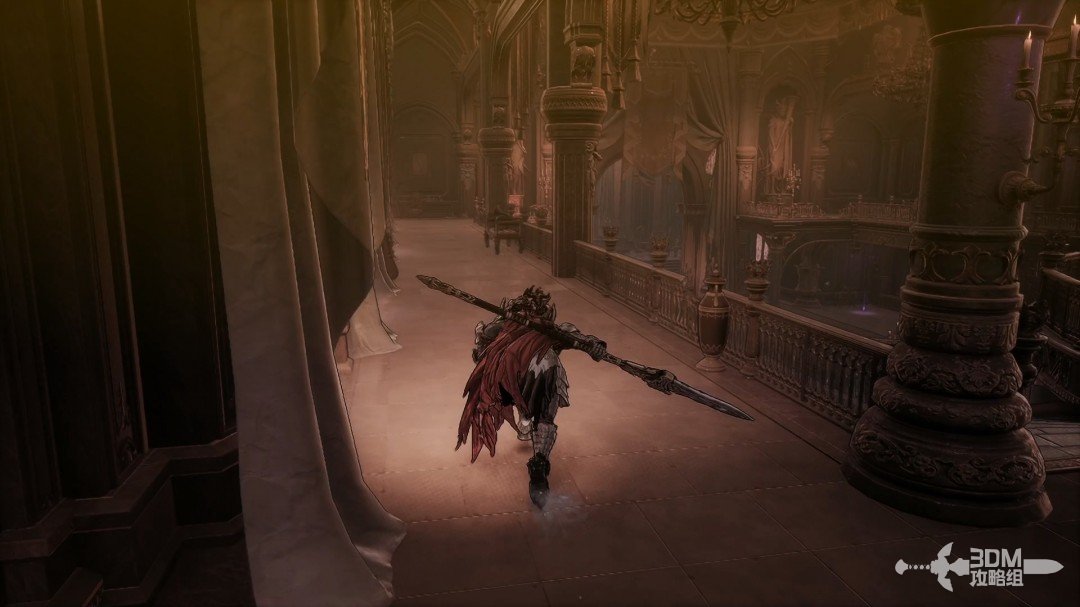
Nexus beyond the hidden room: search along the left wall for the subjugation record · route image 3
Nexus beyond the hidden room: search along the left wall for the subjugation record · route image 4

27Knights below and chests on both sides: collect the gunblade before the boss gate

Descend for a purple item in the corner, watching for a duplicating knight.
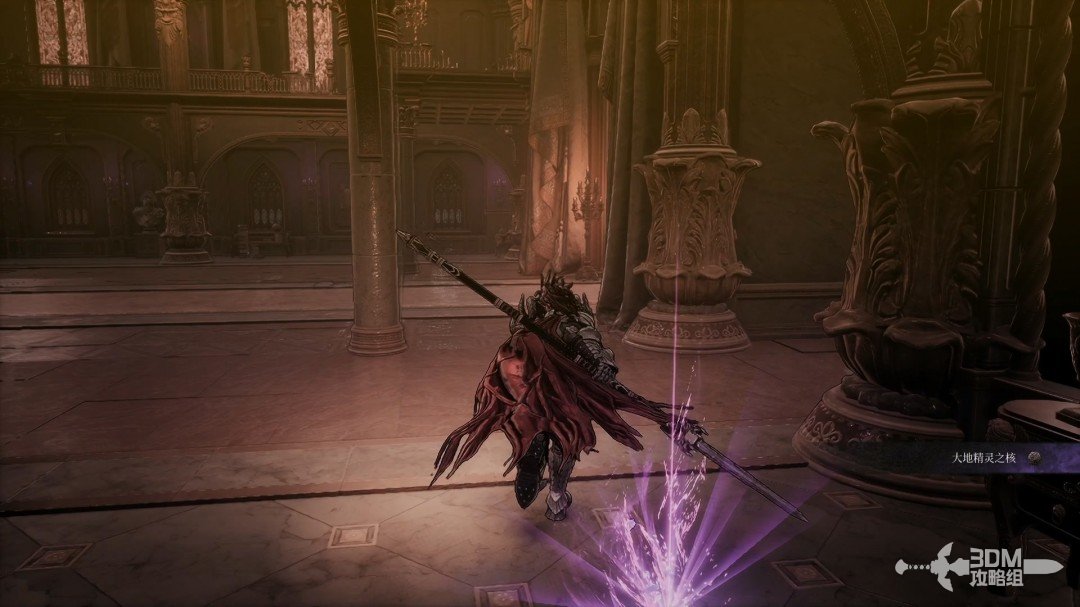
Knights below and chests on both sides: collect the gunblade before the boss gate · route image 1

Another knight guards a chest on the other side.
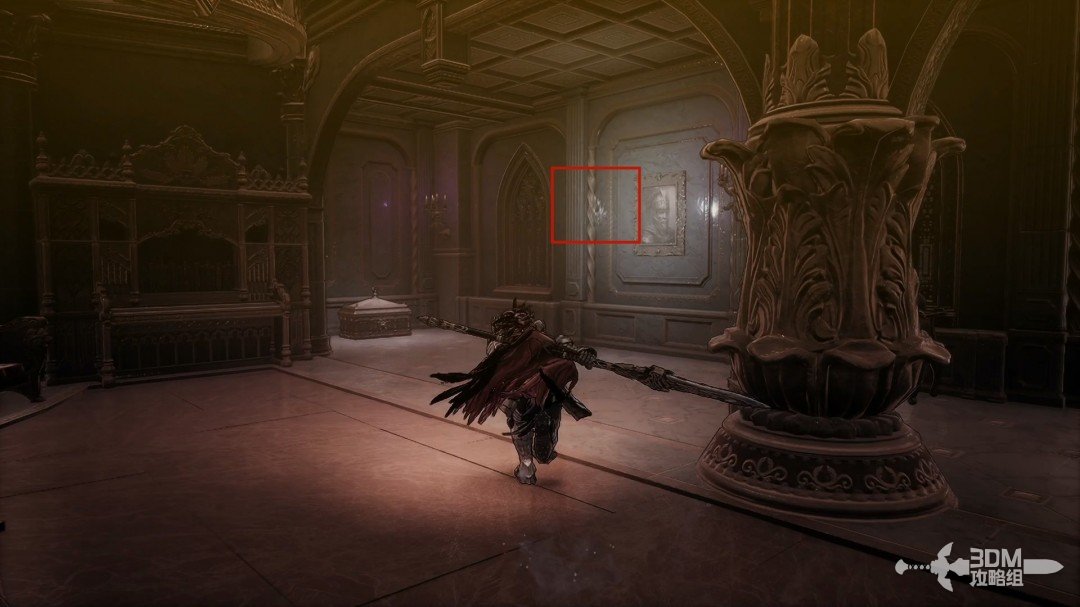
Knights below and chests on both sides: collect the gunblade before the boss gate · route image 2

Collect the Ghostly Spear Blade from the chest.
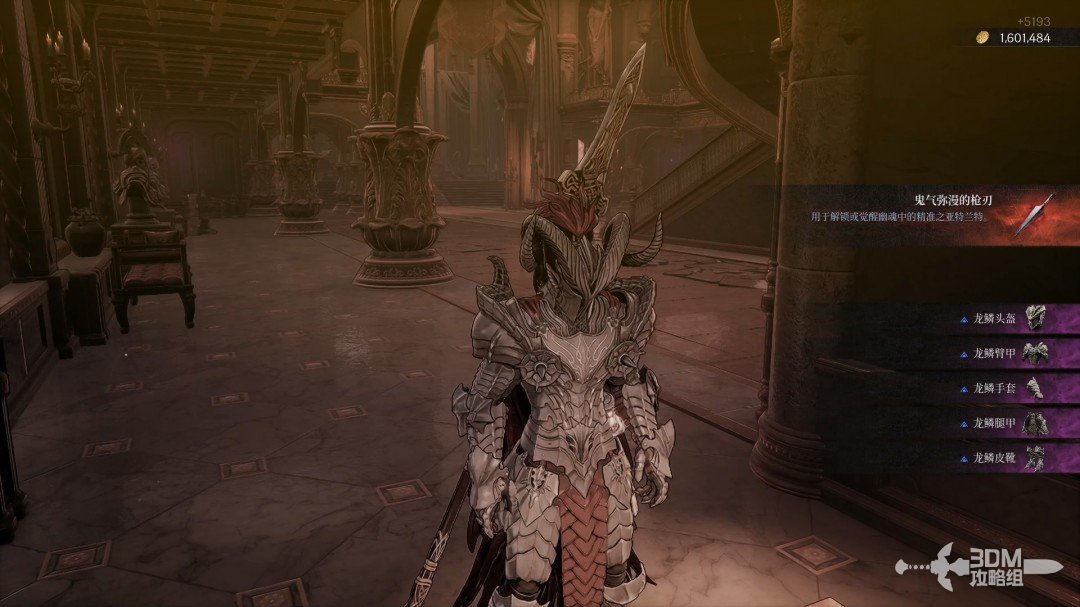
Knights below and chests on both sides: collect the gunblade before the boss gate · route image 3

The boss gate lies ahead. Collect the blue item on its right first.
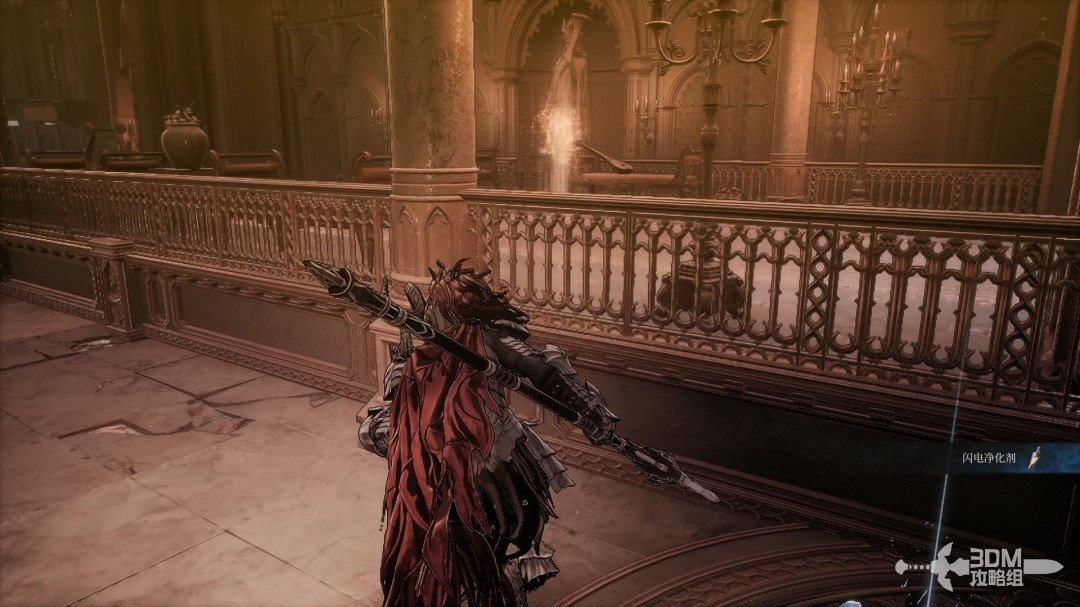
Knights below and chests on both sides: collect the gunblade before the boss gate · route image 4

Enter and advance to trigger the fight.
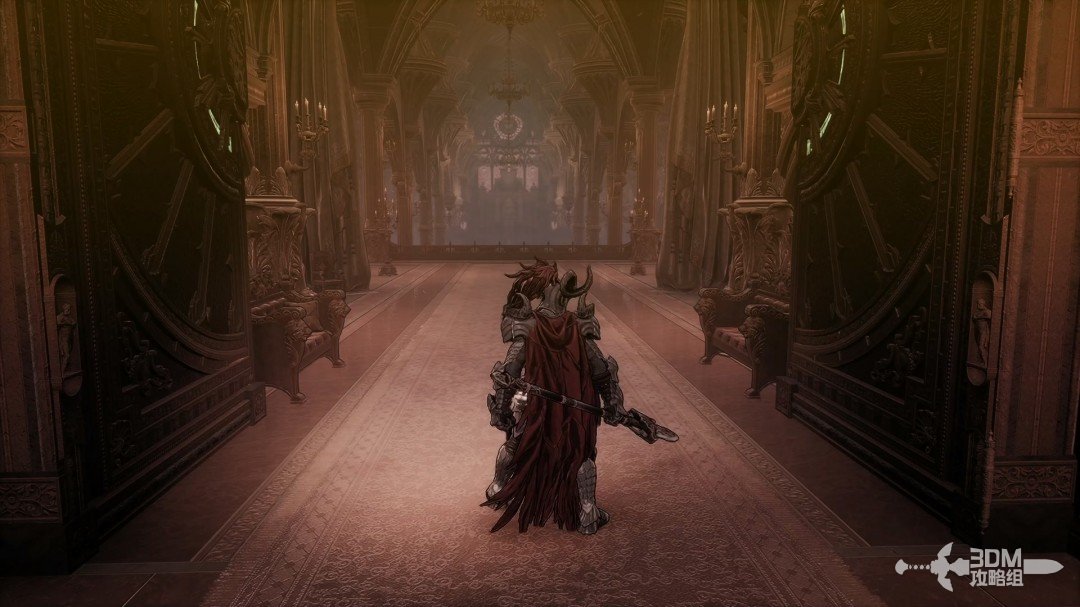
Knights below and chests on both sides: collect the gunblade before the boss gate · route image 5

29Grand theater stage: Princess Illyna's melee and mage forms

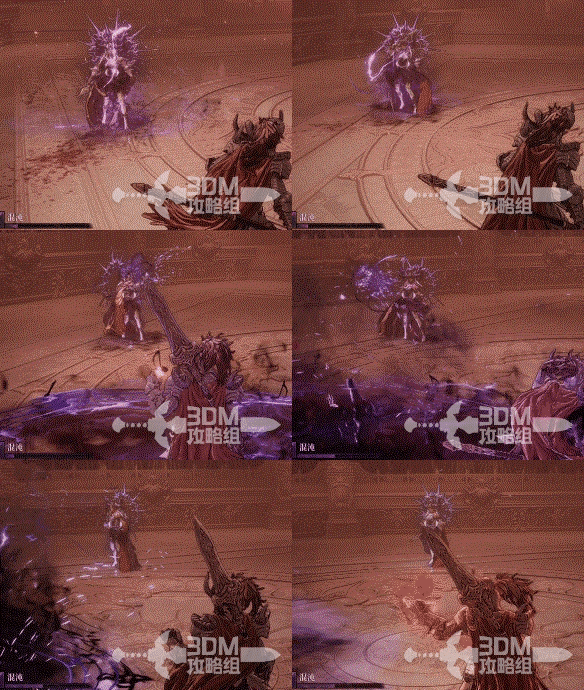
Princess Illyna begins as a melee fighter before changing into a caster.
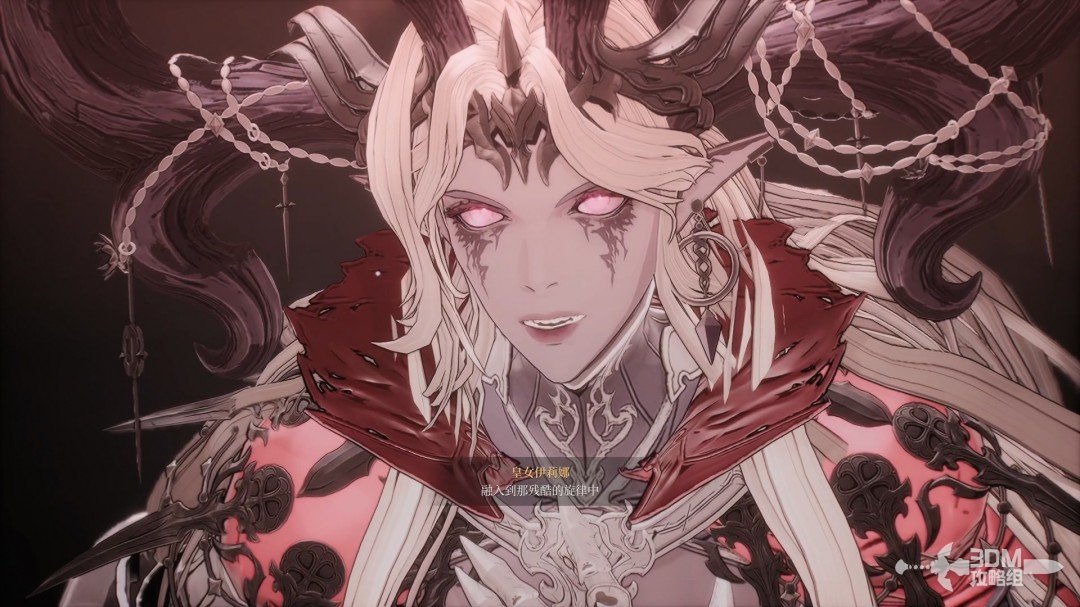
Grand theater stage: Princess Illyna's melee and mage forms · route image 1

Her first phase mainly uses readable basic attacks and charged lunges. At half health she changes into her mage form.

Attack ①:

A forward ring travels along a fixed path, followed by a shockwave along the same line. Move out of its path.
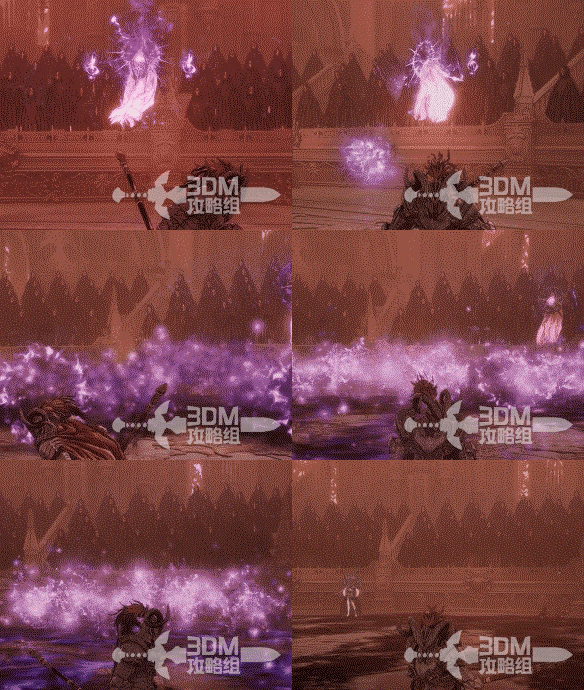
Grand theater stage: Princess Illyna's melee and mage forms · route image 2

Attack ②:

Homing projectiles that can be evaded.
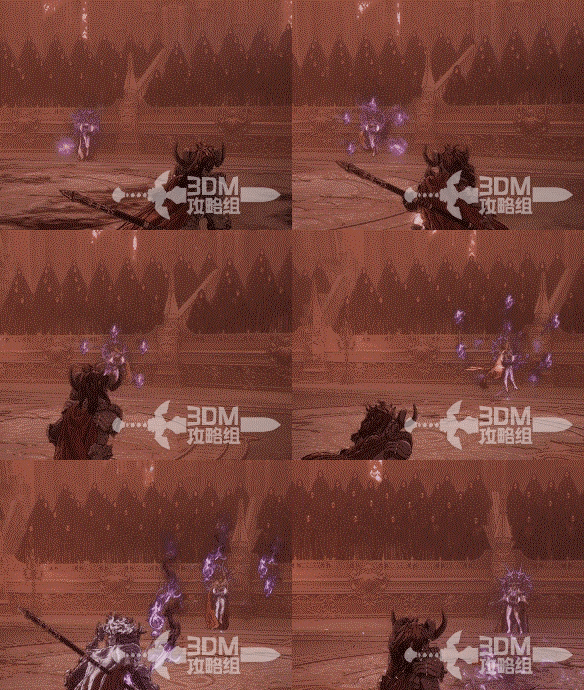
Grand theater stage: Princess Illyna's melee and mage forms · route image 3

Attack ③:

An explosion around herself. Stay outside its radius.
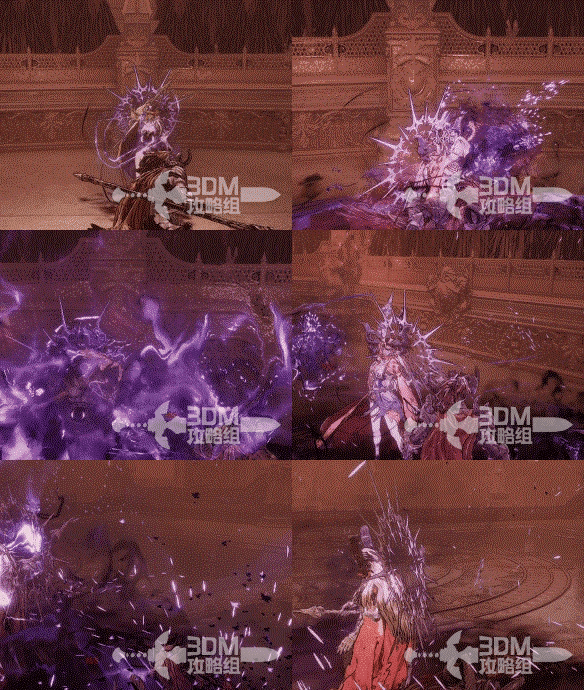
Grand theater stage: Princess Illyna's melee and mage forms · route image 4

Attack ④:

Projectiles circle around her and end in a shockwave. Avoid their trajectory.
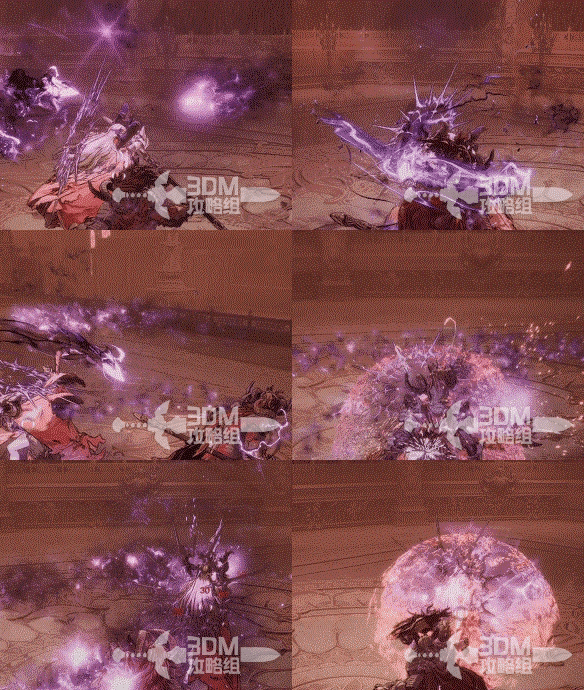
Grand theater stage: Princess Illyna's melee and mage forms · route image 5

Attack ⑤:

Grand theater stage: Princess Illyna's melee and mage forms · route image 6

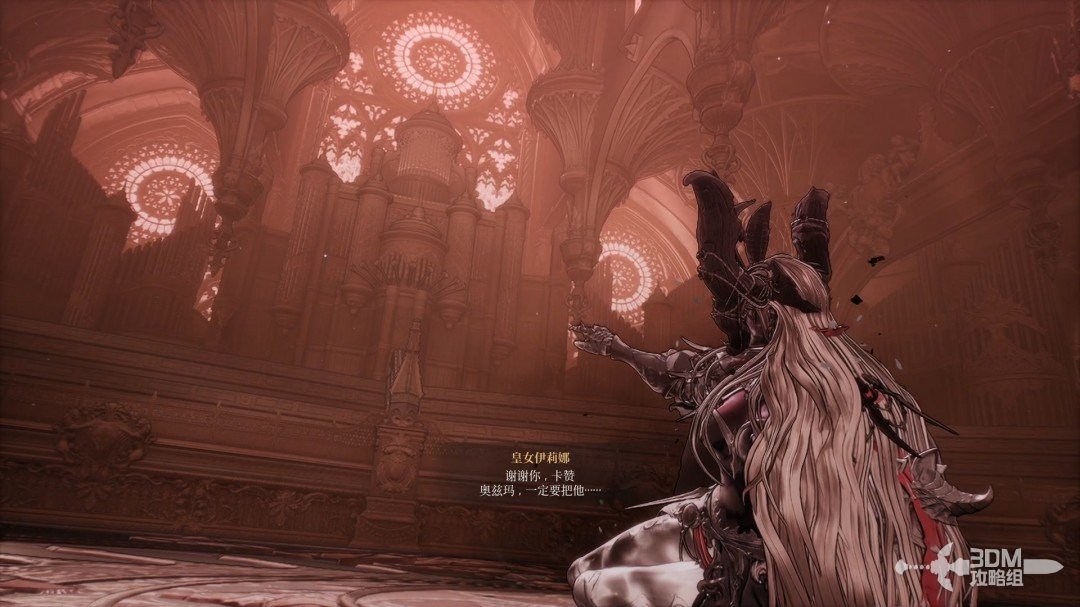
Victory frees the princess from chaos. She thanks Khazan and asks him to stop Ozma before disappearing.
Grand theater stage: Princess Illyna's melee and mage forms · route image 7

Related side missions

  1. The Suicide Squad →

    Select this mission after the theatre main quest.

  2. Residual Chaos →

    Speak to Tristan at the hub.

Reference: 3DM Guide Team

GAME NOTE has reorganized and rewritten the routes from this walkthrough.