Viper encounter guide in Forgotten Temple.
Introduction
A dragonkin leader with two forms, each gaining new attacks as health falls.
Location and mission
Embars Ruins
Strategy · Viper
Viper, the dragonkin leader, has two forms with two phases each. Preserve healing during the first form.
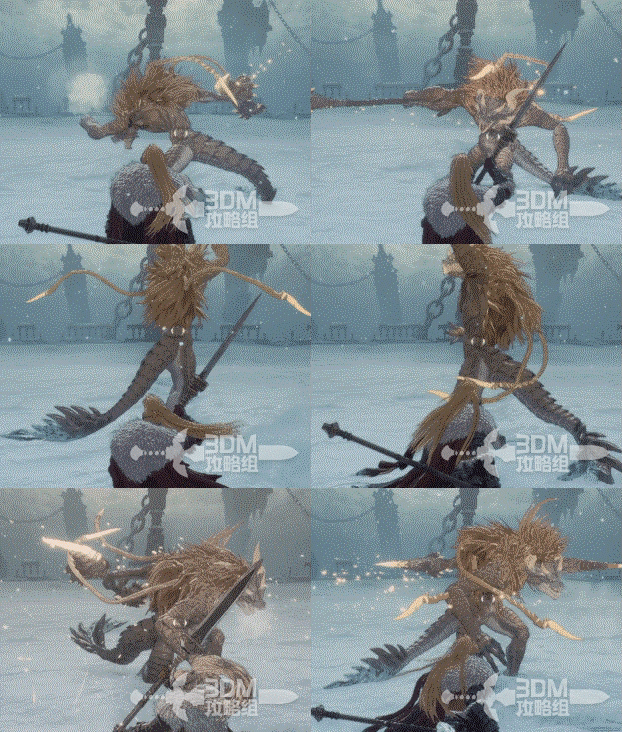
Many of Viper's attacks follow recognizable sequences.
Attack ①:
Two broad, slow slashes that are easy to guard.
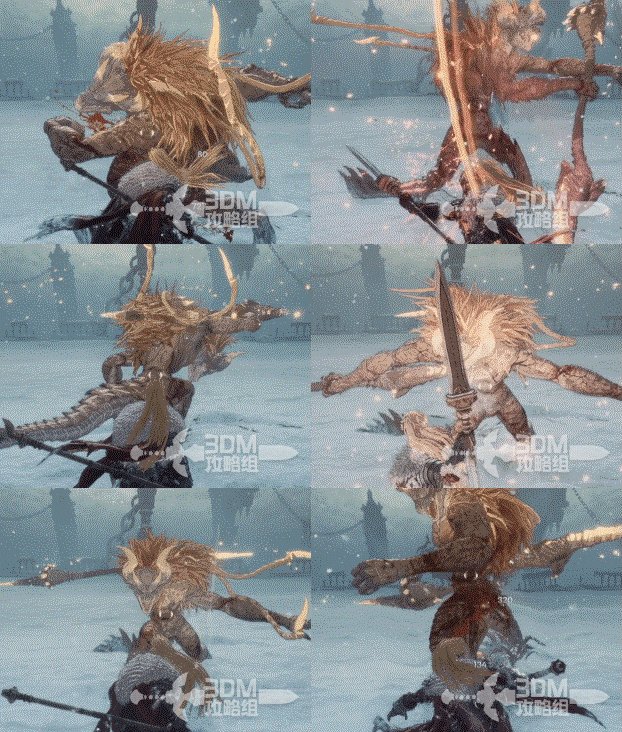
Attack ②:
A hit while spinning the weapon, followed by a downward slash.
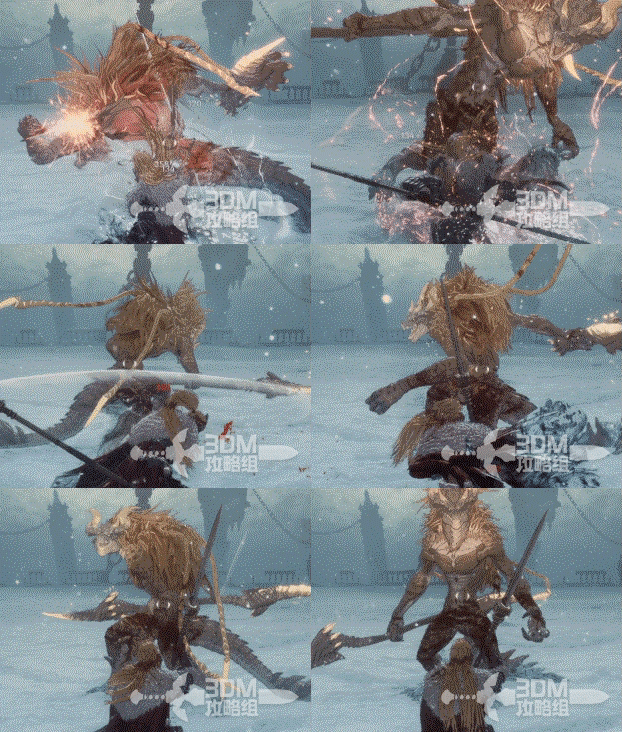
Attack ③:
Two fast frontal slashes. Guard or dodge consecutively, especially against the quicker second hit.
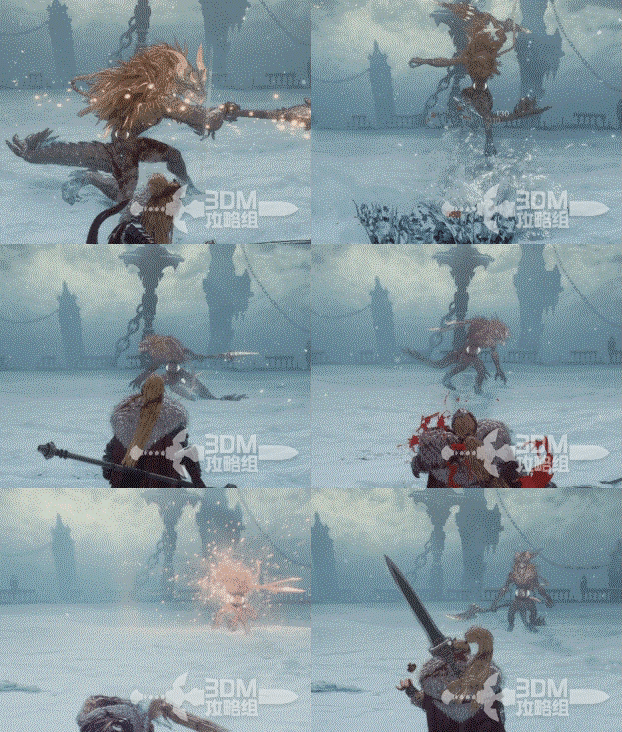
Attack ④:
A short charge leads to a jumping slash and a retreating weapon throw. The weapon also hits on its return.
Attack ⑤:
A forward thrust followed by a horizontal sweep.
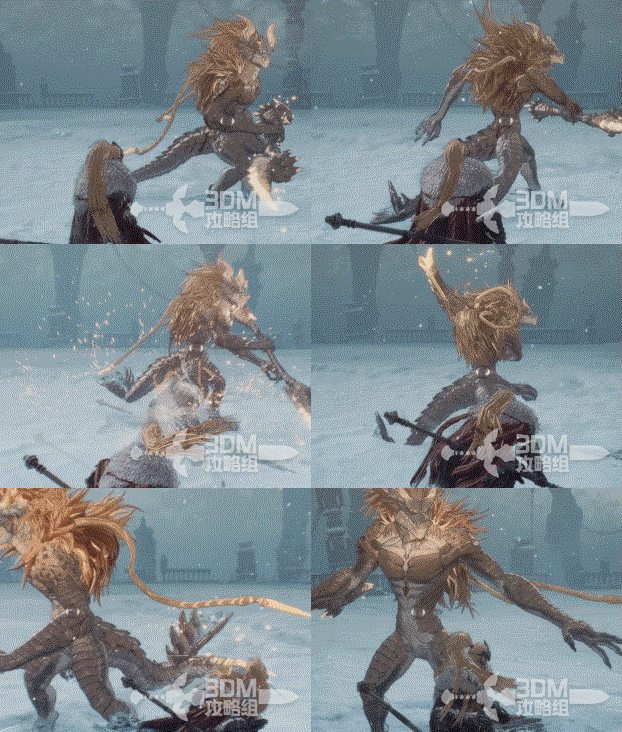
At half health, the first form adds the following attacks.
Attack ①:
A tornado pulls you inward. Stay about three body lengths away. Interrupting it may only delay a repeat unless you finish the boss quickly.
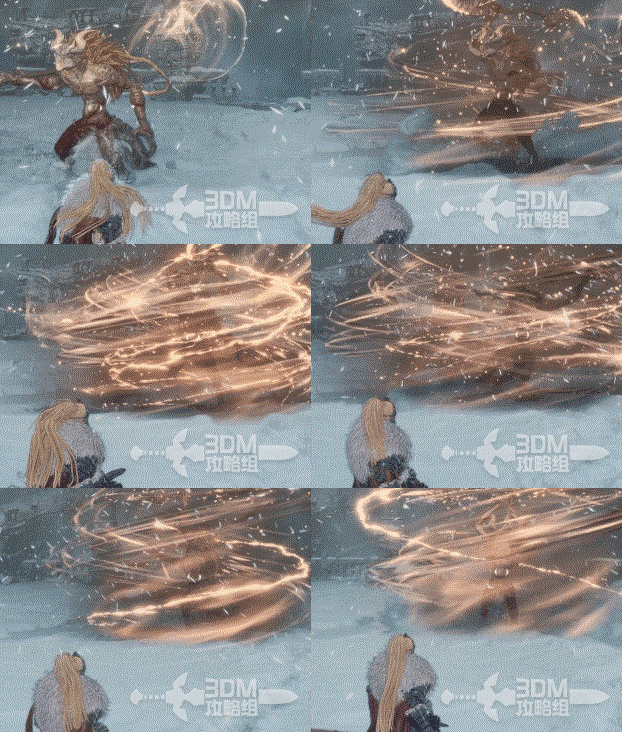
Attack ②:
A jumping attack followed by a vertical weapon throw and a forward lunge as the weapon returns.
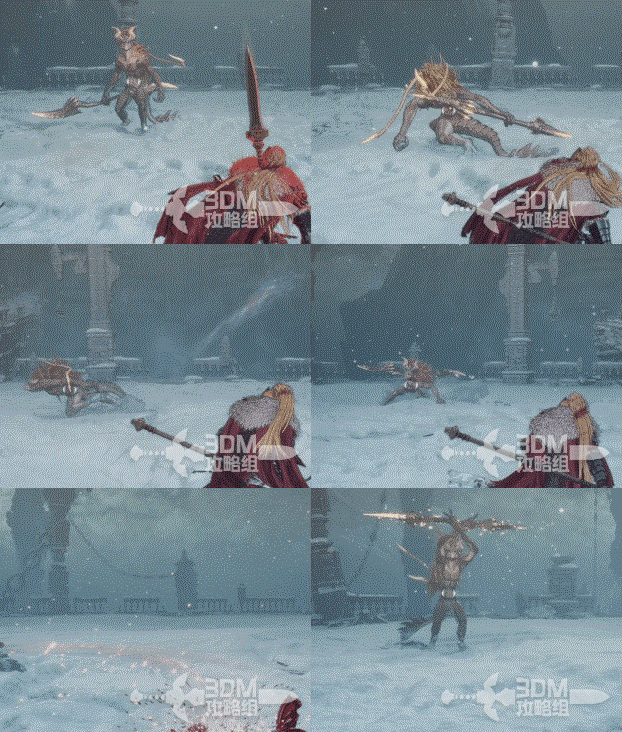
Attack ③:
A leaping downward stab with a long punishable recovery.
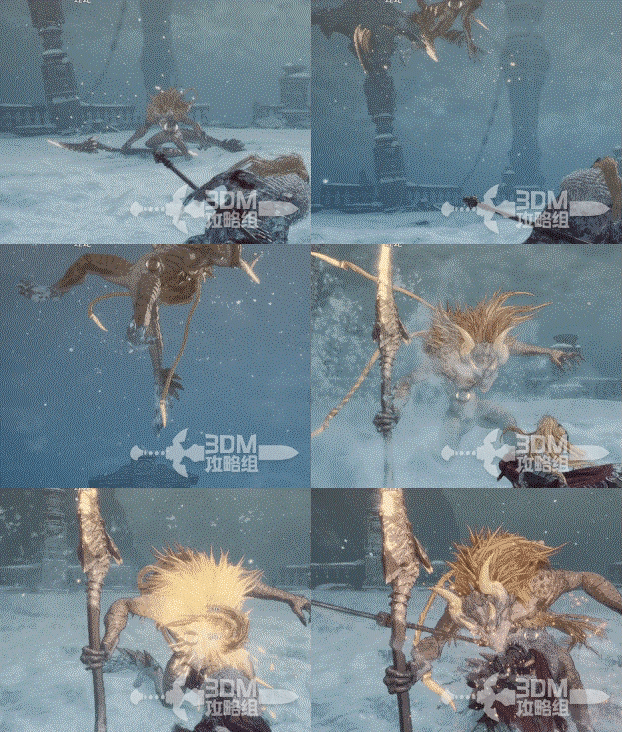
Attack ④:
A charged forward stab marked by a yellow glow at the weapon tip. Evade it rather than guarding.
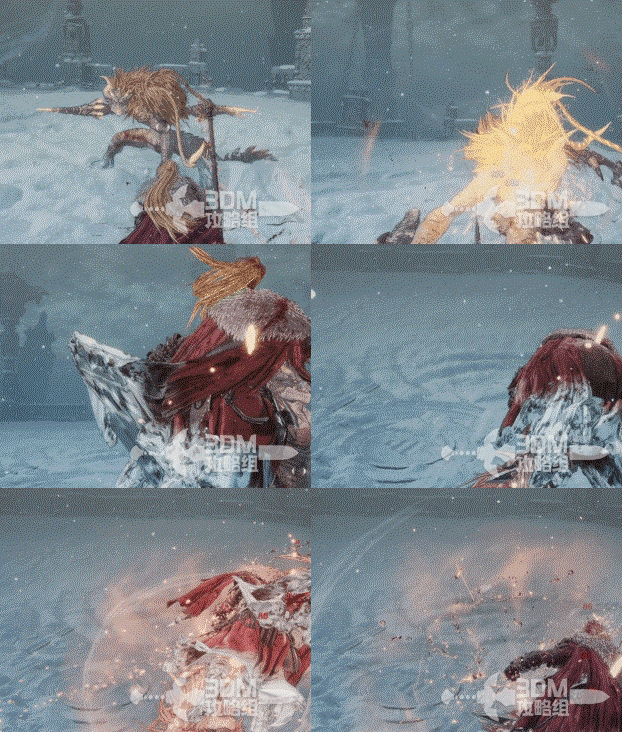
Attack ⑤:
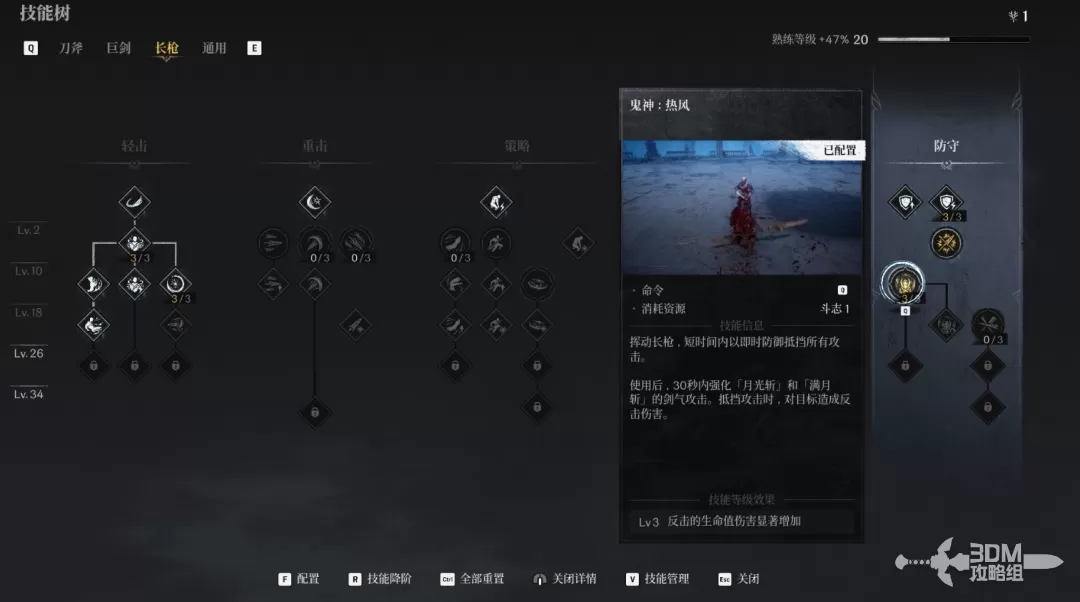
It pulls its weapon from the ground and spins it, with an active hitbox, then performs five quick slashes. The defensive skill pictured can help guard the sequence.
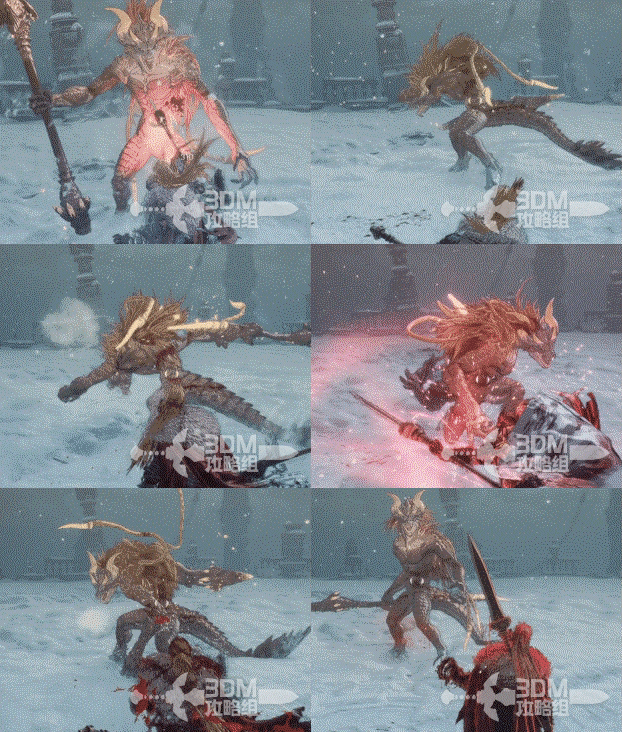
Expect earlier moves chained together at half health. The next form appears vulnerable around its arms, although lock-on generally does not target them.
Second form — Attack ①:
A low punch with a clear wind-up.
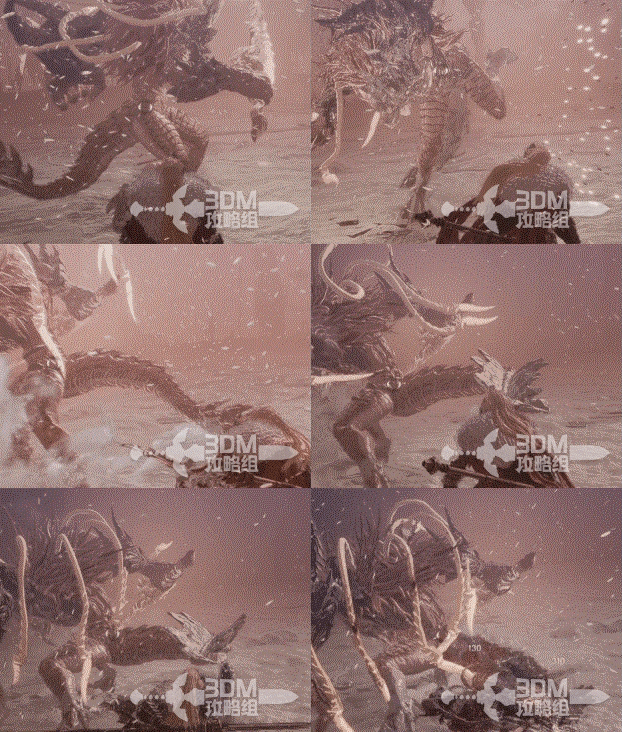
Attack ②:
A straightforward uppercut.
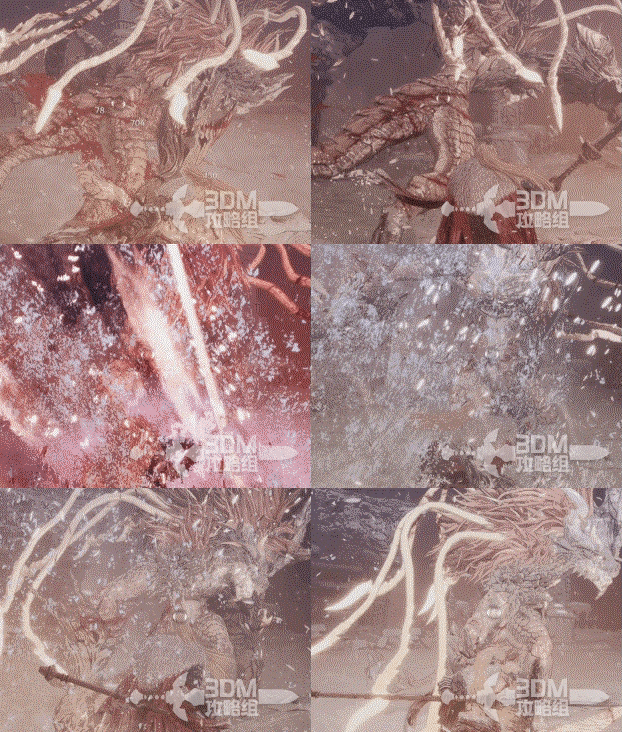
Attack ③:
Two quick slashes, preceded by a weapon flourish.
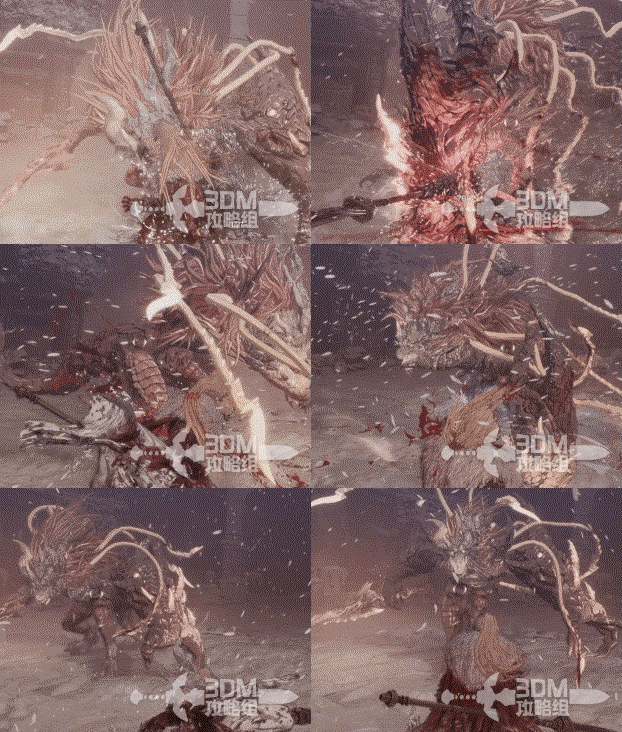
Attack ④:
A large turning wind-up leads to two punches. Dodge or counter the final slam with Shift+F.
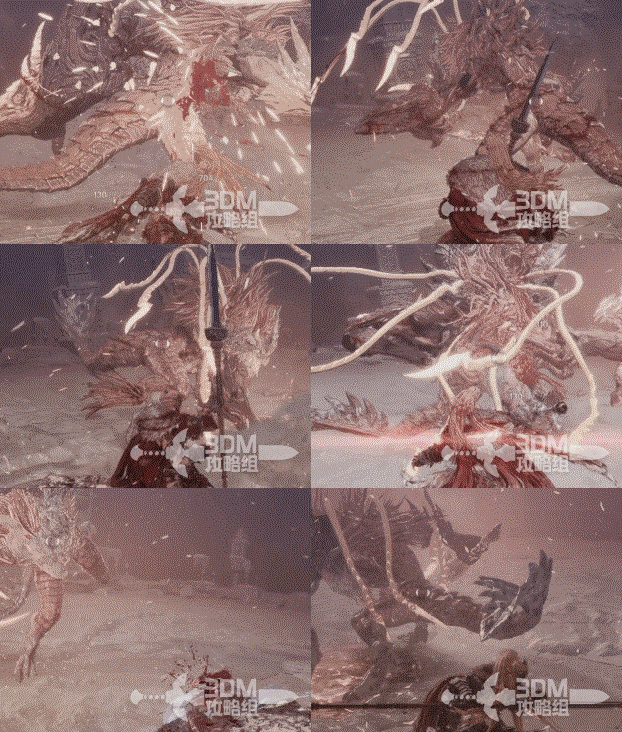
Attack ⑤:
Four rapid claw strikes requiring quick consecutive guards.
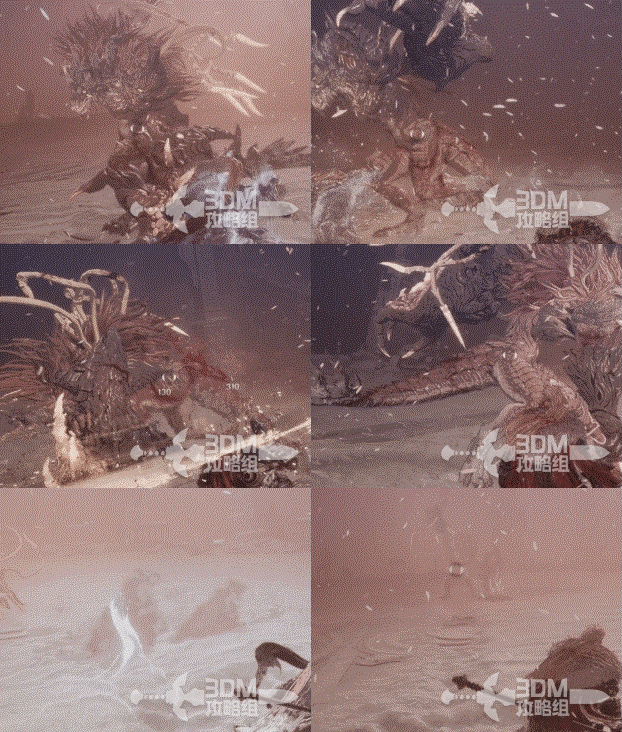
Attack ⑥:
It scoops up and throws rocks. Start moving early enough to avoid them.

Attack ⑦:
A combined low-punch and uppercut sequence. Do not mistake it for a single punch.
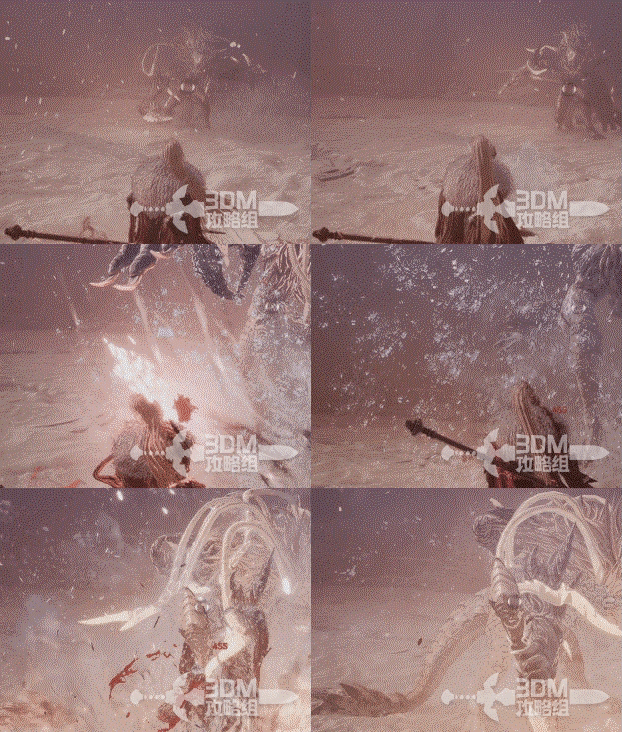
At half health, this form adds darkness: the arena dims, lock-on becomes unavailable initially and the boss leaps around.
Second form — Phase two — Attack ①:
Side-to-side jumping claw attacks.

Attack ②:
A roar precedes a flying stomp, followed by a horizontal claw swipe. Remember the final swipe.

These are its main attack patterns.
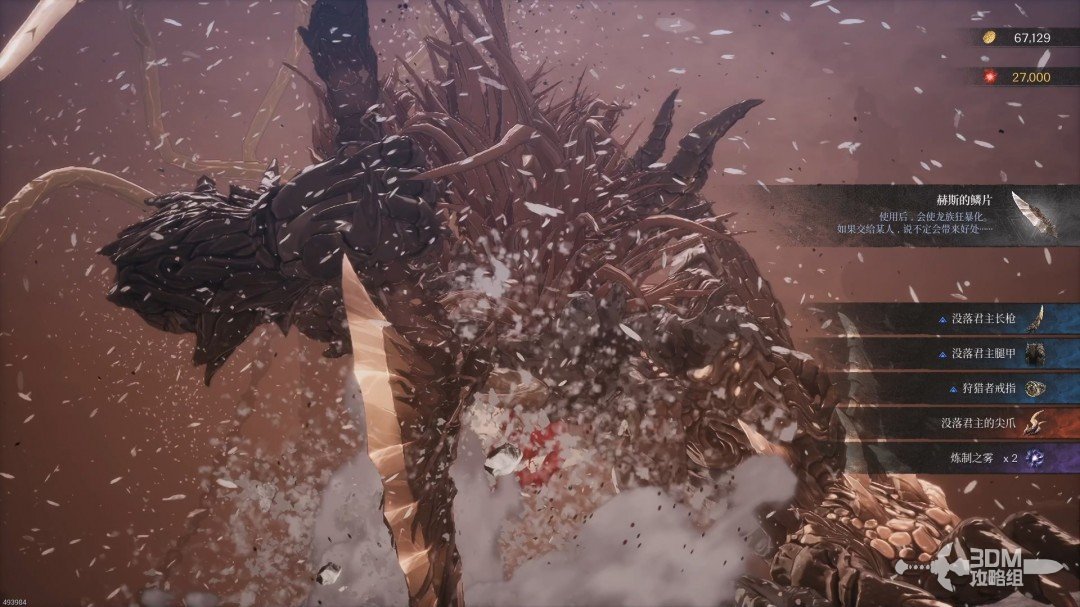
Defeat Viper for equipment and items.
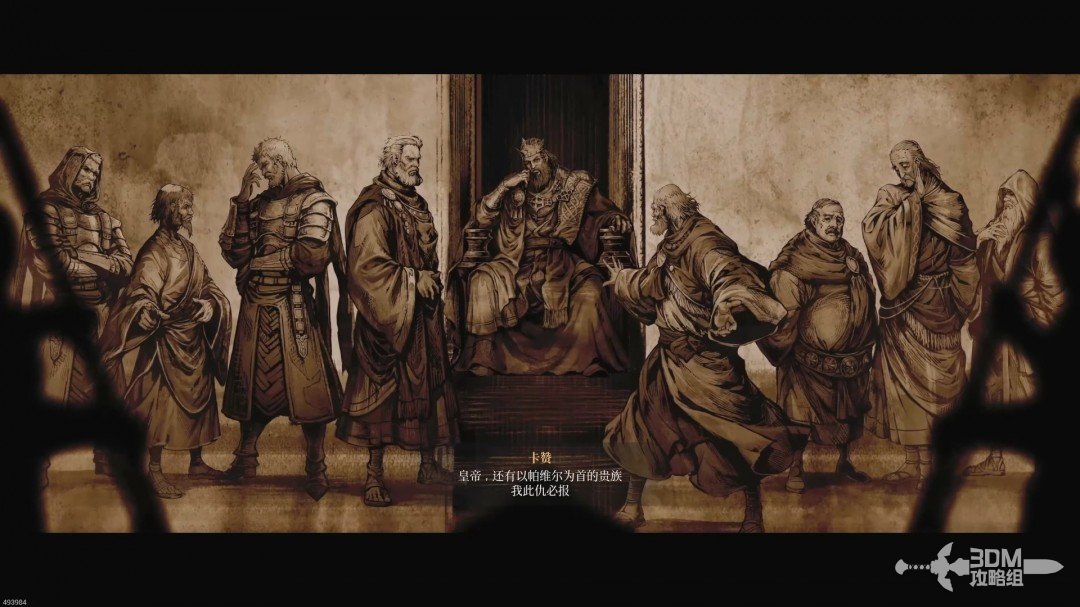
The cinematic further explains Khazan's reasons for revenge.
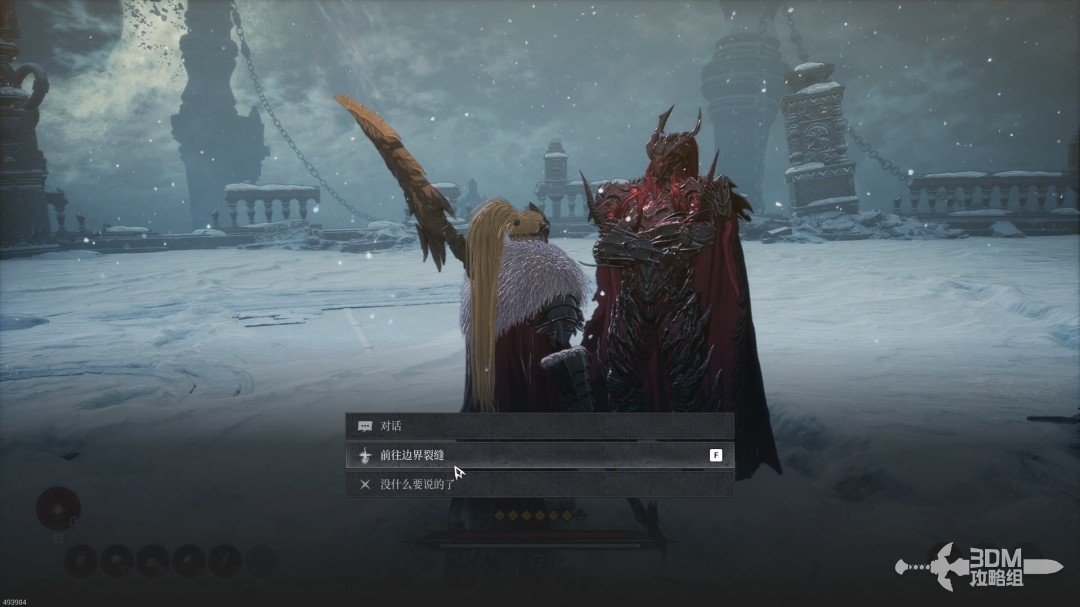
Speak to Blade Phantom to return to the Crevice.
Rewards and drops
Since June 16, 2025, main-mission bosses guarantee set-crafting materials. This does not guarantee a specific finished item, full set or scroll.
Crafting material: Fallen Lord's Claw · Fallen Lord
Material regions and scroll routes →
Equipment to look for
Fallen Lord · Spear: Full Moon and Spiral Thrust.
A potential set drop, not a guaranteed piece. To craft missing pieces, obtain its recipe separately and check the required materials.
Reference: 3DM Guide Team
GAME NOTE has reorganized and rewritten the routes from this walkthrough.