Locations are grouped by mission. Search or filter, then open the illustrated route.
All fifteen golden story records →
Import adds completed items and preserves existing progress.
Progress is saved in this browser, shared between languages. Clearing browser data removes it; devices do not sync.
Main mission · 01 · The Banished Hero
| Item | Location | Walkthrough |
|---|---|---|
| Follow the snowfield to the checkpoint and obtain the dual wield weapon. Defeat the first enemy for the Escort Order, then practise guarding and stamina control. | 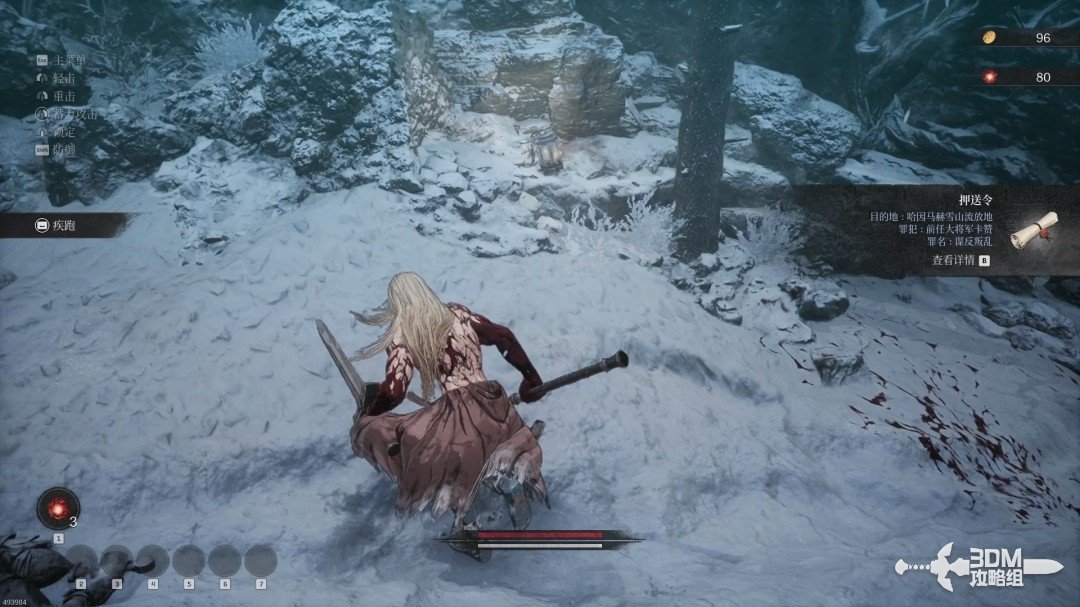 View route → | |
| Search the left branch chest, then collect the soldier's record in front of the platform ahead before continuing. | 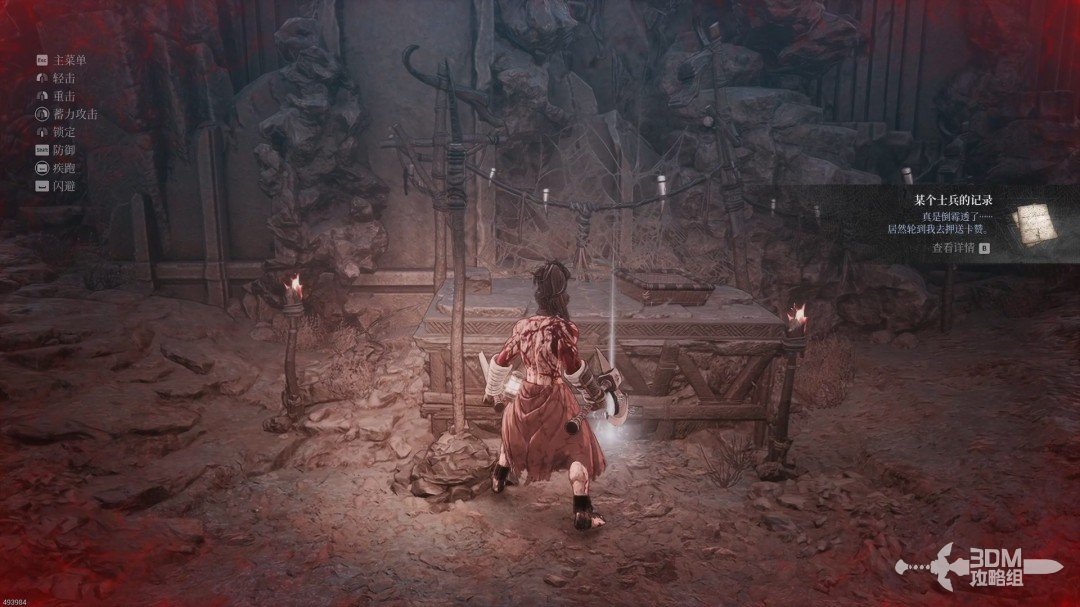 View route → | |
| Follow the torch lit cave to a checkpoint. Deal with the archer below, then search the right path beside the yeti and soldiers for the yeti record. | 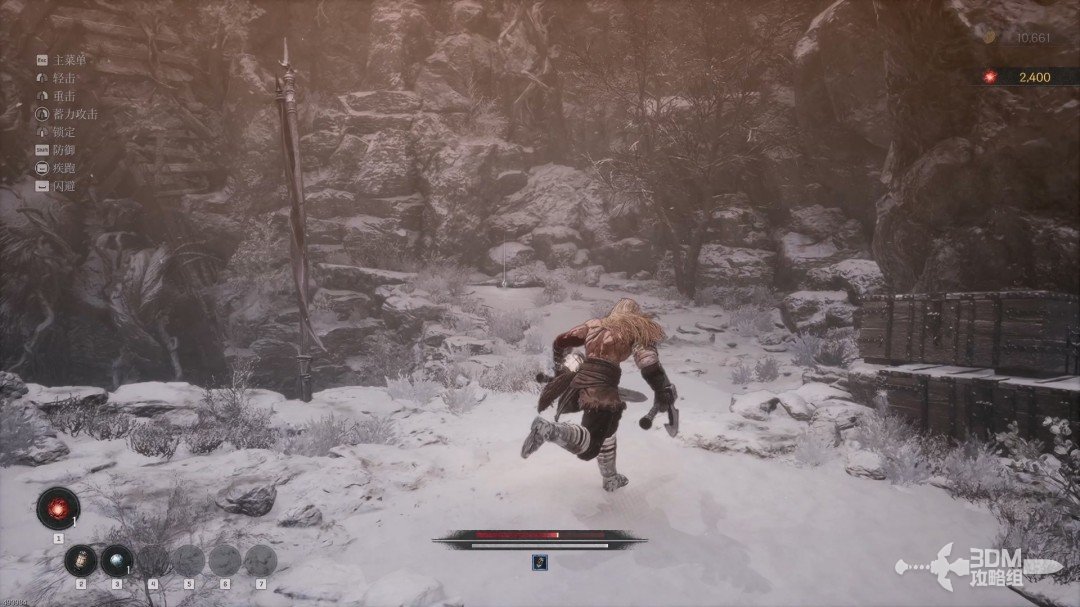 View route → | |
| Push the cart to open the checkpoint shortcut and collect Bangi's identification tag. Rest before the Snow Yeti King and watch for ice attacks in phase two. | 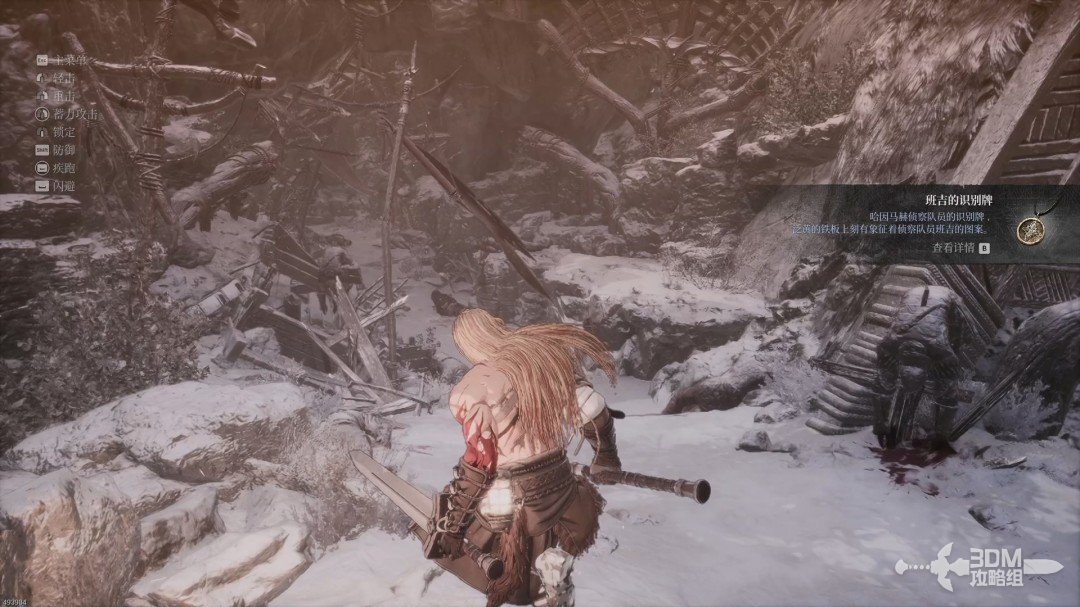 View route → |
Main mission · 02 · Trials of the Frozen Mountain
| Item | Location | Walkthrough |
|---|---|---|
| Enter the cave at the slope, defeat the soldier, and collect the imperial diary and second Soulstone on the left. Leave toward the boar route. | 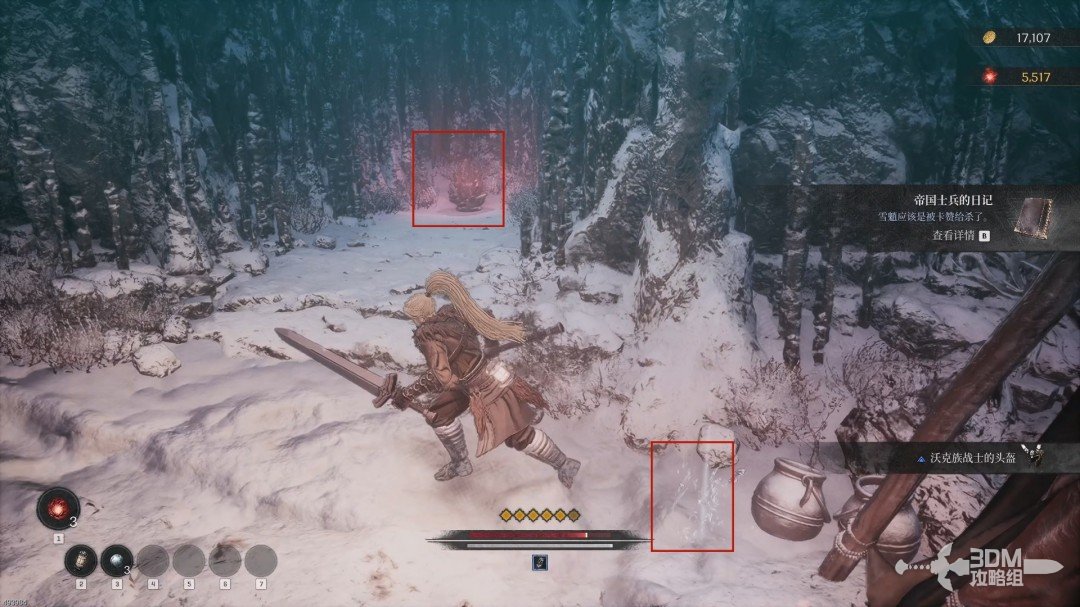 View route → | |
| Follow the other path past the axe elite and collect the Bantu warrior's record along the route. | 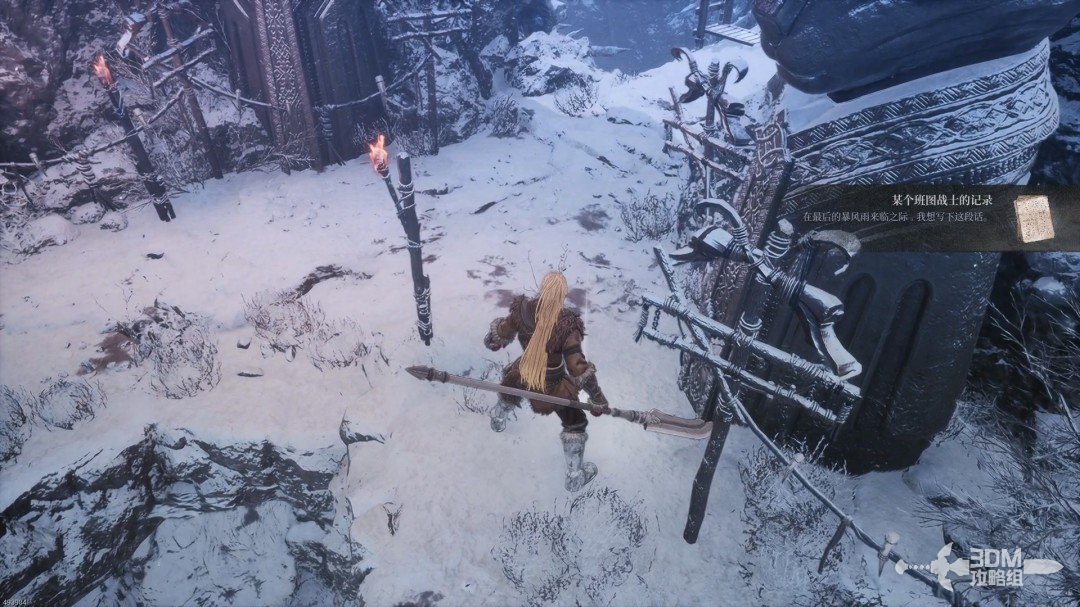 View route → | |
| Check the right side after the bridge for the Bantu prophet's record, then reach the boss checkpoint. | 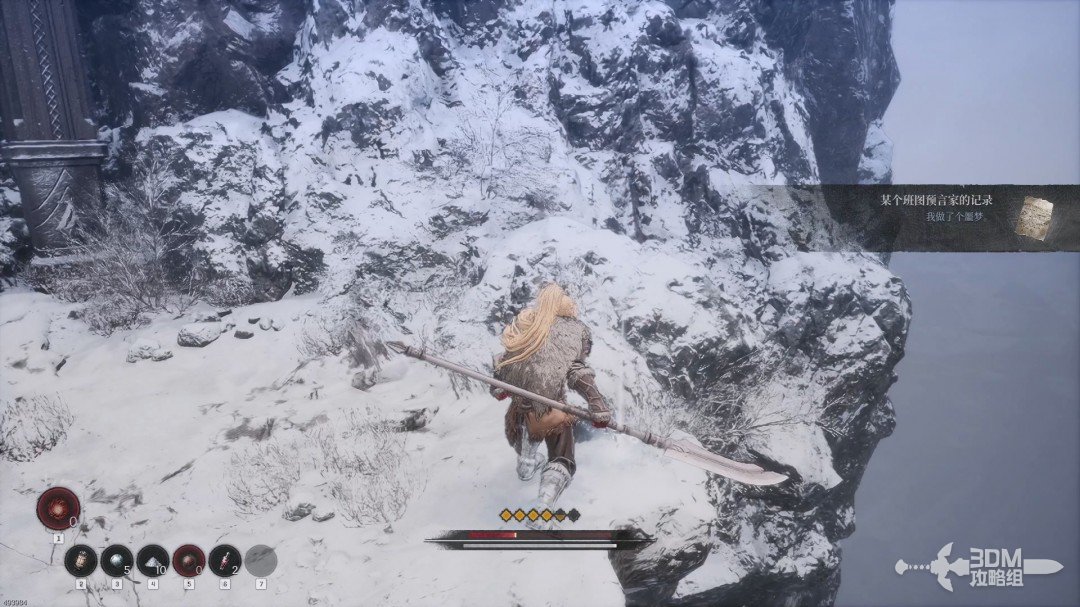 View route → |
Main mission · 03 · Forgotten Temple
| Item | Location | Walkthrough |
|---|---|---|
| Search the right branch and opposite pickup, then continue straight at the junction for the grave robber's notes on a soldier's body. | 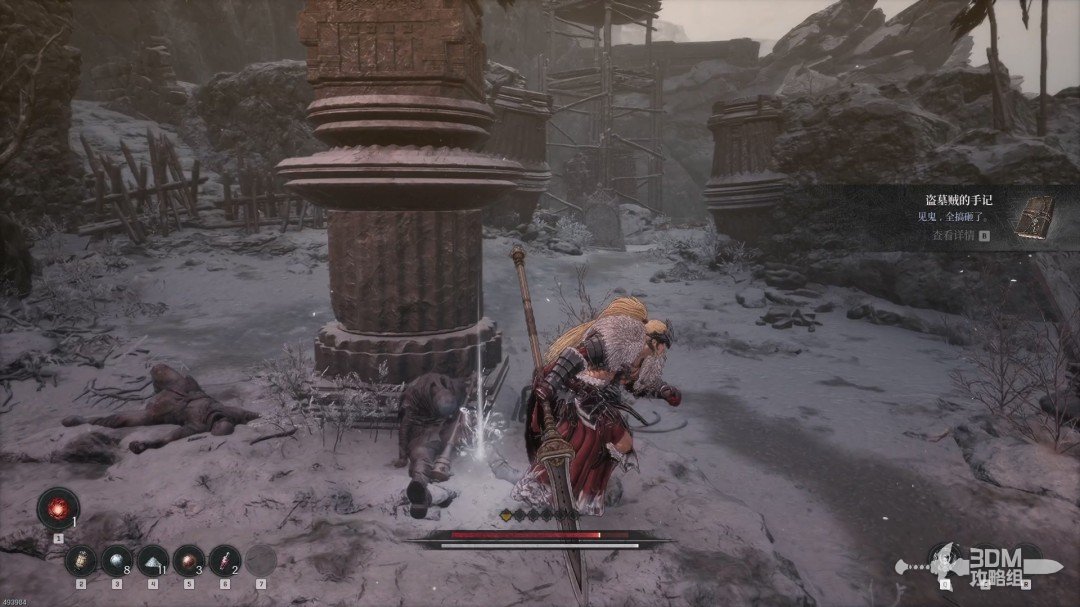 View route → | |
| Descend into the dragonkin area. While the central door is locked, take the left branch for the dragonkin report. | 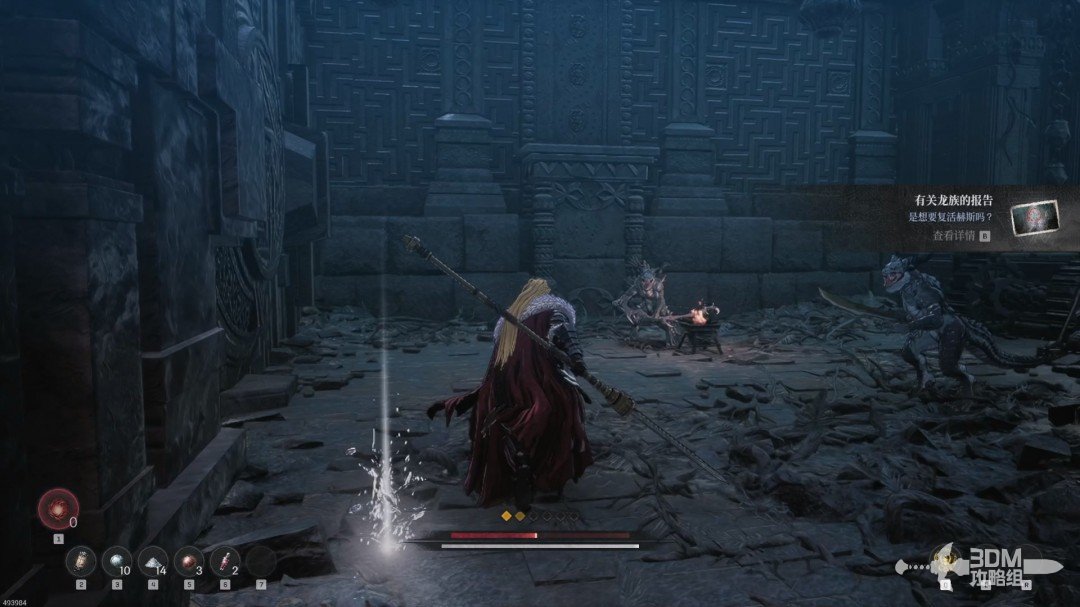 View route → | |
| Activate the switch and descend to Daphrona and the checkpoint. Collect the scout's worn diary by the left stairs before working on the statues. | 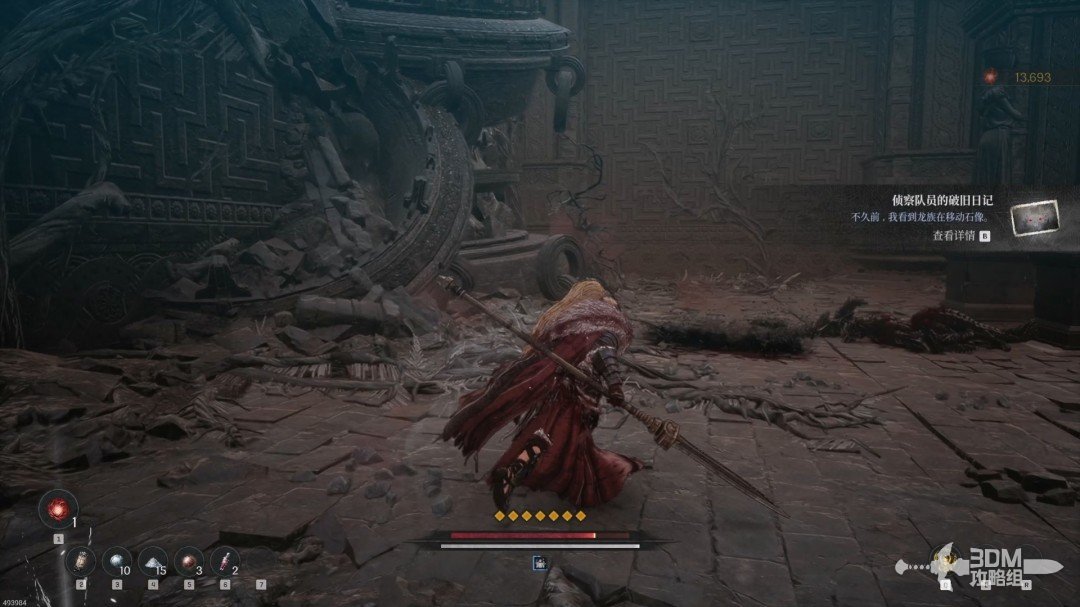 View route → |
Main mission · 04 · First Act of Revenge
| Item | Location | Walkthrough |
|---|---|---|
| Search the upper warehouse chest, drop onto the pickup platform, and take the Evacuation Order on the right before rejoining the route. | 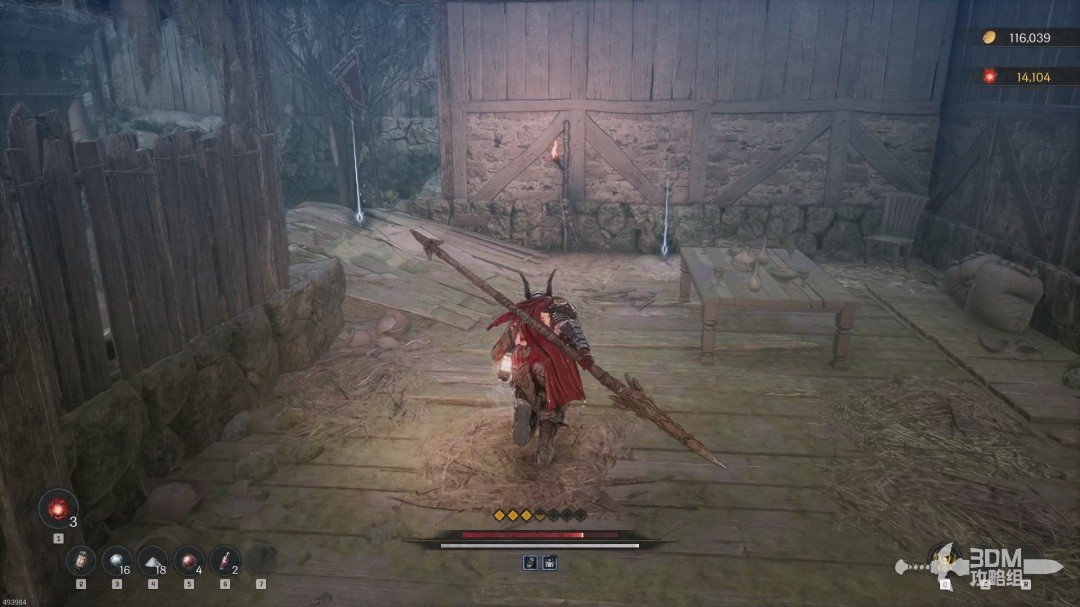 View route → | |
| Check the crafting scroll on the left, then follow the main route to the house containing the snowfield scholar's record. | 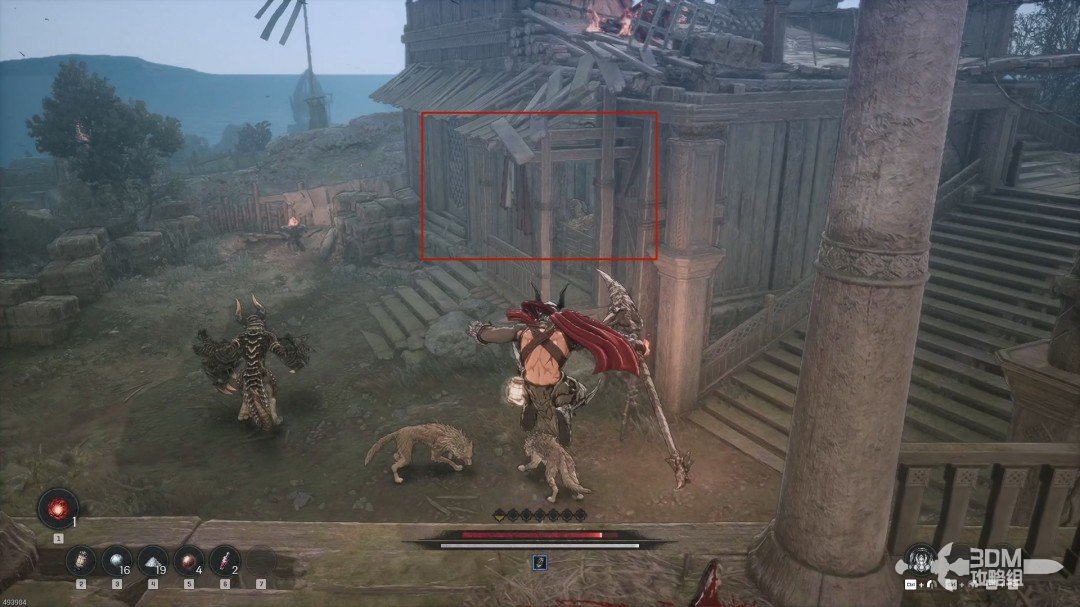 View route → |
Main mission · 05 · Strange Stench
| Item | Location | Walkthrough |
|---|---|---|
| Prepare poison cleansing before the swamp. Pick up the half digested observation record on the central rock and return to dry ground. | 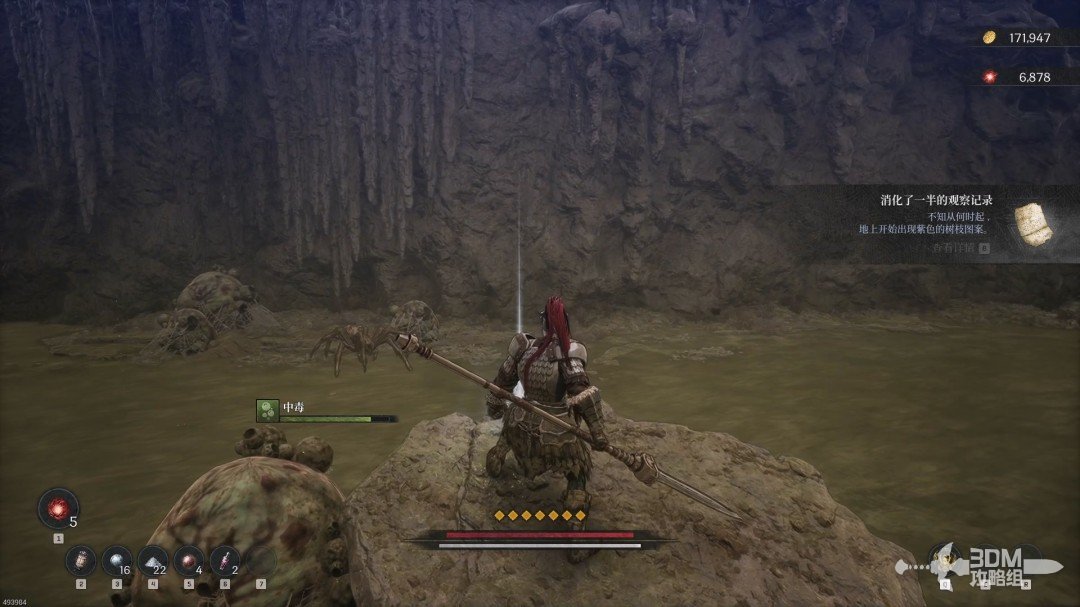 View route → | |
| Clear the sandworm memory, drop along the right branch, and collect the Blacksmith Guild Permit. | 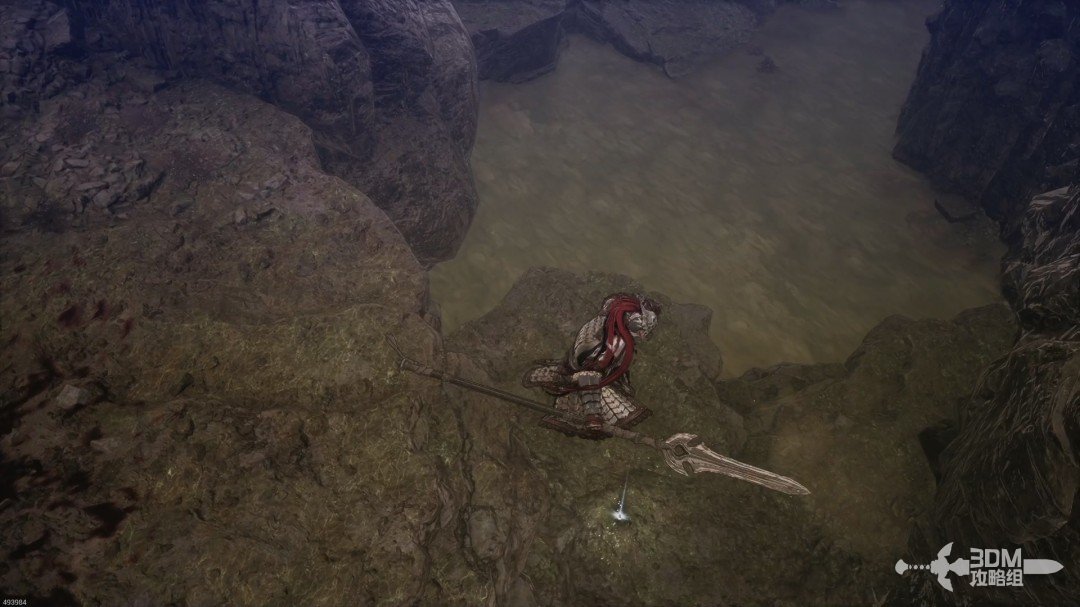 View route → |
Main mission · 06 · Traitor Revealed
| Item | Location | Walkthrough |
|---|---|---|
| Break the cart blocking the city route, collect the Veil Blade wanted notice, and continue through the buildings. | 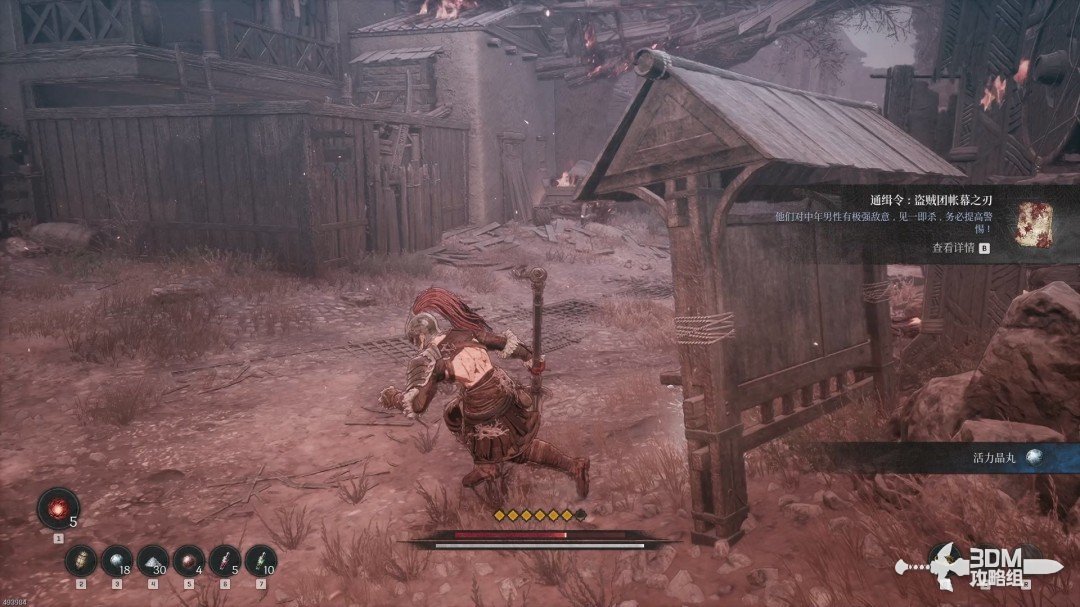 View route → | |
| Drop the chained bridge and follow the route beyond the checkpoint to the emperor's worn letter beside a table. | 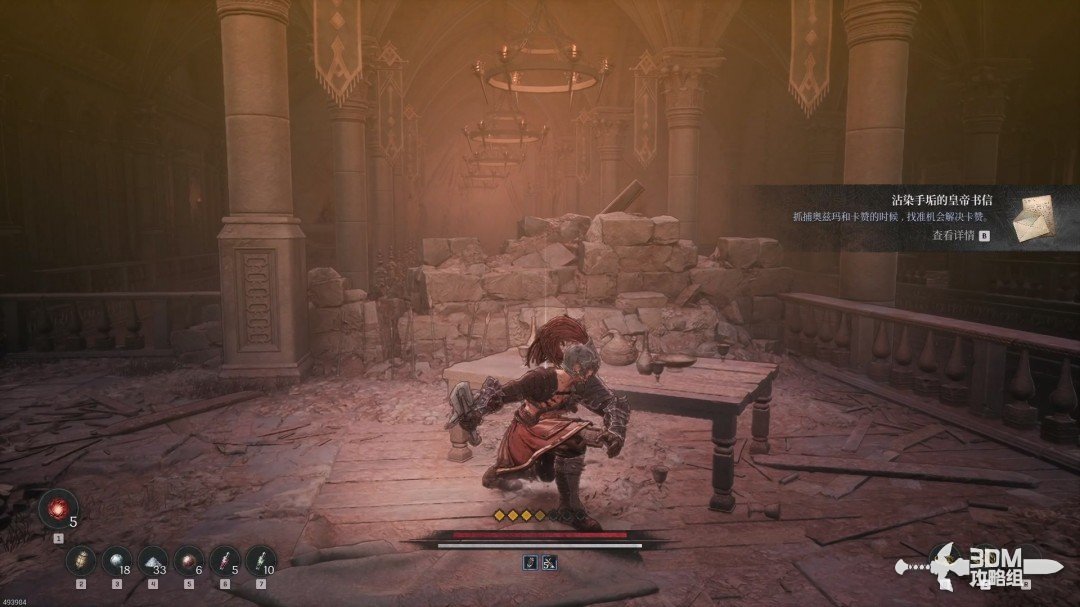 View route → |
Main mission · 07 · Veiled Knives
| Item | Location | Walkthrough |
|---|---|---|
| Open the checkpoint shortcut, beware the trapped chest, and collect the spy's secret letter in the opposite room. | 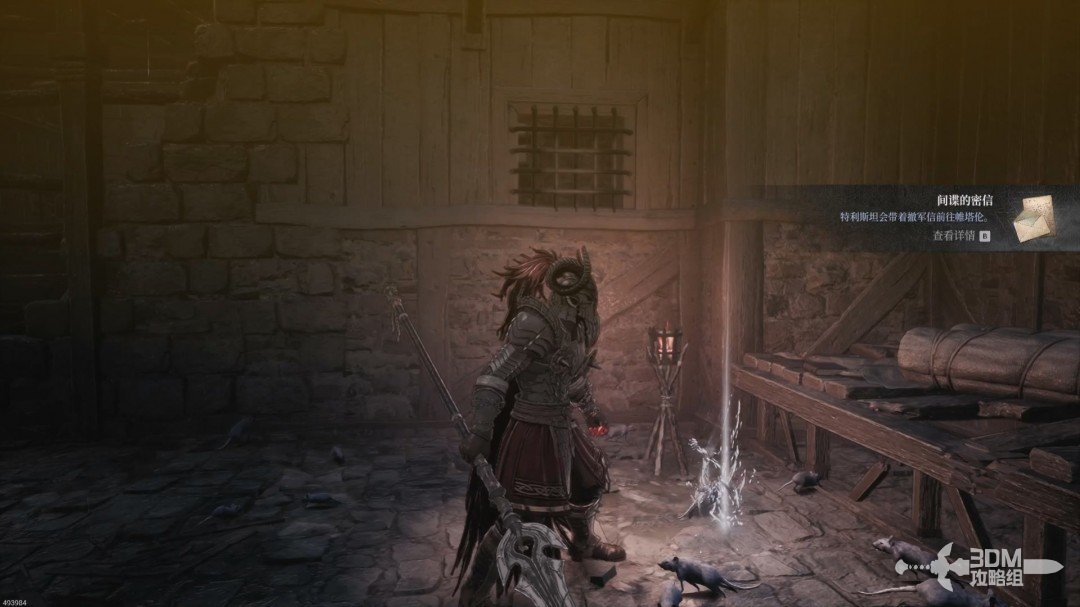 View route → |
Main mission · 08 · Devoured Village
| Item | Location | Walkthrough |
|---|---|---|
| Leave the bookshelf passage and turn right for Tanya's first experiment record in the corner. | 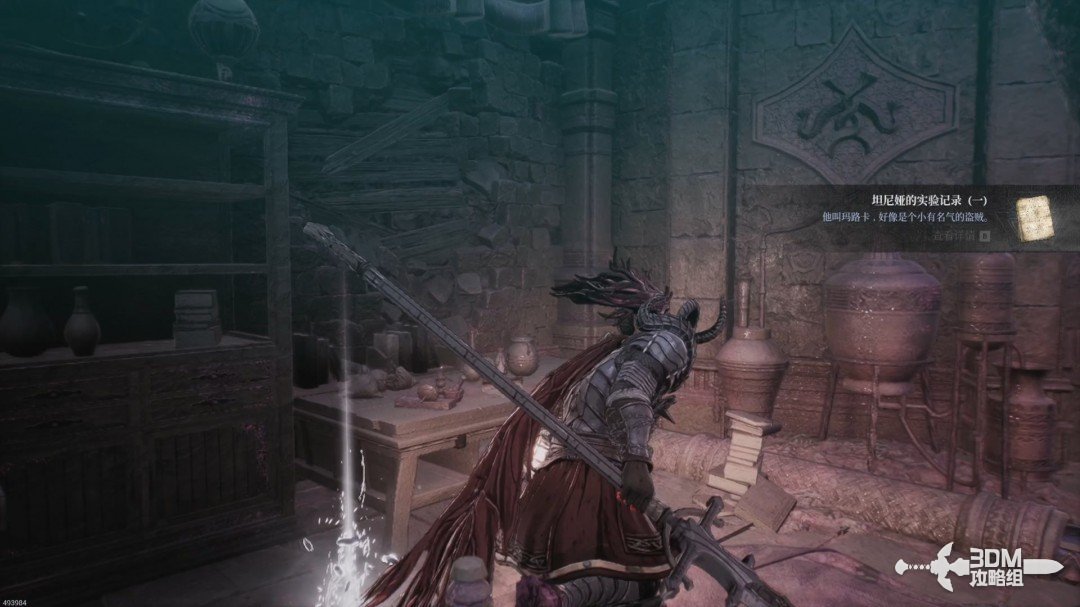 View route → | |
| Activate the switch and take the path left of the elite for the scout's record in the corner. | 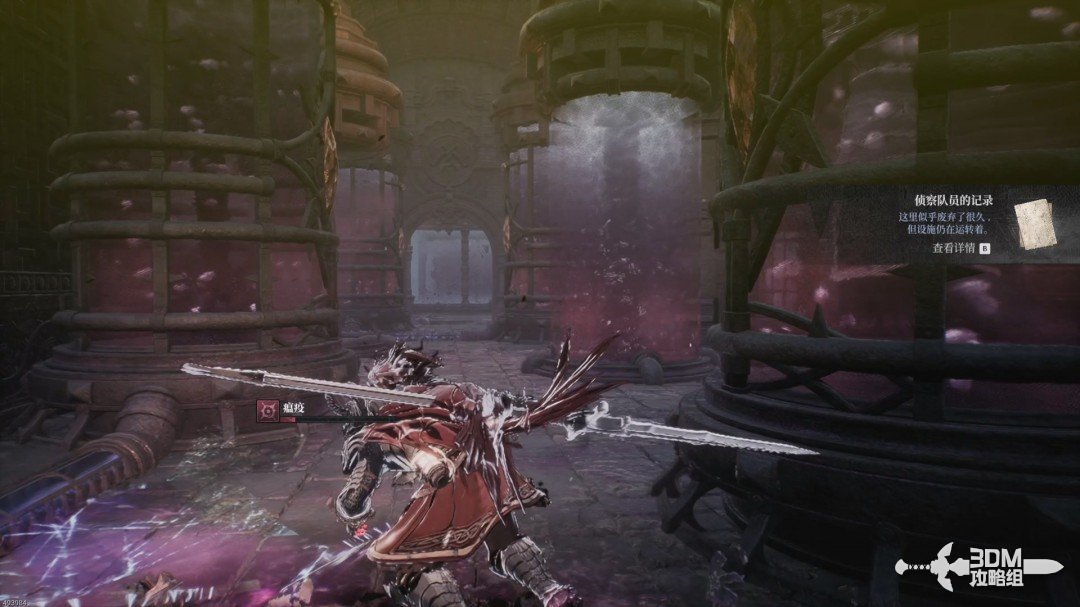 View route → | |
| Search the hidden door for the lightning cleansing scroll, then use the main switch to teleport to Tanya's second experiment record. | 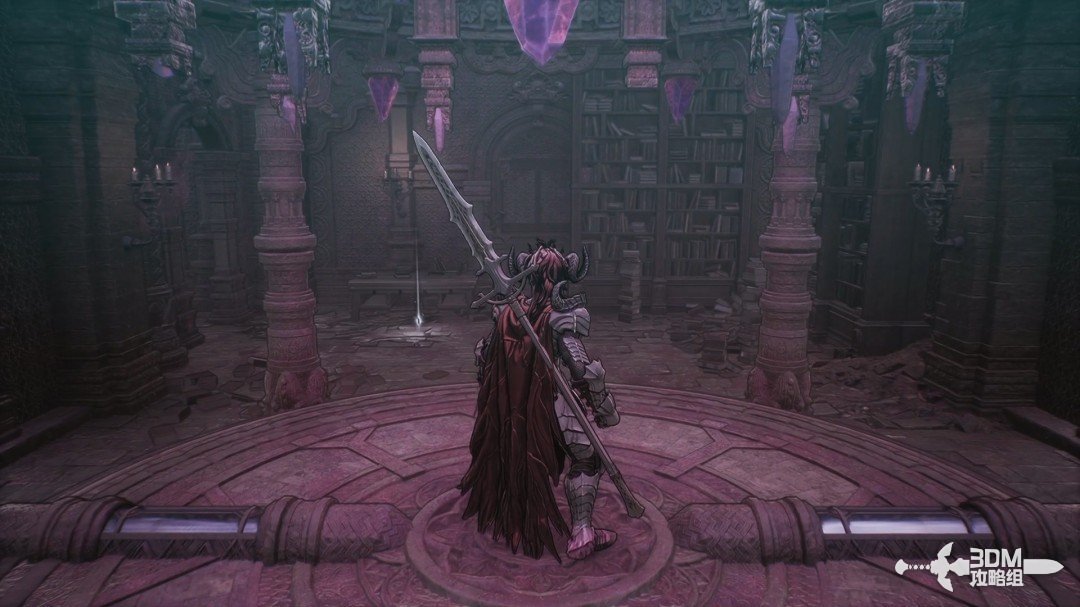 View route → |
Main mission · 09 · Inconceivable Truth
| Item | Location | Walkthrough |
|---|---|---|
| Open the left gate for the imperial sentry's record. Descend along the main route and search behind the left iron gate for the fugitive scroll. | 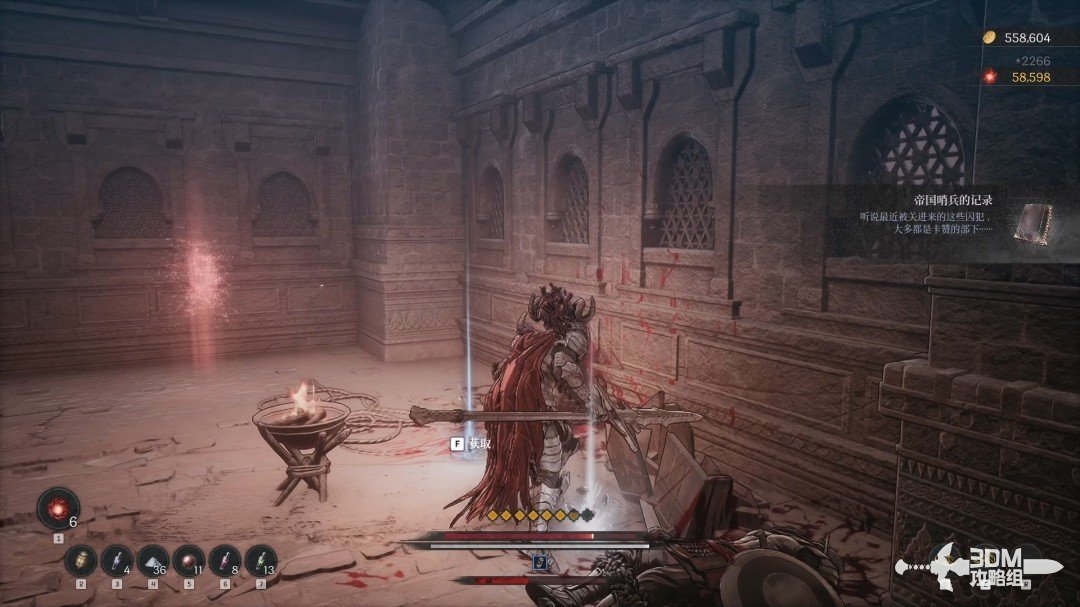 View route → | |
| Take the slope to the cell on the left and collect Yulian's Necklace inside. | 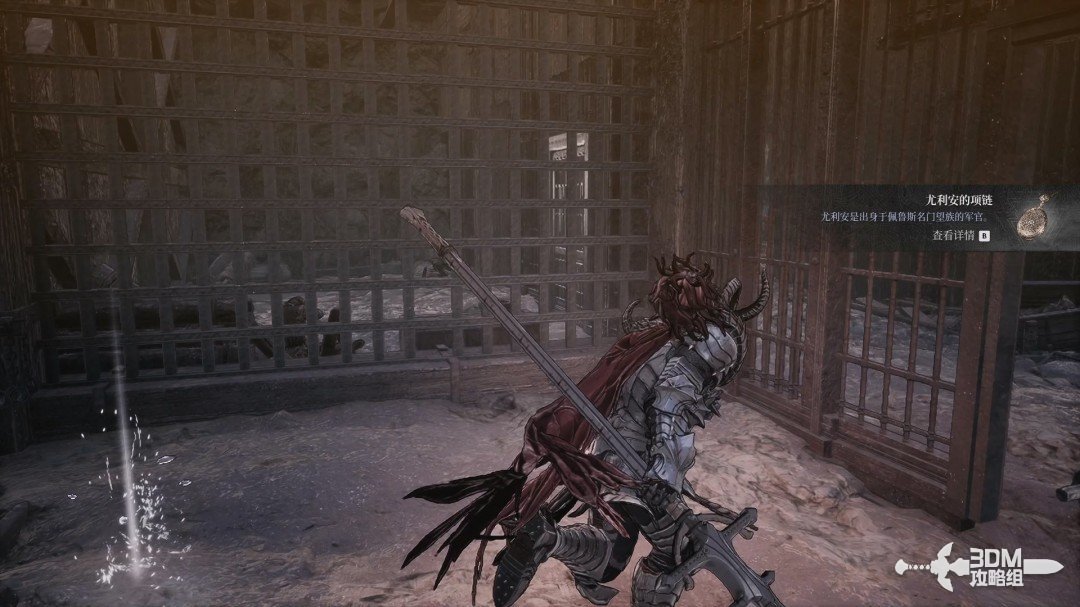 View route → | |
| Descend from the checkpoint, defeat the elite, and collect the labor camp rules on the left platform. | 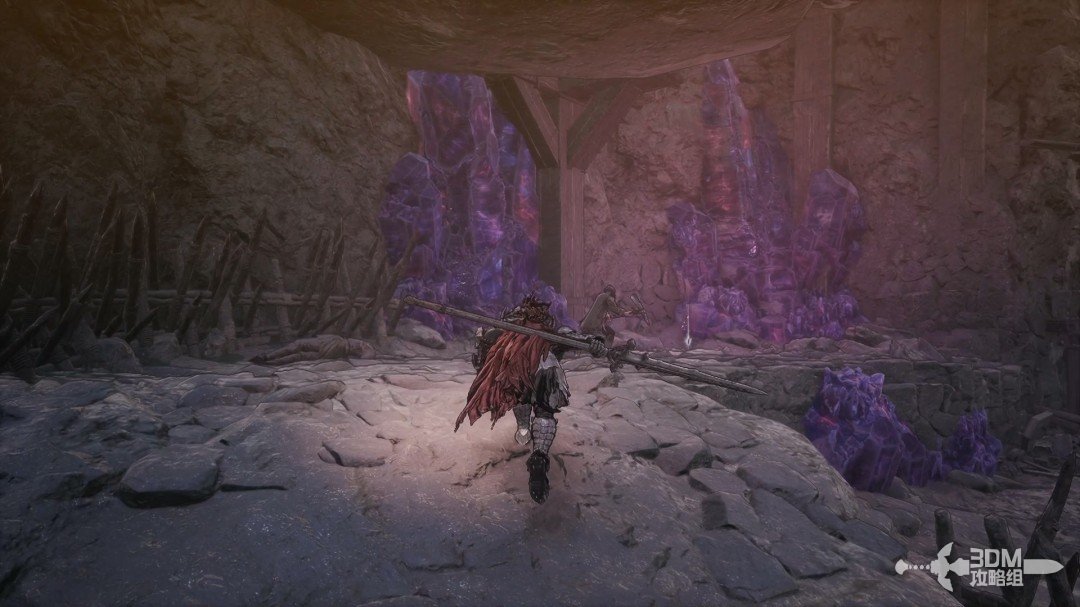 View route → |
Main mission · 10 · Witch’s Castle
| Item | Location | Walkthrough |
|---|---|---|
| Explore the stairs, return to the landing, and enter the left doorway for the water soaked diary beside the door. | 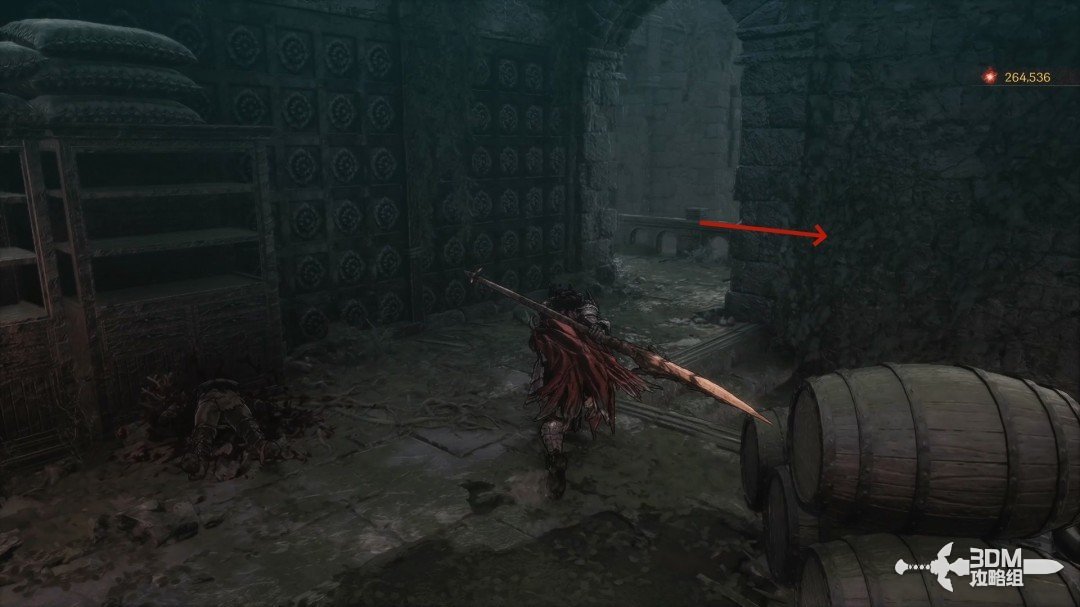 View route → | |
| Break the boards left of the checkpoint for the unsent letter, then exit the elevator at its middle floor for the ghostly gem in the right room's chest. | 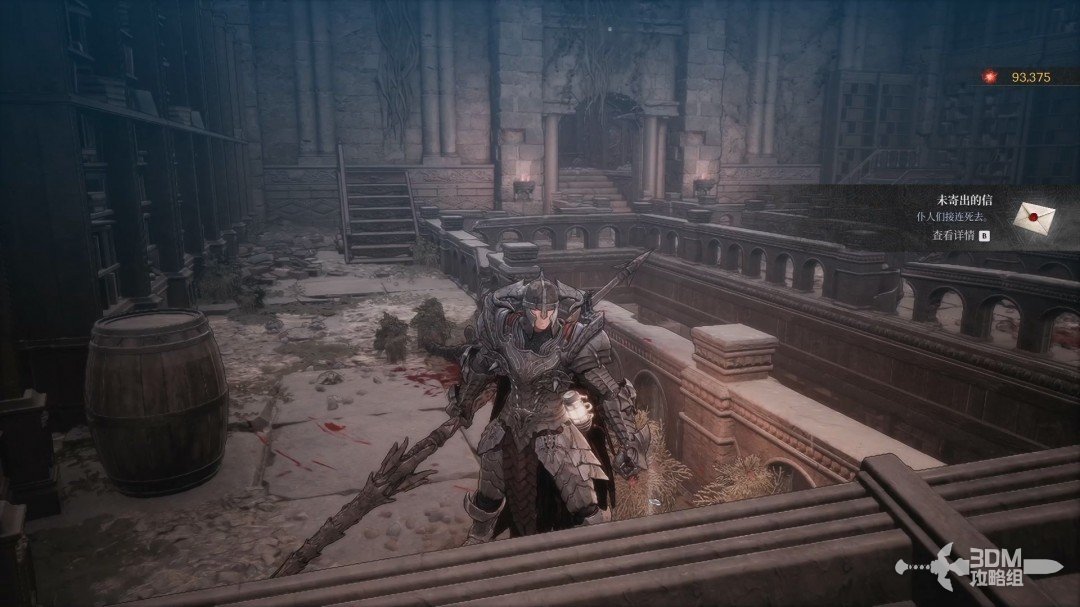 View route → |
Main mission · 11 · Hermit Mountains
| Item | Location | Walkthrough |
|---|---|---|
| Speak to Yulian, climb the main stairs for the bloodstained request, and continue toward the bridge. | 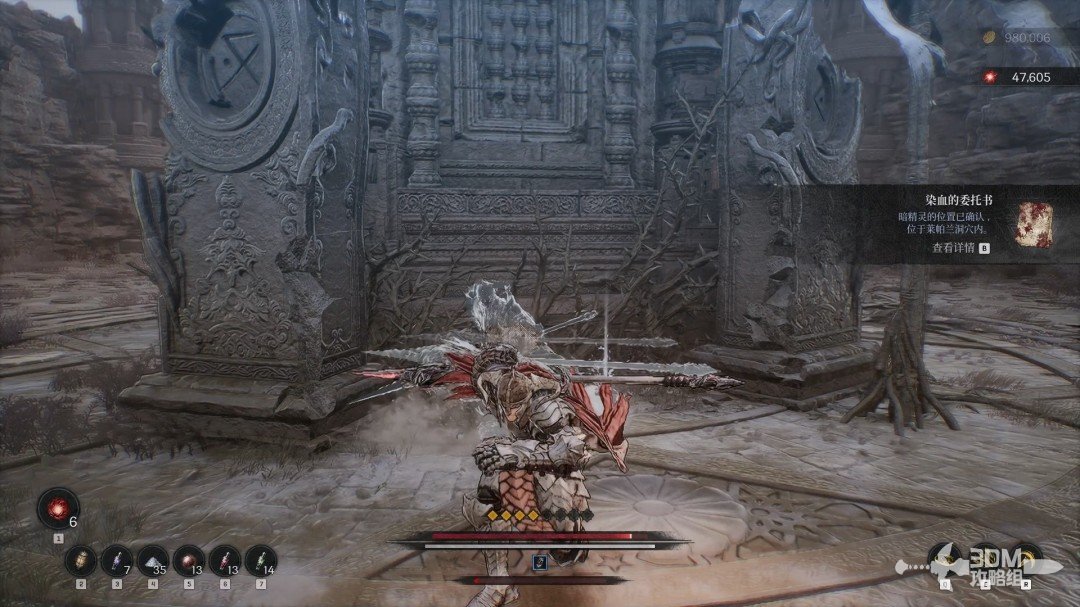 View route → |
Main mission · 12 · Corruptors’ Fortress
| Item | Location | Walkthrough |
|---|---|---|
| Reach the fortress checkpoint and activate the bookshelf passage for attendant Lantimos's diary. | 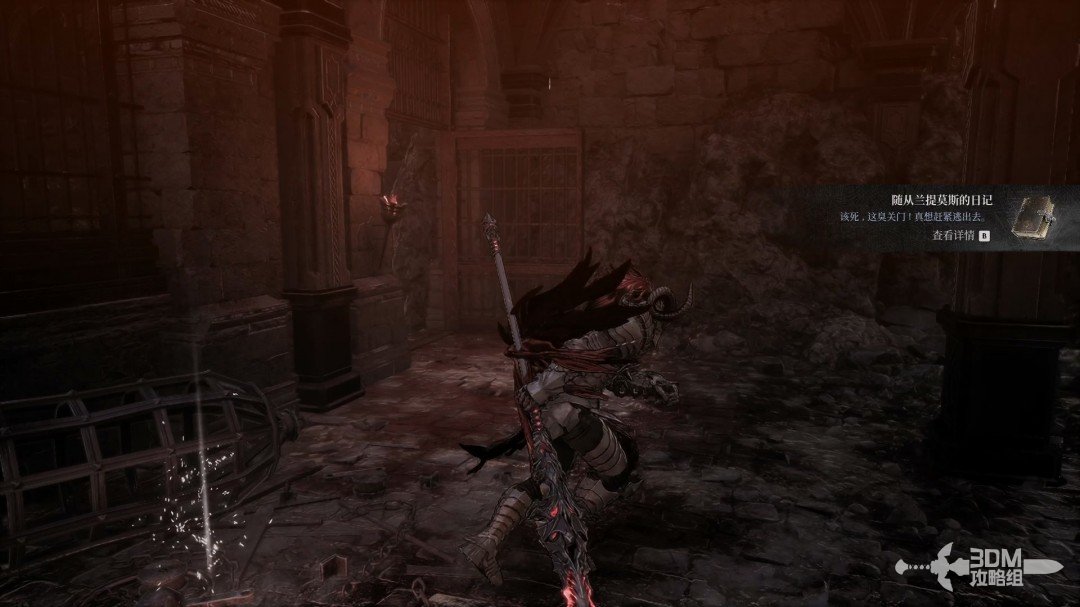 View route → | |
| Return to the junction, search the side room for Prophecy I, and rejoin the main route. | 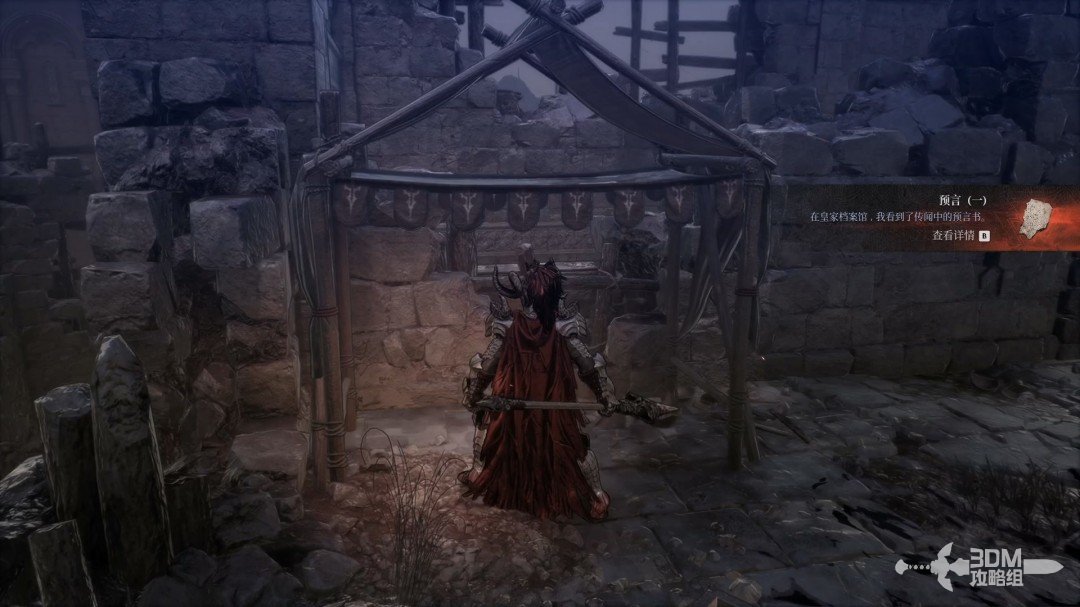 View route → | |
| Destroy the arrow machine, collect the worn diary beside the blood pool, then take the Vaisar disc fragment on the left of the next hall. | 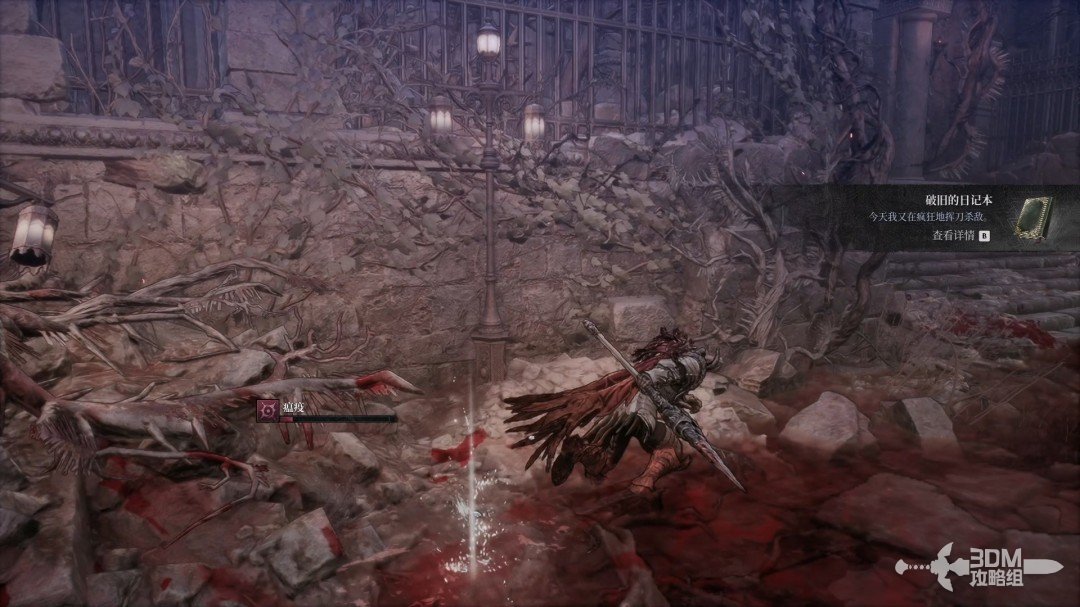 View route → |
Main mission · 13 · Strange Melody
| Item | Location | Walkthrough |
|---|---|---|
| Clear the singing enemy beyond the gate, climb the spiral stairs, and collect the royal music teacher's notes in front of the piano. | 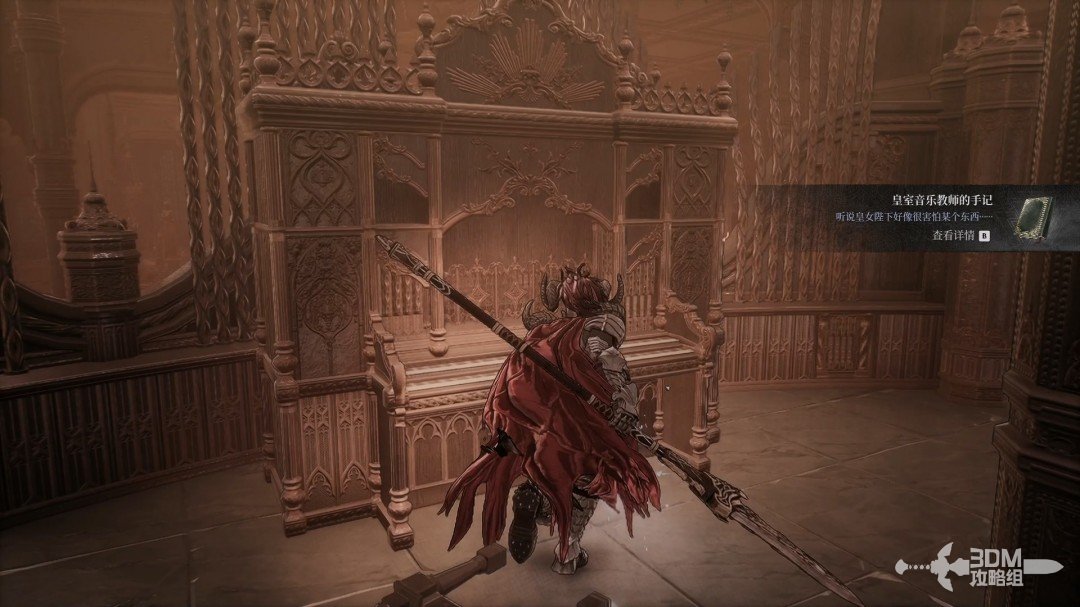 View route → | |
| Rest at the next checkpoint and follow the left wall for Hismar Campaign II. | 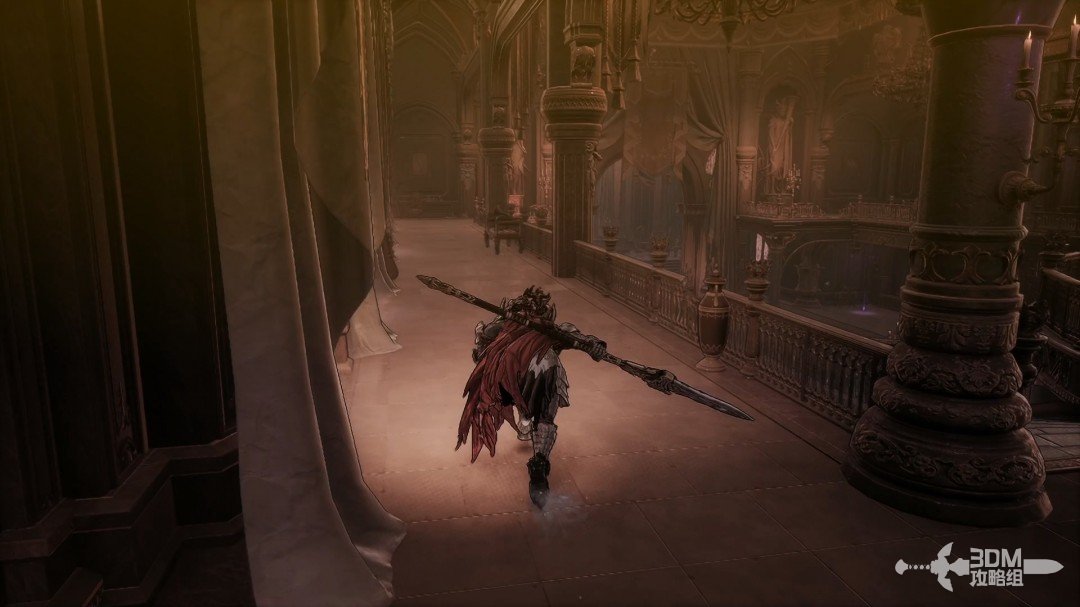 View route → |
Main mission · 14 · Fall of the Empire
| Item | Location | Walkthrough |
|---|---|---|
| Drop to the left and enter the left doorway. Defeat the soldiers and collect About Reese I in the upper right corner. | 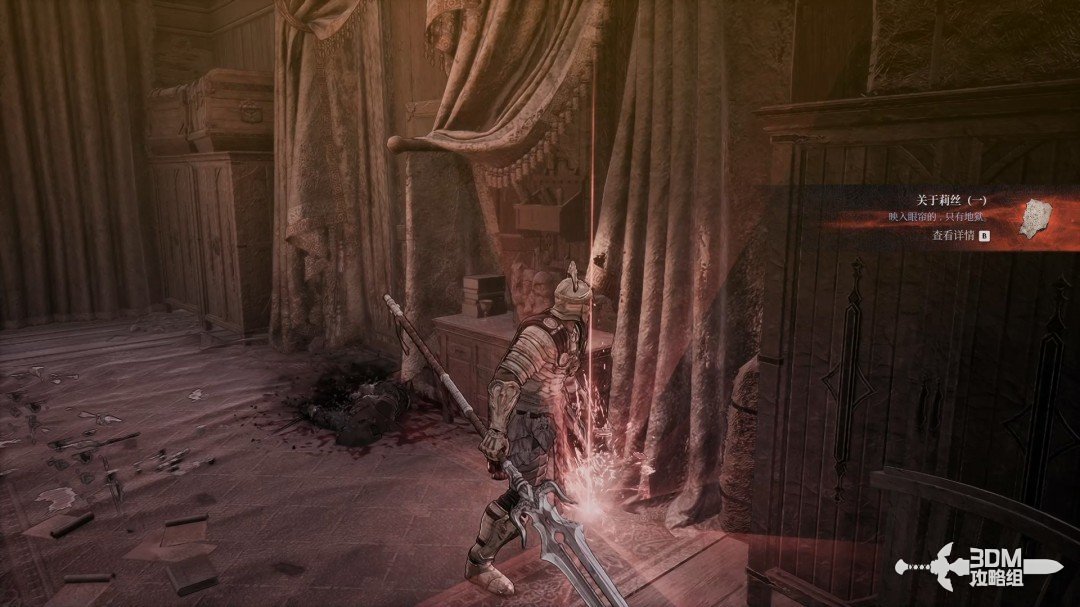 View route → | |
| Search the left house and lower the shortcut ladder, then collect The Day the Black Moon Rose IV beside the statue on the right. | 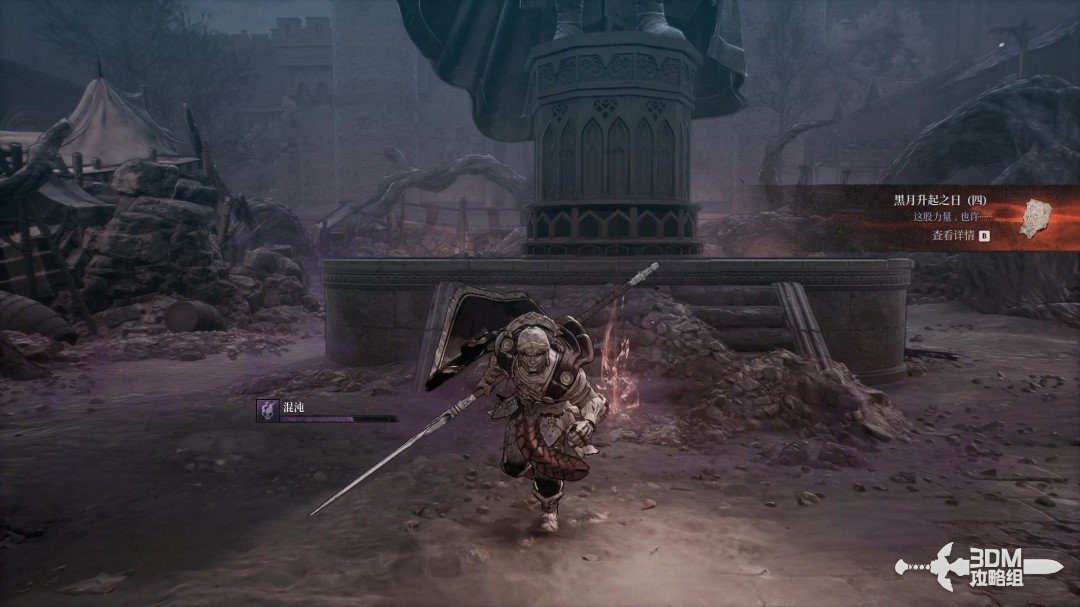 View route → | |
| Ride to the next checkpoint, climb the ladder inside the building, and take Hismar's transport diary on the right balcony. | 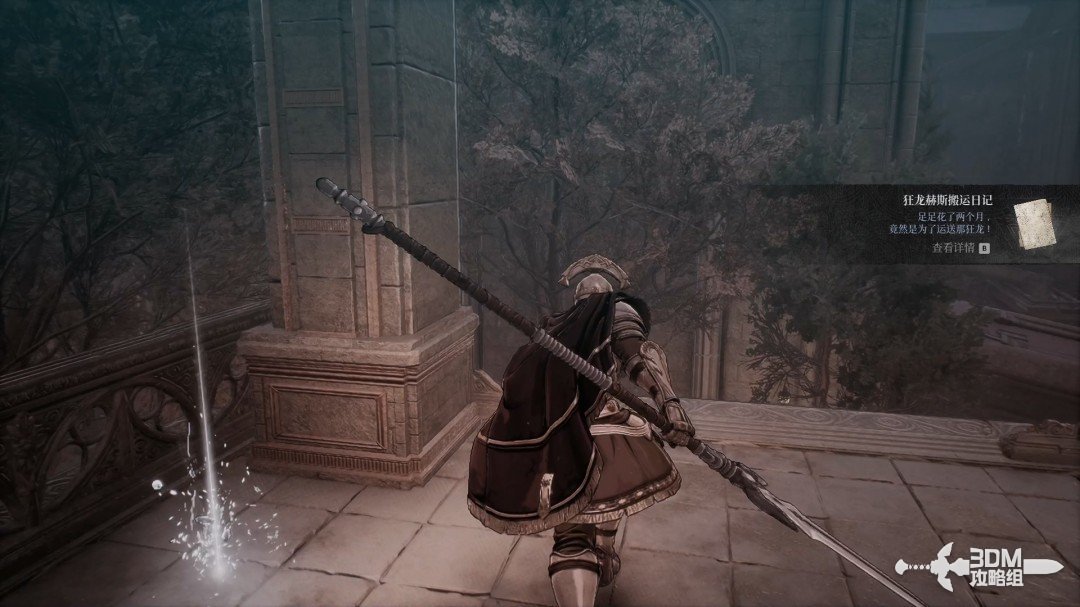 View route → |
Main mission · 15 · Bloodied Sanctuary
| Item | Location | Walkthrough |
|---|---|---|
| Defeat the succubus, enter the castle, and climb to the statue for About Reese II. | 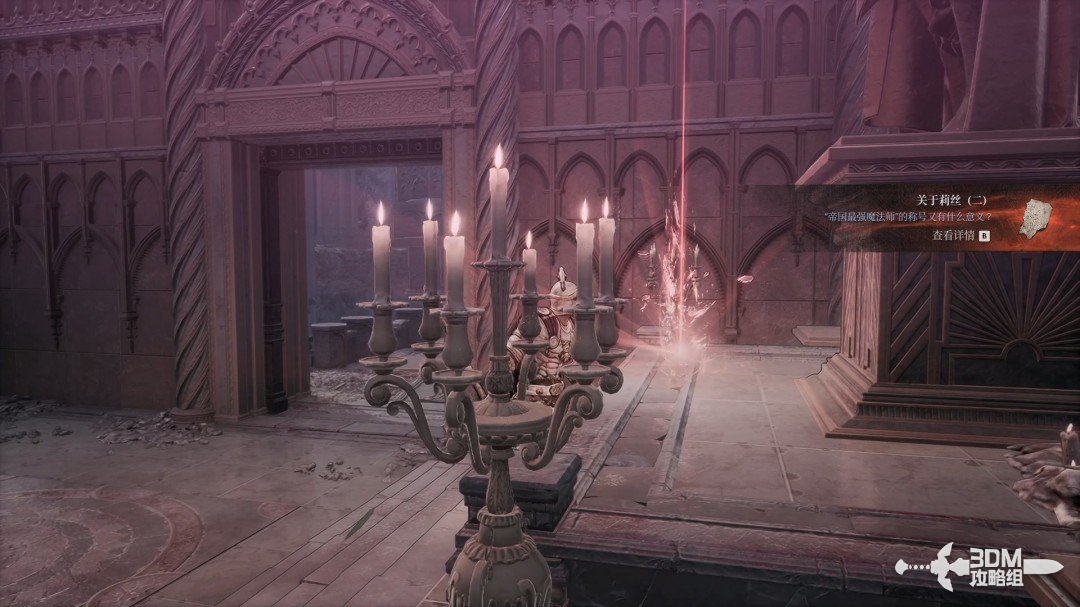 View route → | |
| Break the left crates outside to reach the second Soulstone if missed. Defeat the cloning elite beyond the next checkpoint for Viladus's confession. | 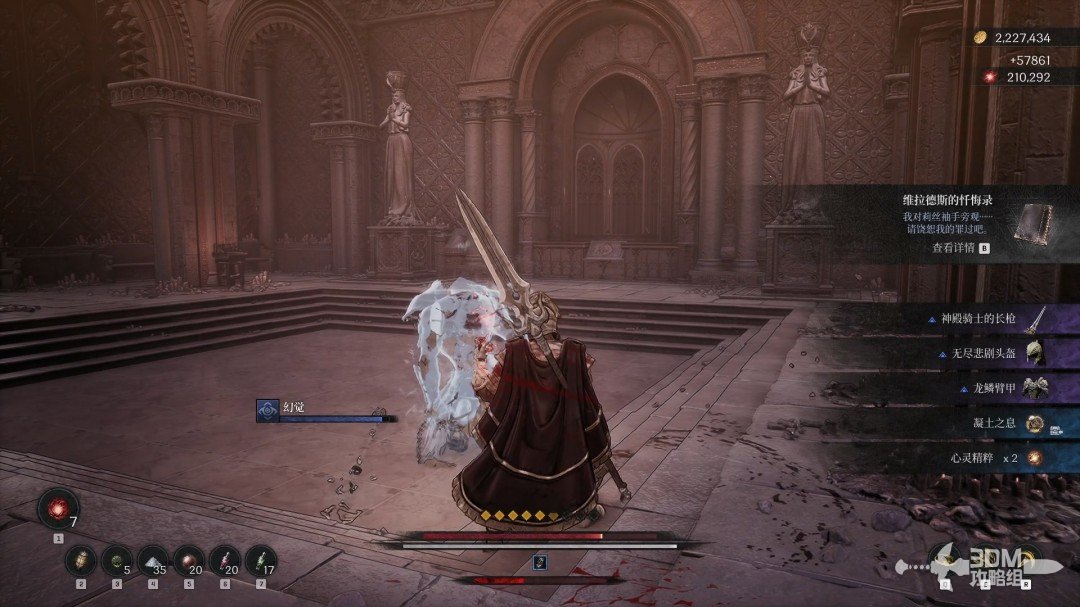 View route → | |
| Drop along the roof, open the shortcut, take the earth cleansing scroll, and cross the left beam for About Reese III. | 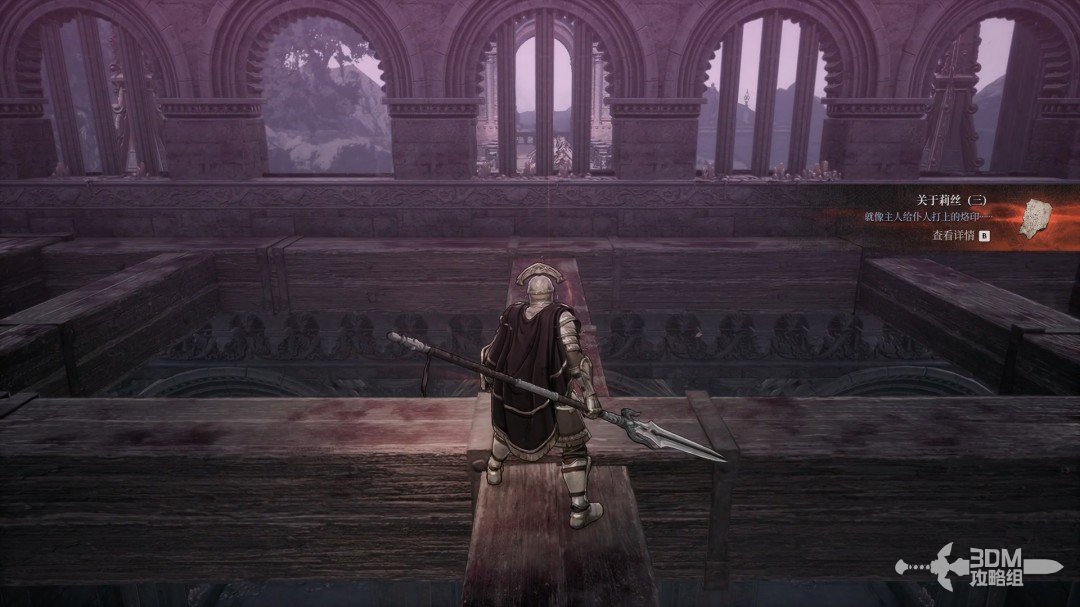 View route → |
Side mission · Tragic Night
| Item | Location | Walkthrough |
|---|---|---|
| Accept Tragic Night from Daphrona. Find the boy's diary in the right house and the first Soulstone in the house opposite. | 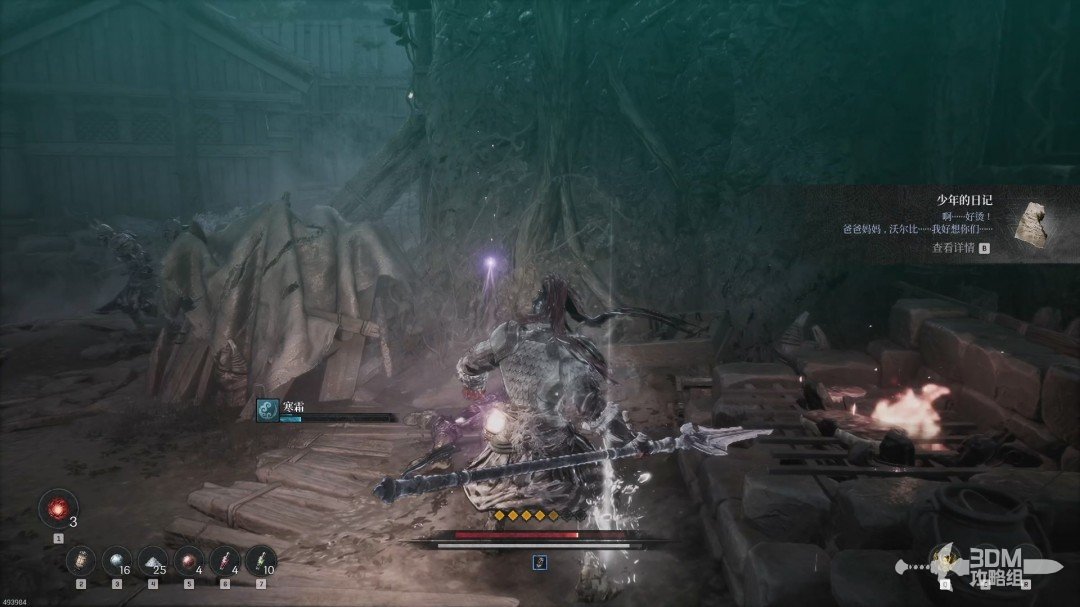 View route → | |
| Take the left route for the fallen guardian scroll, defeat the returning deer headed boss, and receive The Happy Boy and the Deer. | 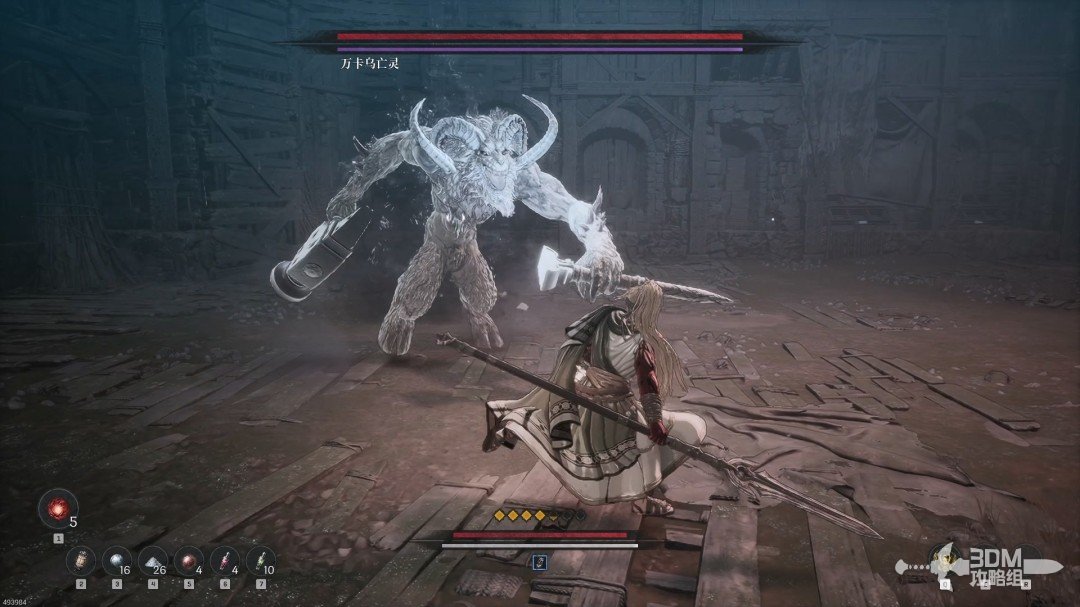 View route → |
Side mission · Silent Temple
| Item | Location | Walkthrough |
|---|---|---|
| Collect the magic scholar's record and the Jarling below the trapped chests. Defeat the undead soldier and report back to unlock gear services. | 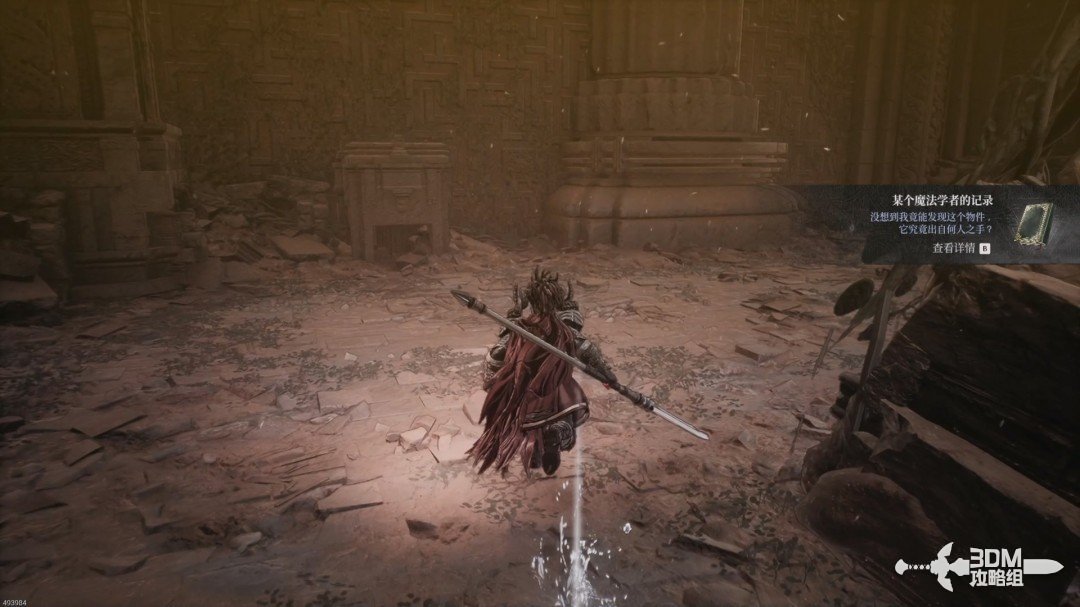 View route → |
Side mission · Pavel’s Final Words
| Item | Location | Walkthrough |
|---|---|---|
| Defeat the elite below the stairs for the bandit's orders. Call the elevator, then javelin the second Soulstone high behind you before riding down. | 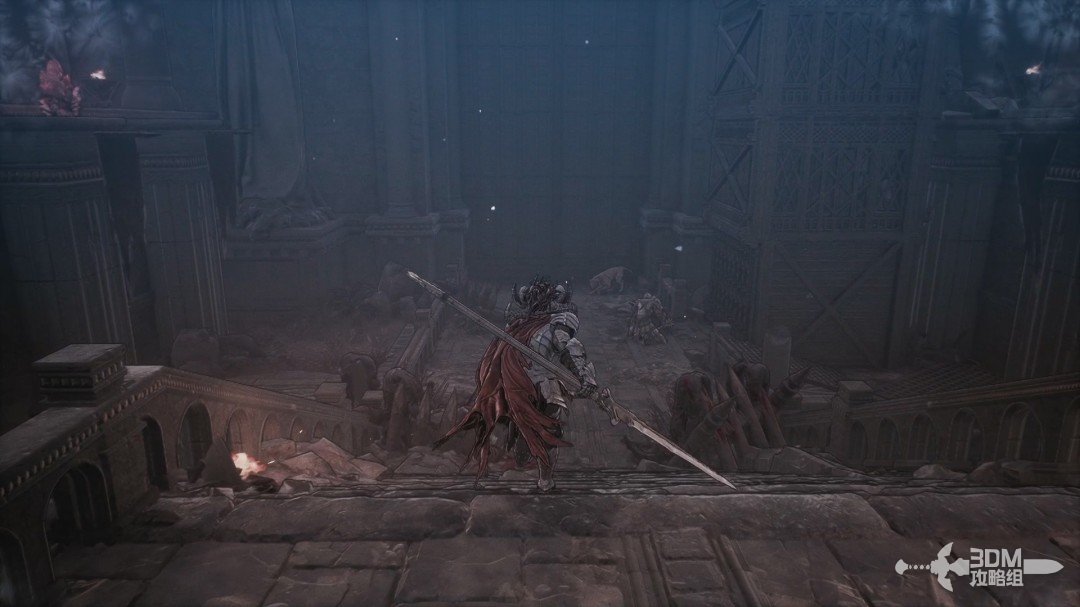 View route → |
Side mission · Why Did You Abandon Us
| Item | Location | Walkthrough |
|---|---|---|
| Watch for an enemy dropping above the doorway. Collect The Day the Black Moon Rose I on the right. | 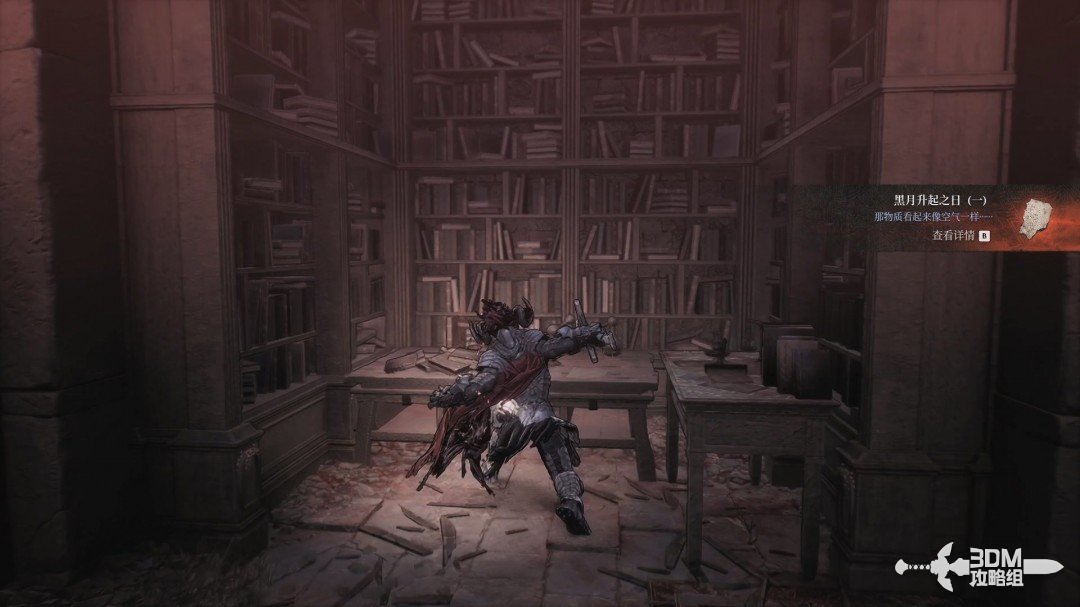 View route → | |
| Enter along the lowest boards, watching for the breakable floor. Collect Journey of Life Creation on the left. | 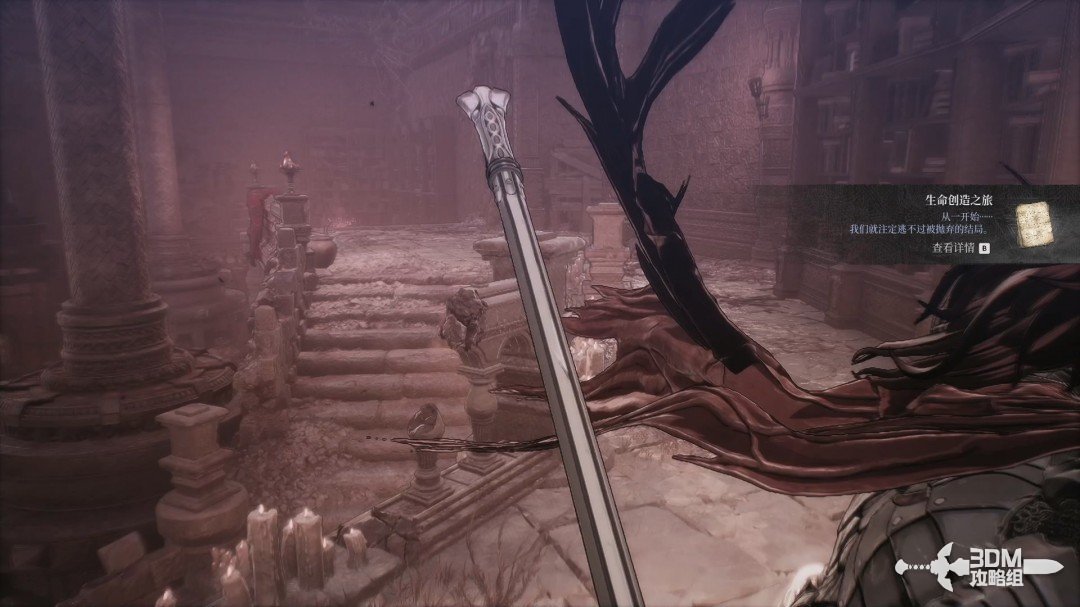 View route → | |
| Supplemental pickup: The Day the Black Moon Rose II. If it is missing, turn back from the Sector No. 4 laboratory Nexus and drop through the railing gap into the room. Turn left into the passage, go up the steps and through the room on the right, then descend the ladder into the laboratory hall. Follow the right wall of the large specimen-container room and collect the record beside the desk. Return to the current mission route afterward. | View route → |
Side mission · Atlante the Precise
| Item | Location | Walkthrough |
|---|---|---|
| Defeat the shield soldier and archer, descend to the checkpoint, and collect the first necromancy diary on the left. | 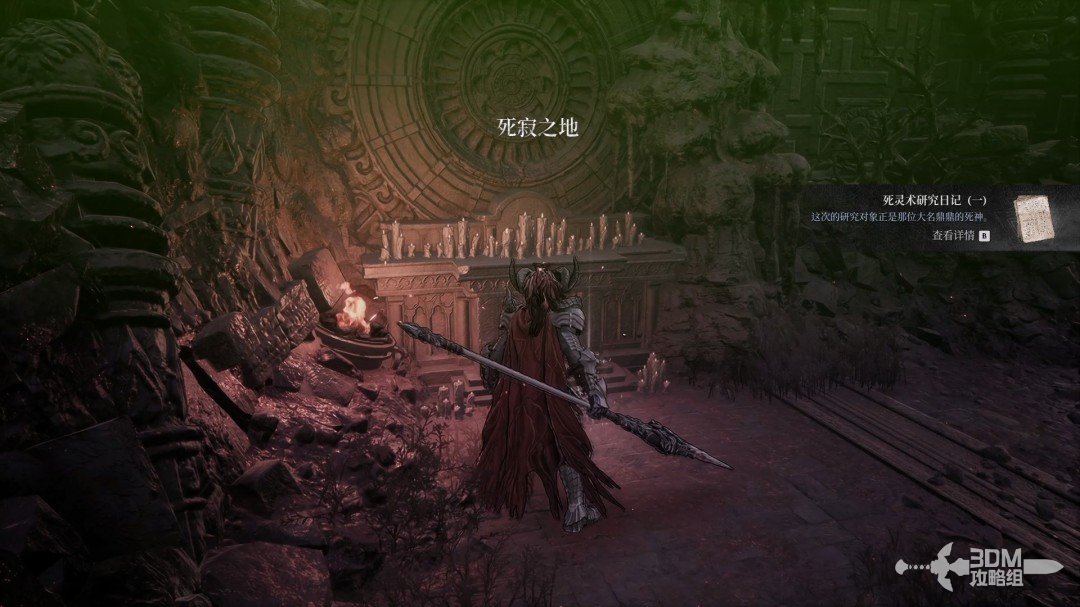 View route → | |
| Clear the ranged skeletons at the junction and climb the rear stairs for the second necromancy diary in the left corner. | 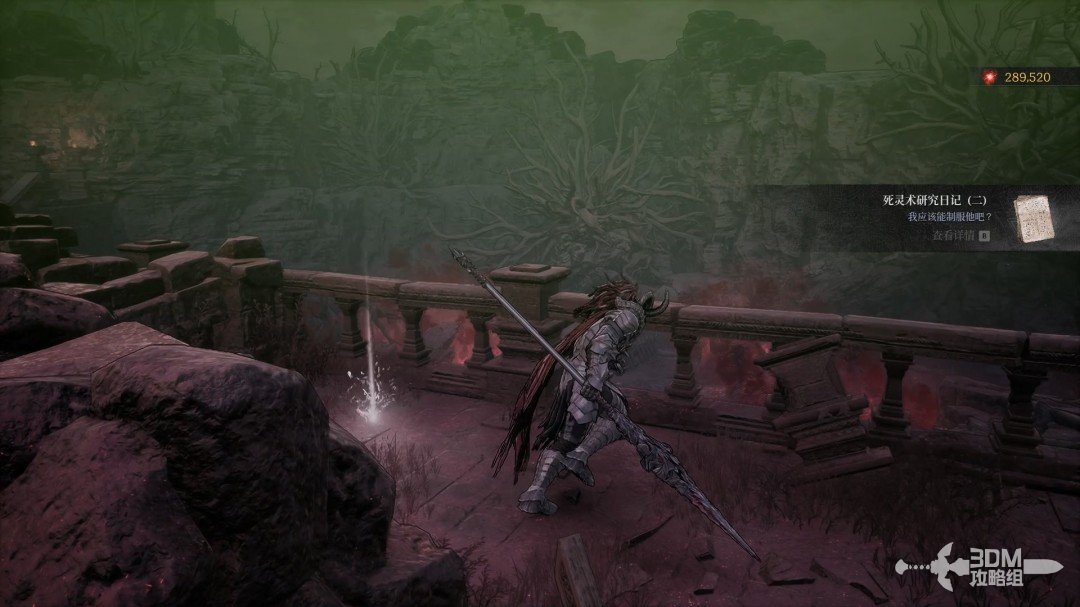 View route → |
Side mission · Crimson Trace
| Item | Location | Walkthrough |
|---|---|---|
| Defeat the cloning elite and search the left steps, then collect Prophecy II along the left side of the main path. | 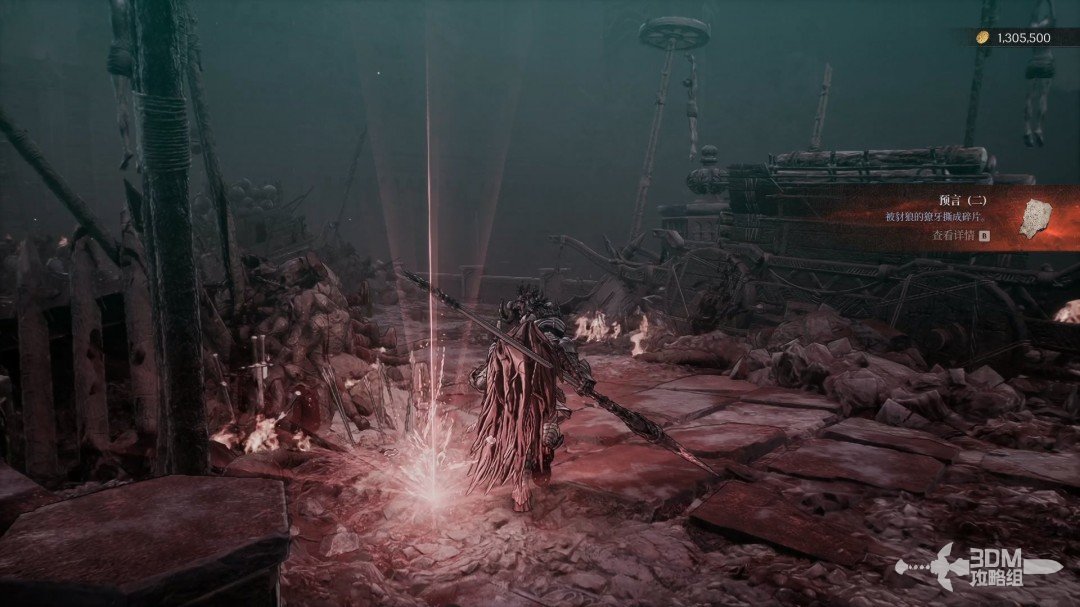 View route → | |
| Defeat the boss after resting, then descend through the bookshelf passage for the chest containing the singing eagle's hair. | 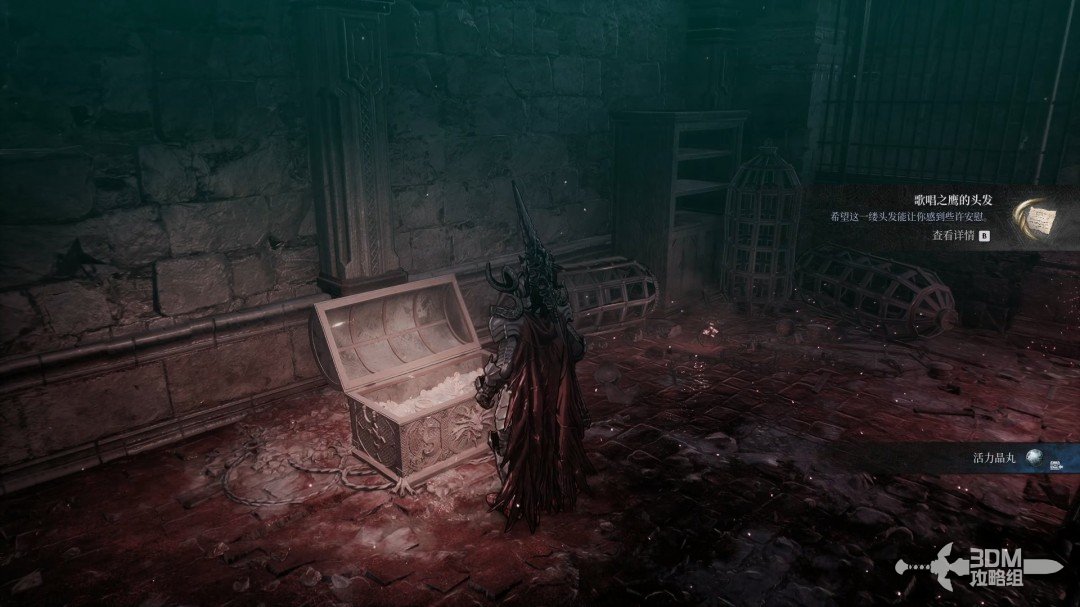 View route → |
Side mission · The Last Guard
| Item | Location | Walkthrough |
|---|---|---|
| Clear the enemies beyond the doorway and collect the father's final letter on the hall's right side. | 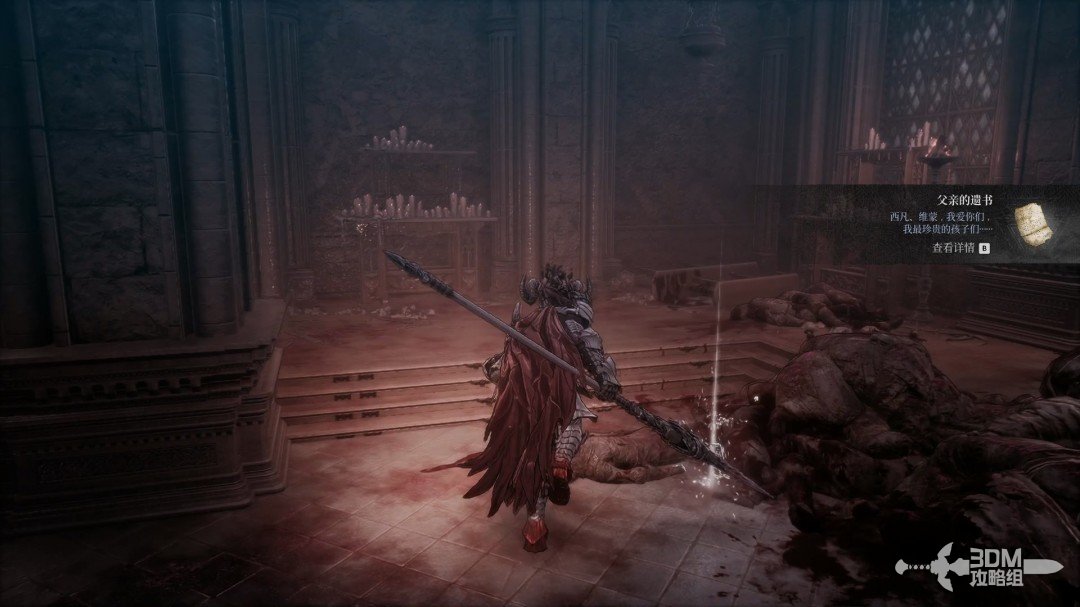 View route → | |
| Take the left hall route through the balcony and lower elite, then return upstairs for the bloodstained guard record on the right. | 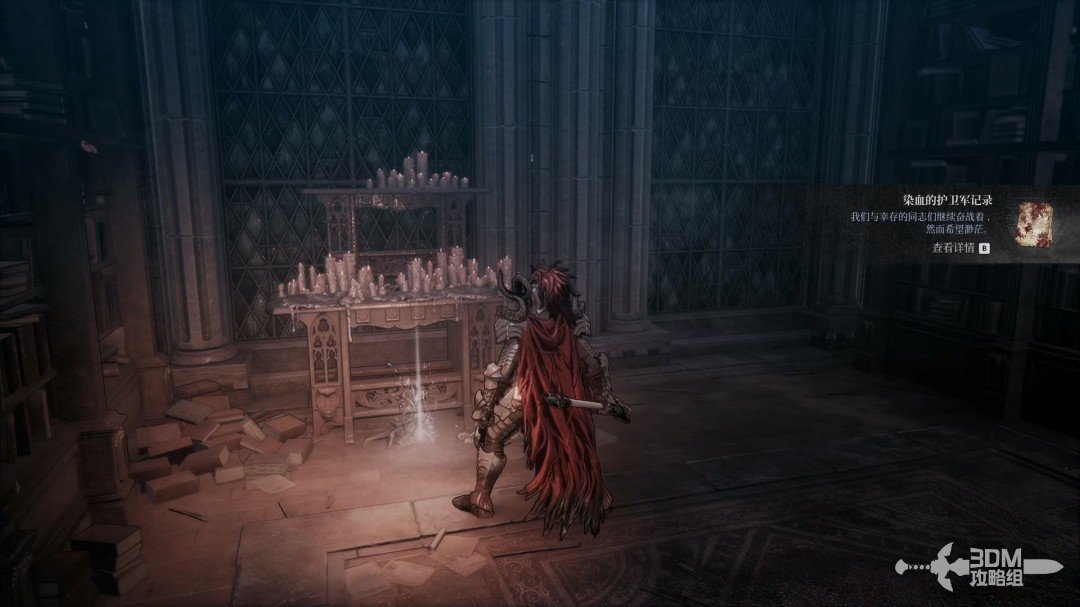 View route → |
Side mission · Transcendental Sword
| Item | Location | Walkthrough |
|---|---|---|
| Lower the bridge, circle above, and drop to the checkpoint. Defeat the clone elite behind the left door and open the hidden wall by the right coffin for The Day the Black Moon Rose III. | 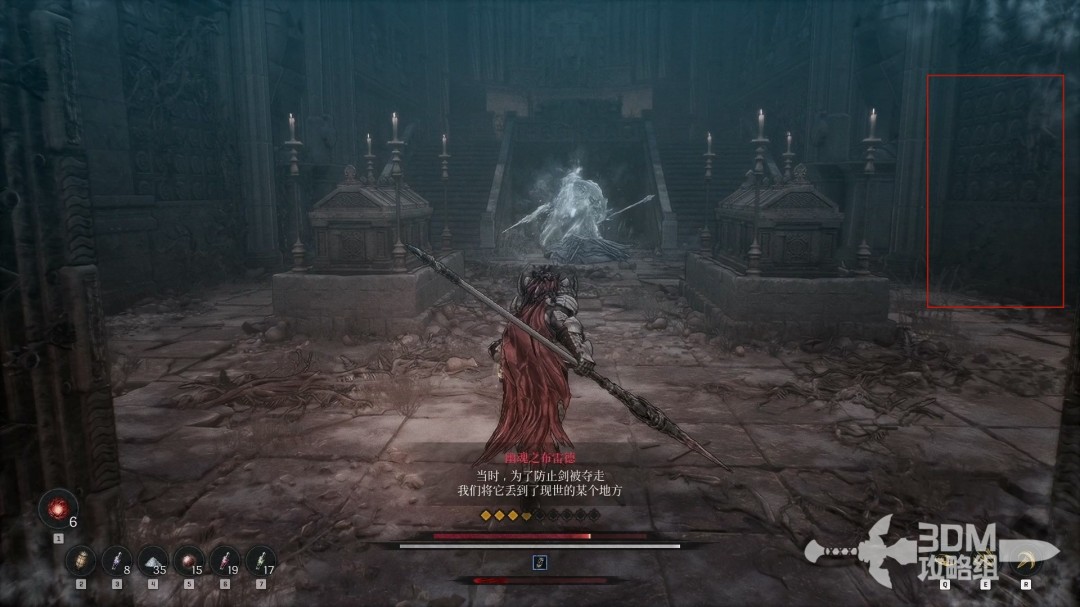 View route → | |
| Enter the right doorway, collect the memory, and climb the stairs for Hismar Campaign I on the left. | 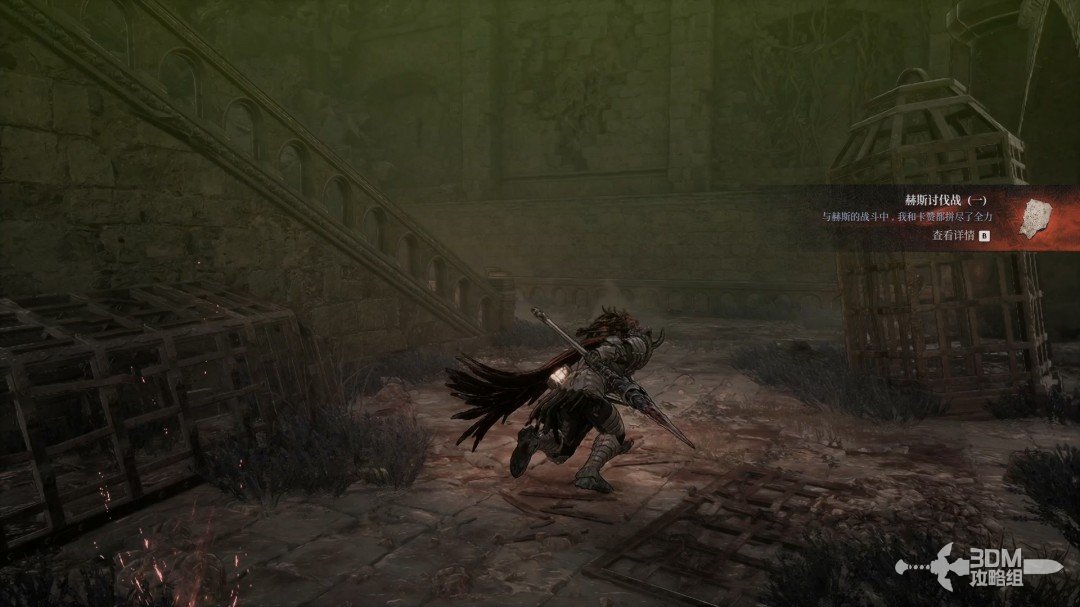 View route → | |
| Pass the gate and descend to the checkpoint. Defeat the elite below the stairs for the priest's record. | 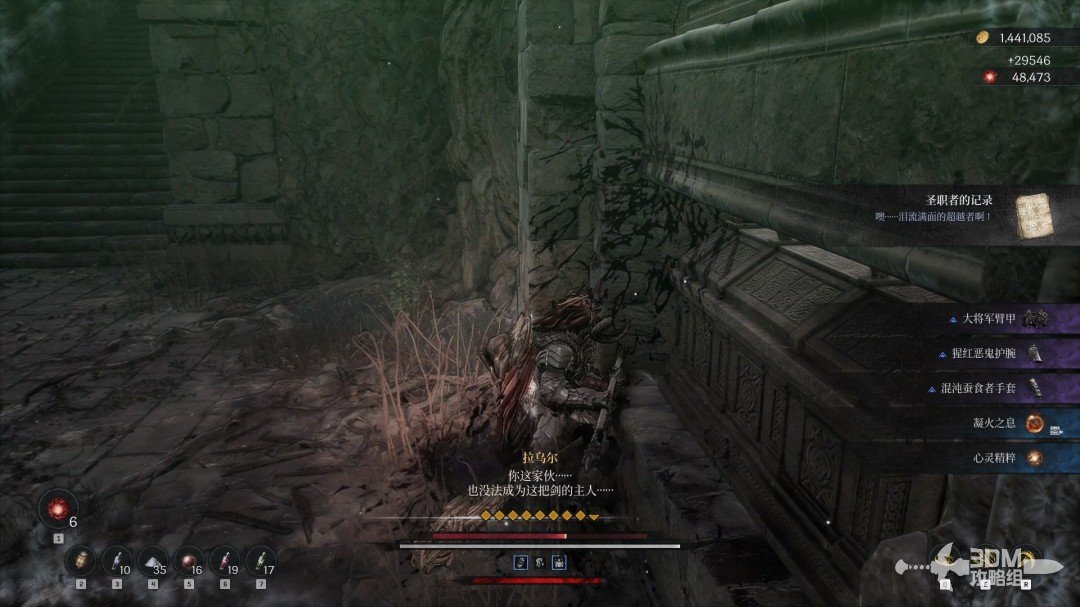 View route → |
Side mission · The Suicide Squad
| Item | Location | Walkthrough |
|---|---|---|
| Clear the soldiers left of the stairs and open the mural passage. Find the Jarling on the right and Prophecy III inside. | 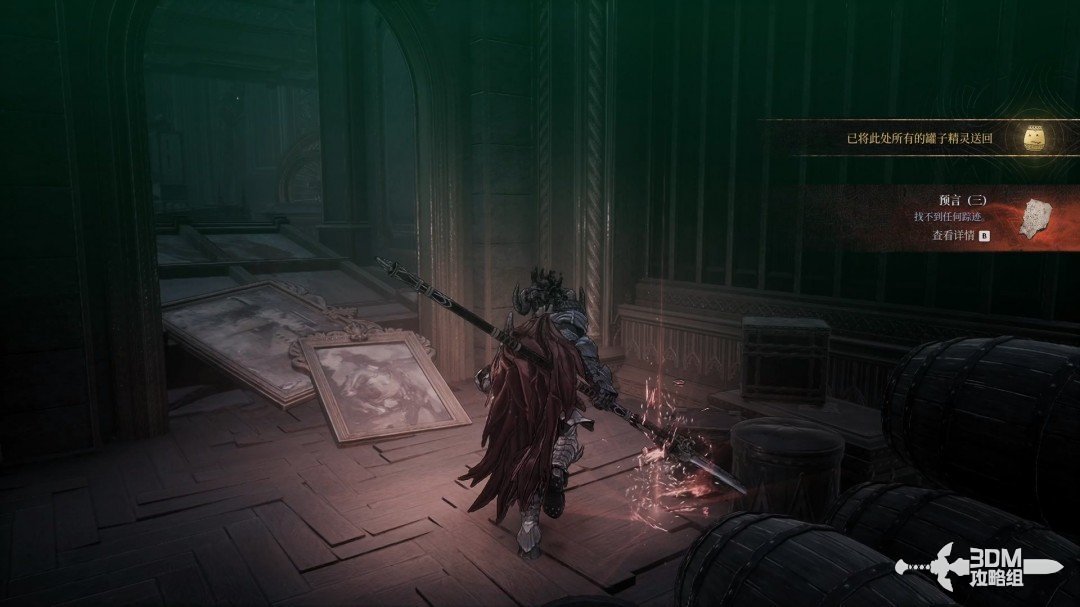 View route → | |
| Leave the passage and take the next door on the left. Open the lower corridor mural for Prophecy IV on the left inside. | 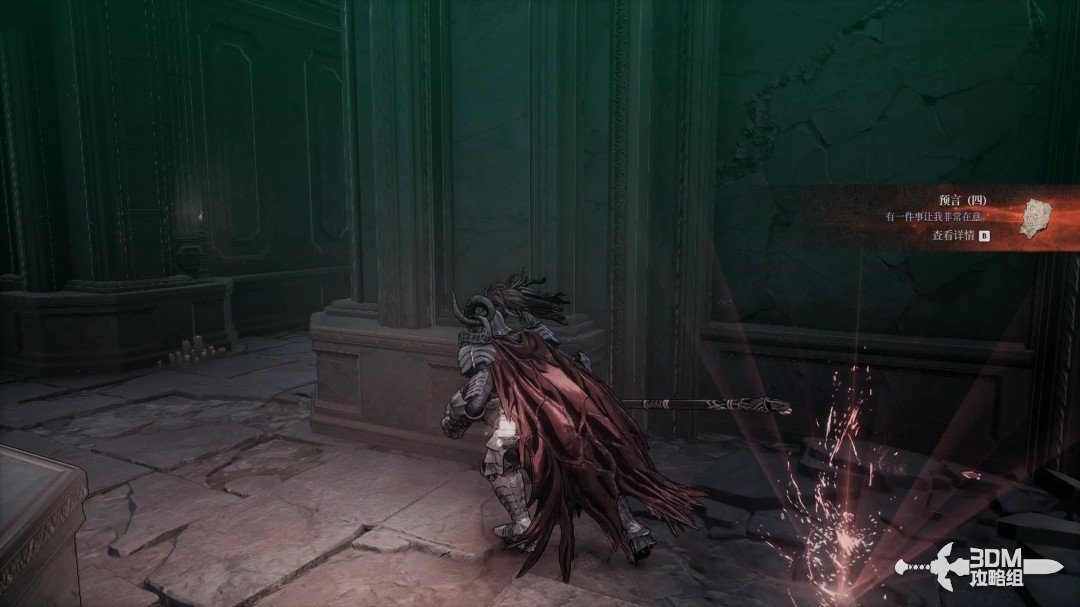 View route → | |
| Return from the chest to the checkpoint and collect the suicide squad's resolve outside the boss entrance. | 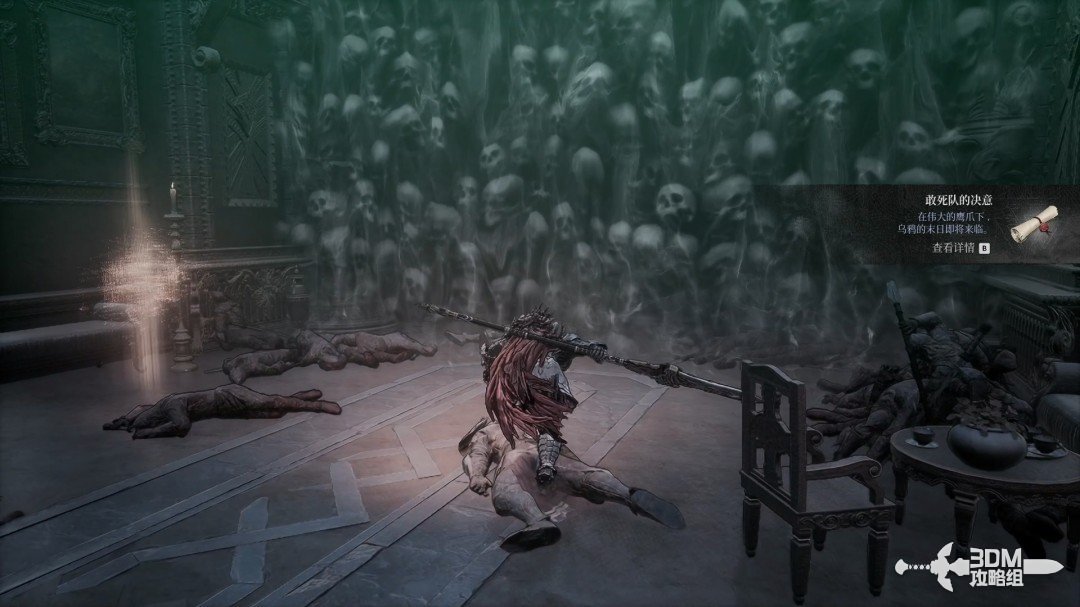 View route → | |
| Clear the corrupted soldiers and monsters, receive the Ninety Ninth Owl's last letter, and leave through the portal. | 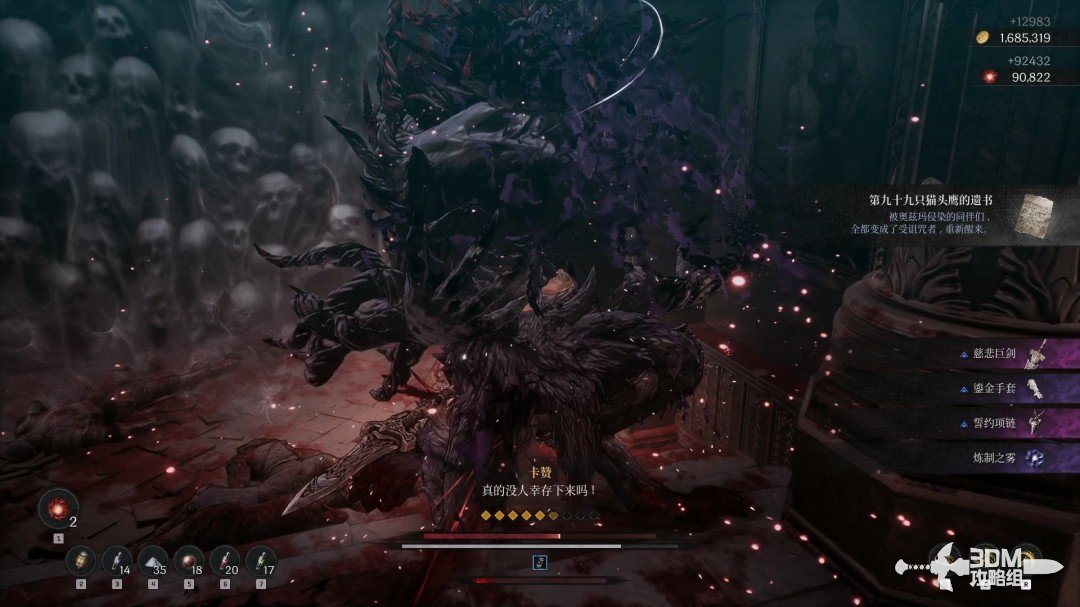 View route → |
Side mission · Residual Chaos
| Item | Location | Walkthrough |
|---|---|---|
| Search the chest after the portals, then follow the main route for Elamein's notes. | 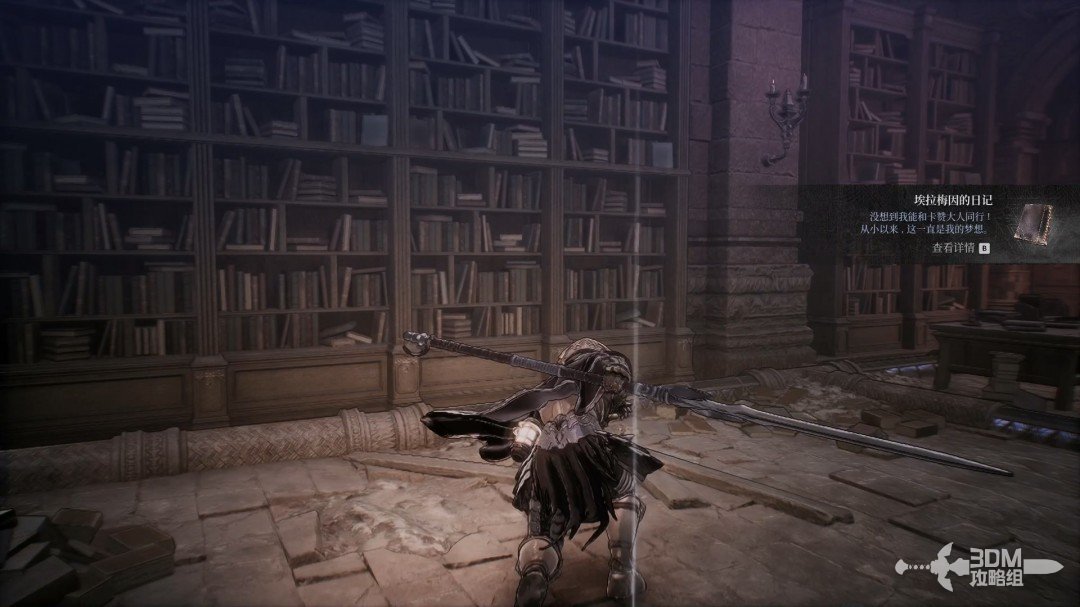 View route → | |
| Use the switch at the route's end and teleport again to Tanya's third experiment record directly ahead. | 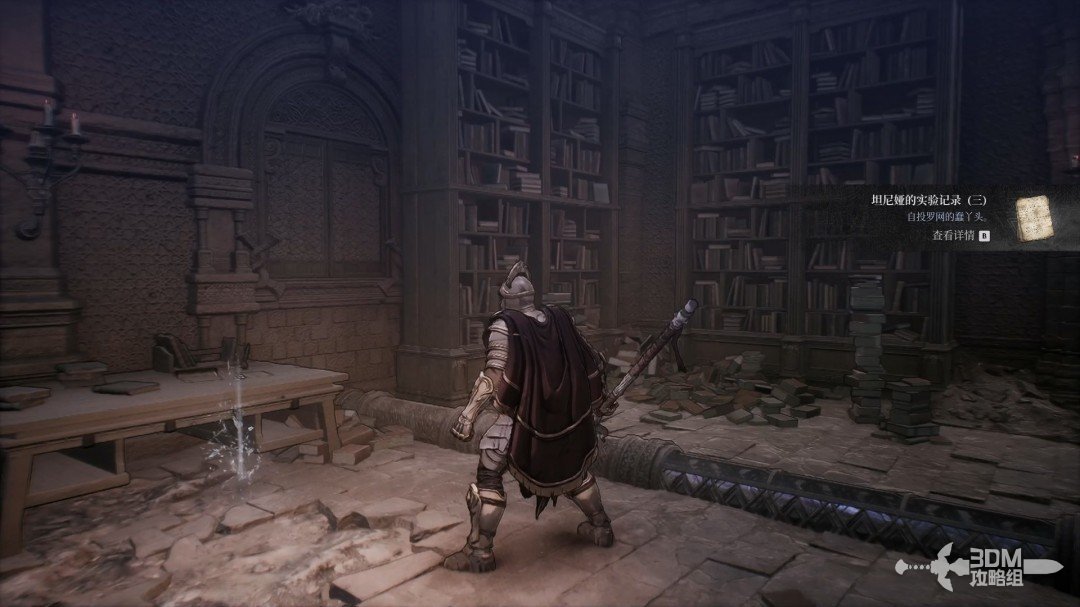 View route → |
Side mission · Disobedience
| Item | Location | Walkthrough |
|---|---|---|
| Help Yulian search for his family during Disobedience. Loot the left chest, climb the right stairs, and collect Evelyn's notes ahead. | 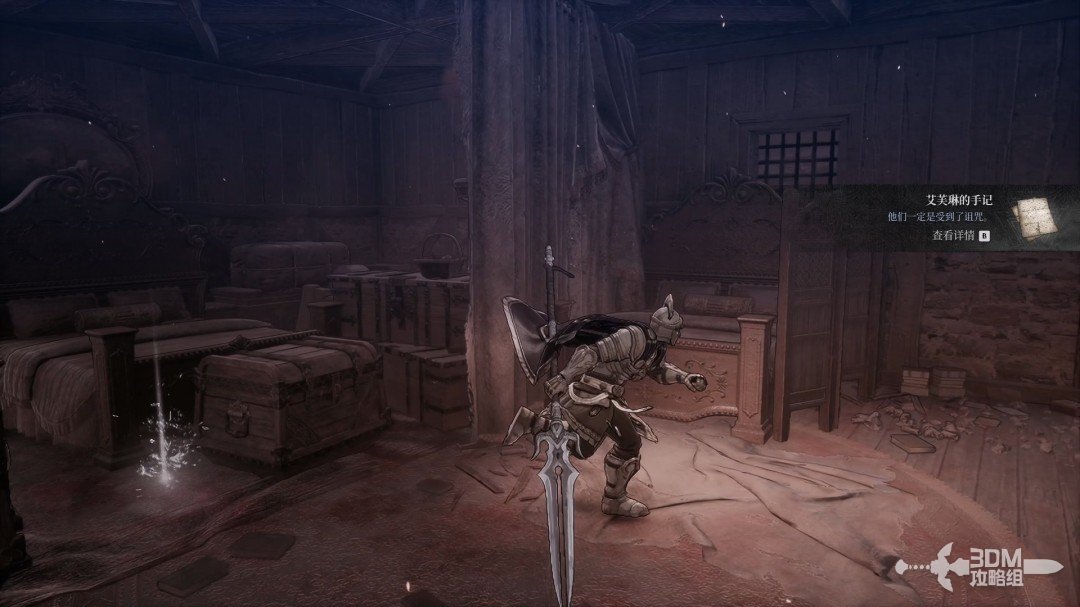 View route → | |
| Enter the left doorway, finish the fight, and receive the letter from Yulian's wife before reporting back. | 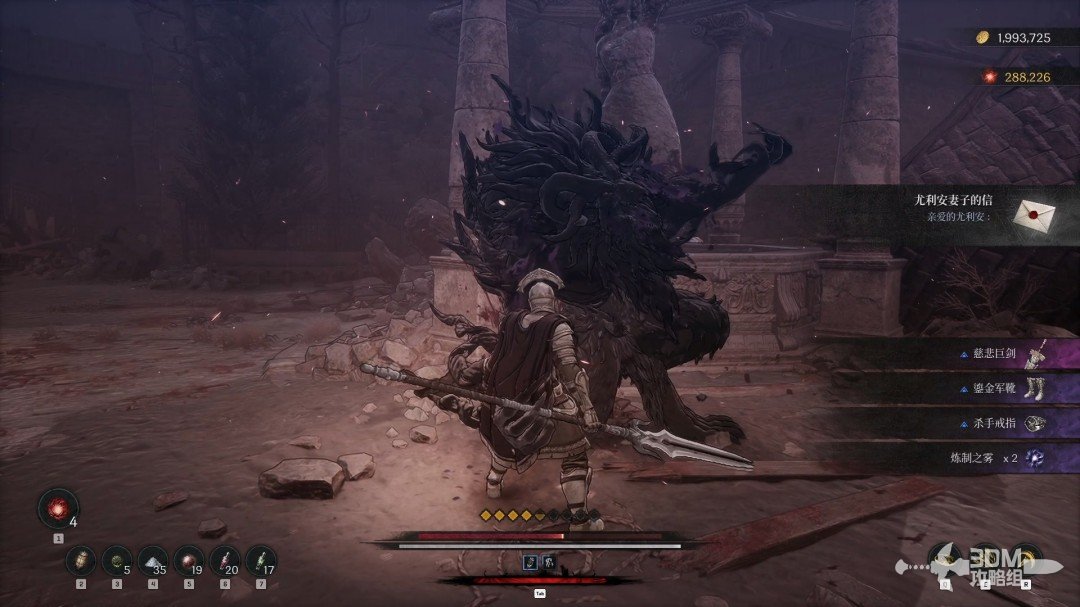 View route → |
Side mission · The Birth of Evil
| Item | Location | Walkthrough |
|---|---|---|
| Clear the room and defeat the final group, prioritizing ranged enemies. Receive the jester's dagger to finish the quest. | 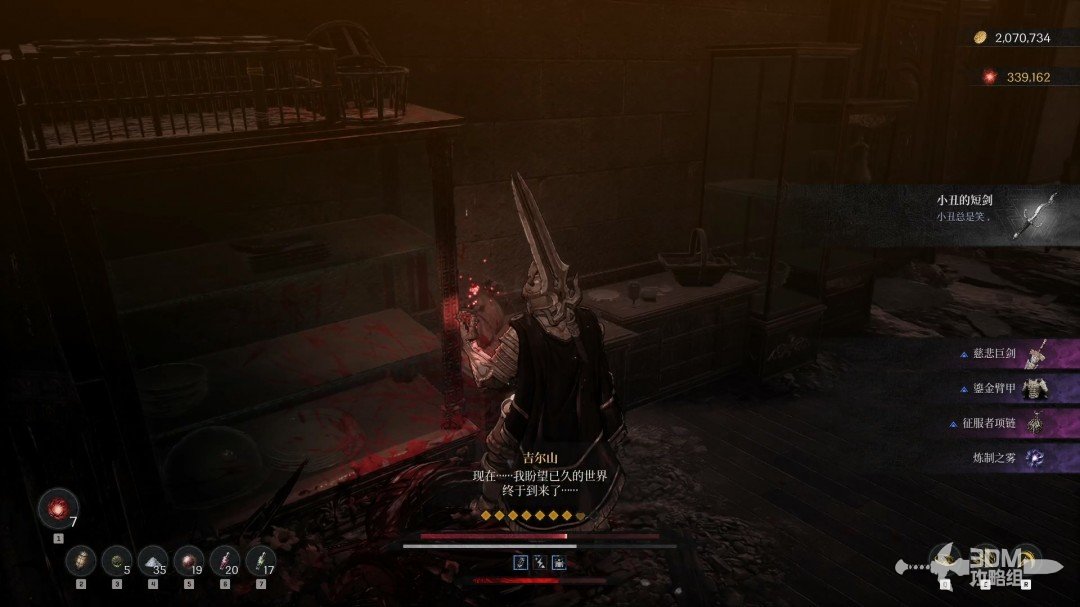 View route → |
Side mission · The Vow
| Item | Location | Walkthrough |
|---|---|---|
| Drop to the memory and open the gate. Before riding the elevator, turn back for Hismar Campaign III. | 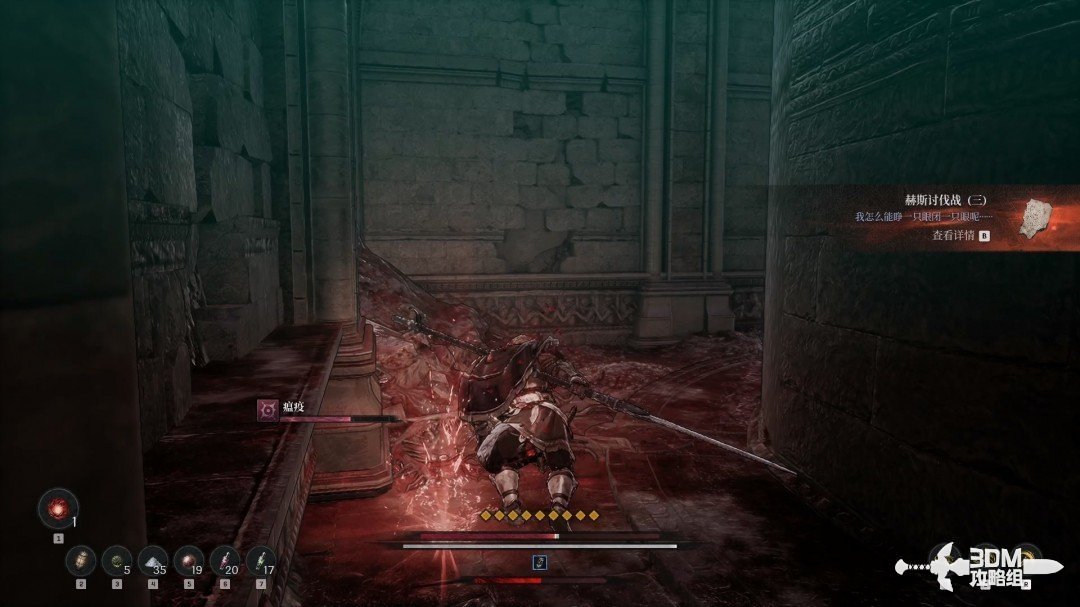 View route → | |
| Rest beyond the elevator and search the left branch for Hismar Campaign IV below the small waterfall. | 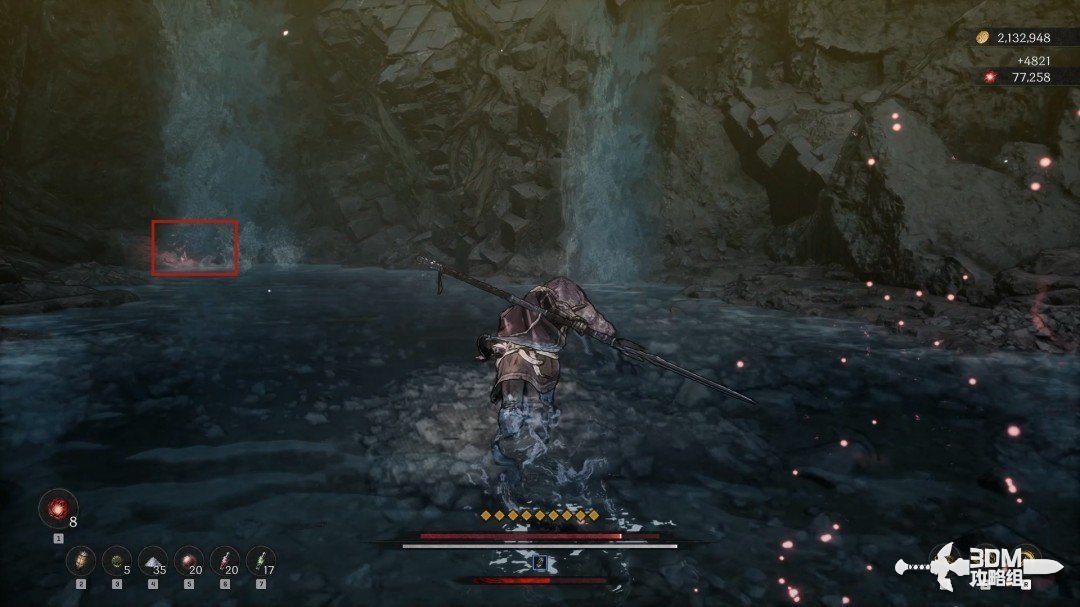 View route → |
Reference: 3DM Guide Team
GAME NOTE has reorganized and rewritten the routes from this walkthrough.