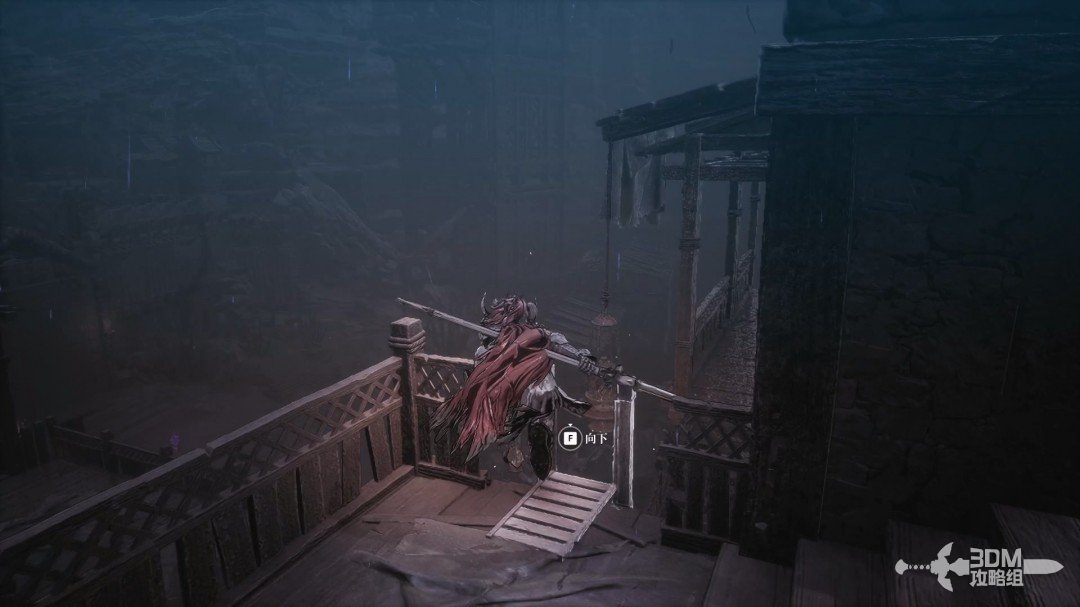
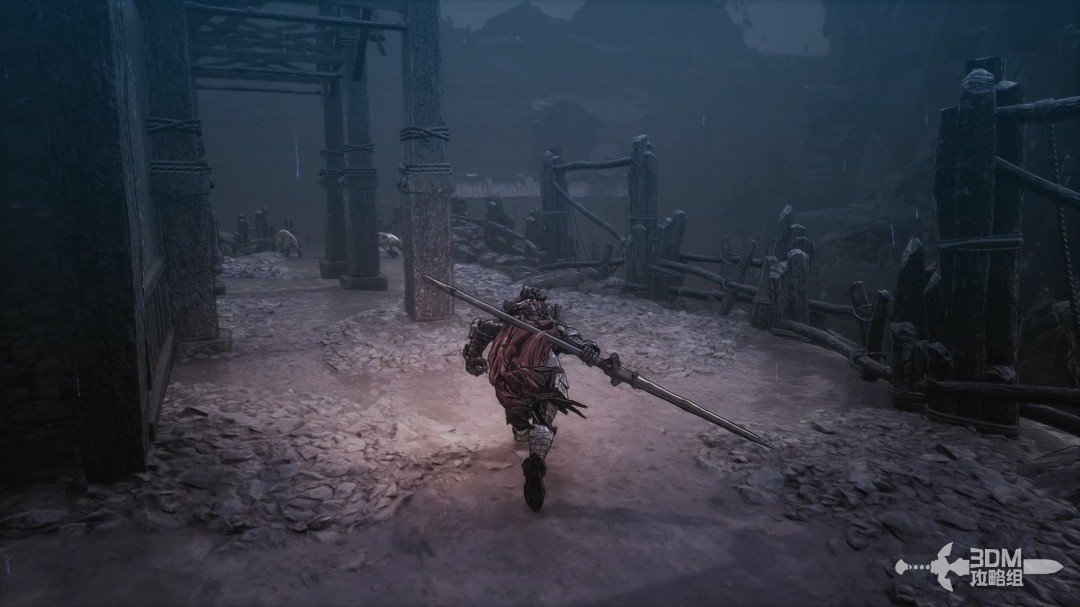
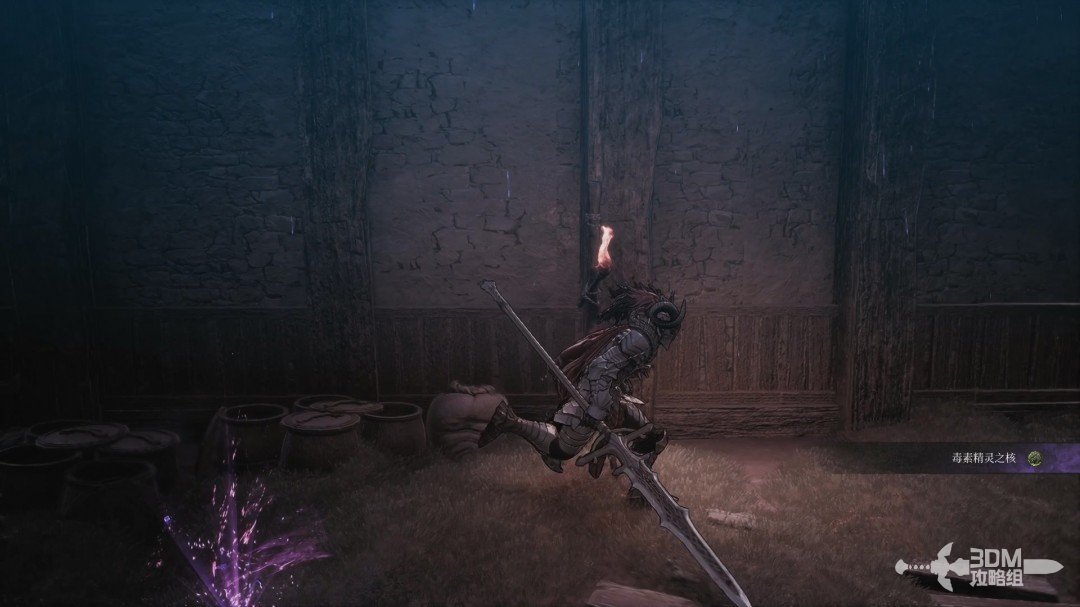
Skip to content

The Last Command

Guide editor: GAME NOTE

GAME NOTE CLASSIC · GUIDE LIBRARYThe First Berserker: Khazan

Continue after the mine rescue and hub dialogue.

Pickups in this mission

Open this mission’s independent boss guide →

01The Last Command: meet your allies and descend to rescue the soldiers

Returning to Yulian unlocks another area.
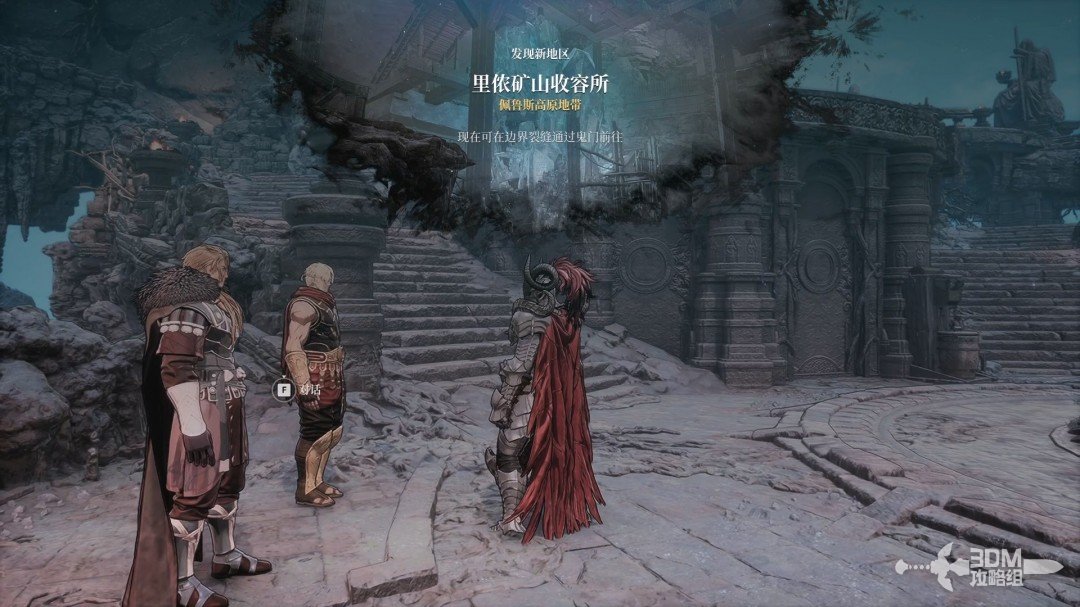
The Last Command: meet your allies and descend to rescue the soldiers · route image 1

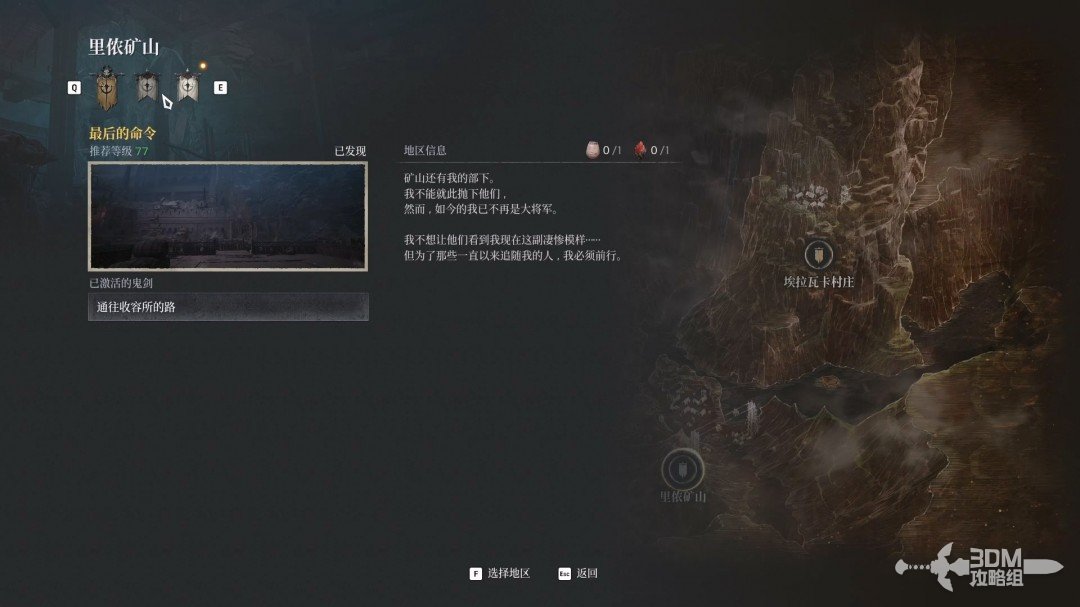
Select Last Command and travel there.
The Last Command: meet your allies and descend to rescue the soldiers · route image 2

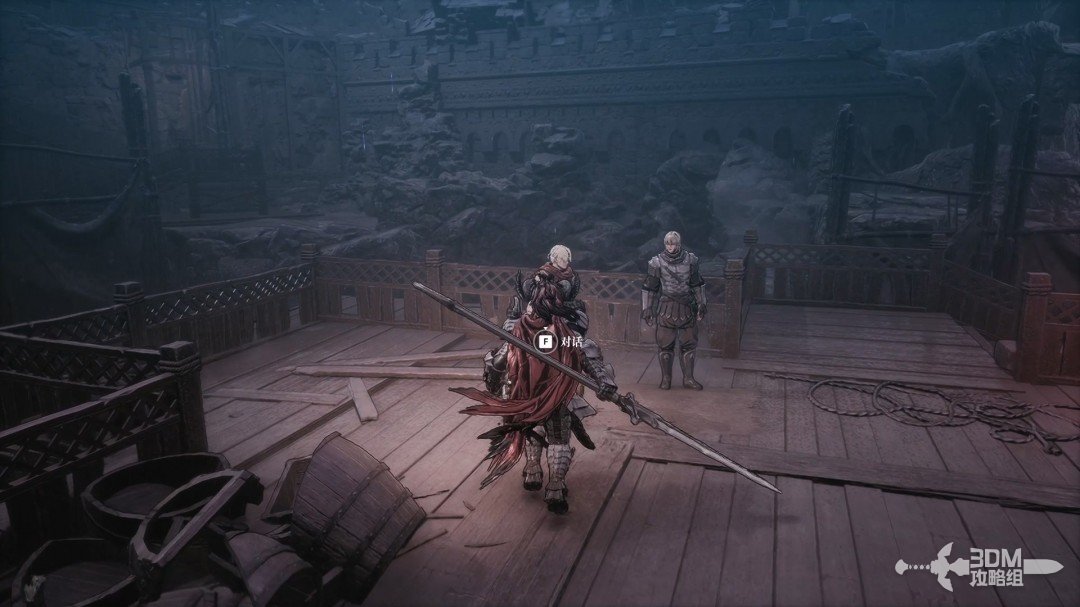
Speak to the people at the entrance for story information.
The Last Command: meet your allies and descend to rescue the soldiers · route image 3

Descend the stairs.

The Last Command: meet your allies and descend to rescue the soldiers · route image 4

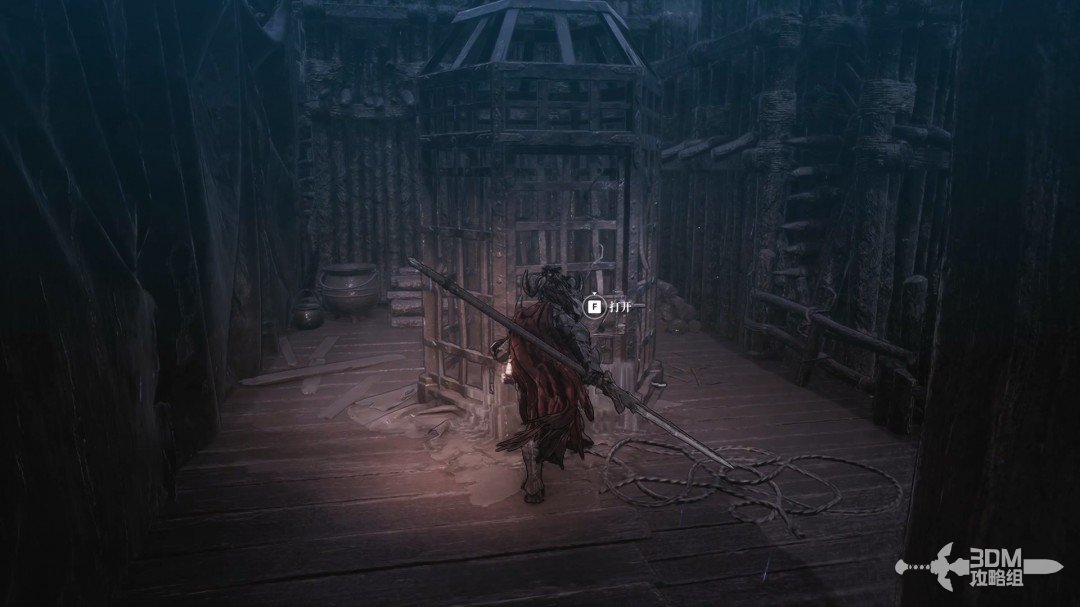
Go left below to rescue a captive at the end.
The Last Command: meet your allies and descend to rescue the soldiers · route image 5

02Dogs and explosive room through the right door: rescue captives and search for the jar

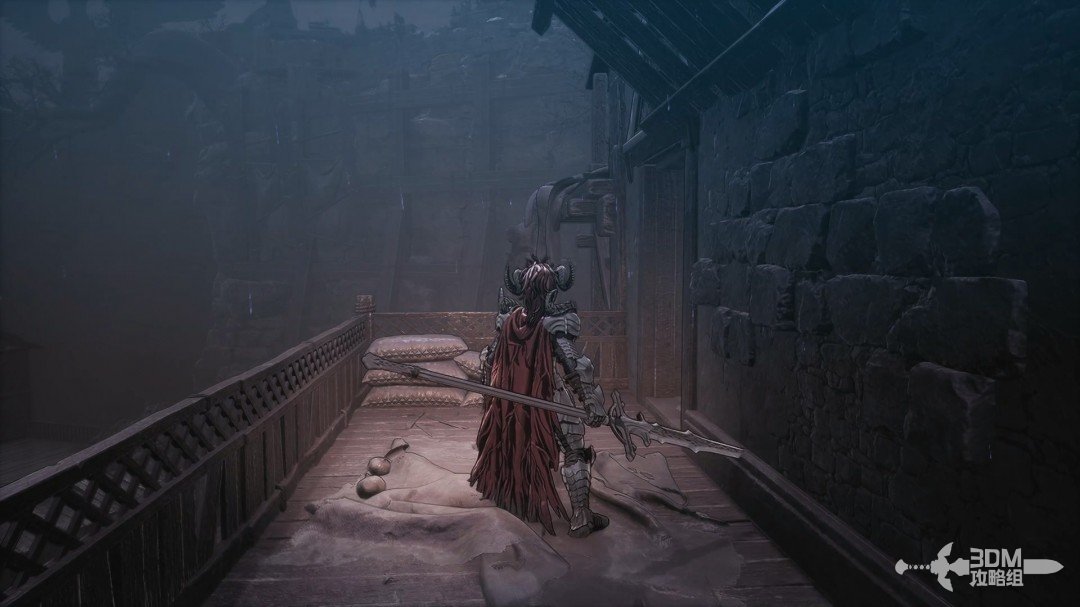
Return right, enter the doorway and descend.
Dogs and explosive room through the right door: rescue captives and search for the jar · route image 6

Clear the dogs and absorb the central memory.
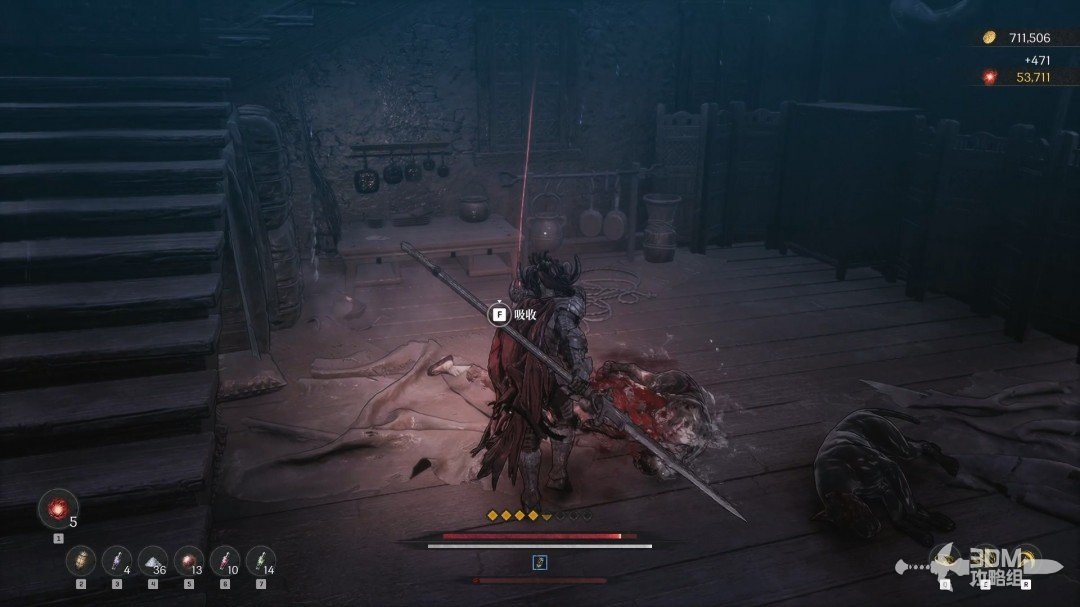
Dogs and explosive room through the right door: rescue captives and search for the jar · route image 7

Leave and turn left.

Dogs and explosive room through the right door: rescue captives and search for the jar · route image 8

Enter the room carefully: archers can ignite its many explosive barrels.
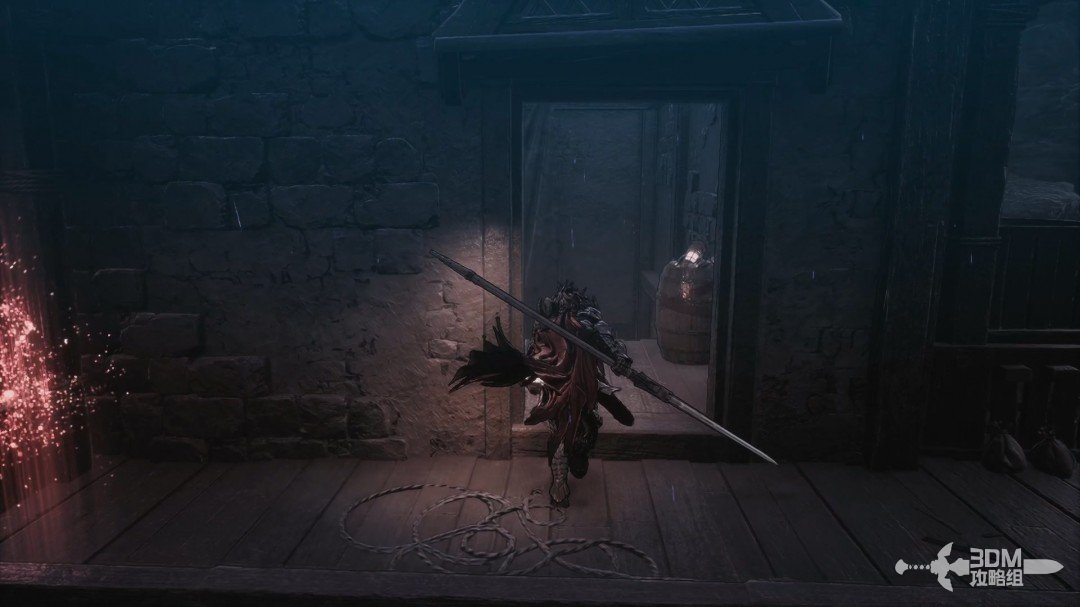
Dogs and explosive room through the right door: rescue captives and search for the jar · route image 9

Continue down and leave. Rescue another captive on the left and collect the Jarling in the left pot.
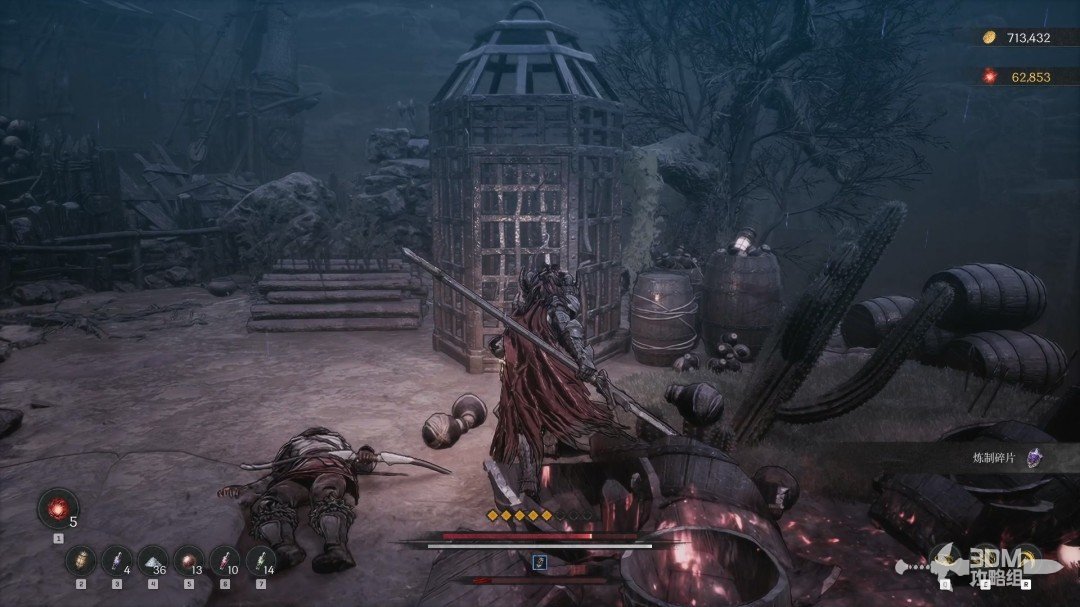
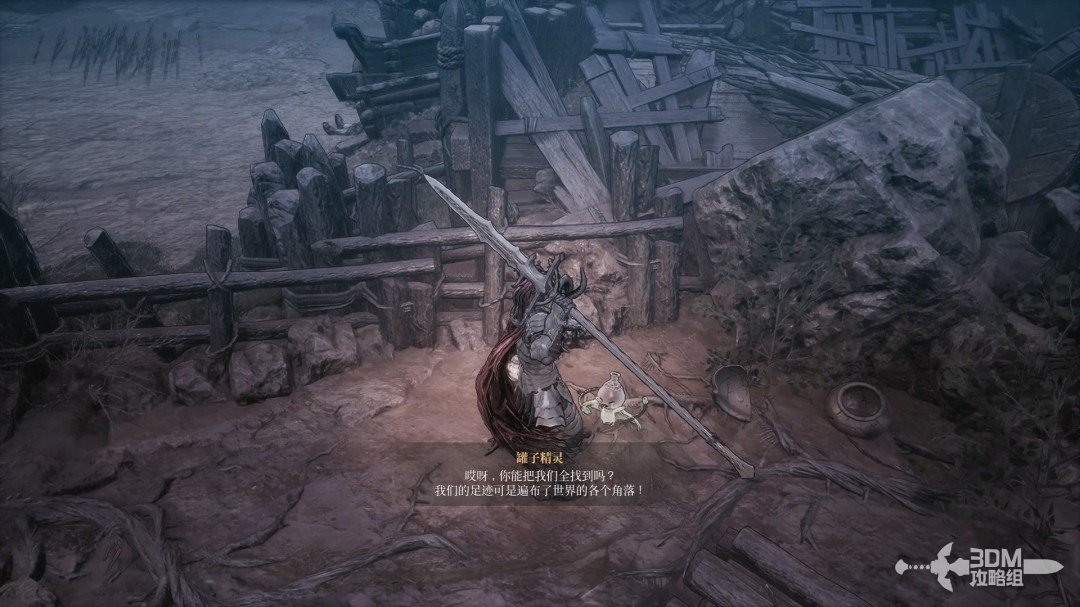
Dogs and explosive room through the right door: rescue captives and search for the jar · route image 10
Dogs and explosive room through the right door: rescue captives and search for the jar · route image 11

04Other exit from the room: search the chest and Soulstone left of the stairs

Open the chest on the right branch.
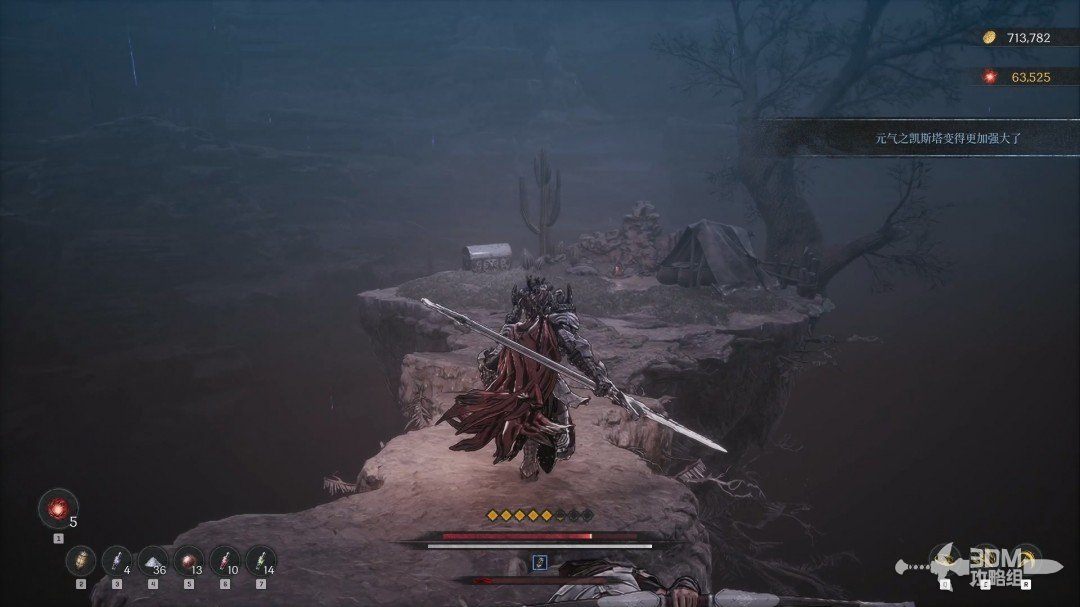
Other exit from the room: search the chest and Soulstone left of the stairs · route image 1

Return to the previous room entrance and take the purple item behind the stairs.
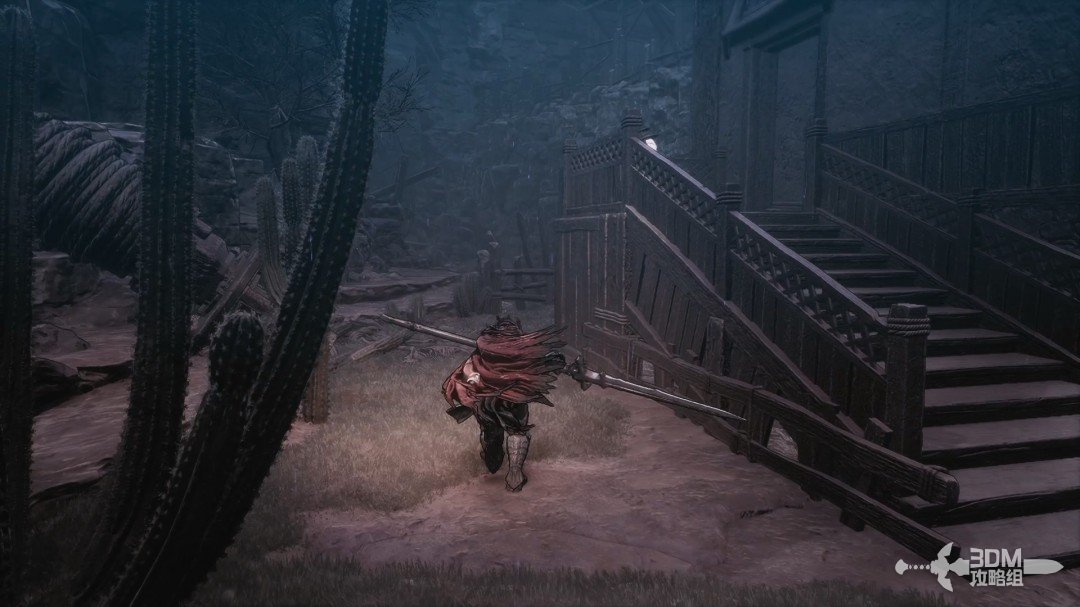
Other exit from the room: search the chest and Soulstone left of the stairs · route image 2
Other exit from the room: search the chest and Soulstone left of the stairs · route image 3

Enter and leave through the other door, absorbing the memory outside.
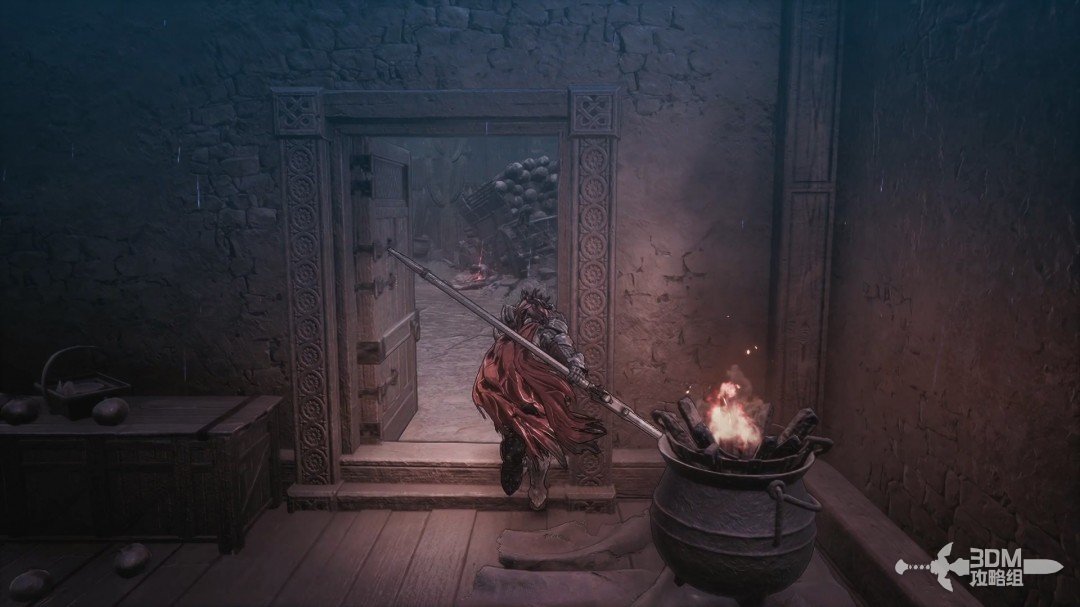
Other exit from the room: search the chest and Soulstone left of the stairs · route image 4

Two soldiers guard the stairs ahead. A Soulstone is on the left.
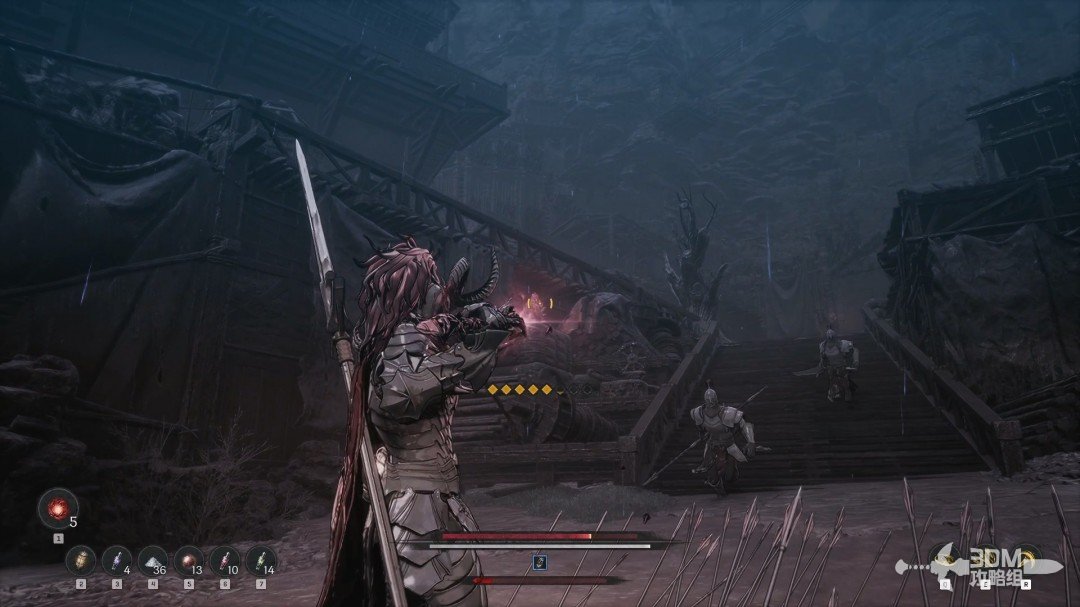
Other exit from the room: search the chest and Soulstone left of the stairs · route image 5

06Captives by the stairs: rescue them before reaching the Nexus

Defeat the soldiers, take the right stairs and rescue the warrior on the right.
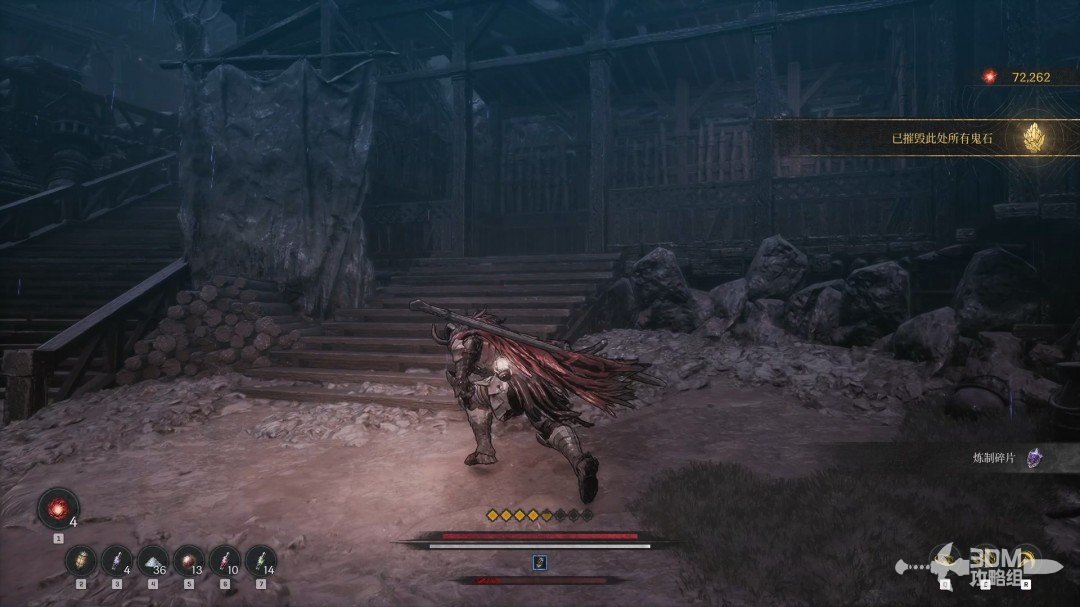
Captives by the stairs: rescue them before reaching the Nexus · route image 1

Follow the main route and rescue the soldier on the left.
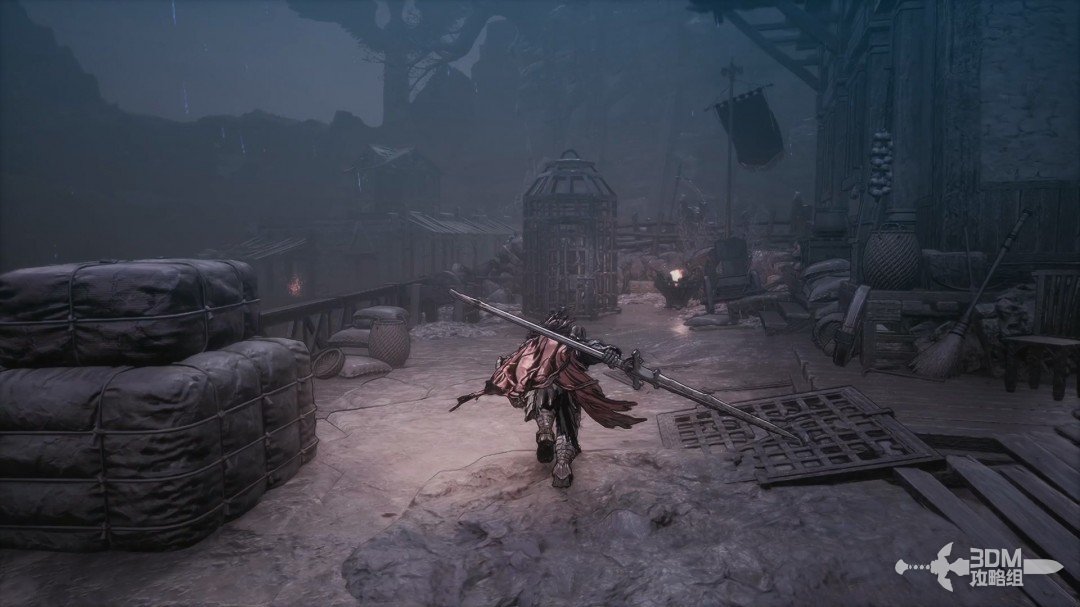
Captives by the stairs: rescue them before reaching the Nexus · route image 2

Rest at the Nexus ahead before the boss.
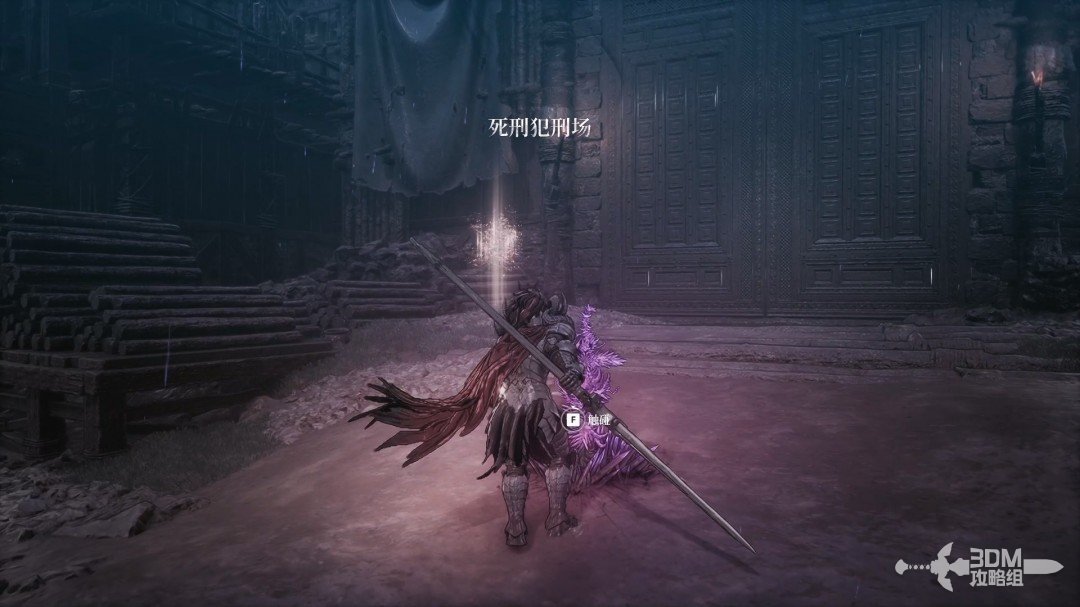
Captives by the stairs: rescue them before reaching the Nexus · route image 3

07Battlefield of Peter and the mage: face Sergei afterward

The cinematic reveals that Peter has killed many of Khazan's subordinates. He is the boss here.
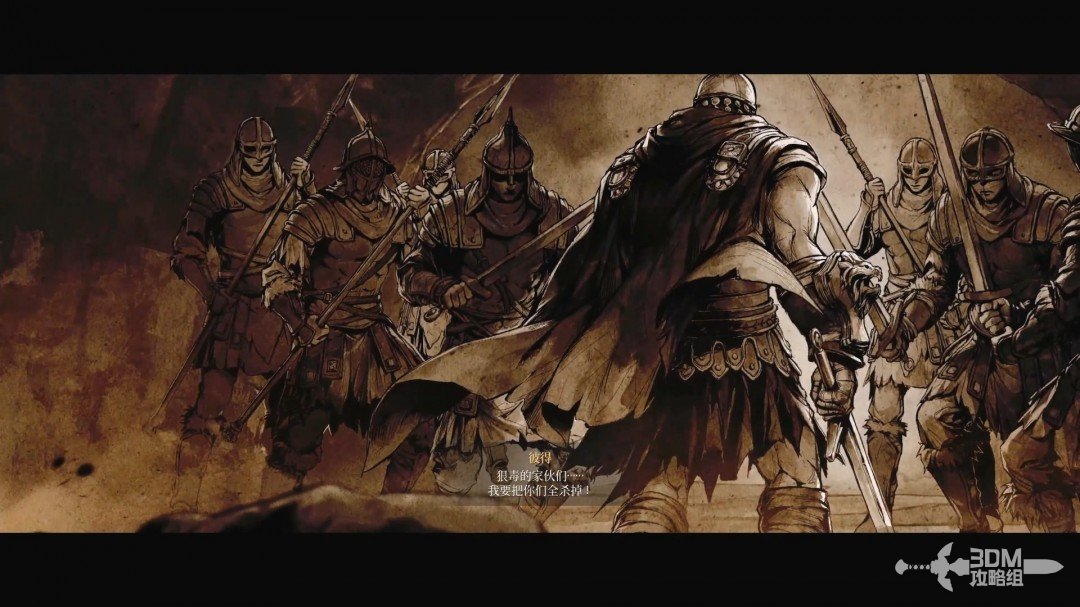
Battlefield of Peter and the mage: face Sergei afterward · route image 4

Fight Peter and a supporting mage together.
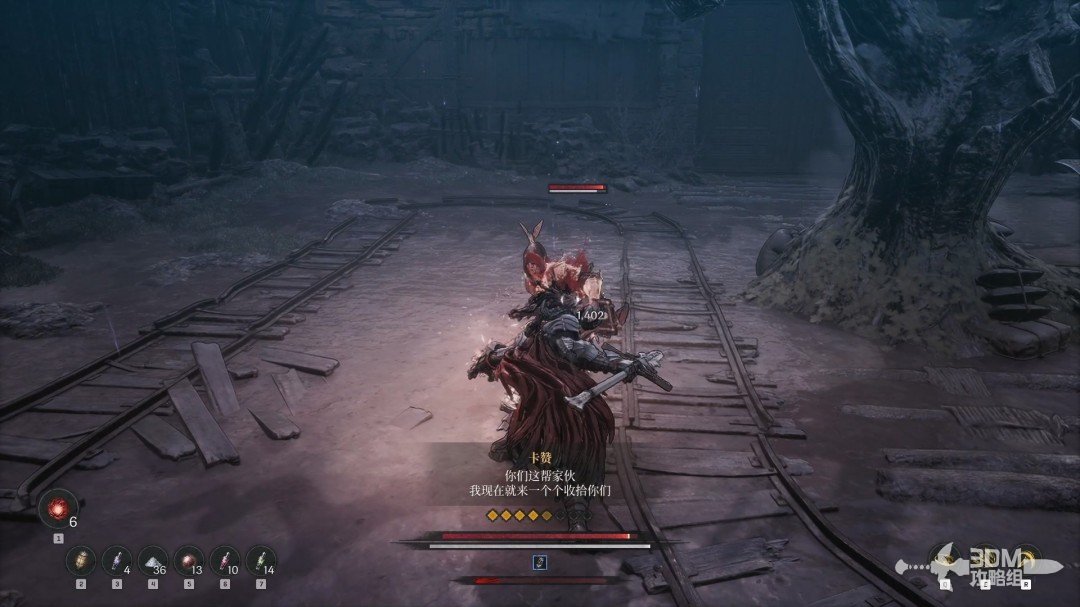
Battlefield of Peter and the mage: face Sergei afterward · route image 5

After both fall, defeat Sergei, the shield soldier, to complete the battle.
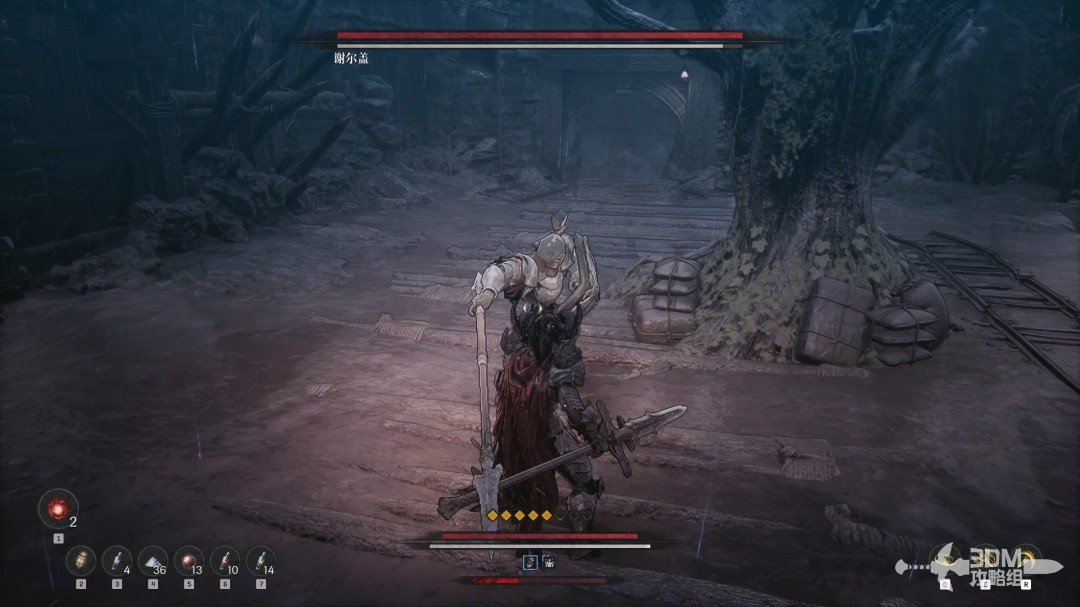
Battlefield of Peter and the mage: face Sergei afterward · route image 6

Speak to Yulian and the others to return.
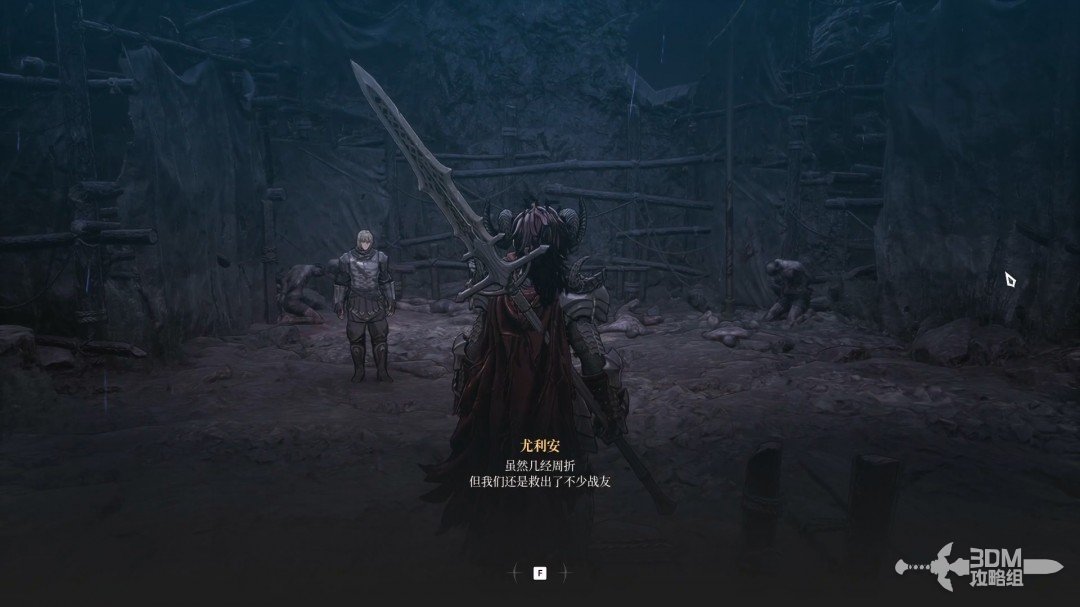
Battlefield of Peter and the mage: face Sergei afterward · route image 7

Continue

Back to mission index →

Reference: 3DM Guide Team

GAME NOTE has reorganized and rewritten the routes from this walkthrough.