Skip to content

Lacrima

Guide editor: GAME NOTE

GAME NOTE CLASSIC · GUIDE LIBRARYThe First Berserker: Khazan

Select the newly unlocked mission to develop the Phantom.

Pickups in this mission

Open this mission’s independent boss guide →

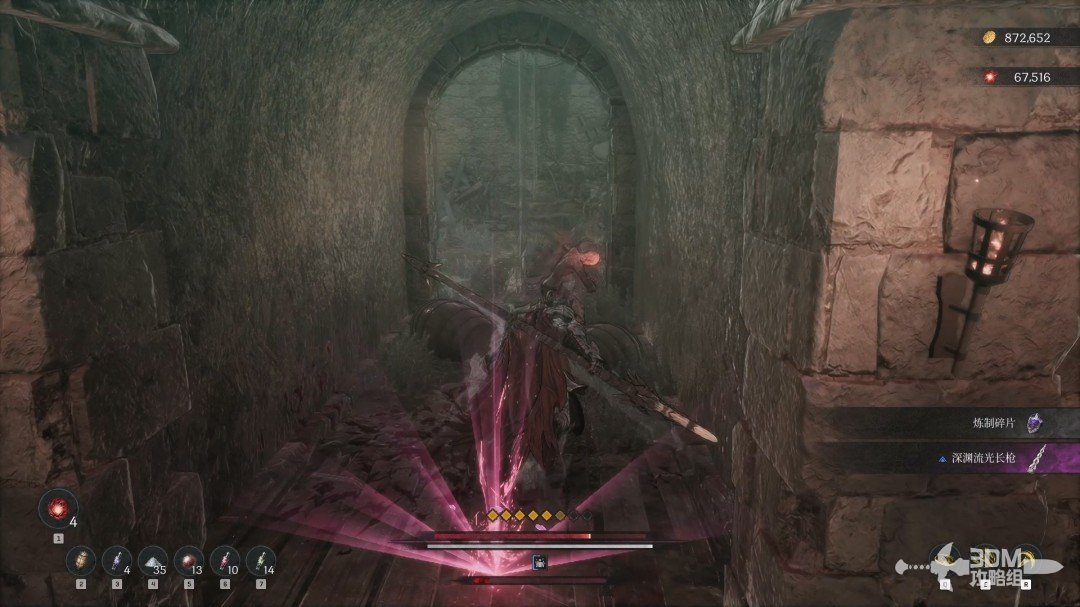
01Lacrima entrance: clear exploding zombies and cross the bridge for the Soul-Eater Scroll

Speak to Tristan at the hub to unlock Unrequited Love.
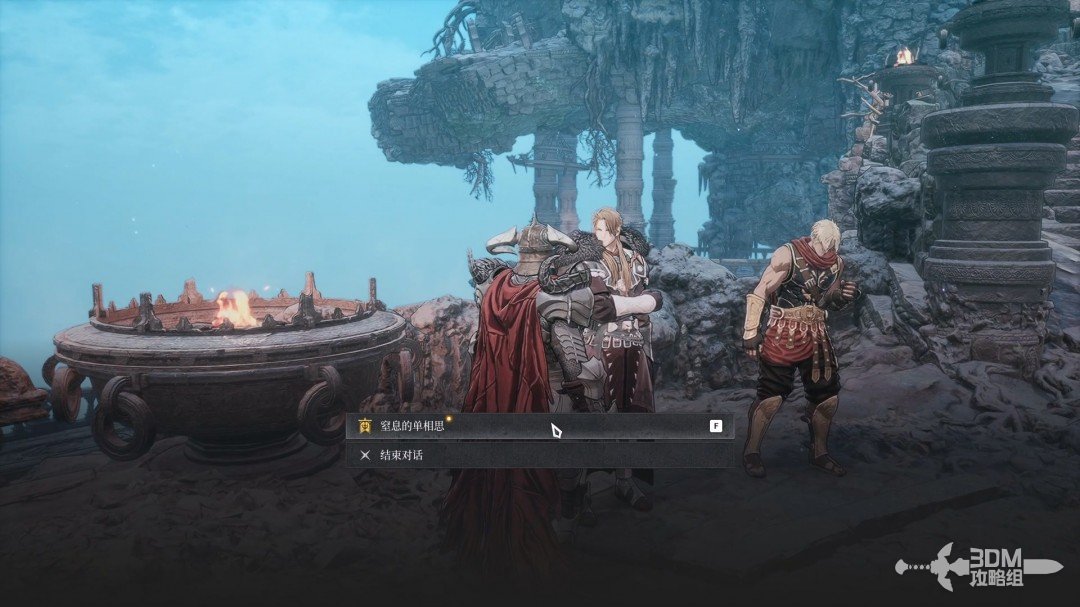
Lacrima entrance: clear exploding zombies and cross the bridge for the Soul-Eater Scroll · route image 1

More regions and missions appear through the yellow portal. First undertake Lacrima to strengthen your phantom.
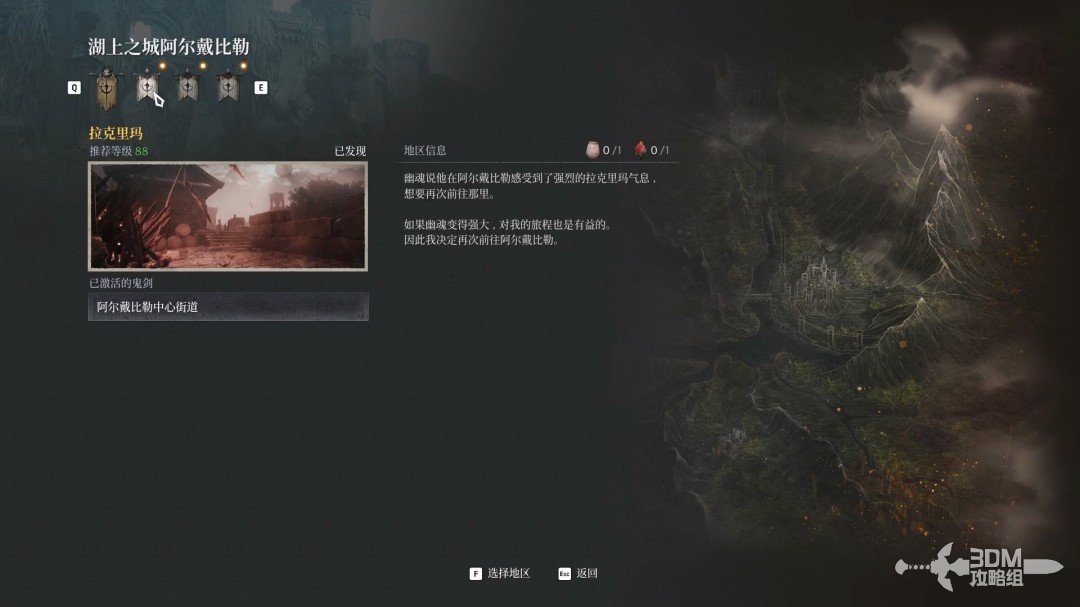
Lacrima entrance: clear exploding zombies and cross the bridge for the Soul-Eater Scroll · route image 2

Exploding undead wait on arrival. Collect the white item outside the balcony.
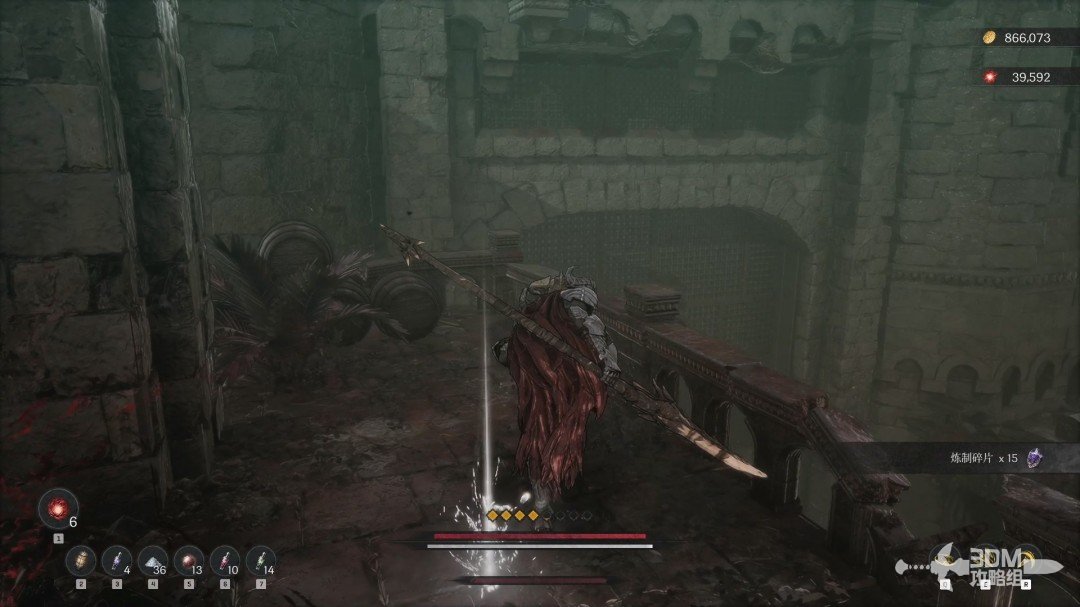
Lacrima entrance: clear exploding zombies and cross the bridge for the Soul-Eater Scroll · route image 3

Clear the enemies down the stairs and collect the purple item in the middle.
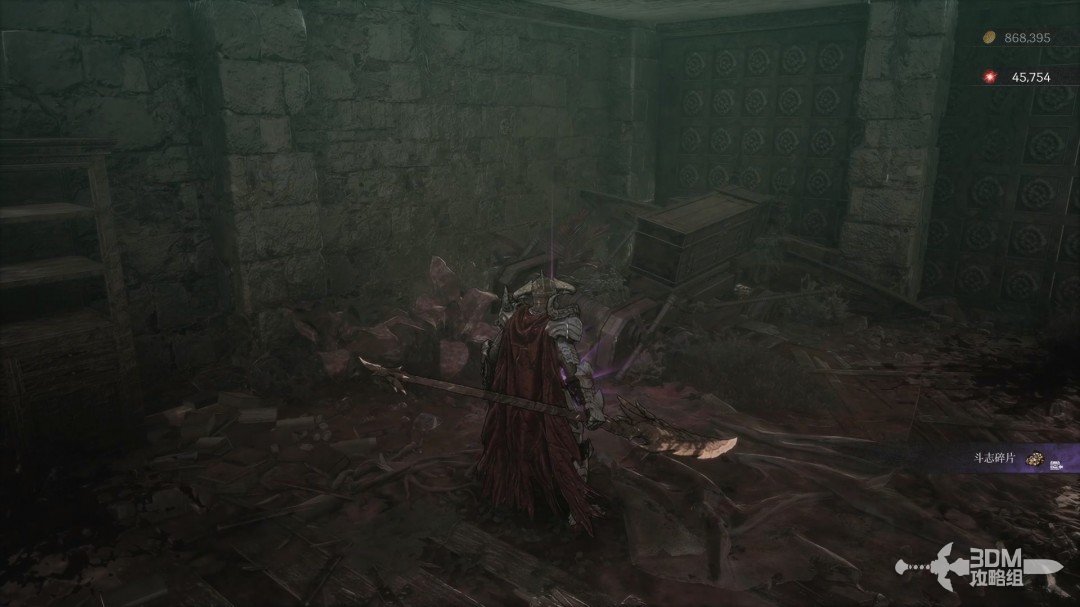
Lacrima entrance: clear exploding zombies and cross the bridge for the Soul-Eater Scroll · route image 4

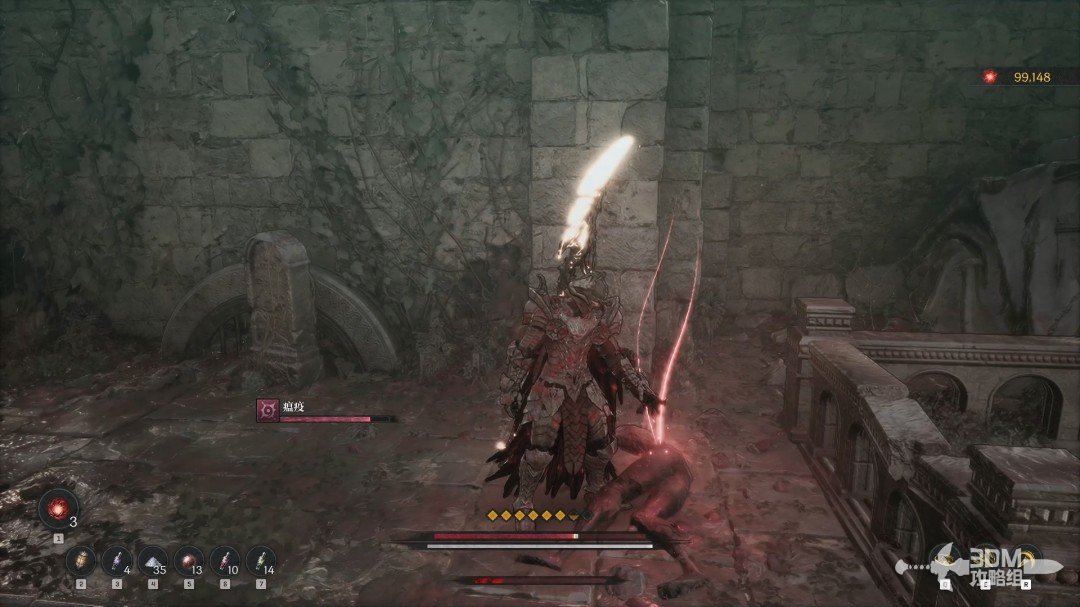
Watch for the dangerous fireball caster on the outside bridge.
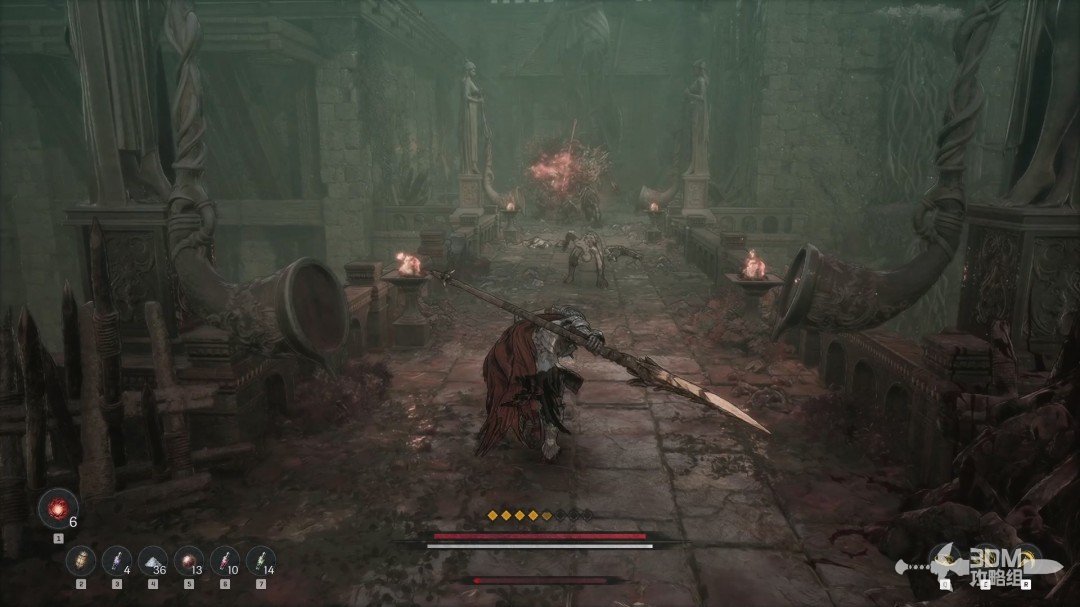
Lacrima entrance: clear exploding zombies and cross the bridge for the Soul-Eater Scroll · route image 5

Defeat it and collect the red Soul Eater Scroll behind it.
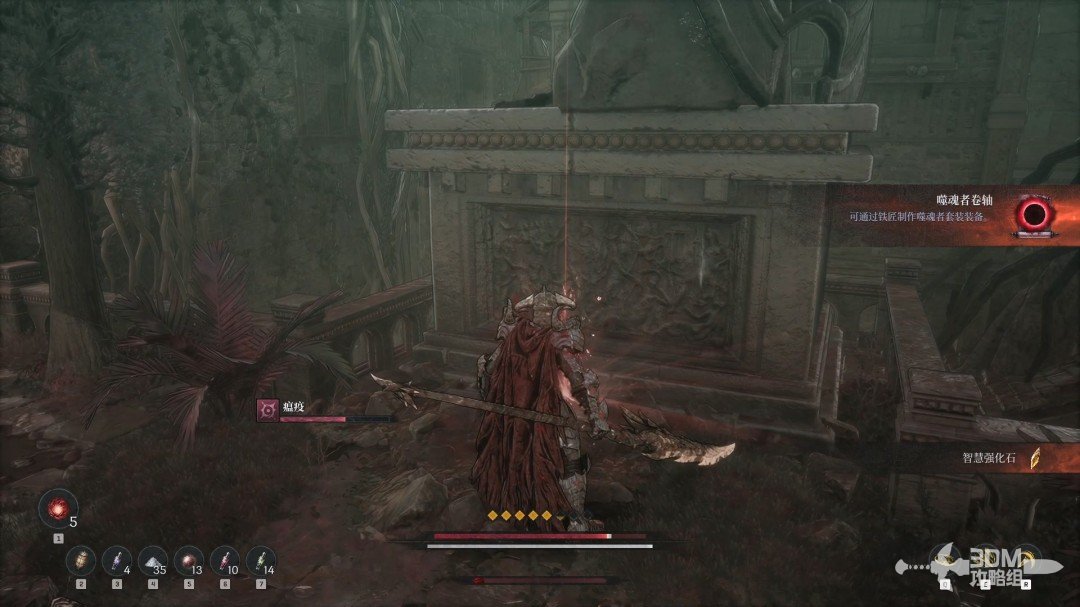
Lacrima entrance: clear exploding zombies and cross the bridge for the Soul-Eater Scroll · route image 6

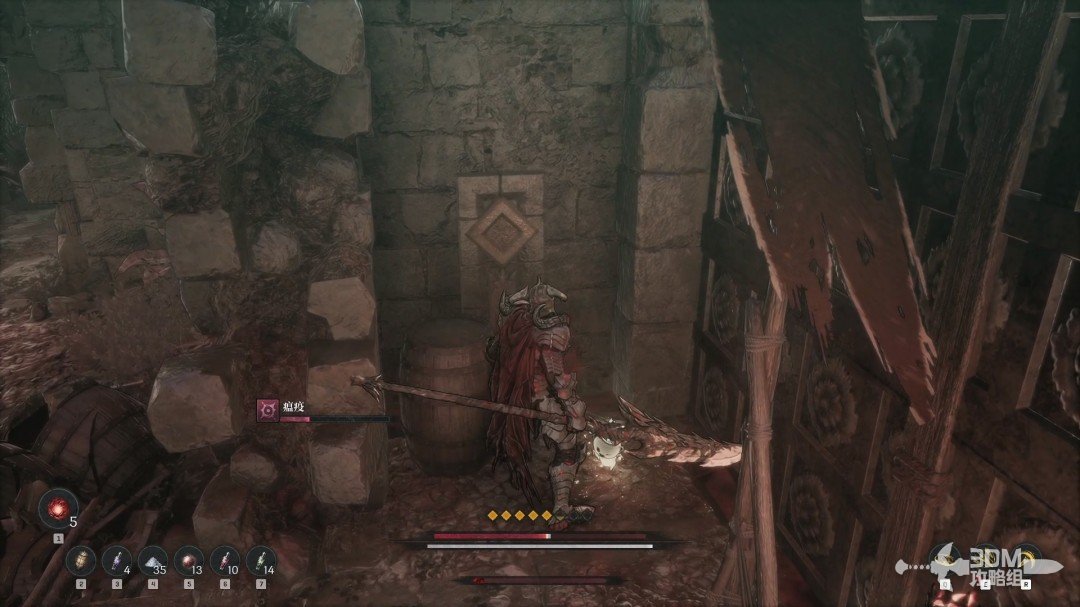
03Wooden barrier behind the left door and the lower plank landing

Enter the small left doorway. A Jarling hides behind the wooden railing on the left.
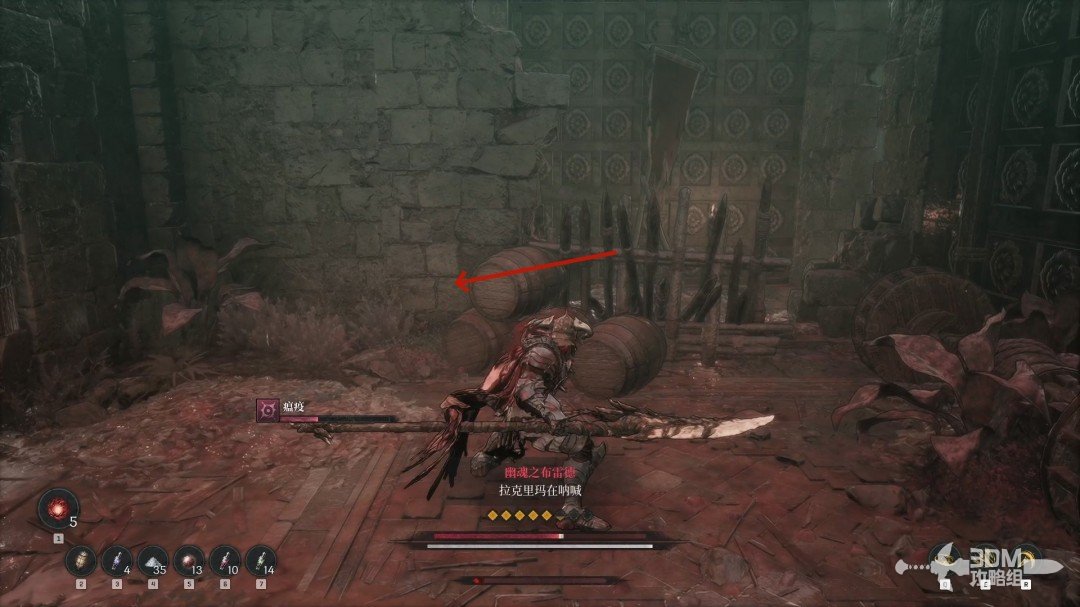
Wooden barrier behind the left door and the lower plank landing · route image 1
Wooden barrier behind the left door and the lower plank landing · route image 2

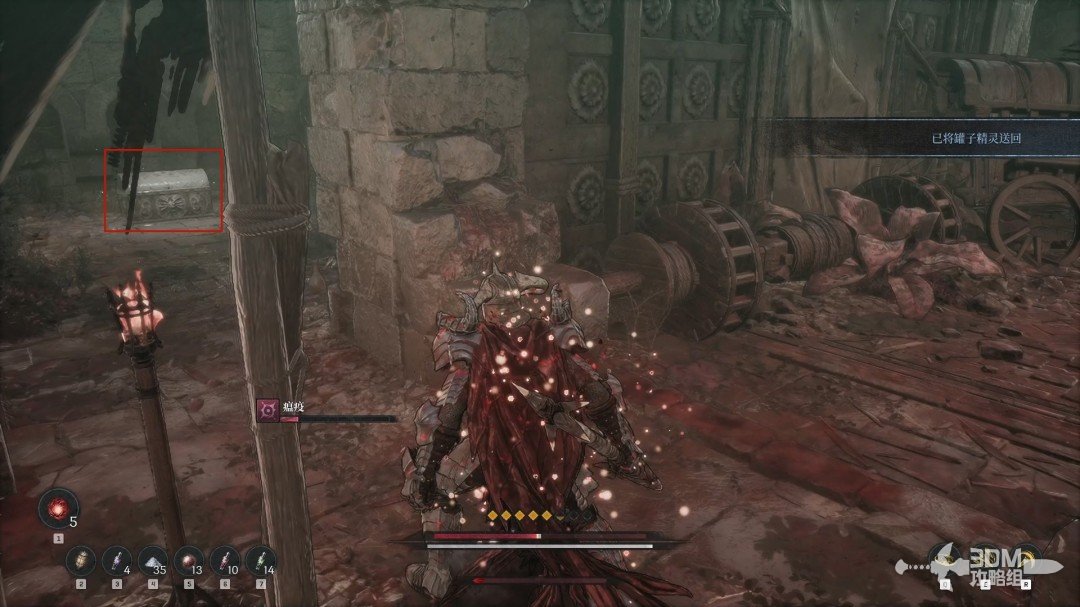
Open the chest farther left.

Wooden barrier behind the left door and the lower plank landing · route image 1

Descend the right-hand stairs afterward.
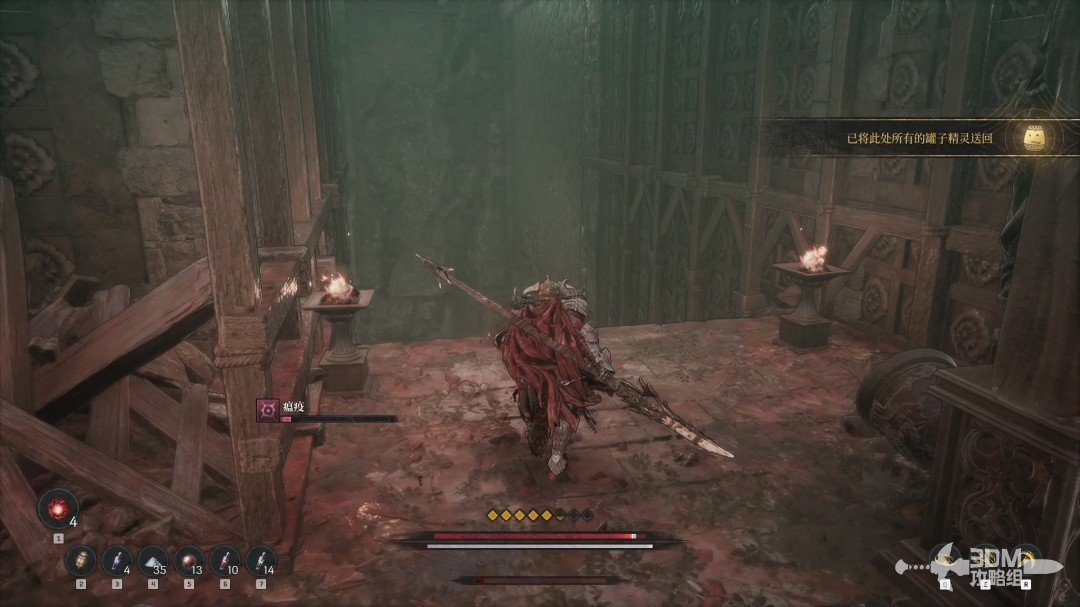
Wooden barrier behind the left door and the lower plank landing · route image 2

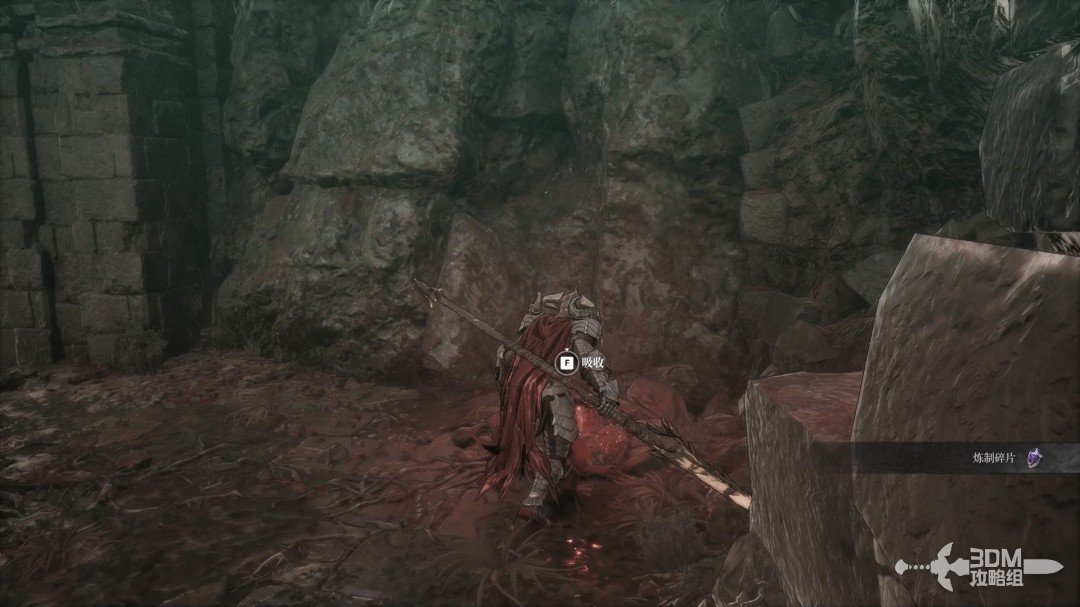
Absorb the memory in the corner.

Wooden barrier behind the left door and the lower plank landing · route image 3

A red item is visible below the boards. Choose a safe landing and drop down.
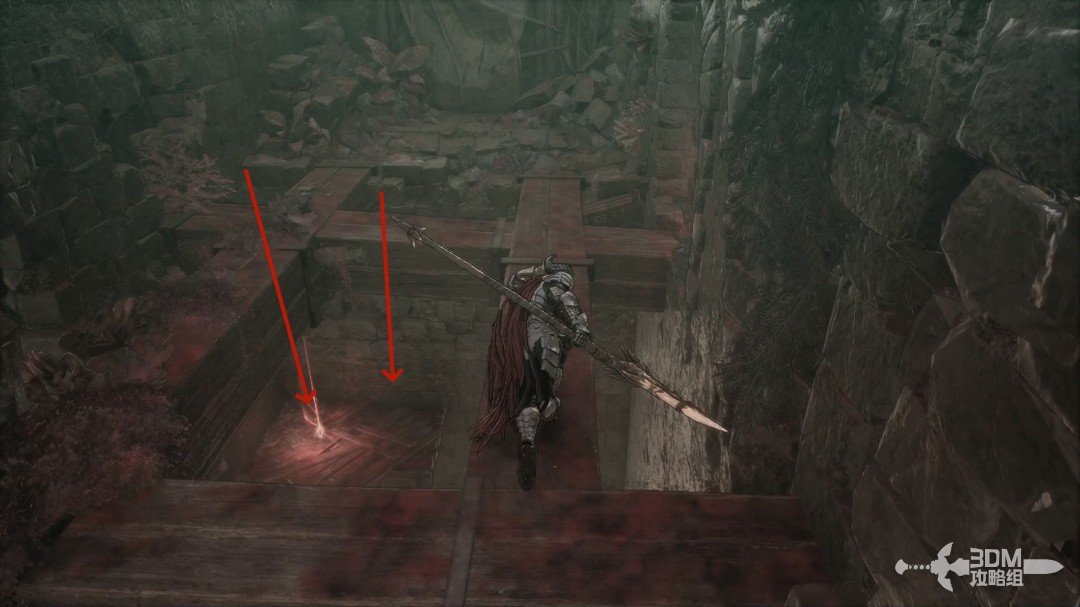
Wooden barrier behind the left door and the lower plank landing · route image 4

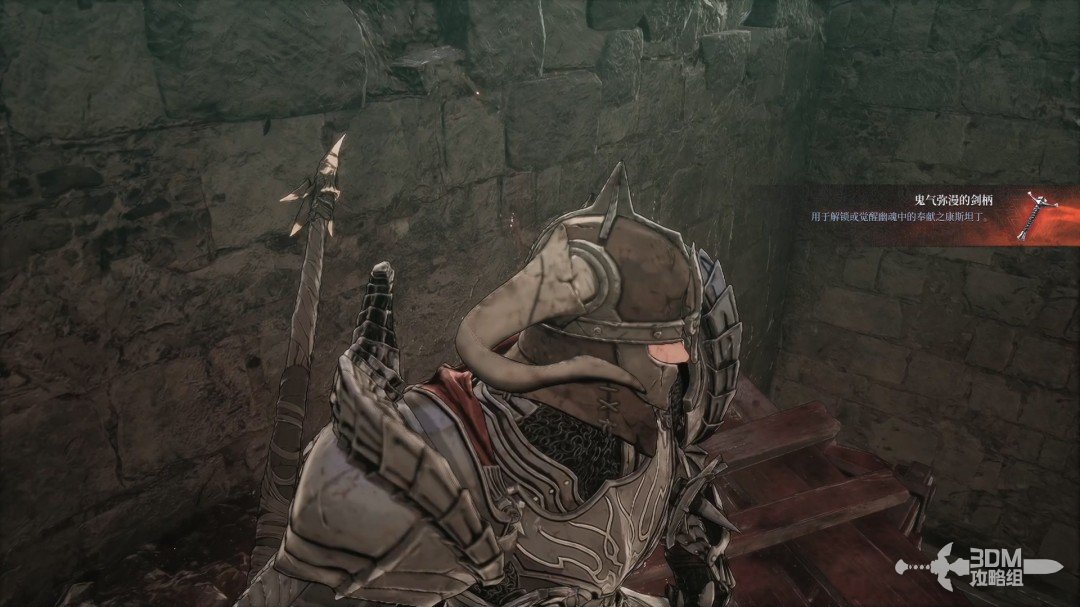
Collect the Ghostly Sword Hilt.

Wooden barrier behind the left door and the lower plank landing · route image 5

06Zombies below the pillars: clear fireball enemies and climb to the Soulstone

Descend using the nearby pillar, or jump directly if you can afford the fall damage.
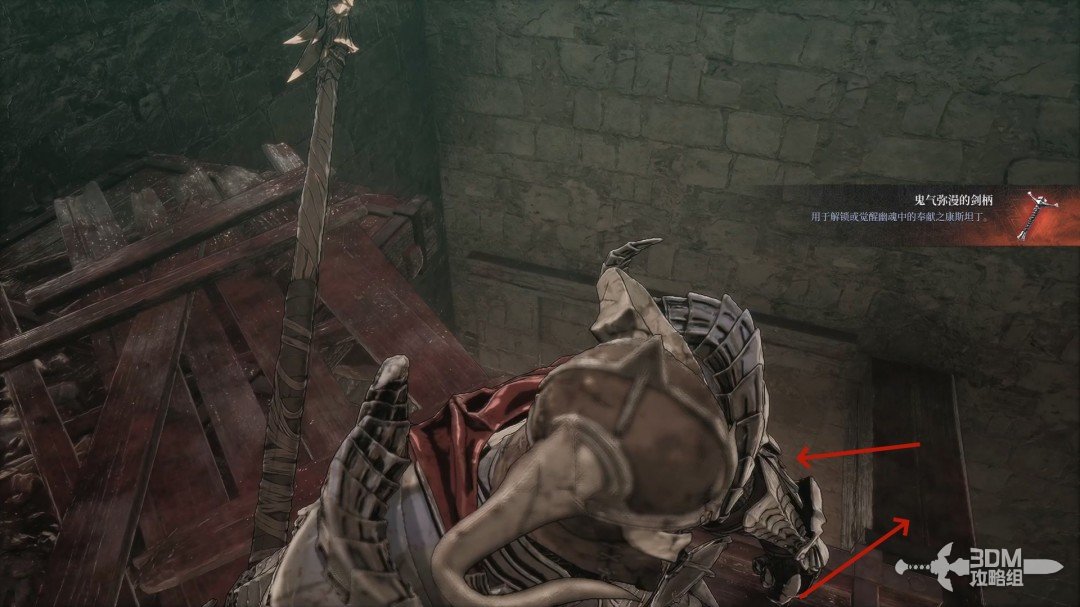
Zombies below the pillars: clear fireball enemies and climb to the Soulstone · route image 1

Clear the undead below carefully.

Zombies below the pillars: clear fireball enemies and climb to the Soulstone · route image 2

Collect the red material right of the doorway.
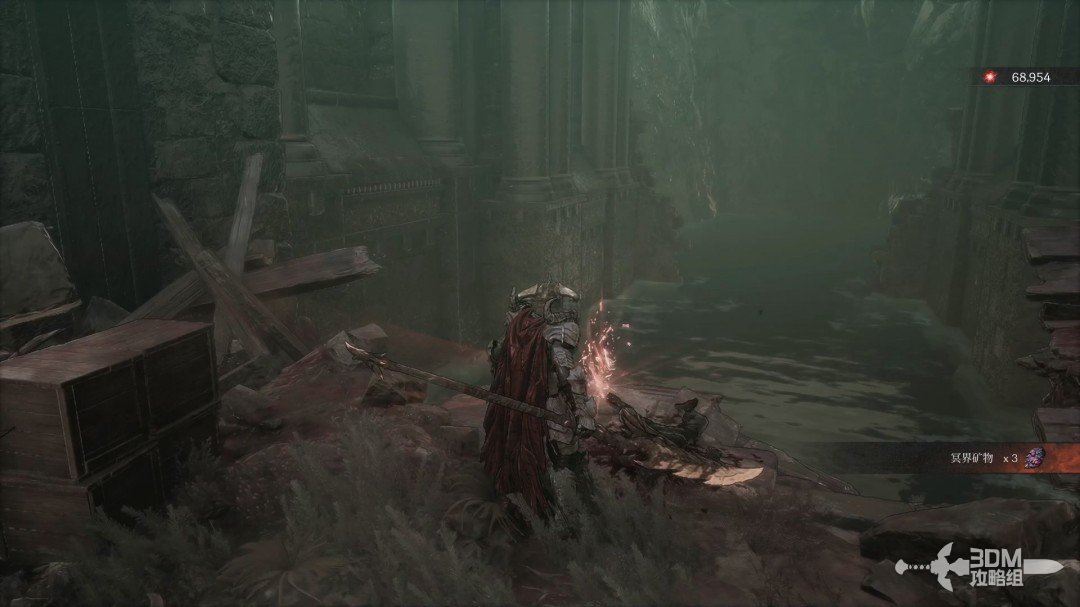
Zombies below the pillars: clear fireball enemies and climb to the Soulstone · route image 3

Defeat the fire caster ahead, open the corner chest and climb the left stairs.
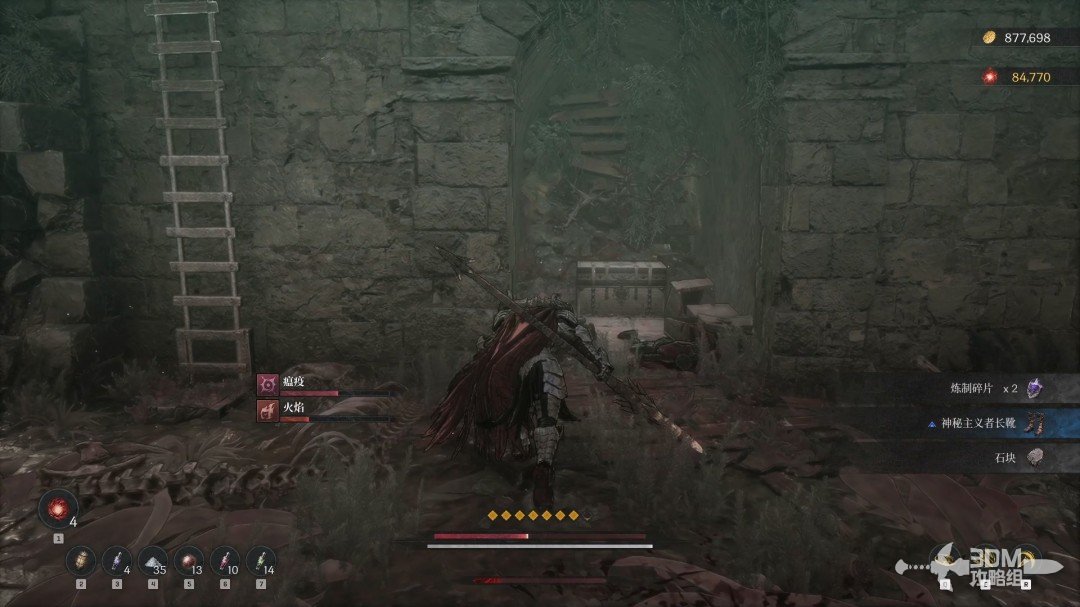
Zombies below the pillars: clear fireball enemies and climb to the Soulstone · route image 4

Two more fire casters wait above. Fight them separately if possible.
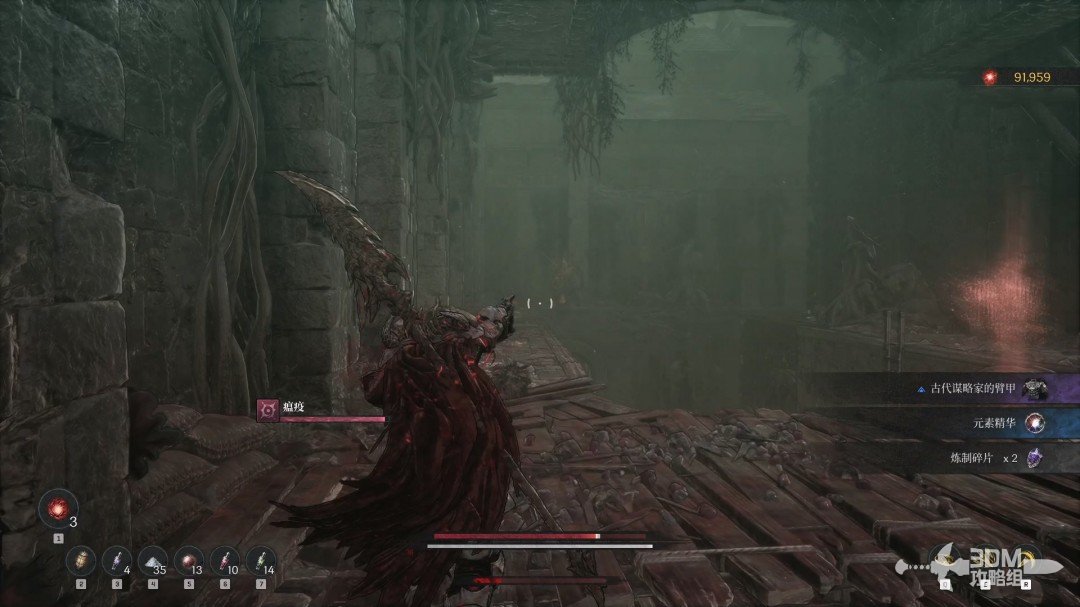
Zombies below the pillars: clear fireball enemies and climb to the Soulstone · route image 5

Absorb the memory across the bridge.

Zombies below the pillars: clear fireball enemies and climb to the Soulstone · route image 6

Find the Soulstone above the left staircase.
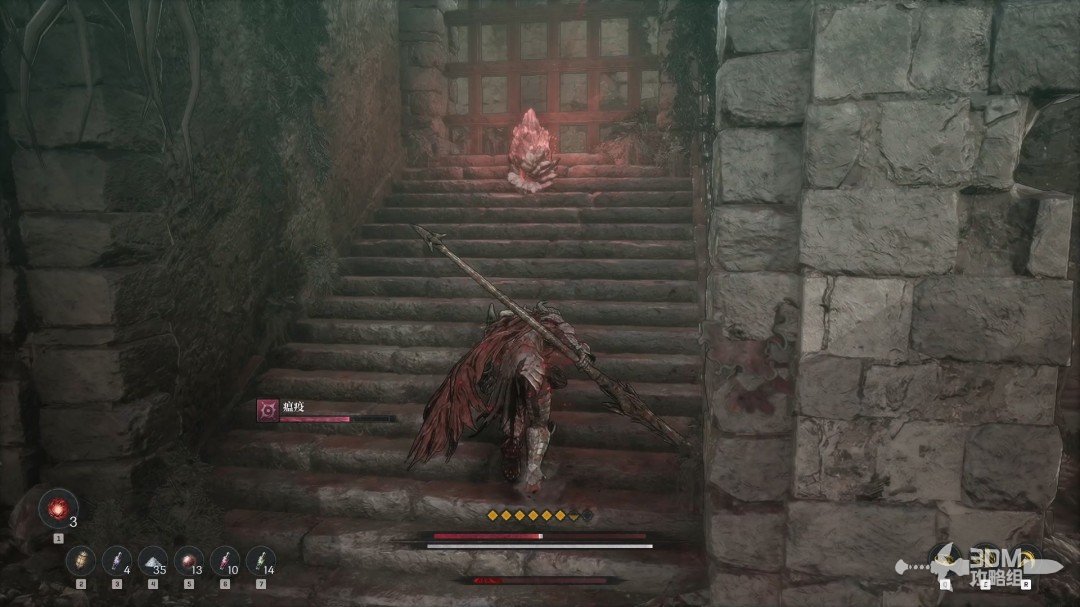
Zombies below the pillars: clear fireball enemies and climb to the Soulstone · route image 7

08Stairs on the other side: save before clearing the fire-wielding group

Absorb the memory beside the fire caster on the other side.
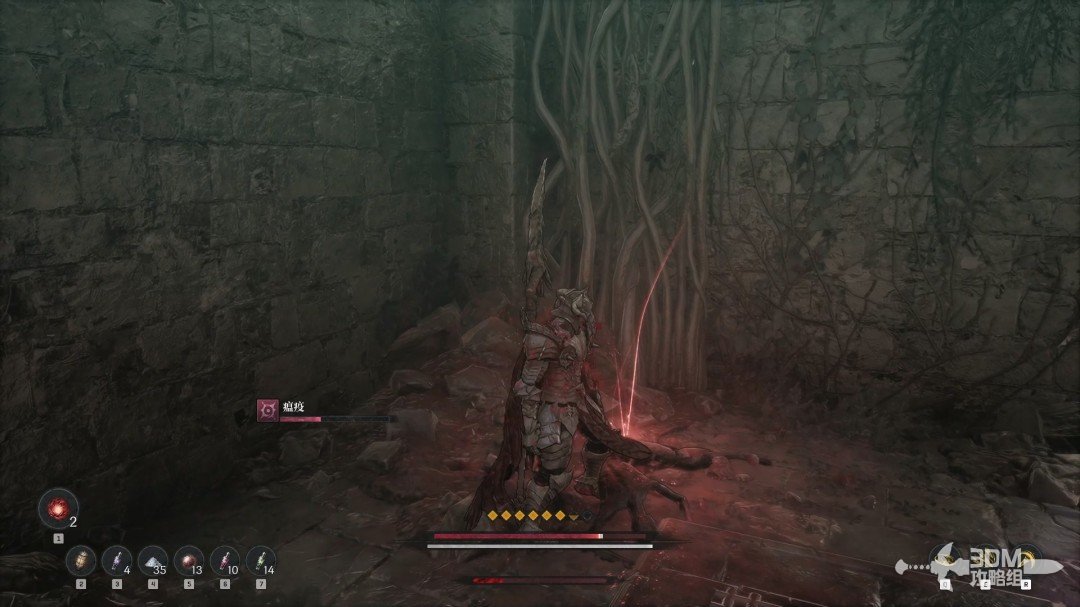
Stairs on the other side: save before clearing the fire-wielding group · route image 1

Descend this staircase; you climbed the opposite one earlier.
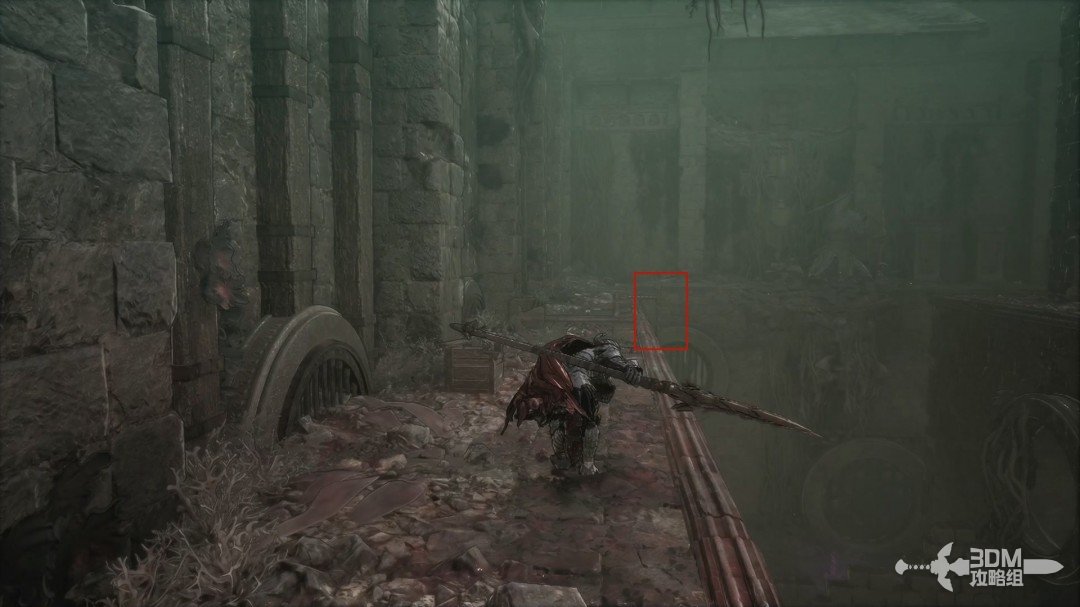
Stairs on the other side: save before clearing the fire-wielding group · route image 2

Rest at the Nexus below before the boss.
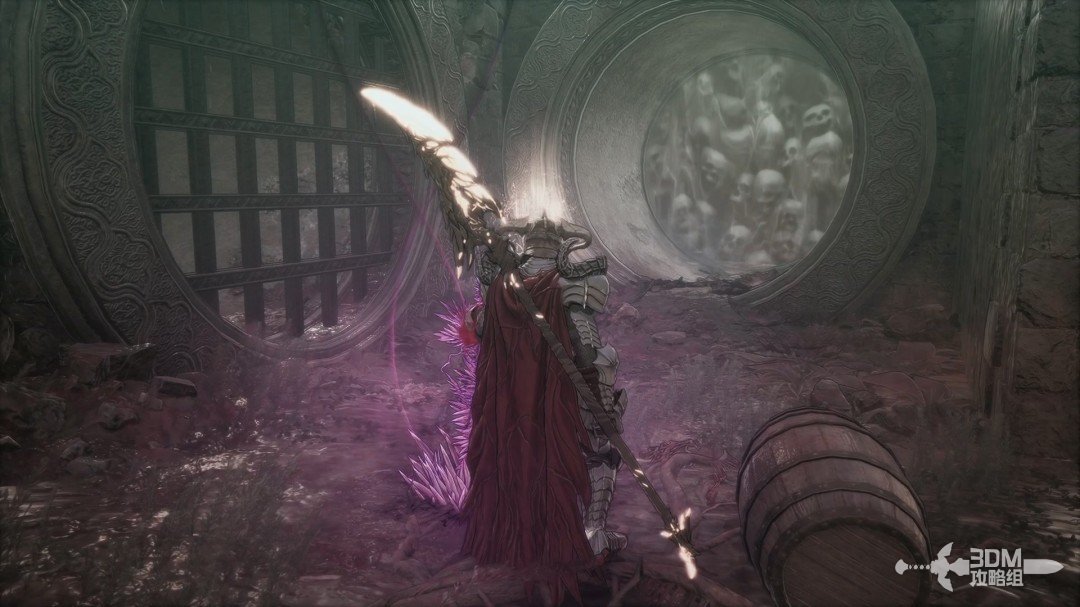
Stairs on the other side: save before clearing the fire-wielding group · route image 3

The fight combines familiar enemies and a fireball caster. Remove the smaller enemies first.
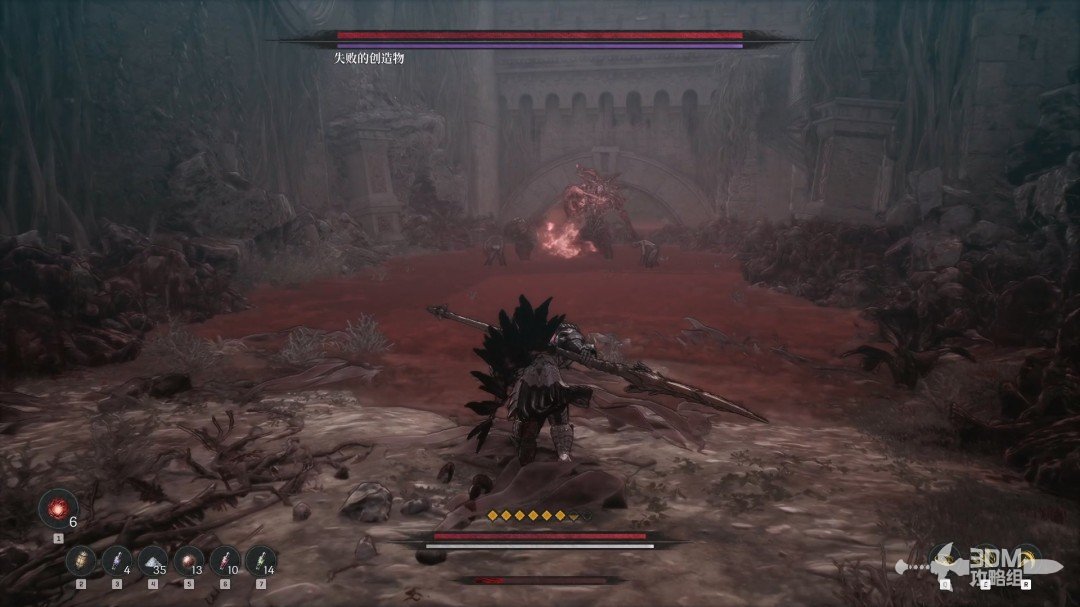
Stairs on the other side: save before clearing the fire-wielding group · route image 4

Speak to Blade Phantom afterward to return.
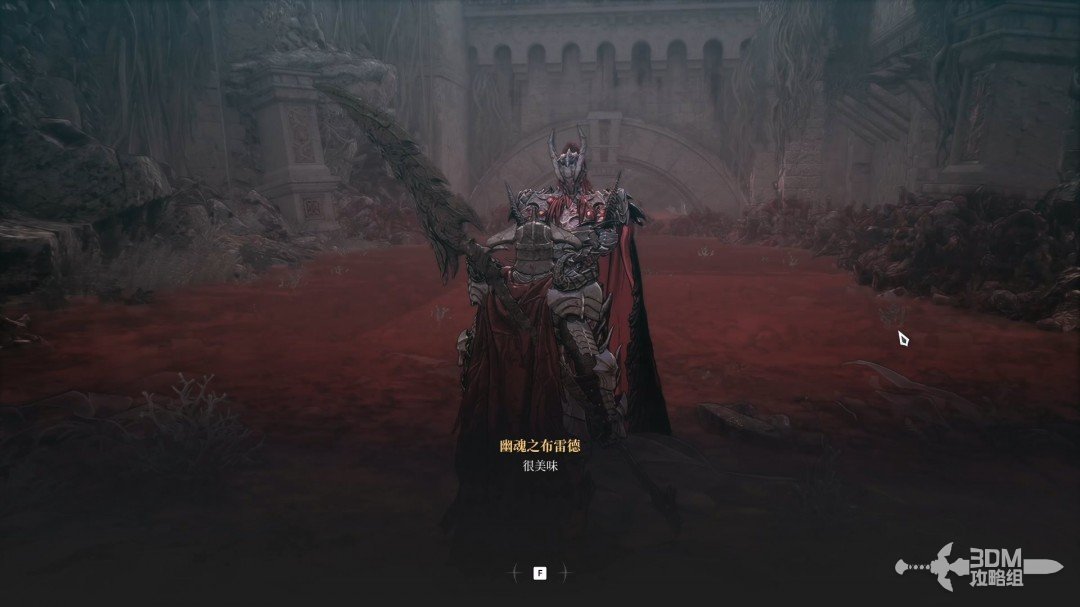
Stairs on the other side: save before clearing the fire-wielding group · route image 5

Continue

Back to mission index →

Reference: 3DM Guide Team

GAME NOTE has reorganized and rewritten the routes from this walkthrough.