Skip to content

Witch’s Castle

Guide editor: GAME NOTE

GAME NOTE CLASSIC · GUIDE LIBRARYThe First Berserker: Khazan

Descend through the city and castle to Trokka.

Pickups in this mission

01Witch city entrance: speak to Yulian and search left of the stairs

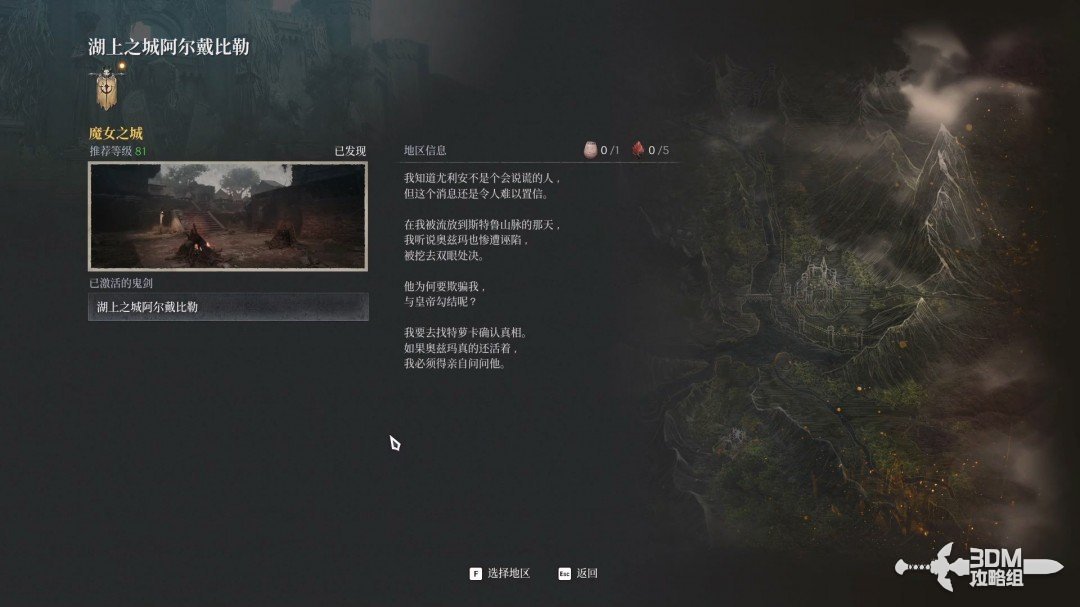
Begin the City of Witches main mission in the new region.
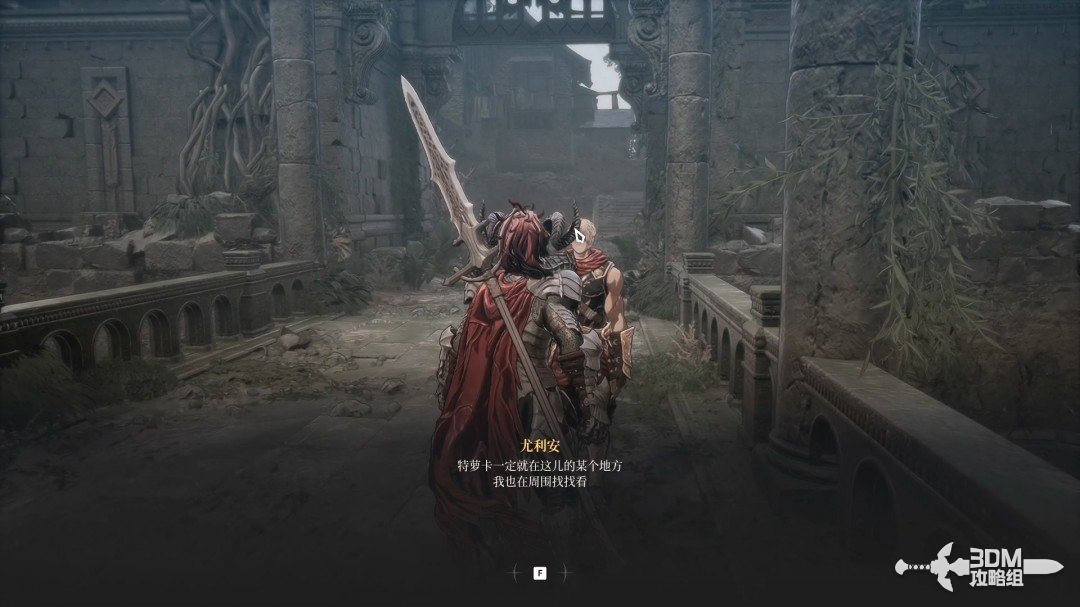
Witch city entrance: speak to Yulian and search left of the stairs · route image 1

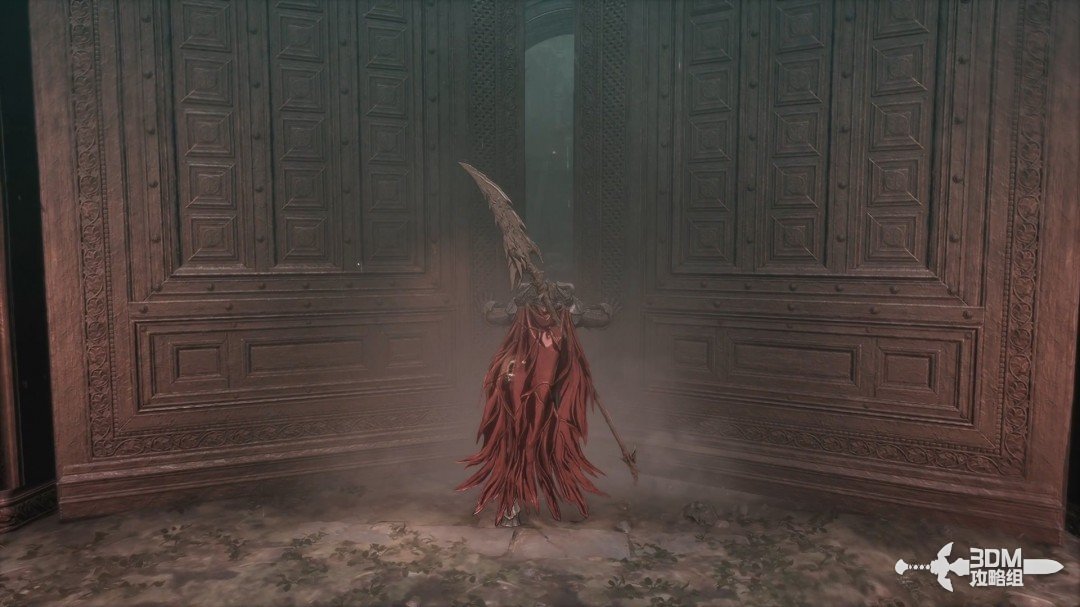
Speak to Yulian. Khazan seeks Trokka to confirm Ozma's role in the conspiracy.
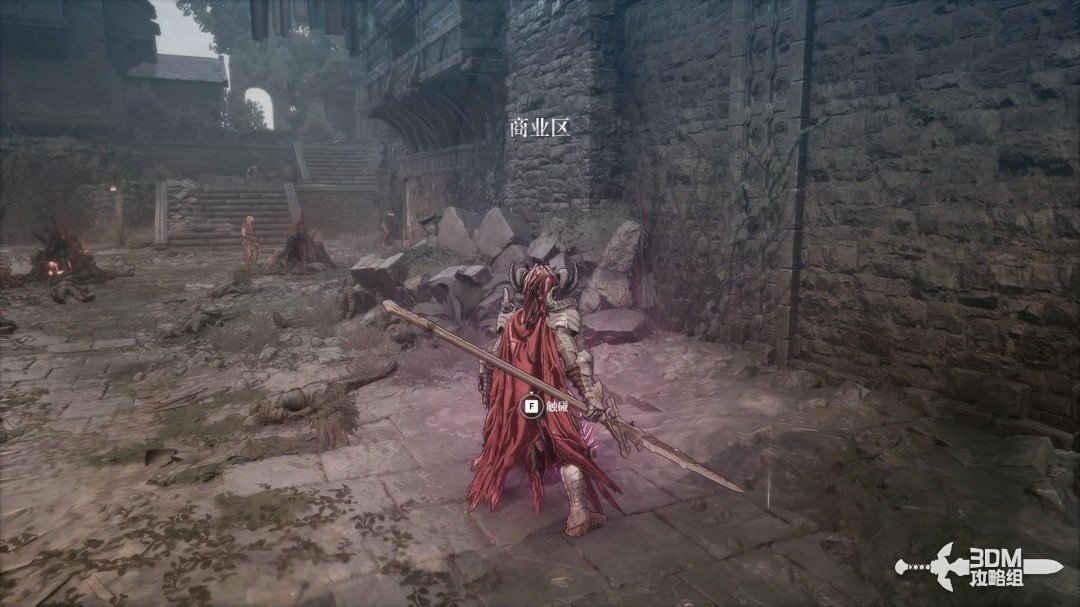
Witch city entrance: speak to Yulian and search left of the stairs · route image 2

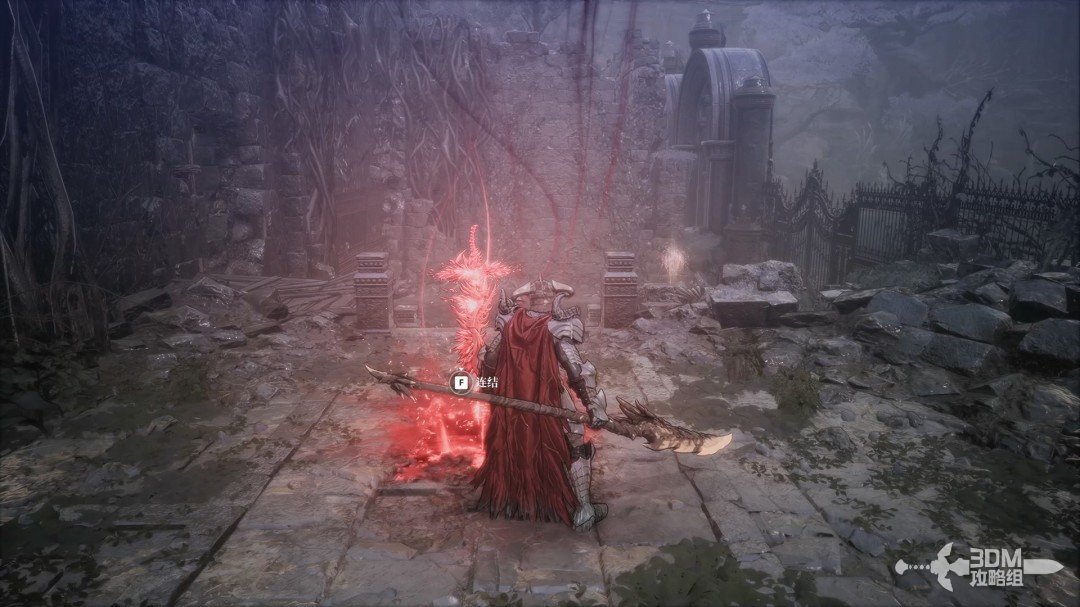
Rest at the Nexus a short distance ahead.
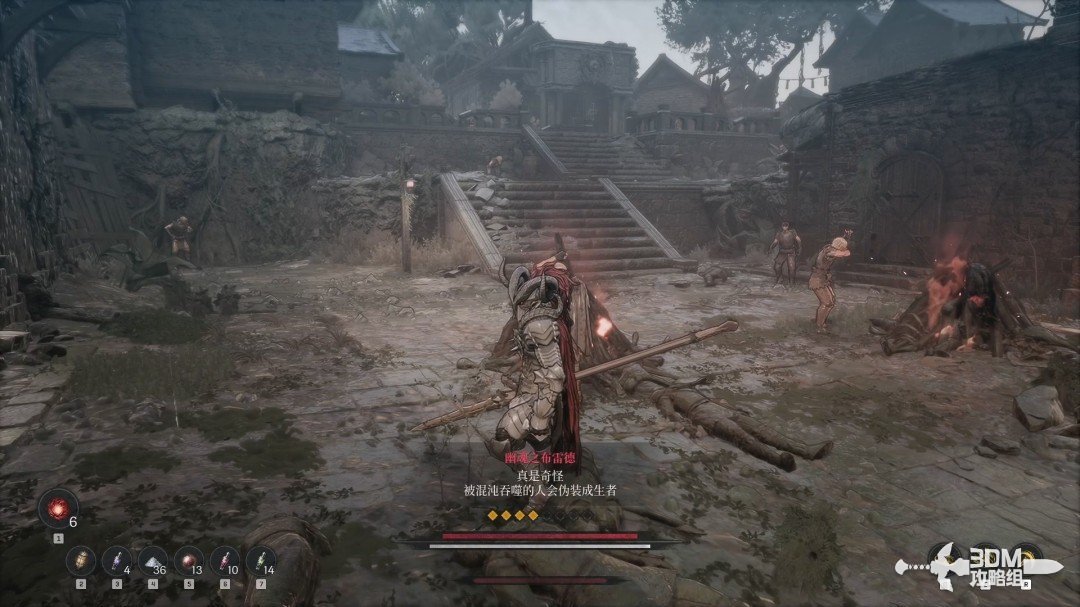
Witch city entrance: speak to Yulian and search left of the stairs · route image 3

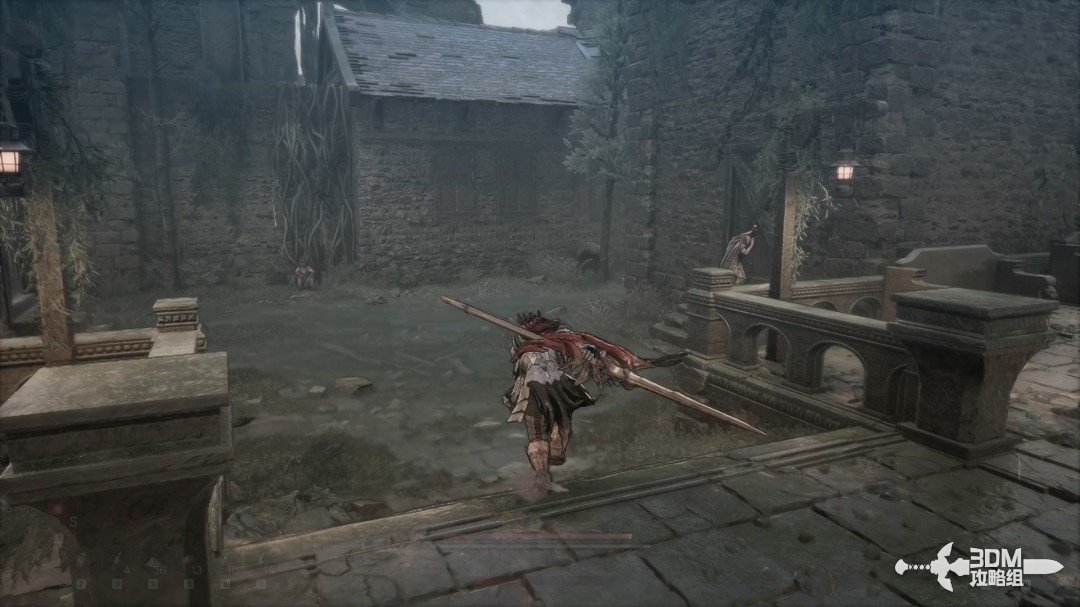
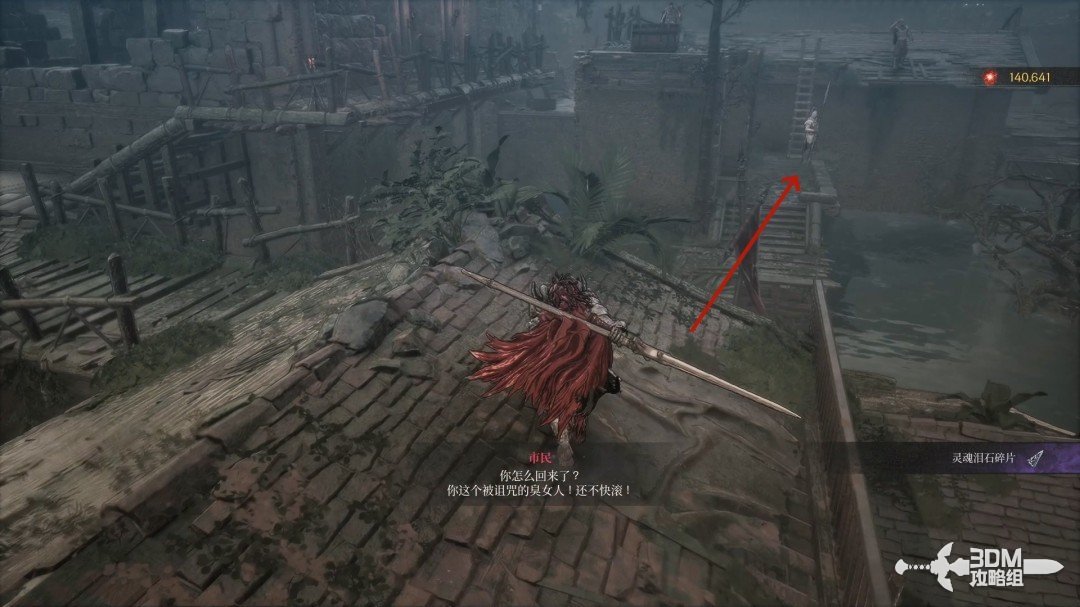
Some people in the crowd are hostile chaos-corrupted enemies. Stay alert as you pass.
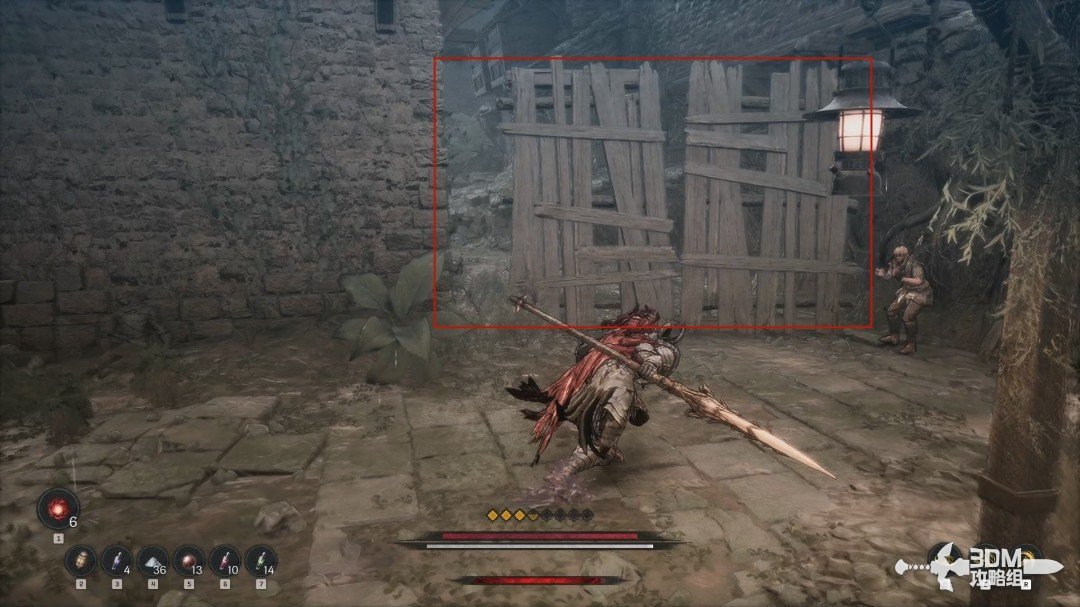
Witch city entrance: speak to Yulian and search left of the stairs · route image 4

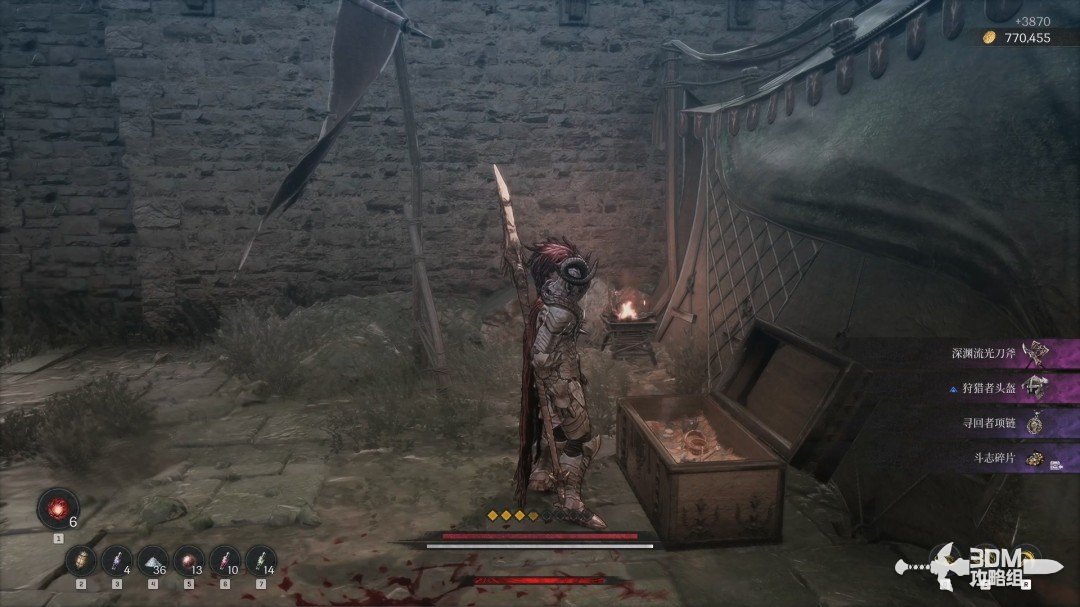
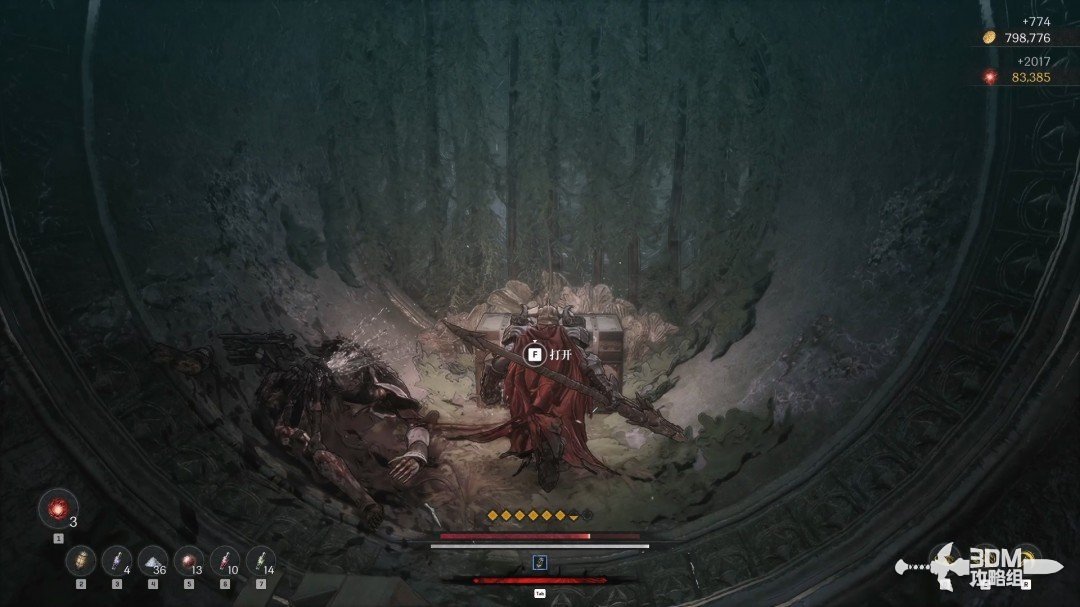
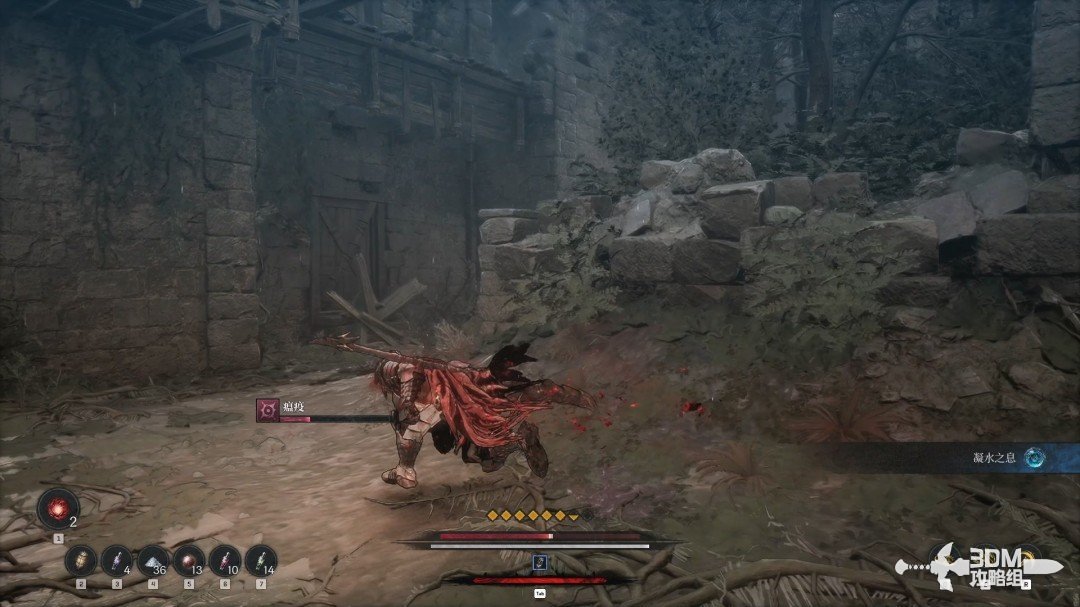
The entrance left of the stairs leads to a Powerful Enemy and a chest.
Witch city entrance: speak to Yulian and search left of the stairs · route image 5
Witch city entrance: speak to Yulian and search left of the stairs · route image 6

02Drop beyond the iron gate: turn back for the Soulstone

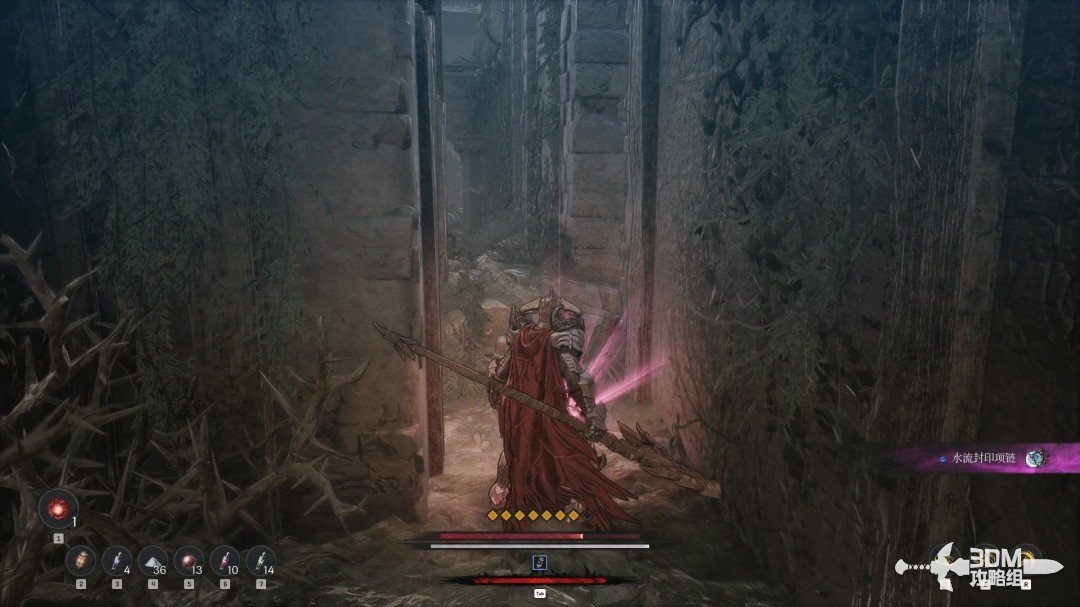
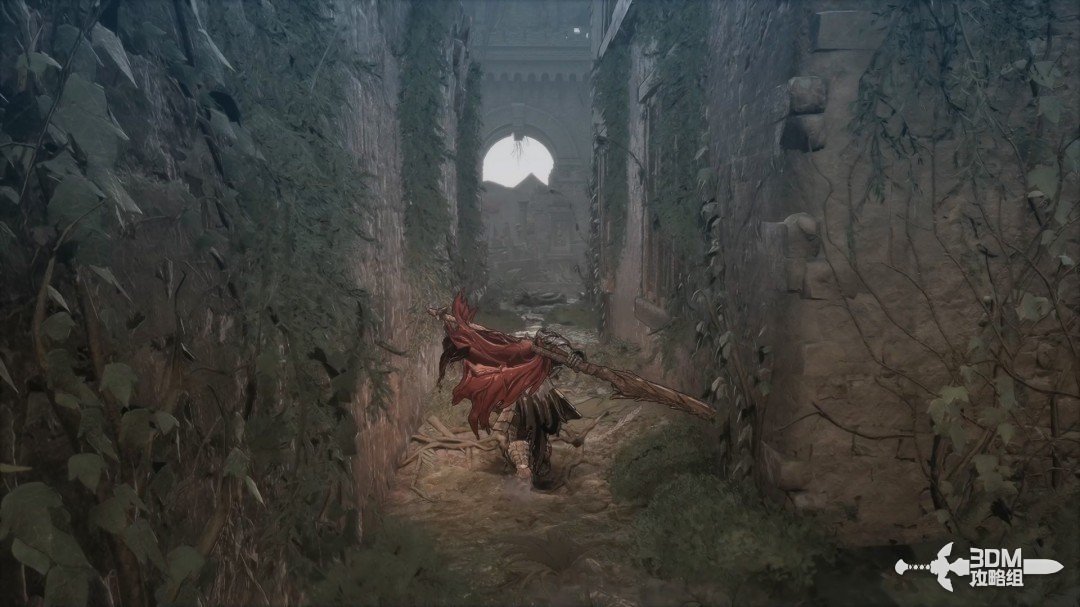
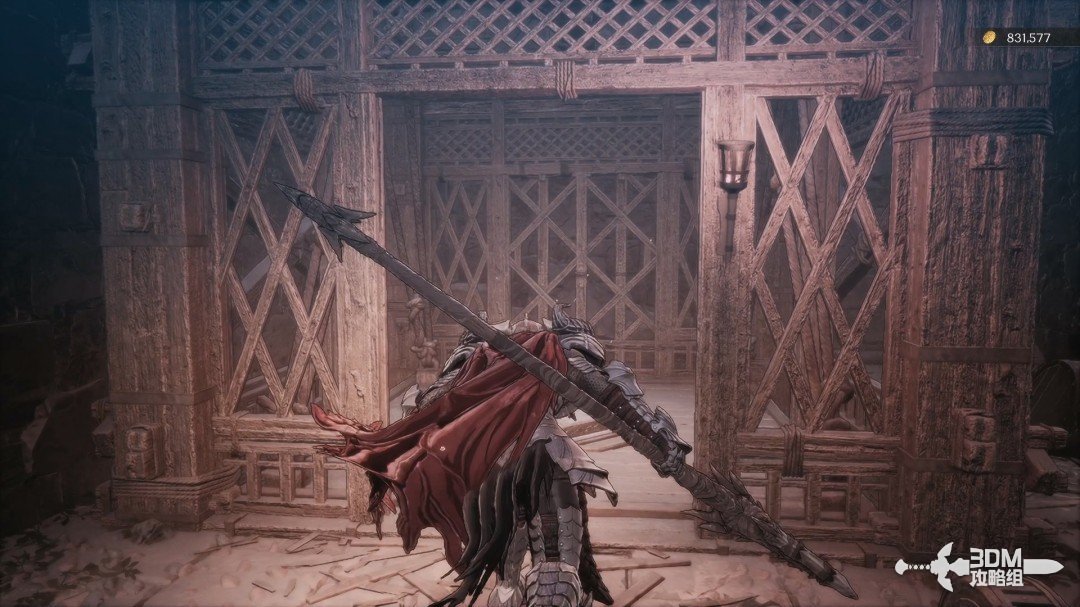
Return up the main route and open the iron gate.
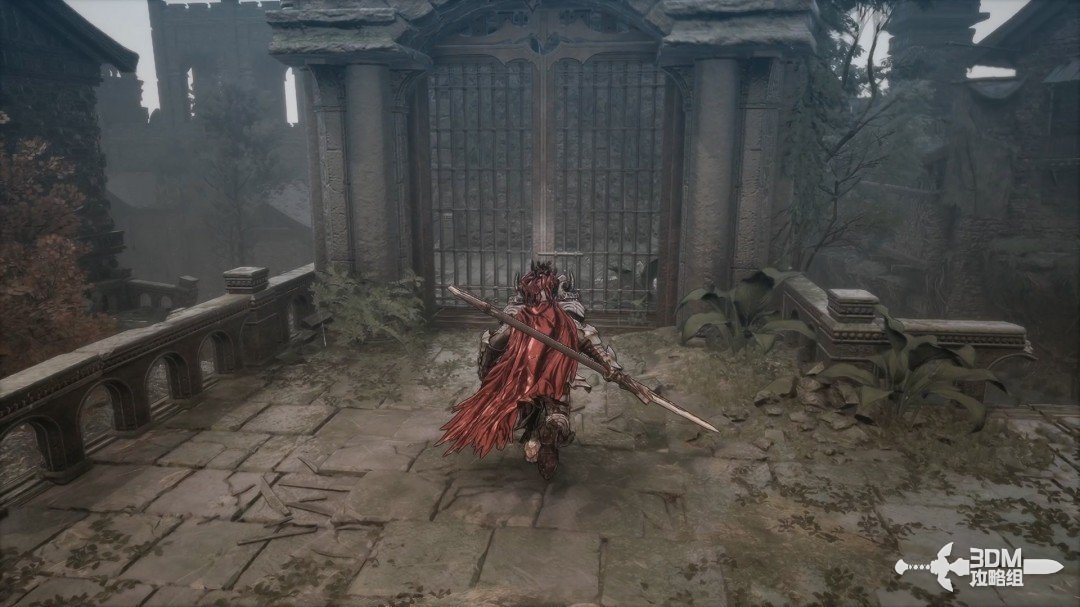
Drop beyond the iron gate: turn back for the Soulstone · route image 7

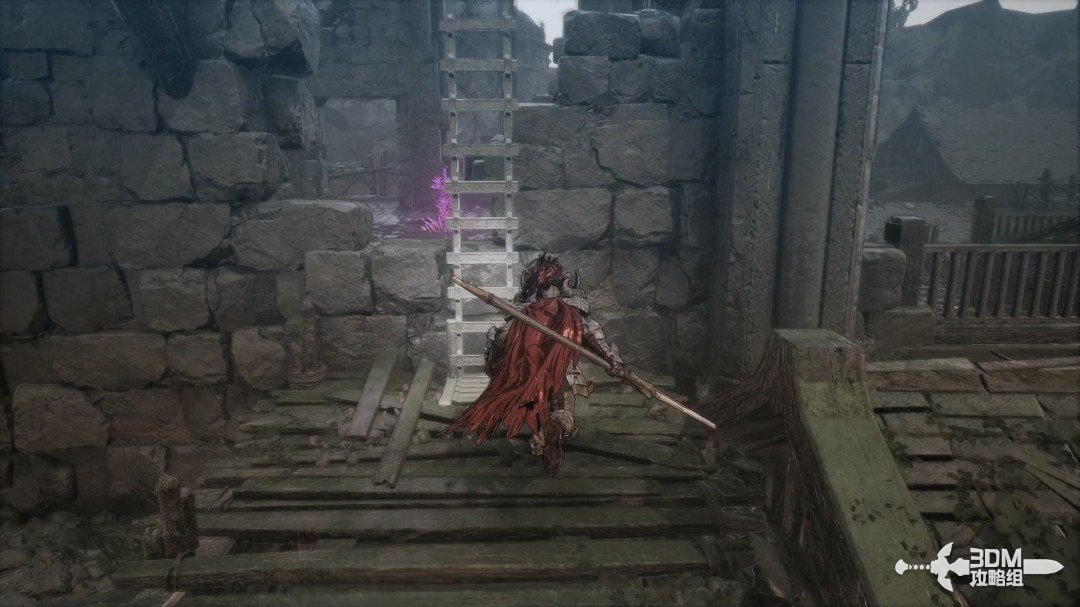
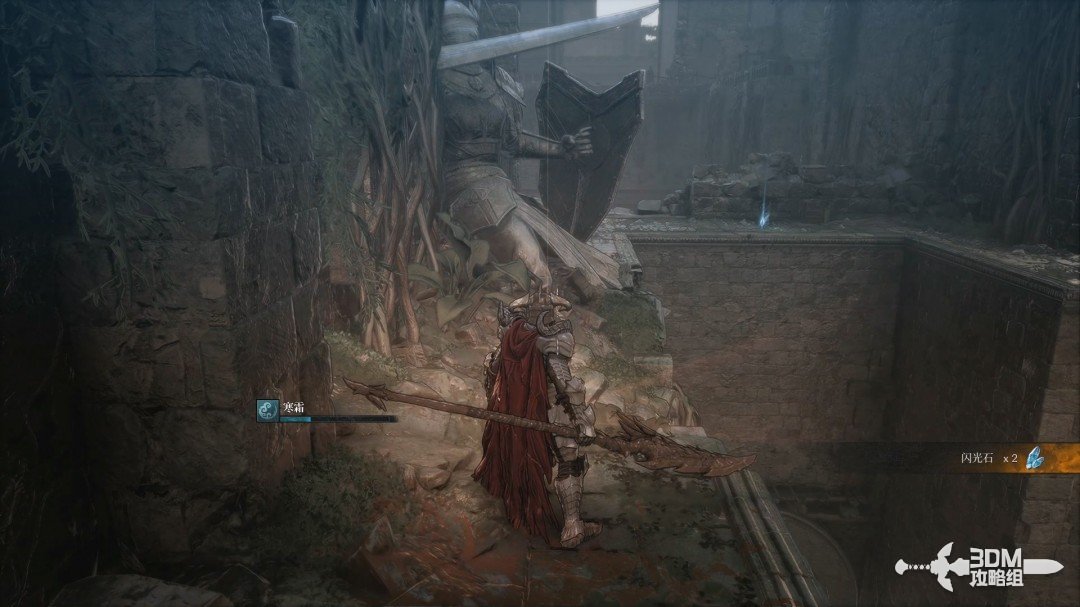
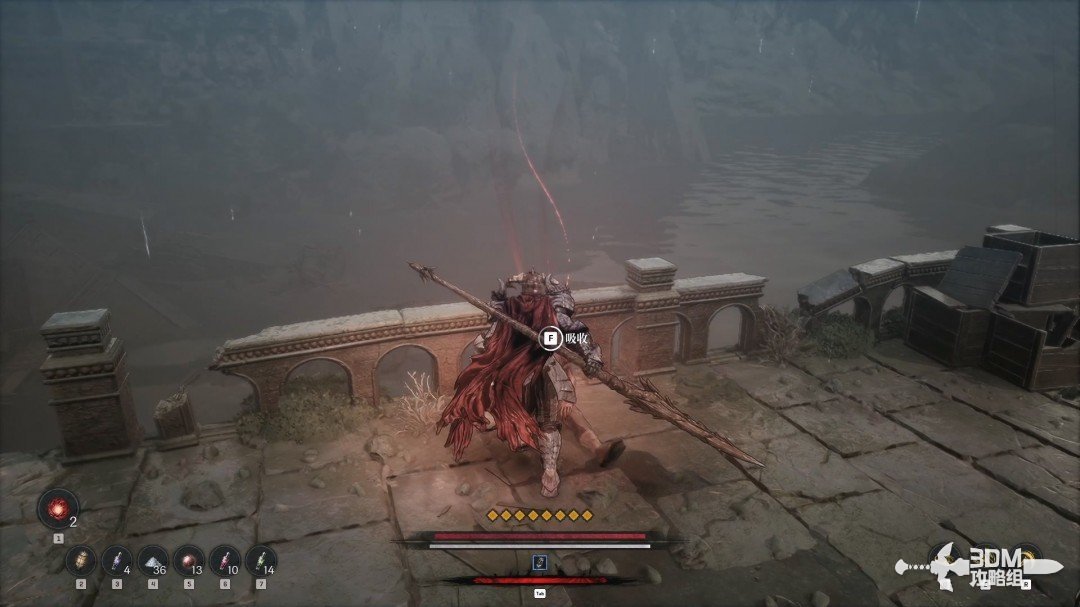
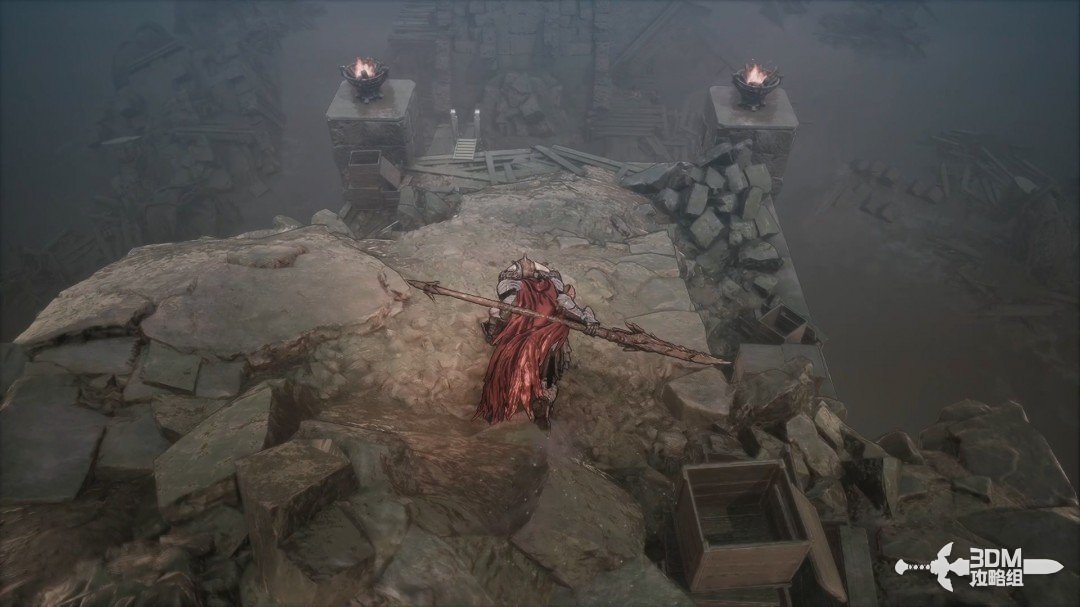
Drop from the high ledge and look behind you for a Soulstone on the raised platform.
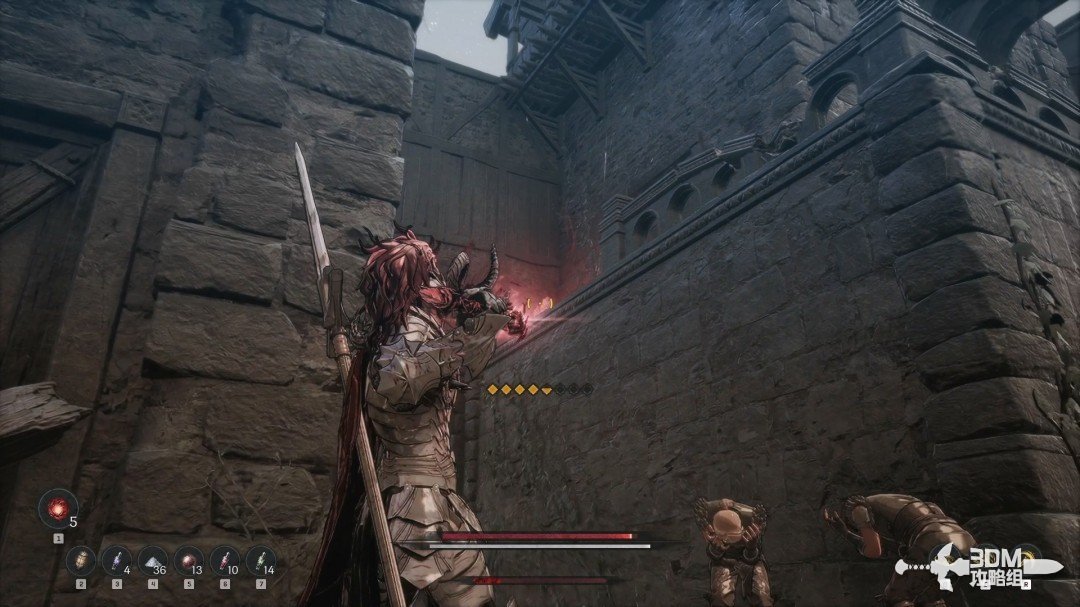
Drop beyond the iron gate: turn back for the Soulstone · route image 8

04Statue square and right alley: open the gate and descend

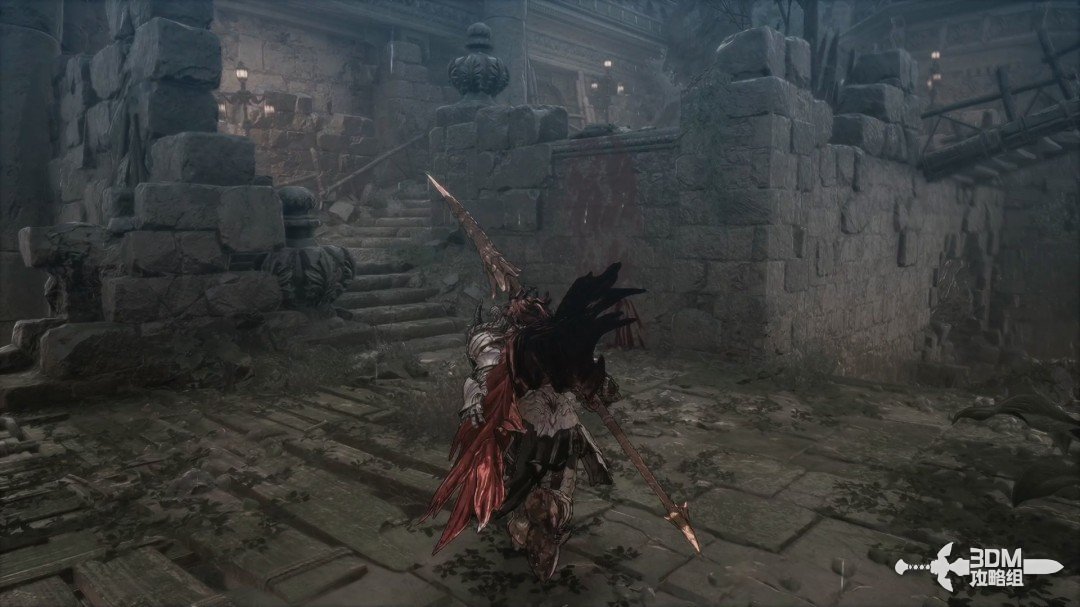
Turn back, defeat the two soldiers by the statue and collect the purple item.
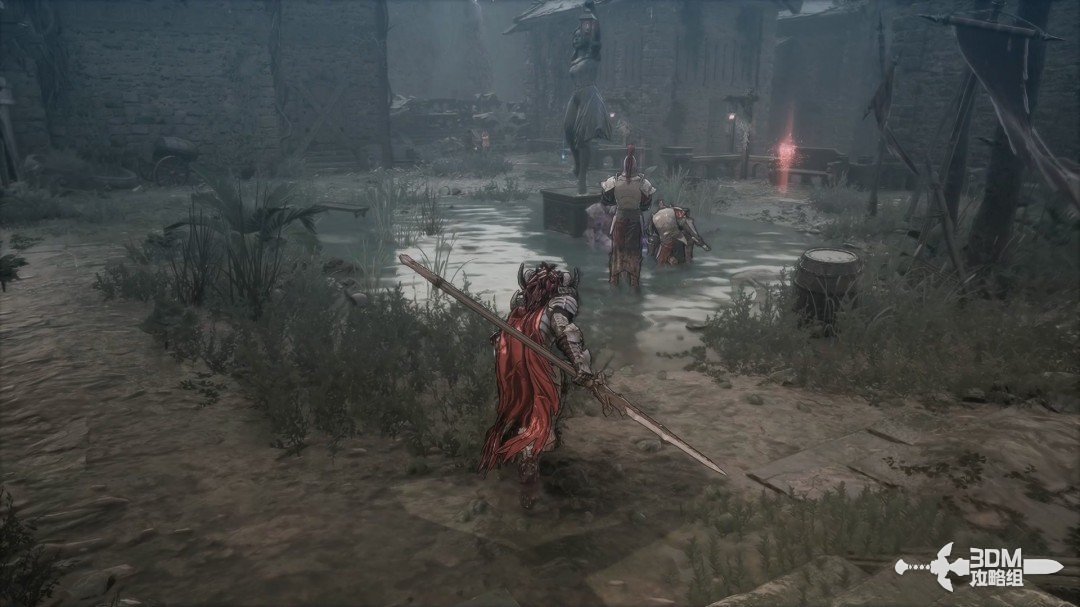
Statue square and right alley: open the gate and descend · route image 1

Collect the blue item beside the chair ahead.
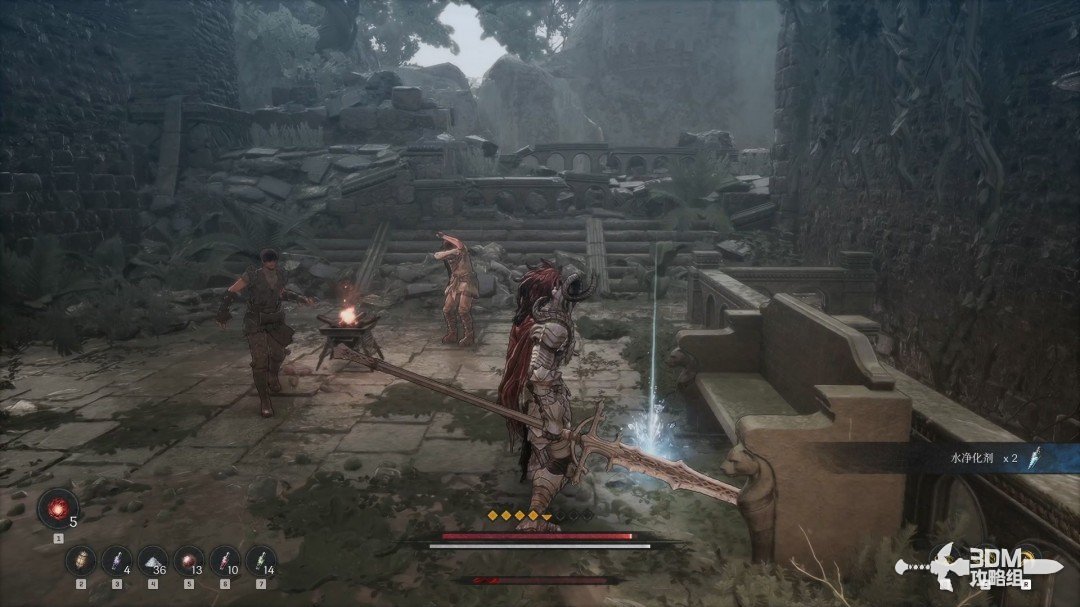
Statue square and right alley: open the gate and descend · route image 2

Follow the pictured route.

Statue square and right alley: open the gate and descend · route image 3

Open the left door and absorb the room's memory.
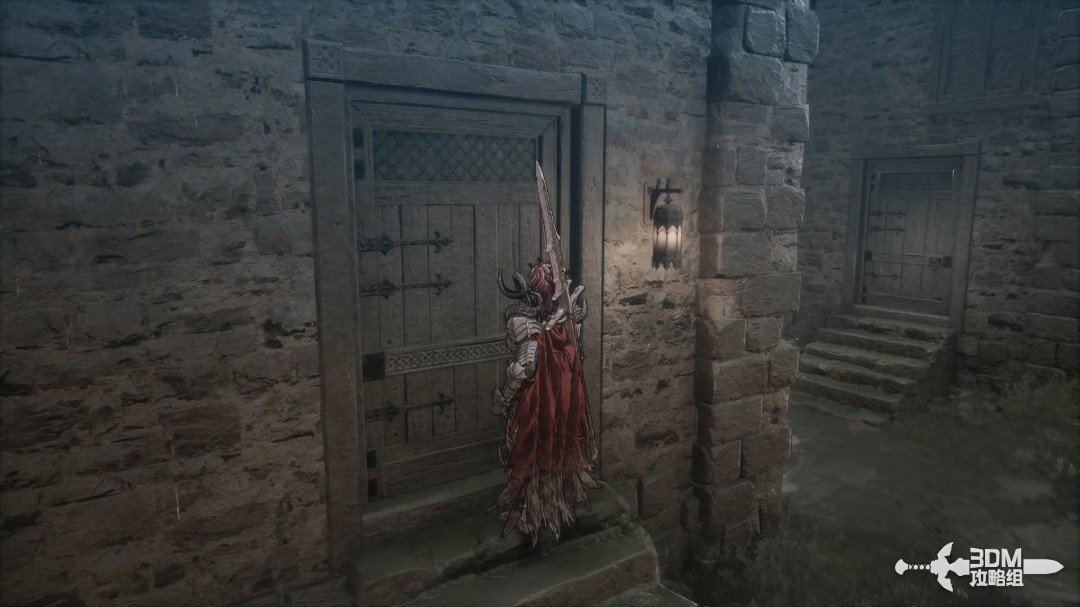
Statue square and right alley: open the gate and descend · route image 4

Leave and go right; the left side has no more loot.
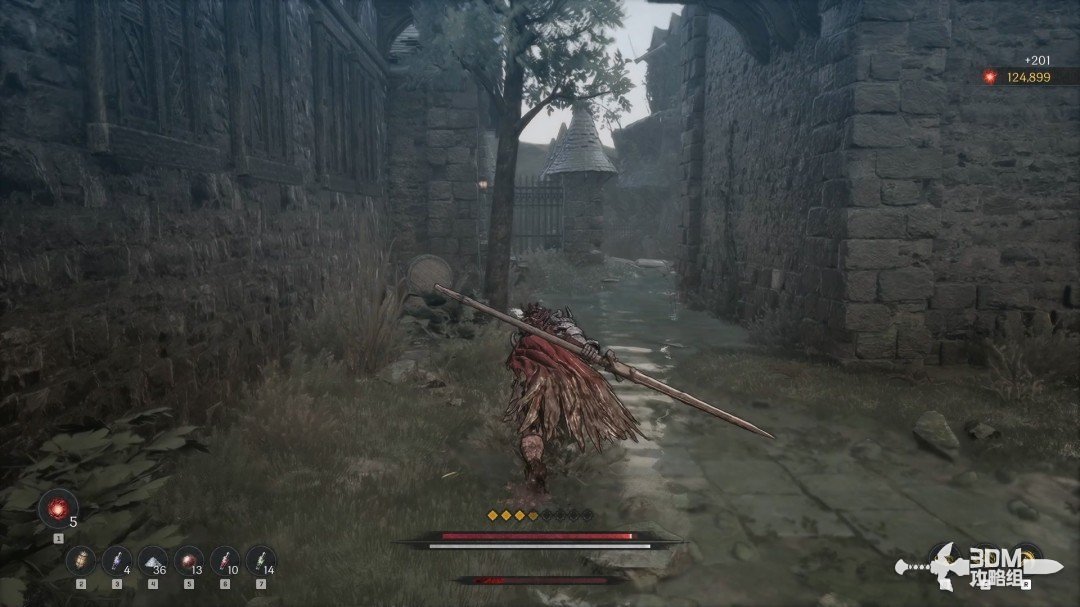
Statue square and right alley: open the gate and descend · route image 5

Watch for an enemy ambushing around the corner.
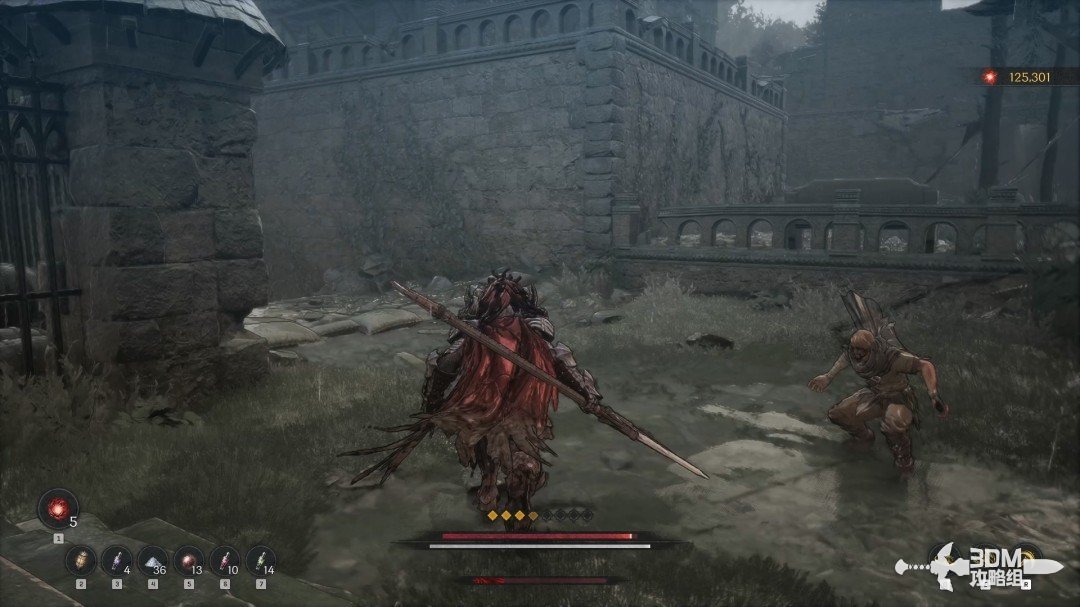
Statue square and right alley: open the gate and descend · route image 6

Continue and open the iron gate ahead. The breakable left door contains nothing else.
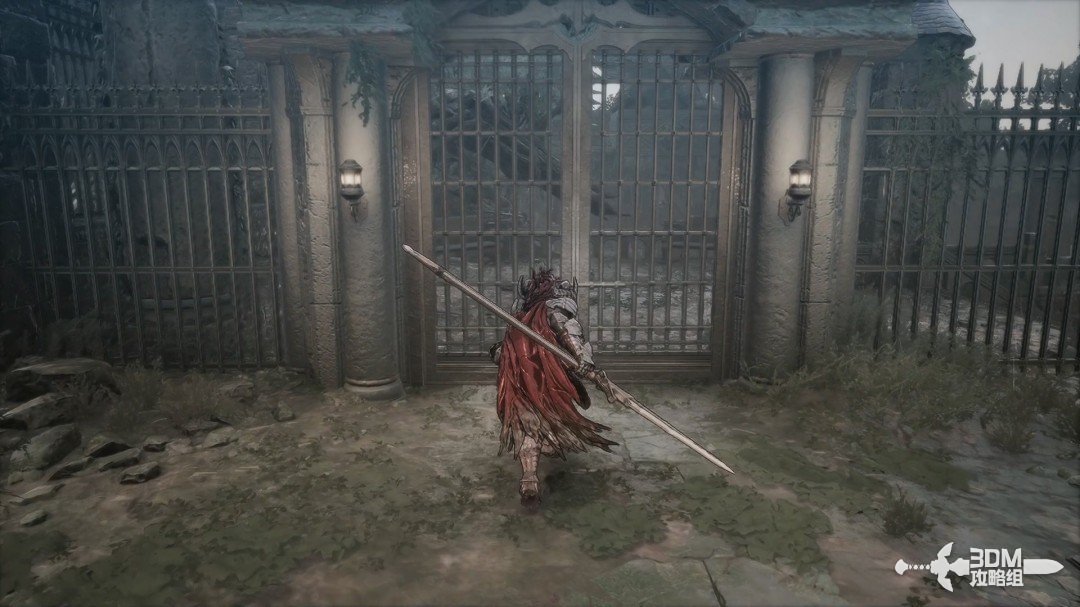
Statue square and right alley: open the gate and descend · route image 7

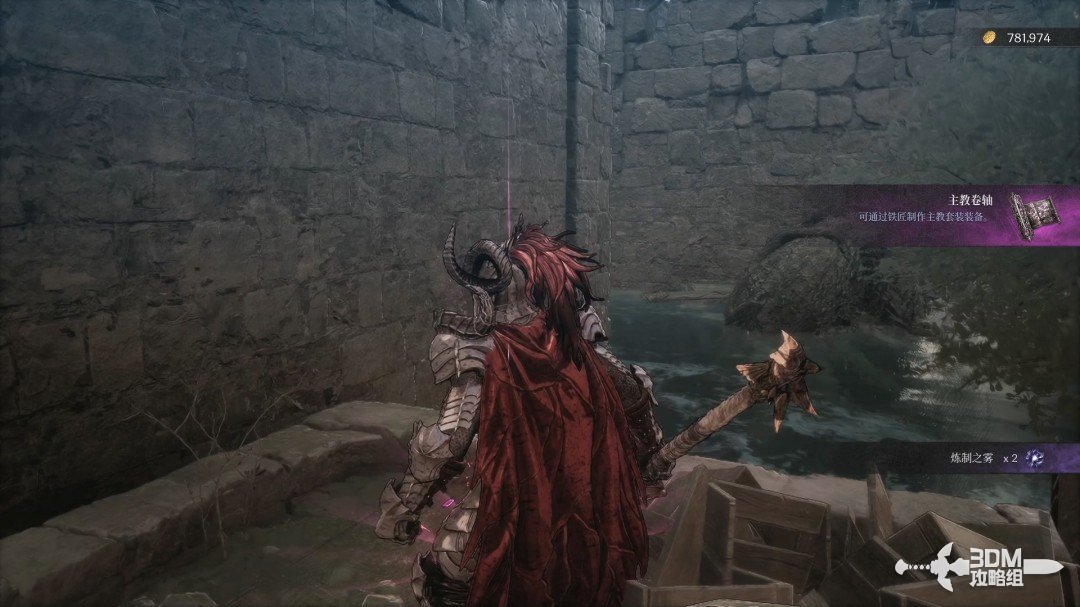
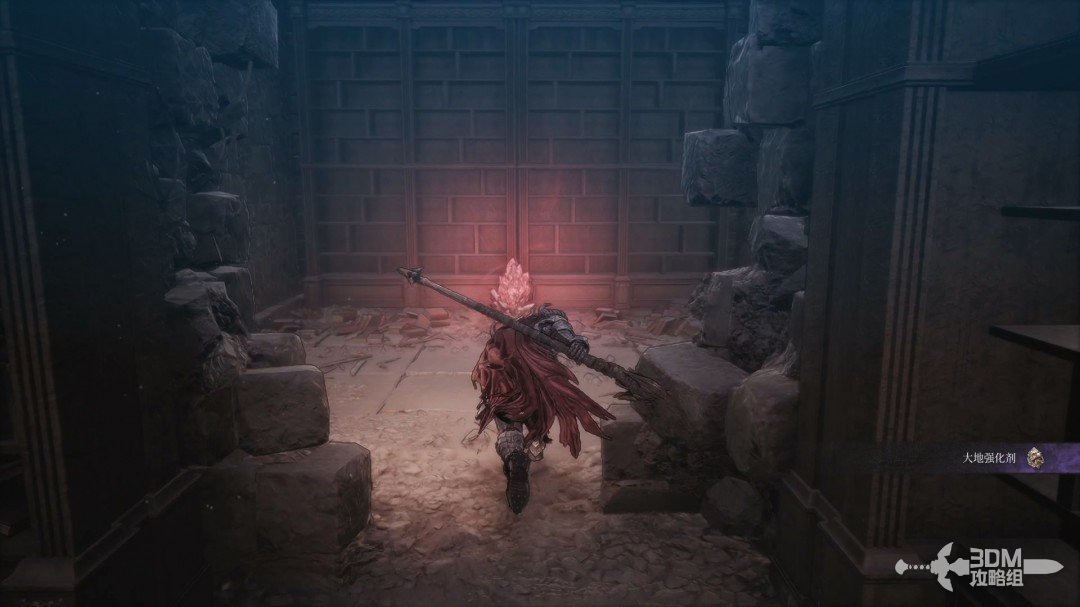
Descend beyond the gate for a blue item behind the lowest crates.
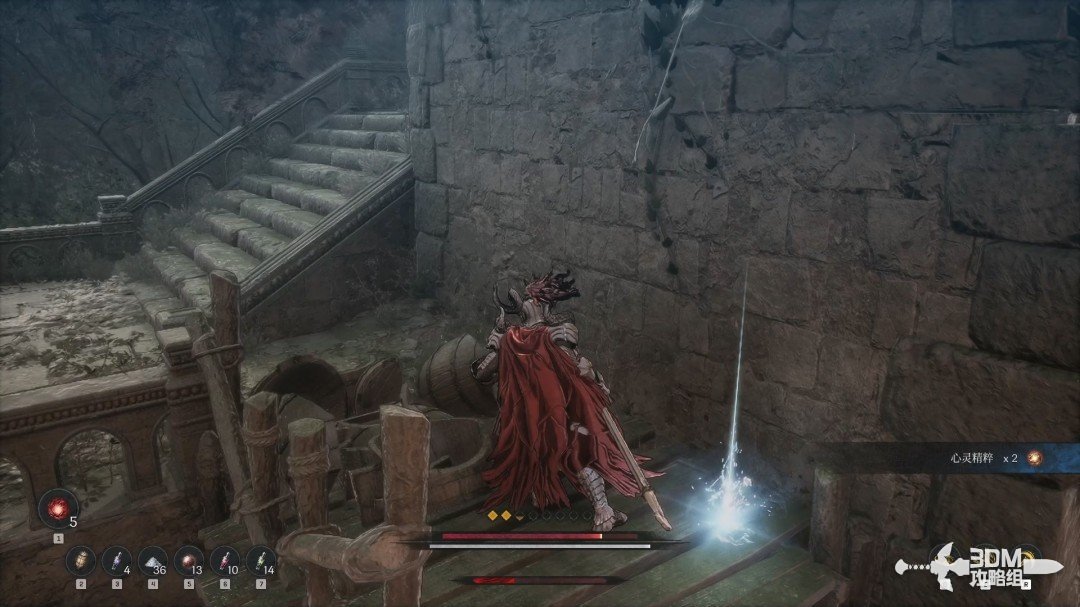
Statue square and right alley: open the gate and descend · route image 8

05Rooftop drop and left Nexus: climb to search the chest

Take the pictured path afterward.
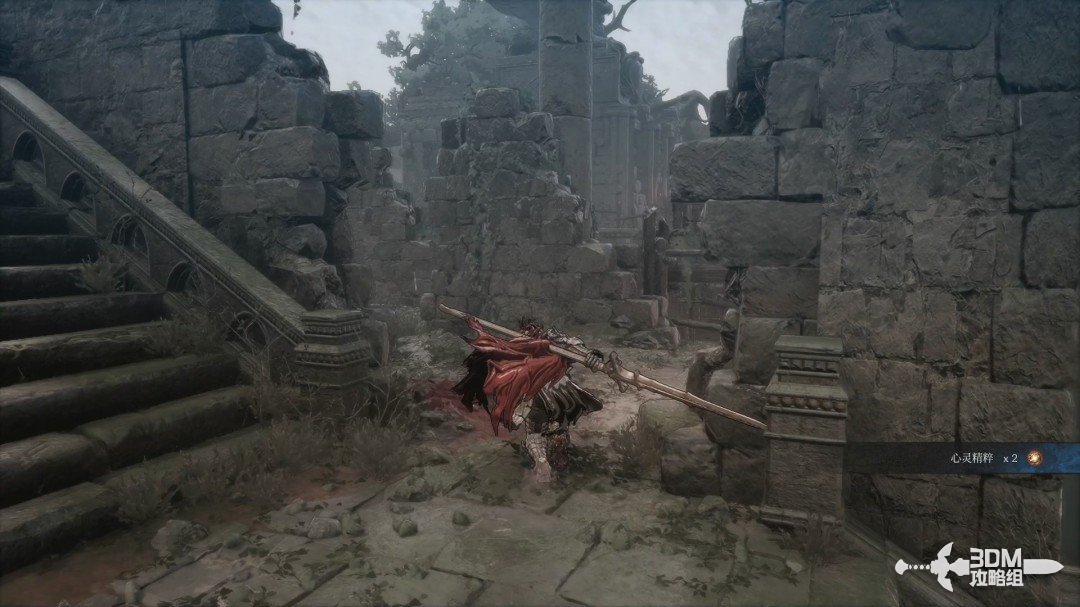
Rooftop drop and left Nexus: climb to search the chest · route image 9

Drop from the roof and absorb the memory opposite.
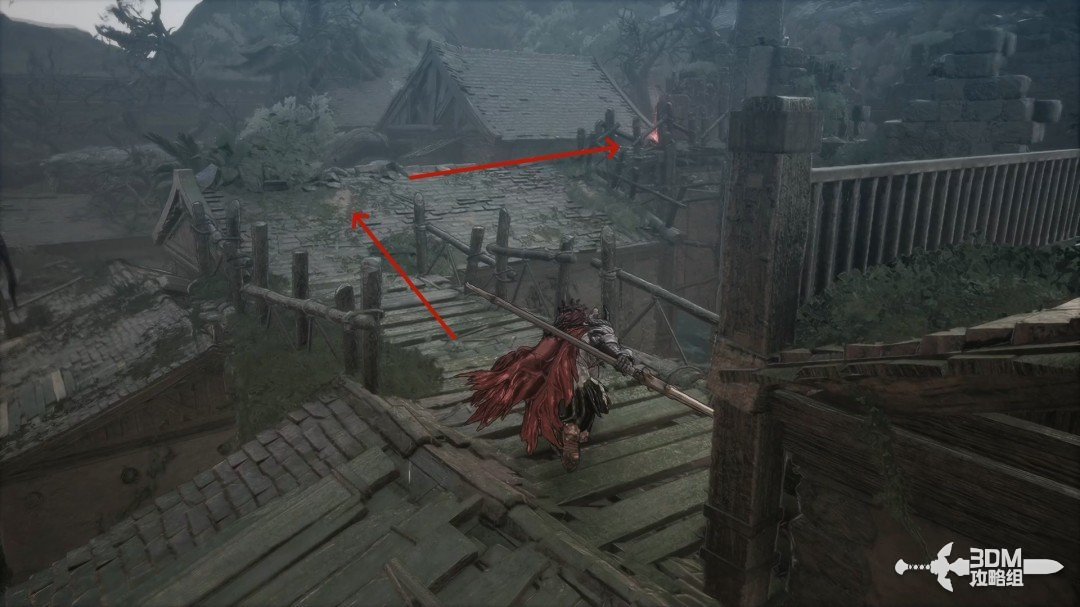
Rooftop drop and left Nexus: climb to search the chest · route image 10

Rest in the room on the left after the memory.
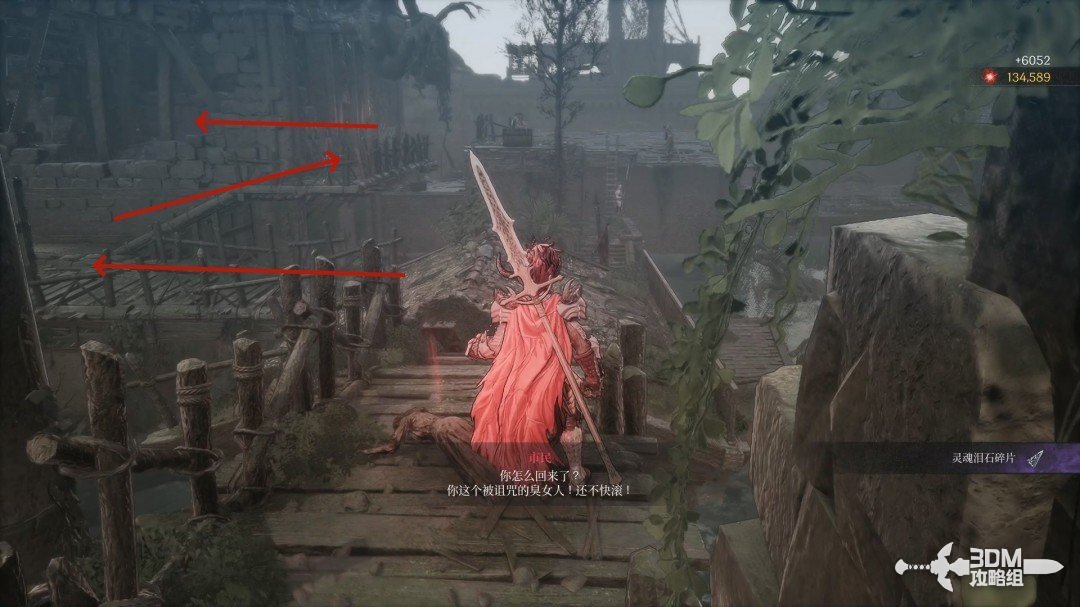
Rooftop drop and left Nexus: climb to search the chest · route image 11

Follow this route after resting.

Rooftop drop and left Nexus: climb to search the chest · route image 12

Climb the stairs, turn around and open the exploding chest.
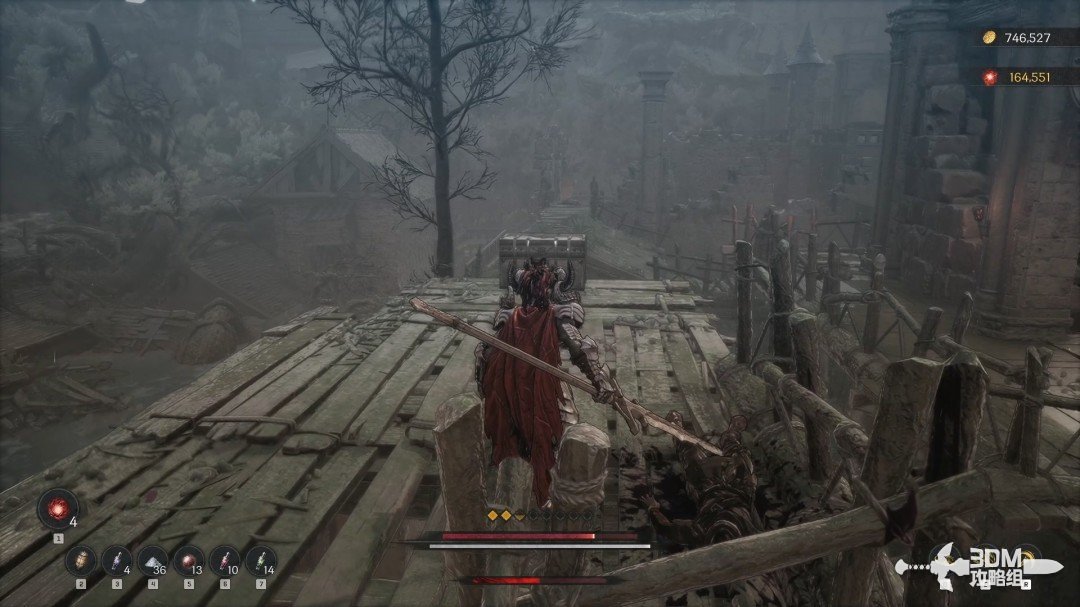
Rooftop drop and left Nexus: climb to search the chest · route image 13

06Bookshelf room and roof shortcut: break the planks beside the door for the scroll

Follow the sole route to this roof, then descend on the left.
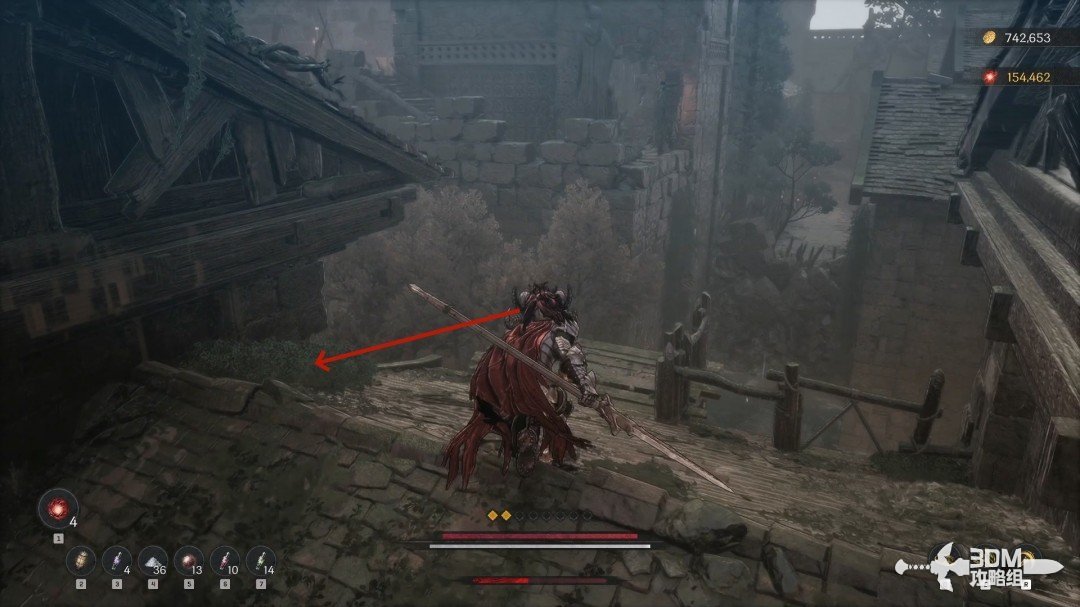
Bookshelf room and roof shortcut: break the planks beside the door for the scroll · route image 14

An enemy bursts through the left door; there is no further loot inside.
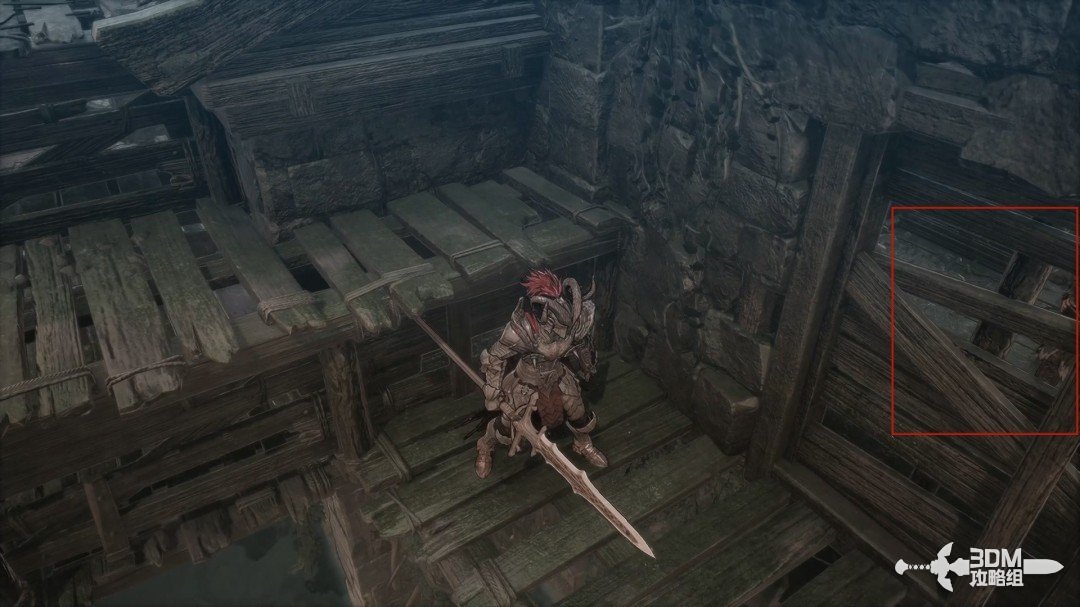
Bookshelf room and roof shortcut: break the planks beside the door for the scroll · route image 15

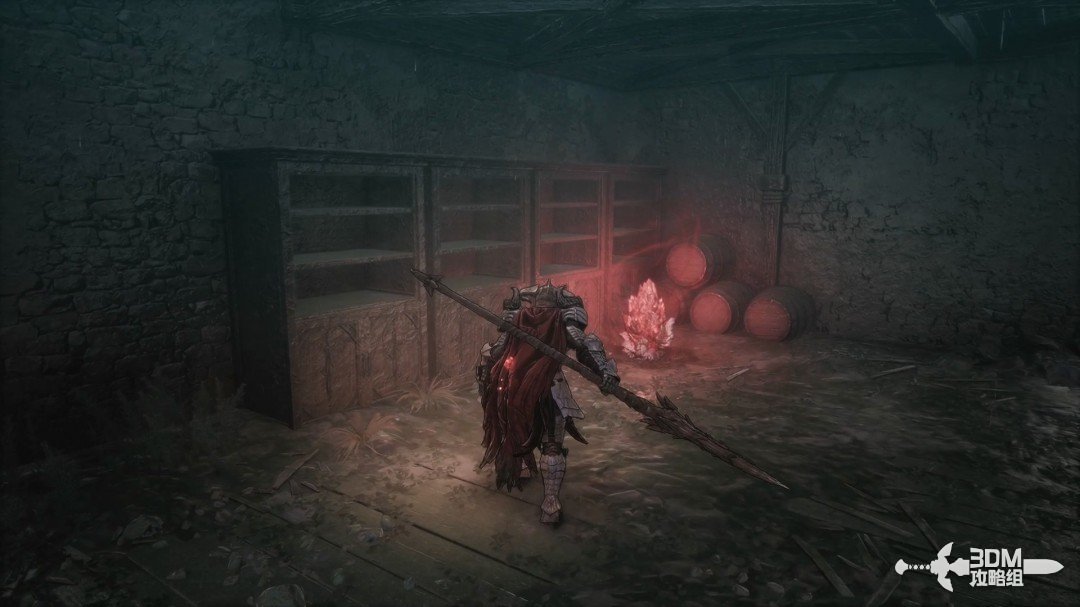
Collect the purple item beneath the bookshelf ahead.
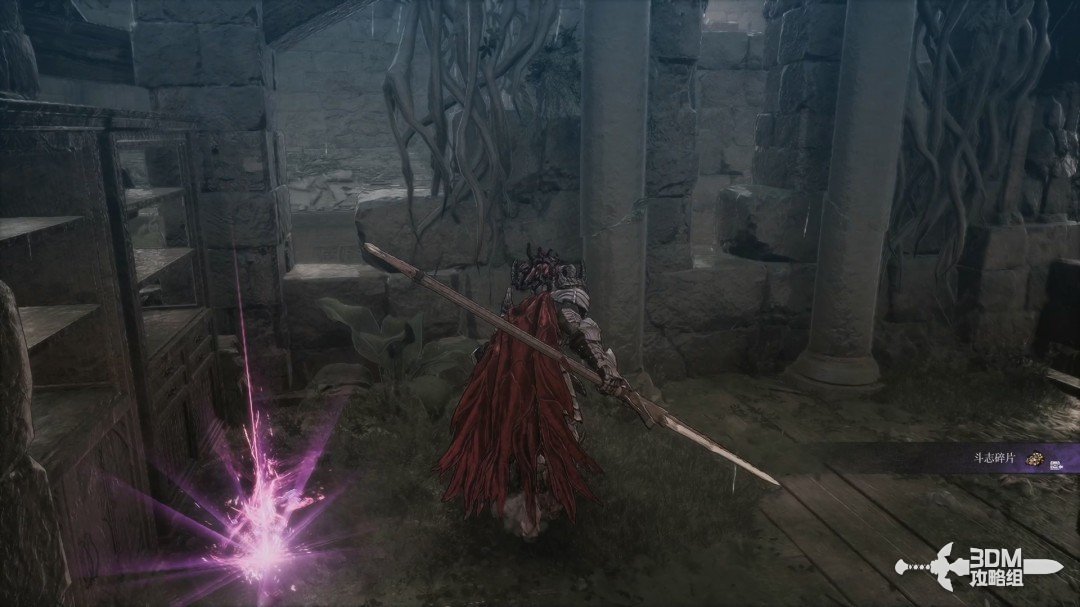
Bookshelf room and roof shortcut: break the planks beside the door for the scroll · route image 16

Climb the stairs.

Bookshelf room and roof shortcut: break the planks beside the door for the scroll · route image 17

Lower the ladder to the previous Nexus, returning only if you need to rest.
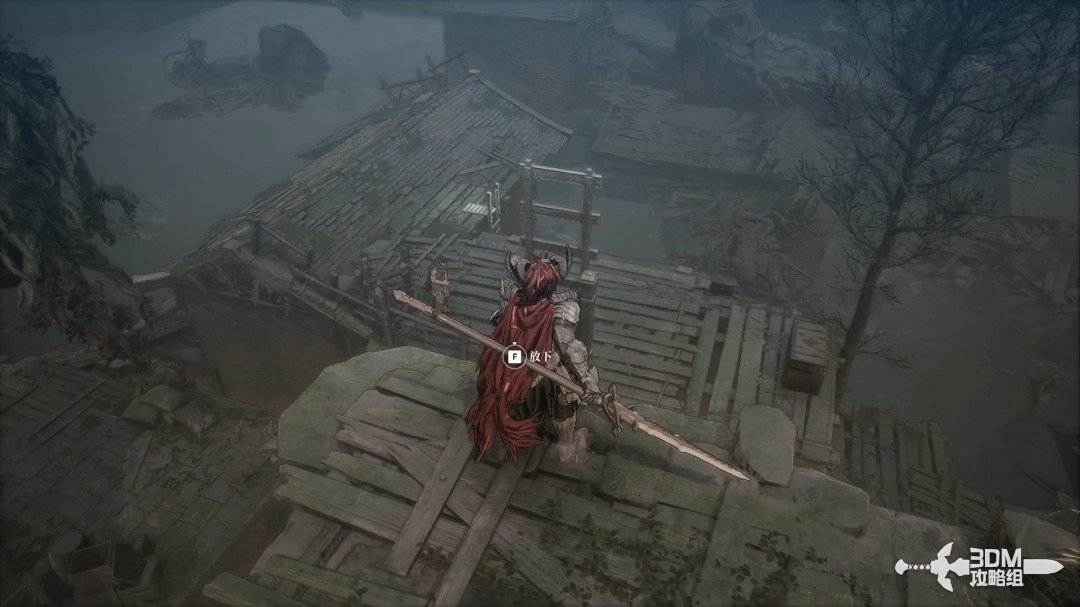
Bookshelf room and roof shortcut: break the planks beside the door for the scroll · route image 18

Go back down the staircase you climbed and descend from this roof.
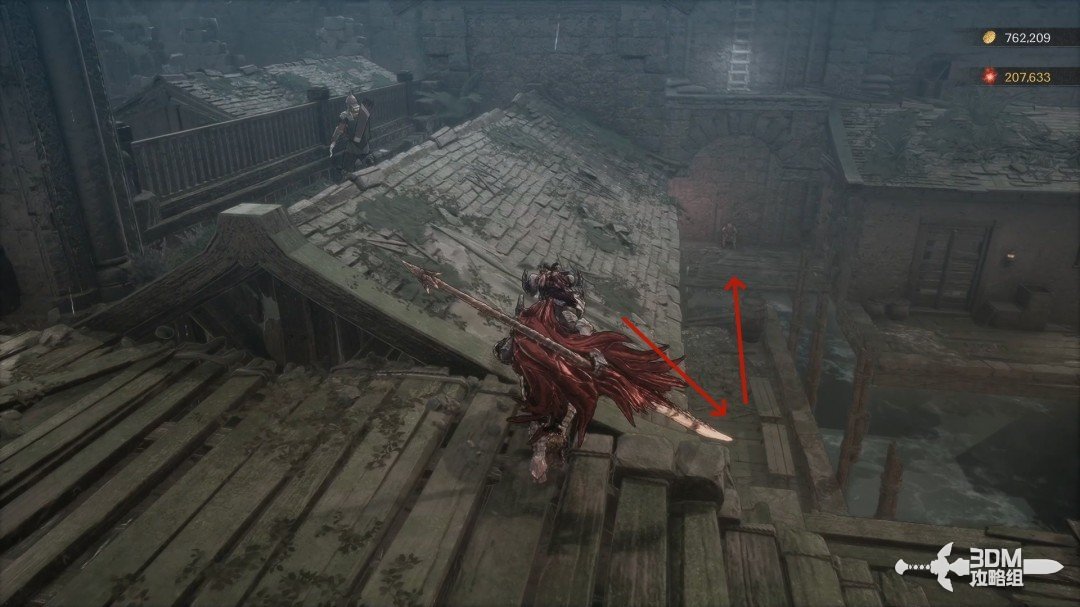
Bookshelf room and roof shortcut: break the planks beside the door for the scroll · route image 19

At the small doorway, first look right and break the boards.
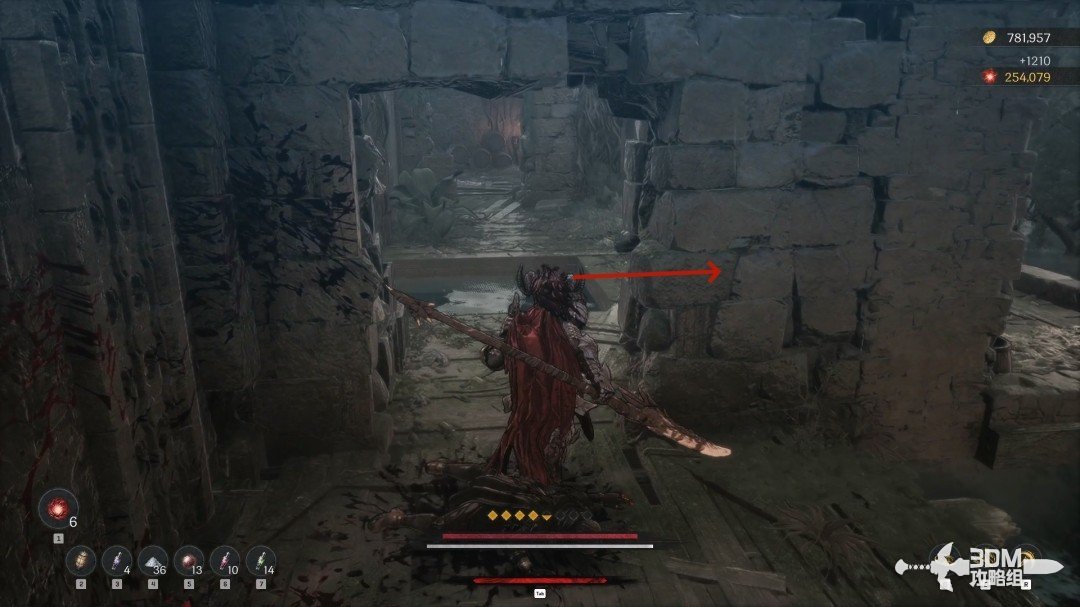
Bookshelf room and roof shortcut: break the planks beside the door for the scroll · route image 20

Collect the Bishop Scroll inside.

Bookshelf room and roof shortcut: break the planks beside the door for the scroll · route image 21

08Upper paired-stair fork: search the right room and return left for the diary

Return to the main route and climb this ladder.
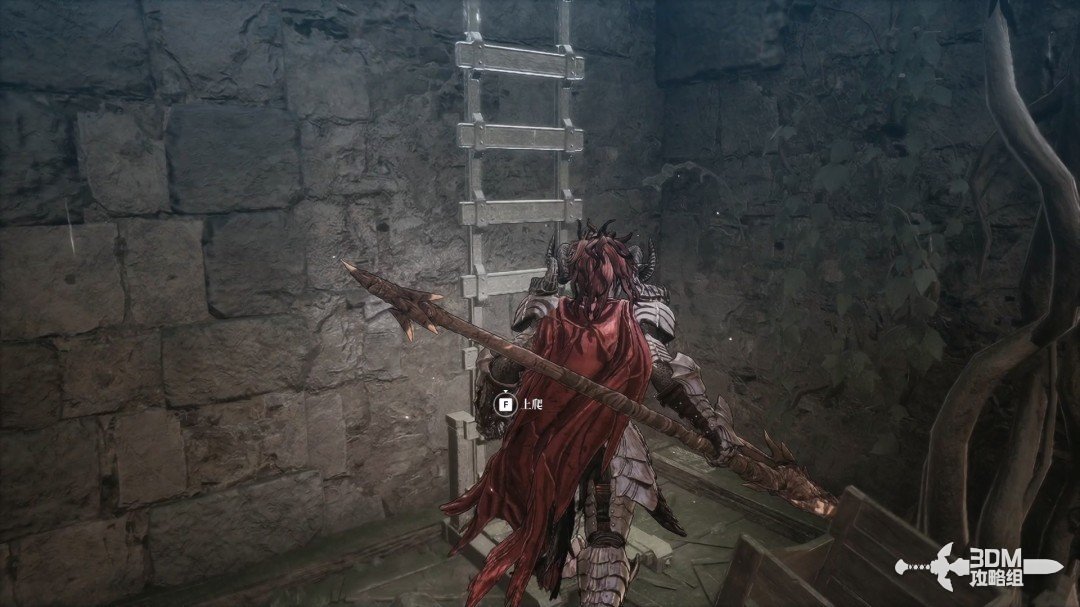
Upper paired-stair fork: search the right room and return left for the diary · route image 1

Take the left stairs above.

Upper paired-stair fork: search the right room and return left for the diary · route image 2

Clear the enemies and descend, first taking the right staircase.
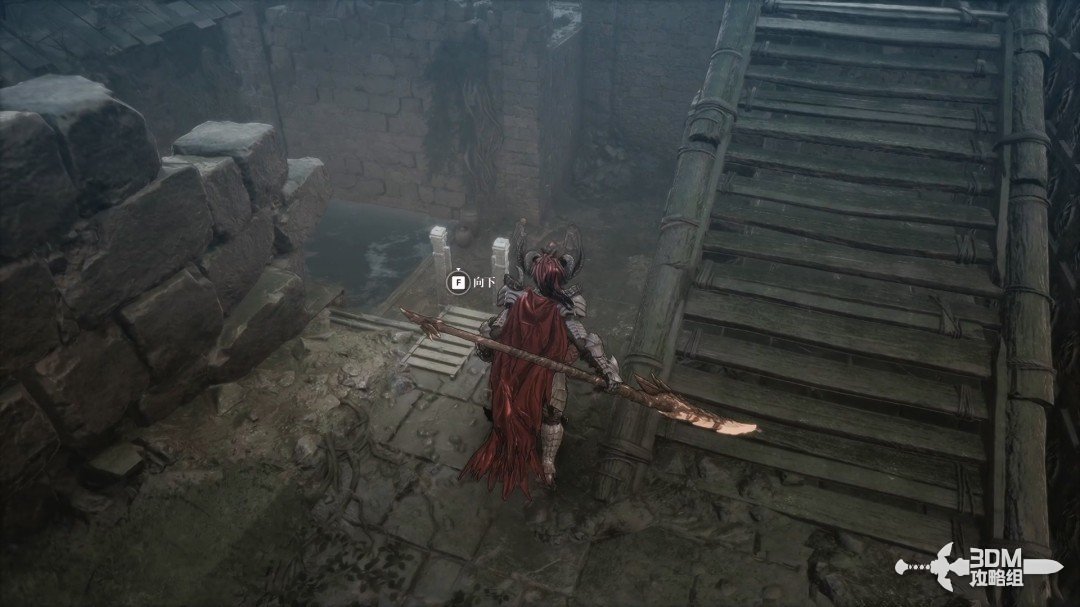
Upper paired-stair fork: search the right room and return left for the diary · route image 3

Collect the purple equipment inside the room.
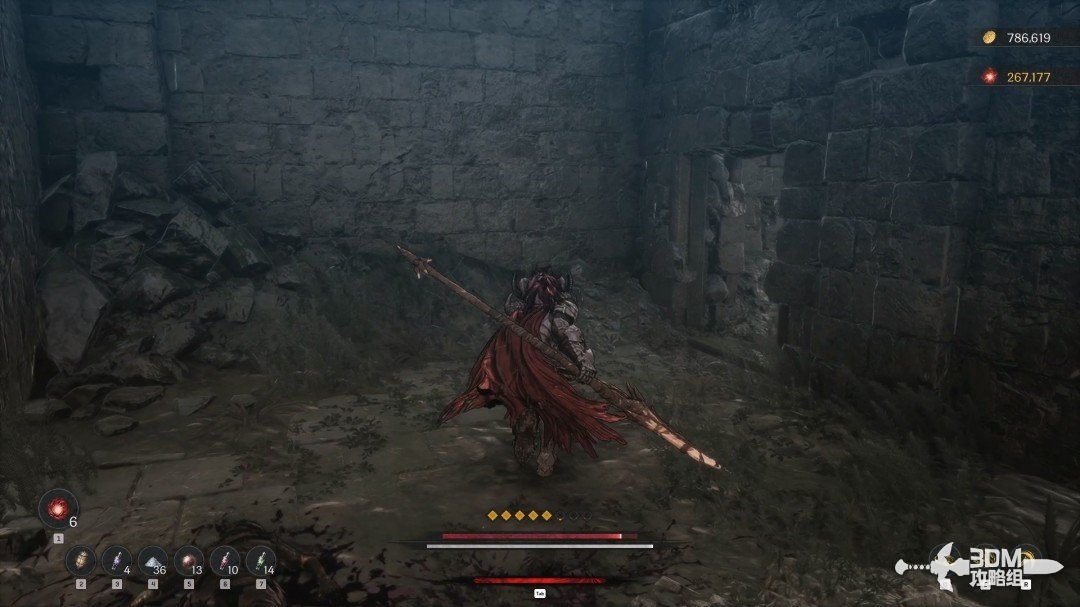
Upper paired-stair fork: search the right room and return left for the diary · route image 4

Climb back to the junction and enter on the left.
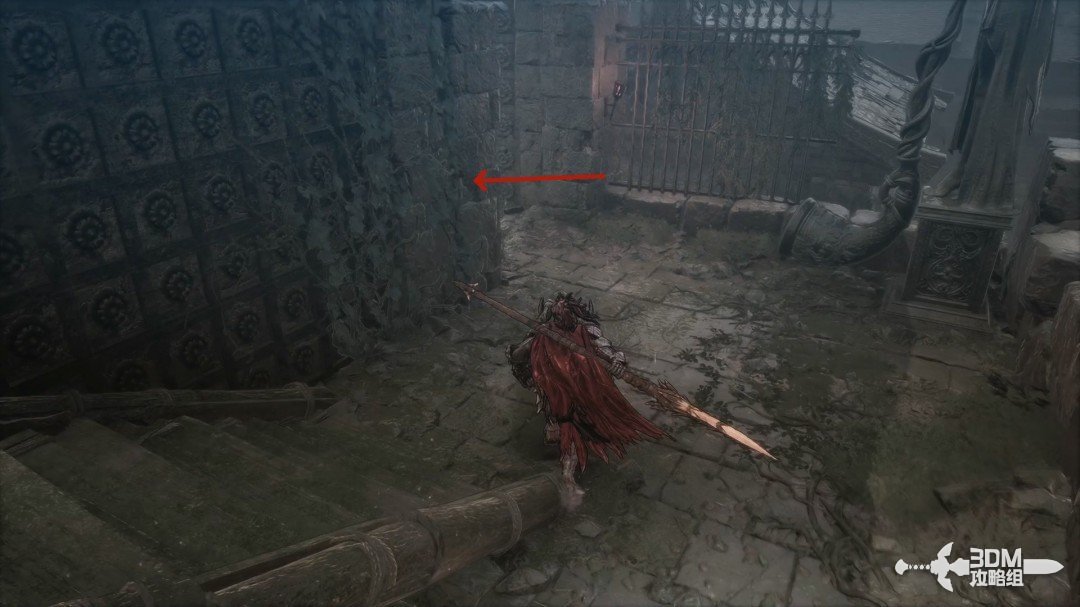
Upper paired-stair fork: search the right room and return left for the diary · route image 5

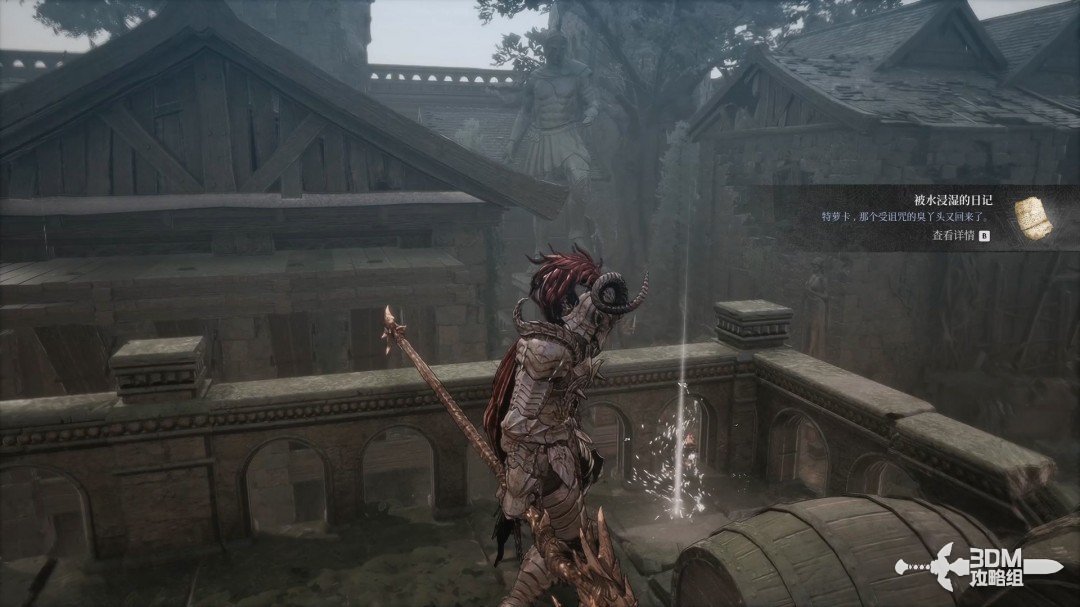
Collect the Water-soaked Diary to the right of this doorway.
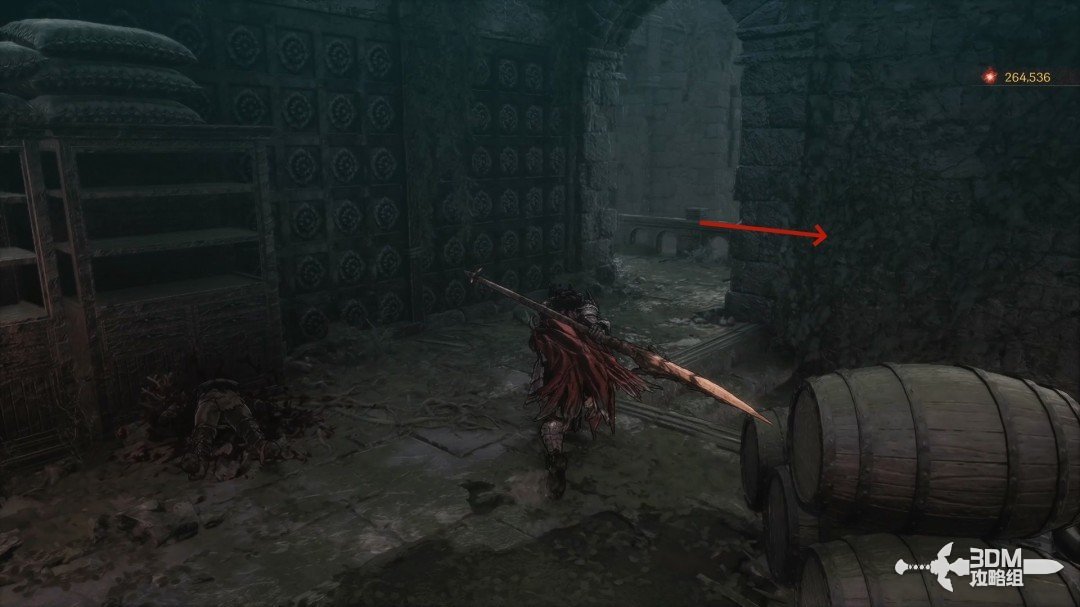
Upper paired-stair fork: search the right room and return left for the diary · route image 6
Upper paired-stair fork: search the right room and return left for the diary · route image 7

10Sluice beyond the Nexus: lower the city's water with the lever

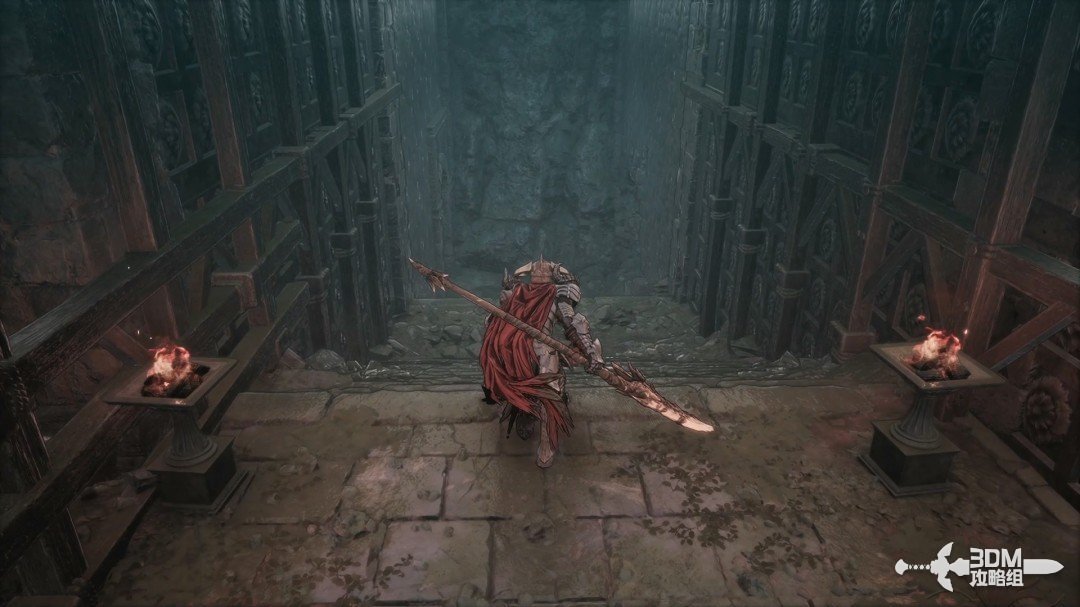
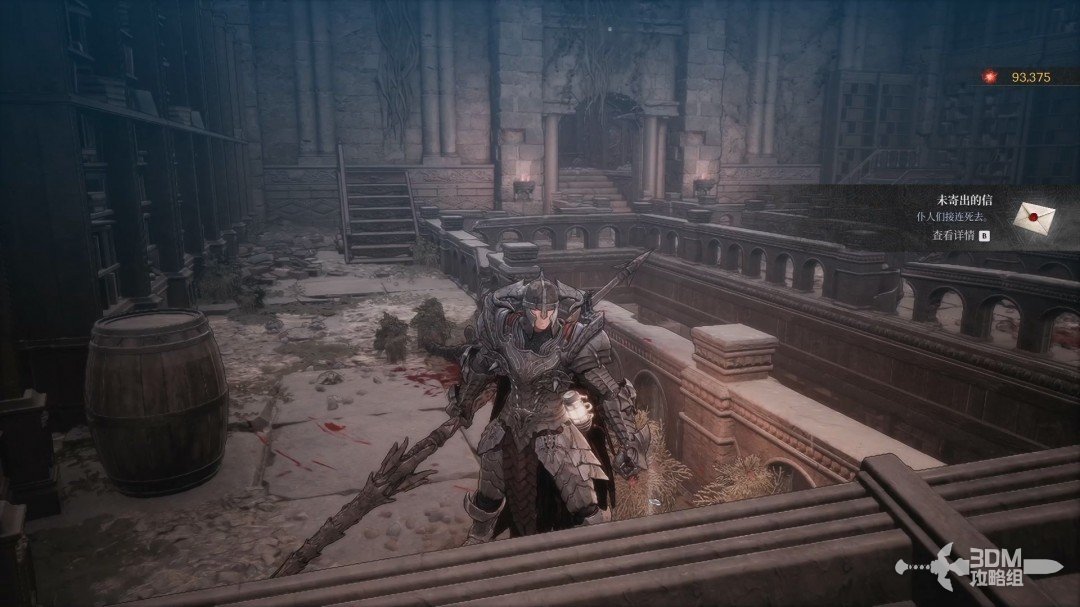
Continue down and open the small iron gate to a new Nexus. Rest outside.
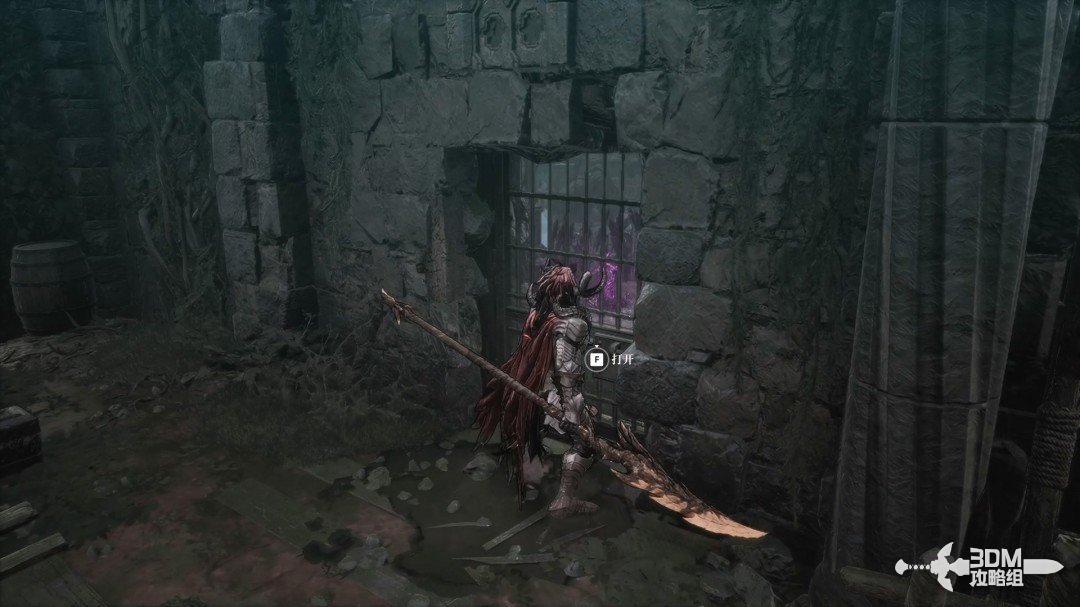
Sluice beyond the Nexus: lower the city's water with the lever · route image 1

Continue past goblins, watching for their death-triggered attacks, then enter the doorway.
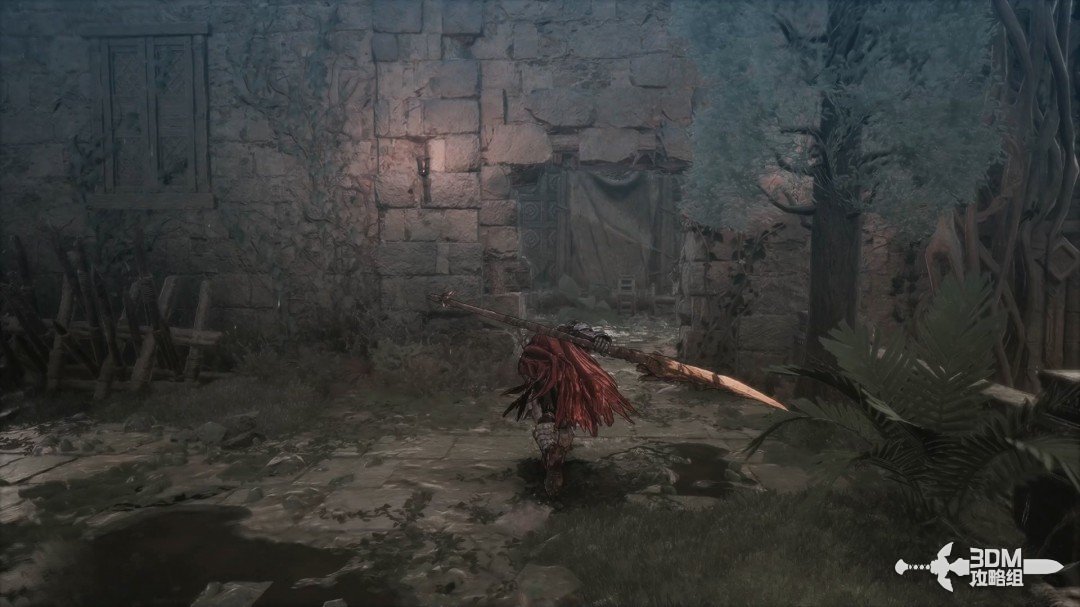
Sluice beyond the Nexus: lower the city's water with the lever · route image 2

Go left inside. The right side is flooded. Pull the left lever to lower the city's water level.
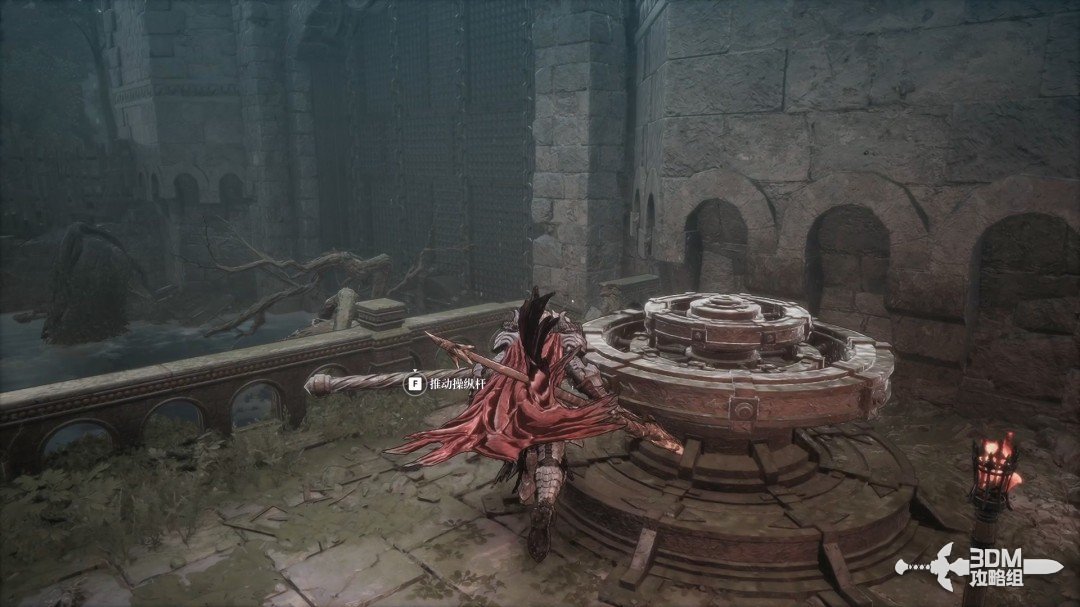
Sluice beyond the Nexus: lower the city's water with the lever · route image 3

The right side is now accessible.

Sluice beyond the Nexus: lower the city's water with the lever · route image 4

11Drained skeleton platforms: clear ranged foes and cross the wooden bridge

Clear the skeletons below, prioritizing distant archers.
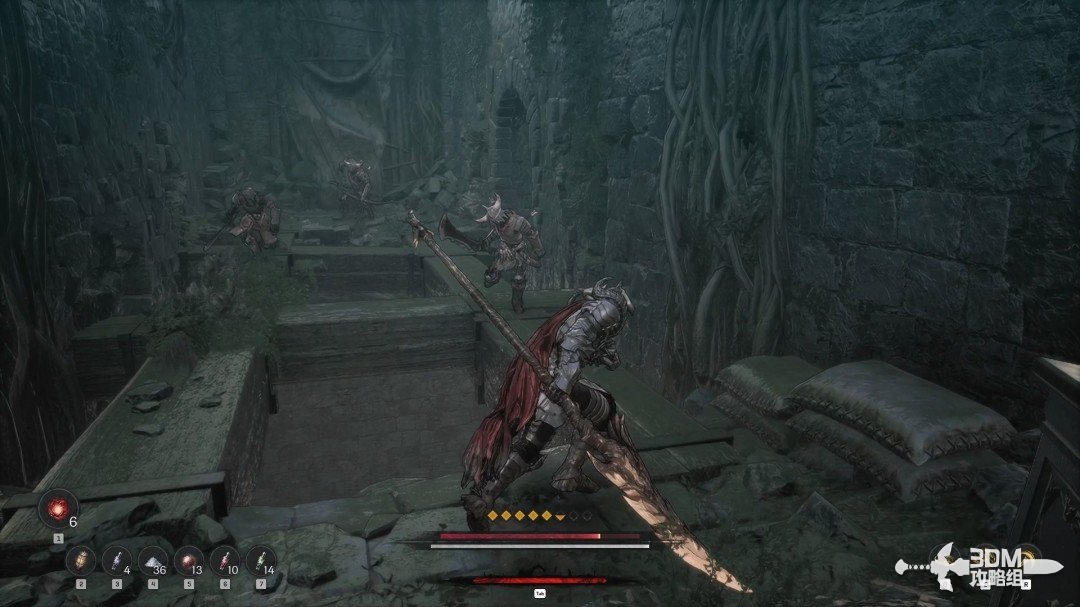
Drained skeleton platforms: clear ranged foes and cross the wooden bridge · route image 5

Follow the pictured route after clearing them.
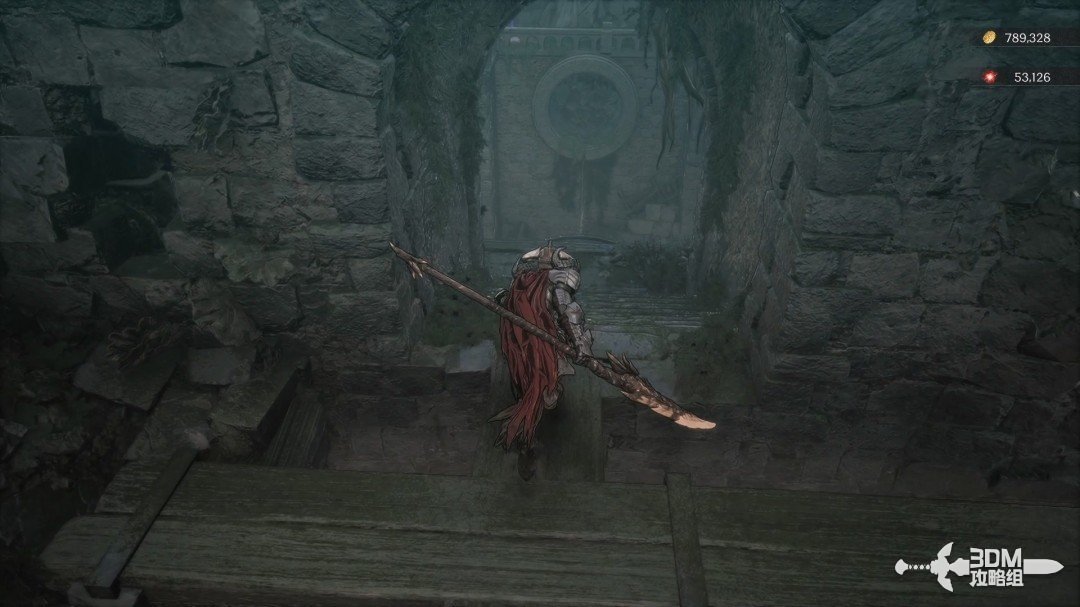
Drained skeleton platforms: clear ranged foes and cross the wooden bridge · route image 6

Prioritize the ranged enemies at this position.
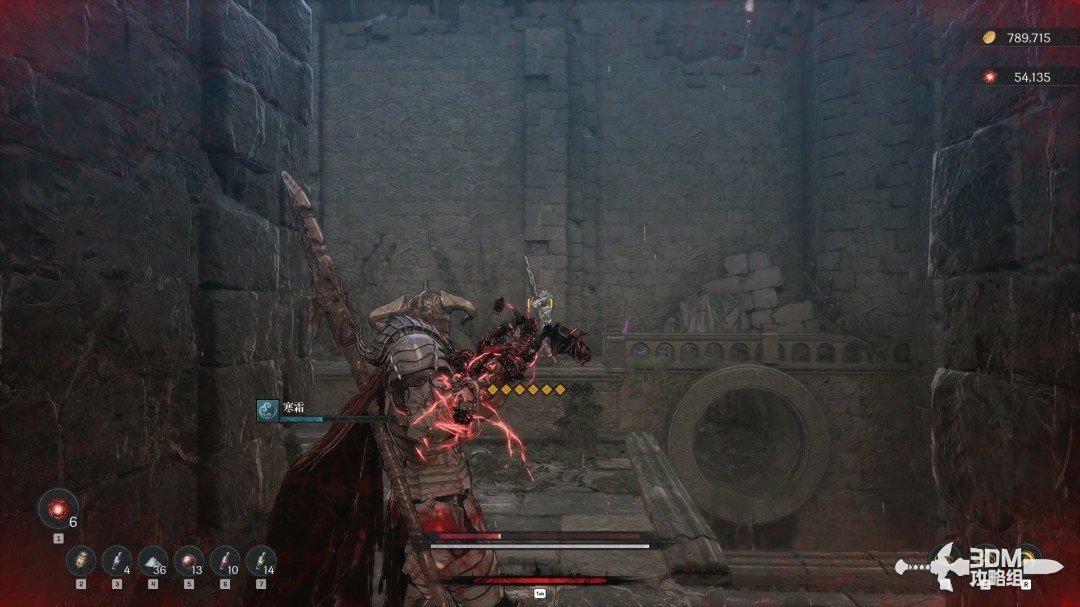
Drained skeleton platforms: clear ranged foes and cross the wooden bridge · route image 7

Collect the purple item behind this archer.
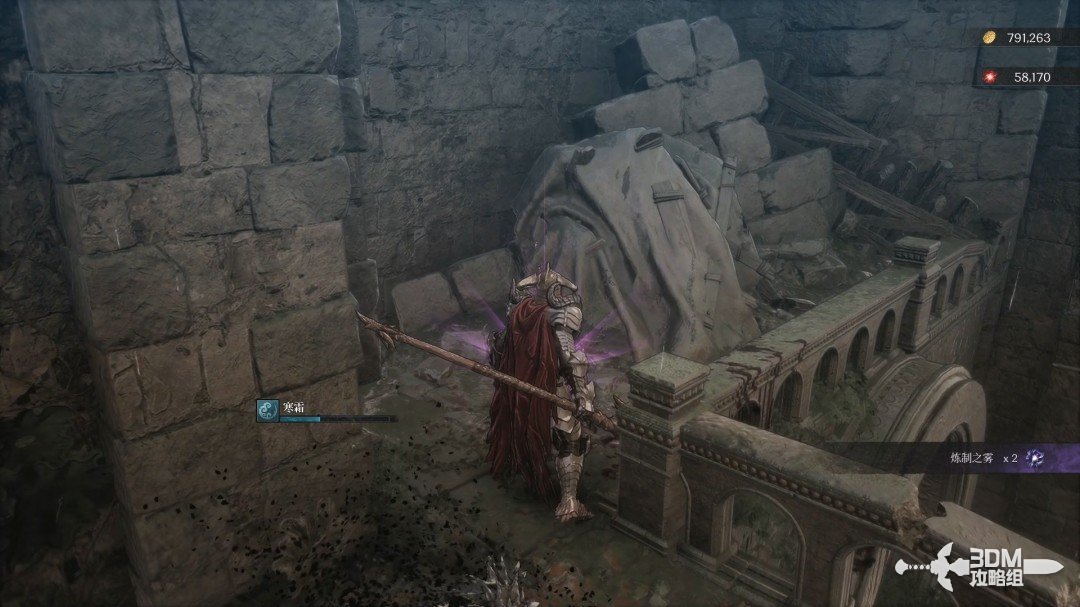
Drained skeleton platforms: clear ranged foes and cross the wooden bridge · route image 8

Defeat the archer ahead for a golden Shining Stone material.
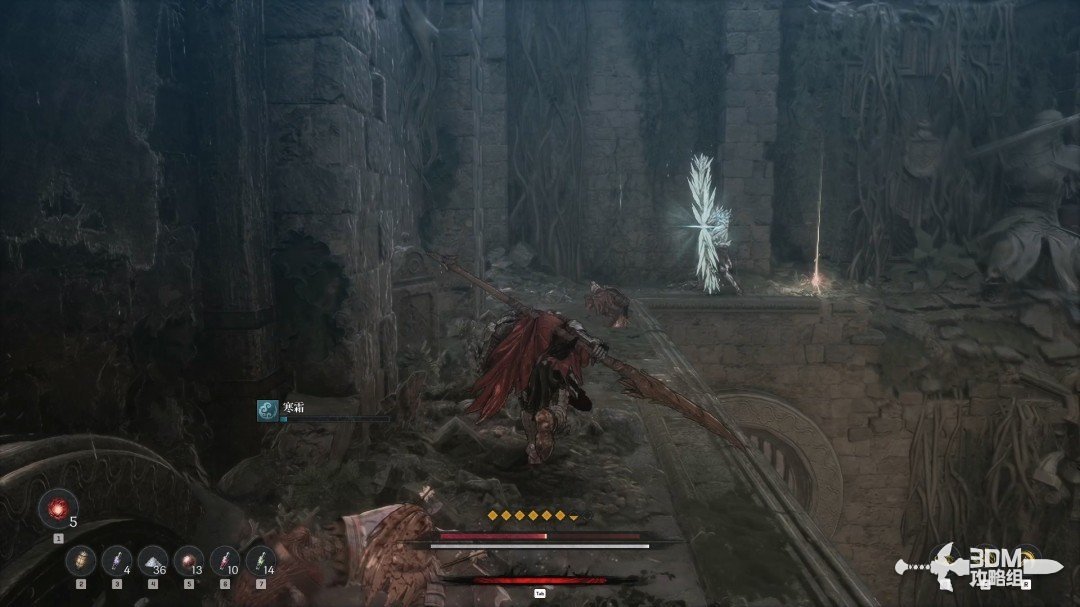
Drained skeleton platforms: clear ranged foes and cross the wooden bridge · route image 9
Drained skeleton platforms: clear ranged foes and cross the wooden bridge · route image 10

Turn back and cross the wooden bridge, collecting a blue item before descending the stairs.
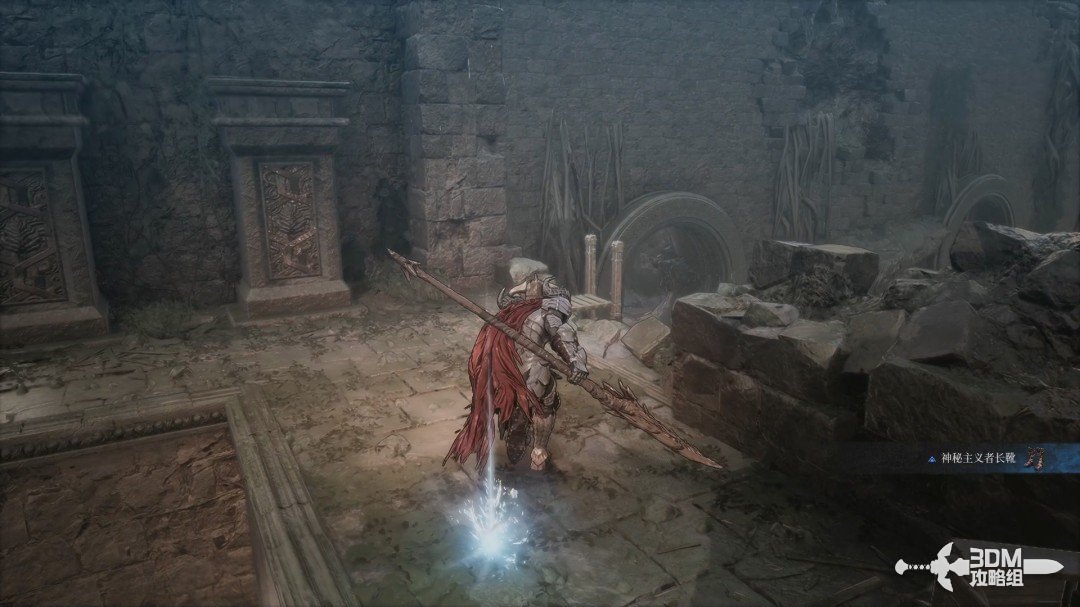
Drained skeleton platforms: clear ranged foes and cross the wooden bridge · route image 11

12Paired pipes beneath the bridge: search the memory and chest before climbing

Enter the sewer behind the bottom of the stairs.
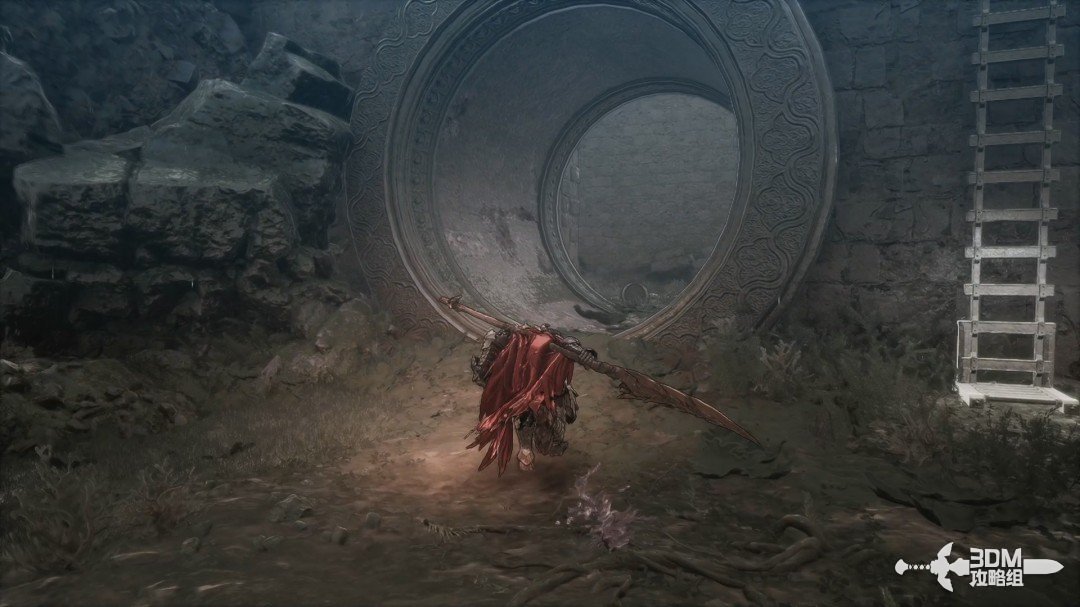
Paired pipes beneath the bridge: search the memory and chest before climbing · route image 12

Go left for a memory.

Paired pipes beneath the bridge: search the memory and chest before climbing · route image 13

Return to the entrance and take the other pipe for a chest.
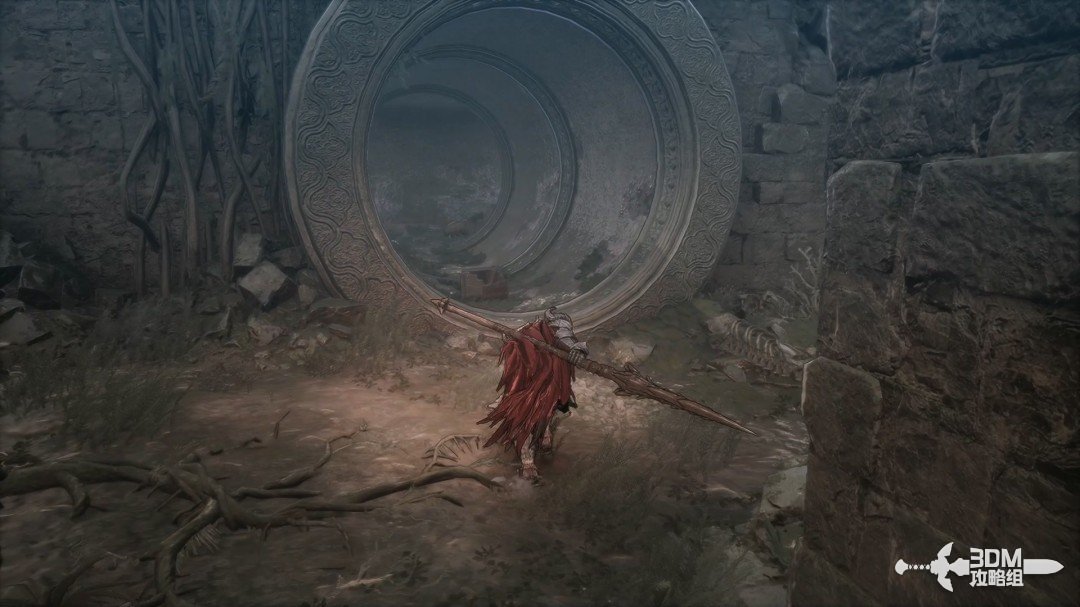
Paired pipes beneath the bridge: search the memory and chest before climbing · route image 14
Paired pipes beneath the bridge: search the memory and chest before climbing · route image 15

Resume the main route. Look above for a dropping enemy and avoid the plague left on its corpse.
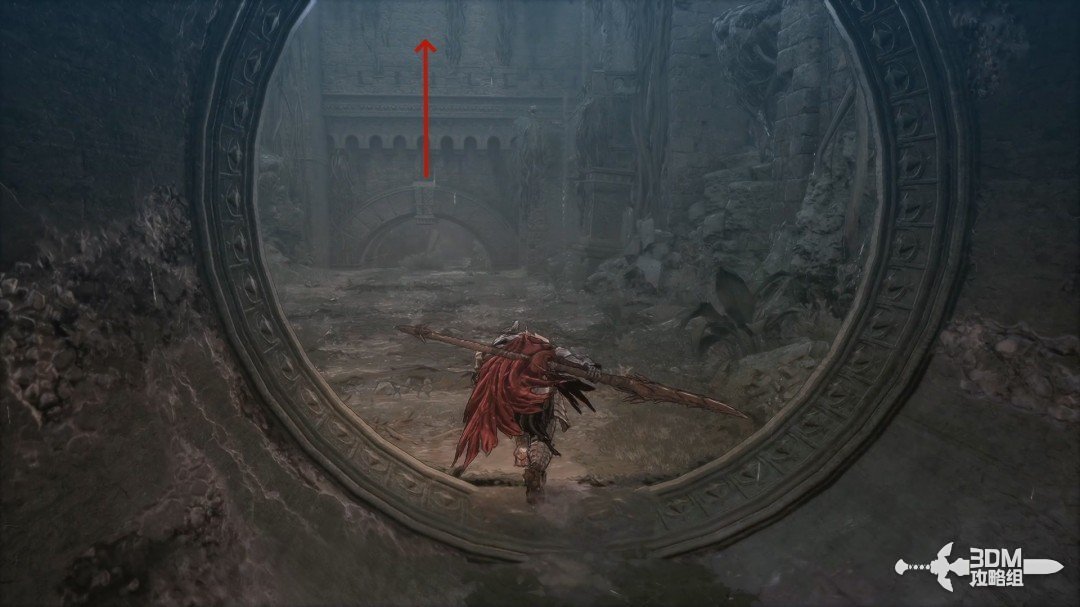
Paired pipes beneath the bridge: search the memory and chest before climbing · route image 16

Climb the nearby ladder.

Paired pipes beneath the bridge: search the memory and chest before climbing · route image 17

13Upper switch and house beside the tree: find the second Soulstone

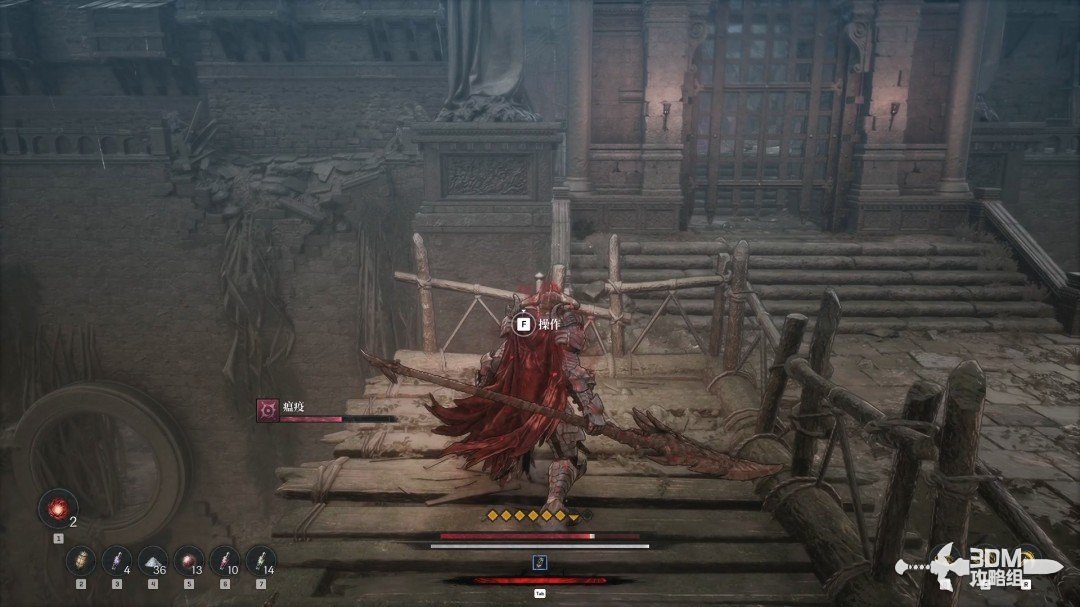
After two ladders, activate the switch on the left.
Upper switch and house beside the tree: find the second Soulstone · route image 18

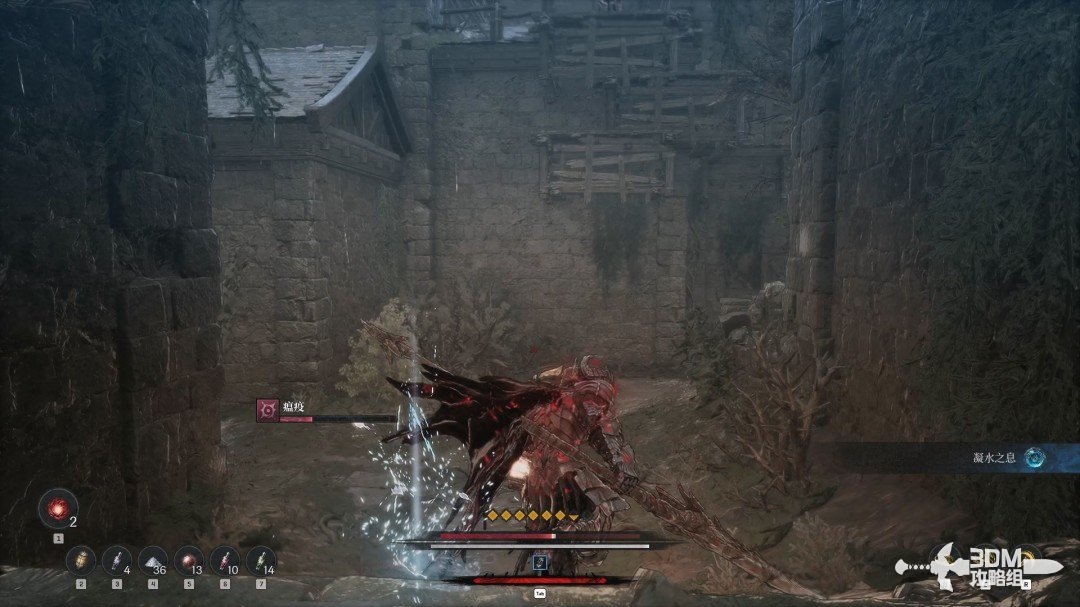
Go right, open the small gate and collect the blue item.
Upper switch and house beside the tree: find the second Soulstone · route image 19

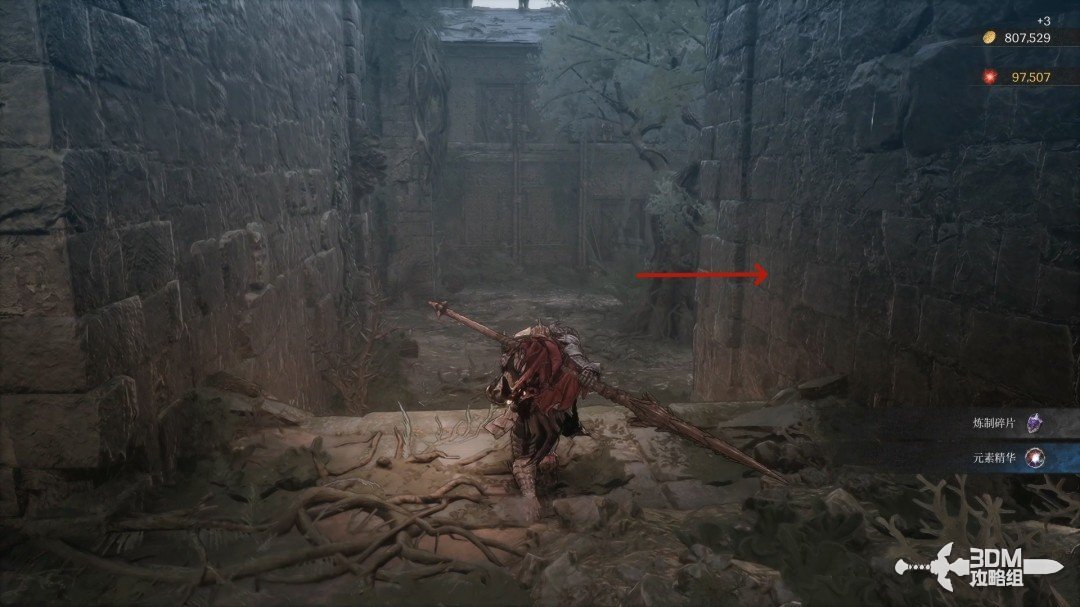
Follow this small path.

Upper switch and house beside the tree: find the second Soulstone · route image 20

A Soulstone is inside the building beside the tree.
Upper switch and house beside the tree: find the second Soulstone · route image 21
Upper switch and house beside the tree: find the second Soulstone · route image 22

15Scroll behind the house and plank entrance: follow the lower path to the Soulstone

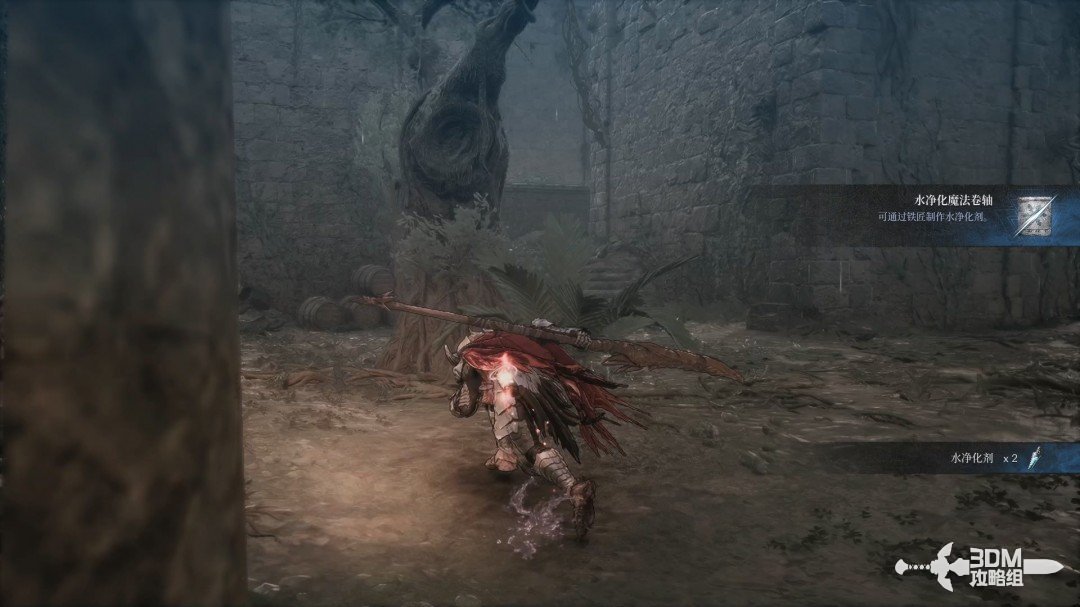
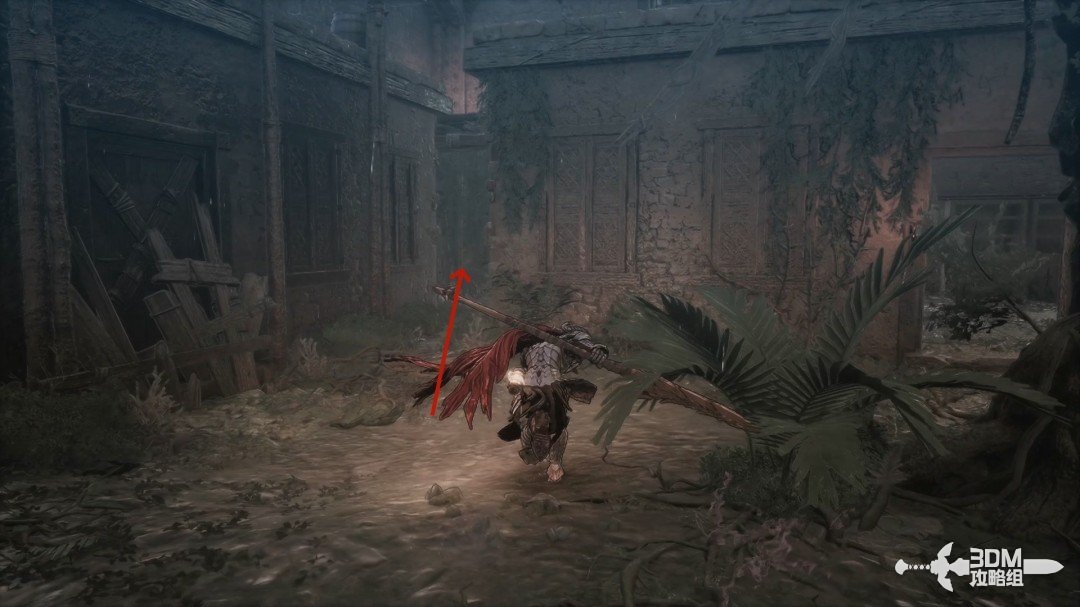
Leave after the Soulstone and look right behind the house for a Water Purification Magic Scroll.
Scroll behind the house and plank entrance: follow the lower path to the Soulstone · route image 1
Scroll behind the house and plank entrance: follow the lower path to the Soulstone · route image 2

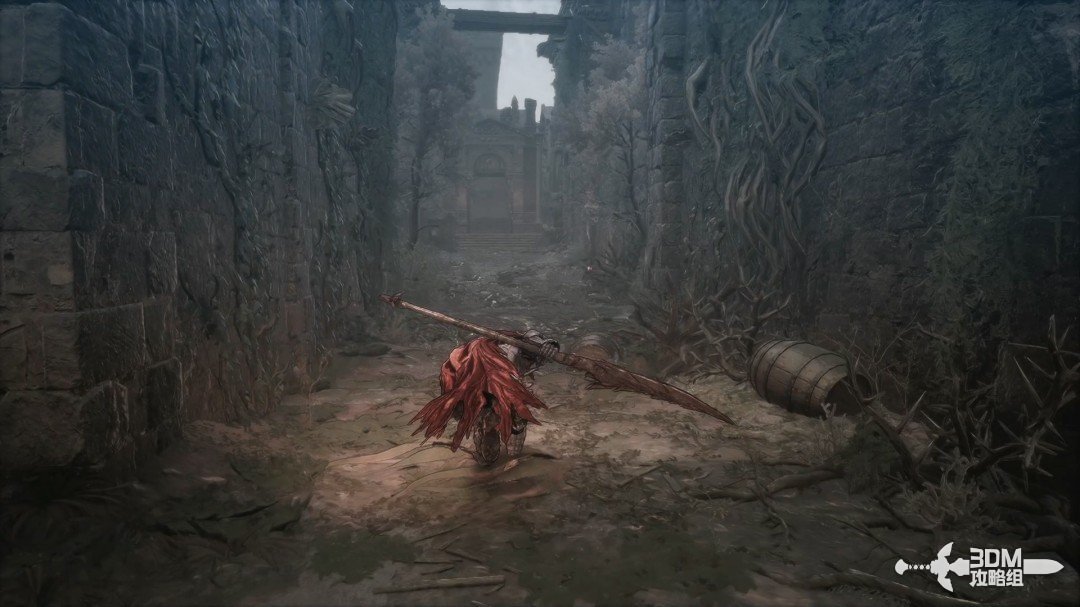
Continue along the path ahead.

Scroll behind the house and plank entrance: follow the lower path to the Soulstone · route image 3

Enter through the boards on the right.
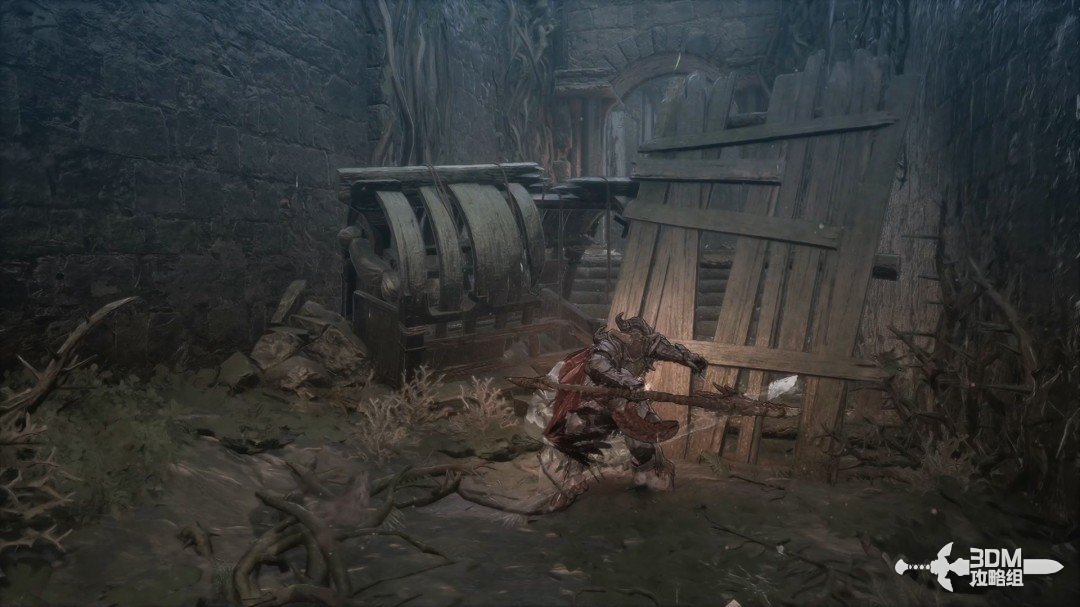
Scroll behind the house and plank entrance: follow the lower path to the Soulstone · route image 4

First check the area ahead on the left for a chest.
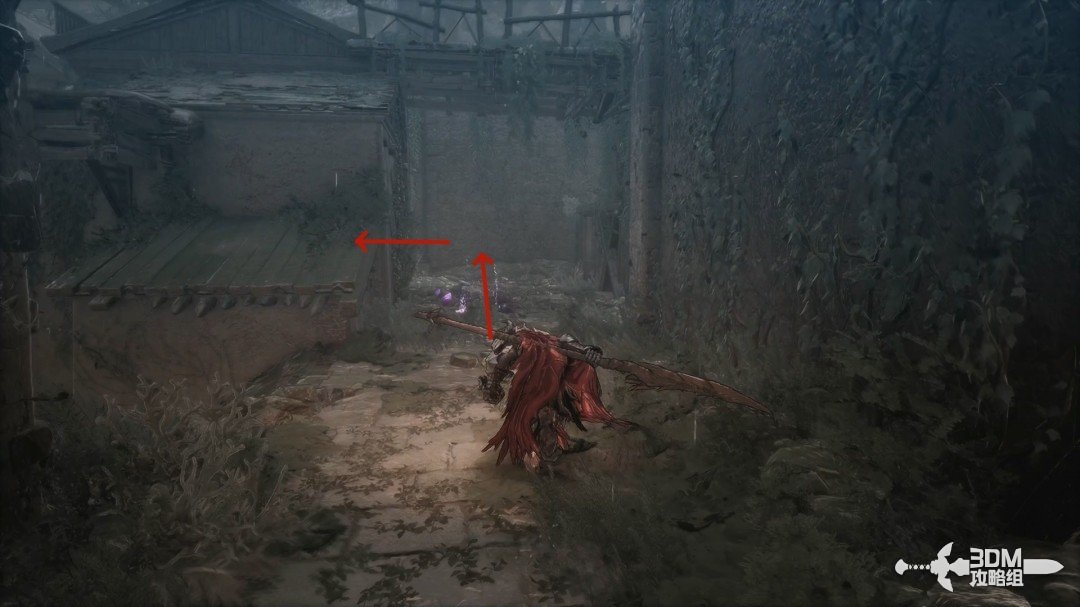
Scroll behind the house and plank entrance: follow the lower path to the Soulstone · route image 5

Return to the junction, take the left branch and collect the purple equipment.
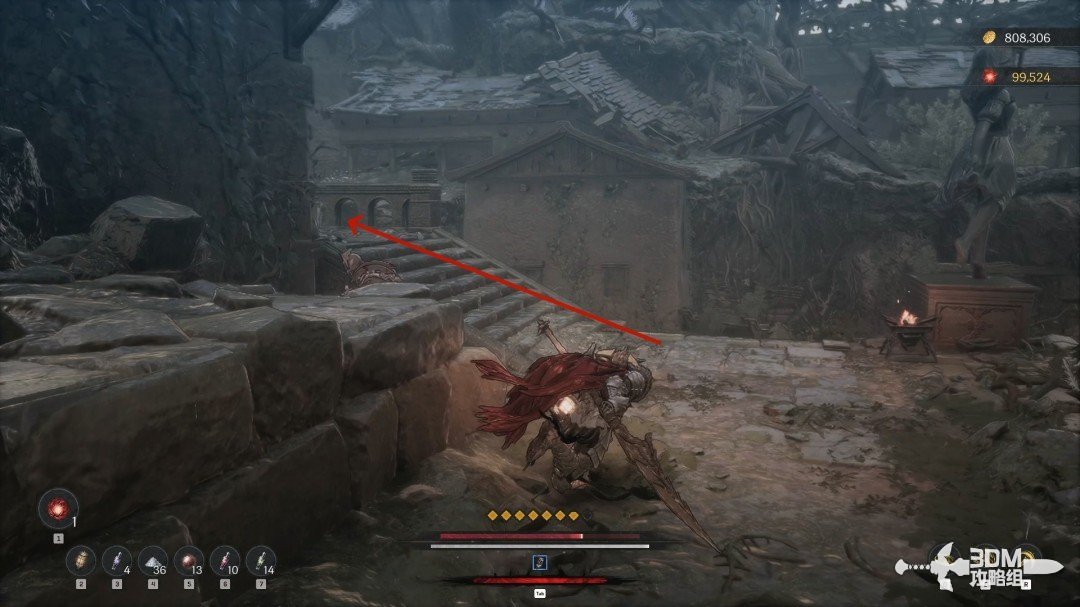
Scroll behind the house and plank entrance: follow the lower path to the Soulstone · route image 6
Scroll behind the house and plank entrance: follow the lower path to the Soulstone · route image 7

Descend along this small path.

Scroll behind the house and plank entrance: follow the lower path to the Soulstone · route image 8

A Soulstone lies behind the left iron gate.
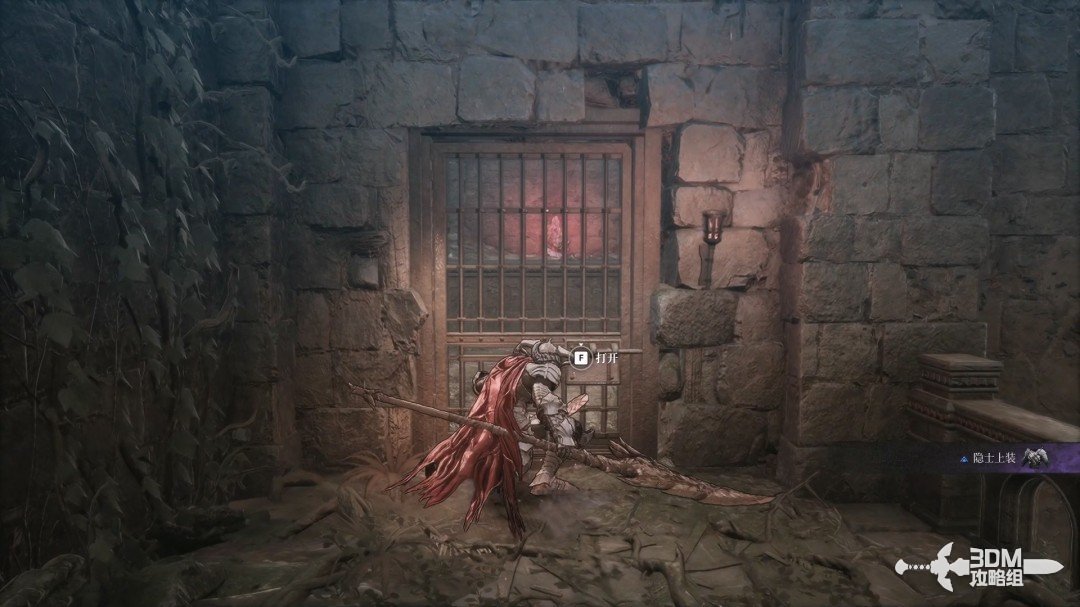
Scroll behind the house and plank entrance: follow the lower path to the Soulstone · route image 9

18Return to the sluice Nexus: search the right chest branch

Leave to reconnect with the switch-operated gate and nearby Nexus.
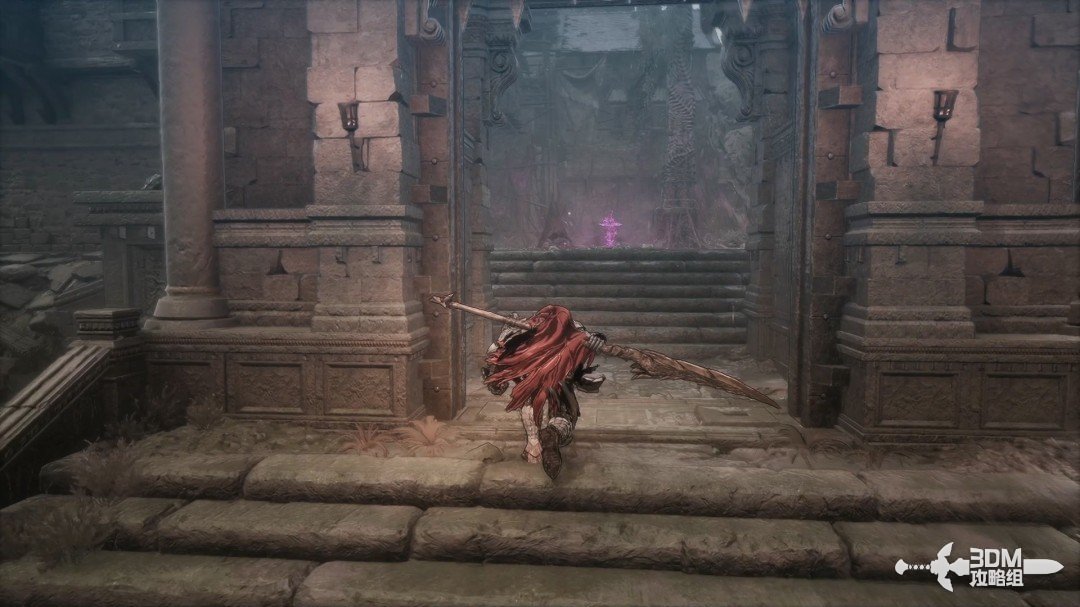
Return to the sluice Nexus: search the right chest branch · route image 1

Rest, then take the pictured route for a memory.
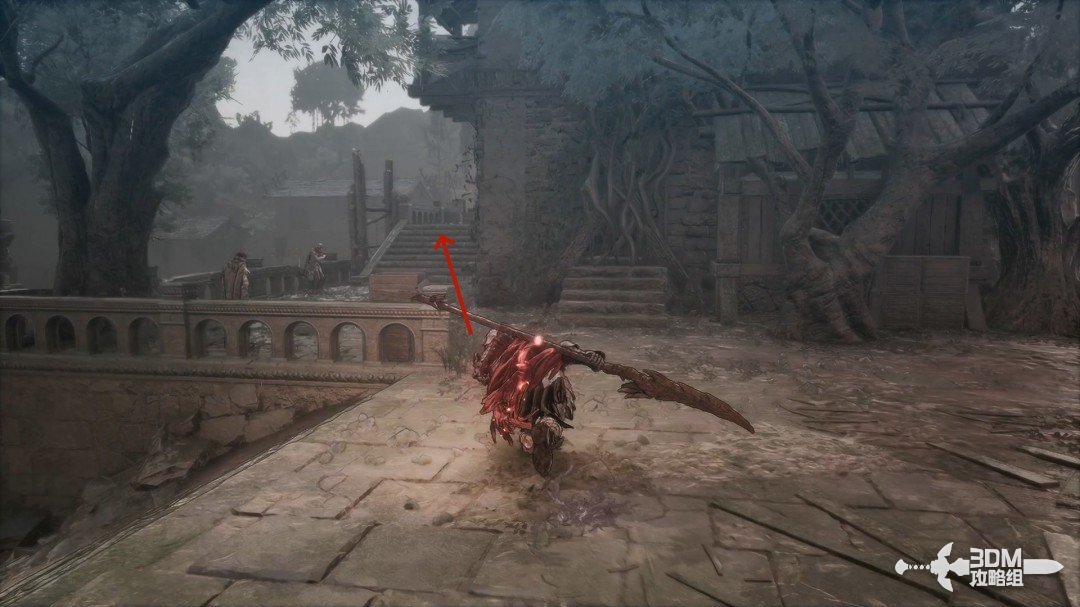
Return to the sluice Nexus: search the right chest branch · route image 2

Descend one step after the memory for a white item.
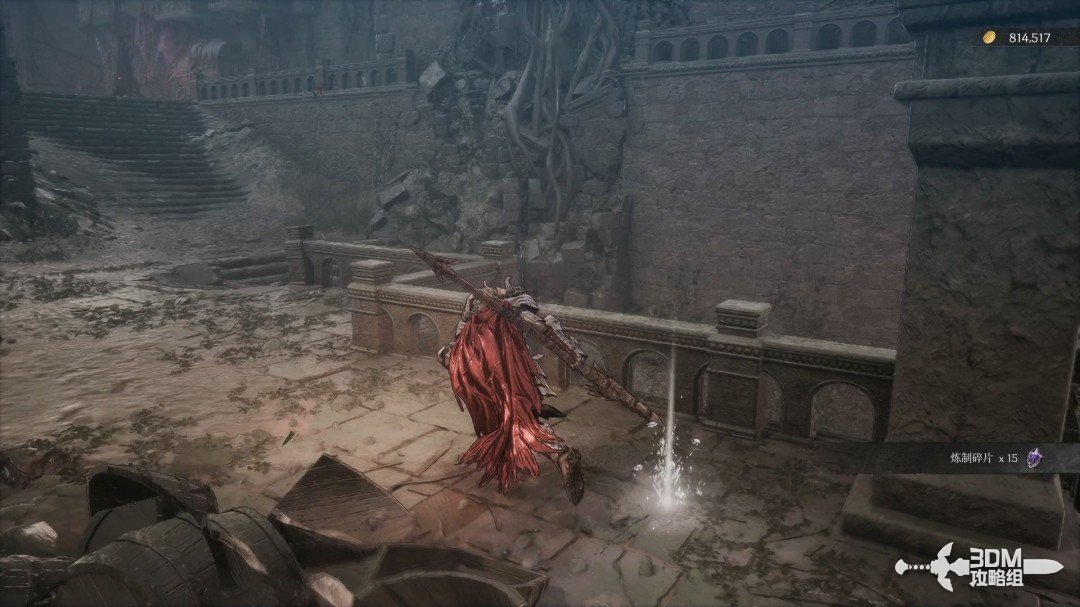
Return to the sluice Nexus: search the right chest branch · route image 3

Continue down to a fork and go right.
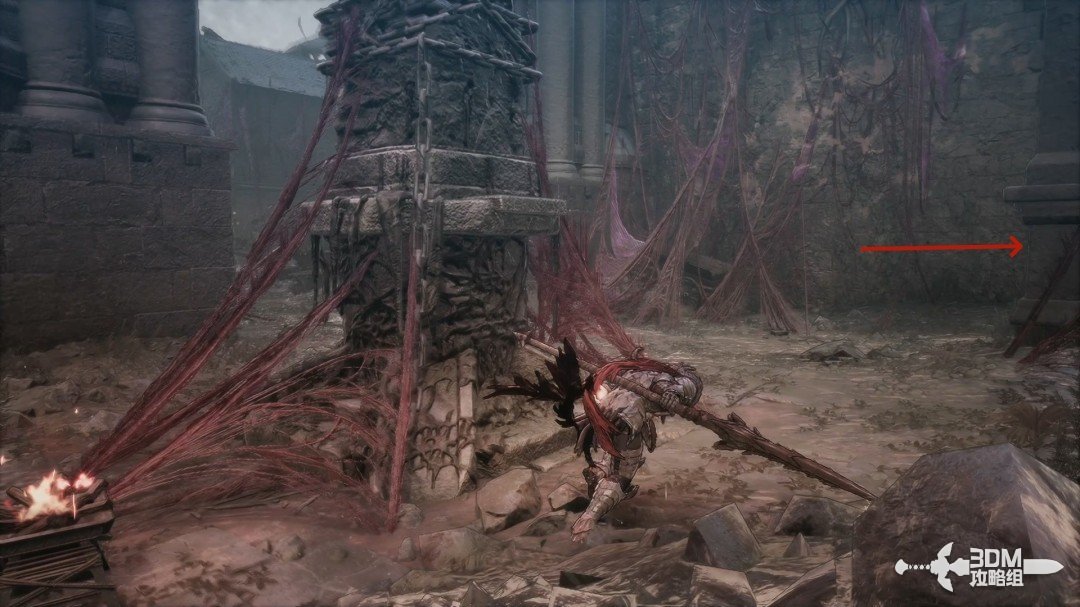
Return to the sluice Nexus: search the right chest branch · route image 4

Climb the ladder for a chest on the left.
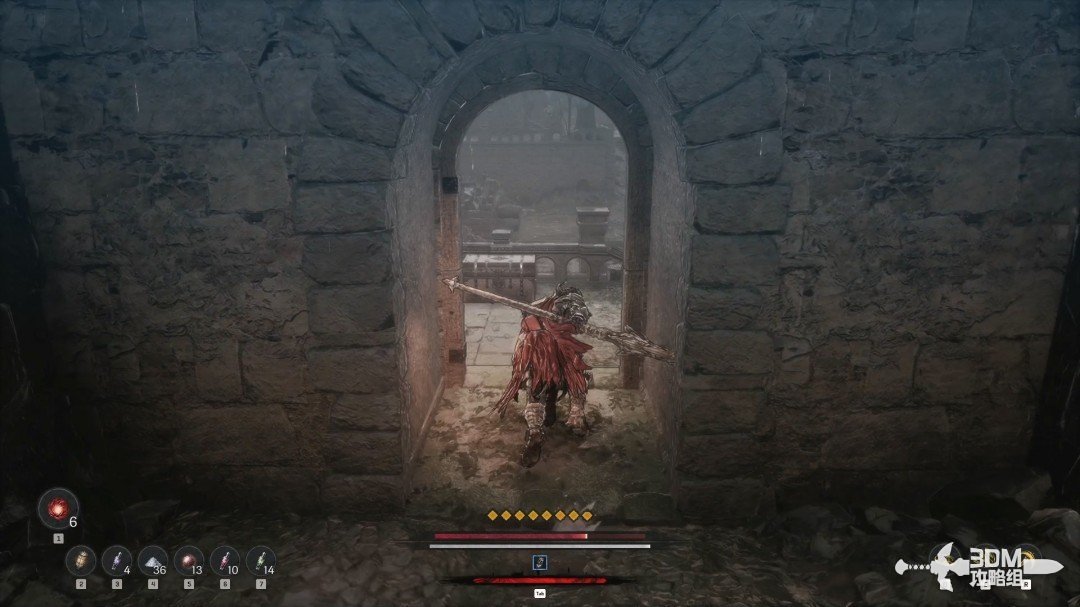
Return to the sluice Nexus: search the right chest branch · route image 5

19Elite in the left clearing: open the gate and climb the narrow edge

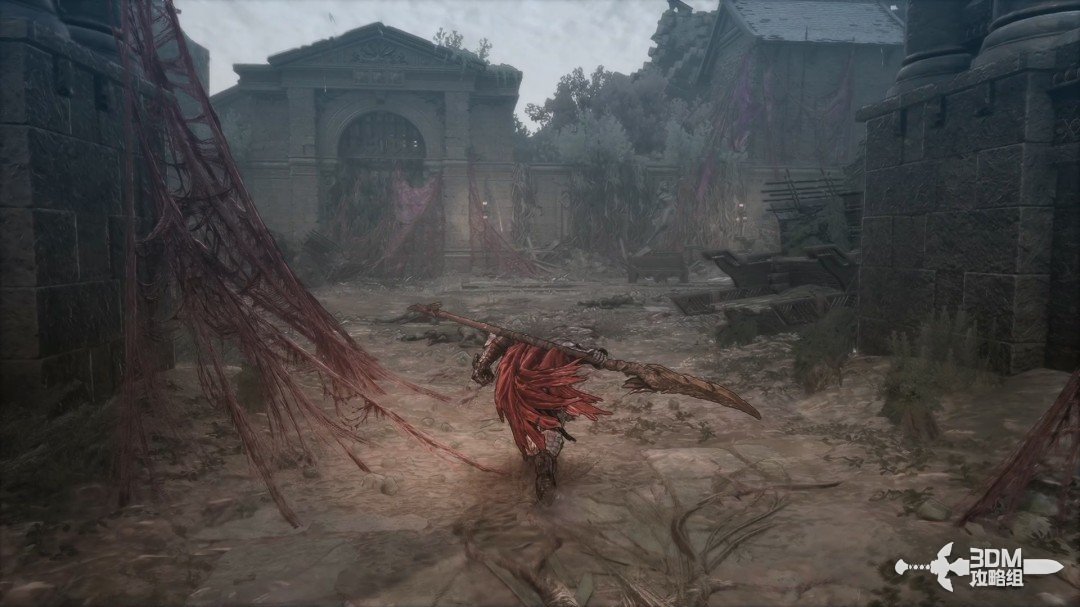
Return to the fork and take the left branch.
Elite in the left clearing: open the gate and climb the narrow edge · route image 6

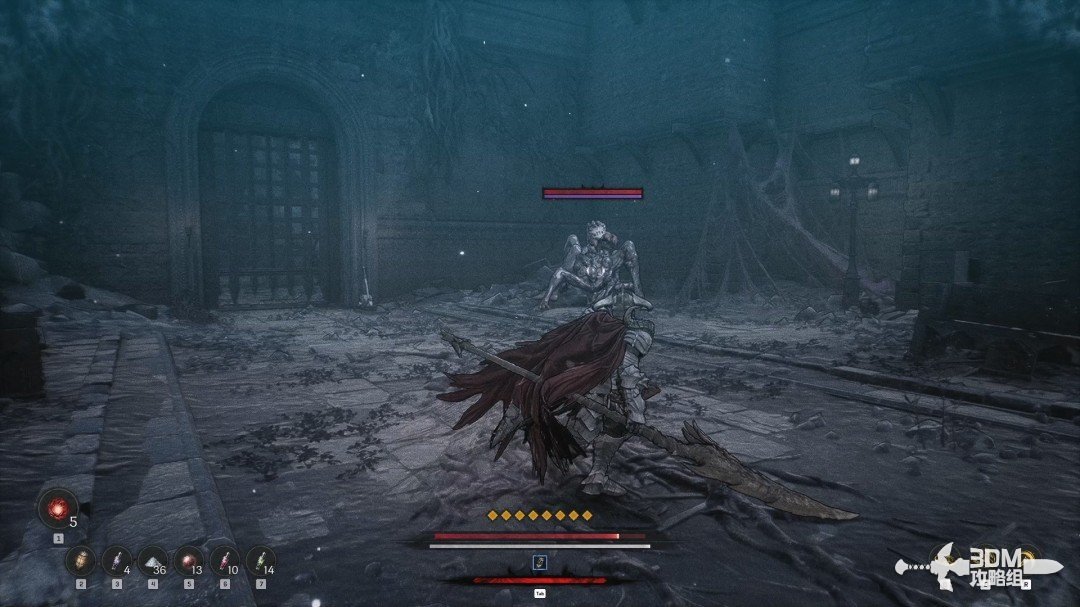
Defeat the elite in the clearing, then activate the iron-gate mechanism.
Elite in the left clearing: open the gate and climb the narrow edge · route image 7

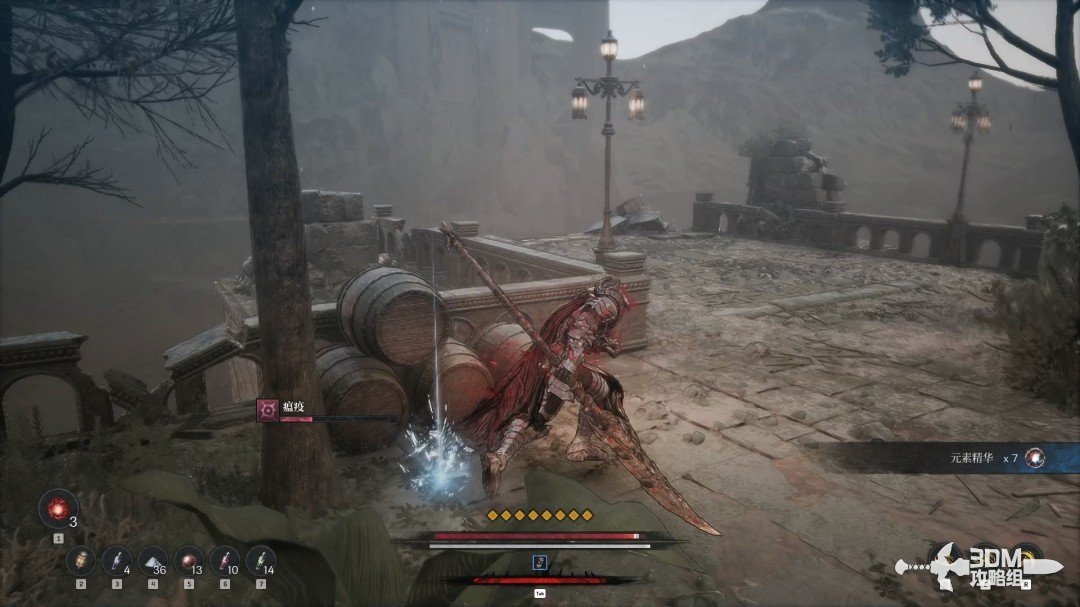
Collect the blue item on the left beyond the gate.
Elite in the left clearing: open the gate and climb the narrow edge · route image 8

A memory lies below on the right.

Elite in the left clearing: open the gate and climb the narrow edge · route image 9

Descend along the main route.

Elite in the left clearing: open the gate and climb the narrow edge · route image 10

Use Javelin against the archer ahead.
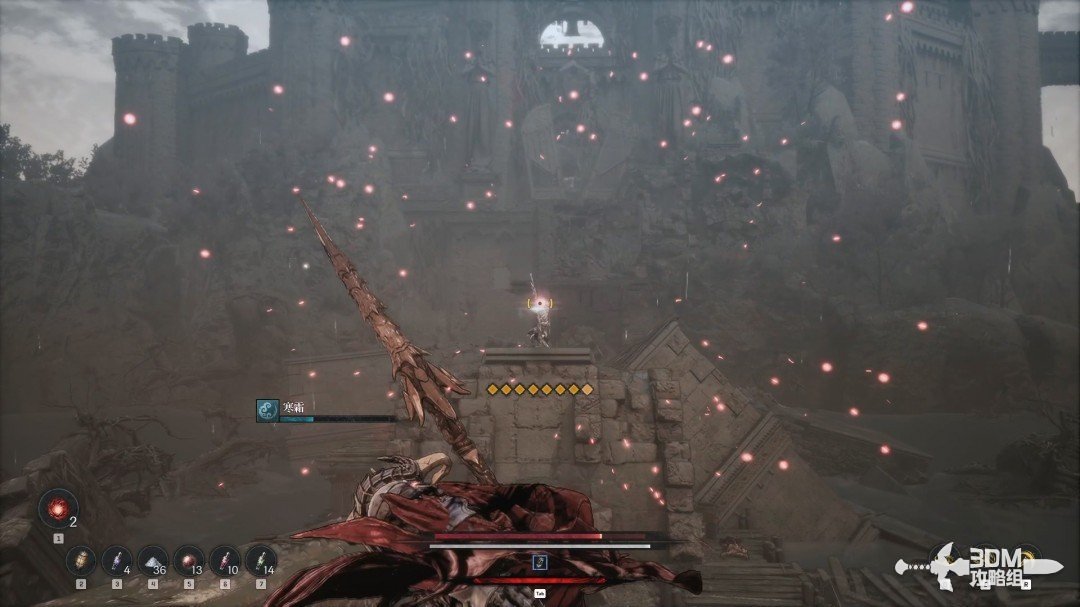
Elite in the left clearing: open the gate and climb the narrow edge · route image 11

Drop here and go right; the left branch is empty.
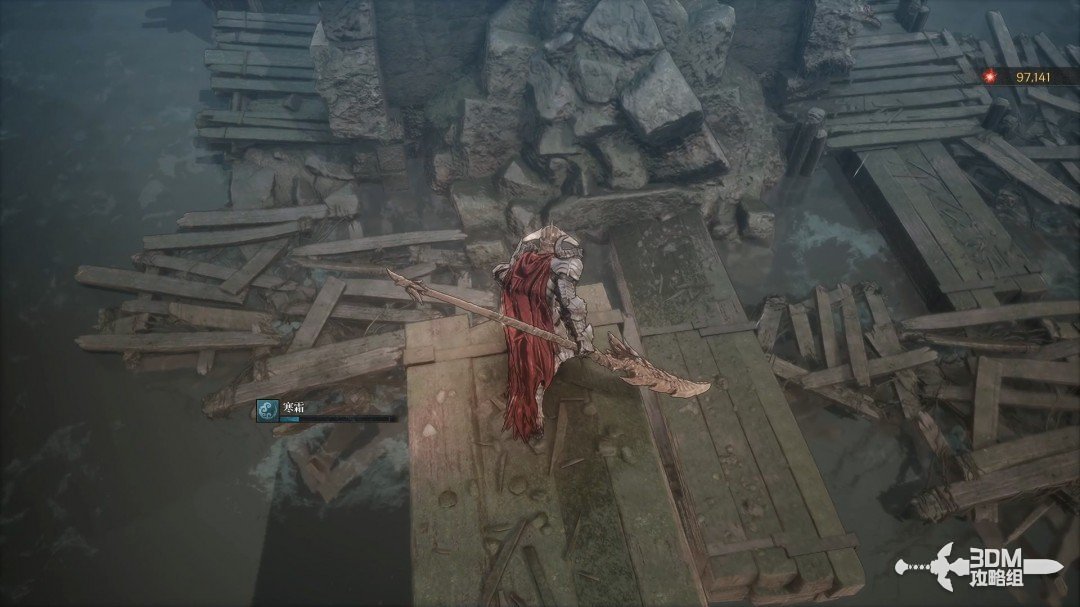
Elite in the left clearing: open the gate and climb the narrow edge · route image 12

Fight carefully on the narrow ledges to avoid falling.
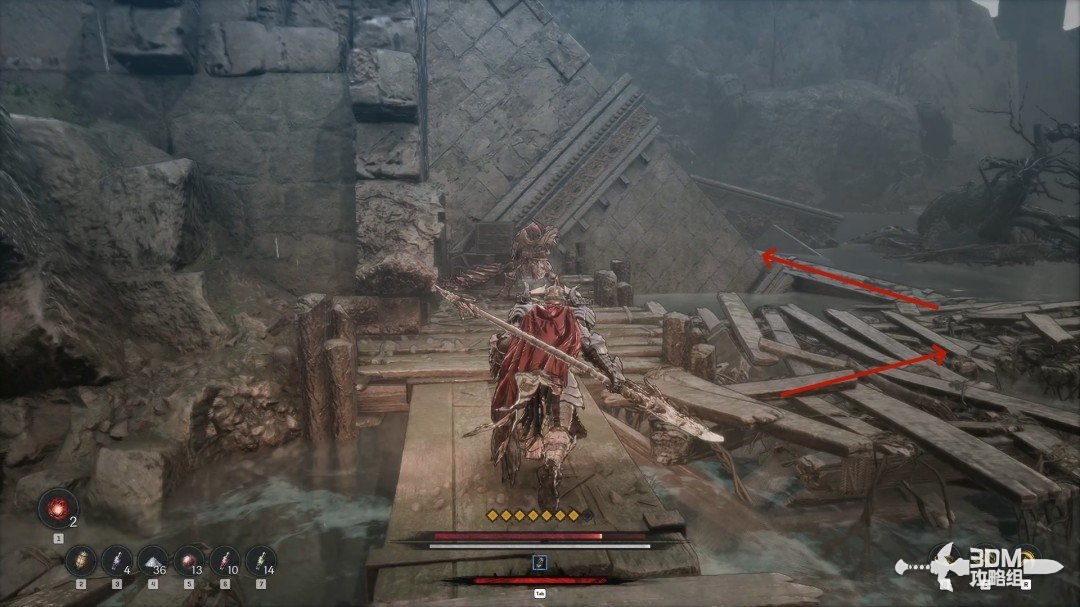
Elite in the left clearing: open the gate and climb the narrow edge · route image 13

Follow the edge upward for the red Ghostly Beast Fang Necklace.
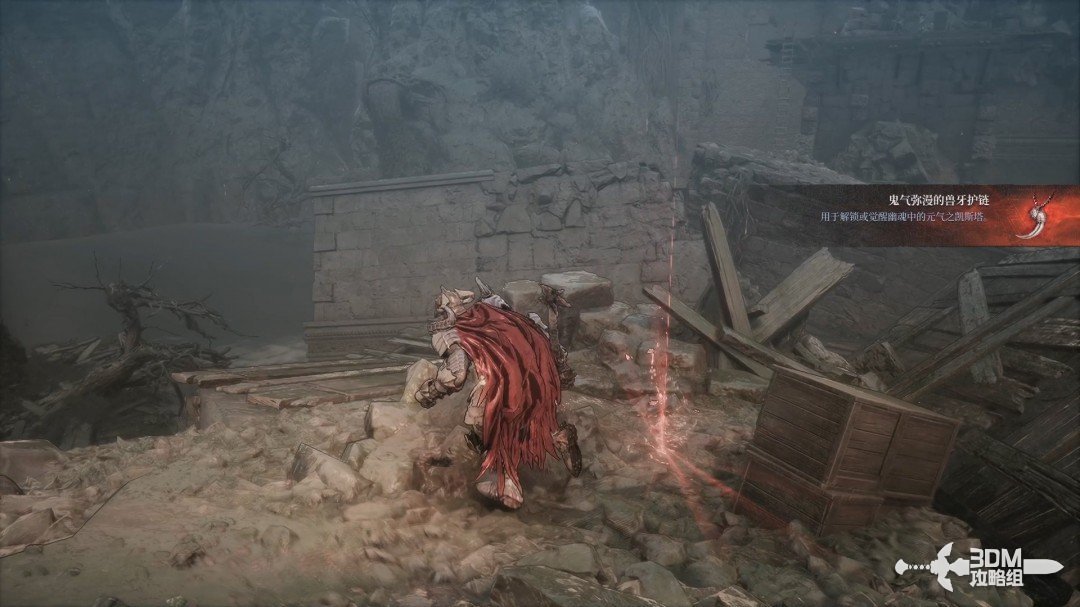
Elite in the left clearing: open the gate and climb the narrow edge · route image 14

21Drop from the edge and paired stairs: ride the elevator to the Nexus

Drop from this position and go right.
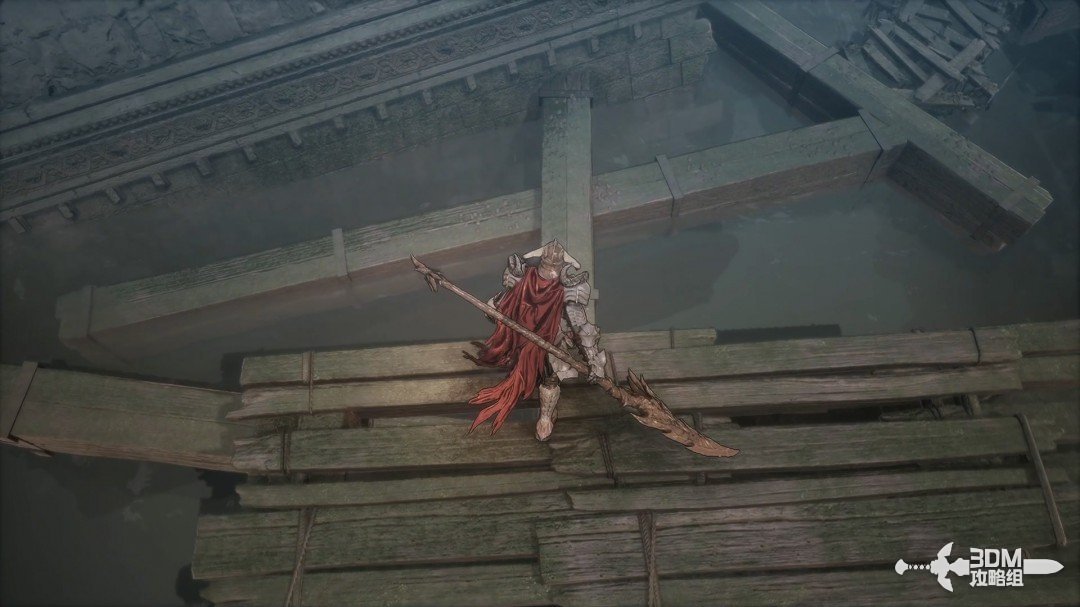
Drop from the edge and paired stairs: ride the elevator to the Nexus · route image 1

Defeat the skeleton at the corner and climb the ladder.
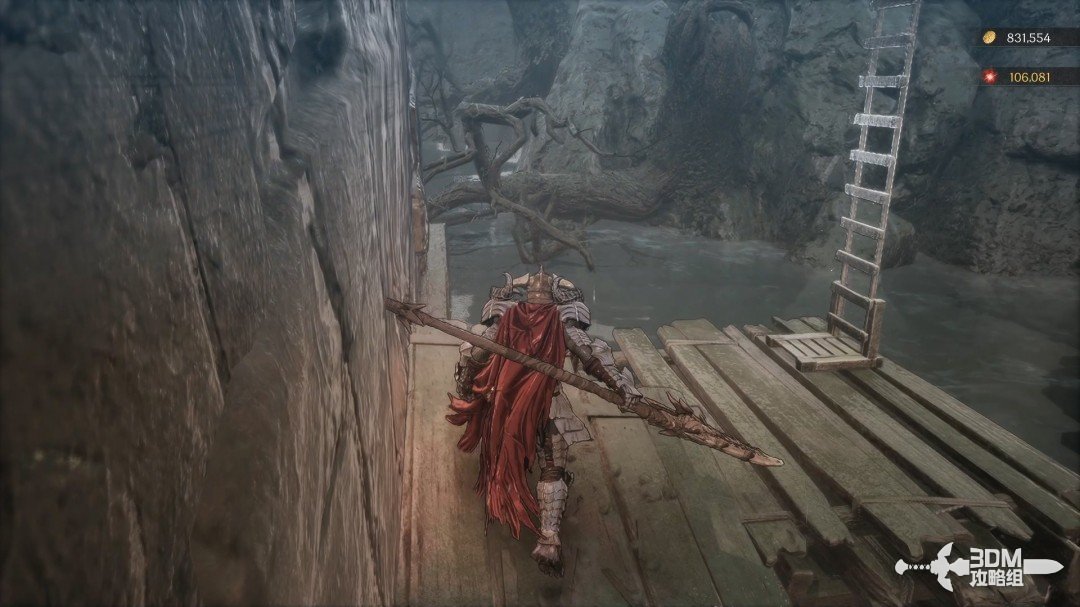
Drop from the edge and paired stairs: ride the elevator to the Nexus · route image 2

Collect the white item on the right above.
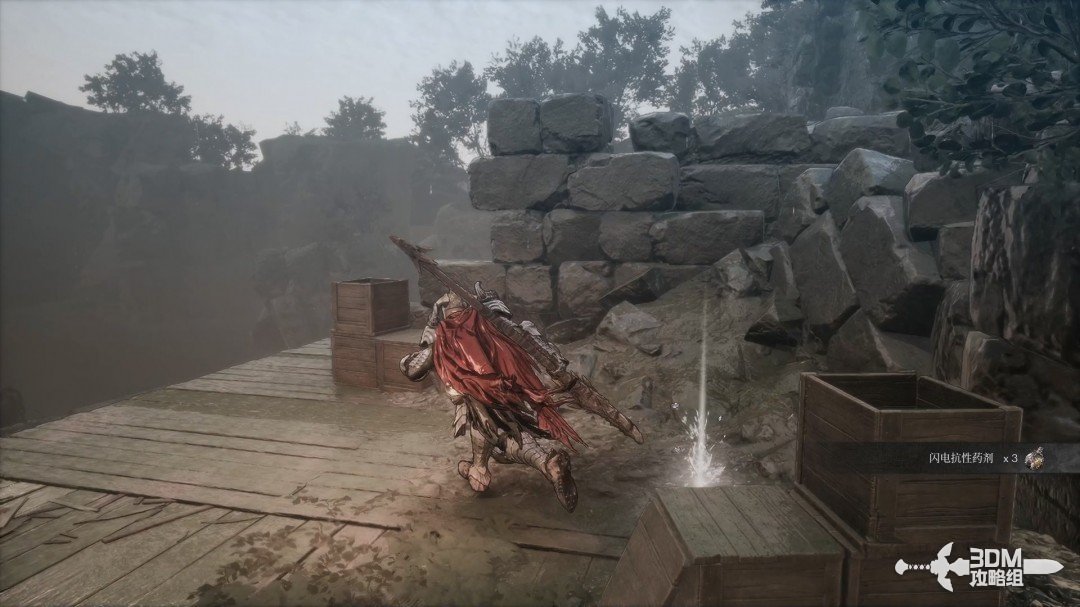
Drop from the edge and paired stairs: ride the elevator to the Nexus · route image 3

Enter the small left door and climb another ladder.
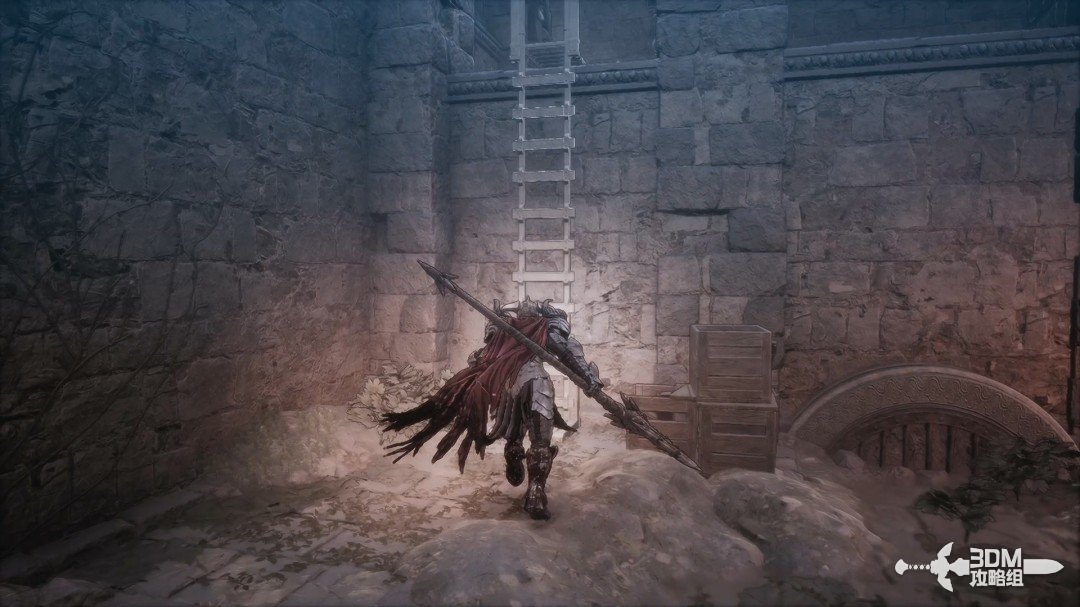
Drop from the edge and paired stairs: ride the elevator to the Nexus · route image 4

Take the elevator at the path's end.

Drop from the edge and paired stairs: ride the elevator to the Nexus · route image 5

Continue straight above to a Nexus; there is nothing on the left.
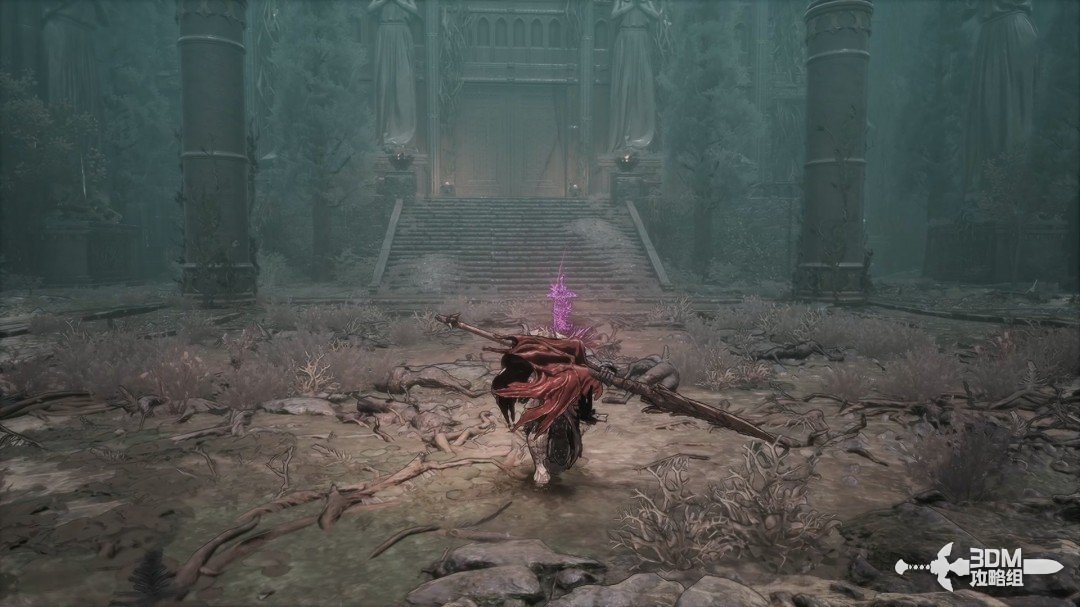
Drop from the edge and paired stairs: ride the elevator to the Nexus · route image 6

Collect the Aldevir Disc Fragment at the Nexus's upper right.
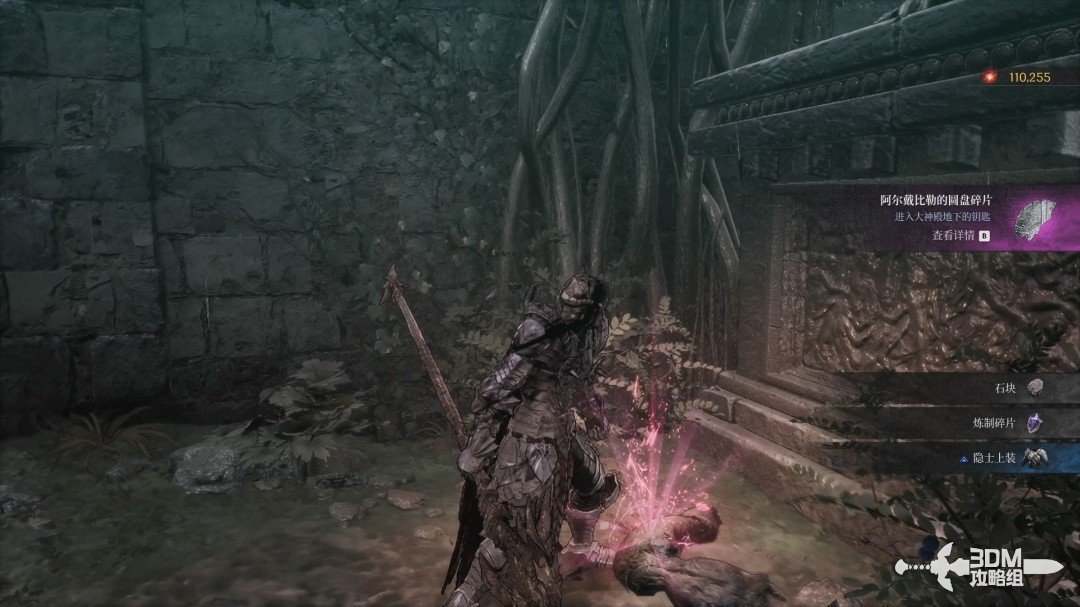
Drop from the edge and paired stairs: ride the elevator to the Nexus · route image 7

23Main hall gate and giant elite: clear the hall and climb the main stairs

Leave and go left.
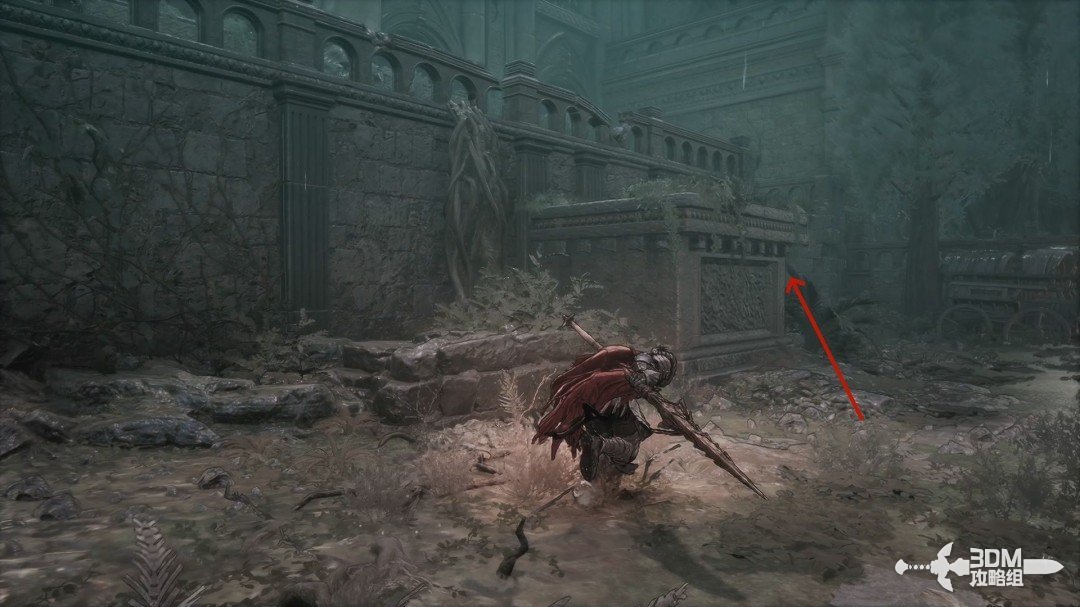
Main hall gate and giant elite: clear the hall and climb the main stairs · route image 1

Defeat the enemies above and absorb the memory ahead.
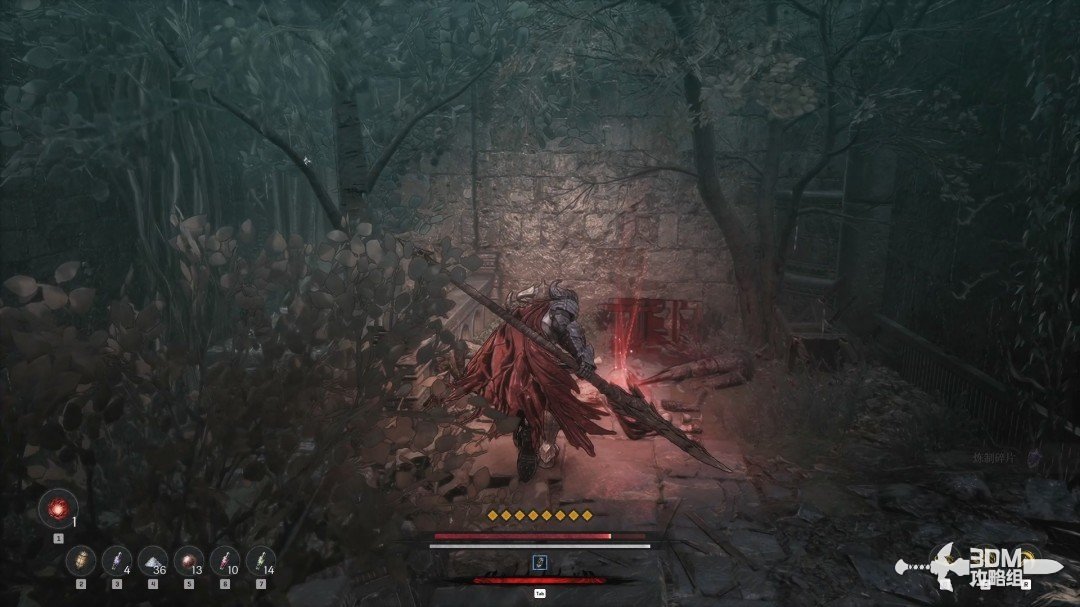
Main hall gate and giant elite: clear the hall and climb the main stairs · route image 2

Open the large gate in front.

Main hall gate and giant elite: clear the hall and climb the main stairs · route image 3

Both sides are empty. Fight the giant elite straight ahead.
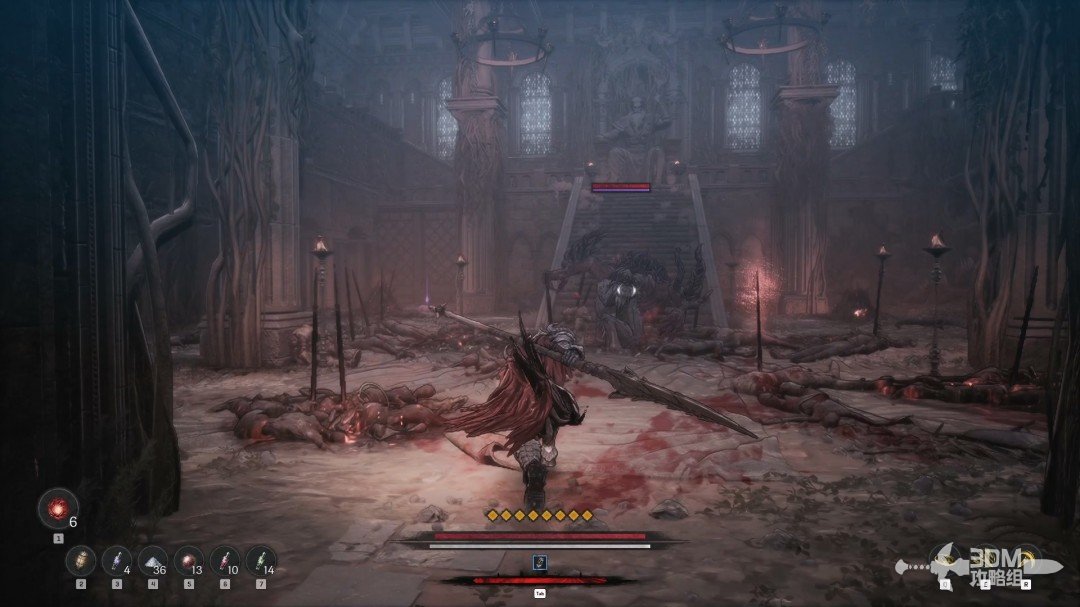
Main hall gate and giant elite: clear the hall and climb the main stairs · route image 4

Collect the white item on the hall's right after the elite.
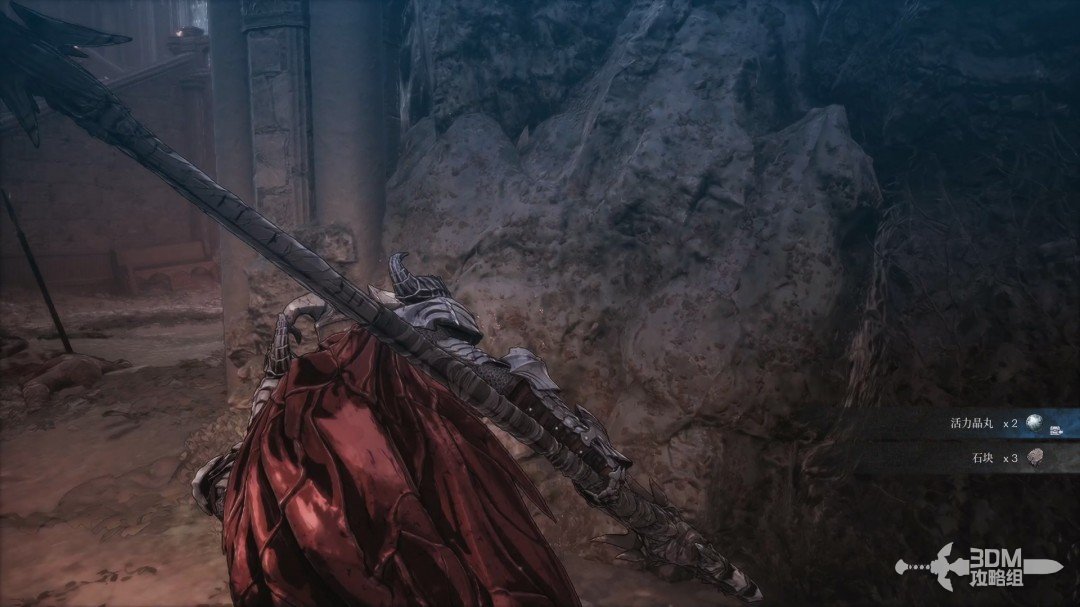
Main hall gate and giant elite: clear the hall and climb the main stairs · route image 5

Collect the purple item on this corpse.
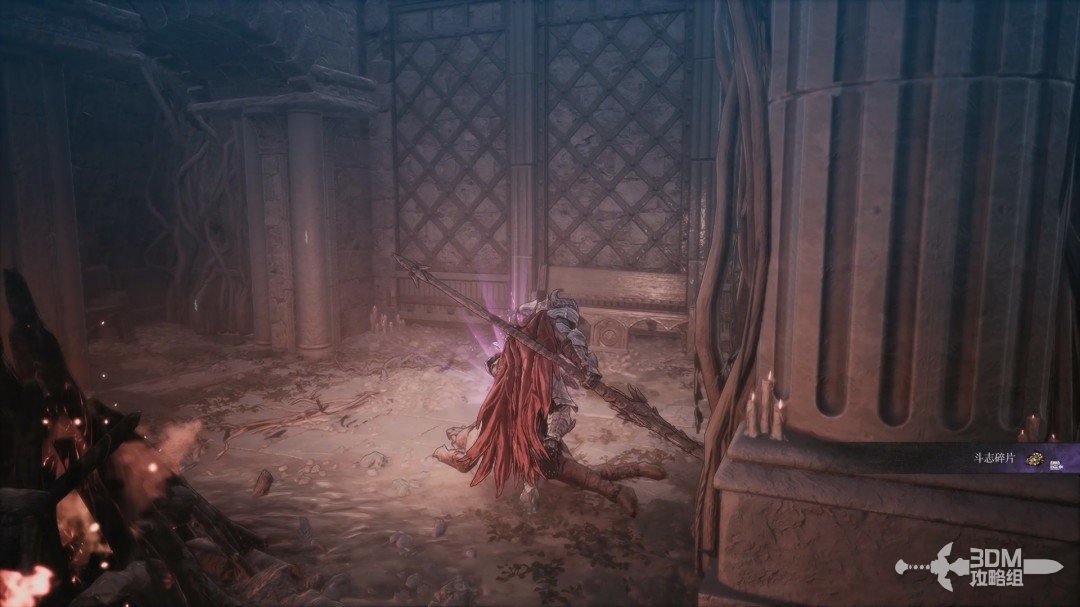
Main hall gate and giant elite: clear the hall and climb the main stairs · route image 6

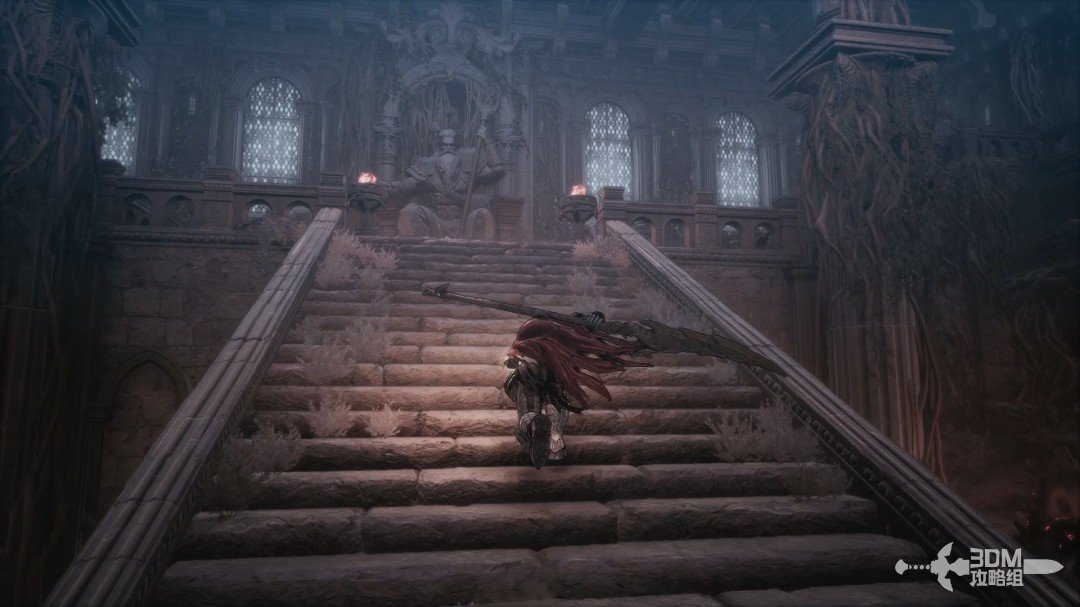
Climb the main staircase.

Main hall gate and giant elite: clear the hall and climb the main stairs · route image 7

24Study in the right wing: climb for the fourth Soulstone

Take the right staircase first and clear the skeleton-filled study.
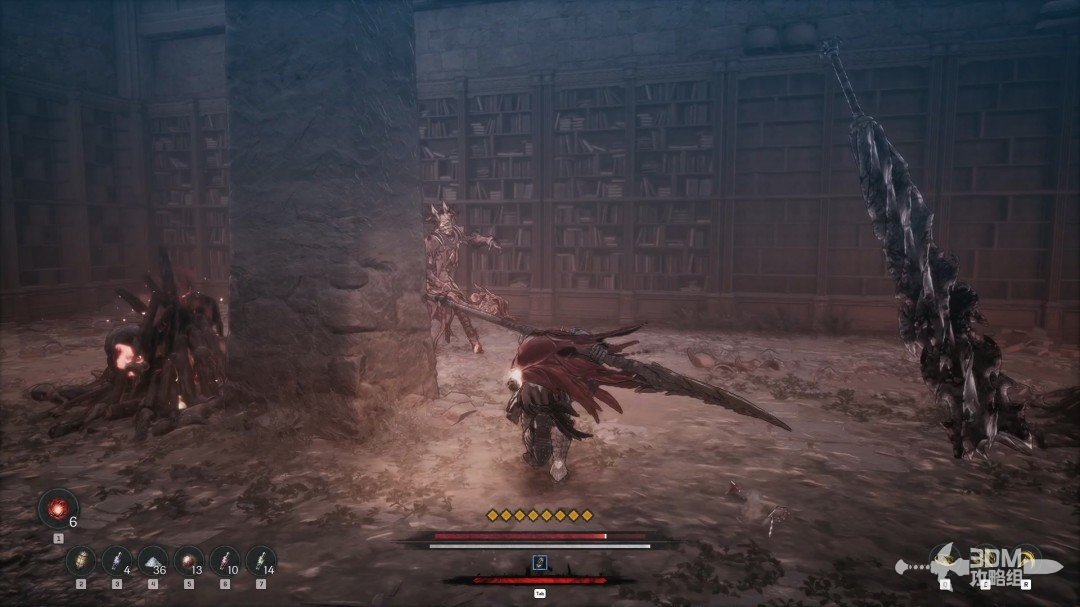
Study in the right wing: climb for the fourth Soulstone · route image 8

Climb the stairs after clearing them.
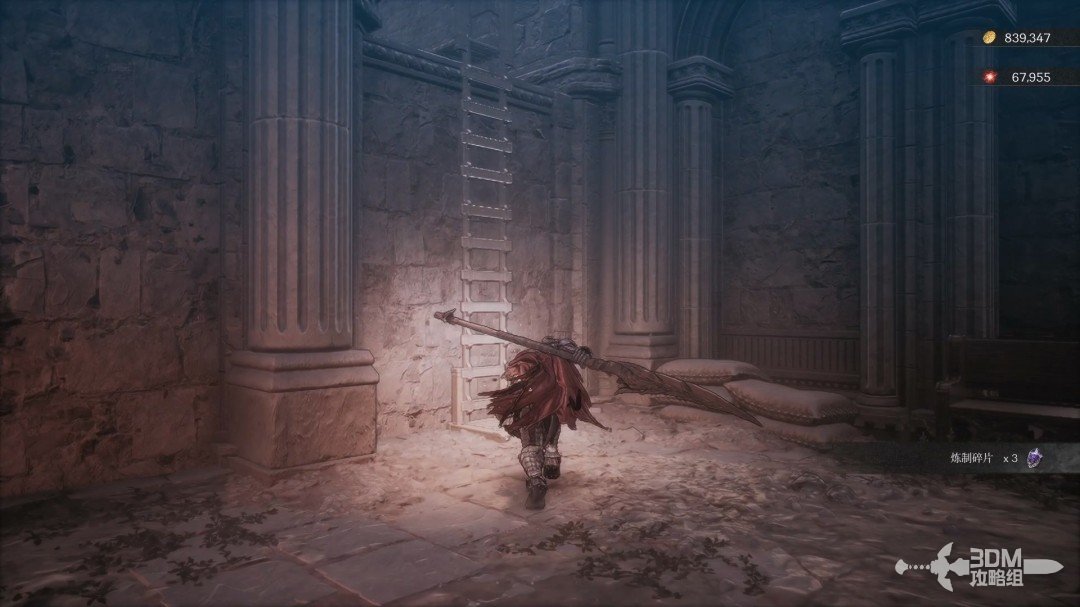
Study in the right wing: climb for the fourth Soulstone · route image 9

A Soulstone stands left of the skeleton.
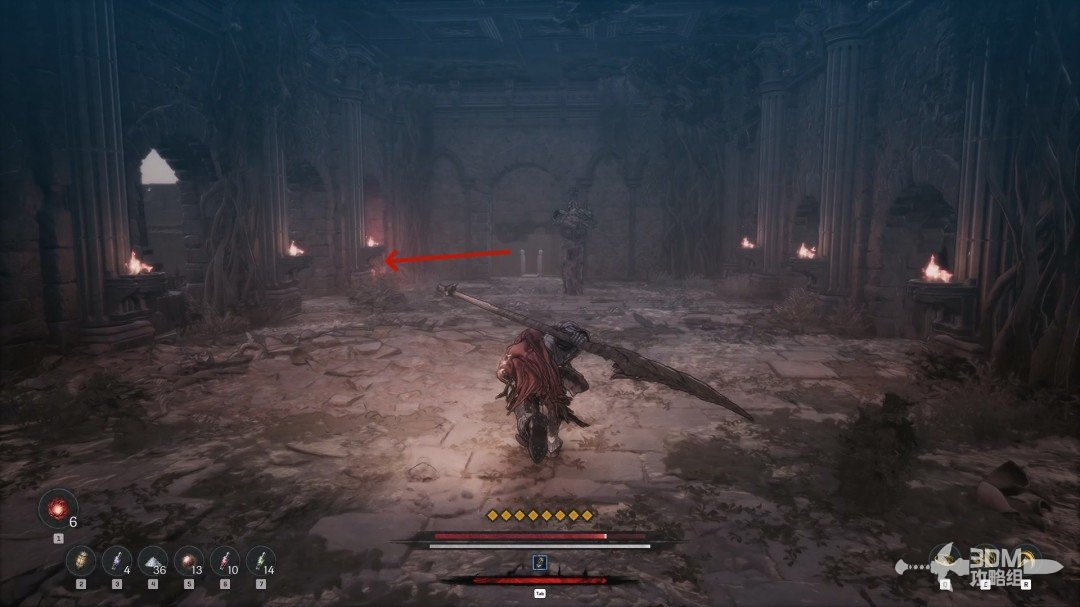
Study in the right wing: climb for the fourth Soulstone · route image 10

Descend the stairs ahead to return to the hall.
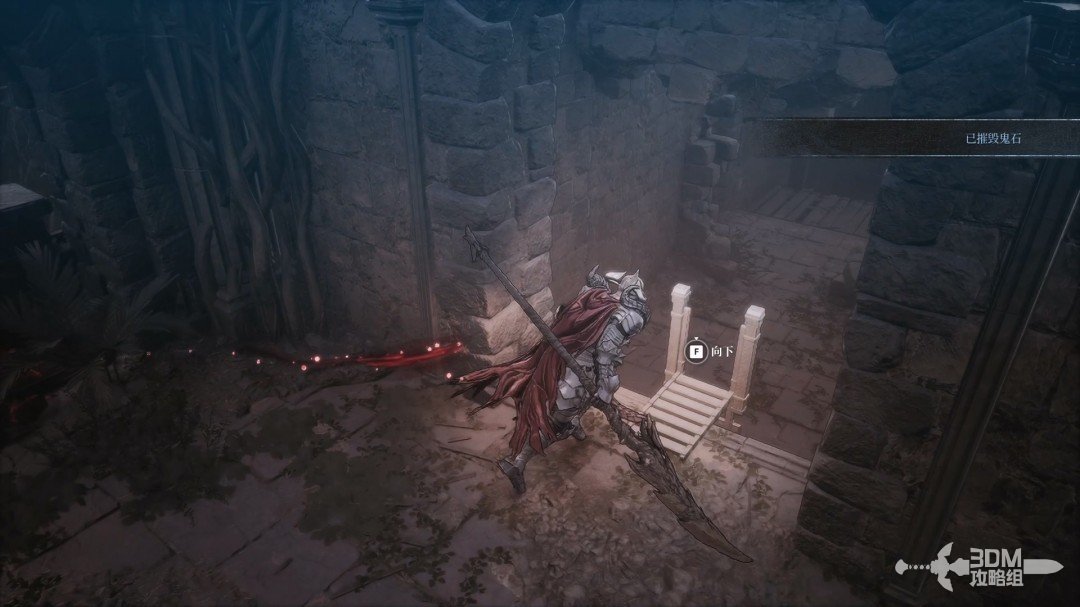
Study in the right wing: climb for the fourth Soulstone · route image 11

26Library in the left wing: jar and Soulstone behind the bookshelf

Take the hall's left staircase and clear the line of goblins in the corridor.
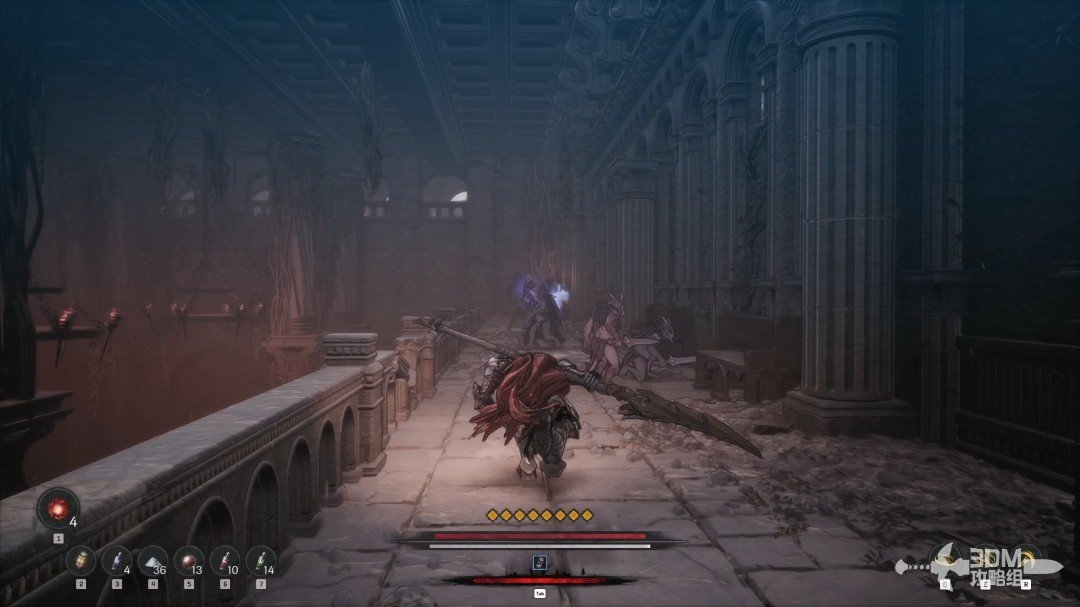
Library in the left wing: jar and Soulstone behind the bookshelf · route image 12

Enter the door, watching for an ambush from the left.
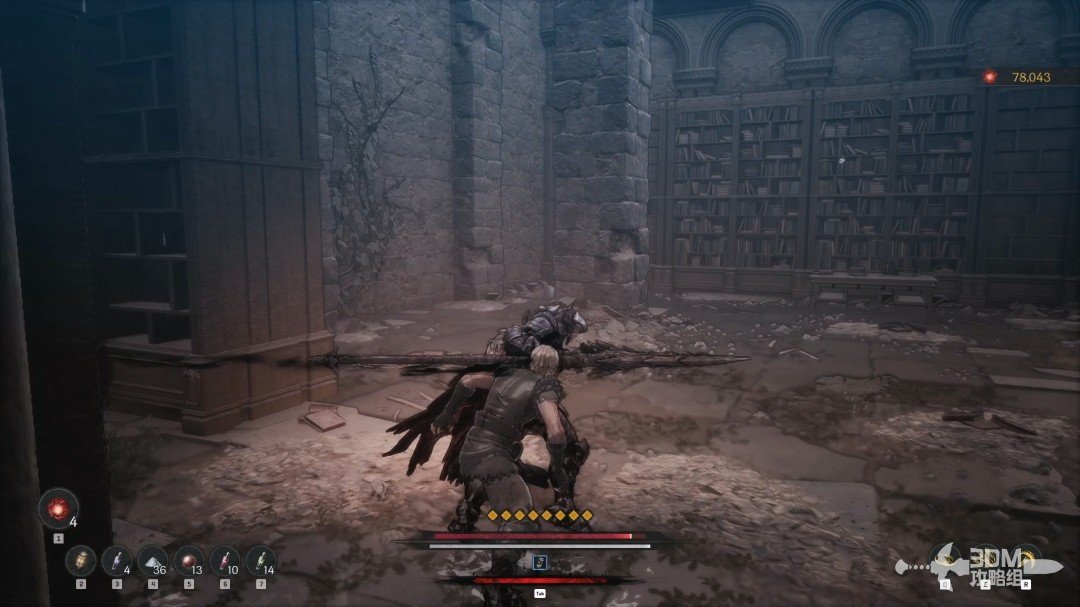
Library in the left wing: jar and Soulstone behind the bookshelf · route image 13

Collect the purple item by the bookshelf right of the door.
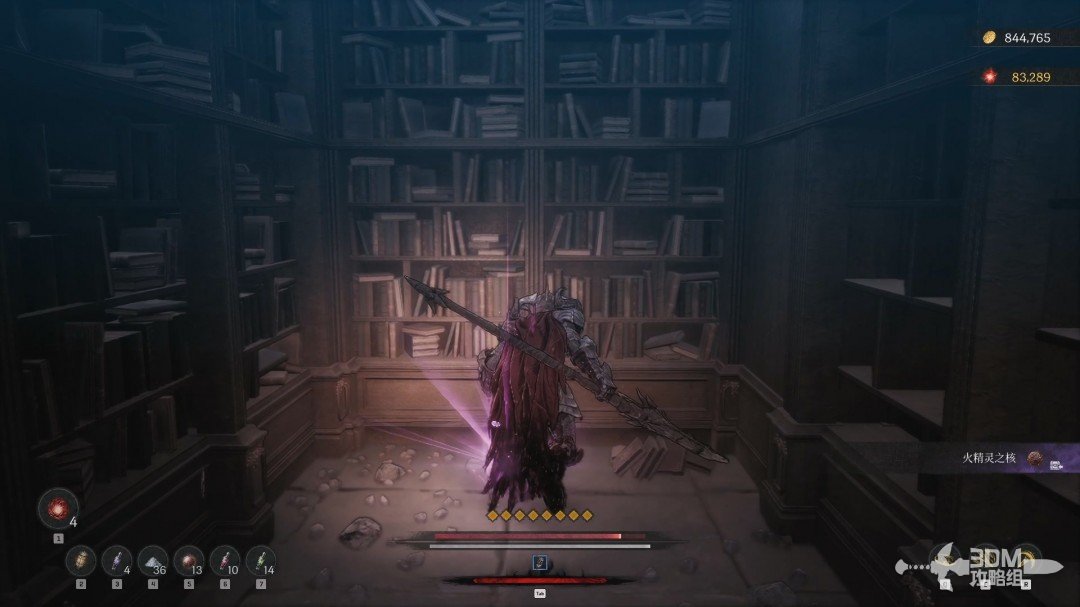
Library in the left wing: jar and Soulstone behind the bookshelf · route image 14

Climb the stairs for another purple item in the corner.
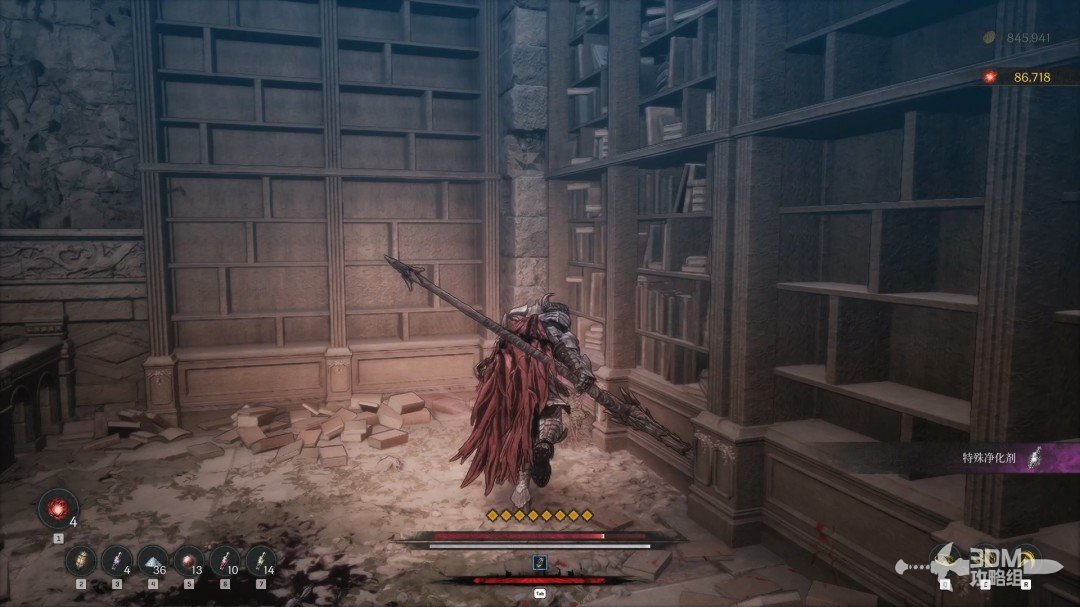
Library in the left wing: jar and Soulstone behind the bookshelf · route image 15

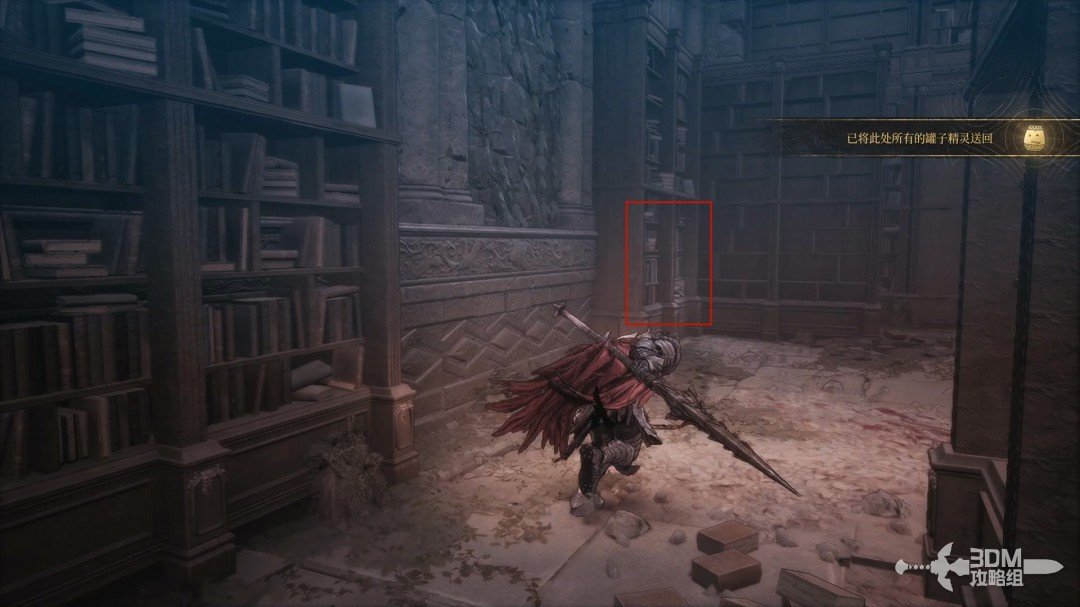
A Jarling hides behind the bookshelves on the other side.
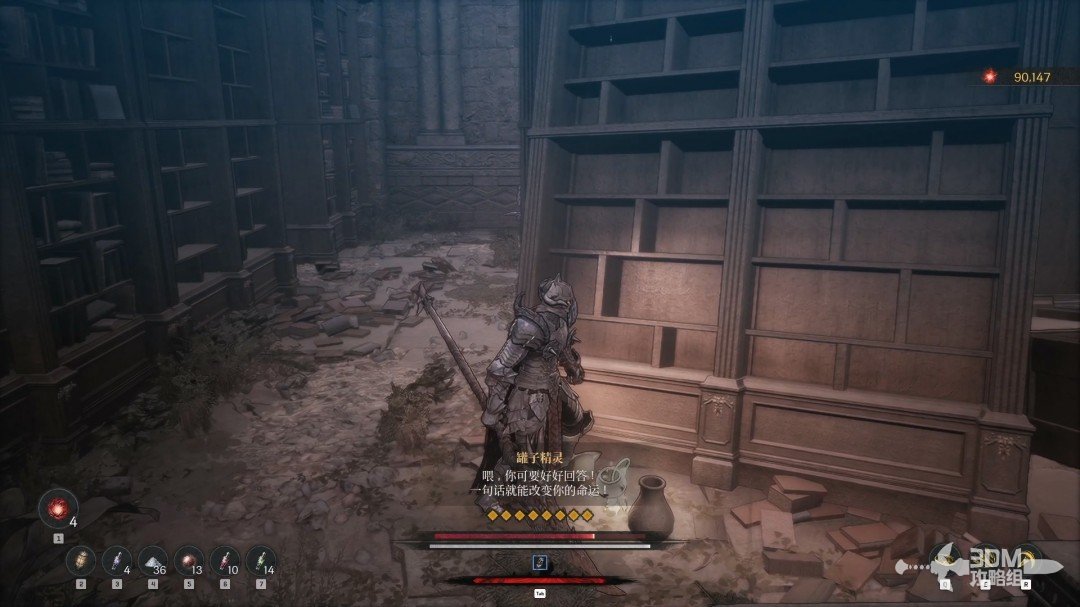
Library in the left wing: jar and Soulstone behind the bookshelf · route image 16

Operate this bookshelf to reveal a passage containing another Soulstone.
Library in the left wing: jar and Soulstone behind the bookshelf · route image 17
Library in the left wing: jar and Soulstone behind the bookshelf · route image 18

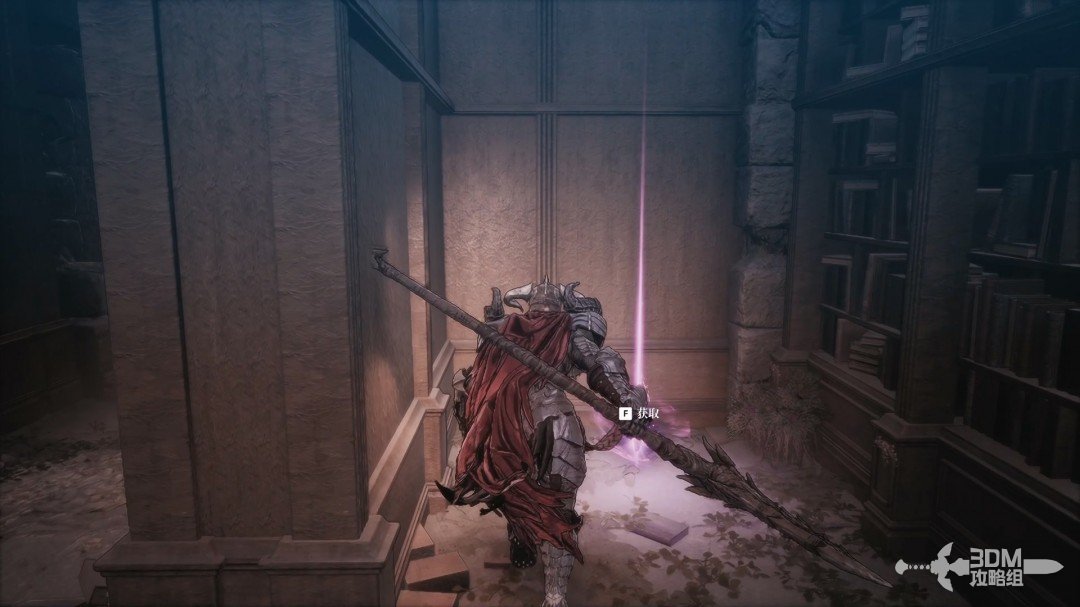
Collect the purple item behind the empty shelf beside the hidden-passage bookshelf.
Library in the left wing: jar and Soulstone behind the bookshelf · route image 1

29Nexus beyond the library: break the planks for the letter and step off the elevator midway

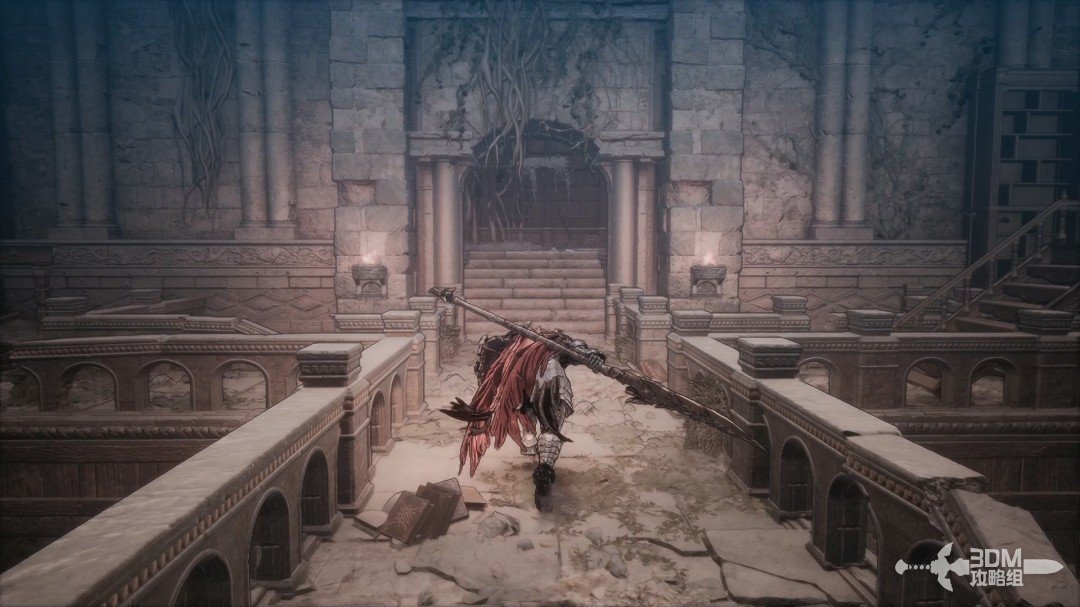
Follow the main route right through the door. Rest at the Nexus on the left before exploring the right elevator.
Nexus beyond the library: break the planks for the letter and step off the elevator midway · route image 2

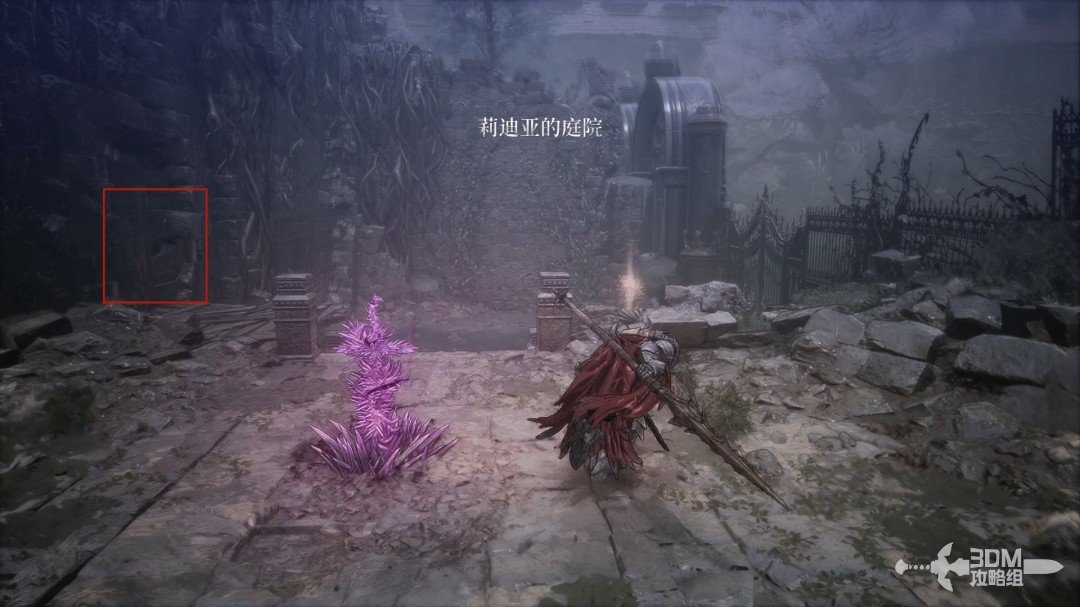
After resting, break the boards on the left.
Nexus beyond the library: break the planks for the letter and step off the elevator midway · route image 3

Collect the Unsent Letter below.

Nexus beyond the library: break the planks for the letter and step off the elevator midway · route image 4

The elevator has three levels. The lowest gate reconnects with the hall and is optional.
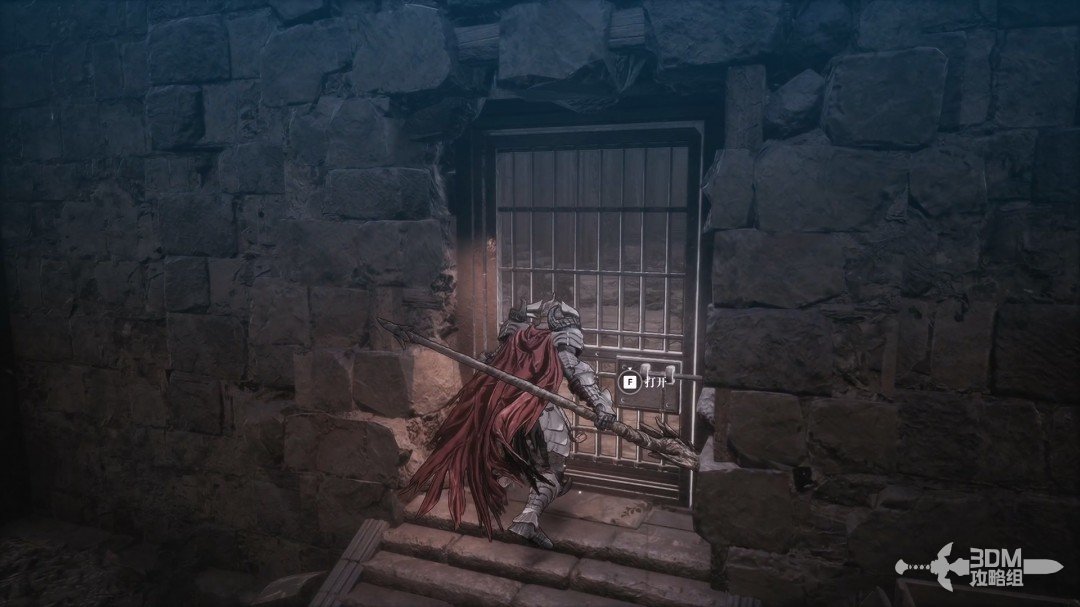
Nexus beyond the library: break the planks for the letter and step off the elevator midway · route image 5

Step off at the middle level while the elevator passes.
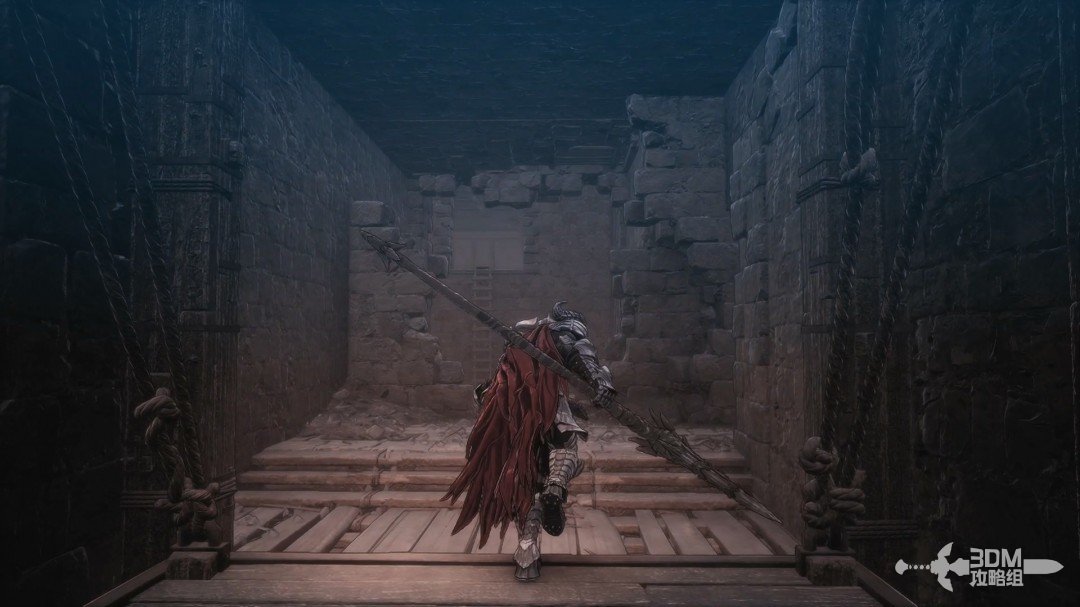
Nexus beyond the library: break the planks for the letter and step off the elevator midway · route image 6

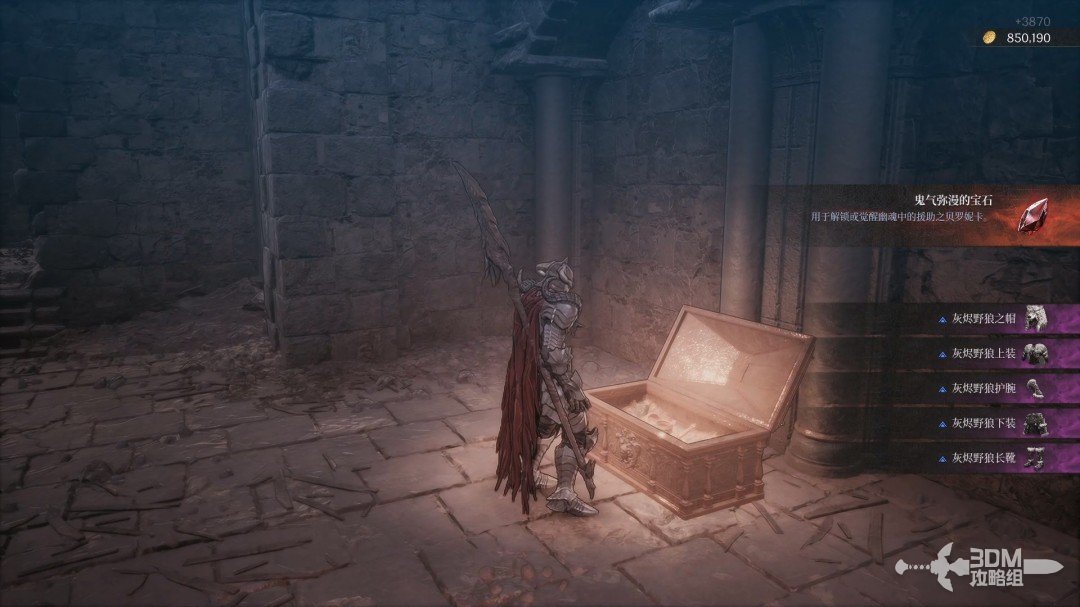
Open the chest in the room right of the elevator for equipment and the Ghostly Gem.
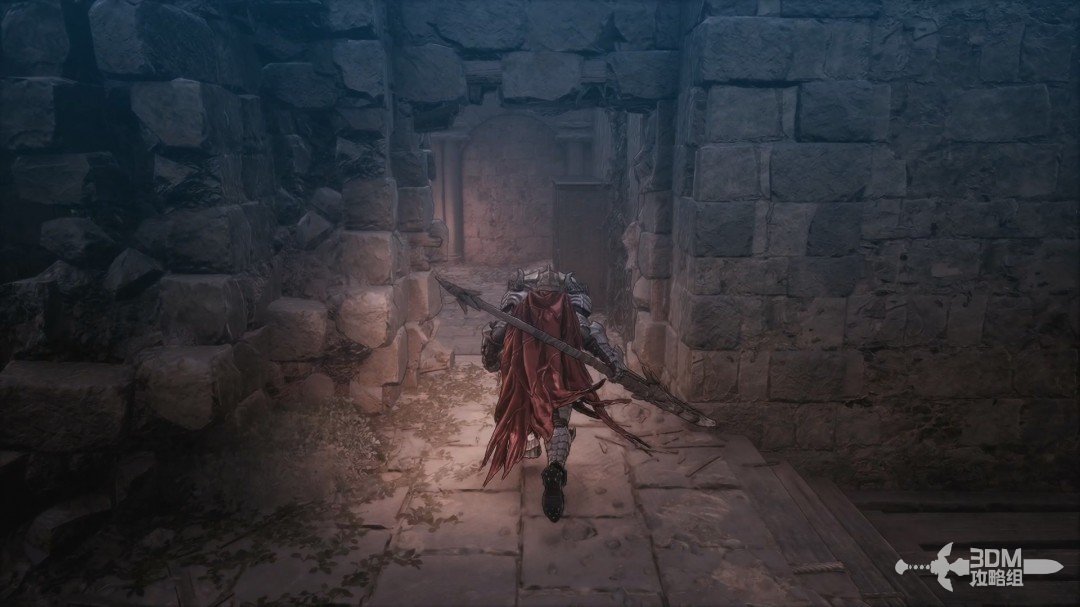
Nexus beyond the library: break the planks for the letter and step off the elevator midway · route image 7
Nexus beyond the library: break the planks for the letter and step off the elevator midway · route image 8

32Return from the elevator room: check the landing and head back to the boss gate

Drop here for some fall damage, or onto the elevator only when it is at the bottom. Otherwise you may fall into the water and drown.
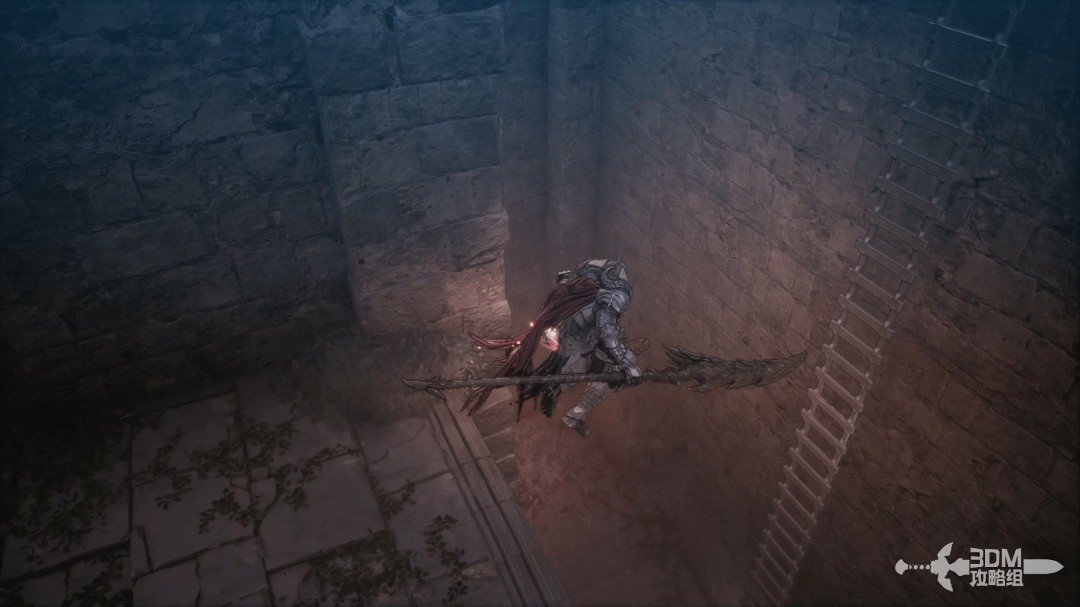
Return from the elevator room: check the landing and head back to the boss gate · route image 1

Return to rest before the boss.

Return from the elevator room: check the landing and head back to the boss gate · route image 2

33Trokka's courtyard: water orbs, umbrella strikes and aerial barrage

The cinematic reveals Trokka willingly accepting Ozma's power, confirming his involvement.
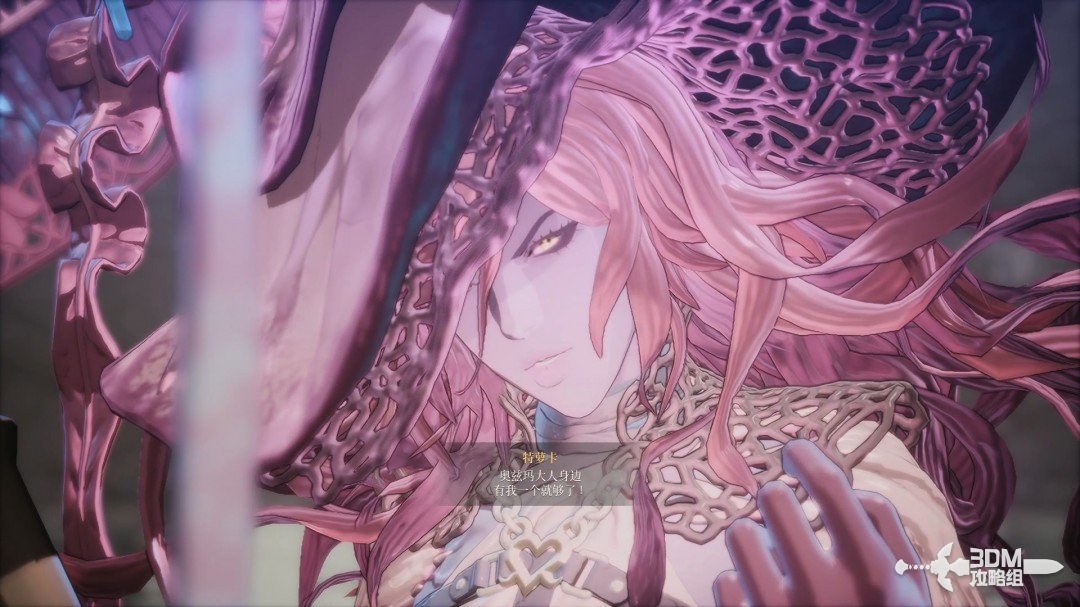
Trokka's courtyard: water orbs, umbrella strikes and aerial barrage · route image 1

Trokka is a mage without a full phase transition. Her attacks are listed below.
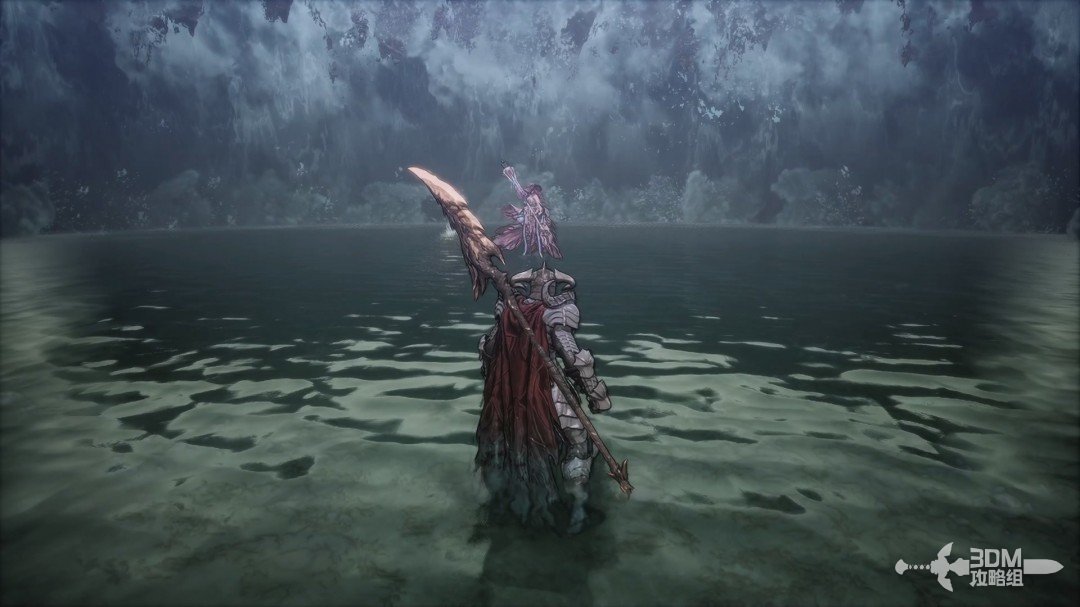
Trokka's courtyard: water orbs, umbrella strikes and aerial barrage · route image 2

Attack ①:

A short charge fires three water orbs. Dodge as her hand rises, or interrupt her at close range.
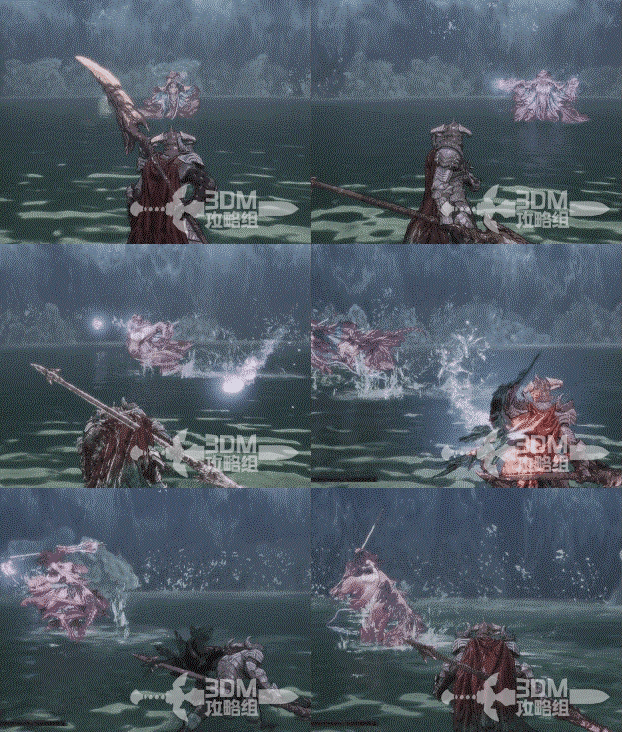
Trokka's courtyard: water orbs, umbrella strikes and aerial barrage · route image 3

Attack ②:

A similar wind-up fires two or three water columns. Watch her raised hand.
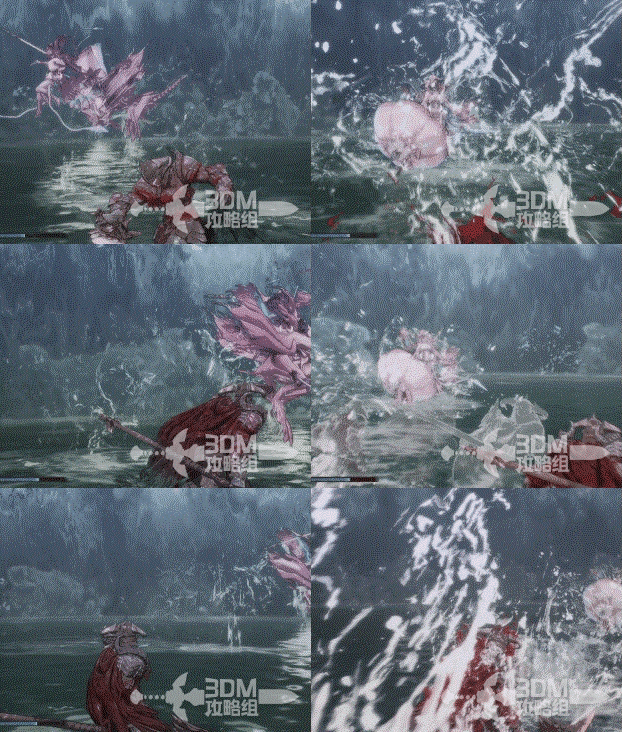
Trokka's courtyard: water orbs, umbrella strikes and aerial barrage · route image 4

Attack ③:

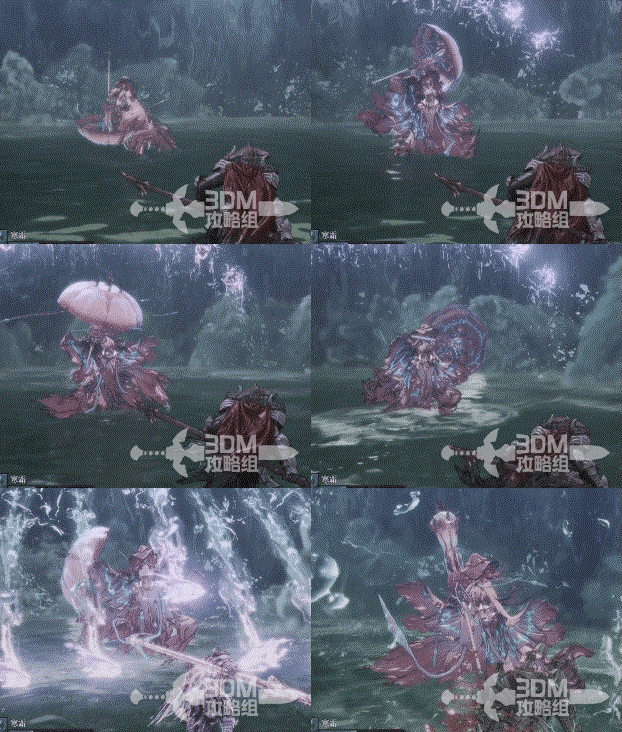
A charged stream of water orbs often follows the triple-orb attack. Dodge forward.
Trokka's courtyard: water orbs, umbrella strikes and aerial barrage · route image 5

Attack ④:

A larger variation of the triple water orbs.
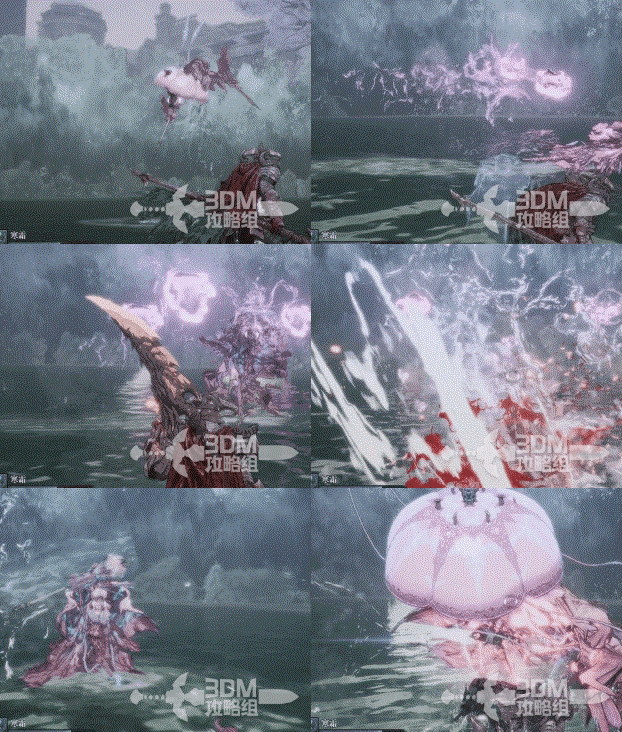
Trokka's courtyard: water orbs, umbrella strikes and aerial barrage · route image 6

Attack ⑤:

Rain causes damage while you stand in it. Close in and interrupt her.
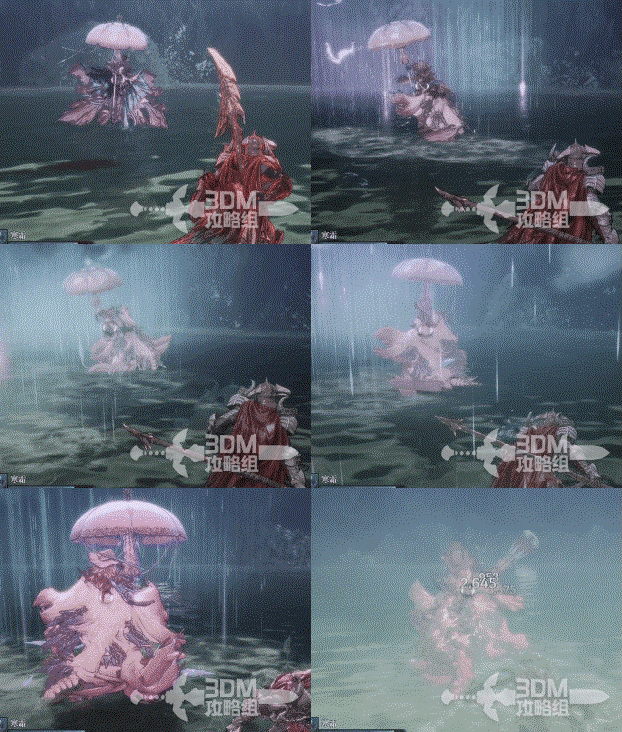
Trokka's courtyard: water orbs, umbrella strikes and aerial barrage · route image 7

Attack ⑥:

A relatively slow three-hit melee combo.
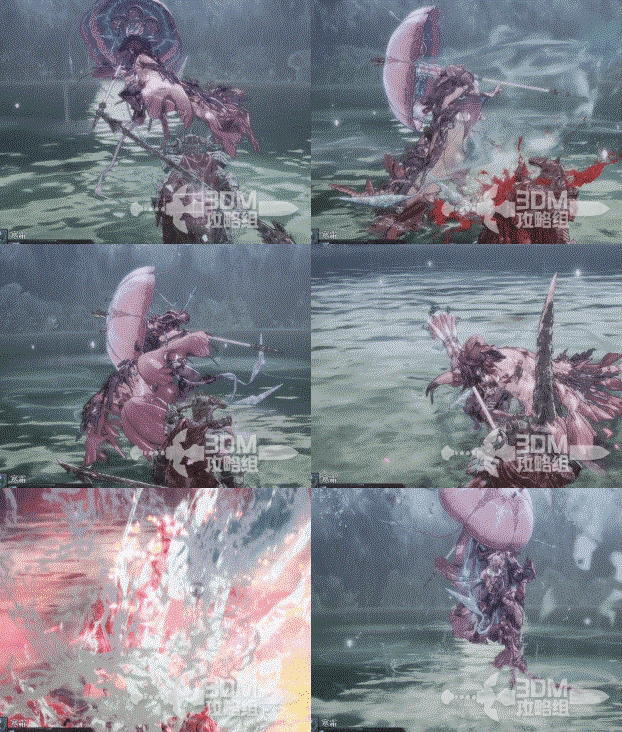
Trokka's courtyard: water orbs, umbrella strikes and aerial barrage · route image 8

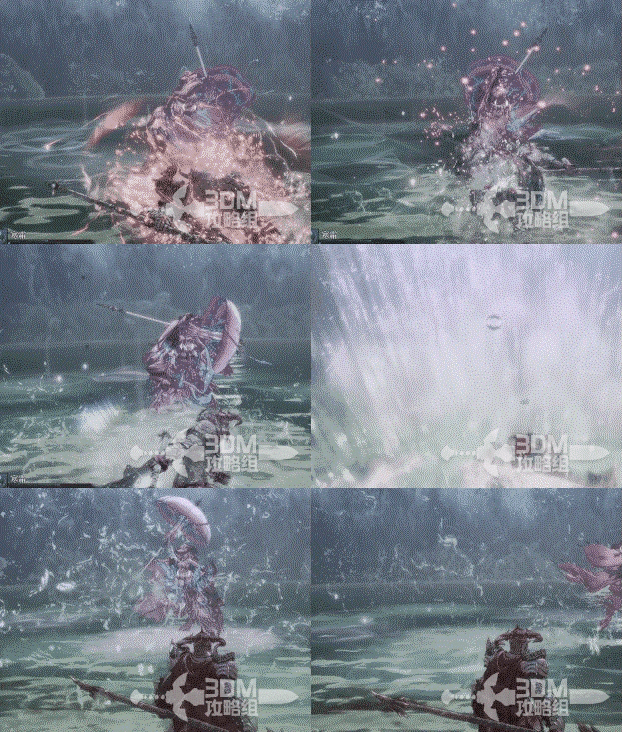
Attack ⑦:

A wave attack preceded by moving her umbrella behind her.
Trokka's courtyard: water orbs, umbrella strikes and aerial barrage · route image 9

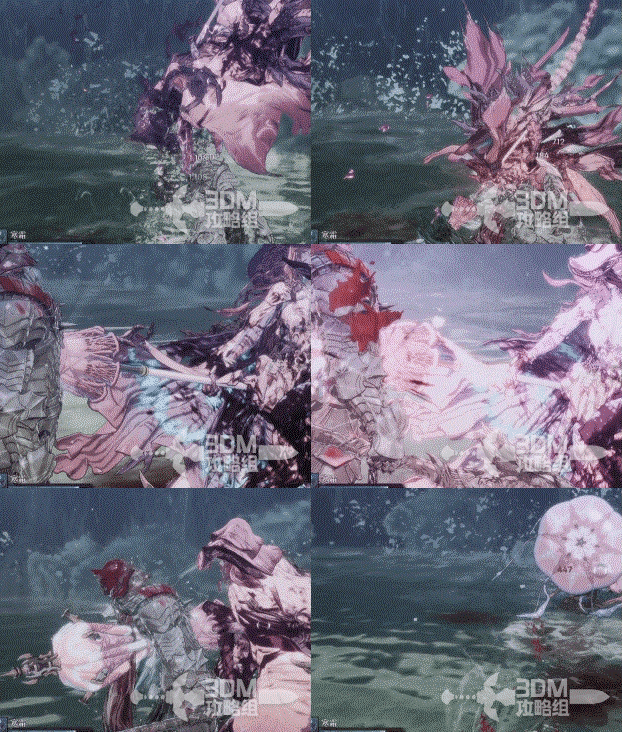
Attack ⑧:

An uncommon grab. Dodge when the weapon glows.
Trokka's courtyard: water orbs, umbrella strikes and aerial barrage · route image 10

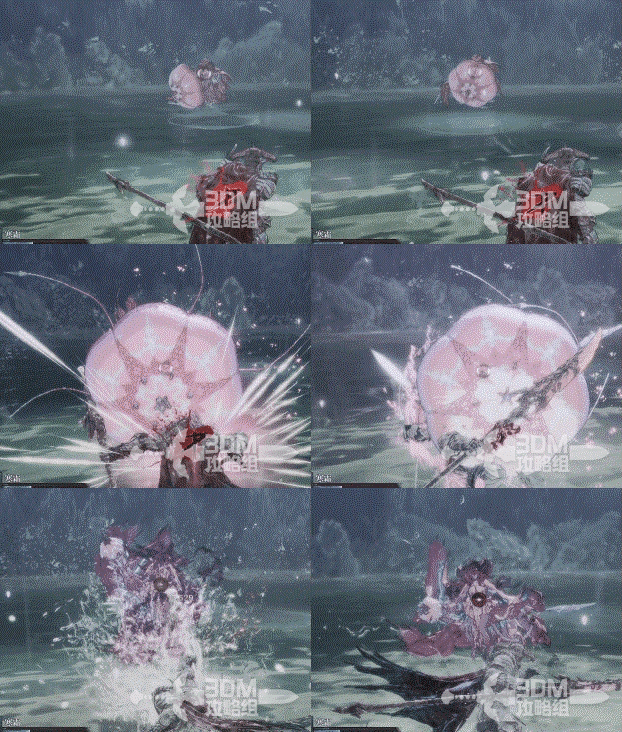
Attack ⑨:

A spinning umbrella charge that can be interrupted with a deflection.
Trokka's courtyard: water orbs, umbrella strikes and aerial barrage · route image 11

Attack ⑩:

At half health, she rises and fires numerous orbs. Dodge side to side through two waves, then avoid the converging orbs and explosive body slam.

Trokka's courtyard: water orbs, umbrella strikes and aerial barrage · route image 12

These cover the most important patterns.

34Post-battle lead: set out for the dark elves' territory

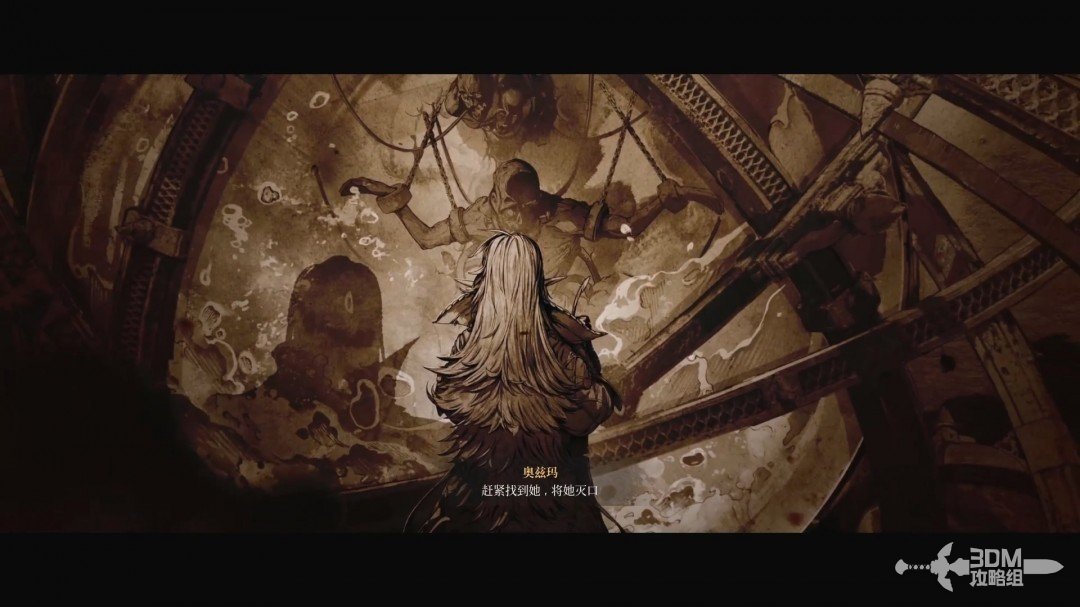
After victory, the story reveals Ozma ordered the dark elves silenced. Khazan heads toward Rephalan to find them.
Post-battle lead: set out for the dark elves' territory · route image 13

Speak afterward to return and end the chapter.
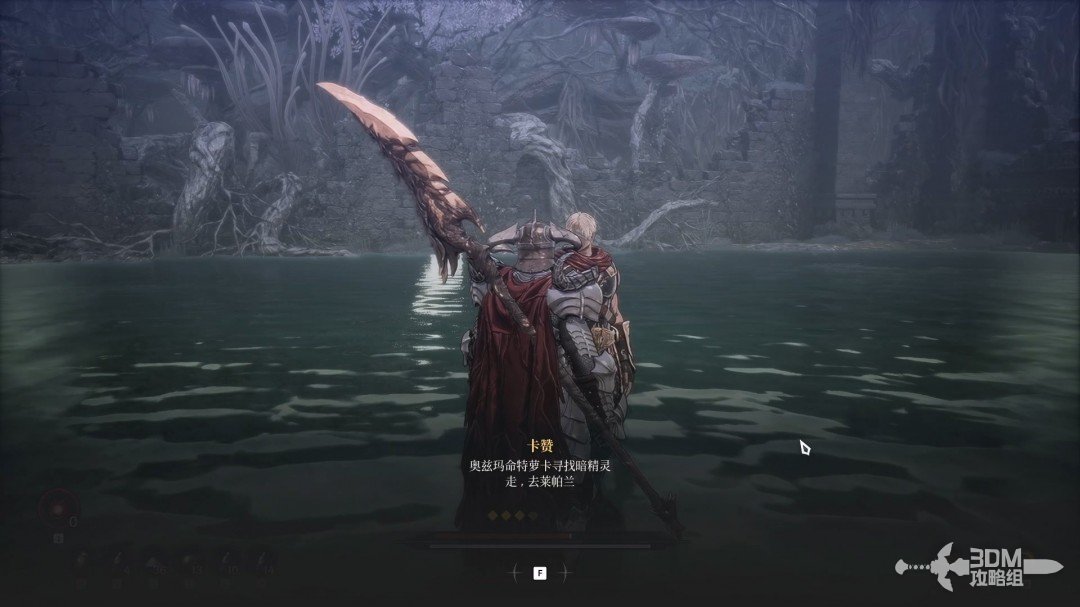
Post-battle lead: set out for the dark elves' territory · route image 14

Related side missions

  1. Lacrima →

    Select the newly unlocked mission to develop the Phantom.

  2. Unrequited Love →

    Speak to Tristan and investigate Lydia’s fate.

  3. Varus’s Axe →

    Speak to Varus’s son at the beginning of the mission.

Reference: 3DM Guide Team

GAME NOTE has reorganized and rewritten the routes from this walkthrough.