Skip to content

Residual Chaos

Guide editor: GAME NOTE

GAME NOTE CLASSIC · GUIDE LIBRARYThe First Berserker: Khazan

Speak to Tristan at the hub.

Pickups in this mission

Open this mission’s independent boss guide →

01Residual Chaos entrance: turn back for the memory and left Soulstone

Next complete Residual Chaos, the final side mission in this region.
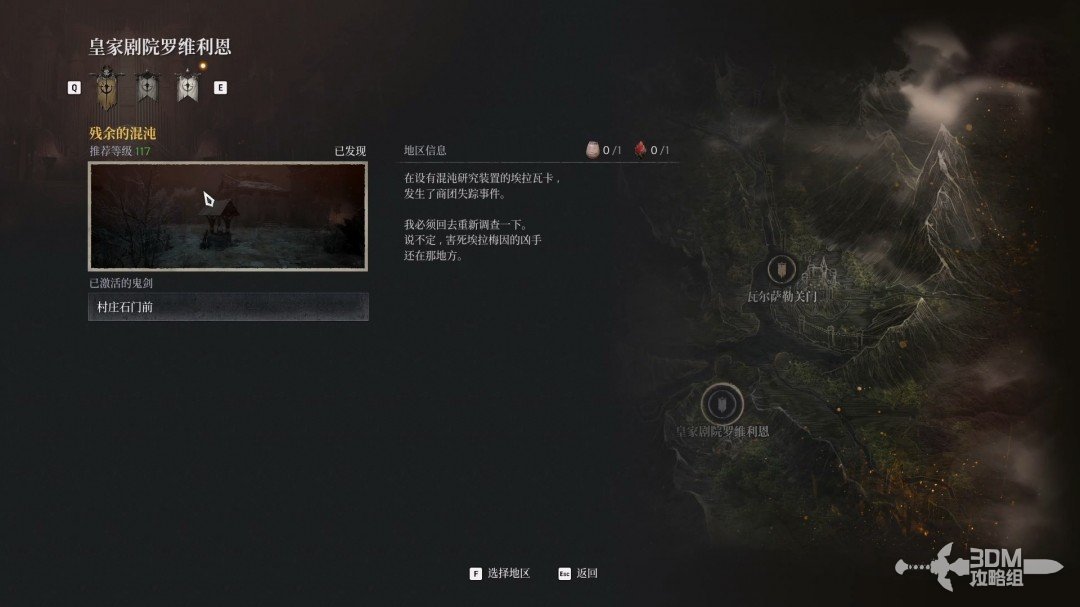
Residual Chaos entrance: turn back for the memory and left Soulstone · route image 1

Rest on arrival, then turn around and absorb the memory on the ground.
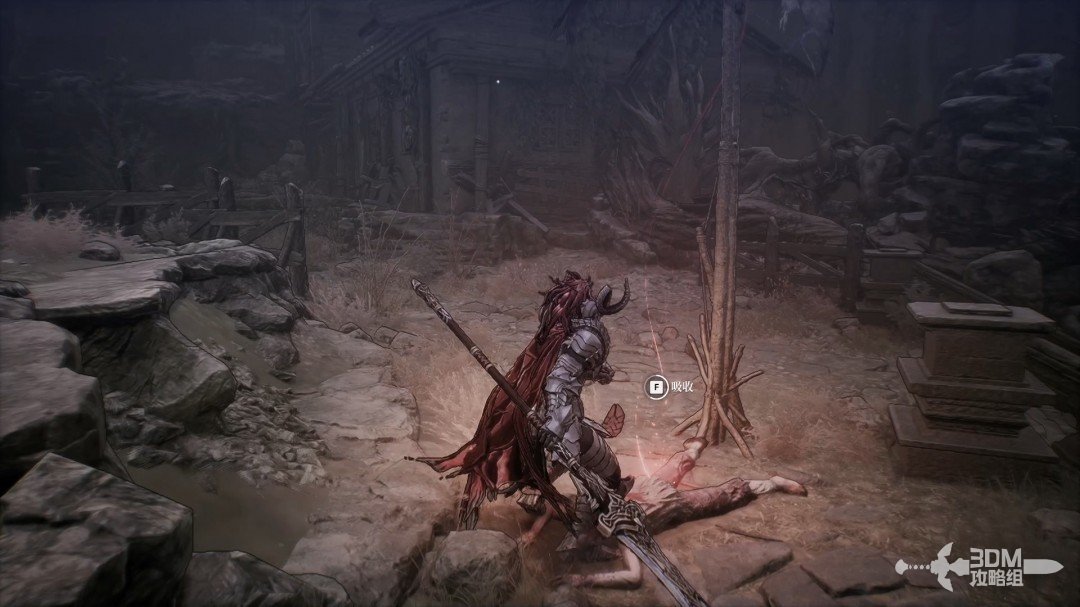
Residual Chaos entrance: turn back for the memory and left Soulstone · route image 2

Enter from the left to find a Soulstone in the corner.
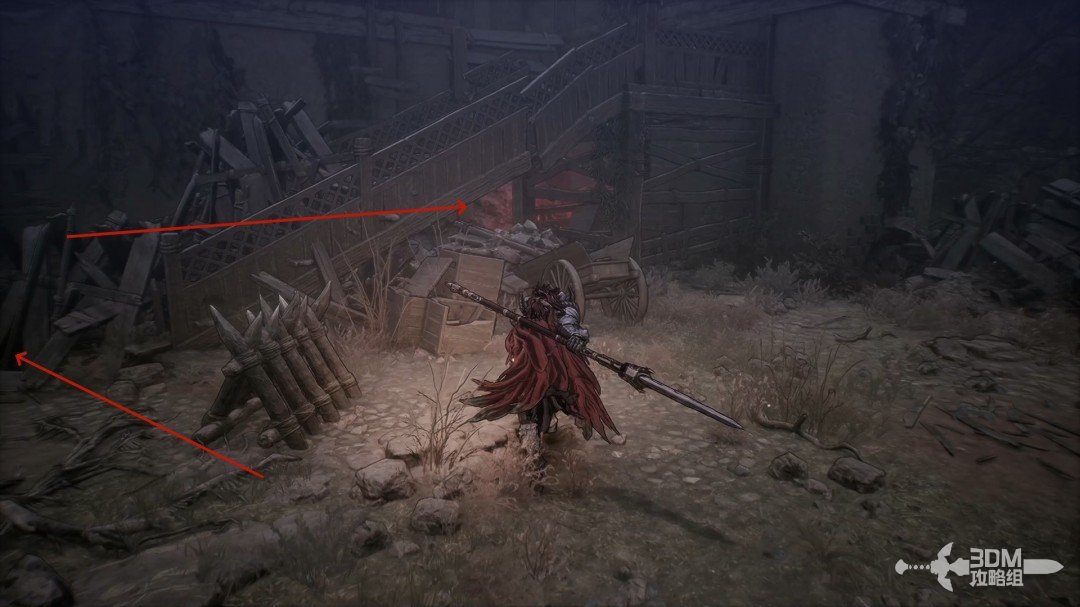
Residual Chaos entrance: turn back for the memory and left Soulstone · route image 3

03Inside the purple portal: clear the enemy waves to activate the switch

Return to the main route and enter the purple portal.
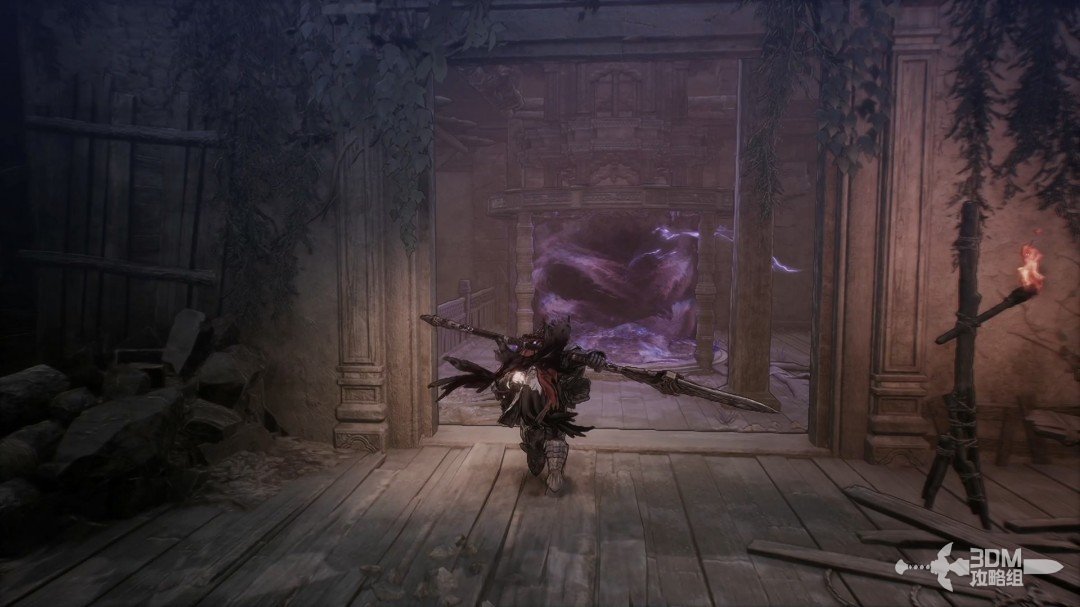
Inside the purple portal: clear the enemy waves to activate the switch · route image 1

Collect the white item in the right corner after teleporting.
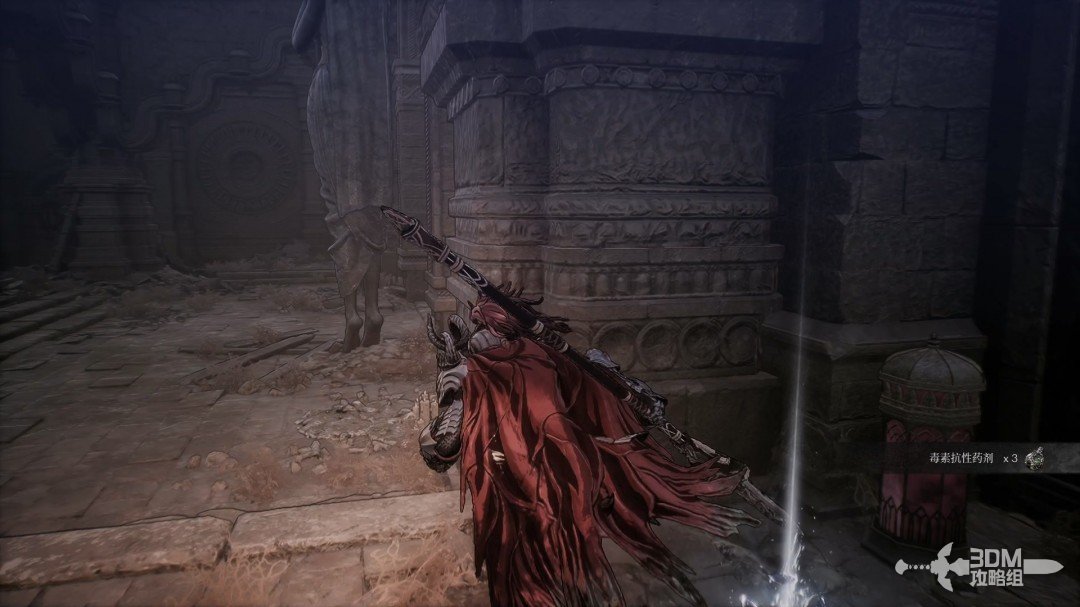
Inside the purple portal: clear the enemy waves to activate the switch · route image 2

Absorb the memory in the middle of the route.
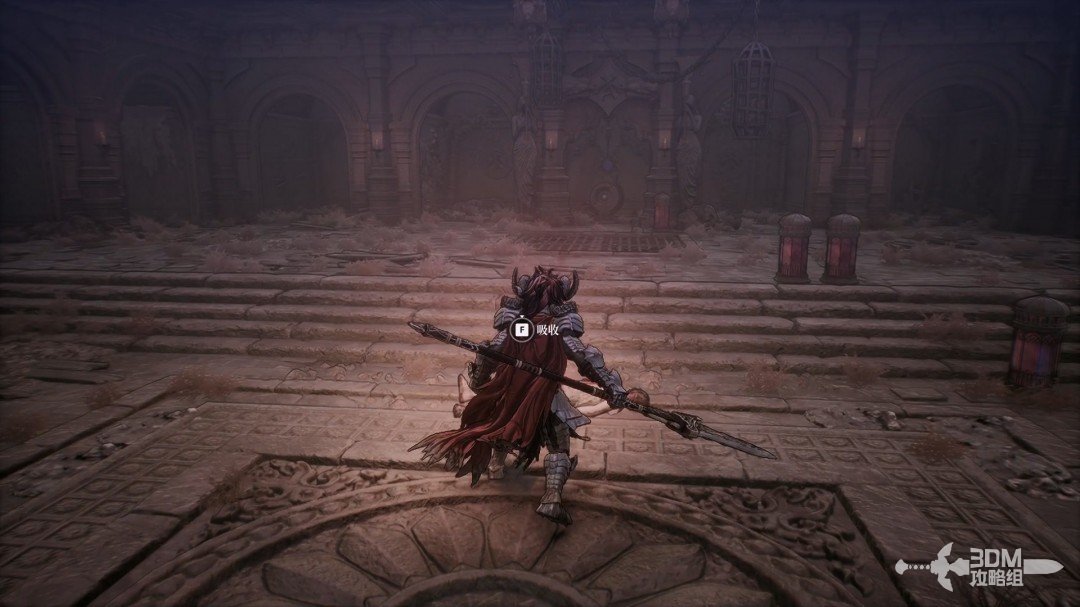
Inside the purple portal: clear the enemy waves to activate the switch · route image 3

Collect the purple item beside the first light gate on the left.
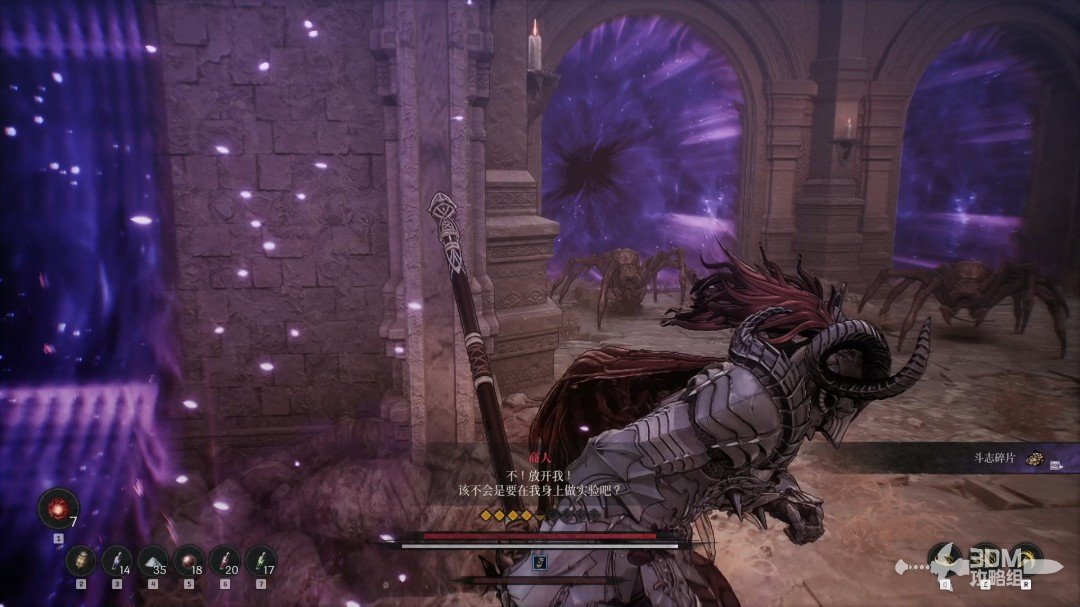
Inside the purple portal: clear the enemy waves to activate the switch · route image 4

Clear the many waves emerging from the portals. Spawning stops after the final elite falls.
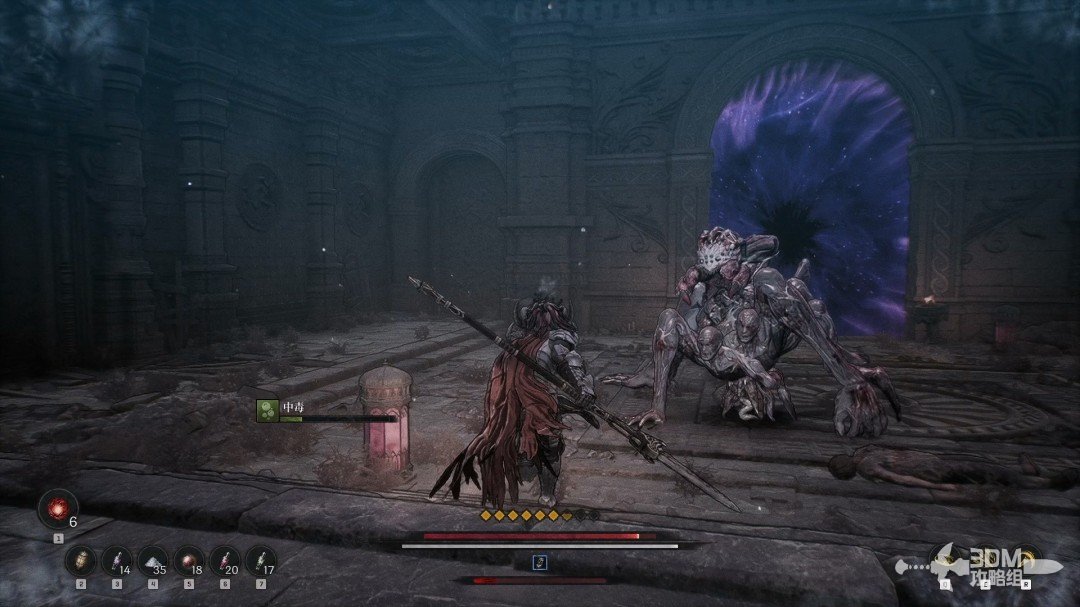
Inside the purple portal: clear the enemy waves to activate the switch · route image 5

Only then can you operate the mechanism ahead.
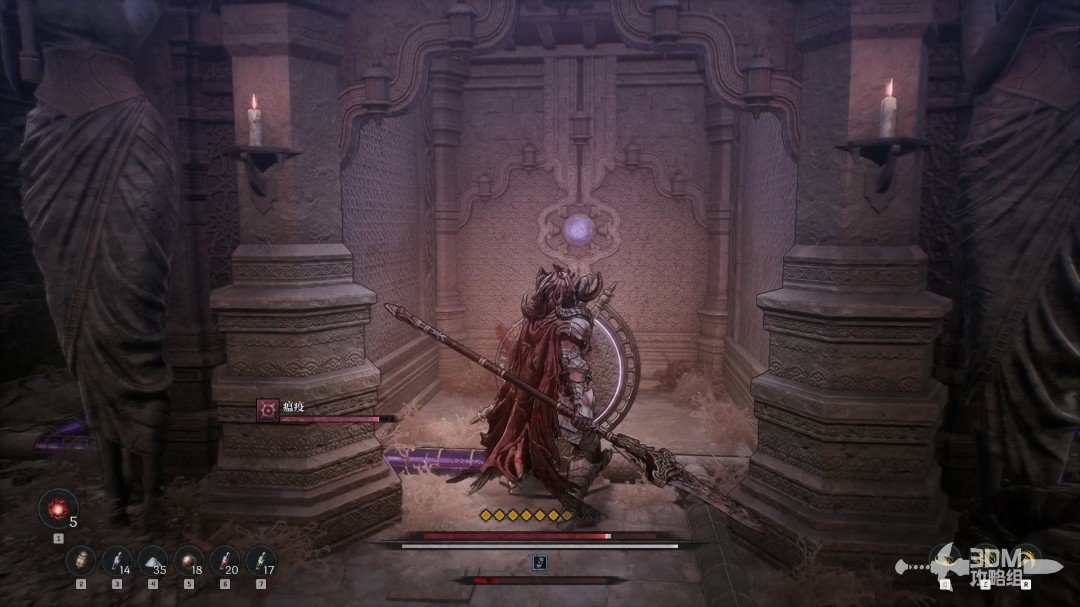
Inside the purple portal: clear the enemy waves to activate the switch · route image 6

04Return through the portal: search the left chest and Elamein's notes on the main path

Activate it and return through the portal.
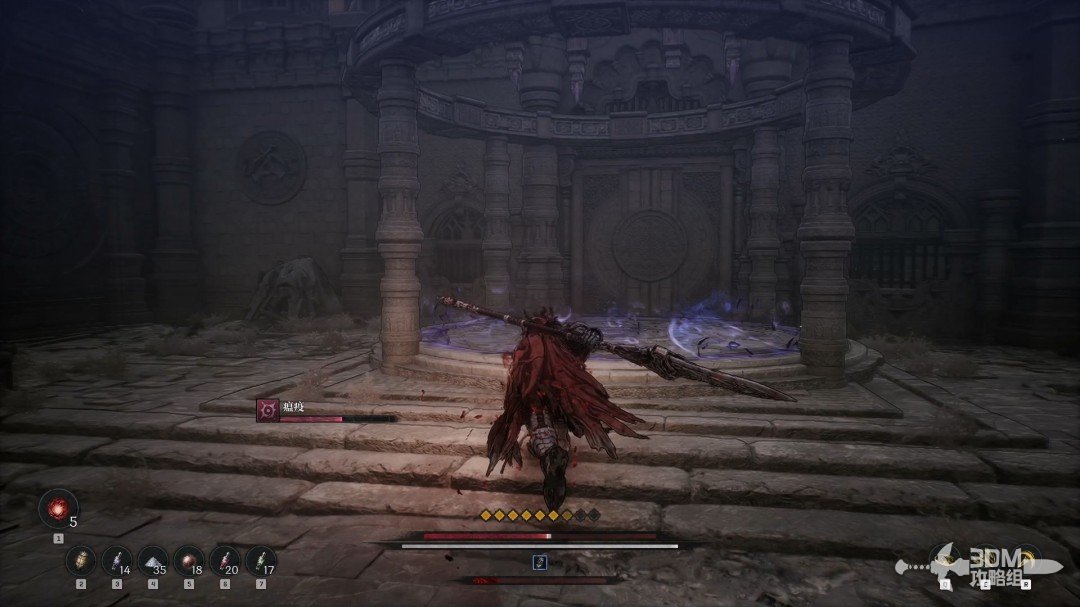
Return through the portal: search the left chest and Elamein's notes on the main path · route image 7

Open the chest on the left after teleporting.
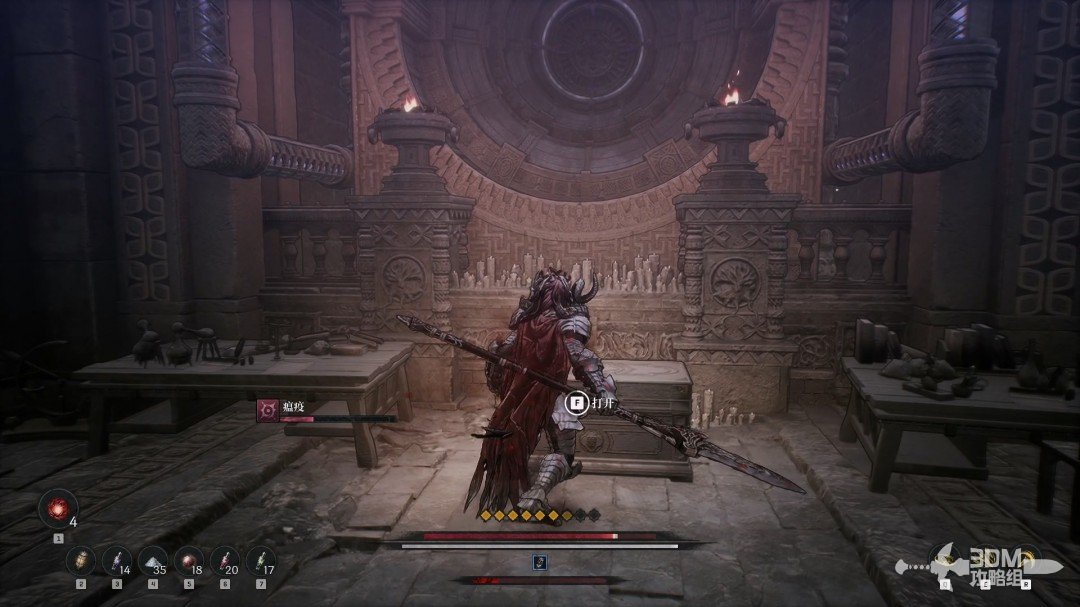
Return through the portal: search the left chest and Elamein's notes on the main path · route image 8

Follow the main route beside it and collect Elamein's Notes.
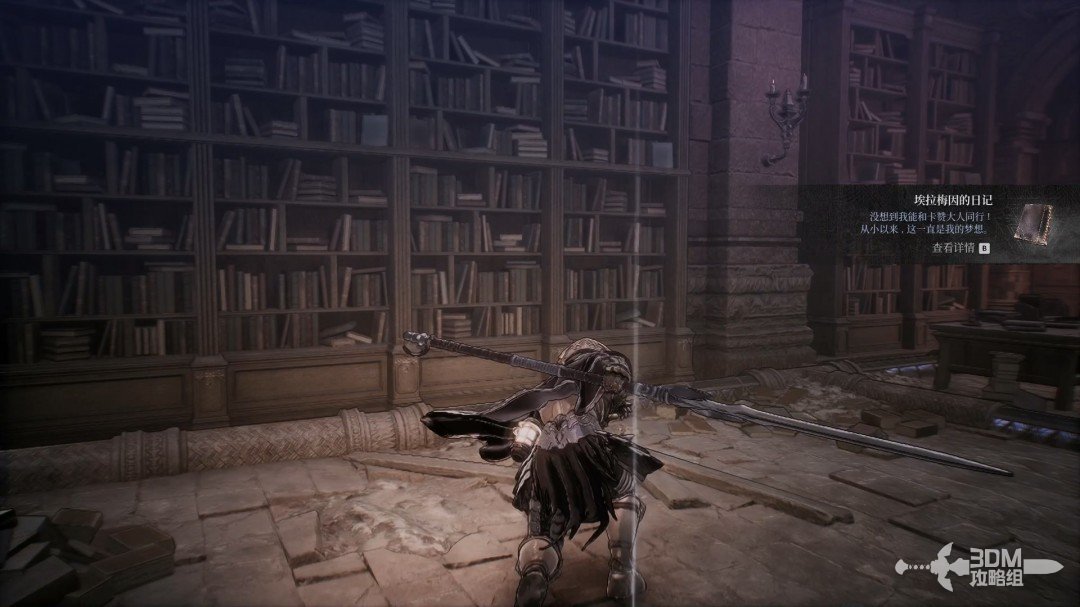
Return through the portal: search the left chest and Elamein's notes on the main path · route image 9

06Switch at the main path's end: teleport again to the experimental record

Absorb the memory in the corner ahead.
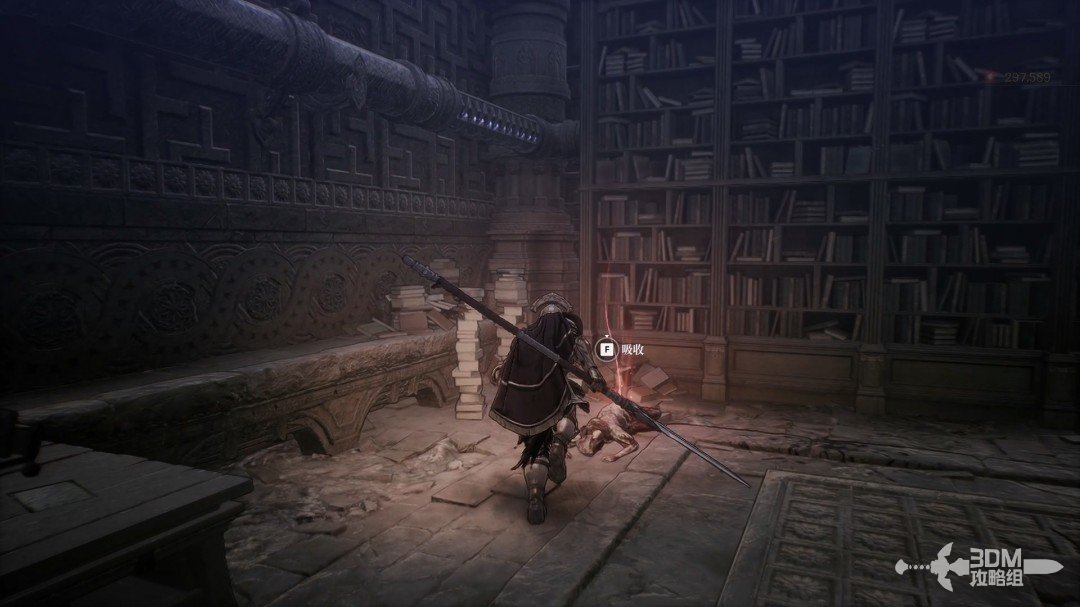
Switch at the main path's end: teleport again to the experimental record · route image 1

Continue to the end and activate the switch.
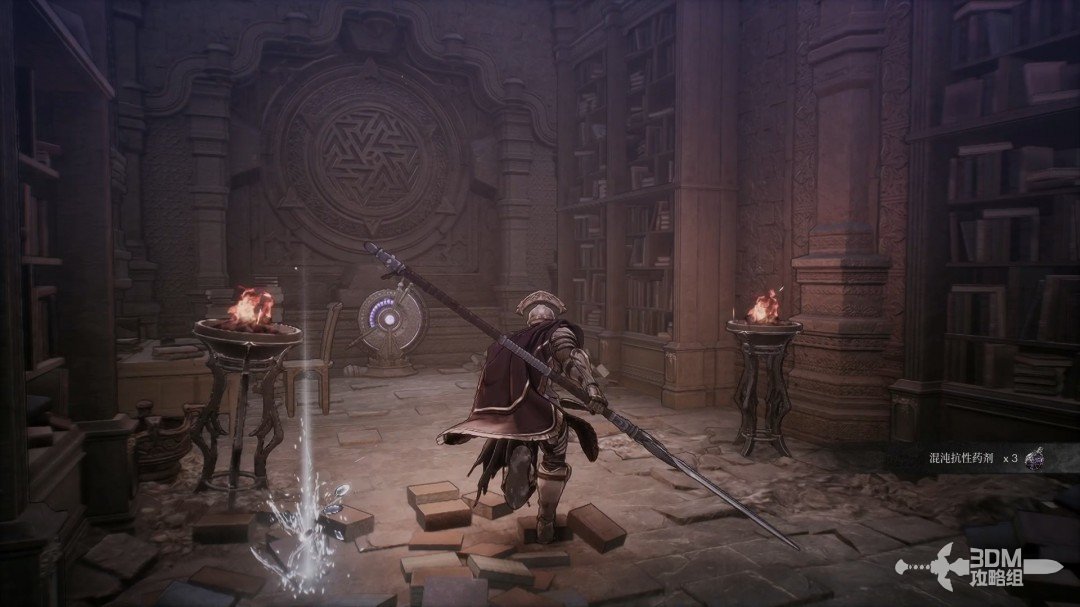
Switch at the main path's end: teleport again to the experimental record · route image 2

Use the portal after activating it.

Switch at the main path's end: teleport again to the experimental record · route image 3

Collect Tania's Experiment Log III directly ahead.
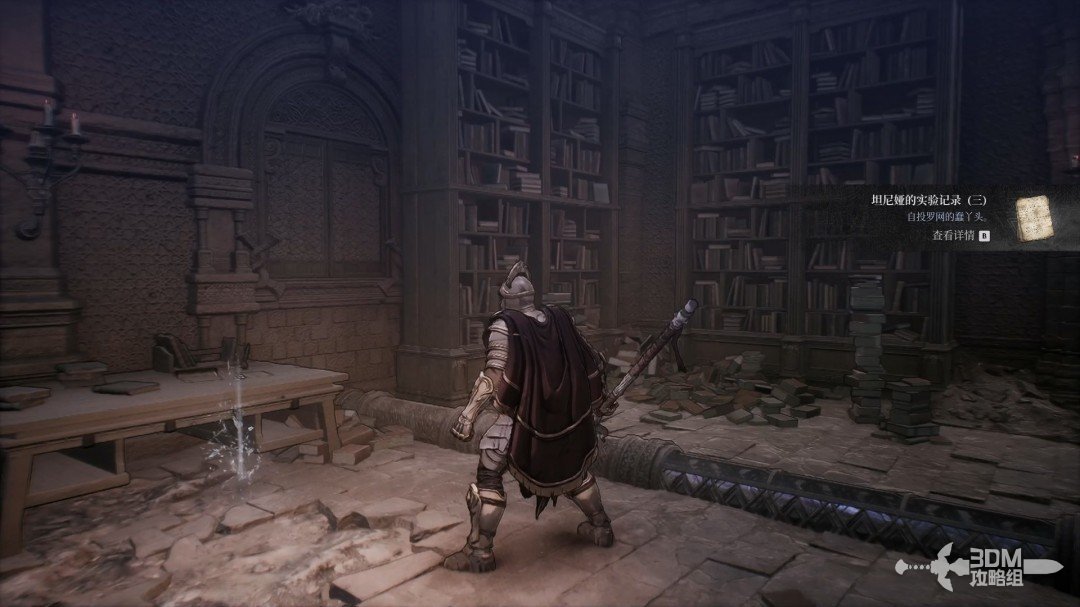
Switch at the main path's end: teleport again to the experimental record · route image 4

08Hidden door left of the stairs: scroll and corner jar

Follow the main route upstairs and open the hidden door on the left.
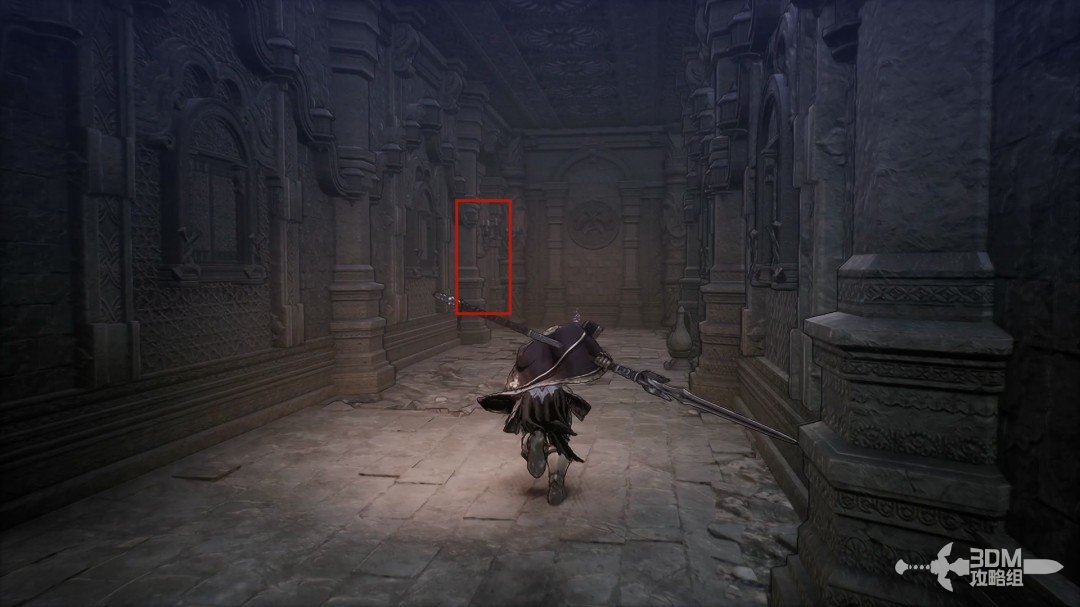
Hidden door left of the stairs: scroll and corner jar · route image 1

Collect the red Endless Tragedy Scroll inside.
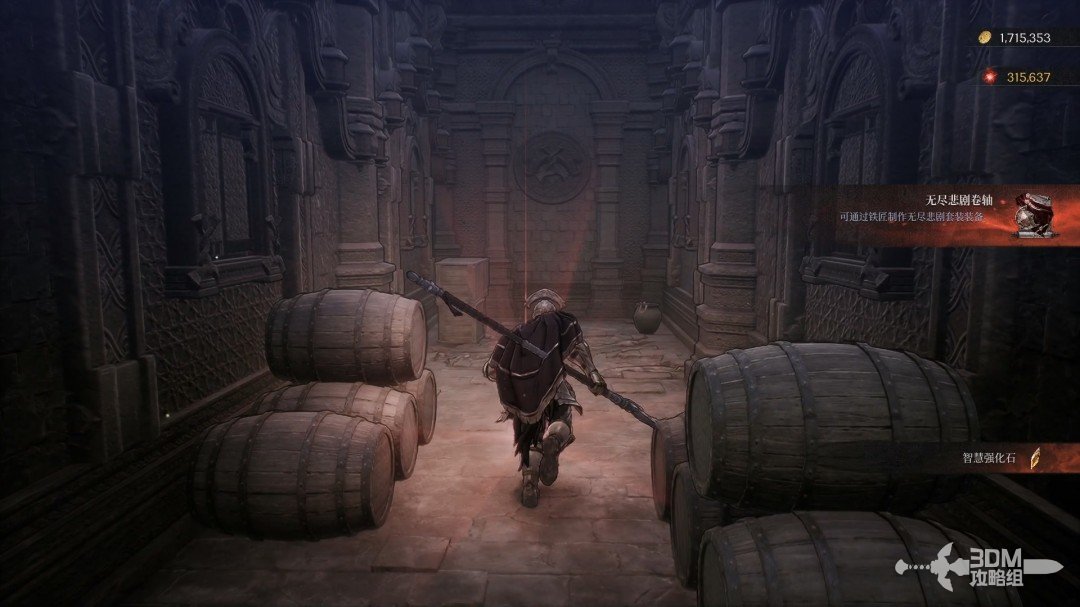
Hidden door left of the stairs: scroll and corner jar · route image 2

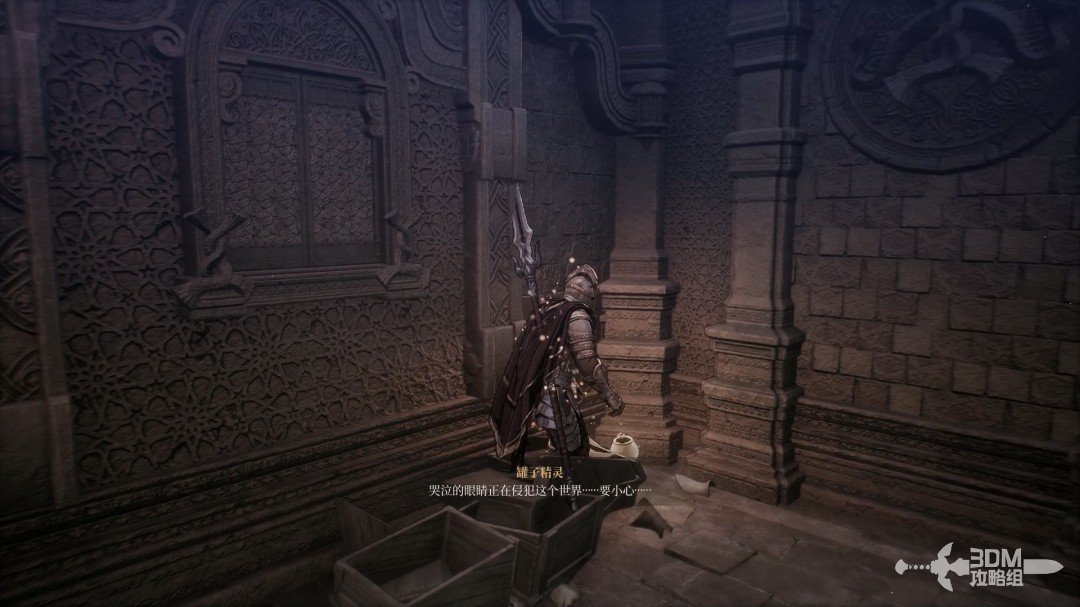
A Jarling hides in the corner pot.

Hidden door left of the stairs: scroll and corner jar · route image 3

11Tanya beyond the Nexus: trigger Elamein's memory after the battle

Leave and rest at the Nexus ahead before the boss.
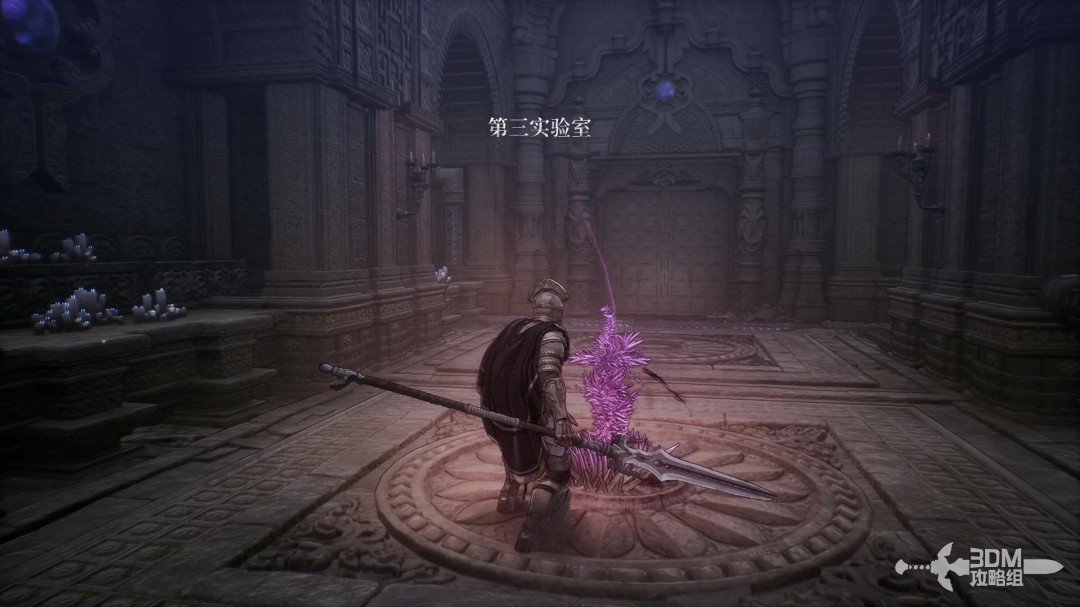
Tanya beyond the Nexus: trigger Elamein's memory after the battle · route image 1

Tania resembles a familiar lesser enemy and steals health on hit. Maintain enough damage to overcome her healing.
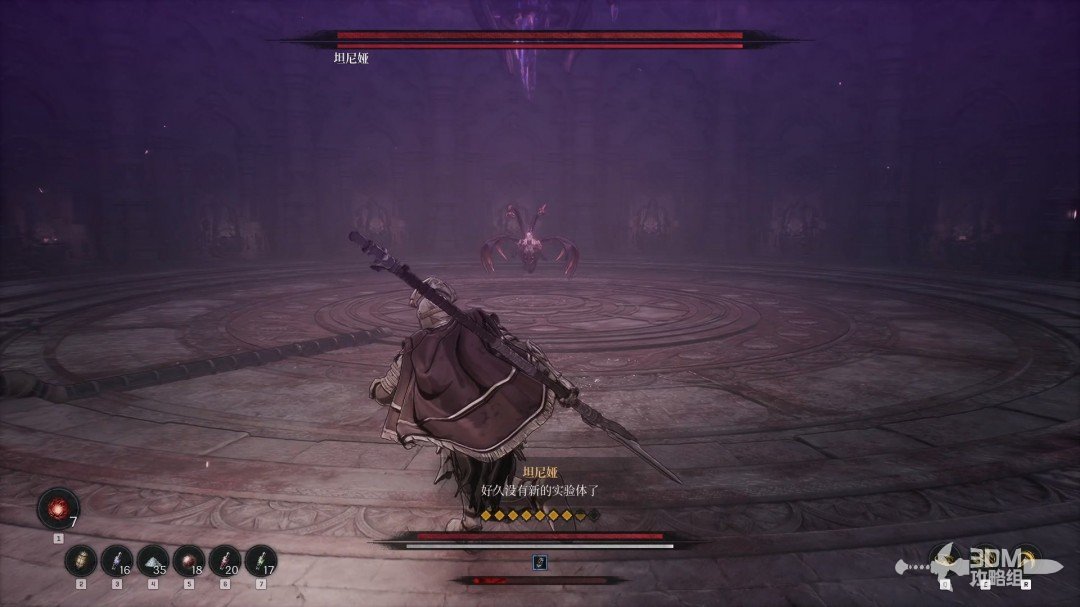
Tanya beyond the Nexus: trigger Elamein's memory after the battle · route image 2

Victory triggers a memory involving Elamein and ends the mission.
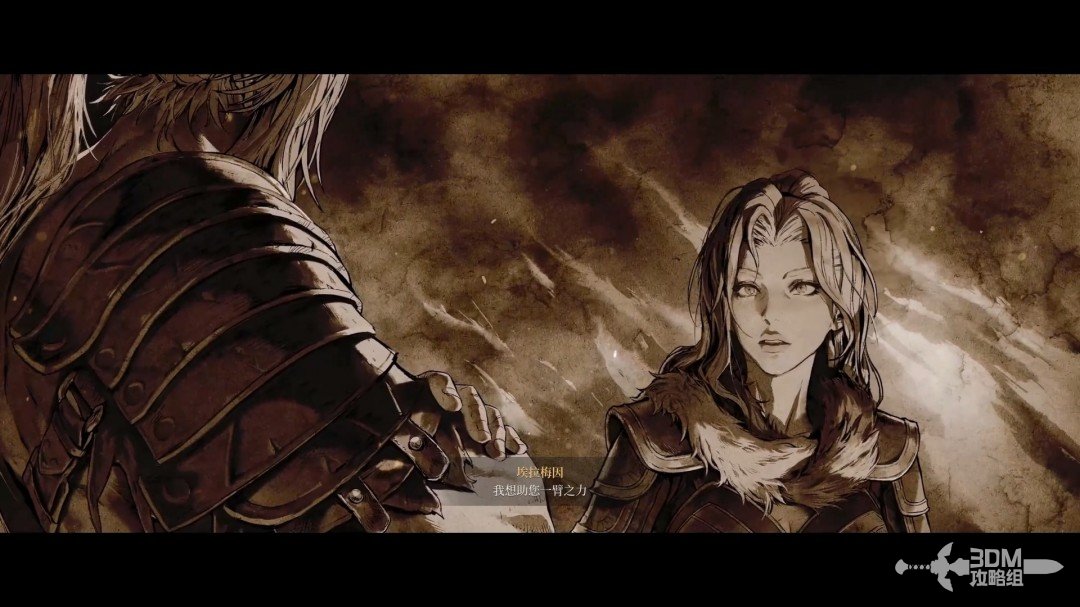
Tanya beyond the Nexus: trigger Elamein's memory after the battle · route image 3

Continue

Back to mission index →

Reference: 3DM Guide Team

GAME NOTE has reorganized and rewritten the routes from this walkthrough.