Skip to content

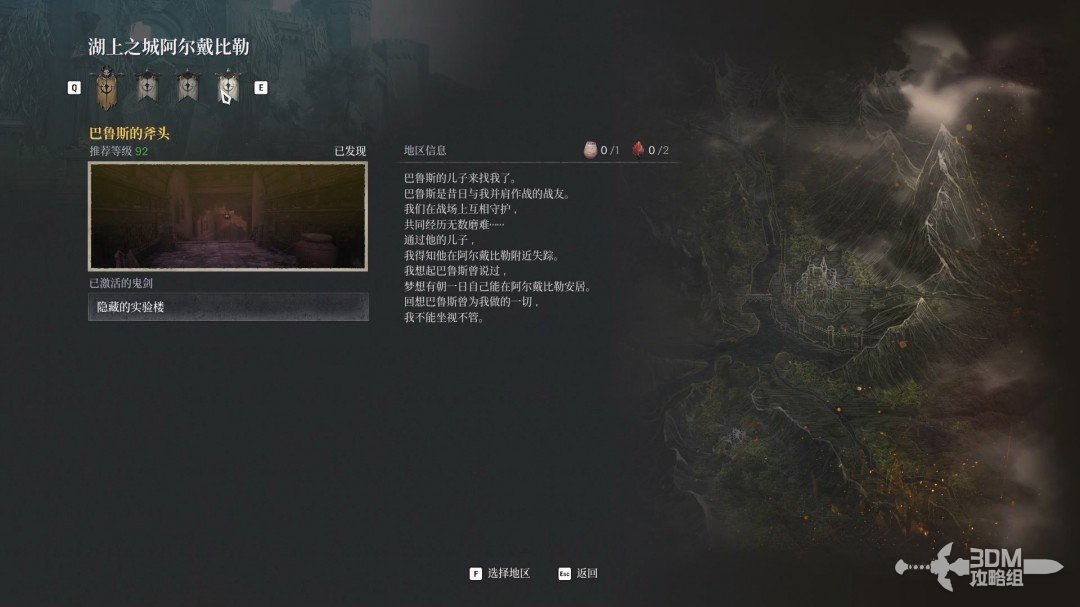
Varus’s Axe

Guide editor: GAME NOTE

GAME NOTE CLASSIC · GUIDE LIBRARYThe First Berserker: Khazan

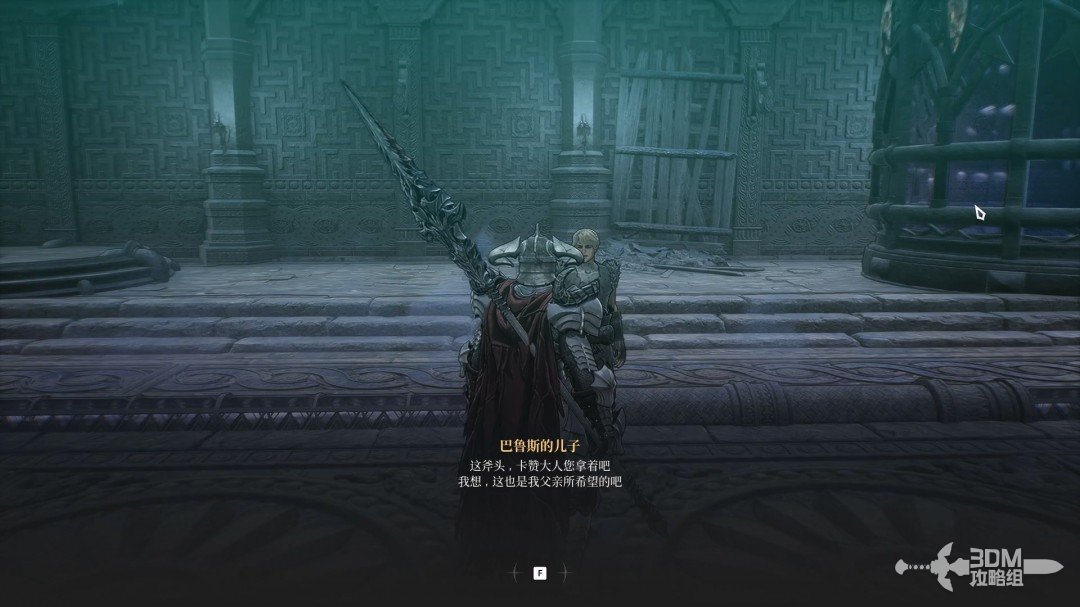
Speak to Varus’s son at the beginning of the mission.

Pickups in this mission

Open this mission’s independent boss guide →

01Request from Varus's son: open the gate and ride the elevator down

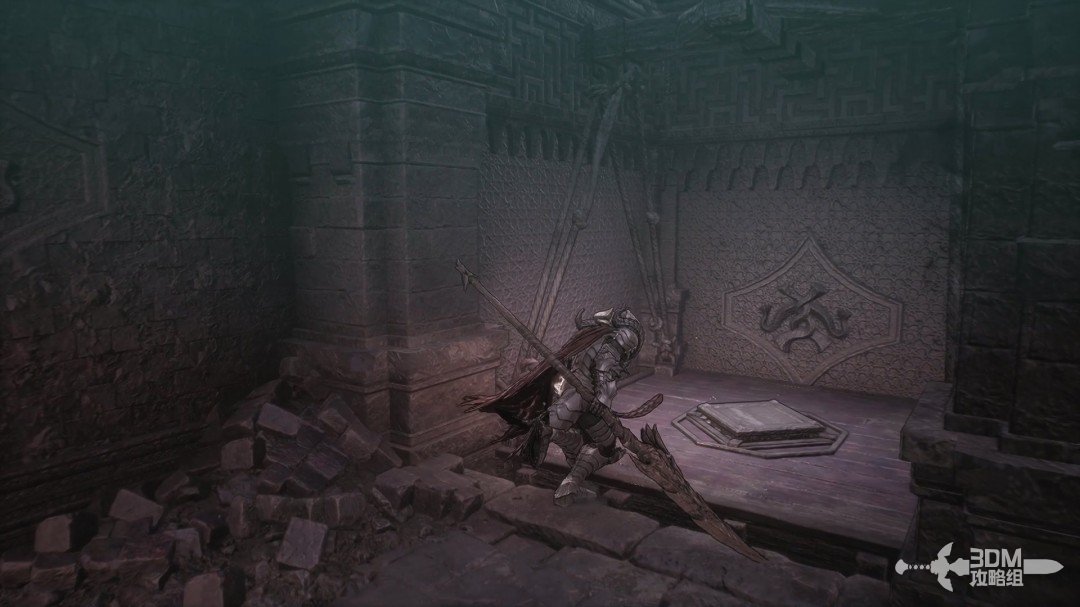
Begin the Varus's Axe side mission.
Request from Varus's son: open the gate and ride the elevator down · route image 1

Descend the stairs and speak to Varus's son at the bottom to search for his father.
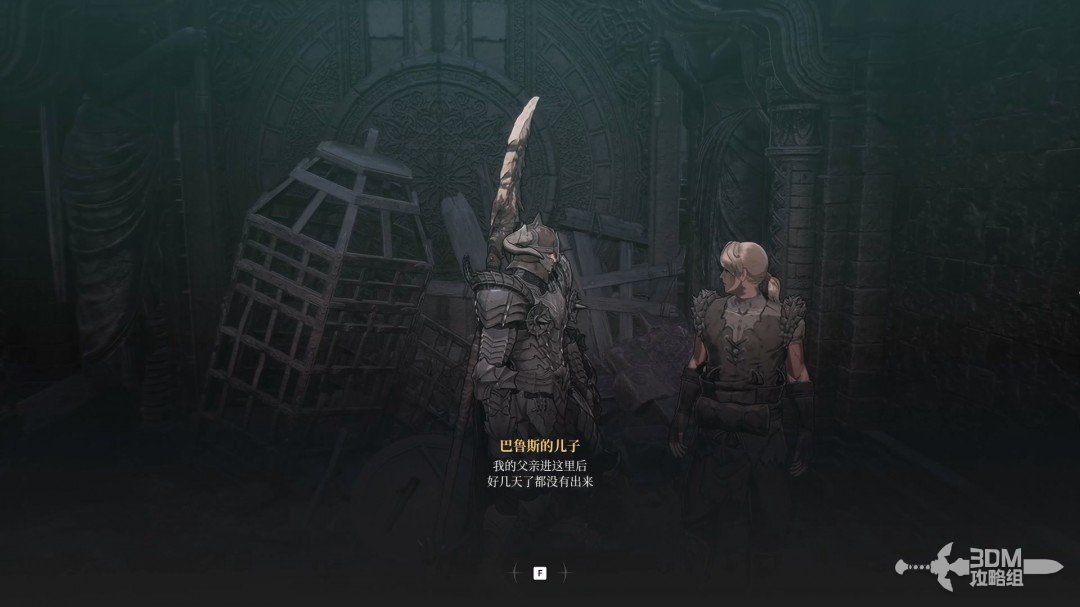
Request from Varus's son: open the gate and ride the elevator down · route image 2

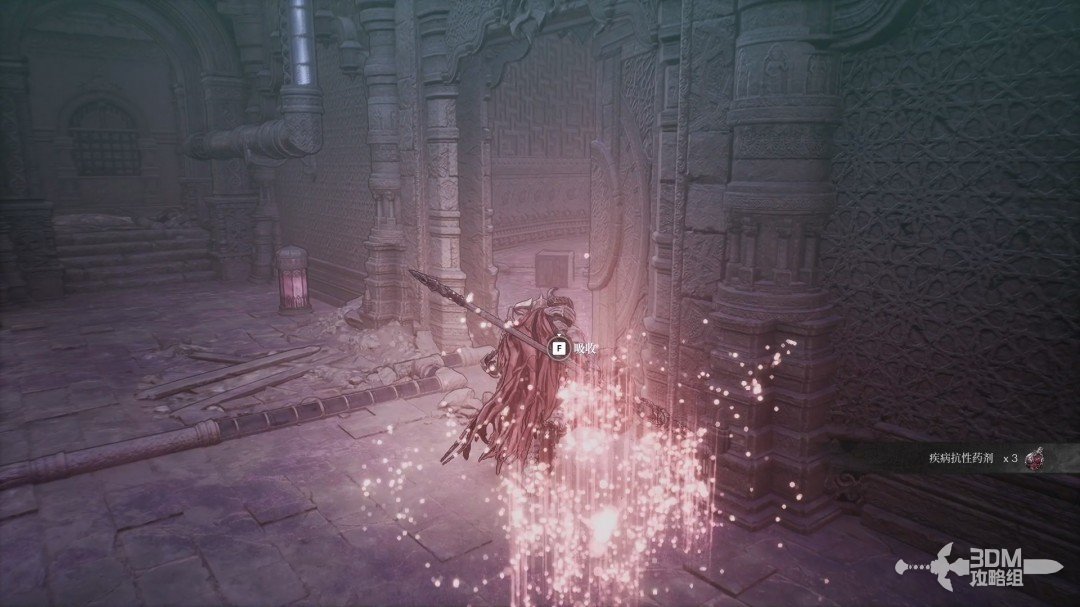
Absorb the memory at the junction ahead.
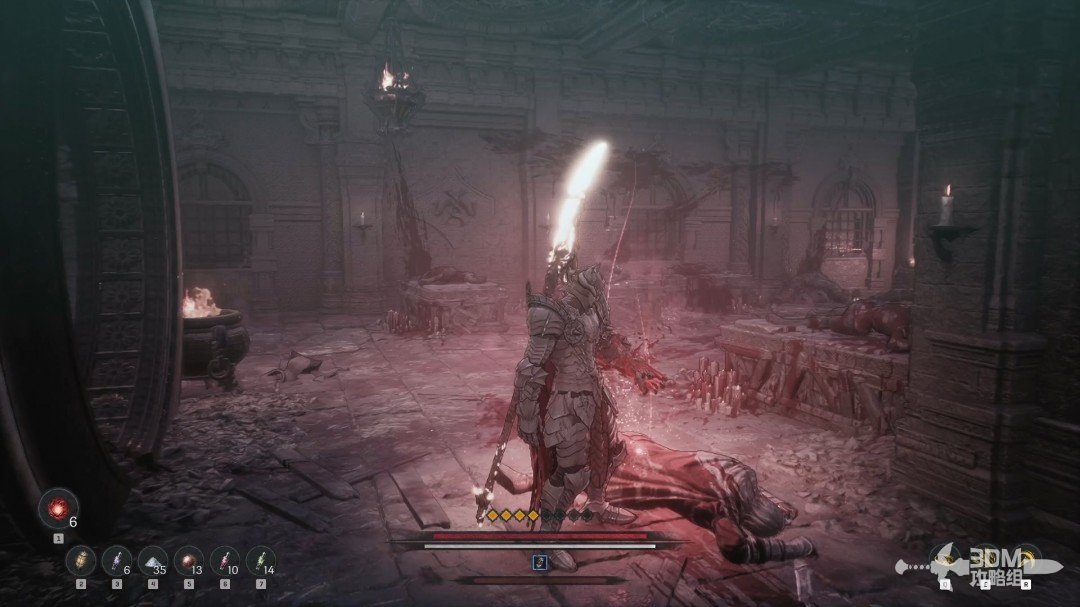
Request from Varus's son: open the gate and ride the elevator down · route image 3

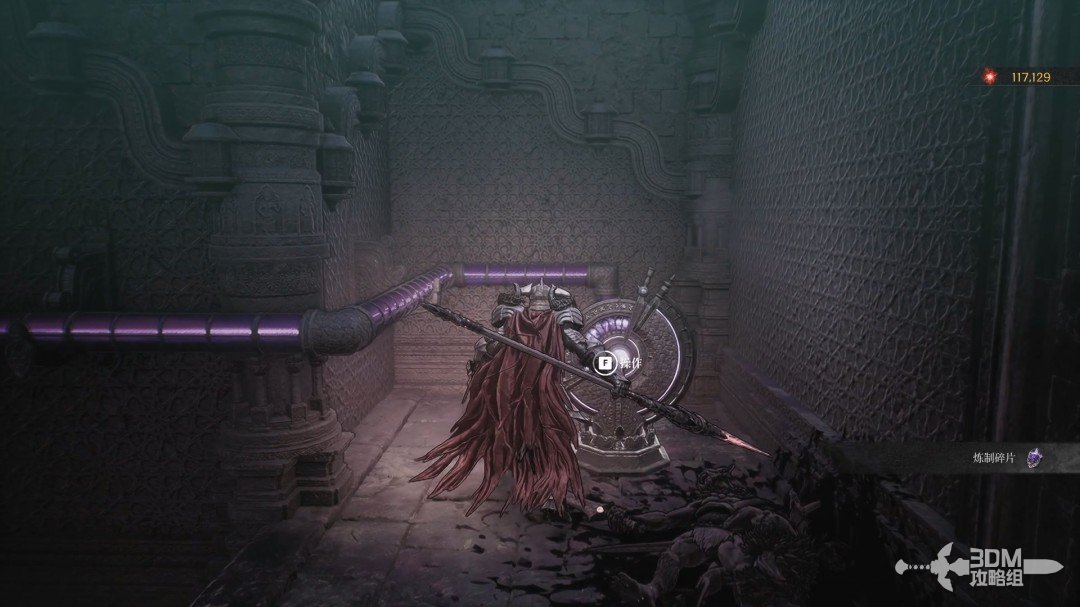
Activate the mechanism to open the door.
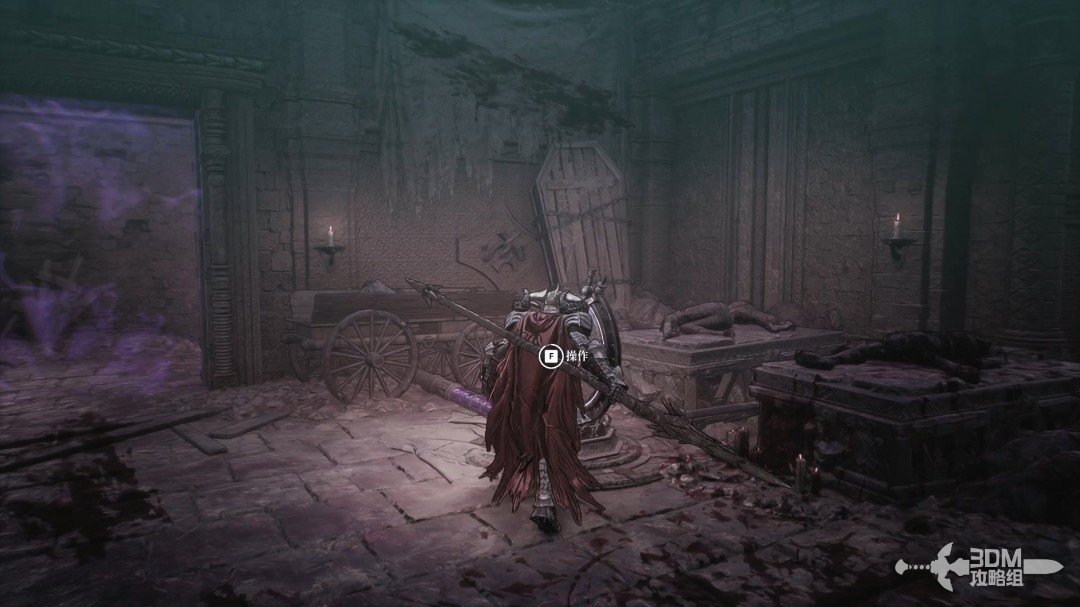
Request from Varus's son: open the gate and ride the elevator down · route image 4

Take the elevator down.

Request from Varus's son: open the gate and ride the elevator down · route image 5

02Lower laser room: follow the passage to the ghostly relic

Rest at the Nexus below.
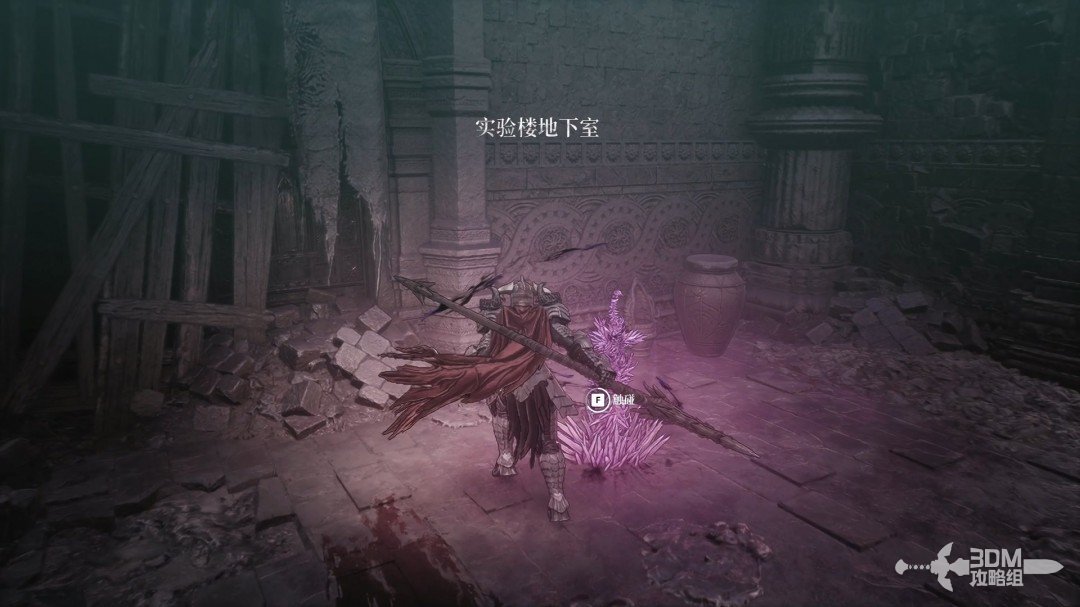
Lower laser room: follow the passage to the ghostly relic · route image 6

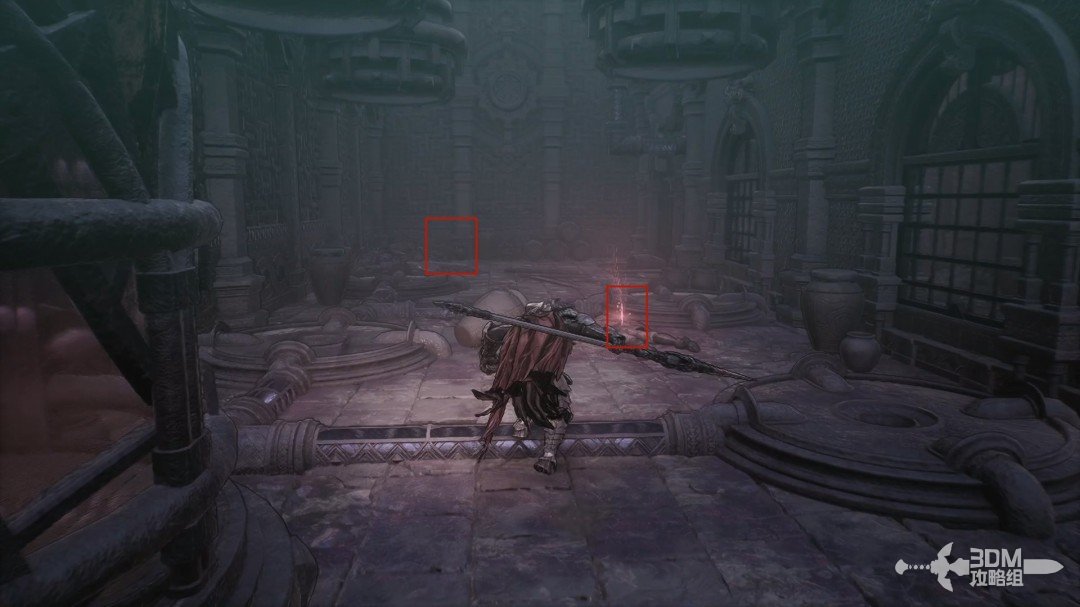
Follow the sole safe route through the laser room.
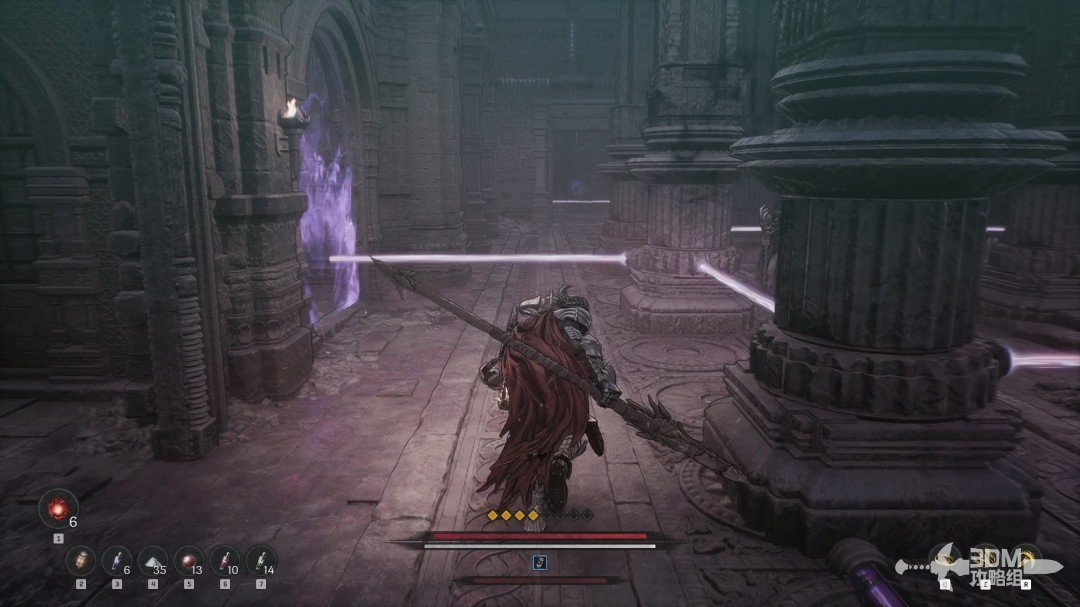
Lower laser room: follow the passage to the ghostly relic · route image 7

Clear the enemies and enter this room.
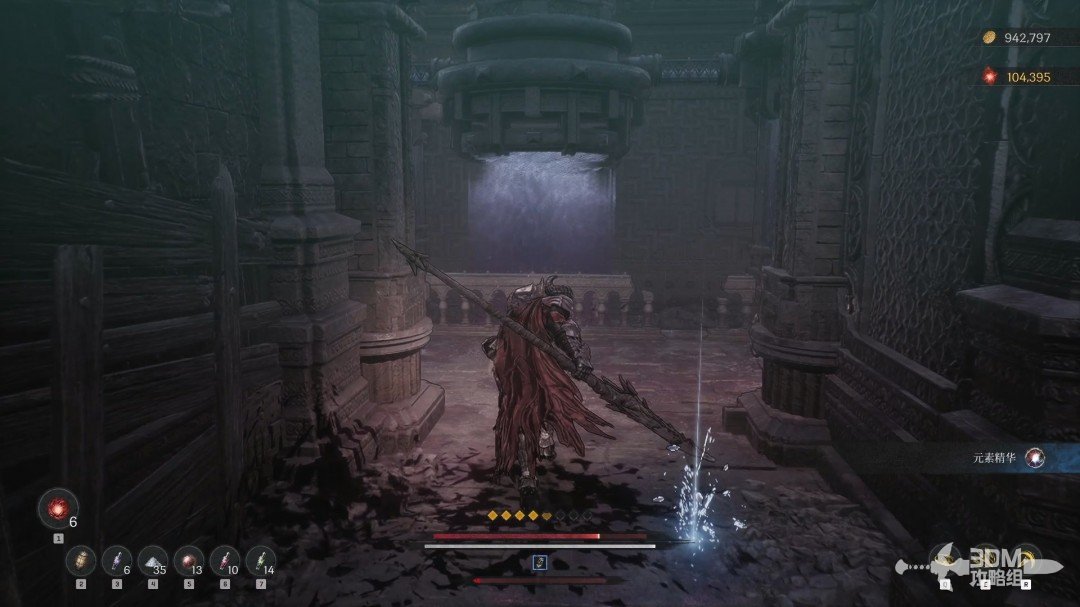
Lower laser room: follow the passage to the ghostly relic · route image 8

Collect the Ghostly Relic in the right corner.
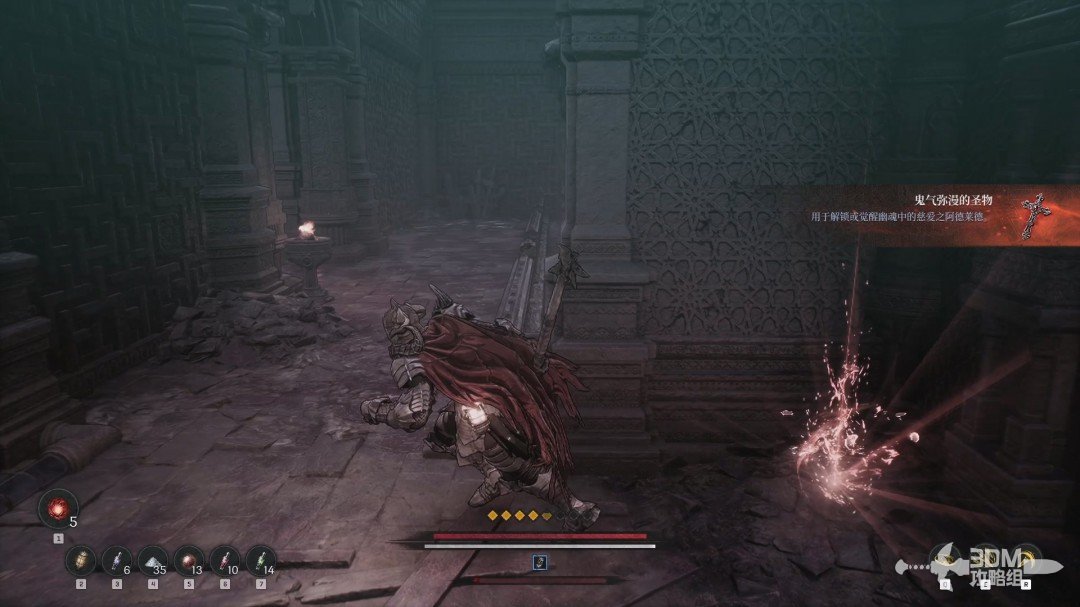
Lower laser room: follow the passage to the ghostly relic · route image 9

04Invisible foe beyond the door: operate the switch and search the explosive chest and Dragon Scale Scroll

Enter the pictured doorway.
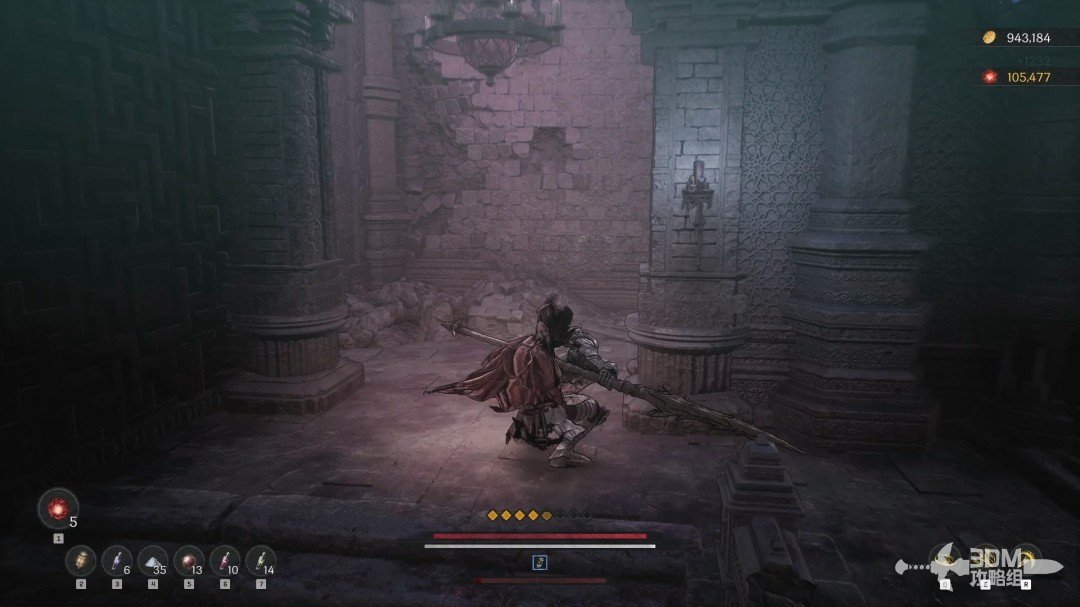
Invisible foe beyond the door: operate the switch and search the explosive chest and Dragon Scale Scroll · route image 1

Use the lantern to reveal the invisible enemy ahead, defeat it and activate the mechanism.
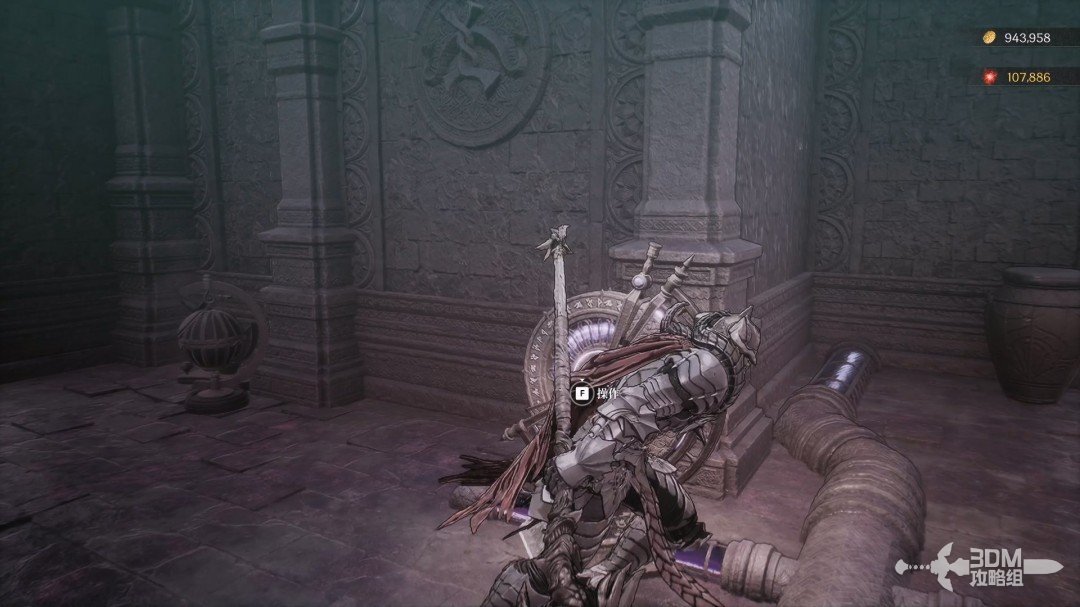
Invisible foe beyond the door: operate the switch and search the explosive chest and Dragon Scale Scroll · route image 2

The left building contains an exploding chest.
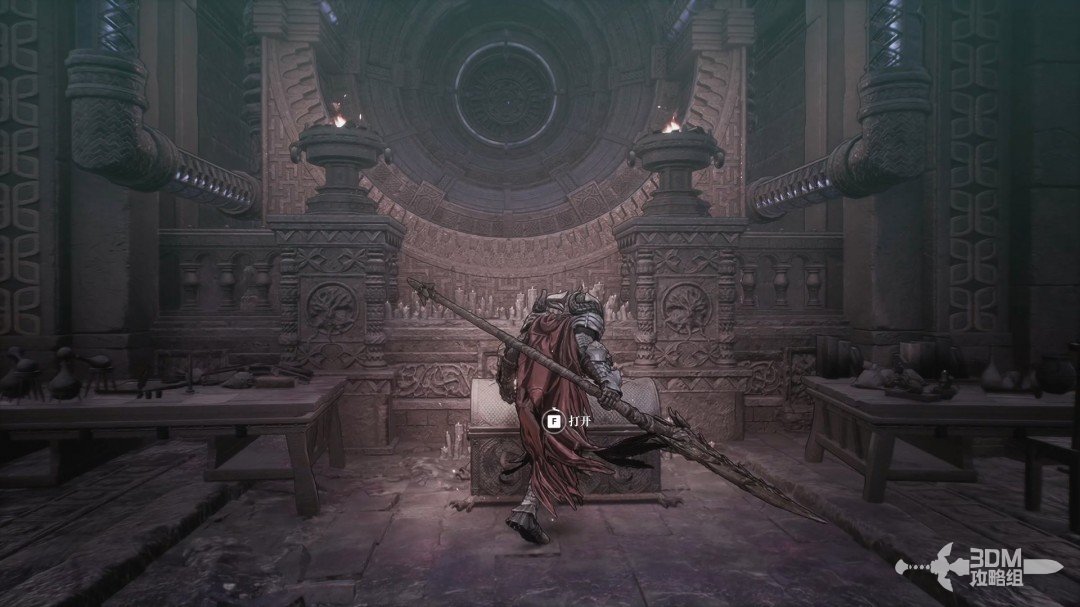
Invisible foe beyond the door: operate the switch and search the explosive chest and Dragon Scale Scroll · route image 3

After collecting it, follow this route.
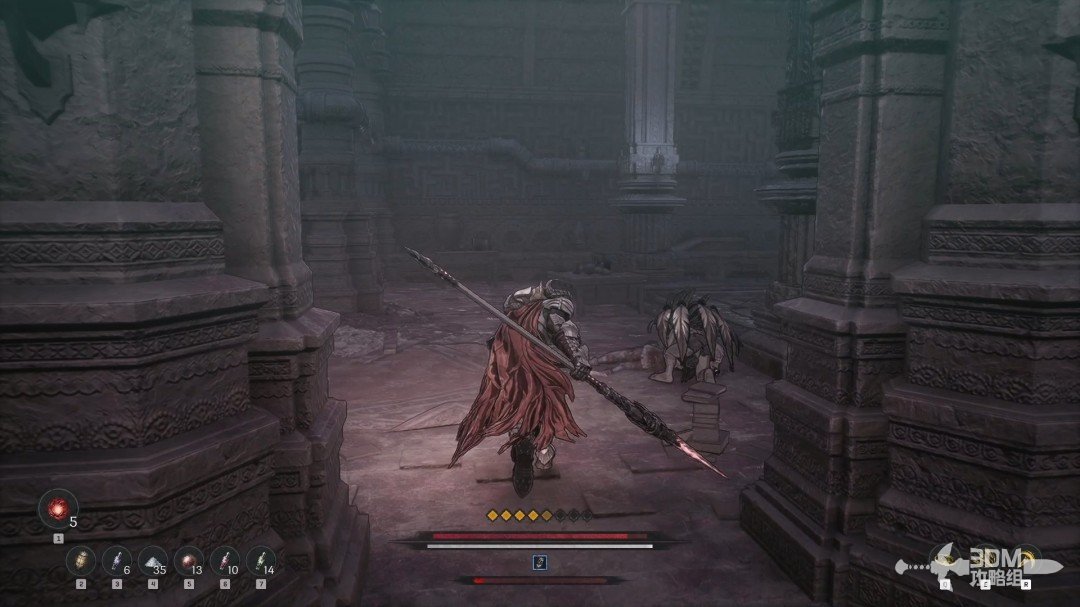
Invisible foe beyond the door: operate the switch and search the explosive chest and Dragon Scale Scroll · route image 4

Collect the Dragon Scale Scroll on the left.
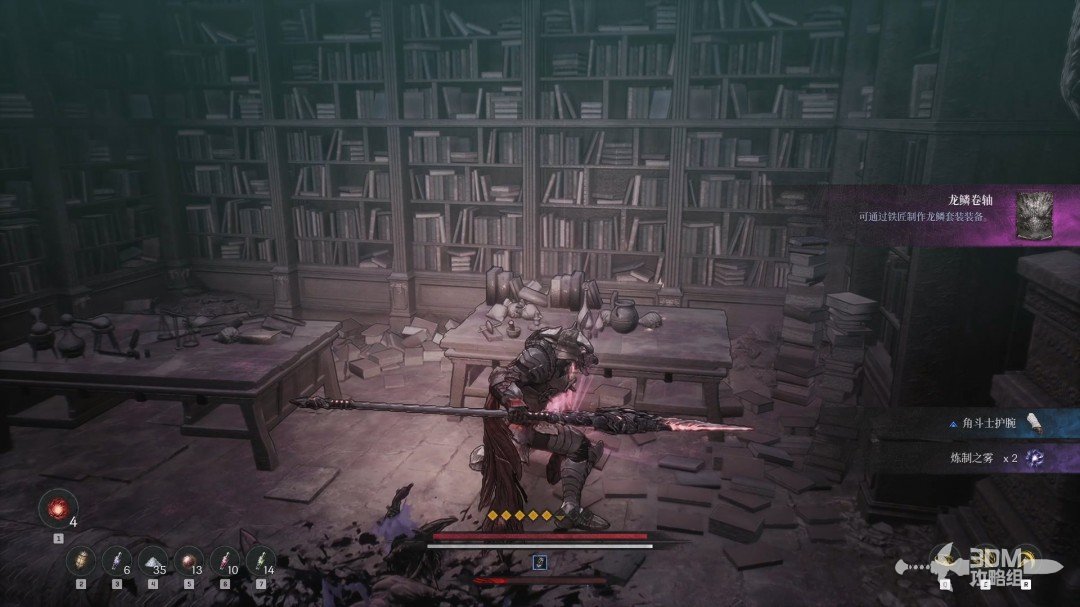
Invisible foe beyond the door: operate the switch and search the explosive chest and Dragon Scale Scroll · route image 5

06Switch right of the entrance Nexus: look up for the Soulstone

Collect the purple item on the right.
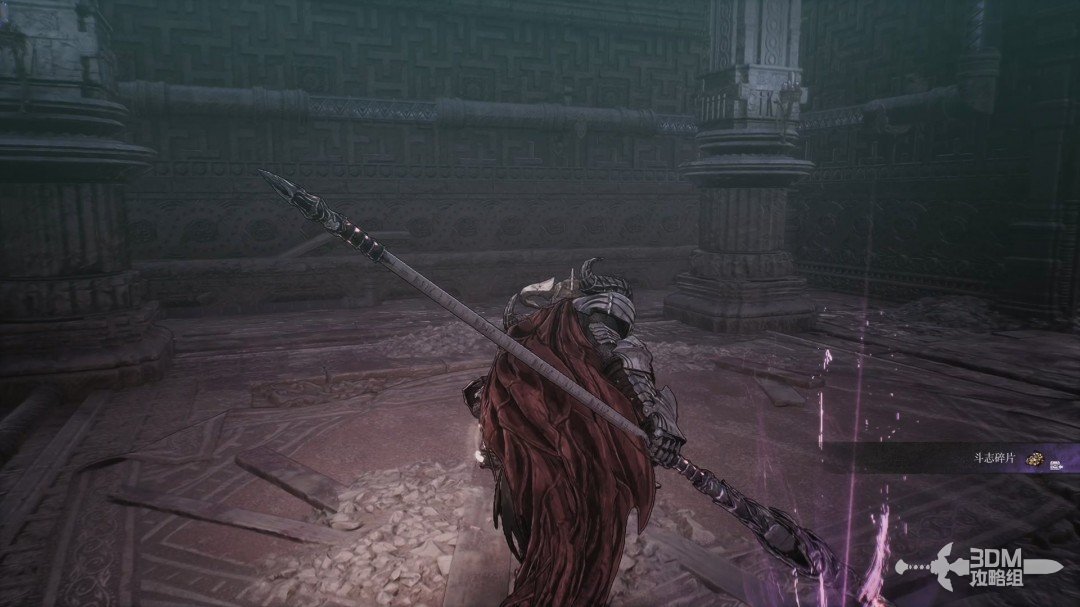
Switch right of the entrance Nexus: look up for the Soulstone · route image 1

Continue back toward the starting Nexus and activate its right-hand switch.
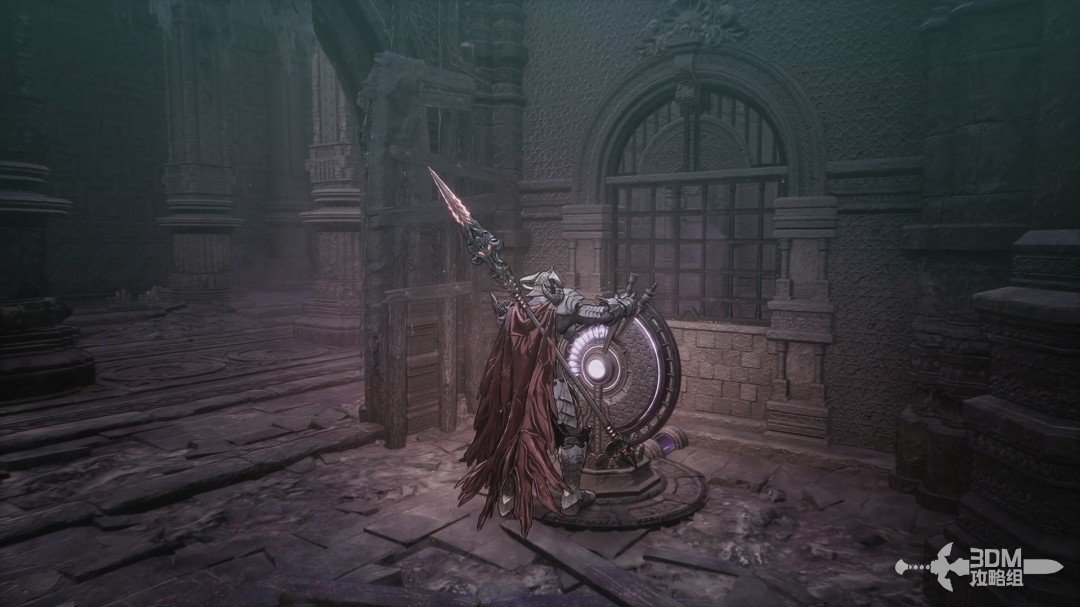
Switch right of the entrance Nexus: look up for the Soulstone · route image 2

Look up on the right for a Soulstone.
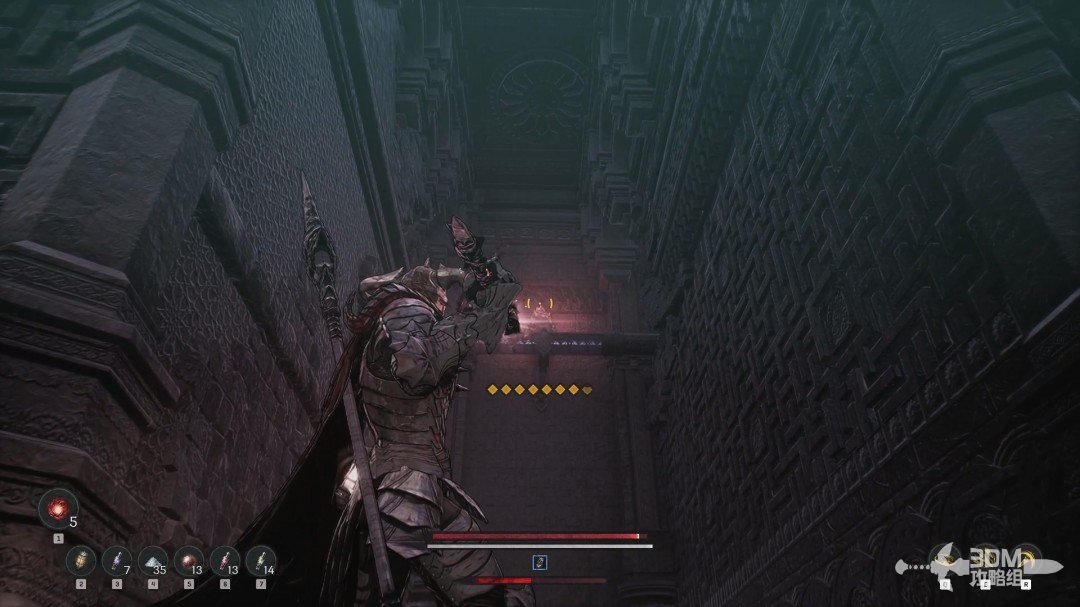
Switch right of the entrance Nexus: look up for the Soulstone · route image 3

08Small doorway beside the Nexus: take the right path before entering the tank chamber

Enter the newly accessible small door beside the Nexus.
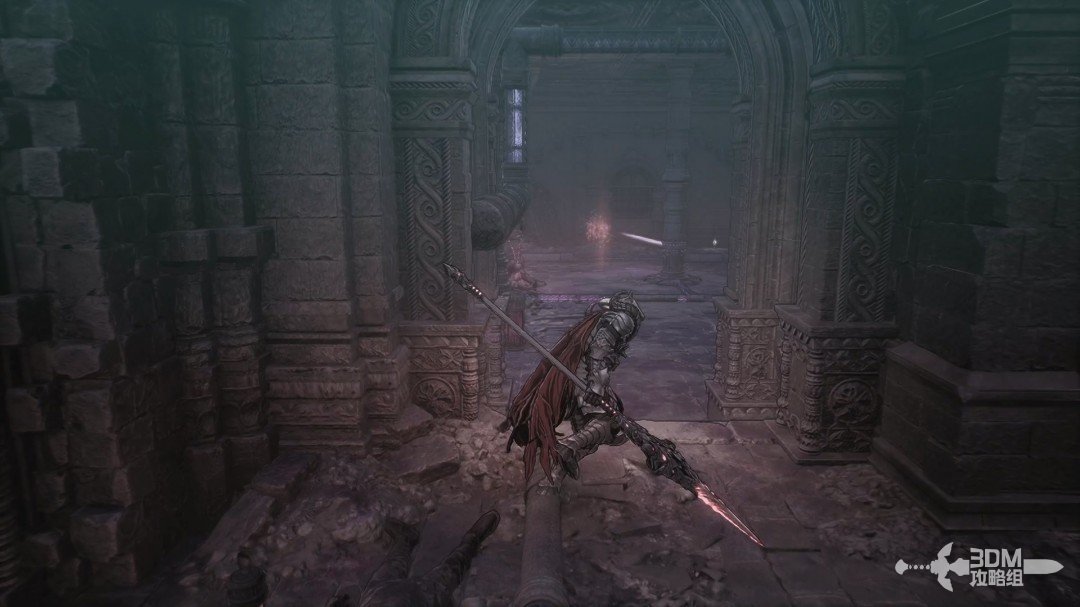
Small doorway beside the Nexus: take the right path before entering the tank chamber · route image 1

First clear the enemies on the right branch.
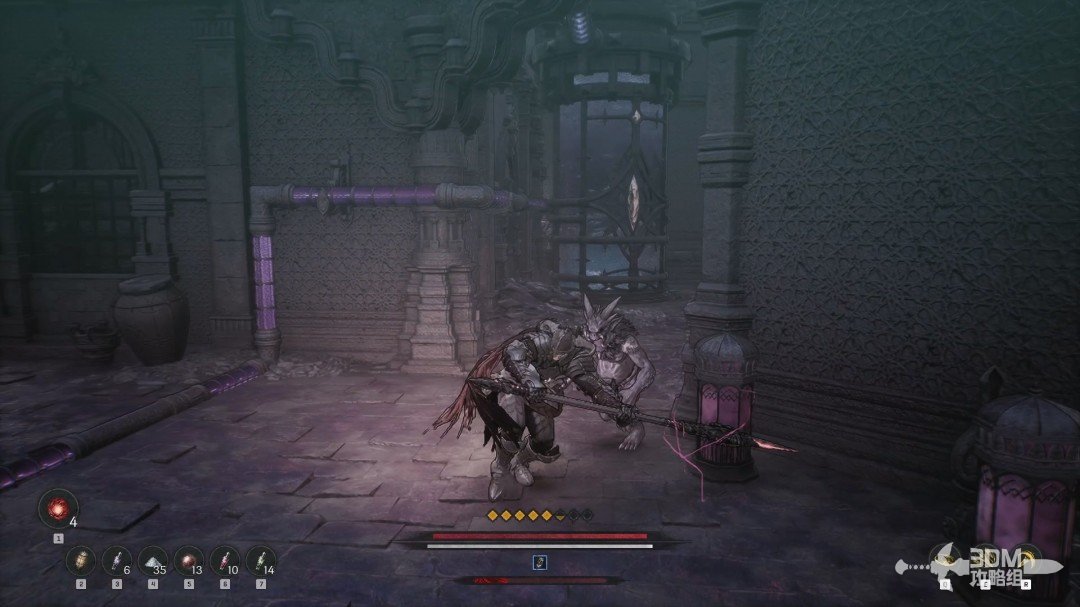
Small doorway beside the Nexus: take the right path before entering the tank chamber · route image 2

Activate the mechanism at its end.

Small doorway beside the Nexus: take the right path before entering the tank chamber · route image 3

Collect the white item in this corner.
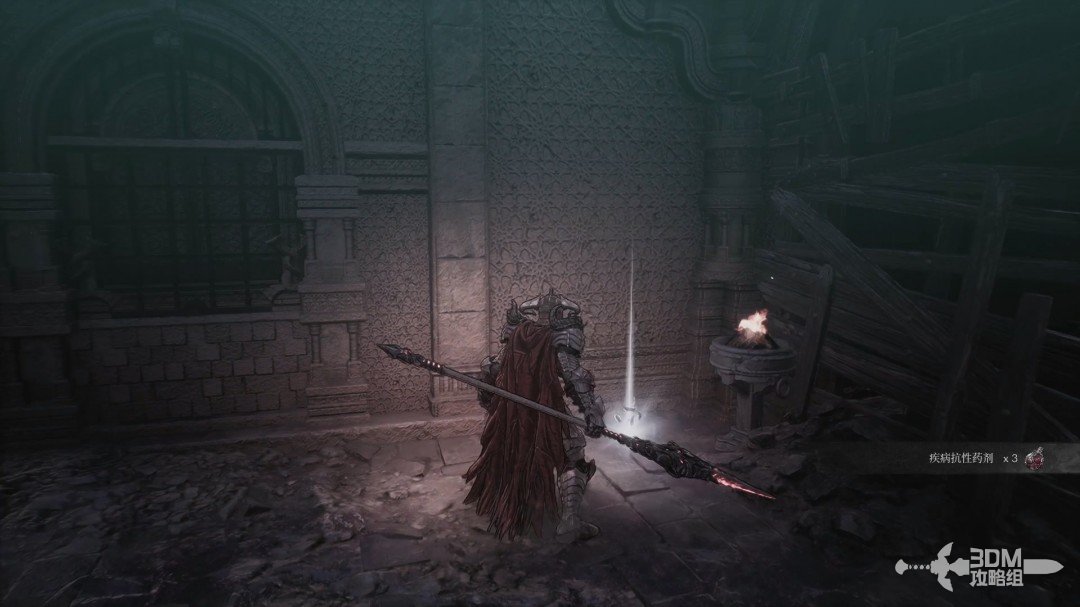
Small doorway beside the Nexus: take the right path before entering the tank chamber · route image 4

Absorb the memory at the entrance.

Small doorway beside the Nexus: take the right path before entering the tank chamber · route image 5

Enter to find another experimental device.
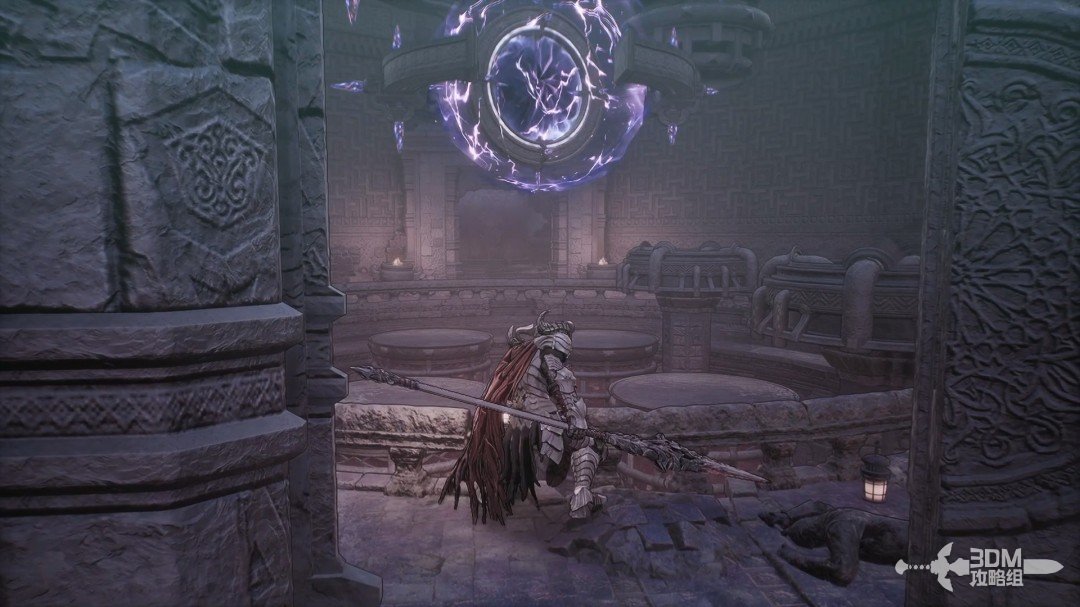
Small doorway beside the Nexus: take the right path before entering the tank chamber · route image 6

09Left of the powerful foe's tank: search for material and the corner Soulstone

A Powerful Enemy emerges from the tank, as in the main mission.
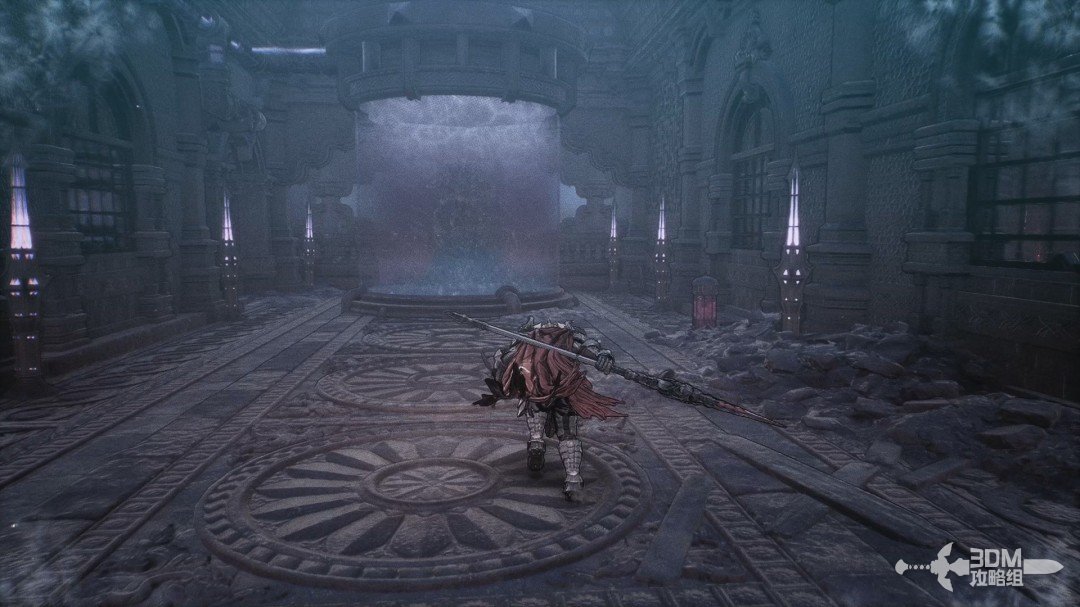
Left of the powerful foe's tank: search for material and the corner Soulstone · route image 7

After defeating it, check the left tank for a red material.
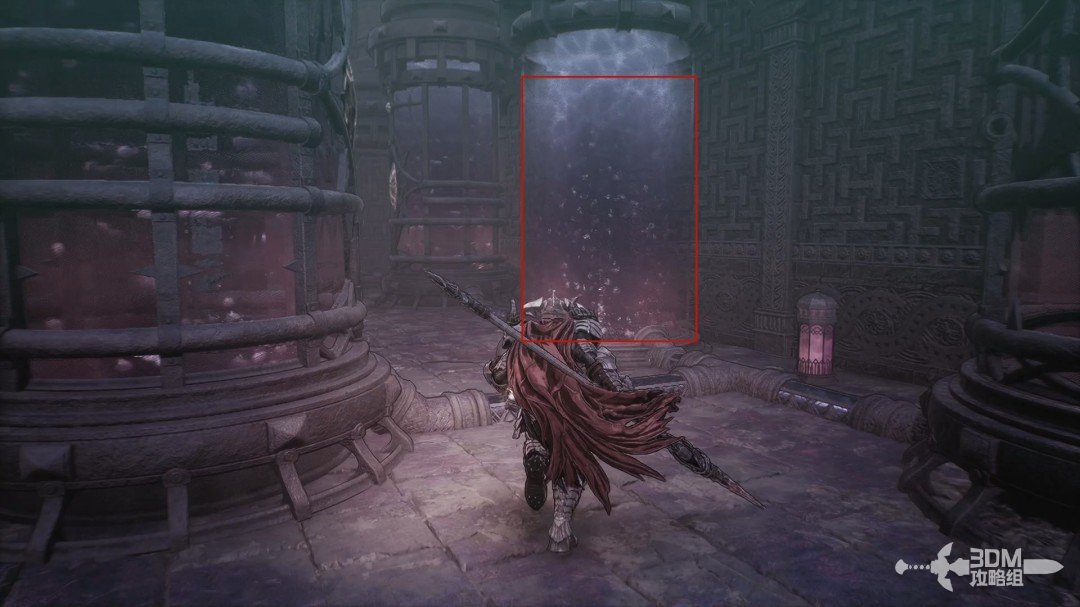
Left of the powerful foe's tank: search for material and the corner Soulstone · route image 8

A Soulstone stands in the far-left corner.
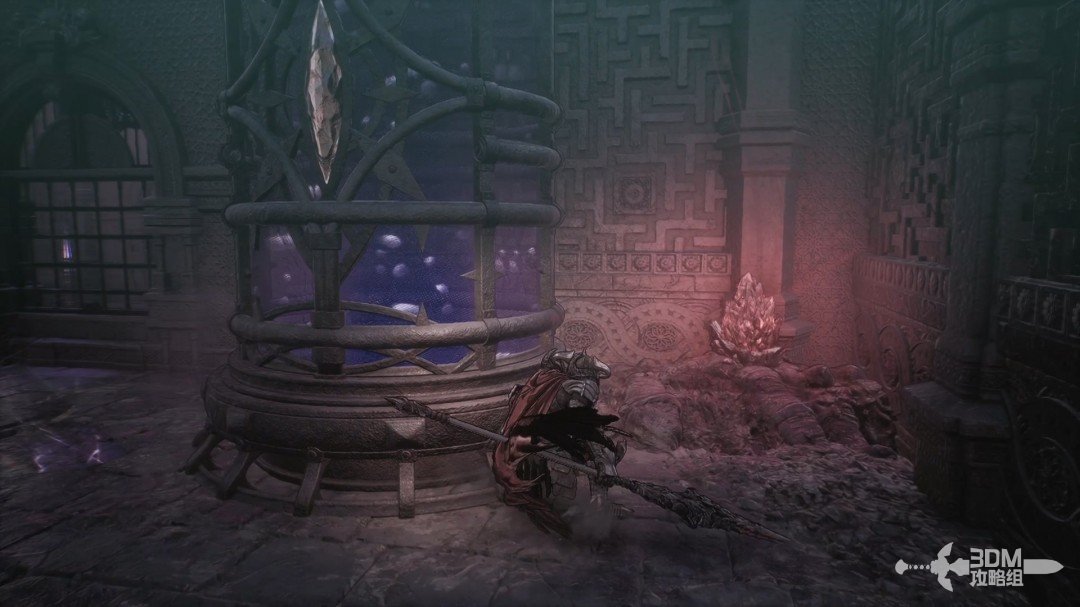
Left of the powerful foe's tank: search for material and the corner Soulstone · route image 9

11Rooms on either side of the door: chest, memory and jar

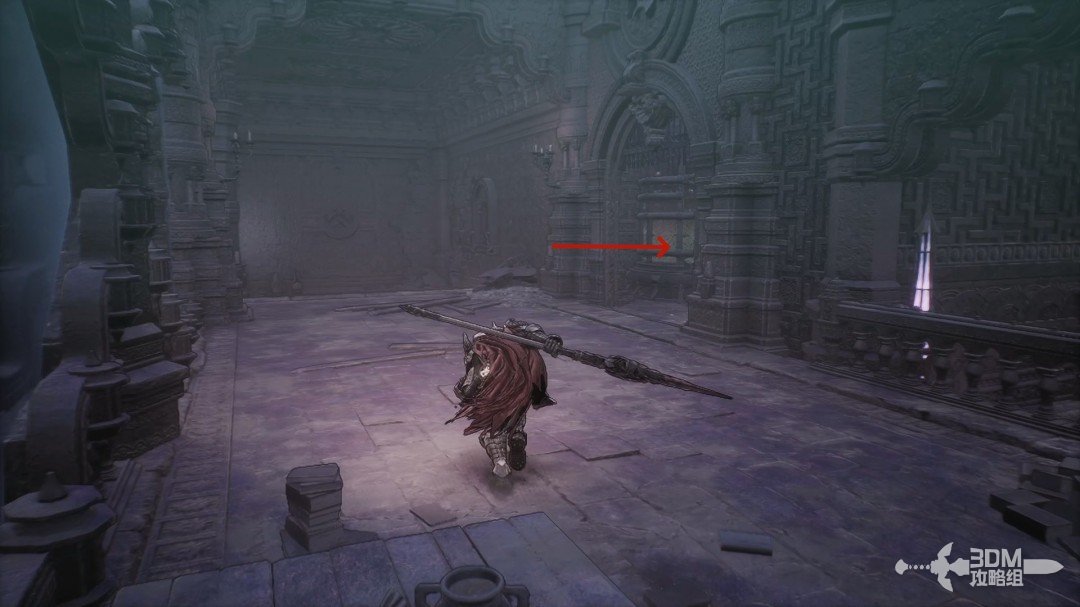
First explore left of this doorway for a chest.
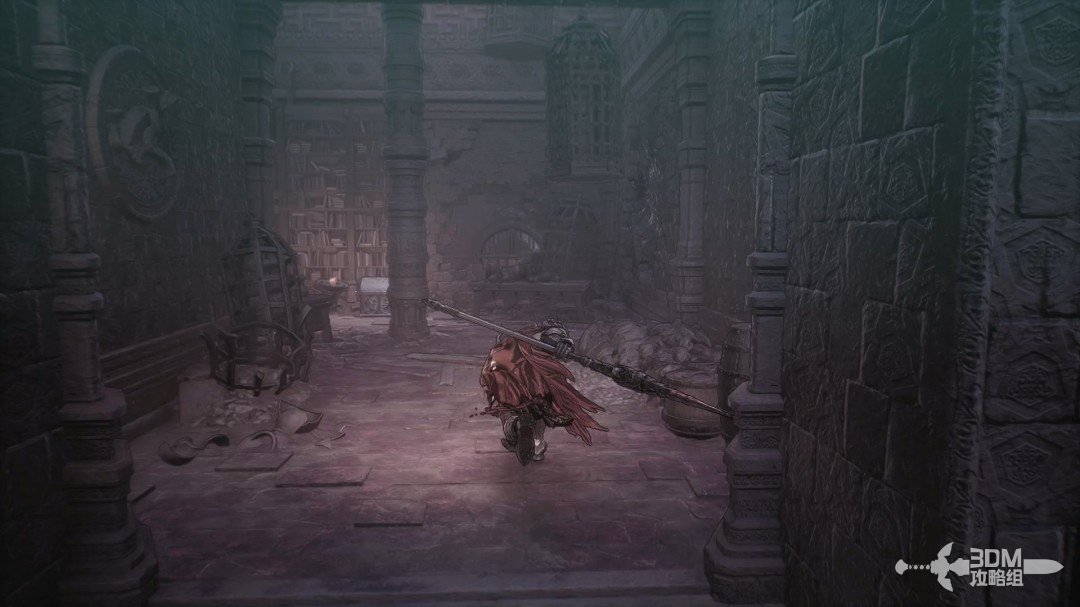
Rooms on either side of the door: chest, memory and jar · route image 1

Return and go right into the room containing a memory and a Jarling.
Rooms on either side of the door: chest, memory and jar · route image 2
Rooms on either side of the door: chest, memory and jar · route image 3

13Paired lasers outside the barrier: circle to the switch that opens the boss gate

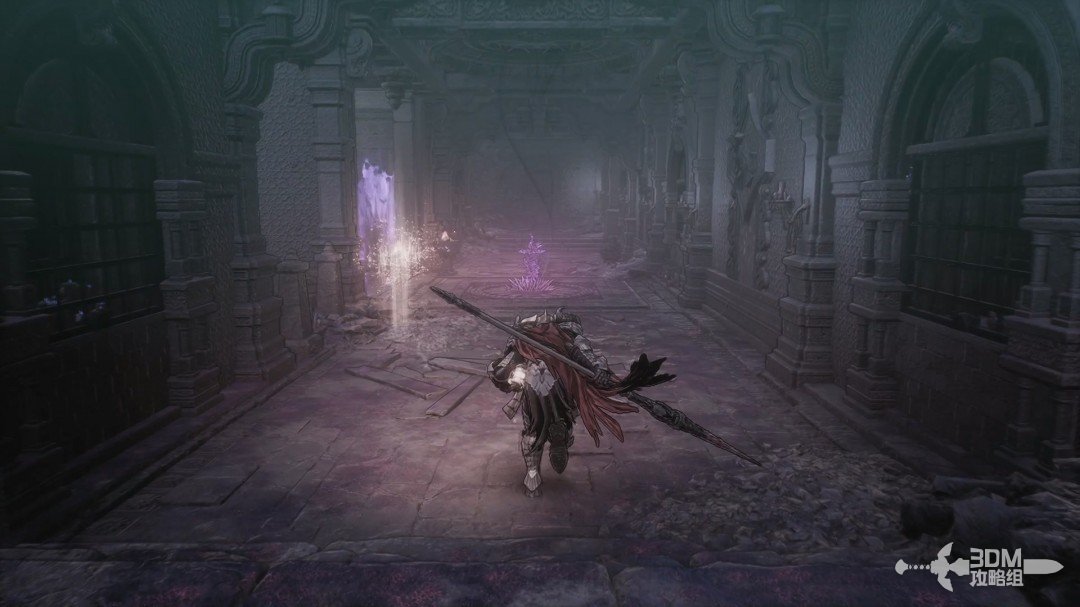
Leave, turn right and rest at the Nexus around the corner.
Paired lasers outside the barrier: circle to the switch that opens the boss gate · route image 1

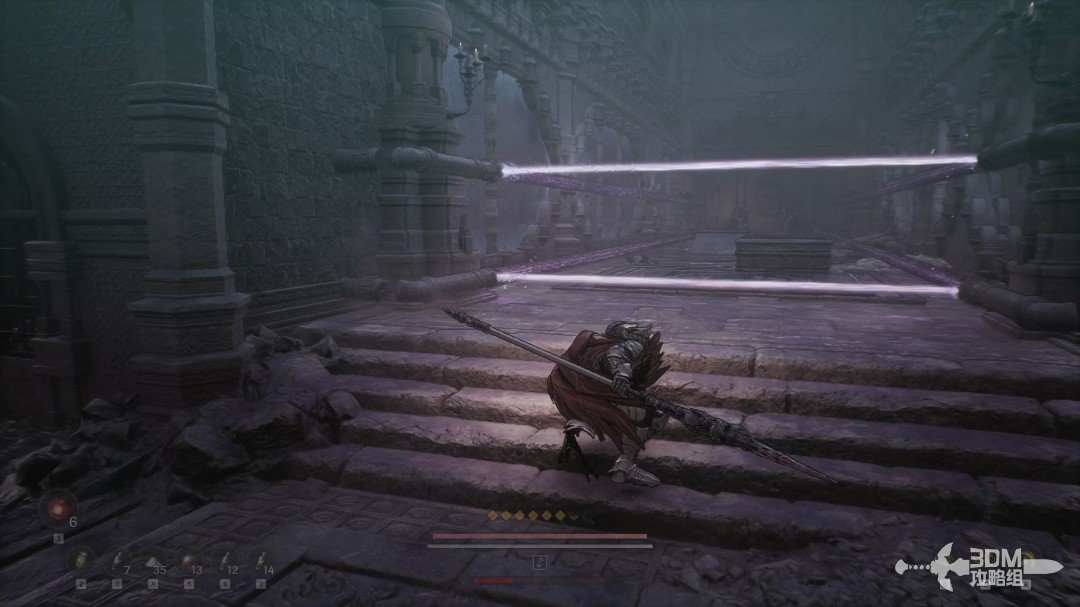
A light barrier blocks the door. Follow the route to disable it, using Javelin on distant enemies so they do not interfere with the laser crossing.
Paired lasers outside the barrier: circle to the switch that opens the boss gate · route image 2

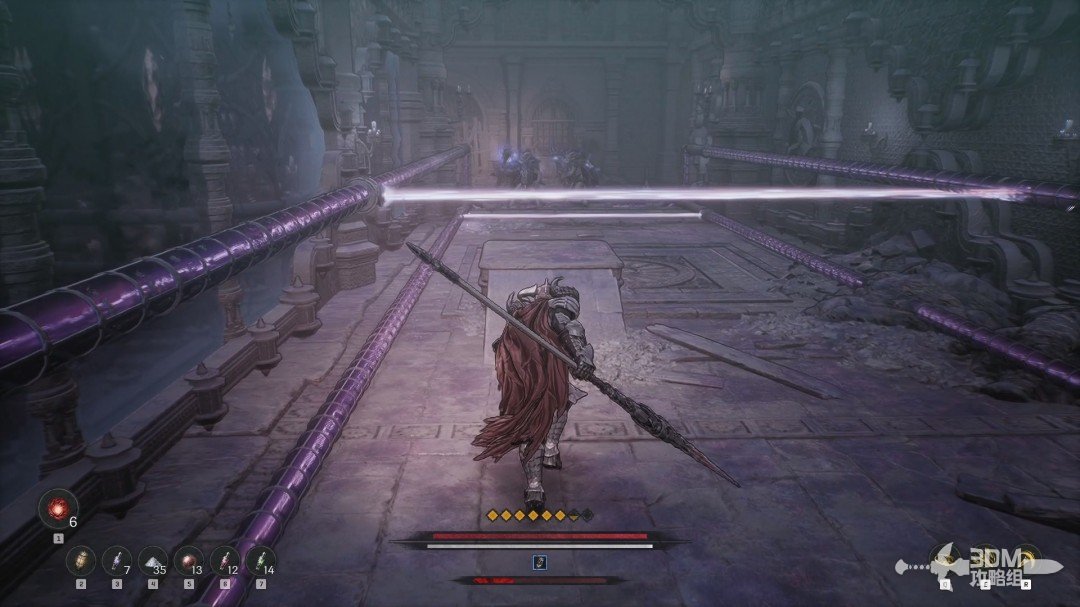
Two lasers sweep here. Follow the lower beam to this position and cross while it passes below you.
Paired lasers outside the barrier: circle to the switch that opens the boss gate · route image 3

Open the chest on the right after crossing.
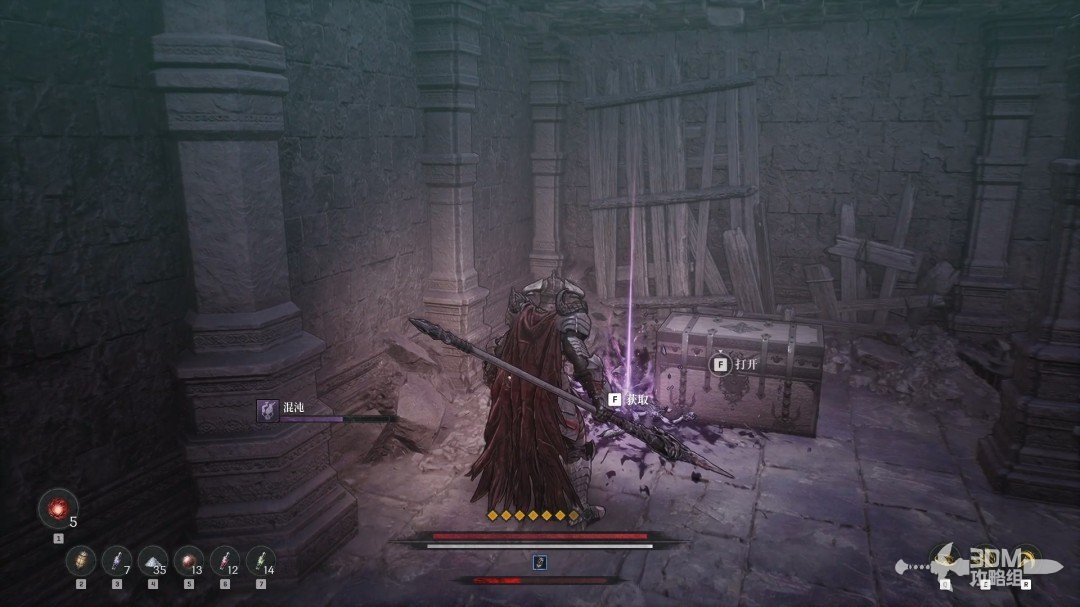
Paired lasers outside the barrier: circle to the switch that opens the boss gate · route image 4

Activate the mechanism on the left to open the boss gate.
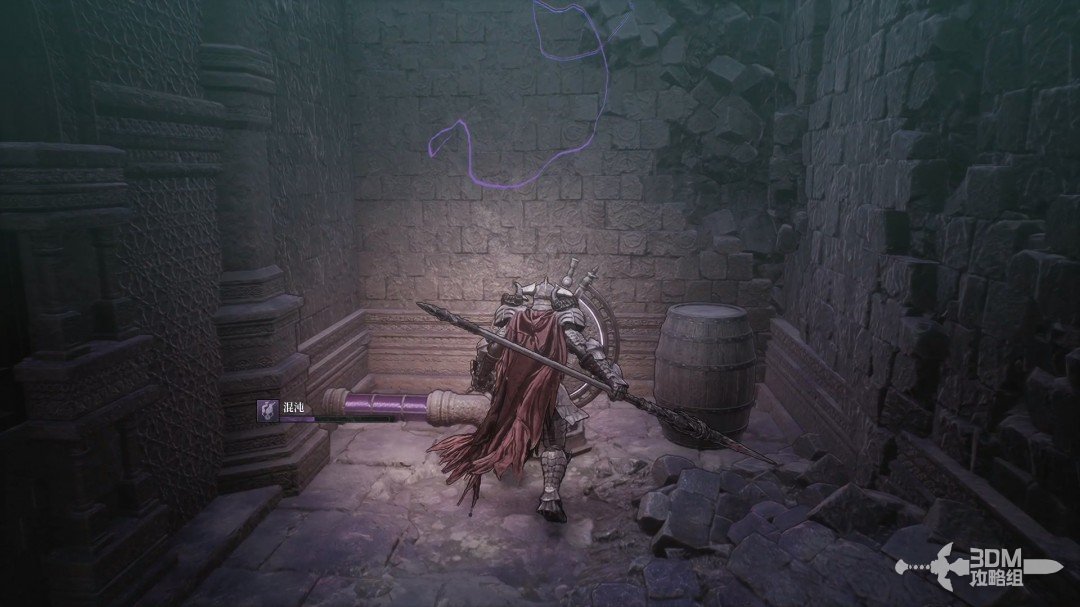
Paired lasers outside the barrier: circle to the switch that opens the boss gate · route image 5

14Laser and flame foes: recover Varus's axe after the battle

The boss encounter pairs a laser enemy with a fire enemy.
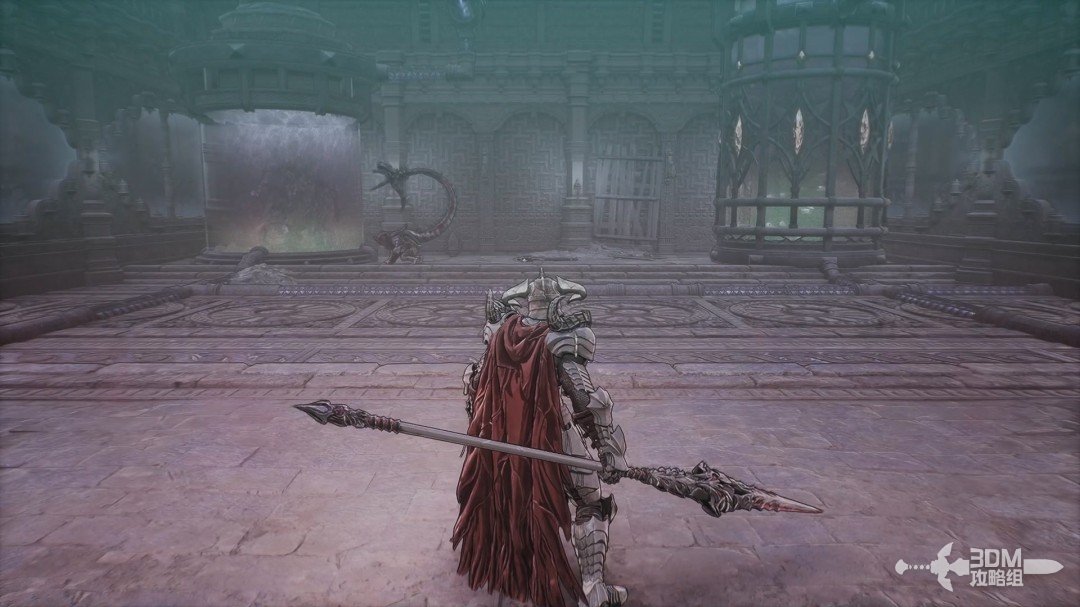
Laser and flame foes: recover Varus's axe after the battle · route image 6

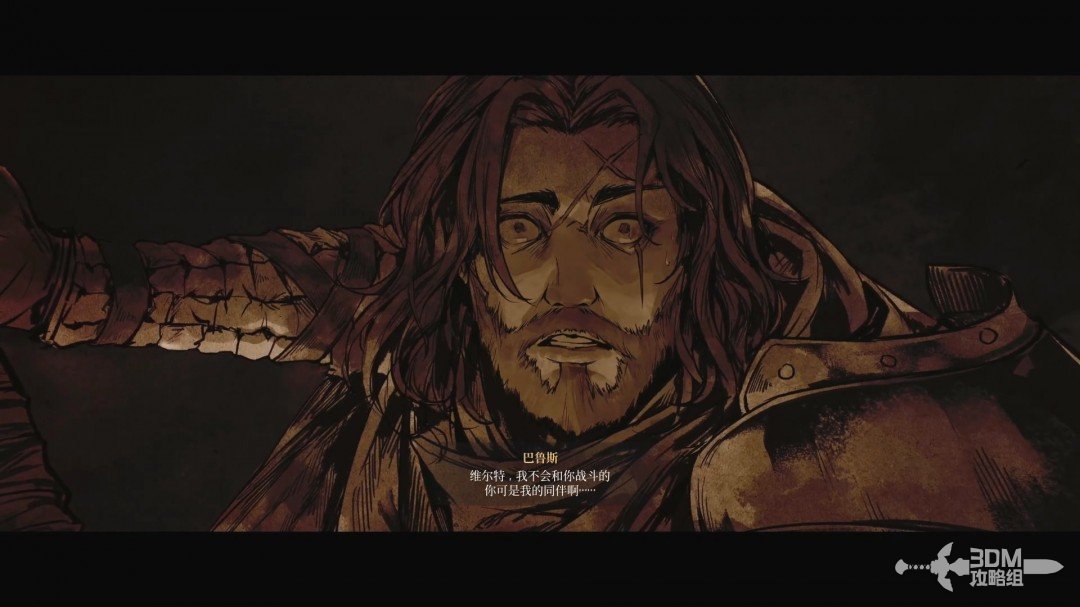
Defeat them and absorb the memory to obtain Varus's Axe and trigger a cinematic.
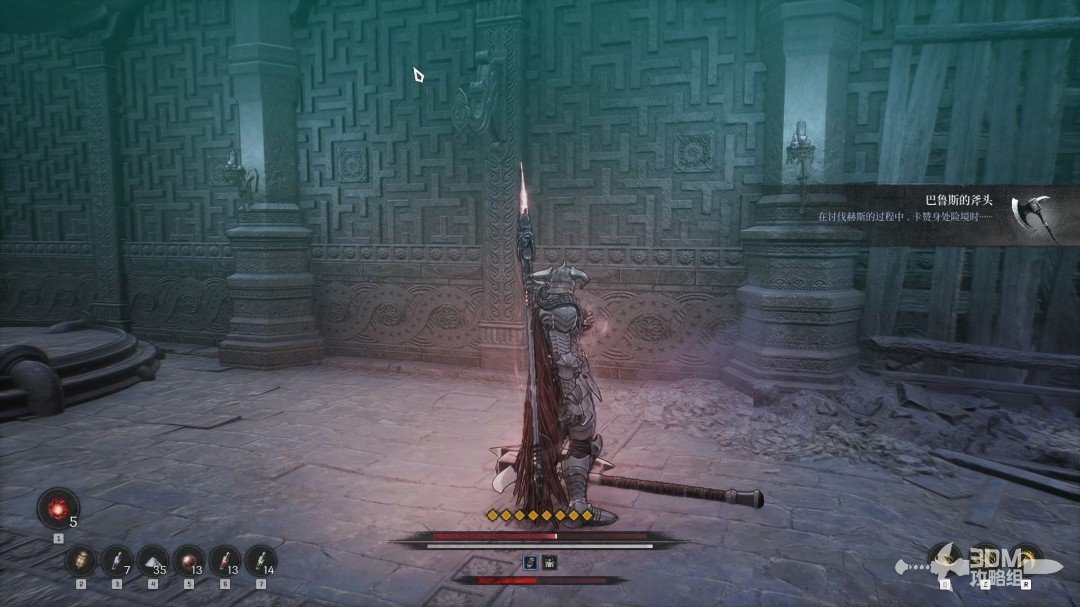
Laser and flame foes: recover Varus's axe after the battle · route image 7

The memory reveals Varus was killed by companions consumed by chaos.
Laser and flame foes: recover Varus's axe after the battle · route image 8

Speak to his son afterward to return.
Laser and flame foes: recover Varus's axe after the battle · route image 9

Continue

Back to mission index →

Reference: 3DM Guide Team

GAME NOTE has reorganized and rewritten the routes from this walkthrough.