Cross the mountains, portals and phantom forest before Bellerian.
Pickups in this mission
01Hermit's Mountains entrance: speak to Yulian and climb the steps
Explore the mountain branches carefully for optional pickups.
Resume the main story in Hermit's Mountains, searching for the dark elves.
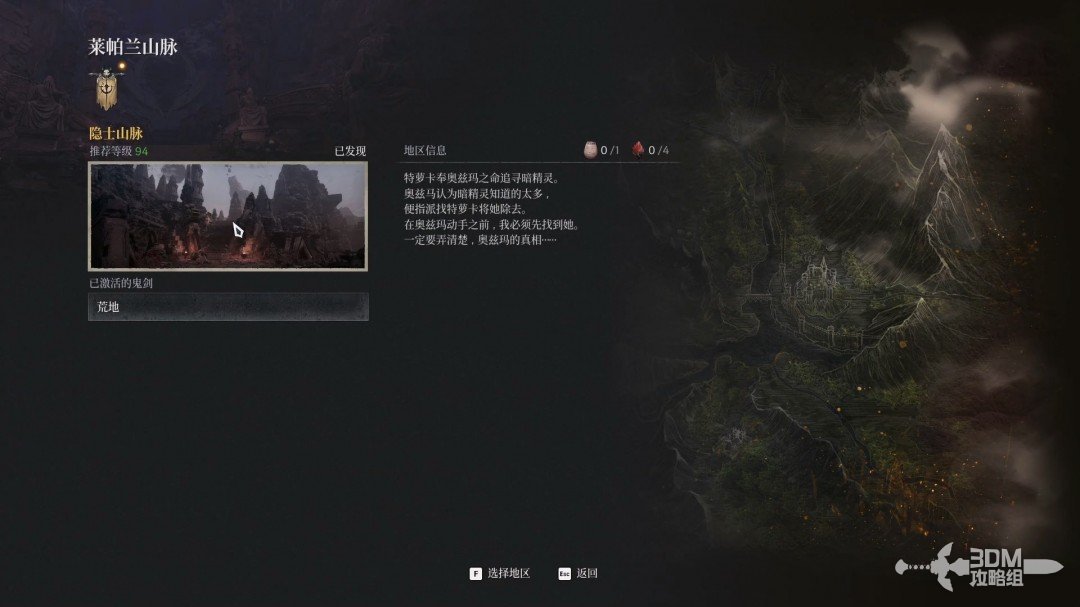
Speak to Yulian on arrival, then climb the main stairs for the Bloodstained Commission ahead.
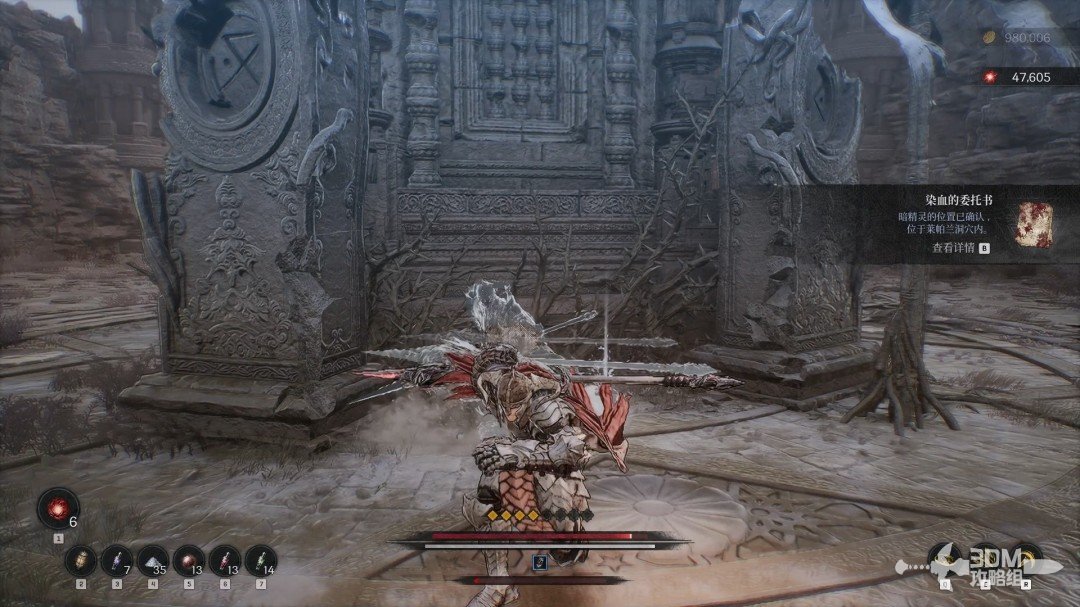
03Bat bridge and portal: enter the three-way Nexus area
Collect the purple item on the left balcony.
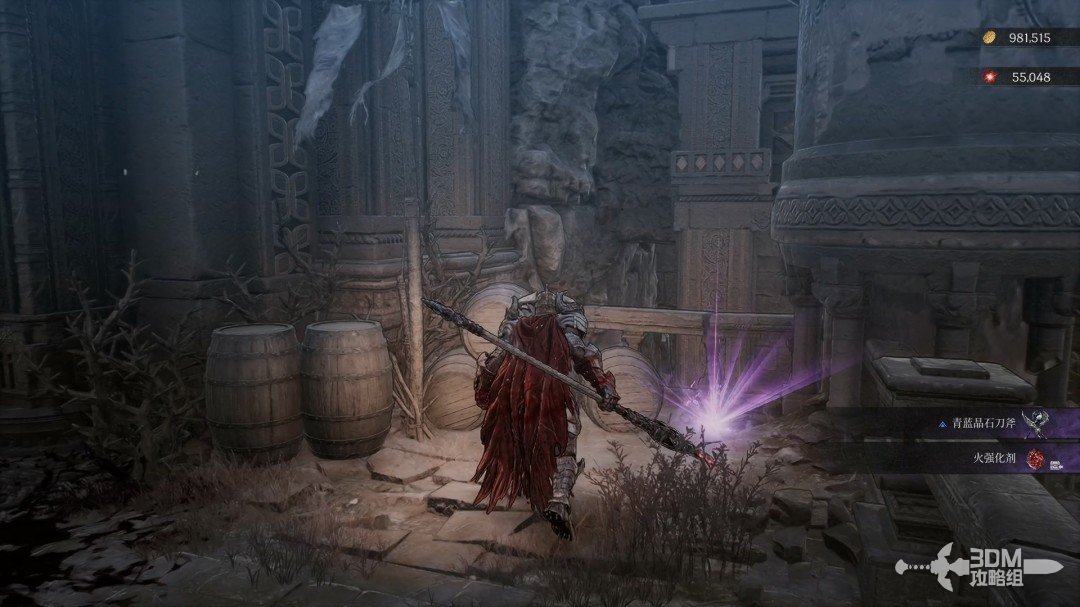
Continue along the main route and absorb the memory ahead.
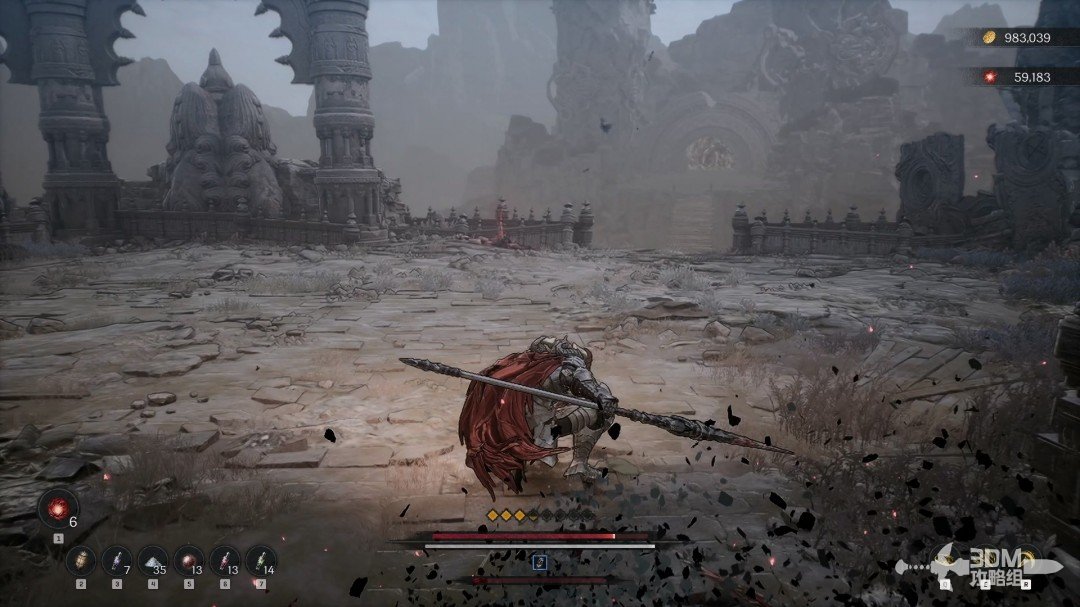
Guard against bats on the bridge. An elite approaches from the portal; lure it onto level ground before fighting.
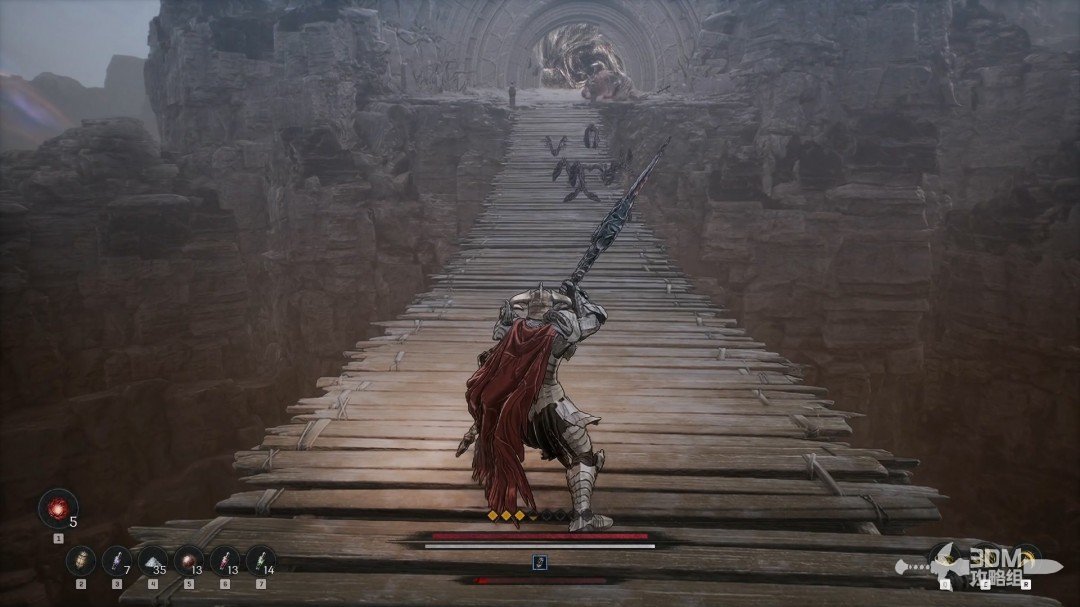
Enter the portal after the fight and collect the white item on the right.
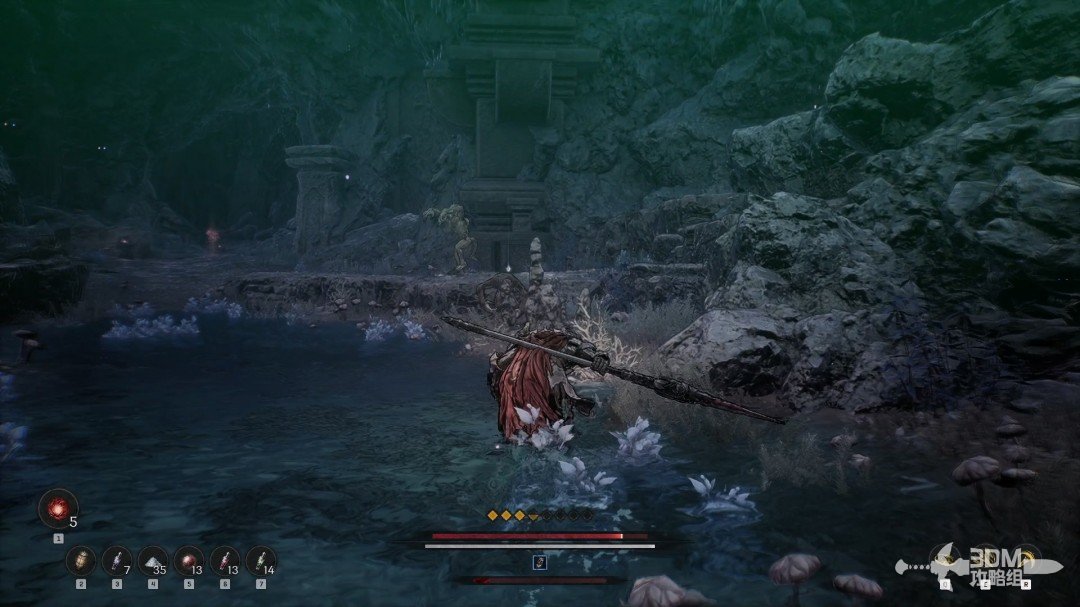
Another white item lies on the left steps.
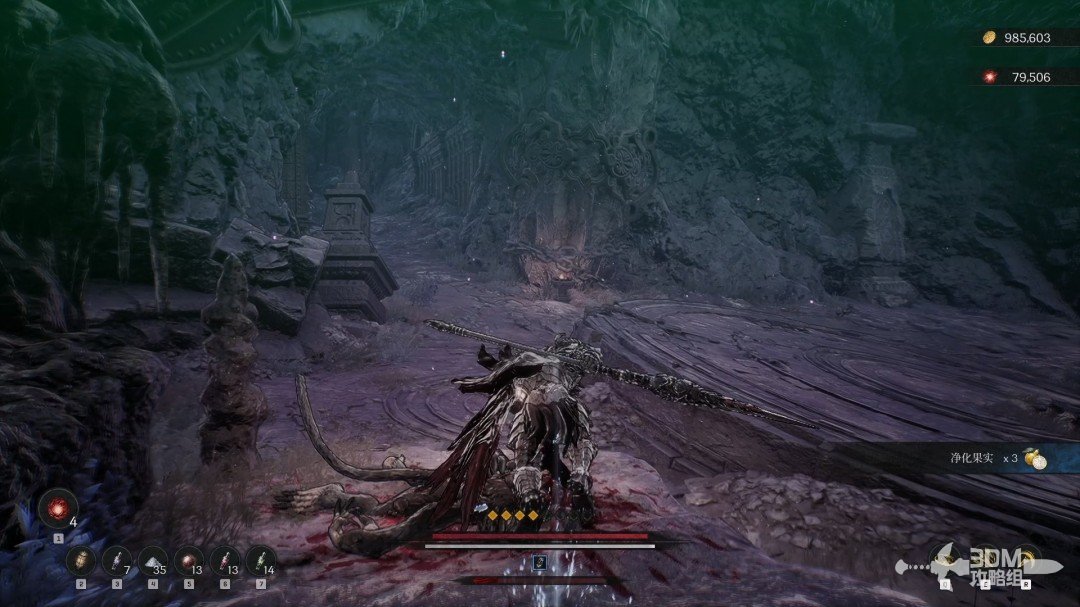
Go left toward the enemies. Use Javelin to remove some from range.
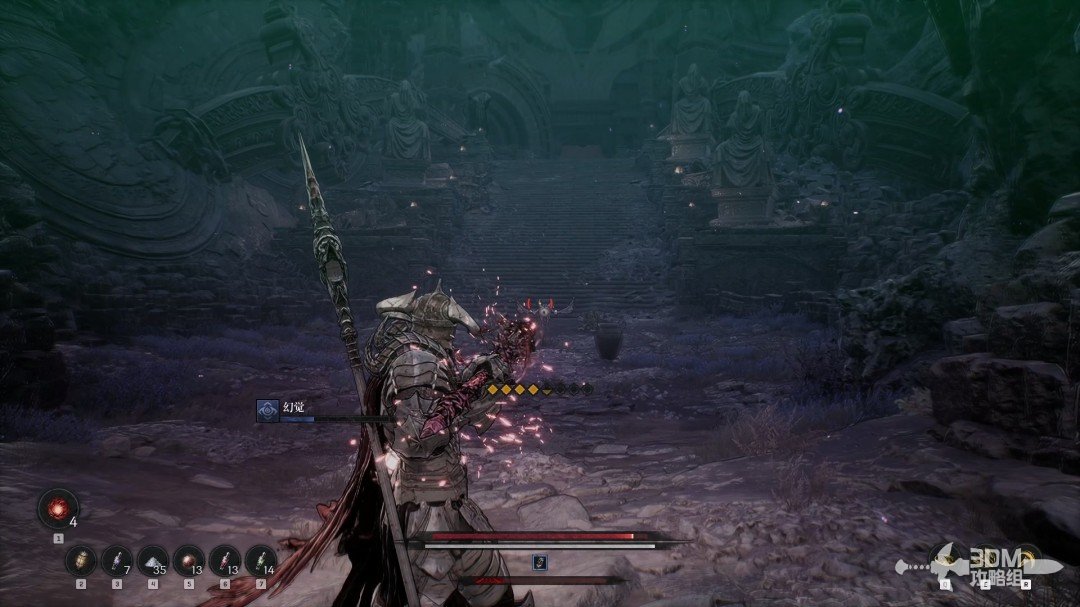
Climb the steps and rest at the Nexus.
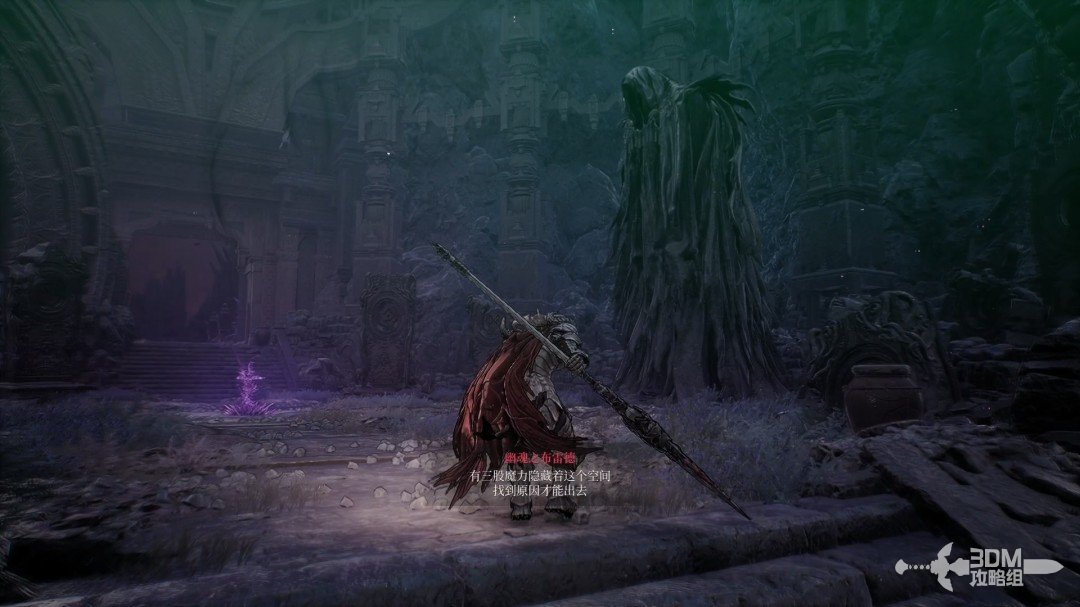
04Right trial path: avoid red trees and find the scroll and high Soulstone
The route splits three ways. Explore the nearby right branch first.
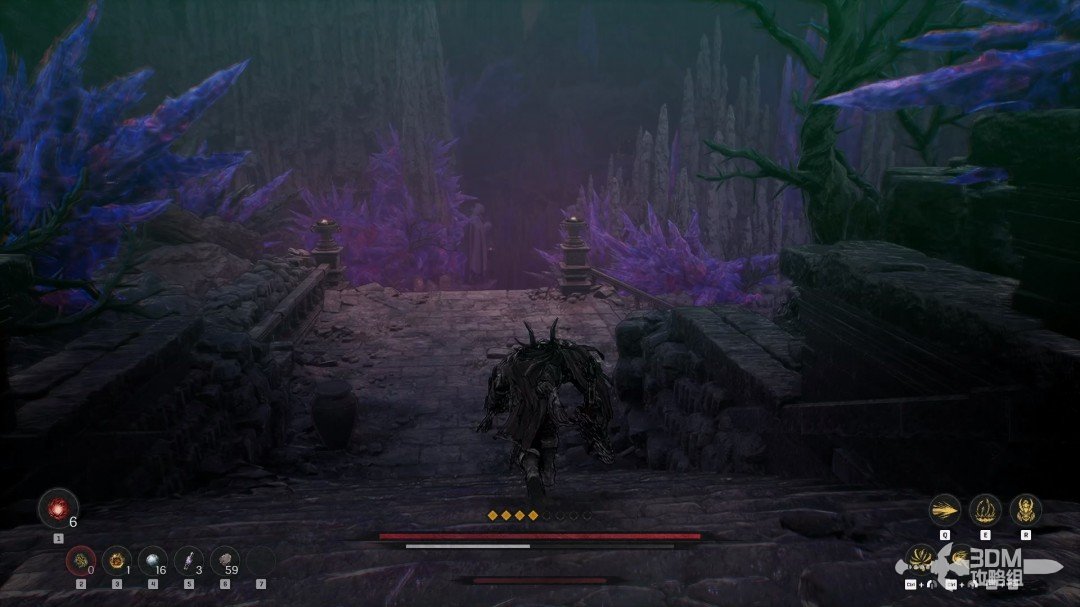
Descend the right stairs for a memory on the left. Avoid the glowing red trees, which inflict plague.
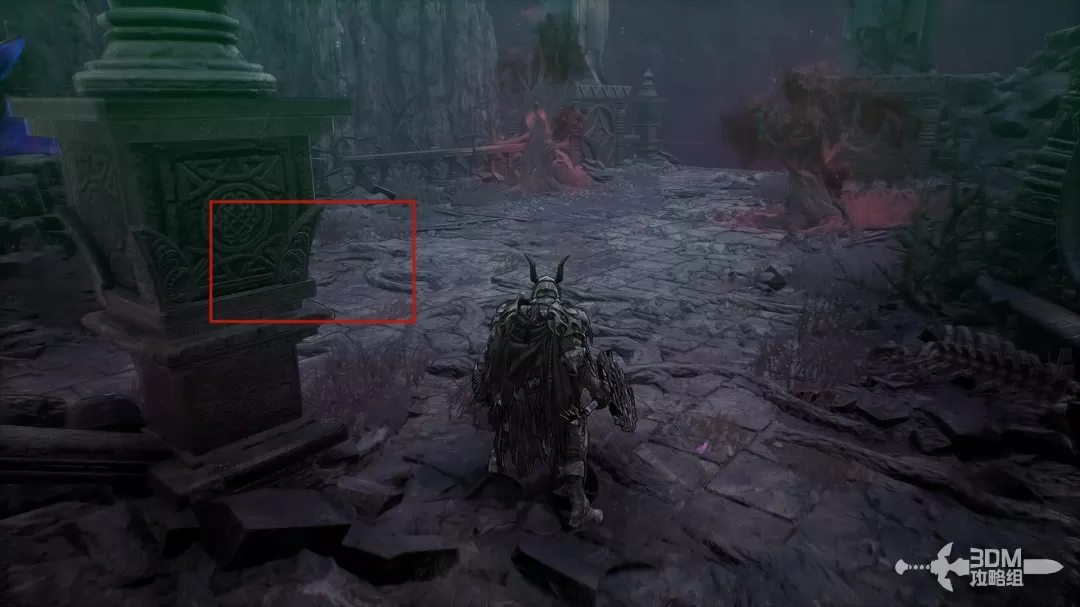
The gate ahead is locked from this side. Continue left.
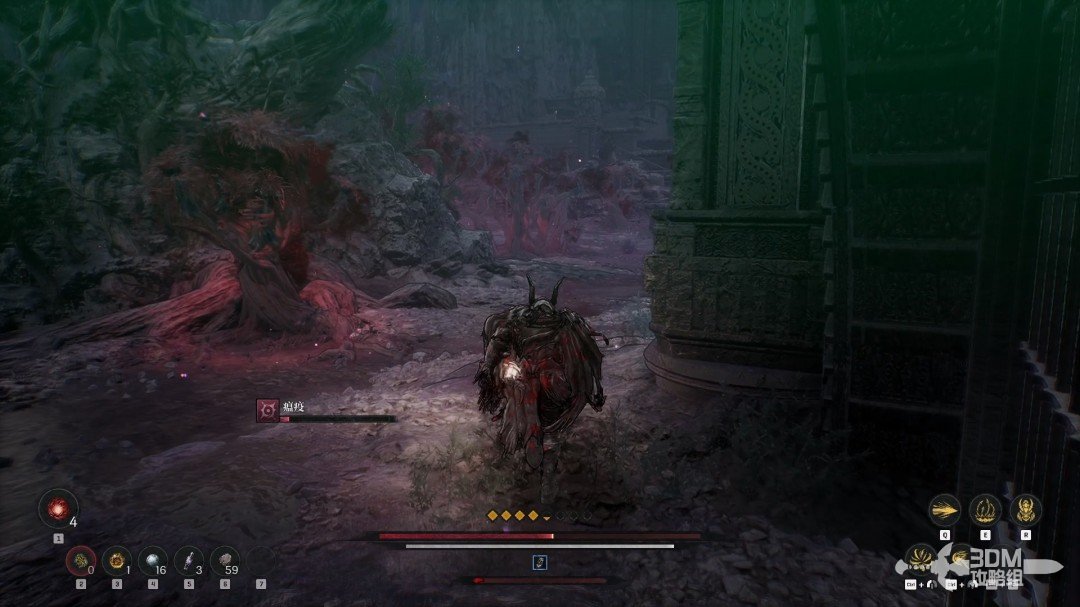
Defeat the skeletons and collect the Crimson Fiend Scroll on the left.
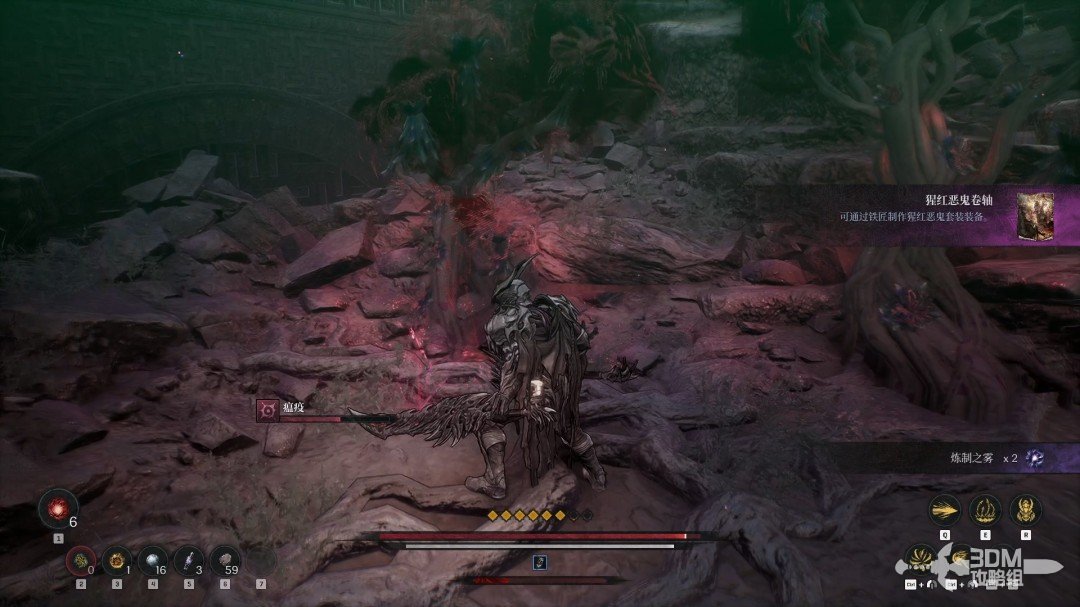
Climb the right stairs and clear the skeletons in the open area. A Soulstone sits high on the right.
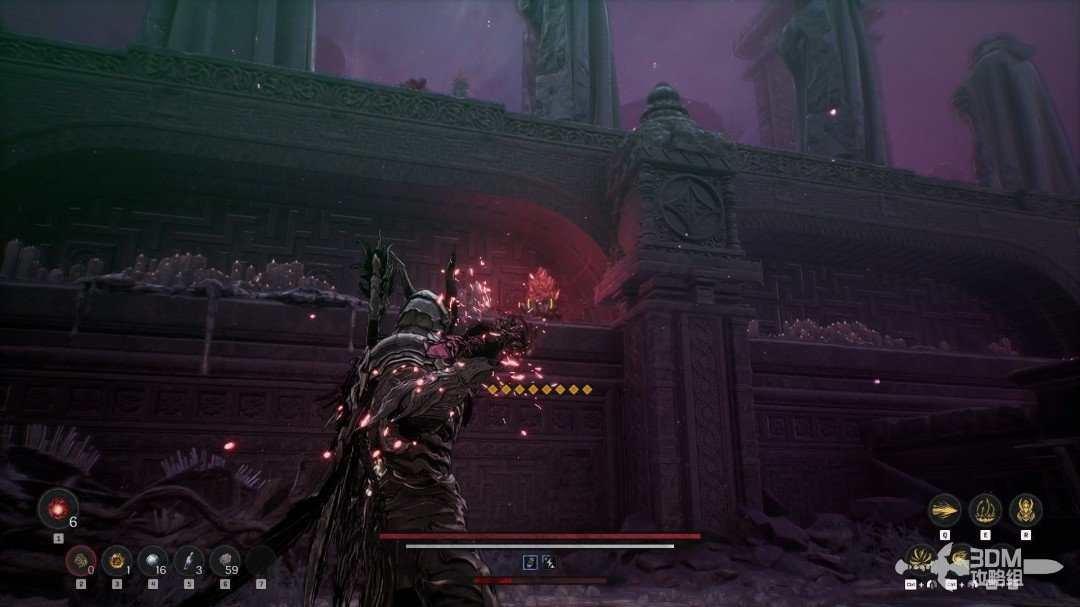
07Right stairs beyond the plague bats: meet the bard and search the jar behind him
Follow the main route upward, prioritizing the small plague-inflicting bats.
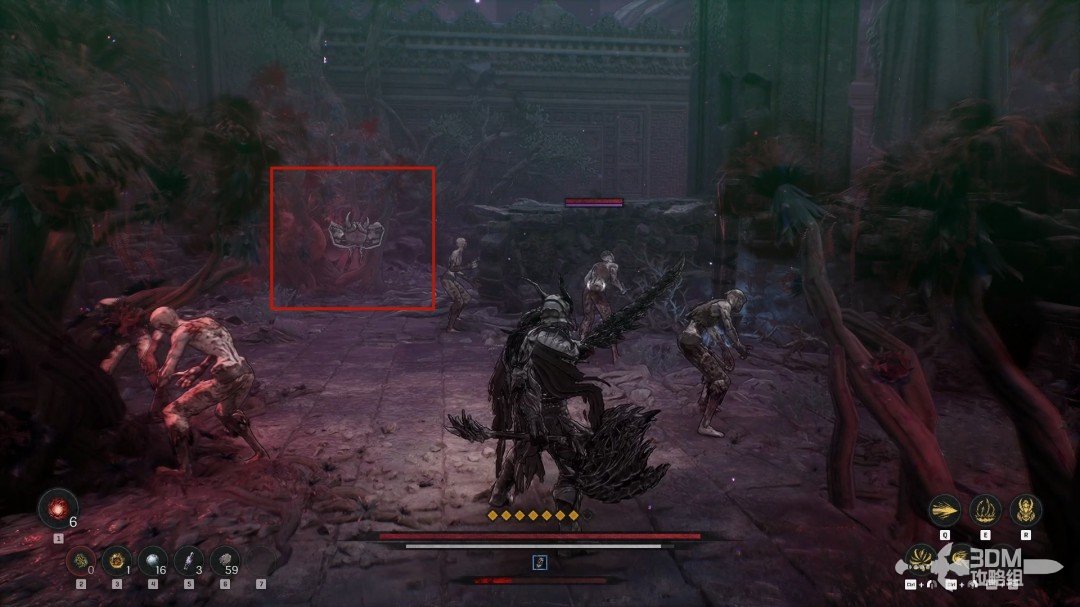
After clearing them, explore right first.
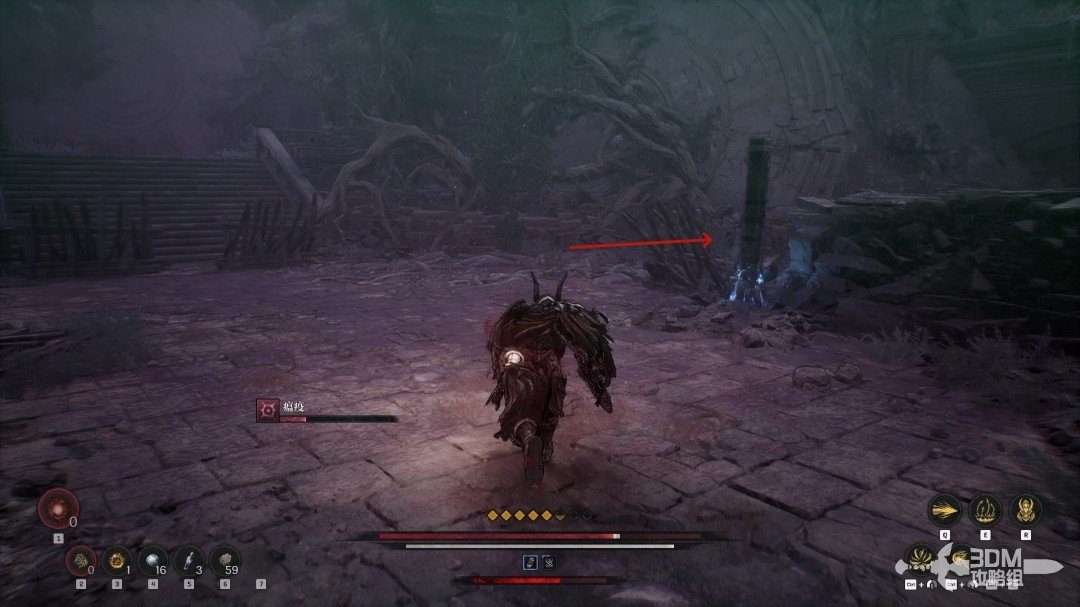
Descend the ladder to Digor the bard.
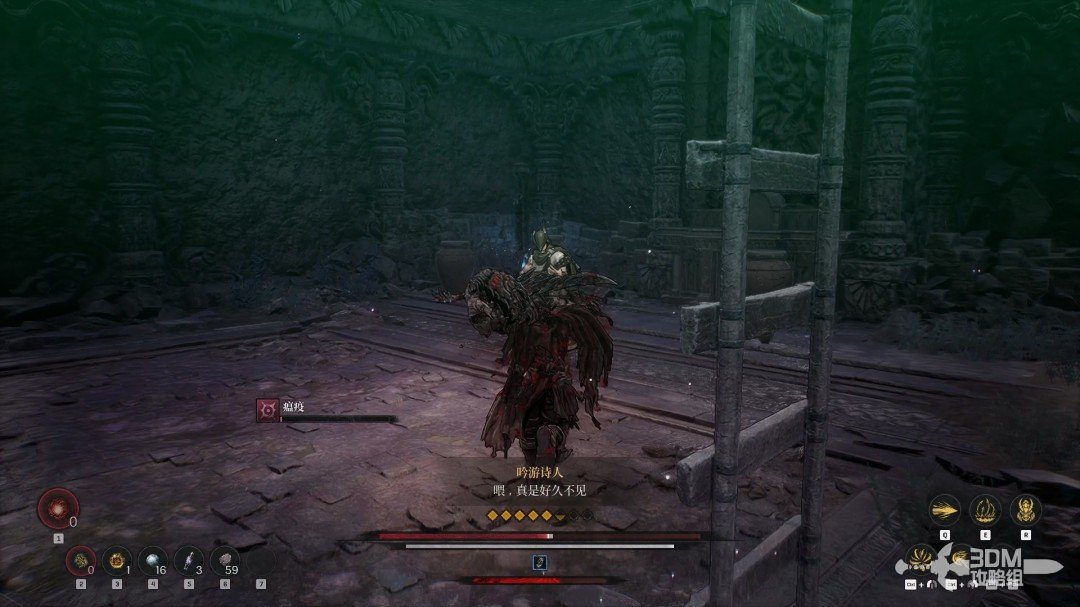
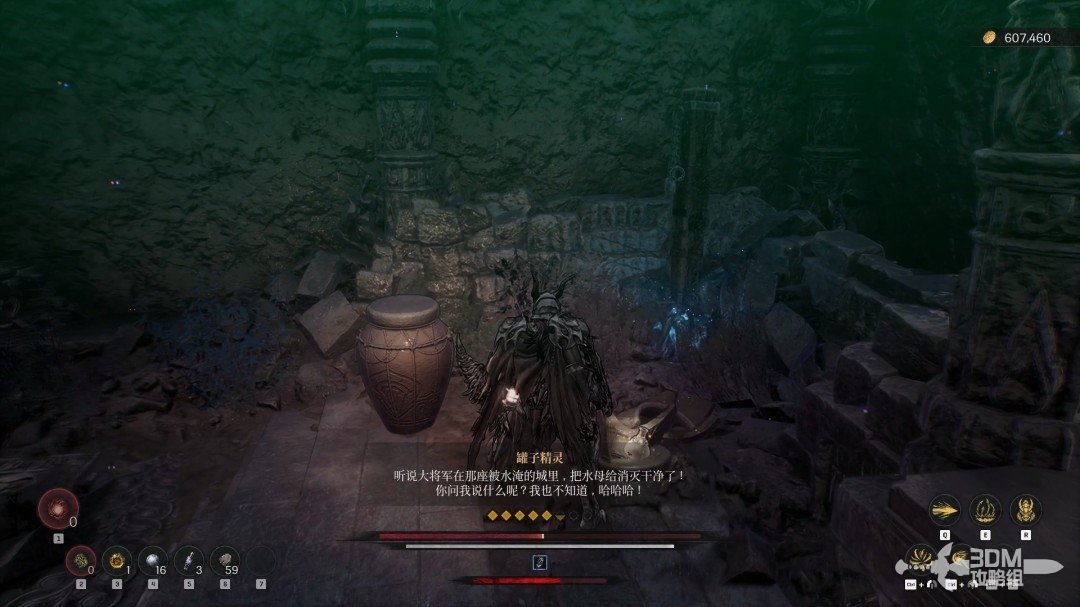
The jar behind him contains a Jarling.
09Archer stairs and portal: cross the collapsing wooden bridge
The left gate reconnects with the earlier locked gate. Return up the ladder.
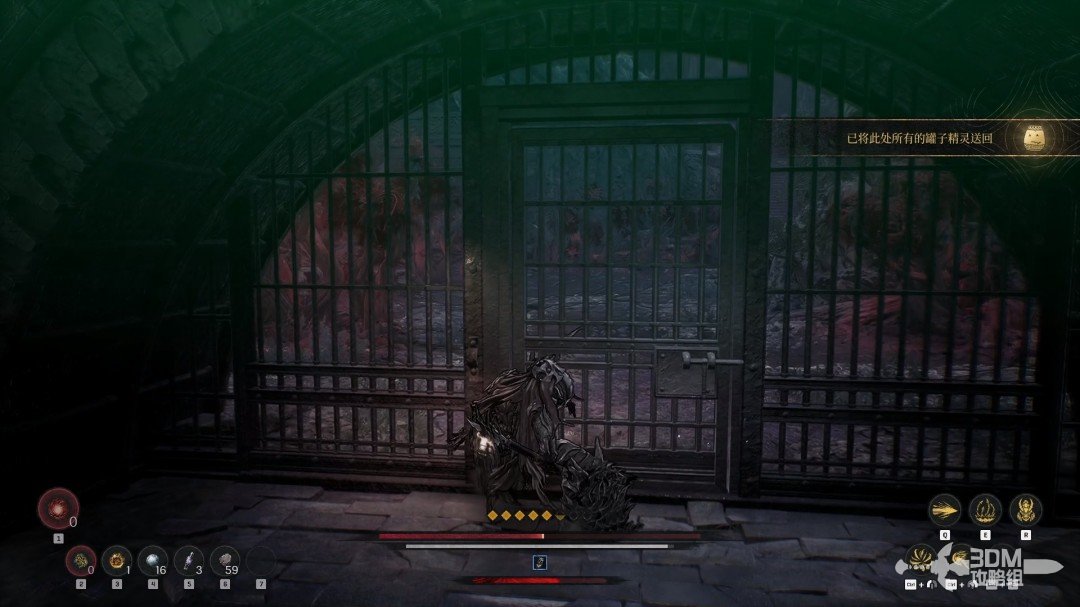
Go right here for a chest.
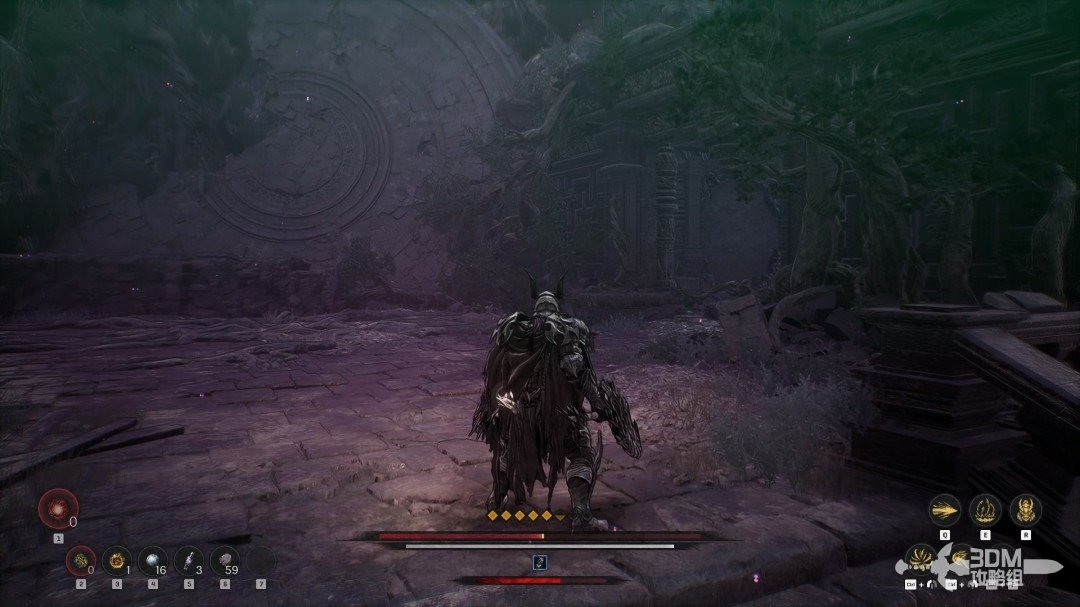
Climb the stairs and defeat the archers.
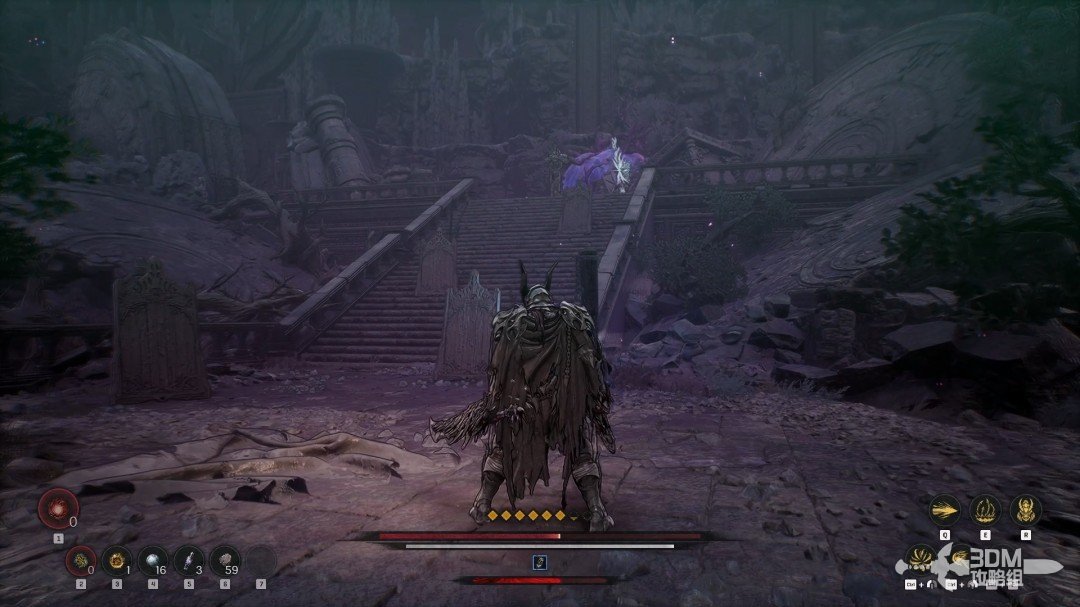
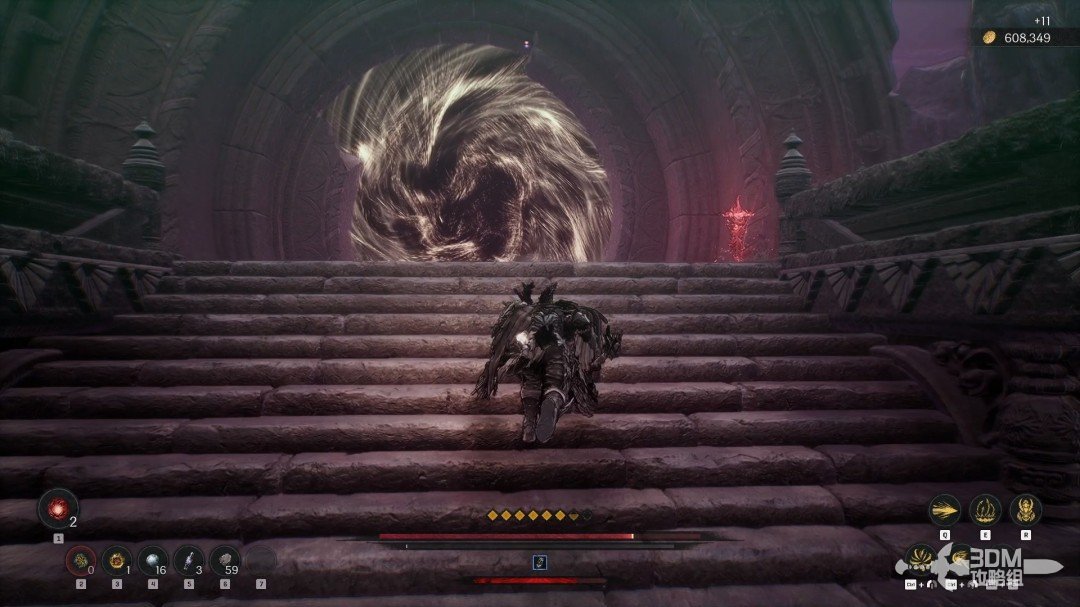
Rest at the Nexus ahead and enter the portal.
Many boards collapse in the next area. Move carefully, especially over the marked boards.
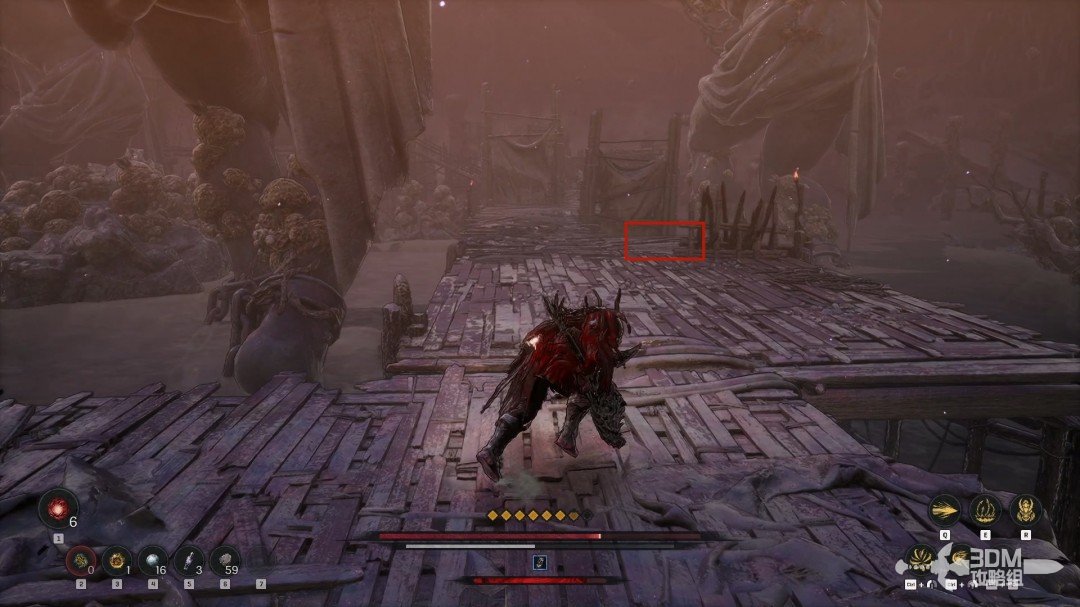
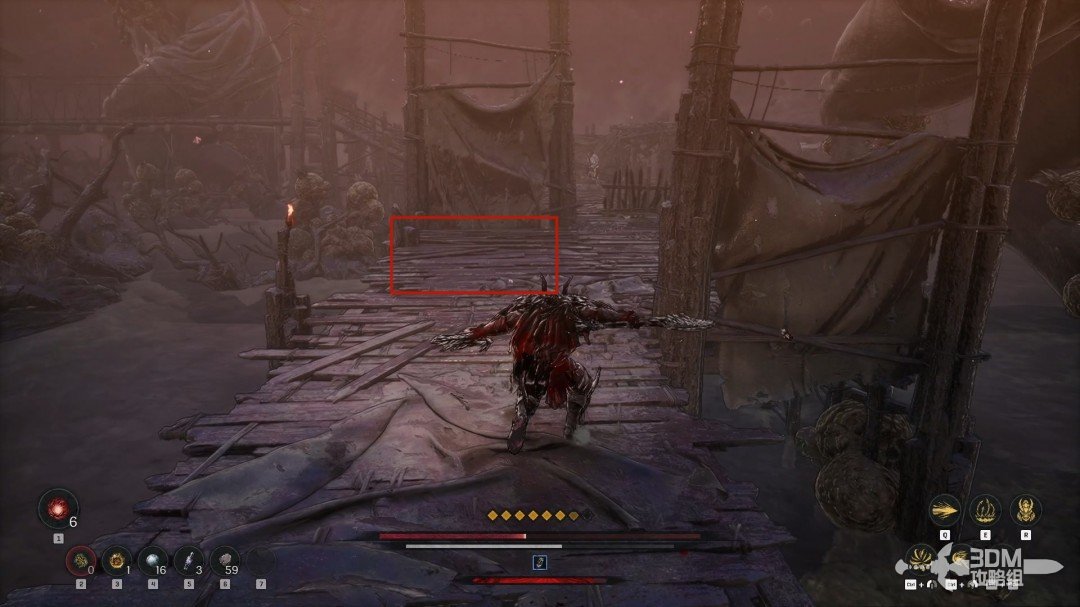
Clear the enemies on the boards and cross the bridge.
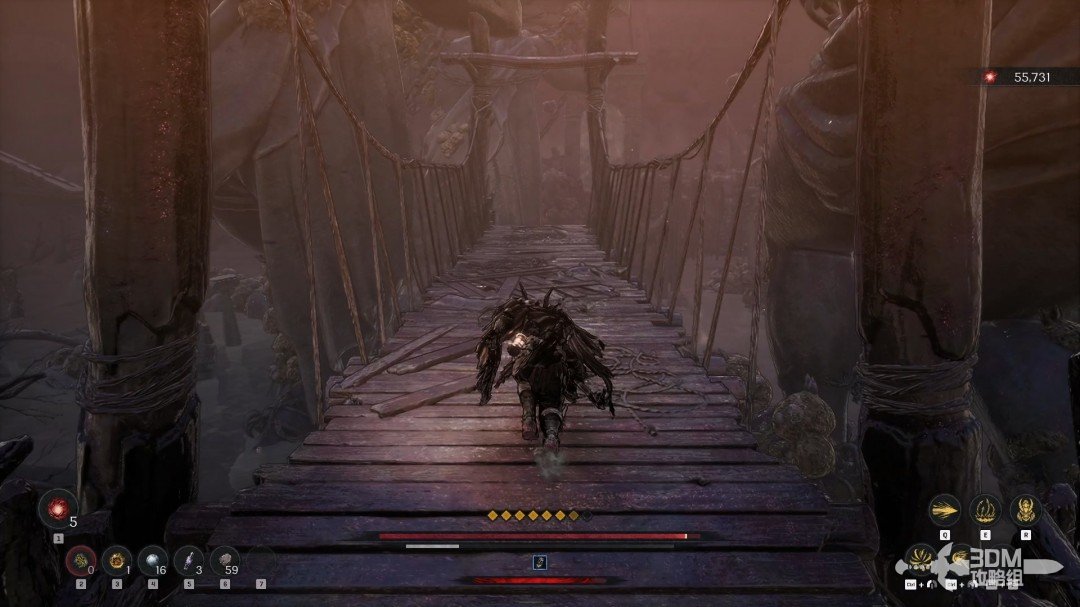
Look left after the bridge for a Soulstone.
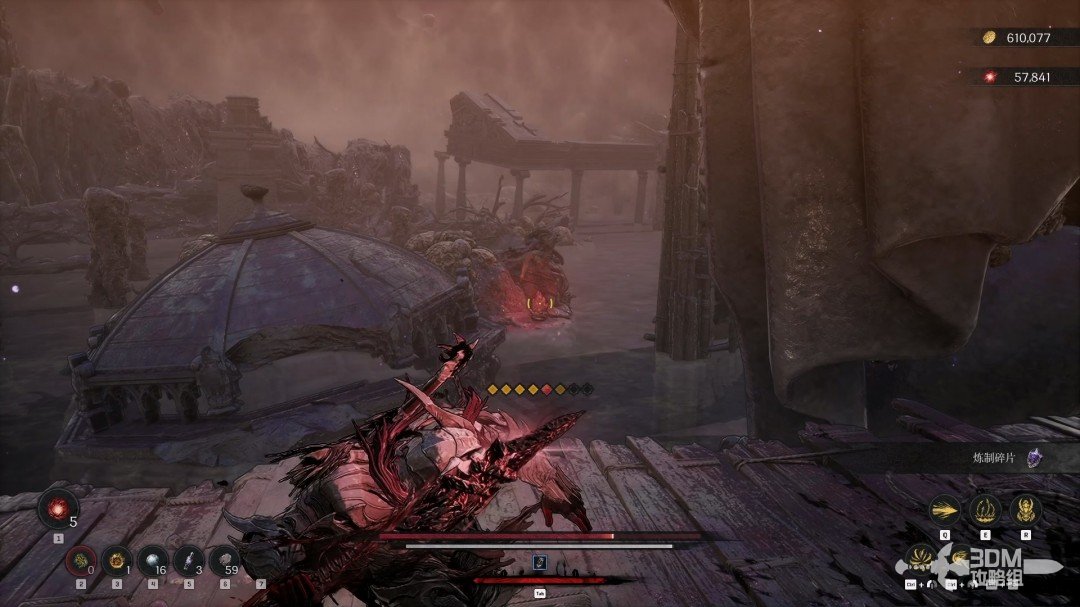
11Right-path miniboss and exit portal
A short distance ahead, absorb the memory on the left.
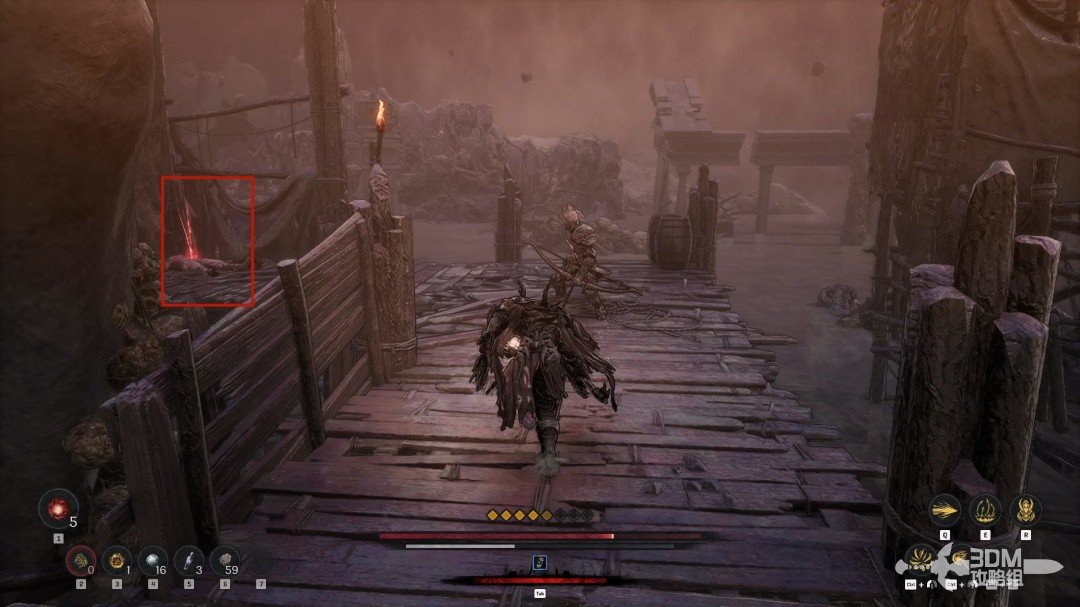
Follow the main route to the minor boss, then use the rear portal to reach the exit.
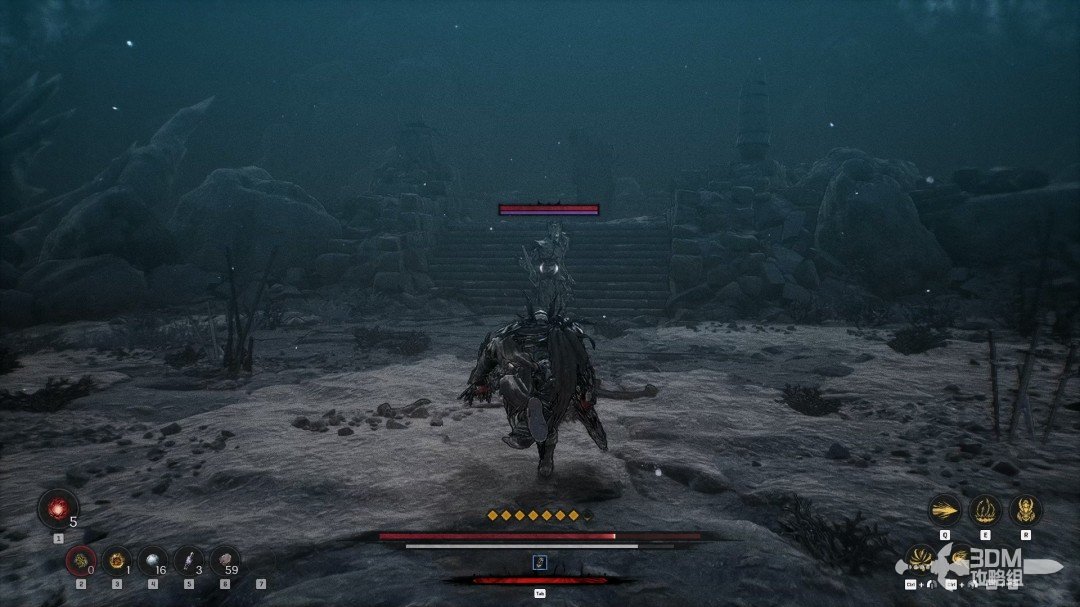
12Left route from the crossroads: take the right slope to the hallucinatory bat
Back at the junction, take its left branch.
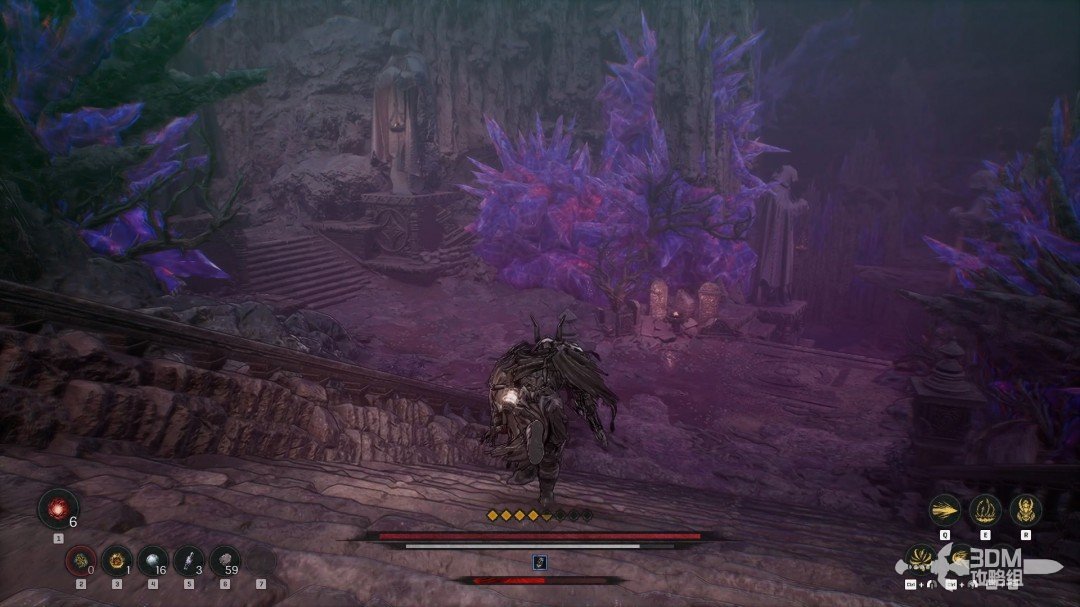
Climb the slope on the right inside.
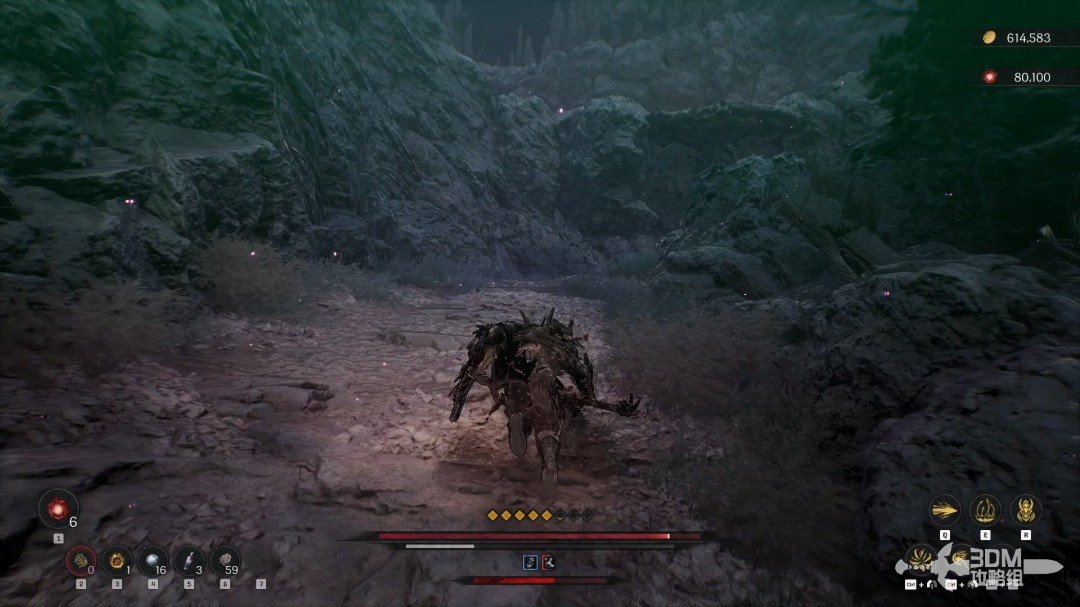
The memory ahead conceals a burrower.
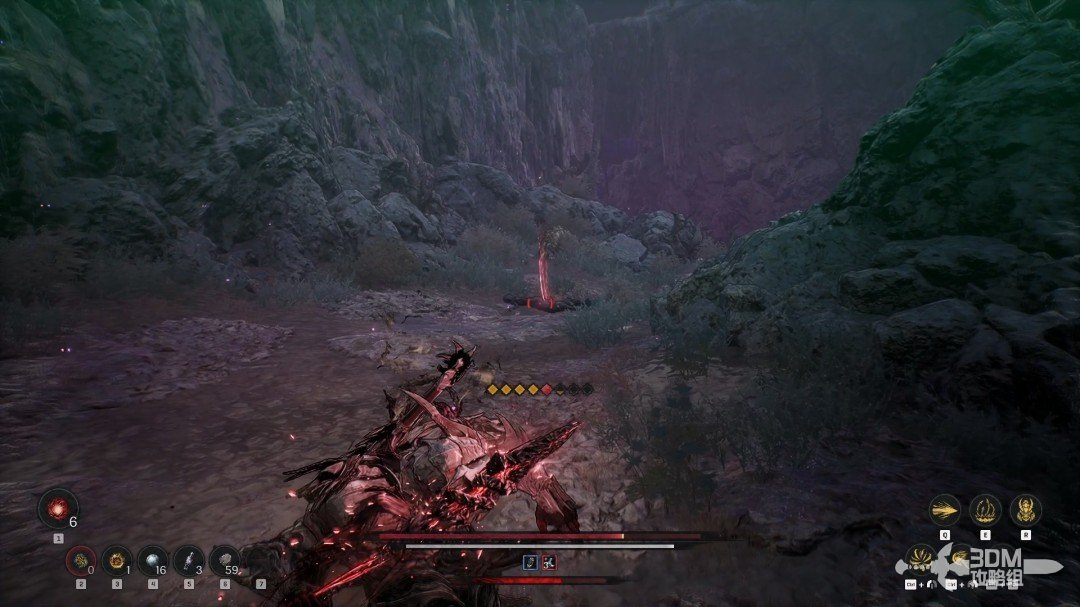
Collect the Illusion Purification Magic Scroll beside the cliff.
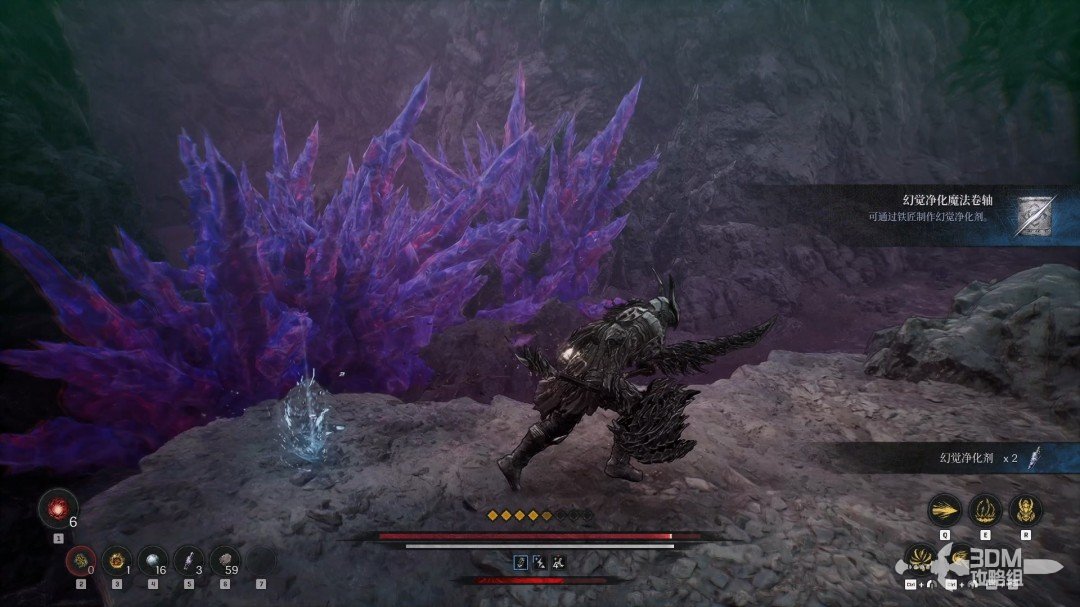
At the next fork, go right toward the illusion bat. A Soulstone stands behind it.
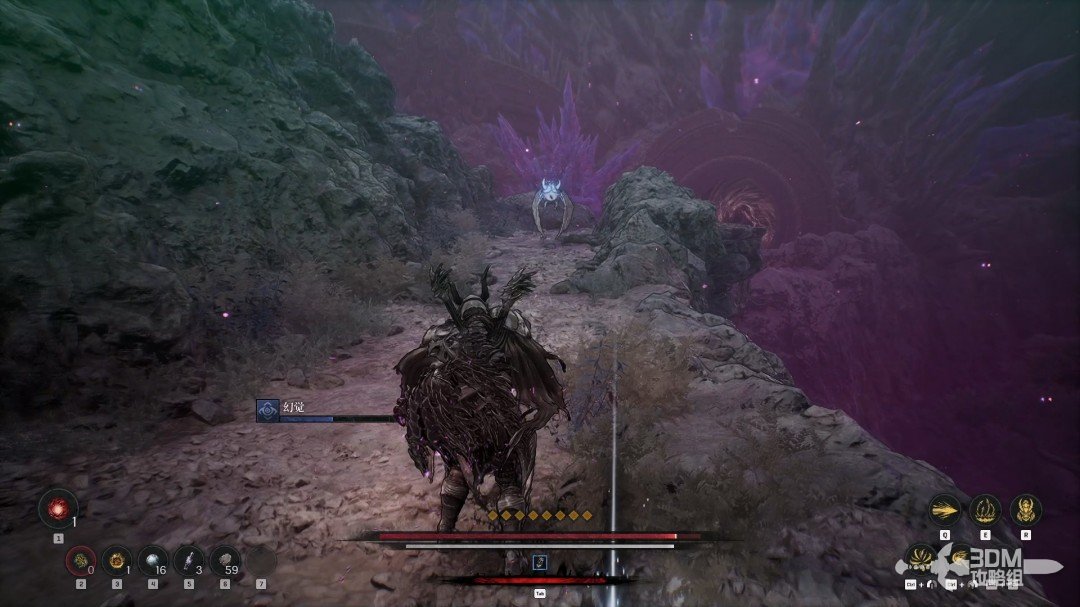
15Phantom Forest portal: complete the second trial
Return to the left main route. Deal with the false memory, rest and enter the portal.
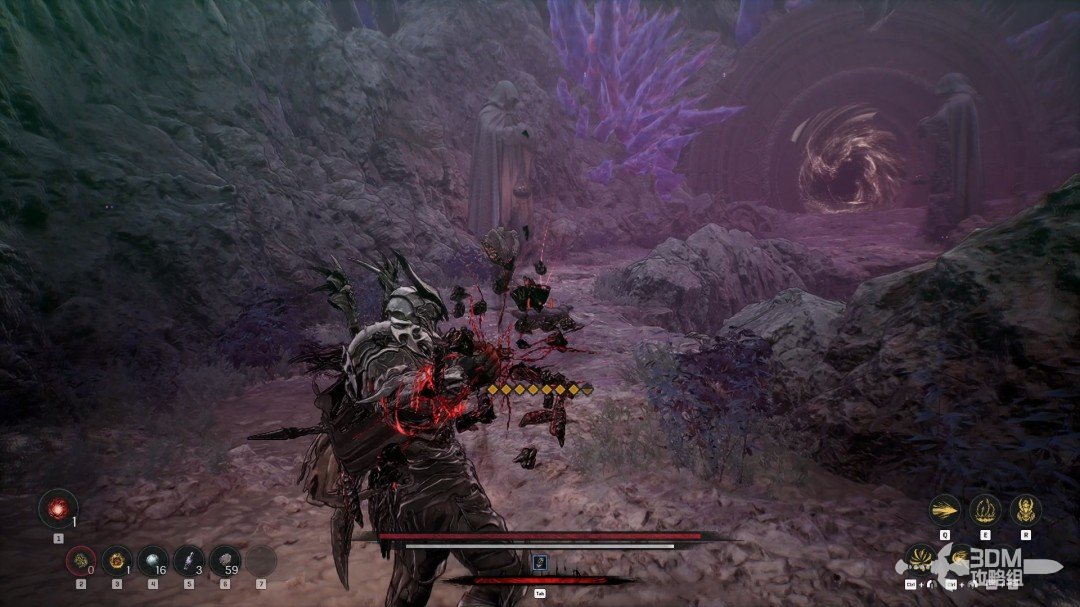
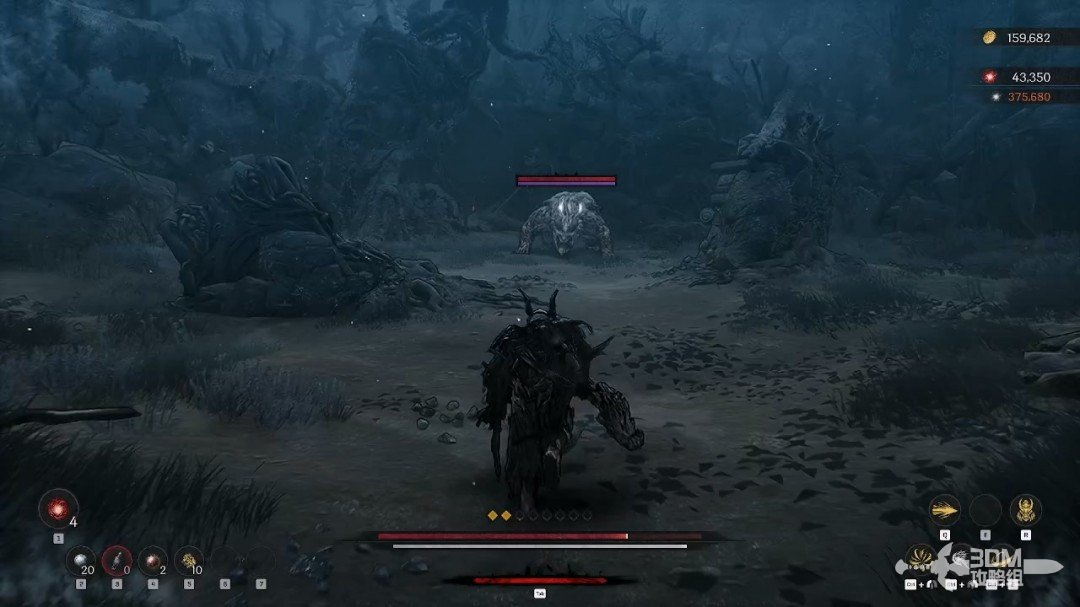
Explore the Phantom Forest's minor loot if desired, then defeat its minor boss. The return portal leads back to the starting junction.
16Stone gate straight ahead at the crossroads: search right for the Soulstone, then descend the spider slope
Take the junction's forward route next.
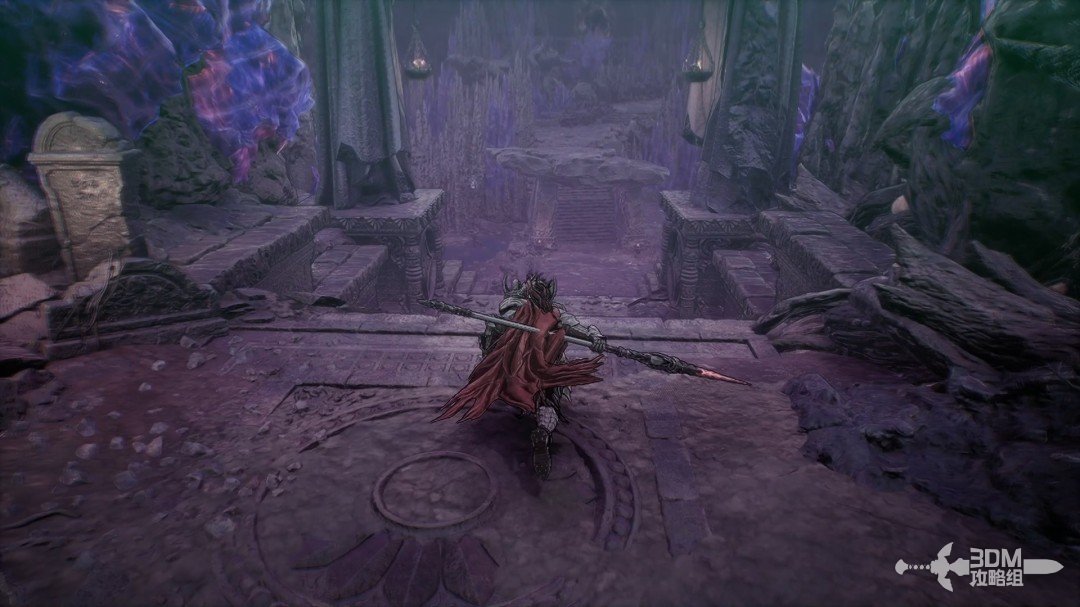
Pass through the stone gate and turn right for a Soulstone.
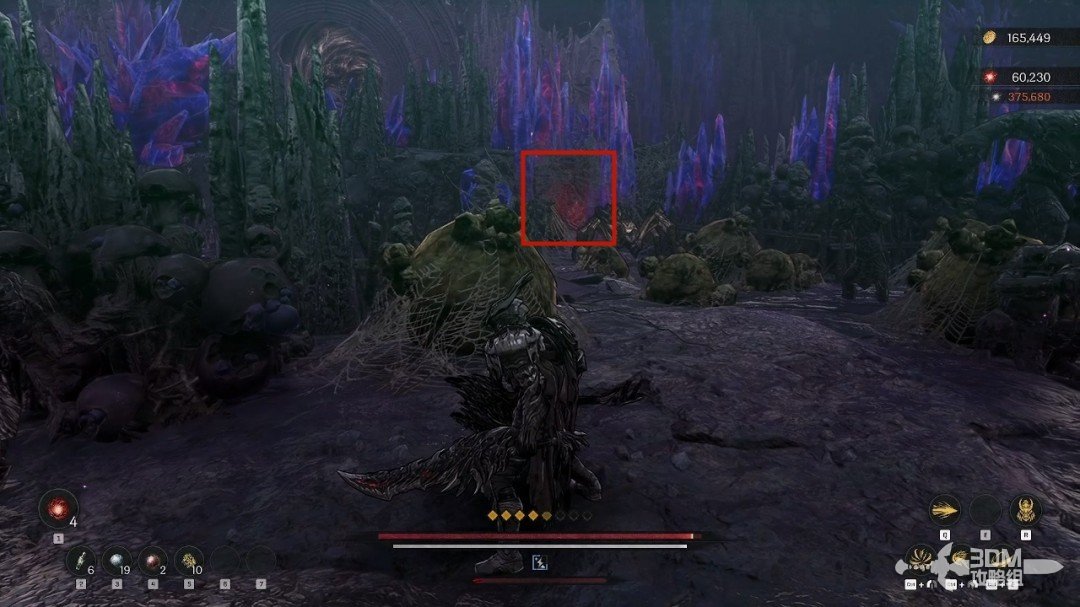
18Spider-egg chest and giant bat: circle into the chamber down the slope
Go left after the Soulstone. The chest behind the spider eggs explodes.
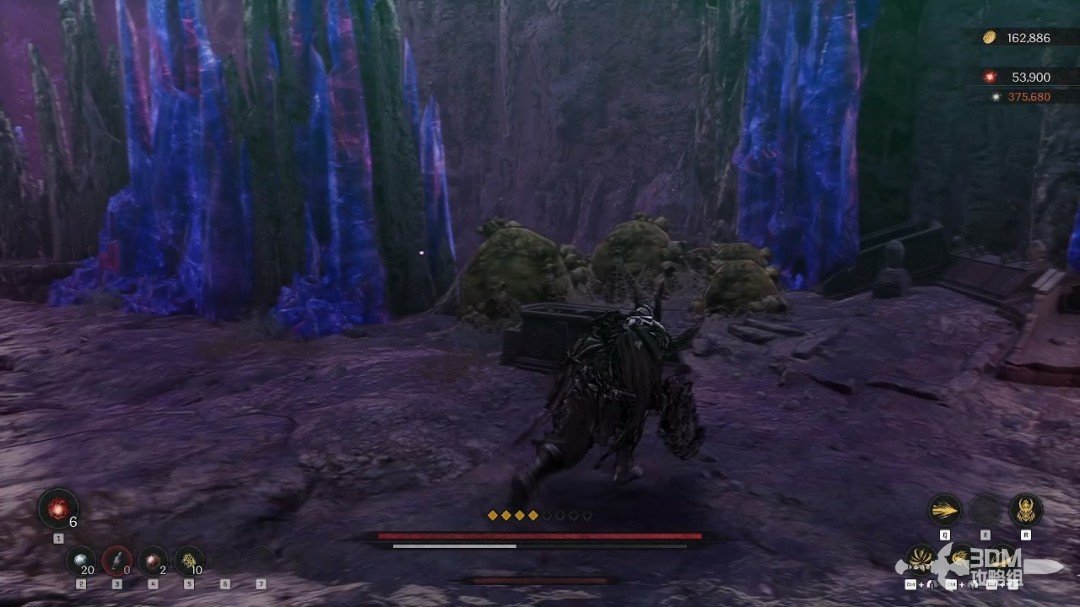
Descend this slope.
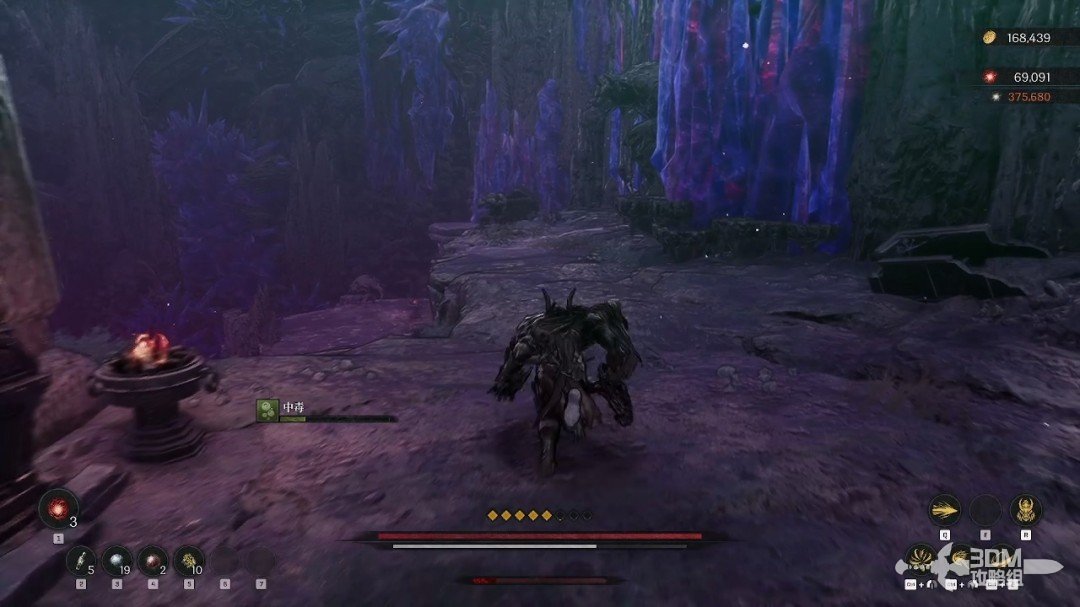
Go right below the stairs through more spider eggs.
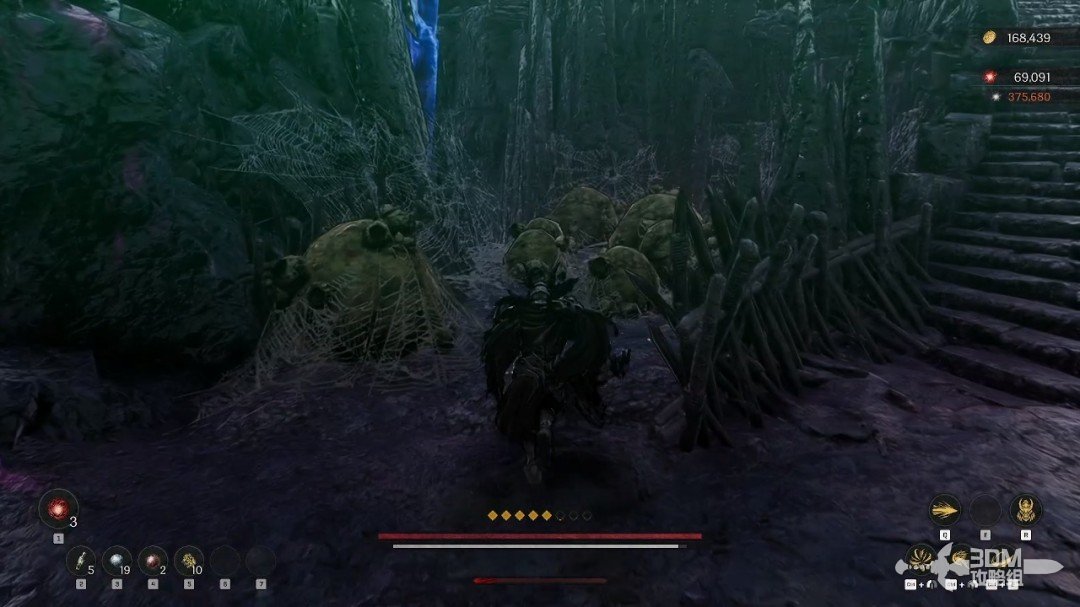
Clear the area and absorb the memory on the ground.
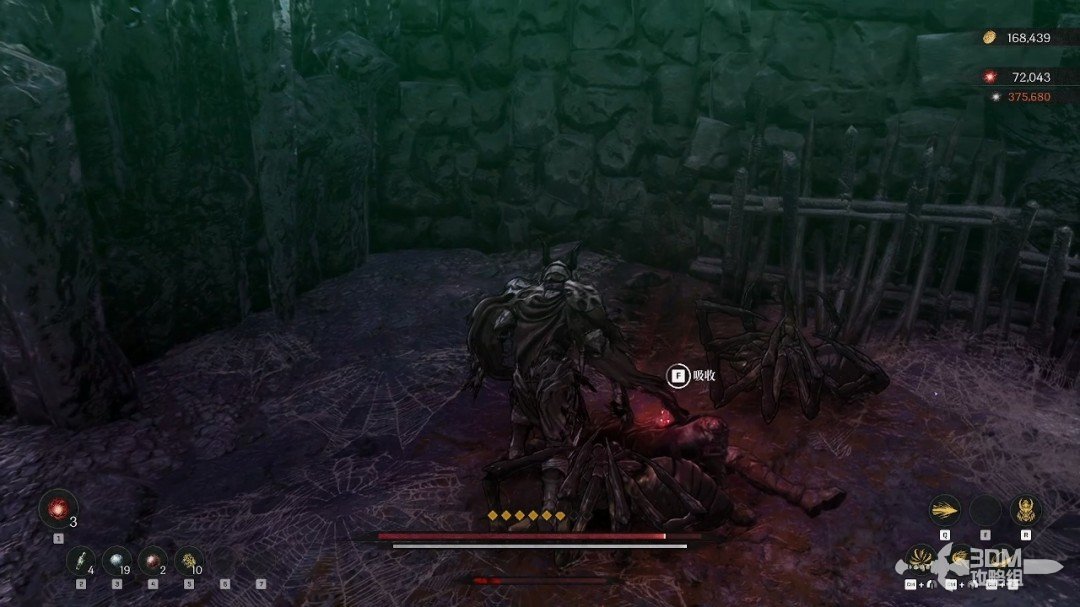
Turn back toward the stairs and ambush the large bat hanging above.
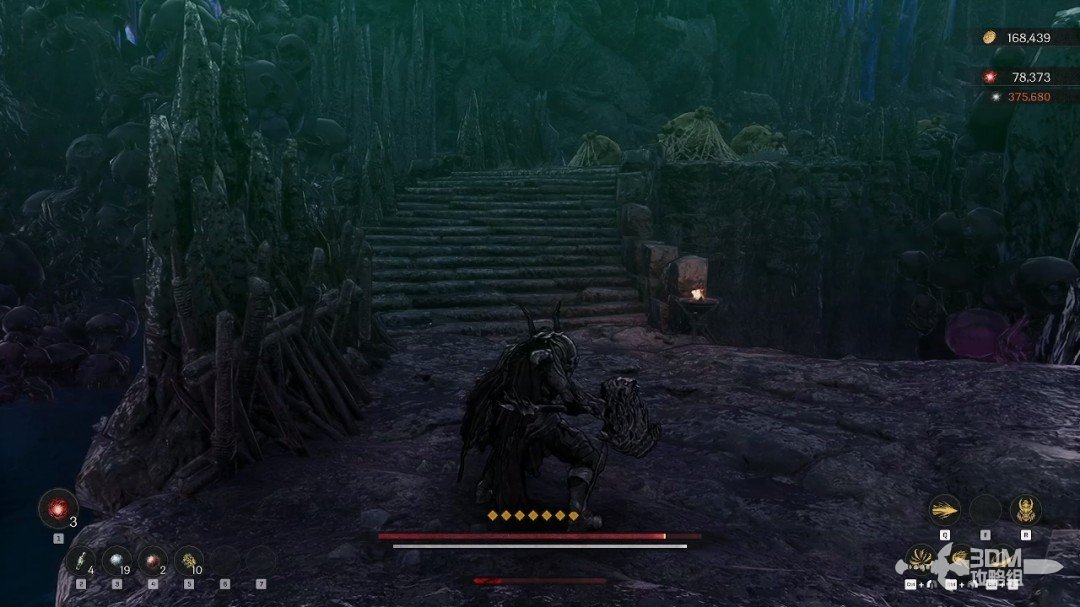
Descend after the fight and enter this passage.
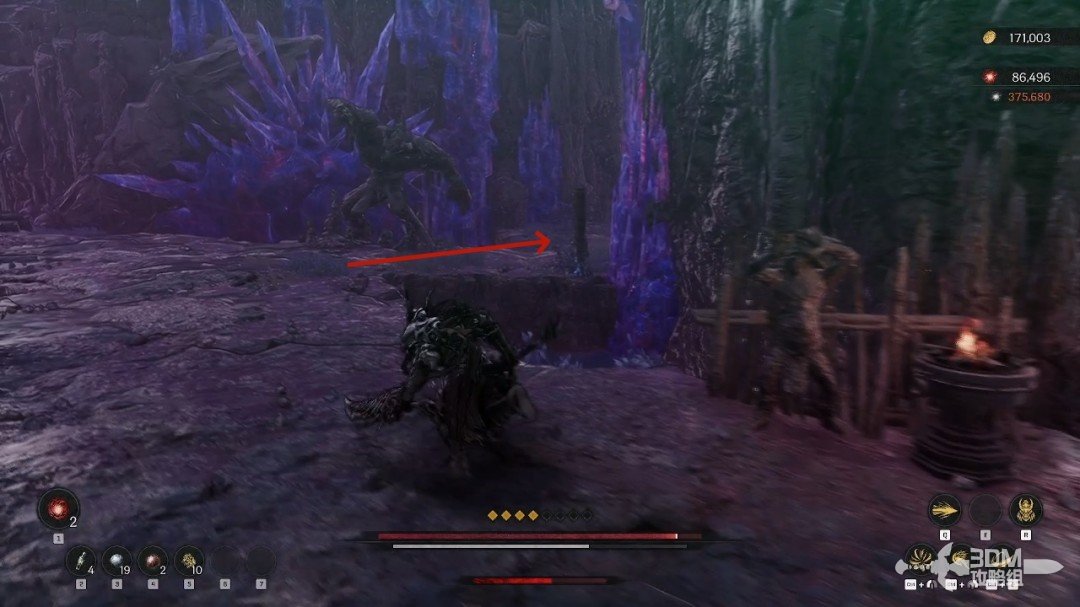
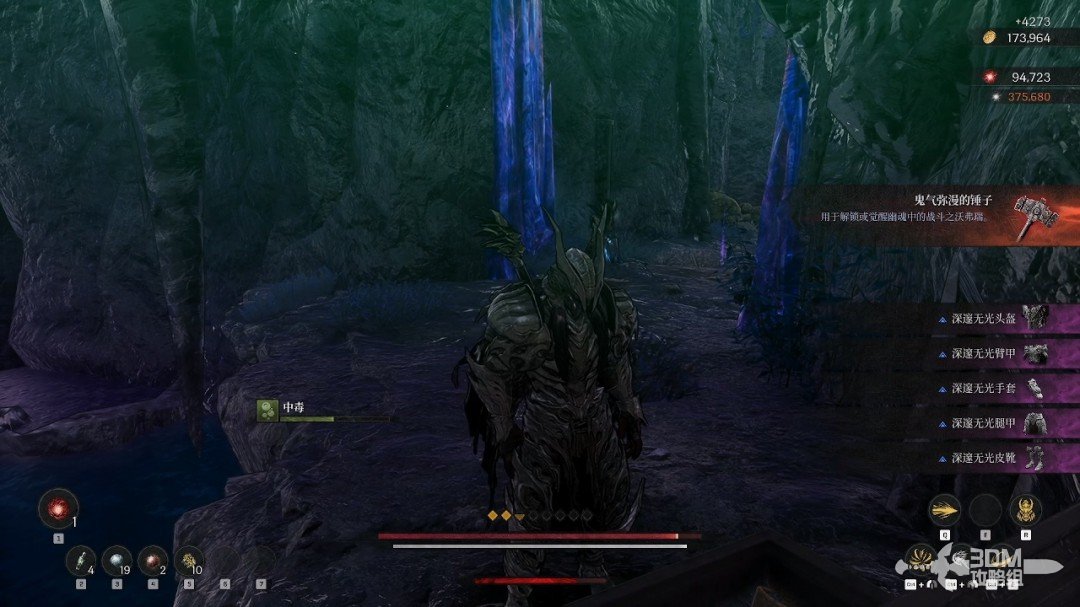
The chest inside contains equipment and the Ghostly Hammer.
20Spawning spider atop the stairs: search the chest and save before entering the portal
Follow the left main route and climb the stairs ahead.
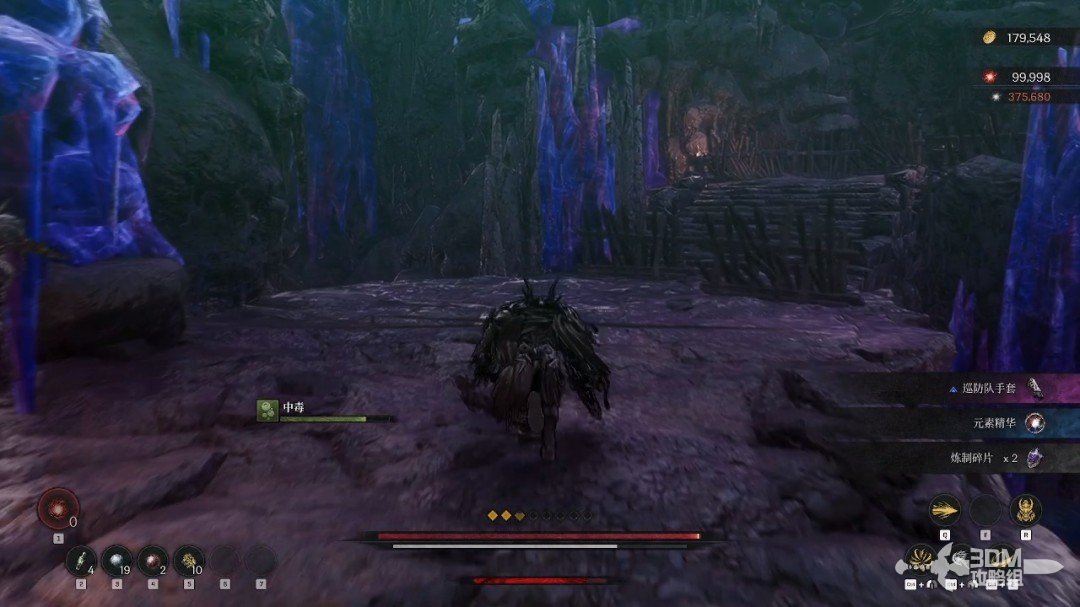
Defeat the spiders and climb the right staircase.
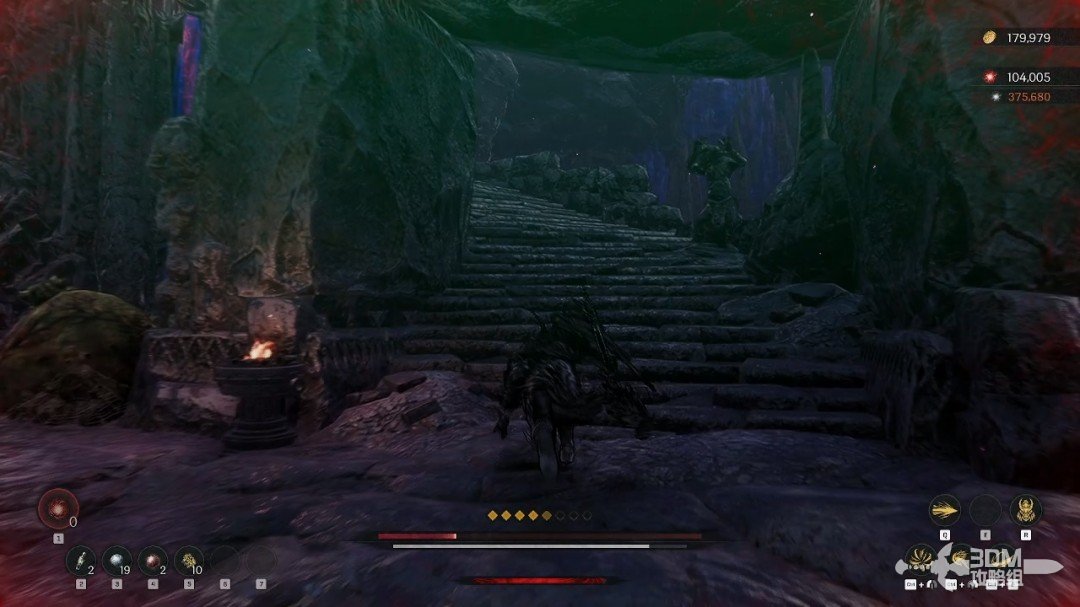
Prioritize the white spider spawning eggs ahead.
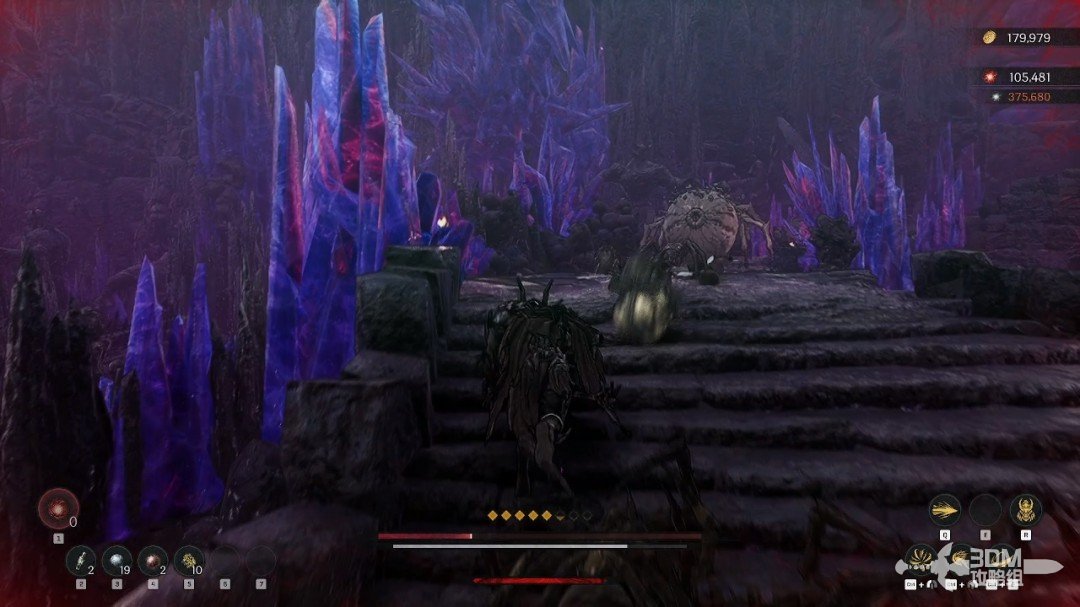
Open the chest on the left after the fight.
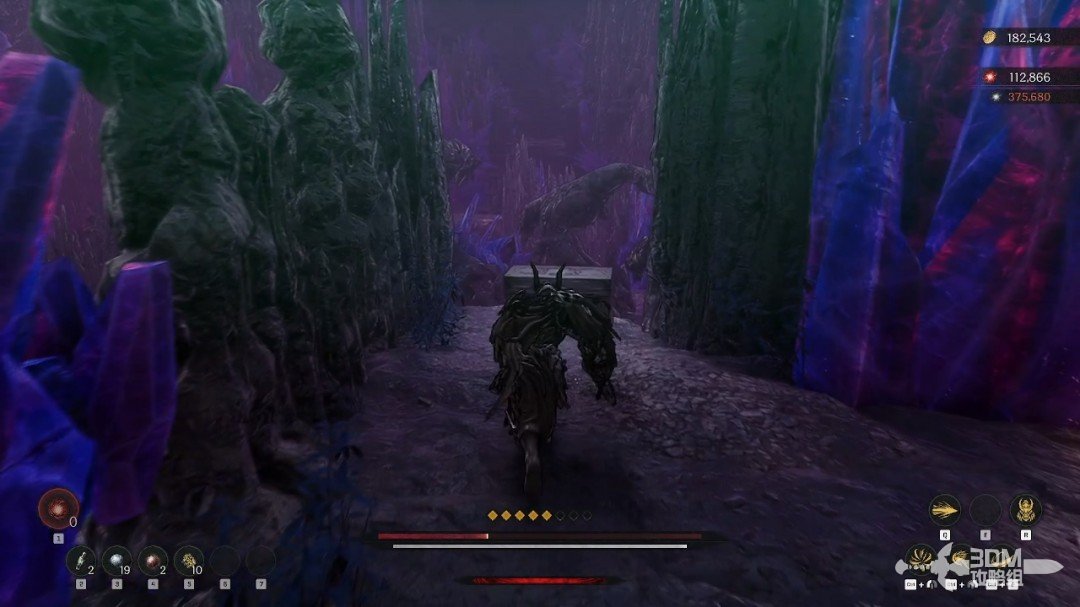
Rest at the Nexus on the right.
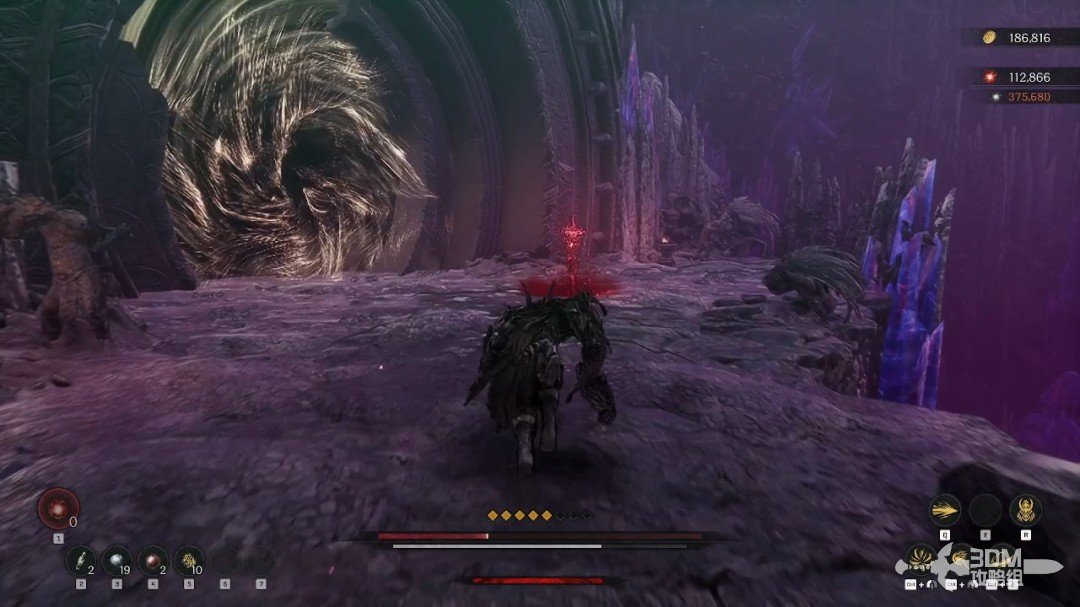
21Poison cave trial: fight from the platform and unlock the final portal
The next portal leads to a poisonous cave. Bring poison resistance and antidotes.
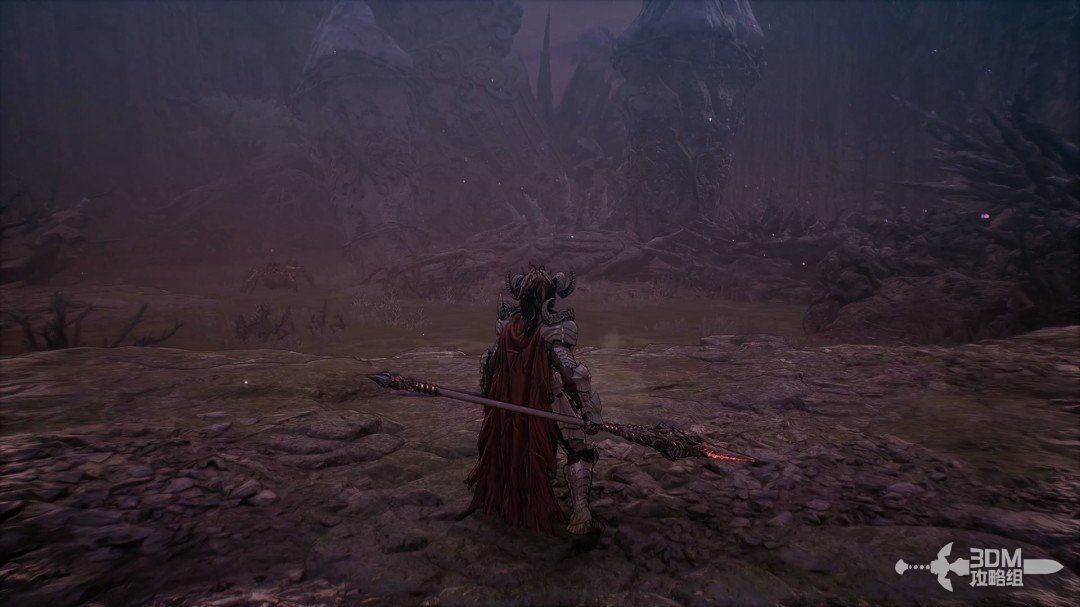
Collect the purple item on the left.
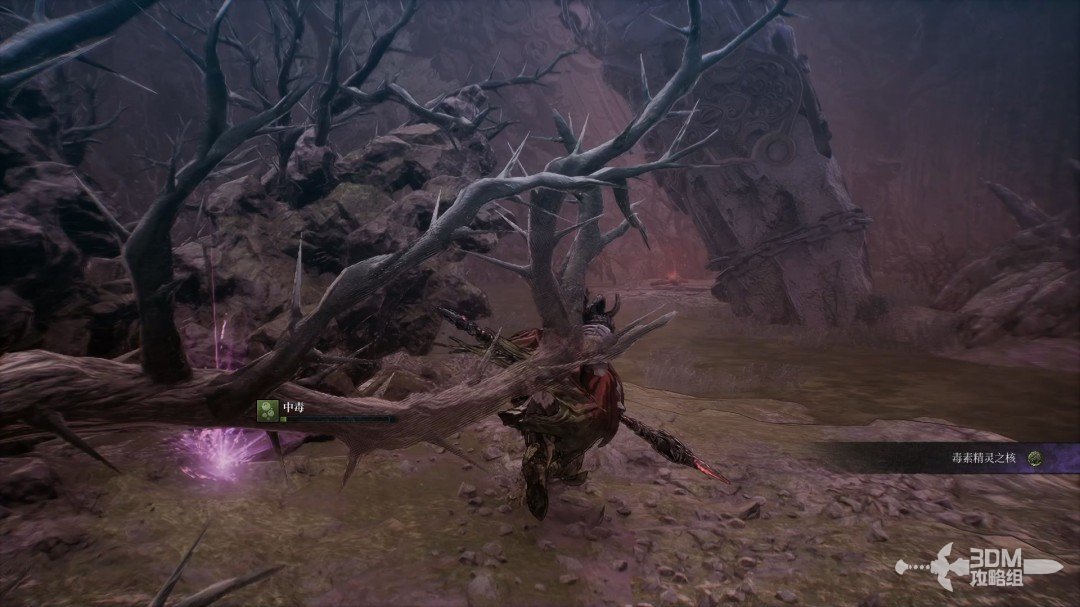
Absorb the memory ahead.
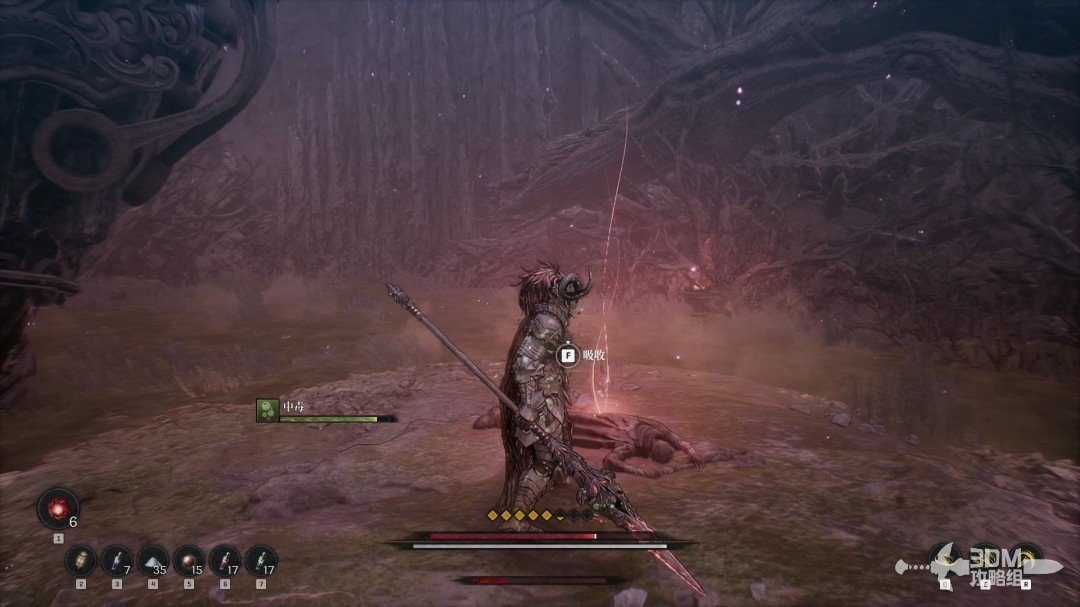
Collect the white item on the open ground.
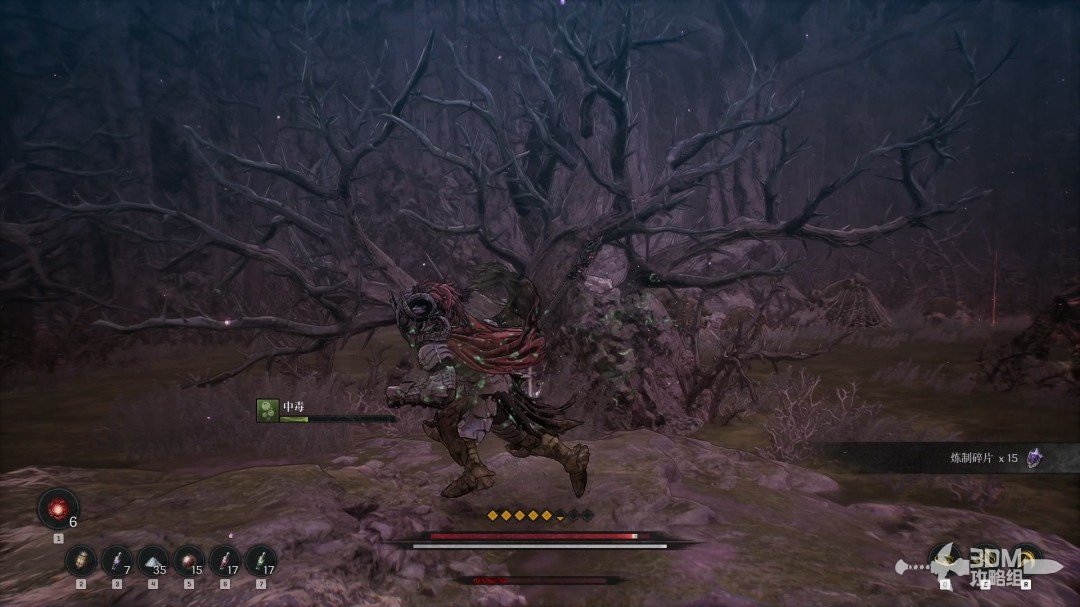
Take the red material on the left.
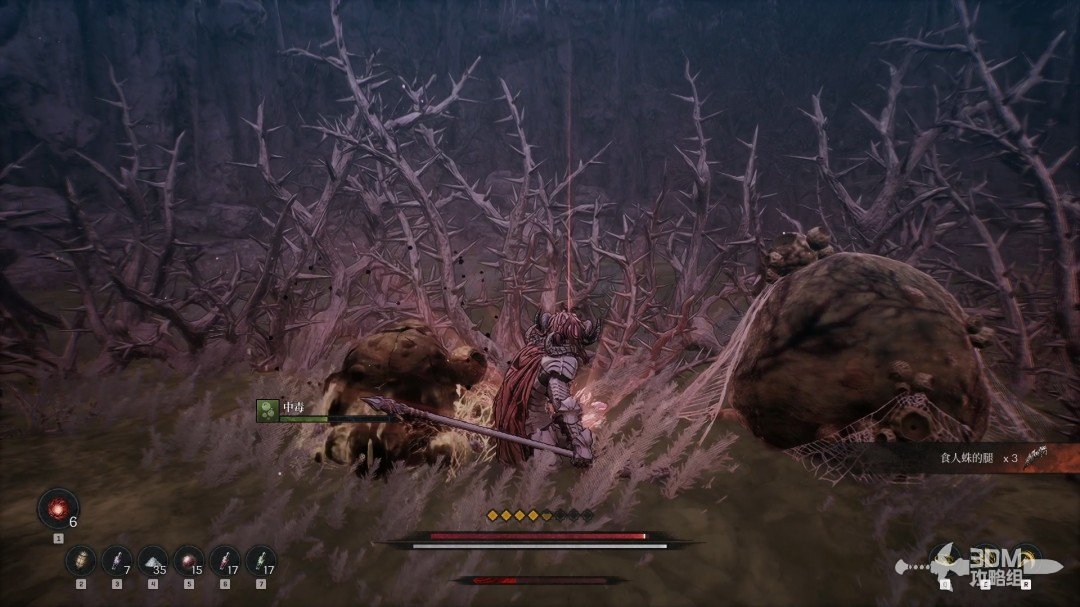
The cave has no further collection items. Fight the familiar spider boss on the platform without letting it corner you.
Clearing all three branches opens the final portal.
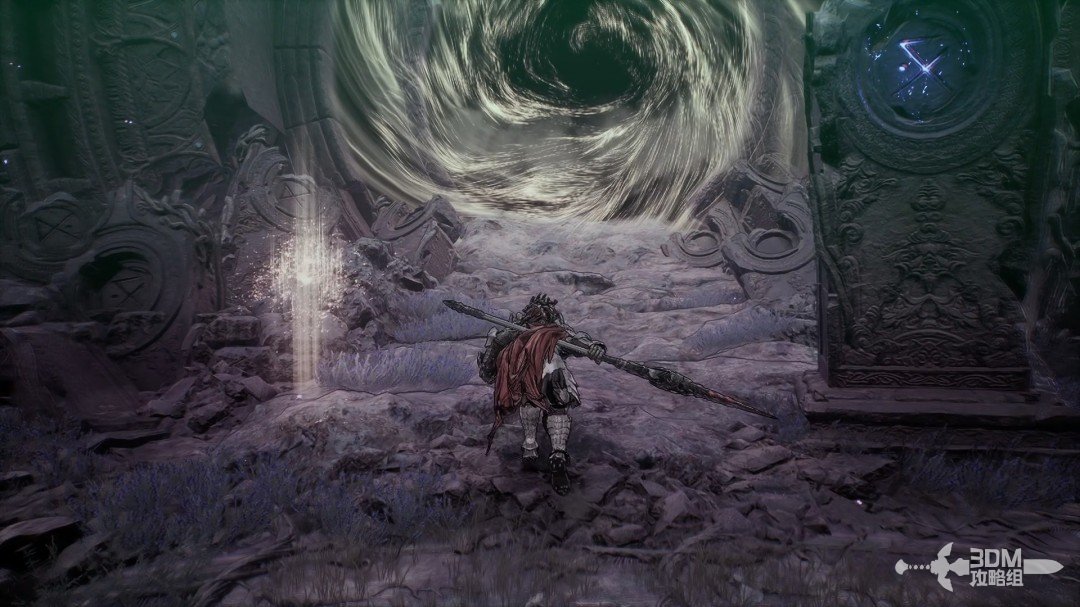
22Dark elf beyond the portal: face Bellerian
Enter to meet Bellerian. Seeing Khazan alive, the dark elf assumes Ozma's experiment succeeded.
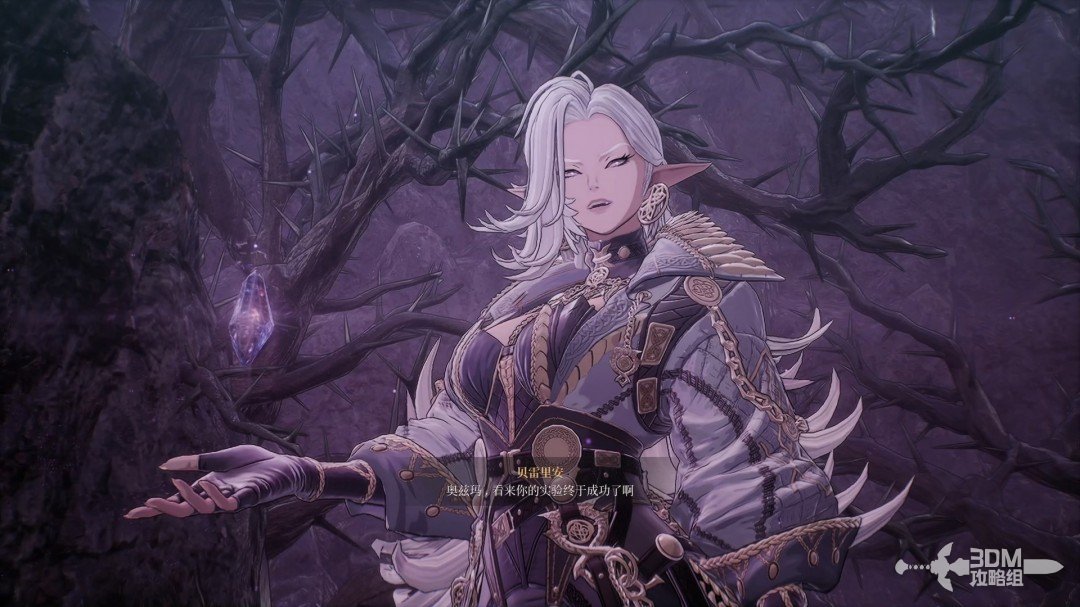
The fight begins immediately.
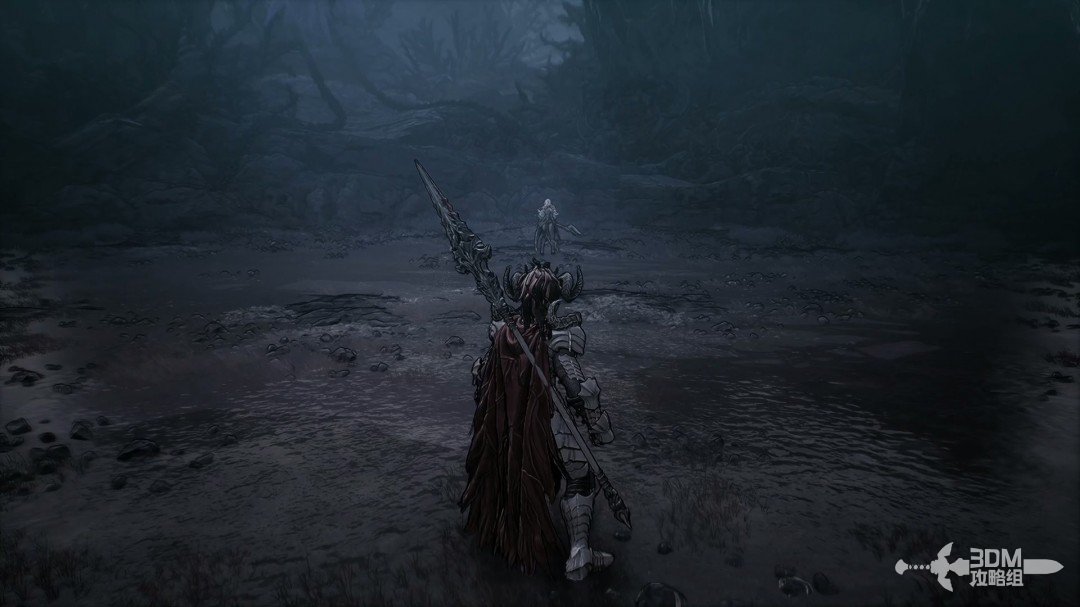
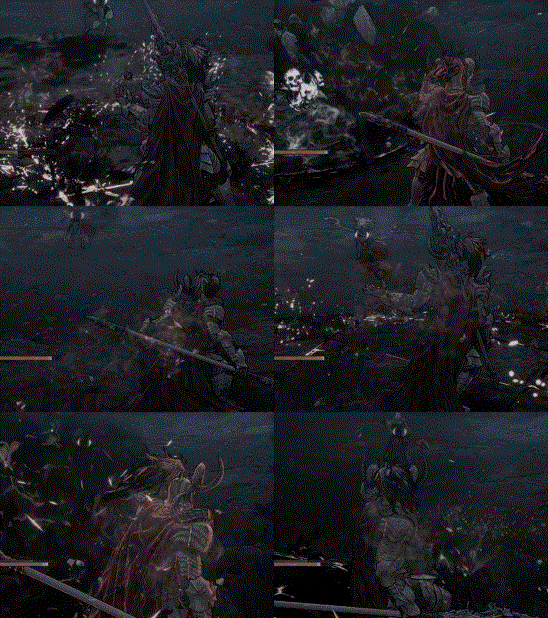
Bellerian is a necromancer who protects herself with shields. Some spells can be interrupted during casting.
Attack ①:
A simple charged shot with a long wind-up.
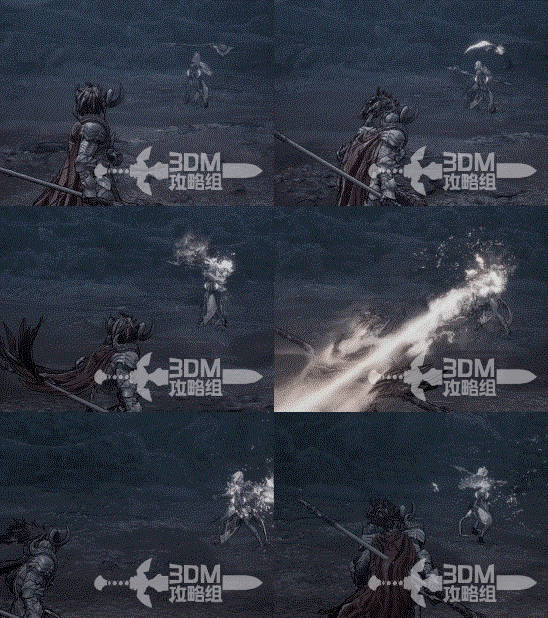
Attack ②:
A shield grants her poise while slow skeletal magic passes through you. Avoid the projectiles rather than ignoring them.
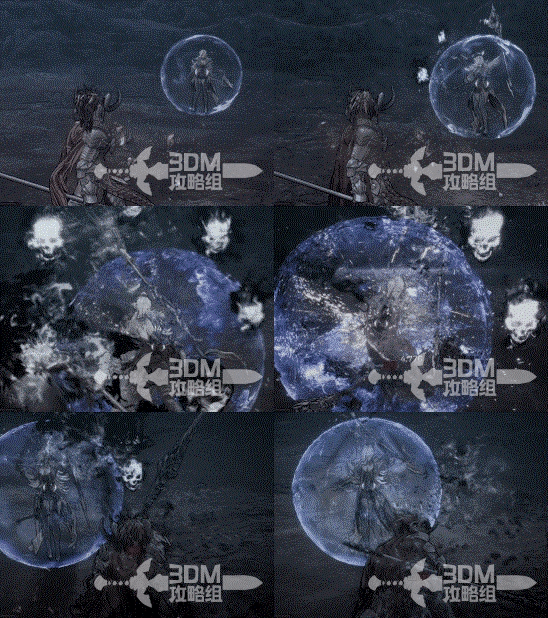
Attack ③:
She summons numerous slow ghost flames.
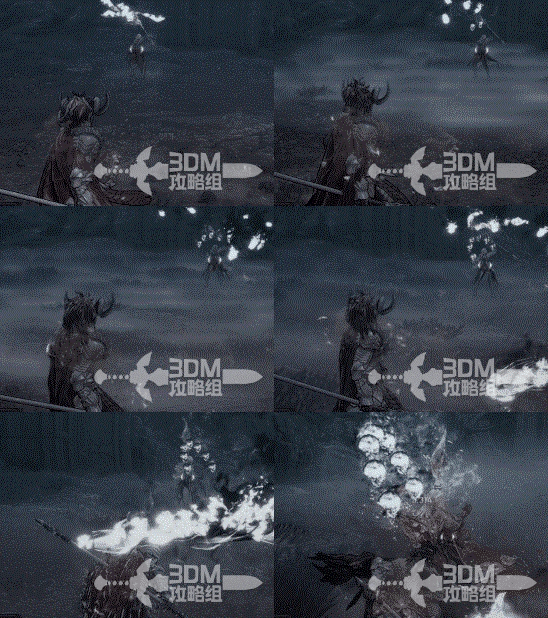
Attack ④:
The skulls above her determine which undead she summons. The reaper-like summon is the most dangerous.
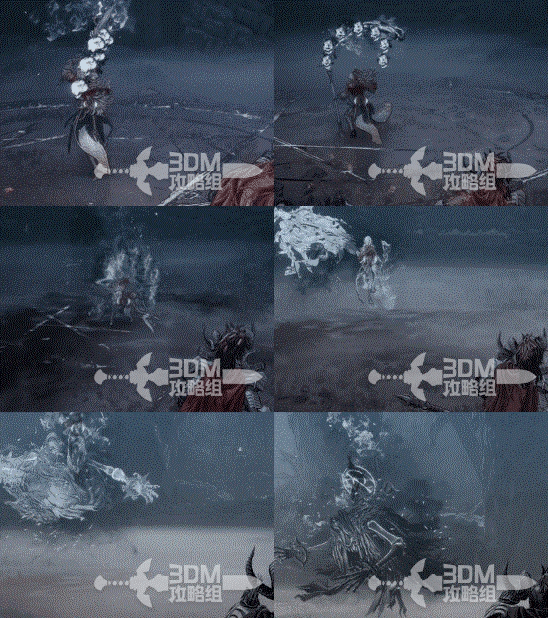
For example, one skull summons a single undead attacker.
Attack ⑤:
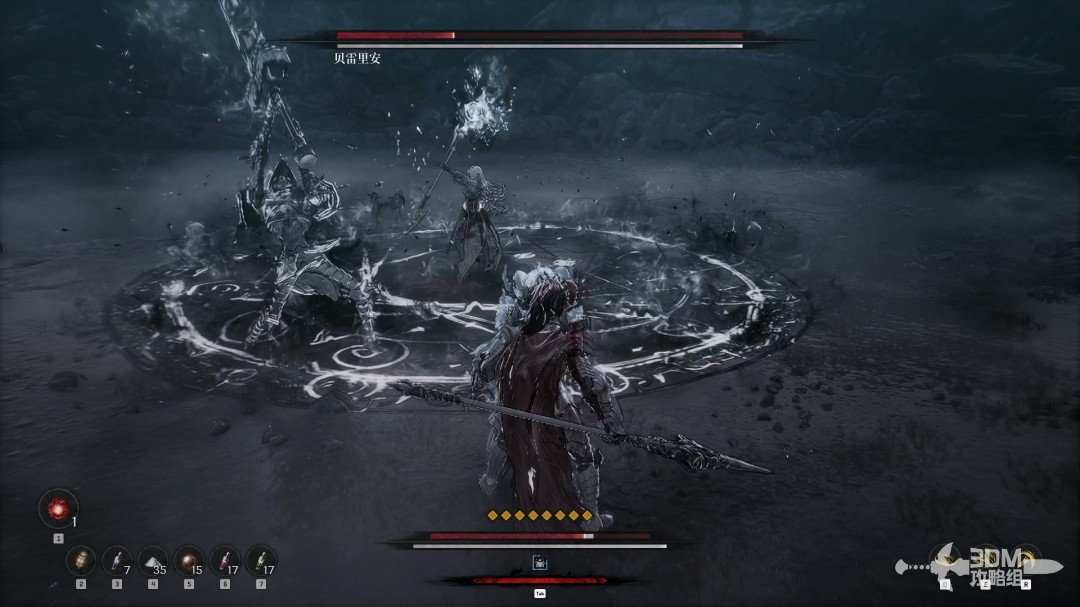
An uncommon melee sequence ends in an explosion around her.
Attack ⑥:
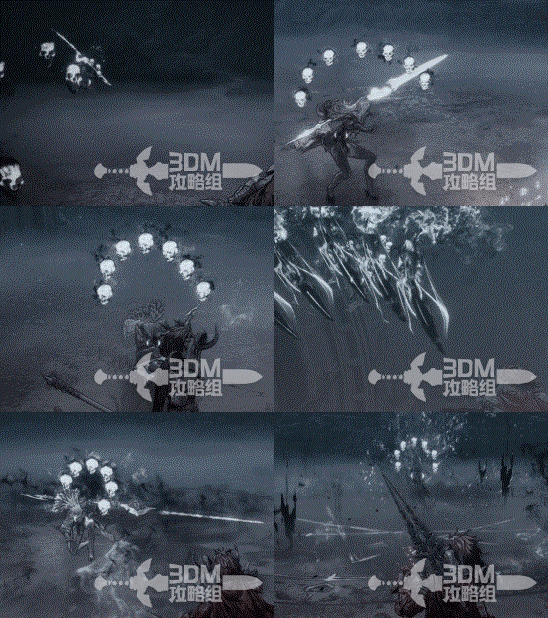
Magic circles appear clearly on the floor. Evade their marked areas.
23Resolve the misunderstanding and return to the Crevice with Bellerian
Victory reveals a misunderstanding: Bellerian thought Ozma had revived Khazan to kill her.
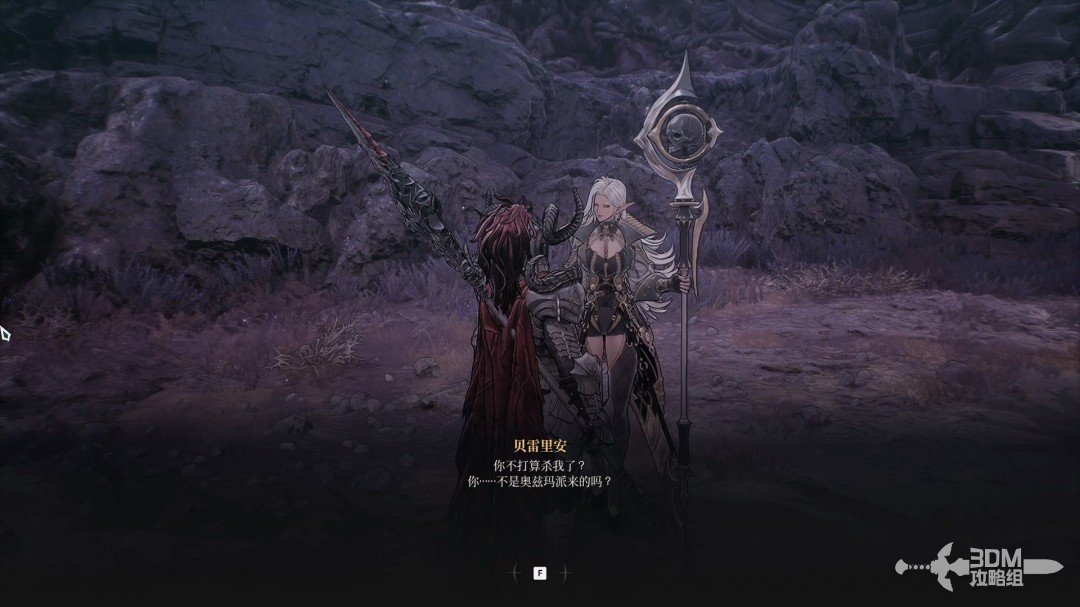
She discovered Ozma experimenting on living people and feared she would be next. She escaped while delivering a message; their conversation suggests his treason accusation was deliberate.
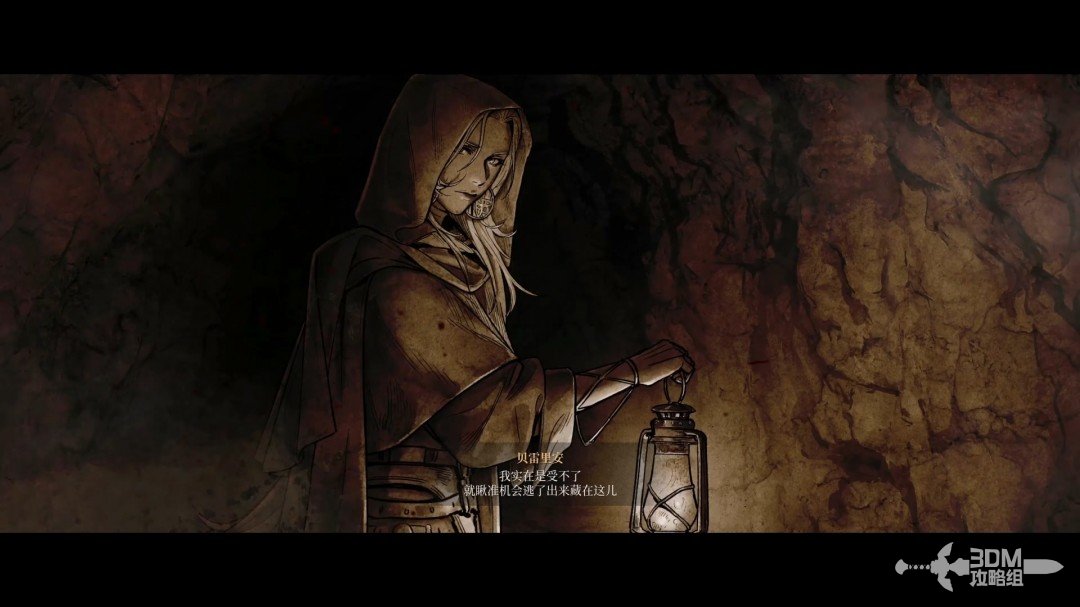
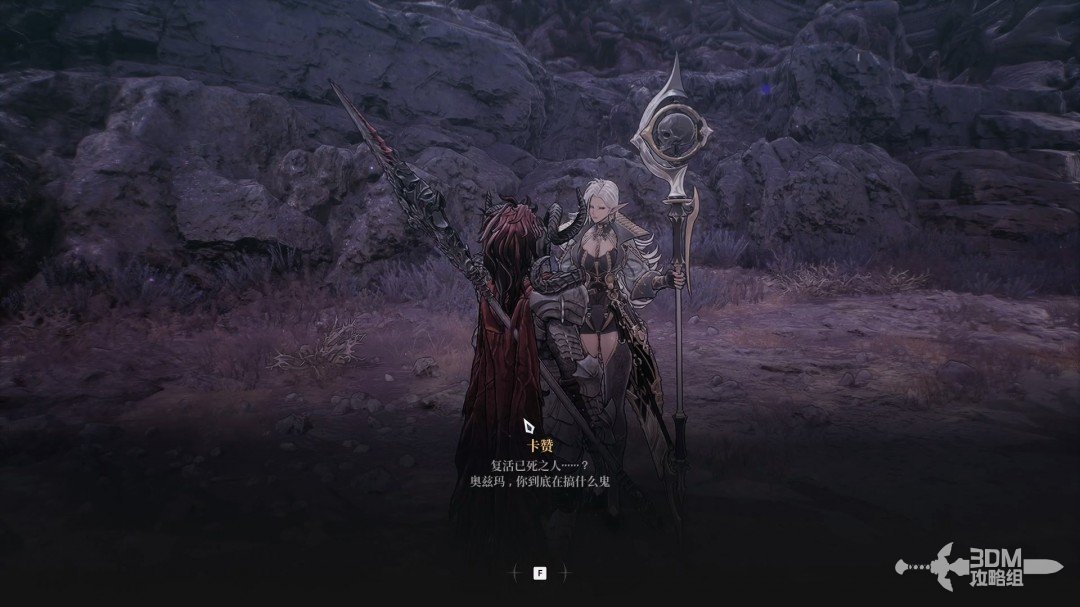
Bellerian decides to accompany Khazan for safety and reveals that Ozma seeks to resurrect the dead.
Related side missions
Atlante the Precise →
Accept the mission from Bellerian.
Reference: 3DM Guide Team
GAME NOTE has reorganized and rewritten the routes from this walkthrough.