Return behind the starting checkpoint, then descend through the village and underground facility.
Pickups in this mission
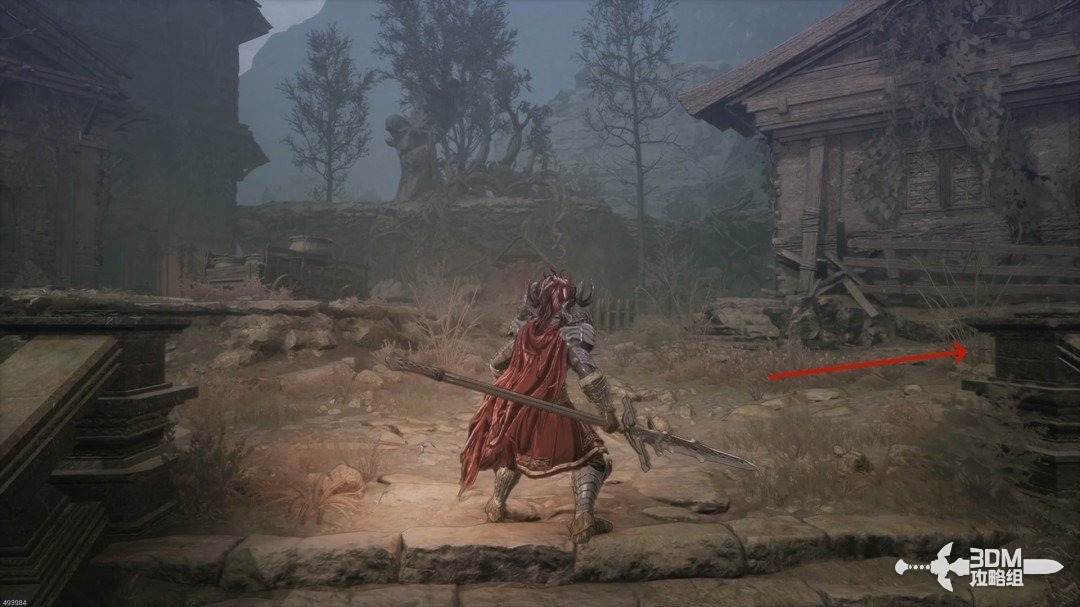
01Devoured Village entrance: turn back for the Soulstone first
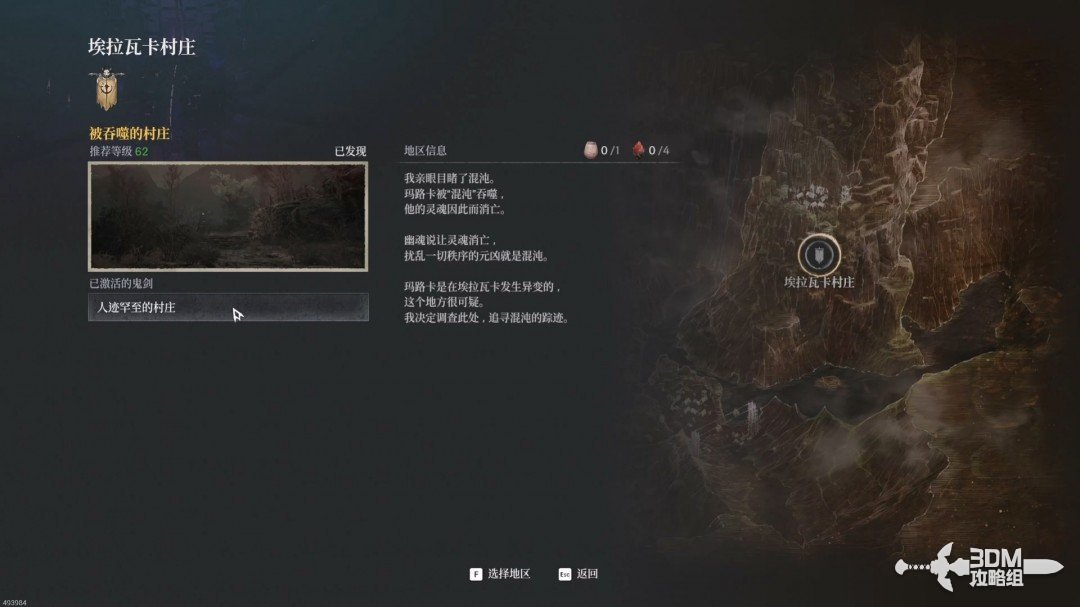
Resume the main story with Devoured Village.
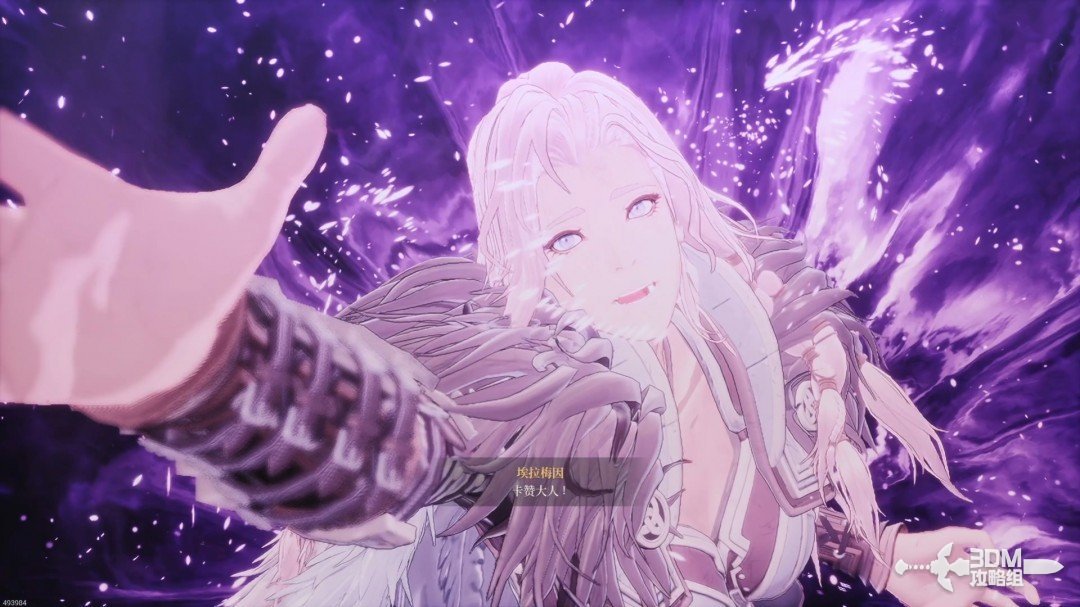
Elamein accompanies Khazan, but a purple light draws her away shortly after arrival.
Rest at the Nexus, then turn back before proceeding to find the first Soulstone.
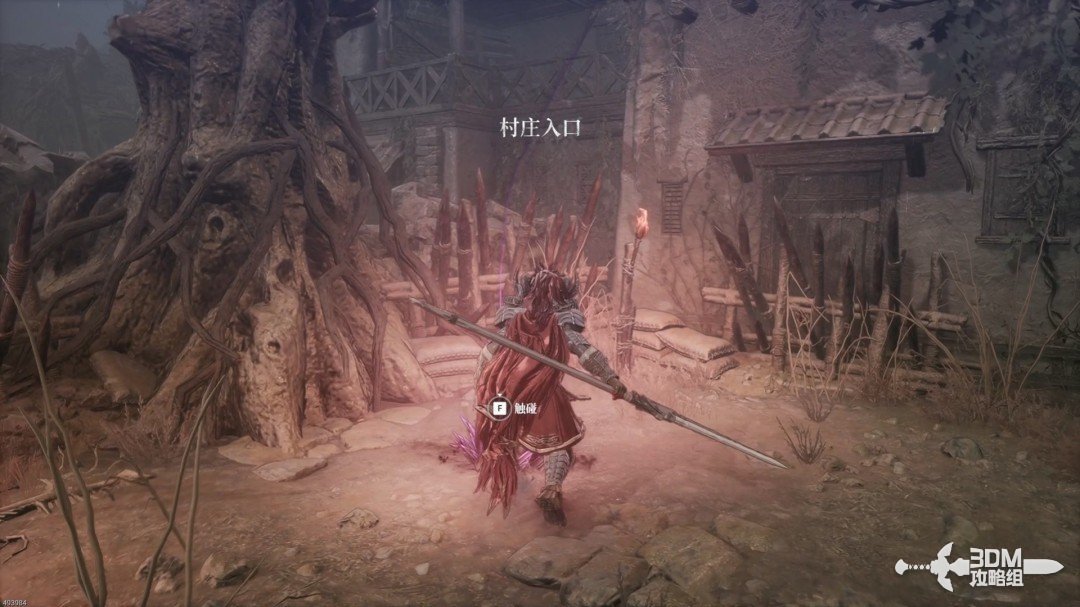
The first Soulstone is hidden behind the arrival area.
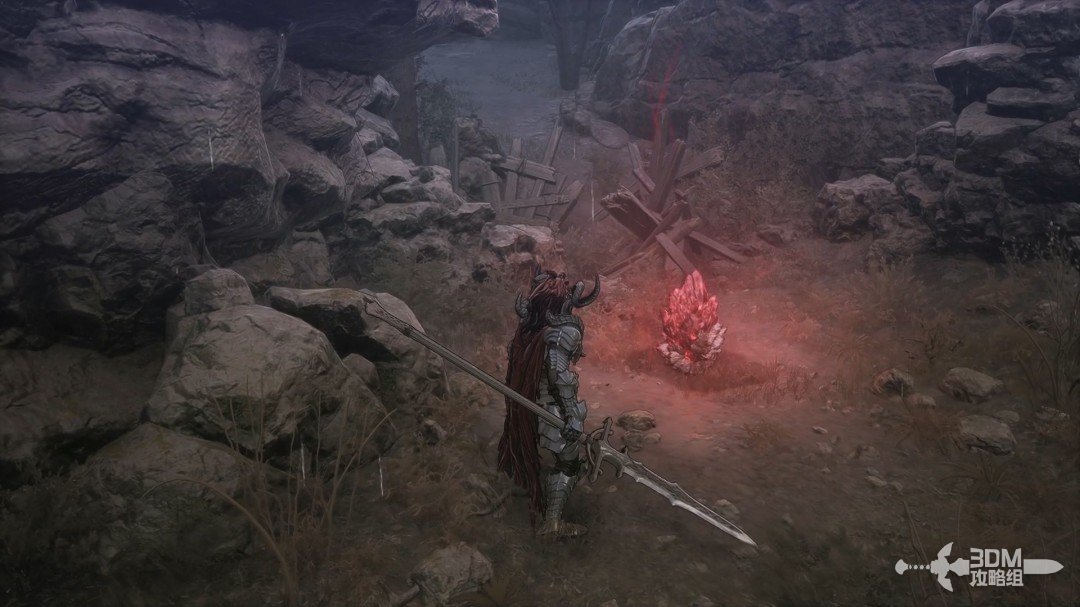
03House left of the steps: climb across the roofs and enter through the opening
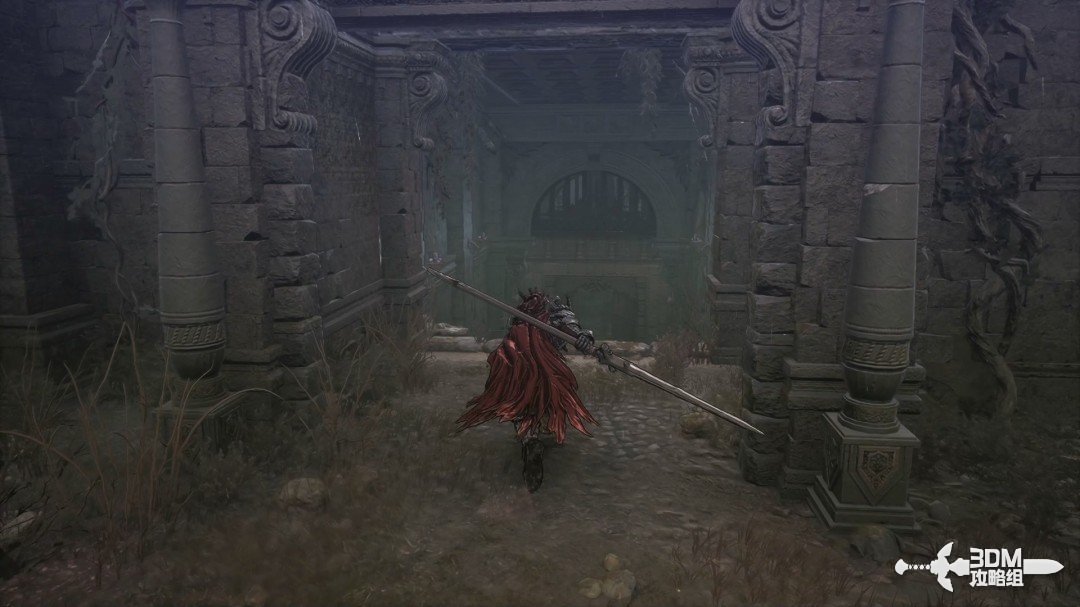
Advance to the steps, absorb the memory ahead, then go left.
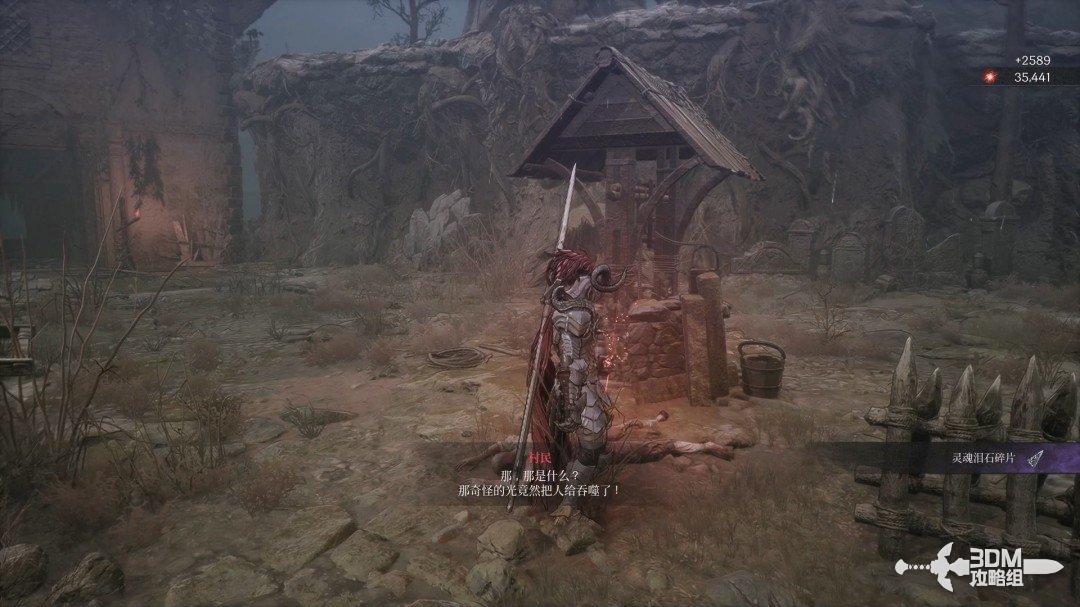
A purple item lies on the building's highest level.
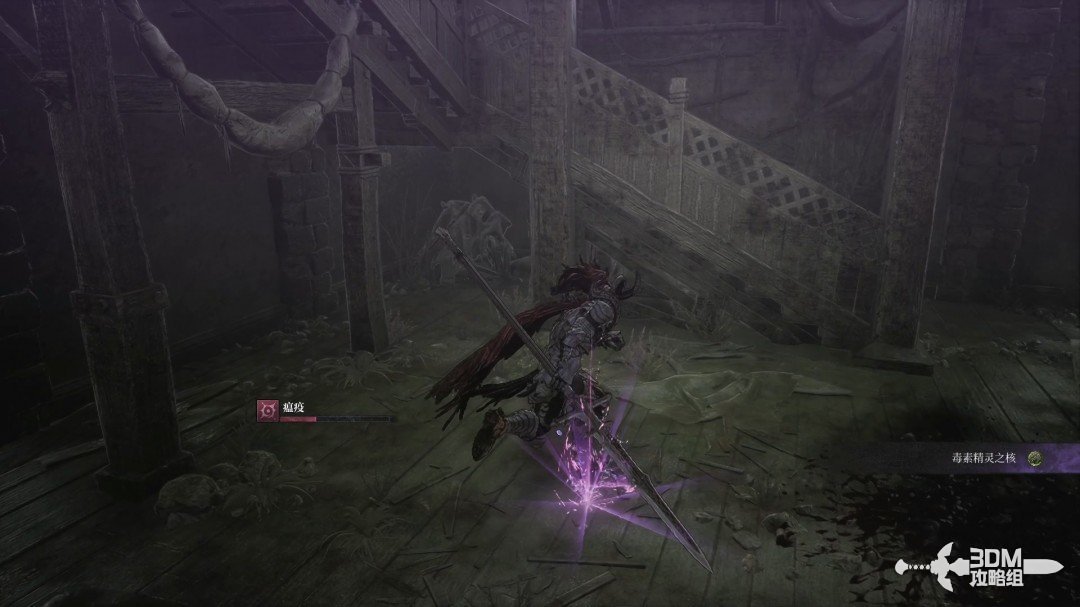
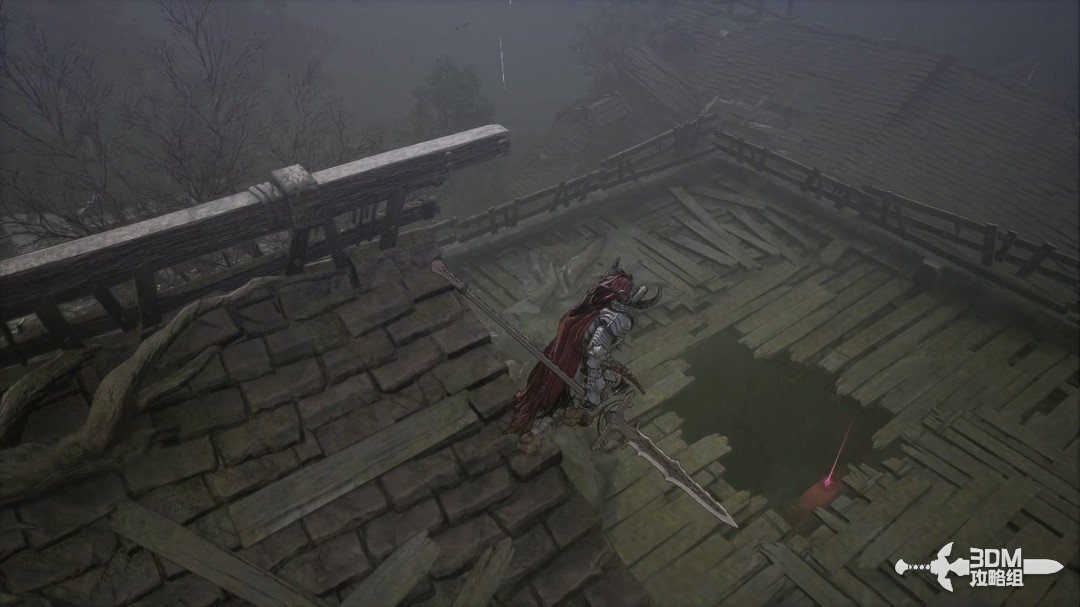
Climb the ladder and jump across to the opposite roof.
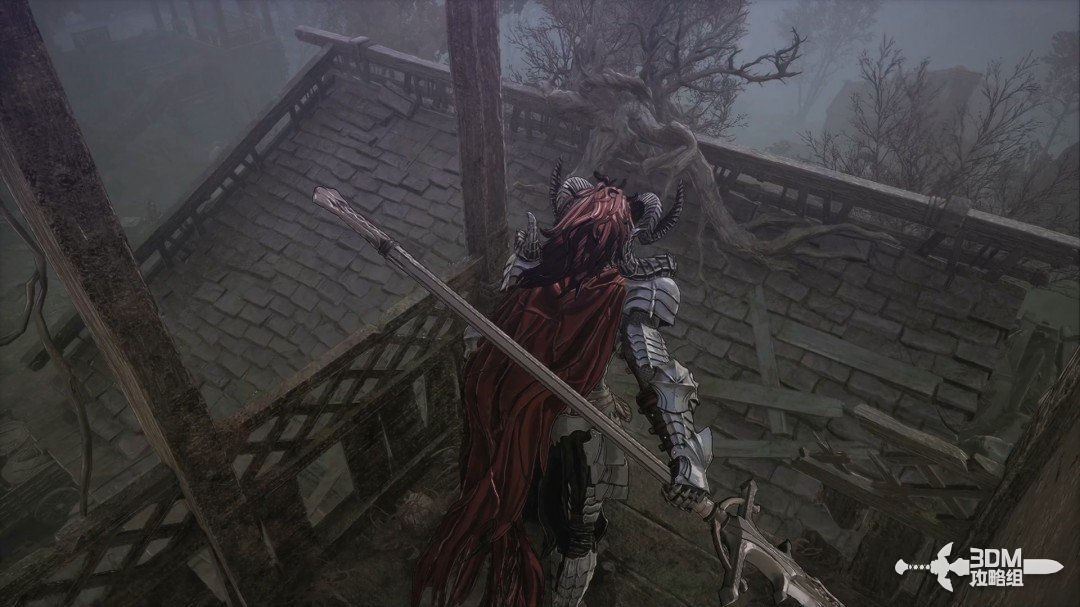
Drop through the opening in the right roof for the Deep Darkness Scroll on a beam.
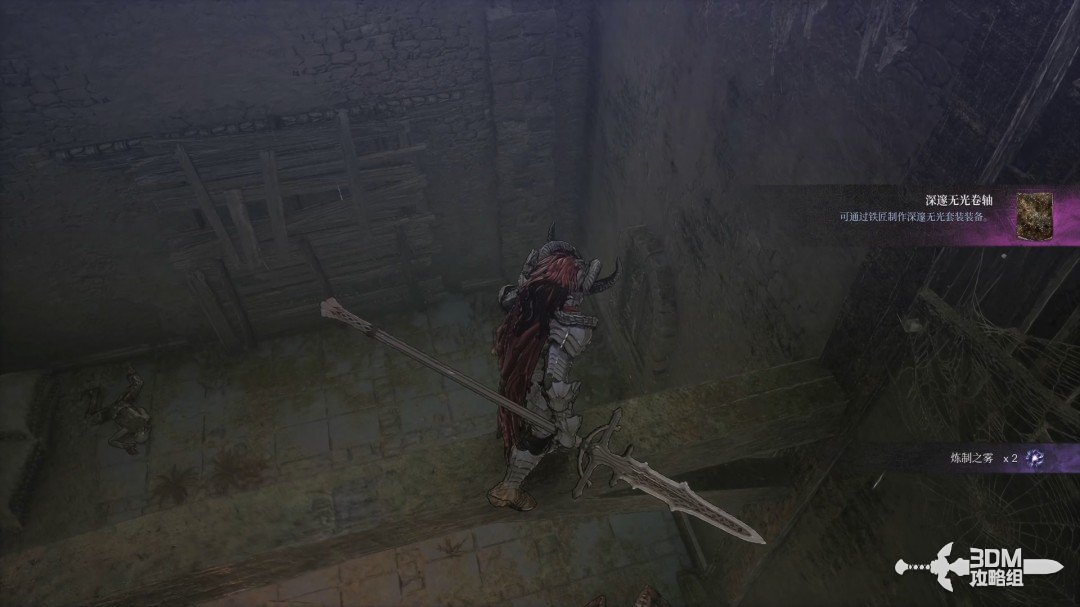
05Hidden indoor door: return to the right branch and find the descending elevator
Drop down, clear the undead and leave through the hidden door.
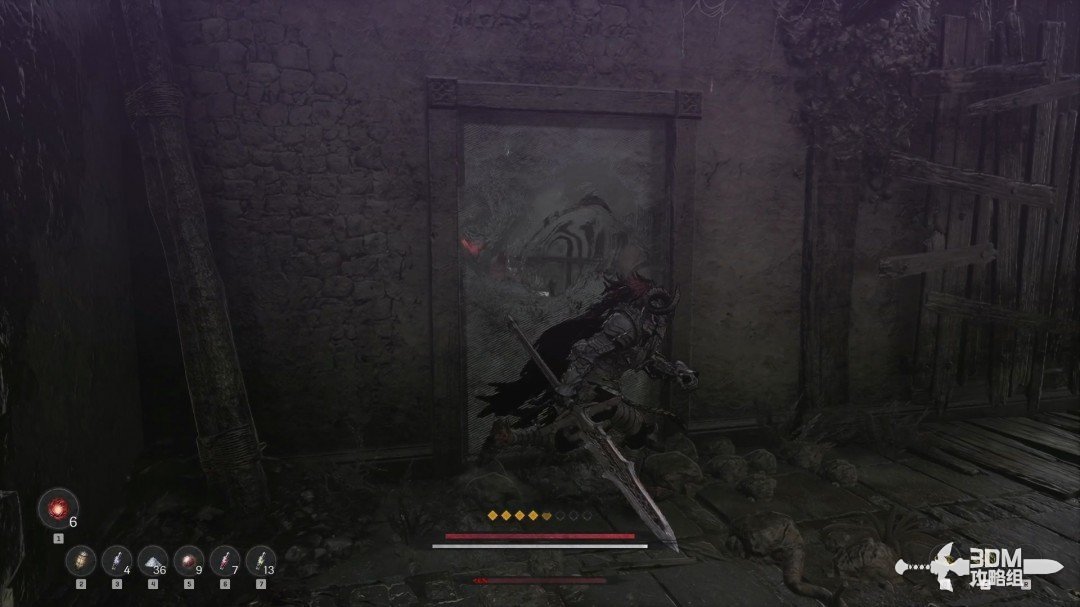
Climb the ladder in the neighboring room to leave.
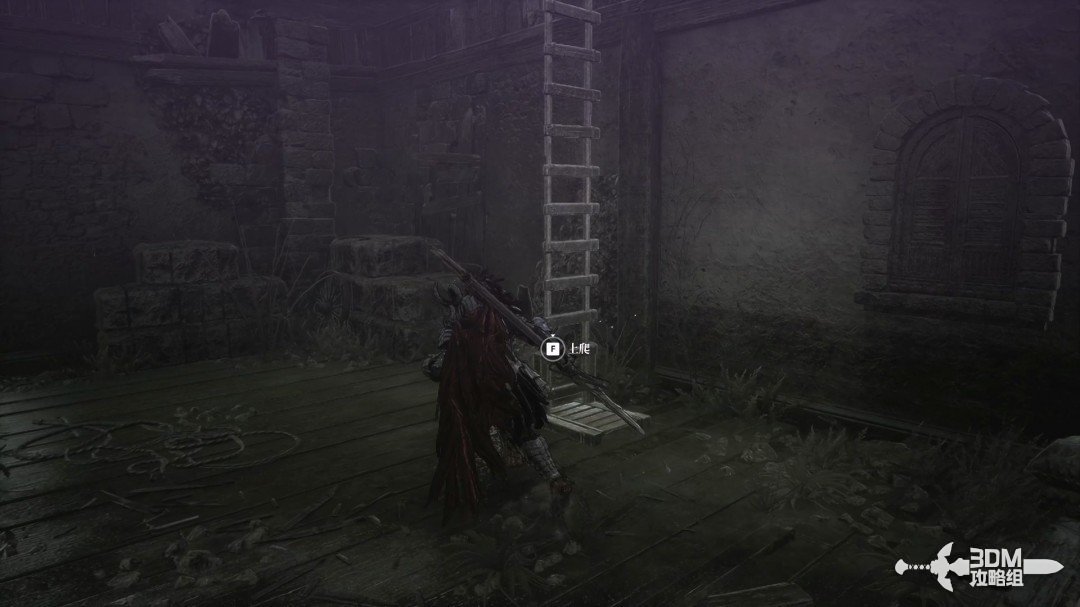
Continue right along the main route.
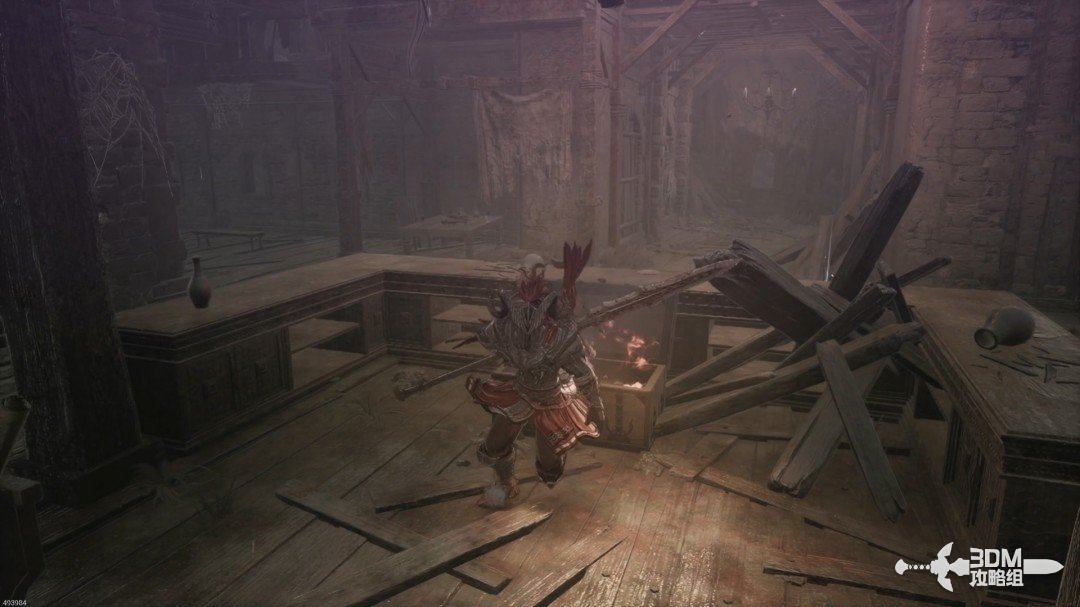
Open the room's chest and dodge its explosion.
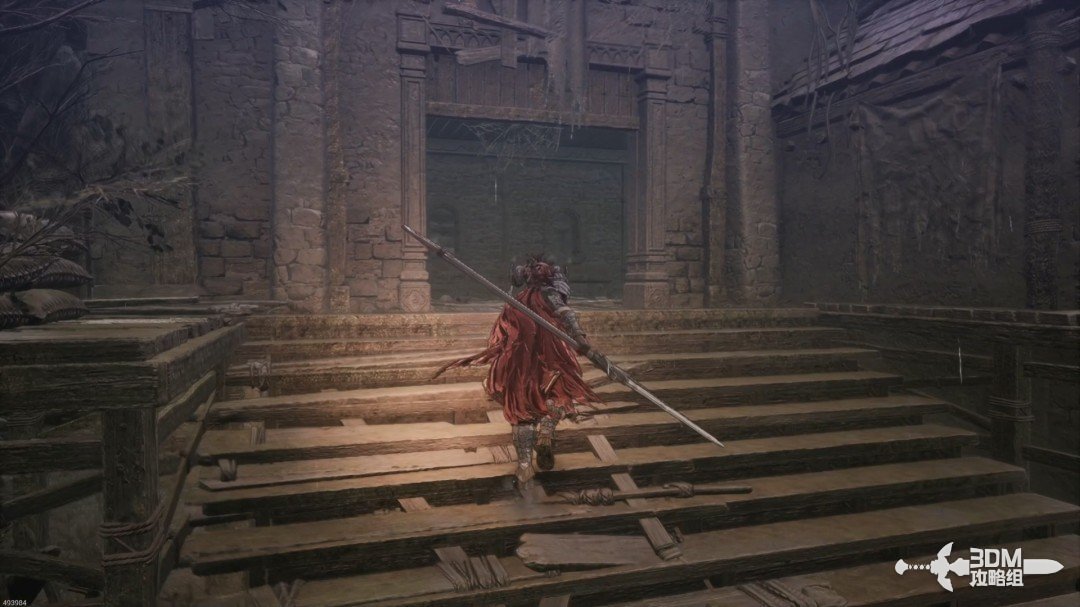
The side rooms contain minor loot rather than collection items. Descend here for the main route.
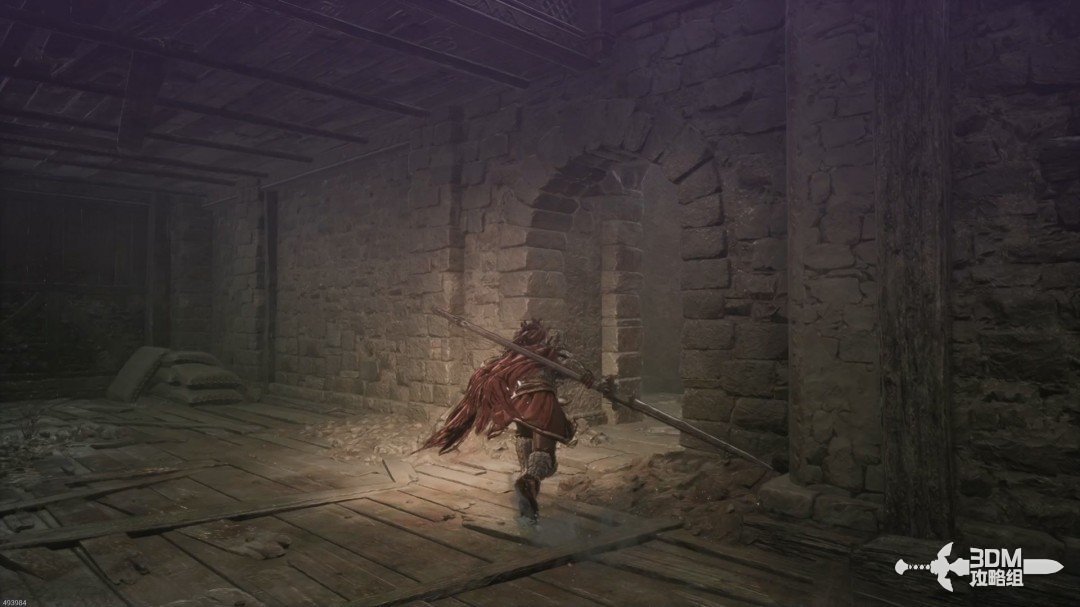
Take the elevator down.
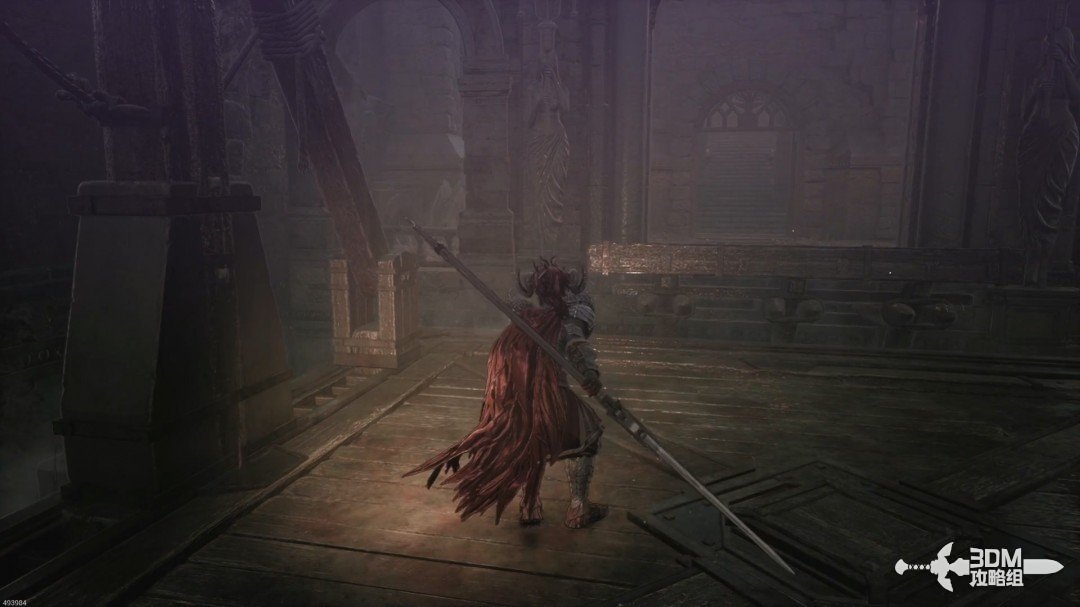
06Bat cave entrance and shaft: descend to the drainpipe
The forward branch below is empty. Enter the right opening after shooting the hanging bat with Javelin; the narrow terrain makes a direct fight awkward.
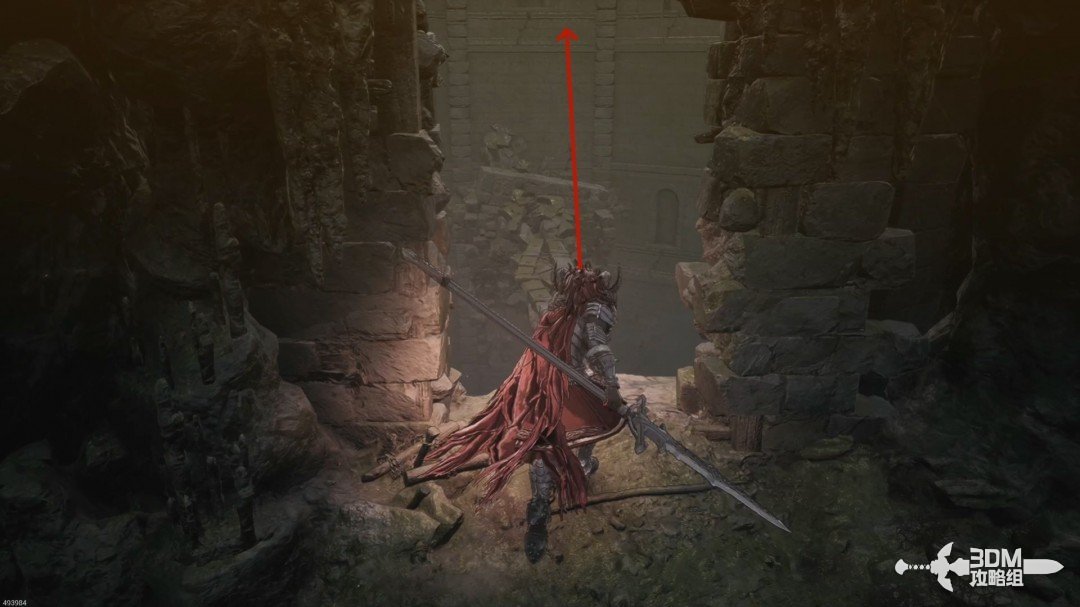
Descend the ledges carefully and collect the memory below.
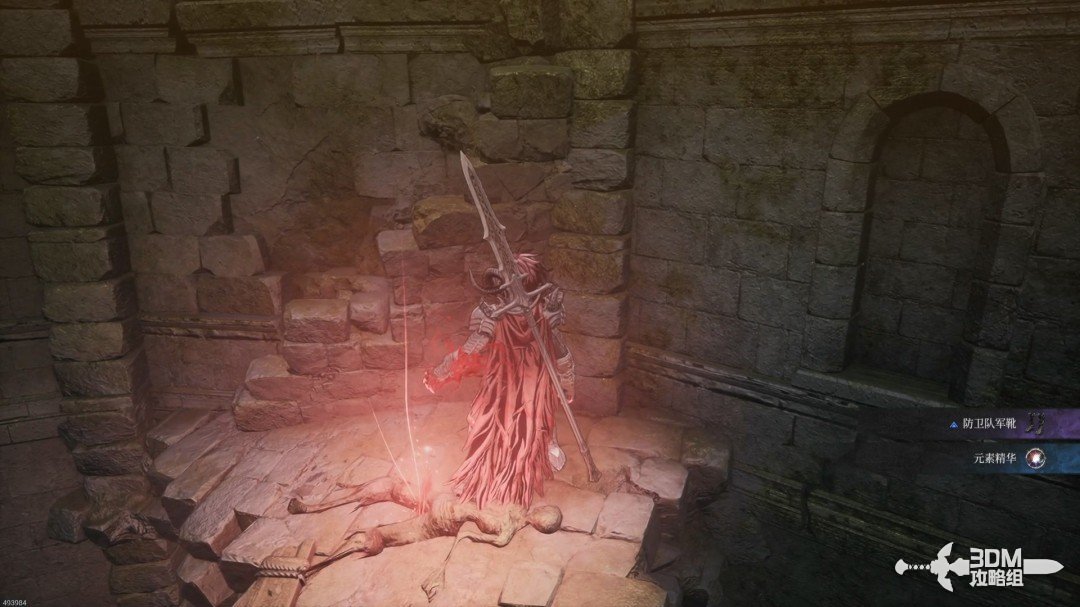
Enter the sewer pipe at the bottom.
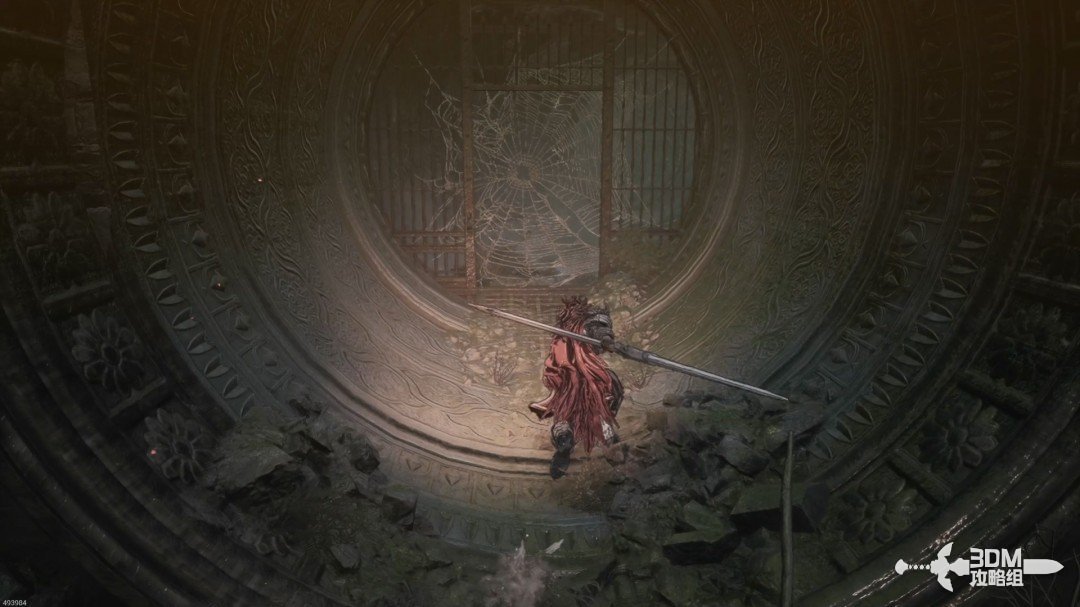
07Below the pipe Nexus: clear leeches and circle to the gate shortcut
Follow it to a Blade Nexus and rest.
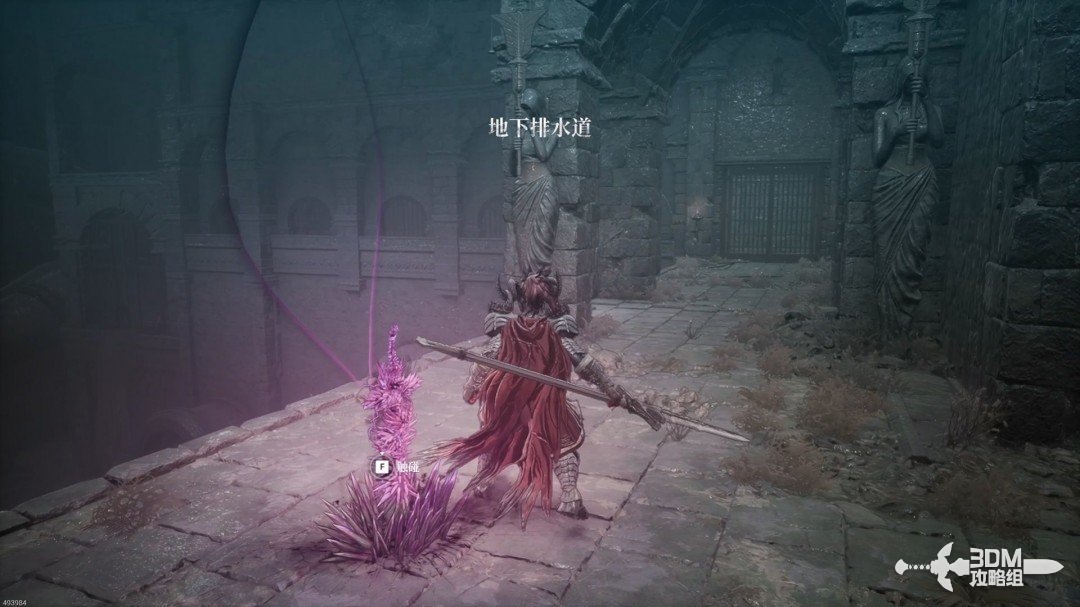
Drop from the path's end onto the pipe below. The iron gate ahead is locked.
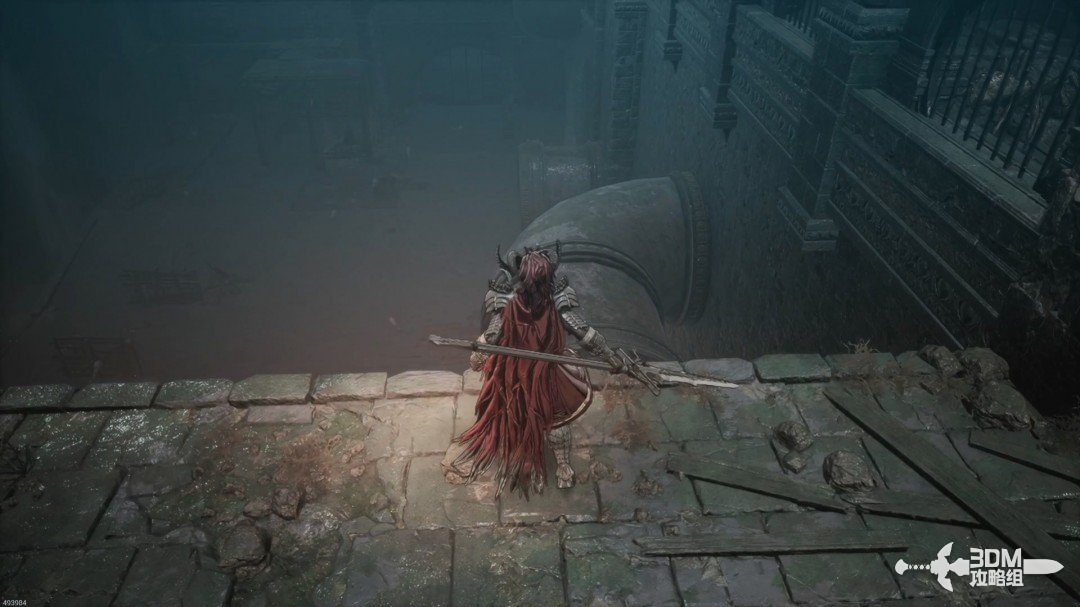
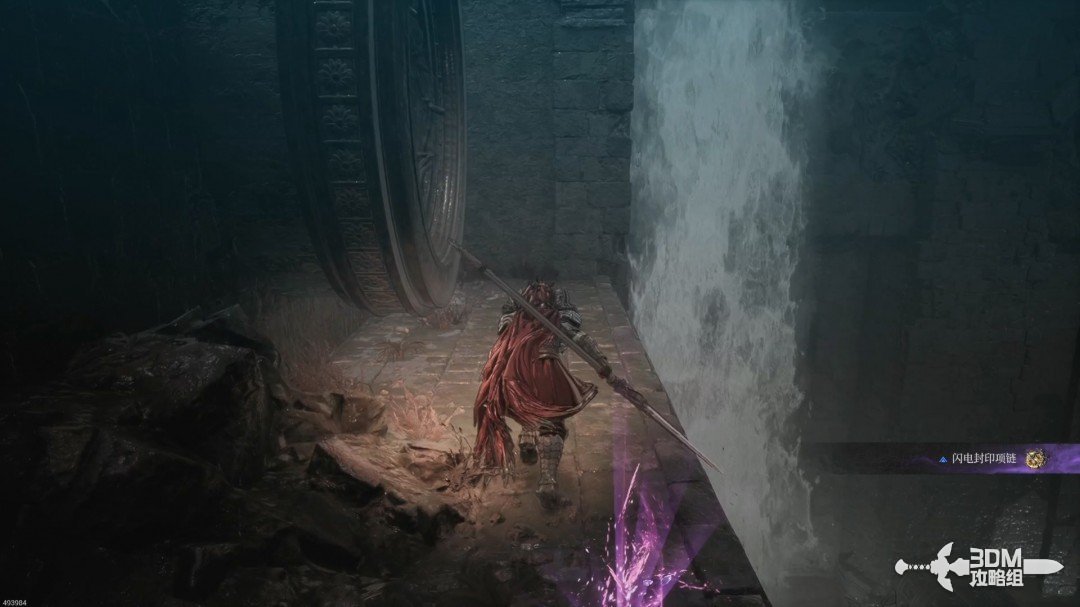
Turn back toward a platform with a purple item. After collecting it, drop down, taking some fall damage.
Leeches below drain health when they bite. Separate them or use an area-damage consumable.
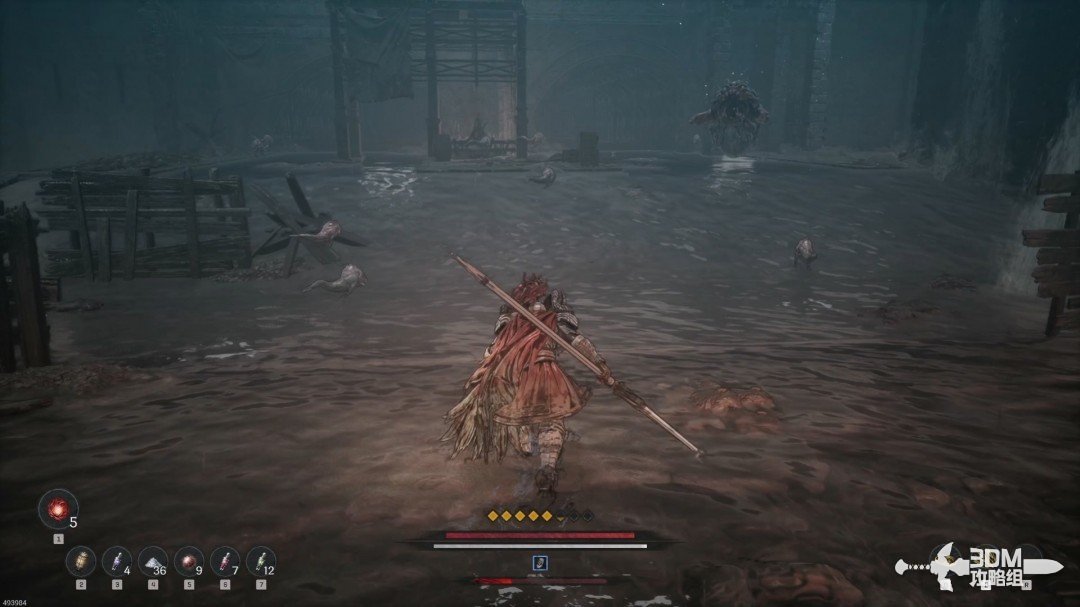
Collect the purple item after clearing the leeches.
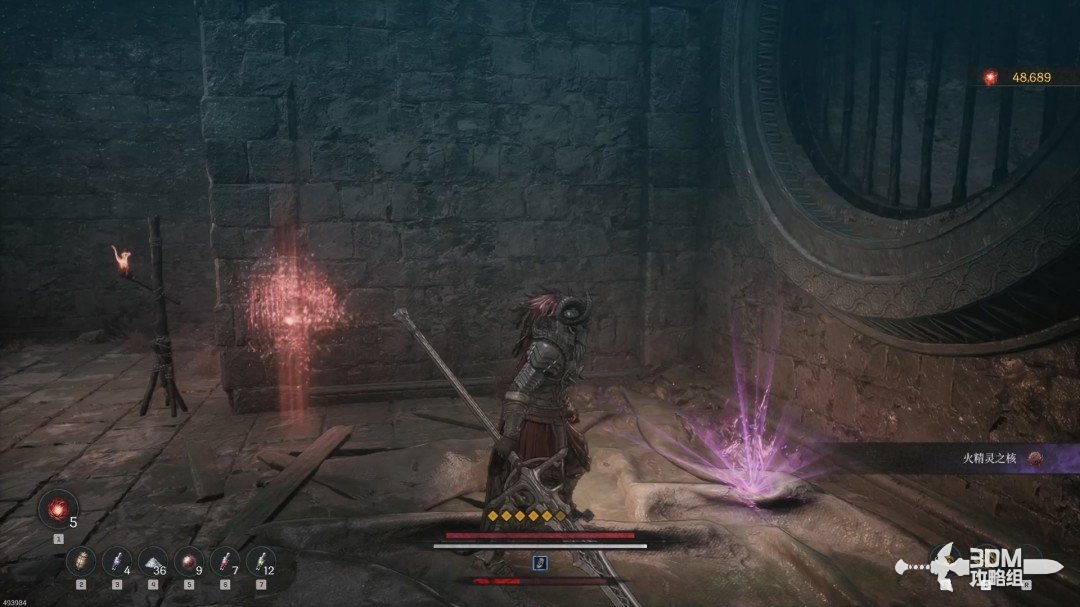
Climb the central ladder.
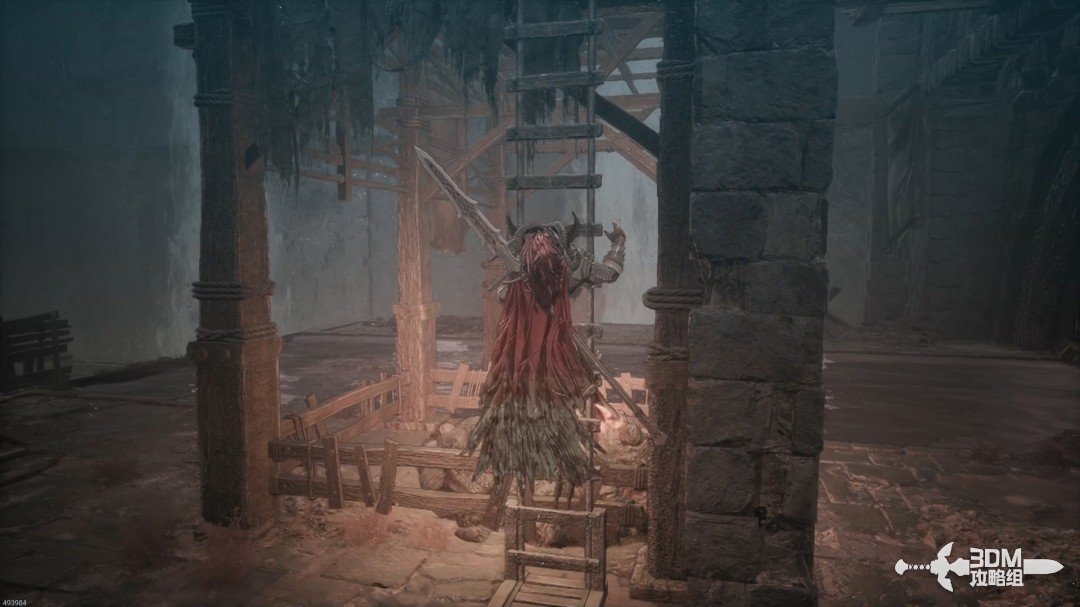
At the pipe junction, first take the left dead end for a white item, then return right.
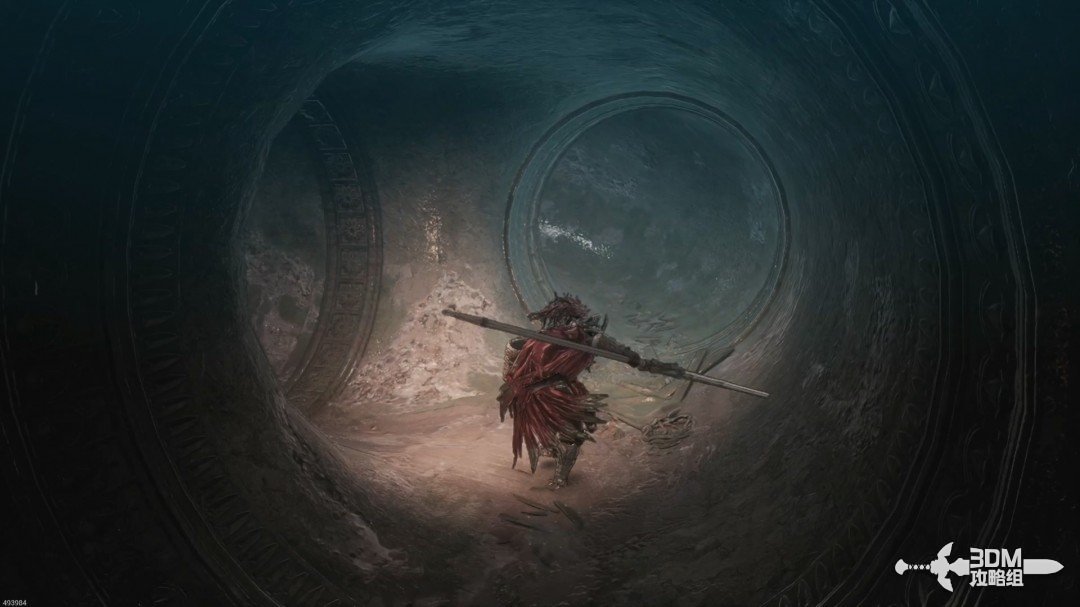
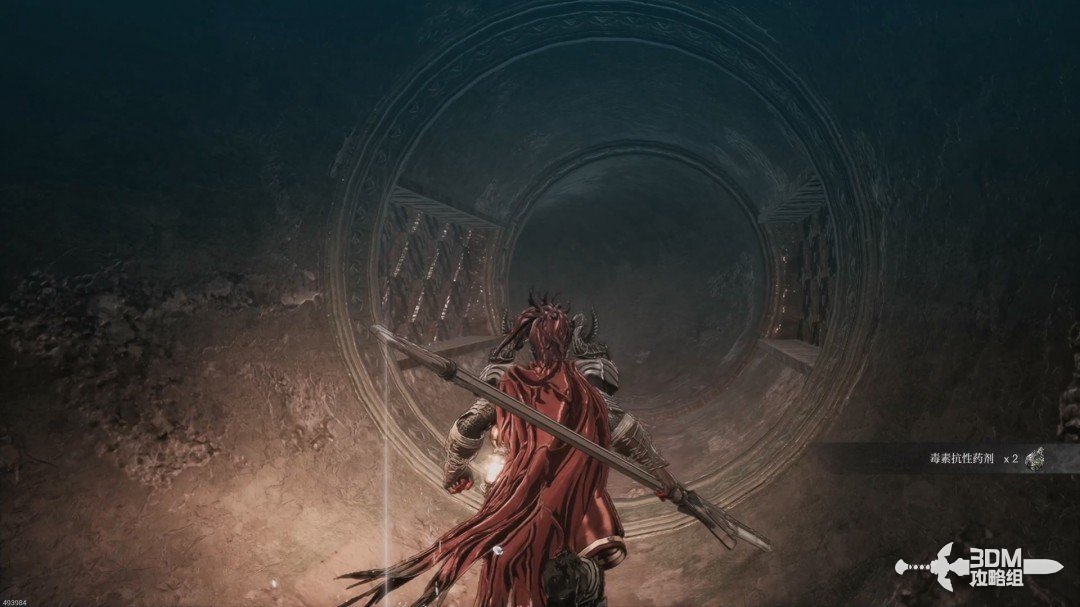
At the next fork beyond the right opening, go straight.
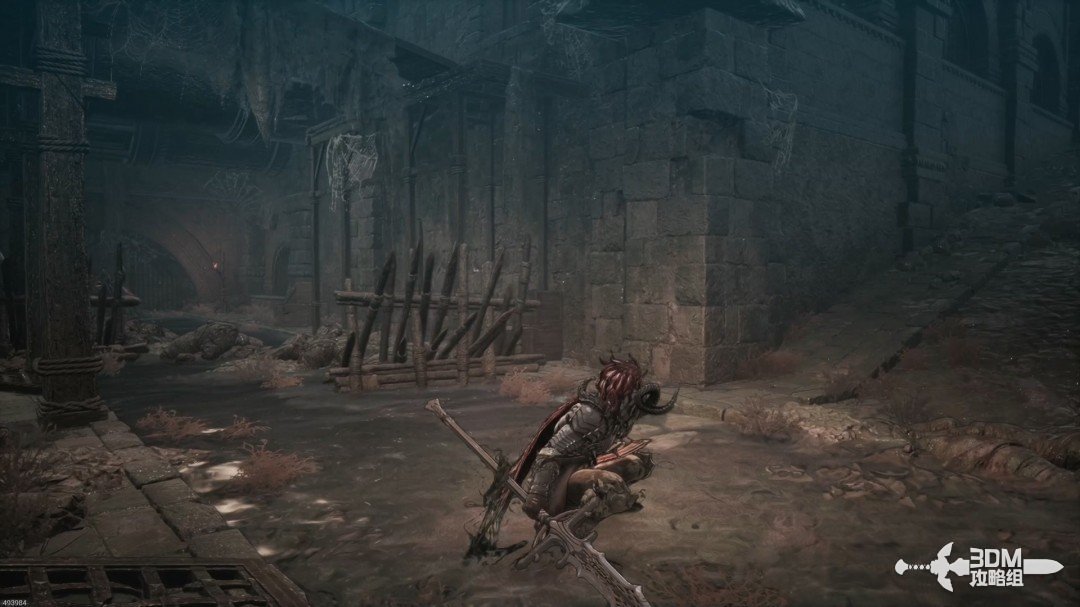
Open the iron gate on the right to reconnect with the earlier Nexus.
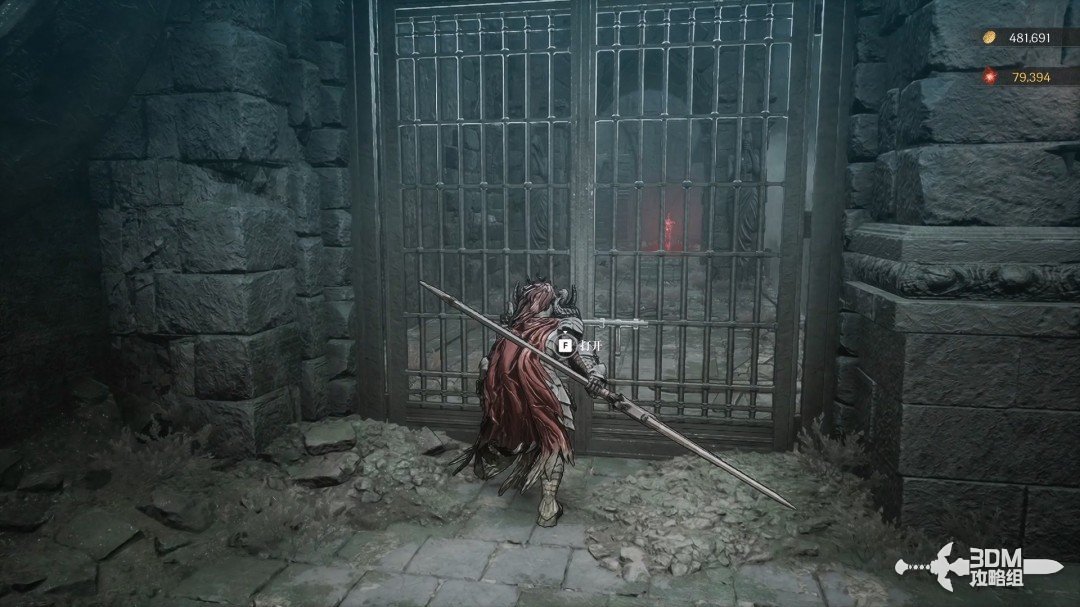
Turn around and break the wooden barrier concealing a Soulstone.
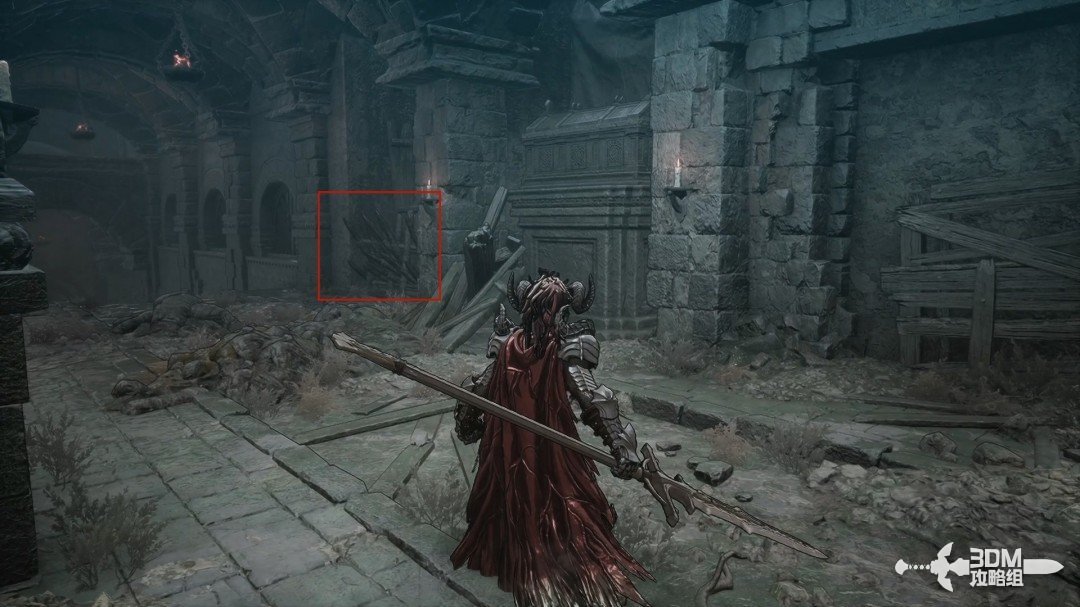
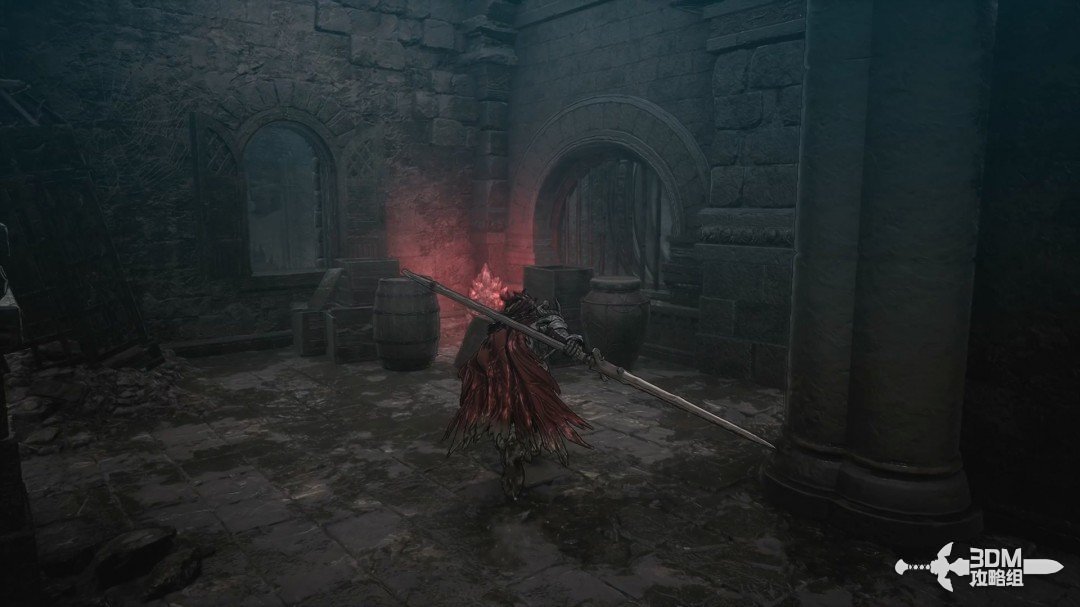
09Left spider branch: climb to the Netherworld Energy room
Return to the earlier fork and go left toward the spiders.
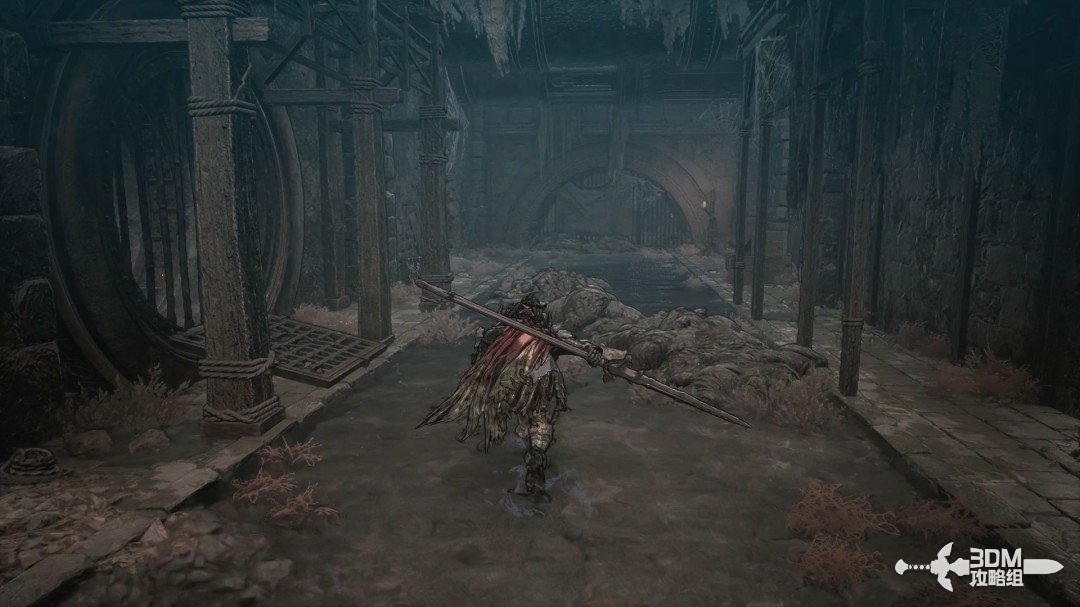
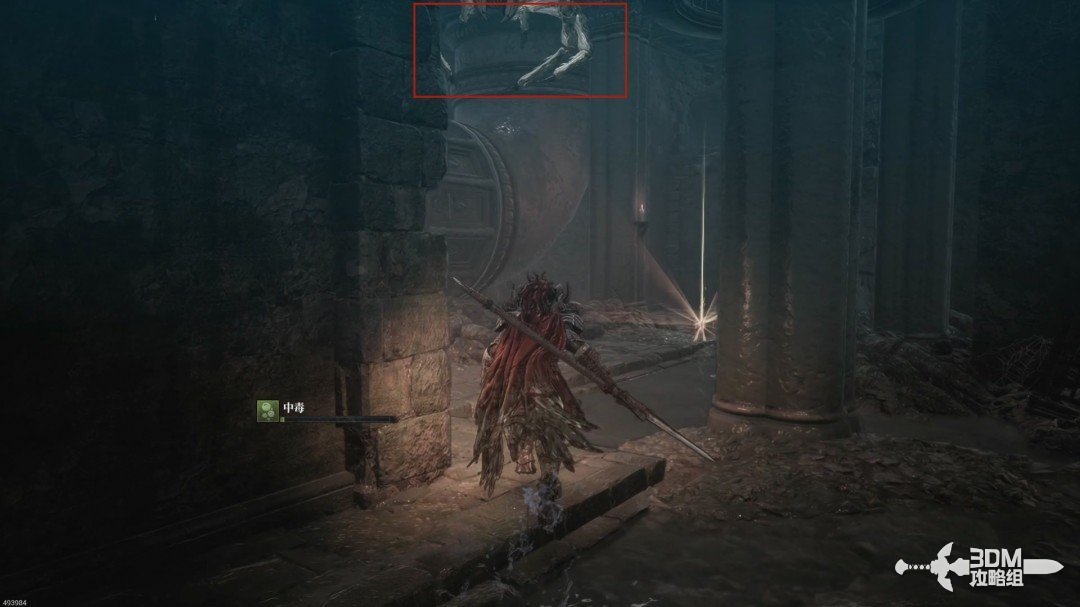
Watch above this doorway for a spider ambush. Shoot it down first.
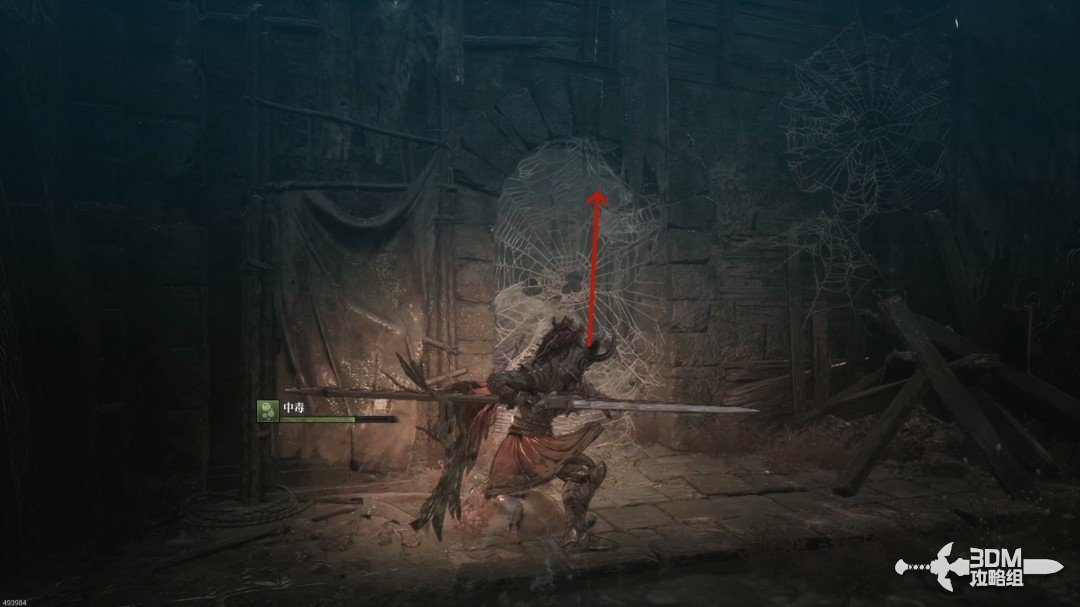
Climb the ladder after clearing the spider.
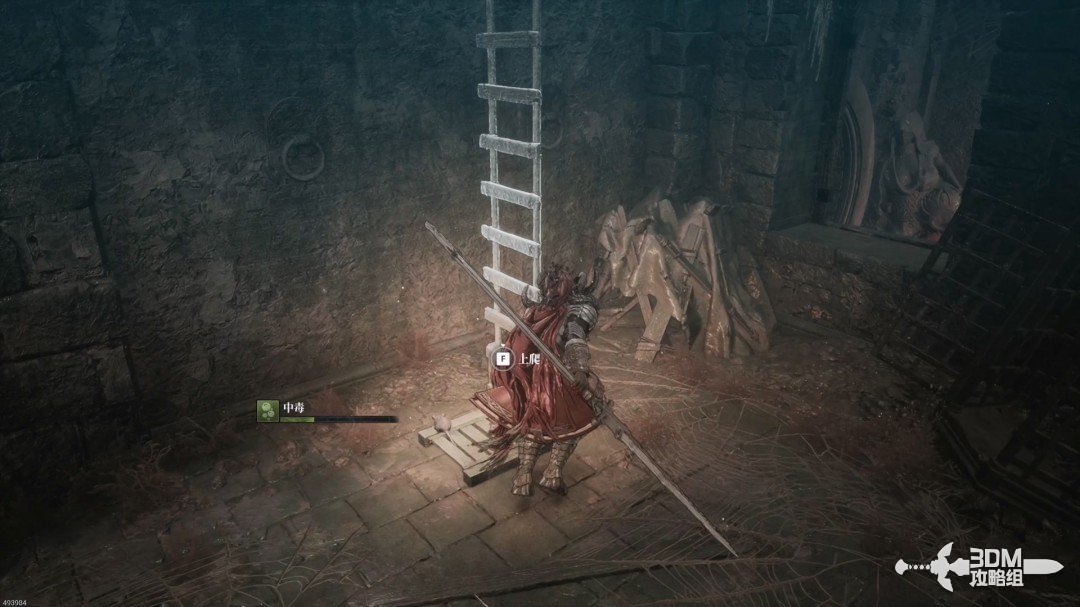
Check right at the top for a blue item.
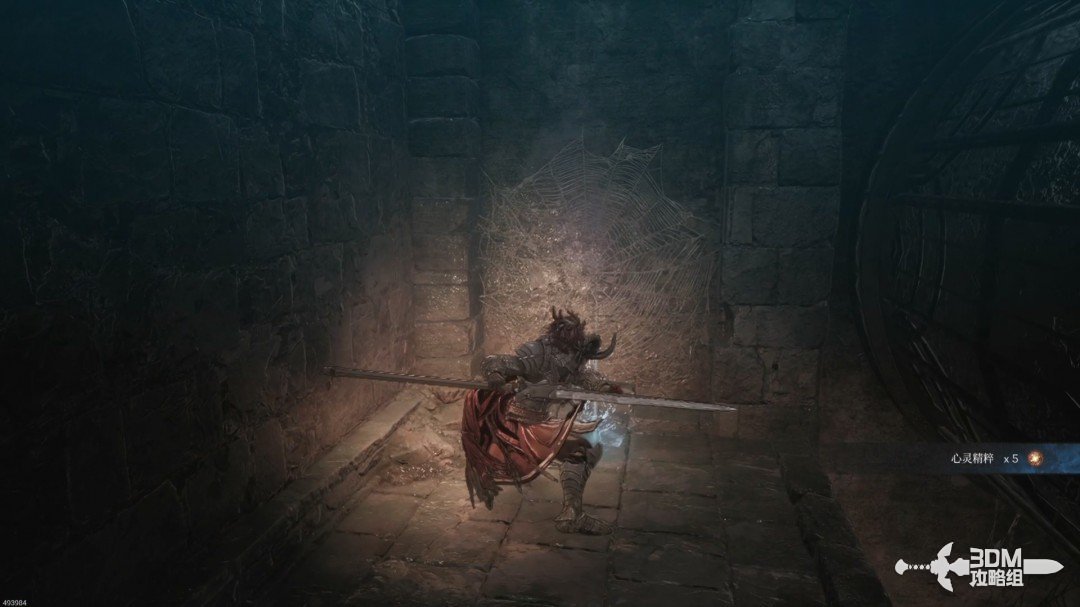
Return left. The next opening also forks; choose left first.
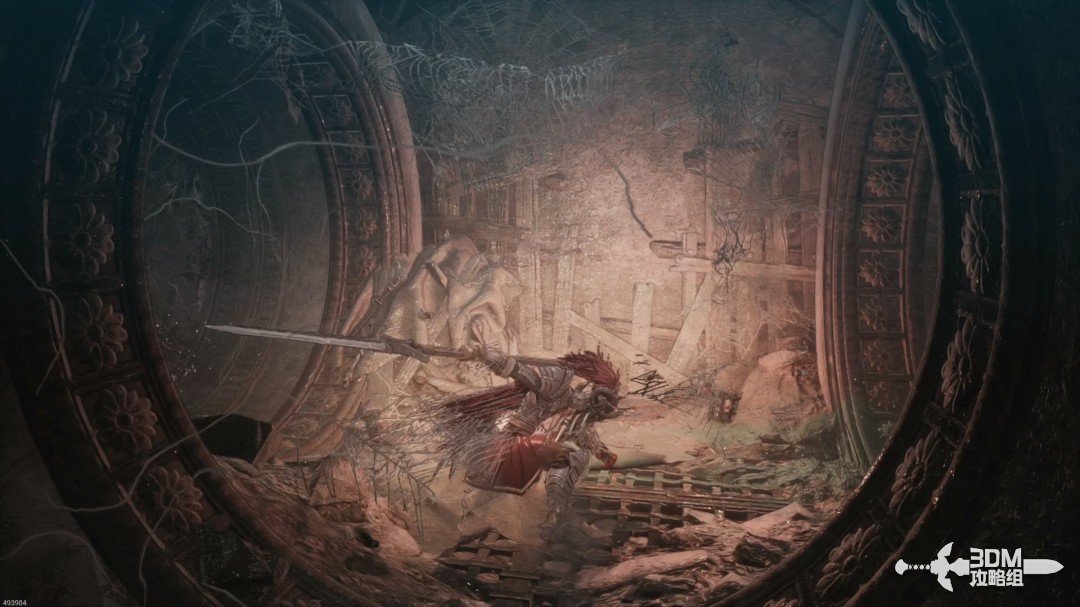
Continue left again; the right branch is a dead end.
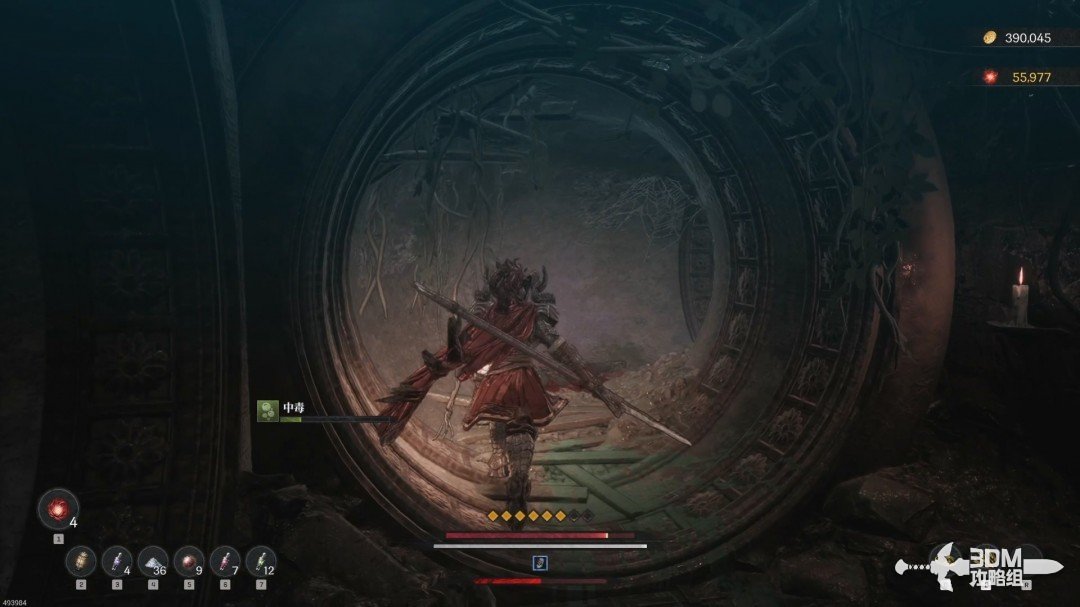
In the wider area ahead, shoot down another spider hanging overhead.
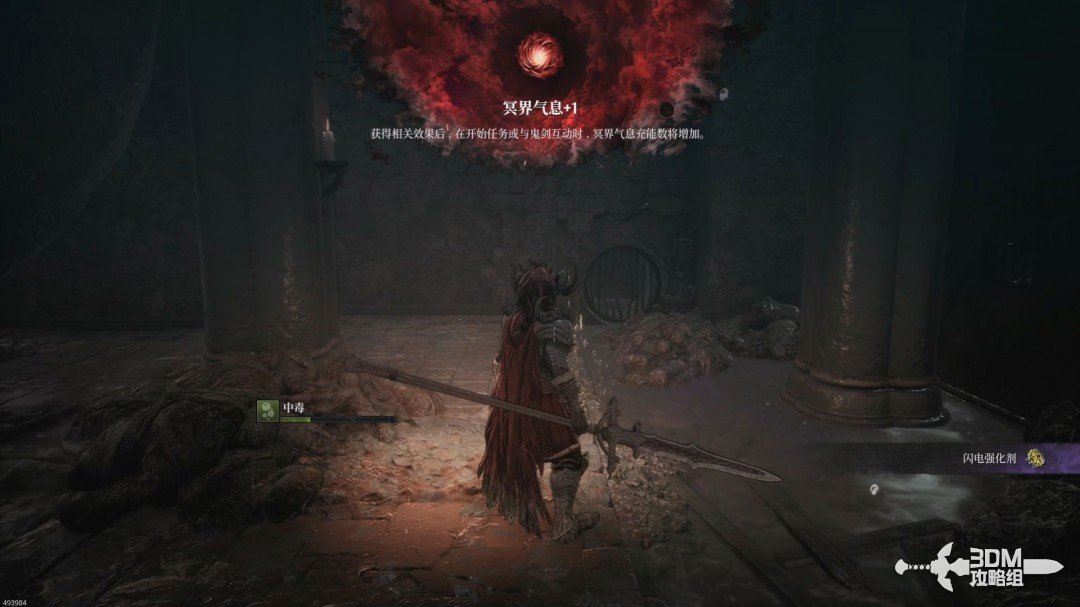
Collect the golden Netherworld Energy upgrade beside it for another healing use.
11Red opening and outdoor pipes: return to the upper Nexus
Retrace your steps and drop through the red opening.
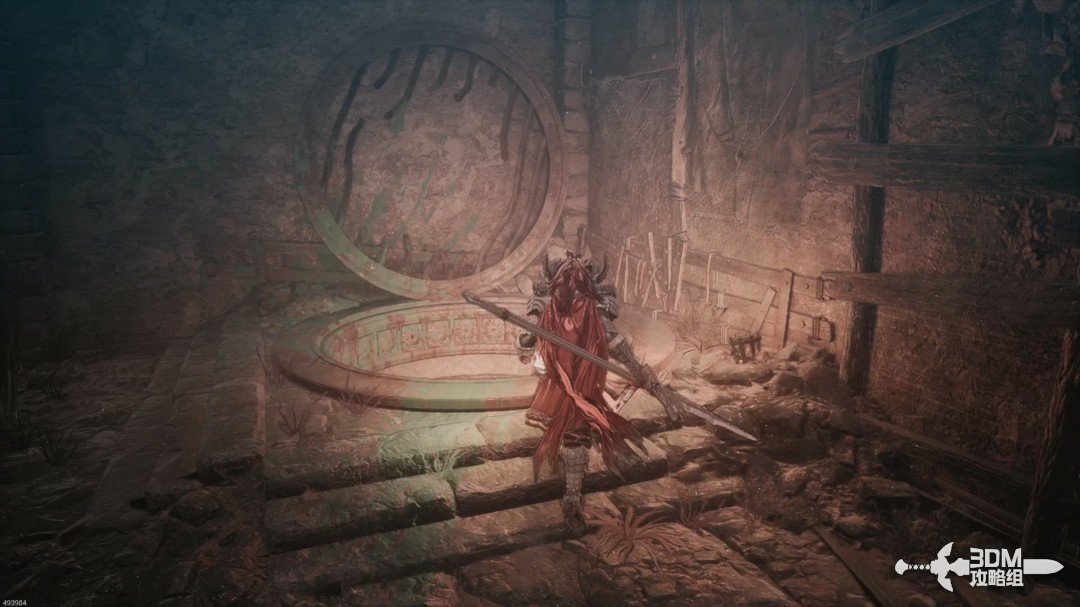
Clear the undead below and climb the ladder.
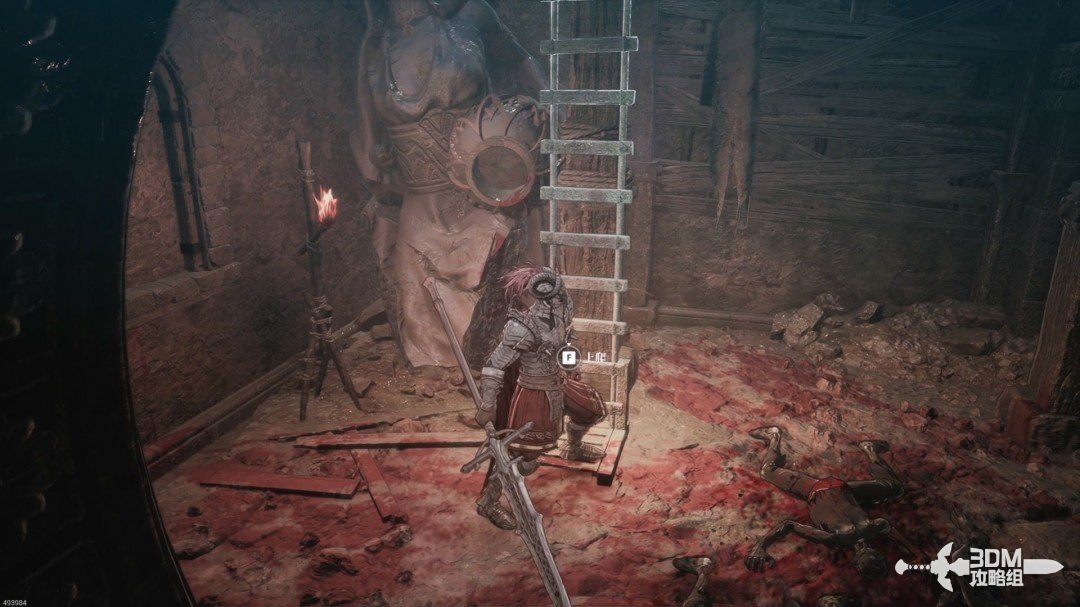
Follow the route out of the pipes and enter again from the right.
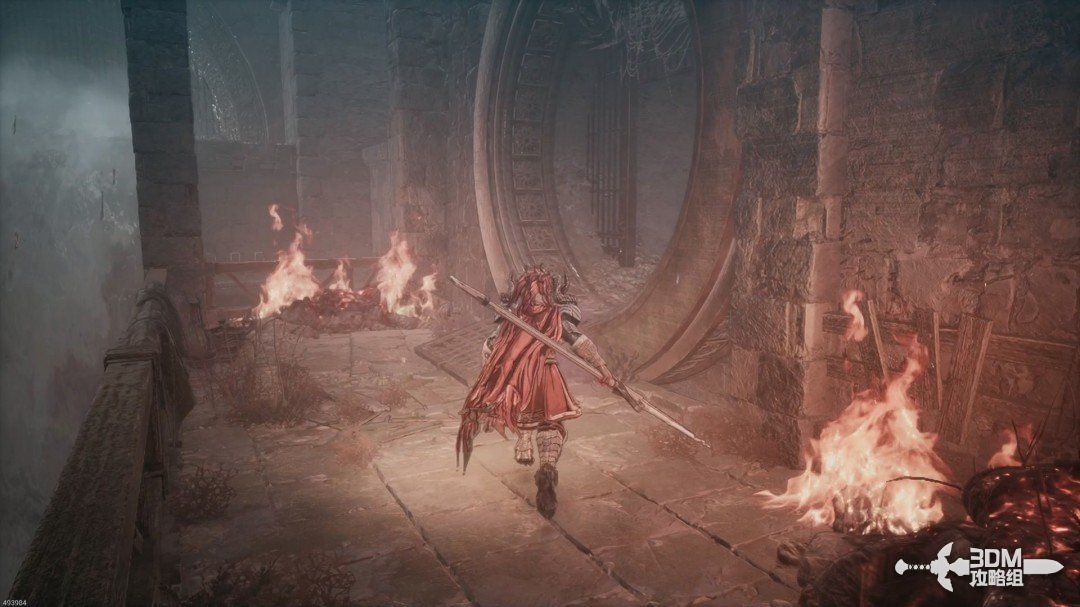
Climb the pipe's ladder to a new Blade Nexus.
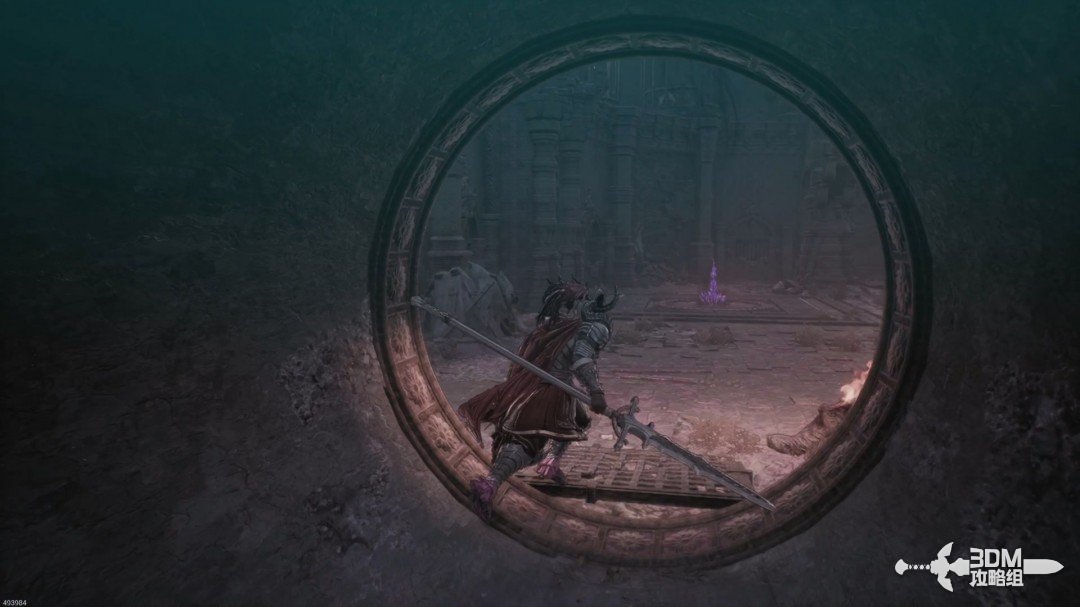
12Central gate switch: explore the cells and area beyond the bridge
An elite guards the main route.
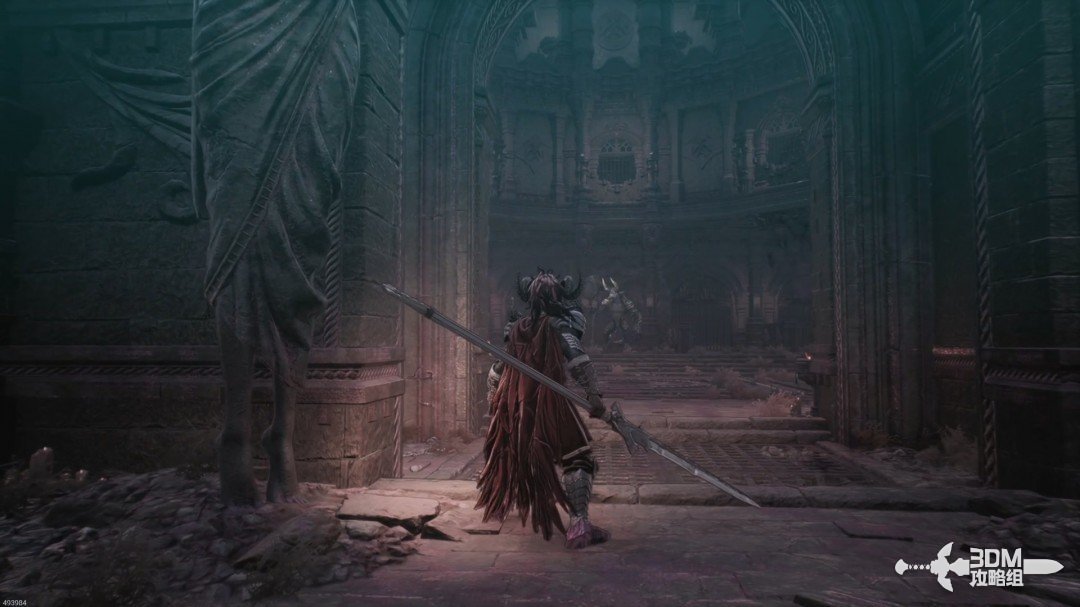
It can drop a Guardian Scroll and equipment.
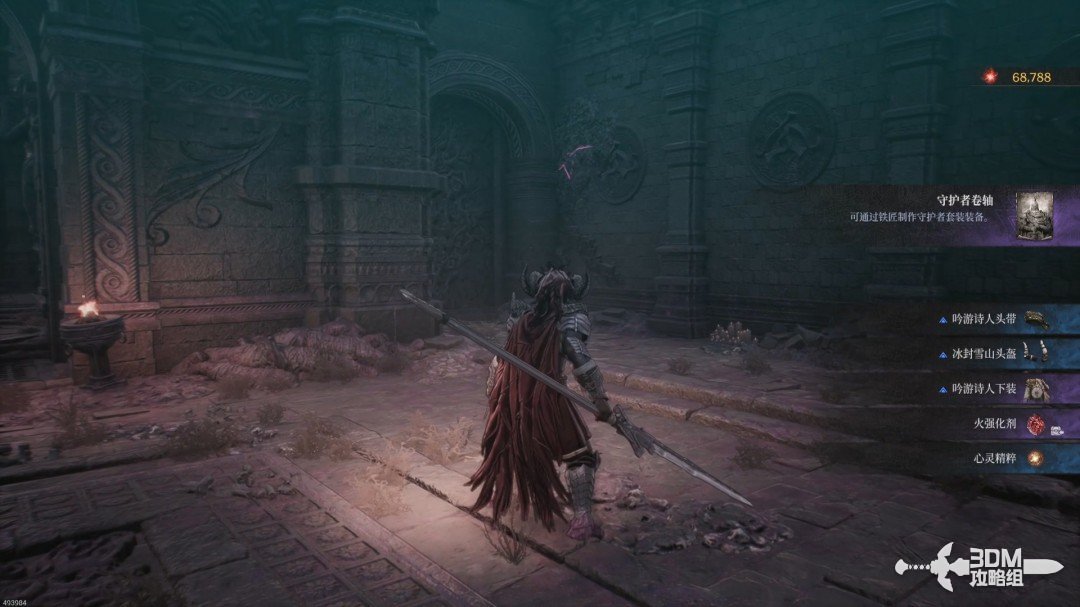
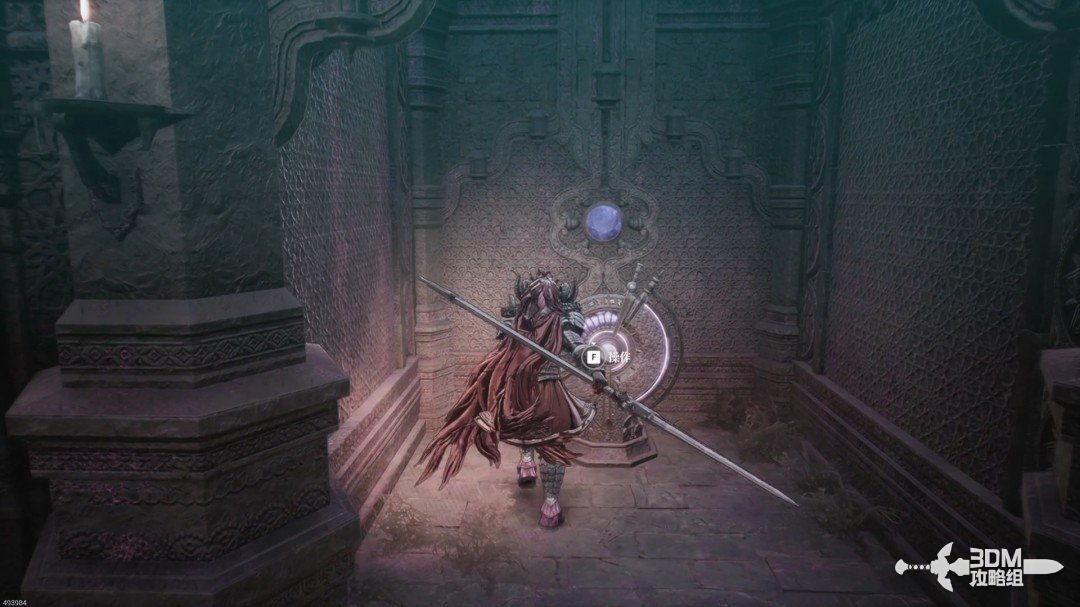
Activate the central mechanism to open the surrounding iron gates.
Open the chest behind the left gate.
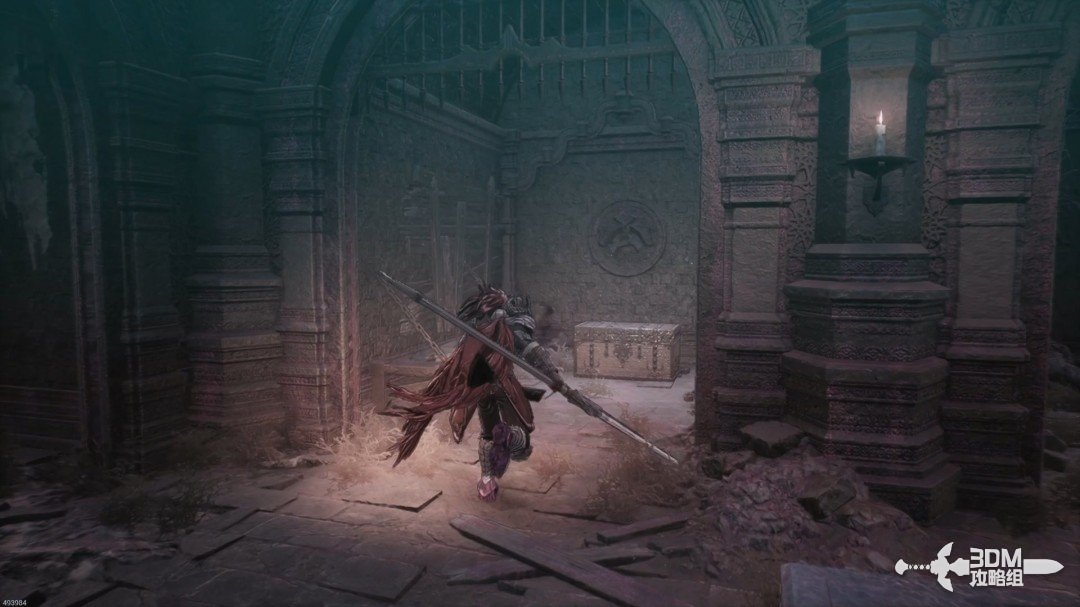
Climb the newly accessible ladder here.
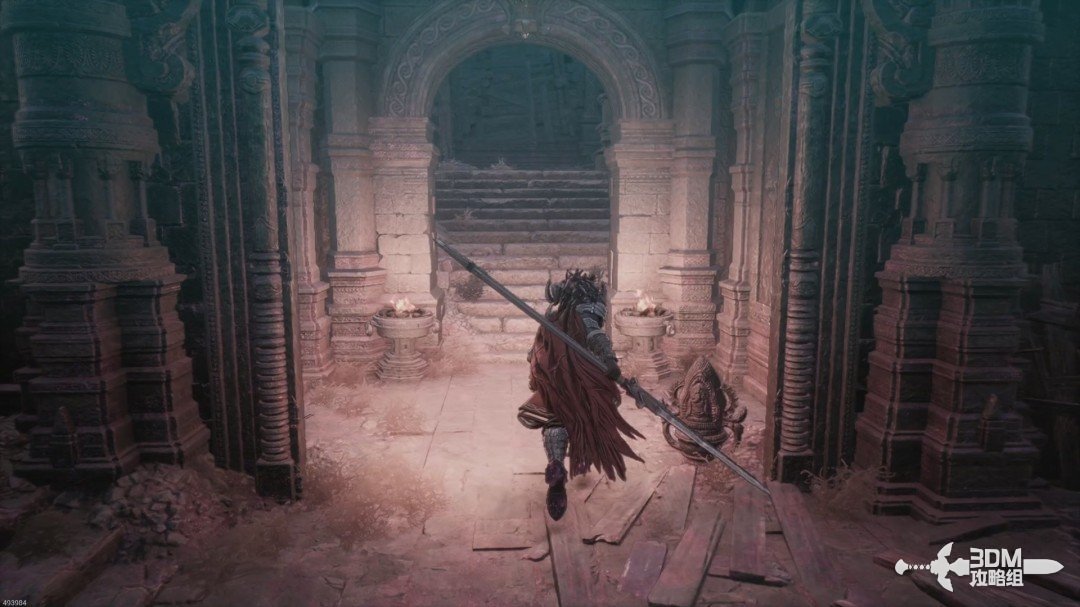
Cross the bridge carefully; exploding undead wait opposite.
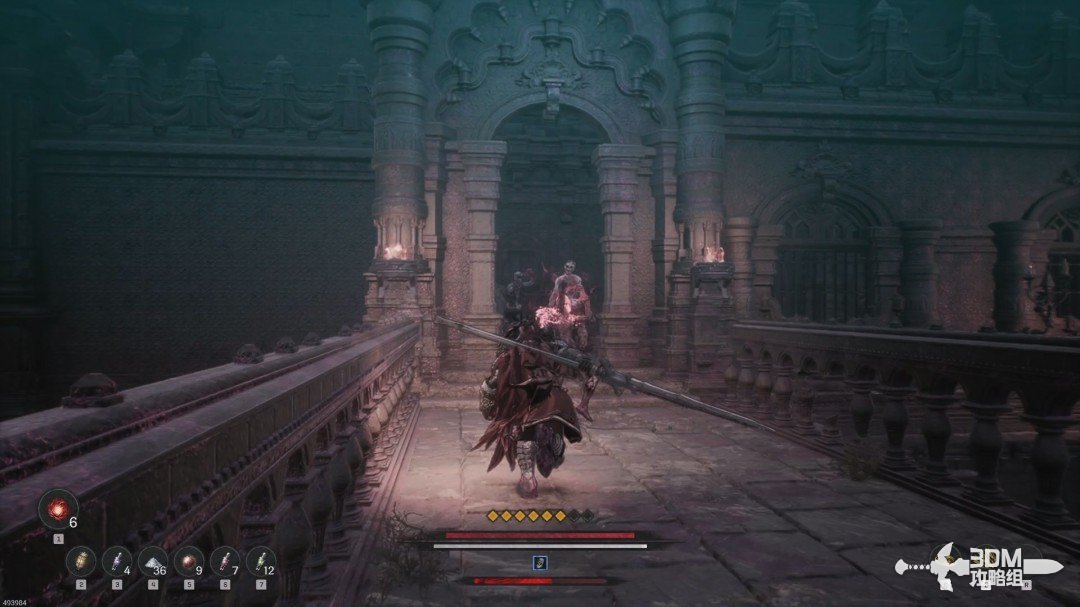
At the next fork, explore straight ahead first.
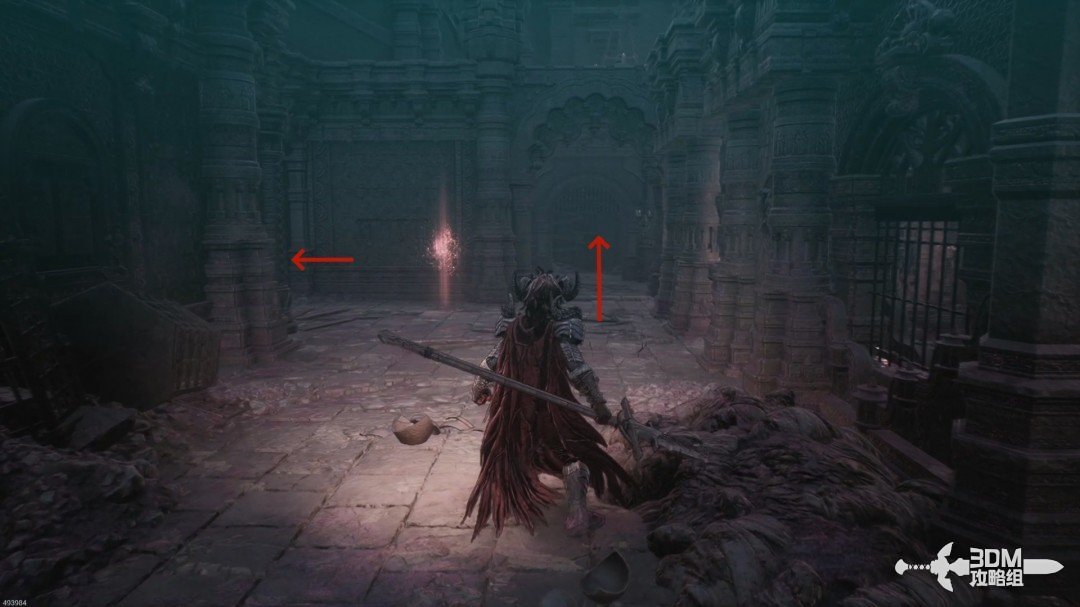
Activate the central mechanism to open the gates again.
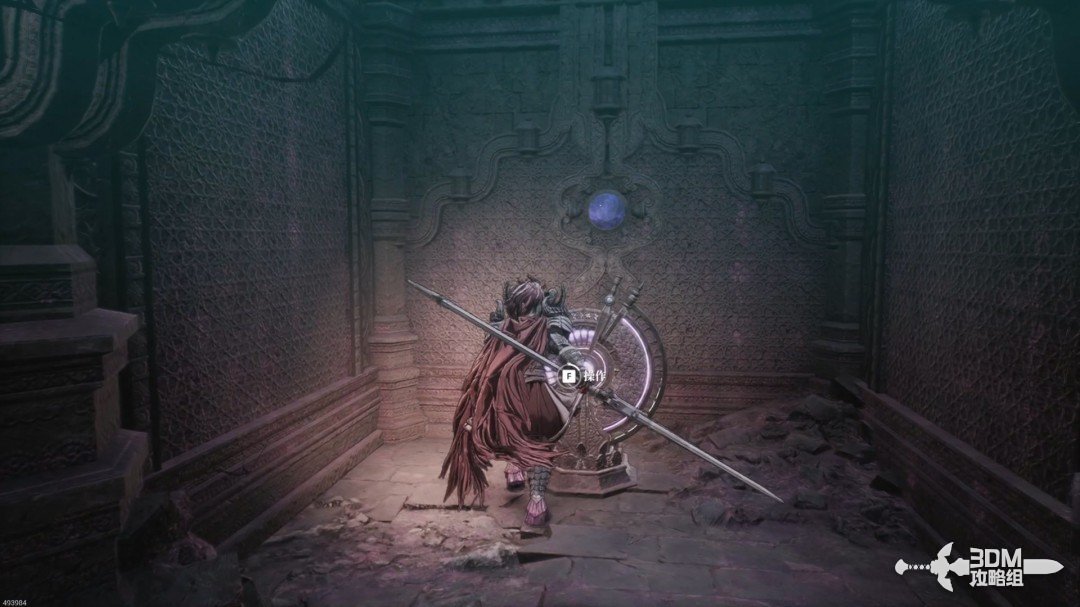
Clear the enemies and collect purple items in two cells.
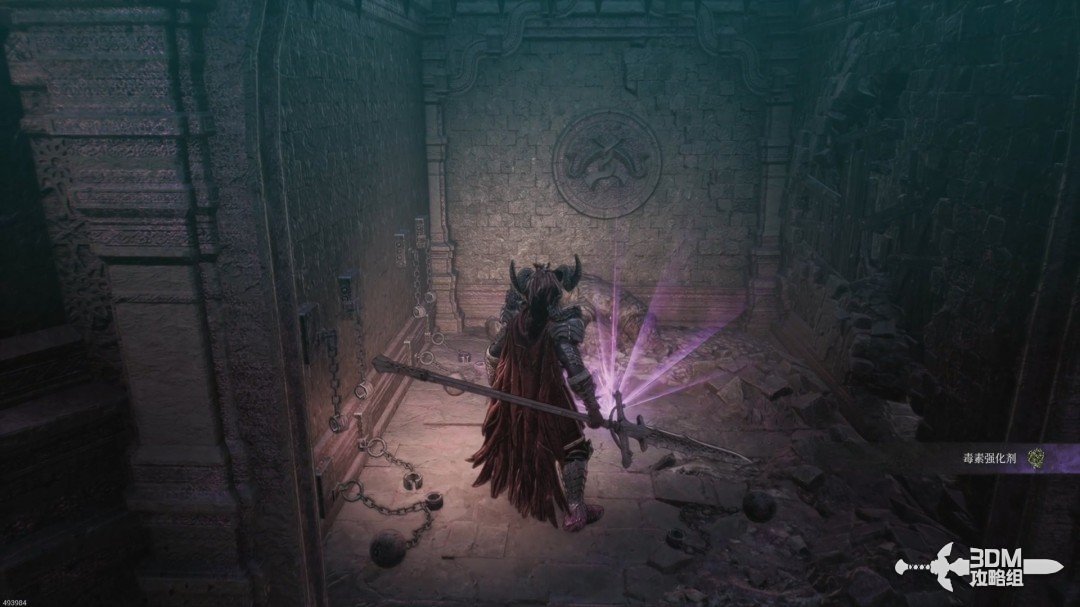
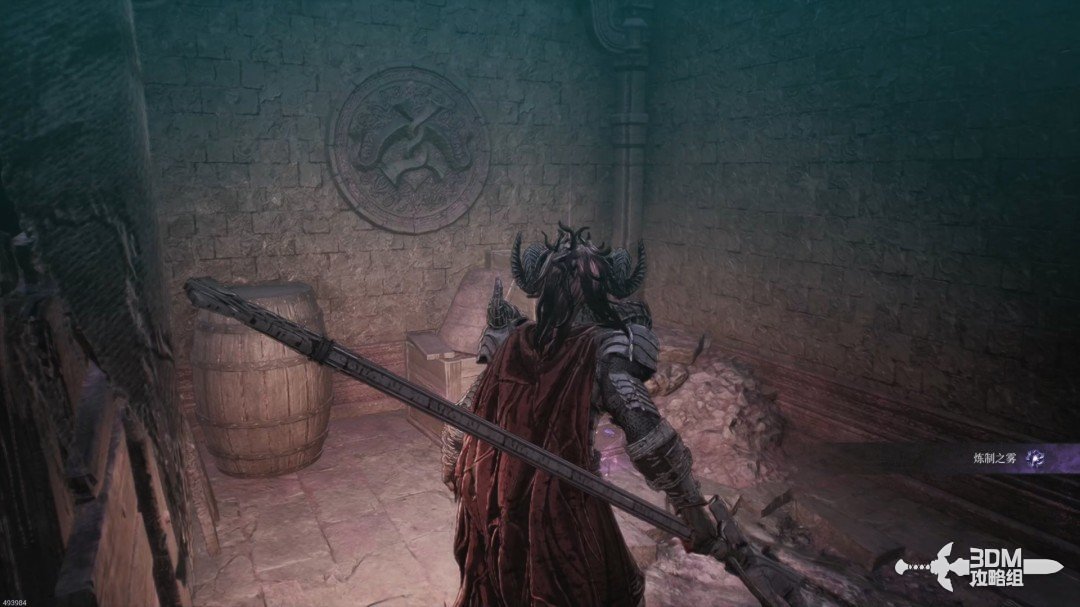
13Two-way stairs on the left path: pass the spider room and corridor
Return to the left branch and continue inside.
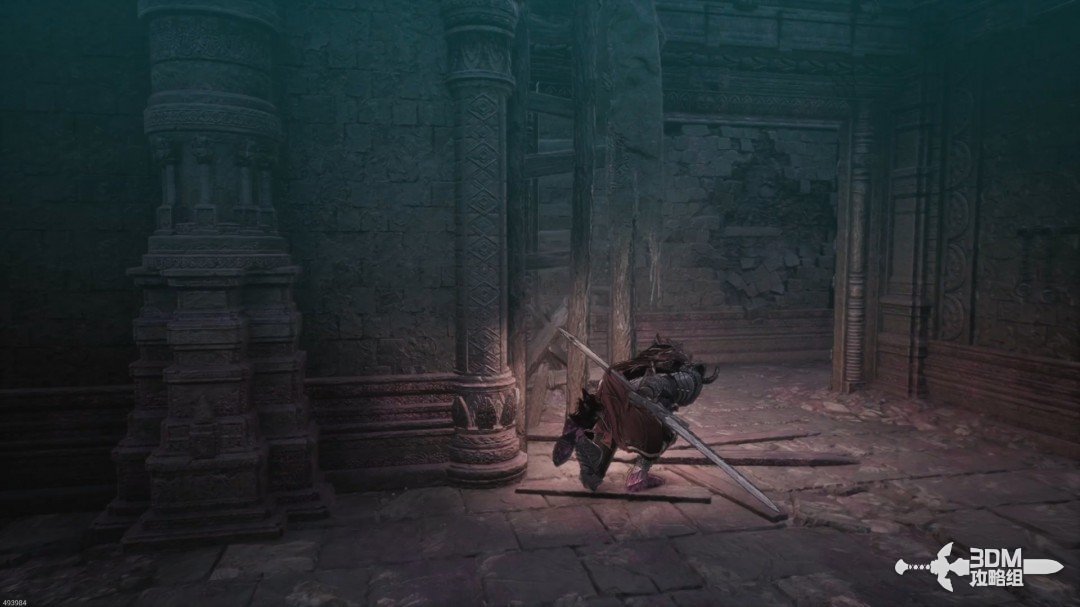
Descend the stairs and check the small left room for a blue item.
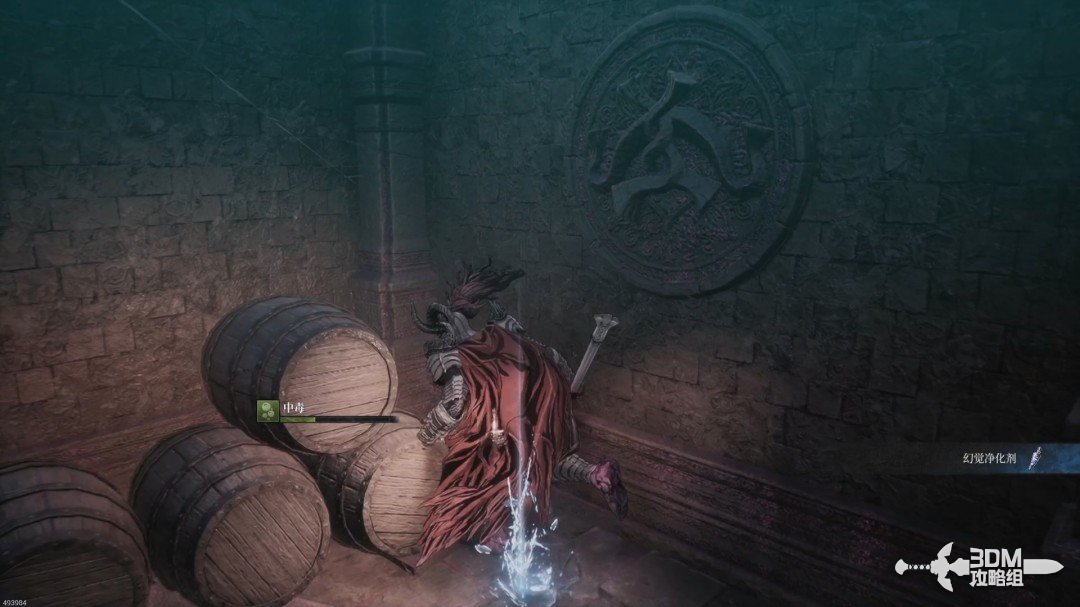
Clear spiders in the right room for another blue item.
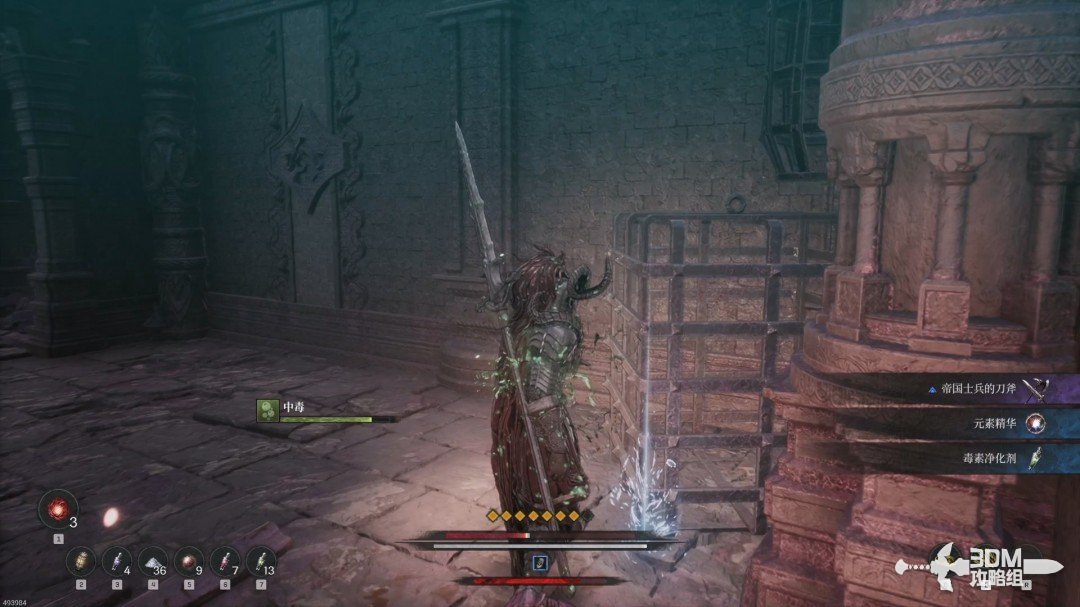
Continue down the central stairs.
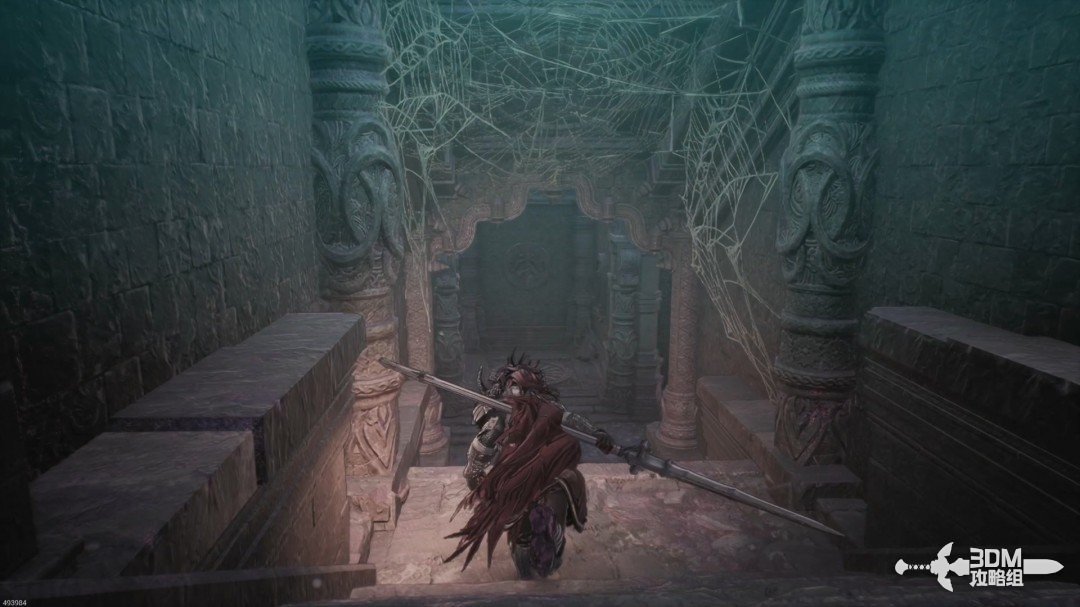
The upper-right building ahead contains an exploding chest.
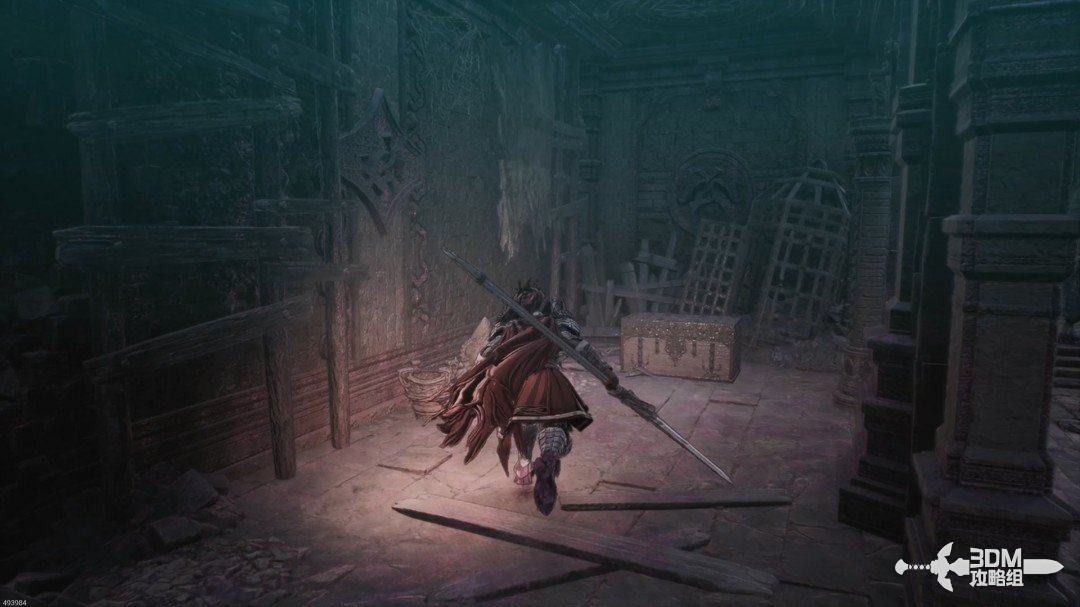
Fight the enemies on the right main path and watch for one emerging from the right room.
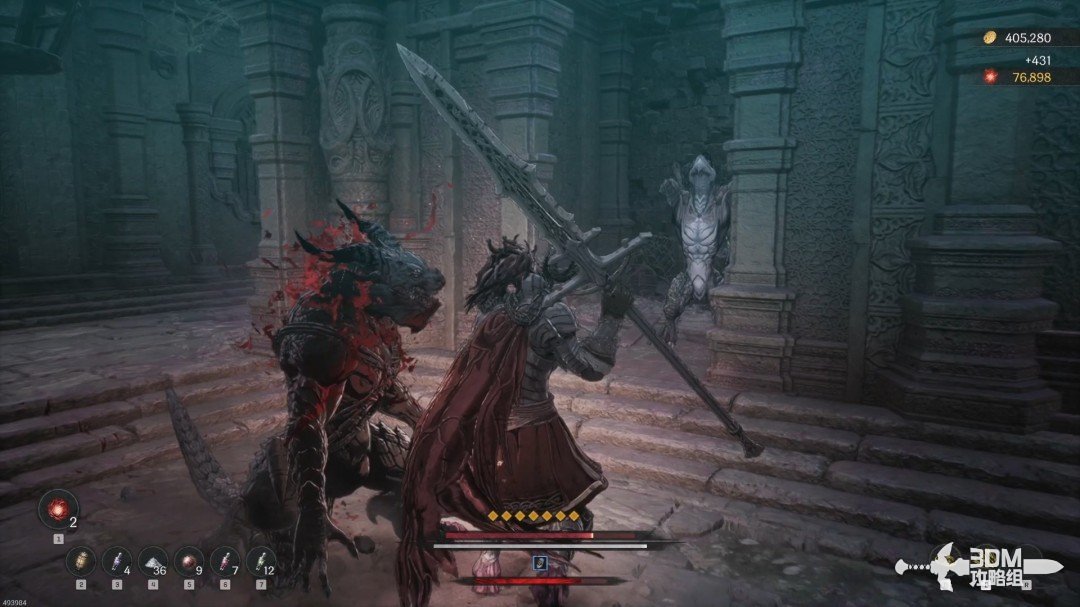
Continue inward after clearing them.
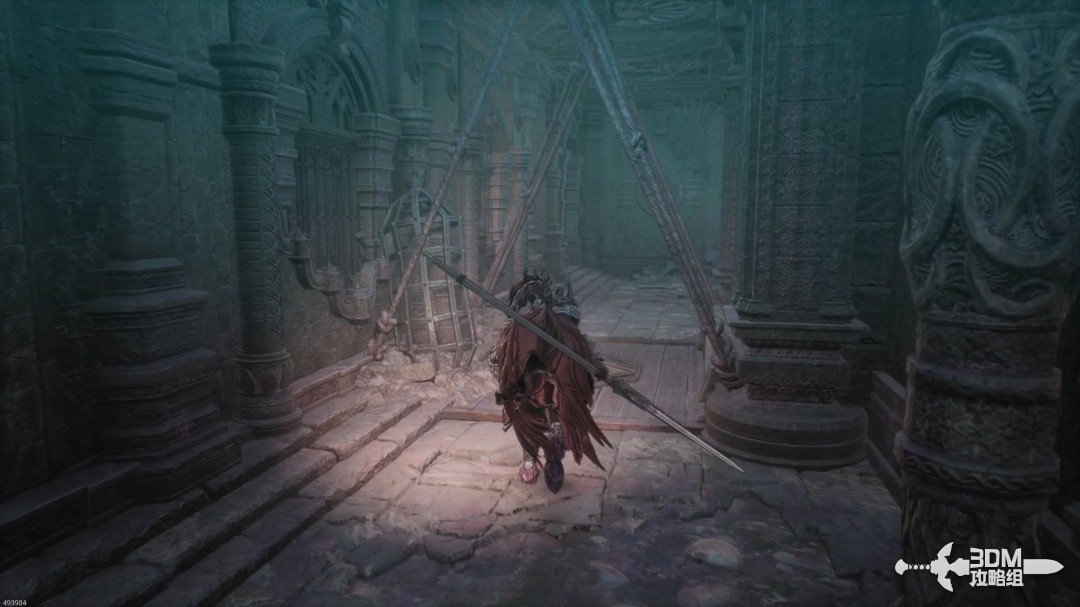
14Locked gate at the corridor end: turn back for the corner jar
An enemy waits on the route; a memory lies in the right building.
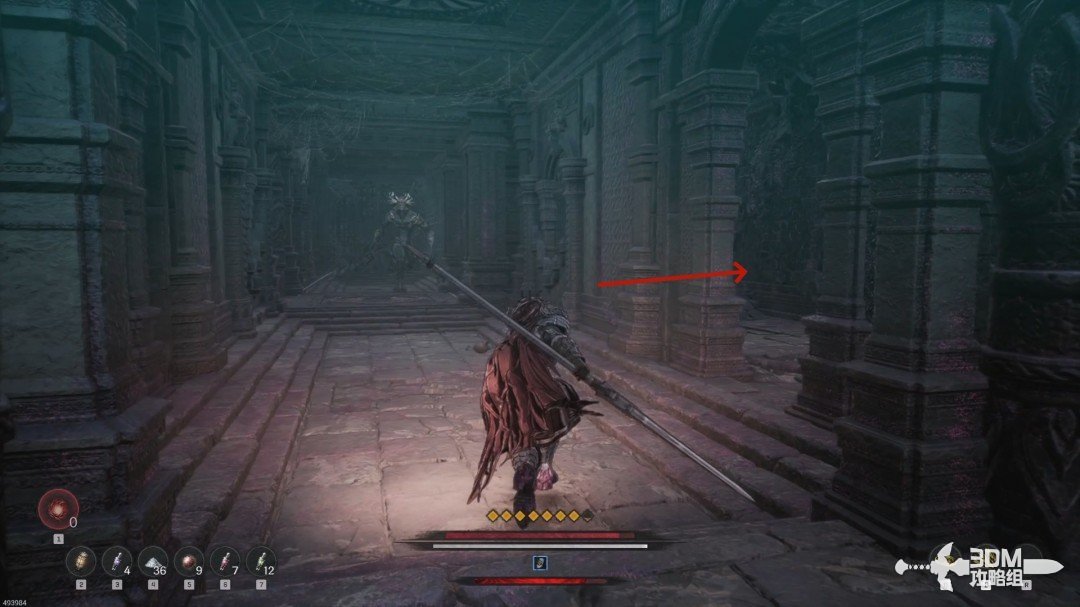
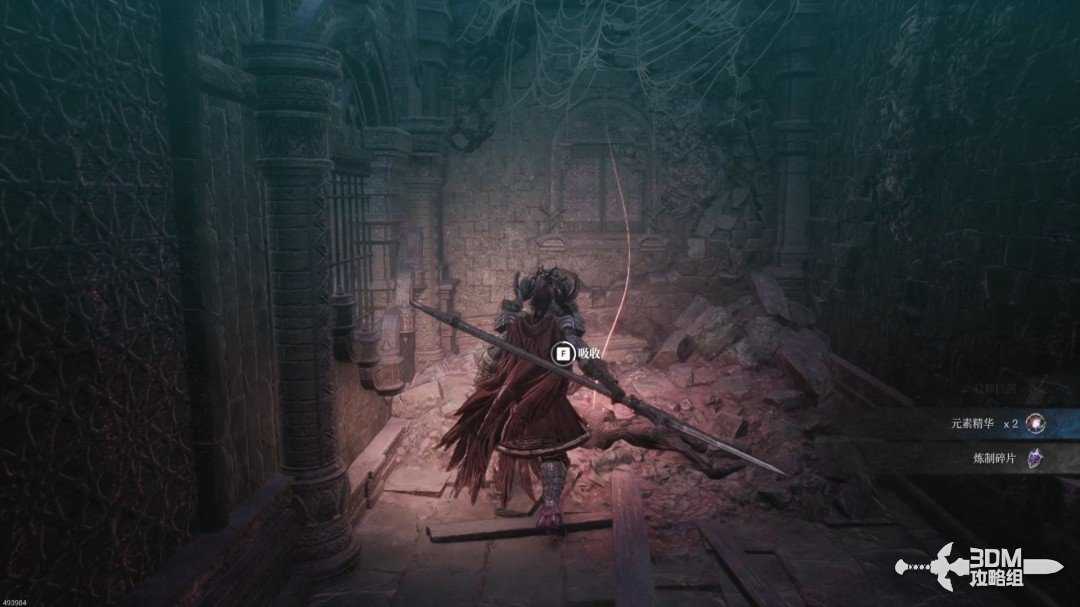
After the memory, the forward iron gate remains locked. Take the path behind you.
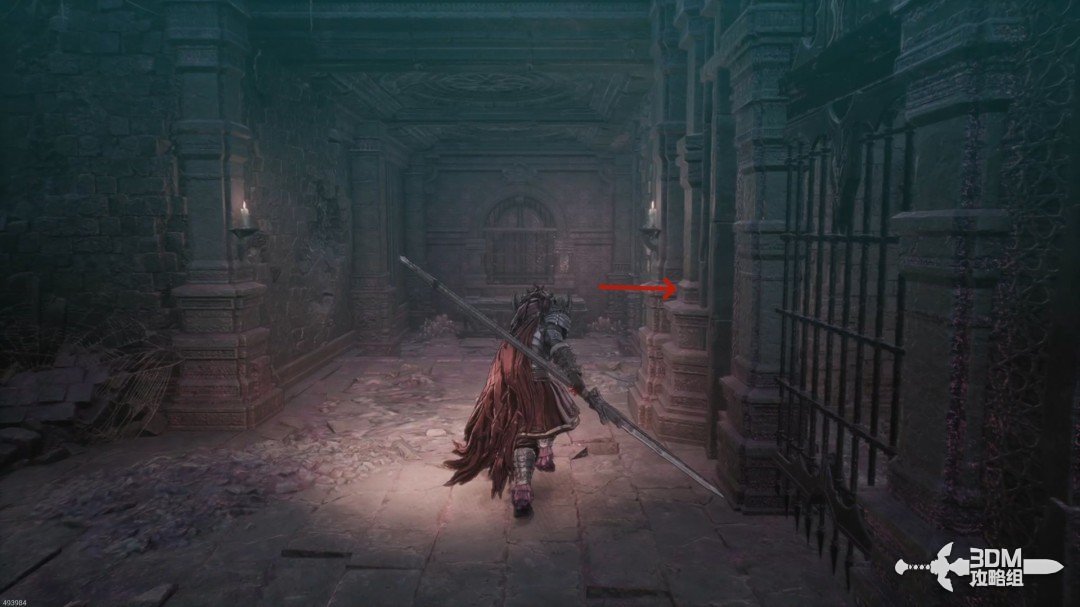
Collect the Jarling in the left corner.
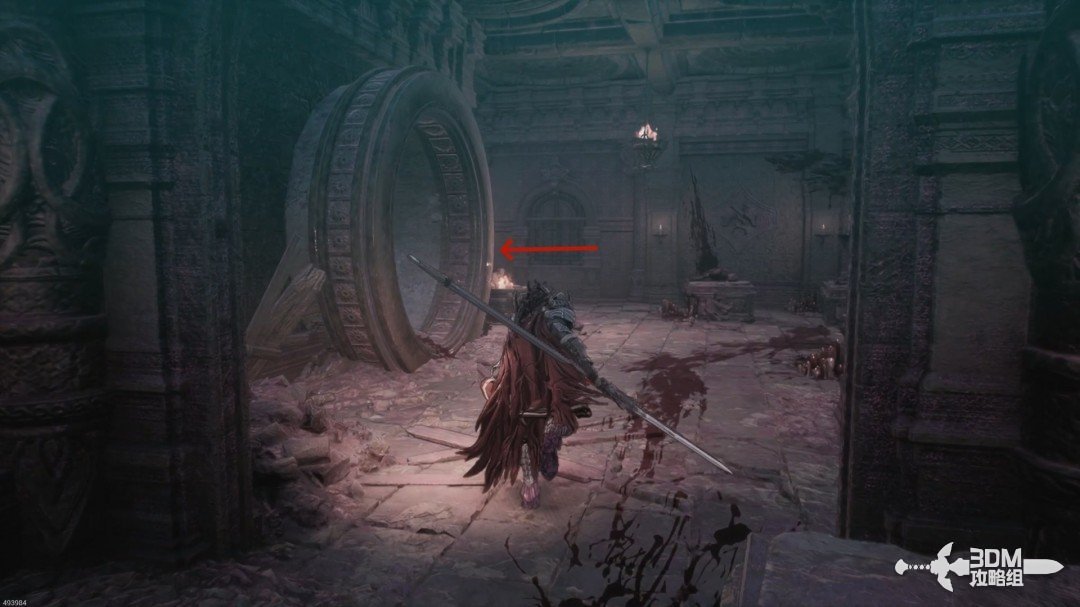
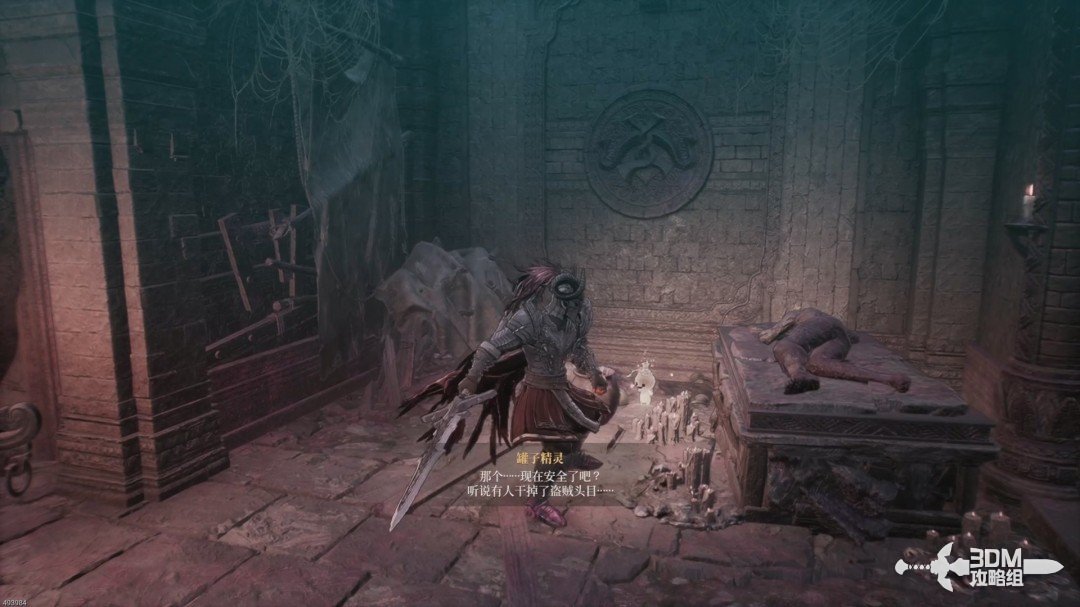
16Pipe shortcut and upper switch: find the captive Elamein
The gate behind you is locked. Continue through the pipe.
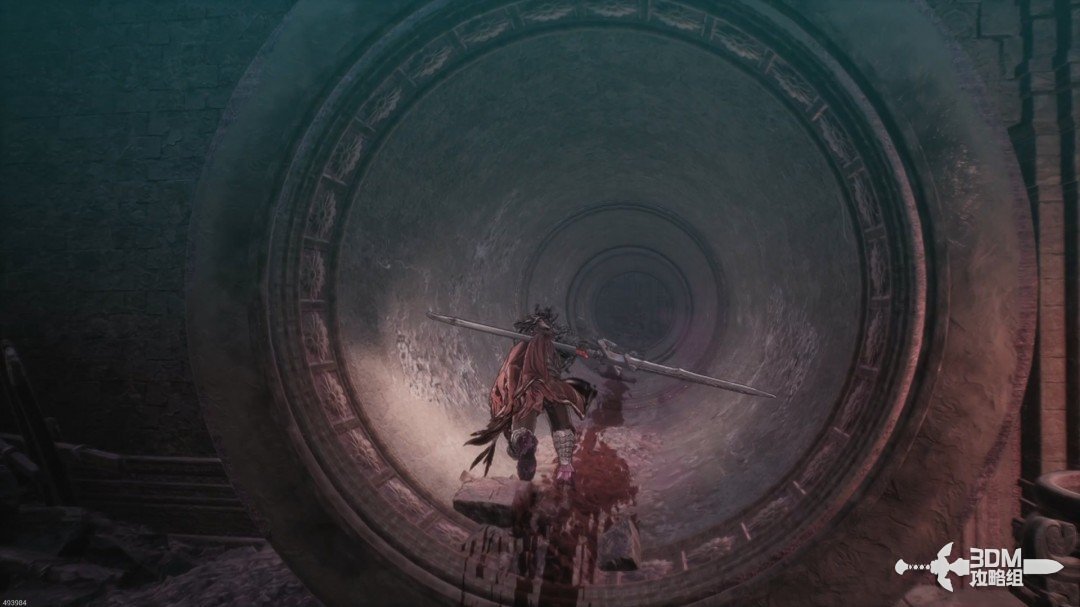
At the end, open the left gate to reconnect with the earlier Nexus.
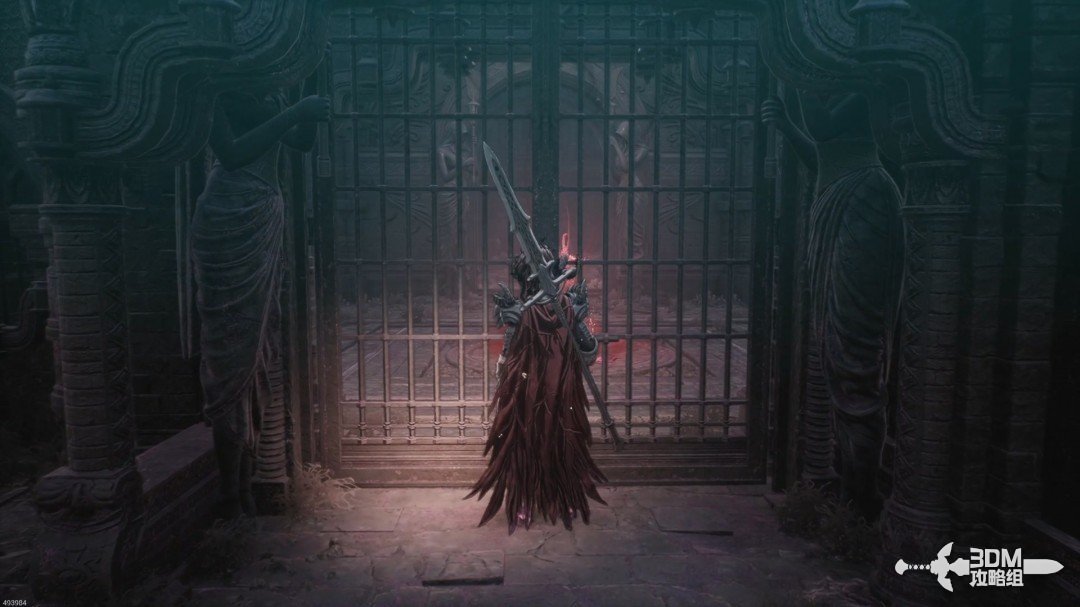
Climb the ladder, listening for Elamein.
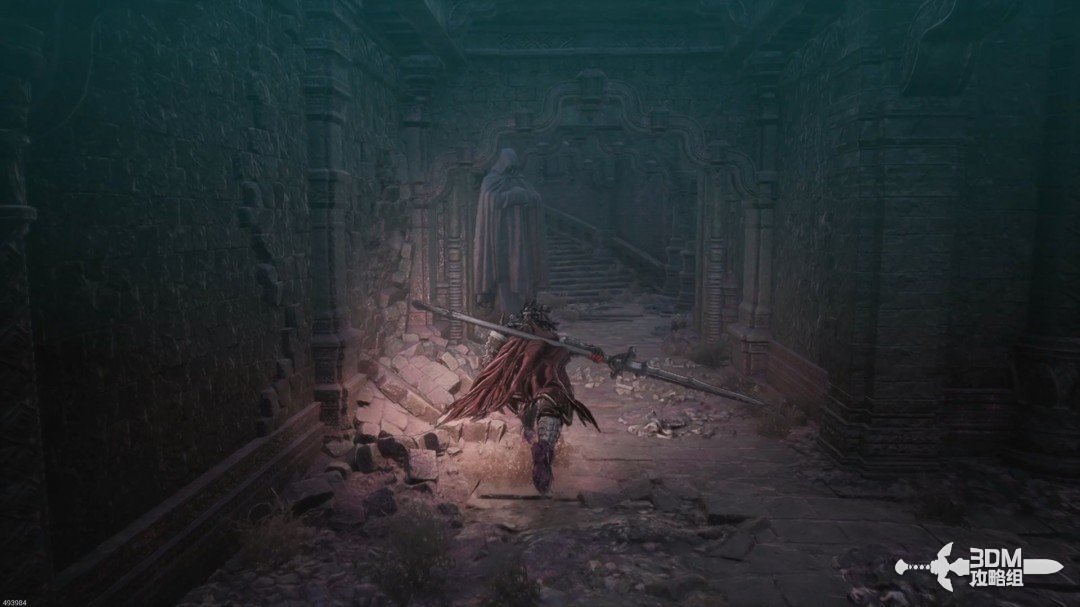
Activate the mechanism to open the gate.
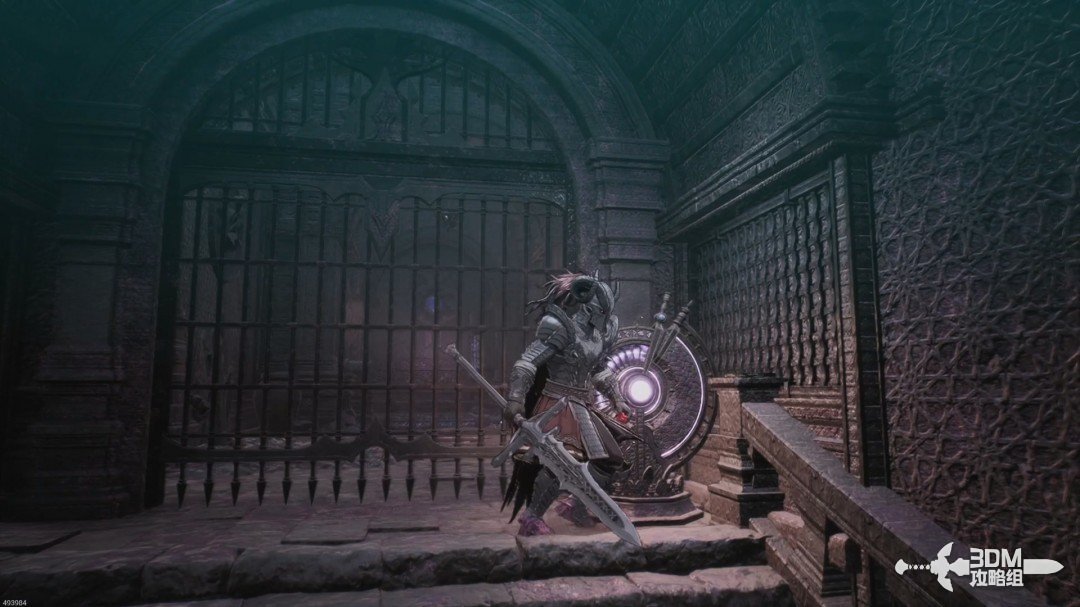
Opening the door to Elamein triggers a cinematic.
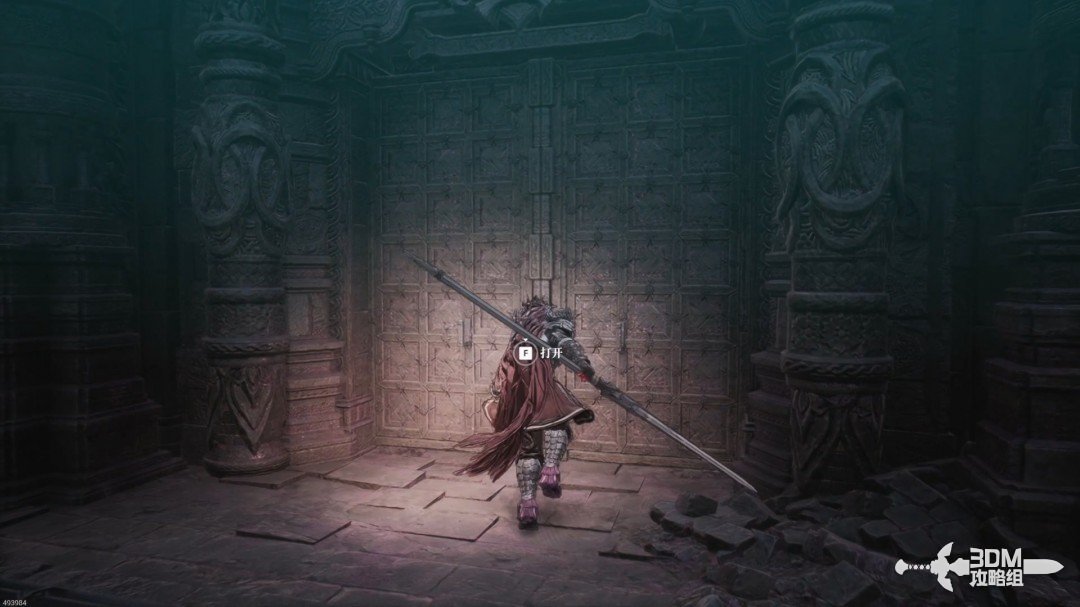
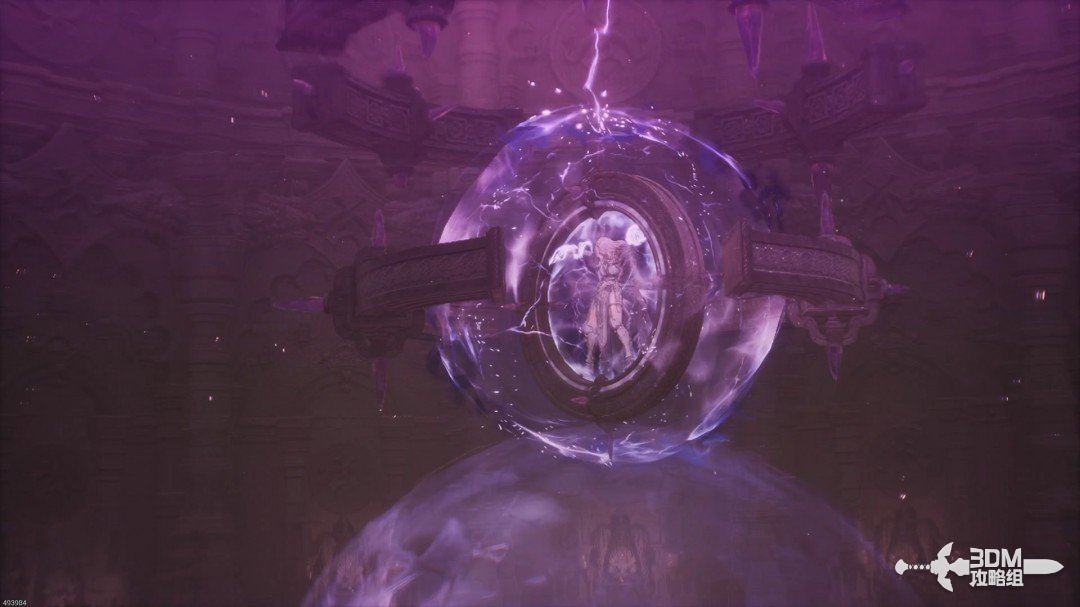
She is trapped inside a device. Find a way to release her.
17Purple pipeline through the right door: enter the library bookshelf passage
After the cinematic, leave through the right door, following the purple pipe. The left door is your entrance.
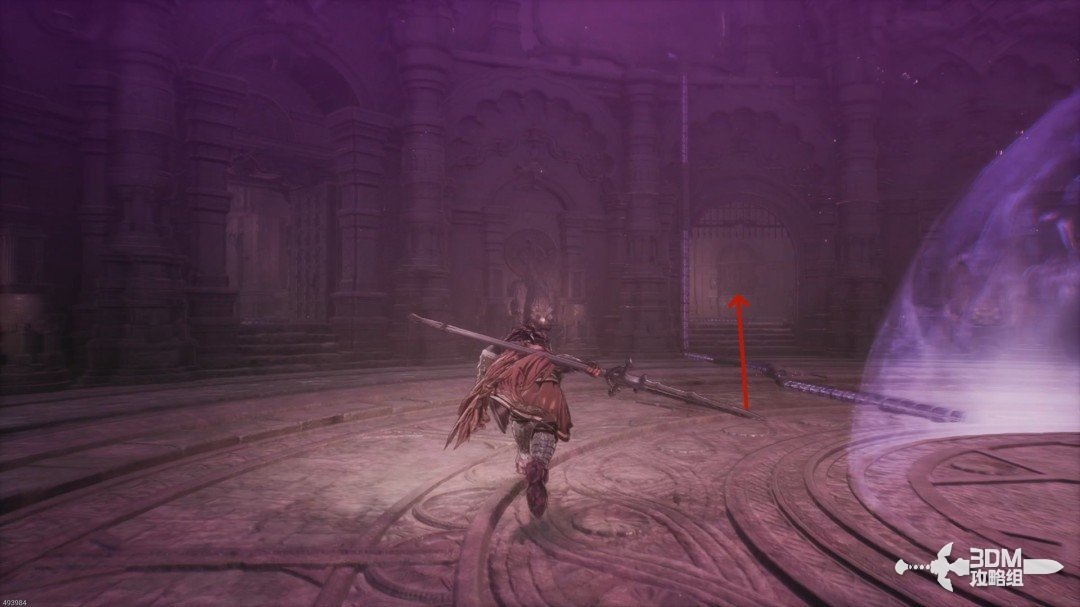
Climb the stairs inside and watch for an ambush.
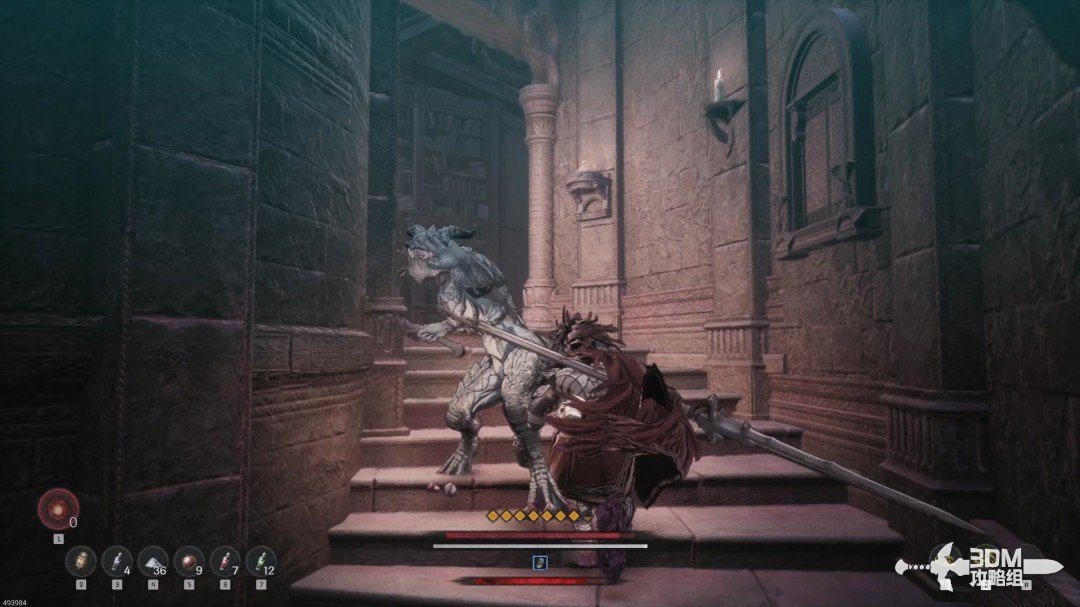
Enter the library and explore behind the shelves on the left.
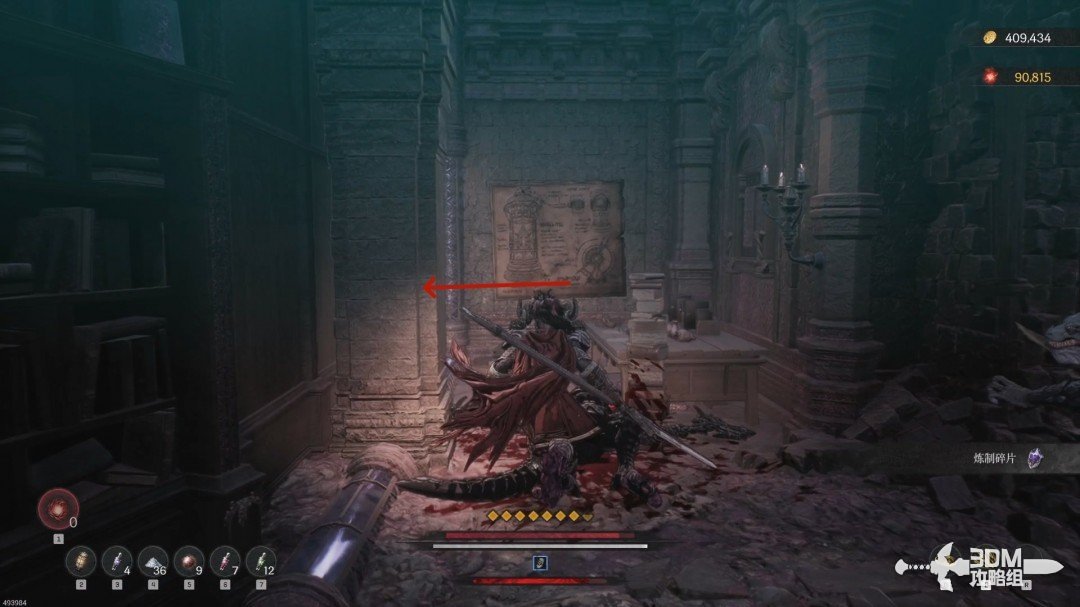
Interact with the innermost bookshelf for a Soulstone behind it.
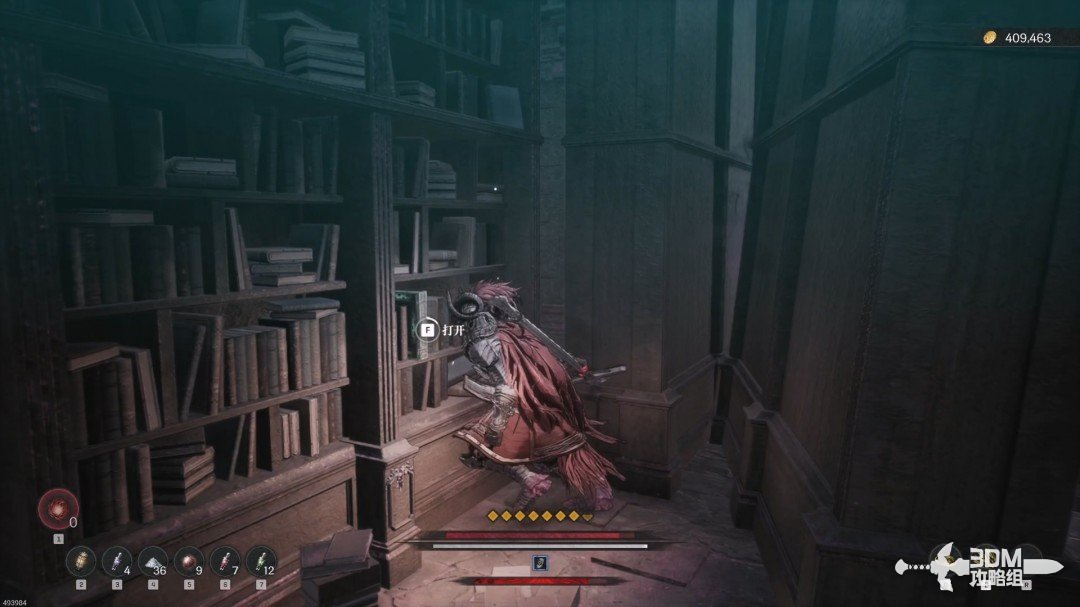
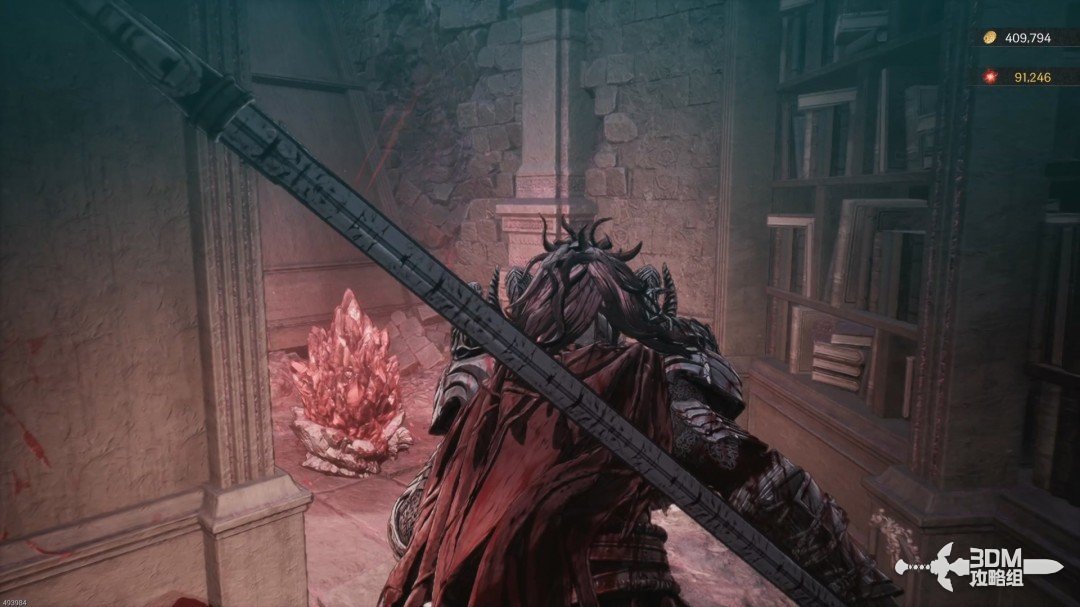
Leave and go right for Tania's Experiment Log in the corner.
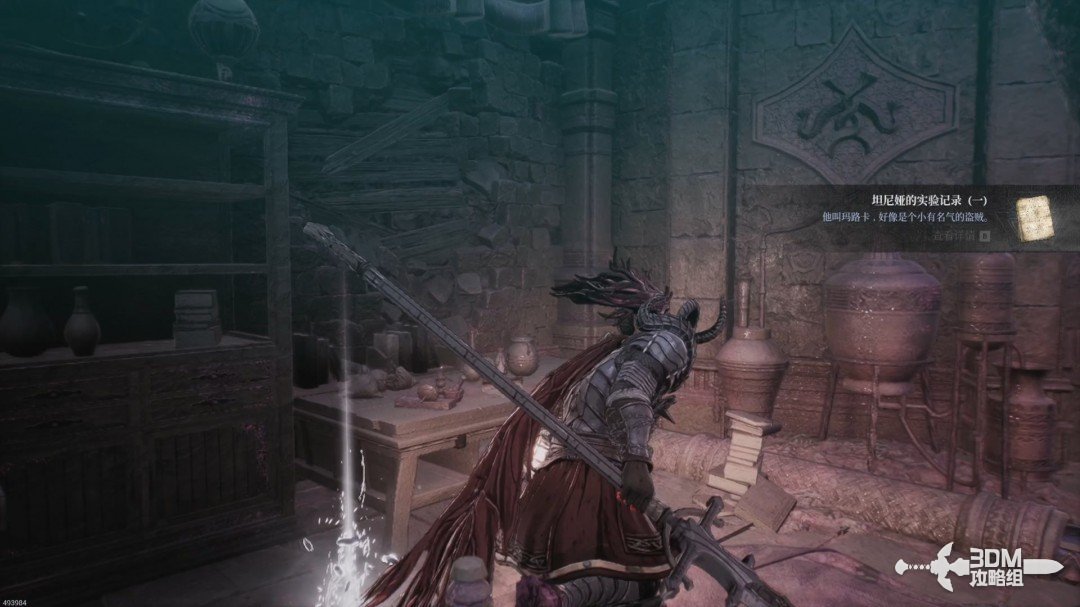
20Disable the barrier: ride the central elevator down
Activate the nearby mechanism to disable the shield beneath Elamein.
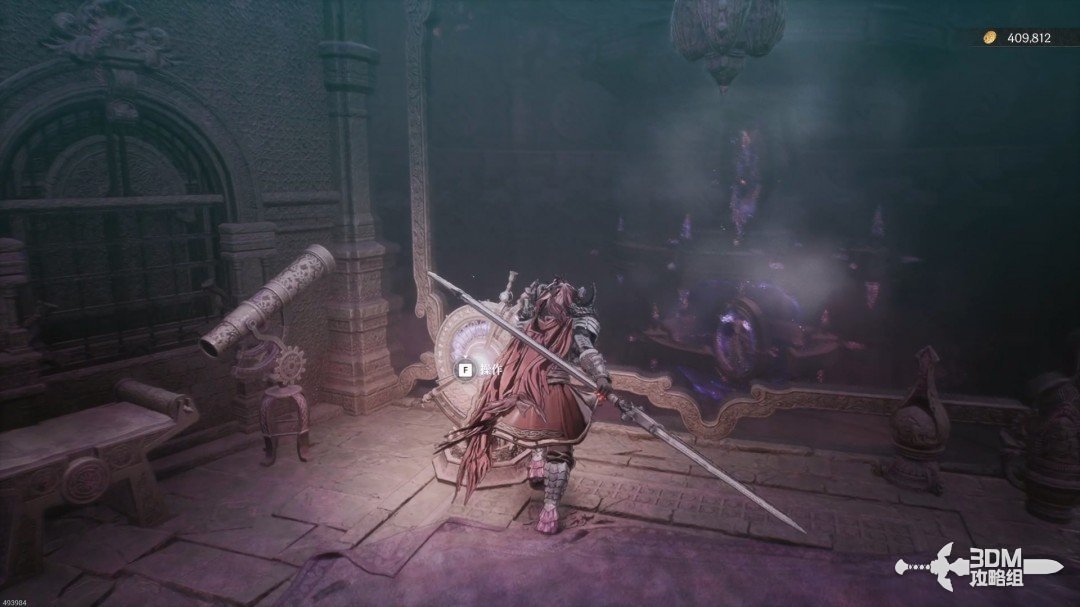
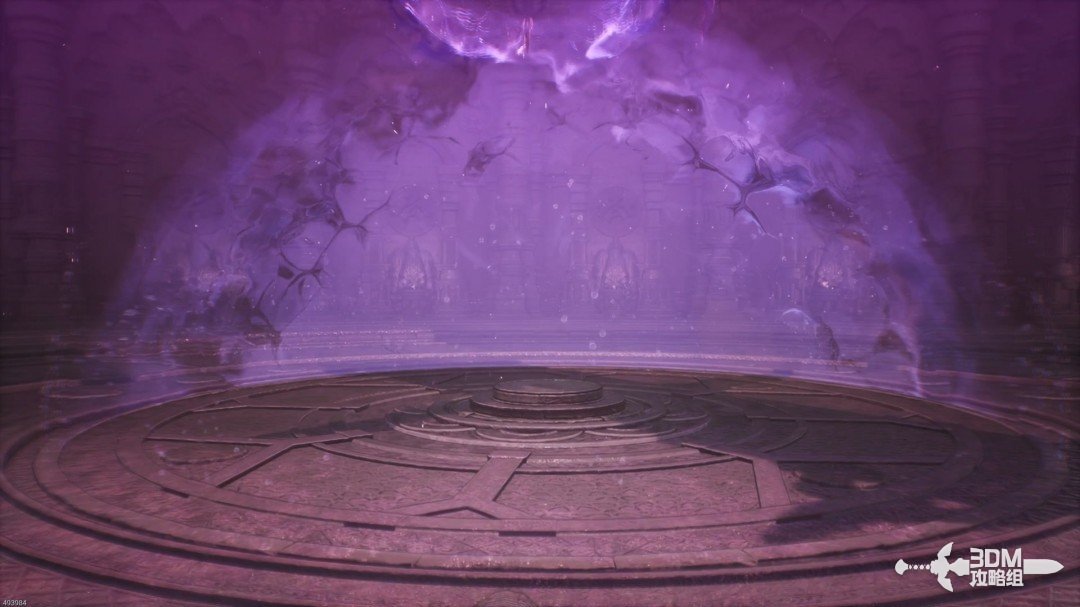
Return to her room and take the central elevator down.
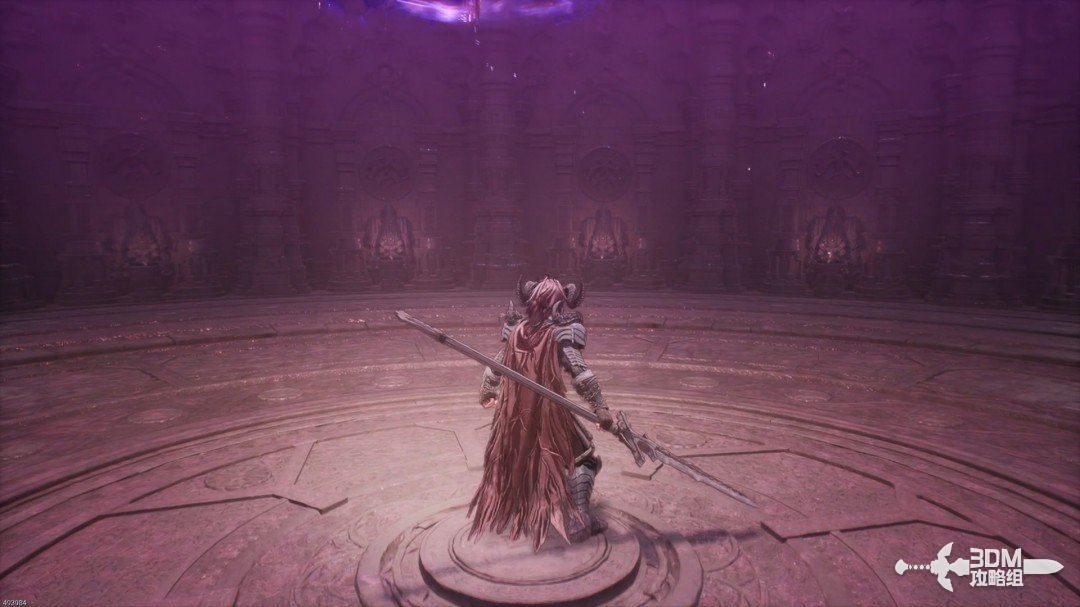
Rest at the Nexus straight ahead.
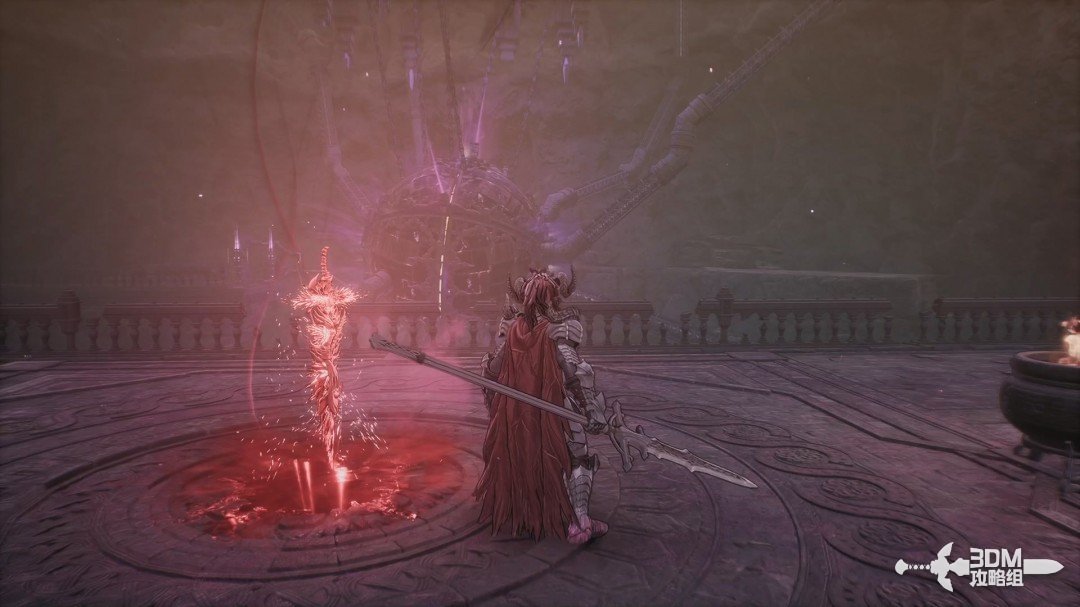
21Drop beside the elevator: climb around to the memory below
A memory is visible behind you but cannot be reached directly.
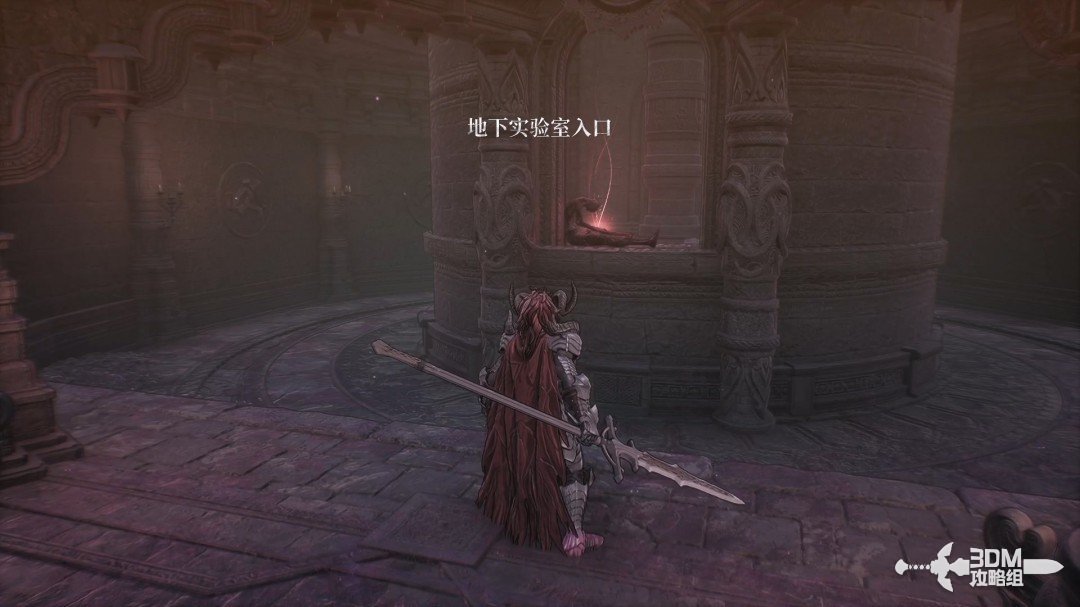
Climb the nearby stairs to the switch. Check the elevator's position; move it only if it blocks the route.
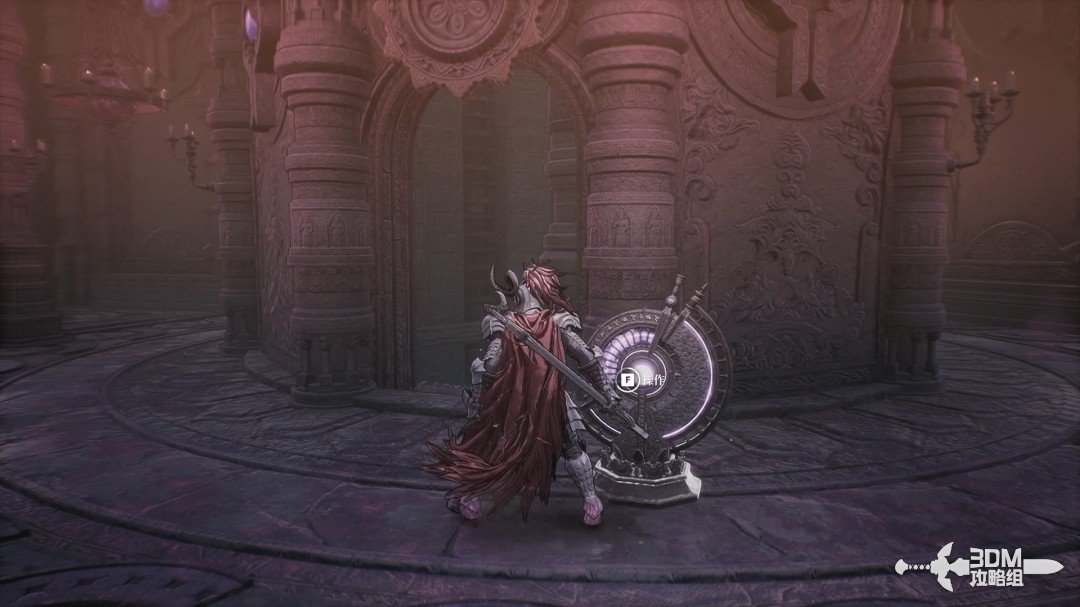
From this ledge, drop carefully to the memory below. The marked landing area is safer.
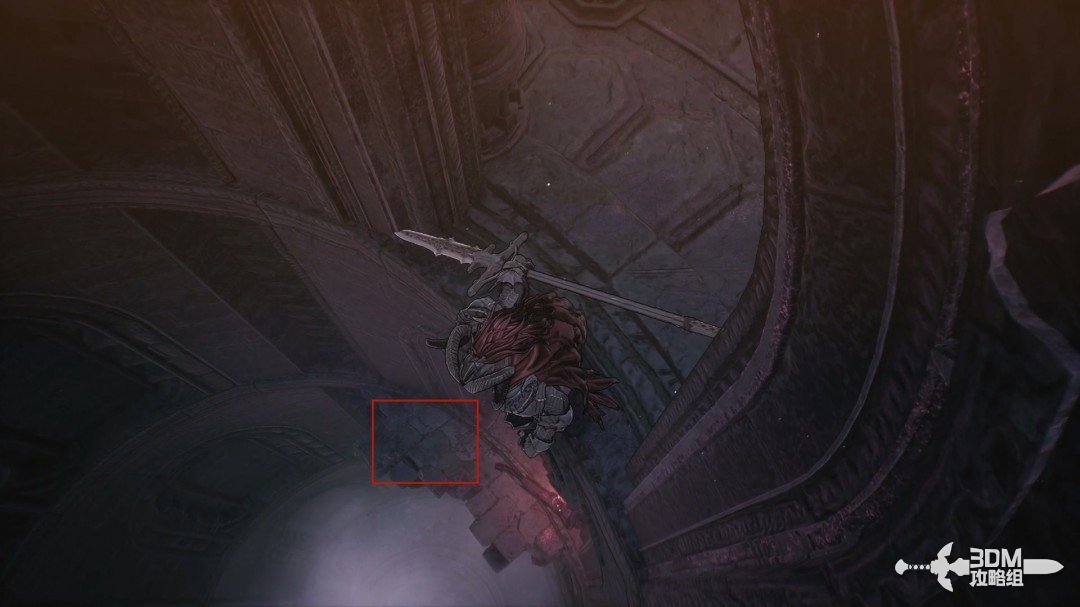
22Laser room through the right door: open the bookshelf passage and disable the beams
Return to the Nexus and take the right route; there is nothing left of it.
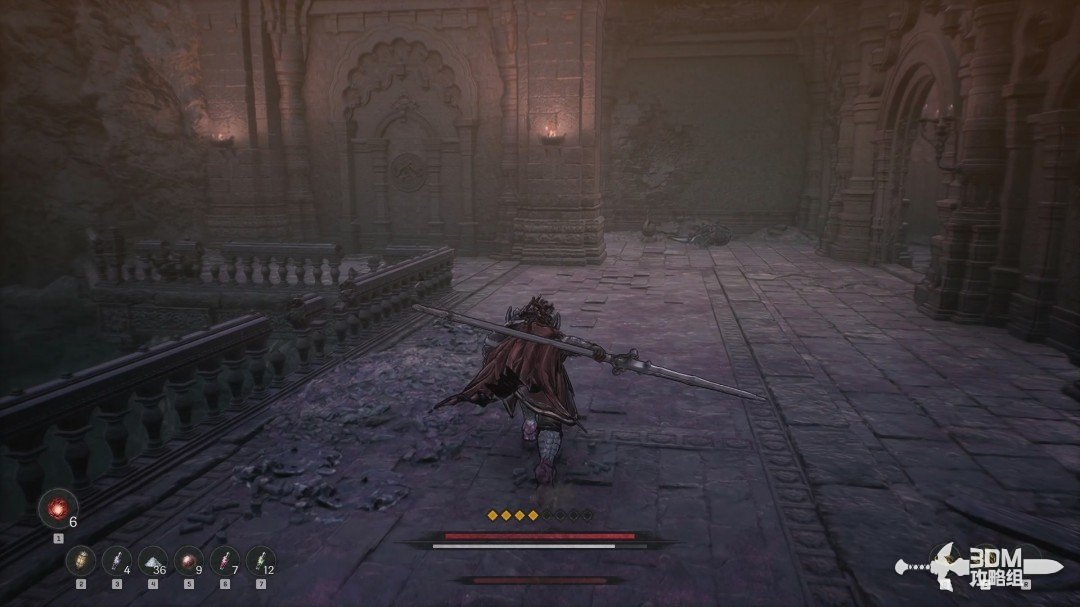
Cross the door panel into the enemy-filled room.
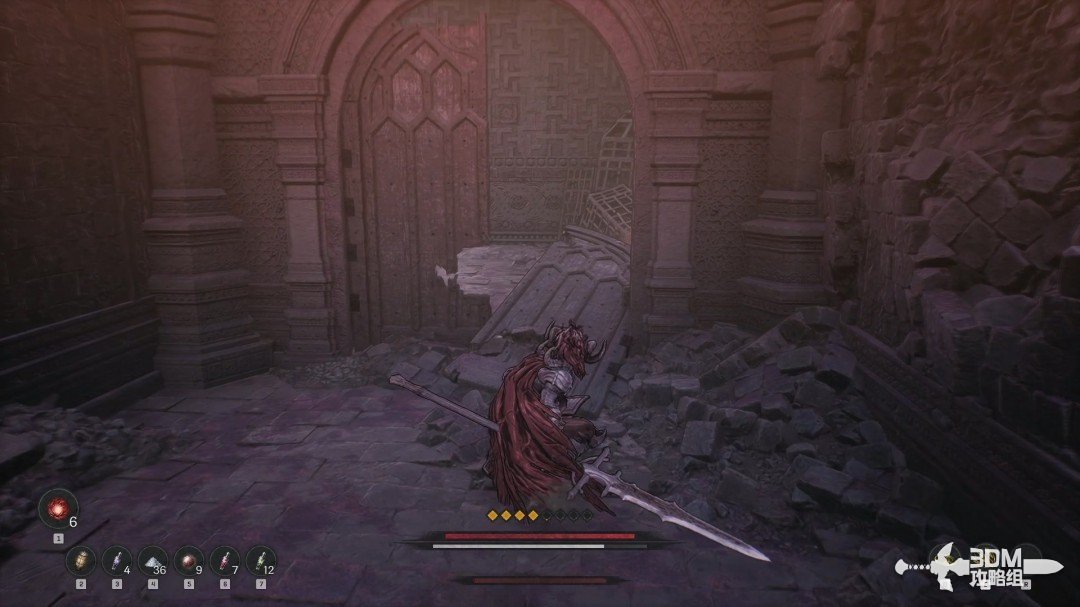
Lasers block the left route. Interact with the right bookshelf to open a hidden passage.
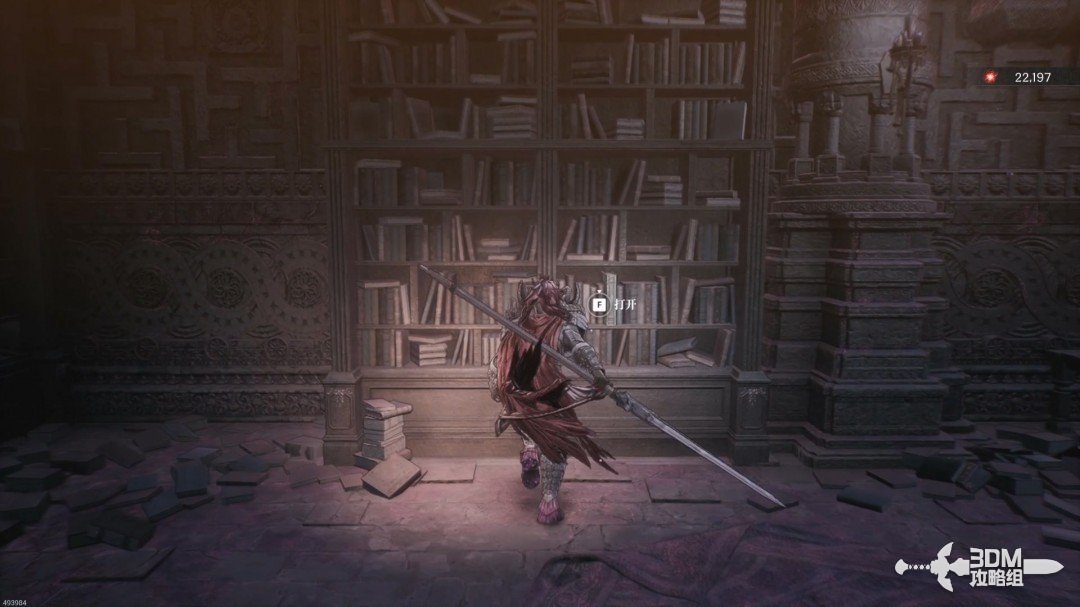
Clear the passage and activate its mechanism to disable the lasers, then collect the purple item.
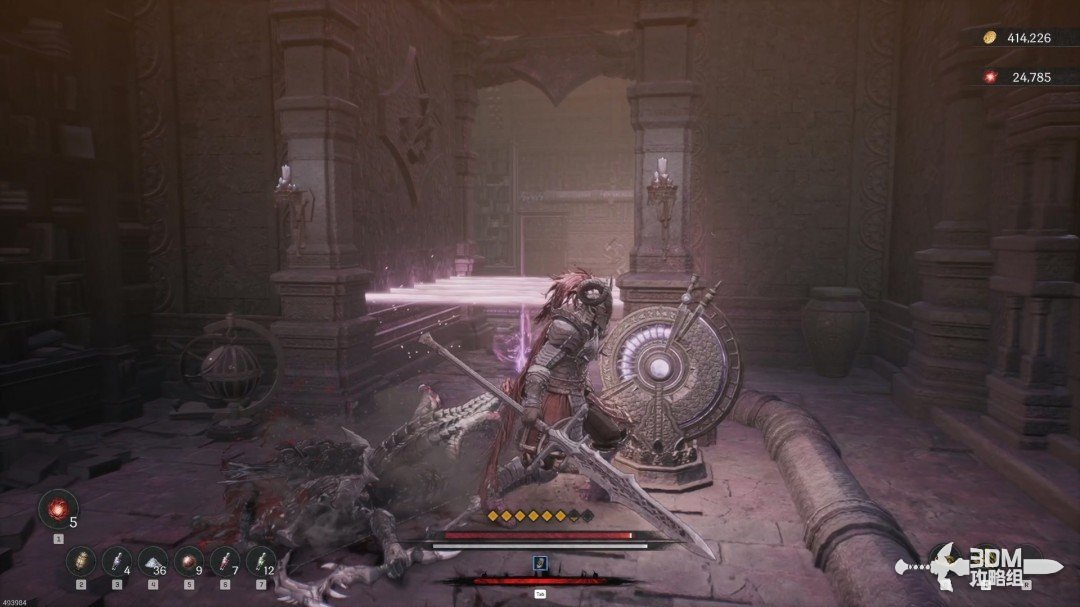
23Experimental tanks and purple pipes: pass the lasers into the side room
Continue past experimental tanks, watching for enemies emerging from them.
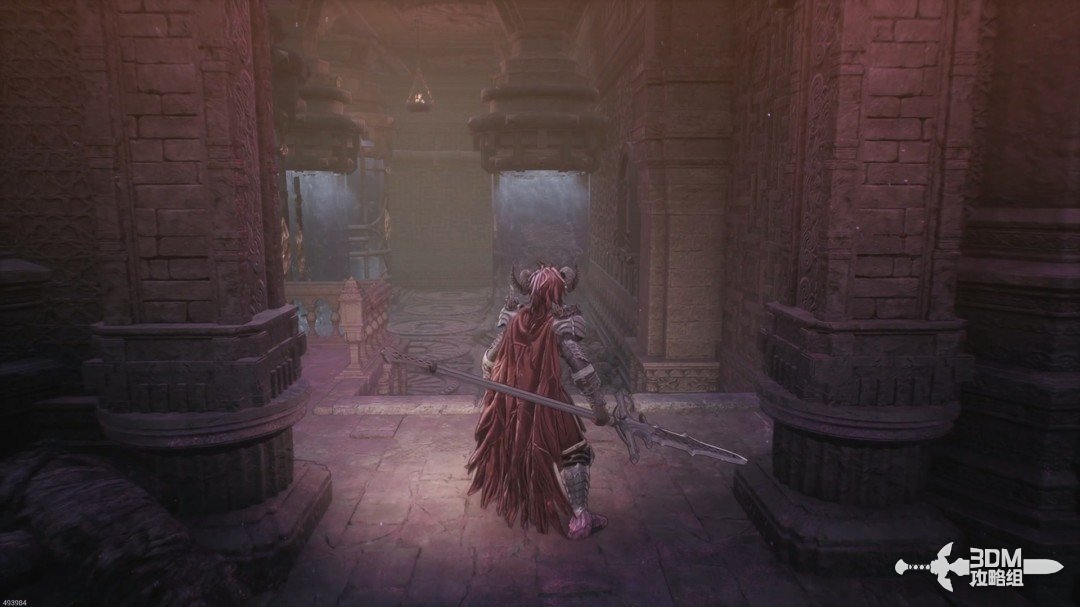
Follow the purple floor pipe to another mechanism and activate it.
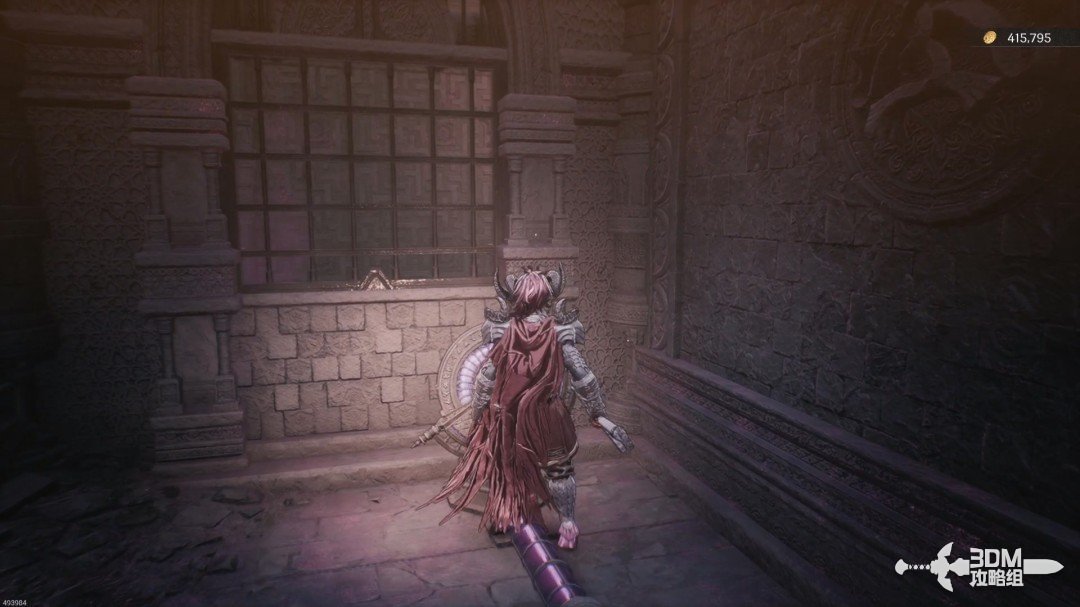
Continue along the main route beside the visible lasers without touching them.
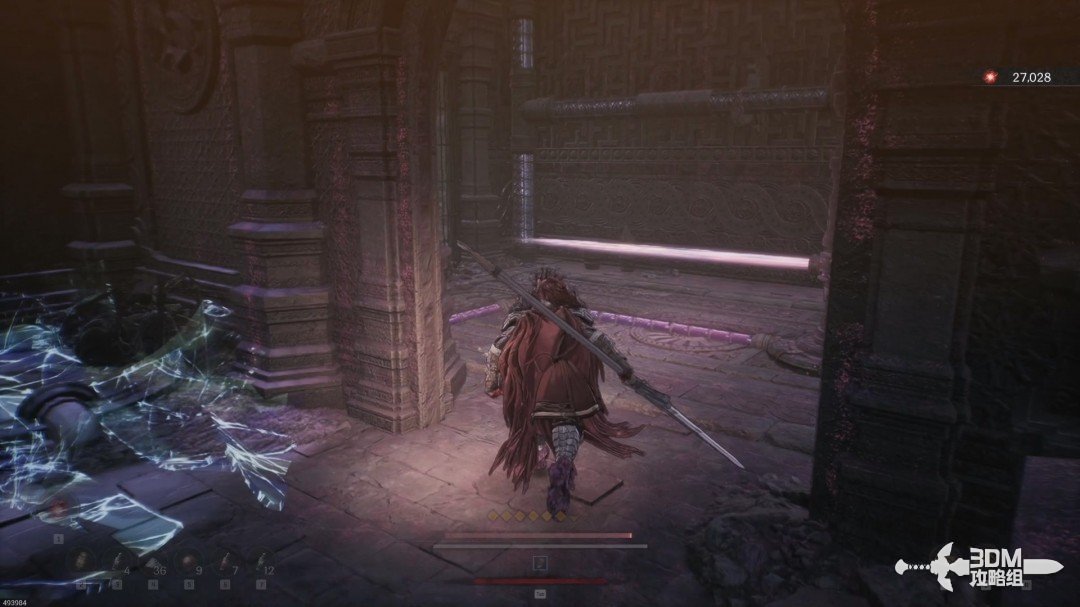
Defeat the two enemies in the left corner and enter the doorway.
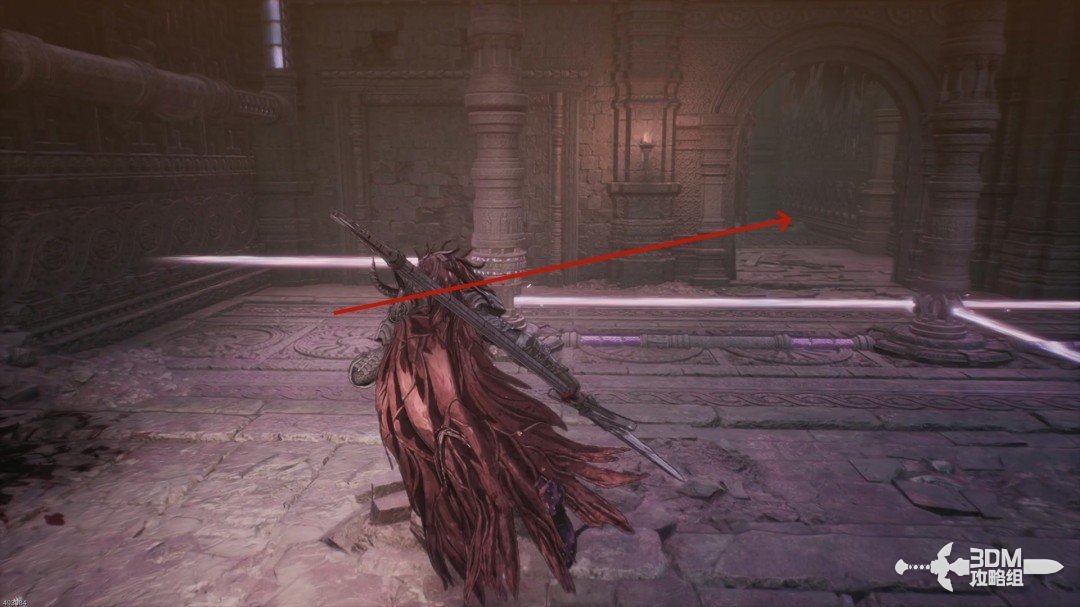
24Middle elevator stop: step onto the pipes for the ghostly hilt
The room forks. Explore the right elevator for loot first.
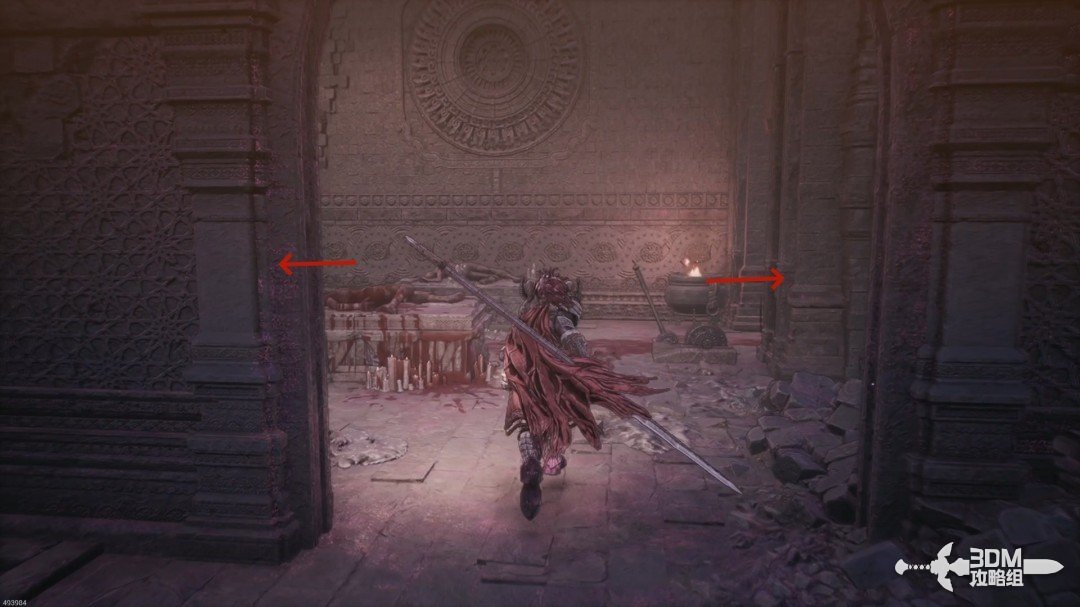
Collect the white item at the top and open the left shortcut gate, then return to the elevator.
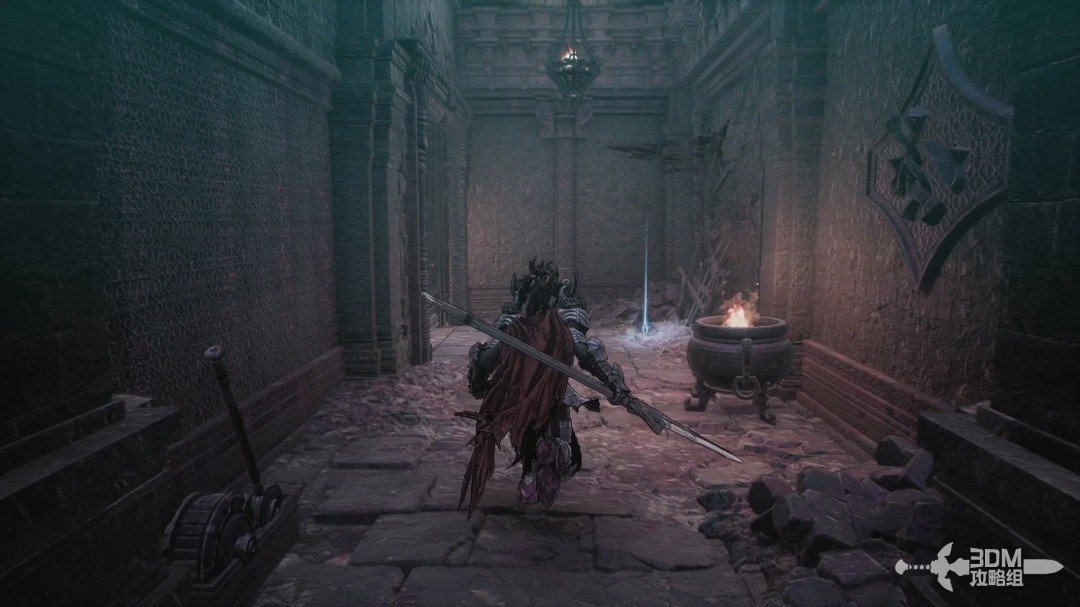
Step onto the intermediate platform while the elevator moves past it.
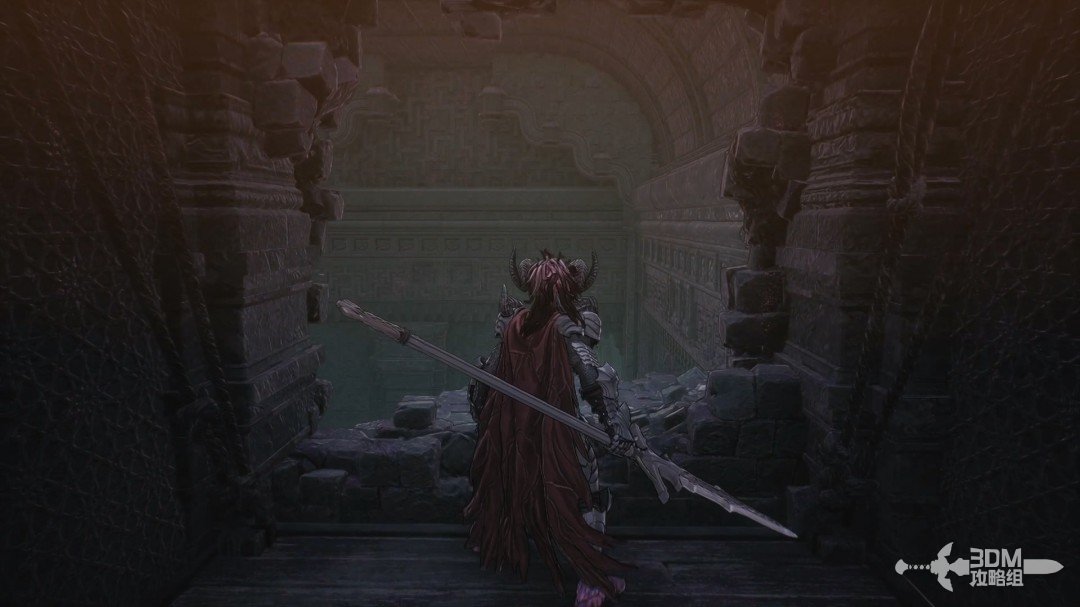
Collect the Ghostly Sword Hilt on the pipe ahead.
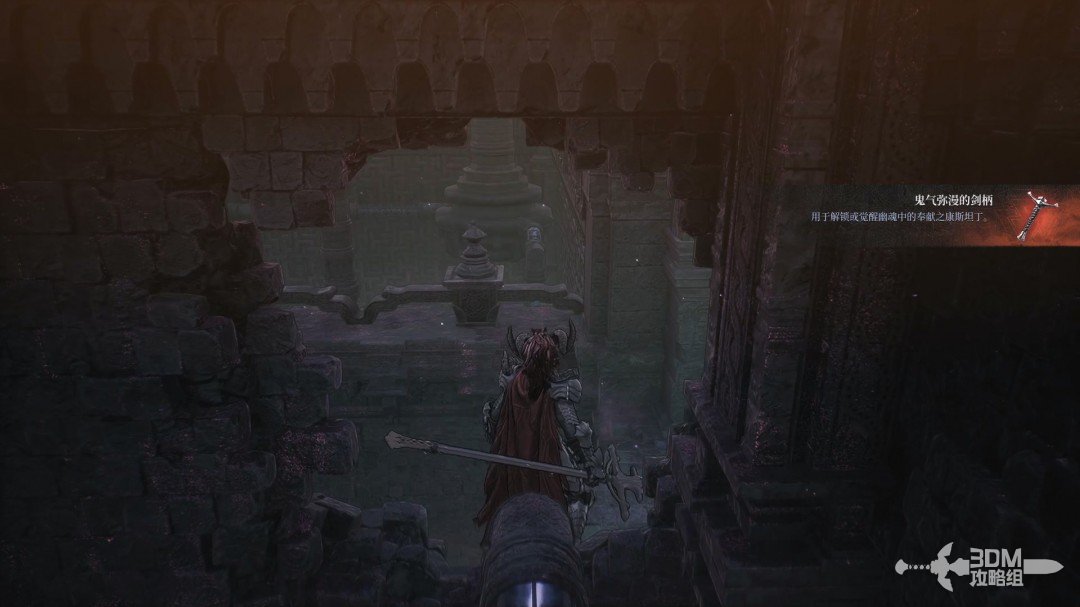
26End of the left pipe: break the high Soulstone
Turn back and follow the pipe to the left.
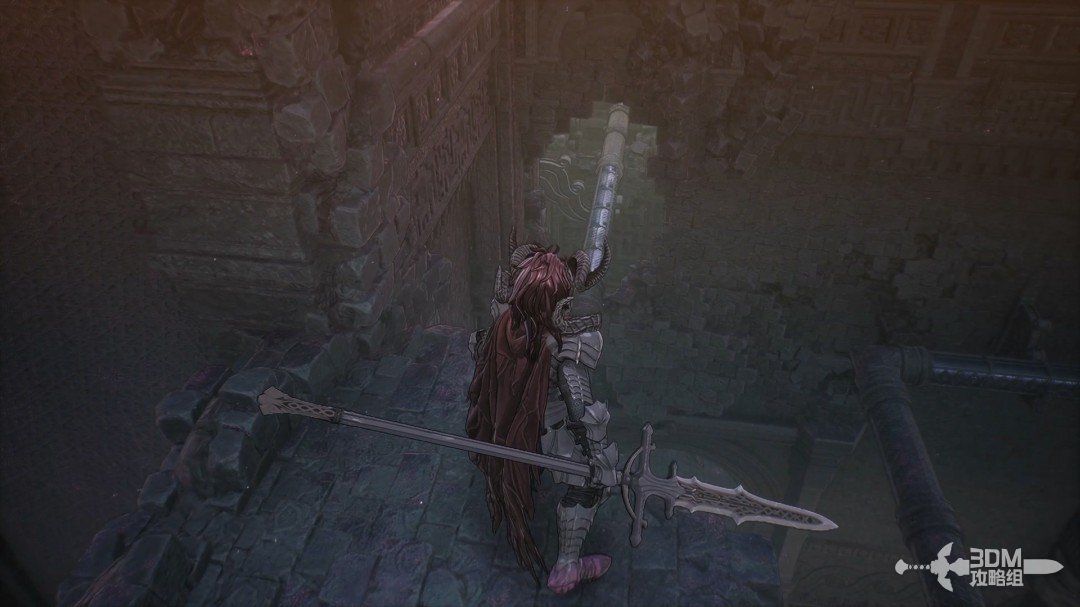
Another Soulstone waits at its end.
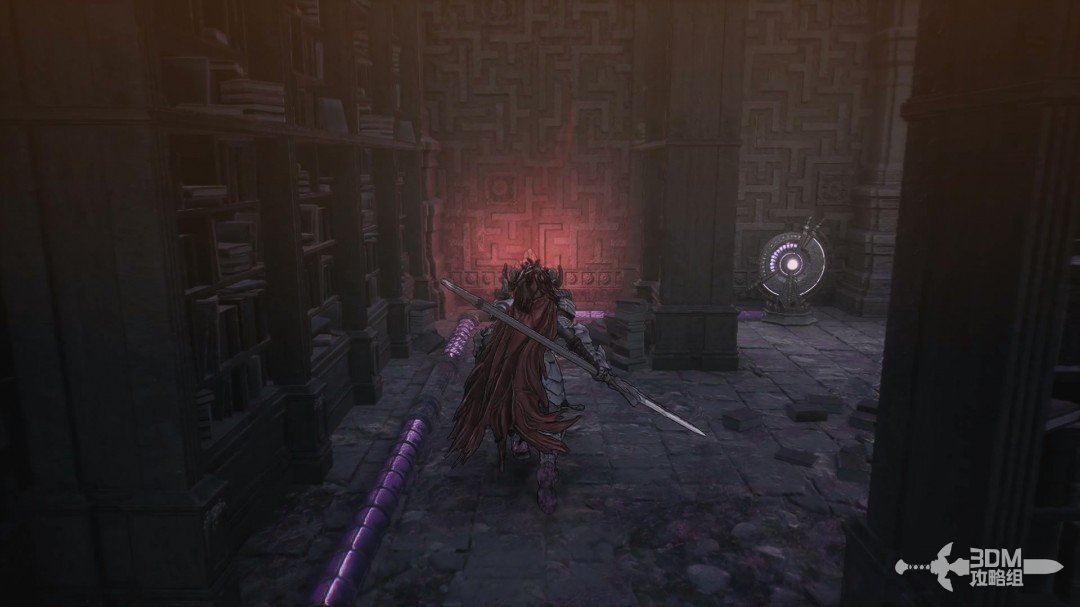
28Pipe switch and lower ring: circle the discs back into the laboratory
Activate the nearby switch as well.
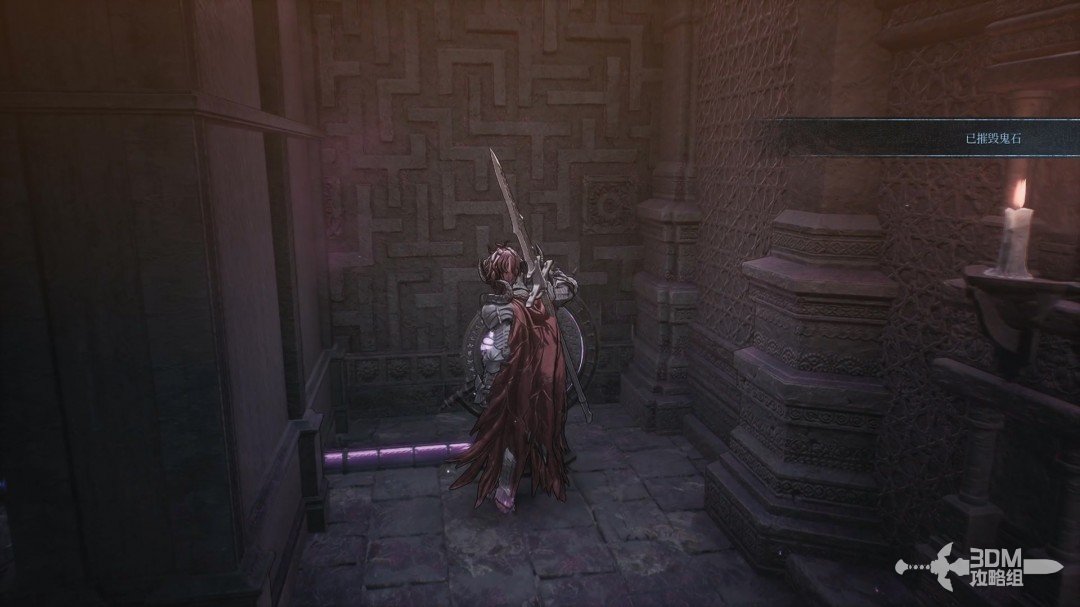
Drop from the pipe to the earlier area, return to the elevator and take the left route.
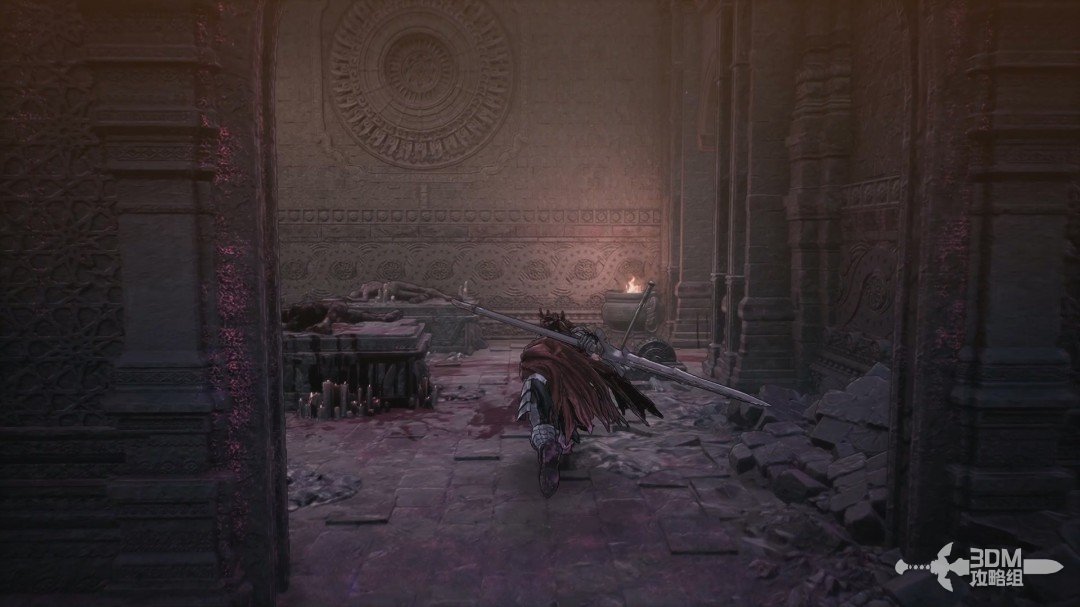
Clear the waiting undead and activate the mechanism.
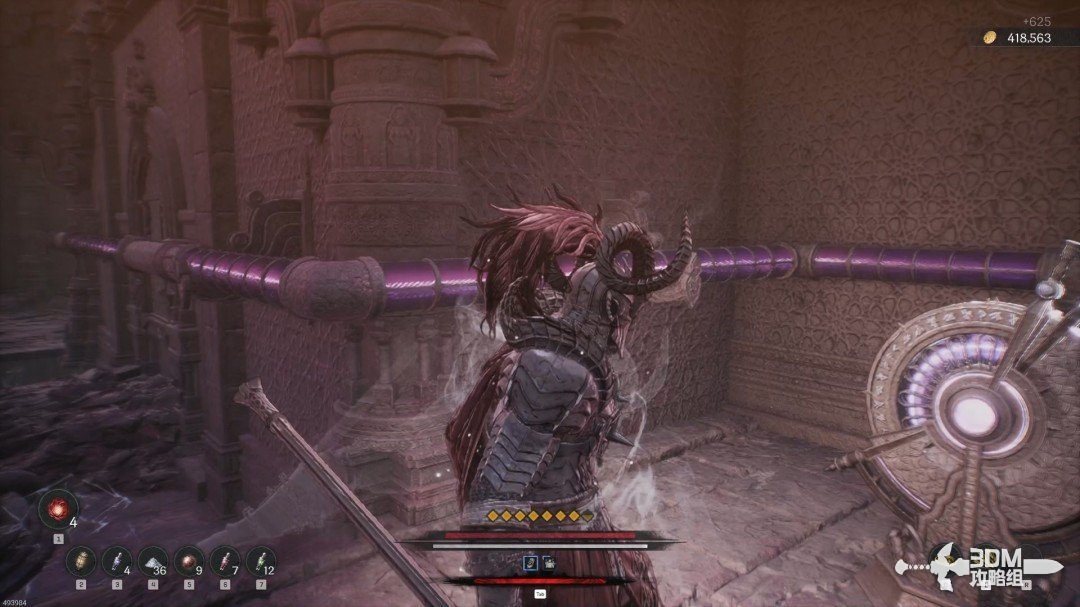
Climb the nearby ladder.
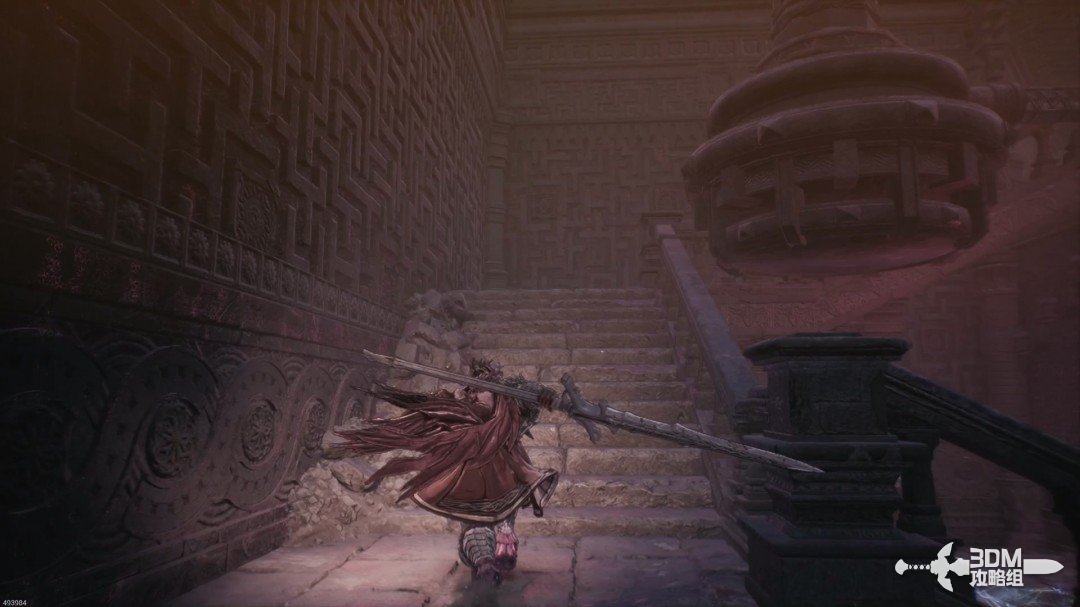
Drop through the opening above.
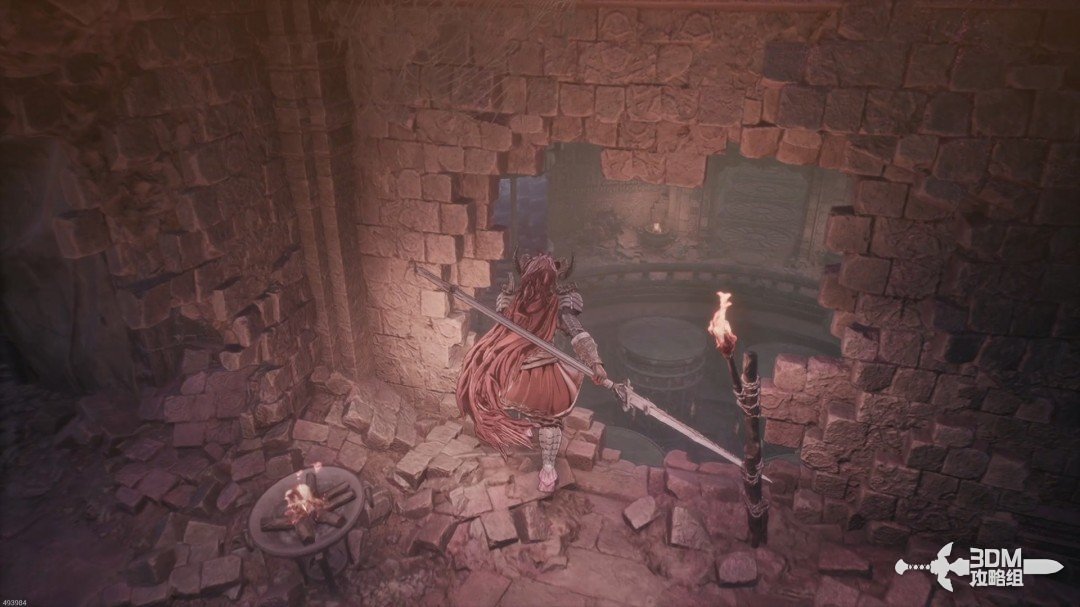
Circle the disc to collect the item opposite.
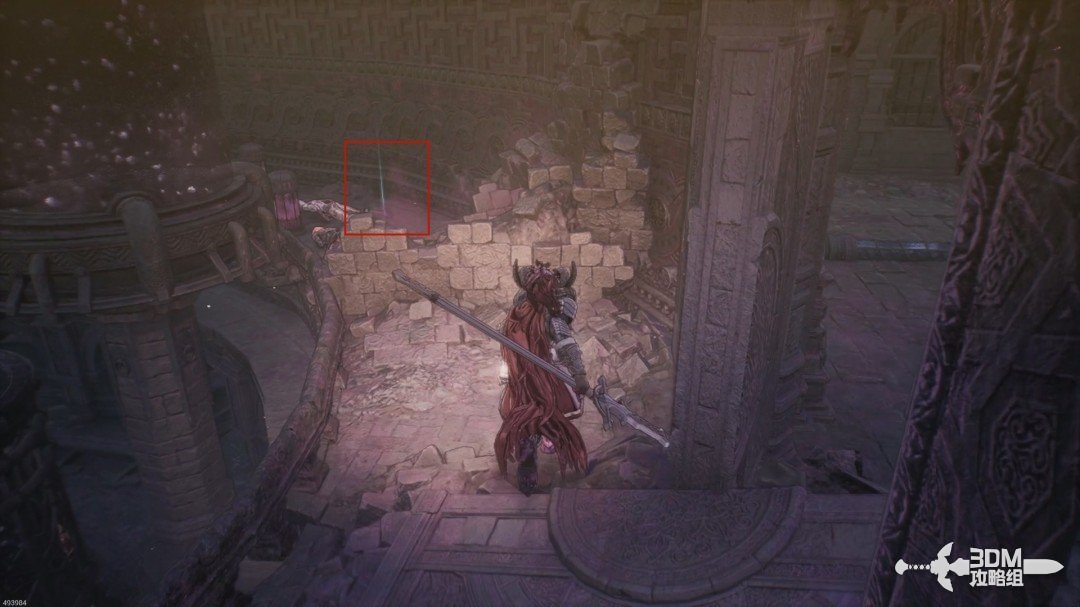
29Room left of the plague elite: find the scout's record
Defeat the elite inside. Do not stand on its corpse, which releases plague.
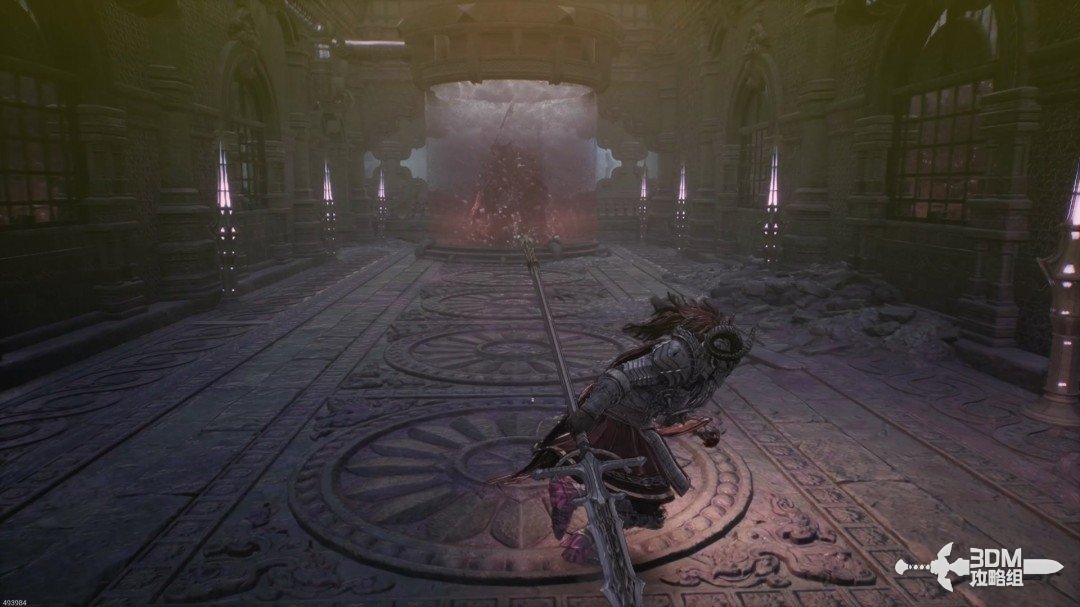
Absorb the memory in the next room.
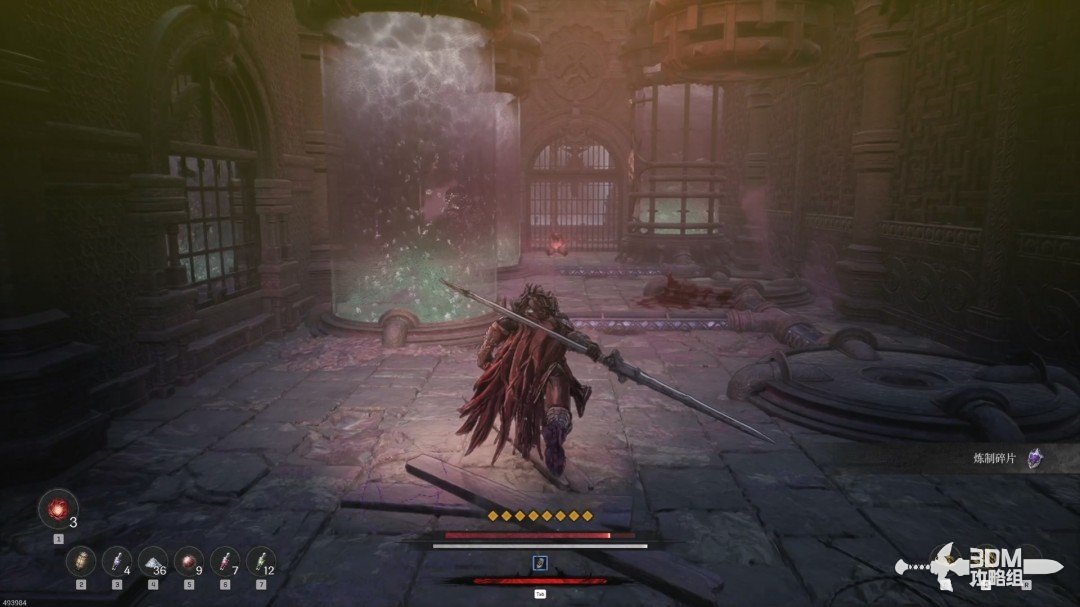
Take the passage left of the elite's position.
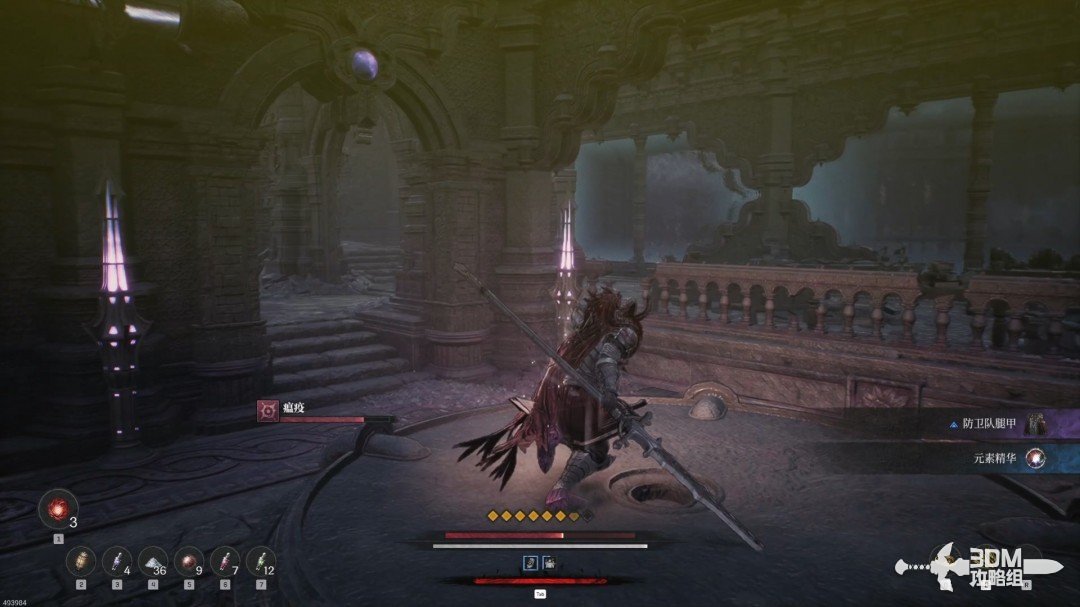
Collect the Scout's Record in the left corner.
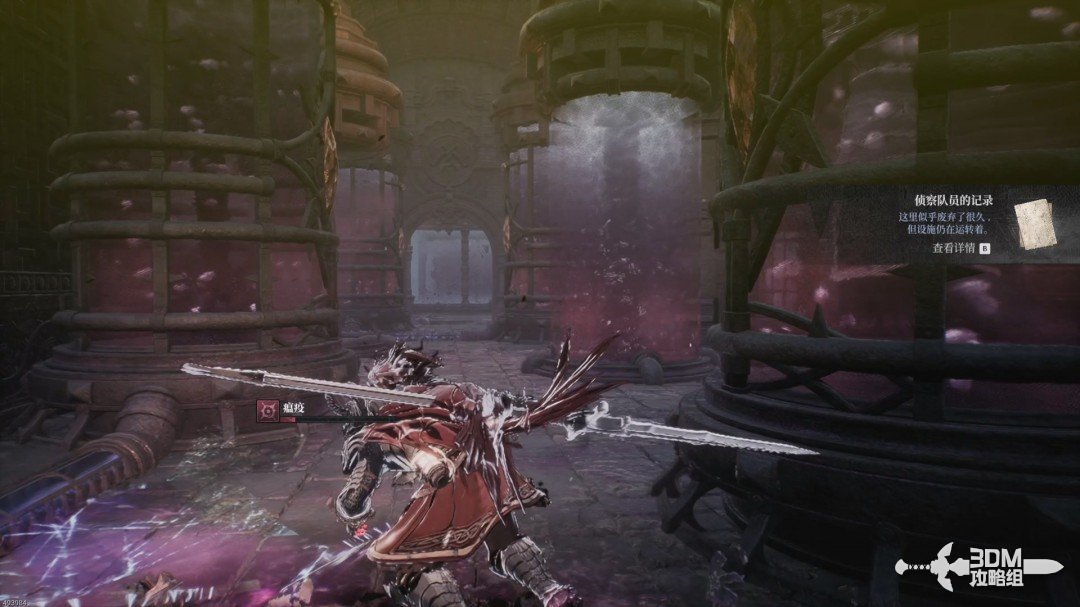
31Hidden door left of the corridor and the central tank room
Explore the corridor's left hidden door for the Lightning Purification Magic Scroll.
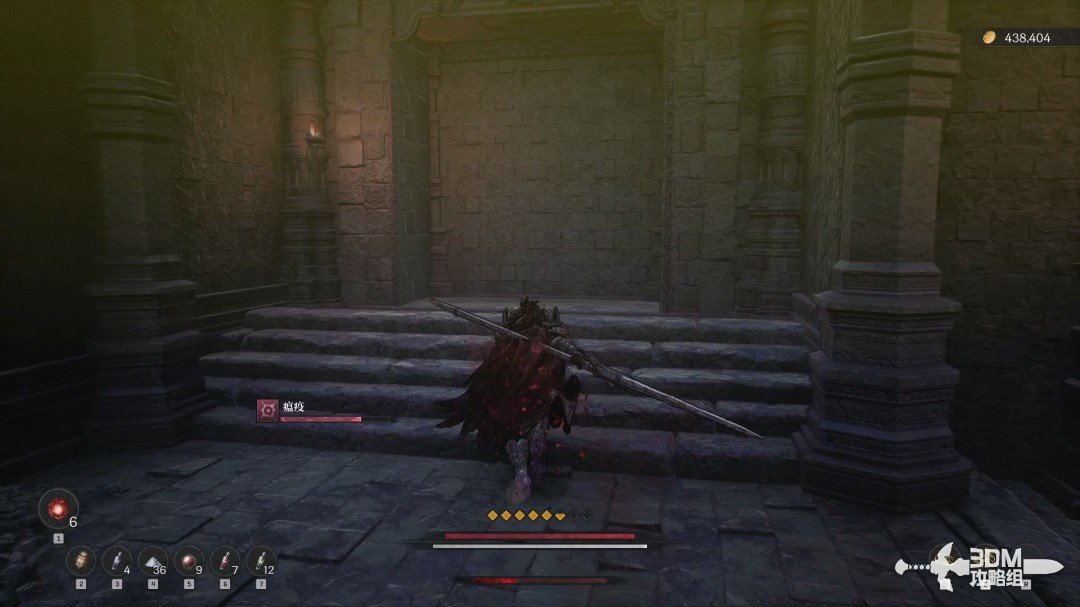
Circle into the central room for a chest. An elite spider bursts from the tank on the left.
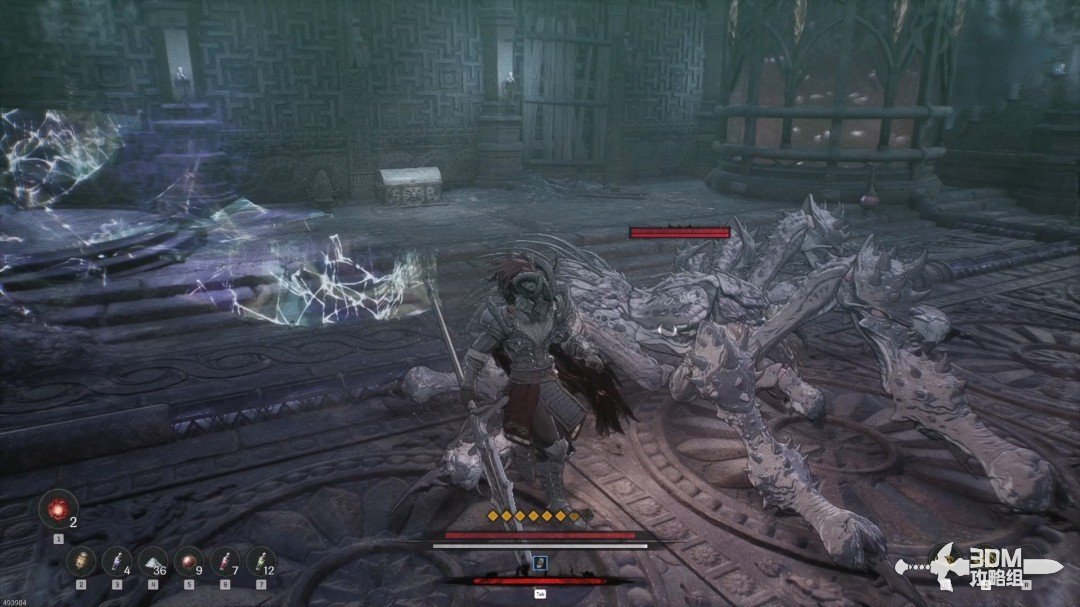
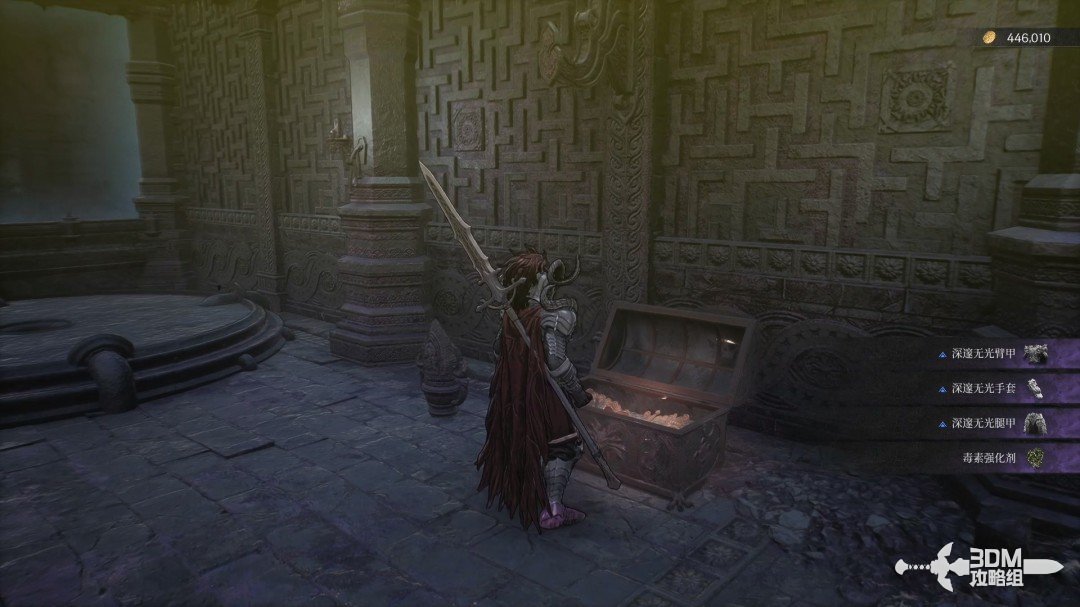
Defeat it, collect the chest and leave.
33Disc room and paired switches: teleport to the experimental record
Follow the corridor past more enemies.
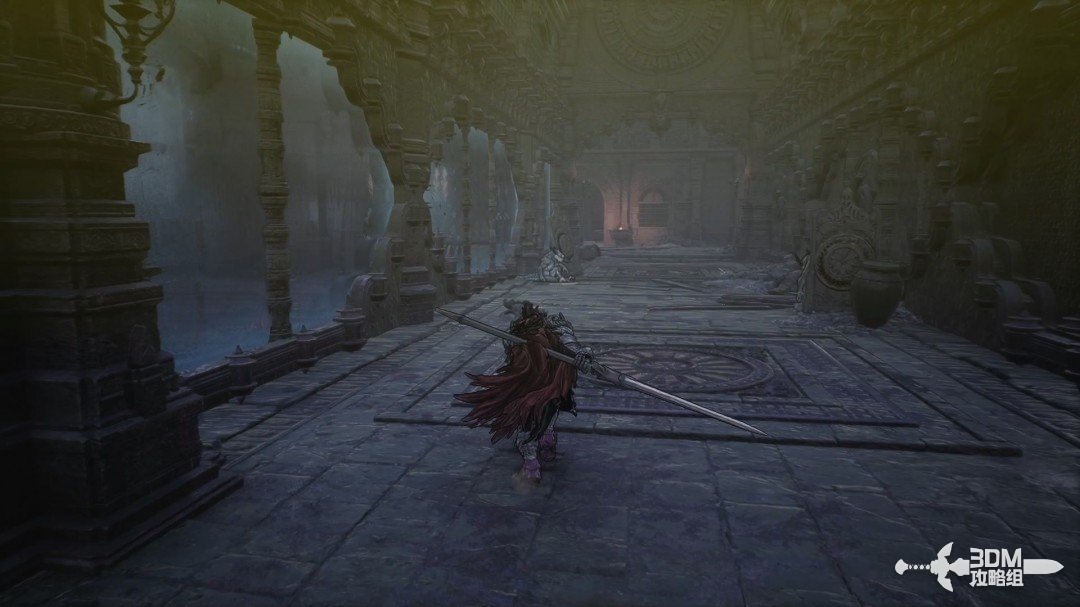
Clear both sides of the next room.
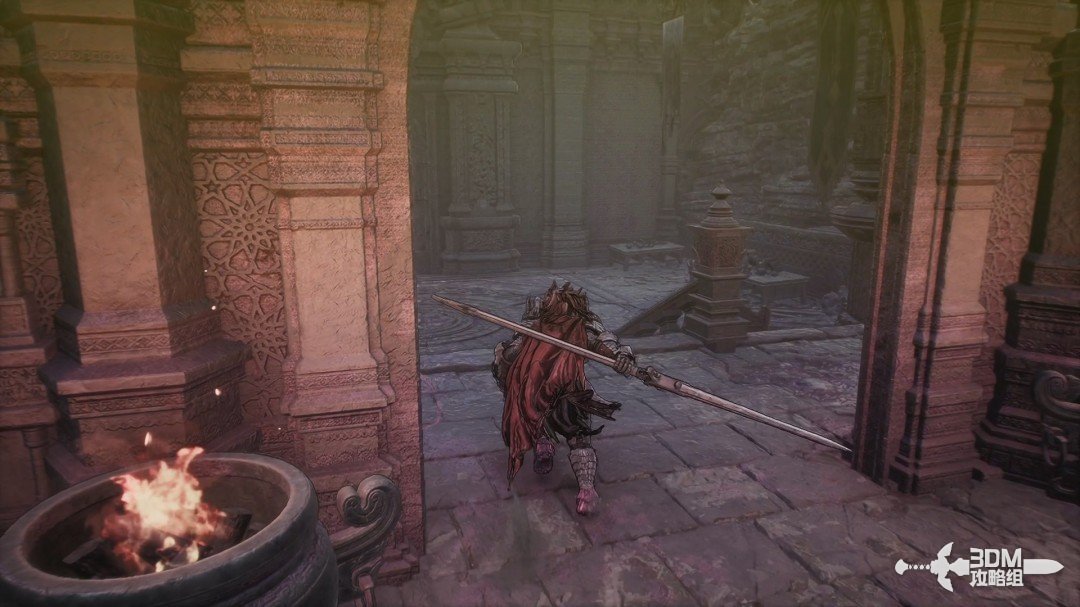
Collect the purple item on the right.
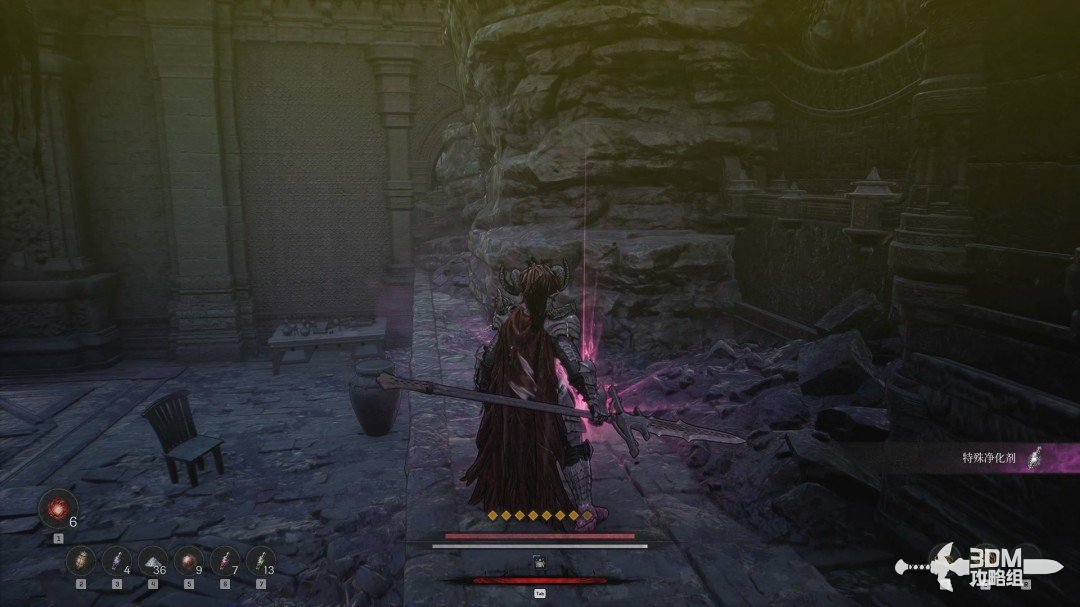
Walk onto the central disc for a white item.
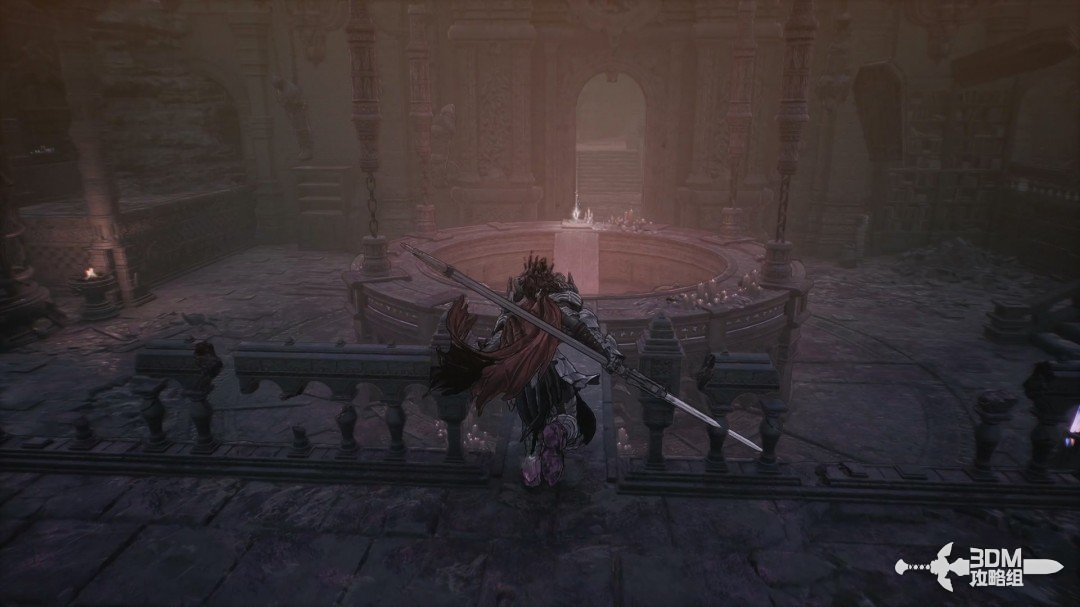
Activate the nearby mechanism to open the iron gate.
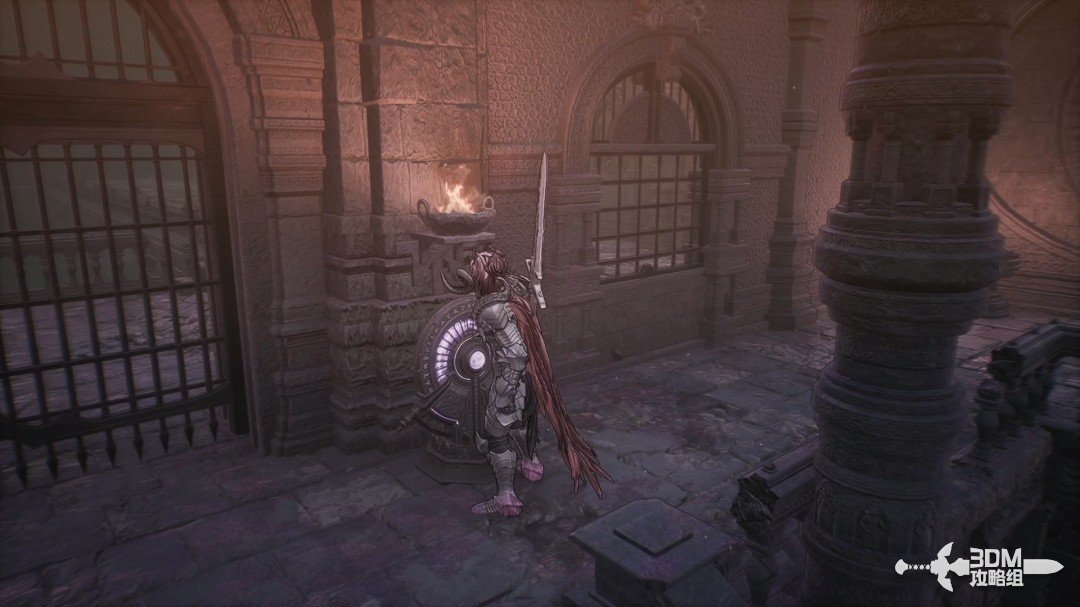
Leave, go left and activate the next switch to teleport.
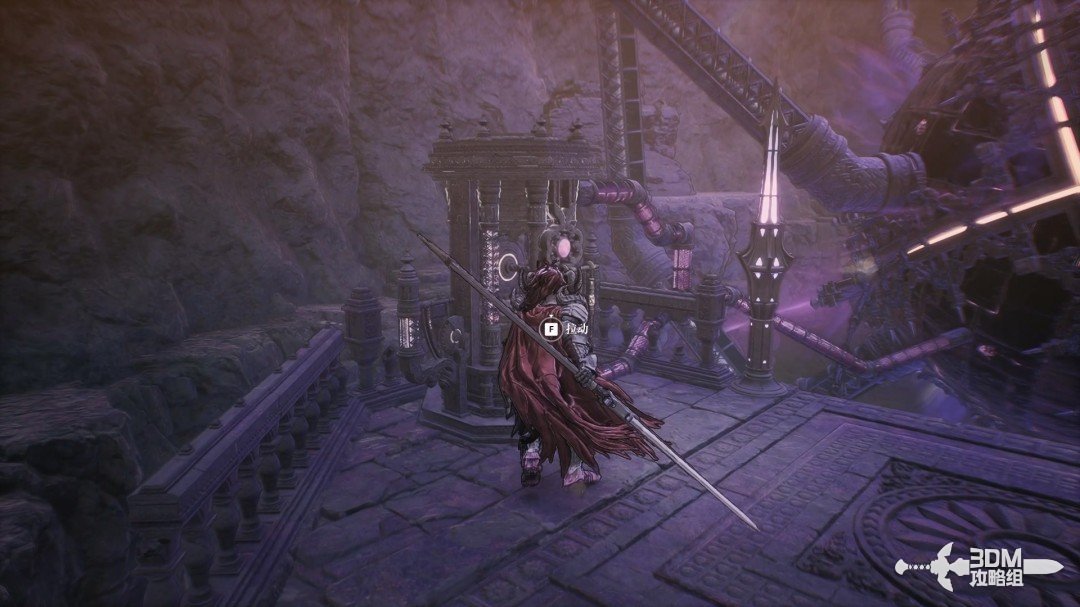
Collect the white Tania's Experiment Log II directly ahead after teleporting.
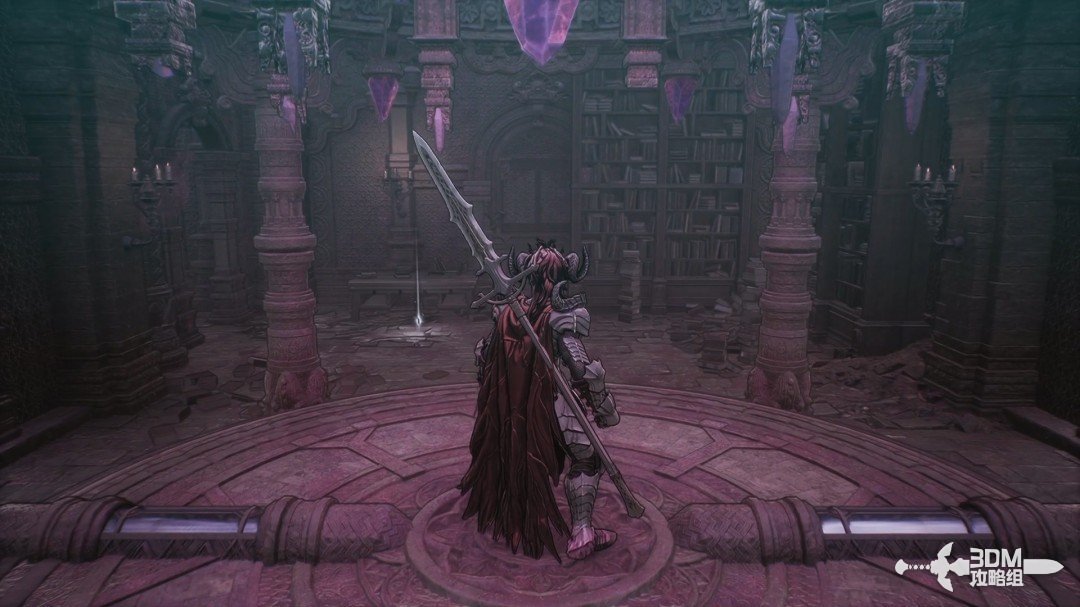
35Outside the teleport destination: chest, Nexus and gate back to the hall
Outside, a chest lies left and a Blade Nexus right.
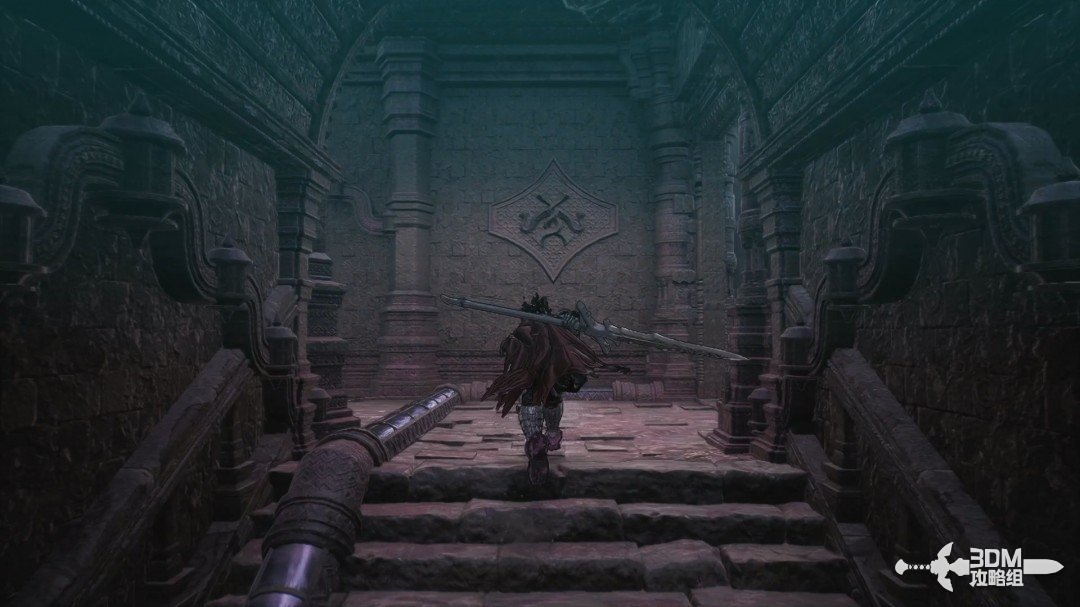
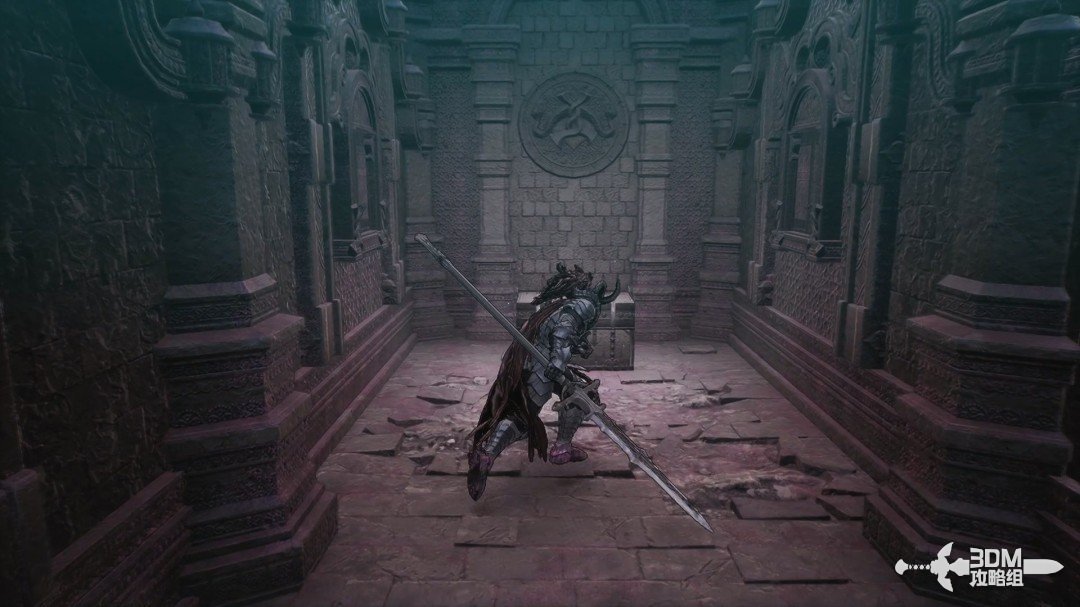
Open the chest and rest.
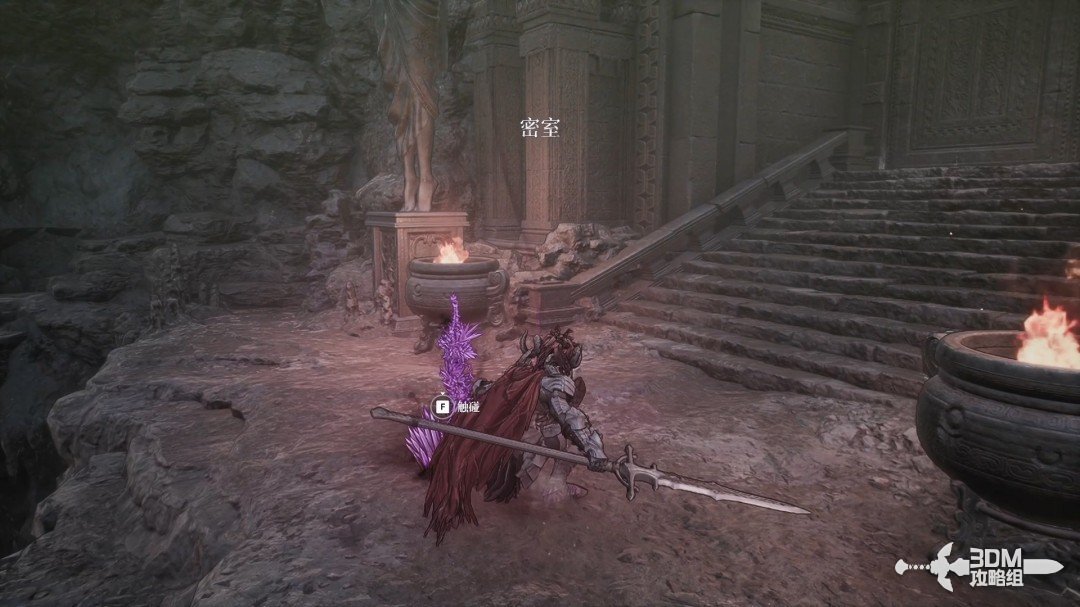
The gate on the right leads back to Elamein and the boss fight.
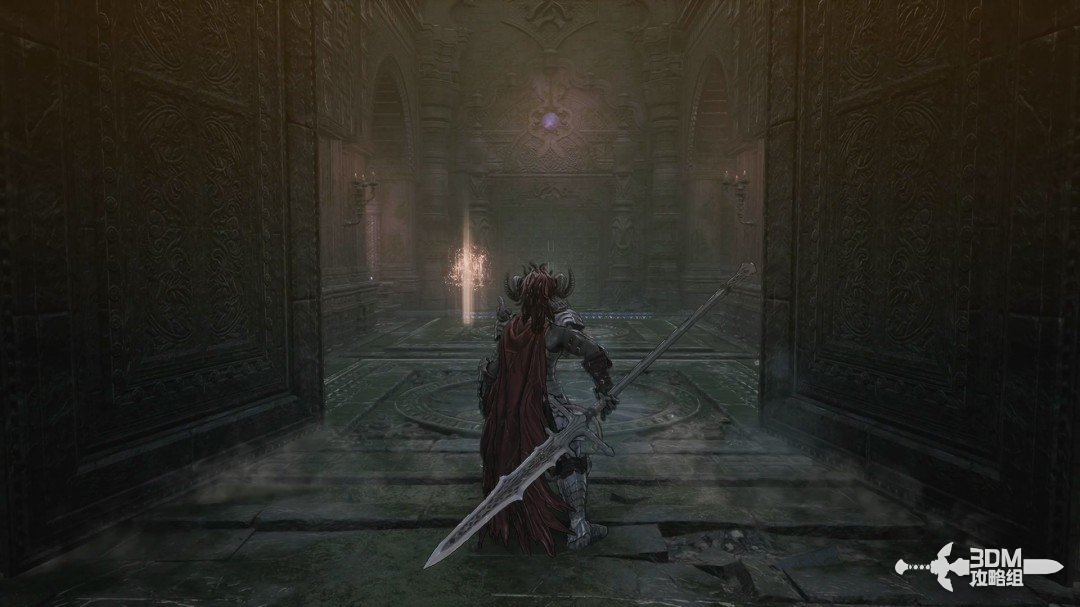
36Experimental chamber: face Elamein consumed by chaos
Enter to find Elamein released from the device but consumed by chaos. She is this chapter's boss.
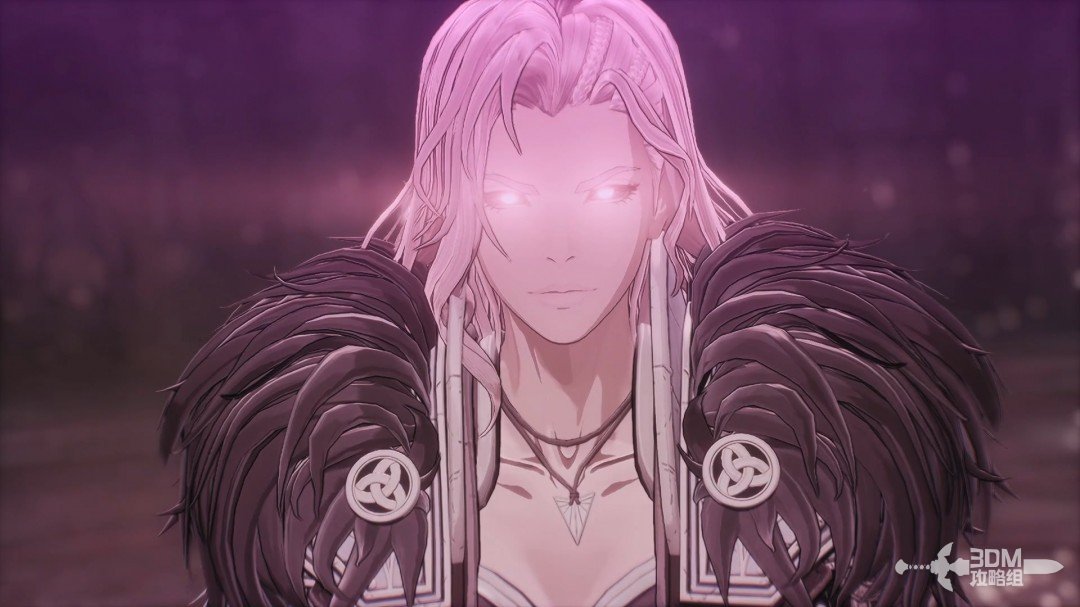
Elamein has no phase transition and resists interruption. Learn her individual attacks.
Attack ①:
She charges three electrified blade waves. Dodge because guarding does not prevent status buildup. Her poise briefly weakens afterward.
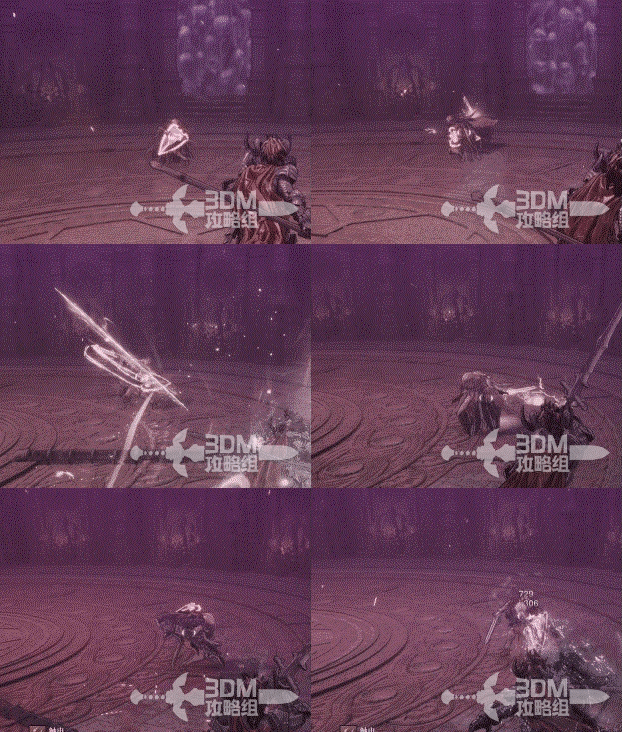
Attack ②:
A jumping slam without a follow-up. Time your deflection for the landing.
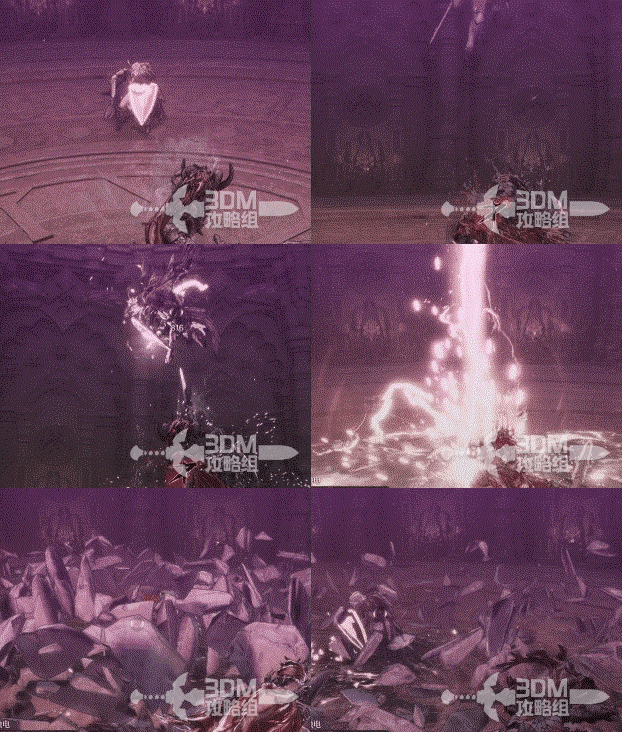
Attack ③:
Two close shield-and-weapon hits lead into a sword grab. Dodge the grab.
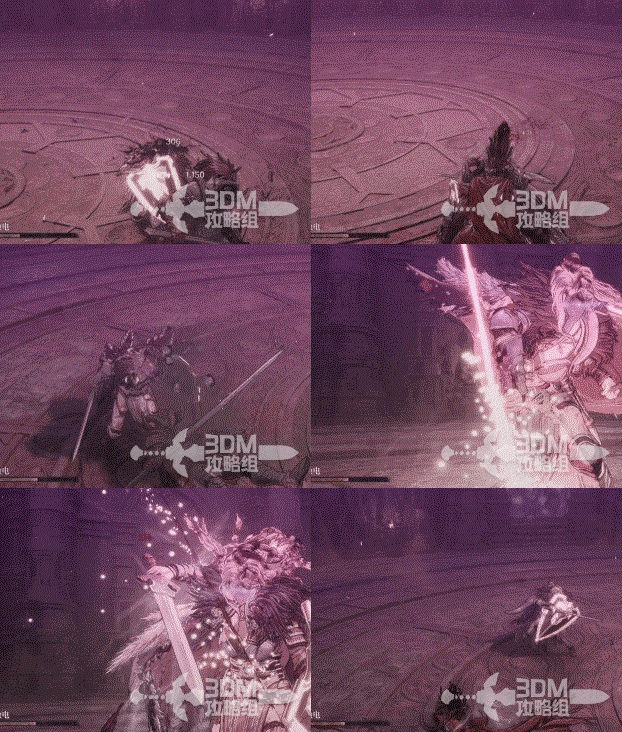
Attack ④:
Her weapon shines while charging a light wave. Use the glow as your dodge cue.
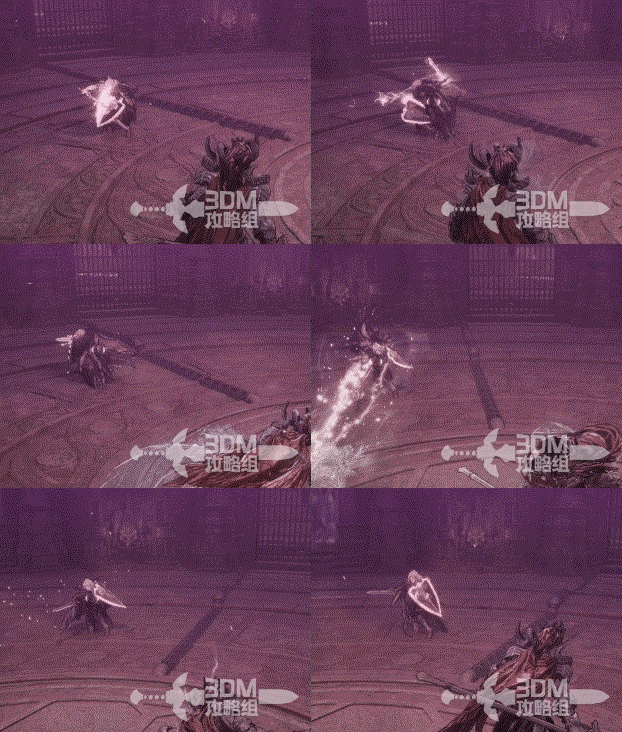
Attack ⑤:
A shield charge can be lethal if every hit connects. Watch her backward step before she rushes.
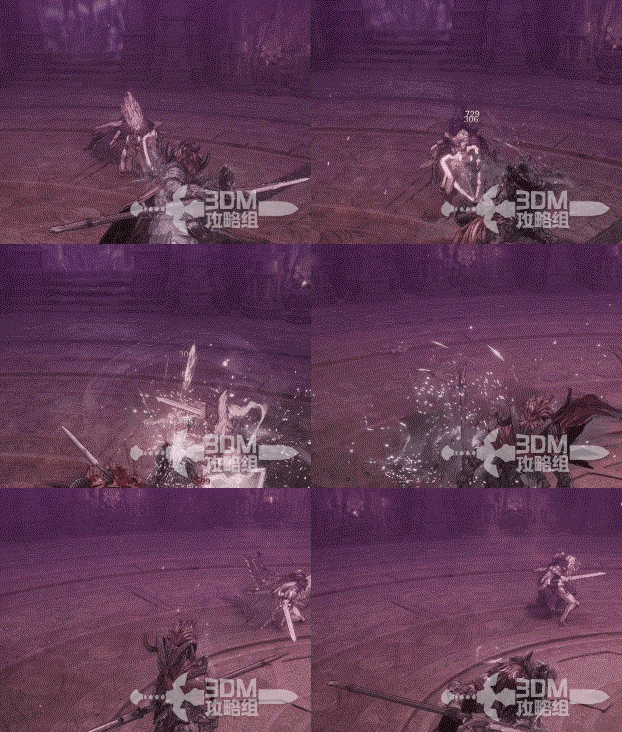
Attack ⑥:
A stronger jumping slam throws the shield first. Her arm draws backward before the throw.
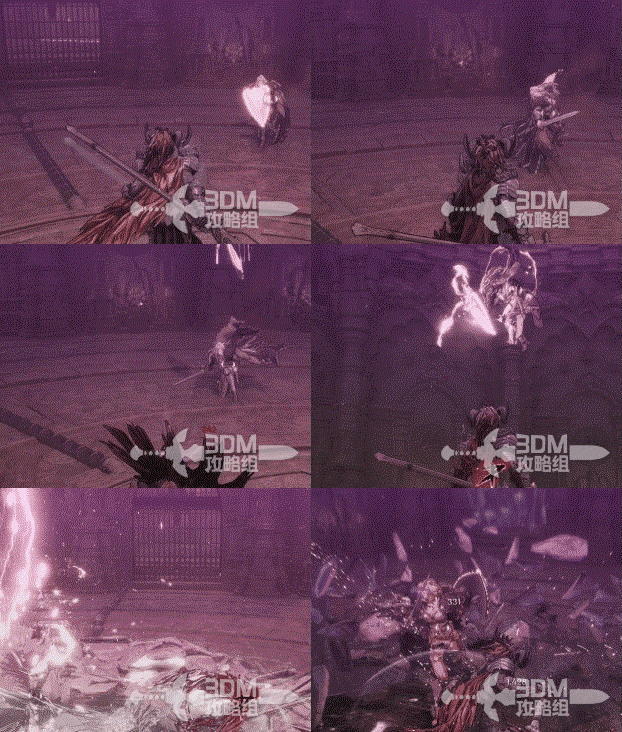
Attack ⑦:
She charges a giant light blade, sweeps it around and brings it down vertically.
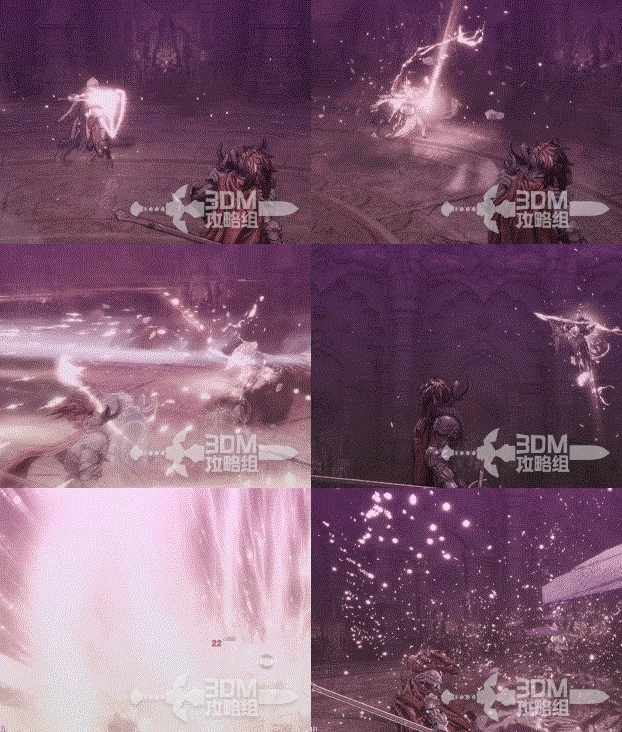
Attack ⑧:
An aggressive forward rush delivers eight slashes. Guard or dodge the full sequence.
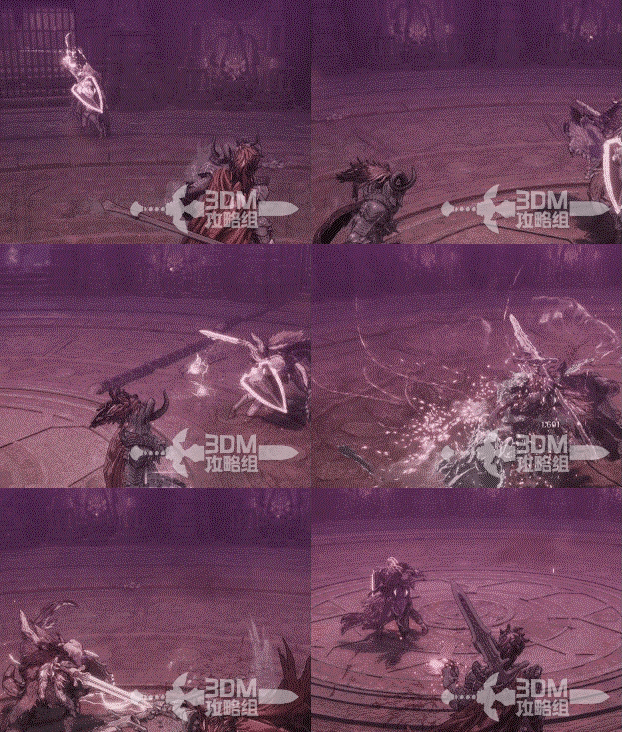
Despite being only partly consumed by chaos, Elamein dies after the fight. The cinematic ends the chapter.
Related side missions
Pavel’s Final Words →
Select the mission after Devoured Village.
Reference: 3DM Guide Team
GAME NOTE has reorganized and rewritten the routes from this walkthrough.