Skip to content

Fall of the Empire

Guide editor: GAME NOTE

GAME NOTE CLASSIC · GUIDE LIBRARYThe First Berserker: Khazan

Cross the imperial city, sewer and church to Hismar.

Pickups in this mission

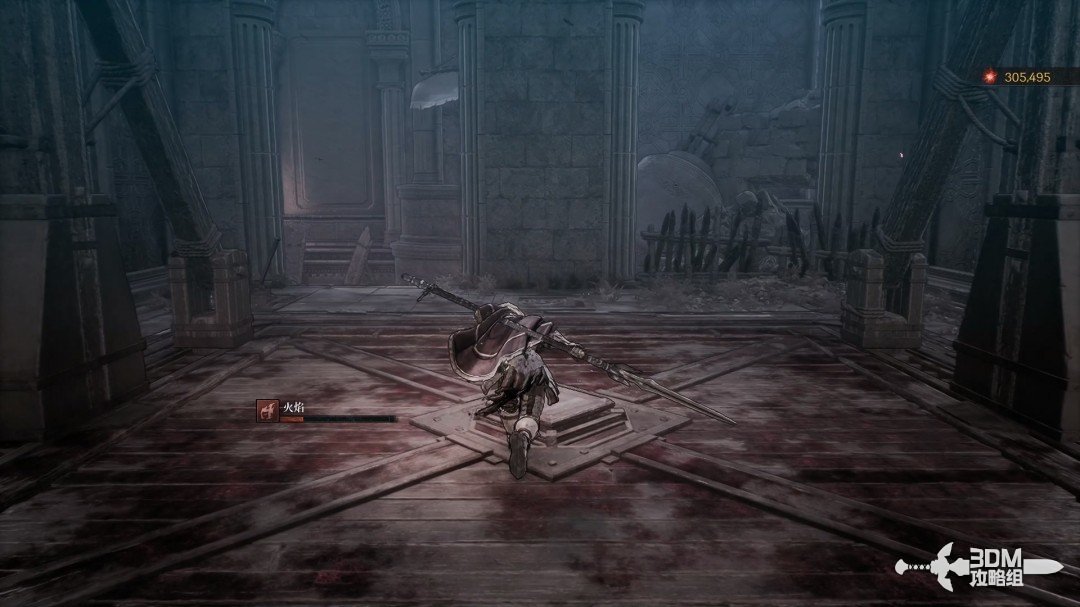
01Doomed city entrance: follow the stairs and take the elevator down

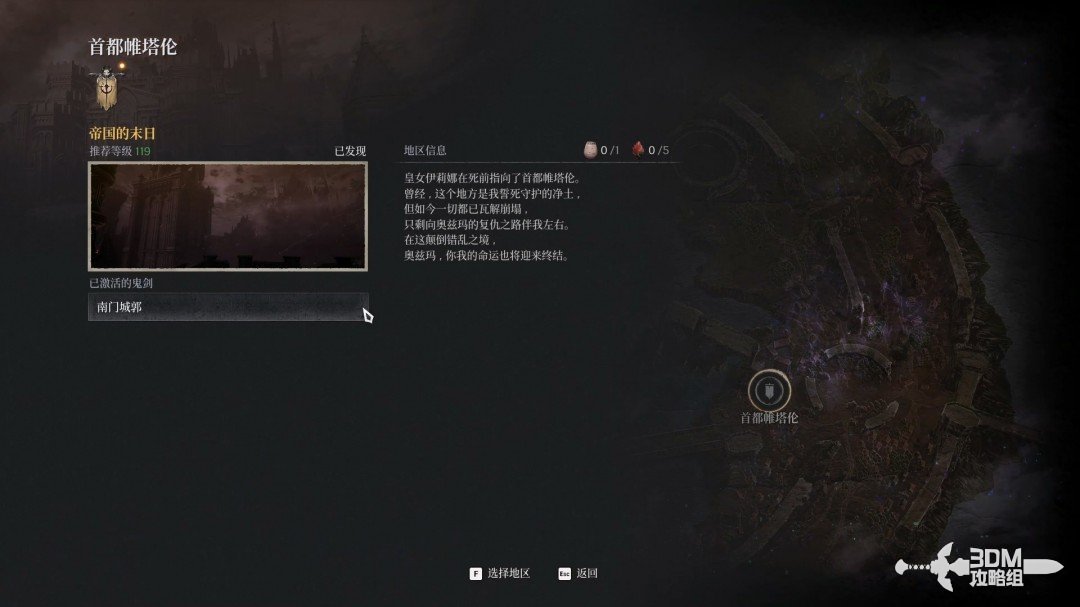
Travel to the newly unlocked final region and begin Empire's End.
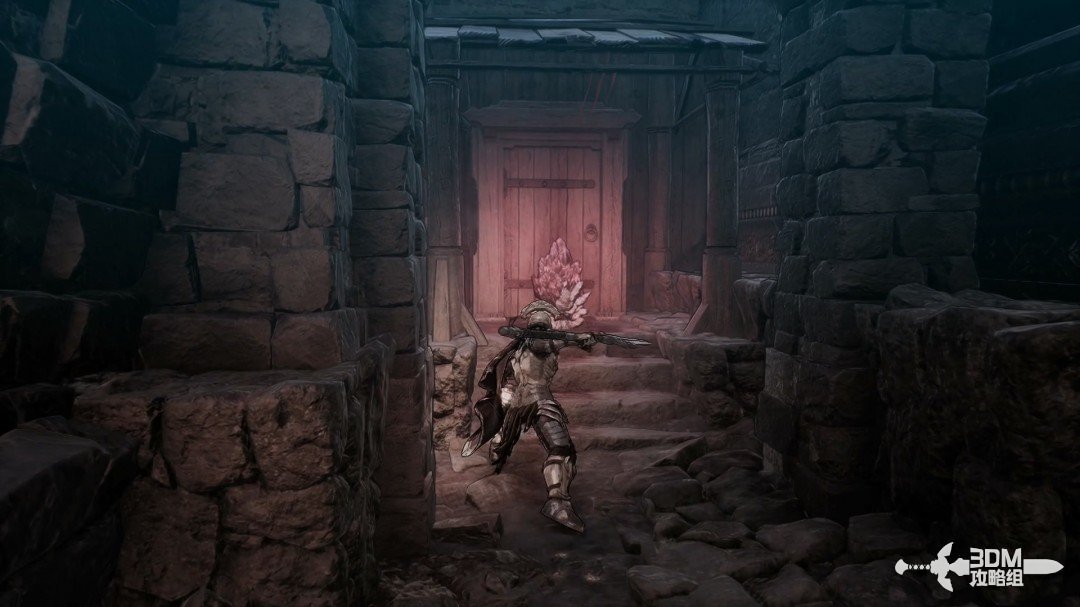
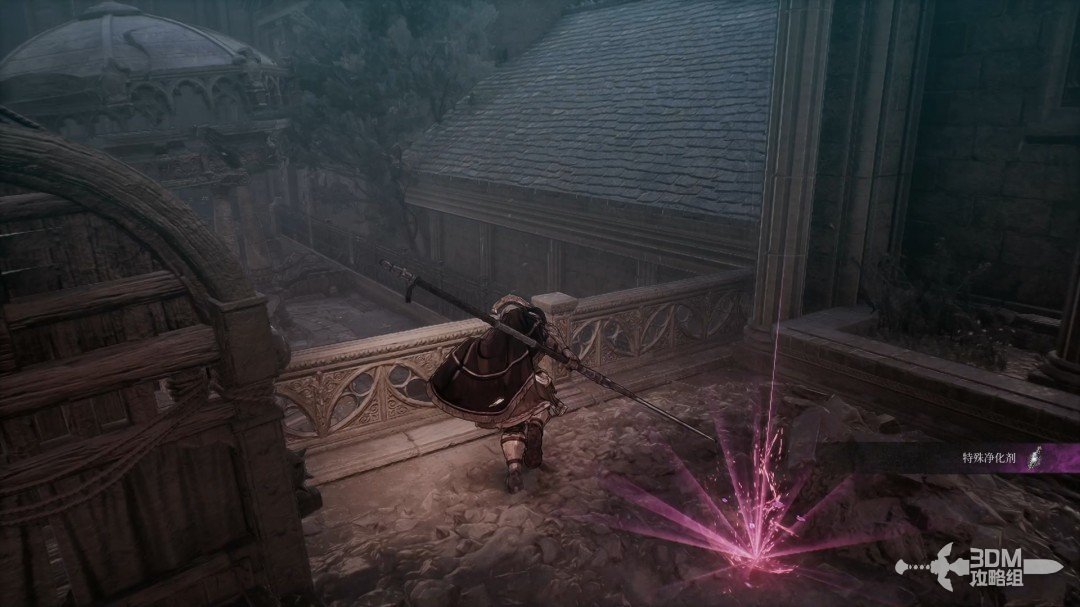
Doomed city entrance: follow the stairs and take the elevator down · route image 1

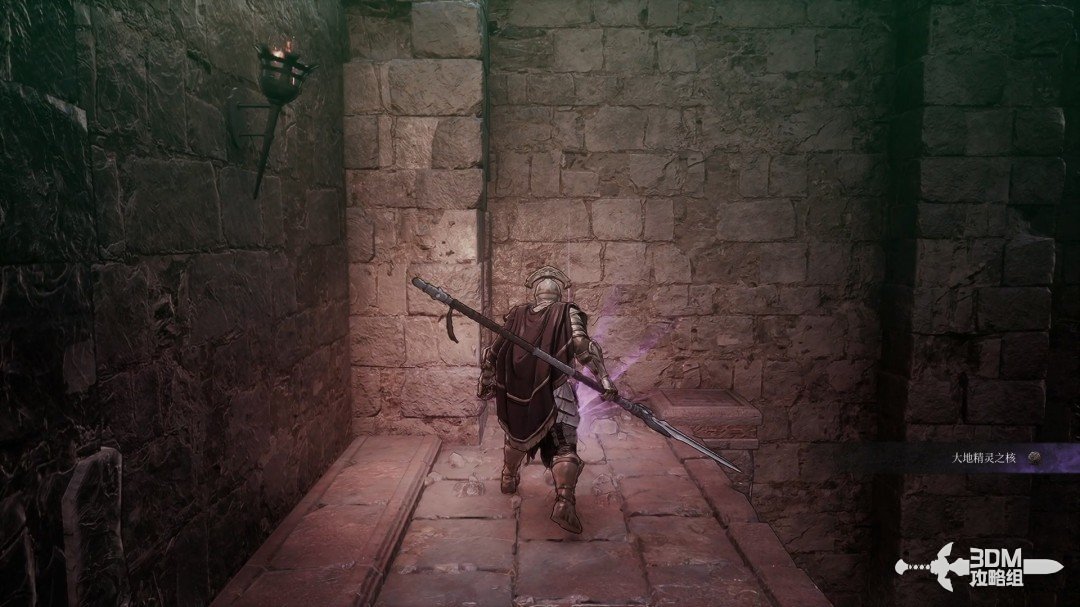
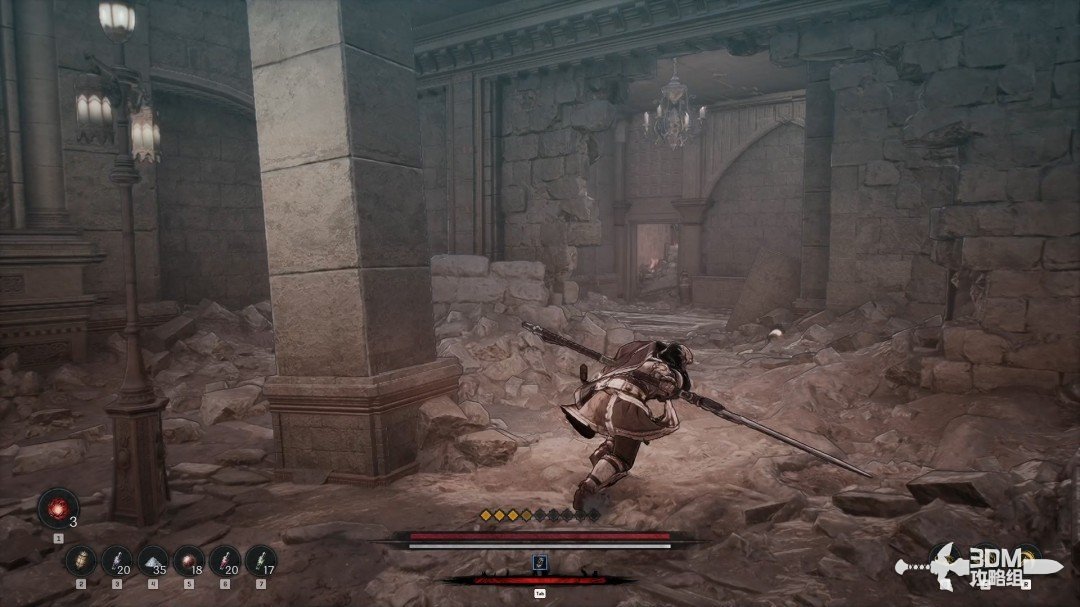
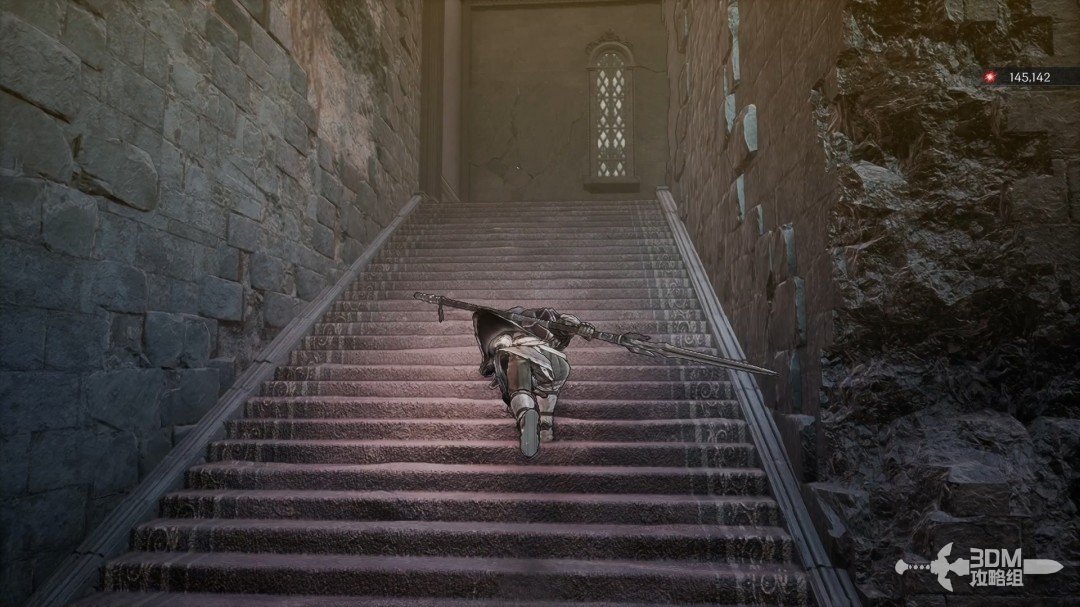
Descend the stairs on arrival; the left side is empty.
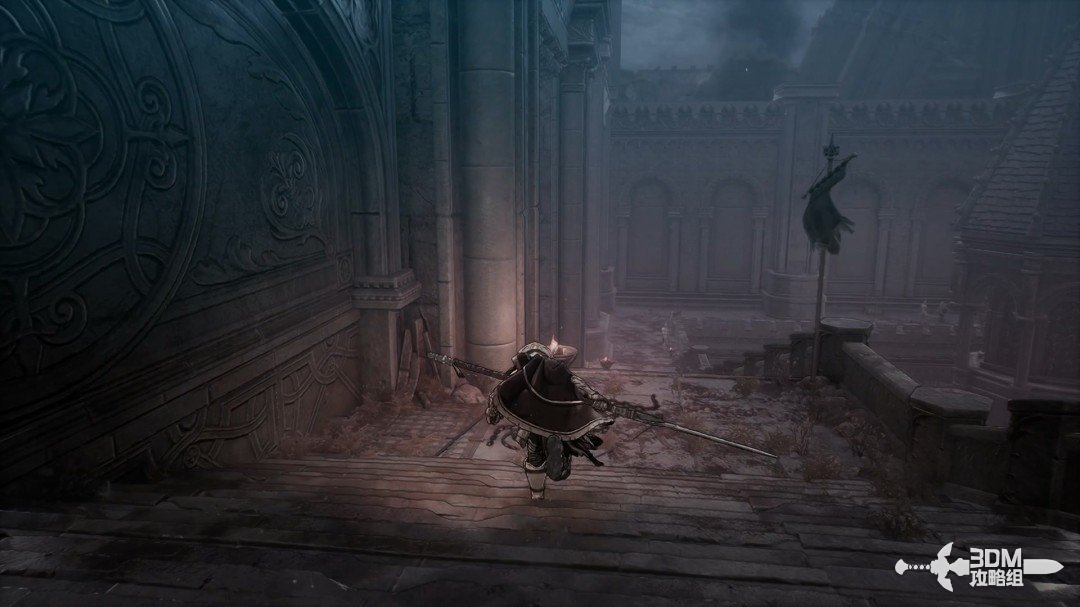
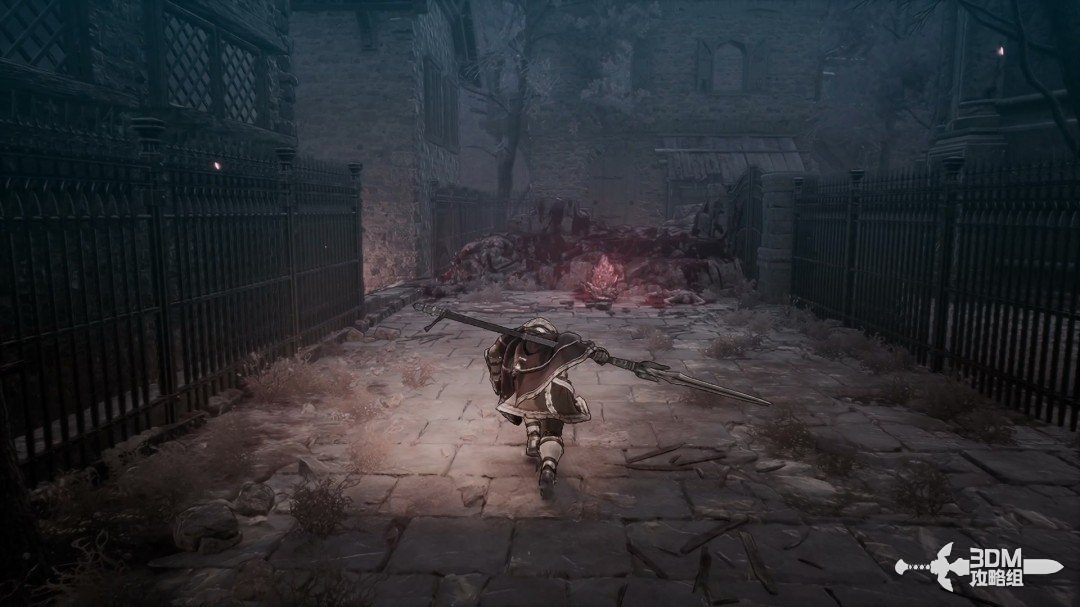
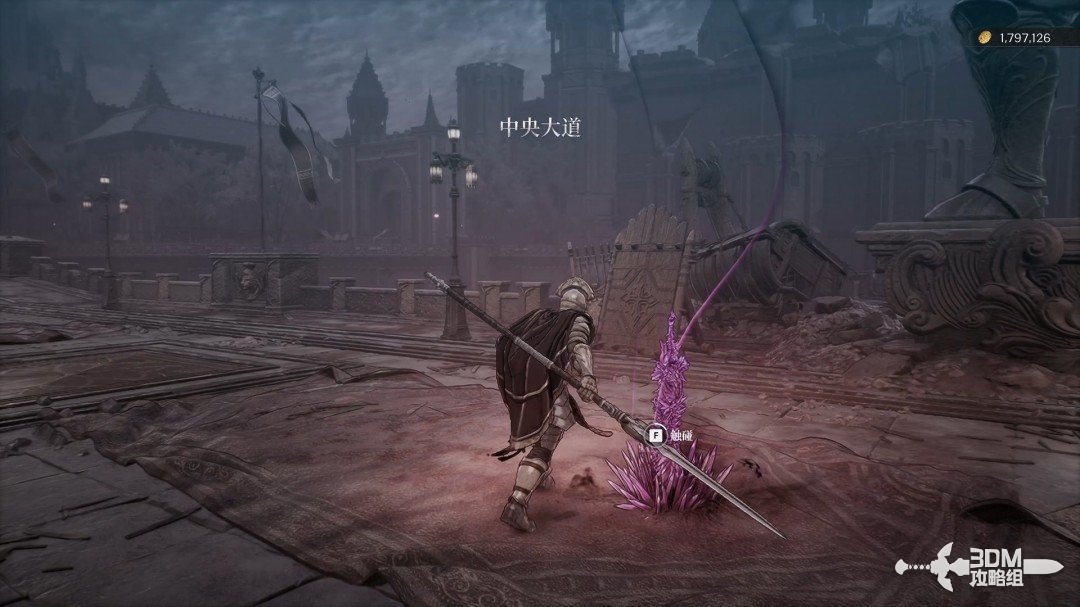
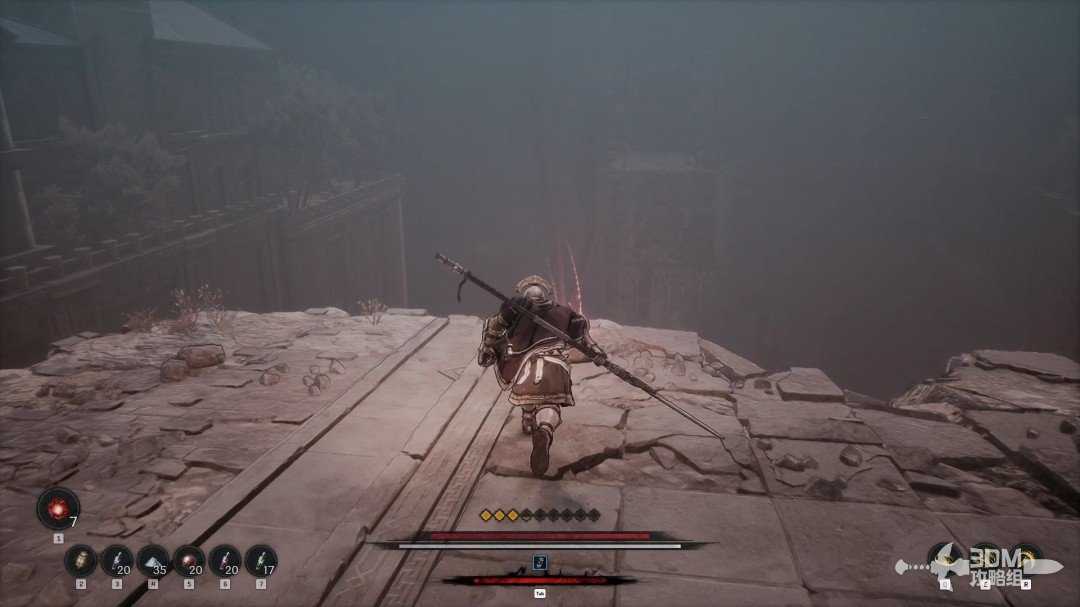
Doomed city entrance: follow the stairs and take the elevator down · route image 2

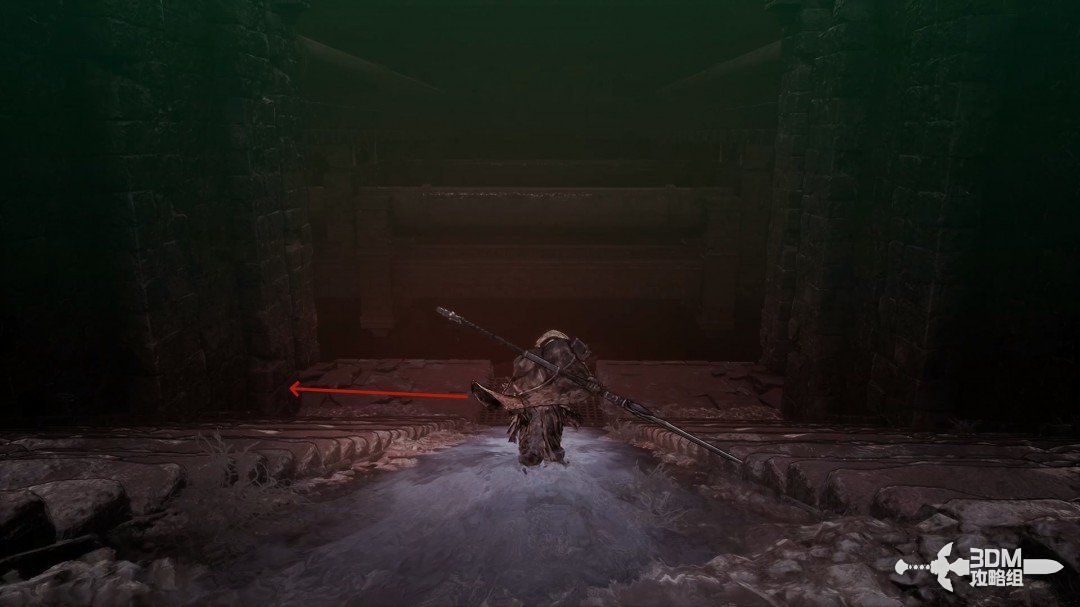
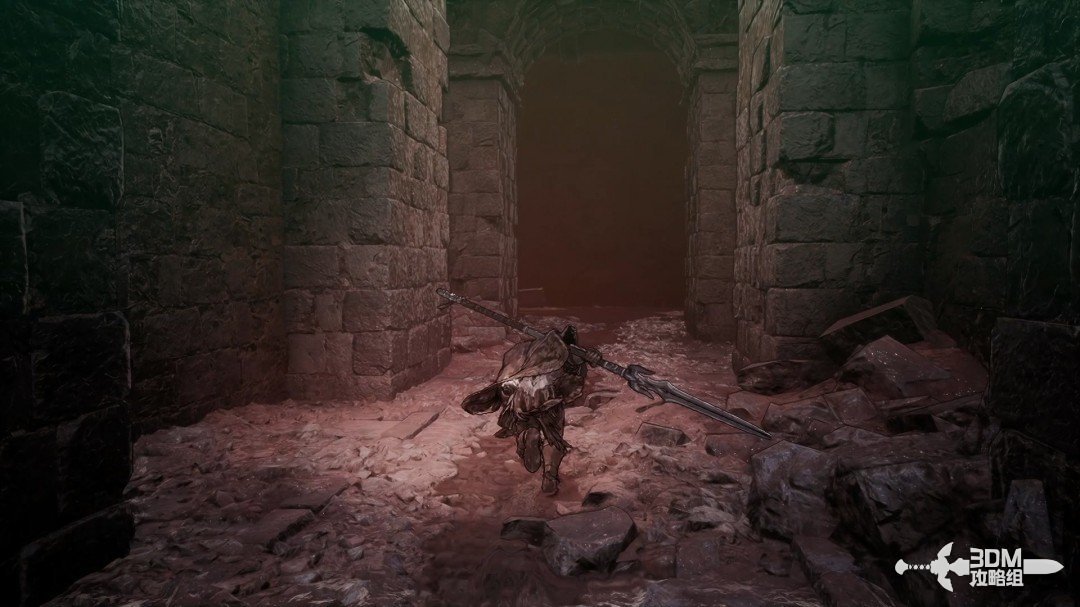
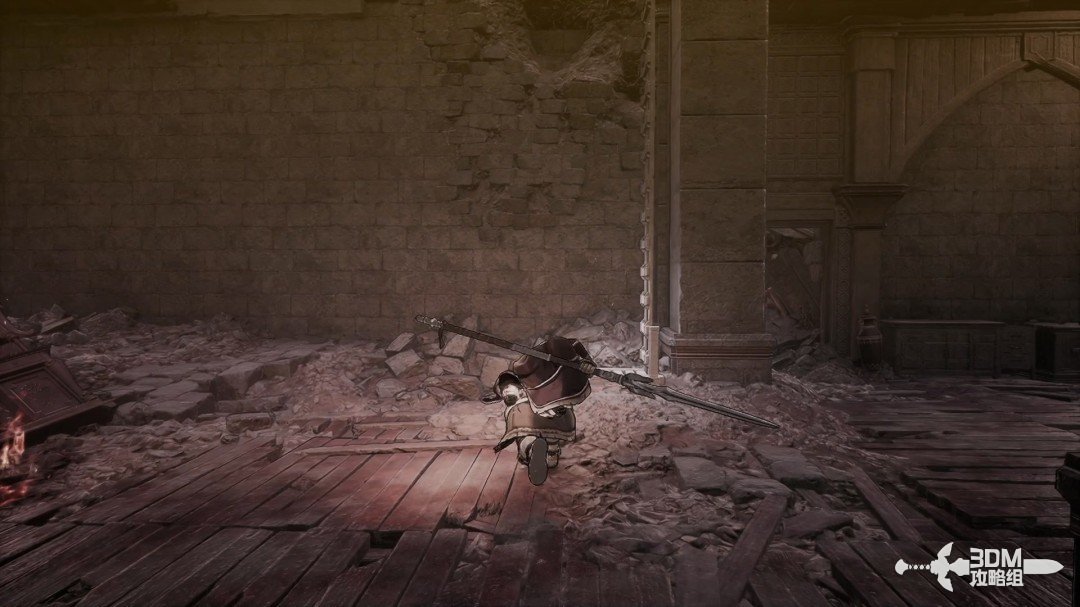
Follow the main route to an elevator and absorb the memory before it.
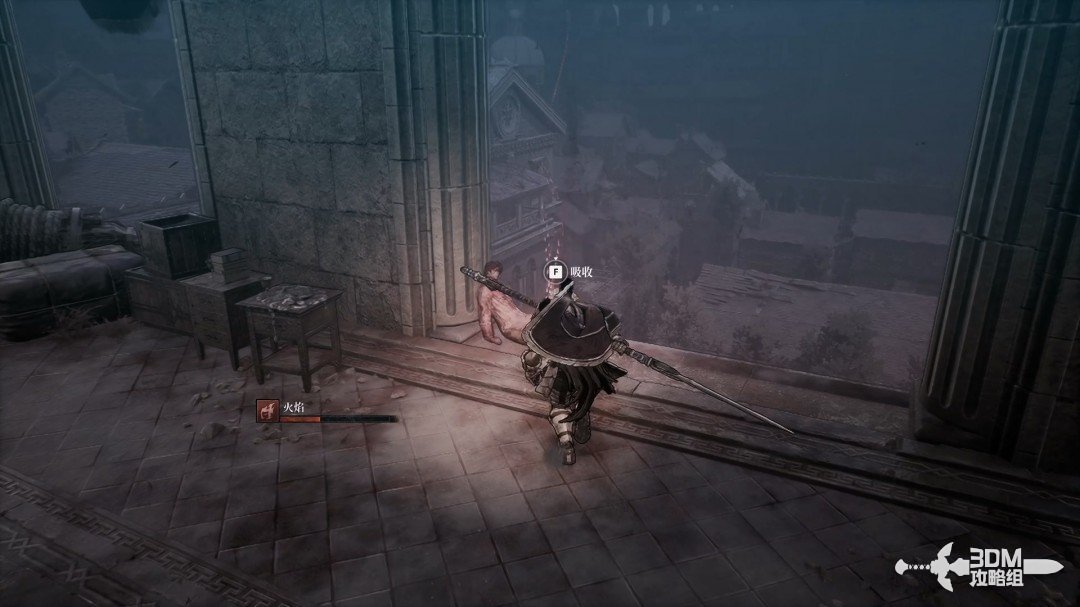
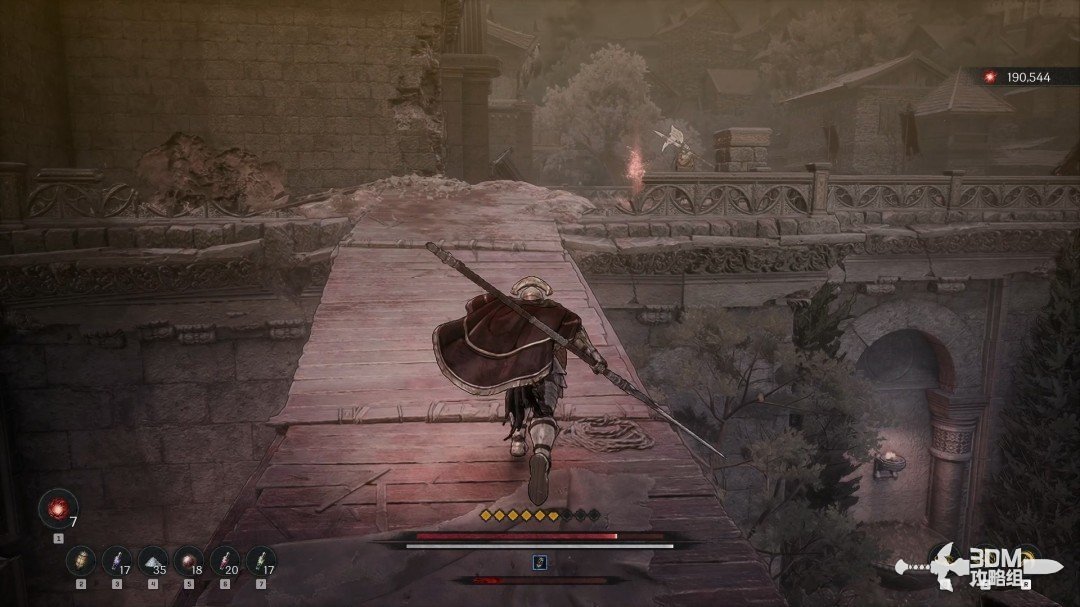
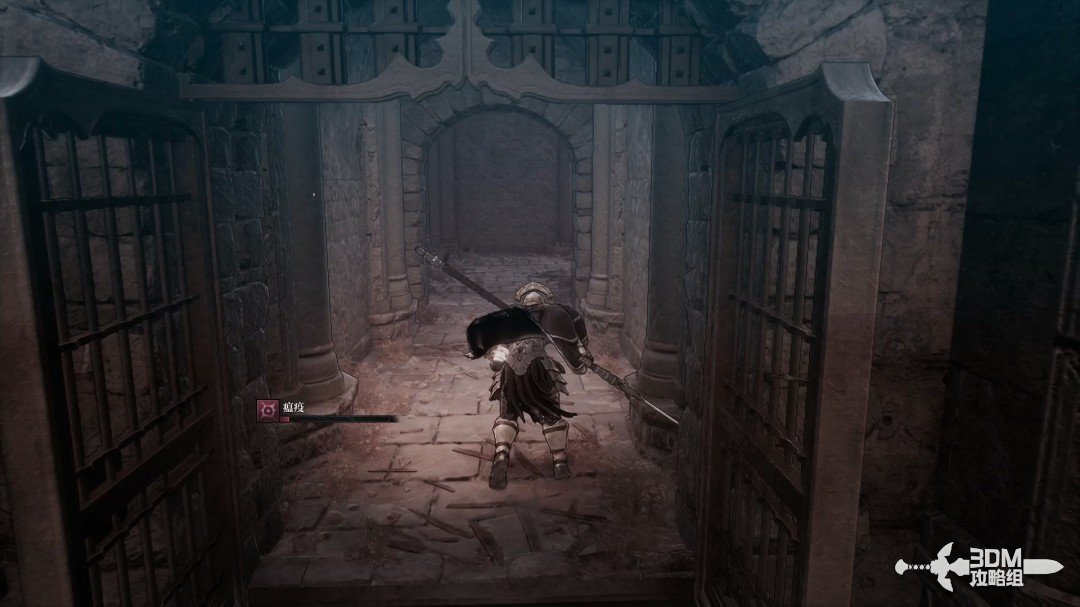
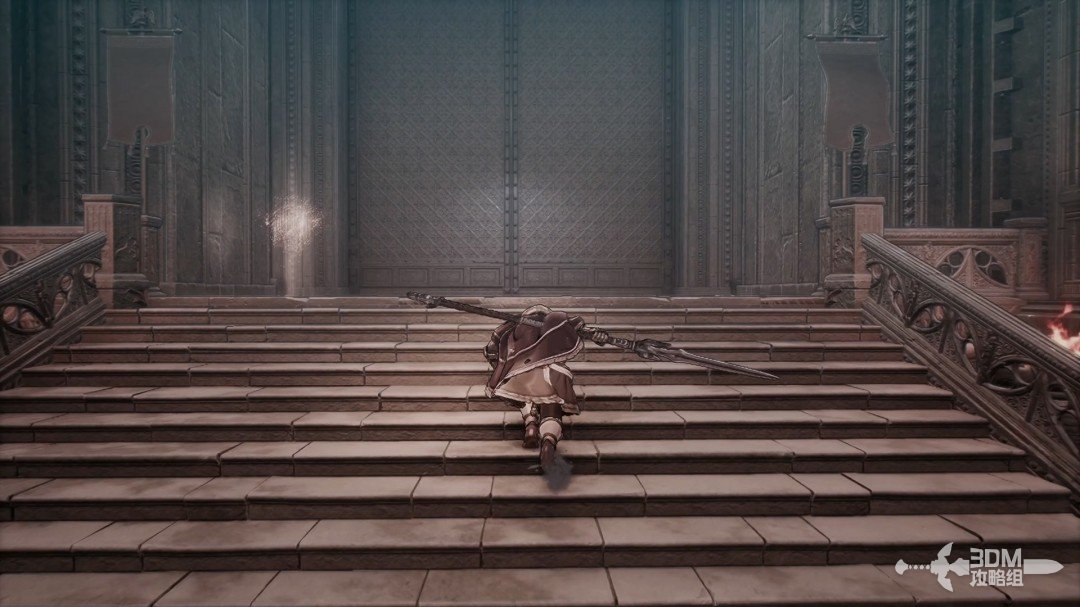
Doomed city entrance: follow the stairs and take the elevator down · route image 3

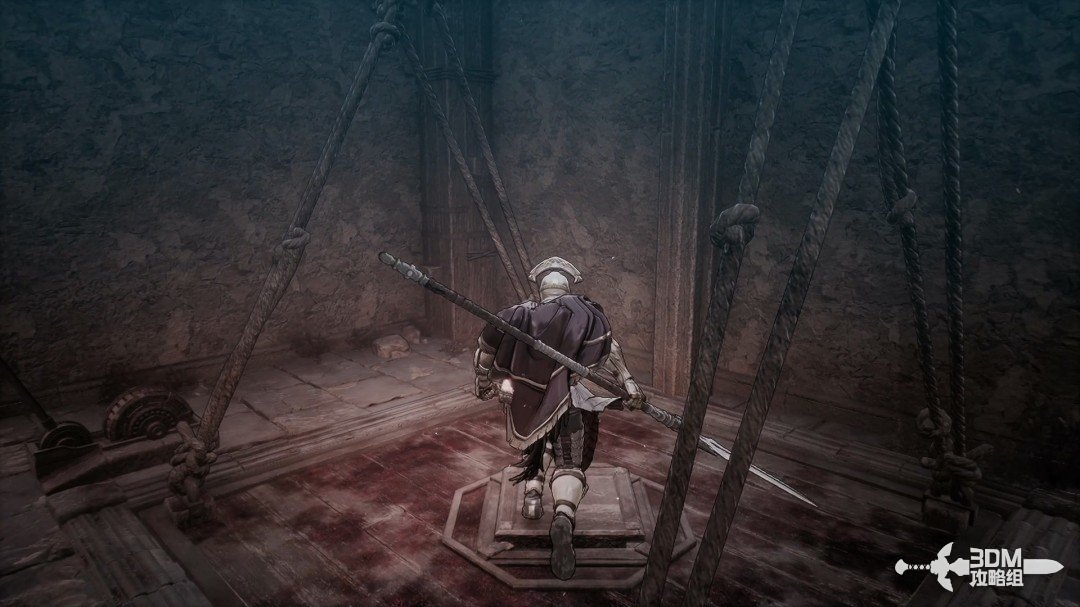
Take the elevator afterward.

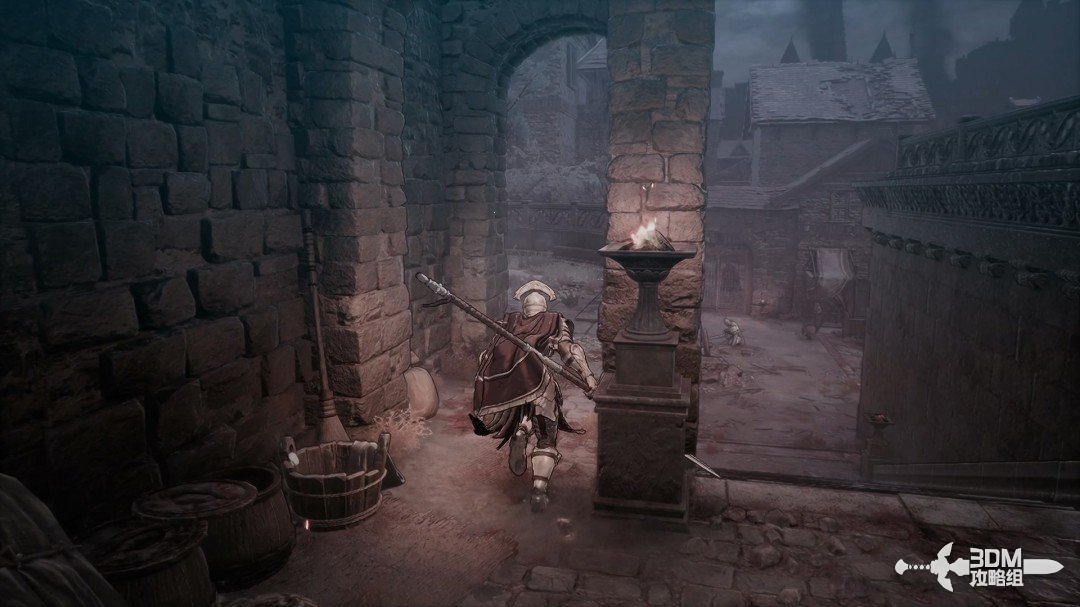
Doomed city entrance: follow the stairs and take the elevator down · route image 4

02Nexus below the elevator: break the right wooden barrier for the Soulstone

Rest at the new Nexus below.
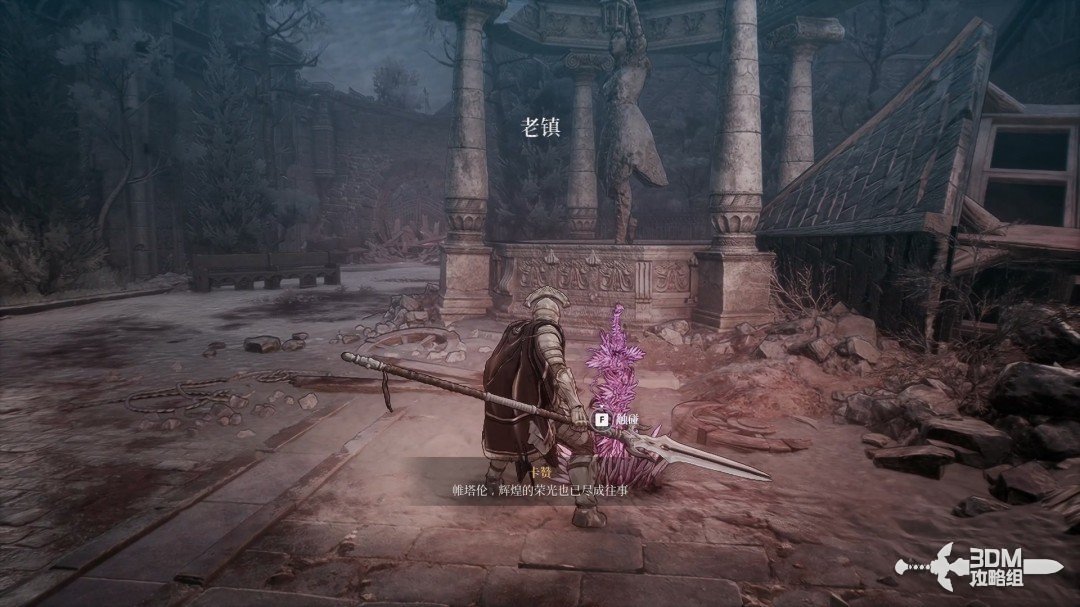
Nexus below the elevator: break the right wooden barrier for the Soulstone · route image 5

Look right and break the wooden railing.
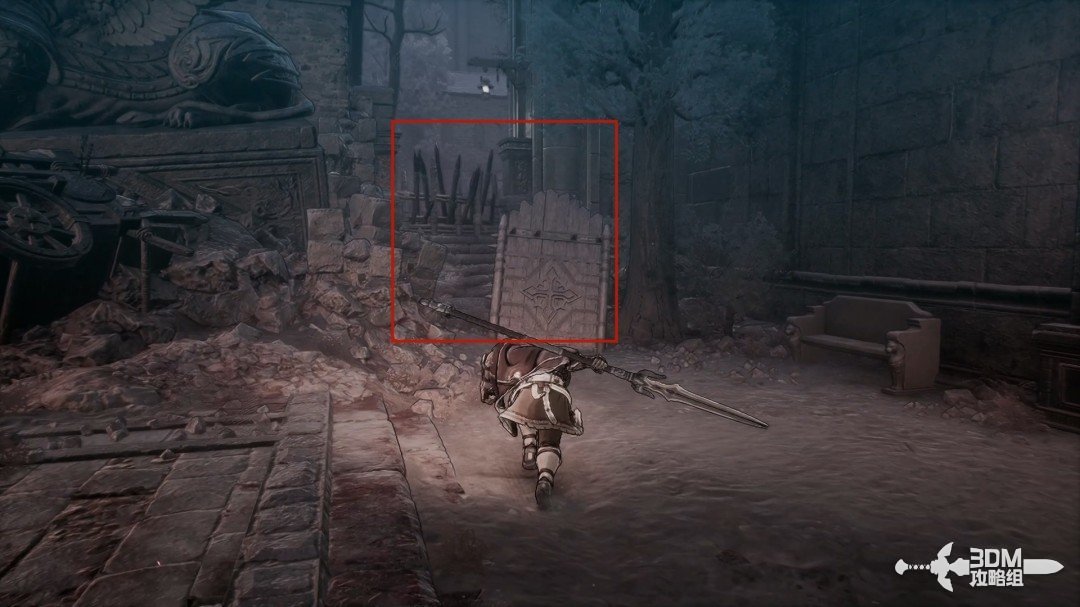
Nexus below the elevator: break the right wooden barrier for the Soulstone · route image 6

Find the Soulstone inside.

Nexus below the elevator: break the right wooden barrier for the Soulstone · route image 7

04Paired lower stairs: supplies on the left and Reese's record in the room on the right

Drop left toward two soldiers.
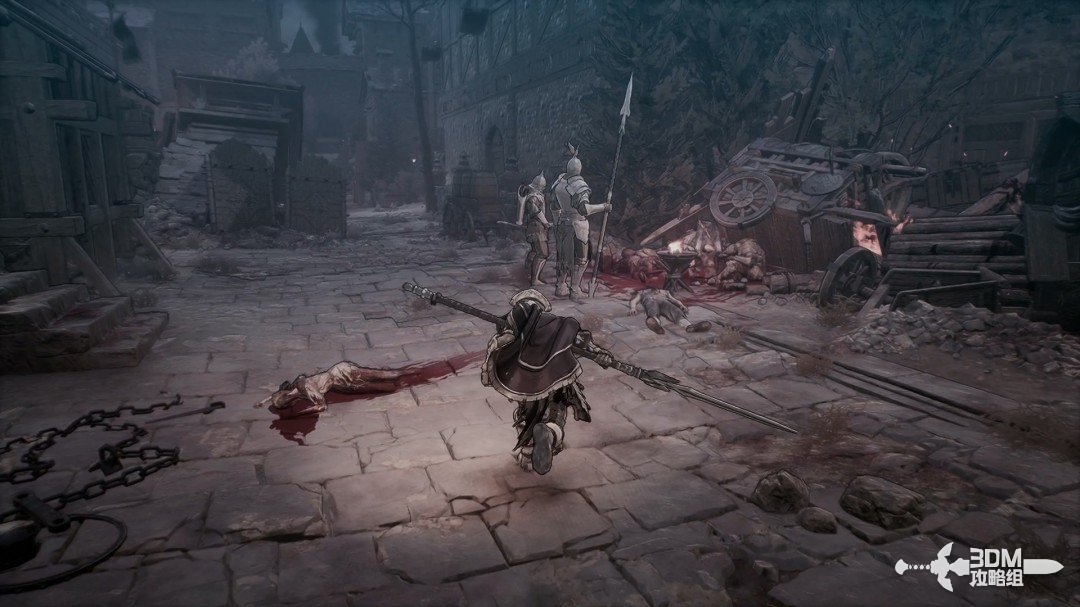
Paired lower stairs: supplies on the left and Reese's record in the room on the right · route image 1

Defeat them and climb left for a purple item.
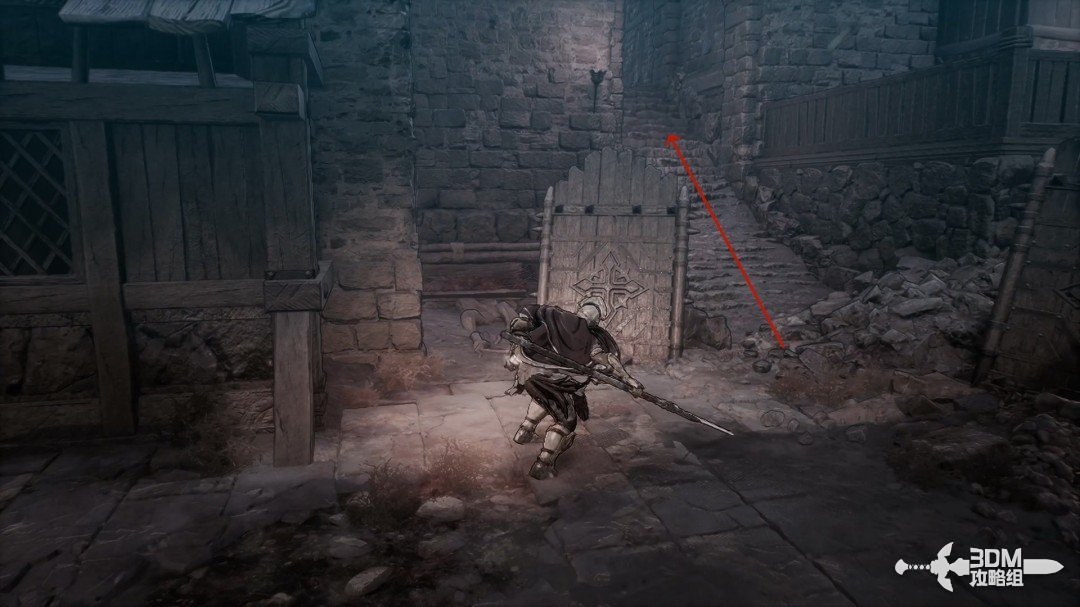
Paired lower stairs: supplies on the left and Reese's record in the room on the right · route image 2

Take the right stairs toward more soldiers.
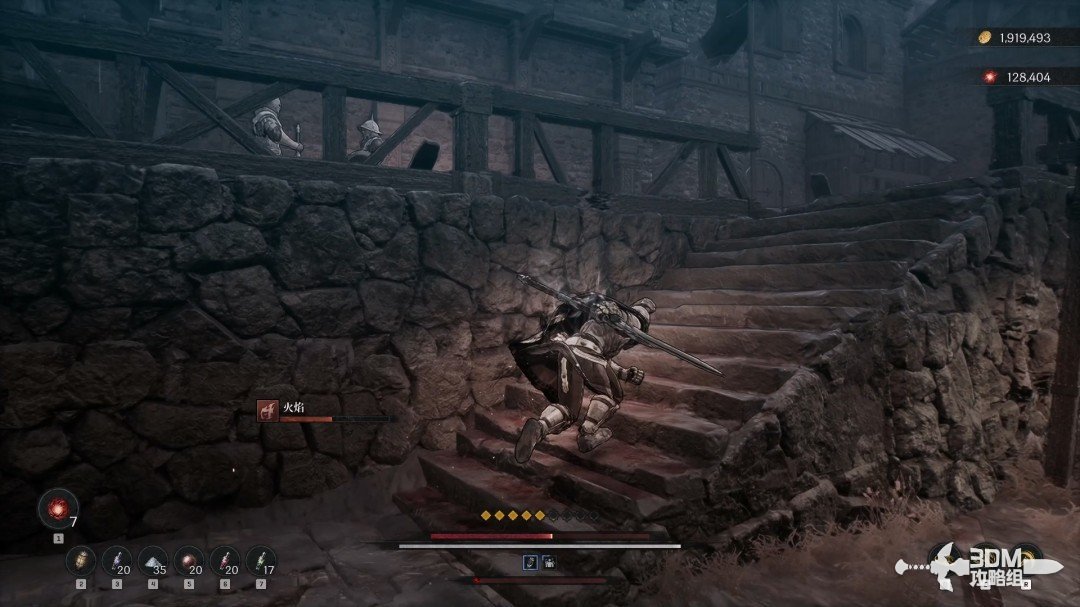
Paired lower stairs: supplies on the left and Reese's record in the room on the right · route image 3

Collect the golden material behind these two soldiers.
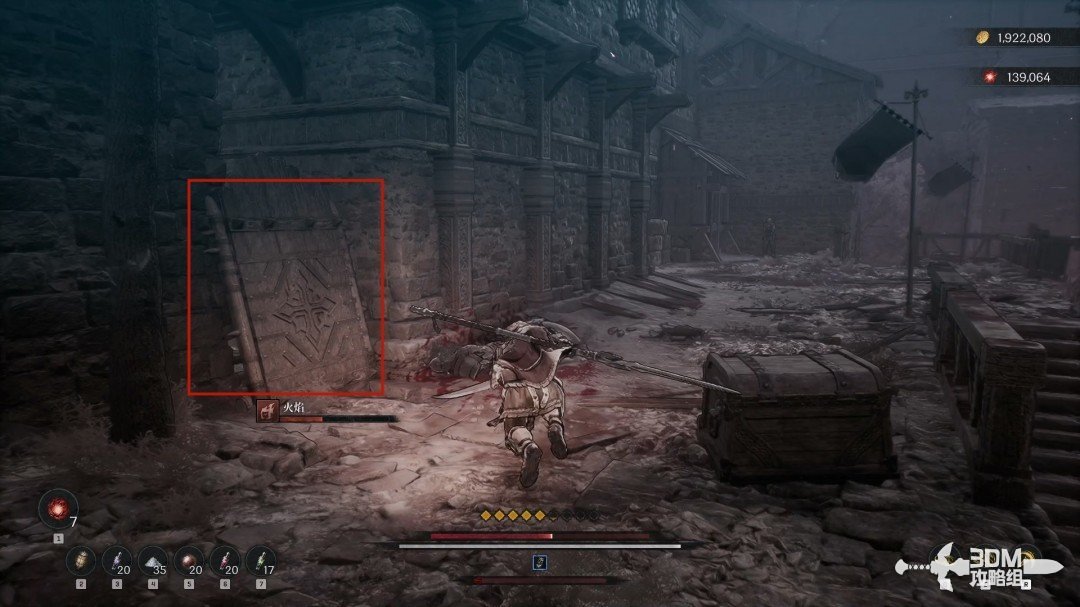
Paired lower stairs: supplies on the left and Reese's record in the room on the right · route image 4

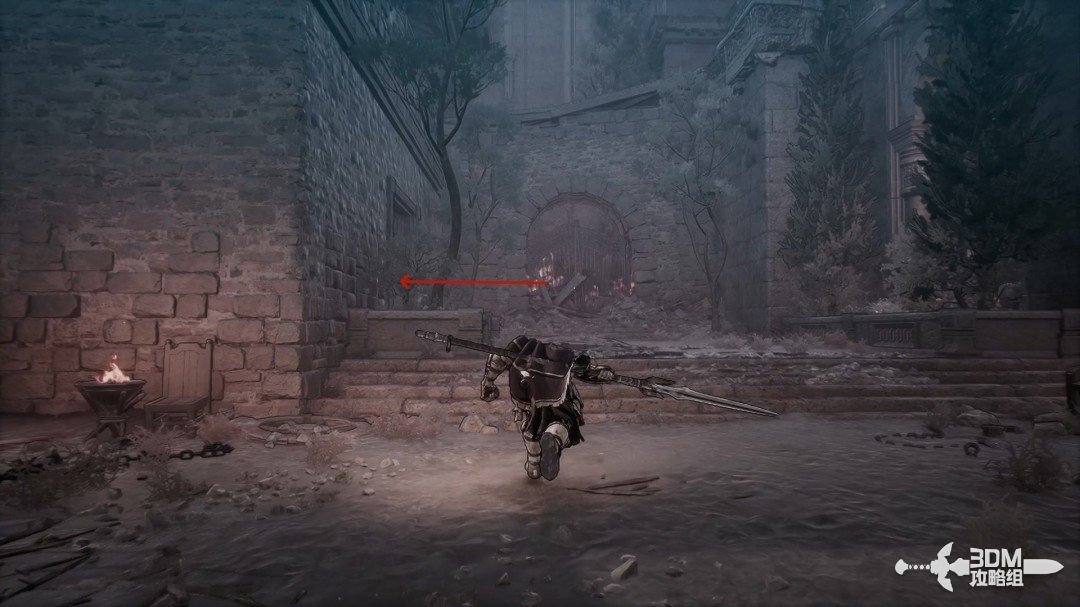
Follow the main route through the left door.
Paired lower stairs: supplies on the left and Reese's record in the room on the right · route image 5

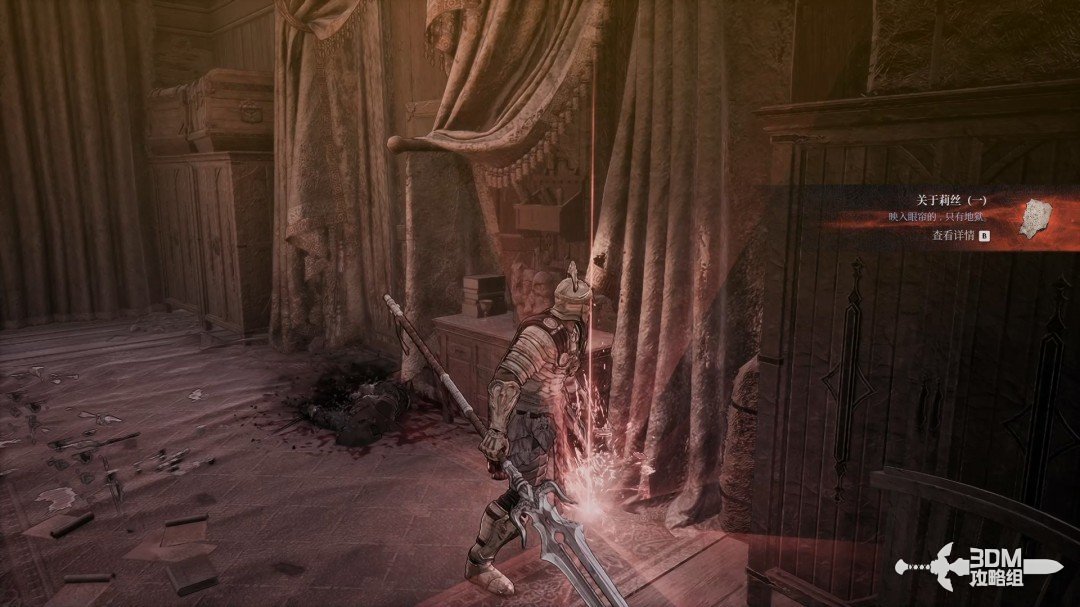
Clear the soldiers inside and collect About Reese I in the upper-right corner.
Paired lower stairs: supplies on the left and Reese's record in the room on the right · route image 6

06Adjacent fork and gate beyond the bridge: search the chest and lower the Nexus shortcut ladder

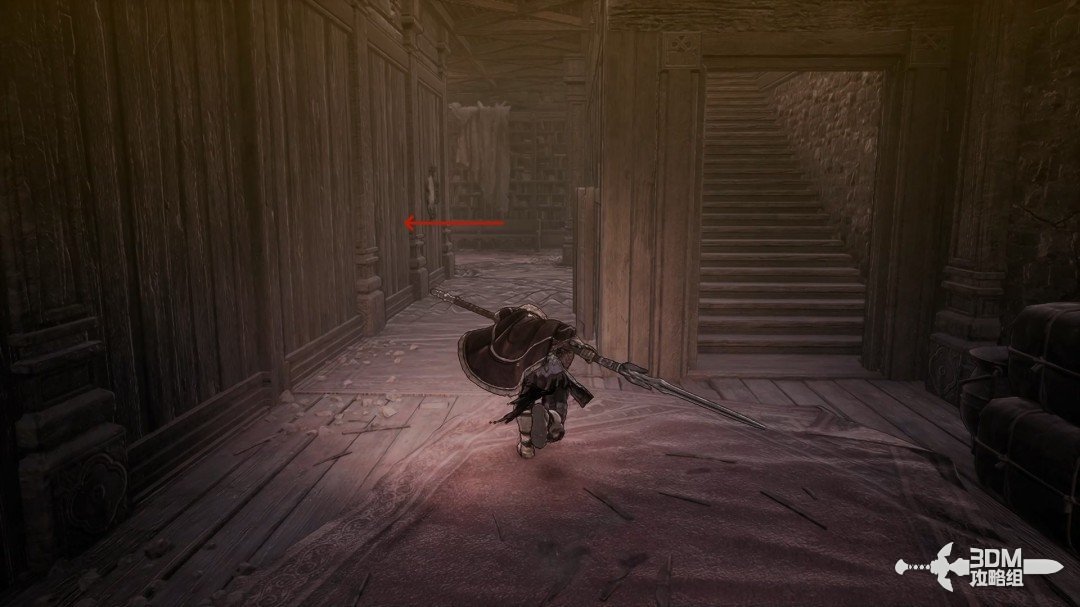
The next room forks. Explore left first for a chest.
Adjacent fork and gate beyond the bridge: search the chest and lower the Nexus shortcut ladder · route image 1

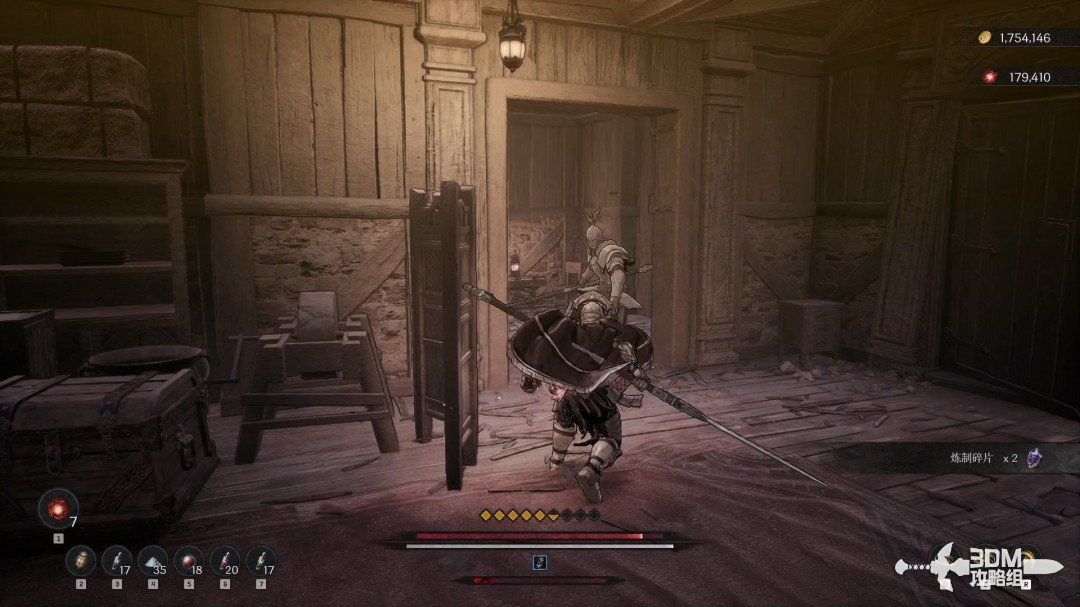
Return, climb the stairs and continue left.
Adjacent fork and gate beyond the bridge: search the chest and lower the Nexus shortcut ladder · route image 2

Leave the room and cross the bridge.

Adjacent fork and gate beyond the bridge: search the chest and lower the Nexus shortcut ladder · route image 3

Defeat the enemies on the platform and open the left gate.
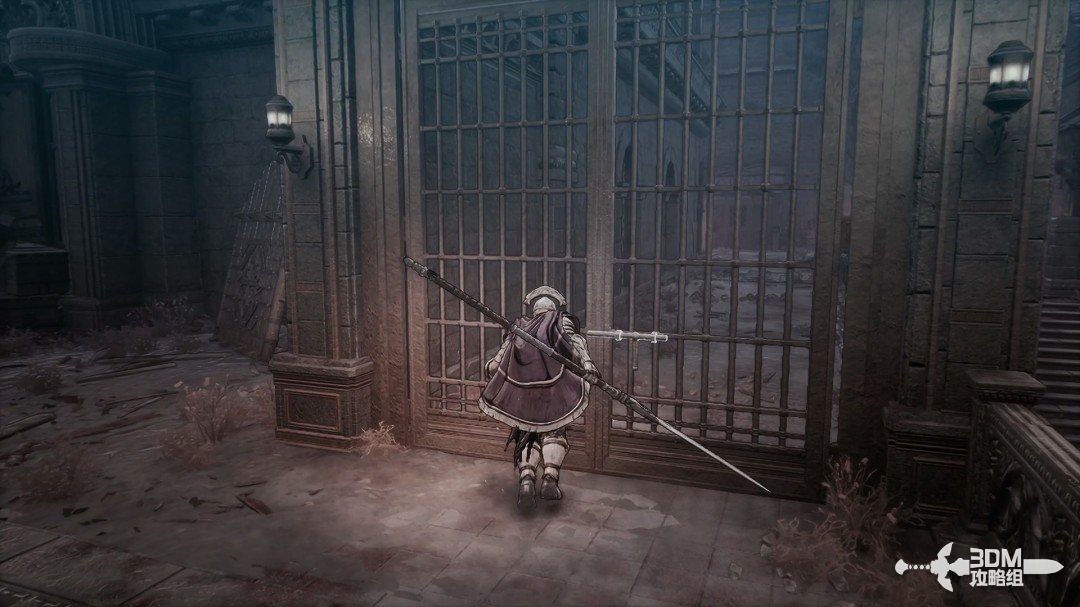
Adjacent fork and gate beyond the bridge: search the chest and lower the Nexus shortcut ladder · route image 4

Clear the group to the right beyond it for a white item.
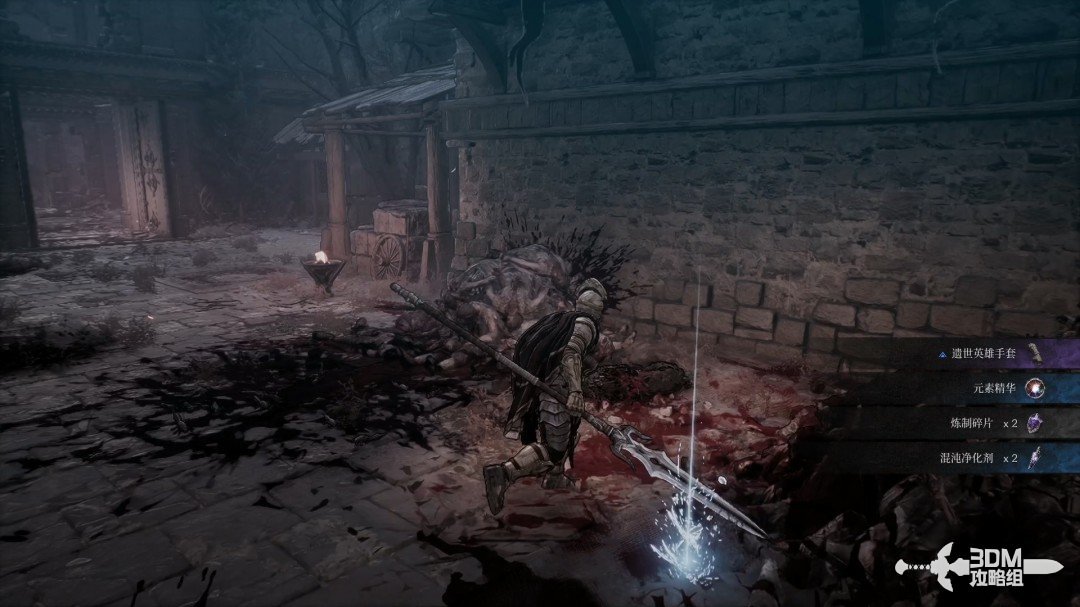
Adjacent fork and gate beyond the bridge: search the chest and lower the Nexus shortcut ladder · route image 5

Lower the ladder in the left house to reconnect with the earlier Nexus.
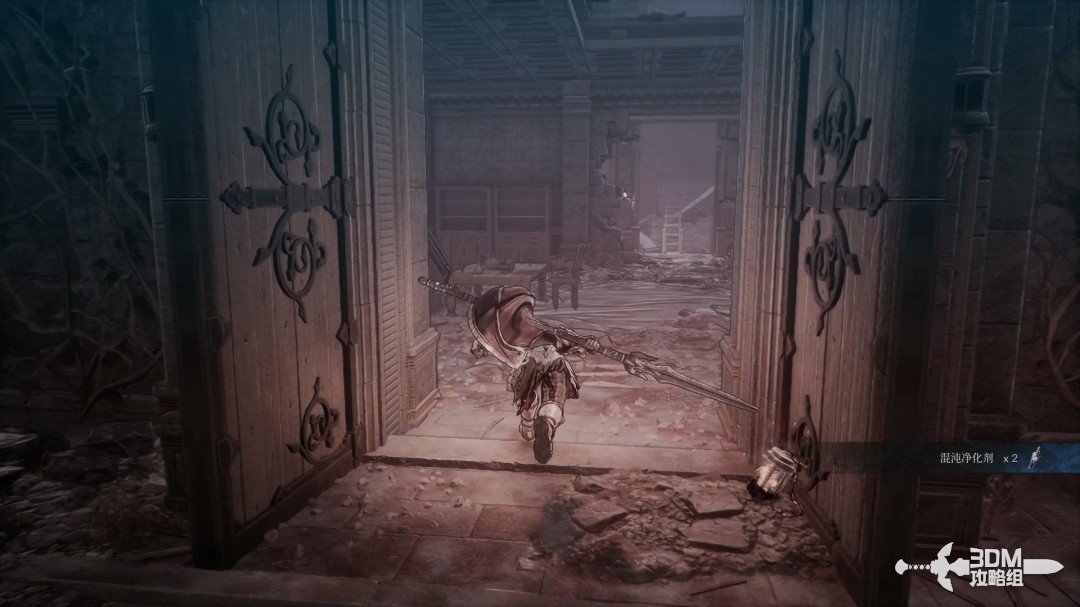
Adjacent fork and gate beyond the bridge: search the chest and lower the Nexus shortcut ladder · route image 6

07Left room branch and purple-mist route: search the record before the statue

After resting, return and climb these stairs.
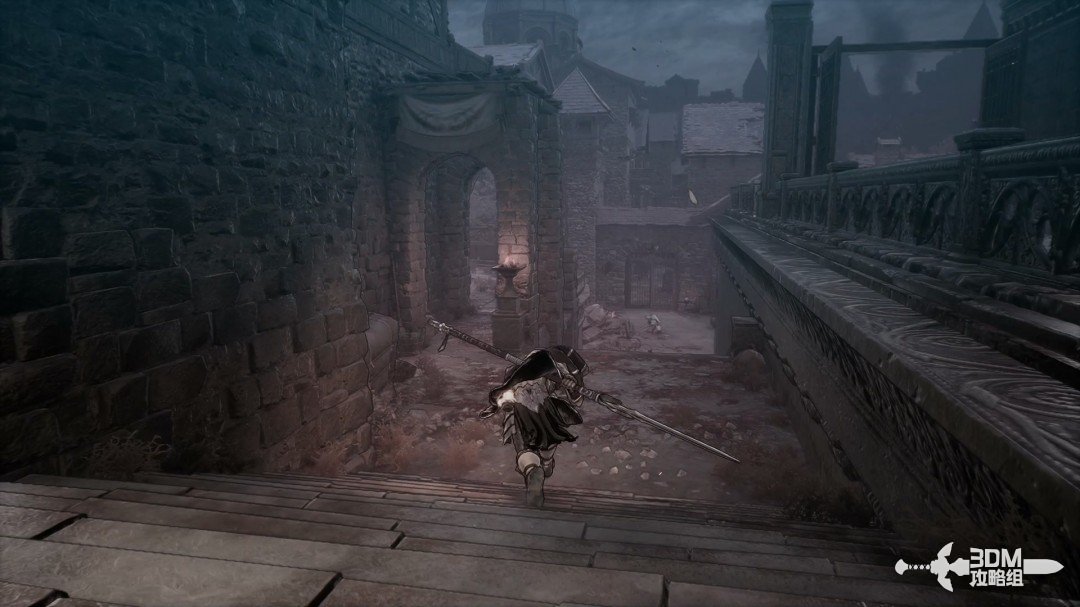
Left room branch and purple-mist route: search the record before the statue · route image 7

Explore the small left branch first.

Left room branch and purple-mist route: search the record before the statue · route image 8

Climb into the room, then descend inside for a chest on its ground floor.
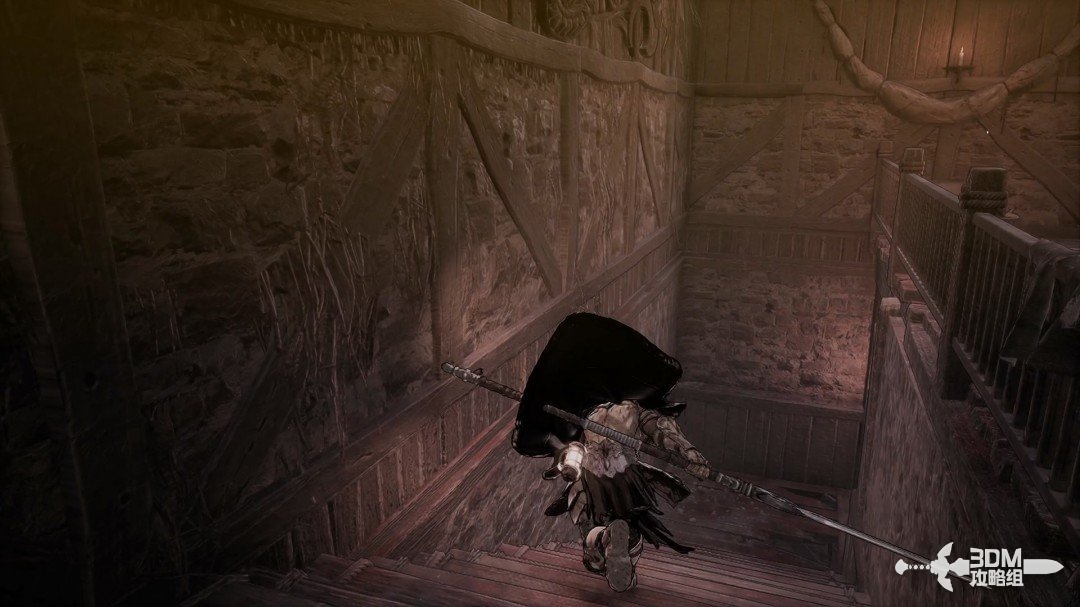
Left room branch and purple-mist route: search the record before the statue · route image 9
Left room branch and purple-mist route: search the record before the statue · route image 10

Return to the main route afterward.

Left room branch and purple-mist route: search the record before the statue · route image 11

Absorb the memory on the right.

Left room branch and purple-mist route: search the record before the statue · route image 12

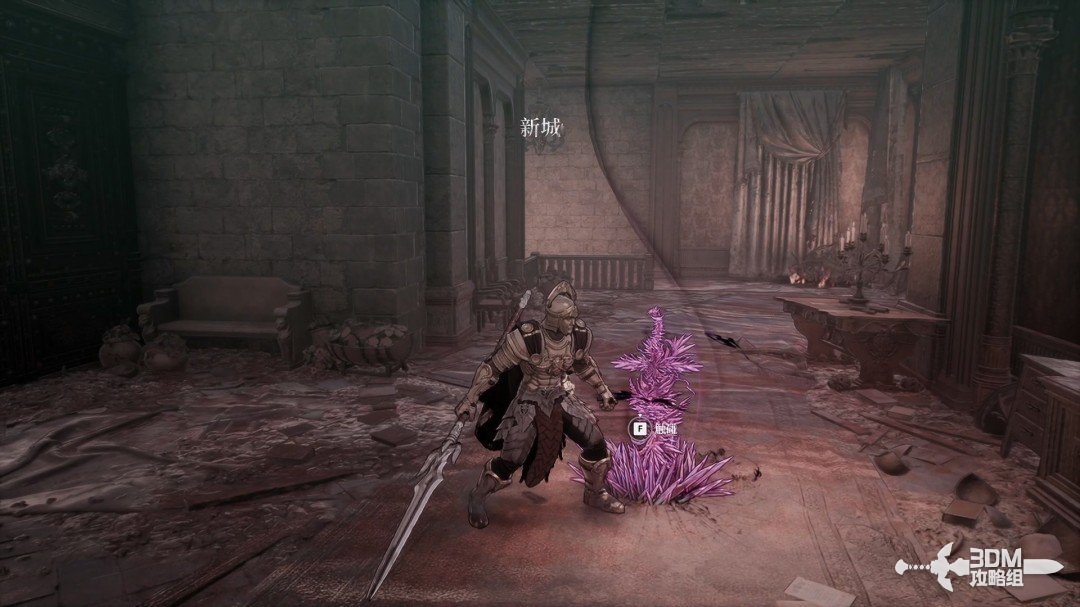
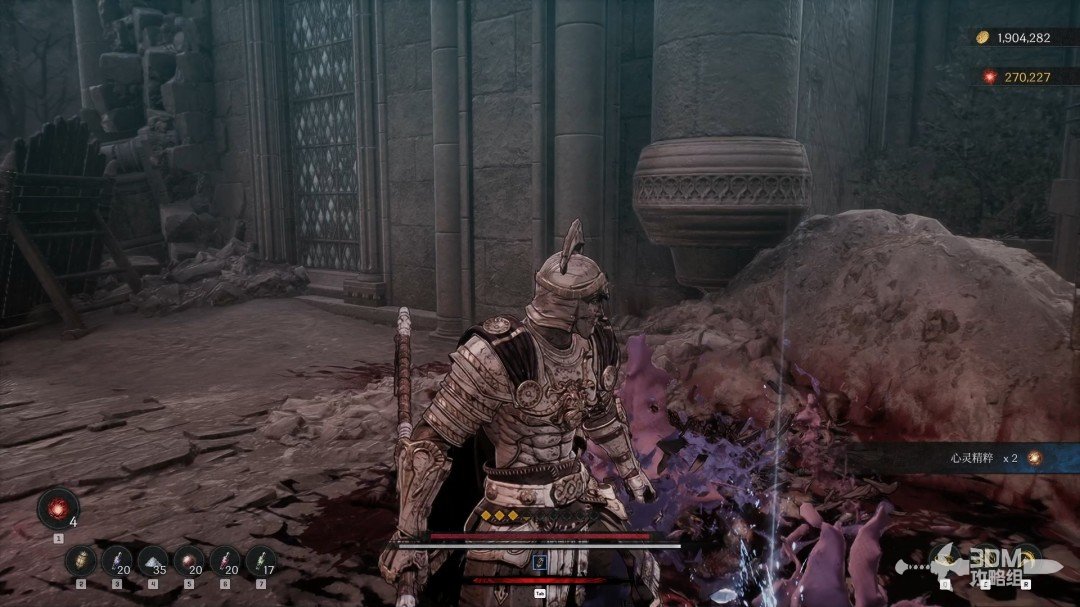
Open the nearby gate. Destroy the purple growths that inflict chaos buildup. Their explosions can also exhaust nearby enemies, and some foes appear protected while the growths remain.
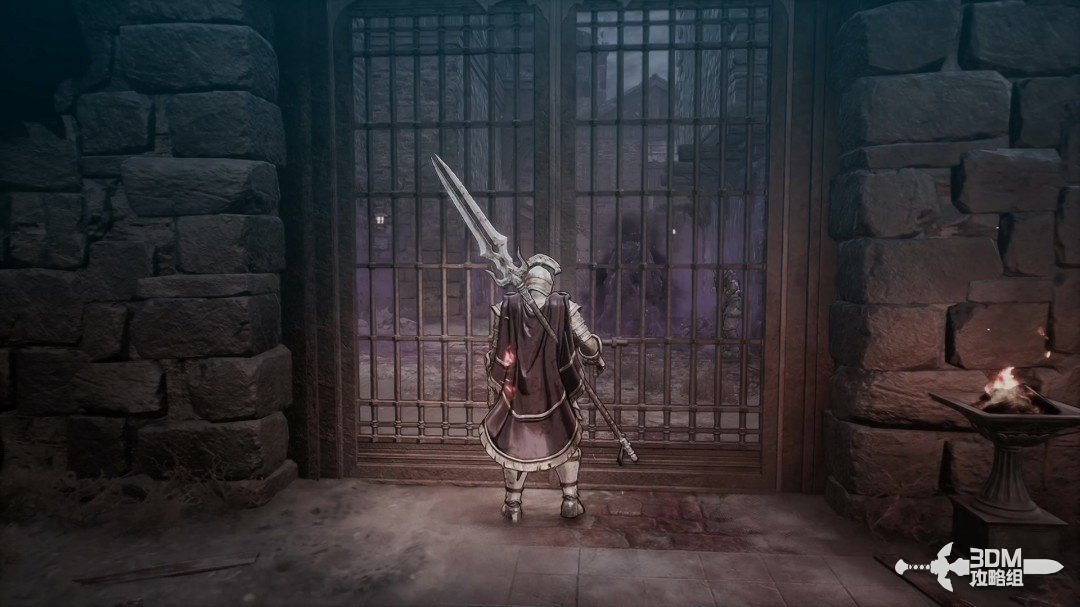
Left room branch and purple-mist route: search the record before the statue · route image 13

Collect the purple item in the farthest corner ahead.
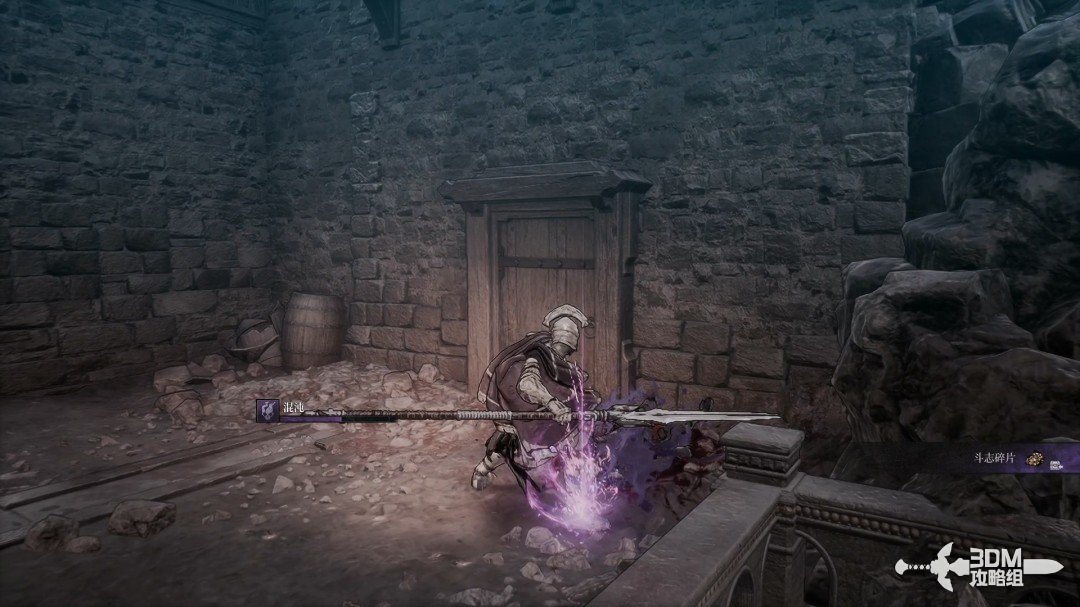
Left room branch and purple-mist route: search the record before the statue · route image 14

Collect The Day the Black Moon Rose IV in front of the right statue.
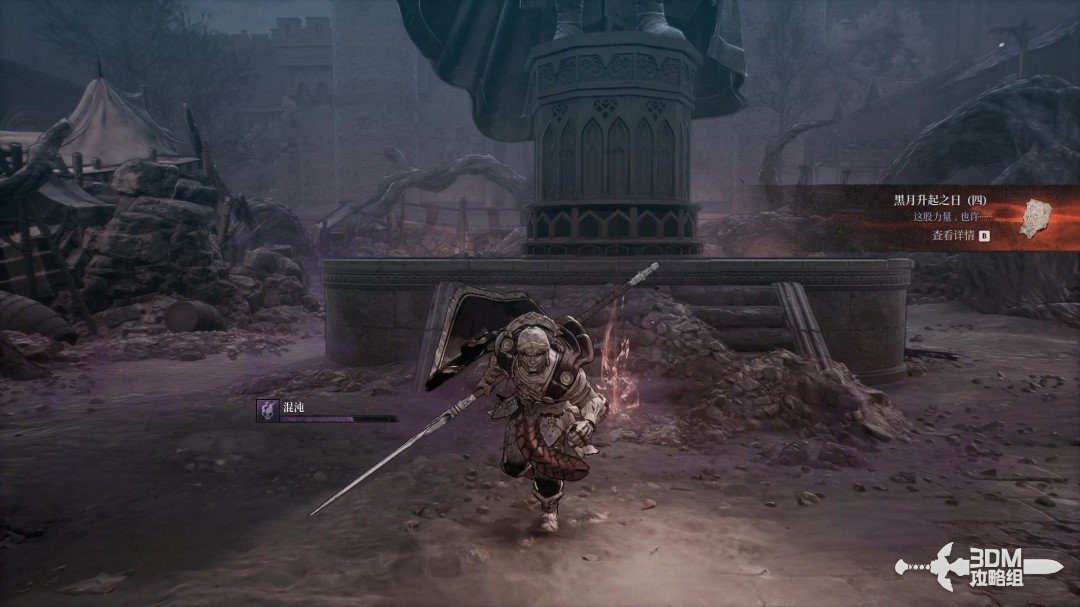
Left room branch and purple-mist route: search the record before the statue · route image 15

09Streets blocked by growths: search the right stair chest and Soulstone inside the wall

Continue, destroying the growth blocking the path.
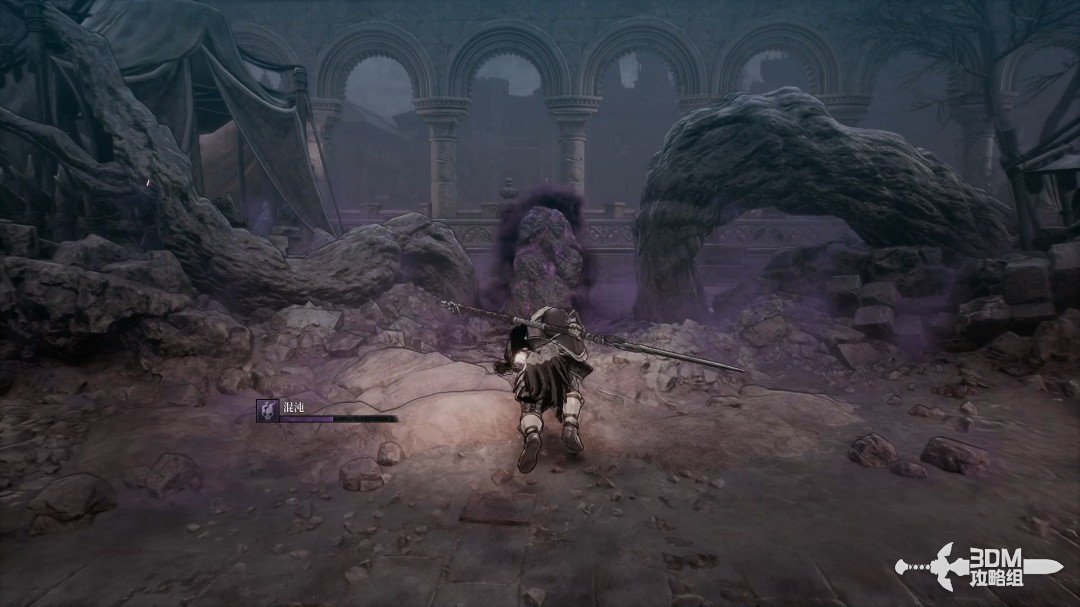
Streets blocked by growths: search the right stair chest and Soulstone inside the wall · route image 1

Watch for a pouncing ambush from the left here.
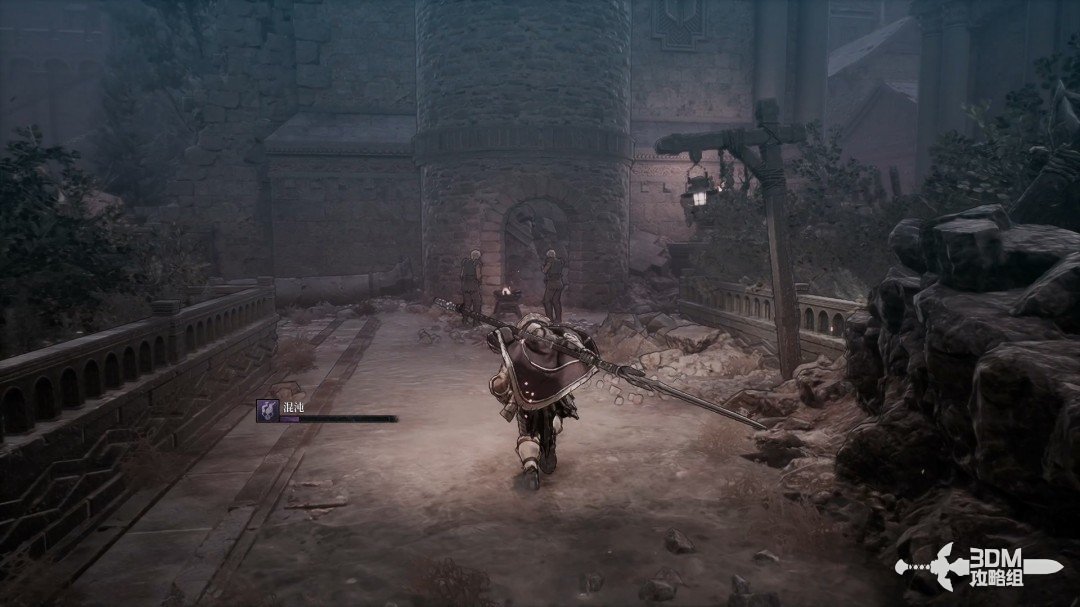
Streets blocked by growths: search the right stair chest and Soulstone inside the wall · route image 2

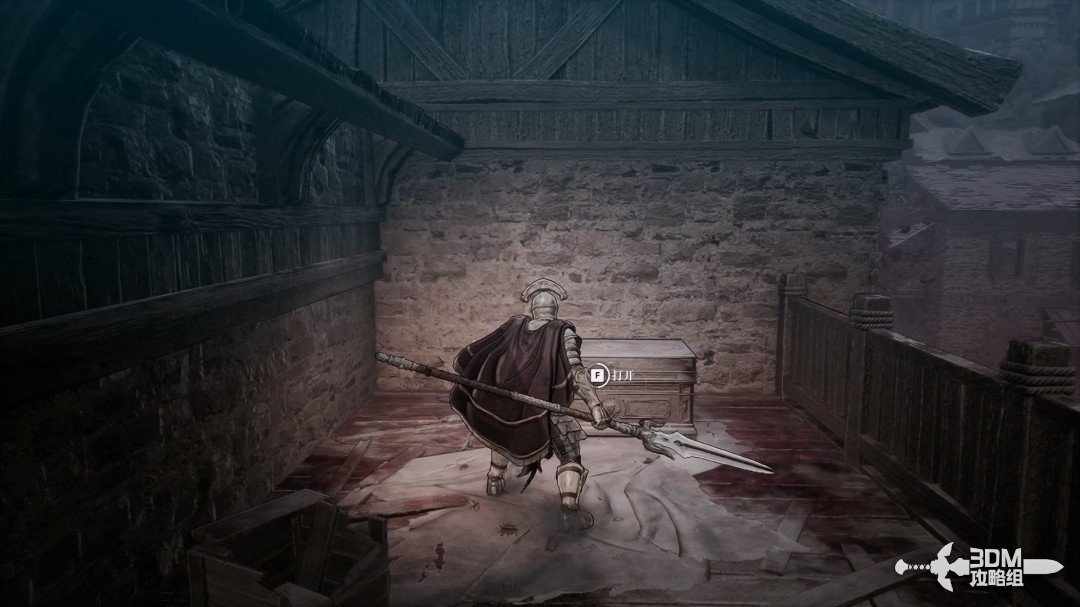
Climb the right stairs ahead for a chest.
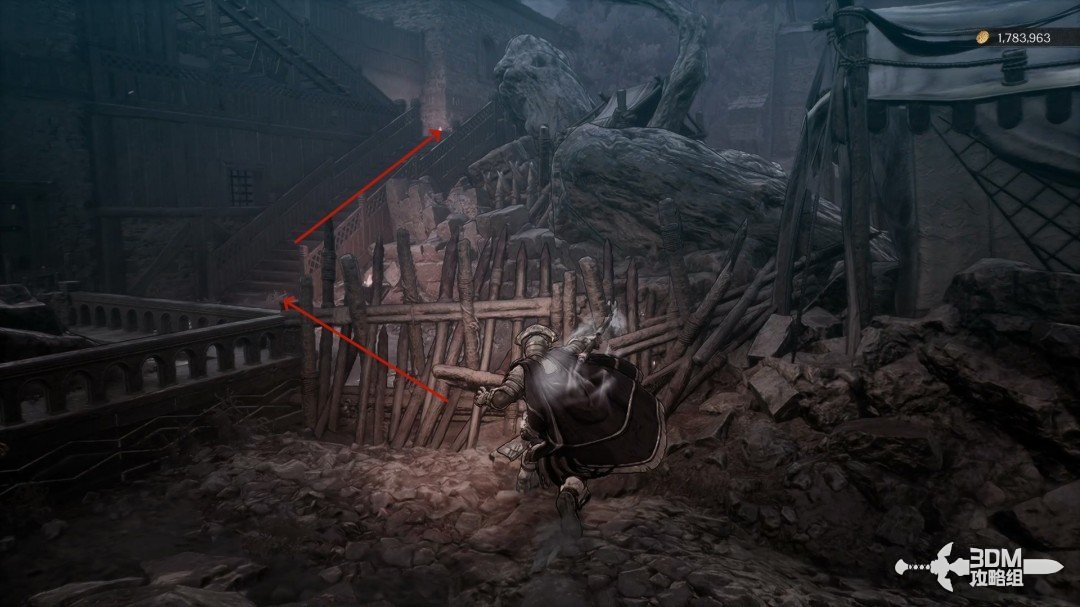
Streets blocked by growths: search the right stair chest and Soulstone inside the wall · route image 3
Streets blocked by growths: search the right stair chest and Soulstone inside the wall · route image 4

Descend afterward and continue forward.
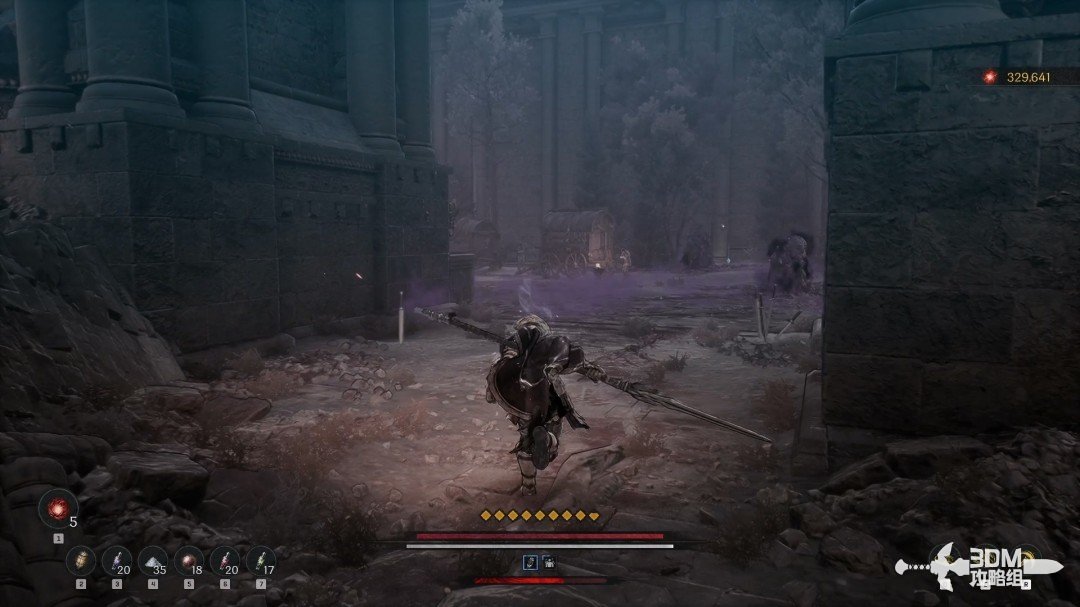
Streets blocked by growths: search the right stair chest and Soulstone inside the wall · route image 5

Explore right first for a Soulstone embedded in the wall.
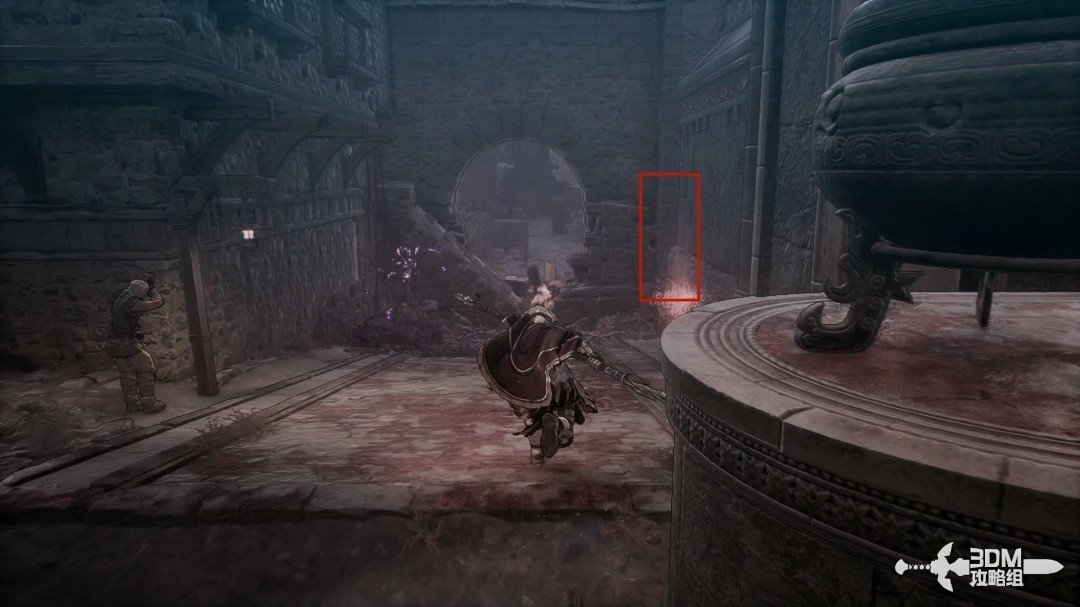
Streets blocked by growths: search the right stair chest and Soulstone inside the wall · route image 6
Streets blocked by growths: search the right stair chest and Soulstone inside the wall · route image 7

11Nexus beyond the gate and bridge: descend by elevator and meet Andell

Search nearby for additional minor items if desired.
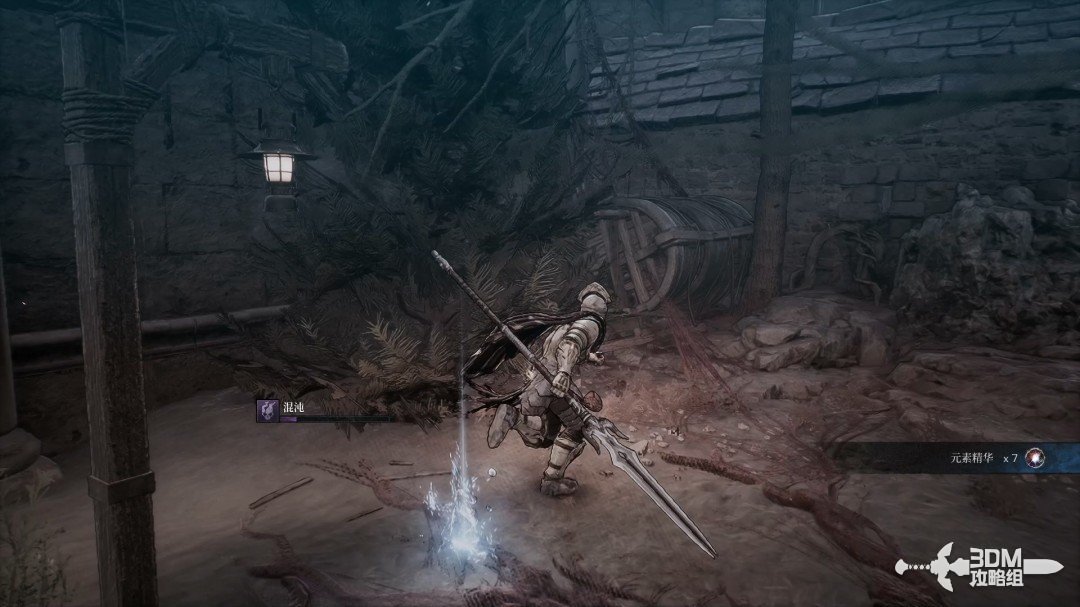
Nexus beyond the gate and bridge: descend by elevator and meet Andell · route image 1

Take the main route through the iron gate.
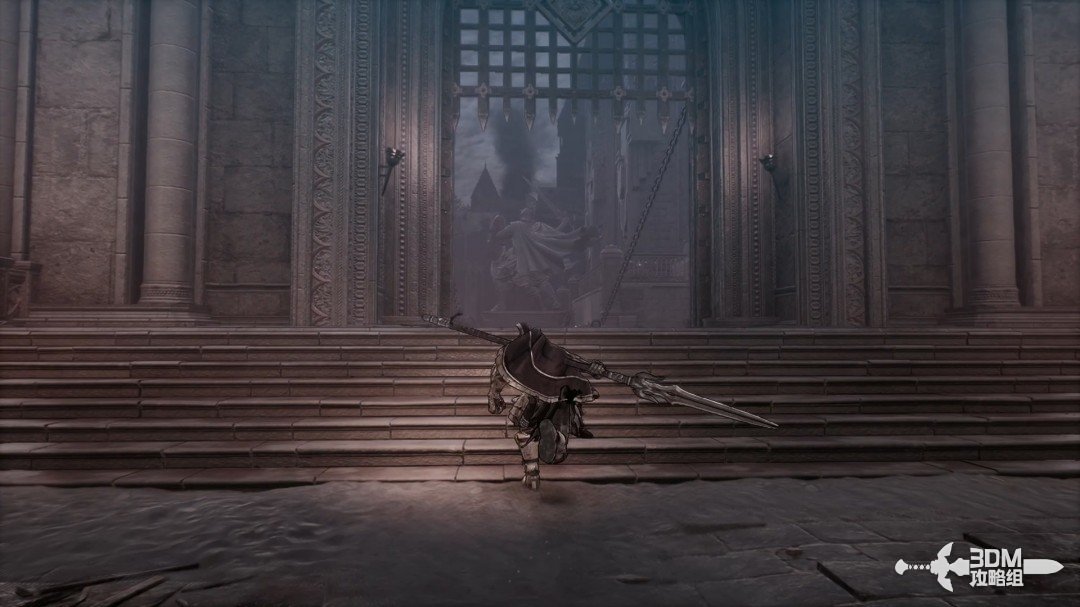
Nexus beyond the gate and bridge: descend by elevator and meet Andell · route image 2

Cross the bridge to a new Nexus.

Nexus beyond the gate and bridge: descend by elevator and meet Andell · route image 3

Rest and absorb the memory on the left.
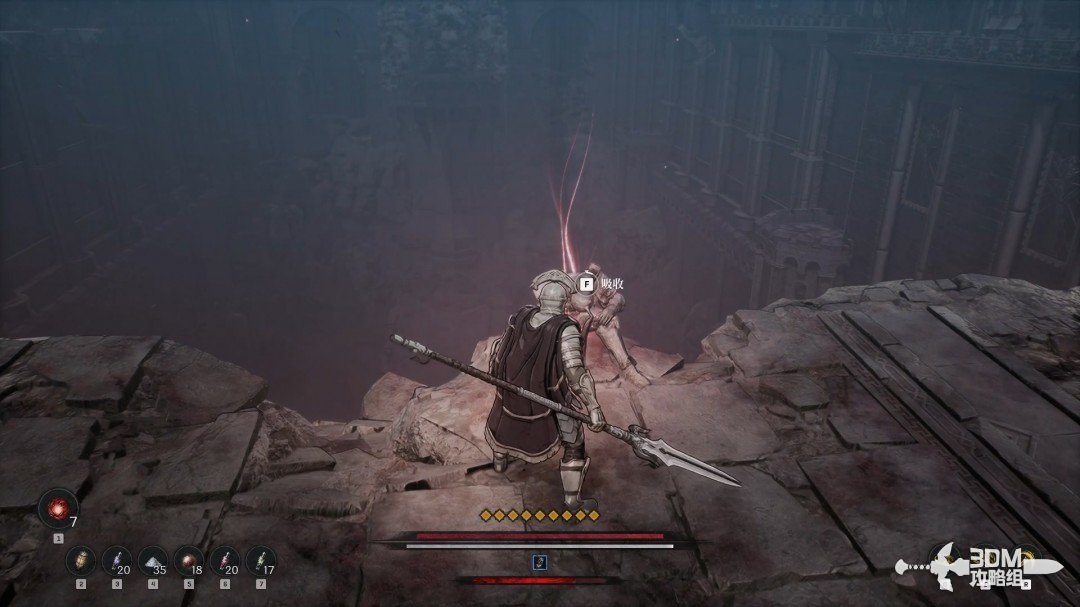
Nexus beyond the gate and bridge: descend by elevator and meet Andell · route image 4

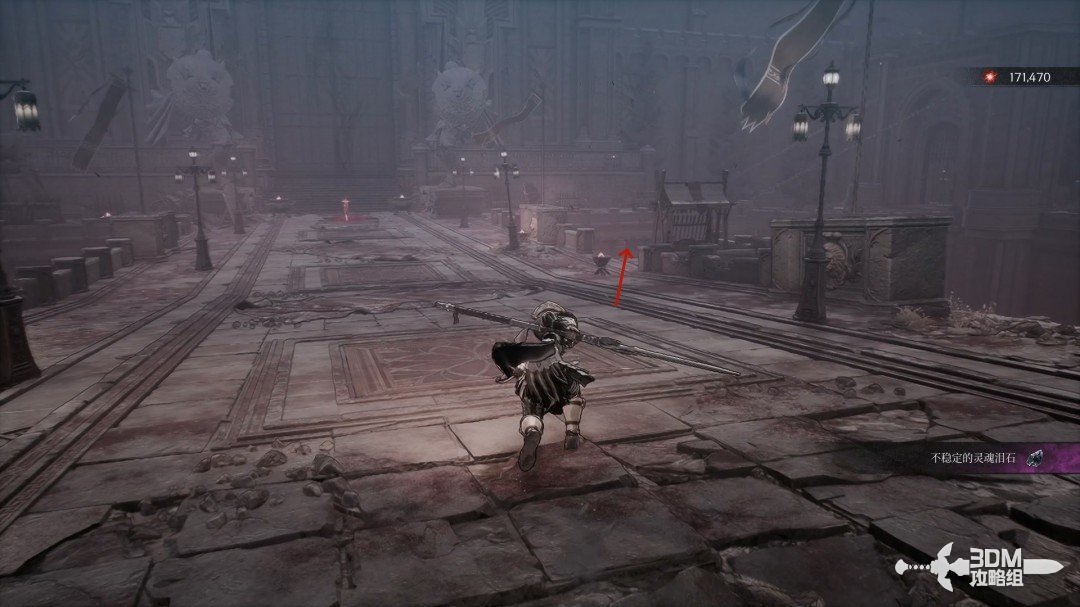
Turn back and take the stairs descending on the right.
Nexus beyond the gate and bridge: descend by elevator and meet Andell · route image 5

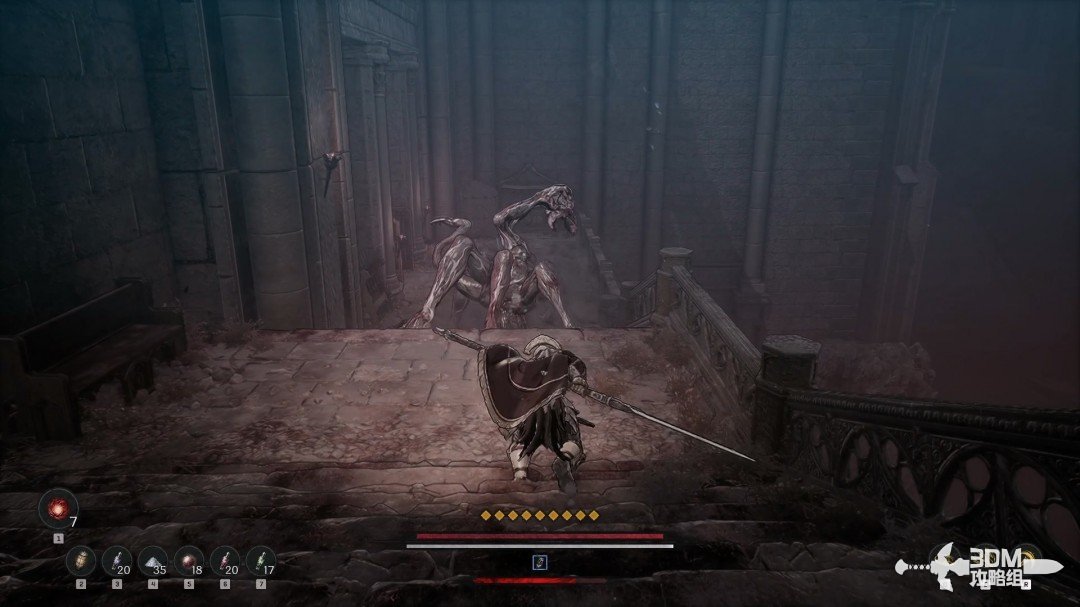
An enemy jumps down to block this part of the staircase.
Nexus beyond the gate and bridge: descend by elevator and meet Andell · route image 6

Enter the left door afterward.

Nexus beyond the gate and bridge: descend by elevator and meet Andell · route image 7

Take the elevator inside.

Nexus beyond the gate and bridge: descend by elevator and meet Andell · route image 8

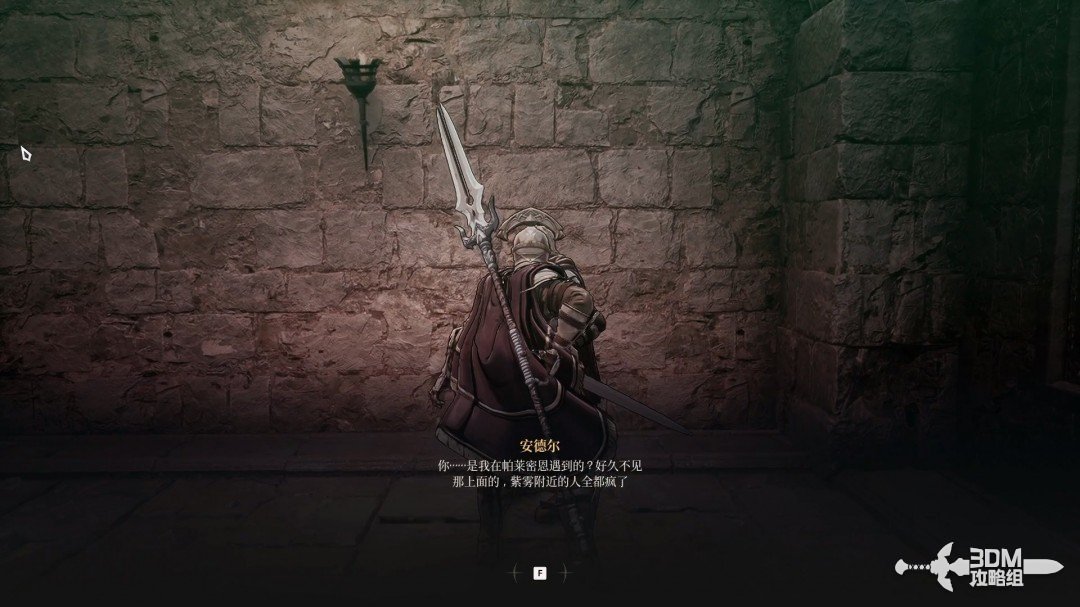
Speak to Andell ahead after descending; you met him earlier in the campaign.
Nexus beyond the gate and bridge: descend by elevator and meet Andell · route image 9

12Lower edge and zombie slope: drop along the left to the ghostly hammer

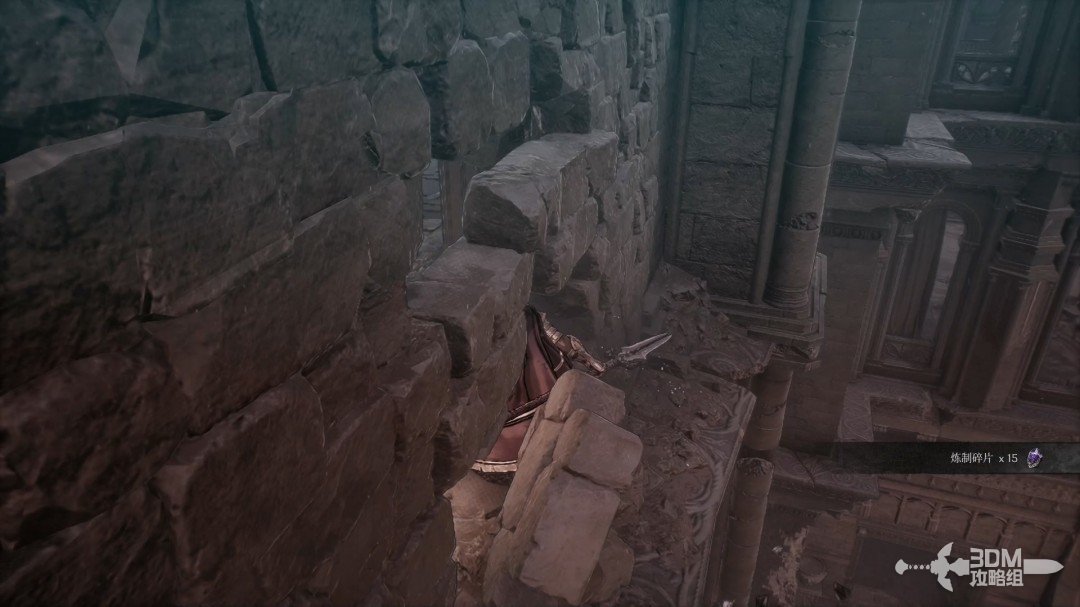
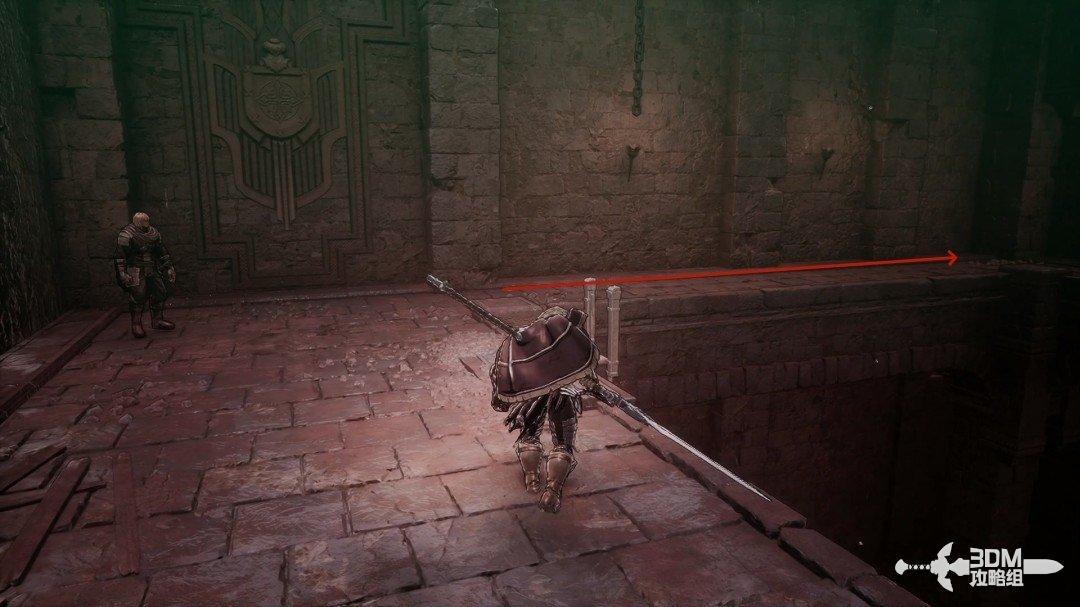
Follow the edge across for a purple item.
Lower edge and zombie slope: drop along the left to the ghostly hammer · route image 10
Lower edge and zombie slope: drop along the left to the ghostly hammer · route image 11

Descend the ladder toward the undead below.
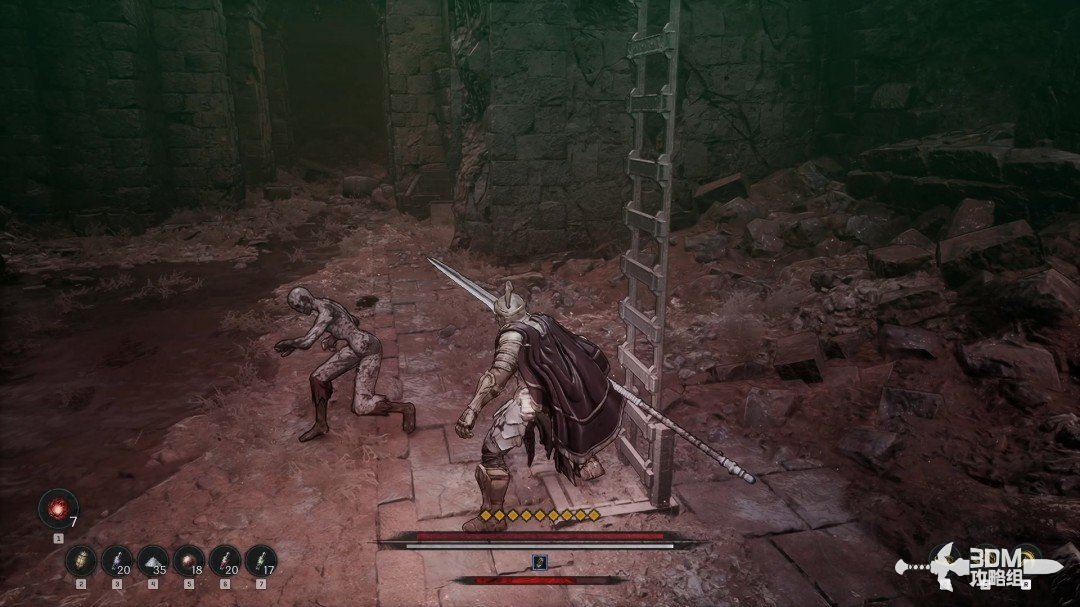
Lower edge and zombie slope: drop along the left to the ghostly hammer · route image 12

Continue to the slope and turn left.

Lower edge and zombie slope: drop along the left to the ghostly hammer · route image 13

Drop along the ledges for the Ghostly Hammer below.
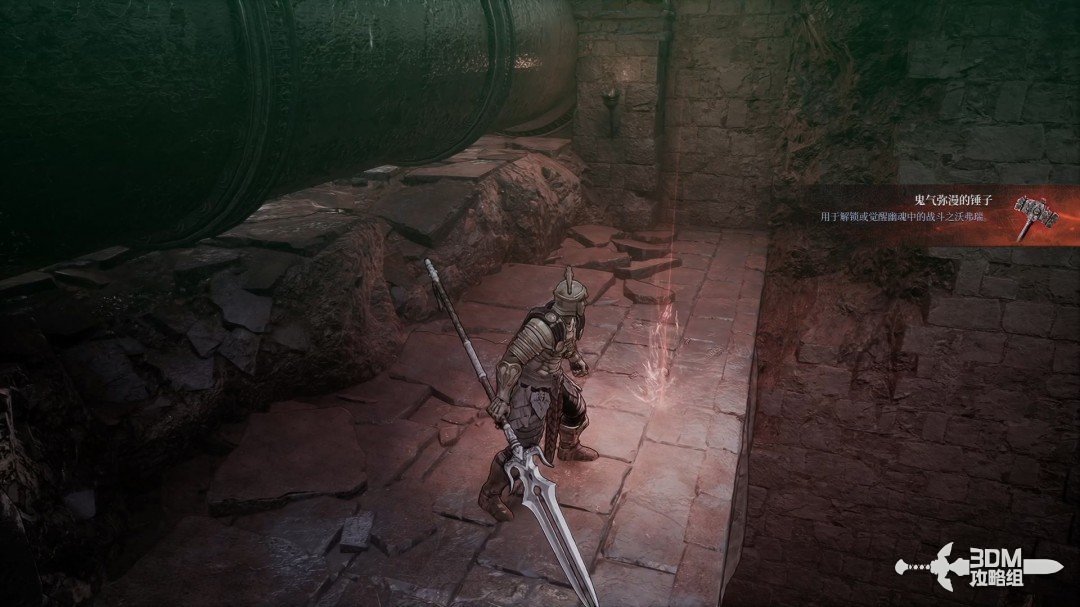
Lower edge and zombie slope: drop along the left to the ghostly hammer · route image 14

14Paired fireball foes below the water: use cover and search the pipe Soulstone

Continue down toward two dangerous fireball casters. Use nearby cover to fight them safely.
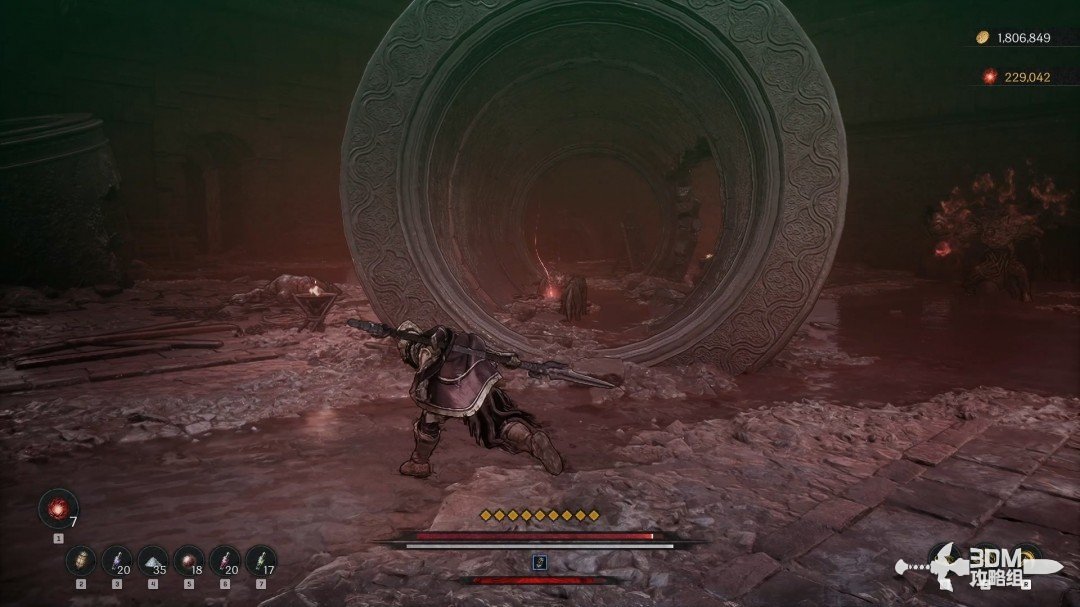
Paired fireball foes below the water: use cover and search the pipe Soulstone · route image 1

Collect the purple item beside the pipe after clearing them.
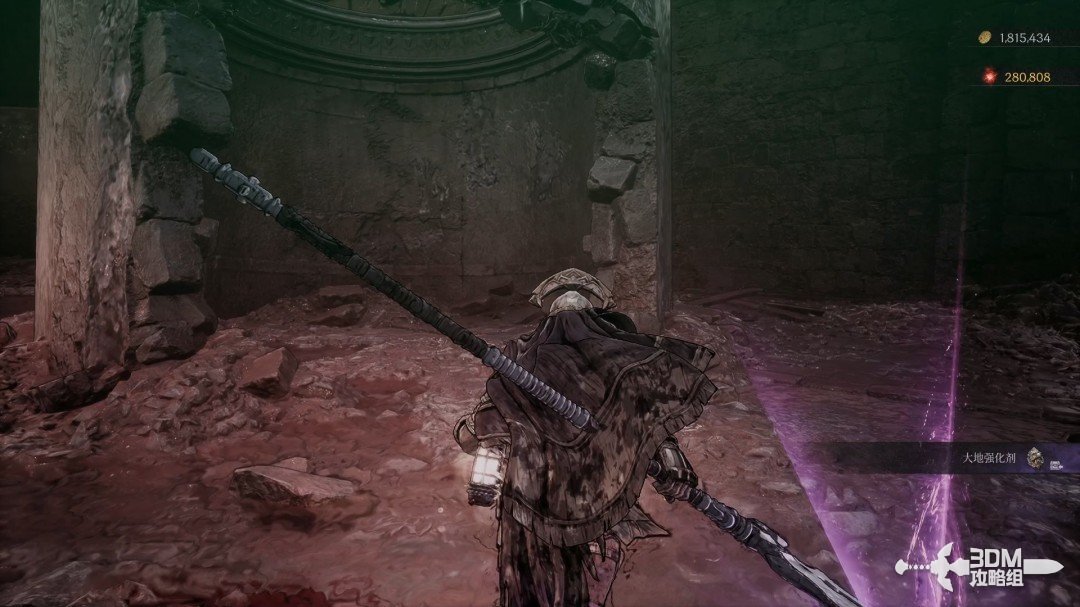
Paired fireball foes below the water: use cover and search the pipe Soulstone · route image 2

Absorb the memory inside the central pipe.
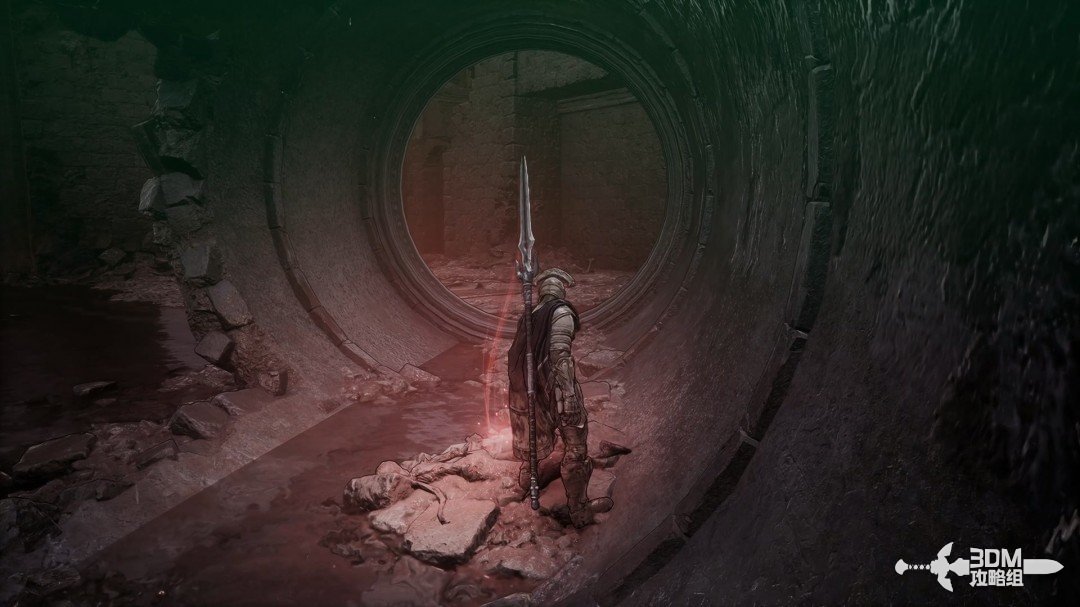
Paired fireball foes below the water: use cover and search the pipe Soulstone · route image 3

Look below the water pouring from your arrival route for a Soulstone.
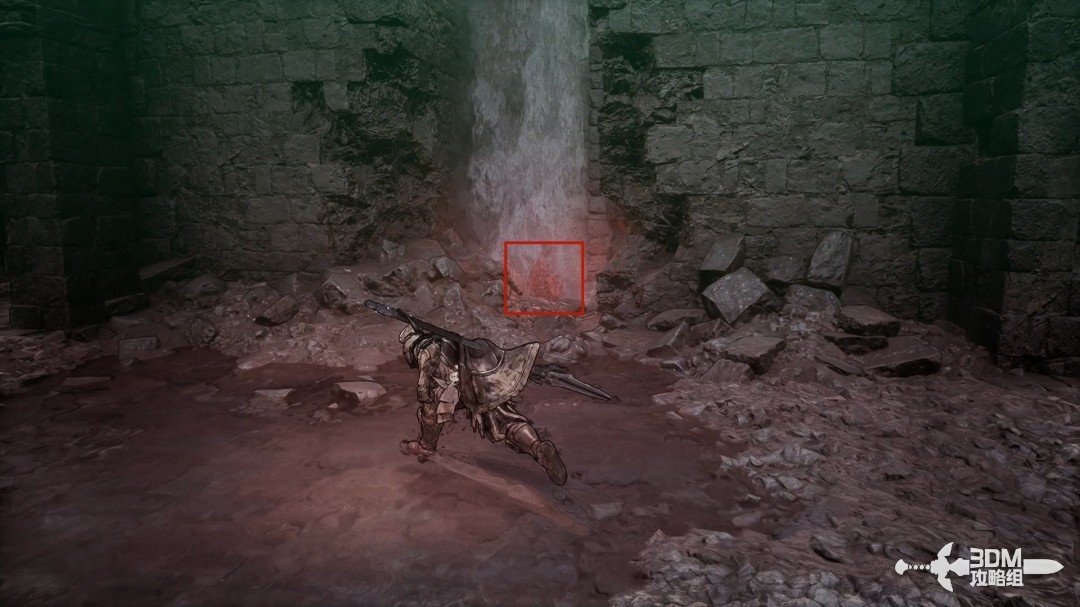
Paired fireball foes below the water: use cover and search the pipe Soulstone · route image 4

16Elevator at the pipe's end: reach the upper Nexus, then descend the stairs

Check the opposite corner for a chest.
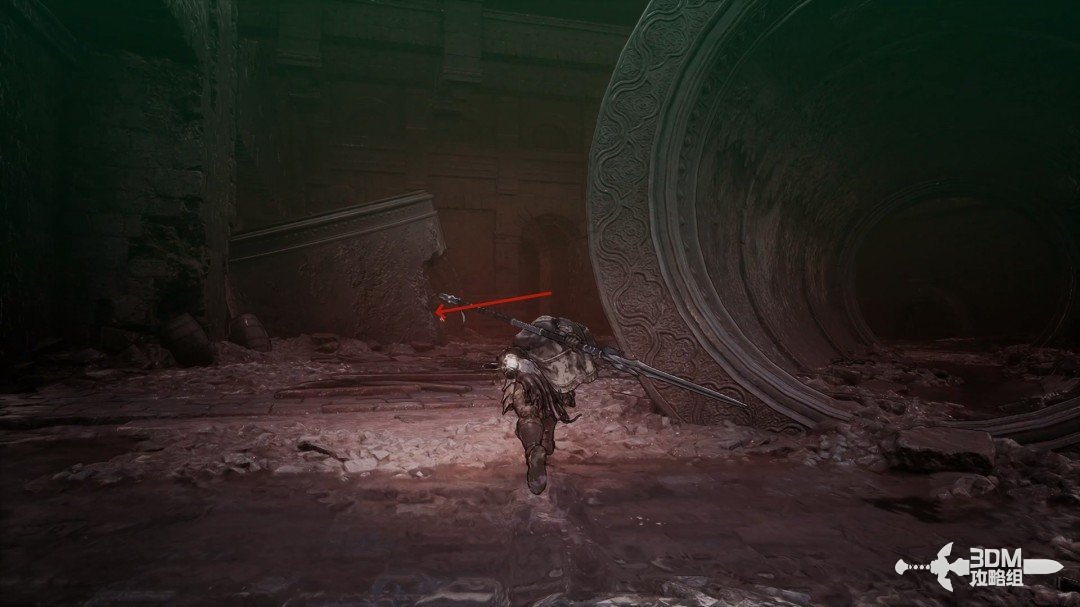
Elevator at the pipe's end: reach the upper Nexus, then descend the stairs · route image 1

Return to the main route afterward.

Elevator at the pipe's end: reach the upper Nexus, then descend the stairs · route image 2

Follow the path to an elevator at its end.
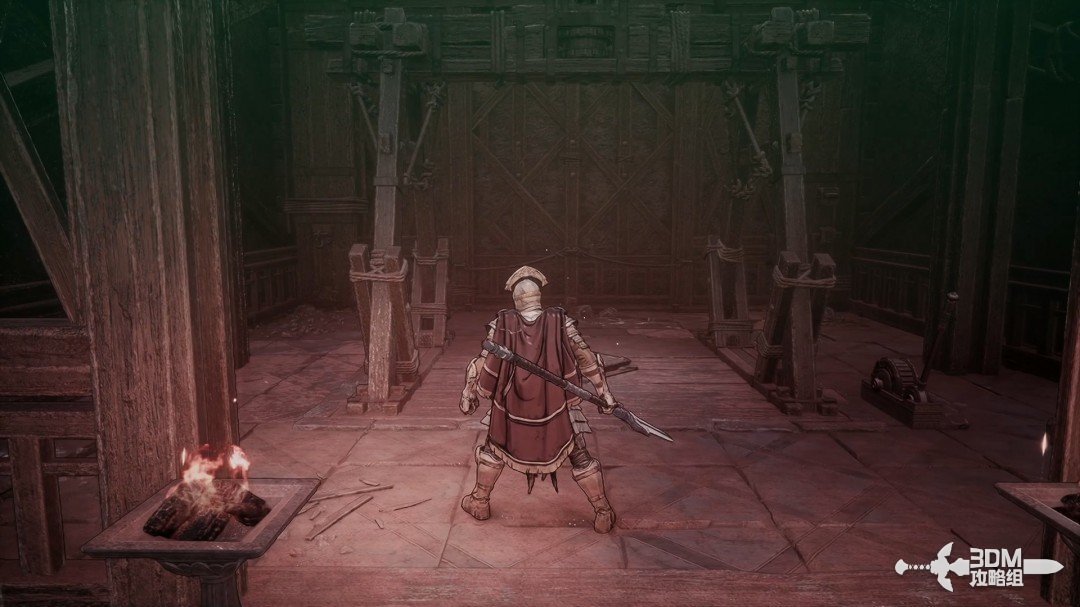
Elevator at the pipe's end: reach the upper Nexus, then descend the stairs · route image 3

Rest at the new Nexus above.

Elevator at the pipe's end: reach the upper Nexus, then descend the stairs · route image 4

Descend the left stairs; the right room is empty.
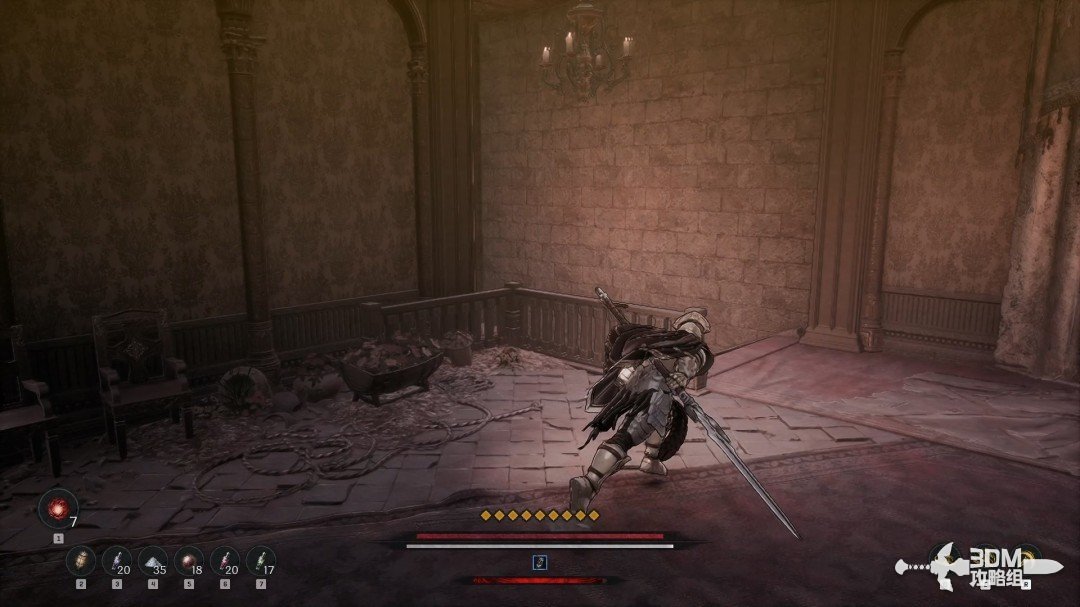
Elevator at the pipe's end: reach the upper Nexus, then descend the stairs · route image 5

On the next level, clear the right room for a white item.
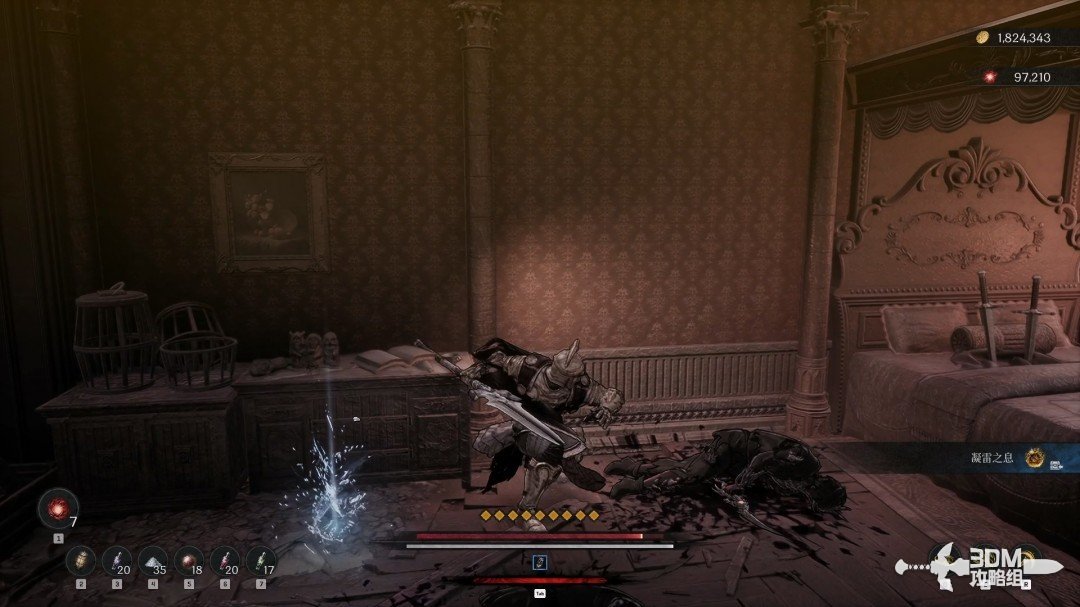
Elevator at the pipe's end: reach the upper Nexus, then descend the stairs · route image 6

17Elite guard and purple mist: climb through the side door to the diary balcony

Descend again. Collect the purple item on the left before approaching the memory ahead.
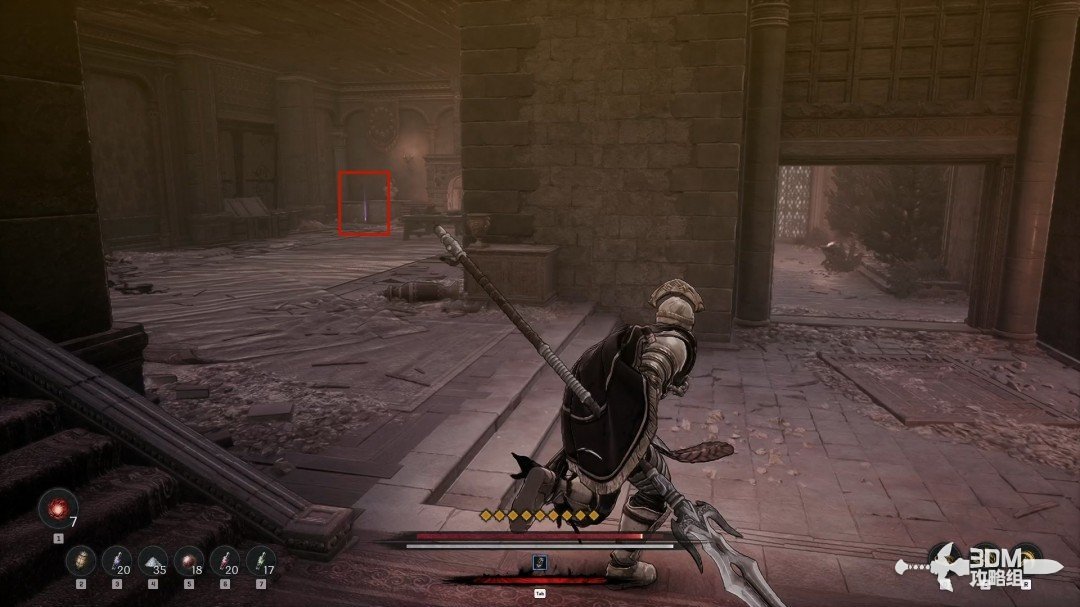
Elite guard and purple mist: climb through the side door to the diary balcony · route image 7

Defeat the elite soldier in front of the memory, then absorb it.
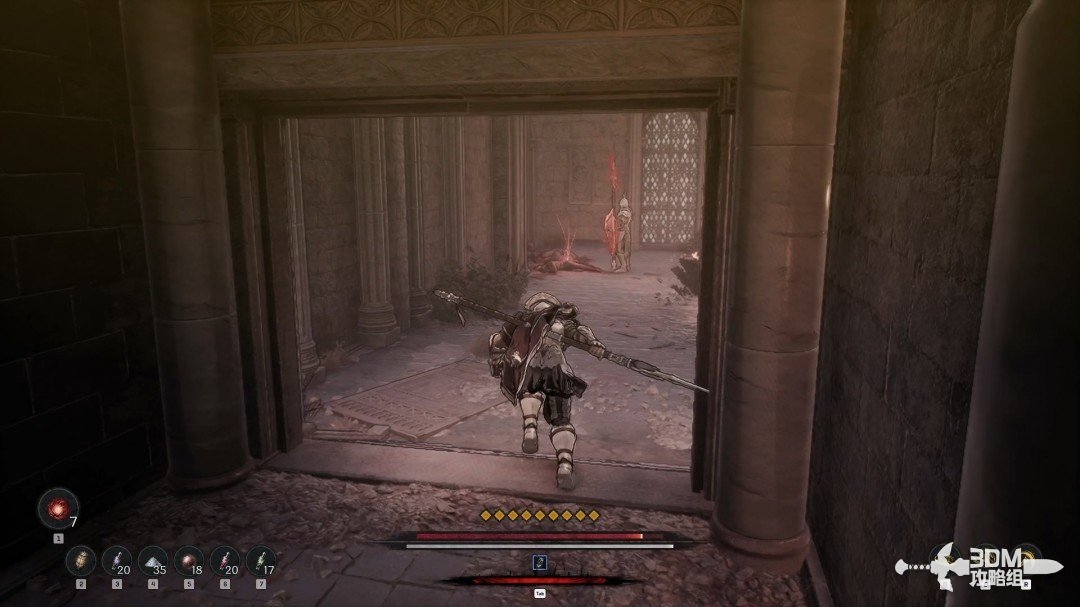
Elite guard and purple mist: climb through the side door to the diary balcony · route image 8

Go right and detonate the purple mist to exhaust nearby enemies.
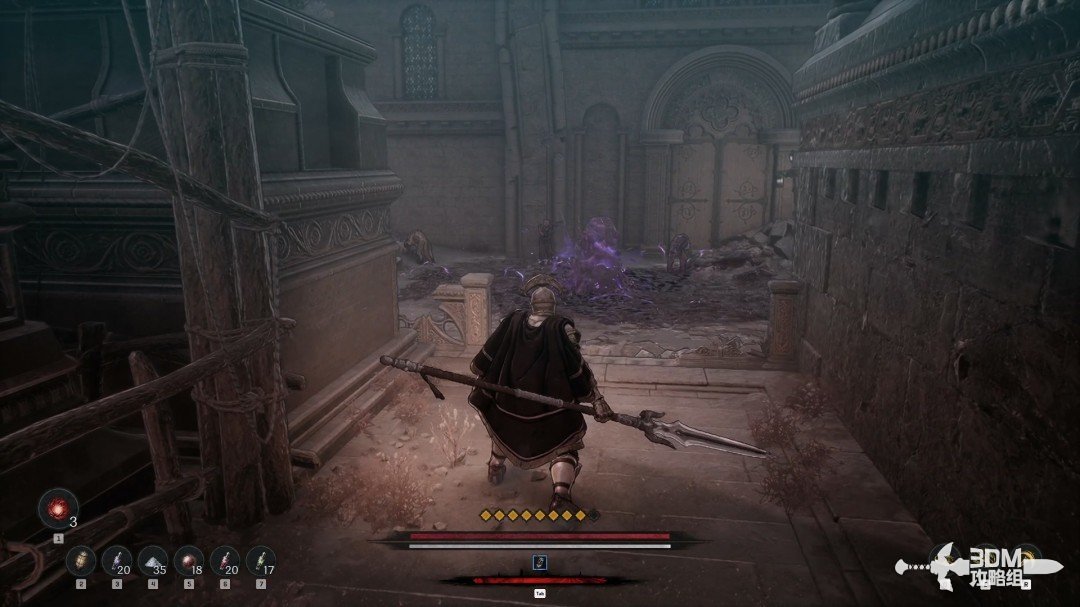
Elite guard and purple mist: climb through the side door to the diary balcony · route image 9

Collect the red material on the right.
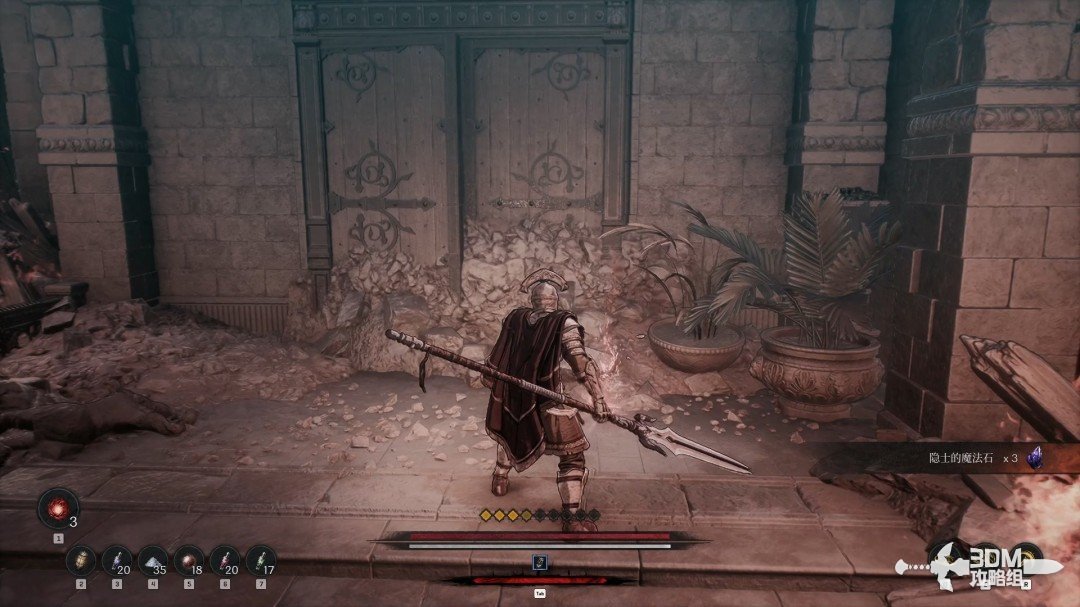
Elite guard and purple mist: climb through the side door to the diary balcony · route image 10

Collect the white item in the left corner.
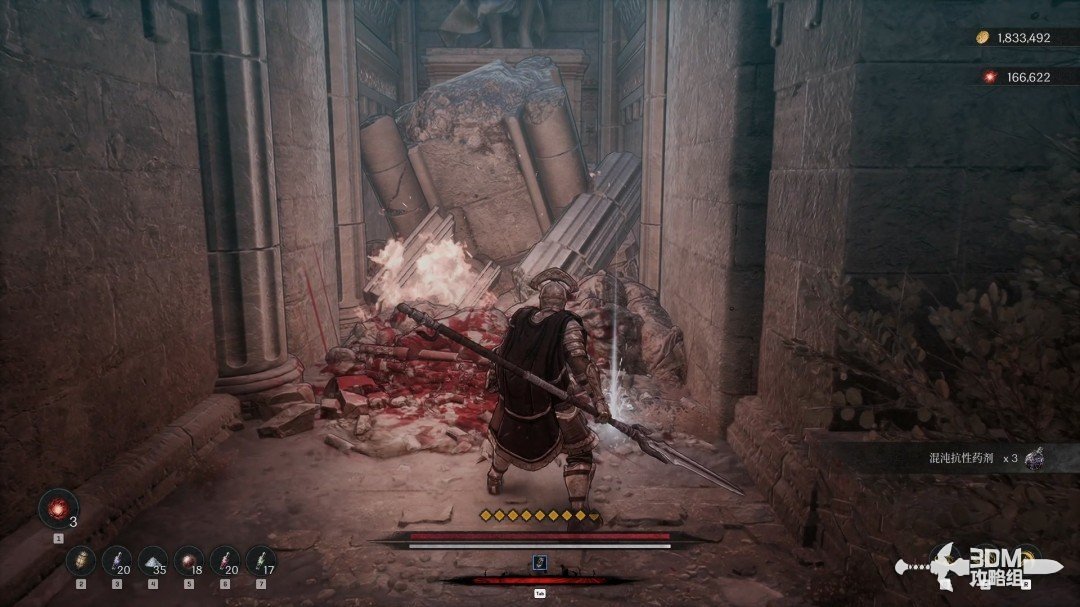
Elite guard and purple mist: climb through the side door to the diary balcony · route image 11

Enter the small doorway beside it.

Elite guard and purple mist: climb through the side door to the diary balcony · route image 12

Climb the ladder inside.

Elite guard and purple mist: climb through the side door to the diary balcony · route image 13

Collect Hismar's Transport Diary on the right balcony above.
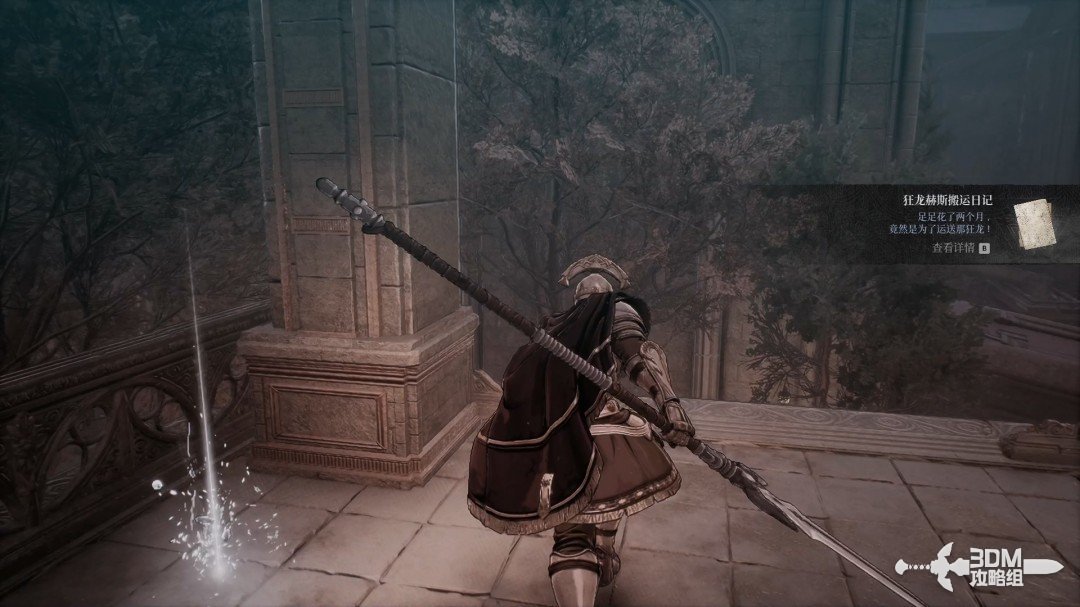
Elite guard and purple mist: climb through the side door to the diary balcony · route image 14

19Upper rooftop drop: enter the fireplace room through the left door

Return inside and climb the stairs. Clear the apparently civilian figures above to avoid hostile ambushes.
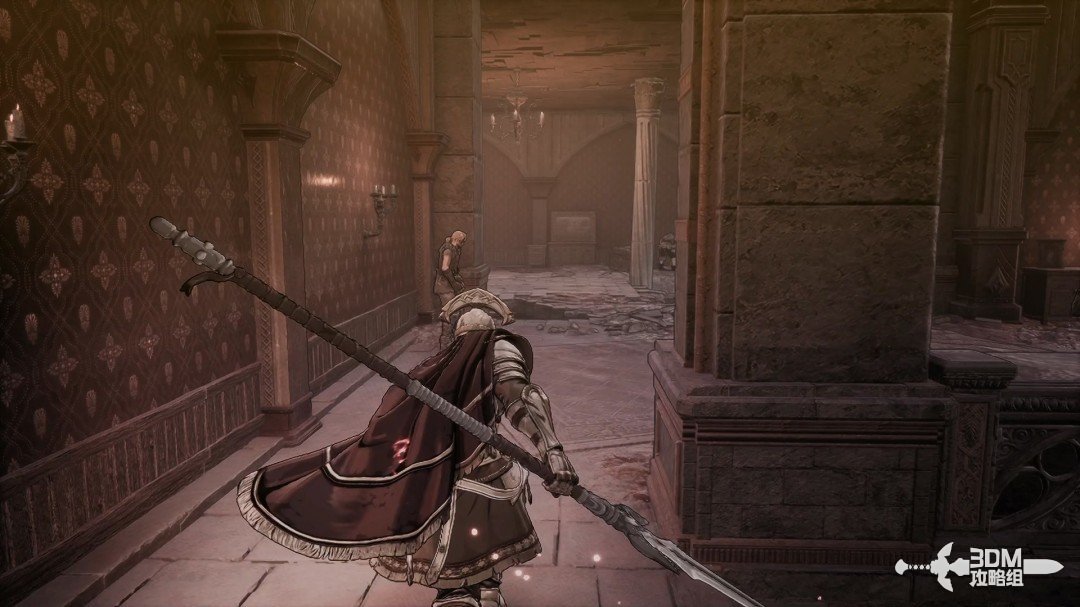
Upper rooftop drop: enter the fireplace room through the left door · route image 1

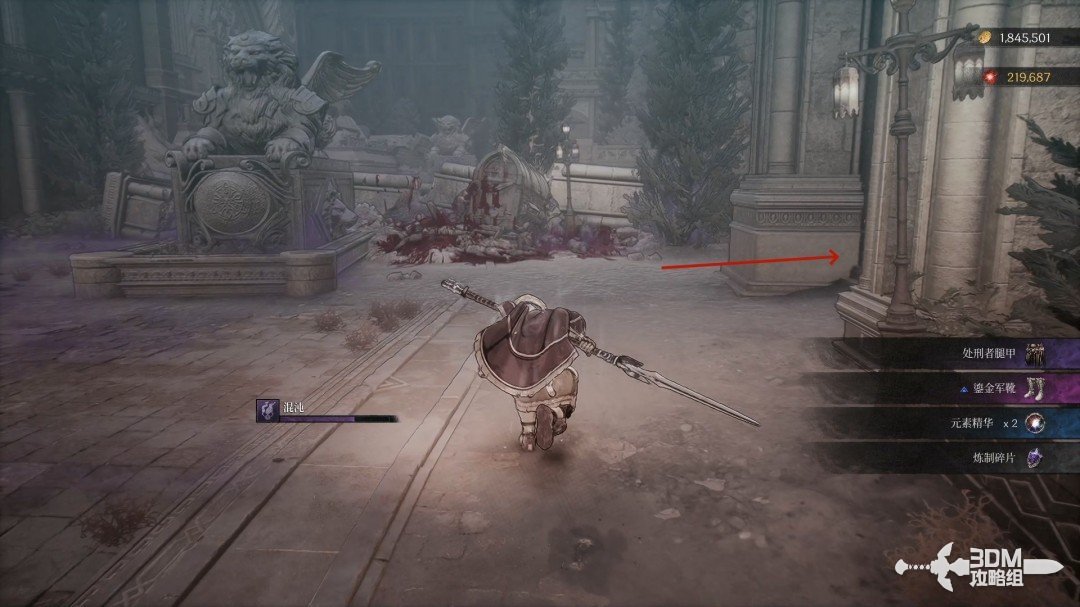
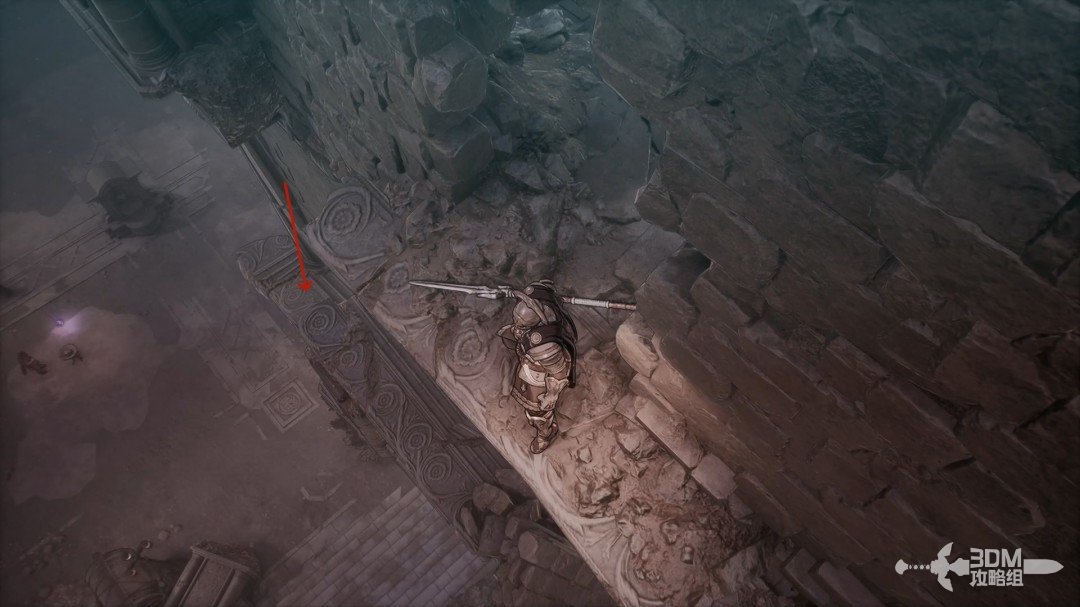
Leave onto the roof. When dropping, land beyond the pillar as marked; otherwise you return to the earlier area.
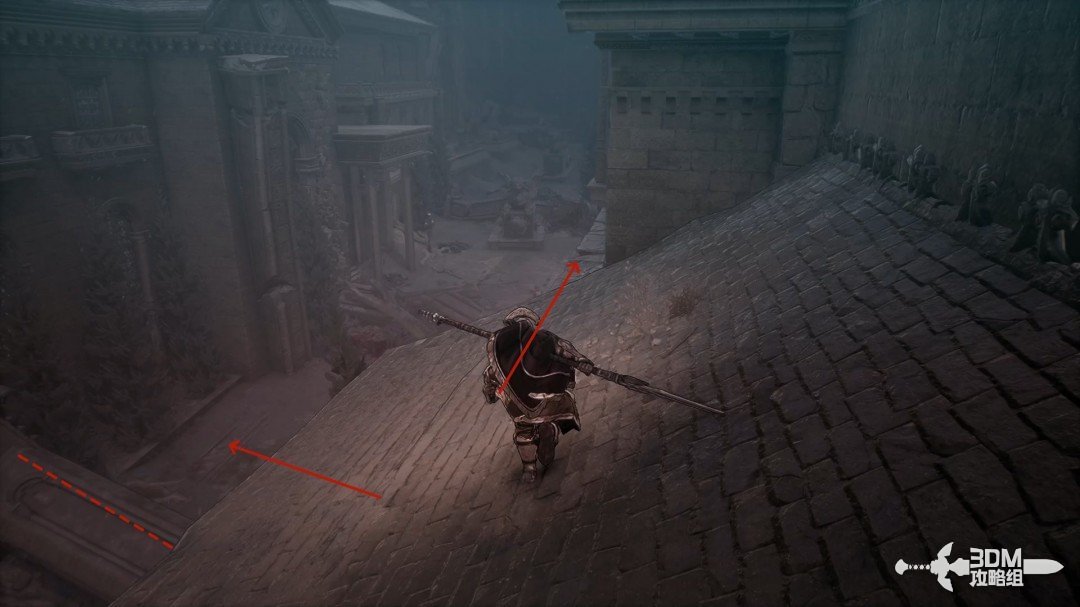
Upper rooftop drop: enter the fireplace room through the left door · route image 2

Collect the white item in the corner below.
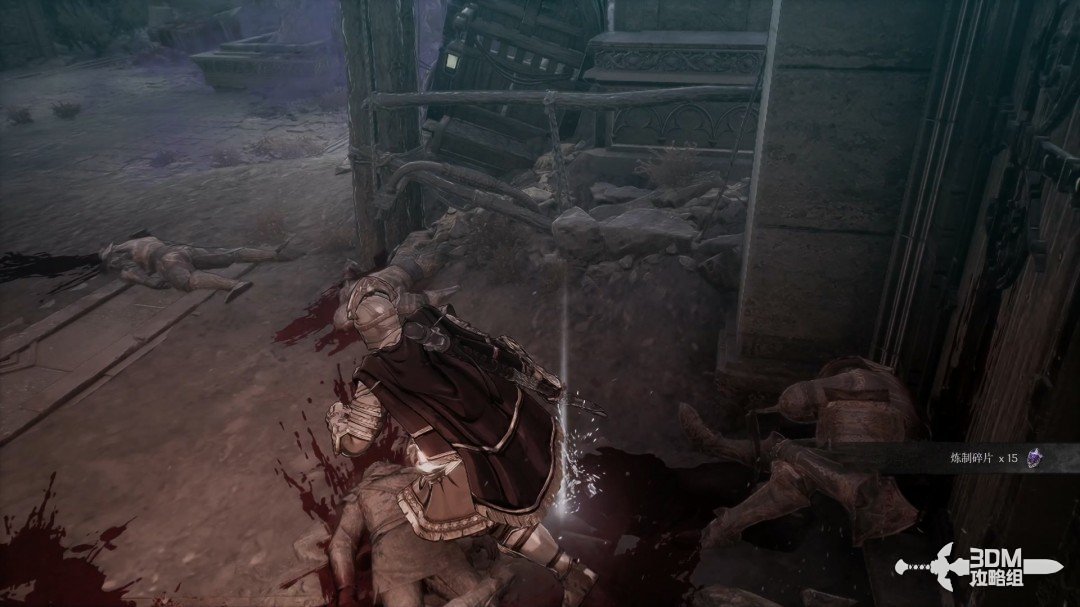
Upper rooftop drop: enter the fireplace room through the left door · route image 3

Continue for a memory on the right.

Upper rooftop drop: enter the fireplace room through the left door · route image 4

Turn back into the left doorway; the right side is empty.
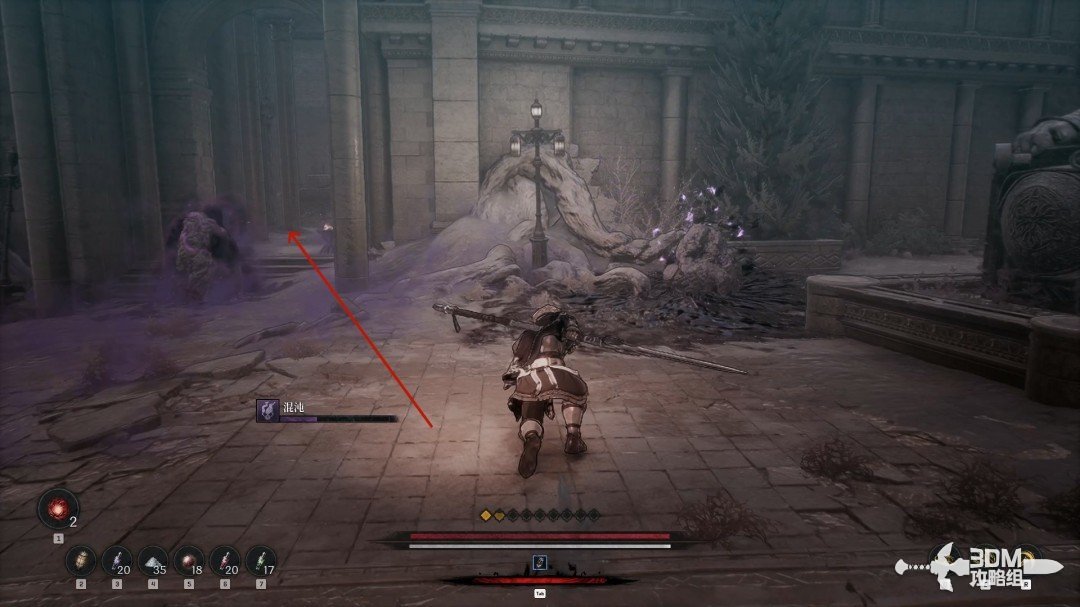
Upper rooftop drop: enter the fireplace room through the left door · route image 5

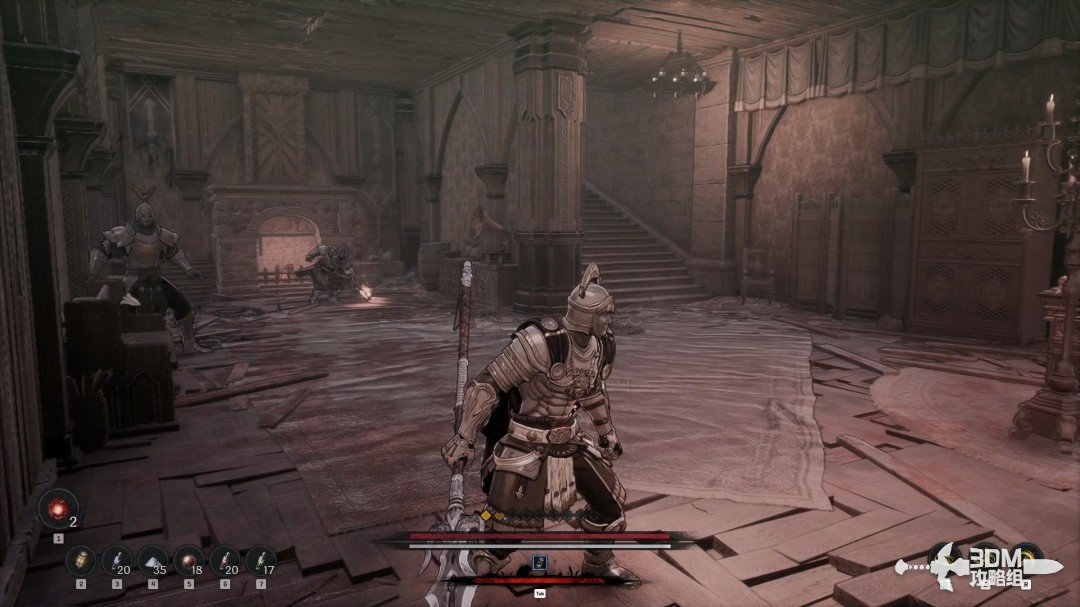
Continue indoors.

Upper rooftop drop: enter the fireplace room through the left door · route image 6

Collect the white item before the fireplace.
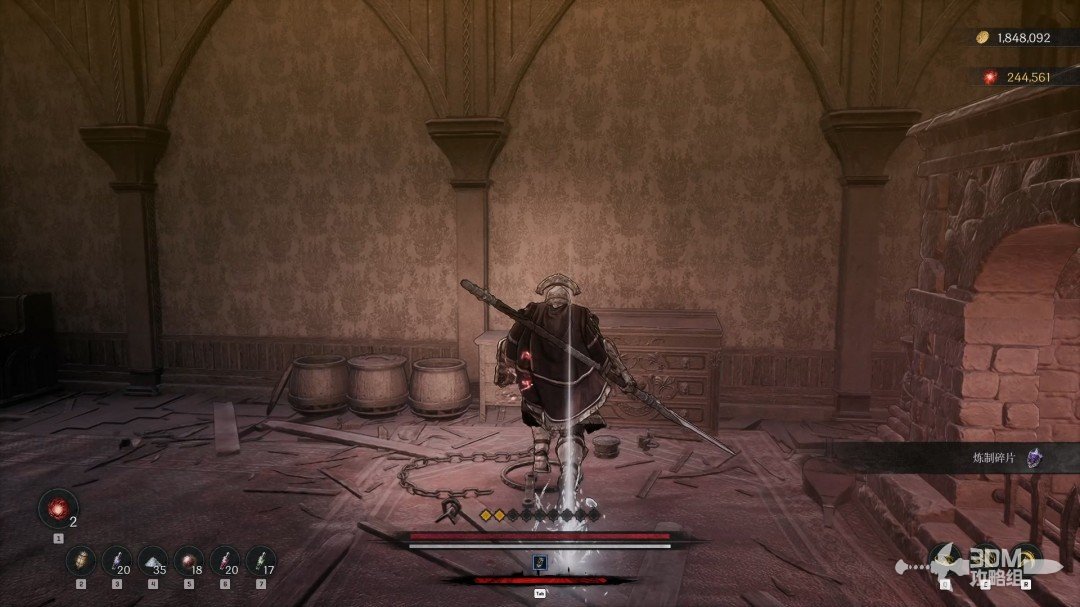
Upper rooftop drop: enter the fireplace room through the left door · route image 7

20Bard's room and chapel: search the chest, then the Soulstone behind the statue

Climb the stairs and open the right door.
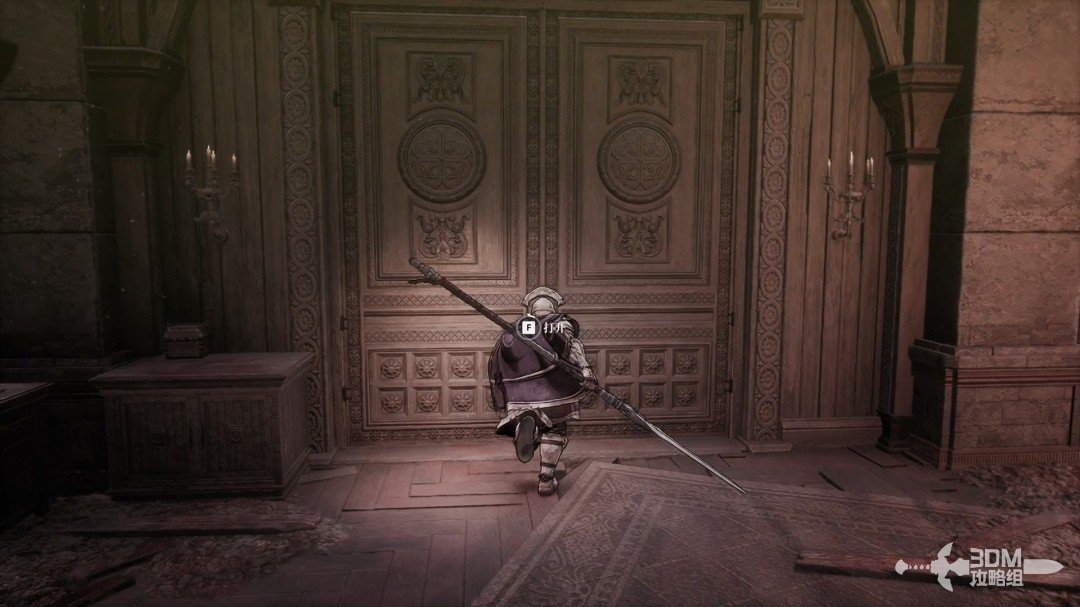
Bard's room and chapel: search the chest, then the Soulstone behind the statue · route image 8

Speak to Digor in the room to learn more of the story.
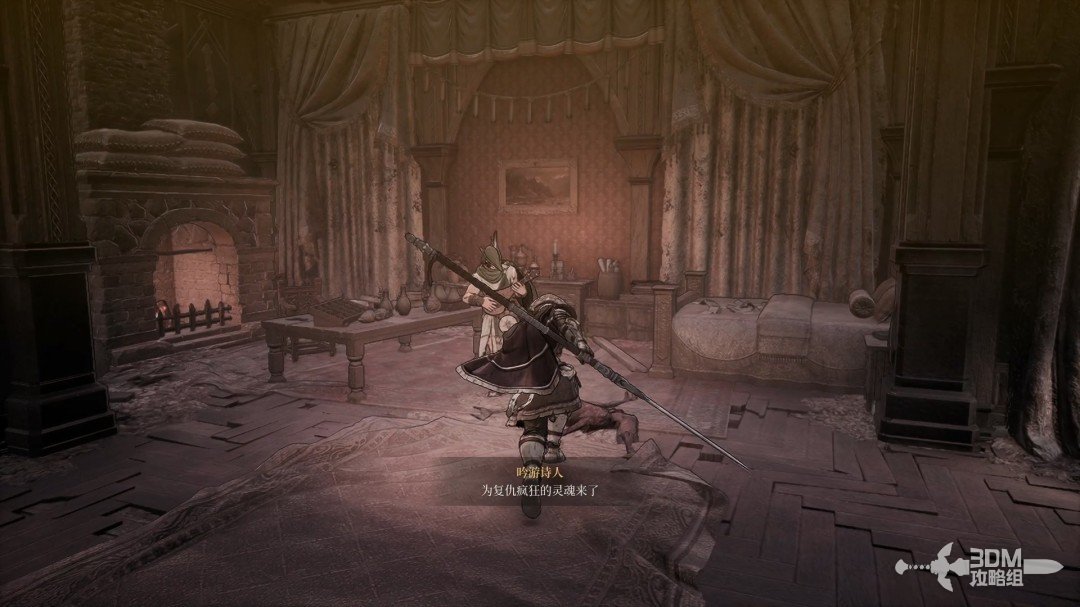
Bard's room and chapel: search the chest, then the Soulstone behind the statue · route image 9

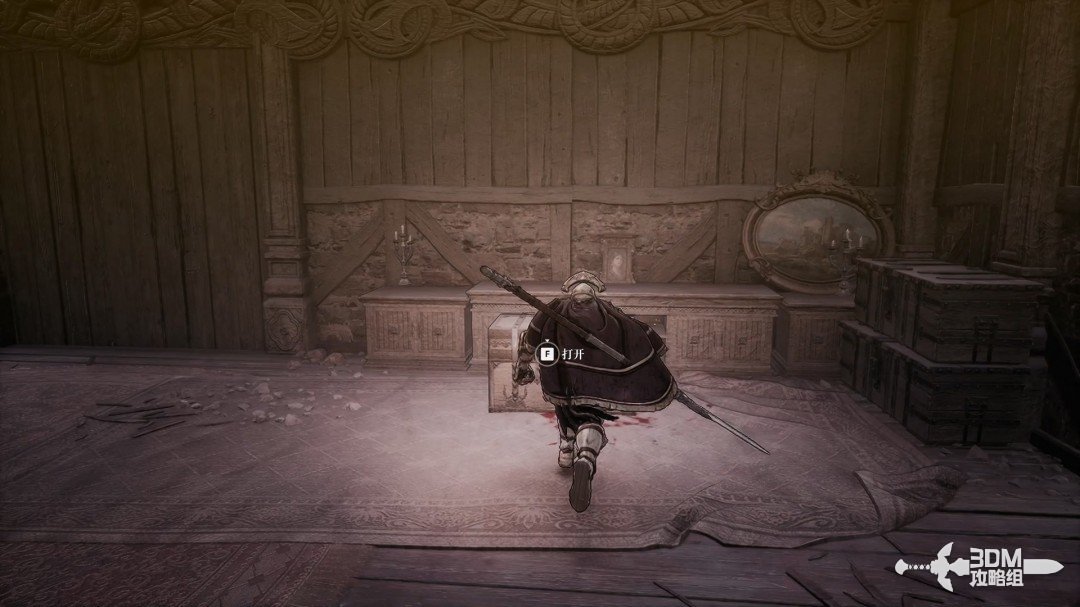
Before leaving, open the chest in the corner.
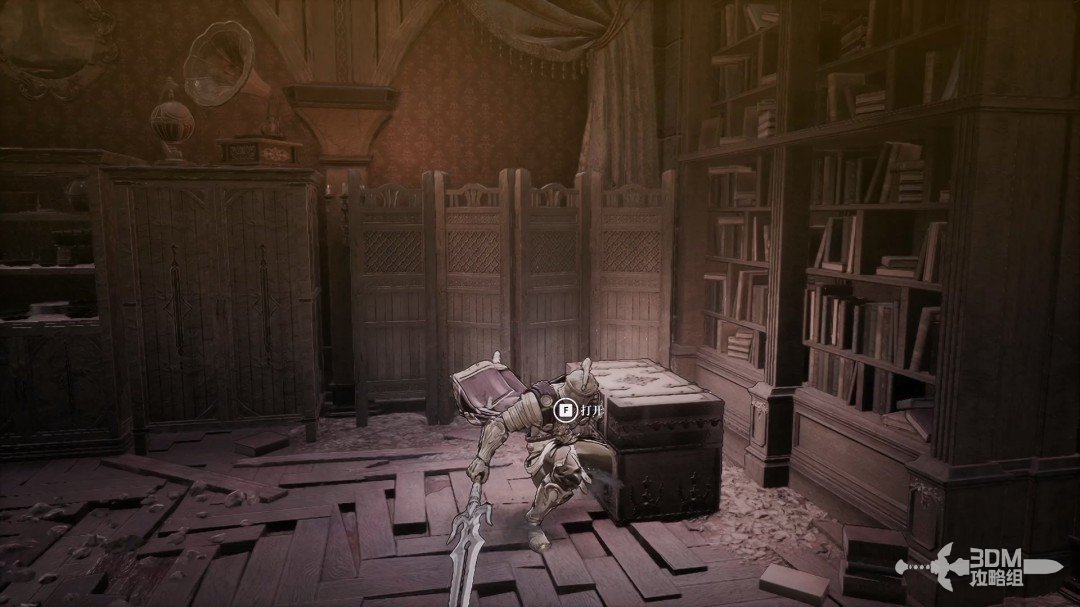
Bard's room and chapel: search the chest, then the Soulstone behind the statue · route image 10

Leave through this door.

Bard's room and chapel: search the chest, then the Soulstone behind the statue · route image 11

A church on the left contains a new Blade Nexus.
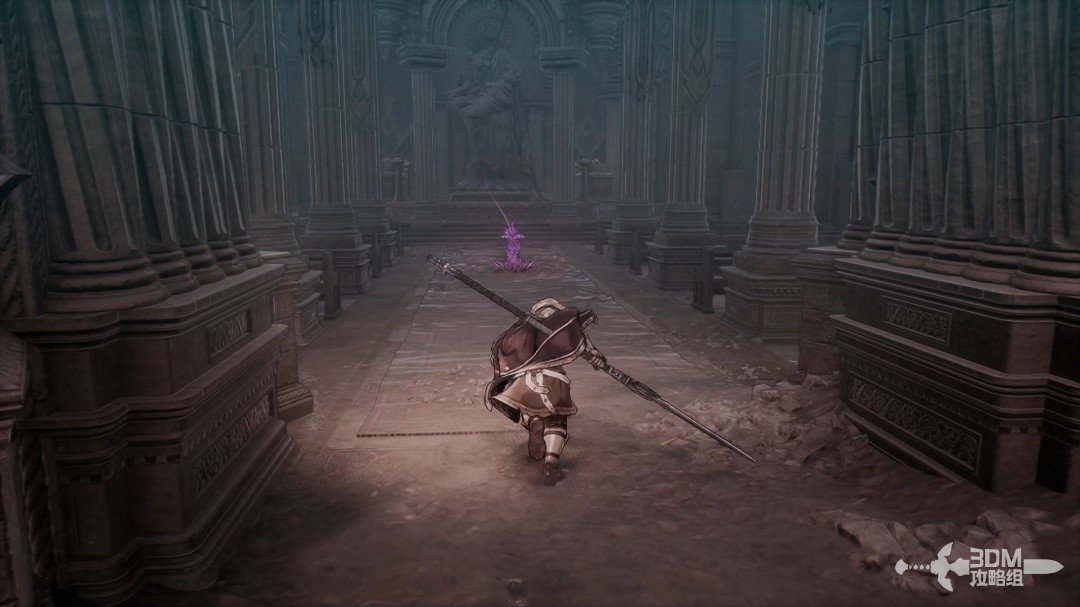
Bard's room and chapel: search the chest, then the Soulstone behind the statue · route image 12

Rest, then find the Soulstone behind the statue.
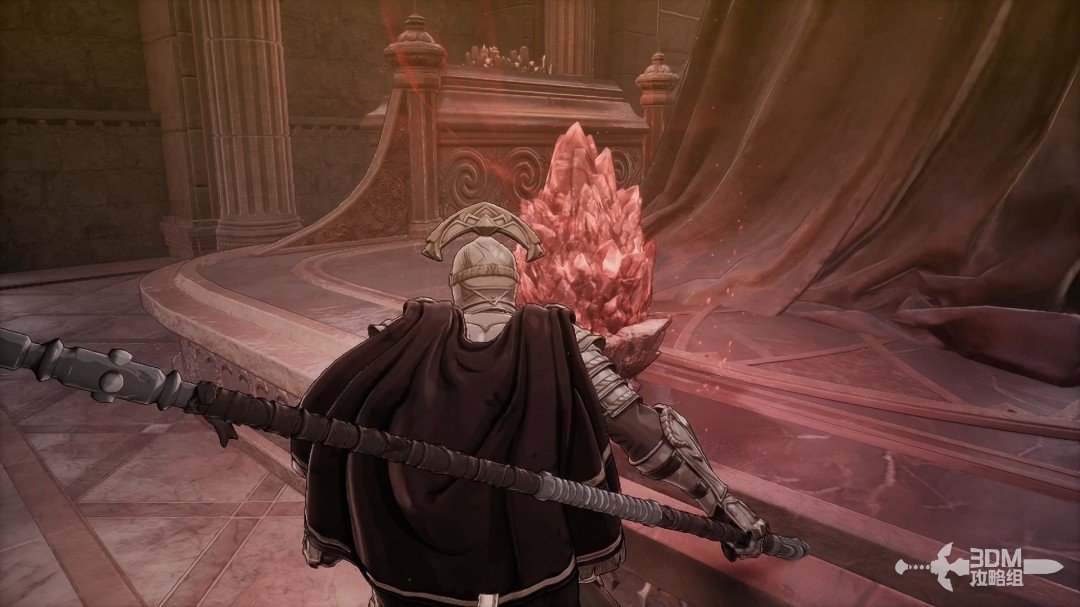
Bard's room and chapel: search the chest, then the Soulstone behind the statue · route image 13

22Streets outside the chapel: clear purple mist and circle to the spiral-stair building

The church's side door cannot yet be opened from inside.
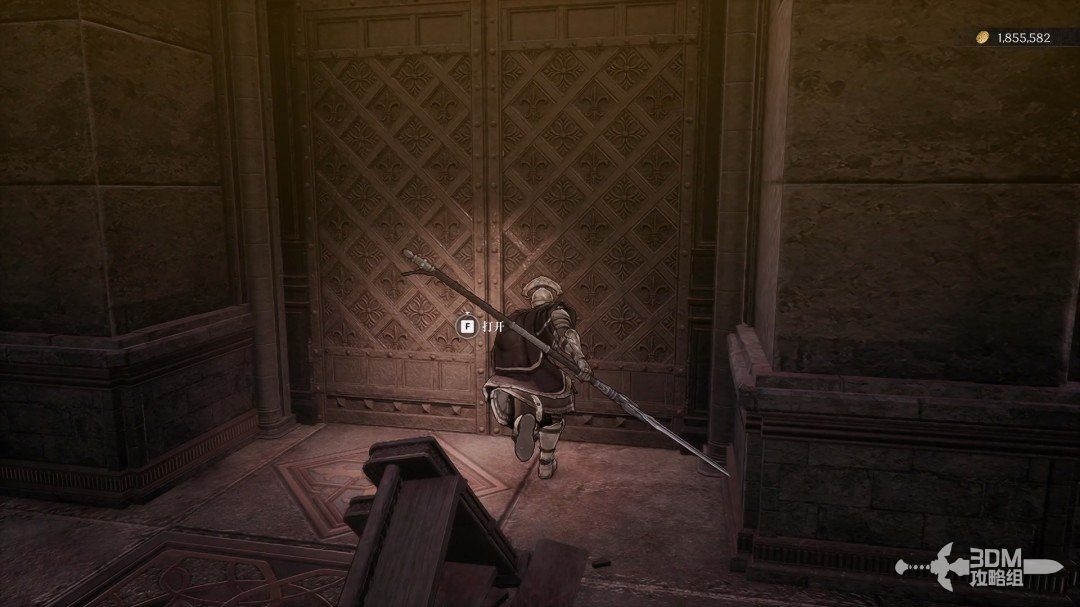
Streets outside the chapel: clear purple mist and circle to the spiral-stair building · route image 1

Leave by your arrival route and explore right. Detonate the growths against the enemy groups.
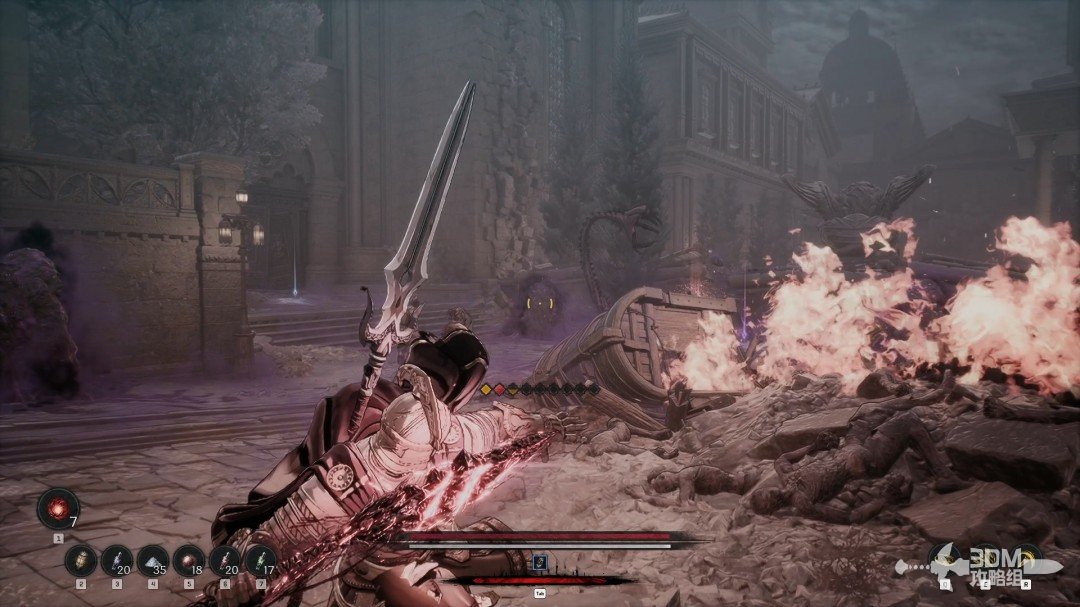
Streets outside the chapel: clear purple mist and circle to the spiral-stair building · route image 2

Collect the purple item beside the enemies.
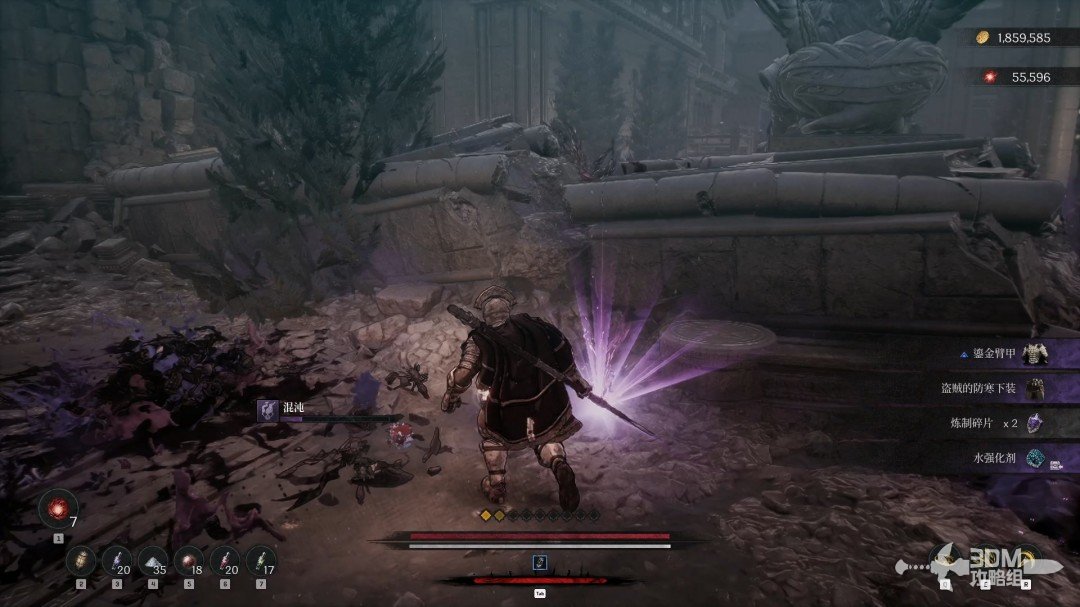
Streets outside the chapel: clear purple mist and circle to the spiral-stair building · route image 3

Collect the white item on the left.

Streets outside the chapel: clear purple mist and circle to the spiral-stair building · route image 4

Turn back for the purple item on the small right steps.
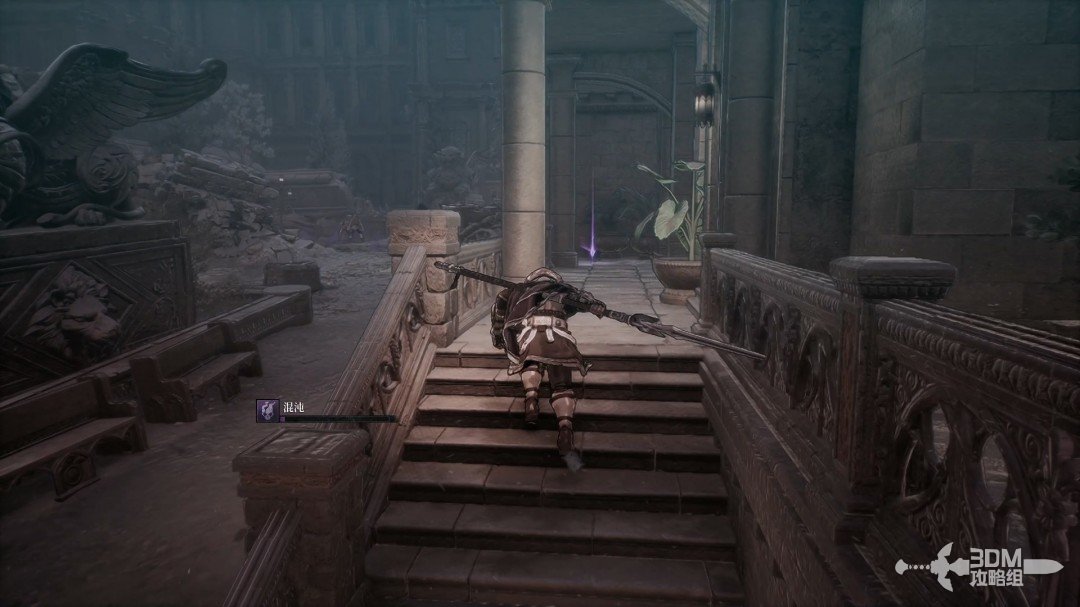
Streets outside the chapel: clear purple mist and circle to the spiral-stair building · route image 5

Return to the main route and take the purple item in the left corner.
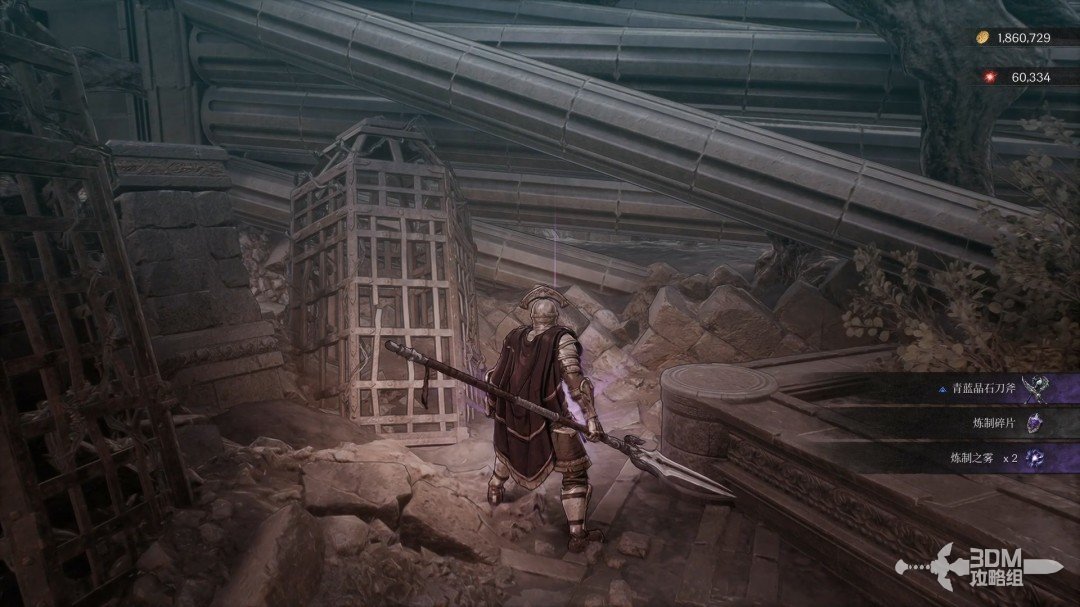
Streets outside the chapel: clear purple mist and circle to the spiral-stair building · route image 6

Continue along this road for a blue item on the left.
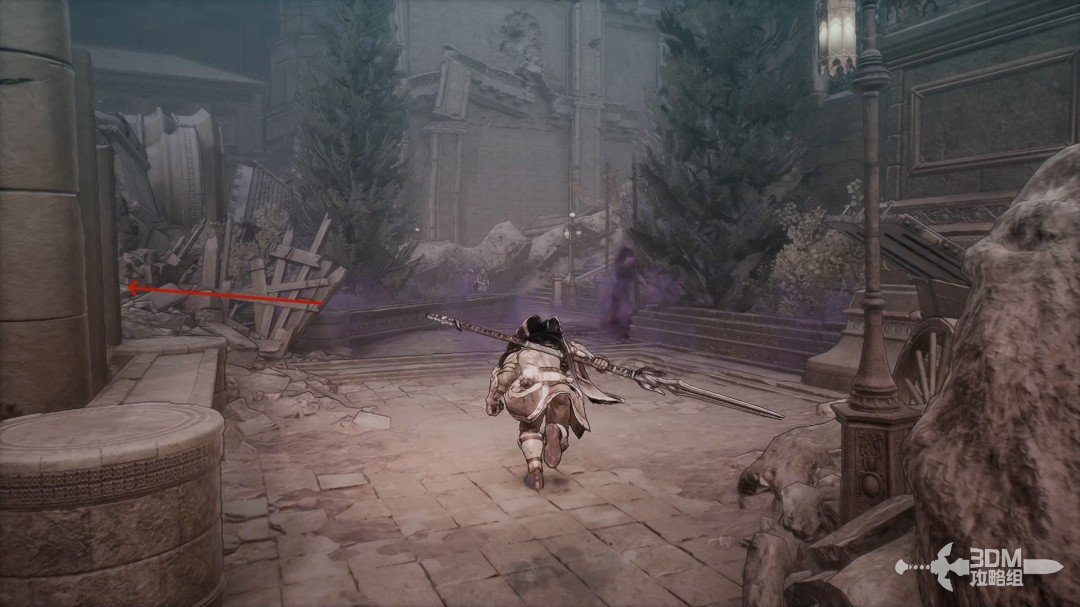
Streets outside the chapel: clear purple mist and circle to the spiral-stair building · route image 7

Climb the stairs and enter the building.
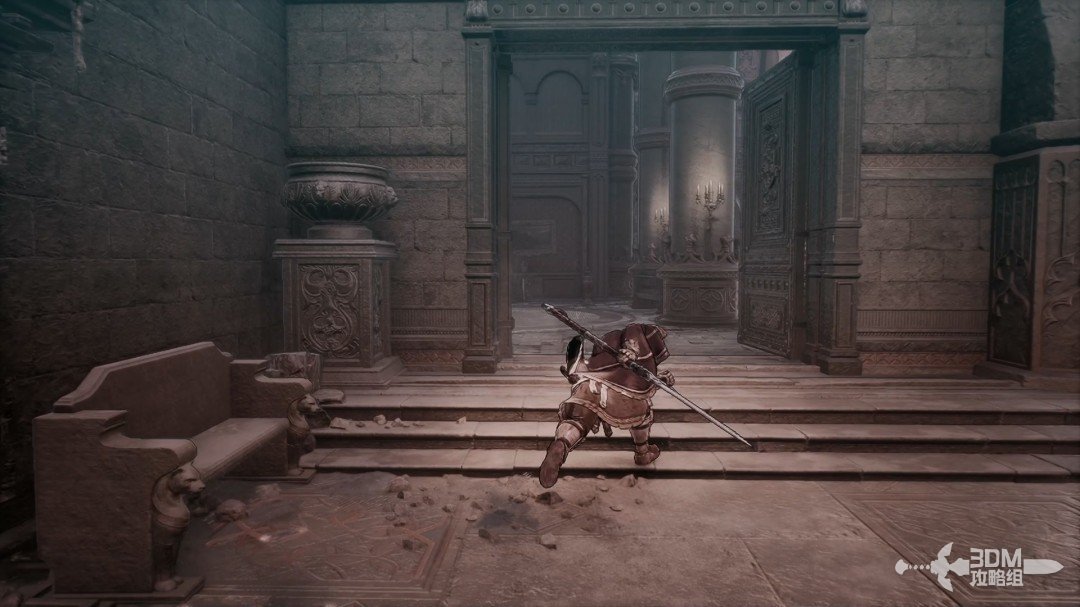
Streets outside the chapel: clear purple mist and circle to the spiral-stair building · route image 8

The left door is locked, so go right.
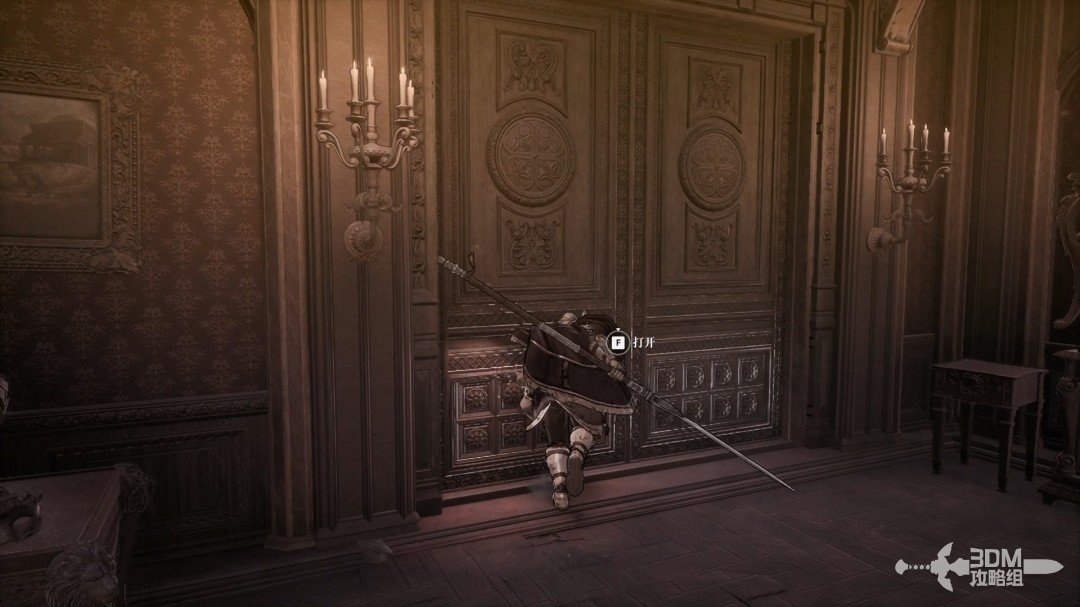
Streets outside the chapel: clear purple mist and circle to the spiral-stair building · route image 9

23Paired doors at the spiral stairs: descend to meet the NPC first

Climb the spiral staircase, defeat the mage and open both right-hand doors.

Paired doors at the spiral stairs: descend to meet the NPC first · route image 10

Clear the hostile figures in the room and collect the white item in the corner.
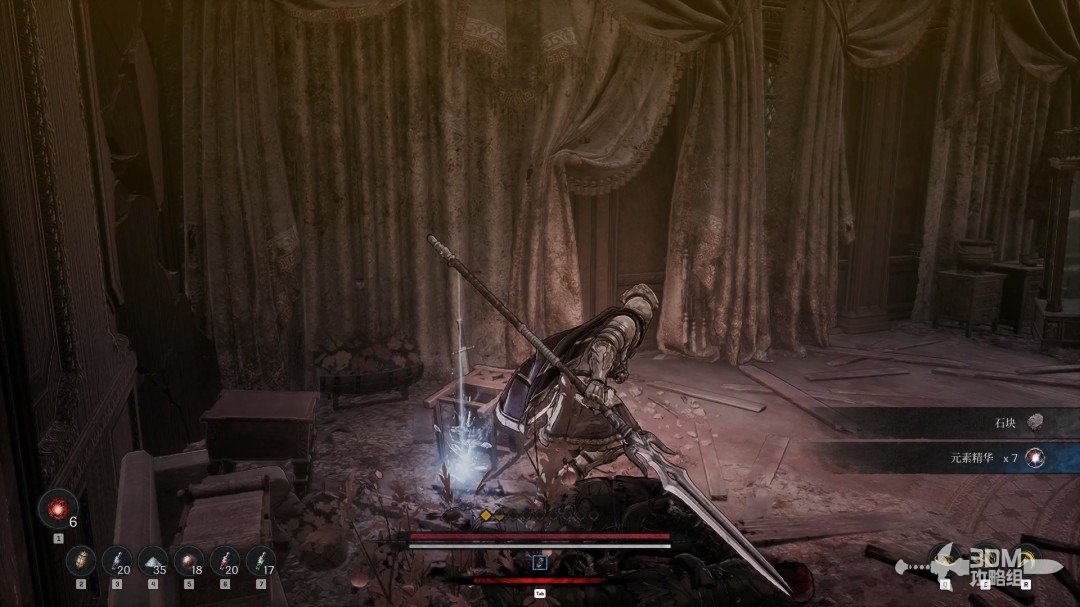
Paired doors at the spiral stairs: descend to meet the NPC first · route image 11

The staircase runs both ways. Explore downstairs first.
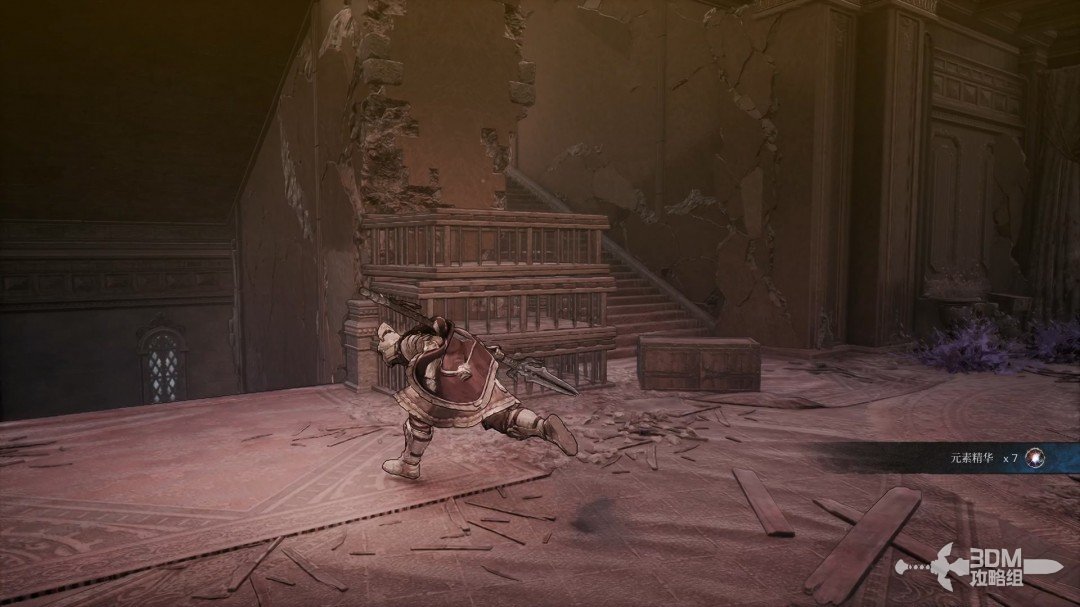
Paired doors at the spiral stairs: descend to meet the NPC first · route image 12

Speak to the living NPC in the downstairs right room for information.
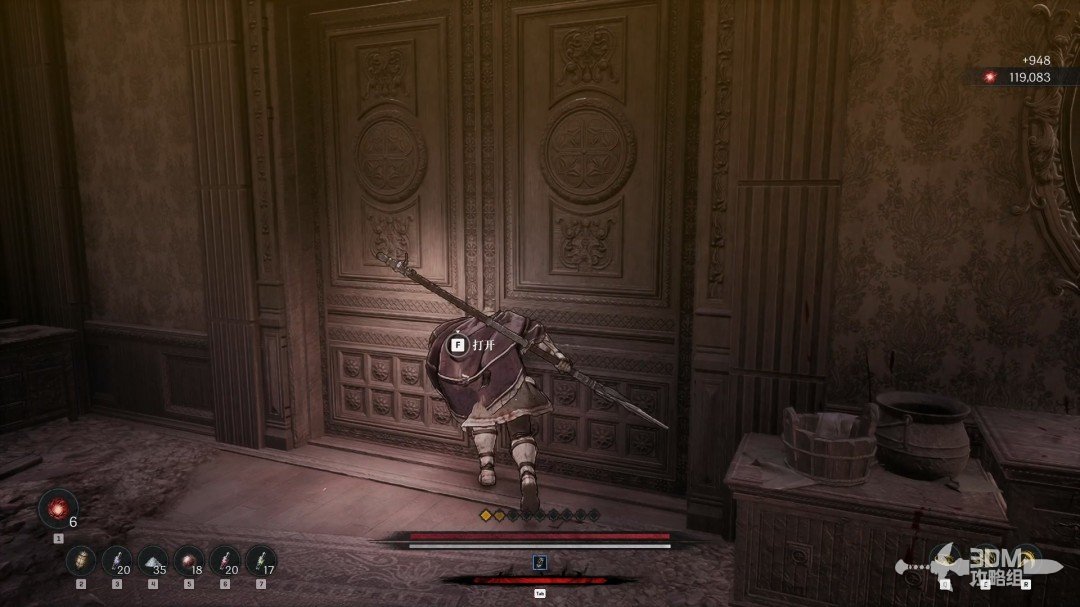
Paired doors at the spiral stairs: descend to meet the NPC first · route image 13
Paired doors at the spiral stairs: descend to meet the NPC first · route image 14

The left door reconnects with the earlier locked entrance.
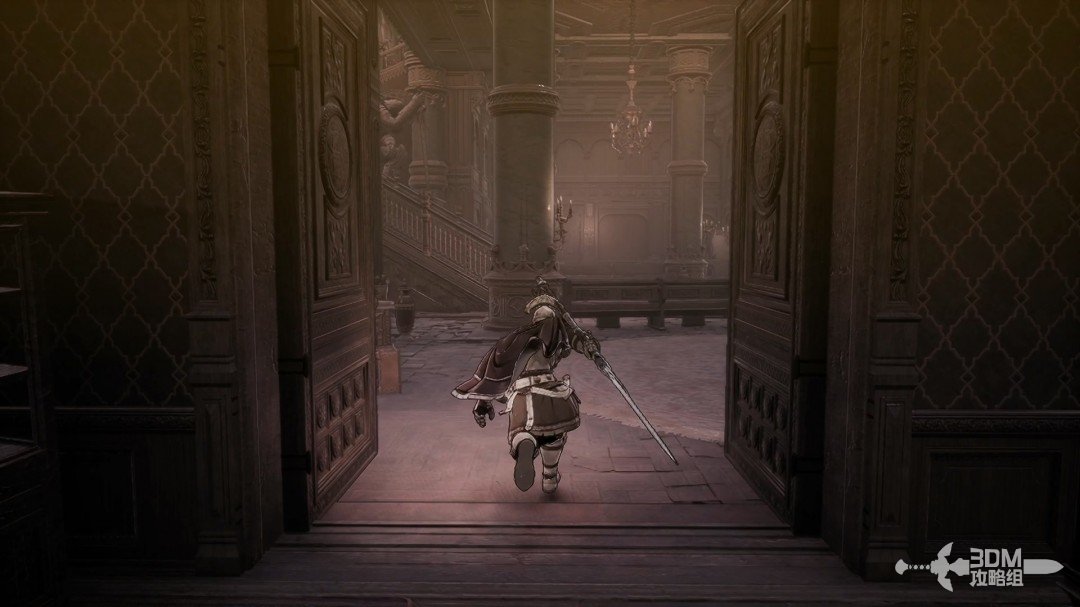
Paired doors at the spiral stairs: descend to meet the NPC first · route image 15

24Return to the upper study: search the jar in the left room

Return upstairs and defeat the corridor enemy.
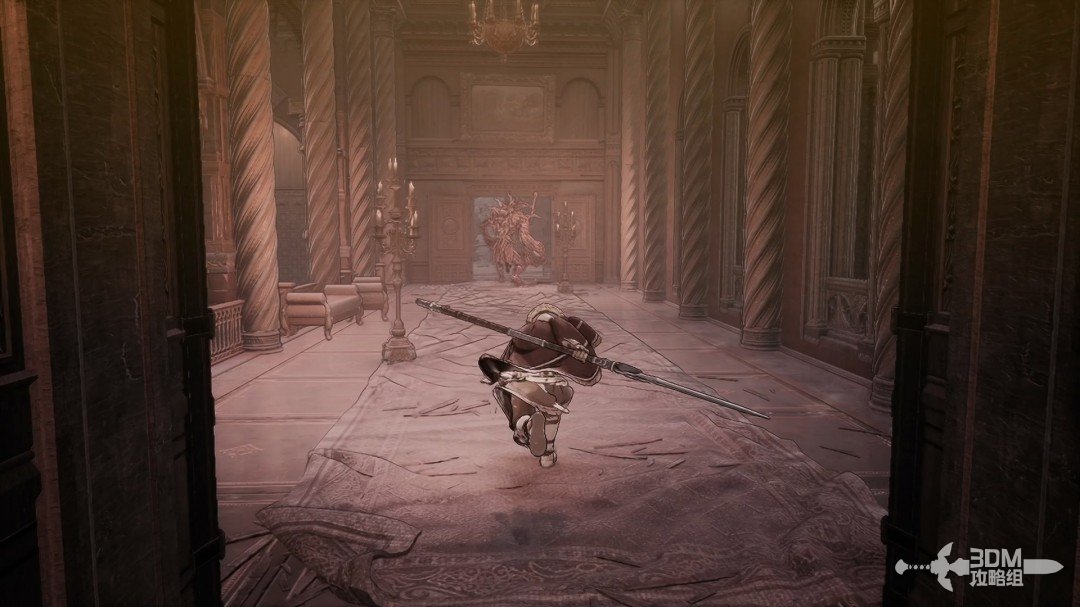
Return to the upper study: search the jar in the left room · route image 16

Collect the purple item on the left platform.
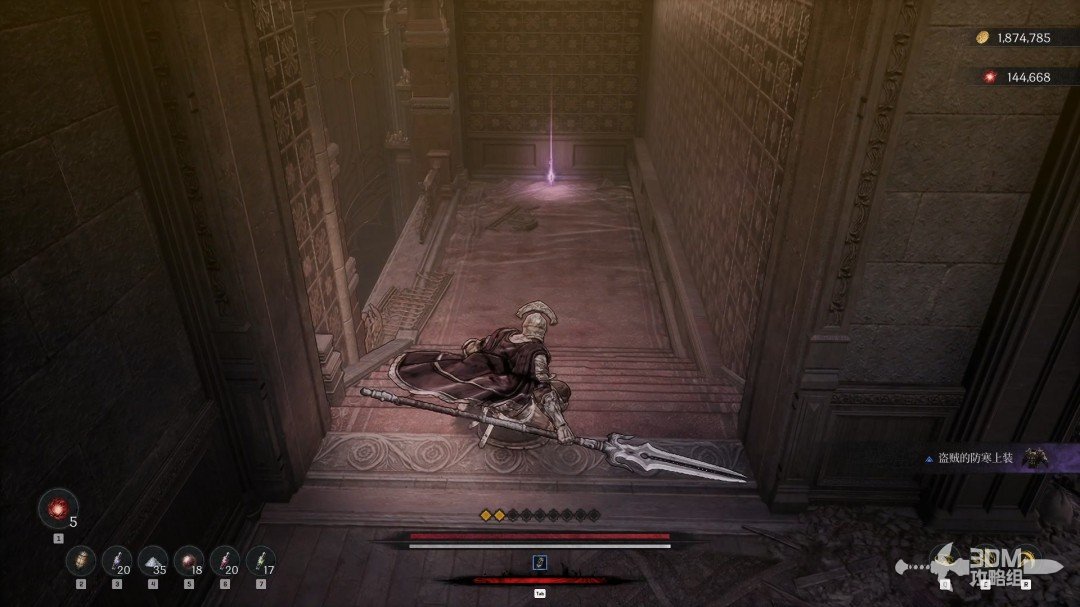
Return to the upper study: search the jar in the left room · route image 17

Continue climbing.

Return to the upper study: search the jar in the left room · route image 18

Clear the study above and collect the white item ahead.
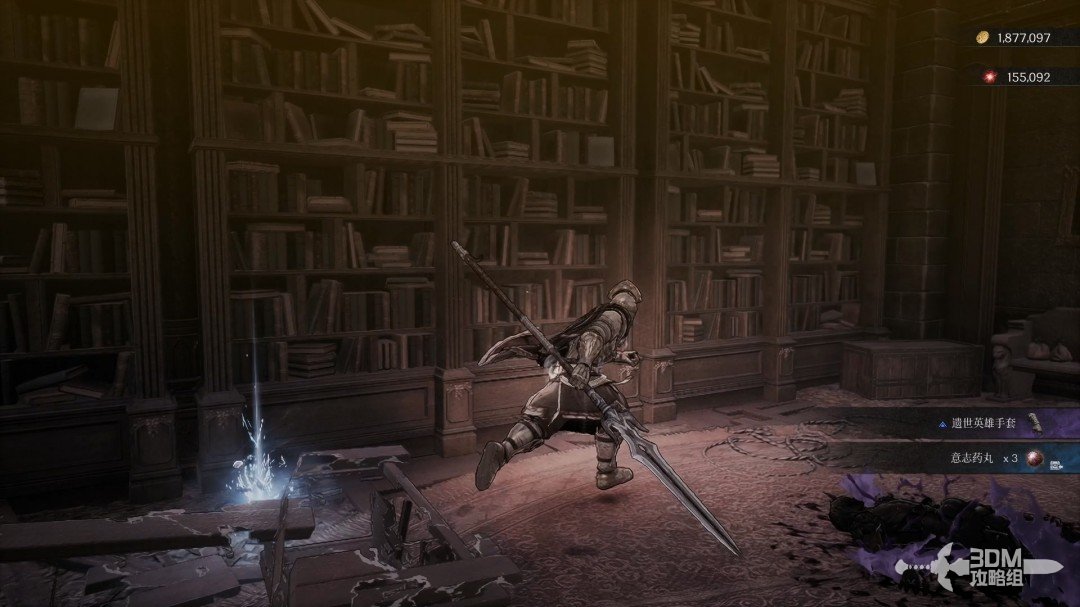
Return to the upper study: search the jar in the left room · route image 19

Go left for a Jarling in the pot at the room's corner.
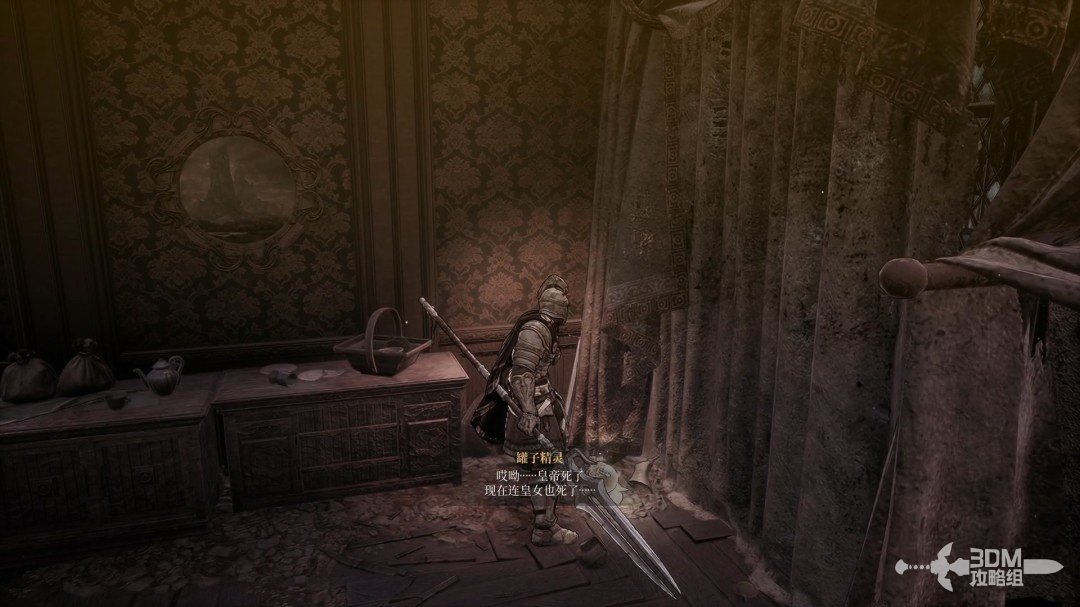
Return to the upper study: search the jar in the left room · route image 20

26Narrow edge outside the study: drop below and break the wall for the swords

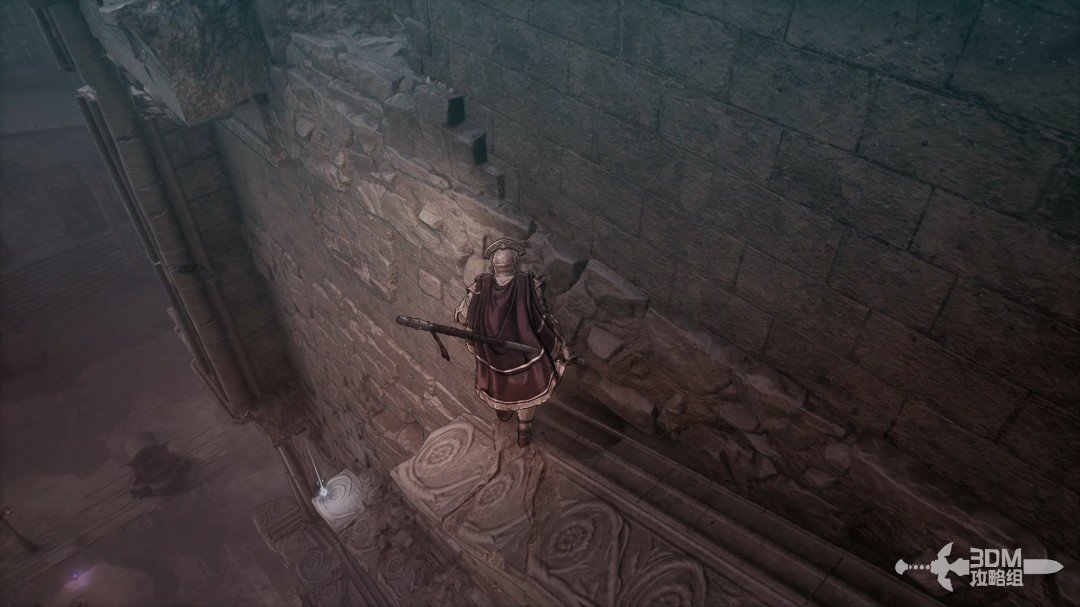
Leave behind the Jarling's position and follow the ledge carefully.
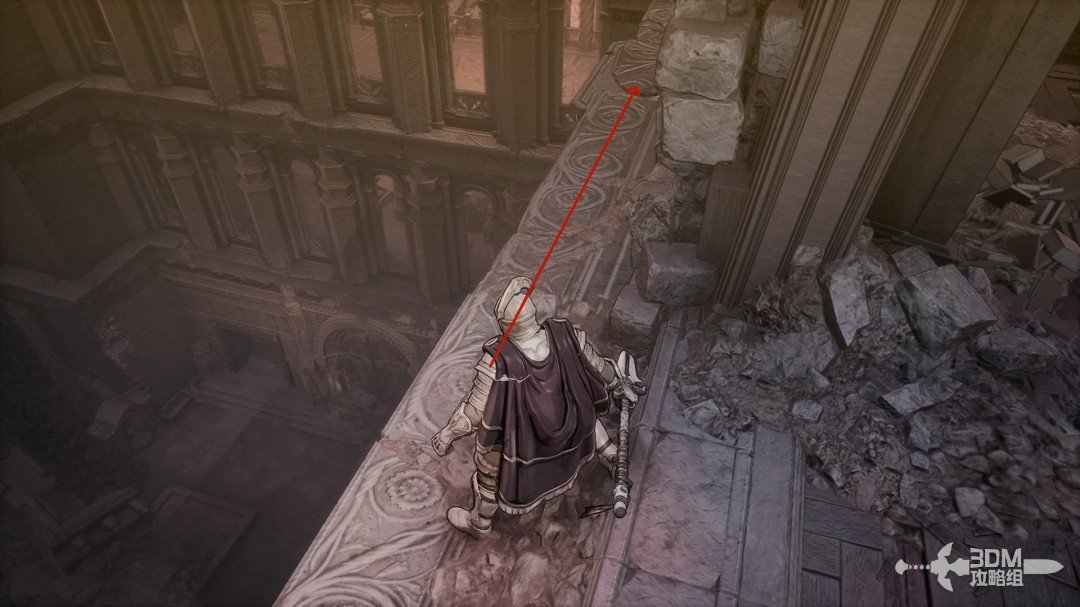
Narrow edge outside the study: drop below and break the wall for the swords · route image 1

Drop here for a white item.

Narrow edge outside the study: drop below and break the wall for the swords · route image 2

Break the wall below.

Narrow edge outside the study: drop below and break the wall for the swords · route image 3

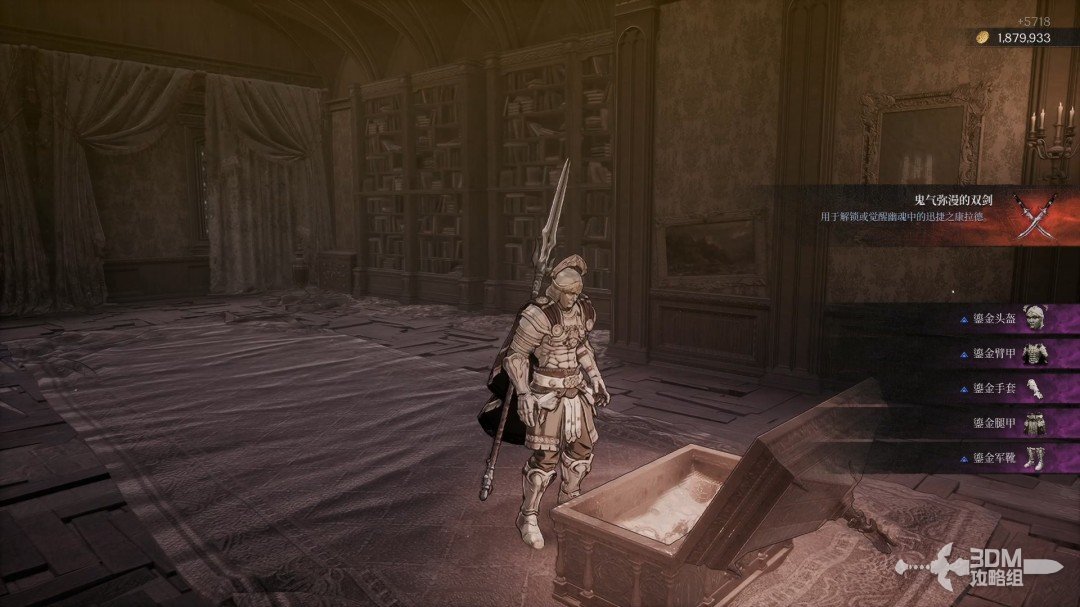
Open the chest inside for equipment and the Ghostly Dual Blades.
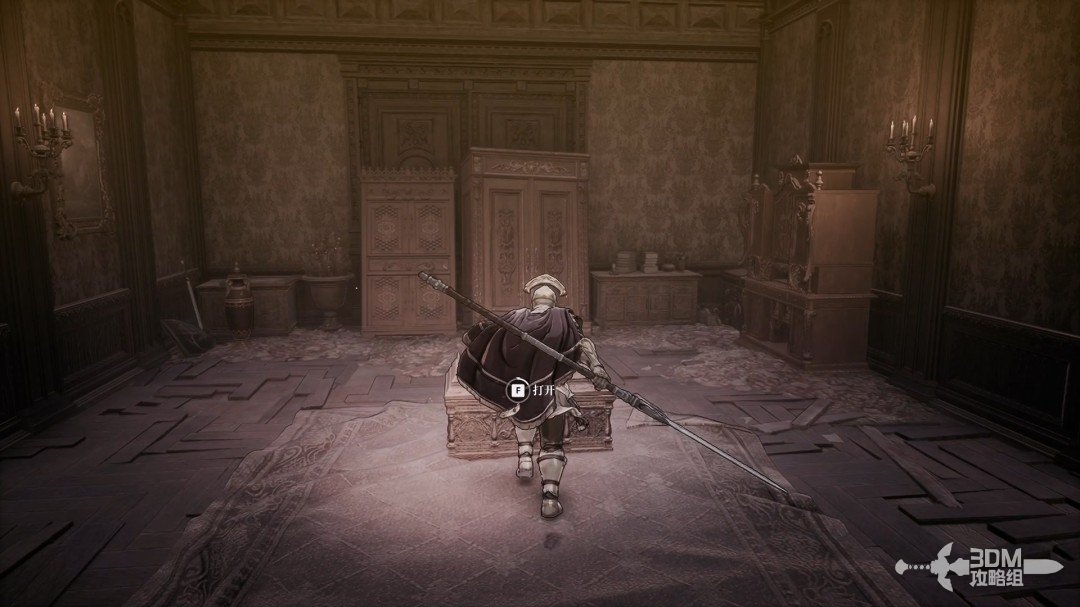
Narrow edge outside the study: drop below and break the wall for the swords · route image 4
Narrow edge outside the study: drop below and break the wall for the swords · route image 5

28Lower chapel shortcut: return to the street fork for the waterwheel Soulstone

Continue descending along the edges after the chest.
Lower chapel shortcut: return to the street fork for the waterwheel Soulstone · route image 1

Collect the purple item in the middle of the ground-level area.
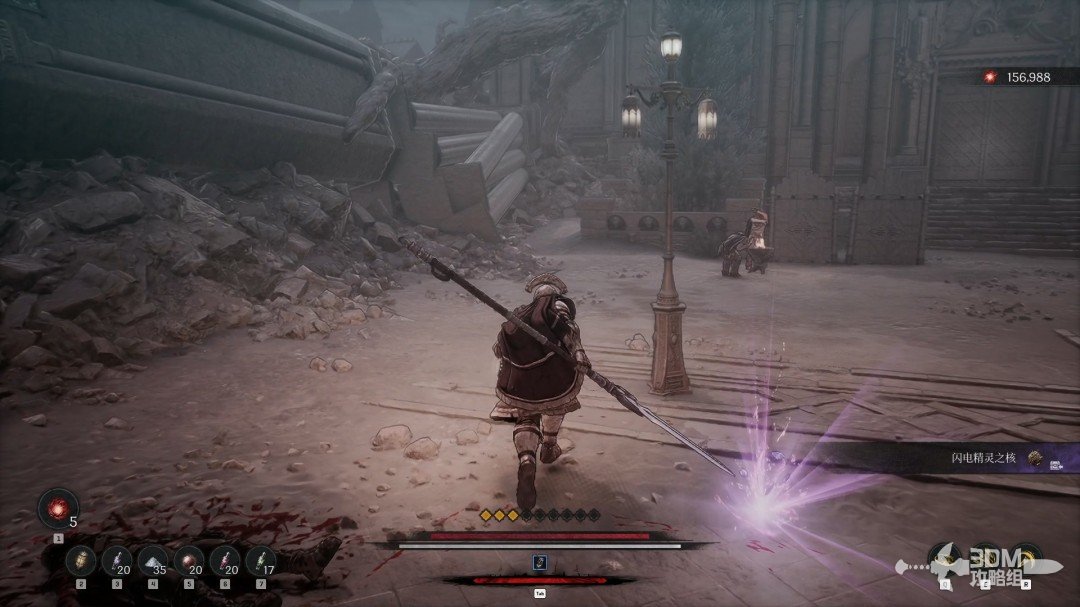
Lower chapel shortcut: return to the street fork for the waterwheel Soulstone · route image 2

The left door reconnects with the church Nexus if you need to recover.
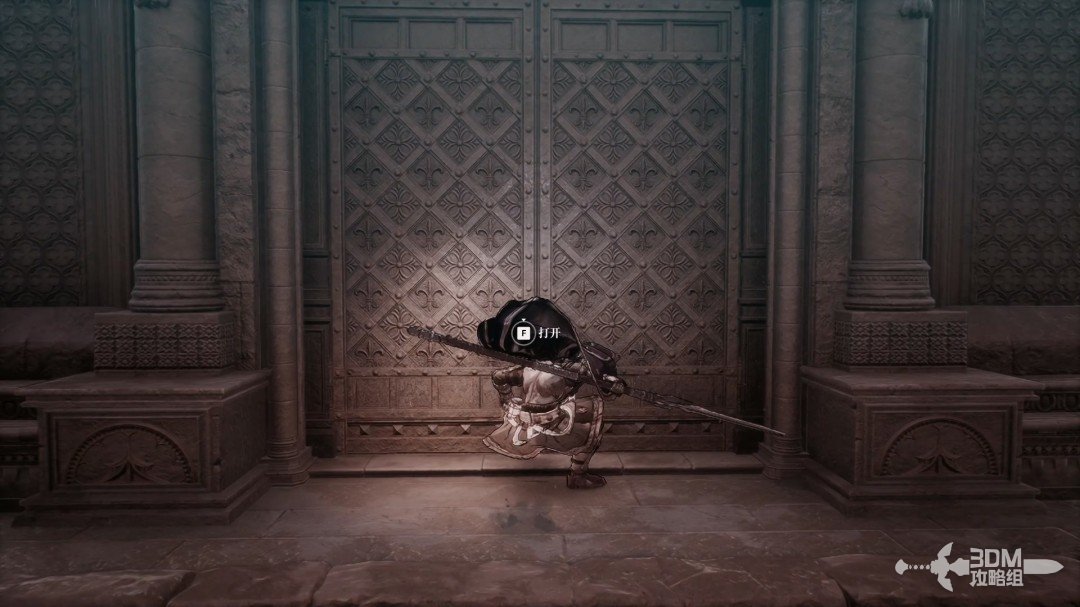
Lower chapel shortcut: return to the street fork for the waterwheel Soulstone · route image 3

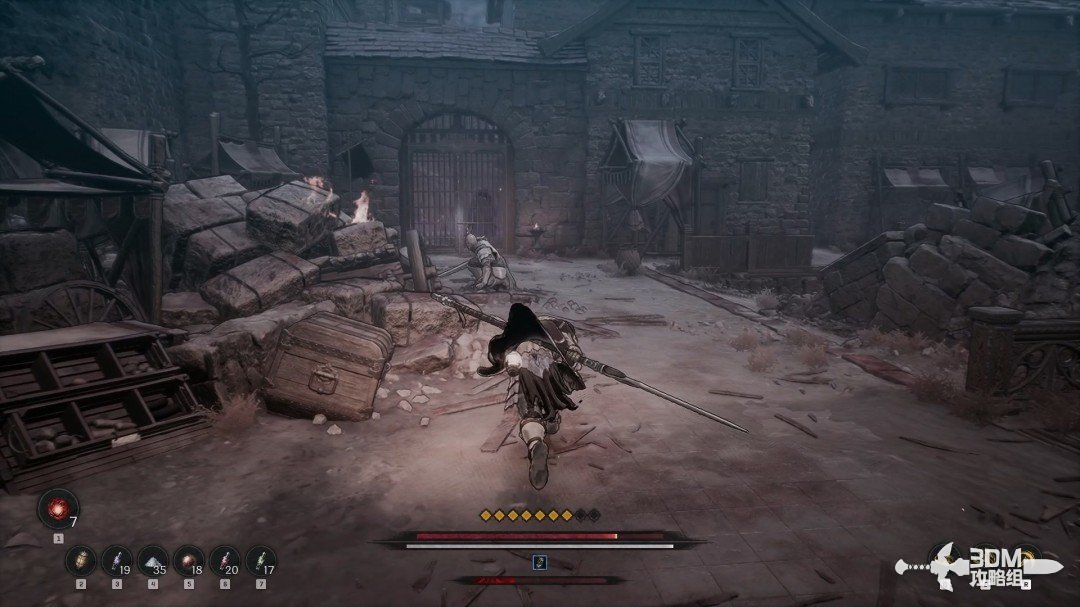
Return to the main route and use the growths against the enemies ahead.
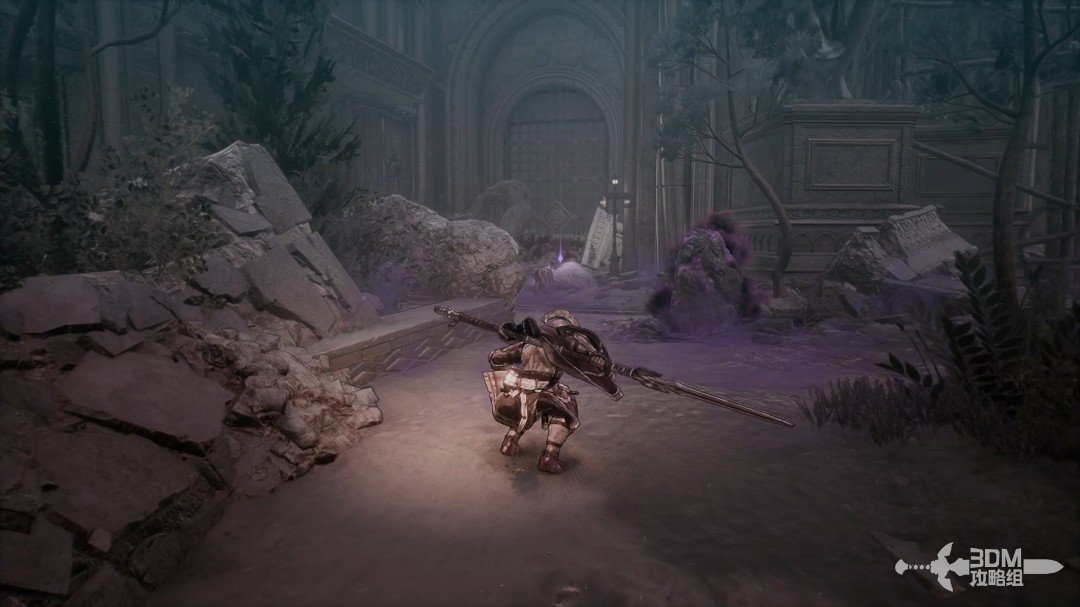
Lower chapel shortcut: return to the street fork for the waterwheel Soulstone · route image 4

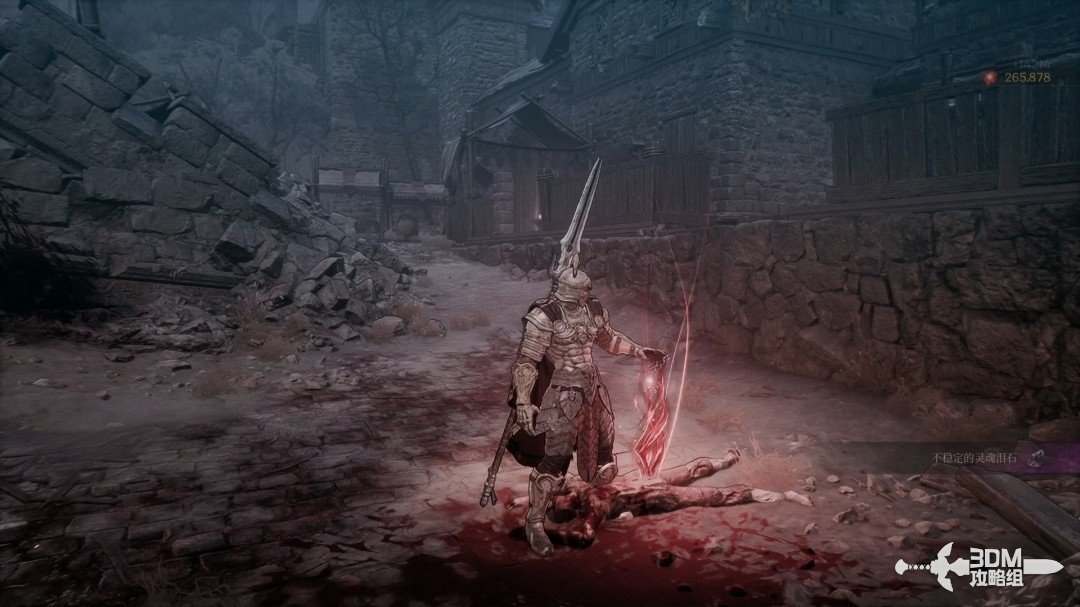
Collect the purple item beside the road.
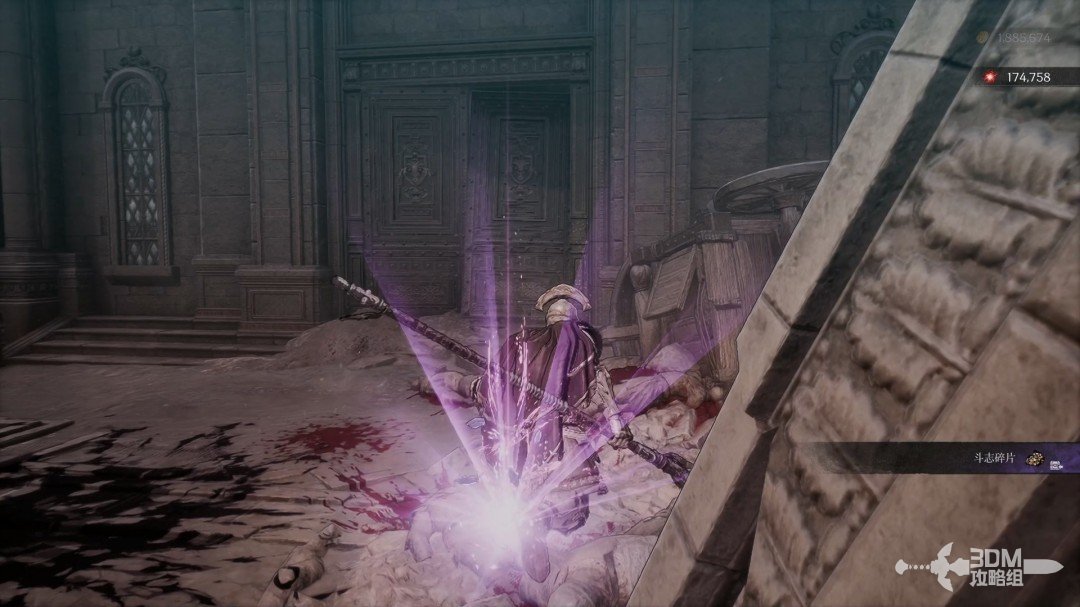
Lower chapel shortcut: return to the street fork for the waterwheel Soulstone · route image 5

At the fork, explore right toward the two water carts first.
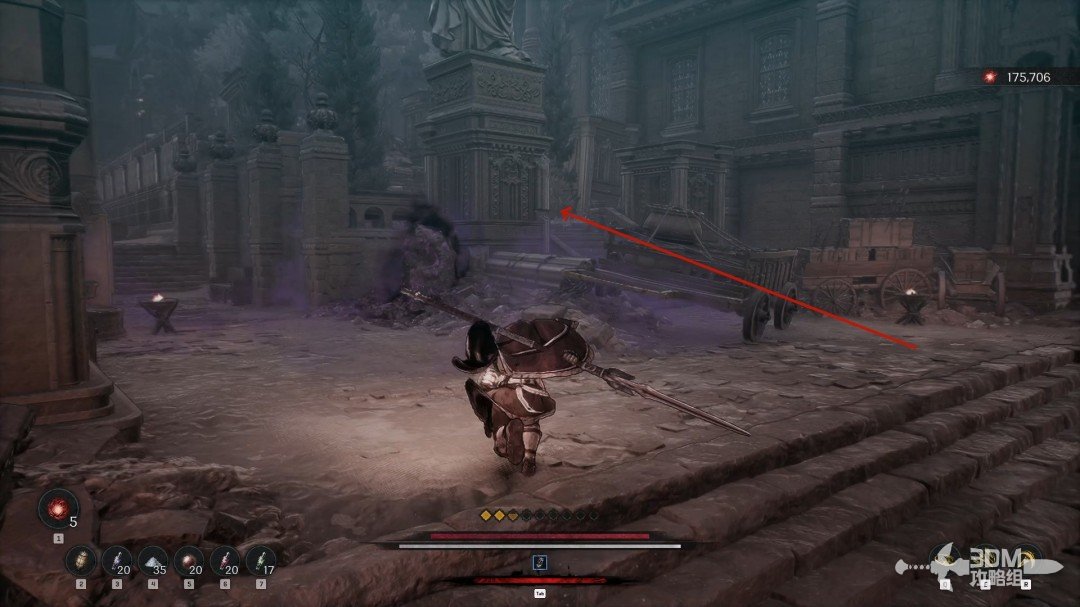
Lower chapel shortcut: return to the street fork for the waterwheel Soulstone · route image 6

A Soulstone stands on the platform behind the carts.
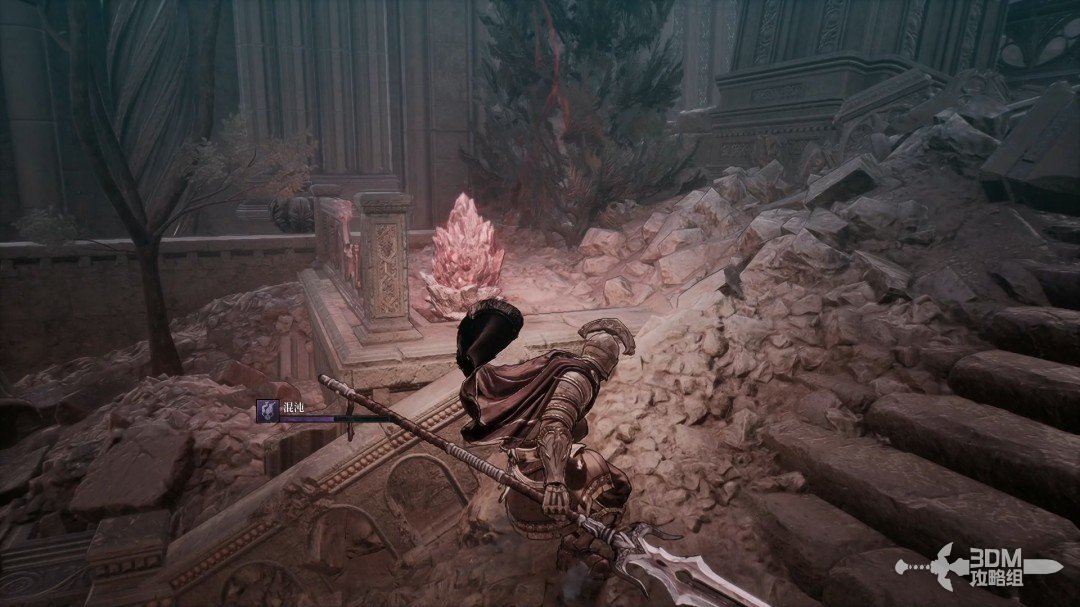
Lower chapel shortcut: return to the street fork for the waterwheel Soulstone · route image 7

30Pavilion on the left and main stairs: reach the Nexus before the dragon

Return to the left main route toward a pavilion and mage. Detonate nearby growths against the enemies.
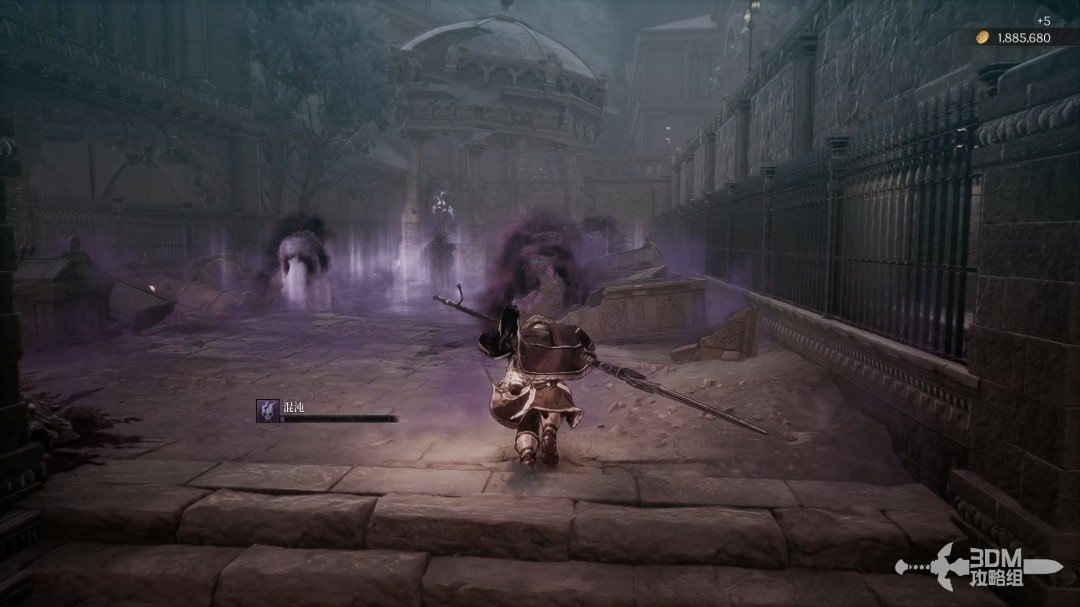
Pavilion on the left and main stairs: reach the Nexus before the dragon · route image 1

Continue up the stairs for an item in the left corner.
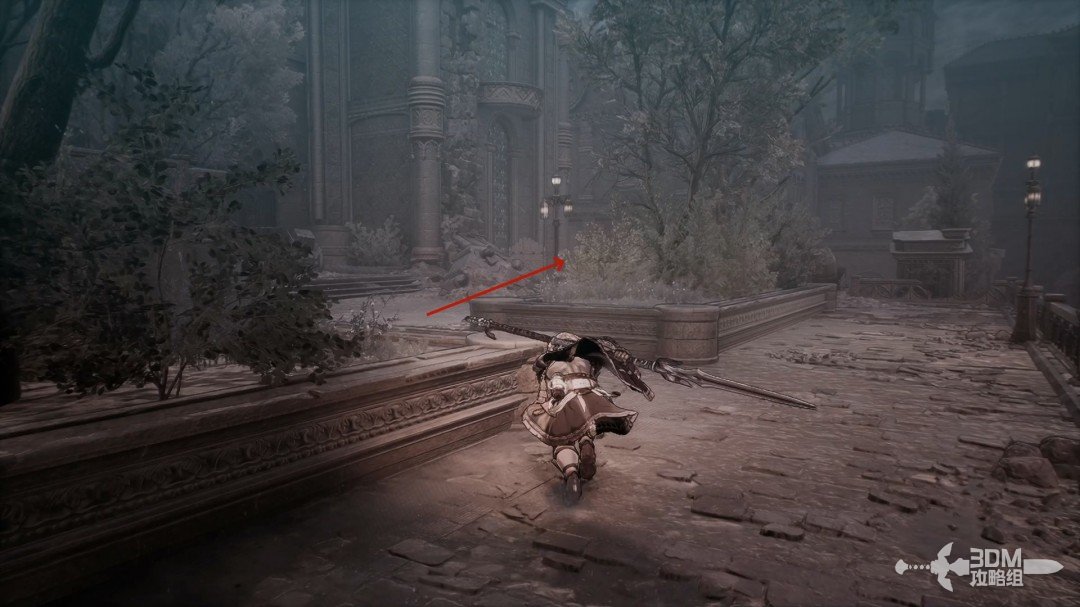
Pavilion on the left and main stairs: reach the Nexus before the dragon · route image 2
Pavilion on the left and main stairs: reach the Nexus before the dragon · route image 3

Resume the main route and collect another purple item on the left.
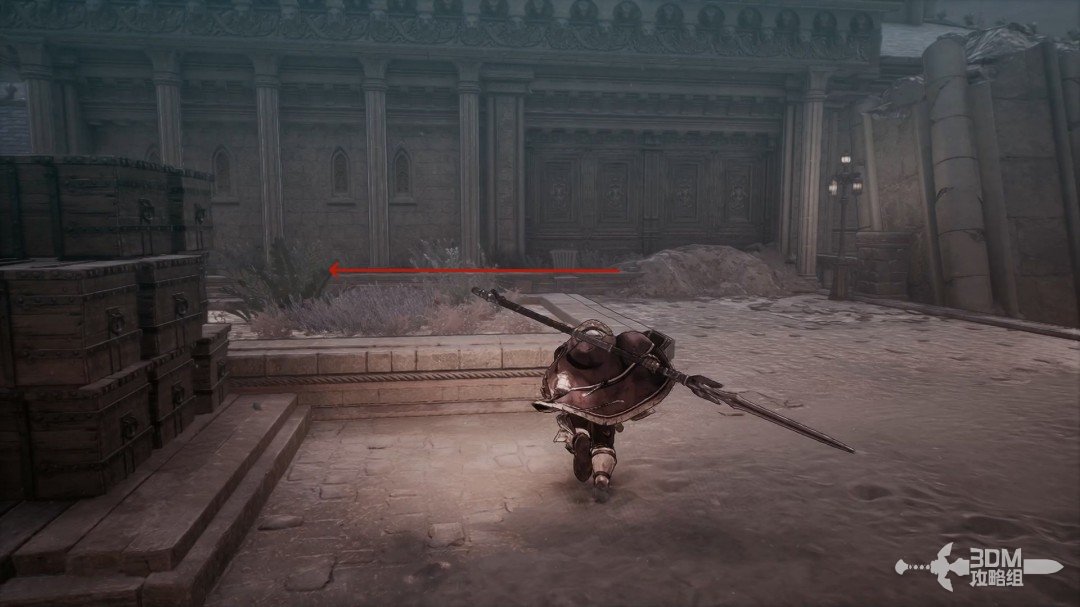
Pavilion on the left and main stairs: reach the Nexus before the dragon · route image 4
Pavilion on the left and main stairs: reach the Nexus before the dragon · route image 5

Continue straight to the Blade Nexus.
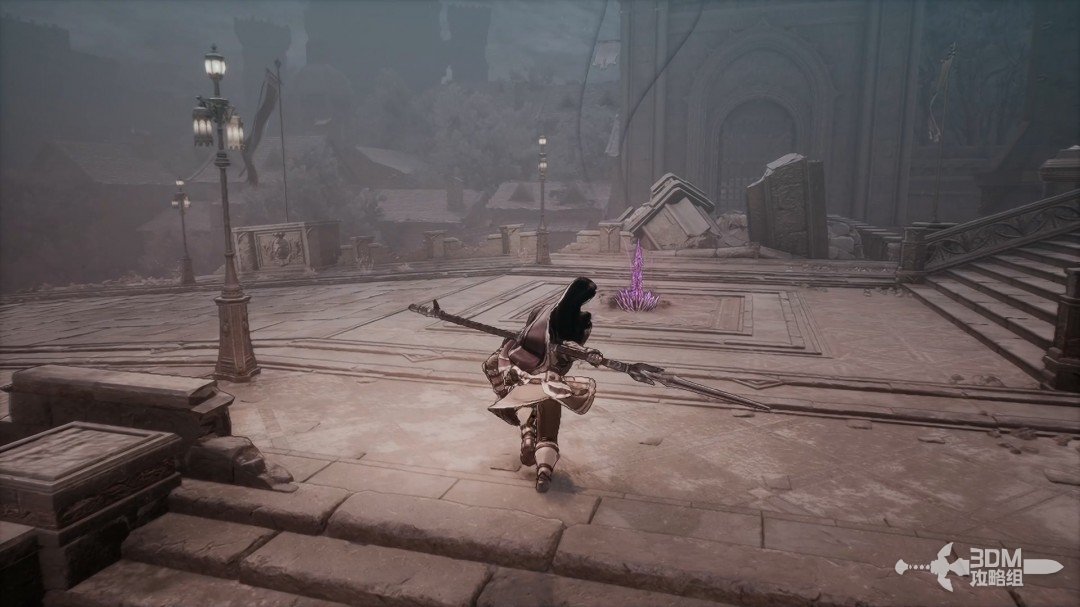
Pavilion on the left and main stairs: reach the Nexus before the dragon · route image 6

Absorb the memory on the left.

Pavilion on the left and main stairs: reach the Nexus before the dragon · route image 7

Prepare for the boss.

Pavilion on the left and main stairs: reach the Nexus before the dragon · route image 8

31Hall of the dragon's remains: Hismar revives with lasers and purple flames

Enter to find the corpse of Hismar, once defeated by Khazan and Ozma, now tainted by chaos.
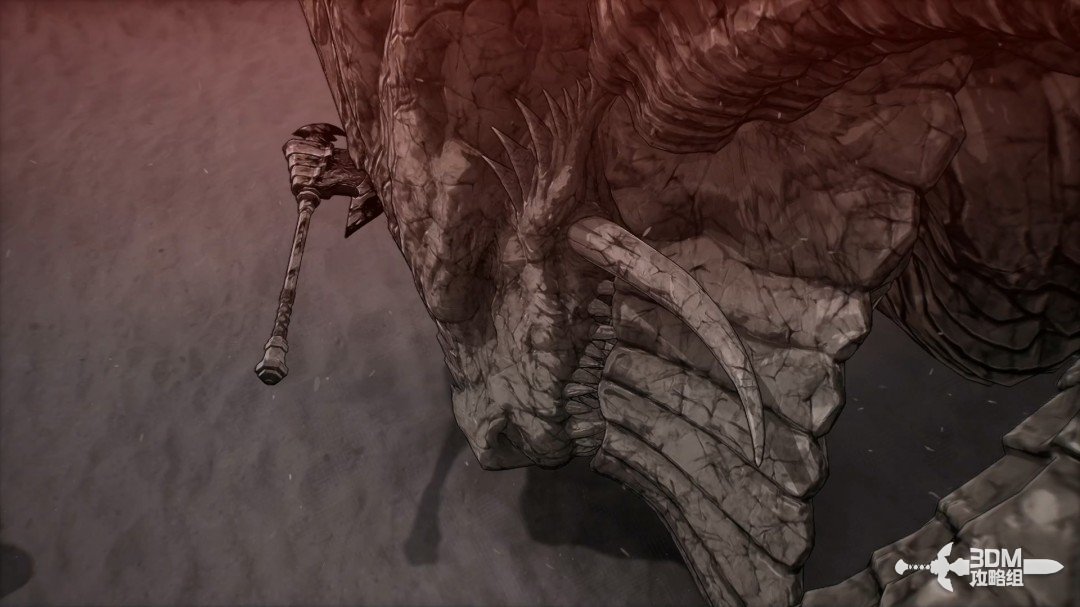
Hall of the dragon's remains: Hismar revives with lasers and purple flames · route image 1

Khazan grasps his old weapon. Chaos dissipates around it, but Hismar's corpse stirs and becomes the boss.
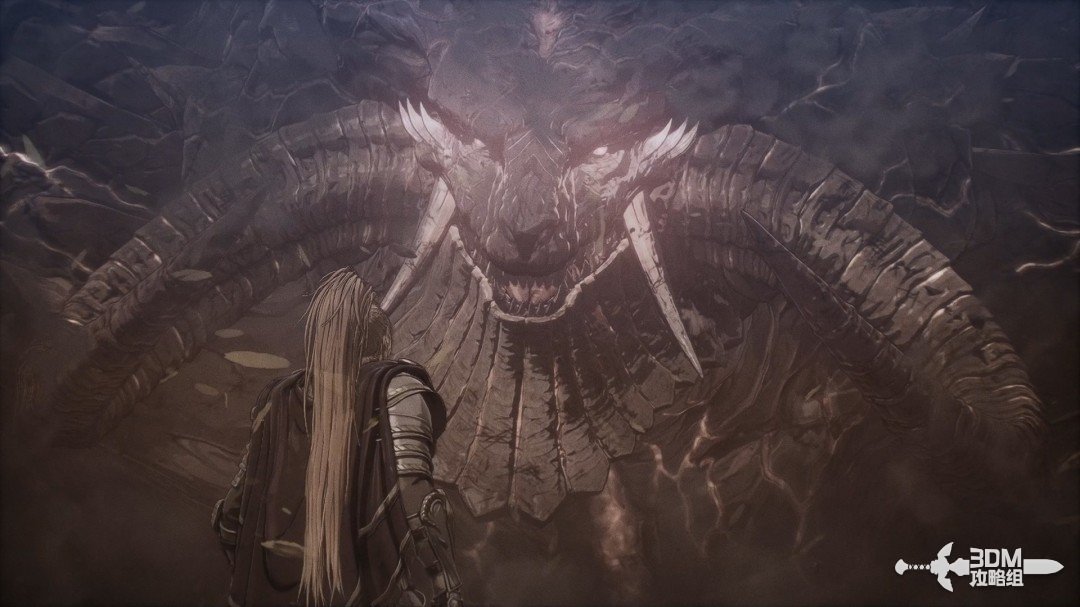
Hall of the dragon's remains: Hismar revives with lasers and purple flames · route image 2

The following covers its distinctive attacks in addition to ordinary melee strikes.

Attack ①:

A forward charge preceded by a backward step and wind-up.
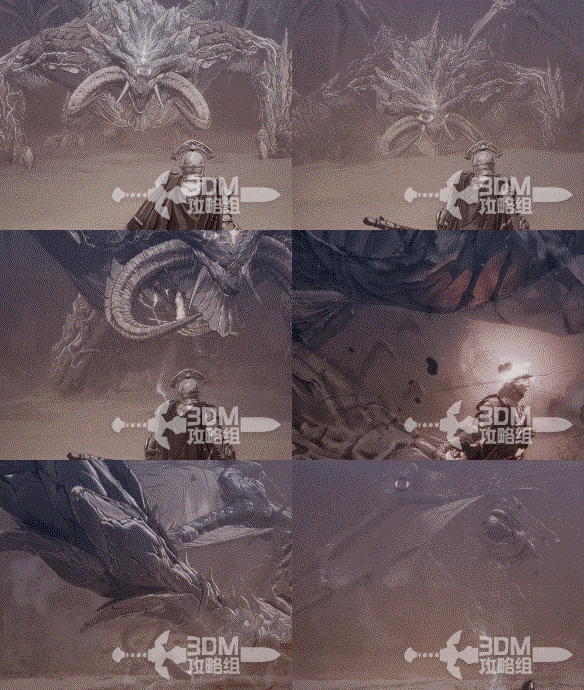
Hall of the dragon's remains: Hismar revives with lasers and purple flames · route image 3

Attack ②:

A downward bite leaves its mouth embedded in the ground. Punish the recovery.
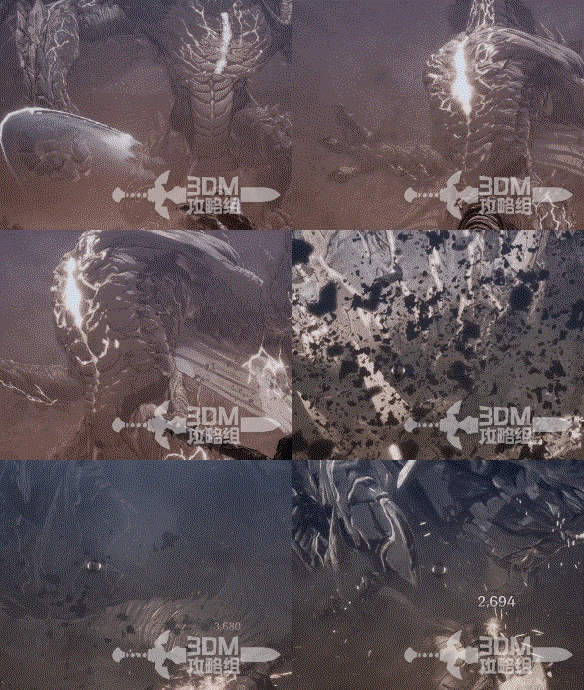
Hall of the dragon's remains: Hismar revives with lasers and purple flames · route image 4

Attack ③:

An aerial bite adds a leap and a small hitbox as the head rises again. Throwing attacks can knock it down in flight.
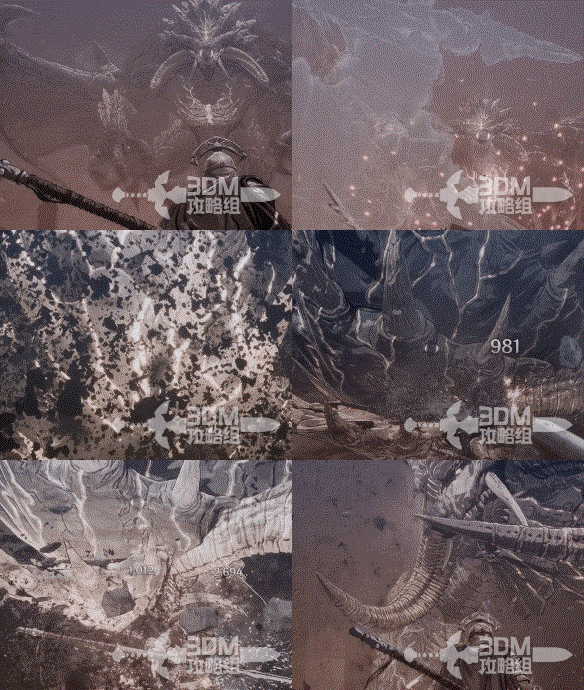
Hall of the dragon's remains: Hismar revives with lasers and purple flames · route image 5

Attack ④:

A laser breath attack with a bright glow charging in the mouth.
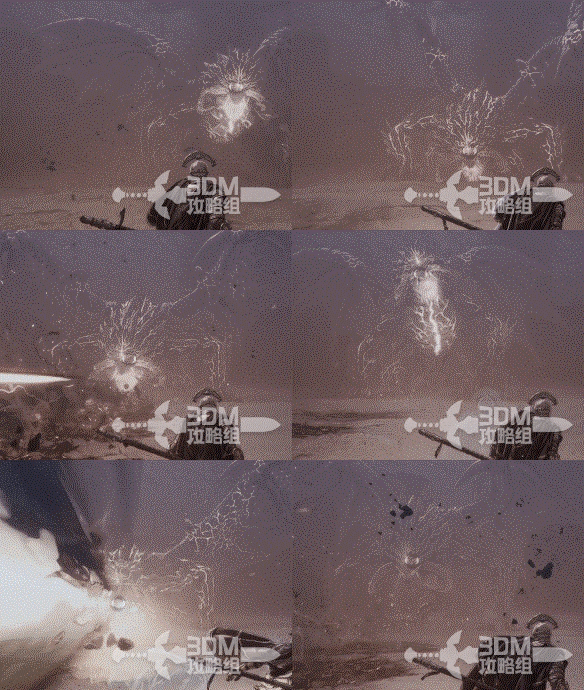
Hall of the dragon's remains: Hismar revives with lasers and purple flames · route image 6

Attack ⑤:

Purple light surrounds its body and purple flames appear on the floor. Avoid standing in them.
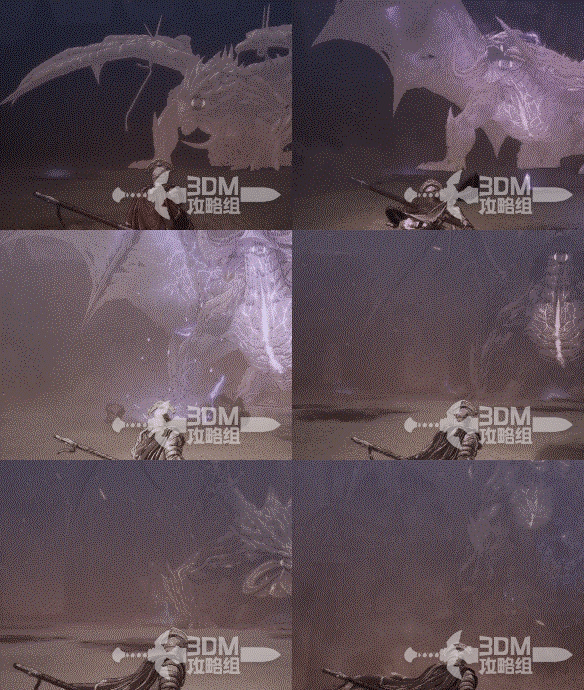
Hall of the dragon's remains: Hismar revives with lasers and purple flames · route image 7

Attack ⑥:

It rises, charges with a purple glow in its chest and breathes fire downward twice.

Hall of the dragon's remains: Hismar revives with lasers and purple flames · route image 8

Attack ⑦:

Another charged laser fires once but lasts longer than the earlier beam.
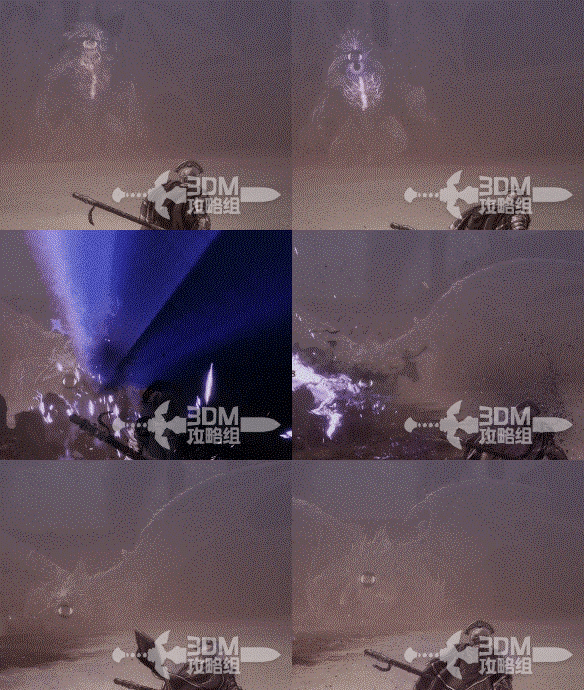
Hall of the dragon's remains: Hismar revives with lasers and purple flames · route image 9

32Defeat the dragon again and receive the Slaughterer Scroll

Defeat Hismar to obtain the Slaughterer Scroll.
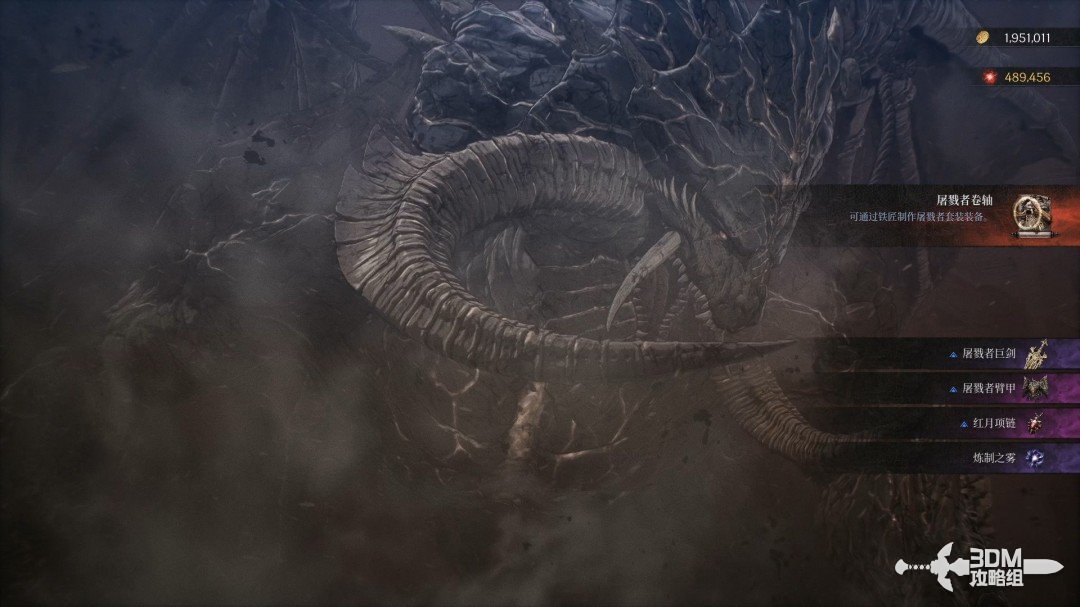
Defeat the dragon again and receive the Slaughterer Scroll · route image 10

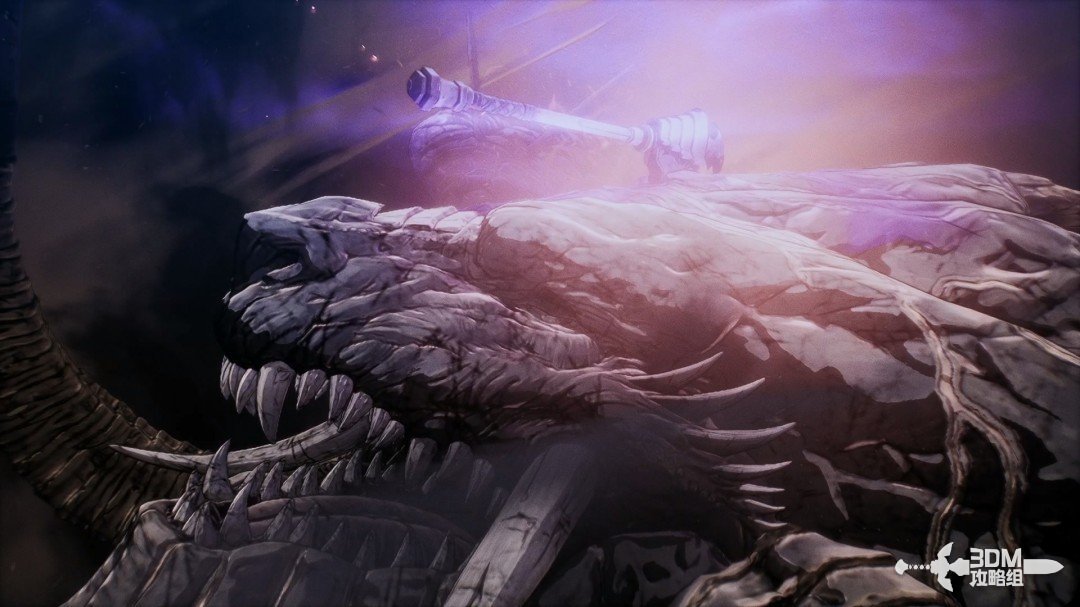
The cinematic shows Khazan slaying Hismar once again.
Defeat the dragon again and receive the Slaughterer Scroll · route image 11

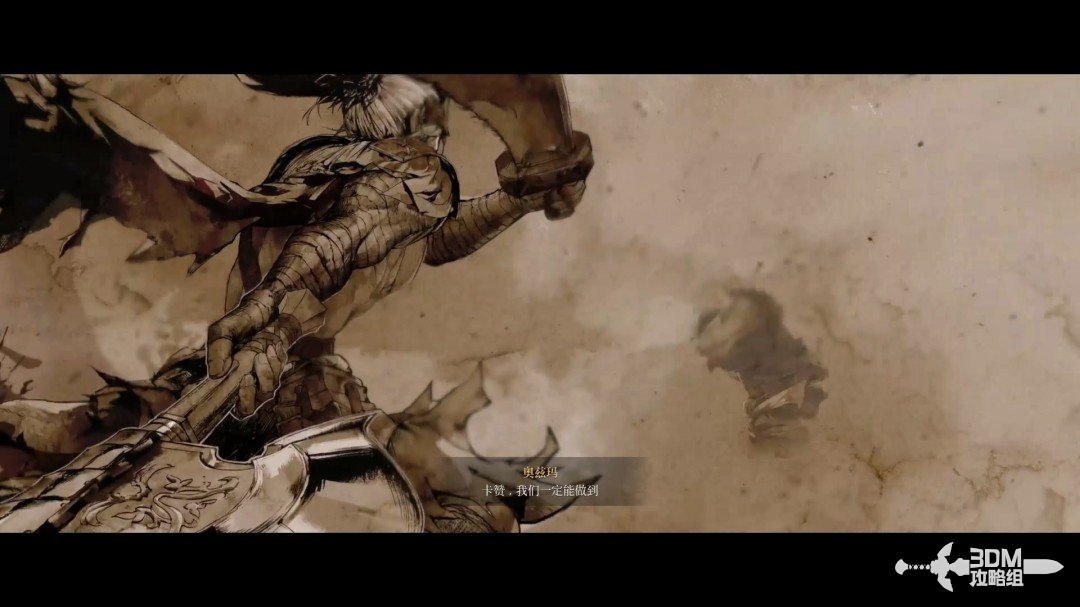
A memory recalls Ozma once believing Hismar's defeat would improve the world. The chapter ends with that hope now lost.
Defeat the dragon again and receive the Slaughterer Scroll · route image 12

Related side missions

  1. Disobedience →

    Help Yulian find his family.

  2. Charon’s Chains →

    Continue the relic mission and prepare for consecutive bosses.

  3. The Birth of Evil →

    Accept the mission from Yulian.

  4. The Vow →

    Collect the Aldevir, Vaisar and Rovelion disc fragments, then speak to Daphrona.

Reference: 3DM Guide Team

GAME NOTE has reorganized and rewritten the routes from this walkthrough.