Skip to content

The Vow

Guide editor: GAME NOTE

GAME NOTE CLASSIC · GUIDE LIBRARYThe First Berserker: Khazan

Collect the Aldevir, Vaisar and Rovelion disc fragments, then speak to Daphrona.

Pickups in this mission

Open this mission’s independent boss guide →

01Entrance unlocked by three fragments: open the gate and ride down to the Nexus

The Vow is a hidden mission unlocked by collecting all three disc fragments. Their positions are listed in the collection guide.
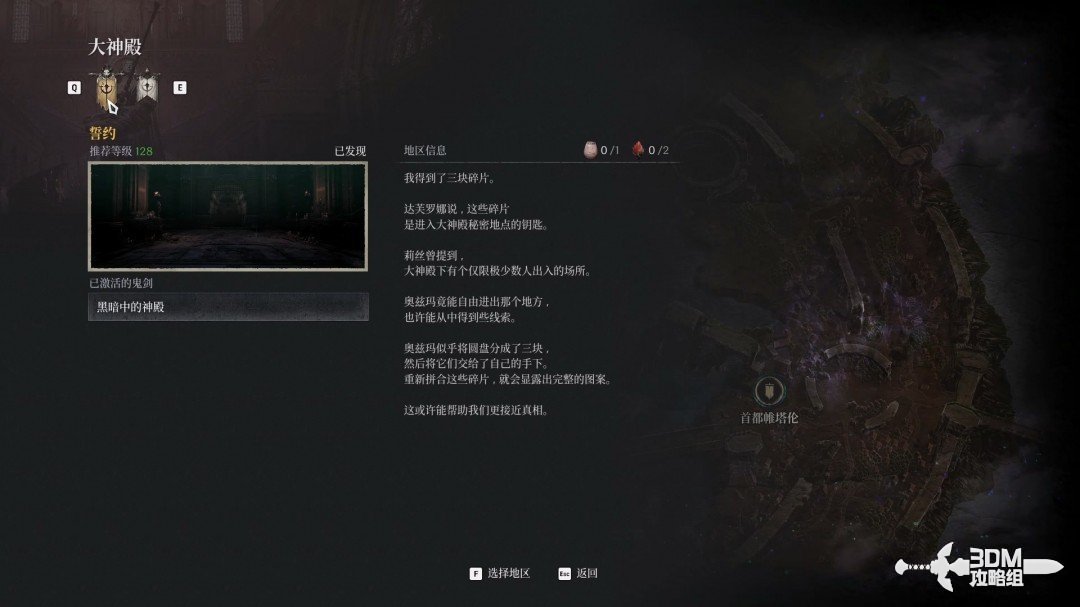
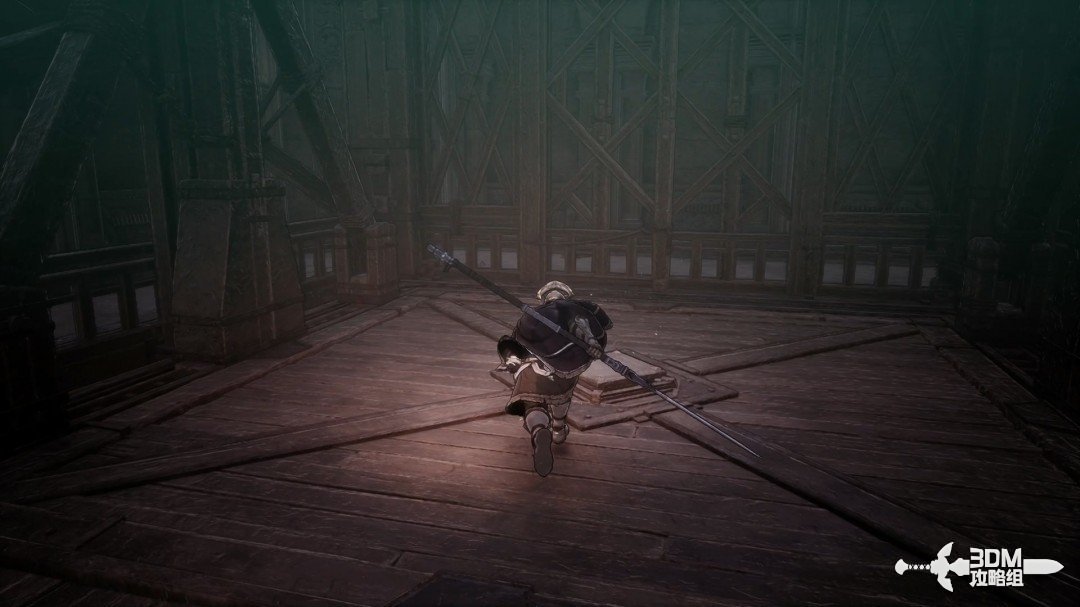
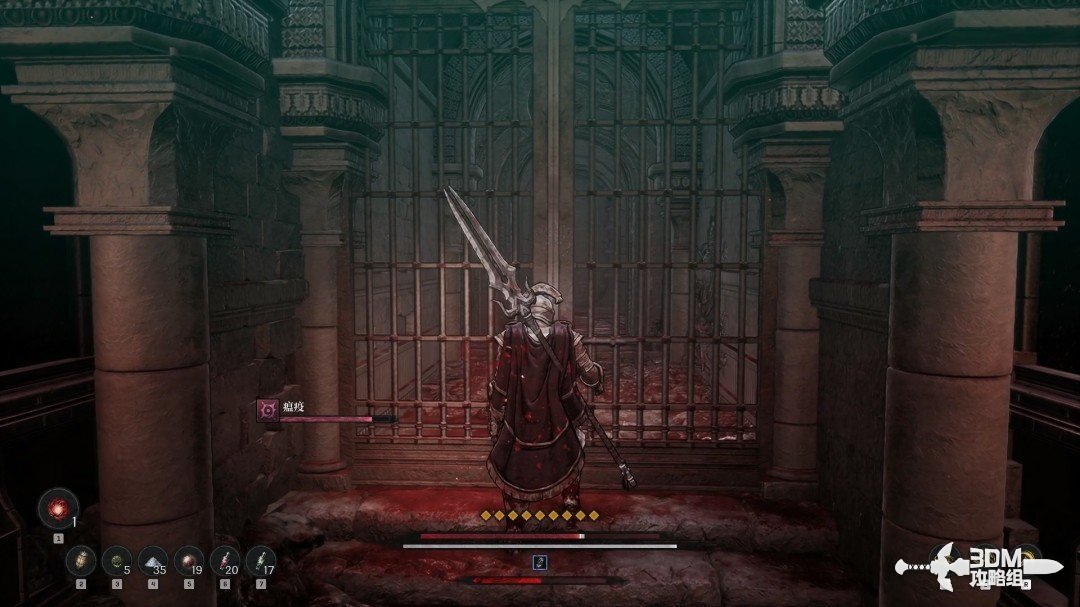
Entrance unlocked by three fragments: open the gate and ride down to the Nexus · route image 1

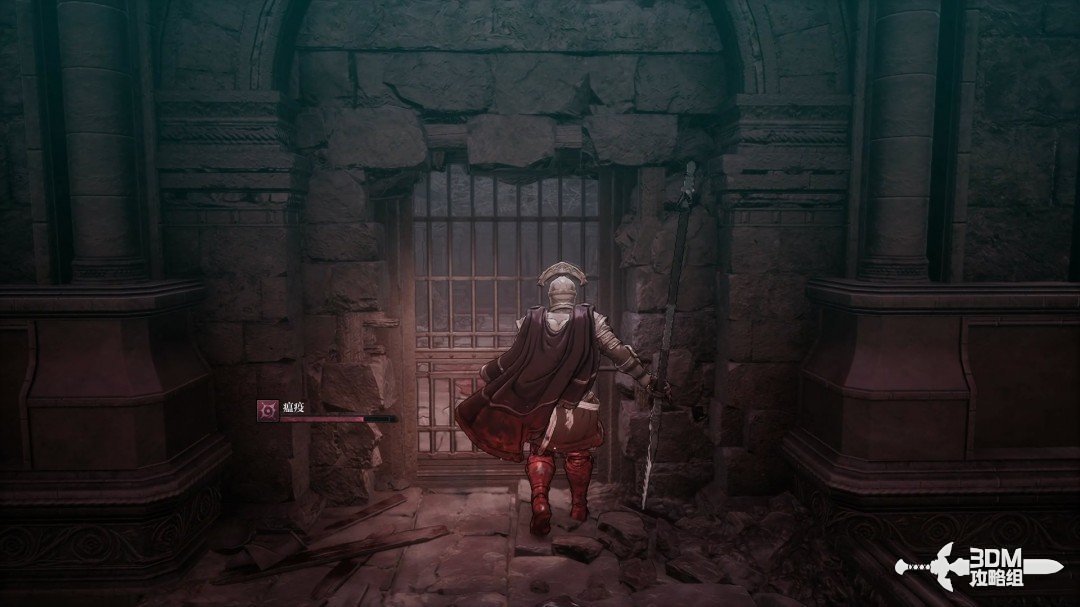
Open the iron gate directly ahead after arrival.
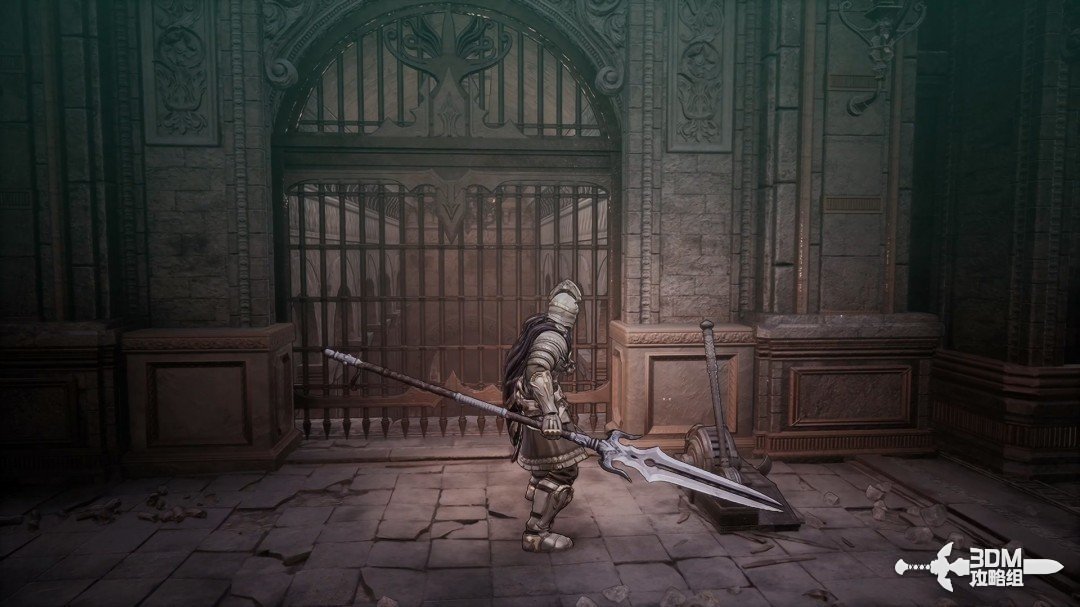
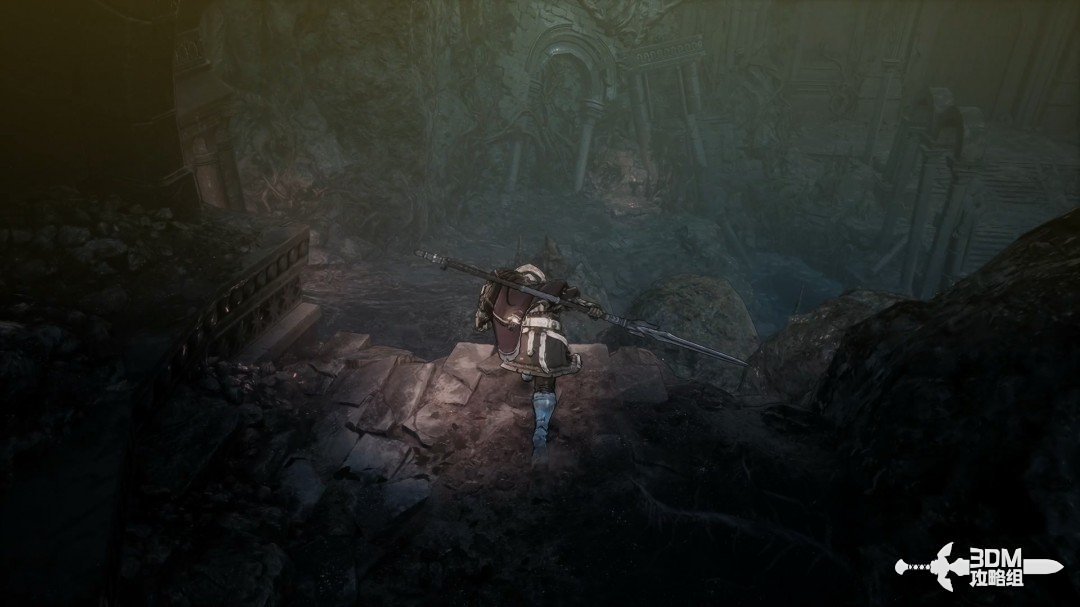
Entrance unlocked by three fragments: open the gate and ride down to the Nexus · route image 2

Continue to the elevator.

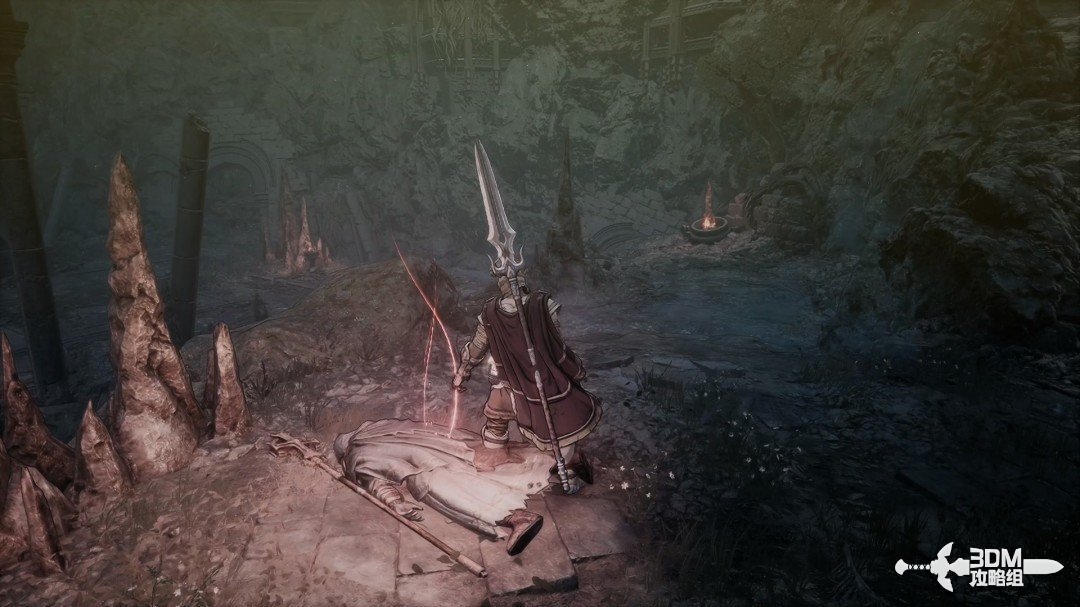
Entrance unlocked by three fragments: open the gate and ride down to the Nexus · route image 3

Rest at the new Nexus below.

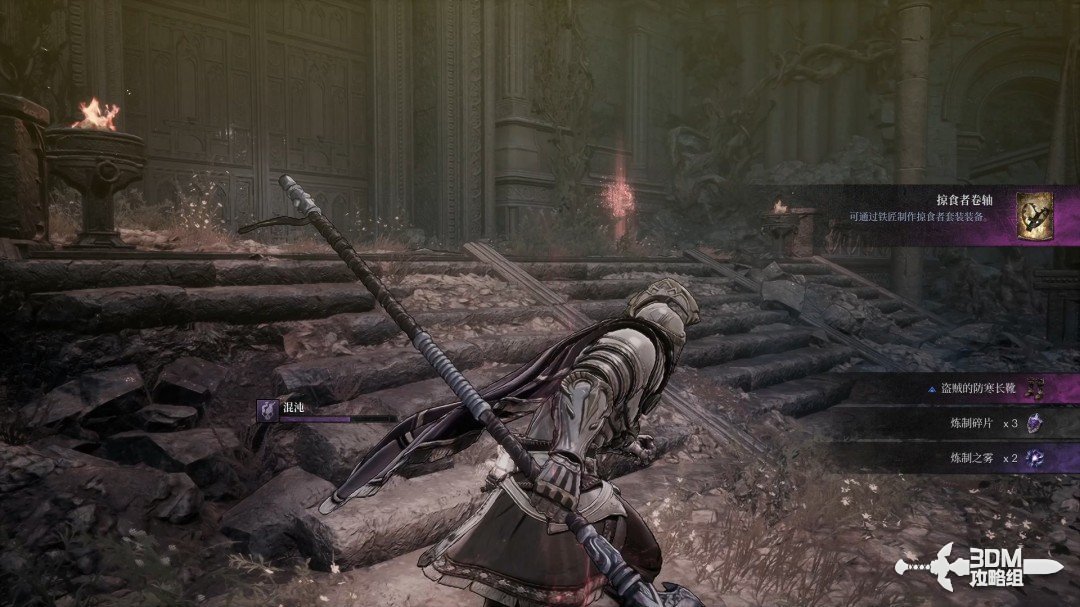
Entrance unlocked by three fragments: open the gate and ride down to the Nexus · route image 4

02Hidden stone wall behind the statue: search the chest and descend through the side doorway

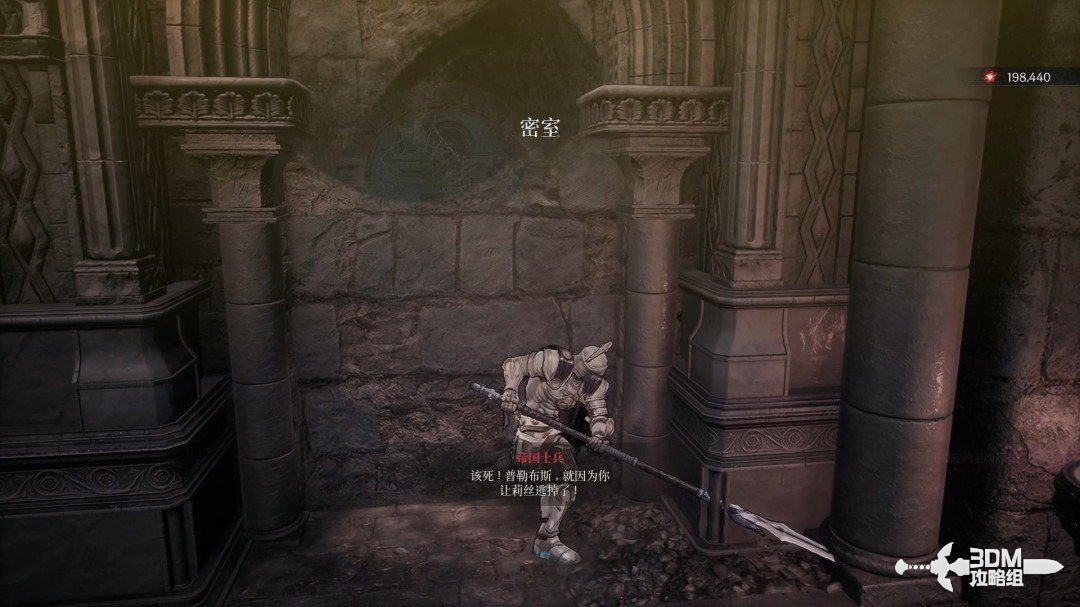
Absorb the memory behind the statue.
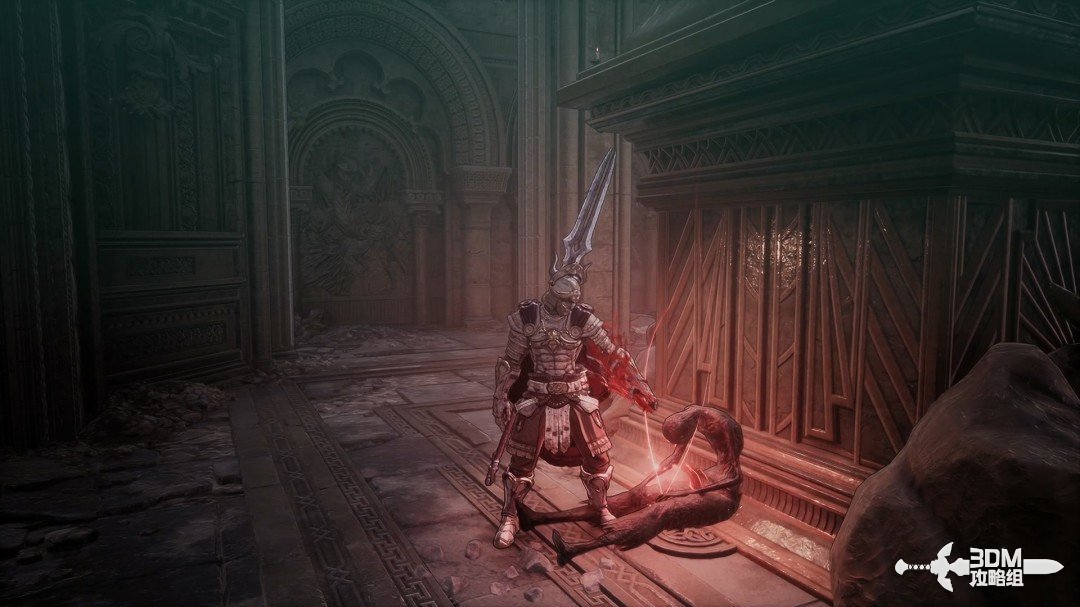
Hidden stone wall behind the statue: search the chest and descend through the side doorway · route image 5

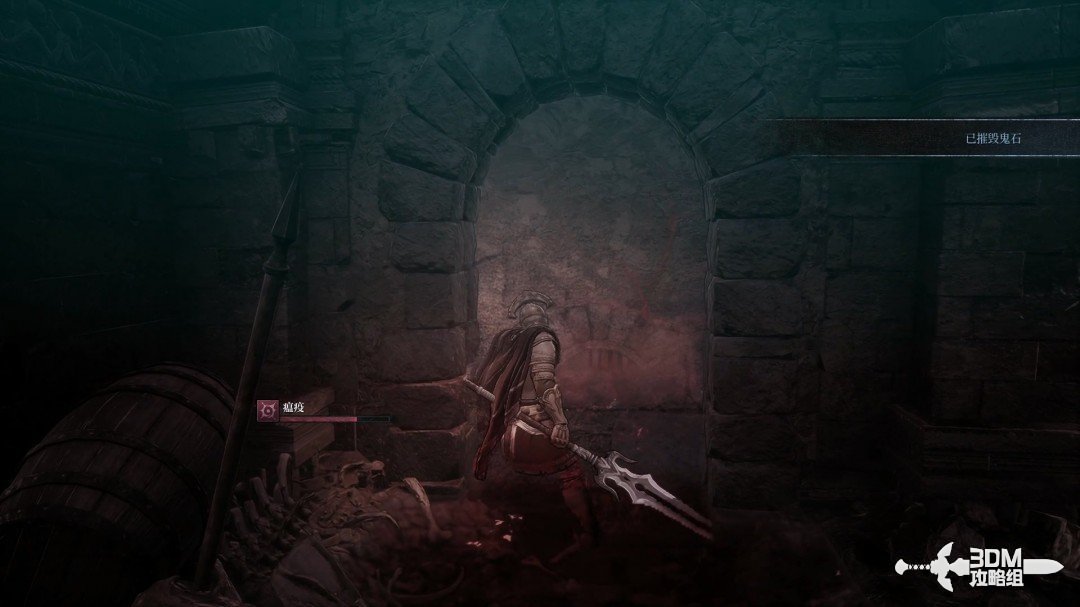
Break the stone wall behind it to reveal a hidden doorway.
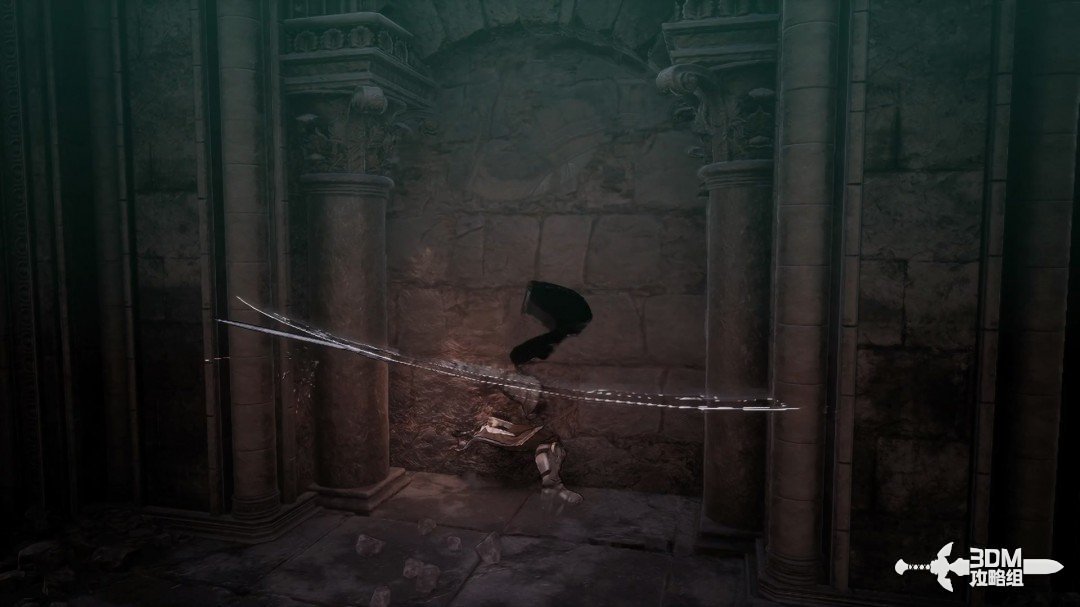
Hidden stone wall behind the statue: search the chest and descend through the side doorway · route image 6

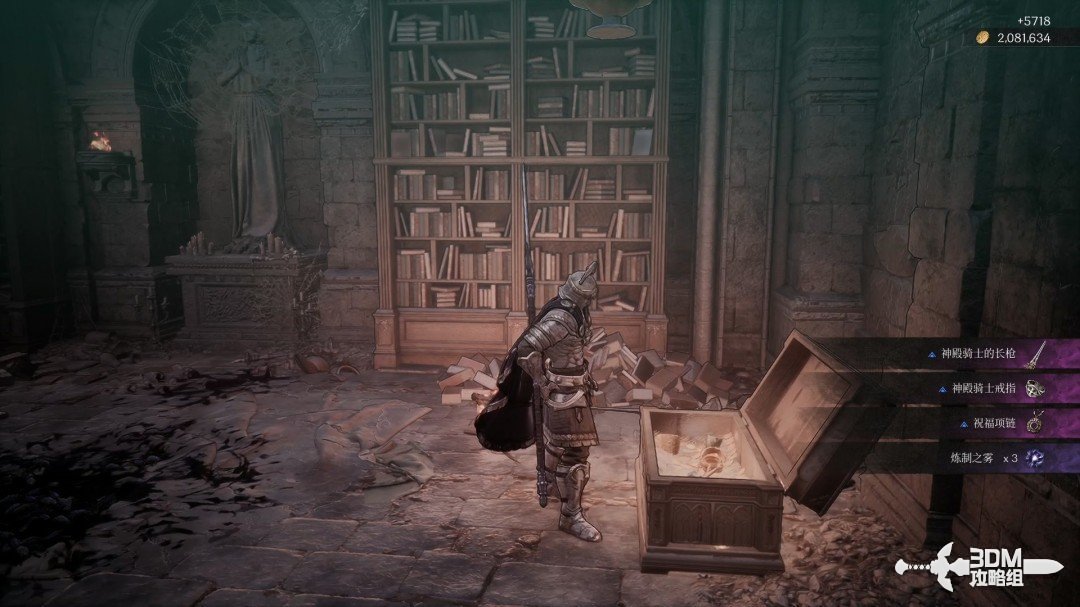
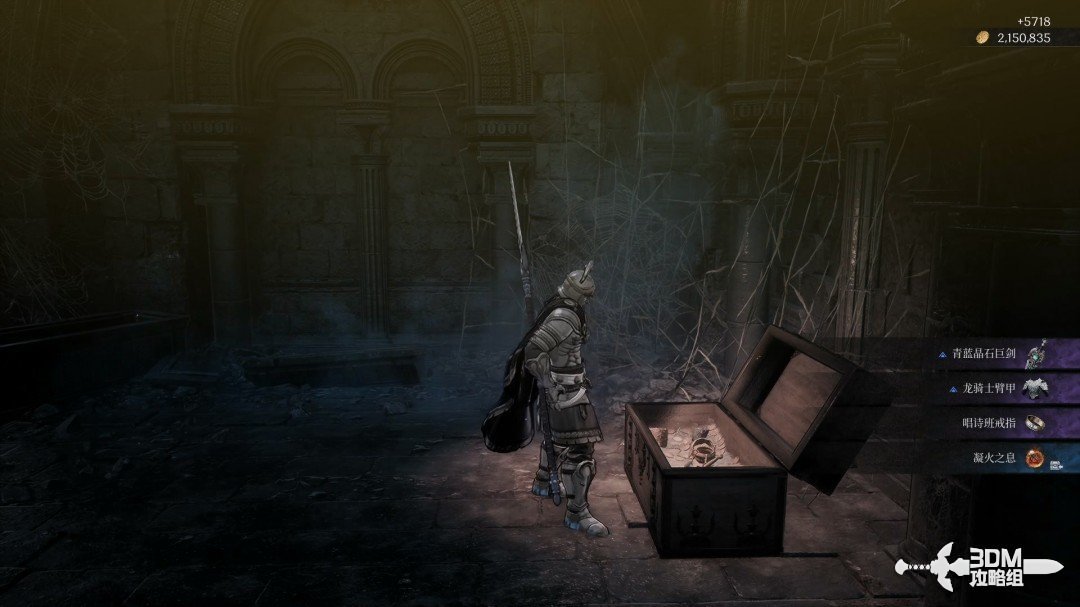
Open the chest inside.

Hidden stone wall behind the statue: search the chest and descend through the side doorway · route image 7

Leave and take the small side door.

Hidden stone wall behind the statue: search the chest and descend through the side doorway · route image 8

Collect the blue item beside the route.
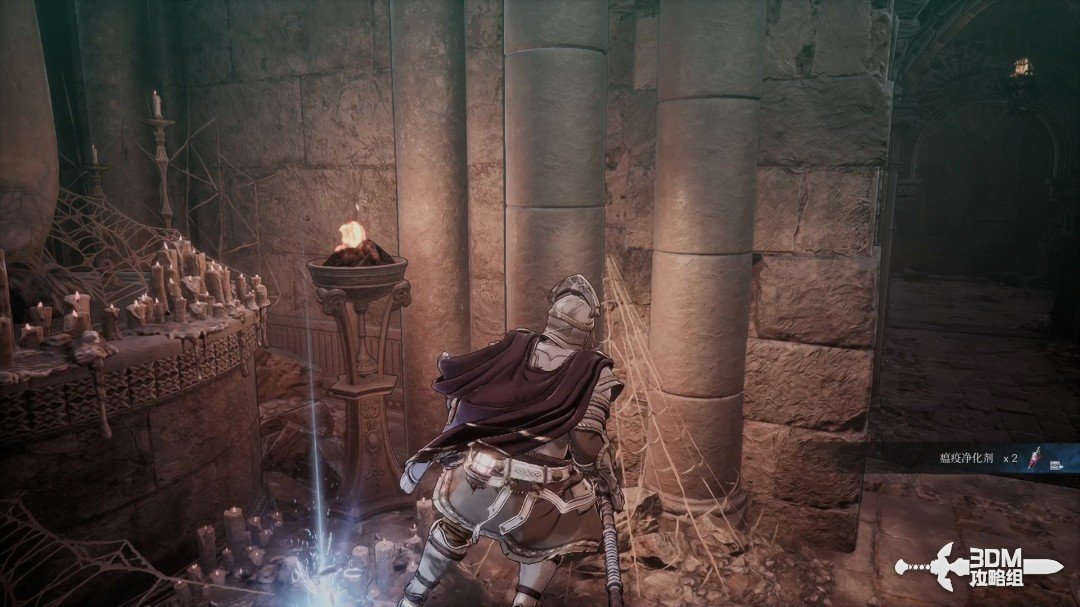
Hidden stone wall behind the statue: search the chest and descend through the side doorway · route image 9

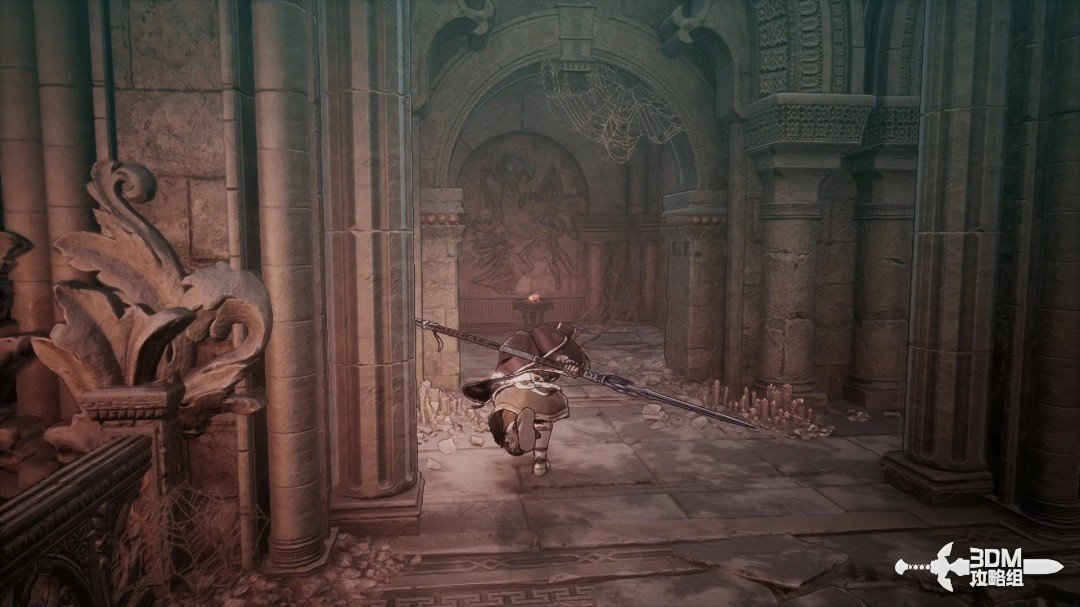
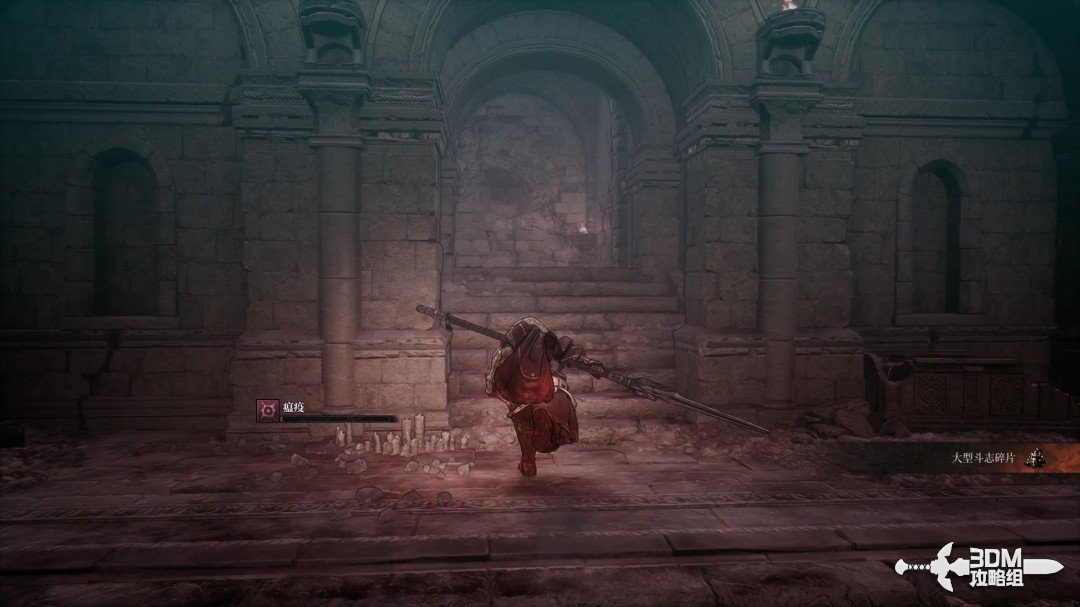
Continue inside and descend the stairs.
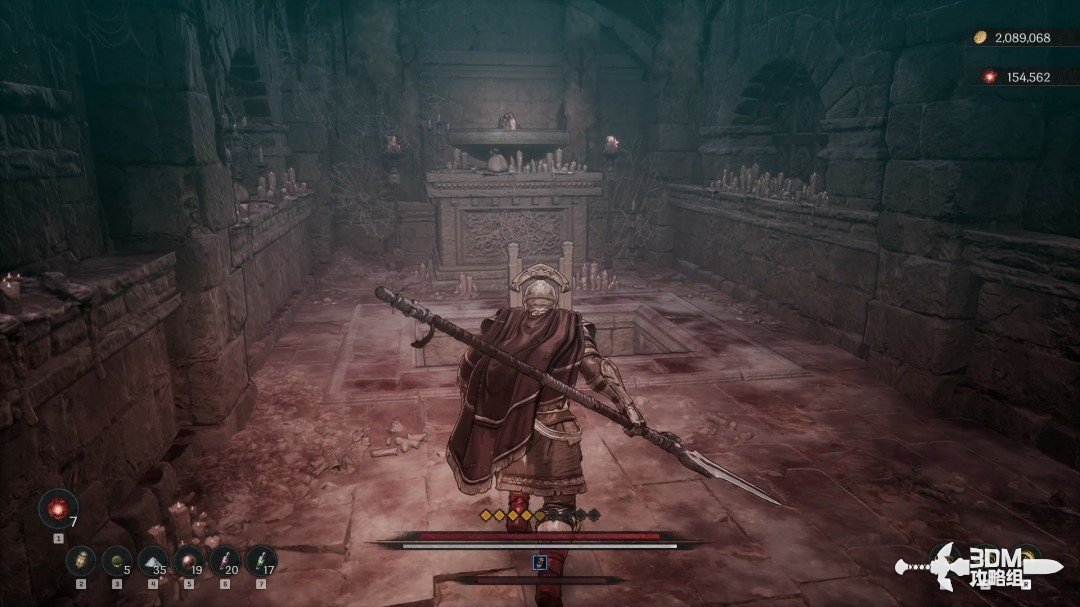
Hidden stone wall behind the statue: search the chest and descend through the side doorway · route image 10

03Triggered trap and collapsing floor: defeat the elite below

Avoid the proximity trap on the lower path.
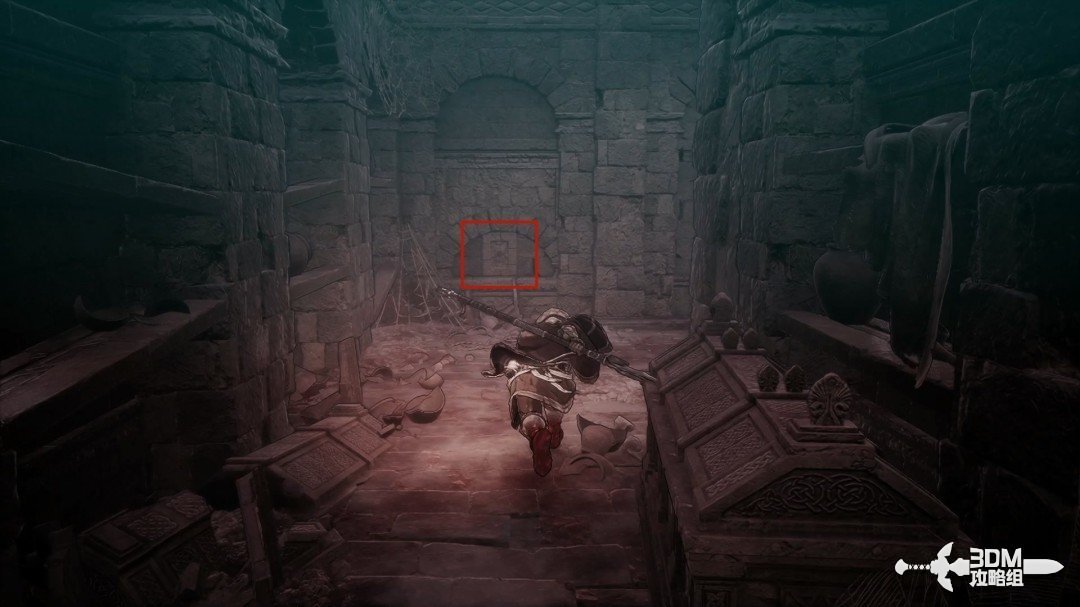
Triggered trap and collapsing floor: defeat the elite below · route image 11

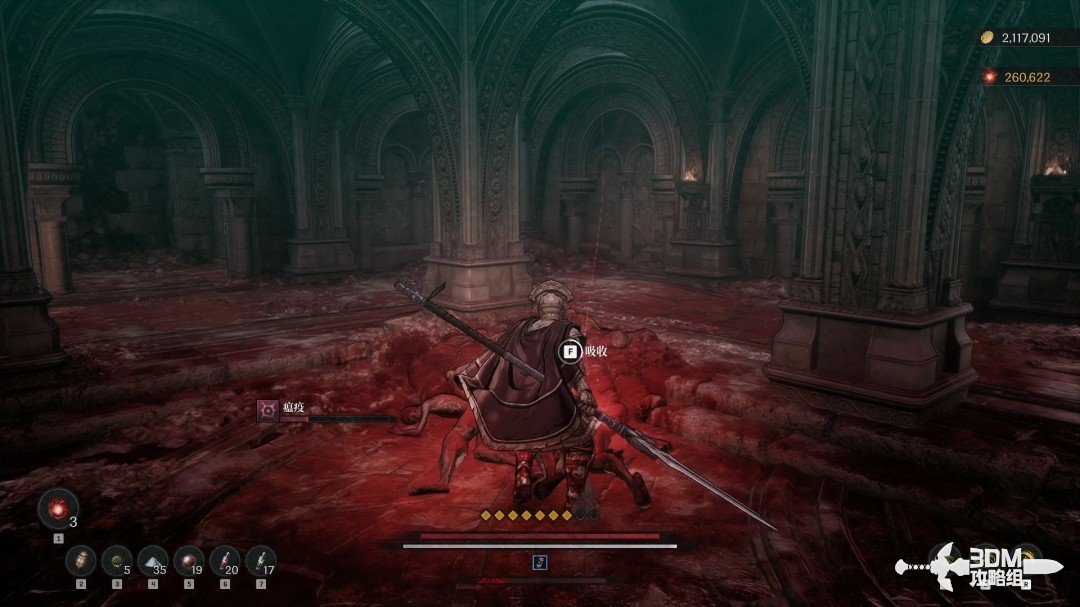
The floor ahead collapses into an elite encounter. Prepare before dropping.
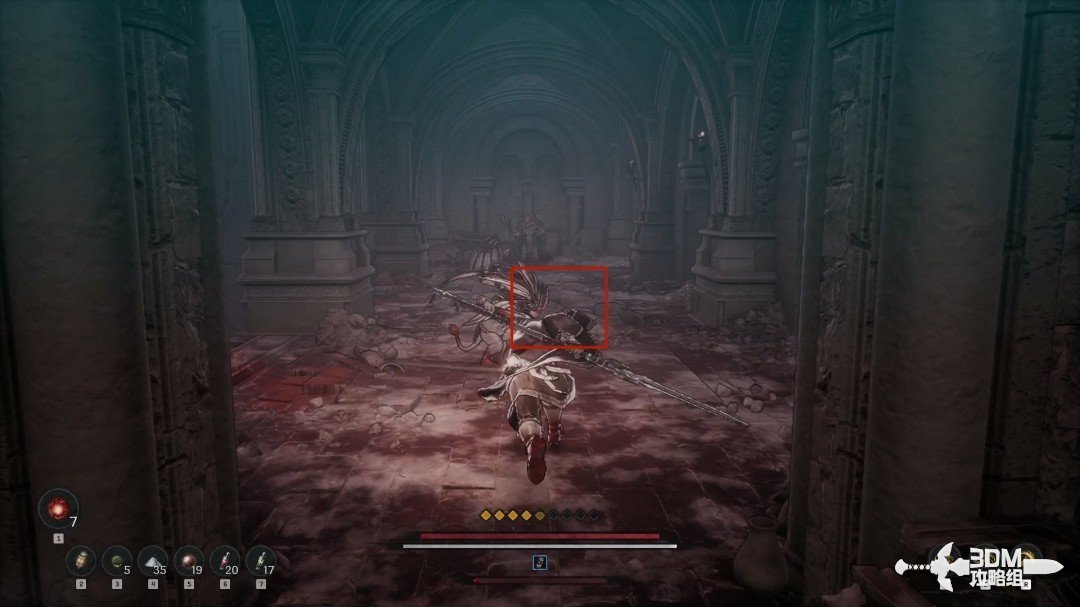
Triggered trap and collapsing floor: defeat the elite below · route image 12

Defeat the elite below and collect the nearby items.
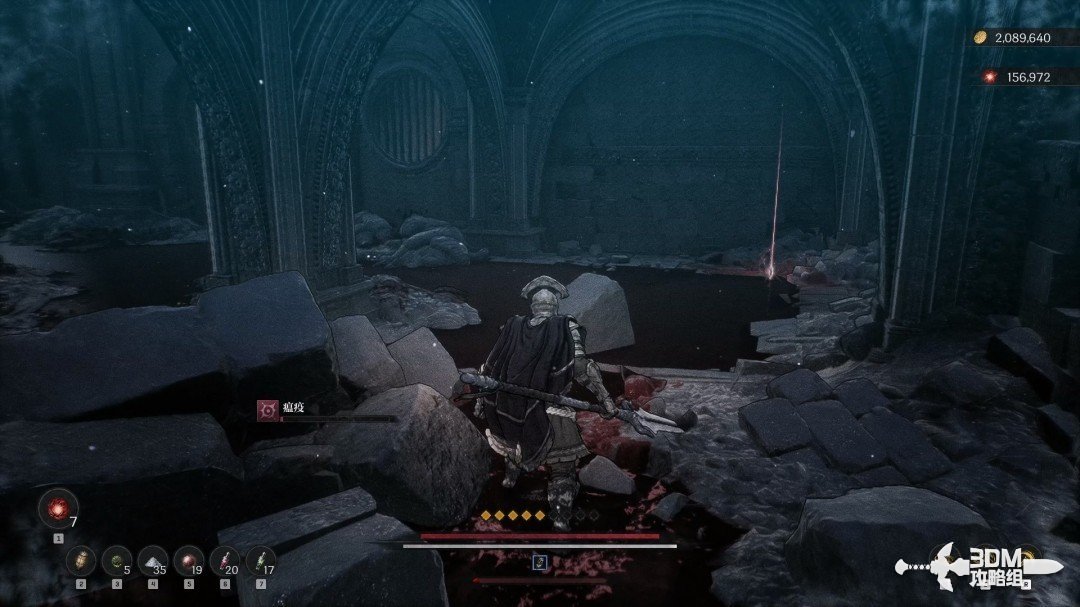
Triggered trap and collapsing floor: defeat the elite below · route image 13

The red item in the right corner is the Ghostly Spear Blade.
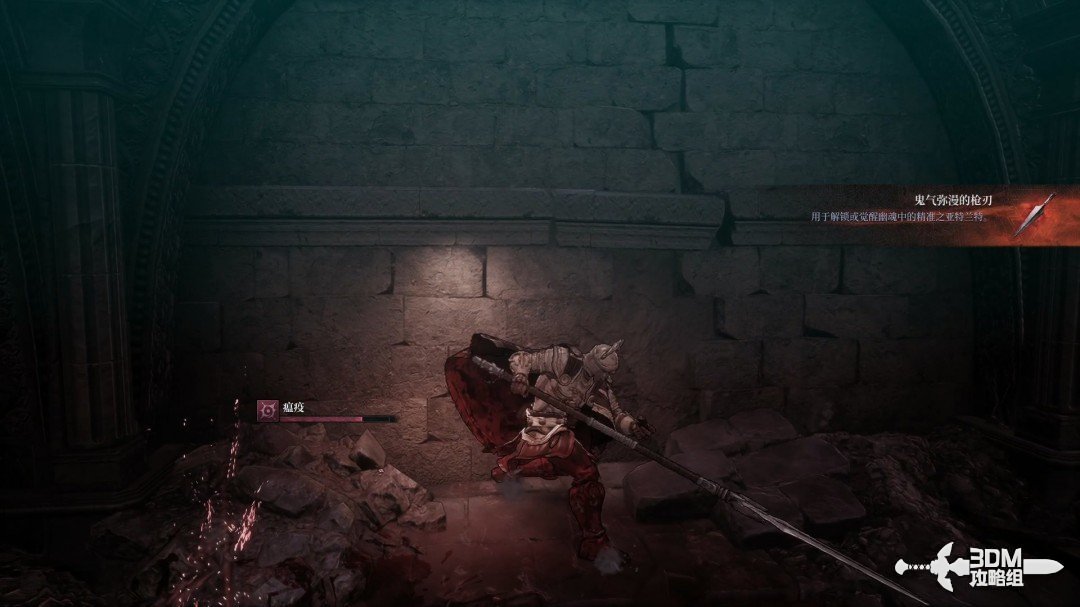
Triggered trap and collapsing floor: defeat the elite below · route image 14

05Gate beyond the elite room: search the hidden wall on the right

Collect the purple item beside the elite's position.
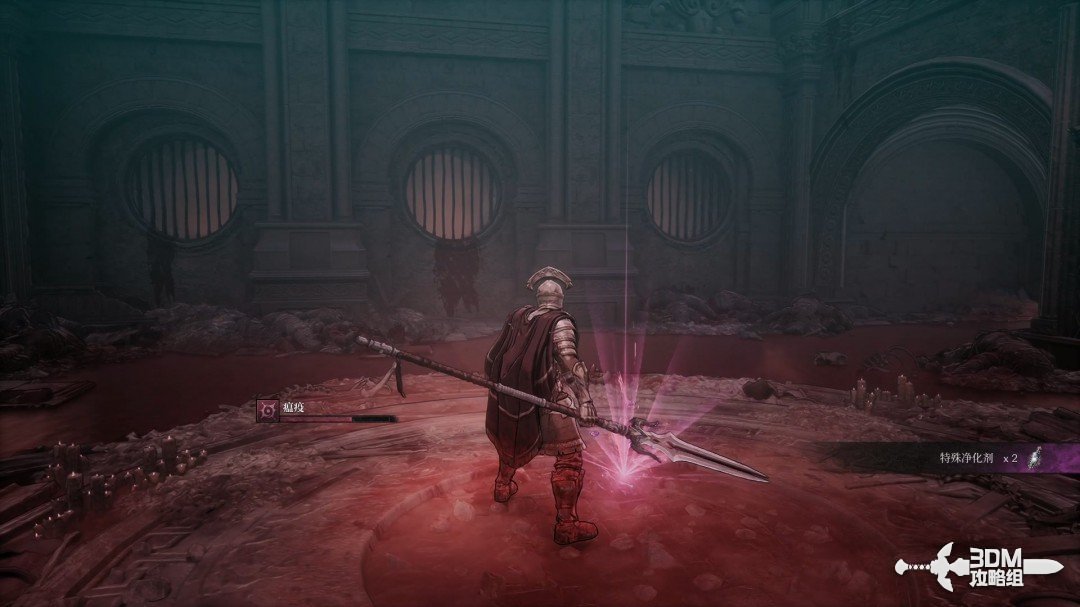
Gate beyond the elite room: search the hidden wall on the right · route image 1

Leave through the nearby iron gate.

Gate beyond the elite room: search the hidden wall on the right · route image 2

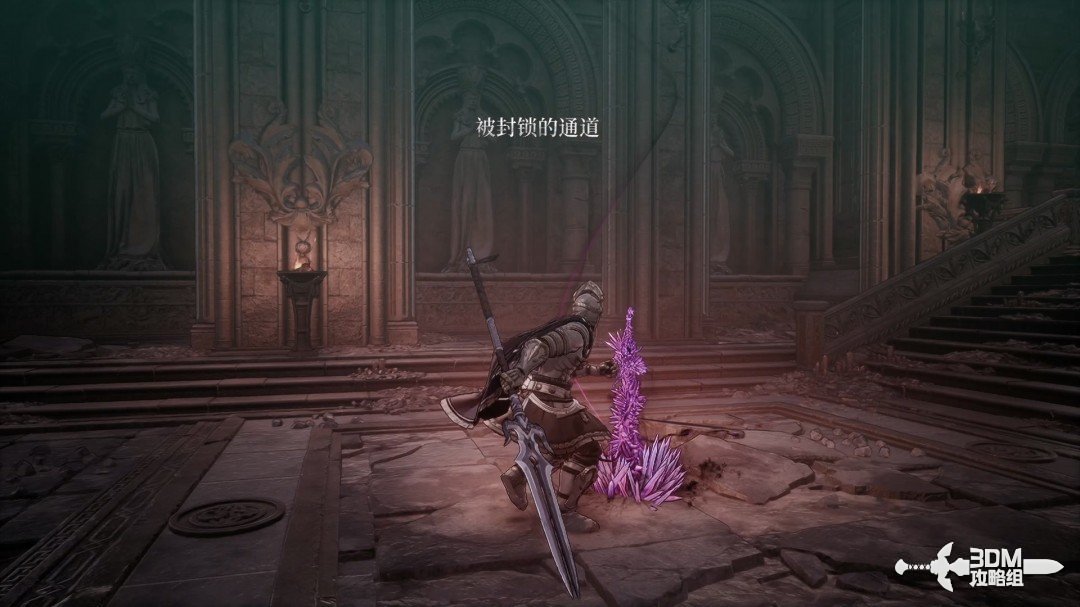
The right branch is a dead end, but its hidden wall conceals a Soulstone.
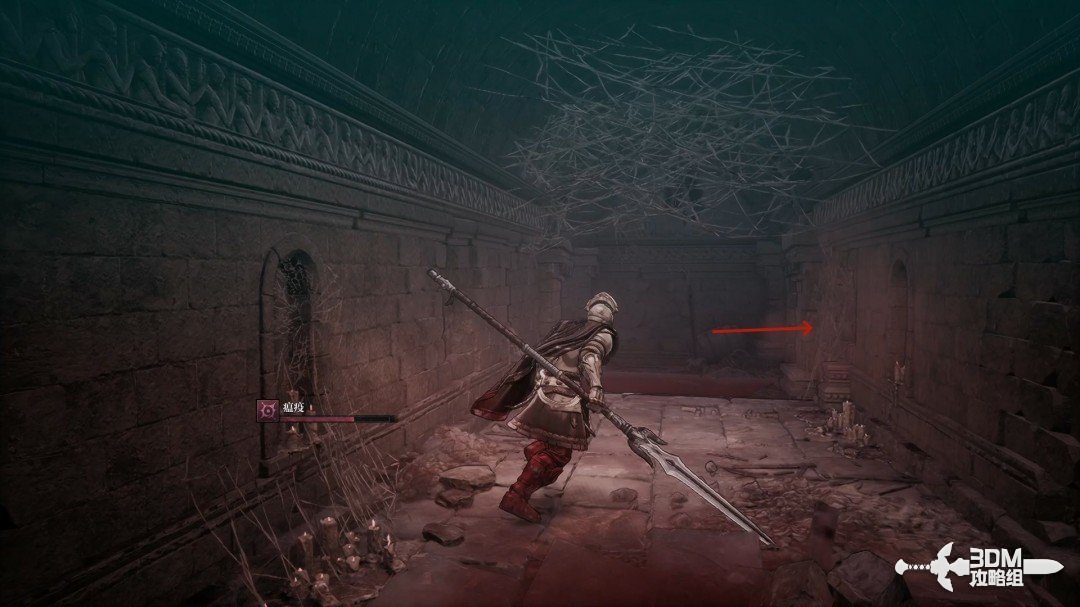
Gate beyond the elite room: search the hidden wall on the right · route image 3
Gate beyond the elite room: search the hidden wall on the right · route image 4

07Stairs in the left fork's room: pass the hidden door to the relic chest

Turn back to the fork and explore left first.
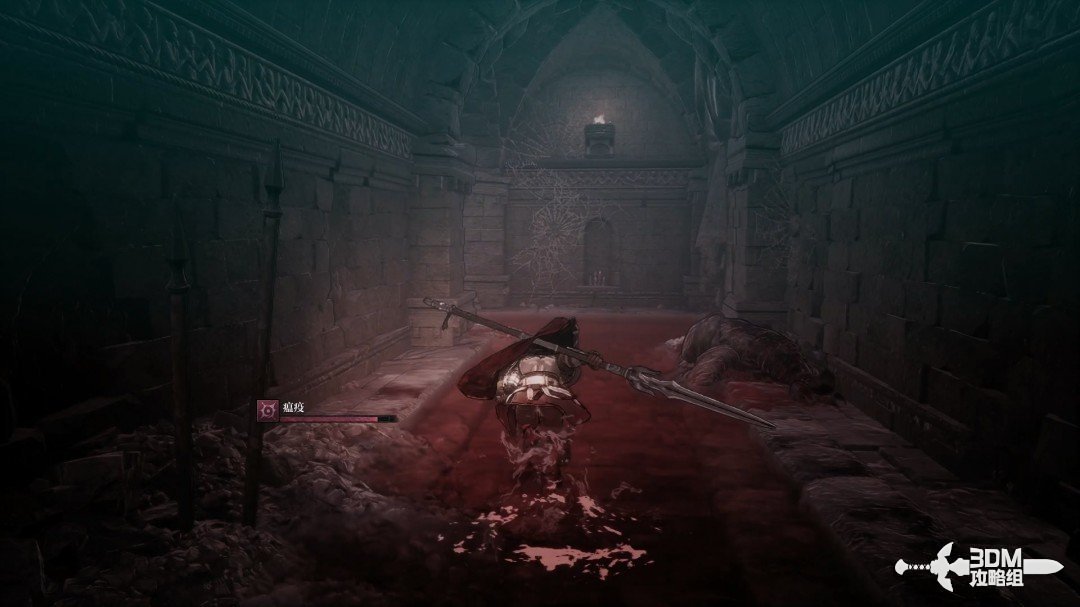
Stairs in the left fork's room: pass the hidden door to the relic chest · route image 1

In the small left room, break the hidden wall beneath the stairs.
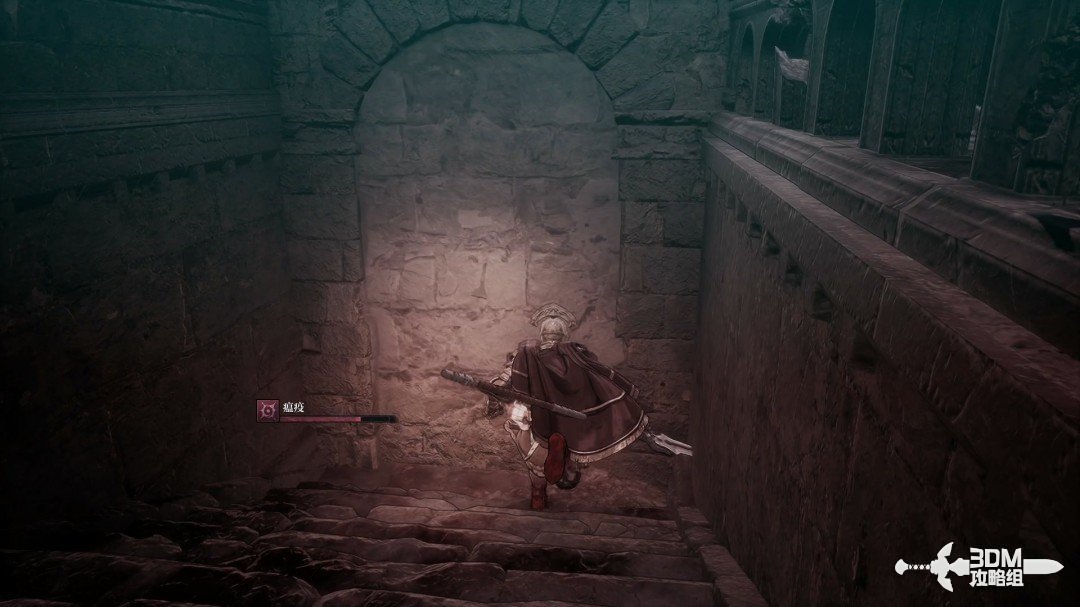
Stairs in the left fork's room: pass the hidden door to the relic chest · route image 2

Watch for the trap beyond the doorway; it may trigger without stepping directly on its plate.
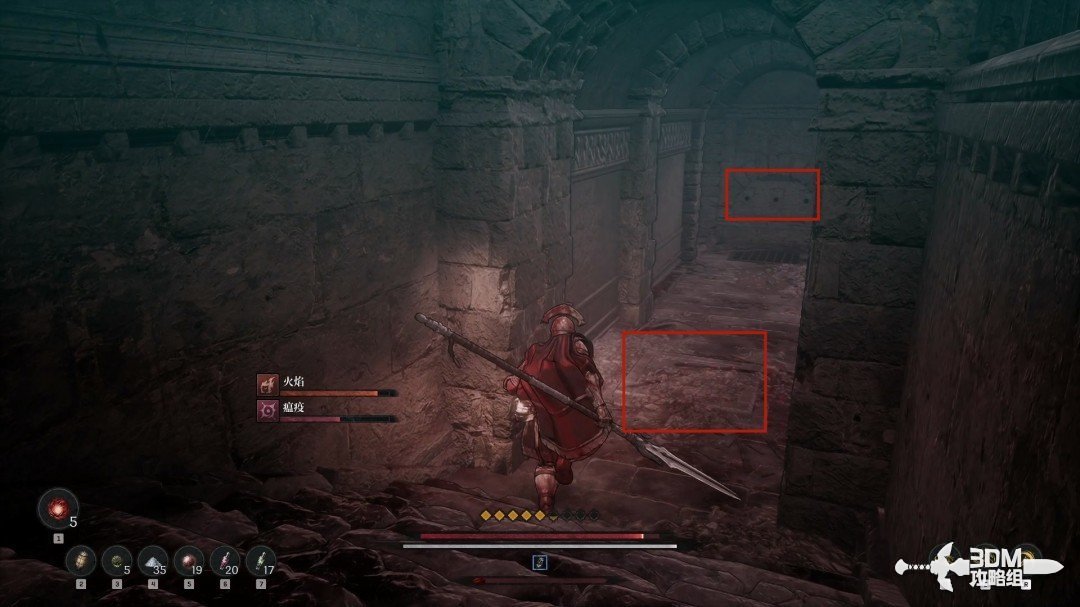
Stairs in the left fork's room: pass the hidden door to the relic chest · route image 3

The room's chest contains a Ghostly Relic.
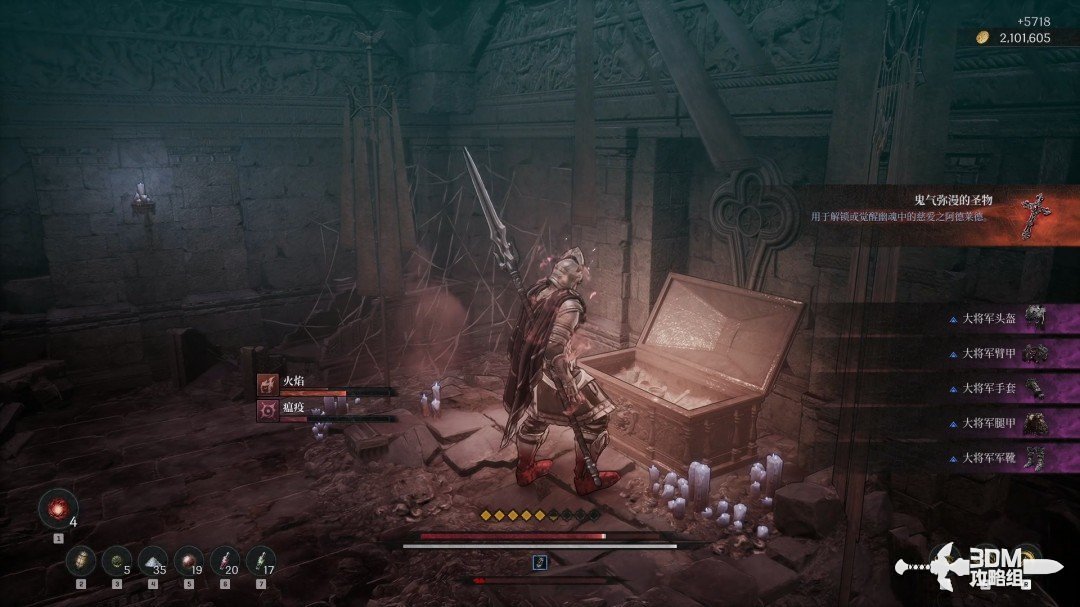
Stairs in the left fork's room: pass the hidden door to the relic chest · route image 4

09Return to the statue room on the right: climb and search right for the jar first

Return and take the previous fork's right branch.
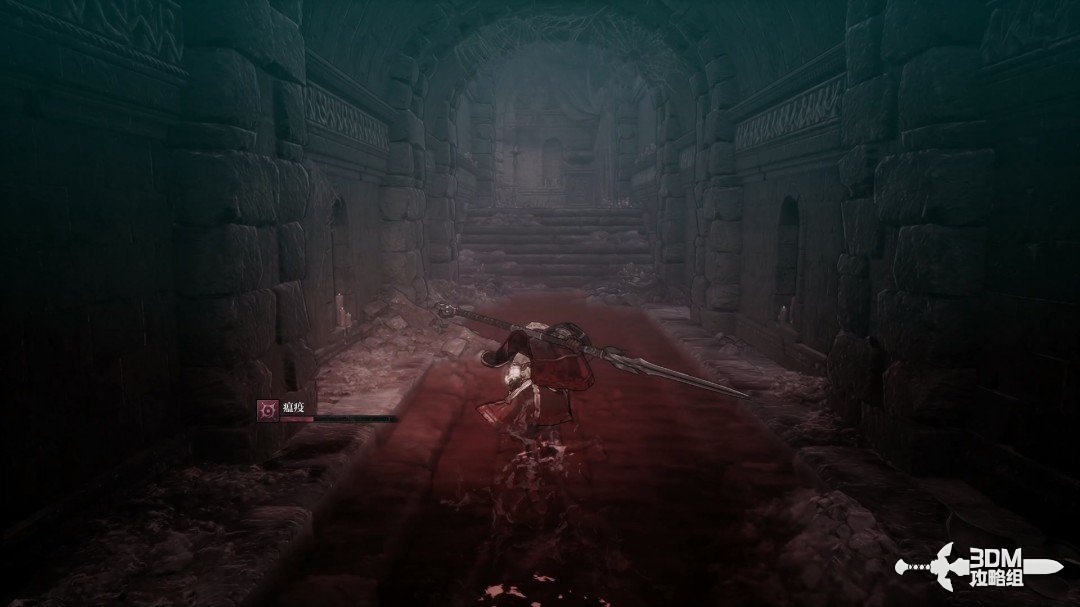
Return to the statue room on the right: climb and search right for the jar first · route image 1

Collect the red material in front of the statue.
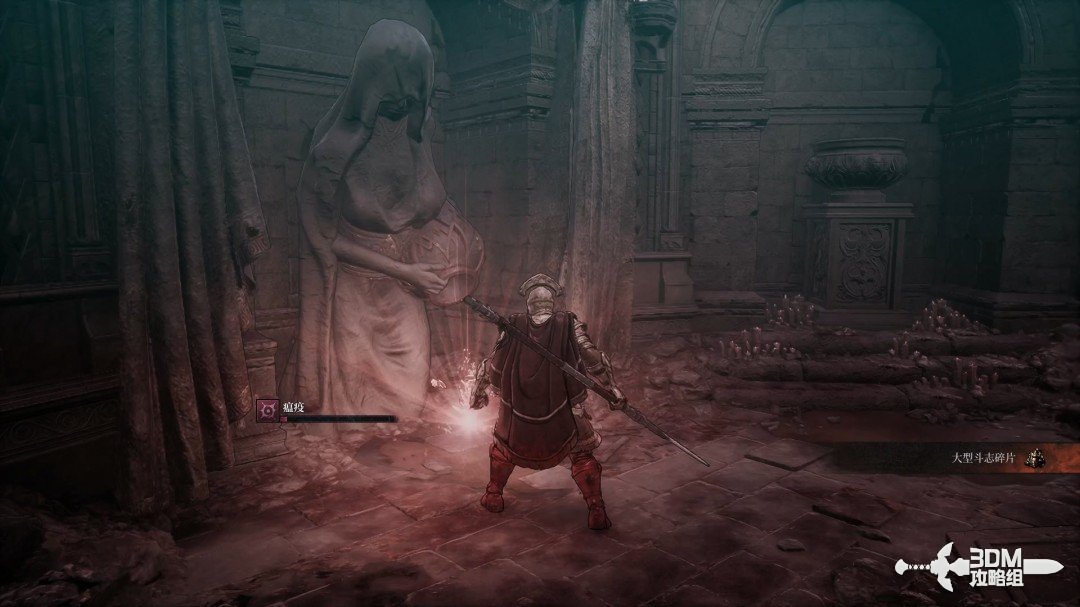
Return to the statue room on the right: climb and search right for the jar first · route image 2

Climb the stairs.

Return to the statue room on the right: climb and search right for the jar first · route image 3

At the upper fork, explore right first.
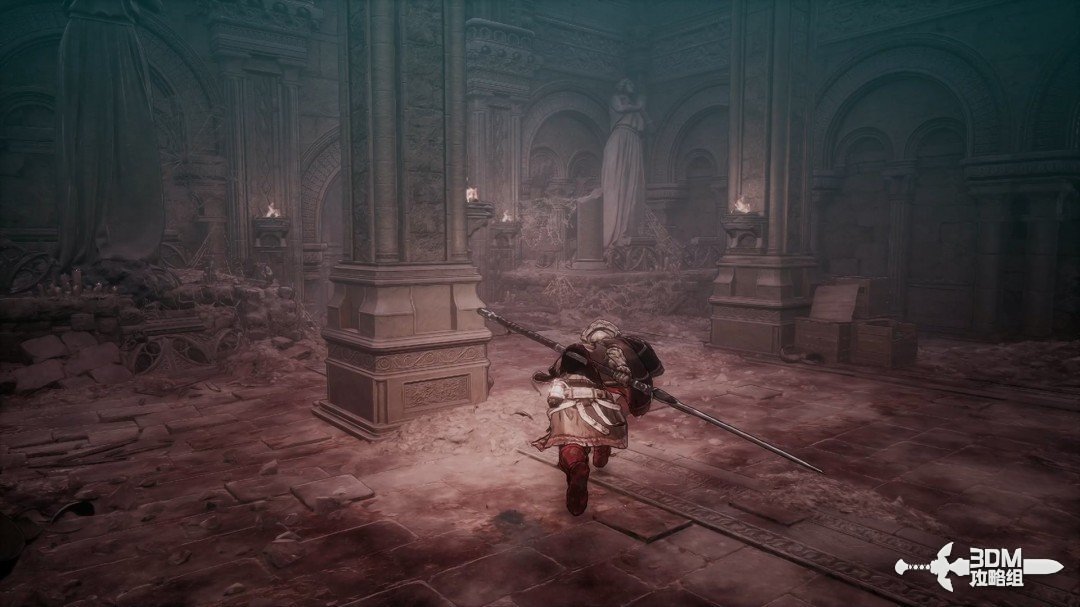
Return to the statue room on the right: climb and search right for the jar first · route image 4

Collect the purple item in the right corner.
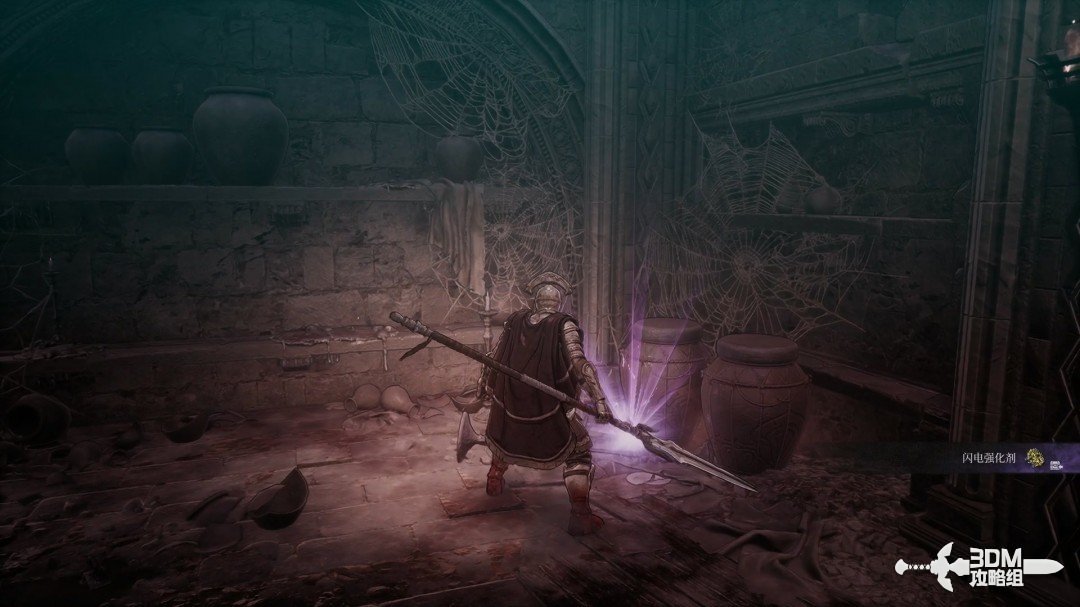
Return to the statue room on the right: climb and search right for the jar first · route image 5

The pot on the left contains a Jarling.
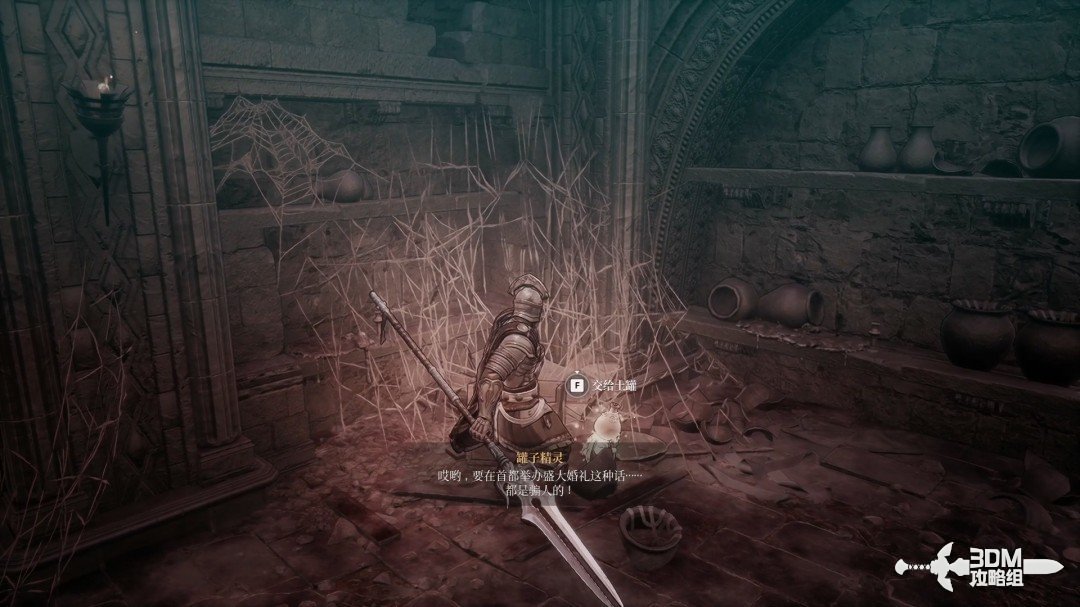
Return to the statue room on the right: climb and search right for the jar first · route image 6

11Other skeleton corridor: collect Netherworld Energy before dropping down

The stairs here return to the earlier collapsed-floor area. Turn back and take the other path.
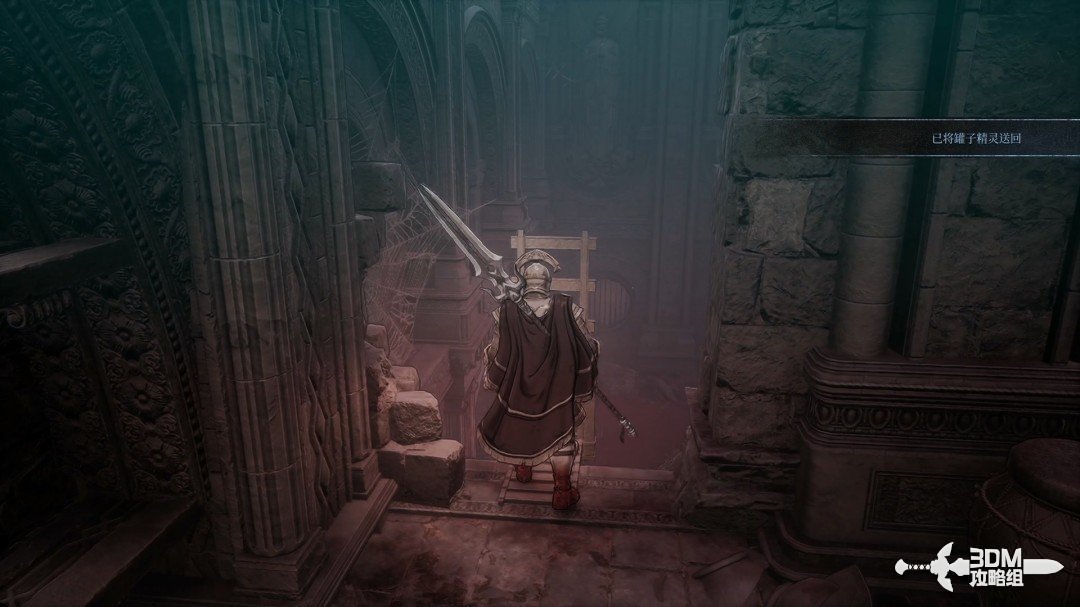
Other skeleton corridor: collect Netherworld Energy before dropping down · route image 1

Clear the large skeletons in that corridor and collect the golden Netherworld Energy upgrade behind you.
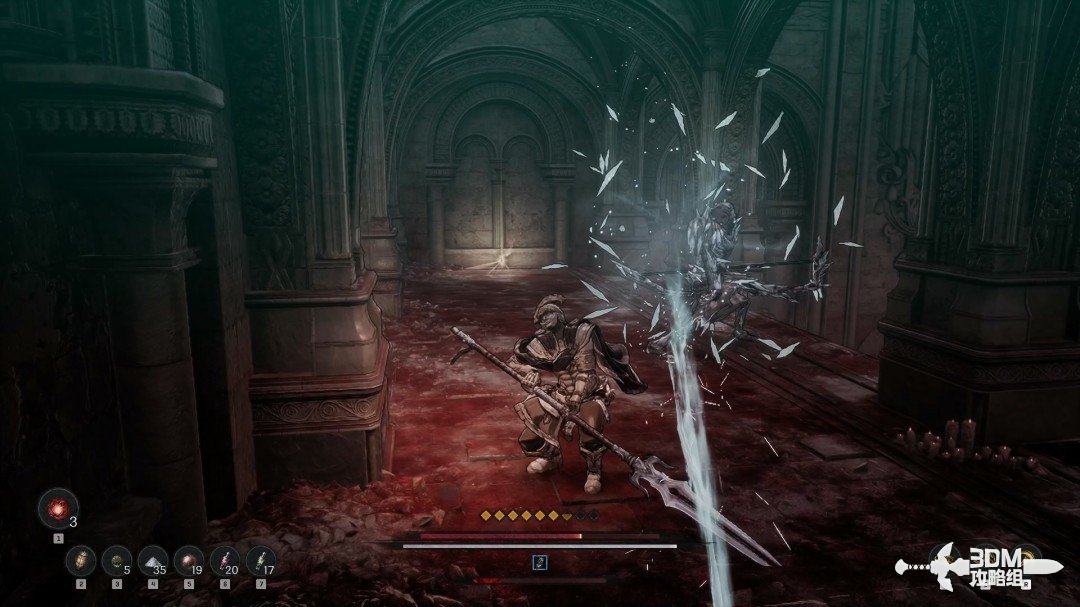
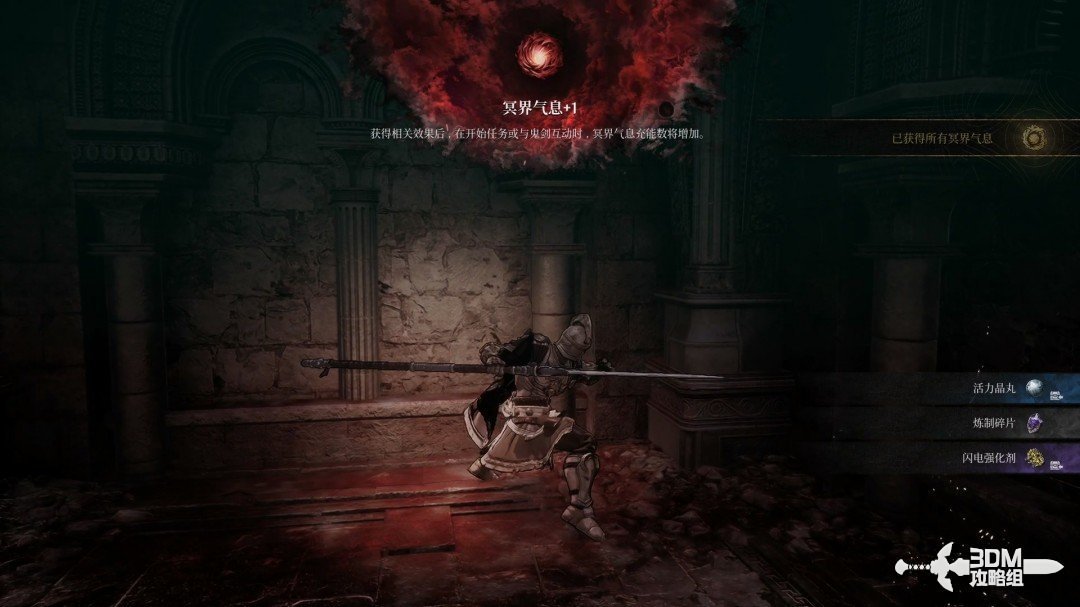
Other skeleton corridor: collect Netherworld Energy before dropping down · route image 2
Other skeleton corridor: collect Netherworld Energy before dropping down · route image 3

13Lower cells and trapped doorway: find the subjugation record behind the elevator

Drop from above afterward.
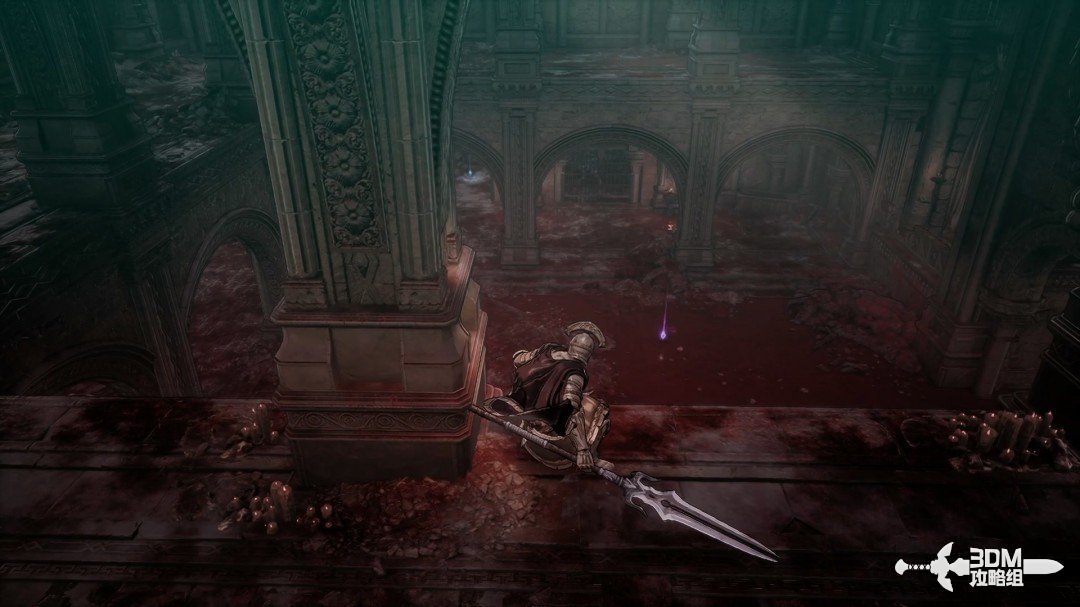
Lower cells and trapped doorway: find the subjugation record behind the elevator · route image 1

Absorb the memory directly below.

Lower cells and trapped doorway: find the subjugation record behind the elevator · route image 2

Collect the blue item in the nearby open cell.
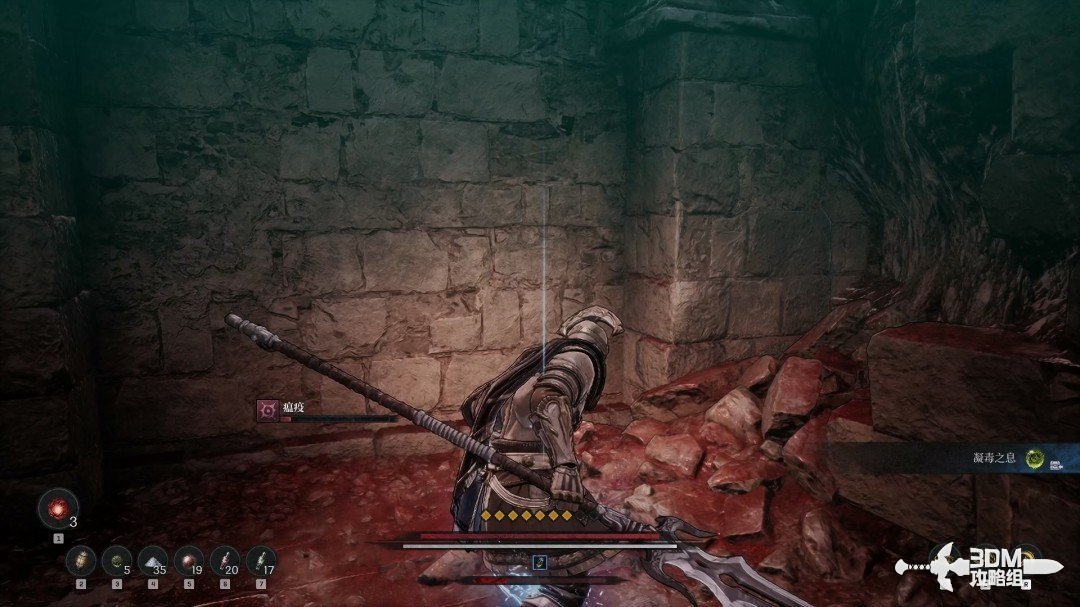
Lower cells and trapped doorway: find the subjugation record behind the elevator · route image 3

Enter this doorway carefully past the trap ahead.
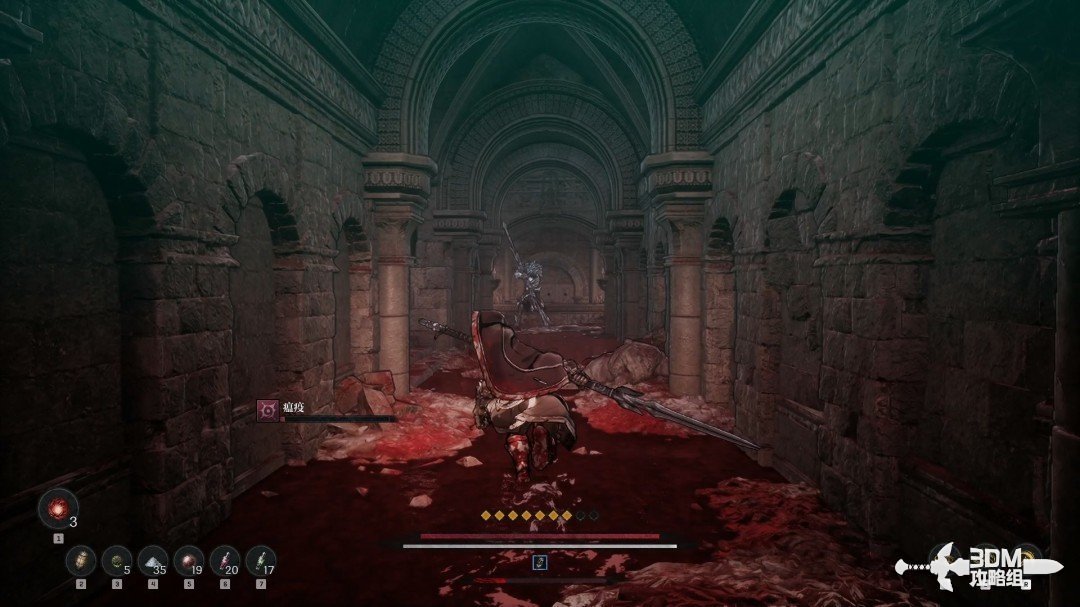
Lower cells and trapped doorway: find the subjugation record behind the elevator · route image 4

Clear the skeleton soldiers farther inside.
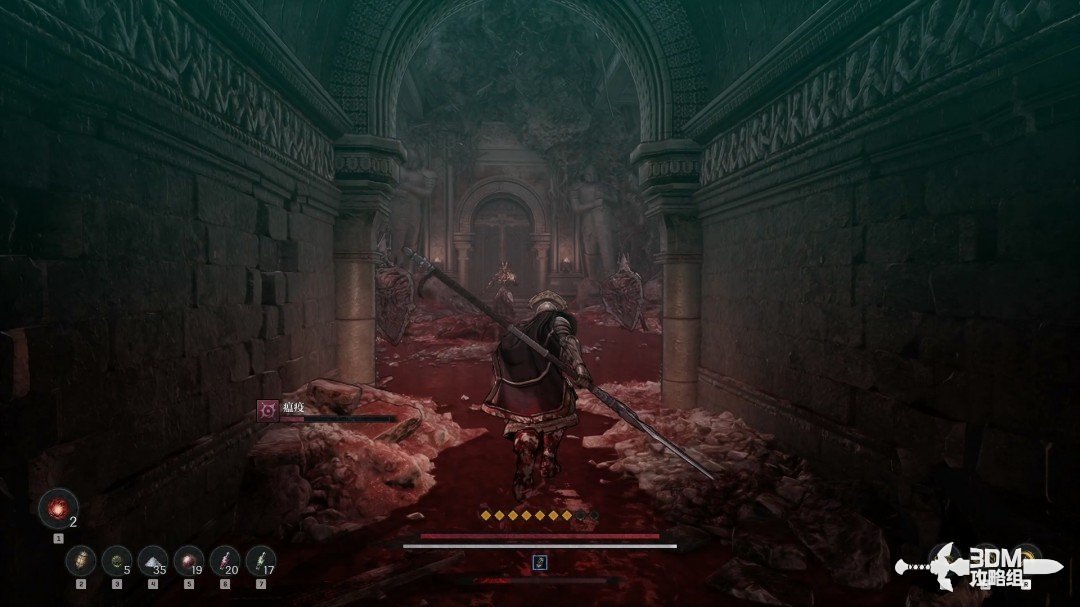
Lower cells and trapped doorway: find the subjugation record behind the elevator · route image 5

Open the iron gate after the fight.

Lower cells and trapped doorway: find the subjugation record behind the elevator · route image 6

Before taking the elevator ahead, turn back for Hismar Campaign III.
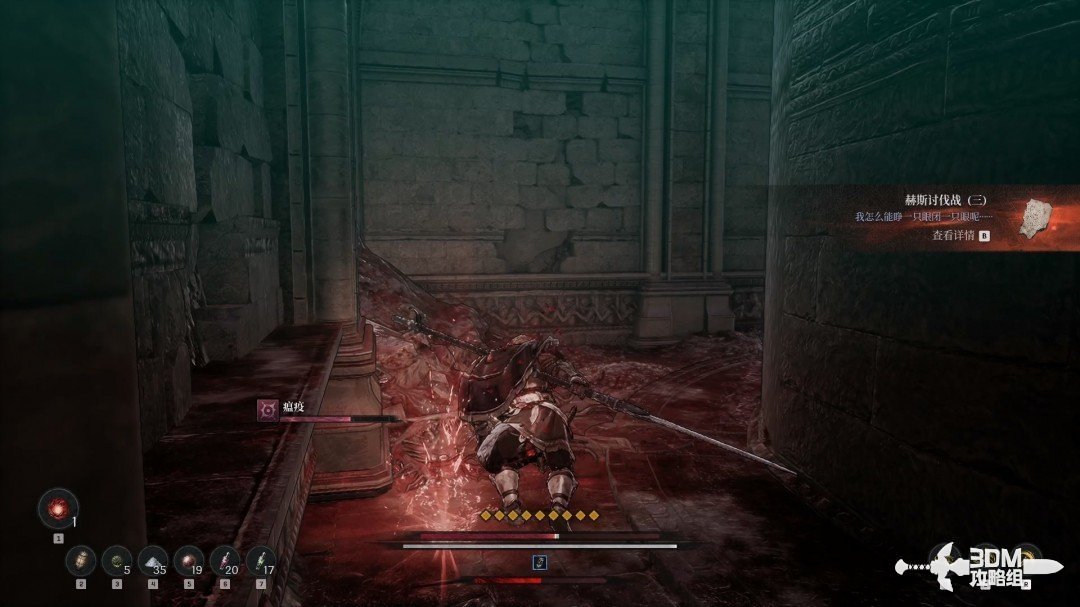
Lower cells and trapped doorway: find the subjugation record behind the elevator · route image 7

15Nexus below the elevator: search the left waterfall at the fork first

Take the elevator down to a new Nexus.
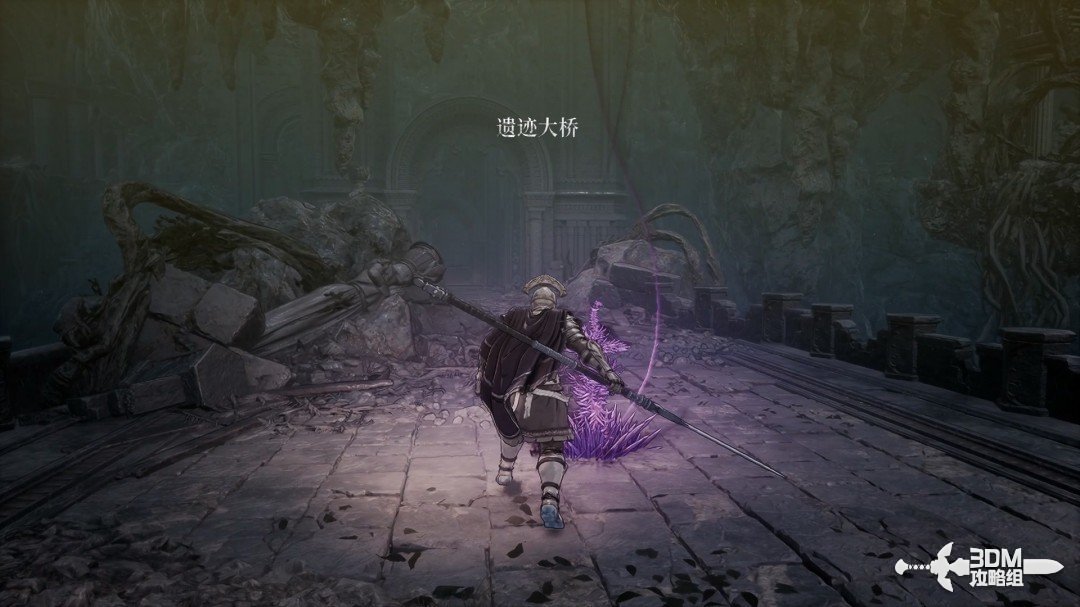
Nexus below the elevator: search the left waterfall at the fork first · route image 1

Continue down the stairs for a purple item on the right.
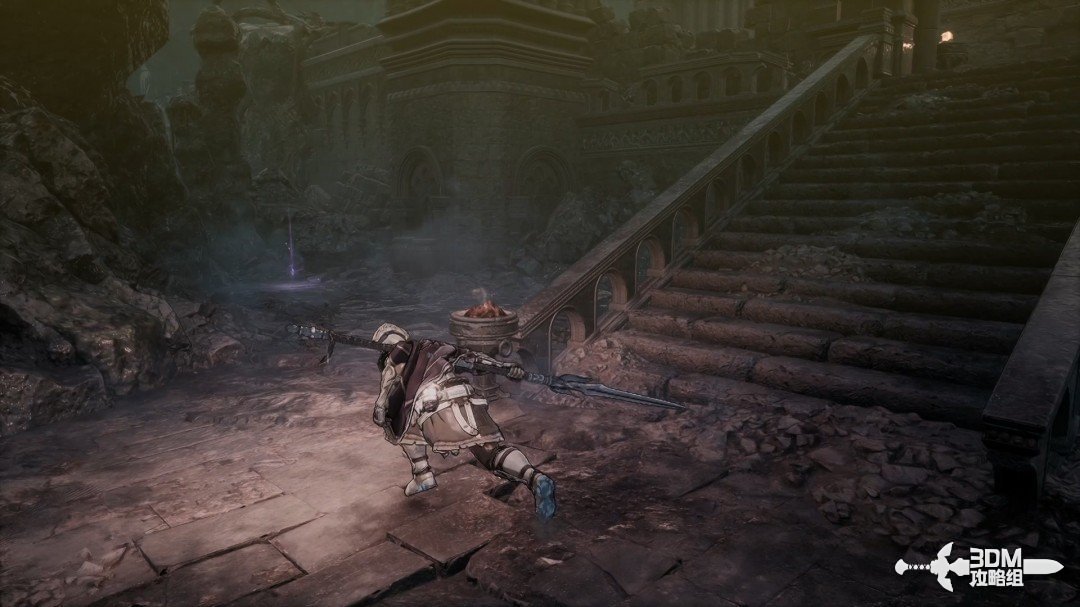
Nexus below the elevator: search the left waterfall at the fork first · route image 2

The memory farther ahead conceals a burrower. Strike first.
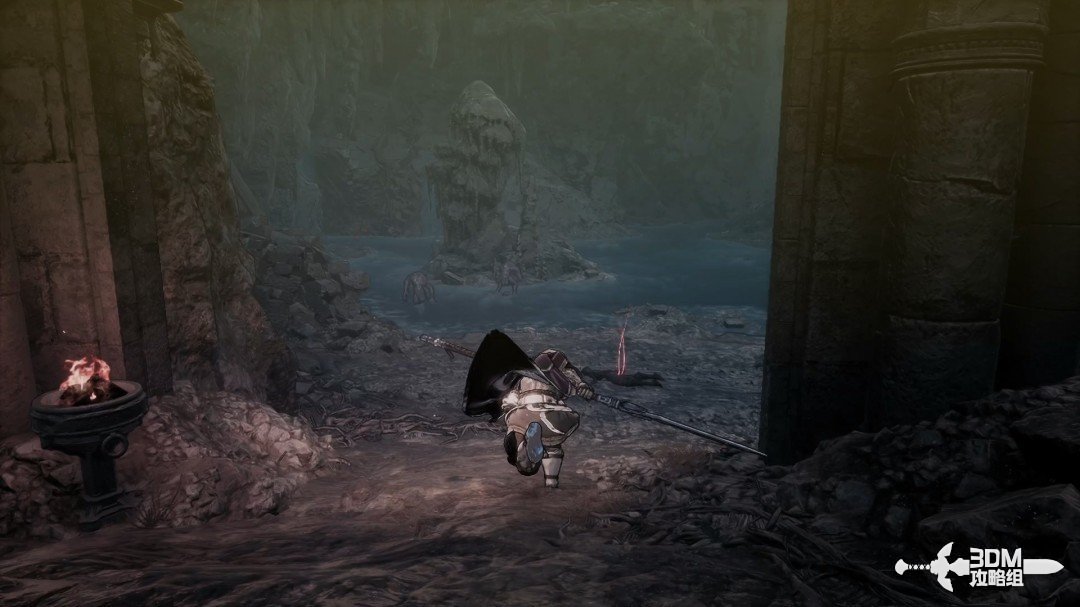
Nexus below the elevator: search the left waterfall at the fork first · route image 3

The main route goes right. Explore left first for a blue item on the rock.
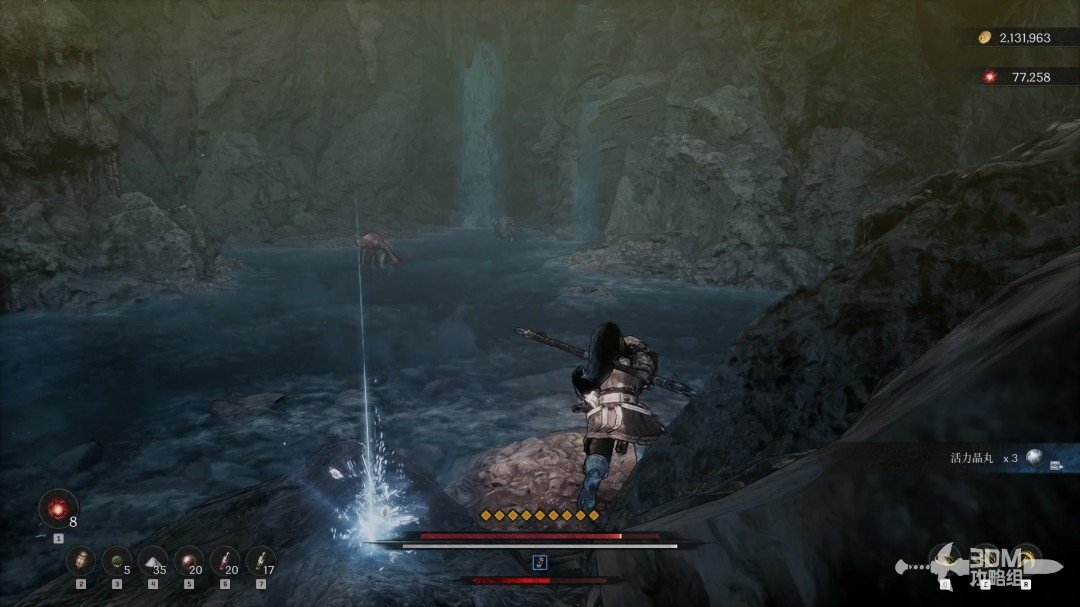
Nexus below the elevator: search the left waterfall at the fork first · route image 4

Collect Hismar Campaign IV beneath the small waterfall on the left.
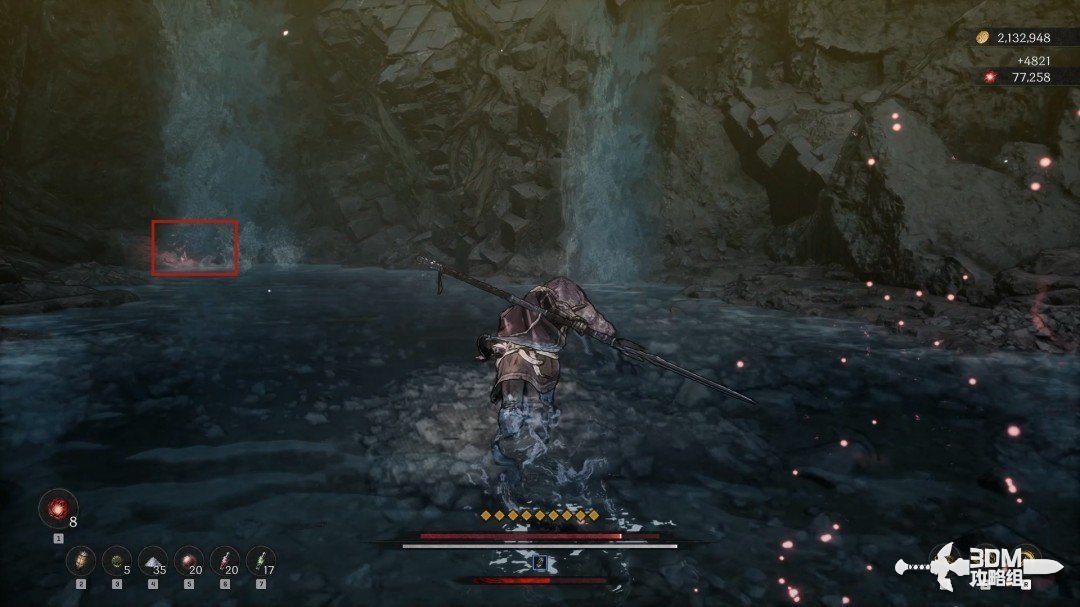
Nexus below the elevator: search the left waterfall at the fork first · route image 5

17Main route by the right pool: drop down and face the gatekeeper

Explore right to the chest at the end.
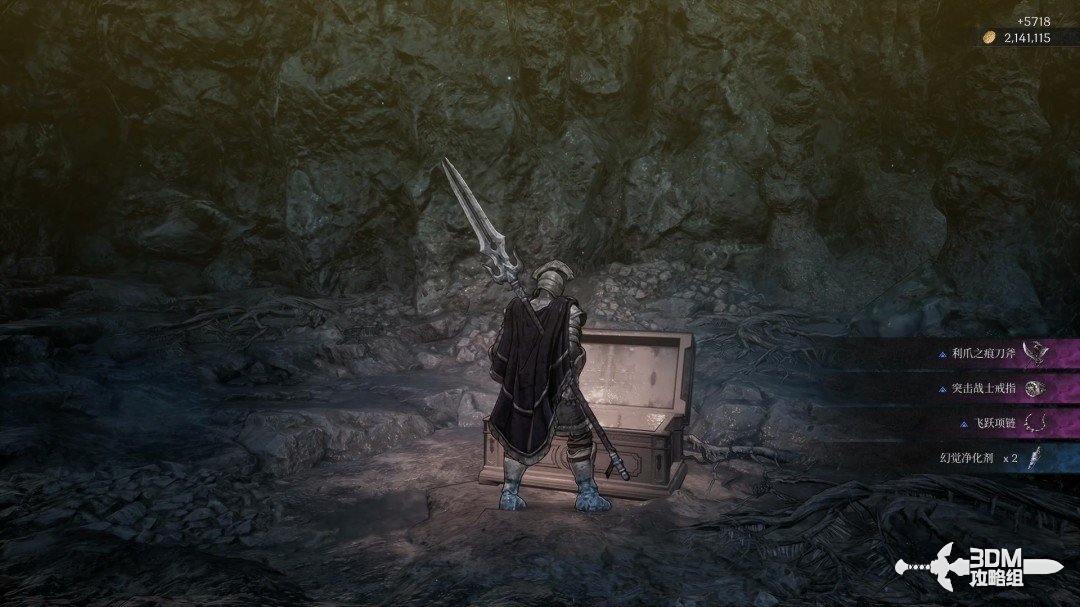
Main route by the right pool: drop down and face the gatekeeper · route image 1

Return to the main route and collect the blue item on the rock in the right pool.
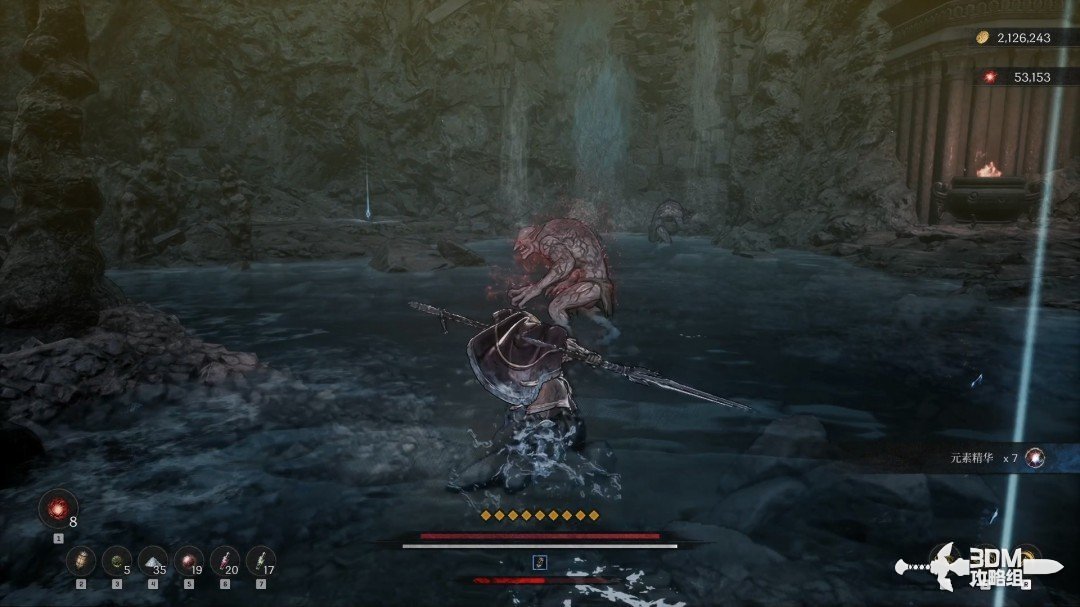
Main route by the right pool: drop down and face the gatekeeper · route image 2

Another blue item lies on the rock ahead.
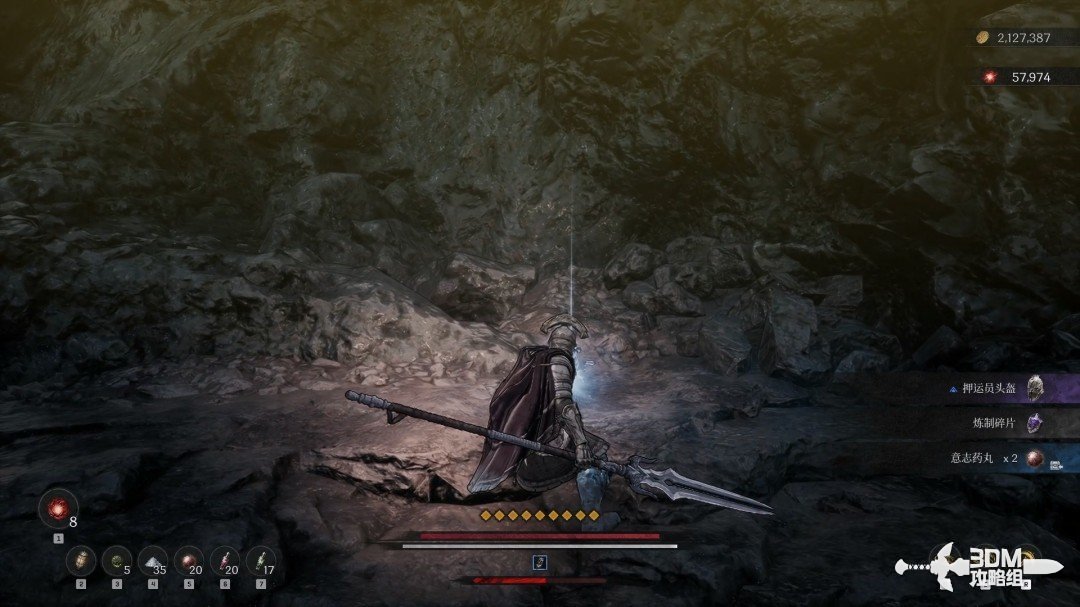
Main route by the right pool: drop down and face the gatekeeper · route image 3

The next memory is also a burrower trap.
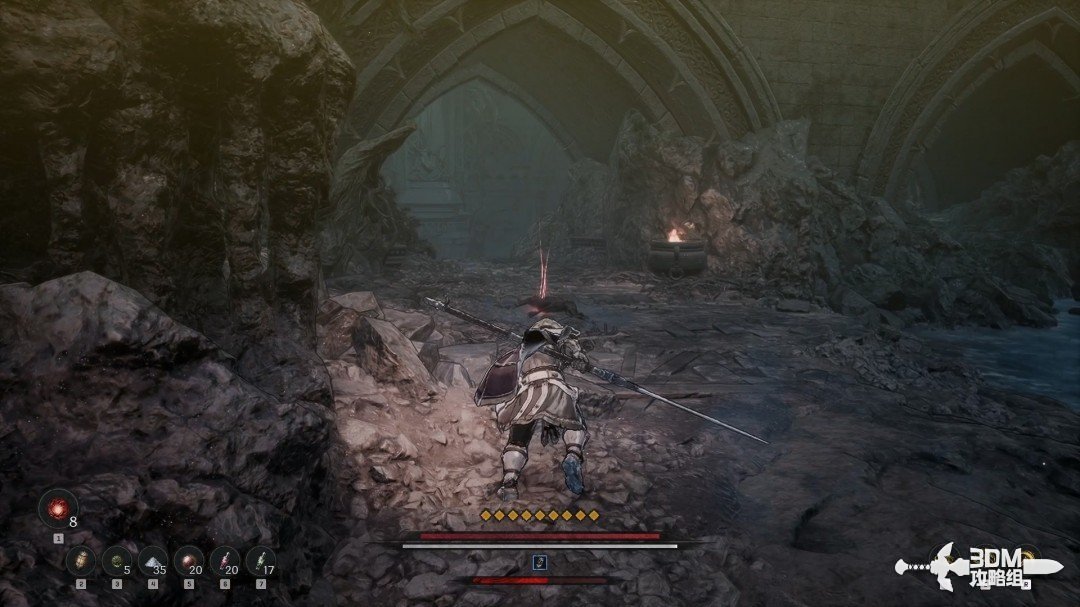
Main route by the right pool: drop down and face the gatekeeper · route image 4

Drop from this position.

Main route by the right pool: drop down and face the gatekeeper · route image 5

Absorb the memory beside the route.

Main route by the right pool: drop down and face the gatekeeper · route image 6

Continue toward the gatekeeper and attack from range before closing in.
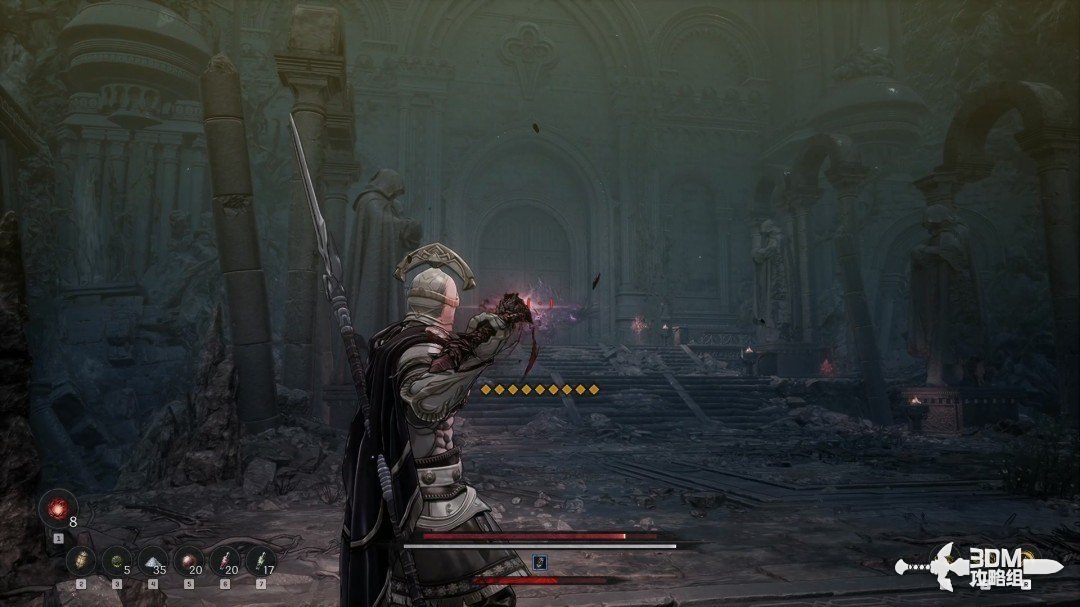
Main route by the right pool: drop down and face the gatekeeper · route image 7

It can drop a Raider Scroll.

Main route by the right pool: drop down and face the gatekeeper · route image 8

A Soulstone stands behind the pillar on the right.
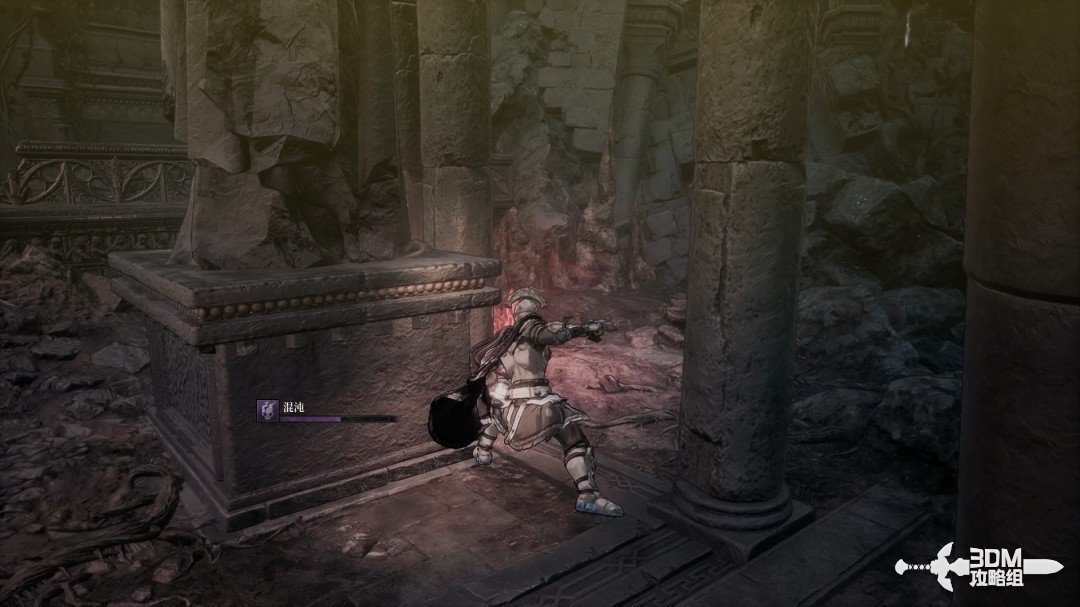
Main route by the right pool: drop down and face the gatekeeper · route image 9

19Nexus beyond the gate: hidden door on the left and duplicating boss

Enter the large gate.
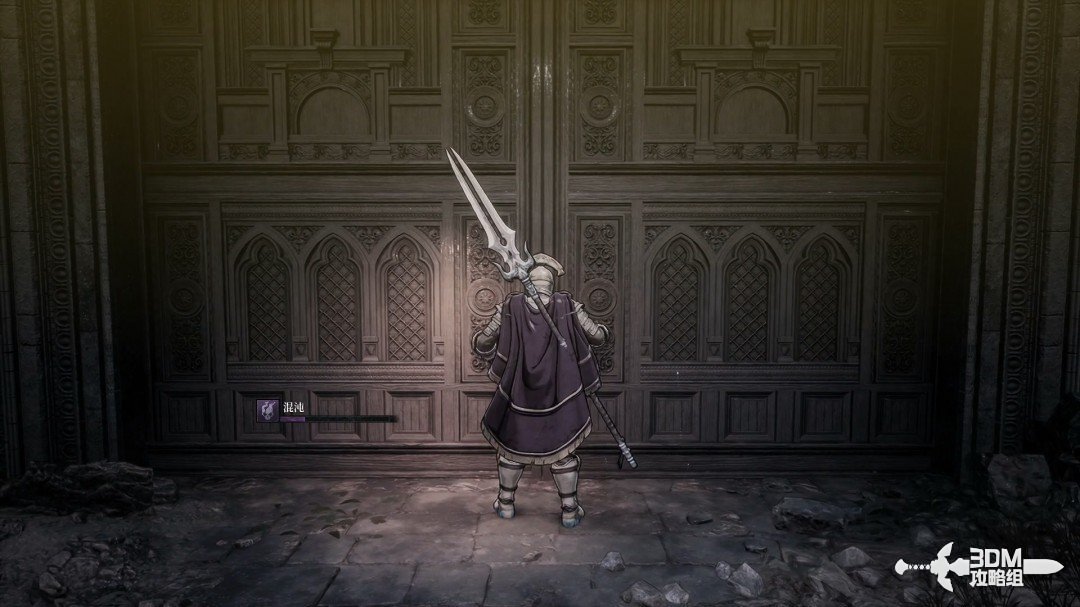
Nexus beyond the gate: hidden door on the left and duplicating boss · route image 1

Absorb the memory on the left and reach the Nexus ahead.
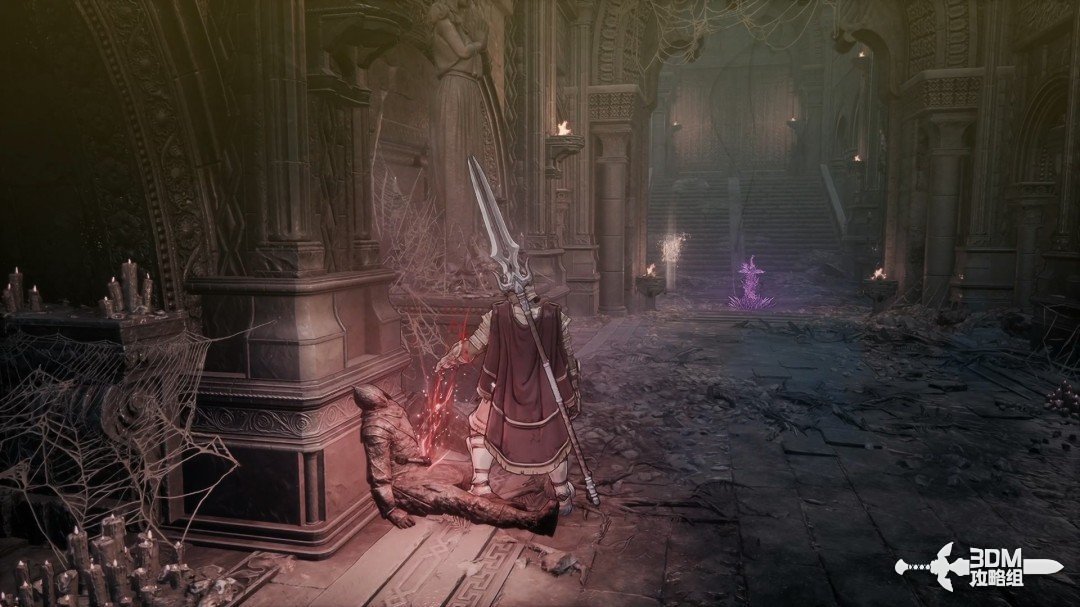
Nexus beyond the gate: hidden door on the left and duplicating boss · route image 2

Open the hidden door on the left.

Nexus beyond the gate: hidden door on the left and duplicating boss · route image 3

Loot the chest inside.

Nexus beyond the gate: hidden door on the left and duplicating boss · route image 4

Rest and enter the large gate to fight a familiar duplicating enemy.
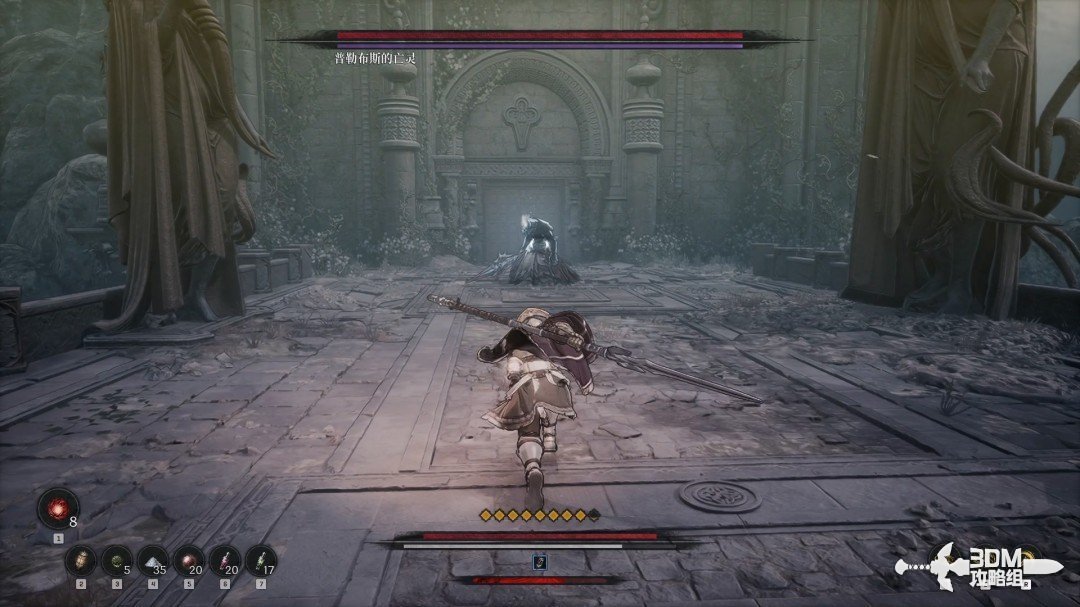
Nexus beyond the gate: hidden door on the left and duplicating boss · route image 5

20Chapel after the battle: find Reese's Ring and read the notebook

After victory, enter the rear chapel and collect Reese's Ring.
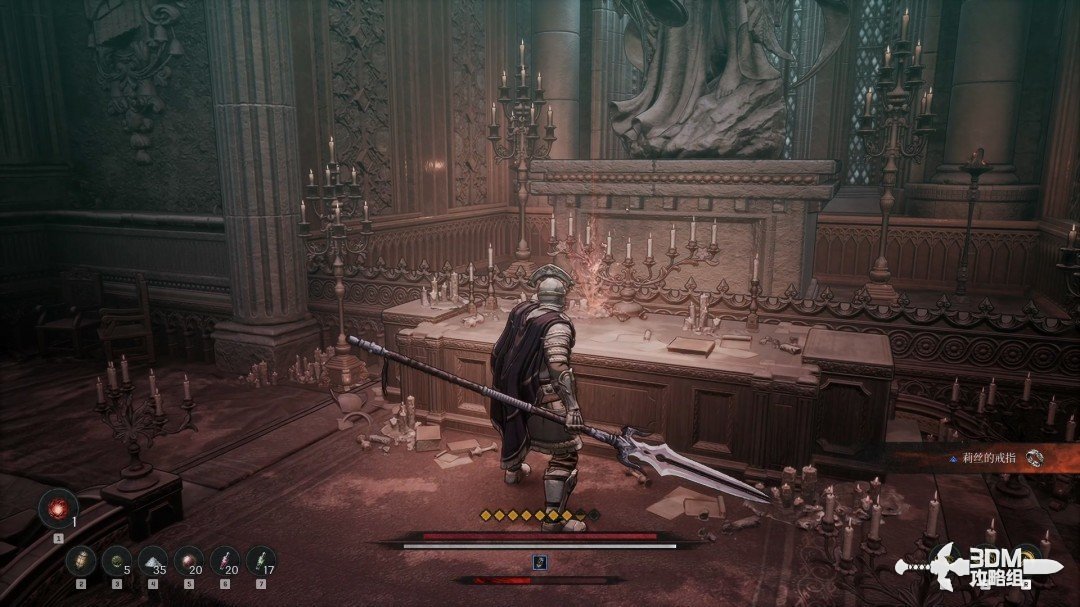
Chapel after the battle: find Reese's Ring and read the notebook · route image 6

Interact with the notebook beside it to trigger a cinematic.
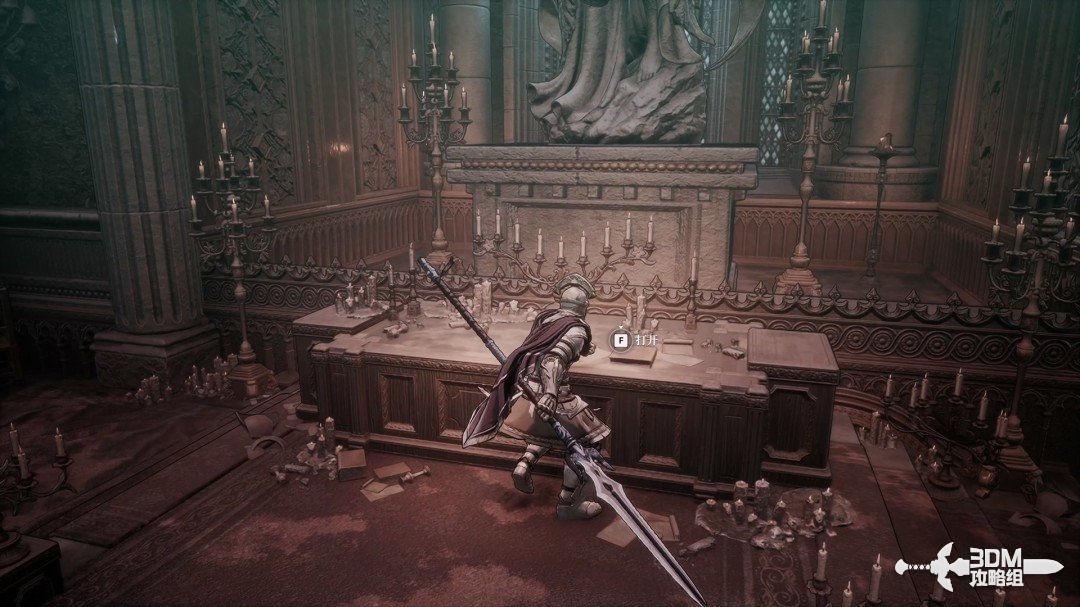
Chapel after the battle: find Reese's Ring and read the notebook · route image 7

The memory follows Reese and Ozma. Despite Hismar's defeat, evil remained, and Ozma wanted to eliminate it entirely.
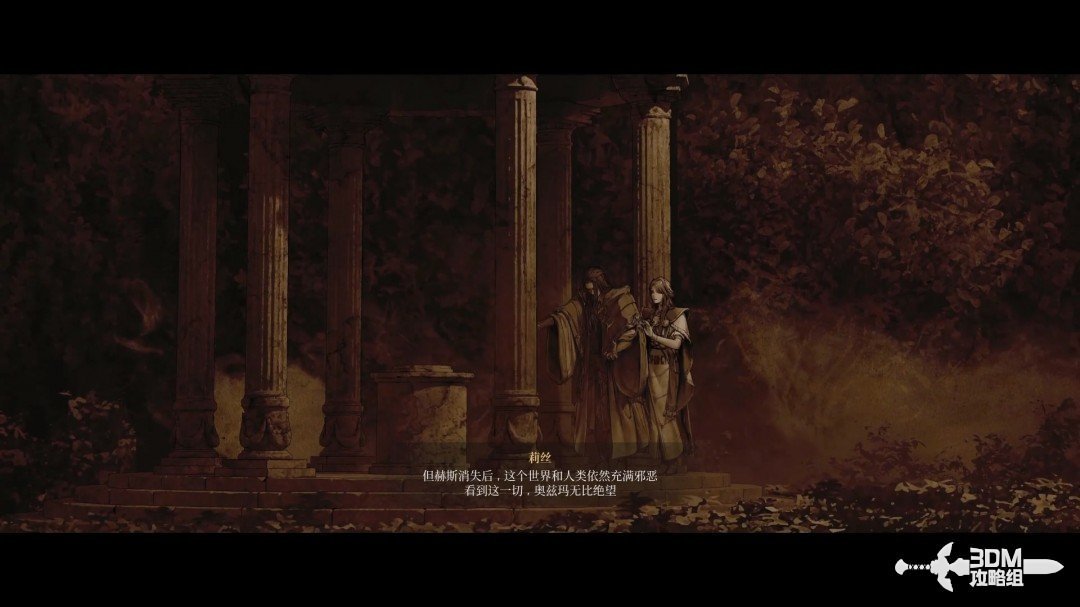
Chapel after the battle: find Reese's Ring and read the notebook · route image 8

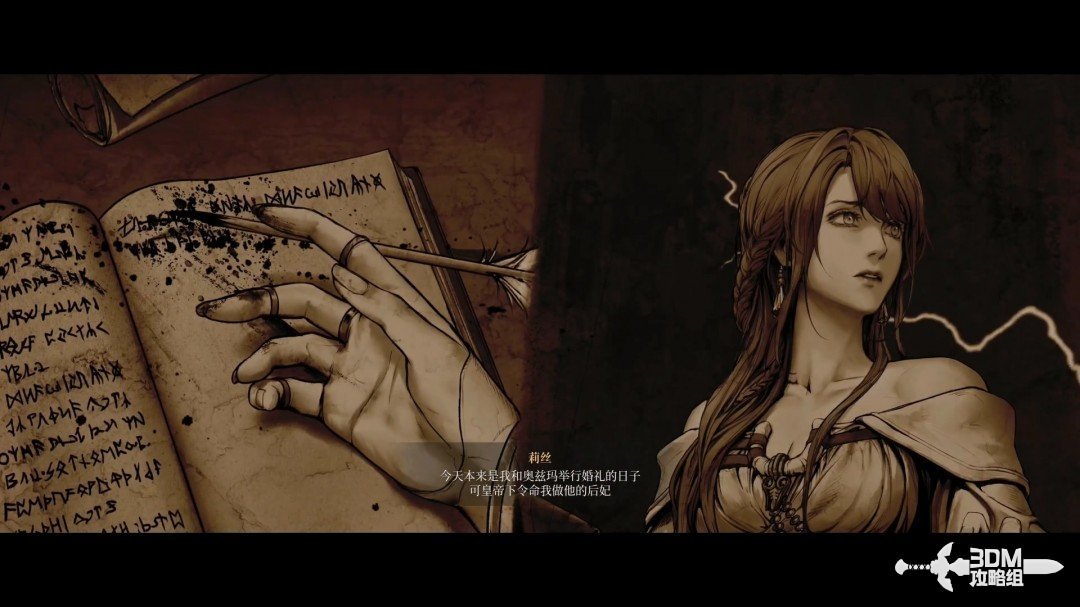
On the intended wedding day, the emperor demanded Reese become his consort. Her attempt to flee failed.
Chapel after the battle: find Reese's Ring and read the notebook · route image 9

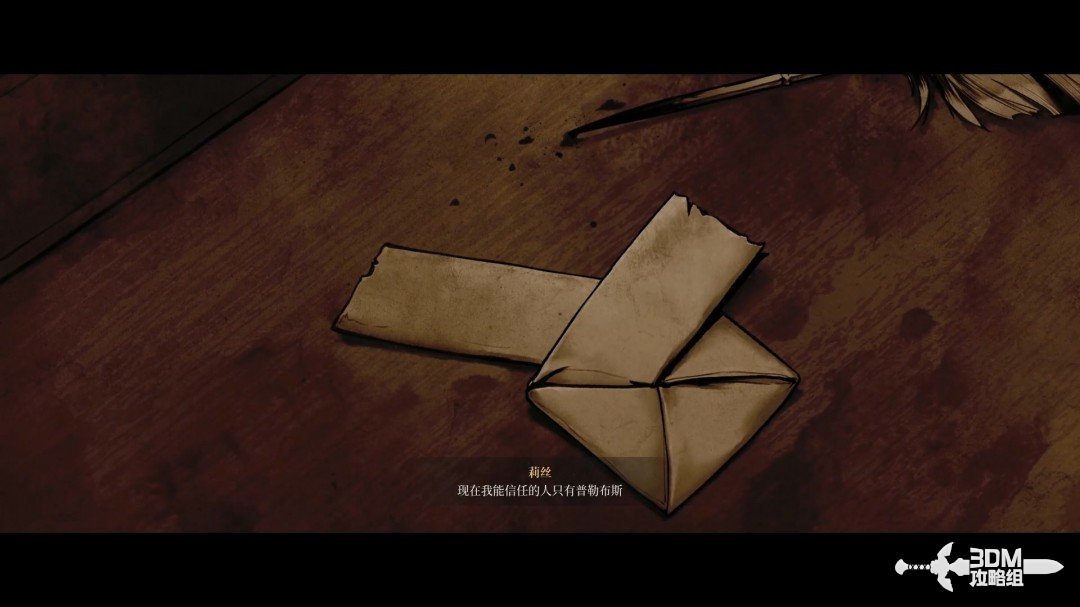
She could now trust only Plebus. This part of the memory ends here.
Chapel after the battle: find Reese's Ring and read the notebook · route image 10

Continue

Back to mission index →

Reference: 3DM Guide Team

GAME NOTE has reorganized and rewritten the routes from this walkthrough.