Advance through the mine and poisonous swamp to Aratra.
Pickups in this mission
01Skoffa Cave entrance: clear spider eggs and seal the passage with barrels
Follow Elamein into Skoffa Cave for Suspicious Stench.
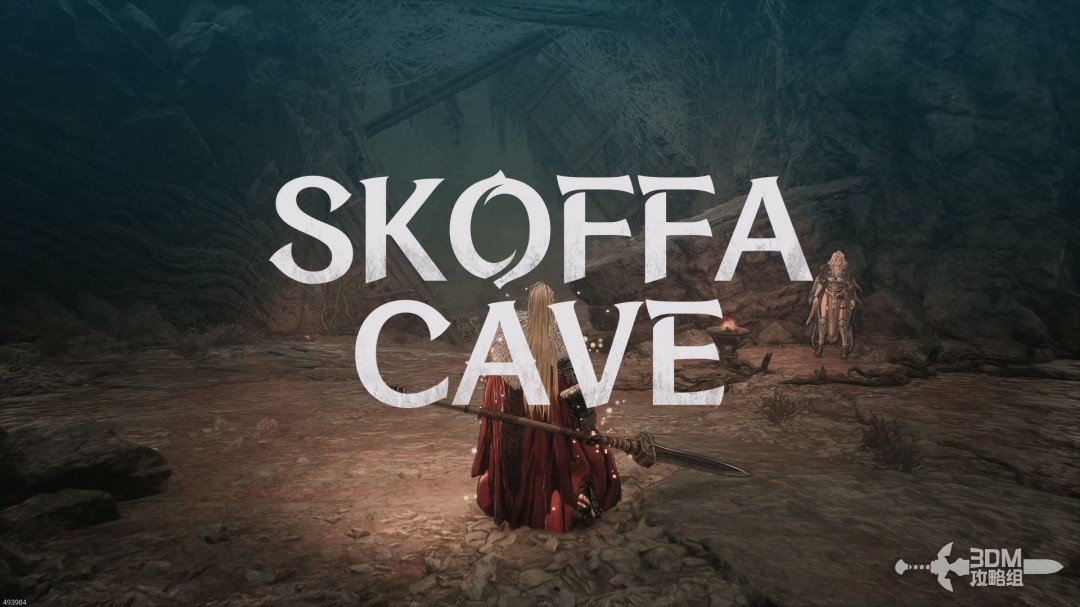
The cave contains spiders and eggs. Avoid prolonged poison buildup: a full meter causes continuous health loss.
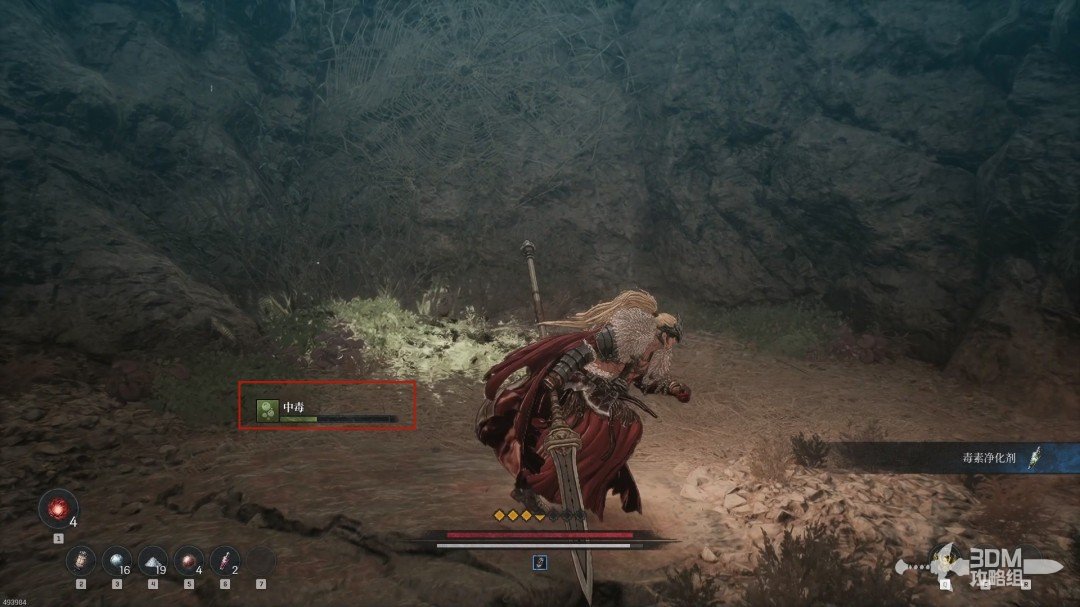
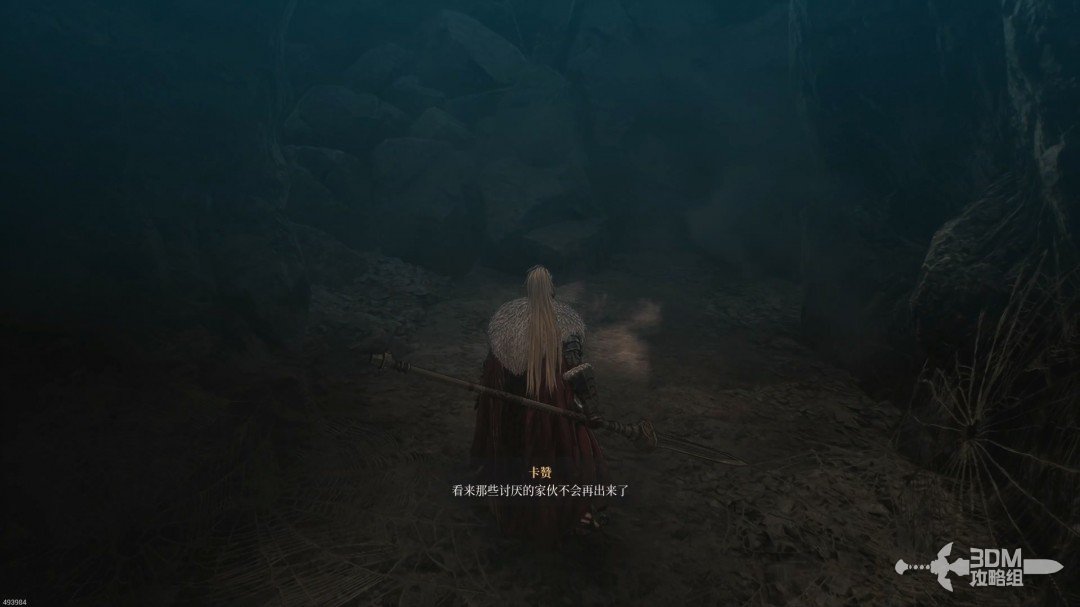
Descend the slope and first check right for a memory.
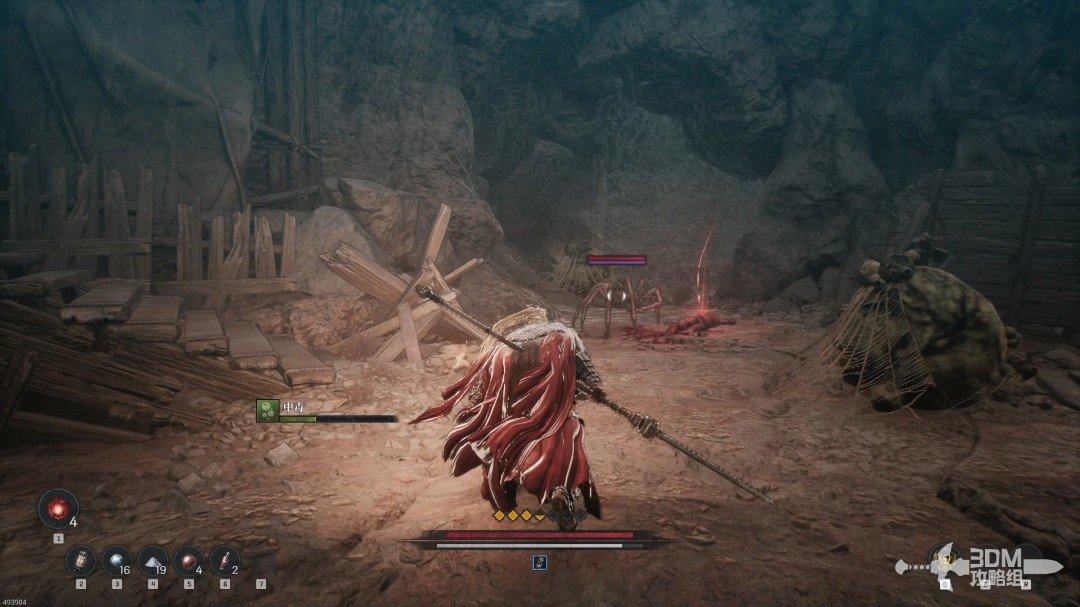
Break the web behind it and detonate the barrels inside to block this opening.
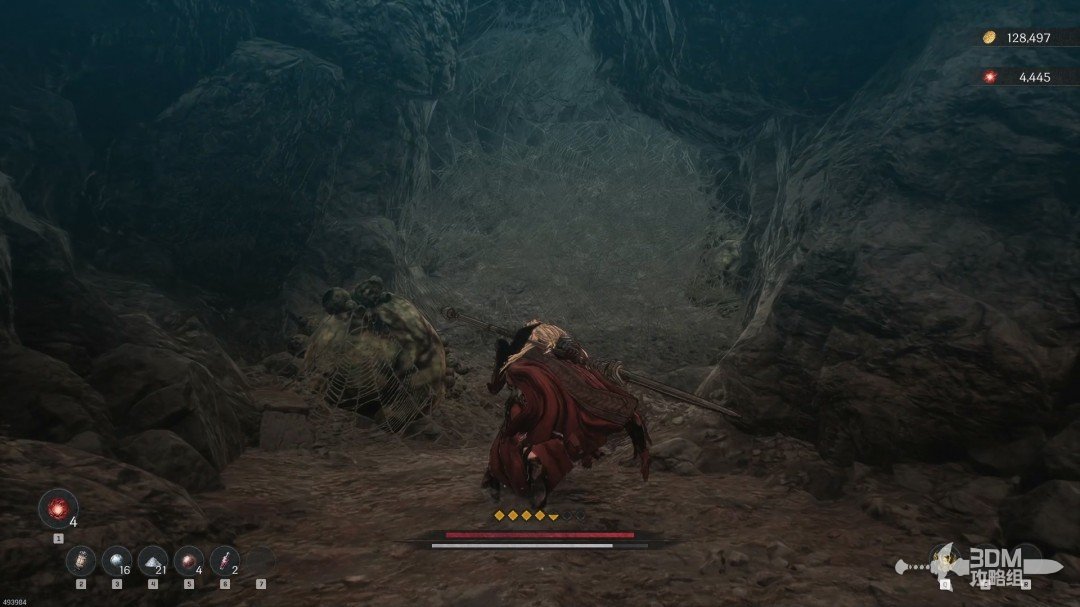
02Beams above the Nexus: guard against bats and climb to Netherworld Energy
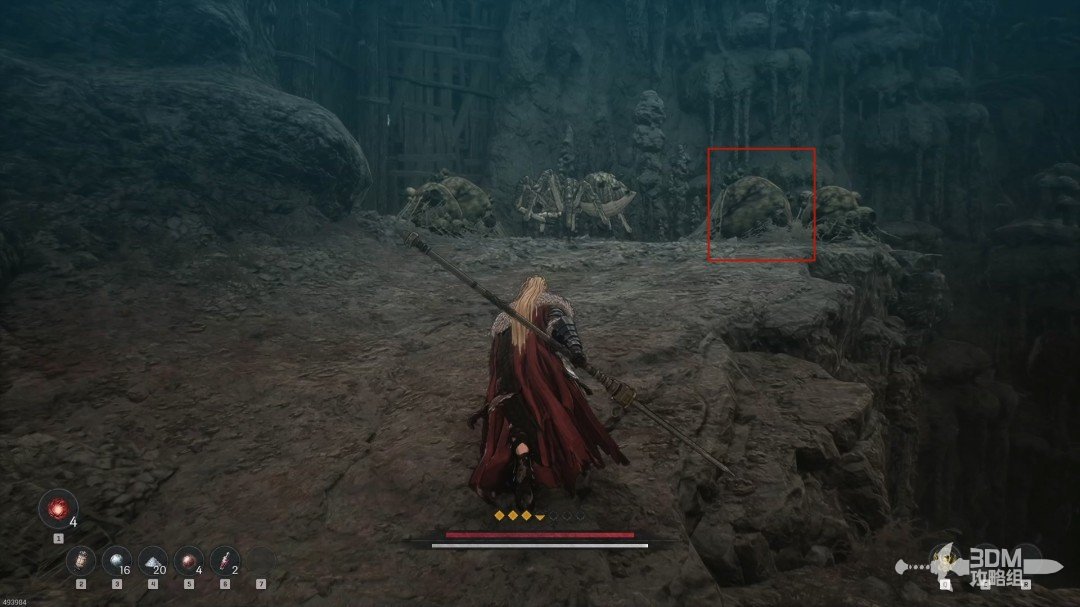
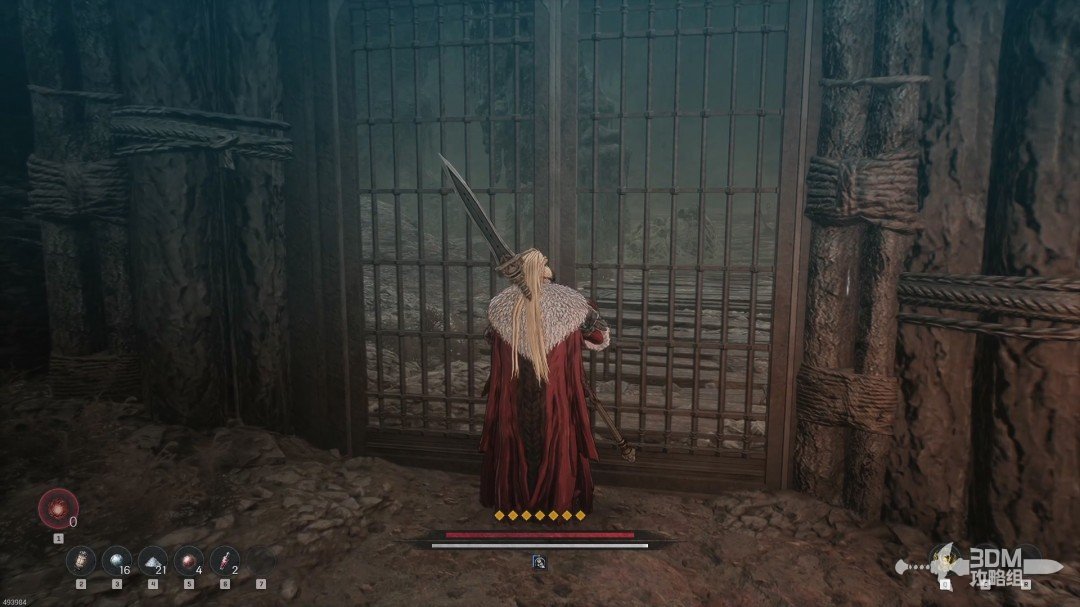
The iron gate right of the Nexus is locked. Climb the nearby slope for a purple item behind spider eggs.
Return to the Nexus and climb the ladder.
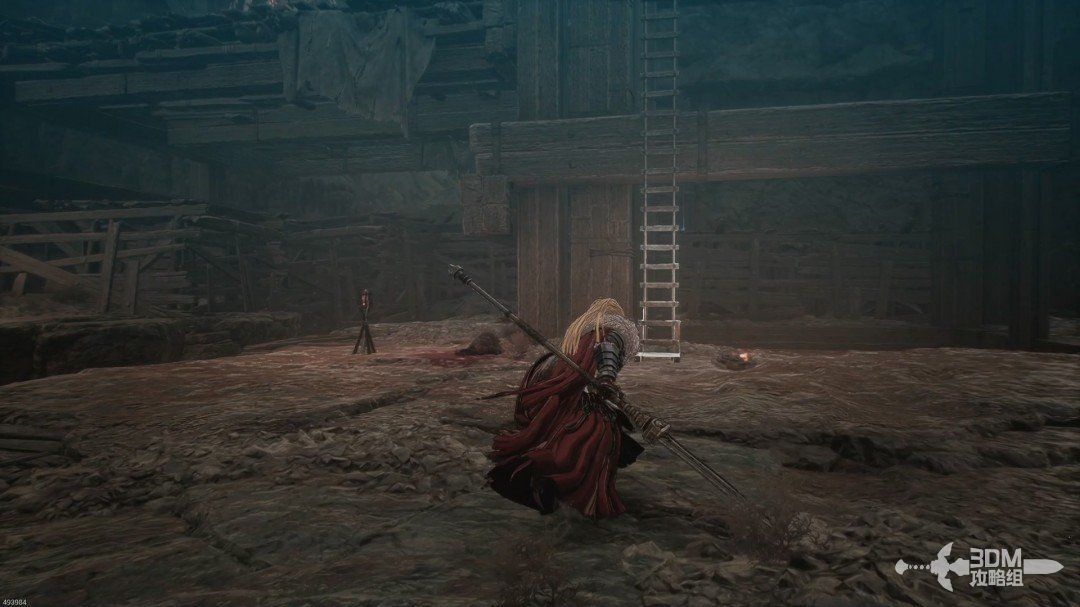
Follow the beams above. Guard immediately against the bat ambush.
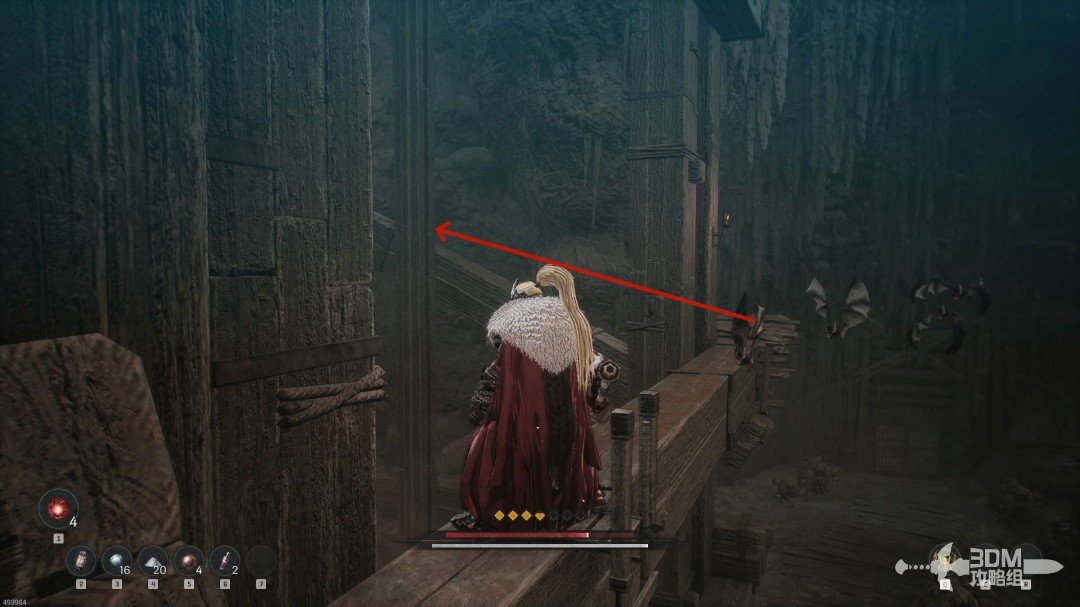
A blue item lies below and requires a drop. It is optional.
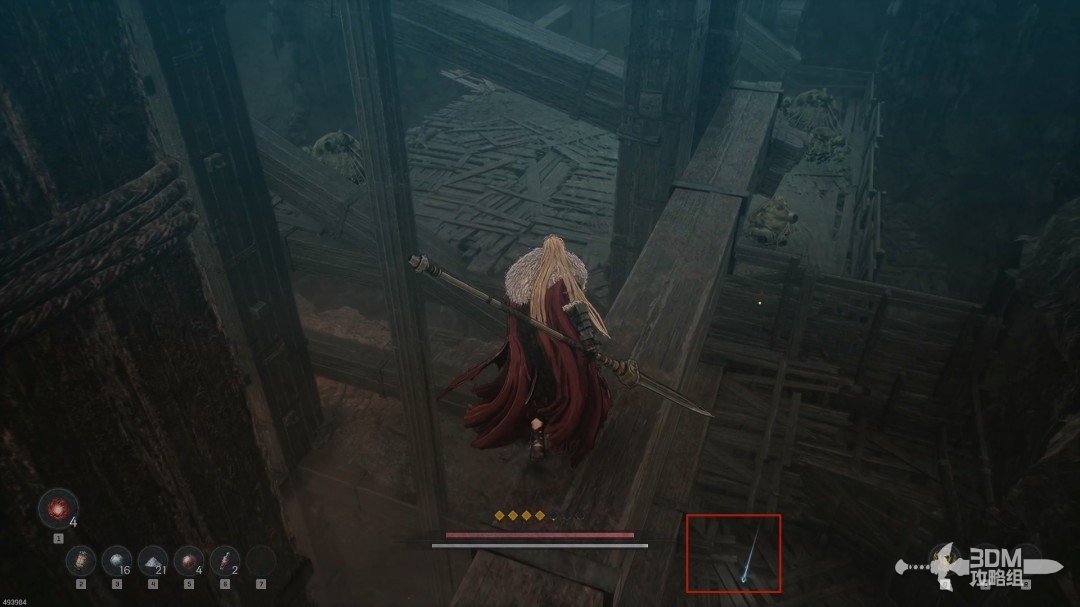
Before dropping to the corner platform, continue up the beams for a purple item.
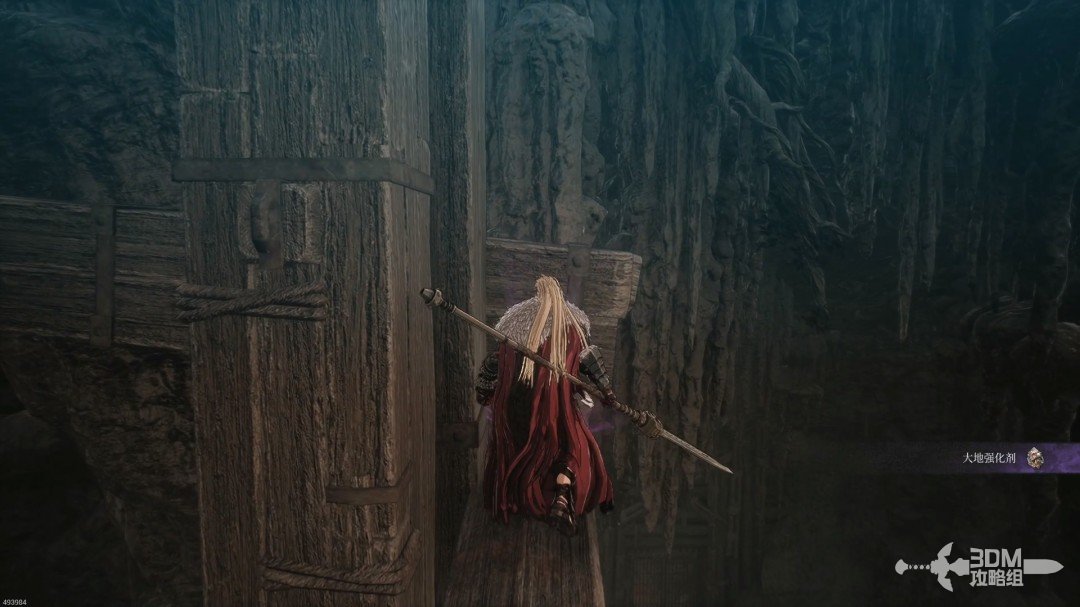
Return to the lower platform and drop down to collect a memory.
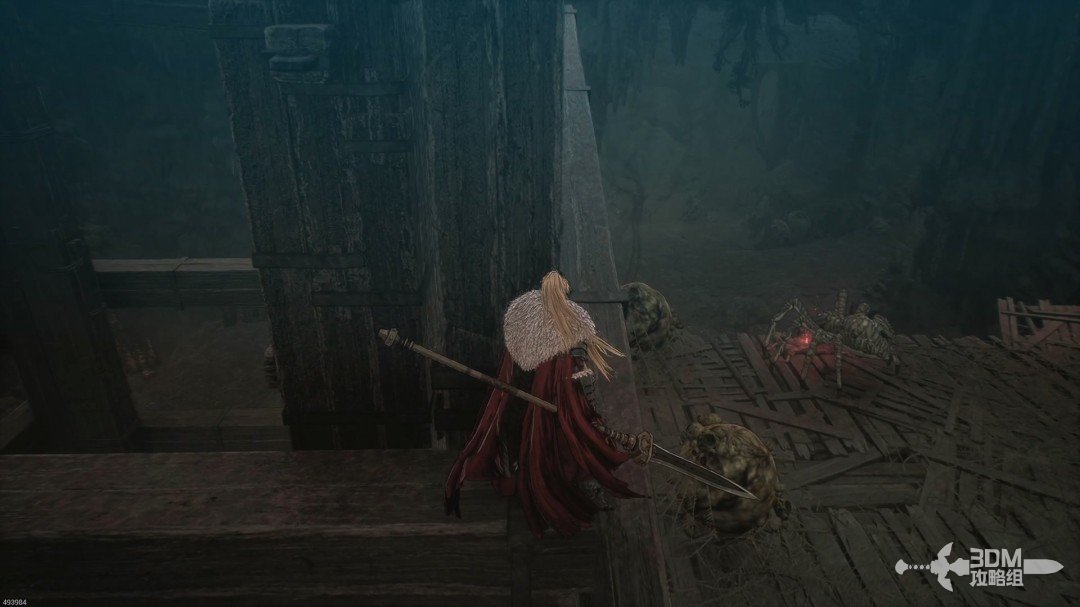
Climb the beam on the platform's opposite side.
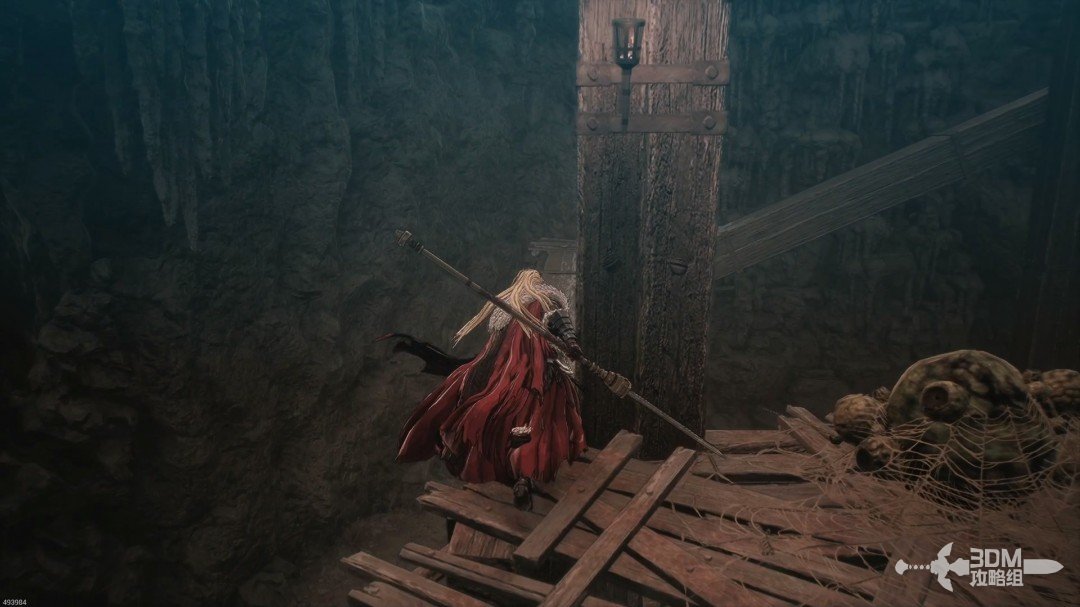
Guard at the pictured position against another bat swarm.
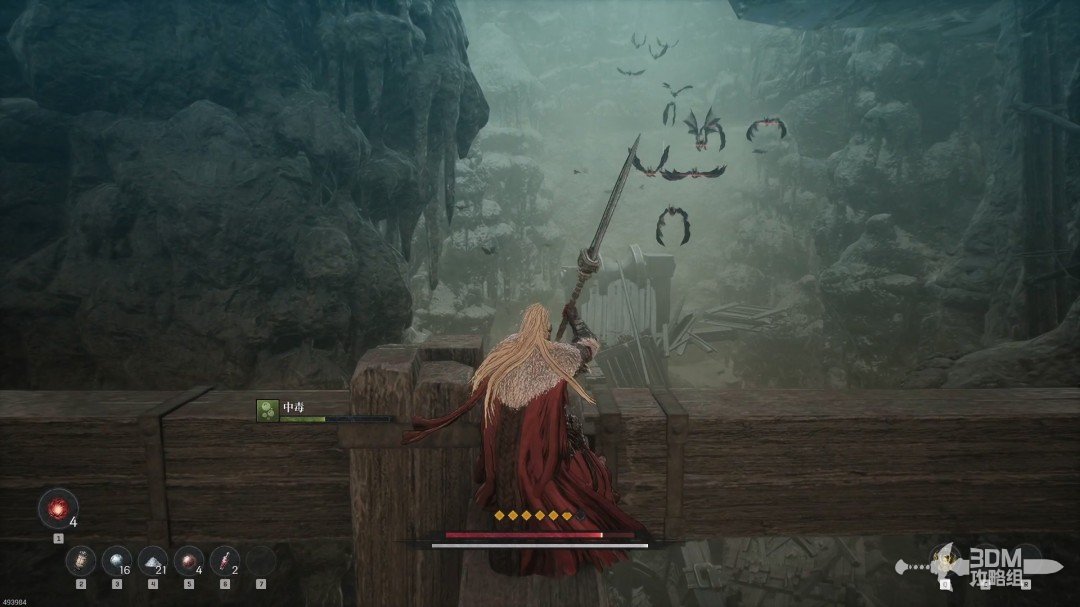
Continue upward on the left to the golden Netherworld Energy upgrade at the highest point.
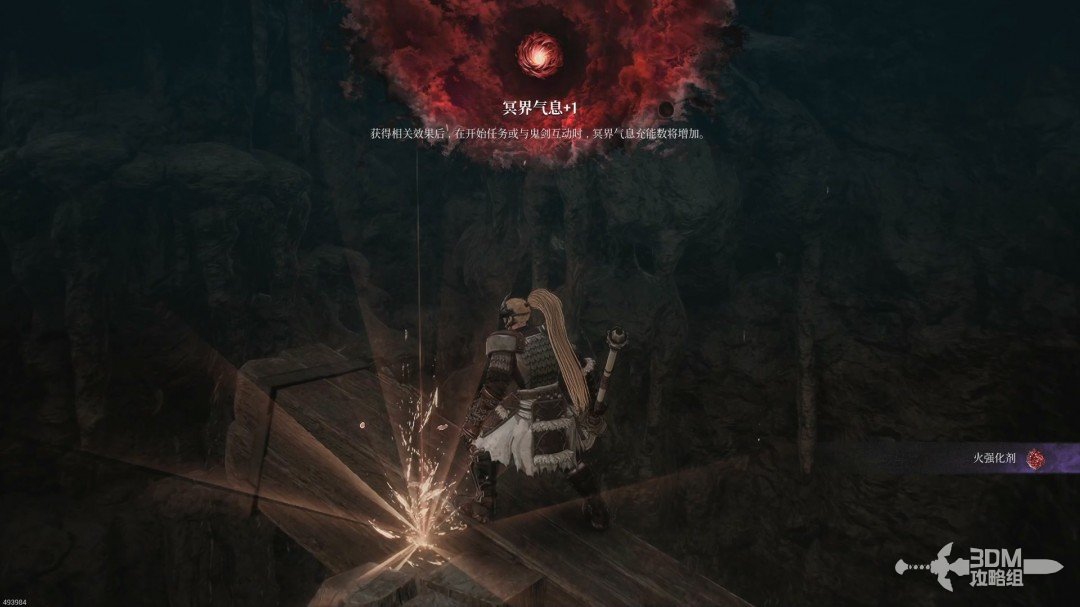
04Giant bat at the end of the beams and the distant Soulstone
Return and go right. Ambush the large hanging bat. Defeating it without healing consumables awards the Poison Resistance Magic Scroll.
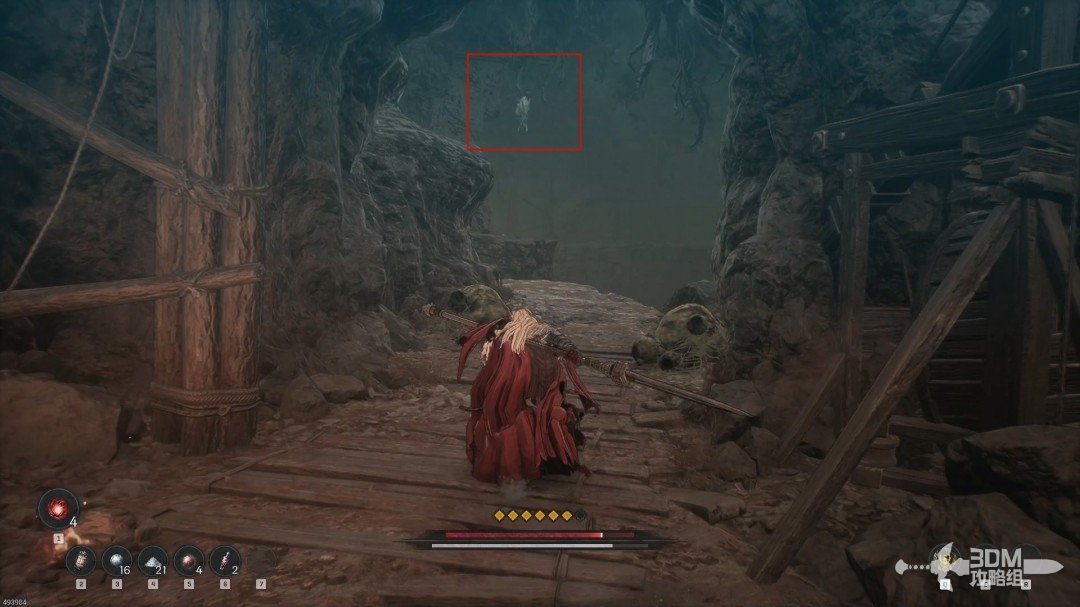
The memory ahead conceals a burrower.
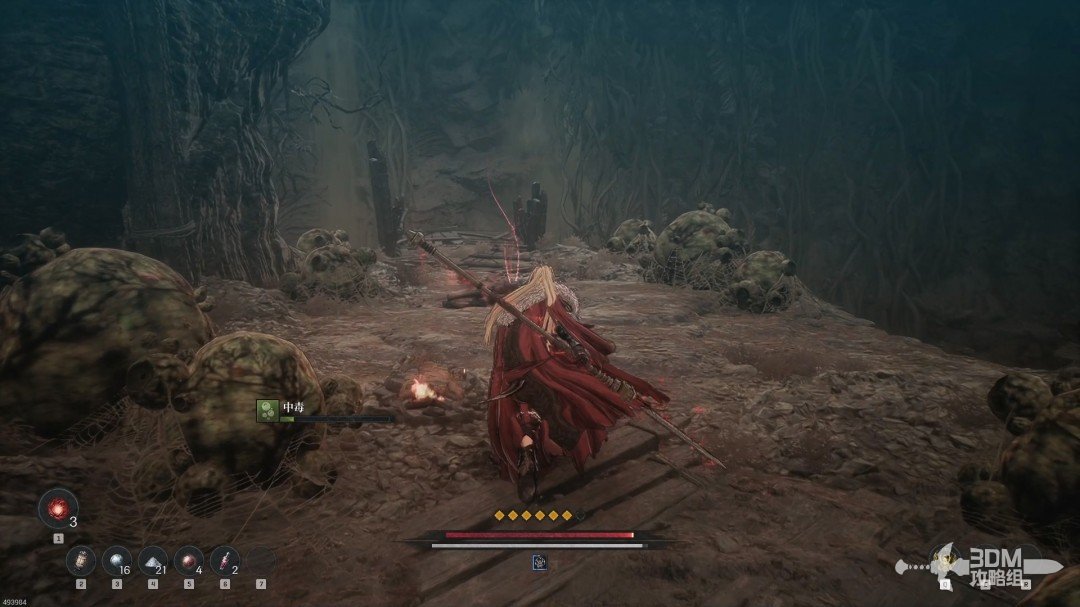
Follow the path to its end and destroy the first Soulstone with Javelin.
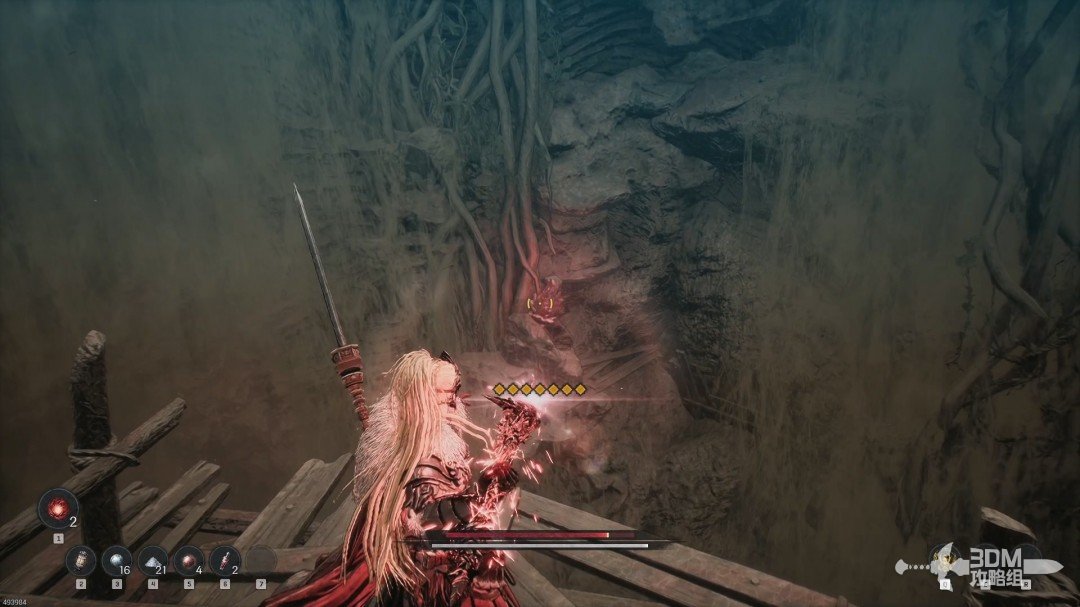
07Zombie cave and paired ladders: seal the passage and open the gate shortcut
Turn back and enter the right-hand path, which contains several undead.
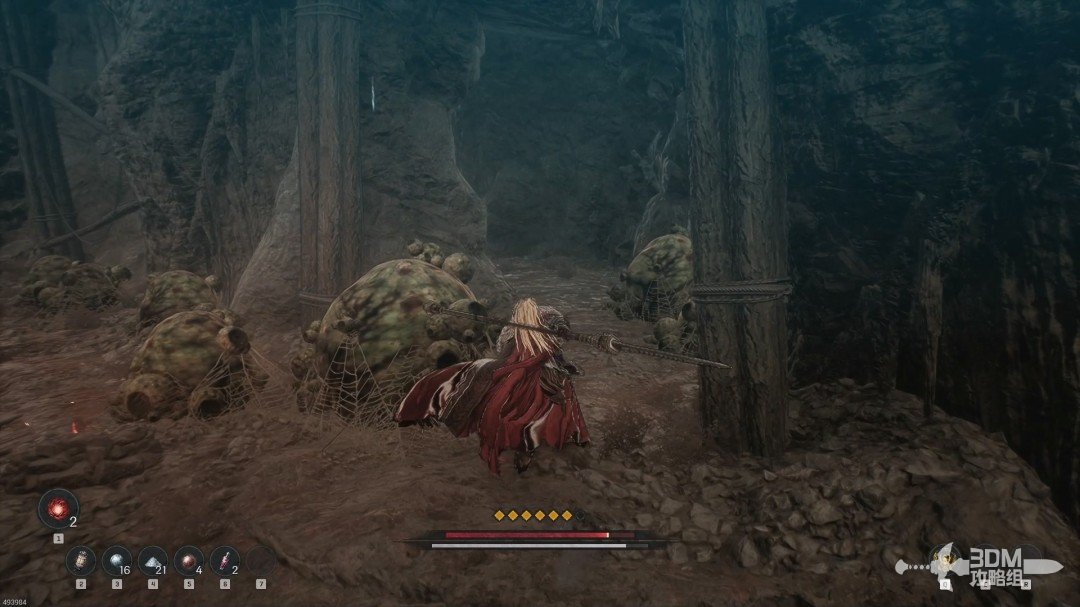
Defeat them and collect the nearby loot.
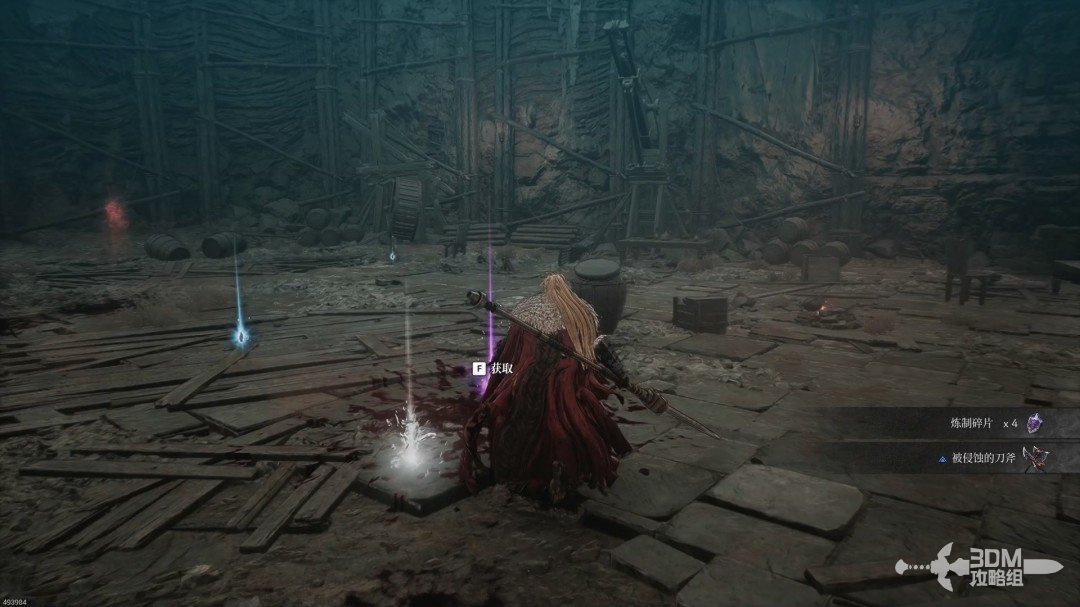
Continue inward and open the chest on the stairs.
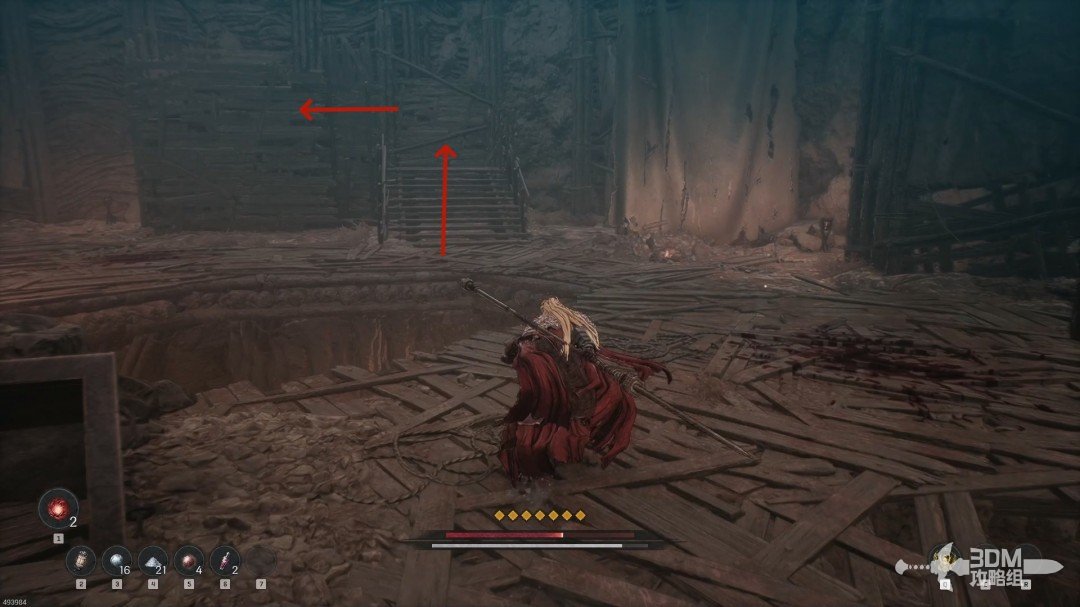
Another ladder leads up to barrels that can seal an opening when detonated.
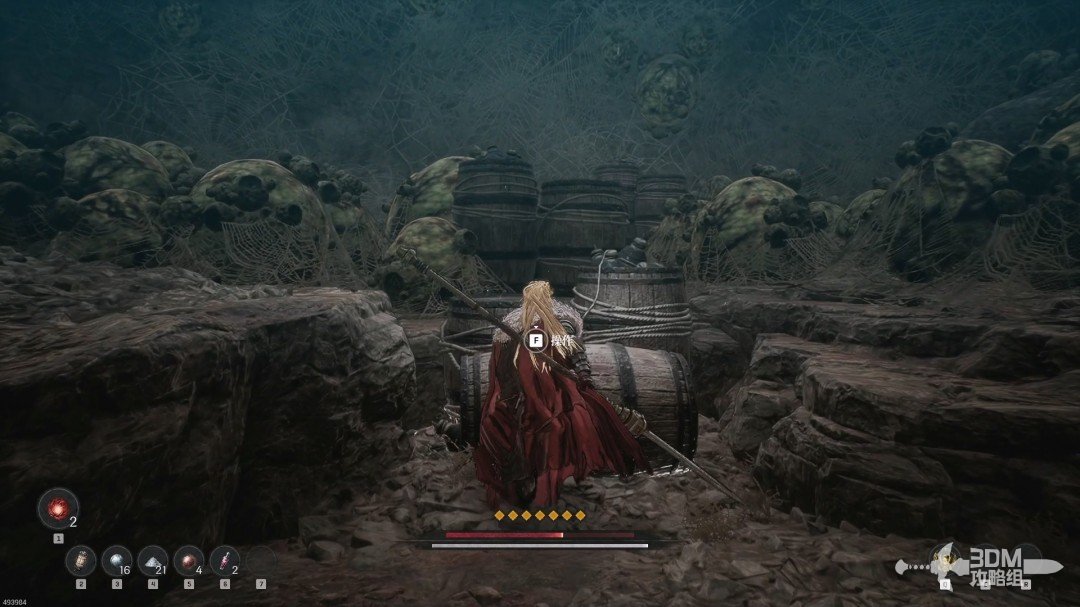
Descend and continue forward.
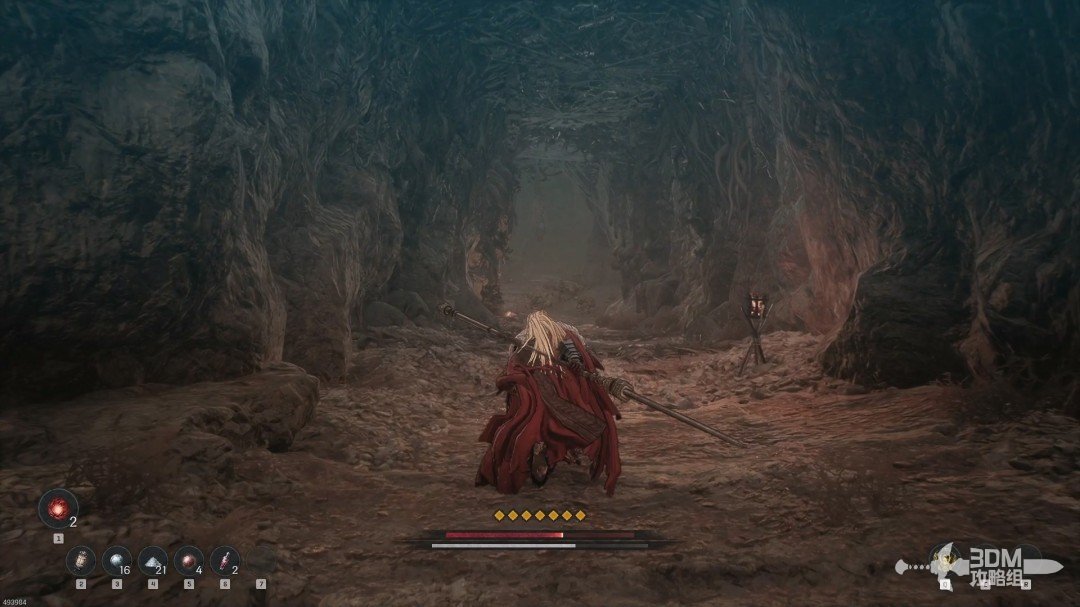
Open the door to connect back to the initial Nexus.
08Bat bridge and spider fork: search the branches and descend
Rest if needed. The main route continues left; the forward dead end contains a scroll.
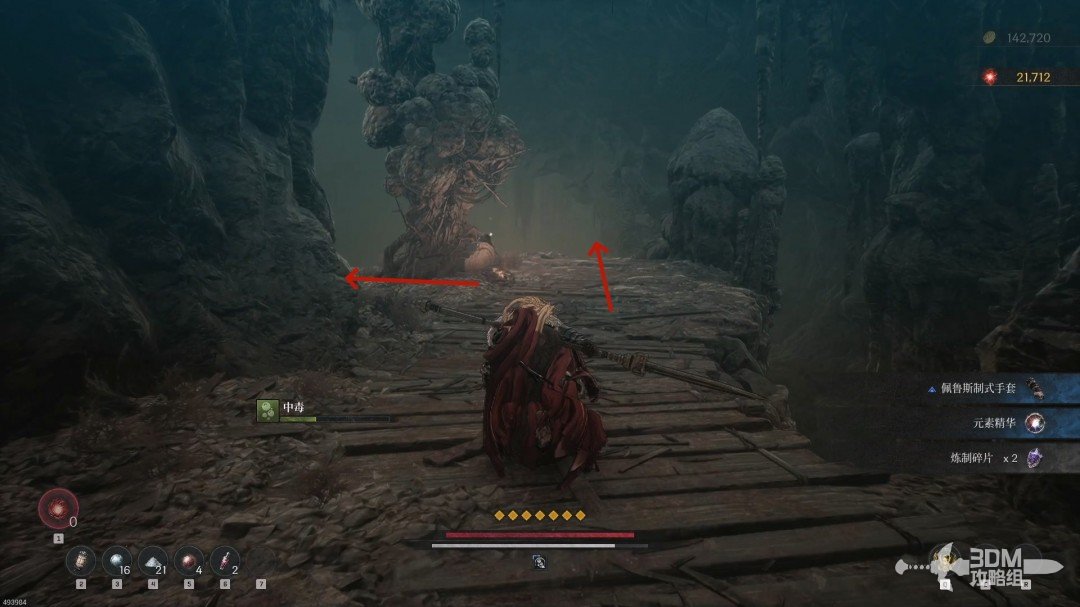
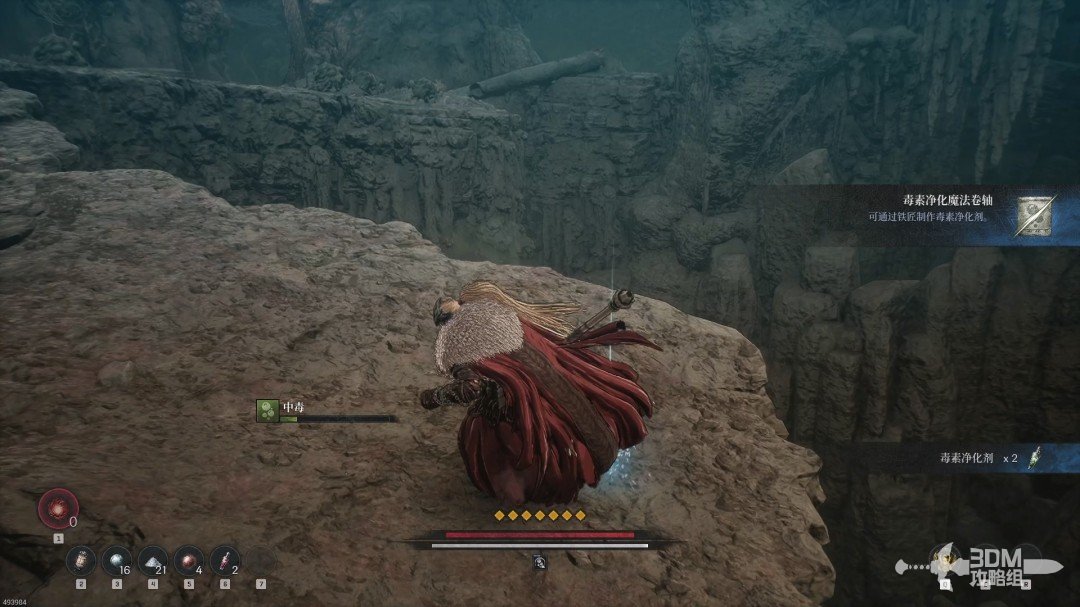
The left route also forks. Cross the wooden bridge first, guarding against bats. Ambush the hanging Powerful Enemy bat for equipment and a crafting scroll.
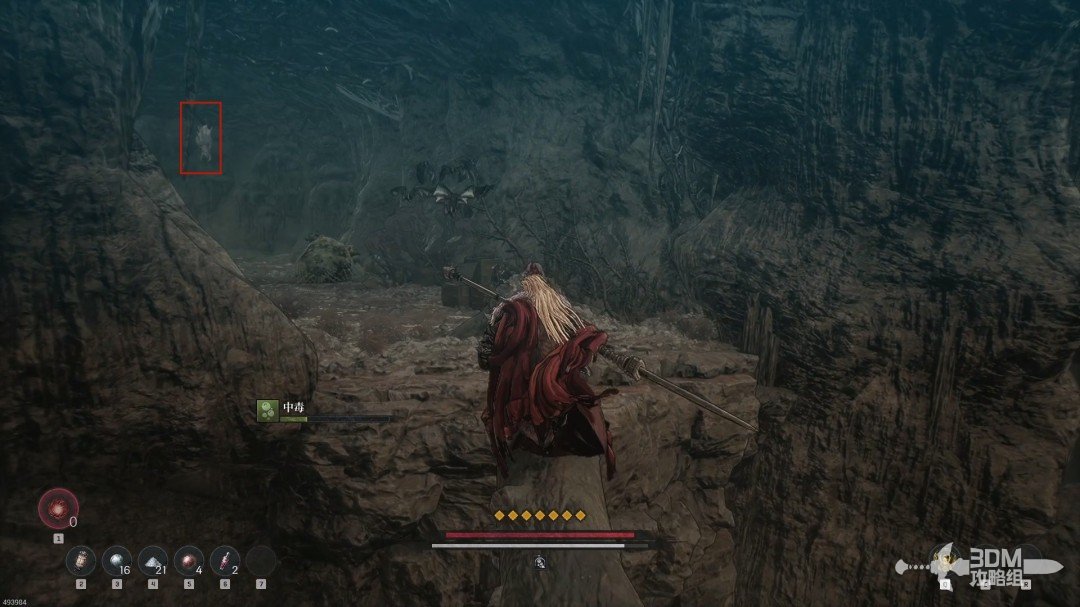
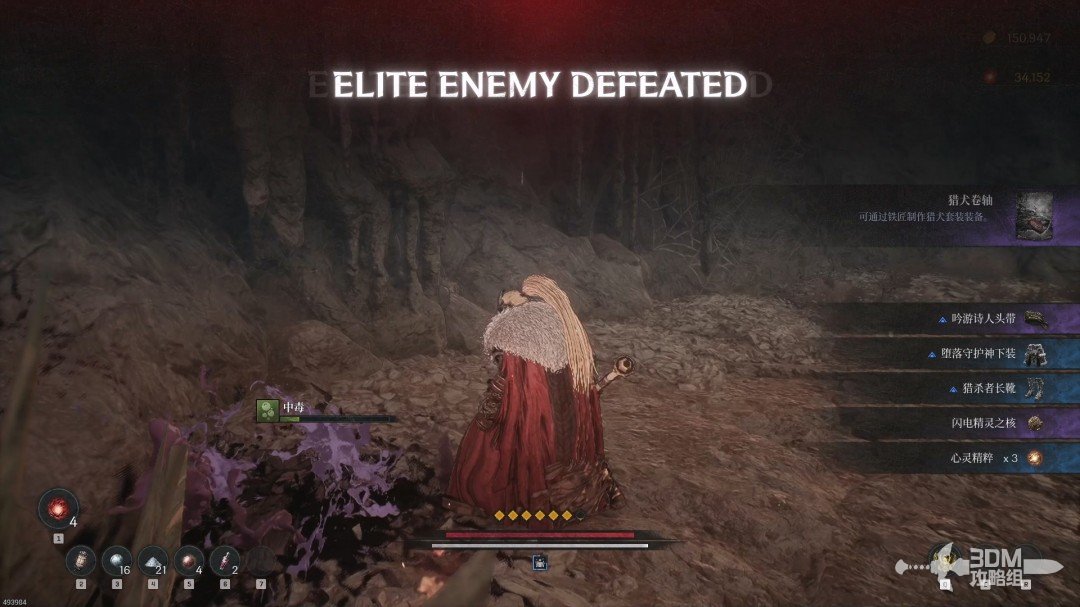
Climb the left slope for a chest.
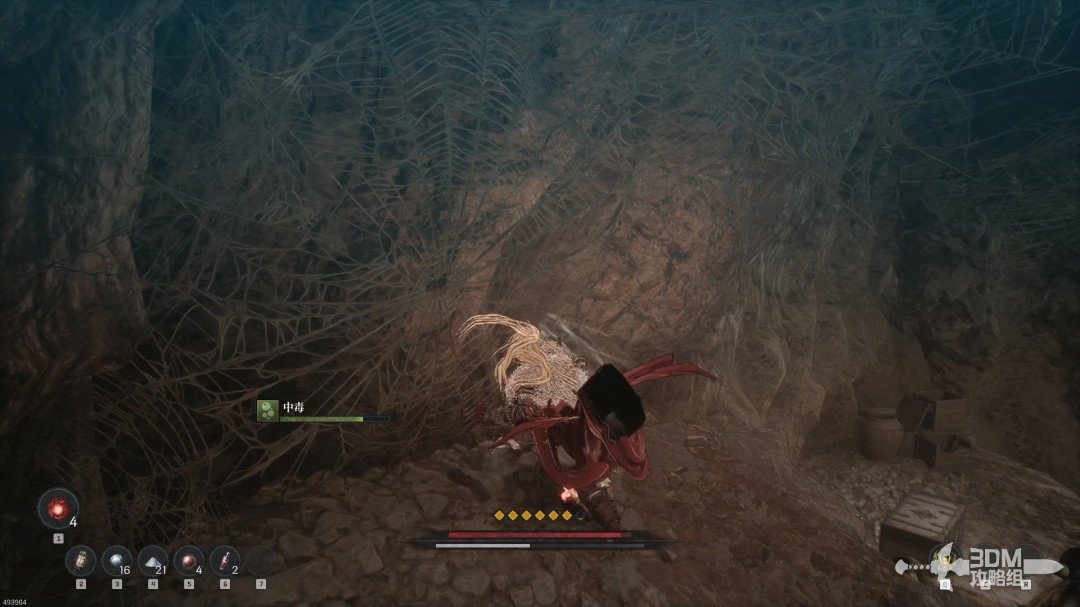
Return to the junction and enter the nearby opening.
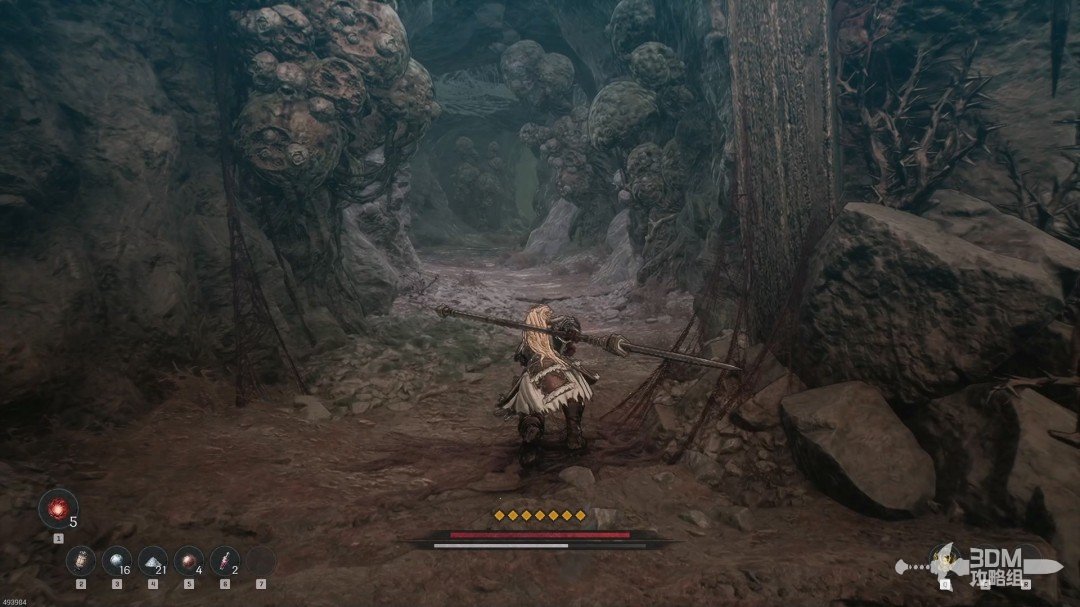
Clear the spiders and collect the purple item. Use an antidote if poisoned.
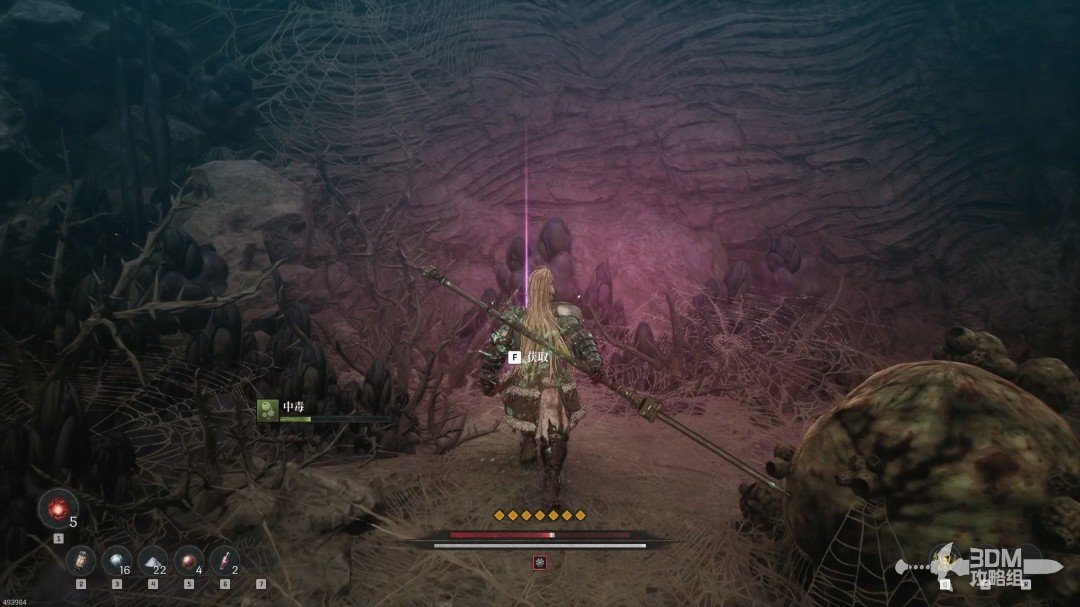
Defeat the large spider around the next corner for items.
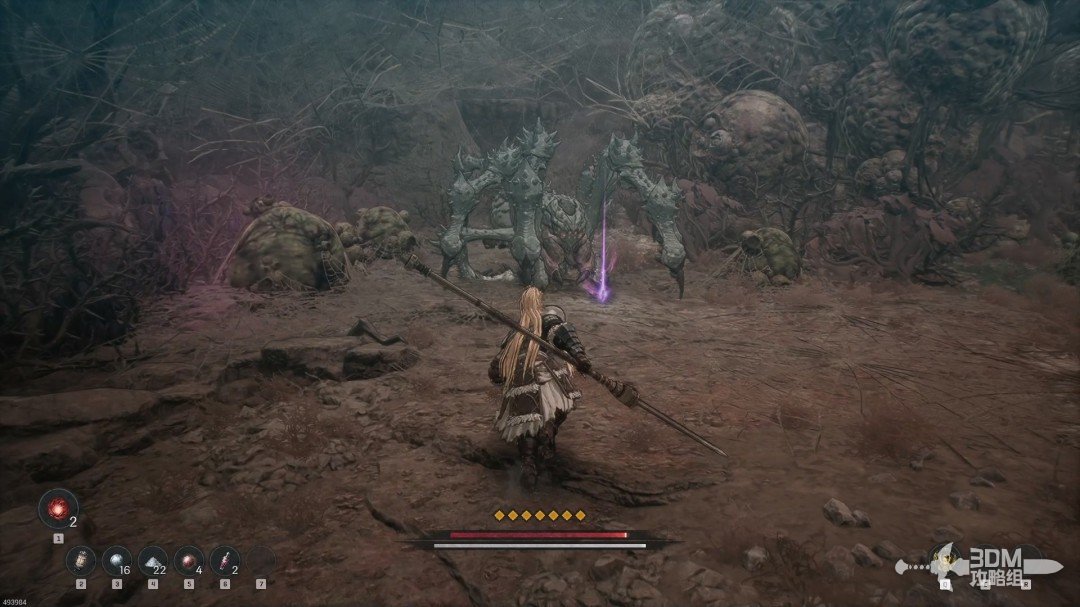
09Lower Nexus and poison swamp: Soulstone and the record on the rock
Continue to a Blade Nexus.
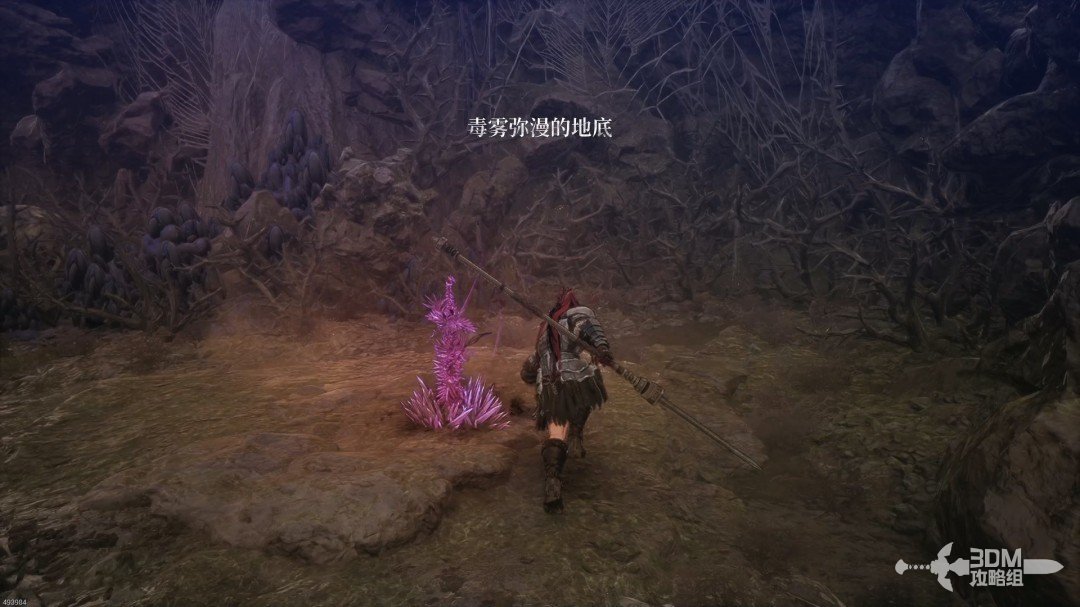
Descend the slope and drop on the right for the second Soulstone.
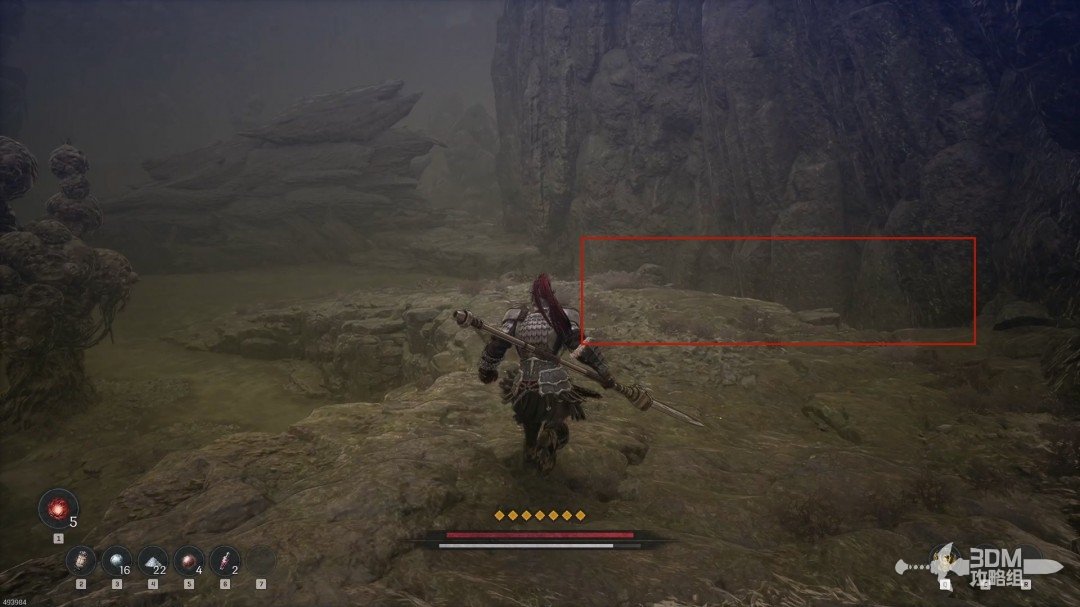
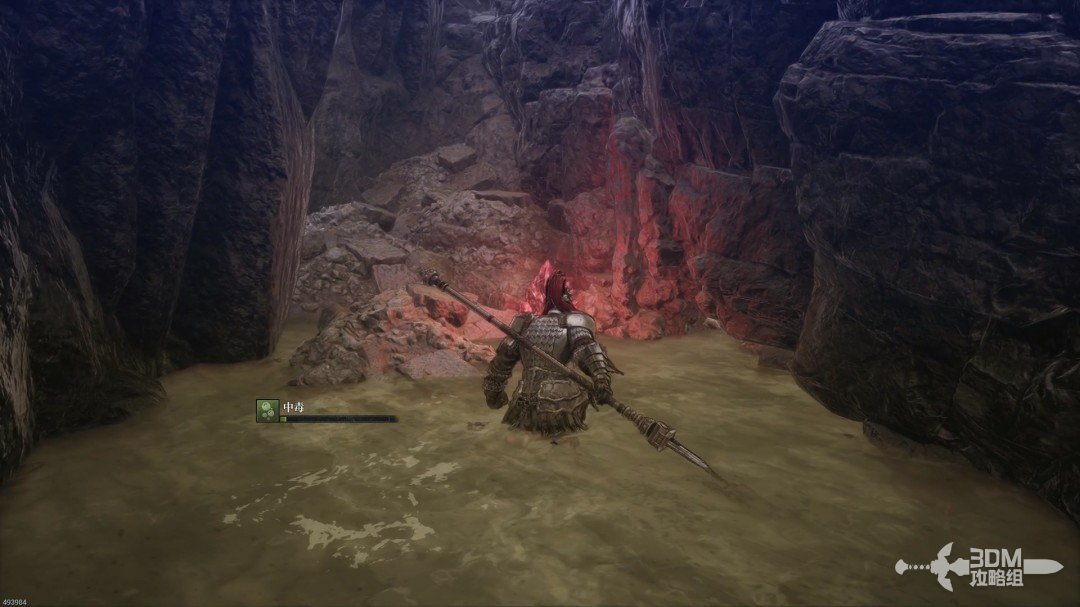
The poisoned swamp below calls for antidotes. Collect the Half-digested Observation Record on its central rock.
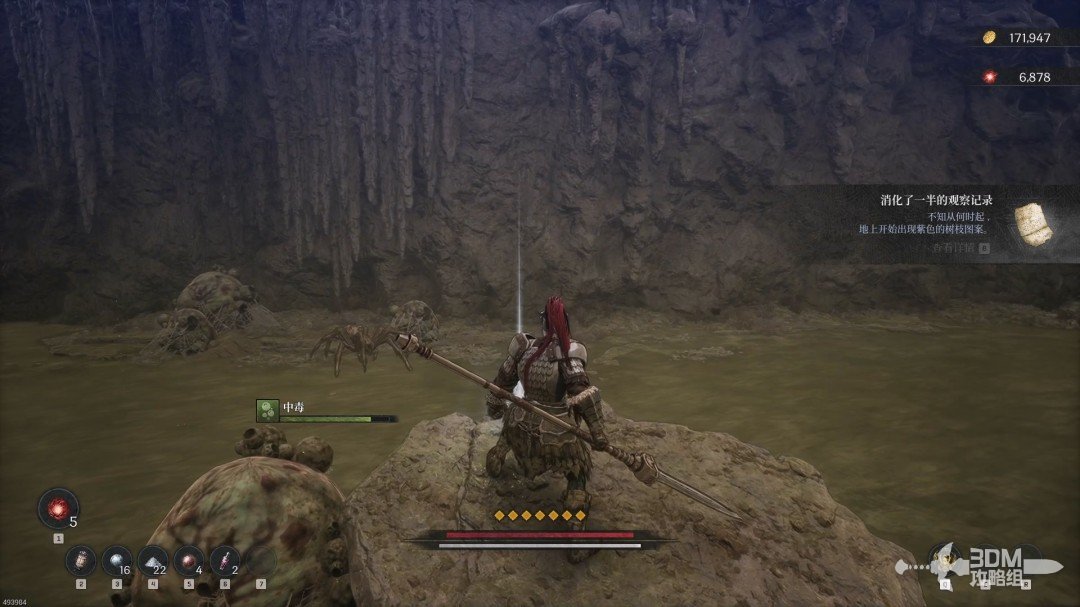
12Poison swamp edge: antidotes and the frenzied spider
Collect the blue item at this location.
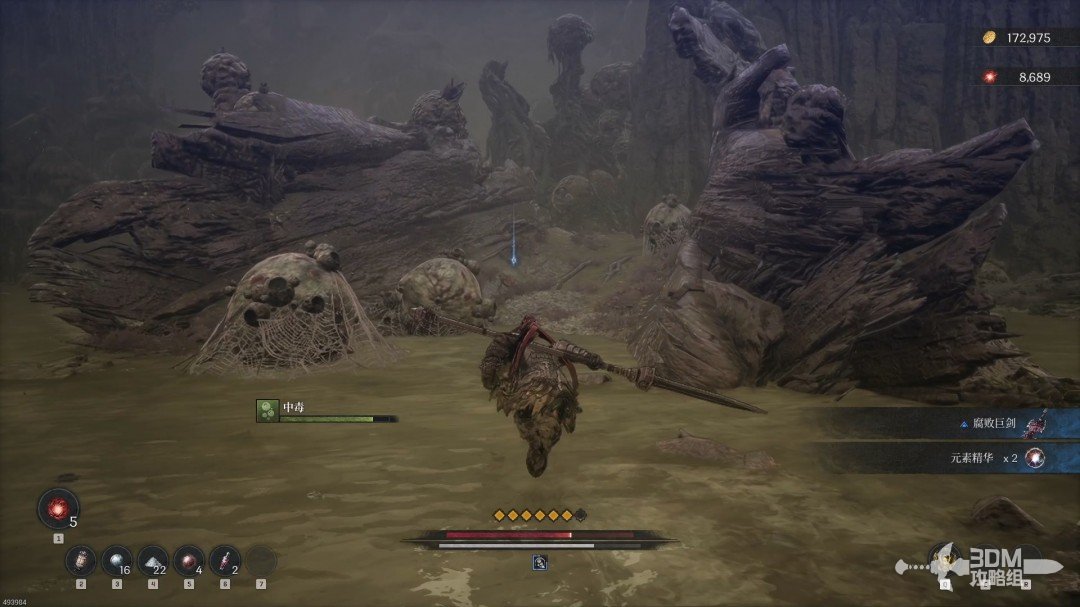
Antidotes can be found nearby or purchased from Digor the bard. A Poison-sealing Necklace lies in this corner.
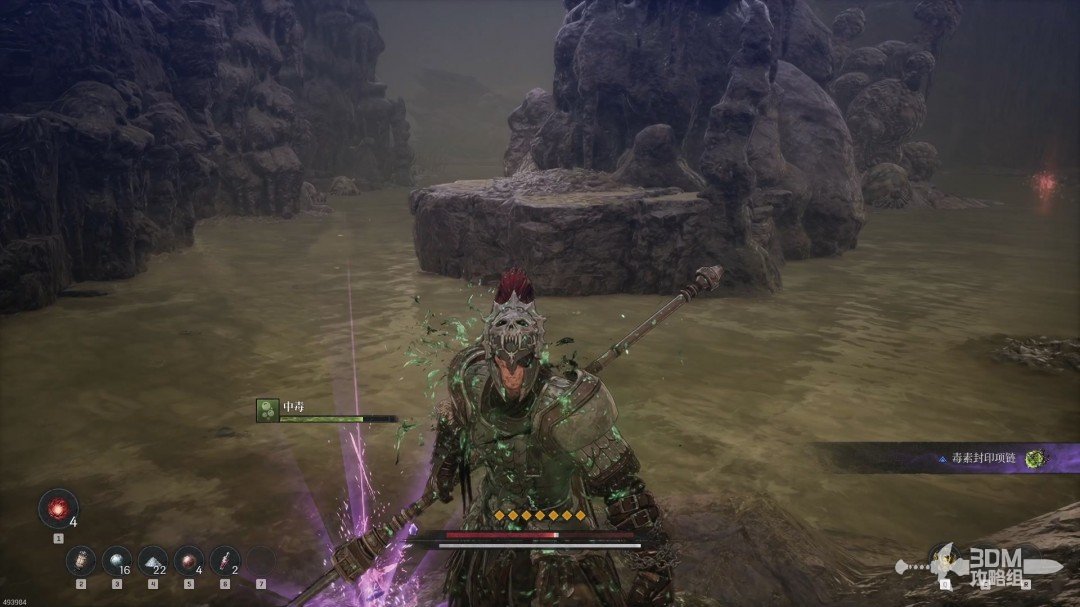
Absorb the memory here. The tutorial introduces frenzied enemies.
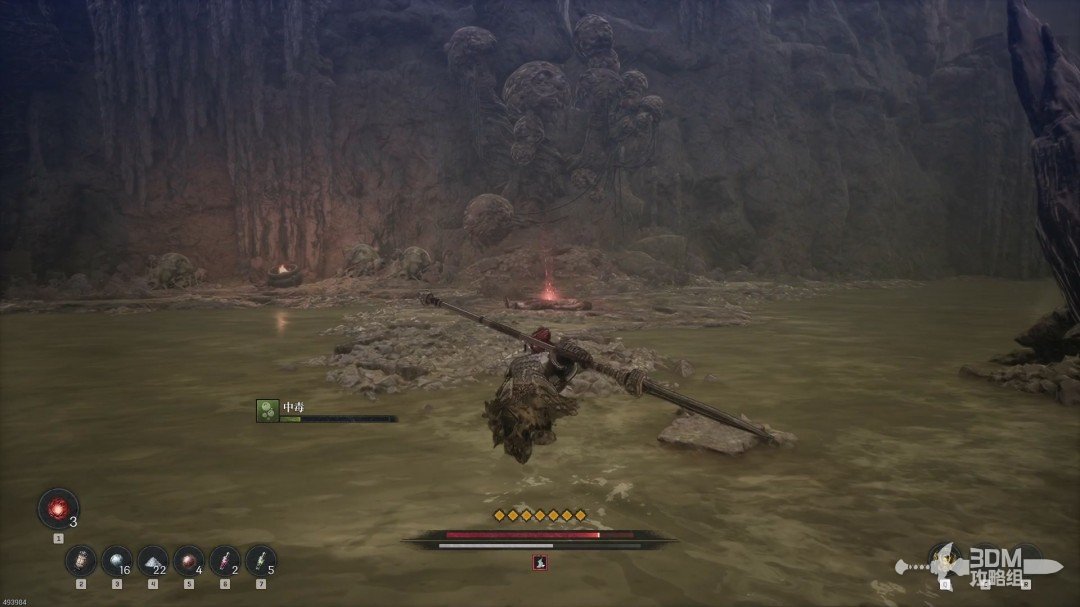
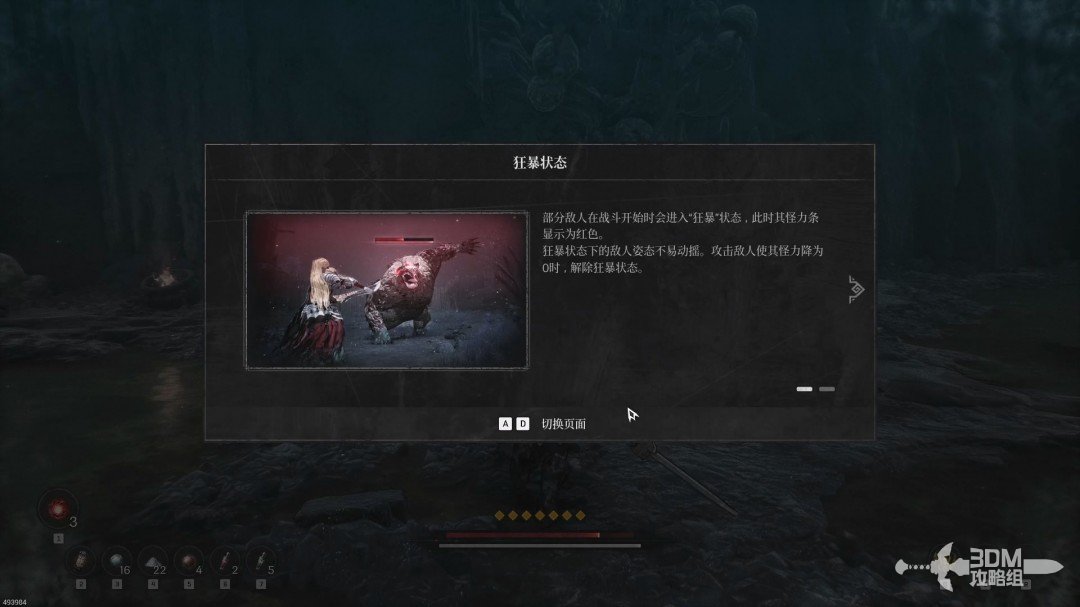
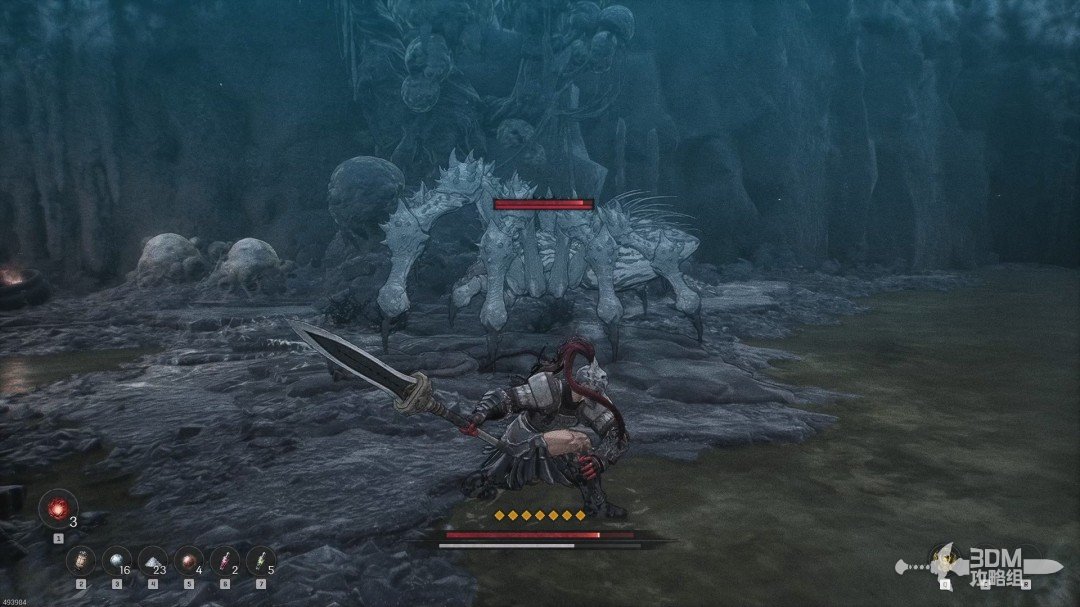
Fight the nearby frenzied spider carefully; its enhanced aggression is dangerous.
13Raised chest and bard: climb toward the guild permit
With the swamp edges explored, climb onto the platform.
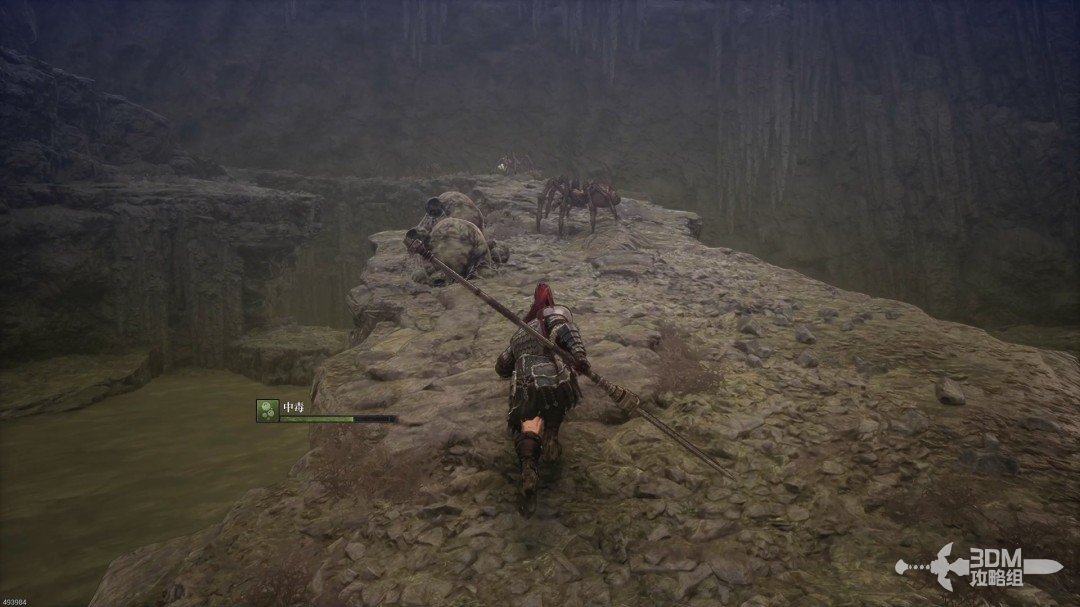
Ambush the spider guarding the chest on the left.
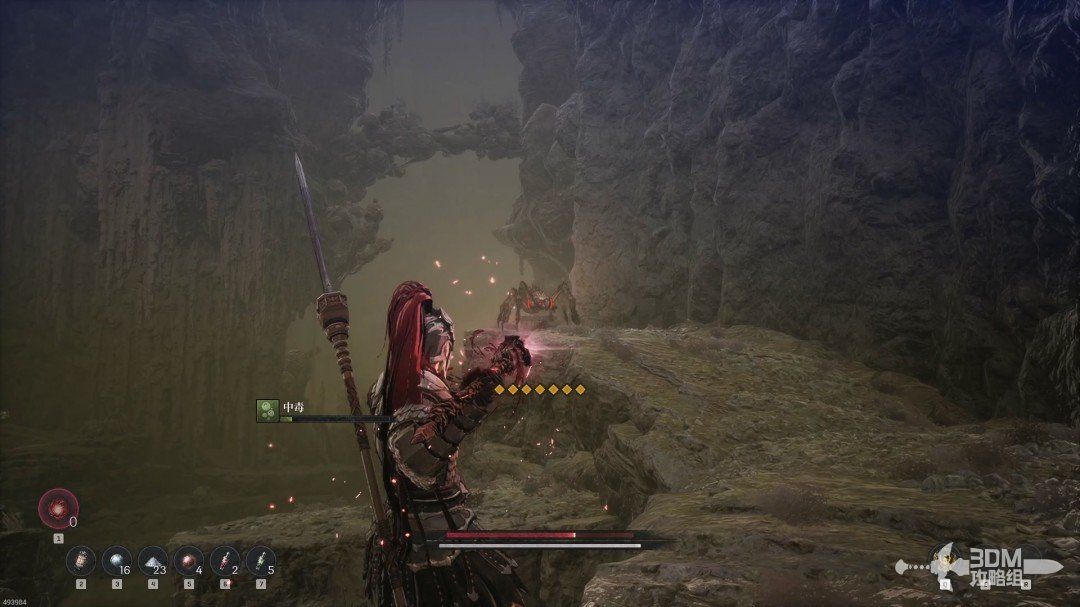
After the chest, continue to Digor for conversation and shopping.
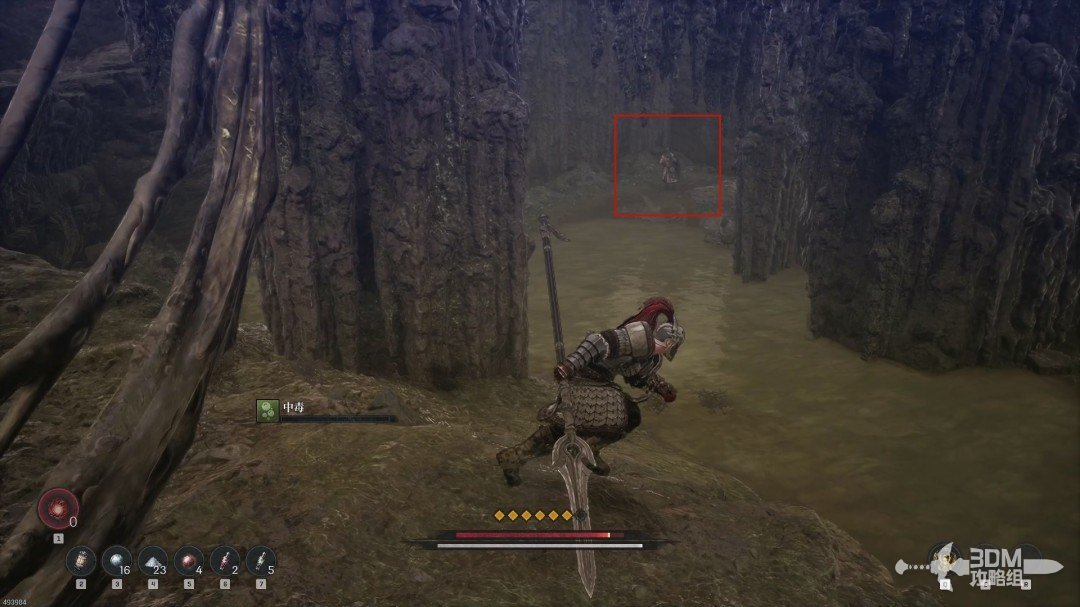
Proceed upward past exploding spiders. Turn right at the fork.
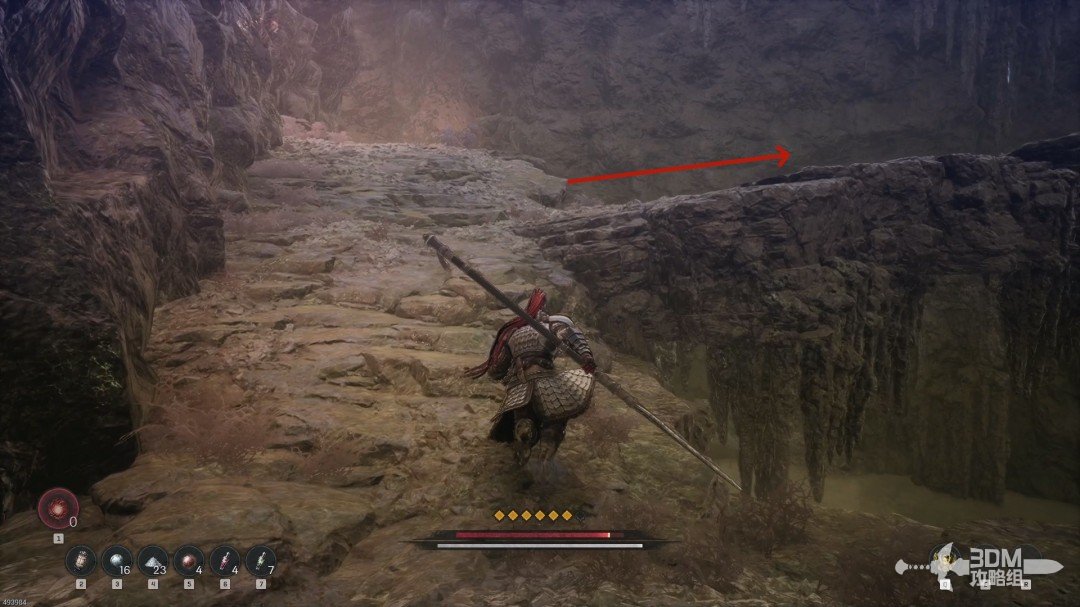
Strike the false memory ahead to kill the concealed burrower early.
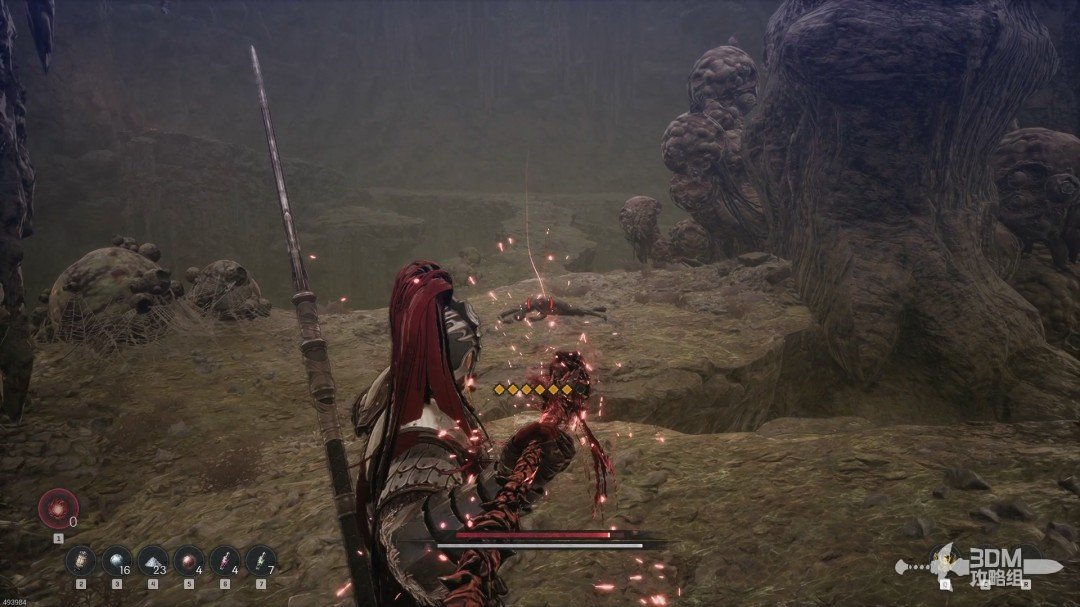
Drop on the right after the burrower for the Blacksmith Union Permit collection item.
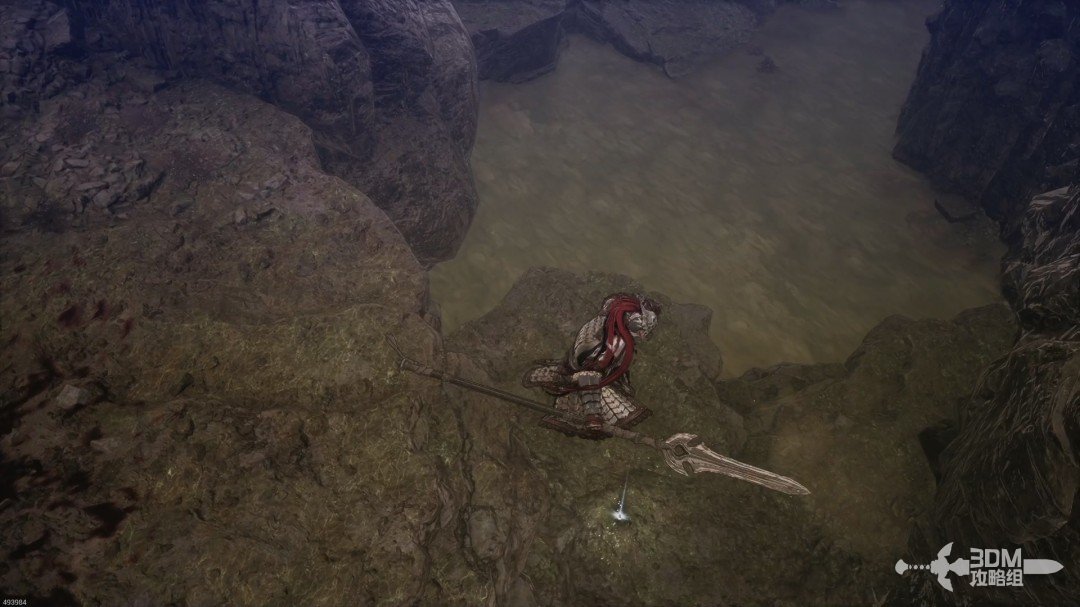
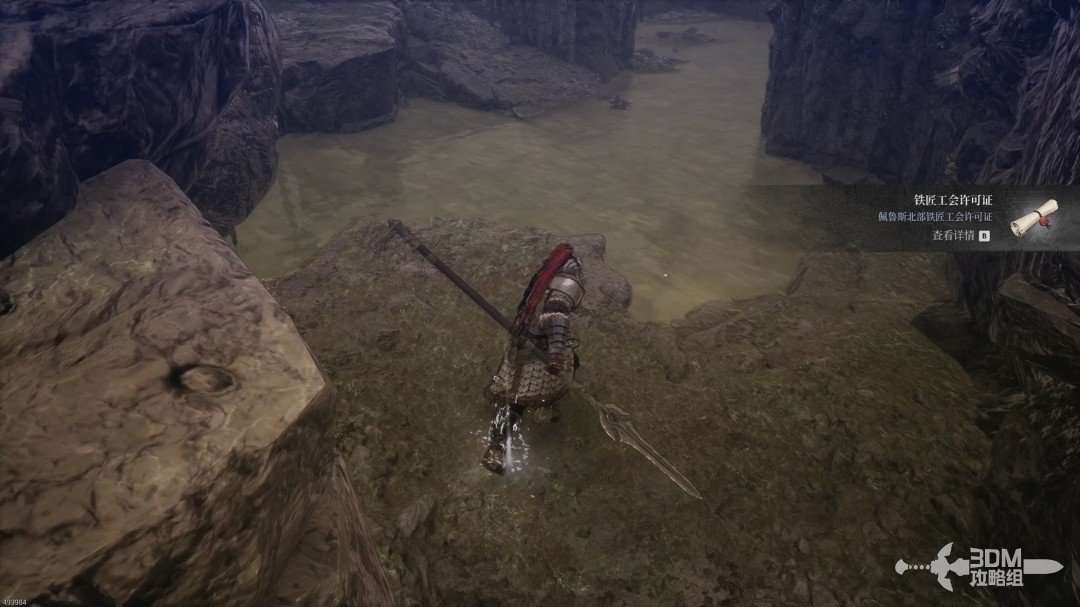
15Plank opening beside the Nexus: seal the path and search the second swamp
Return to the fork and continue forward.
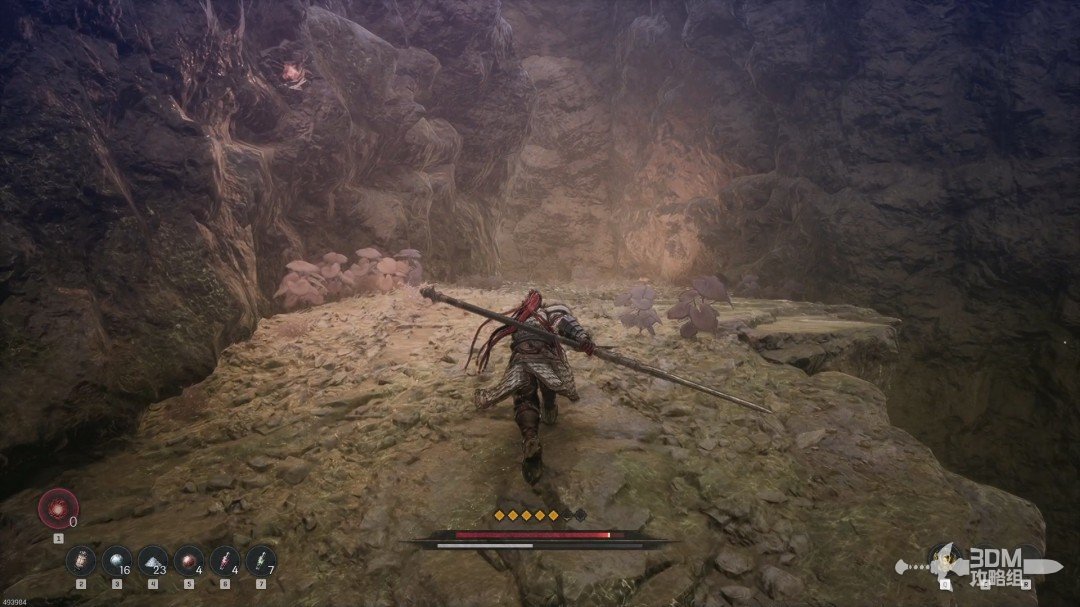
A blue item and a Blade Nexus lie on the left. Rest here if needed.
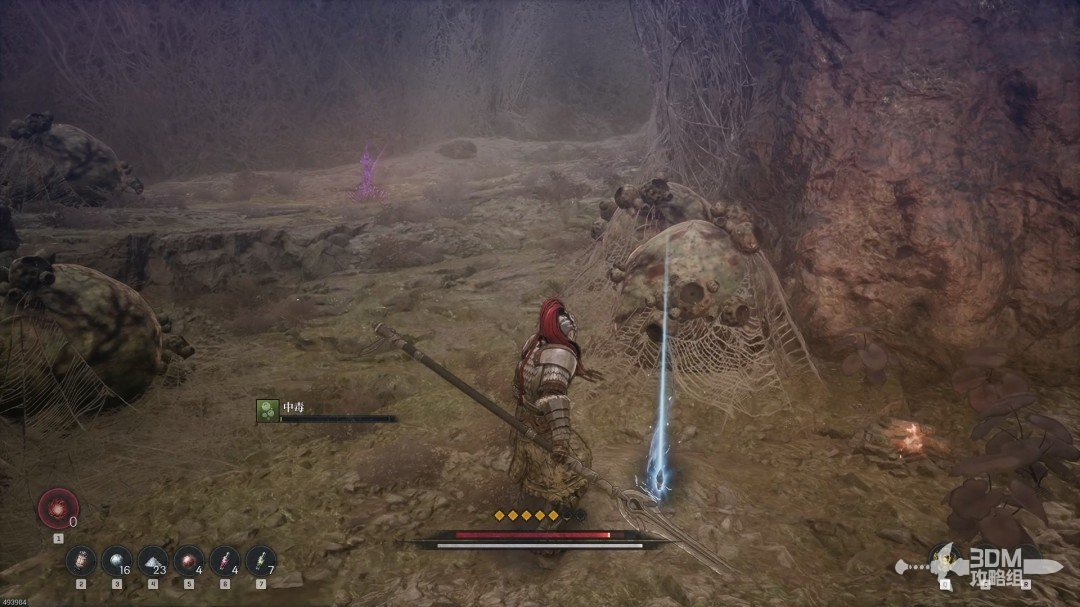
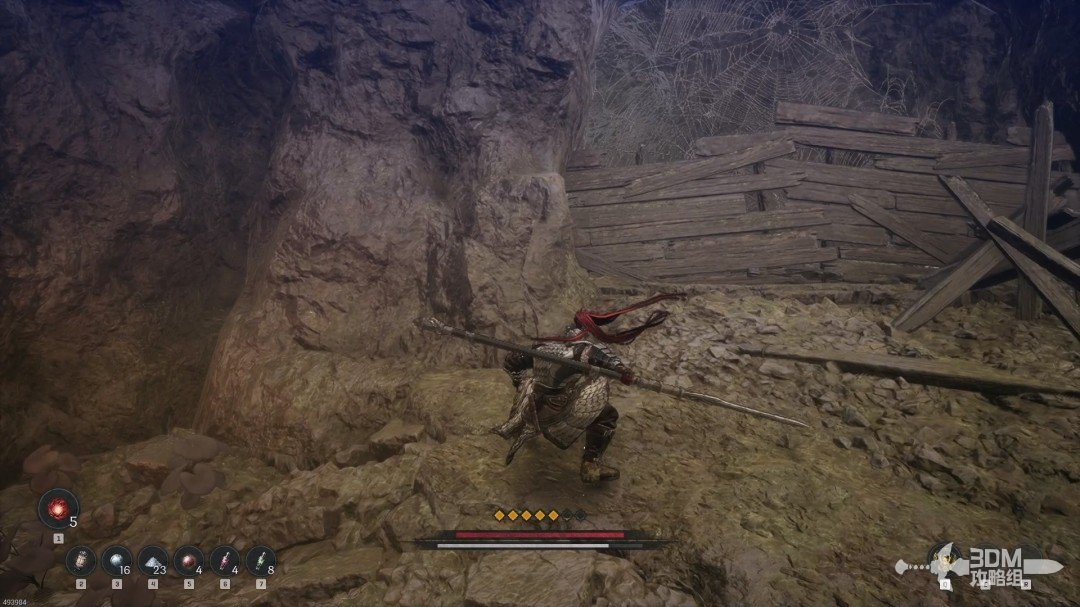
Break the boards beside the blue item and detonate the barrels inside to seal another opening.
Outside, explore the next swamp. Absorb the central memory and locate the glowing Soulstone ahead.
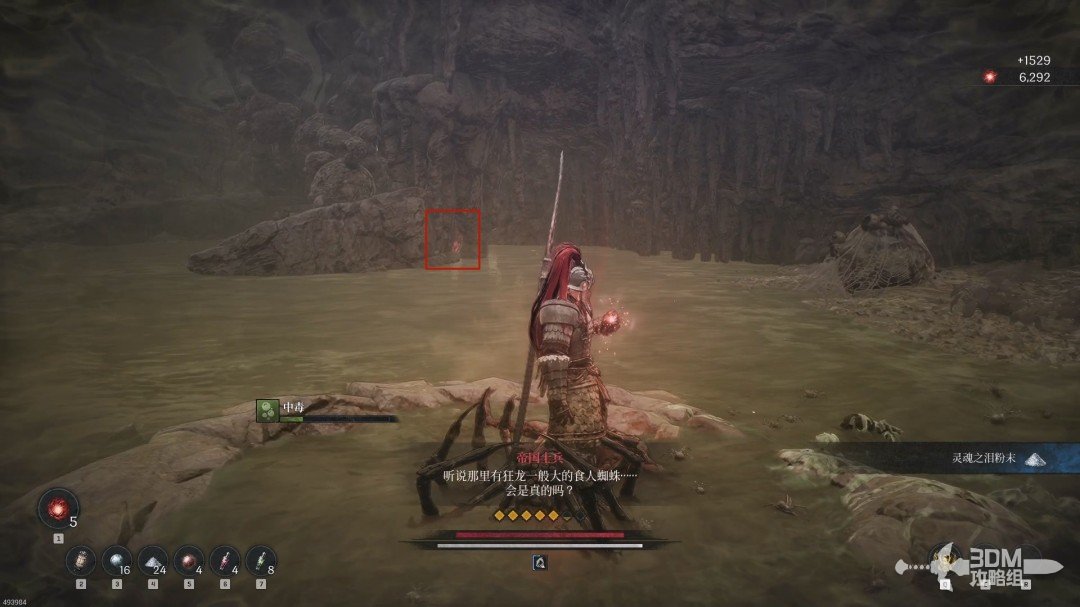
Approach and break the Soulstone.
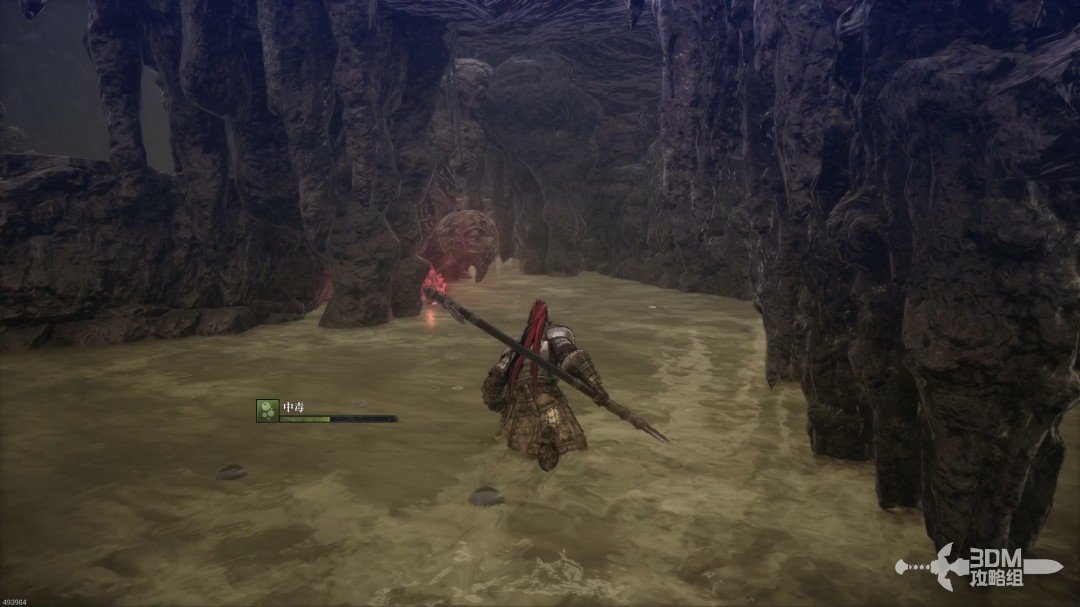
Continue inward for a white item.
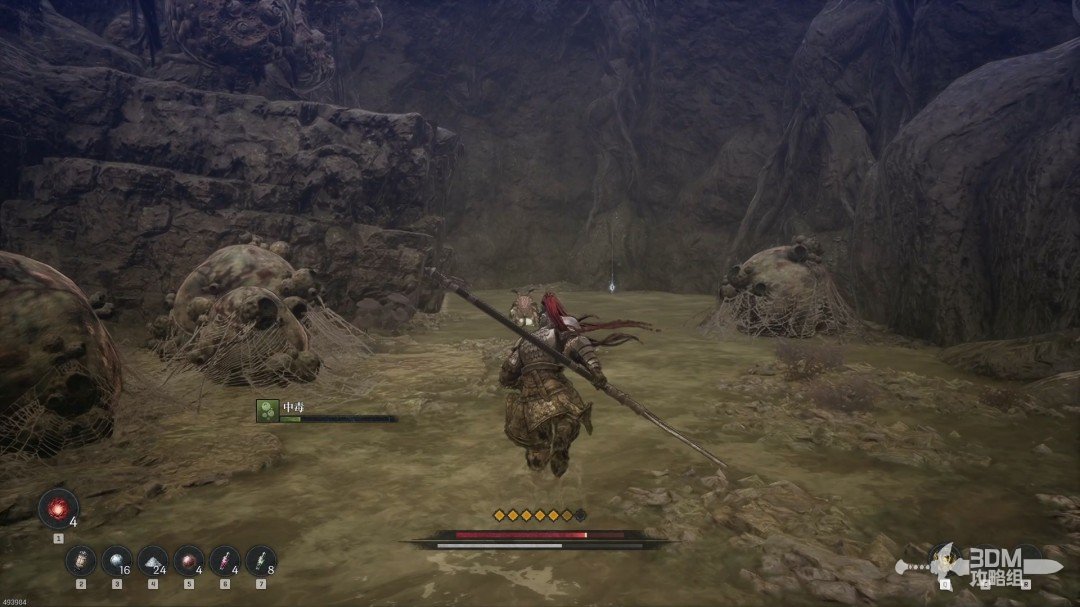
A chest lies farther inside.
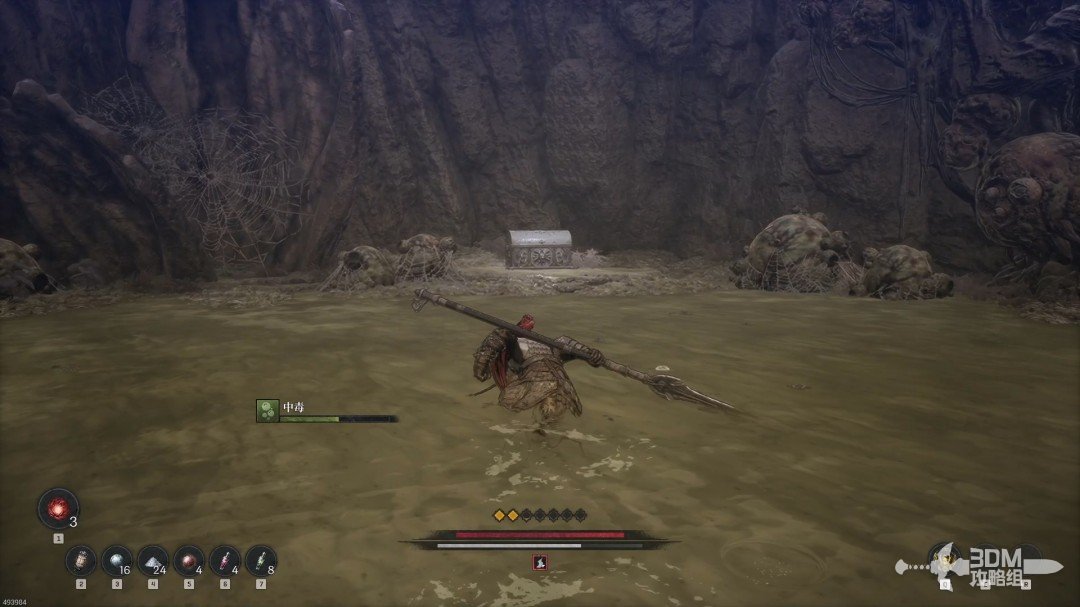
17Return to the Nexus and enter the spider nest on the right
Return to the Nexus, then go right toward the boss.
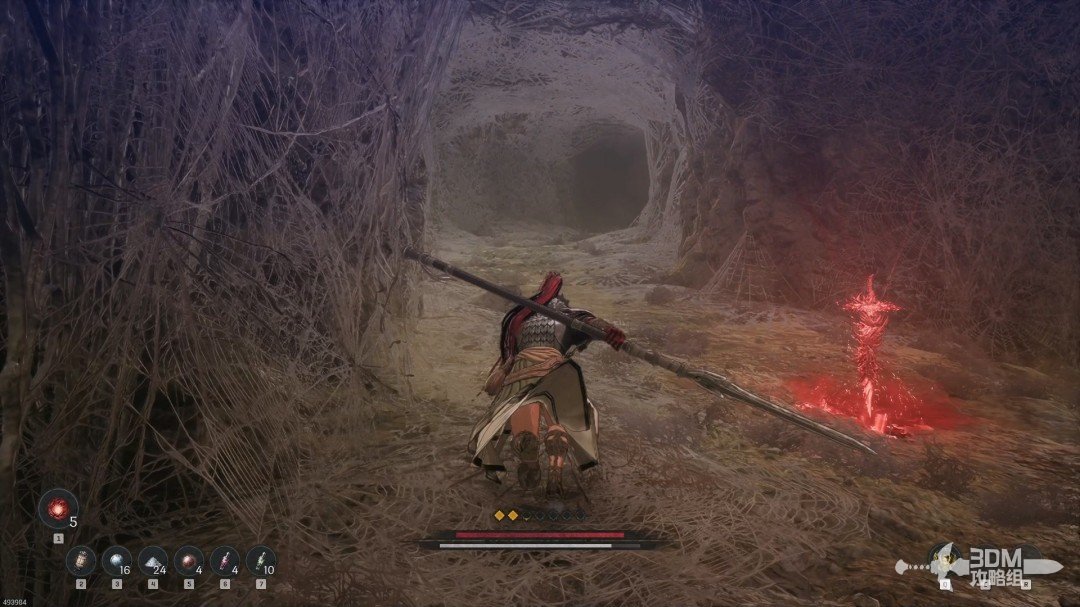
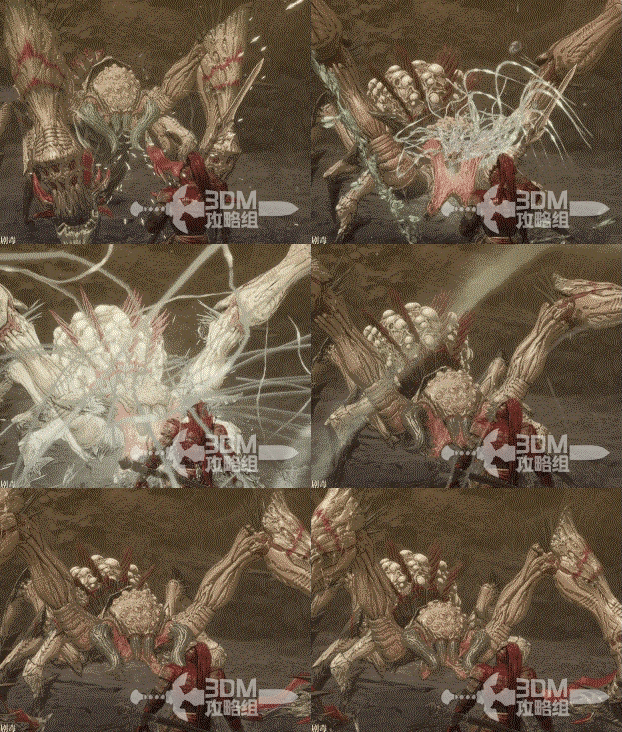
18Webbed chamber: face Aratra
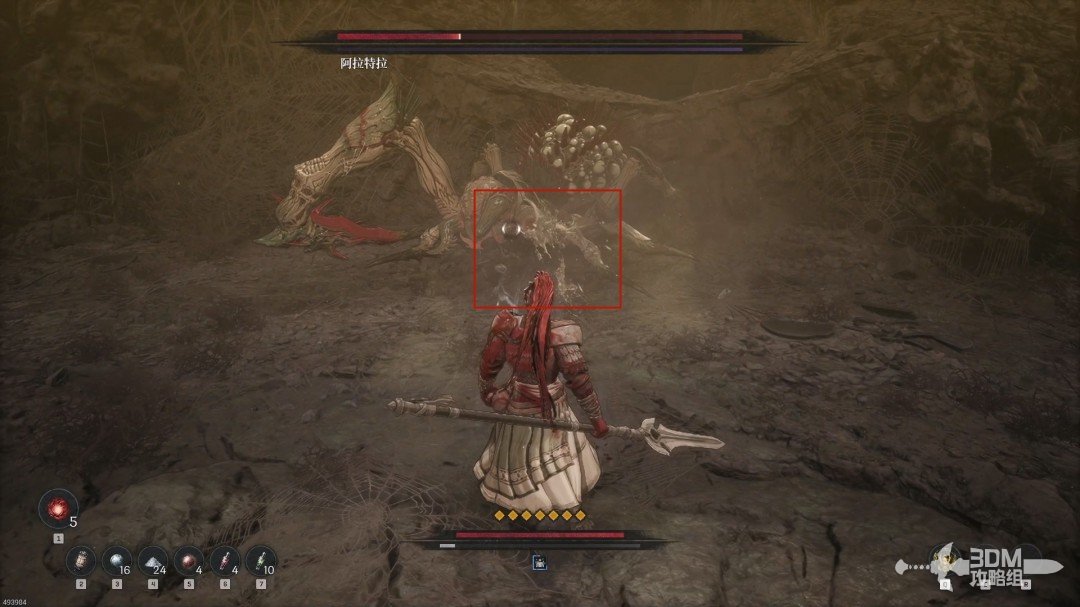
The cinematic shows Elamein freeing a captive from a web before Aratra, a giant spider, descends behind Khazan.
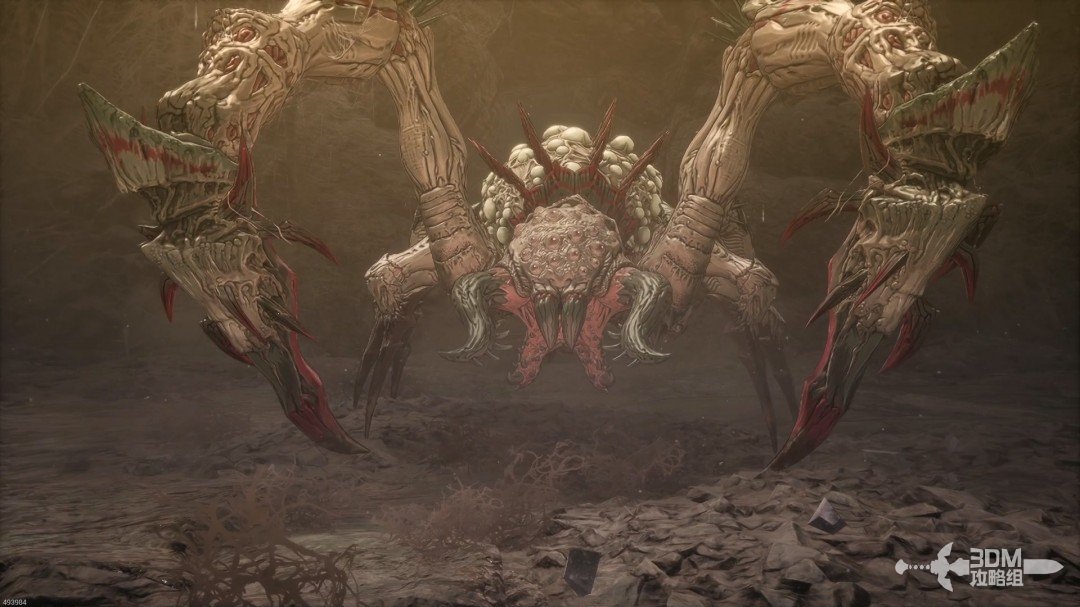
Several attacks are very fast. Learn the rhythm rather than reacting to each strike in isolation.
Attack ①:
A slow claw swipe followed by a double forward stab.
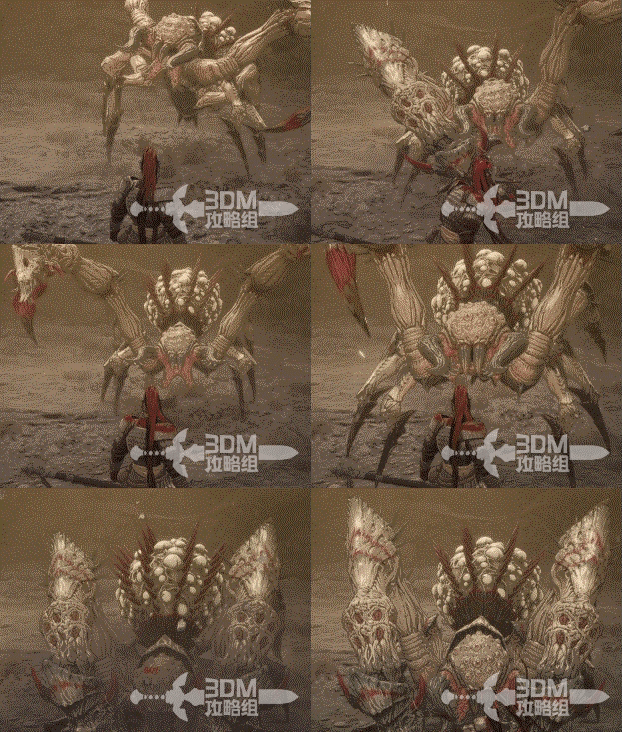
Attack ②:
Two bites with a clear mouth-opening tell. The second bite follows quickly.
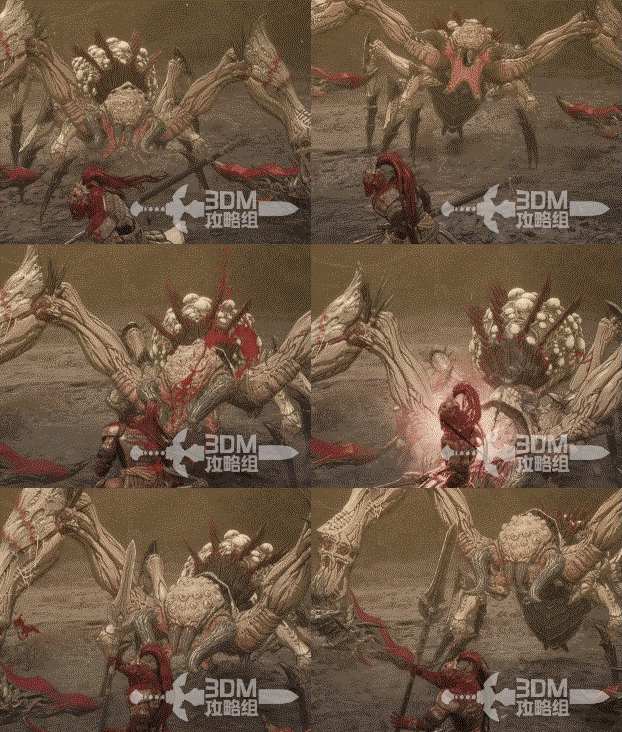
Attack ③:
A three-hit combo with a visible arm raise. Counter the unguardable third hit.
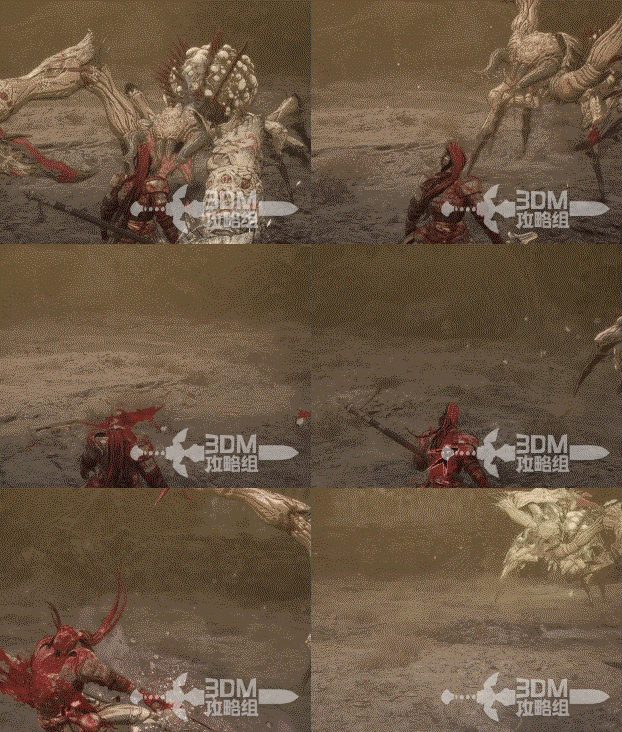
Attack ④:
It reaches behind itself and throws green venom. Dodge rather than guard to avoid poison buildup.
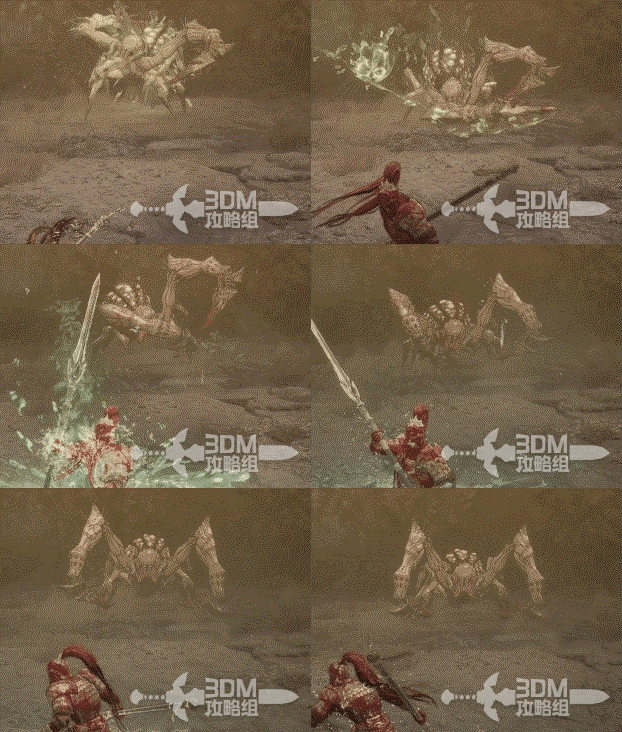
Attack ⑤:
A claw swipe leads into two quick stabs, then a pounce. Do not overlook the second stab.
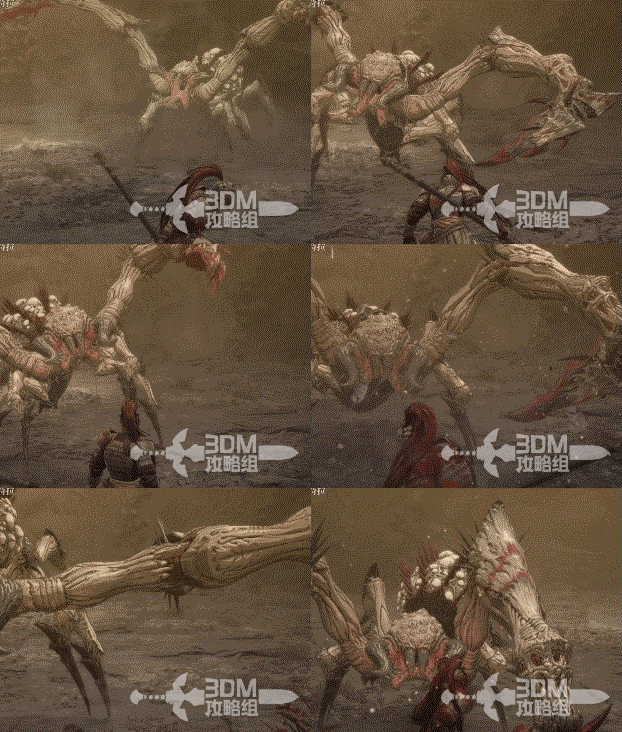
Attack ⑥:
Four very fast thrusts followed by a slower final hit.
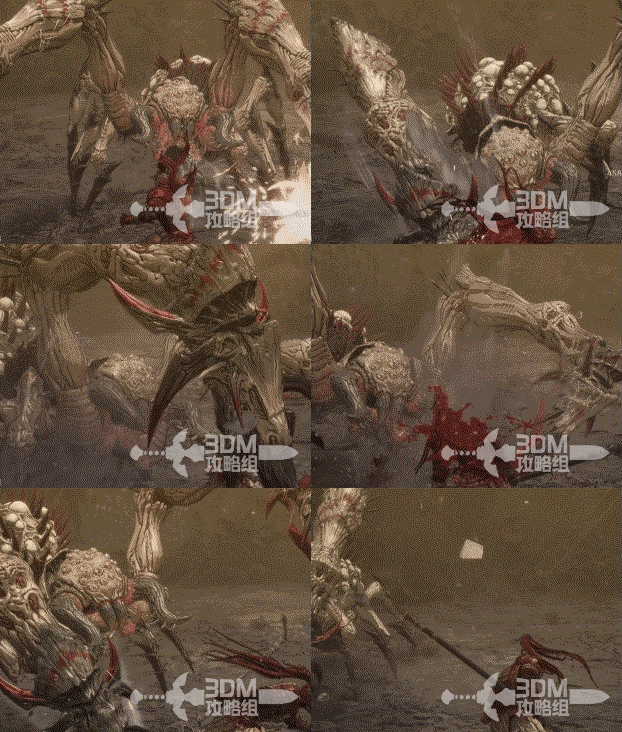
Attack ⑦:
A straightforward high jumping pounce.
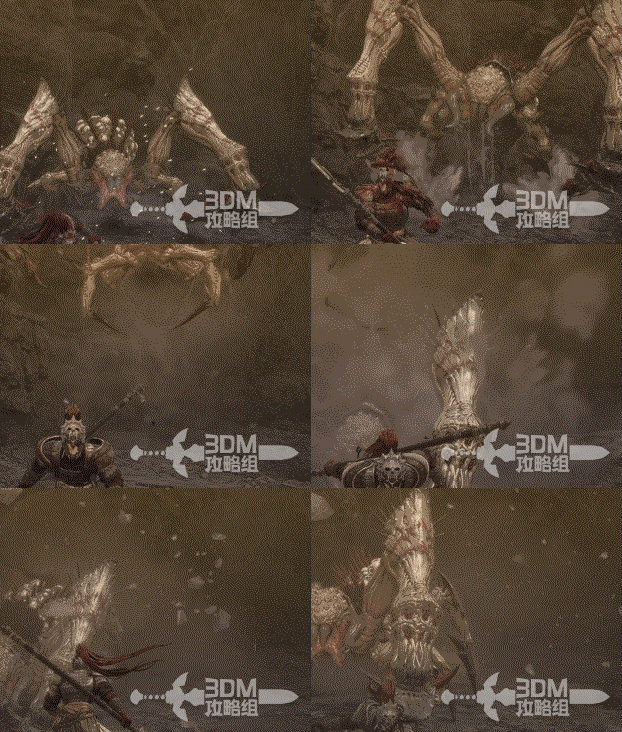
Attack ⑧:
It scoops venom from behind before slashing forward in a cross pattern.
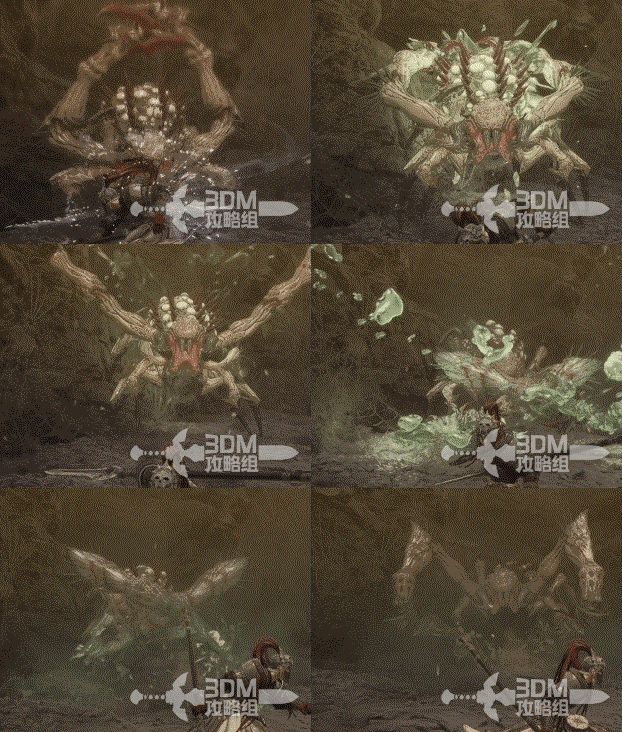
Attack ⑨:
A web spit marked by a green glow around the mouth. Being hit immobilizes you.
19Broken limbs and poison from above: finish the battle and rescue the blacksmith
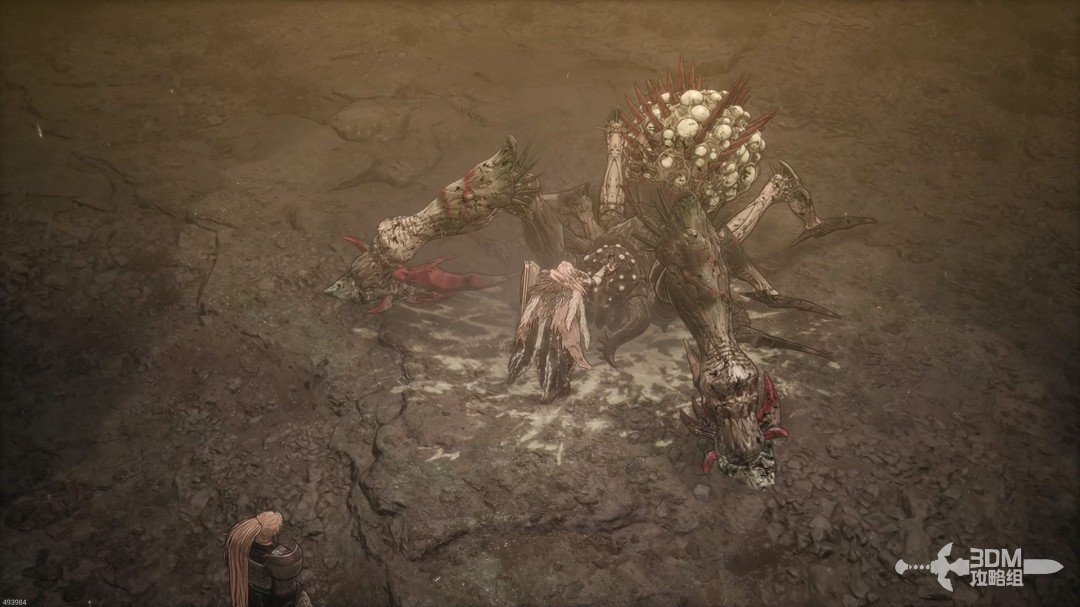
Breaking its limbs can stagger it. If it survives that opening, it may climb up to recover and return with a wide aerial slam. Finishing it during the stagger avoids this sequence.
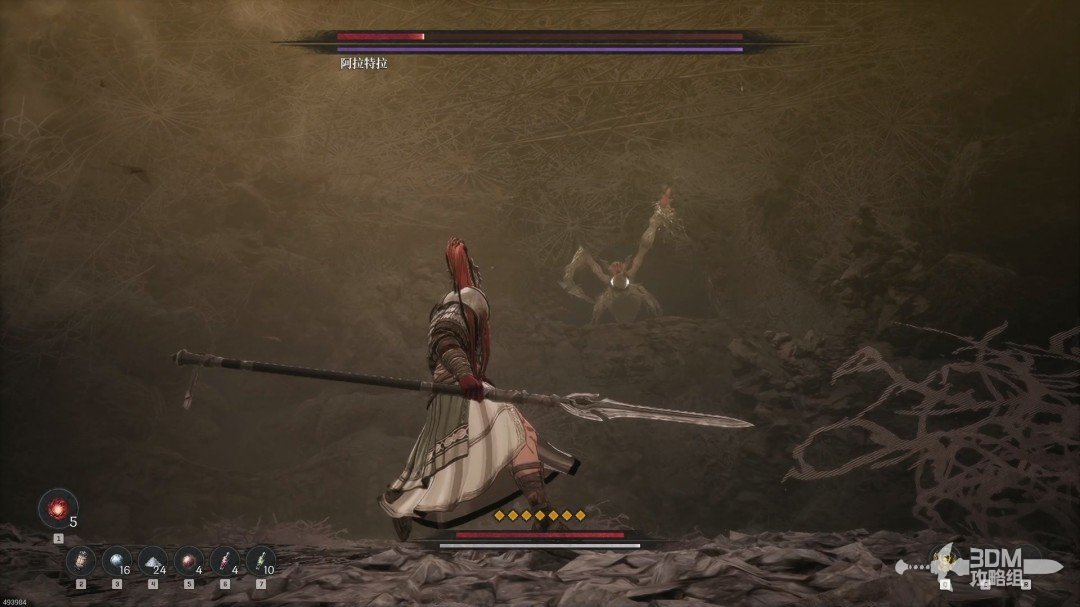
Attack ⑩:
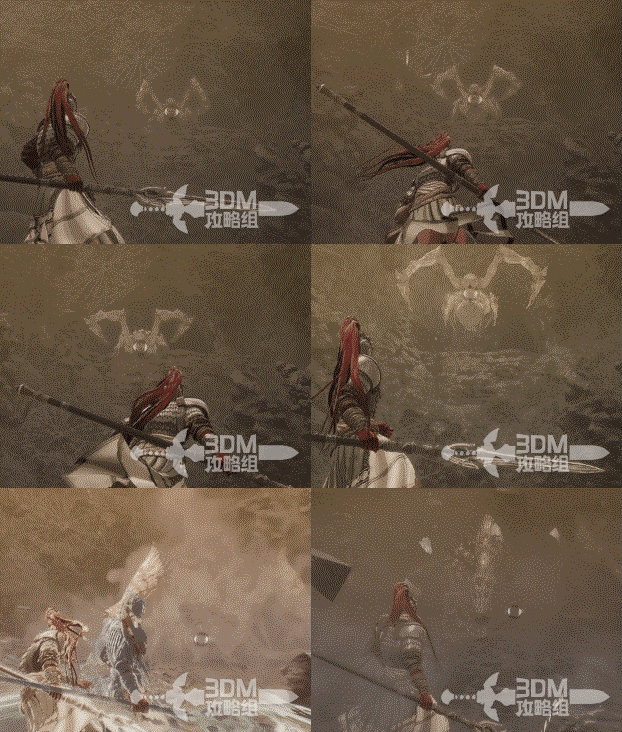
Defeat Aratra for equipment and a cinematic.
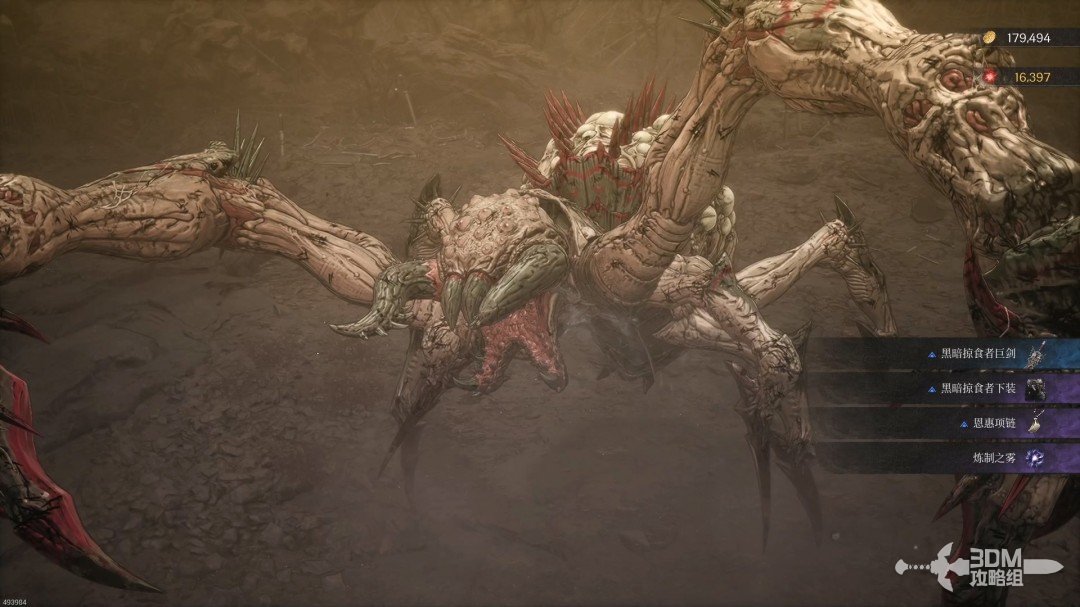
The spider attempts a final ambush, but Elamein finishes it off.
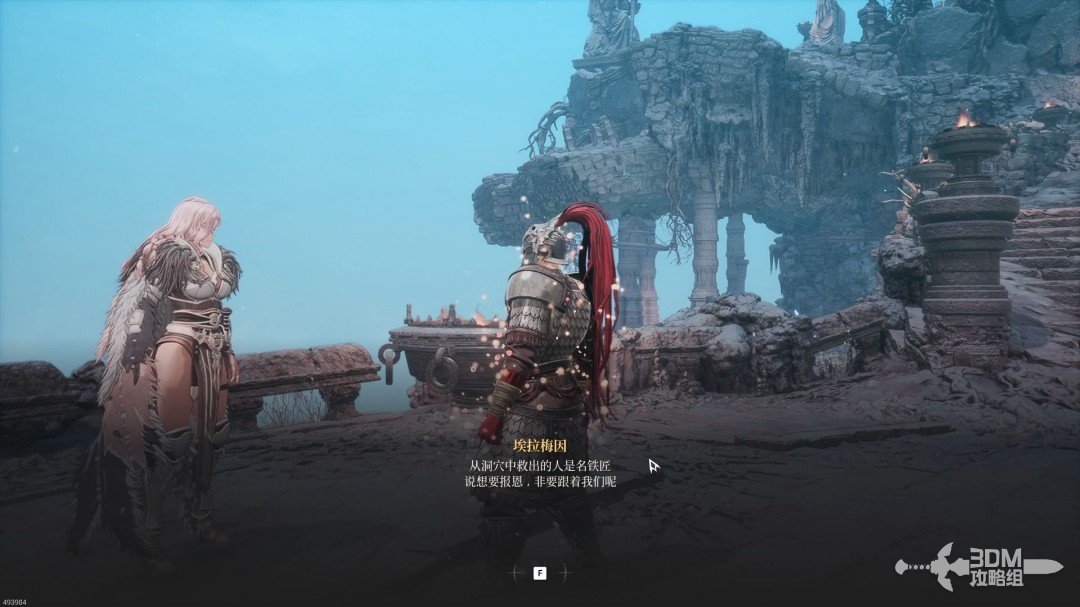
Return to the hub and speak to the rescued blacksmith Qazumaka downstairs. Another area unlocks.
20Revisit Collapsed Mine: climb the platform to the zombie room
Travel to Collapsed Mine.
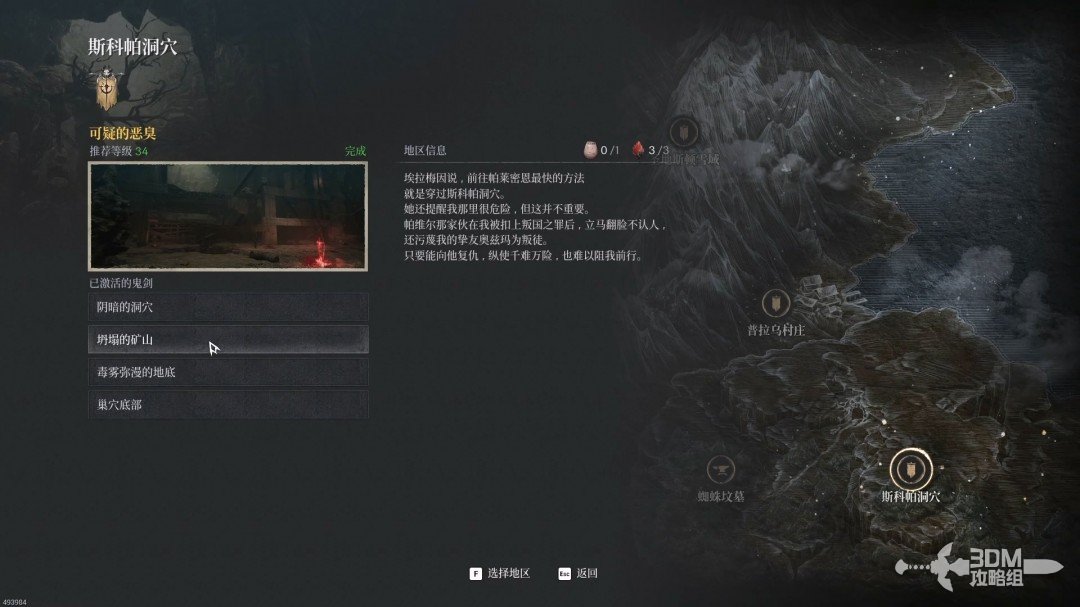
Climb onto the same platform used on your first visit.
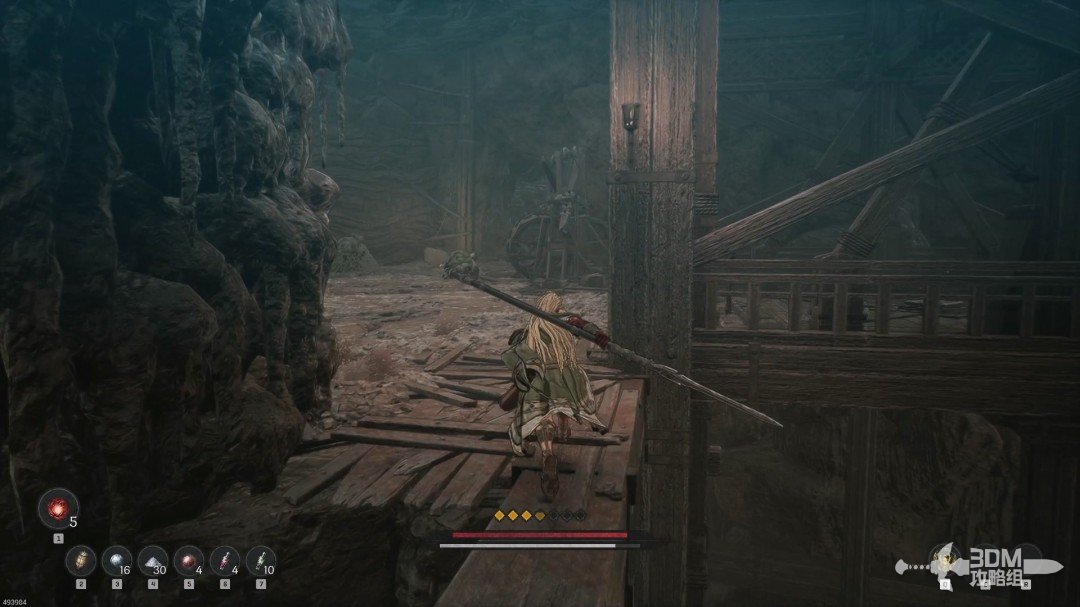
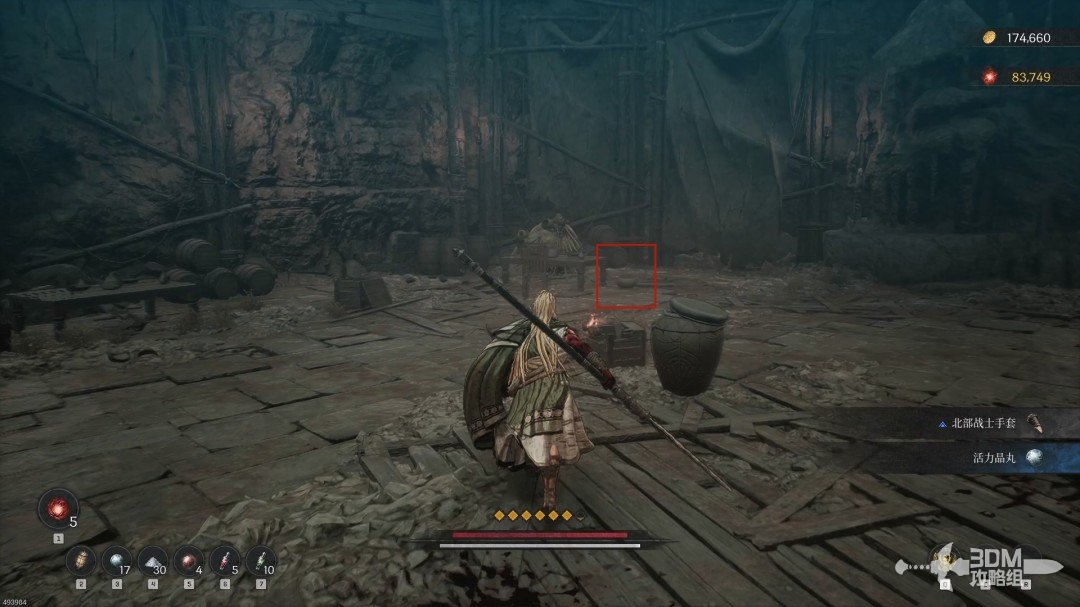
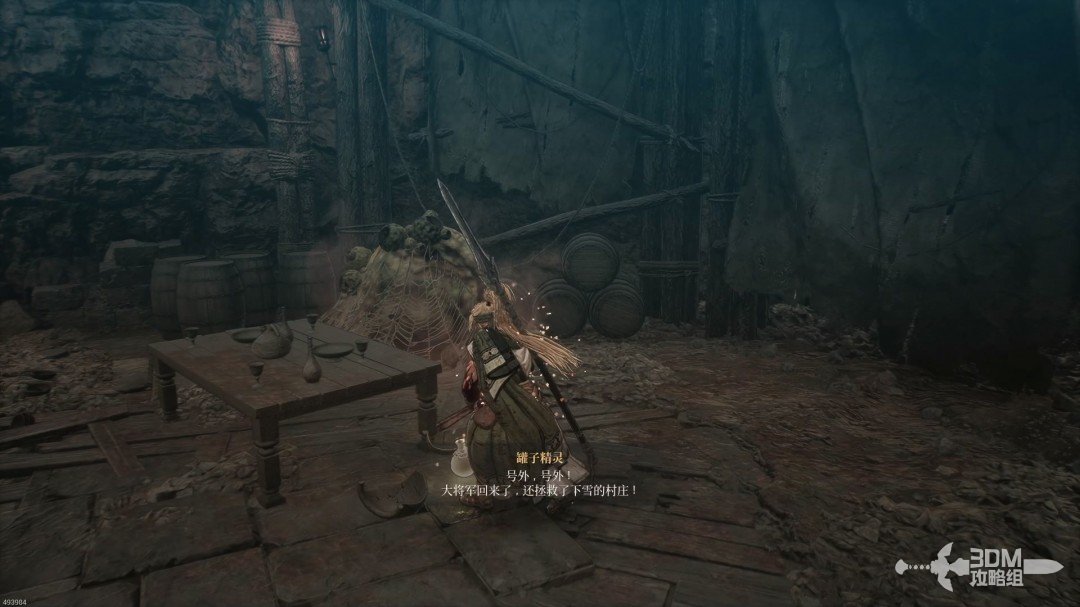
Continue to the undead-filled area. The Jarling is in the pot beside this table.
Related side missions
Jar Enthusiast →
Accept the jar quest at the hub. Finishing it enables the early chapter Jarling revisits.
The Blacksmith’s Heirloom →
Speak to the blacksmith and return to the Spider Tomb.
Tragic Night →
Accept the mission from Daphrona.
Reference: 3DM Guide Team
GAME NOTE has reorganized and rewritten the routes from this walkthrough.