Skip to content

Atlante the Precise

Guide editor: GAME NOTE

GAME NOTE CLASSIC · GUIDE LIBRARYThe First Berserker: Khazan

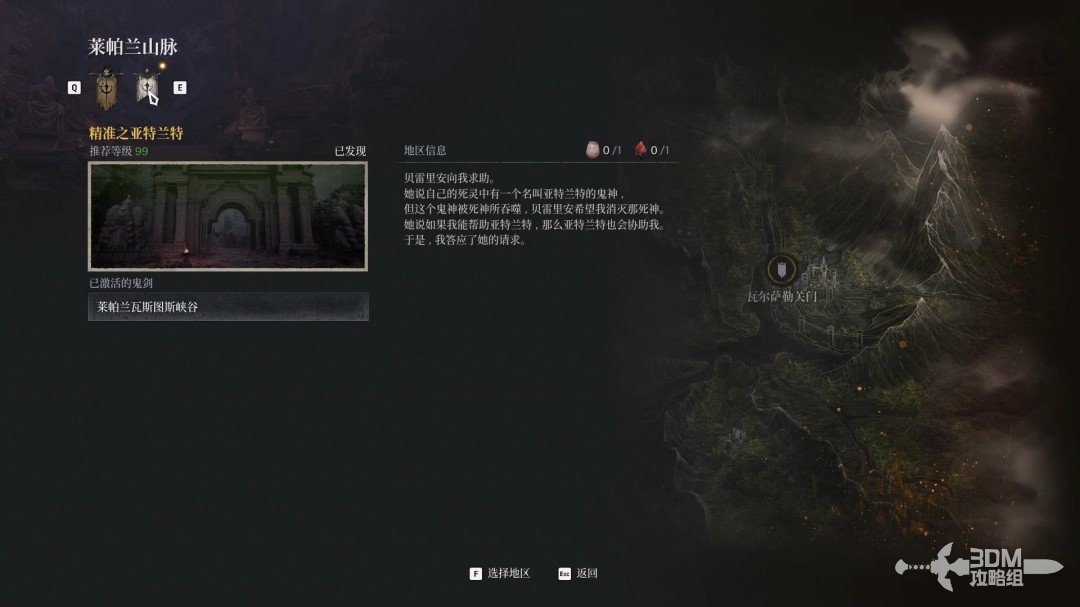
Accept the mission from Bellerian.

Pickups in this mission

Open this mission’s independent boss guide →

01Bellerian's phantom request: set out to find Atlante

Back at the hub, you discuss finding Skalpel and the subordinates sent to Vaisar Gate, now affected by chaos. Skalpel still believes Khazan innocent.

The conversation unlocks another region.
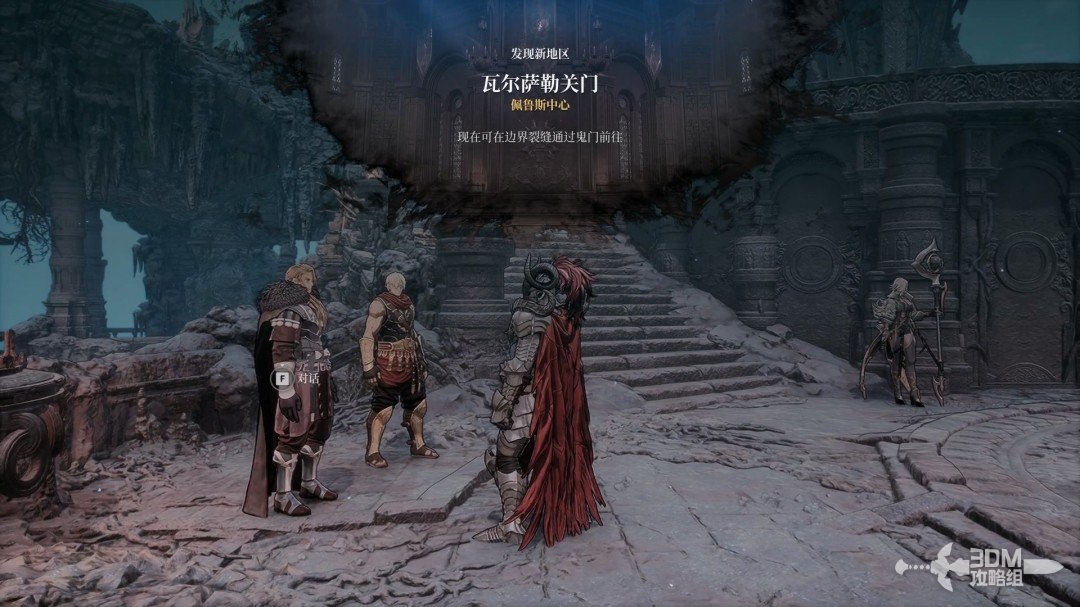
Bellerian's phantom request: set out to find Atlante · route image 1

Speak to Bellerian to accept Atlante the Precise and help her phantom.
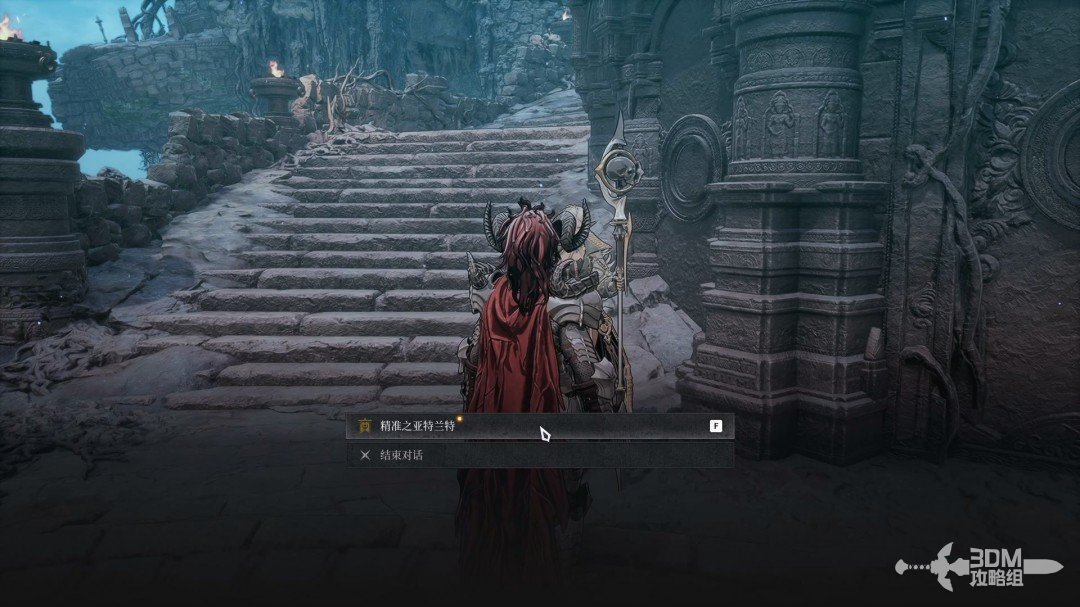
Bellerian's phantom request: set out to find Atlante · route image 2

Select the mission and travel.

Bellerian's phantom request: set out to find Atlante · route image 3

Rest and speak to Bellerian on arrival.
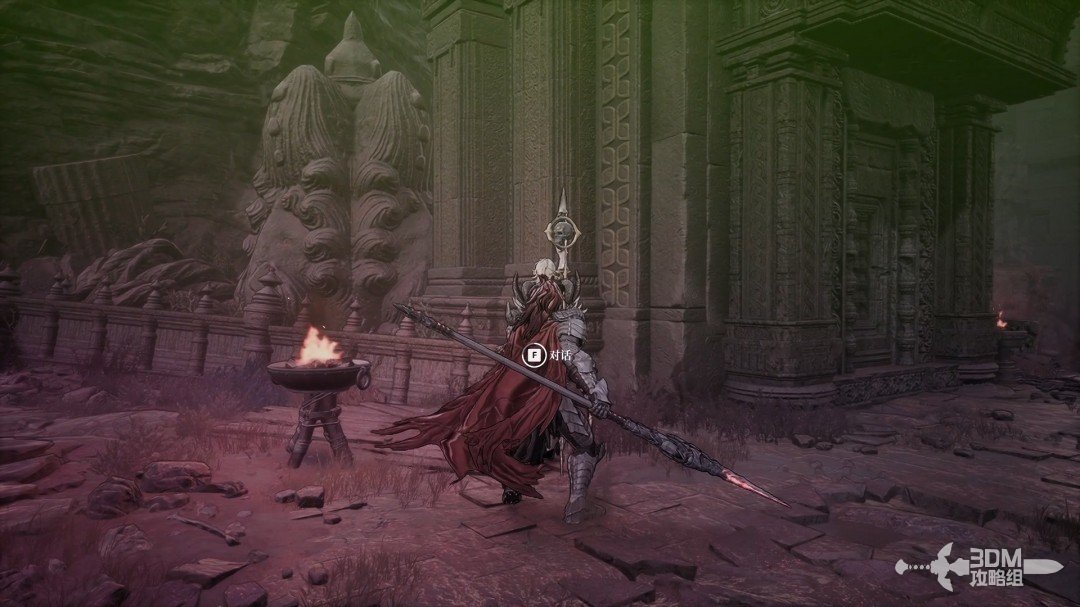
Bellerian's phantom request: set out to find Atlante · route image 4

02Explosive jars and elite: search the stair chest and Netherworld Energy ahead

Watch for explosive jars inside. Absorb the memory on the right.
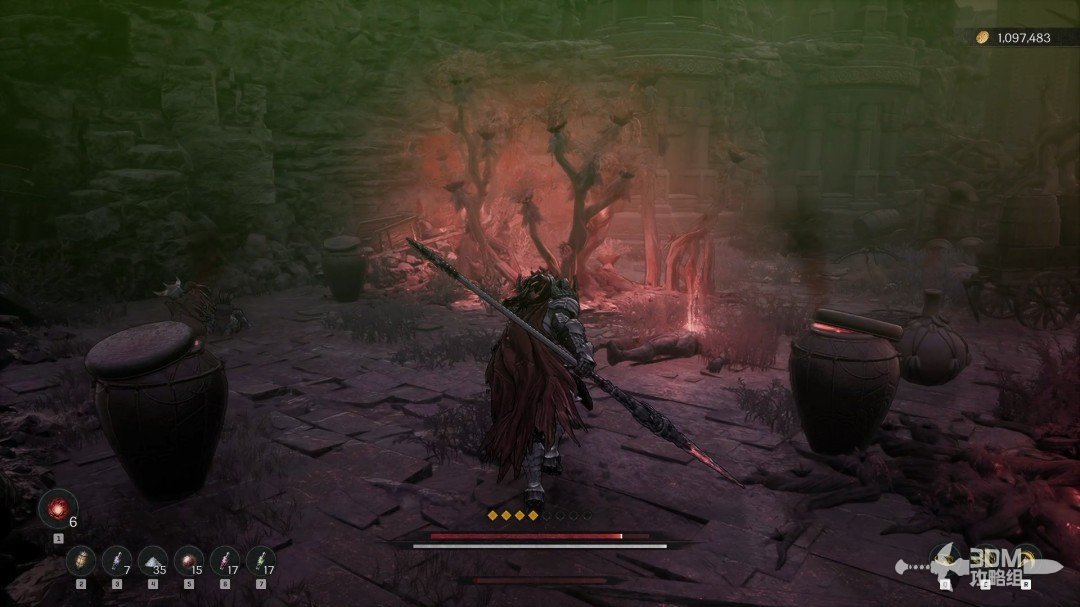
Explosive jars and elite: search the stair chest and Netherworld Energy ahead · route image 5

Defeat the elite ahead; it can drop an Executioner Scroll.
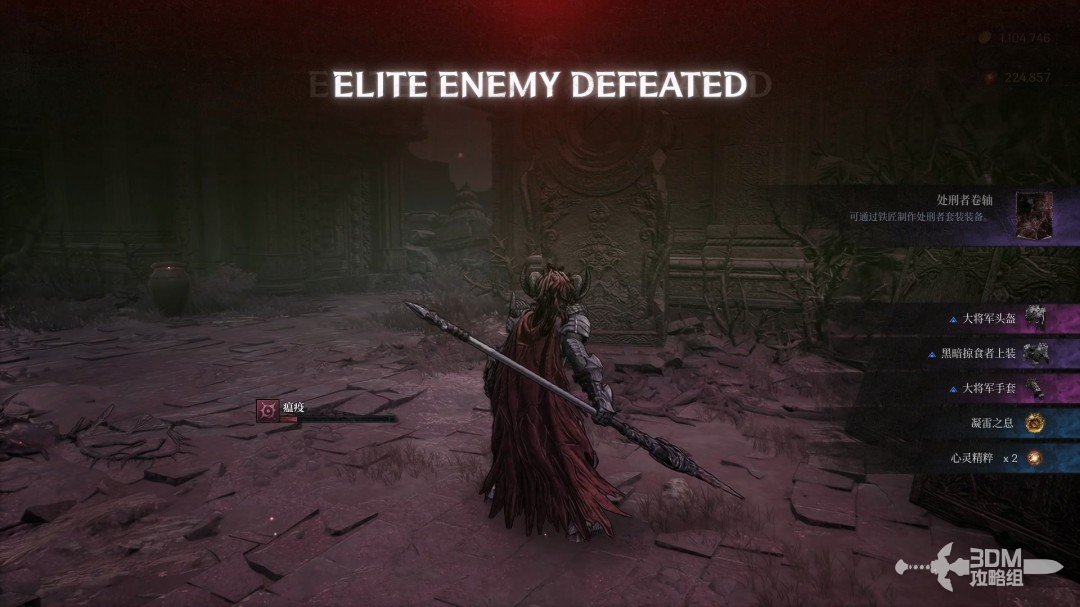
Explosive jars and elite: search the stair chest and Netherworld Energy ahead · route image 6

First climb the right stairs for a chest, watching for skeletons behind it.
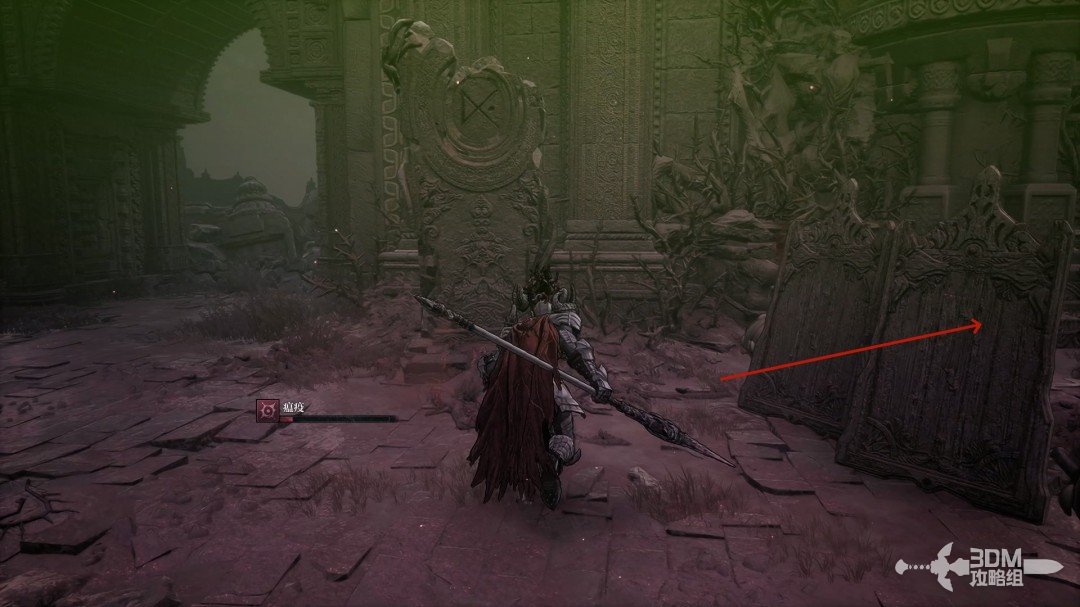
Explosive jars and elite: search the stair chest and Netherworld Energy ahead · route image 7

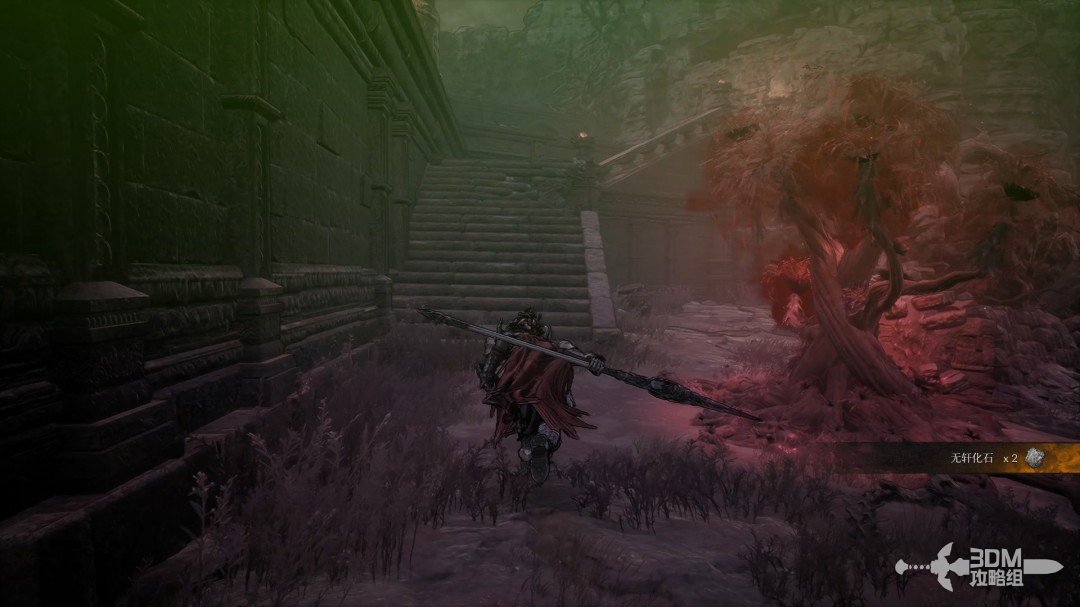
Descend and collect the Netherworld Energy upgrade straight ahead.
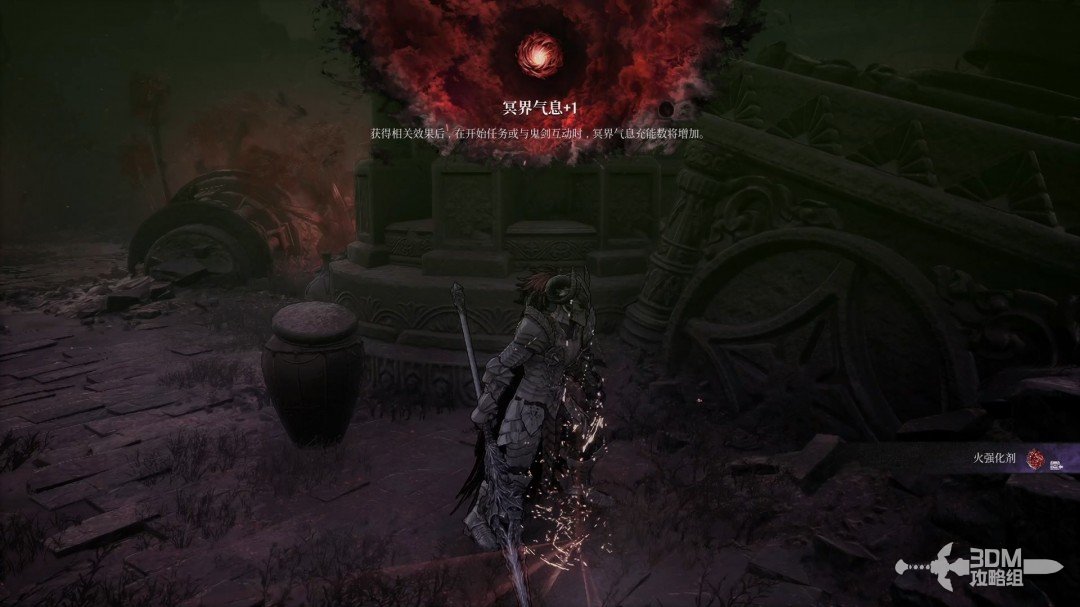
Explosive jars and elite: search the stair chest and Netherworld Energy ahead · route image 8

04Left narrow path and branch behind the rock: scroll and corner Soulstone

Enter the left-hand path afterward.
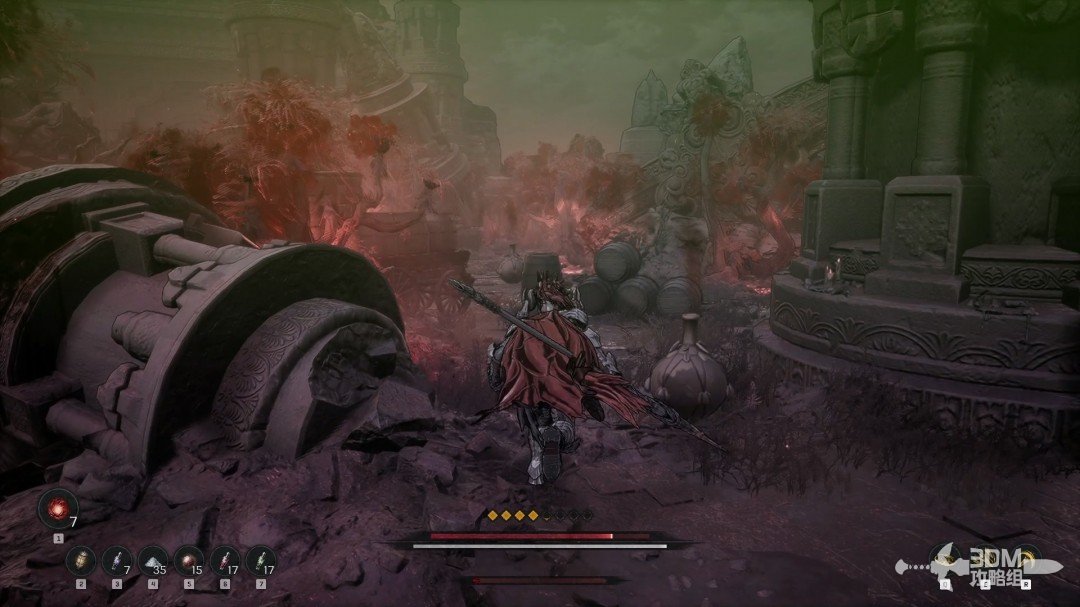
Left narrow path and branch behind the rock: scroll and corner Soulstone · route image 1

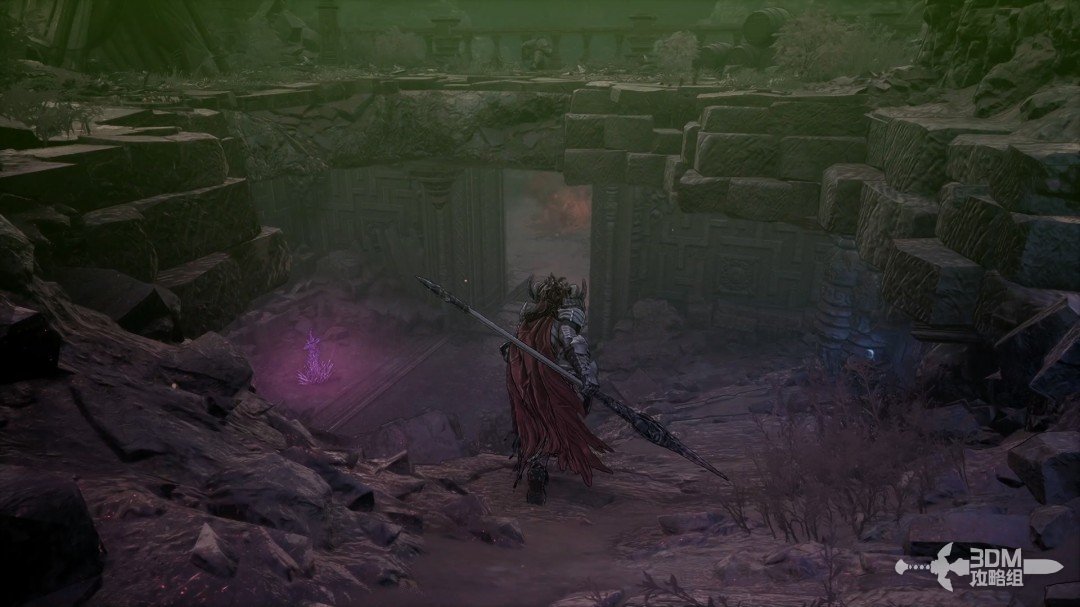
Collect the purple item on the left, watching for a skeleton ambush ahead.
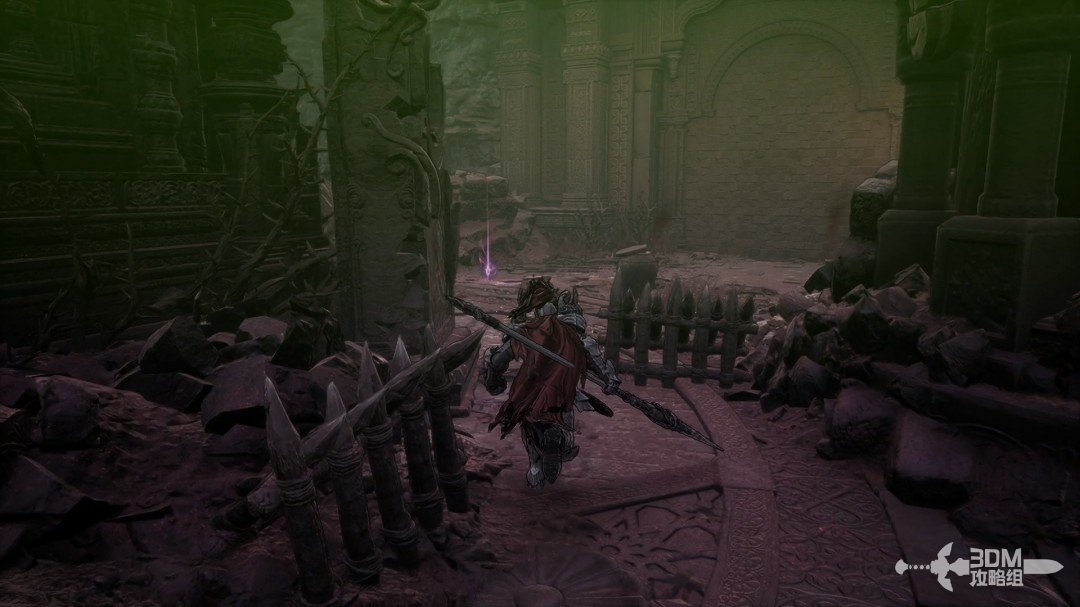
Left narrow path and branch behind the rock: scroll and corner Soulstone · route image 2

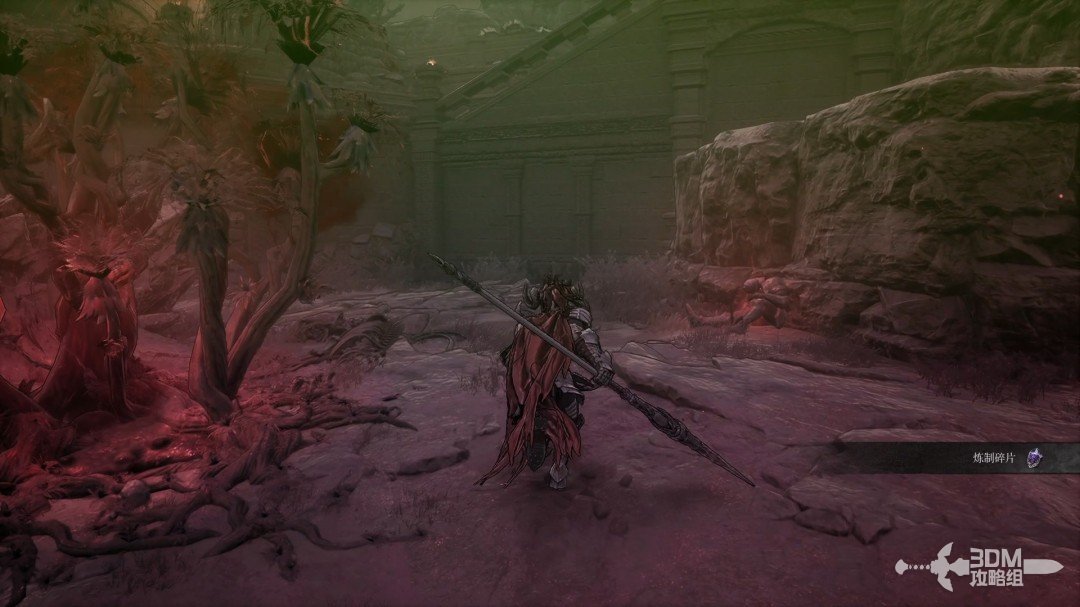
Go right for a red item behind this rock.
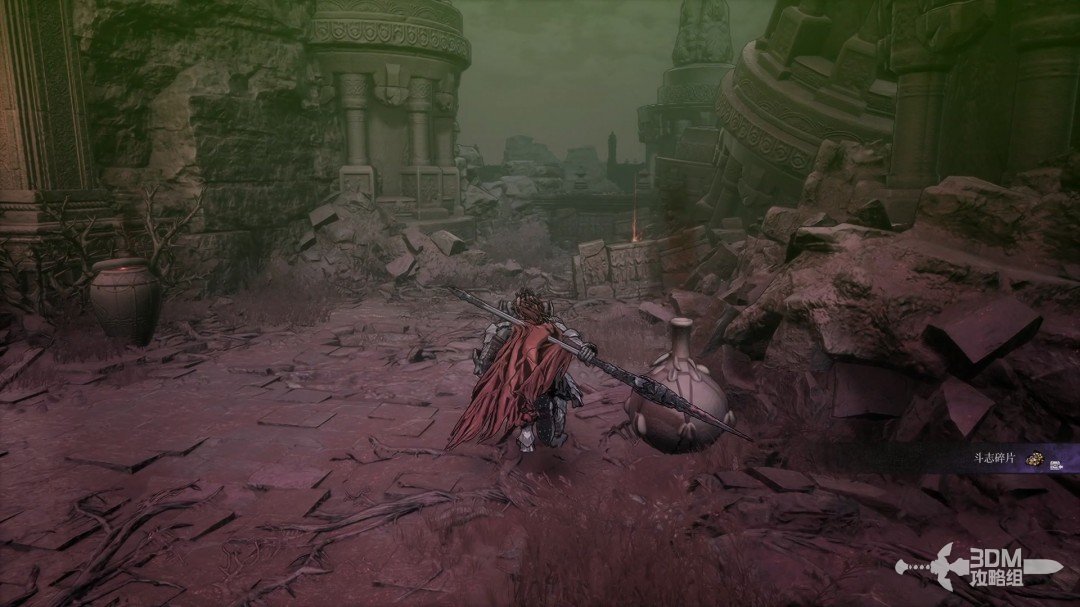
Left narrow path and branch behind the rock: scroll and corner Soulstone · route image 3

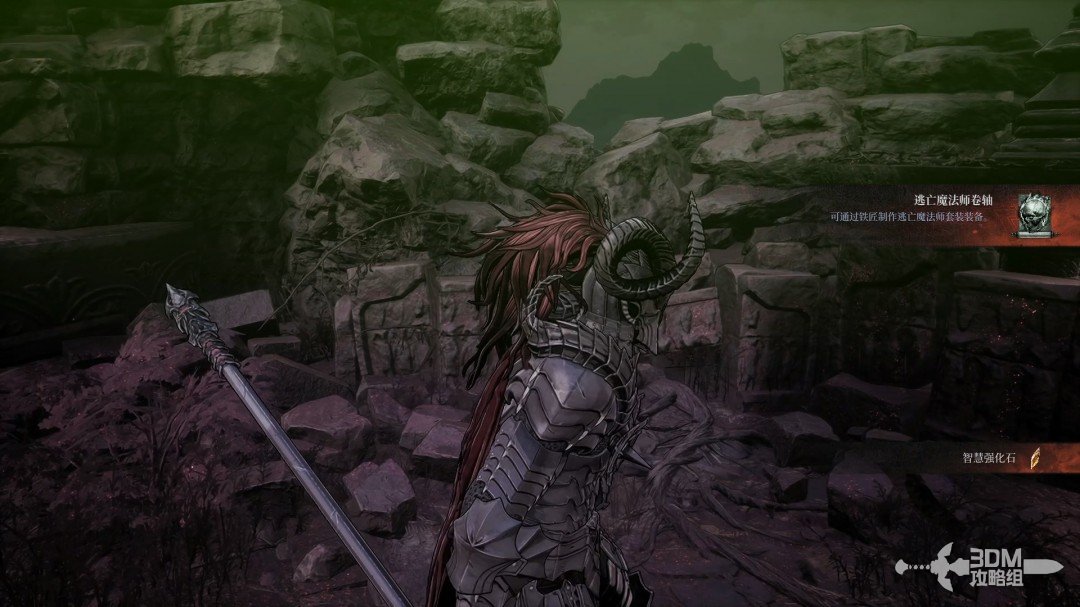
Collect the Fugitive Mage Scroll.

Left narrow path and branch behind the rock: scroll and corner Soulstone · route image 4

Go left for the Soulstone in the corner.
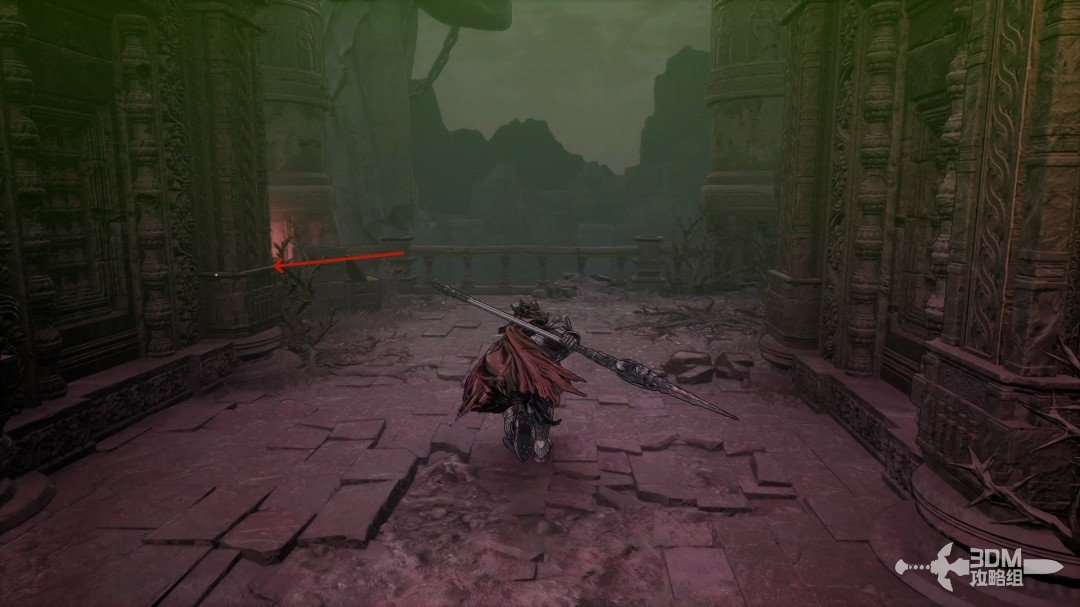
Left narrow path and branch behind the rock: scroll and corner Soulstone · route image 5

07Slope with the shield guard: reach the Nexus and search left for the research diary

Turn back and take the pictured route.
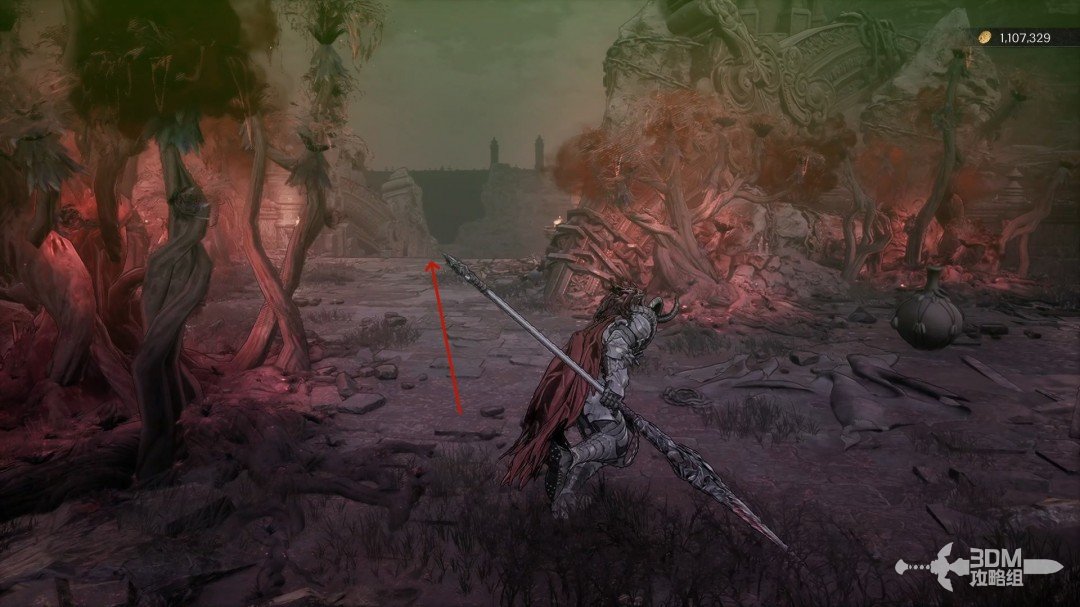
Slope with the shield guard: reach the Nexus and search left for the research diary · route image 1

Defeat the shield soldier and archer below, then absorb the memory.
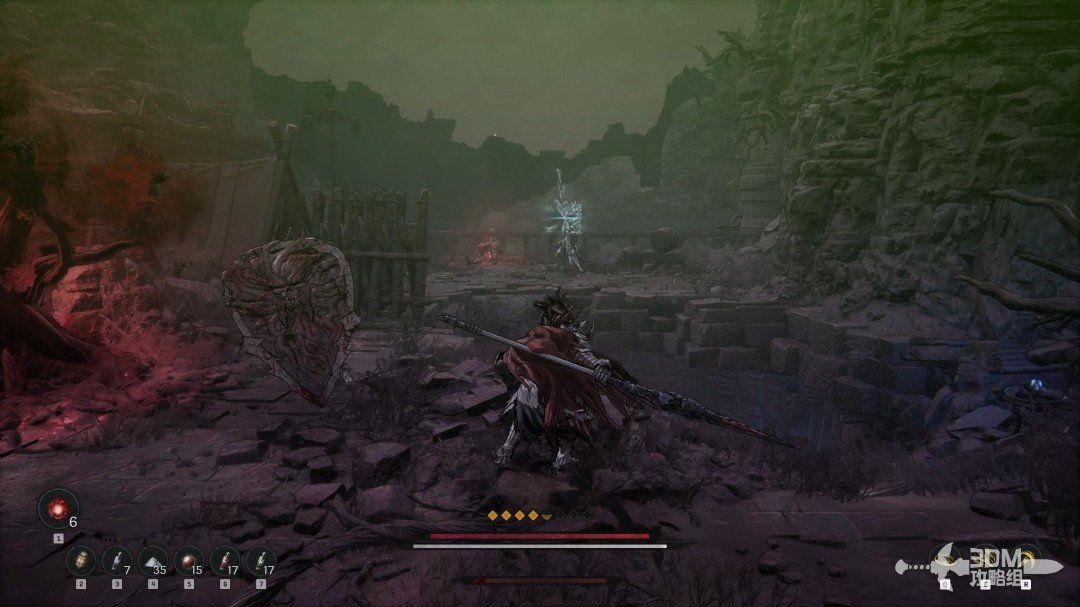
Slope with the shield guard: reach the Nexus and search left for the research diary · route image 2

Descend to the Blade Nexus.

Slope with the shield guard: reach the Nexus and search left for the research diary · route image 3

Collect Necromancy Research Diary I to the Nexus's left.
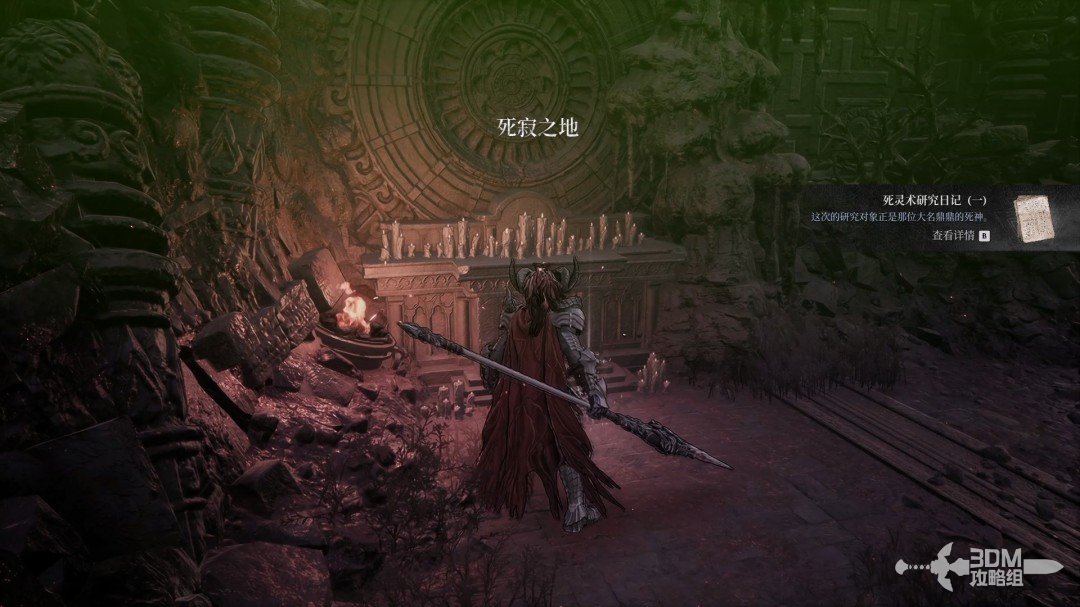
Slope with the shield guard: reach the Nexus and search left for the research diary · route image 4

09Skeleton path beyond the Nexus: search the jar on the left first

After resting, defeat the skeleton ahead and break the left pot for a Jarling.
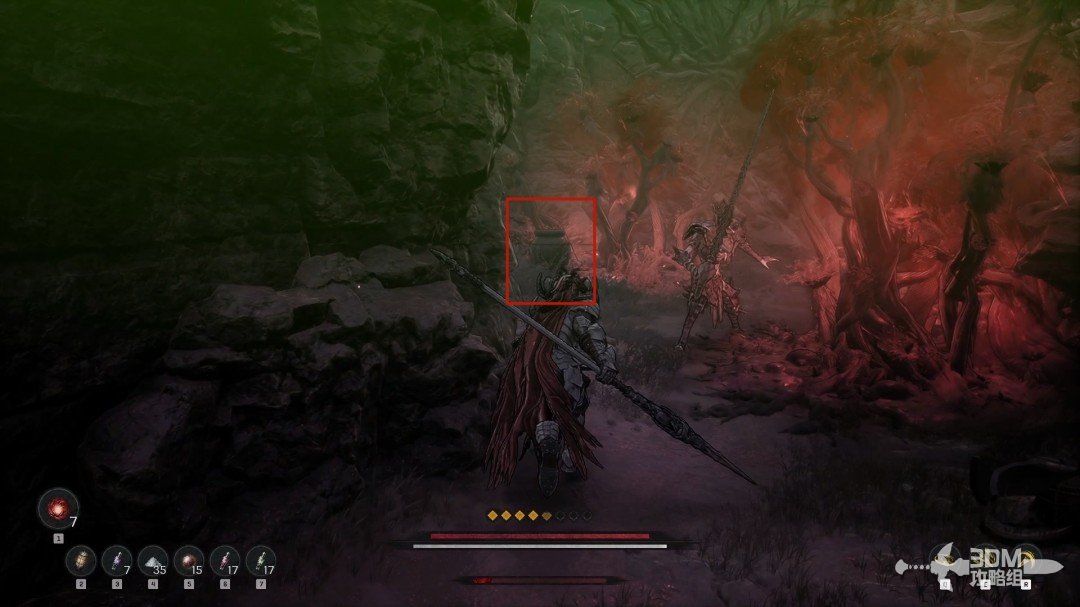
Skeleton path beyond the Nexus: search the jar on the left first · route image 1

Collect the purple item on the left ahead.
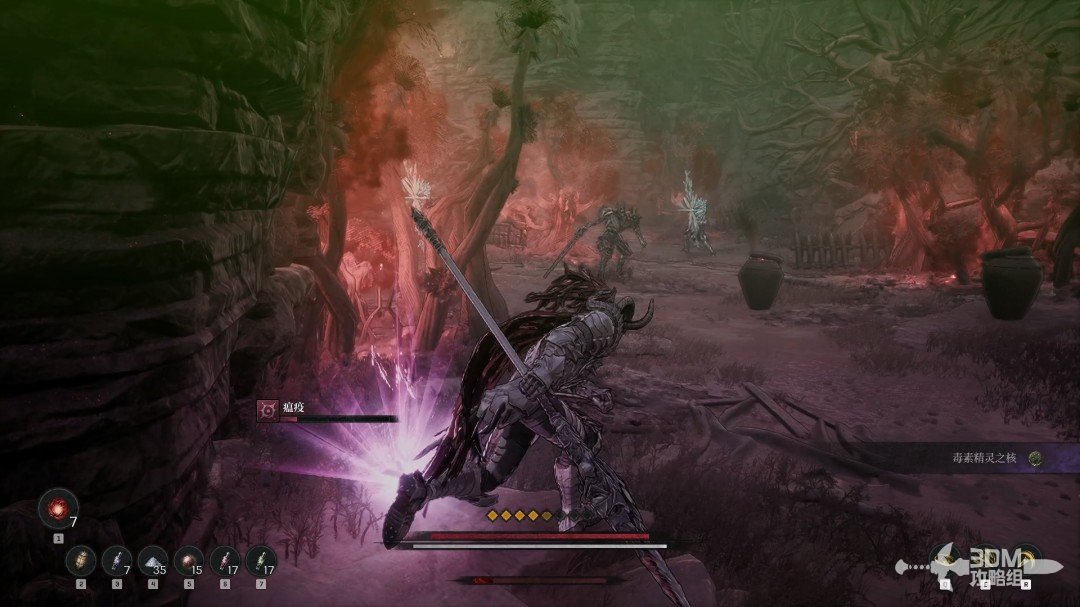
Skeleton path beyond the Nexus: search the jar on the left first · route image 1

11Ranged skeleton fork: circle for supplies and climb the rear stairs

Three skeletons guard the next junction, including two ranged attackers.
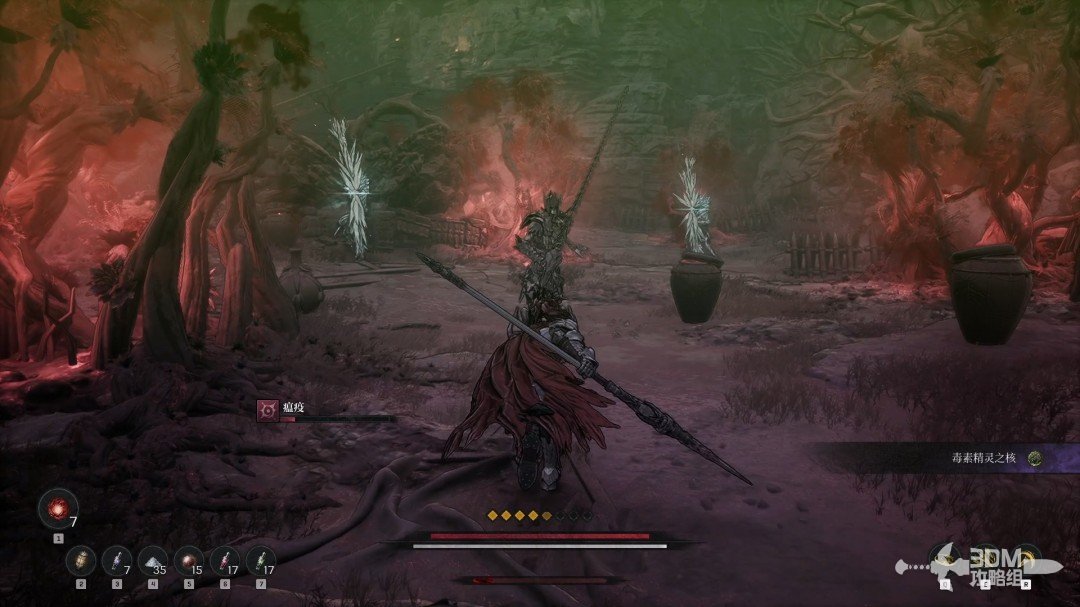
Ranged skeleton fork: circle for supplies and climb the rear stairs · route image 2

Explore right for a memory.

Ranged skeleton fork: circle for supplies and climb the rear stairs · route image 3

Go left afterward; the paths connect. A golden material lies in this corner.
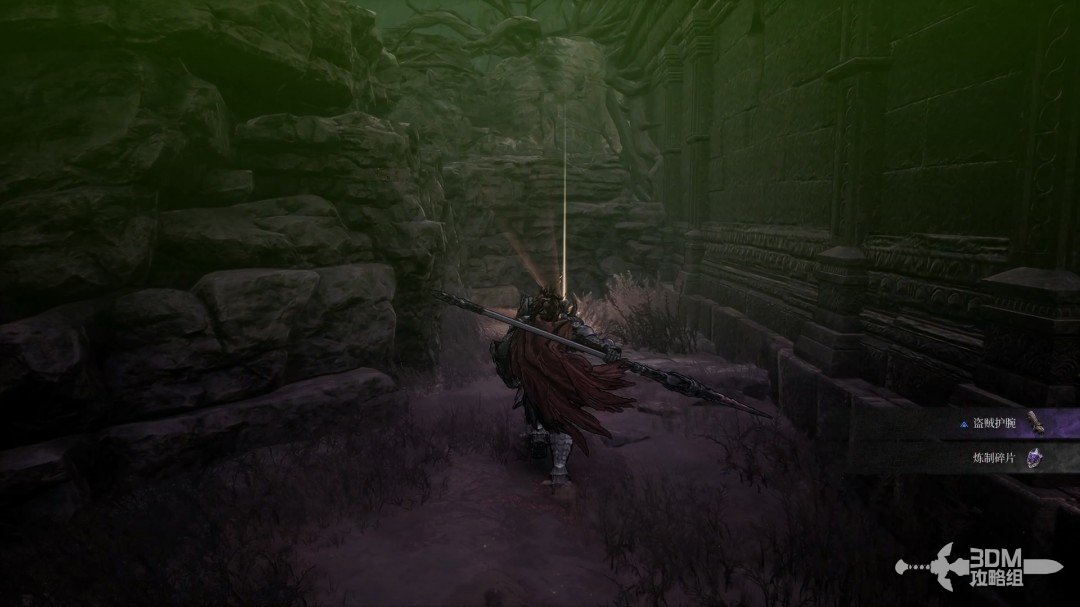
Ranged skeleton fork: circle for supplies and climb the rear stairs · route image 4

Climb the stairs behind you.

Ranged skeleton fork: circle for supplies and climb the rear stairs · route image 5

Collect Necromancy Research Diary II in the left corner above.
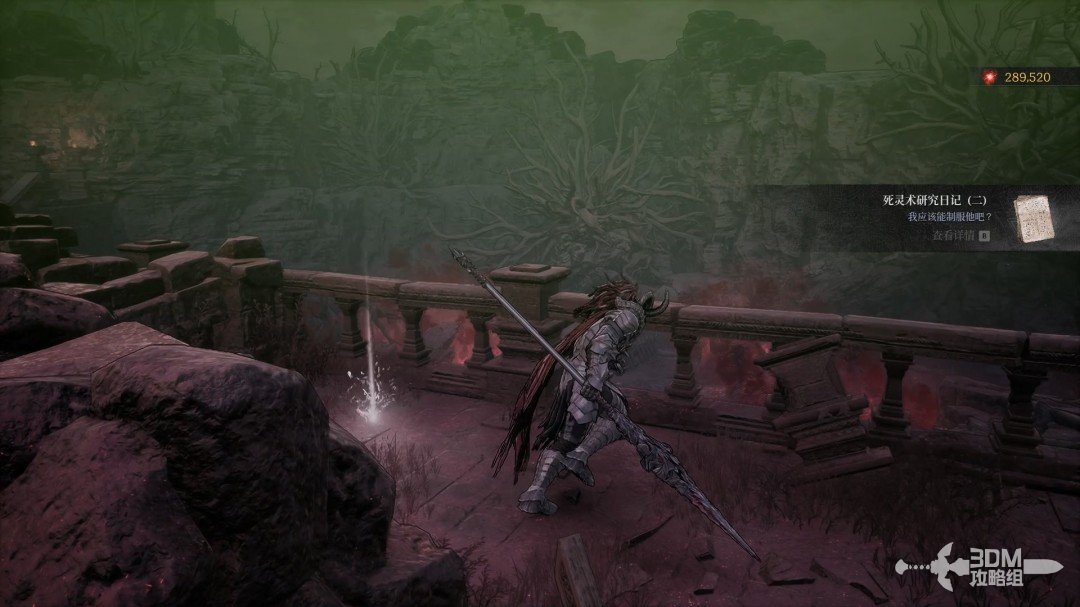
Ranged skeleton fork: circle for supplies and climb the rear stairs · route image 6

13Stair chest and side-path Nexus: enter the reaper's portal

Climb these stairs for a chest on the left.
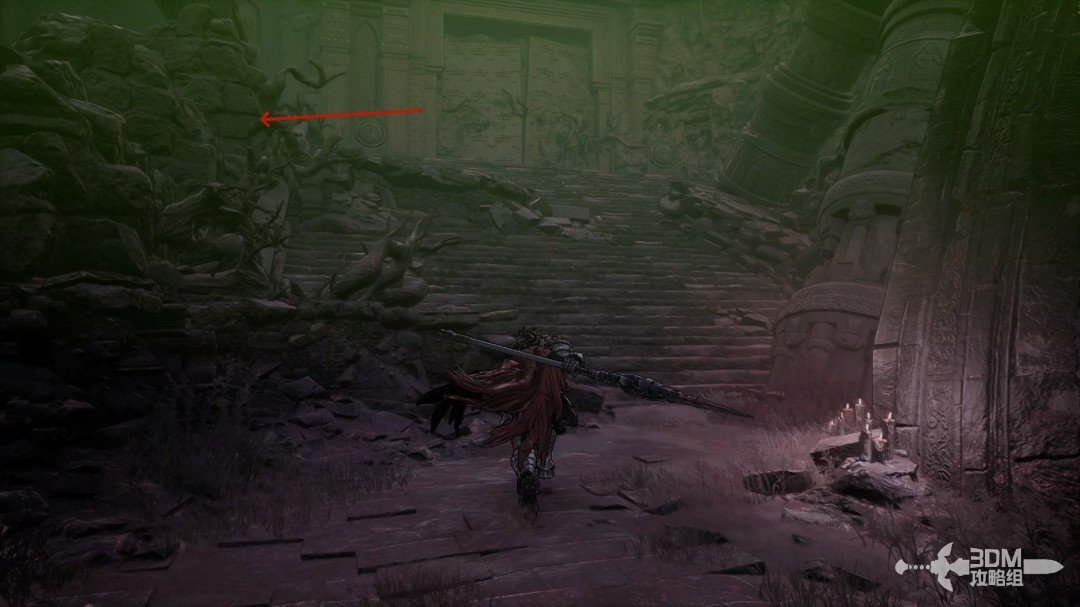
Stair chest and side-path Nexus: enter the reaper's portal · route image 1

Descend afterward to the small passage containing a Nexus and portal.
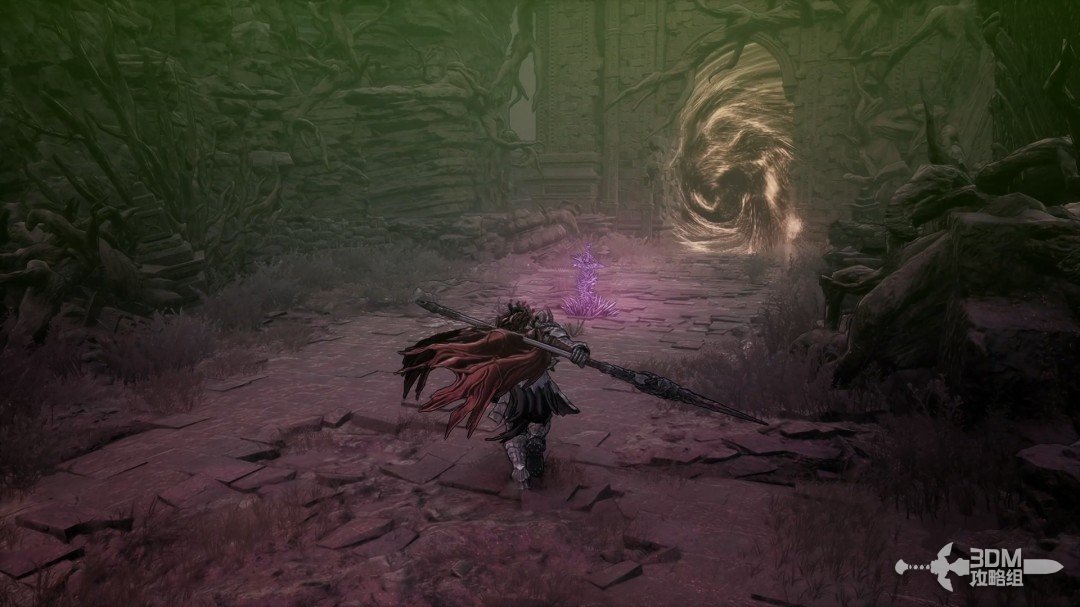
Stair chest and side-path Nexus: enter the reaper's portal · route image 2

The portal leads to a reaper boss resembling Bellerian's summon. Its move set is familiar.
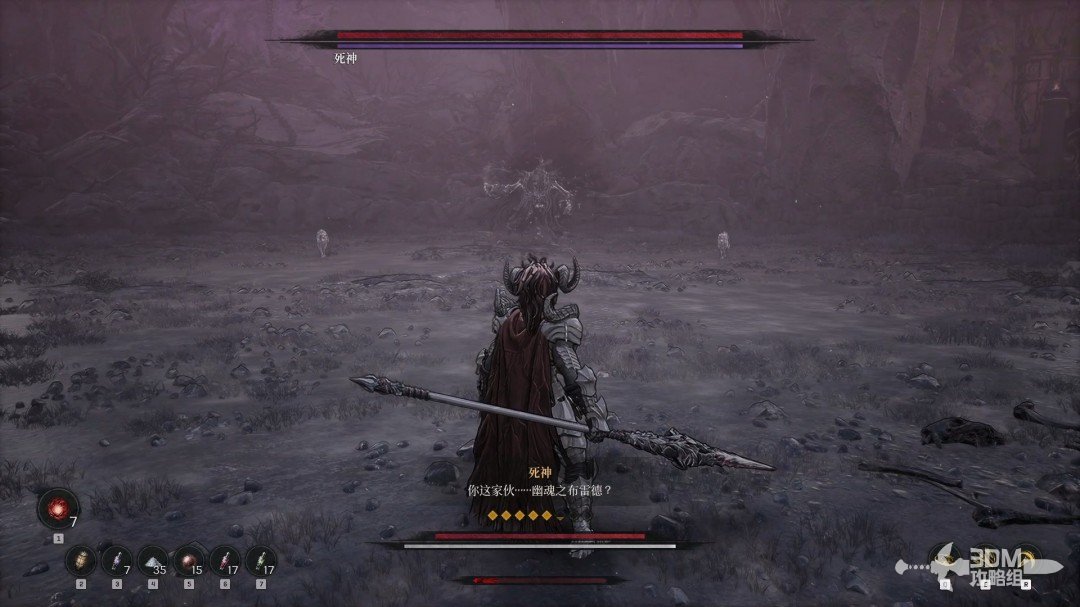
Stair chest and side-path Nexus: enter the reaper's portal · route image 3

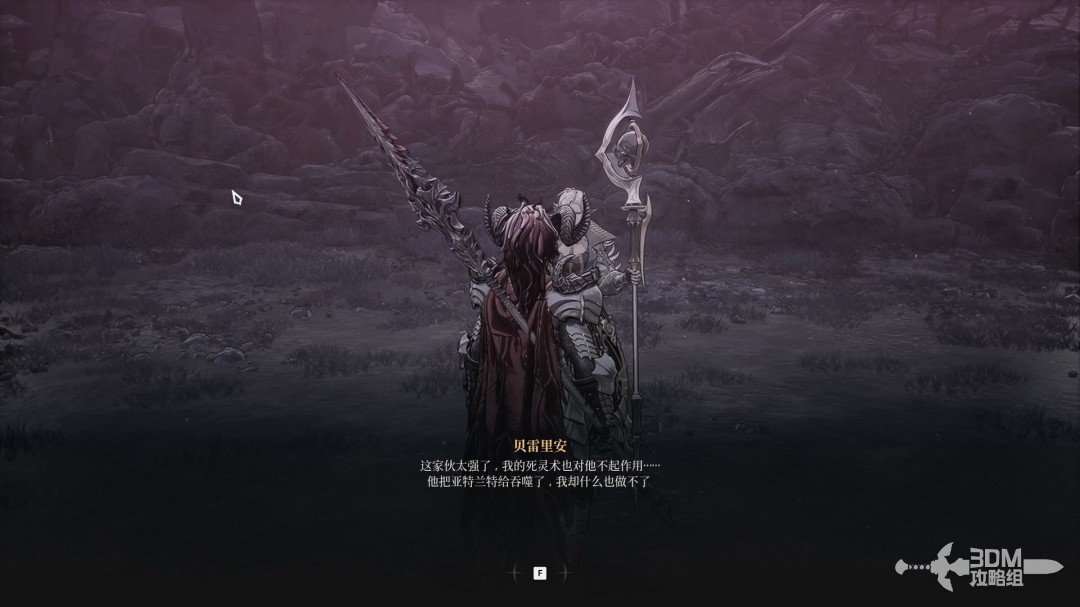
Victory releases the phantom it absorbed, which joins you.
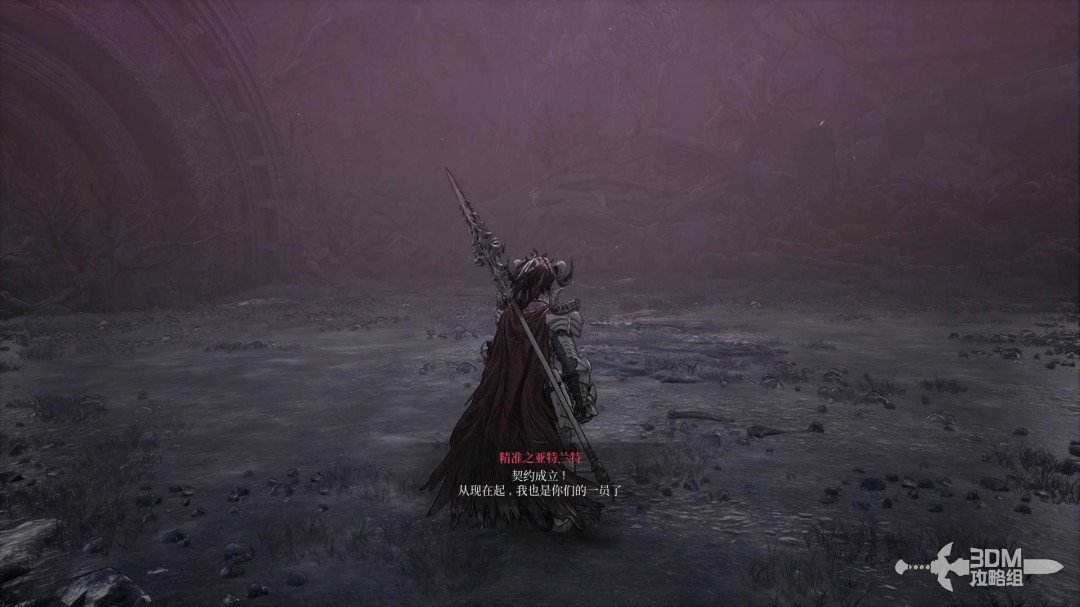
Stair chest and side-path Nexus: enter the reaper's portal · route image 4

Speak to Bellerian to return.

Stair chest and side-path Nexus: enter the reaper's portal · route image 5

Continue

Back to mission index →

Reference: 3DM Guide Team

GAME NOTE has reorganized and rewritten the routes from this walkthrough.