Locations are grouped by mission. Search or filter, then open the illustrated route.
Import adds completed items and preserves existing progress.
Progress is saved in this browser, shared between languages. Clearing browser data removes it; devices do not sync.
Main mission · 05 · Strange Stench
| Item | Location | Walkthrough |
|---|---|---|
| Pass the giant bat and sandworm memory, follow the path to its end, and javelin the first Soulstone in the distance. Defeat the giant bat without using healing consumables. | 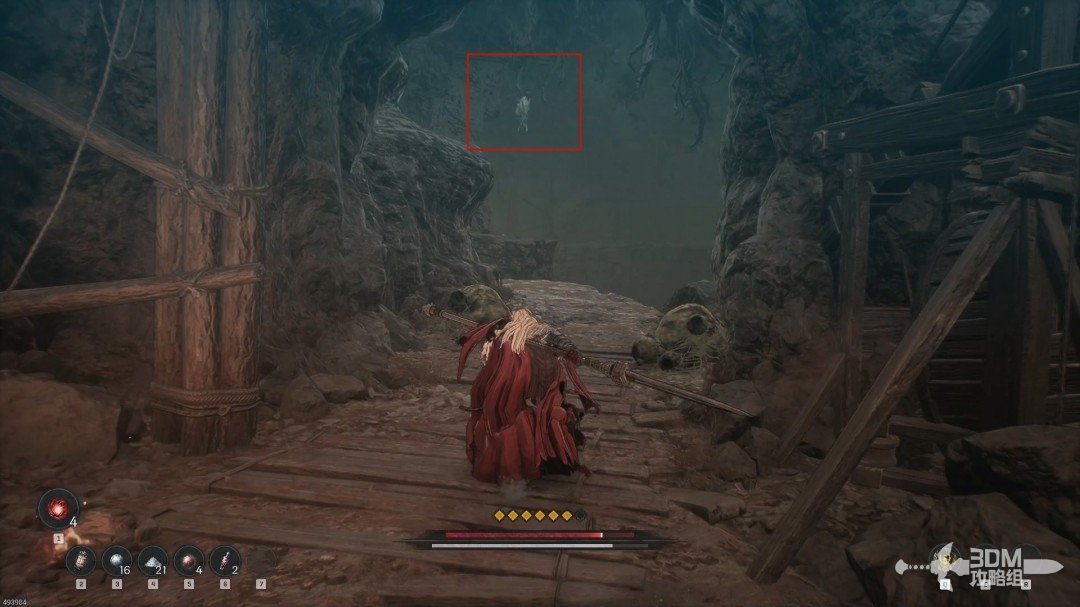 View route → |
Main mission · 06 · Traitor Revealed
| Item | Location | Walkthrough |
|---|---|---|
| Break the wall at the study corner for the bard scroll and the Jarling in the hidden room's corner. | 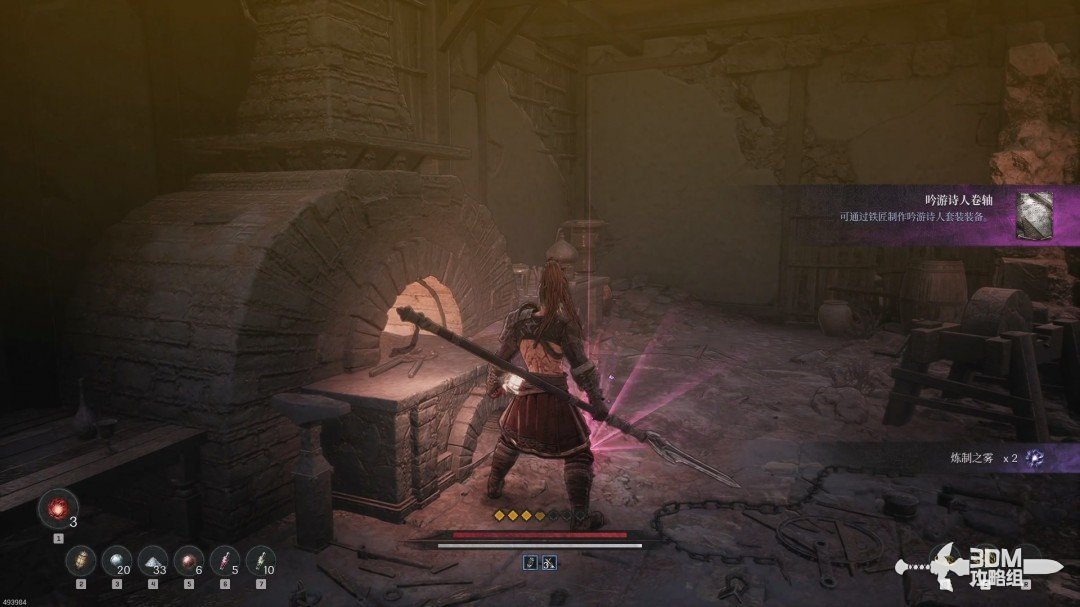 View route → |
Main mission · 07 · Veiled Knives
| Item | Location | Walkthrough |
|---|---|---|
| Speak to Tristan, enter the quarry, and lower the shortcut ladder. Clear the spawning spider for the first Soulstone and the scroll below. | View route → | |
| Cross the spider nest and collect the poison summon scroll. Circle the locked gate and descend to the room with the second Soulstone. | 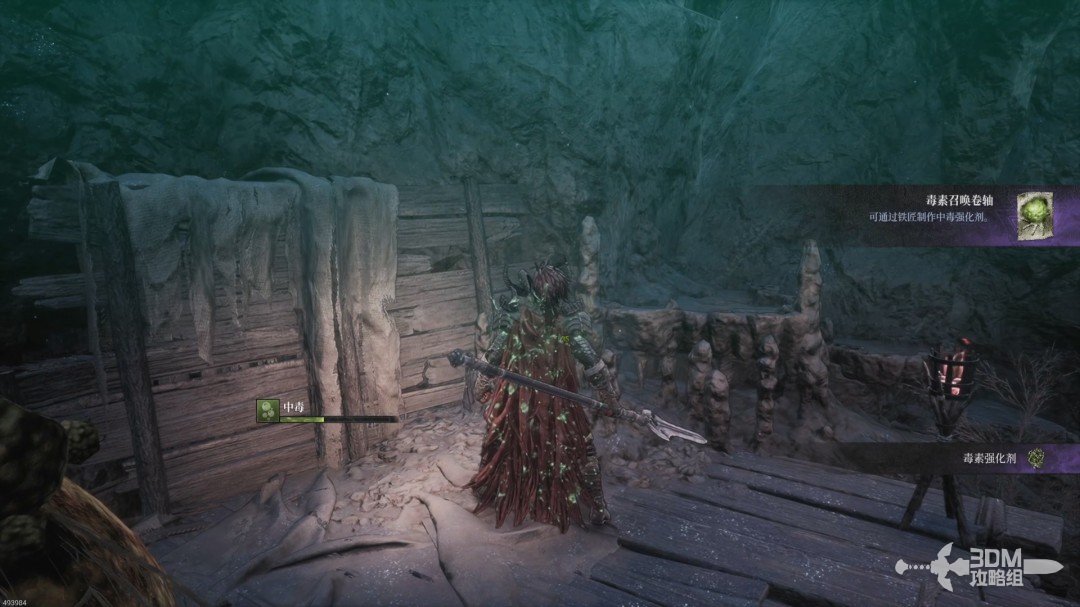 View route → |
Main mission · 08 · Devoured Village
| Item | Location | Walkthrough |
|---|---|---|
| Climb the ladder and jump across the roofs. Inspect the hole on the right for the scroll on the beam. | 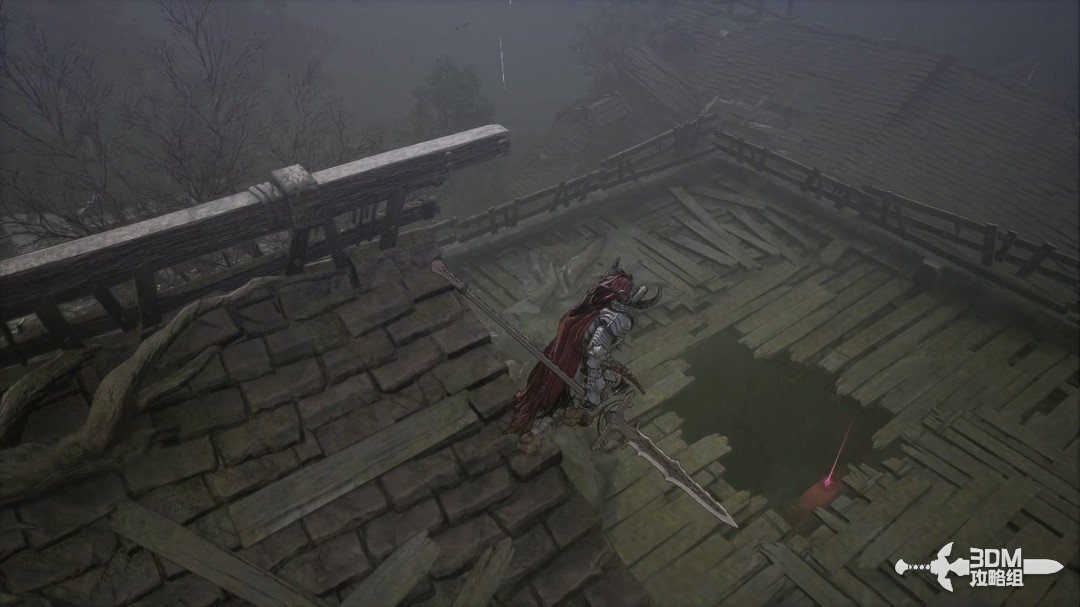 View route → | |
| Search the hidden door for the lightning cleansing scroll, then use the main switch to teleport to Tanya's second experiment record. | 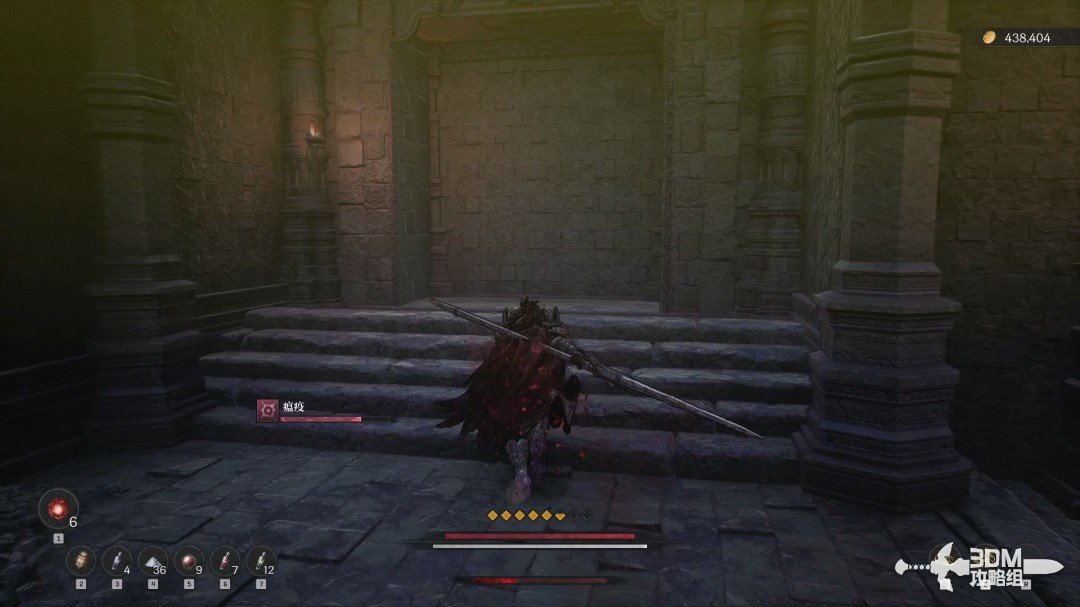 View route → |
Main mission · 09 · Inconceivable Truth
| Item | Location | Walkthrough |
|---|---|---|
| Open the left gate for the imperial sentry's record. Descend along the main route and search behind the left iron gate for the fugitive scroll. | 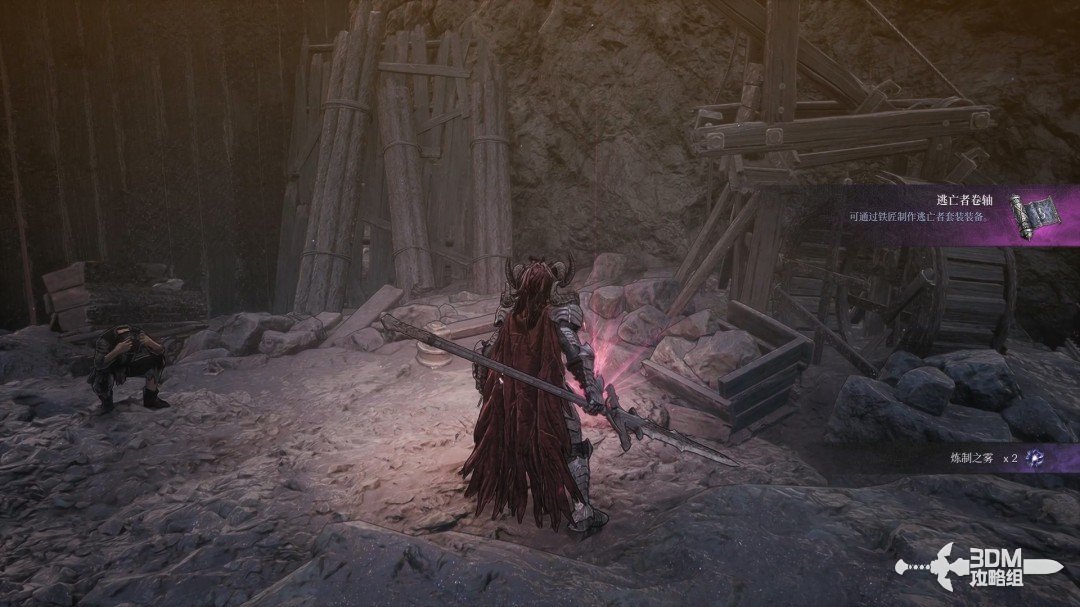 View route → |
Main mission · 10 · Witch’s Castle
| Item | Location | Walkthrough |
|---|---|---|
| Break the boards right of the small doorway for the bishop scroll, then lower the ladder shortcut. | 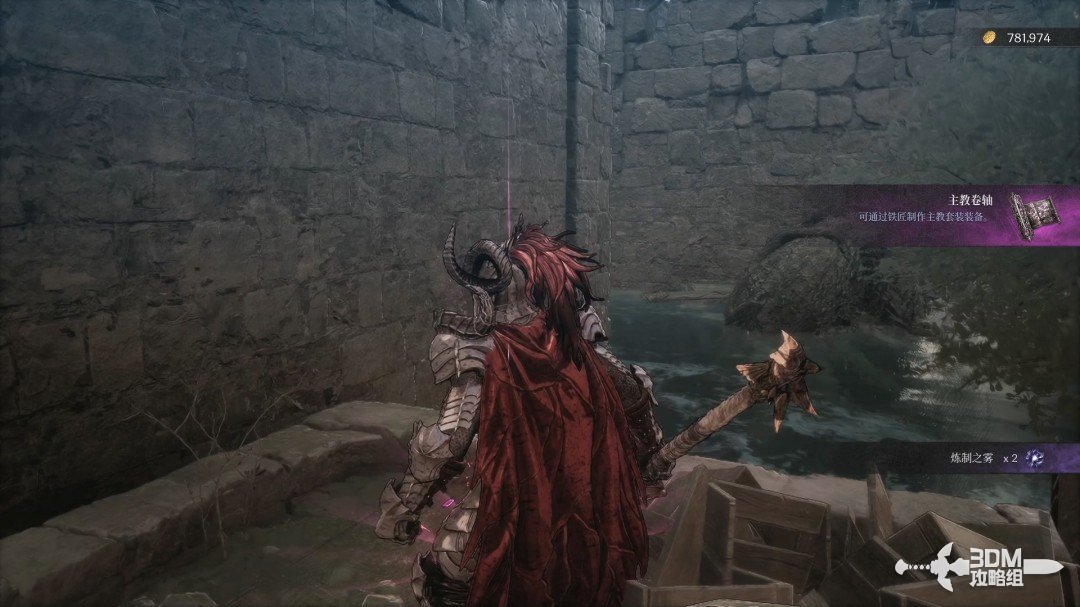 View route → | |
| Collect the water cleansing scroll behind the house, then follow the lower path to the third Soulstone behind the left gate. | 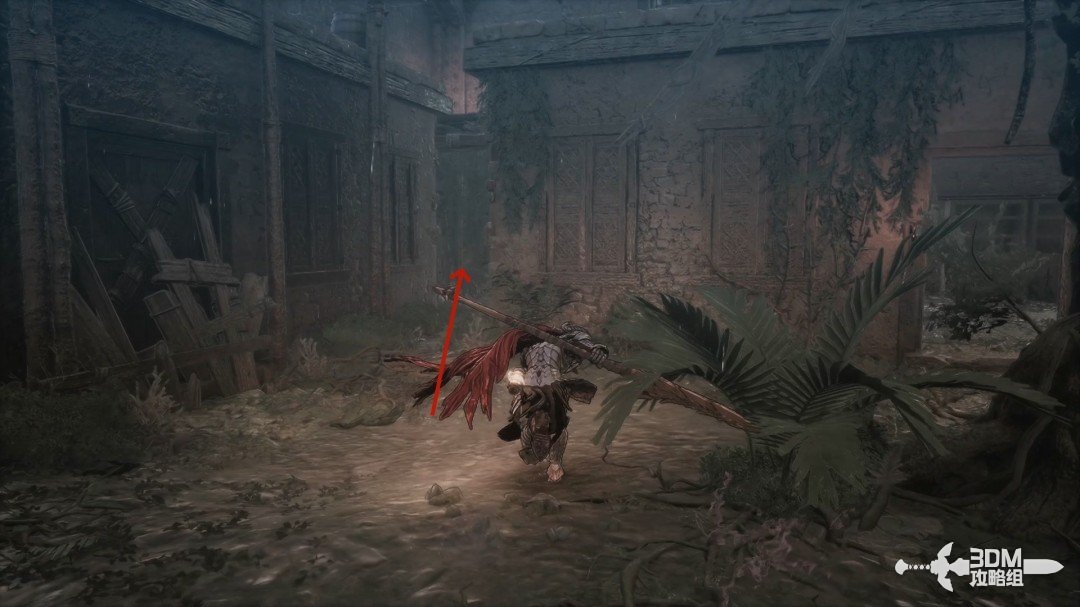 View route → |
Main mission · 11 · Hermit Mountains
| Item | Location | Walkthrough |
|---|---|---|
| After the portal, take the right branch. Clear the skeletons for the scarlet fiend scroll, then find the first Soulstone high above the right stairs. | 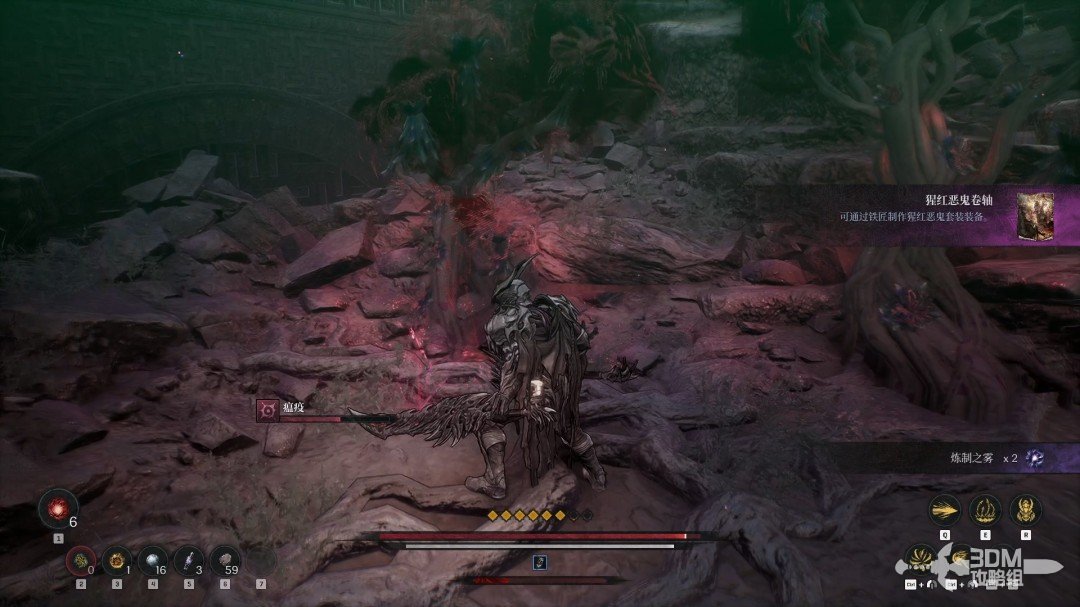 View route → | |
| Return from the minor boss, take the left slope for the illusion cleansing scroll, then the right fork for the third Soulstone behind the bat. | 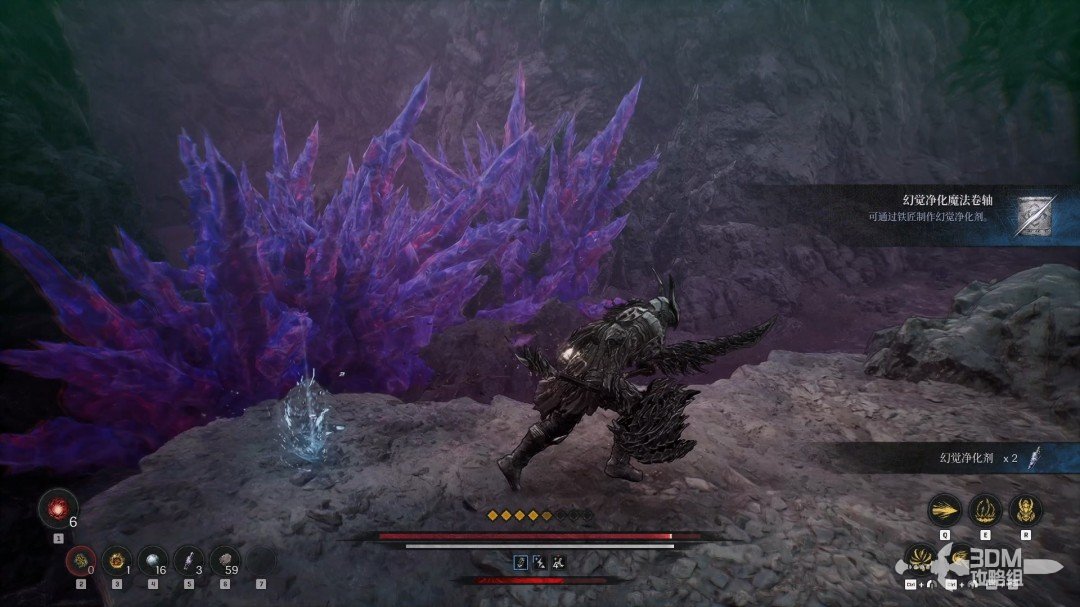 View route → |
Main mission · 12 · Corruptors’ Fortress
| Item | Location | Walkthrough |
|---|---|---|
| Take the right stairs for the general scroll, then the left stair route beyond the doorway for the fourth Soulstone behind the soldiers. | 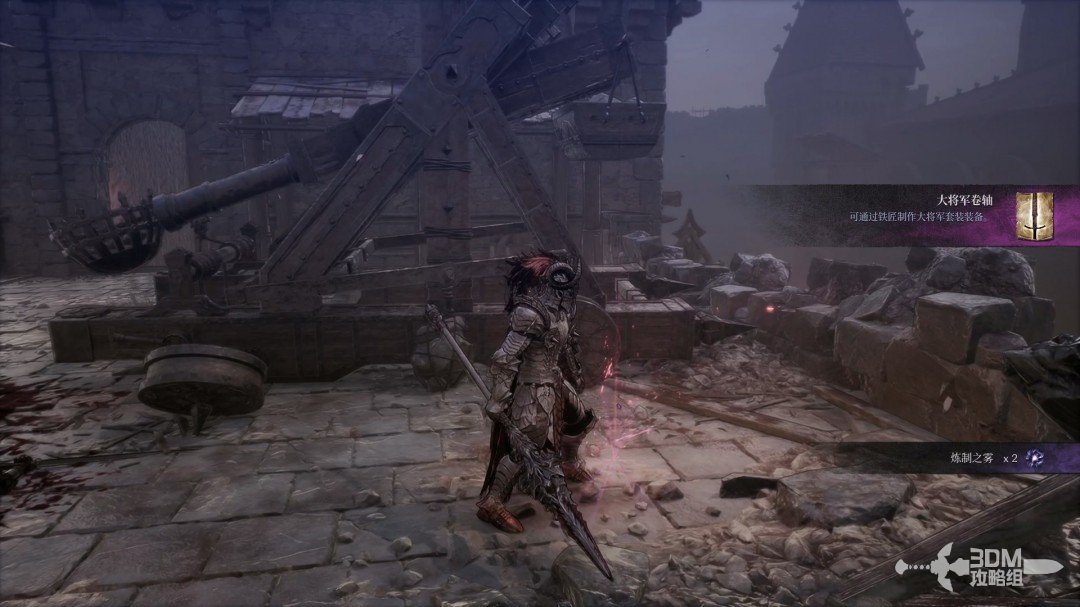 View route → |
Main mission · 13 · Strange Melody
| Item | Location | Walkthrough |
|---|---|---|
| Take the left door upstairs. Collect the gilded scroll from the room's edge before dropping through the collapsing floor for the first Soulstone. | 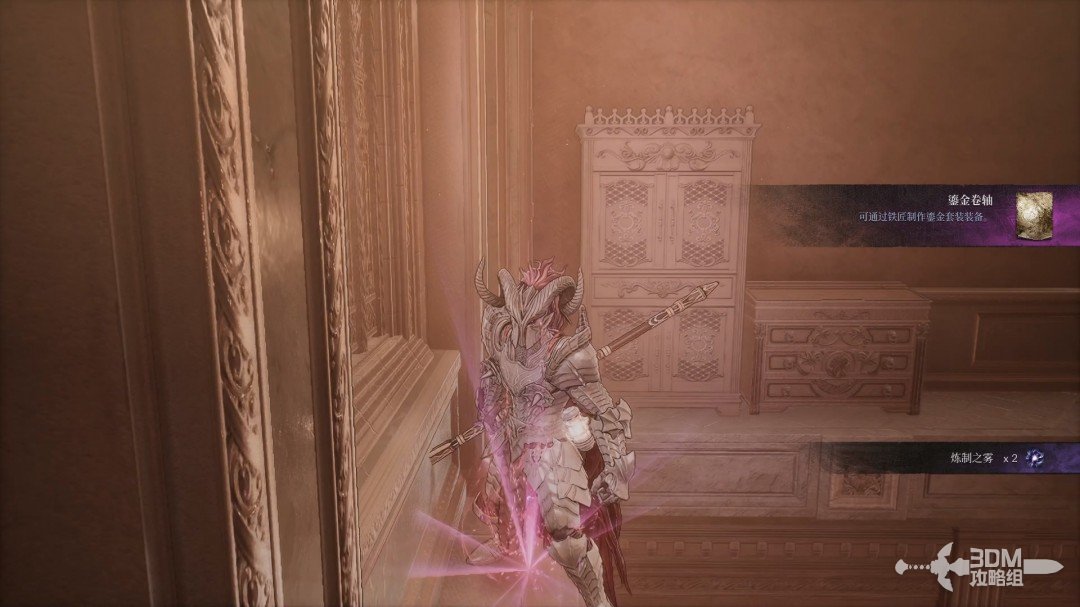 View route → |
Main mission · 14 · Fall of the Empire
| Item | Location | Walkthrough |
|---|---|---|
| Hismar returns with chaos and laser attacks. Avoid the charged frontal attacks, defeat him, and receive the slayer scroll. | 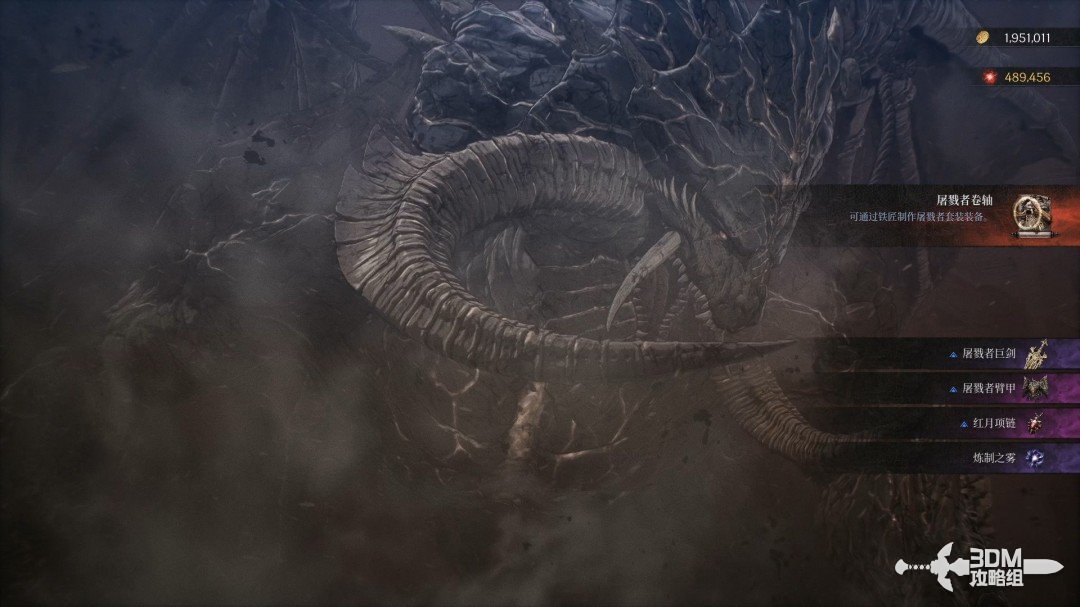 View route → |
Main mission · 15 · Bloodied Sanctuary
| Item | Location | Walkthrough |
|---|---|---|
| Climb to the top floor and defeat the enemies on the right for the temple knight scroll behind them. | 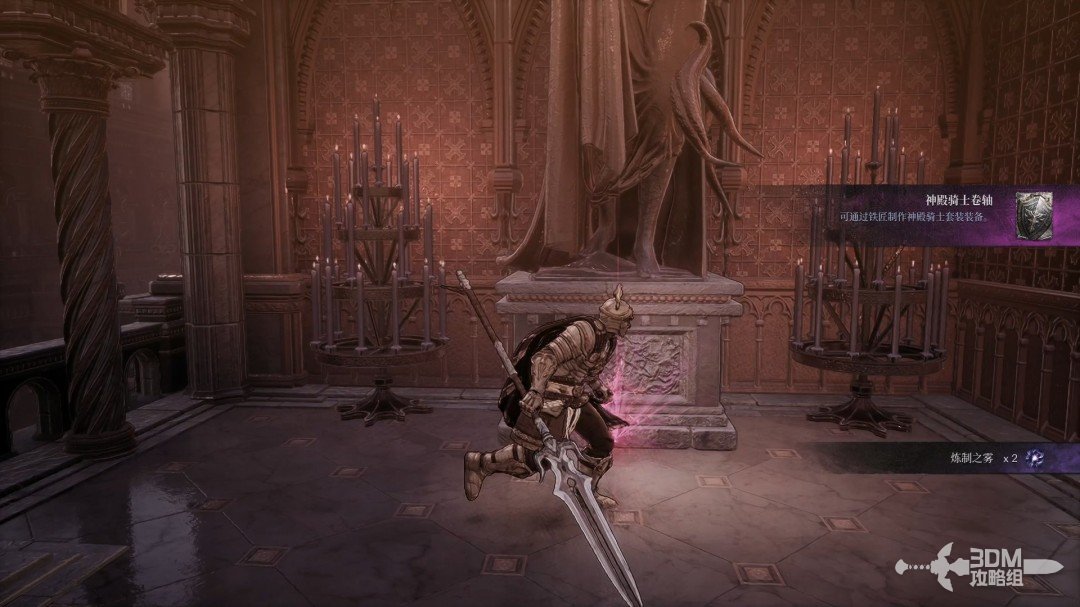 View route → | |
| Drop along the roof, open the shortcut, take the earth cleansing scroll, and cross the left beam for About Reese III. | 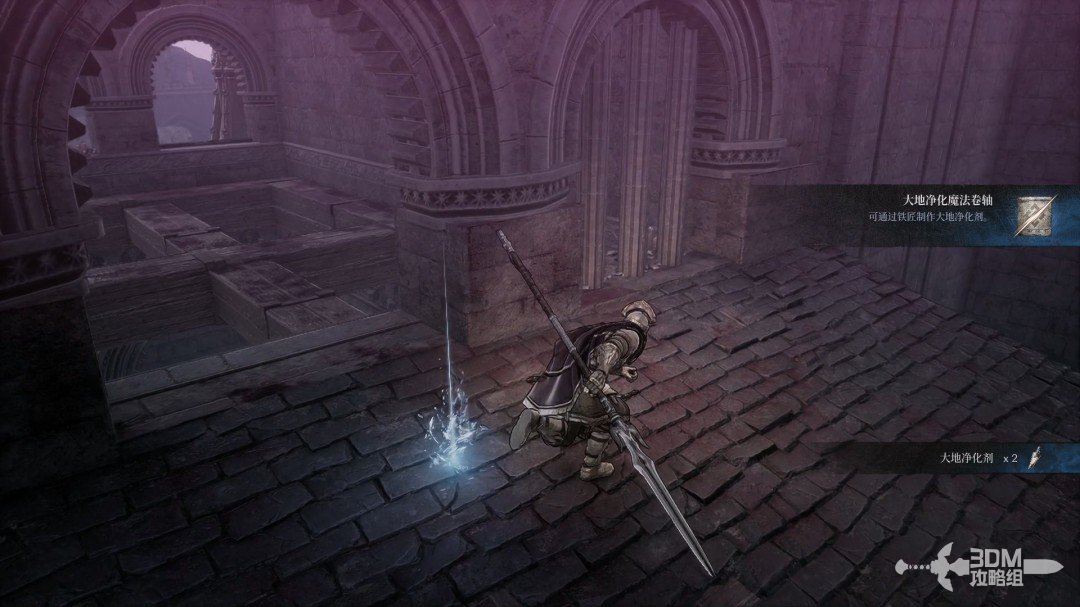 View route → | |
| Reese has two health bars, shifting from spells toward melee. Her light walls can block her own attacks. Receive the faded memories scroll after victory. | 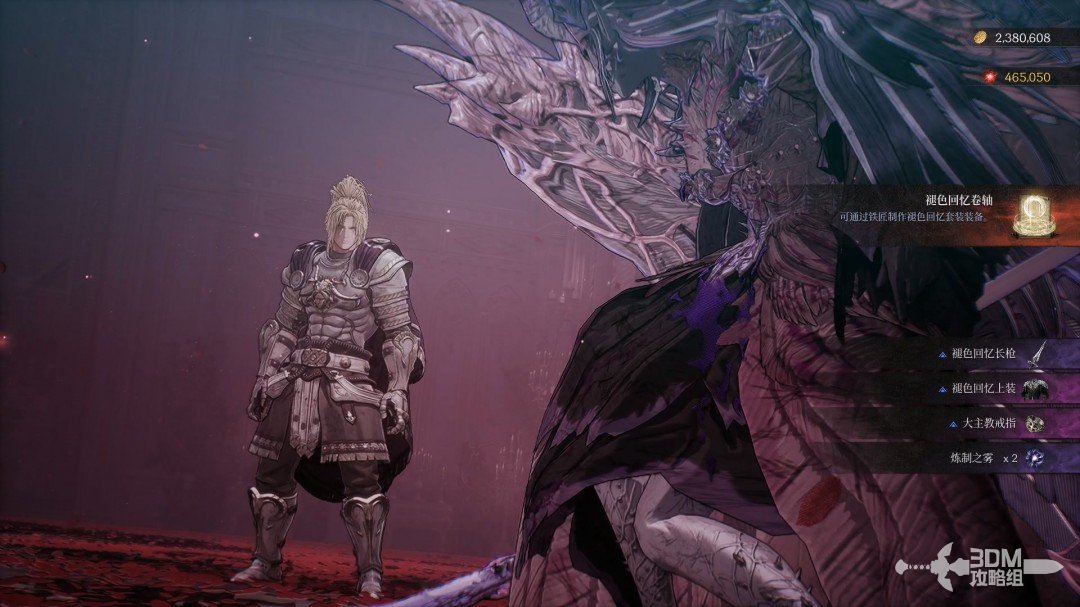 View route → |
Main mission · 16 · Master of Chaos
| Item | Location | Walkthrough |
|---|---|---|
| Ozma has at least two phases, with an extra encounter on some ending branches. Defeating the second phase grants the lord of chaos scroll. | 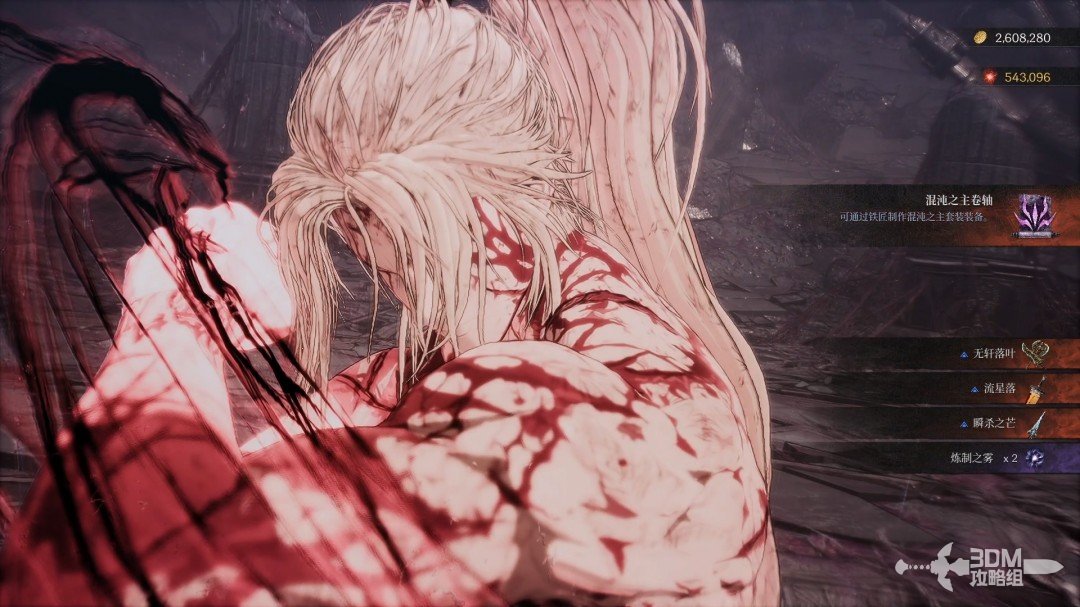 View route → |
Side mission · Tragic Night
| Item | Location | Walkthrough |
|---|---|---|
| Collect the fire summon scroll as you advance. Beyond the bridge, avoid the false memory and inspect the Jarling jar on the left. | 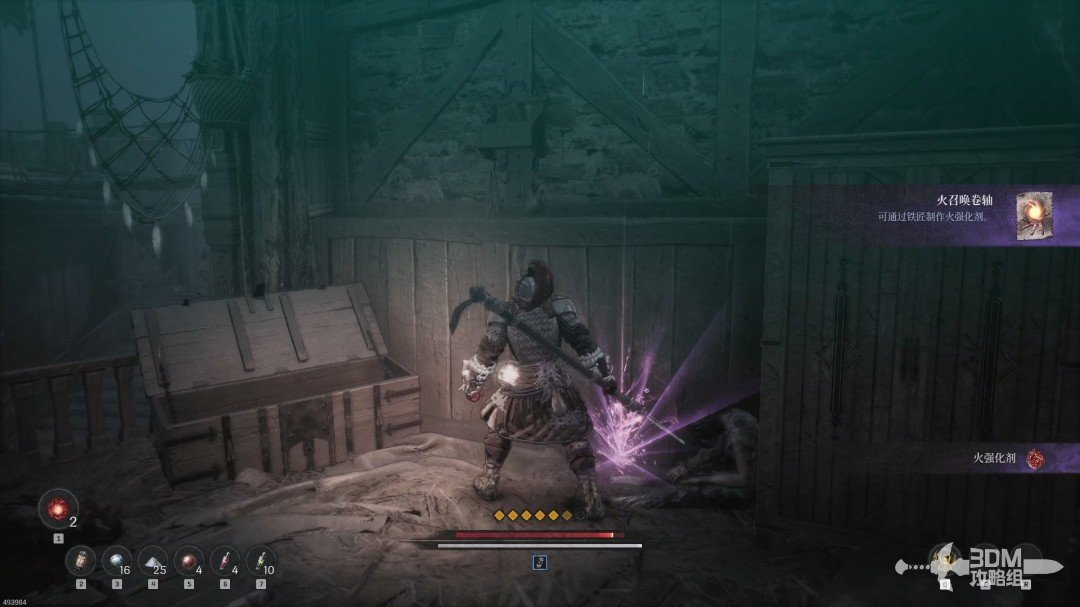 View route → | |
| Take the left route for the fallen guardian scroll, defeat the returning deer headed boss, and receive The Happy Boy and the Deer. | 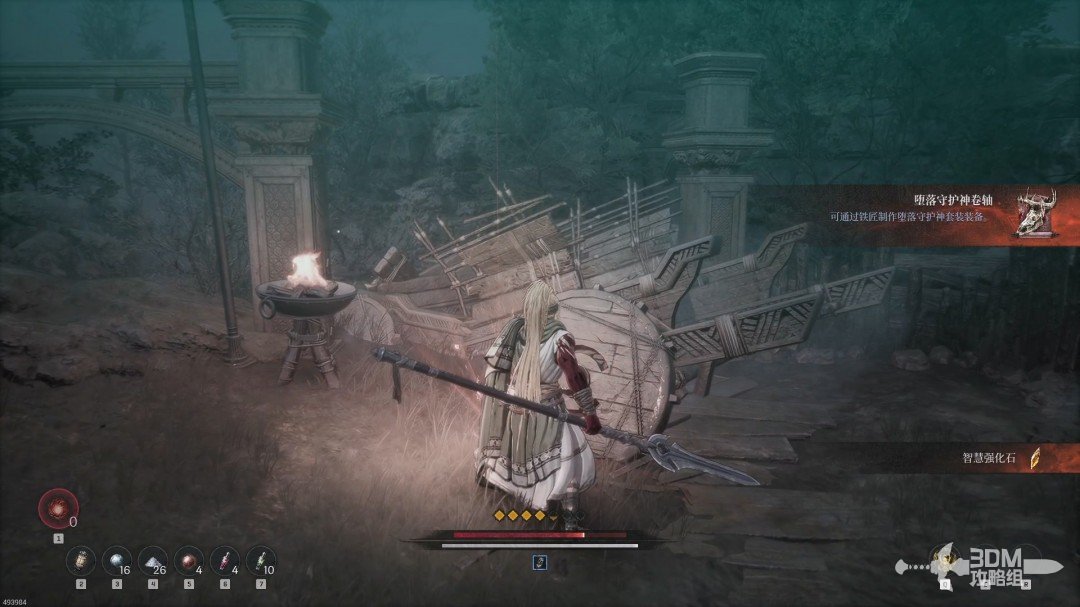 View route → |
Side mission · Silent Temple
| Item | Location | Walkthrough |
|---|---|---|
| Enter Silent Temple after speaking to Oksana. Search the left route, climb the right stairs for the Soulstone opposite, and collect the scroll below the ladder. | 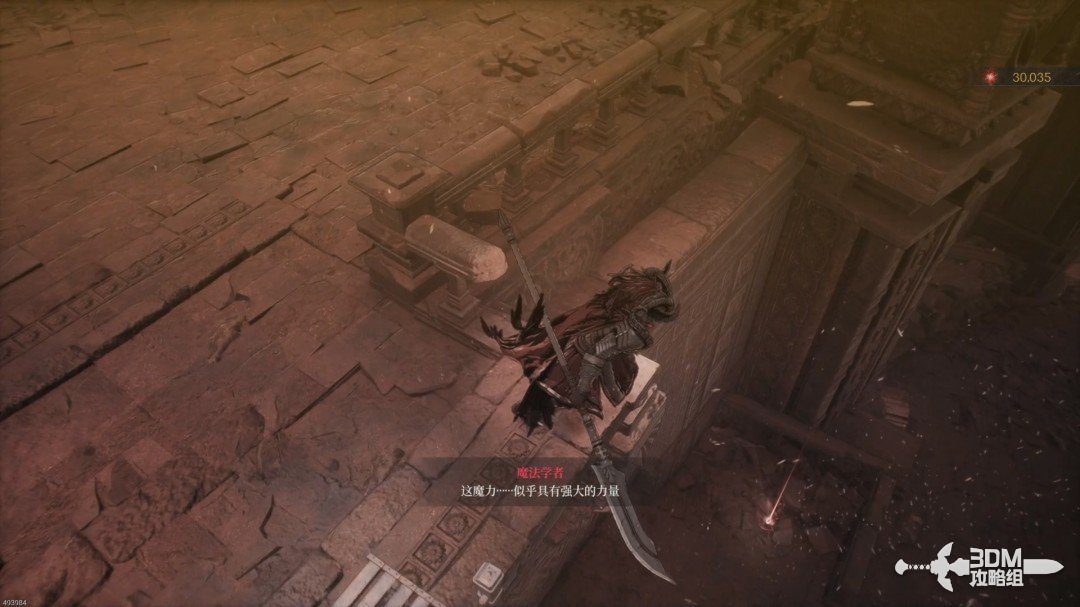 View route → |
Side mission · Human Xilence
| Item | Location | Walkthrough |
|---|---|---|
| Collect the hunter scroll behind the left door, then inspect the recesses for the second Soulstone in the second one. | 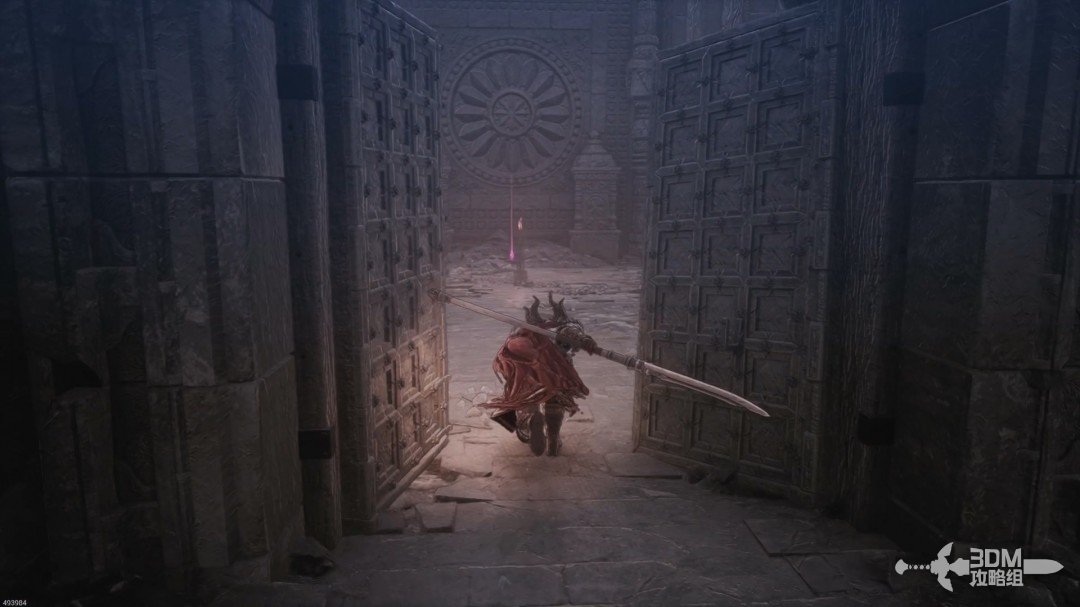 View route → |
Side mission · The Final Subjugation
| Item | Location | Walkthrough |
|---|---|---|
| Return to the memory on the route. The trapped chest in the room left of the Soulstone contains the chaos erosion scroll. | 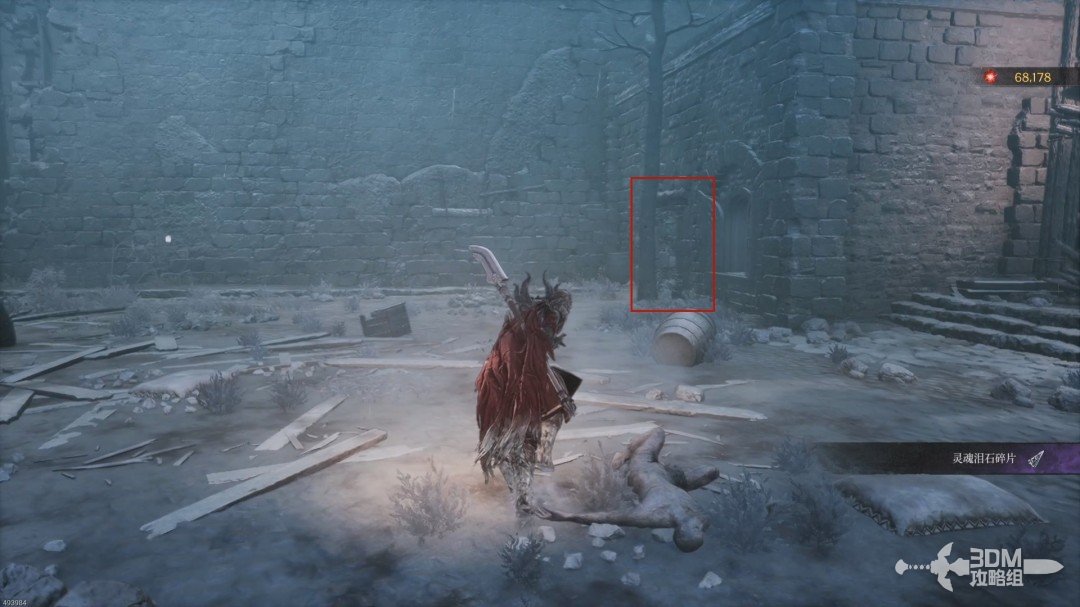 View route → |
Side mission · Pavel’s Final Words
| Item | Location | Walkthrough |
|---|---|---|
| Search the second room for the assassin recipe, climb the right stairs, and check the body on the side route for the angry bandit scroll. | 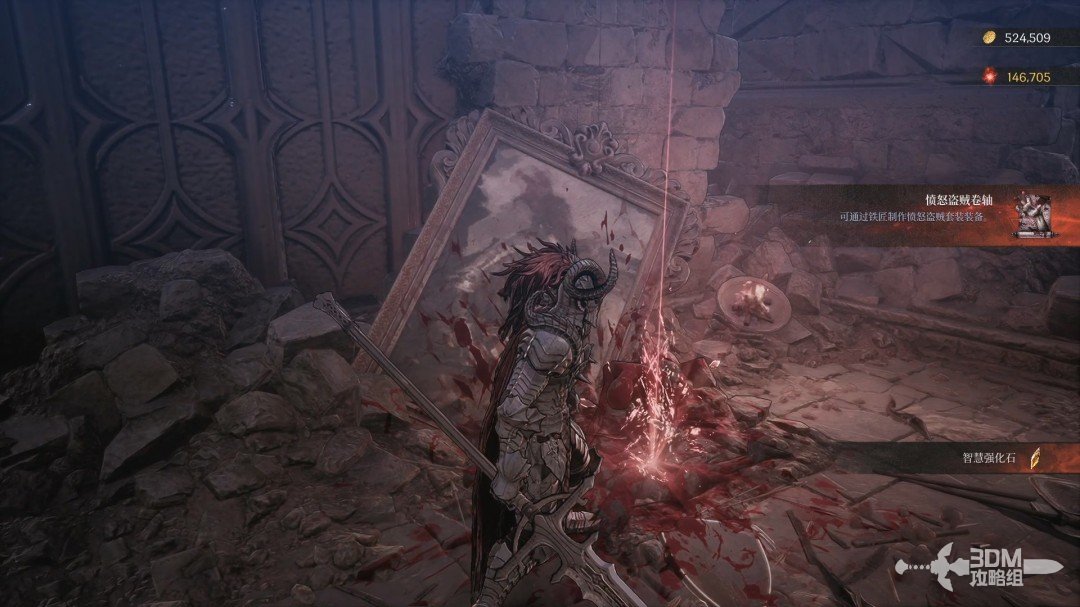 View route → | |
| Search the second room for the assassin recipe, climb the right stairs, and check the body on the side route for the angry bandit scroll. | 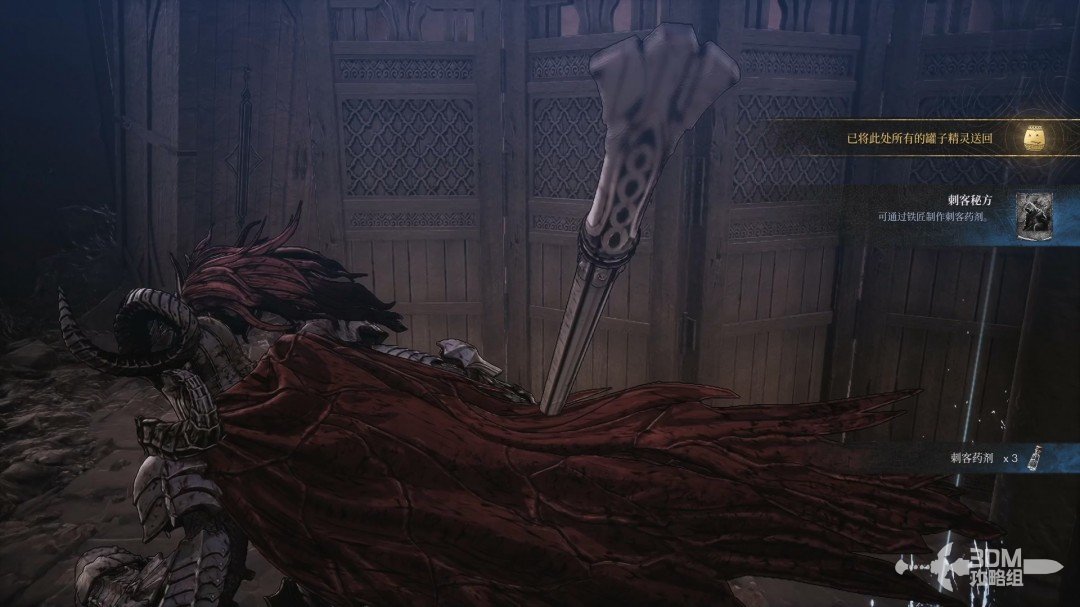 View route → |
Side mission · Why Did You Abandon Us
| Item | Location | Walkthrough |
|---|---|---|
| Accept Why Did You Abandon Us from Tristan. Activate the opening mechanism and collect the warrior scroll on the right. | 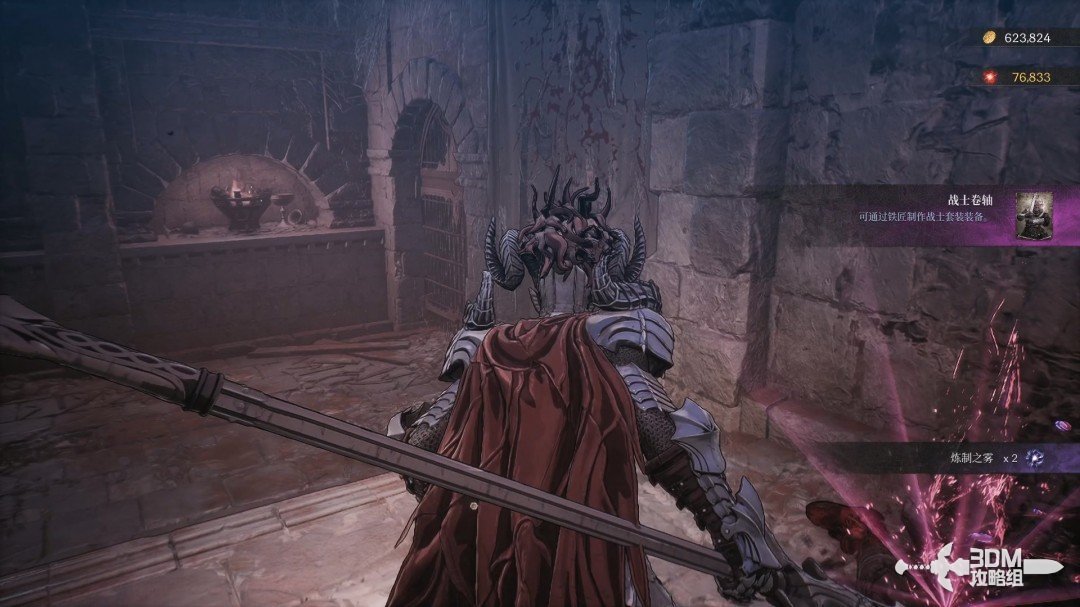 View route → | |
| Make a running jump from the upper boards to the lower platform for the beast slayer scroll. | 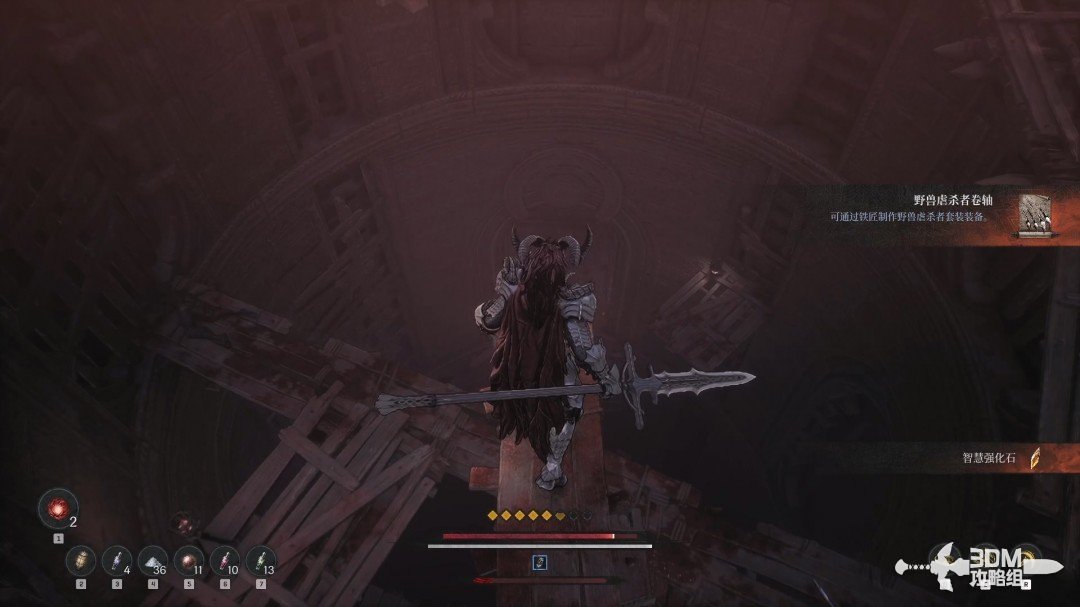 View route → |
Side mission · Escaping Linon Mine
| Item | Location | Walkthrough |
|---|---|---|
| Watch for the spider overhead in the next cave. Break the web above for the frozen snowfield scroll. | 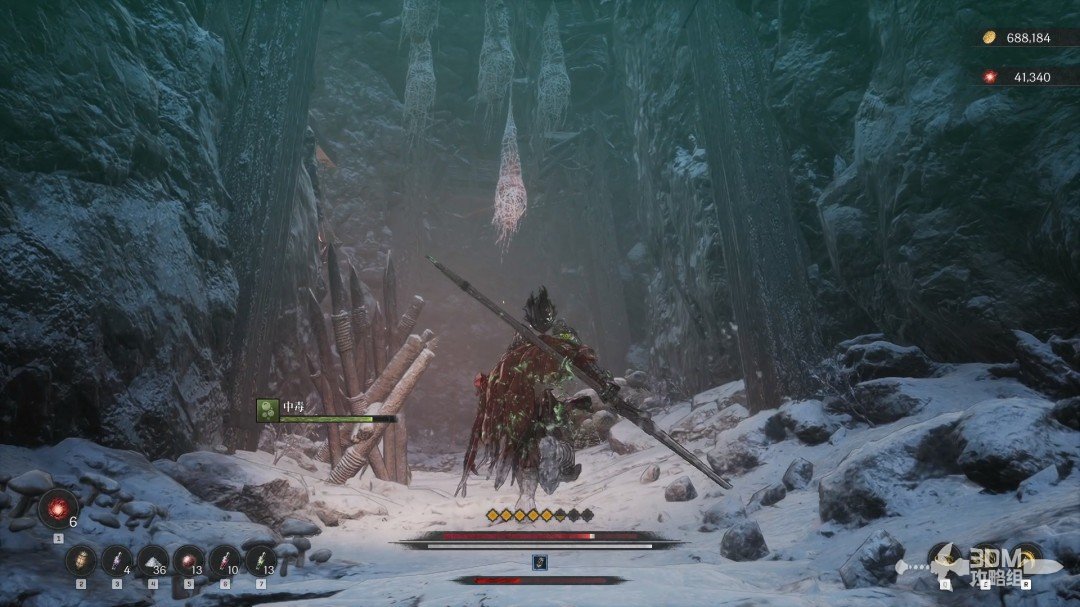 View route → |
Side mission · Lacrima
| Item | Location | Walkthrough |
|---|---|---|
| Enter Lacrima, defeat the fireball enemy on the bridge, and collect the soul eater scroll behind it. | 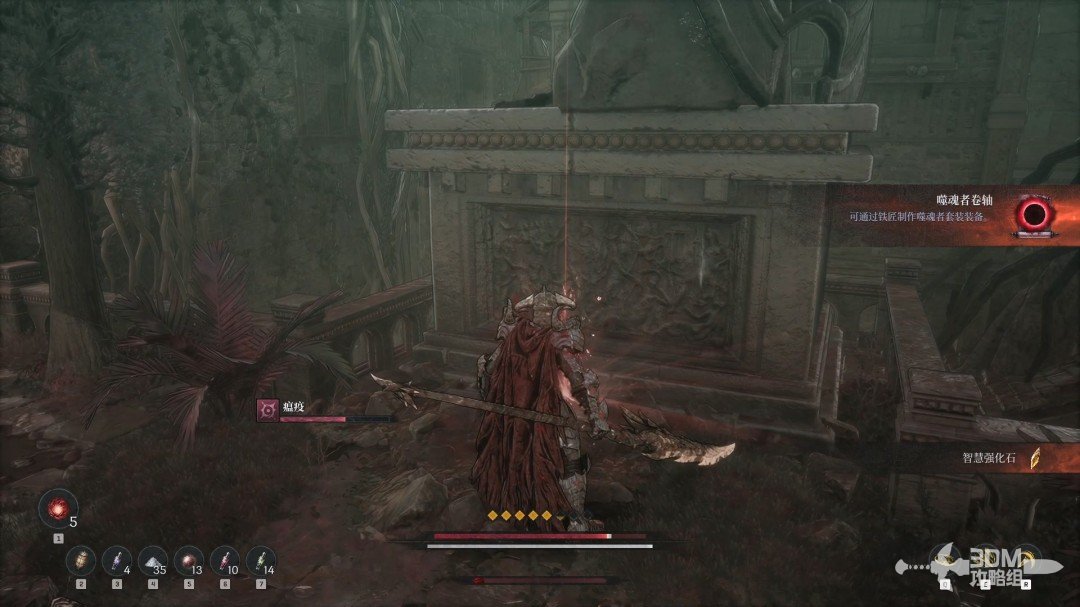 View route → |
Side mission · Unrequited Love
| Item | Location | Walkthrough |
|---|---|---|
| Search the left room, then climb the scaffolding along the left side for the drowned witch scroll. | 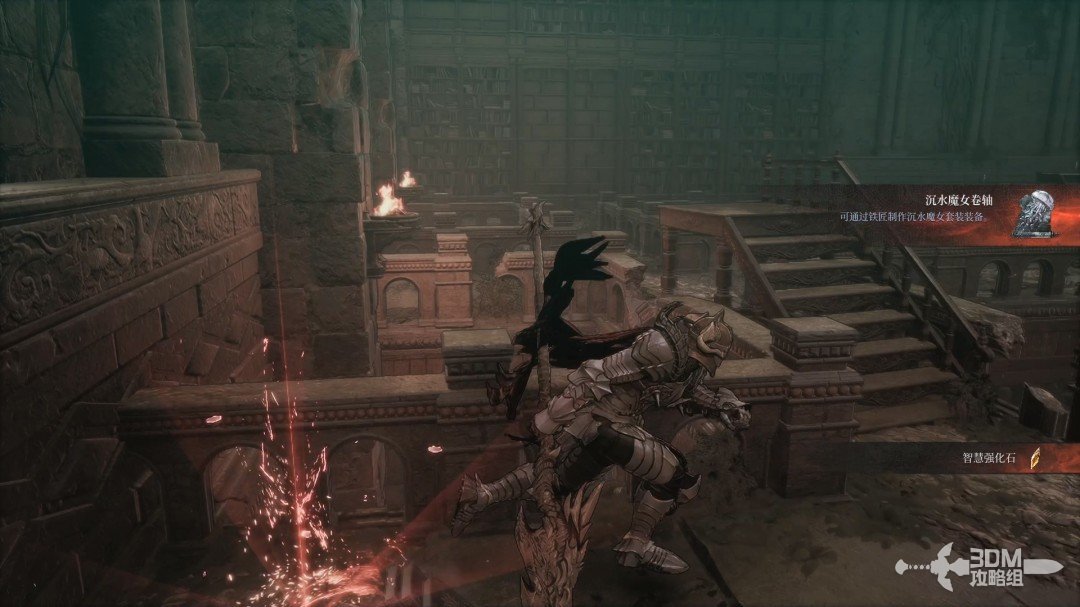 View route → |
Side mission · Varus’s Axe
| Item | Location | Walkthrough |
|---|---|---|
| Use the lantern against invisible enemies, activate the mechanism, and take the dragon scale scroll on the left beyond the chest. | 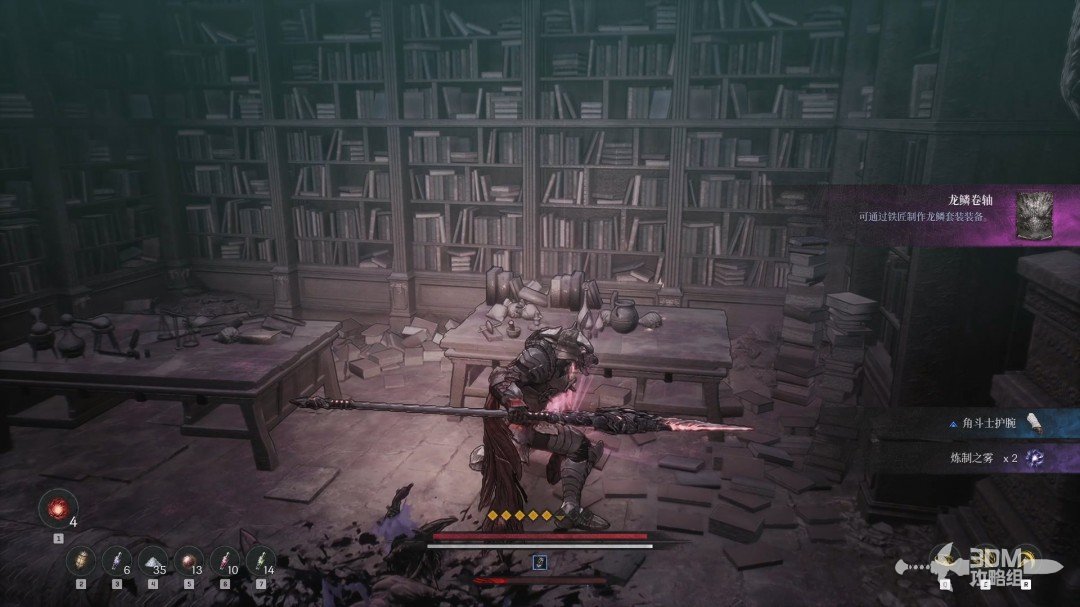 View route → |
Side mission · Atlante the Precise
| Item | Location | Walkthrough |
|---|---|---|
| Follow the left path, search behind the rock on the right for the fugitive mage scroll, and take the Soulstone in the left corner. | 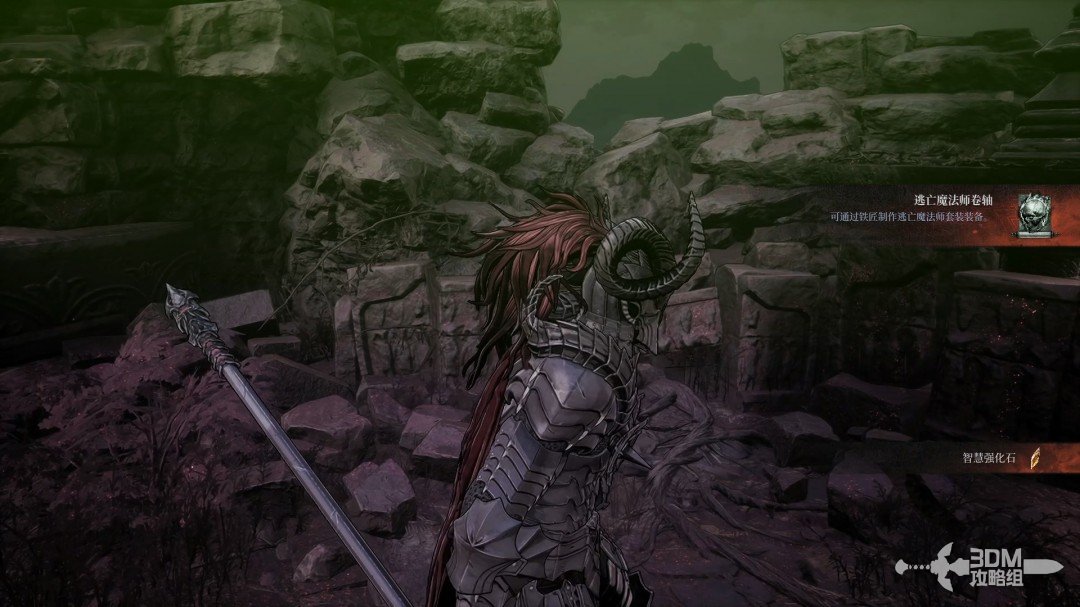 View route → |
Side mission · The Last Guard
| Item | Location | Walkthrough |
|---|---|---|
| Search the left corridor memory, then drop to the blood pool for the bloodthirsty fanatic scroll in its center. | 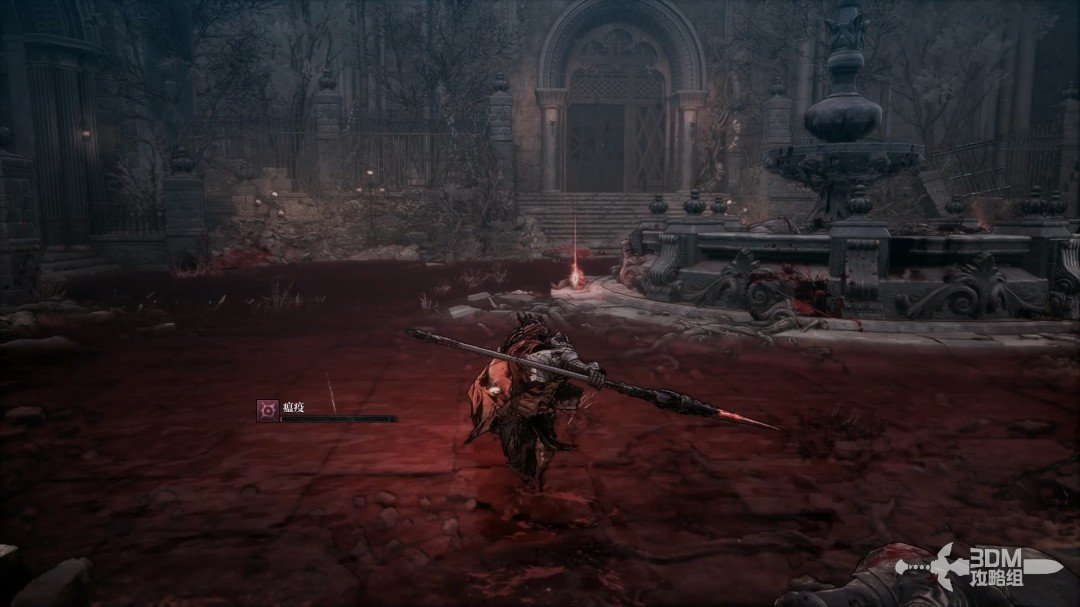 View route → |
Side mission · Transcendental Sword
| Item | Location | Walkthrough |
|---|---|---|
| Clear the skeletons below. The trapped chest on the right contains the shadow of nightmares scroll. | 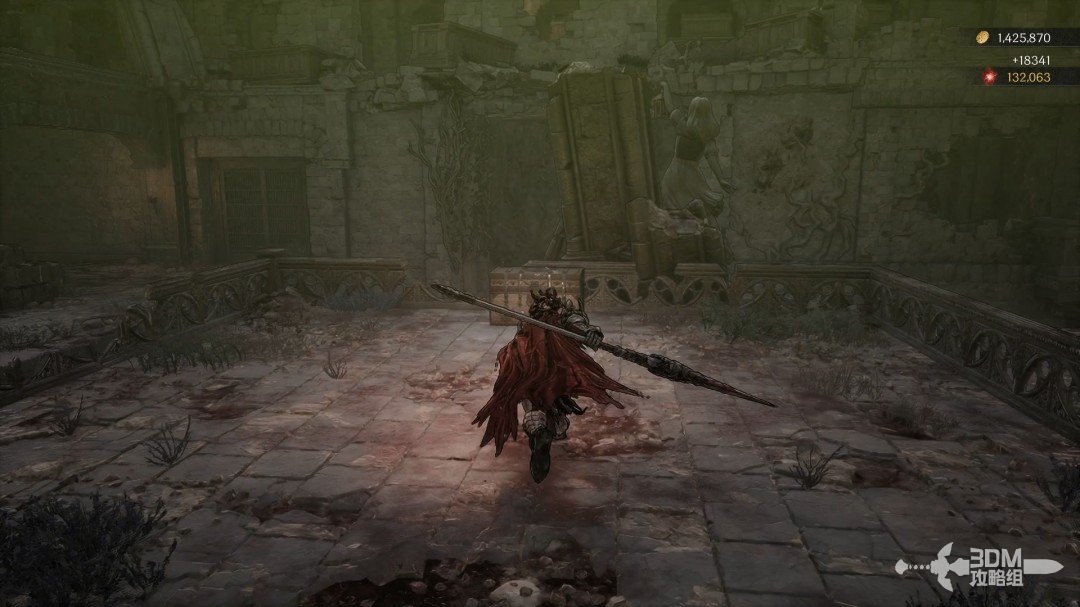 View route → |
Side mission · Residual Chaos
| Item | Location | Walkthrough |
|---|---|---|
| Open the hidden door left of the stairs for the endless tragedy scroll and the Jarling in the corner. | 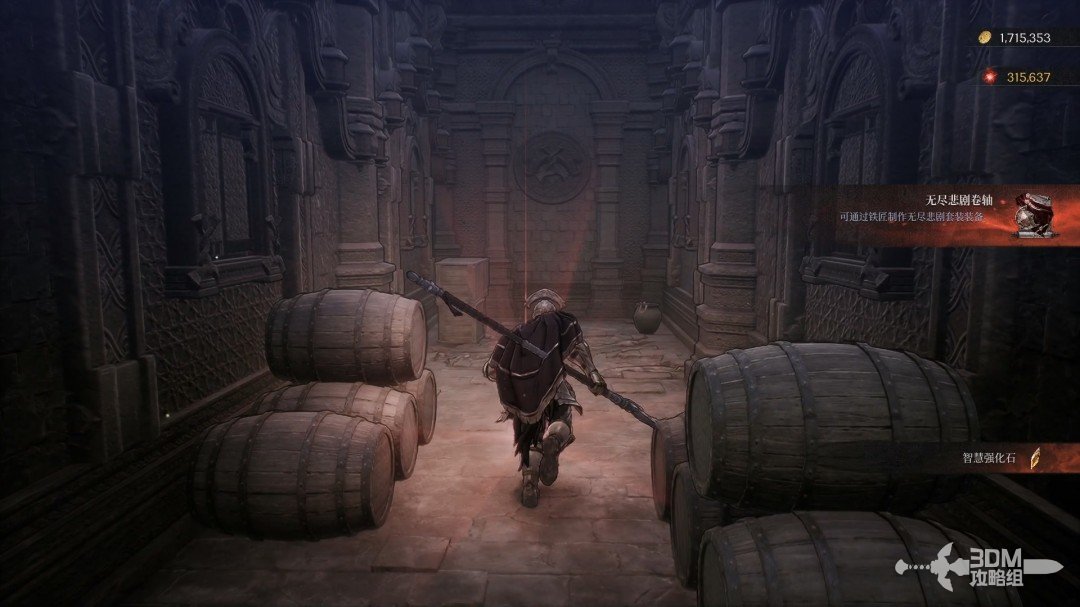 View route → |
Reference: 3DM Guide Team
GAME NOTE has reorganized and rewritten the routes from this walkthrough.