Continue the side missions to recover Blade’s sword.
Pickups in this mission
Open this mission’s independent boss guide →
01Nexus beside Lantimos: enter through the hidden wall below
After The Last Guard, begin Transcendental Sword to strengthen Blade Phantom by finding the sword.
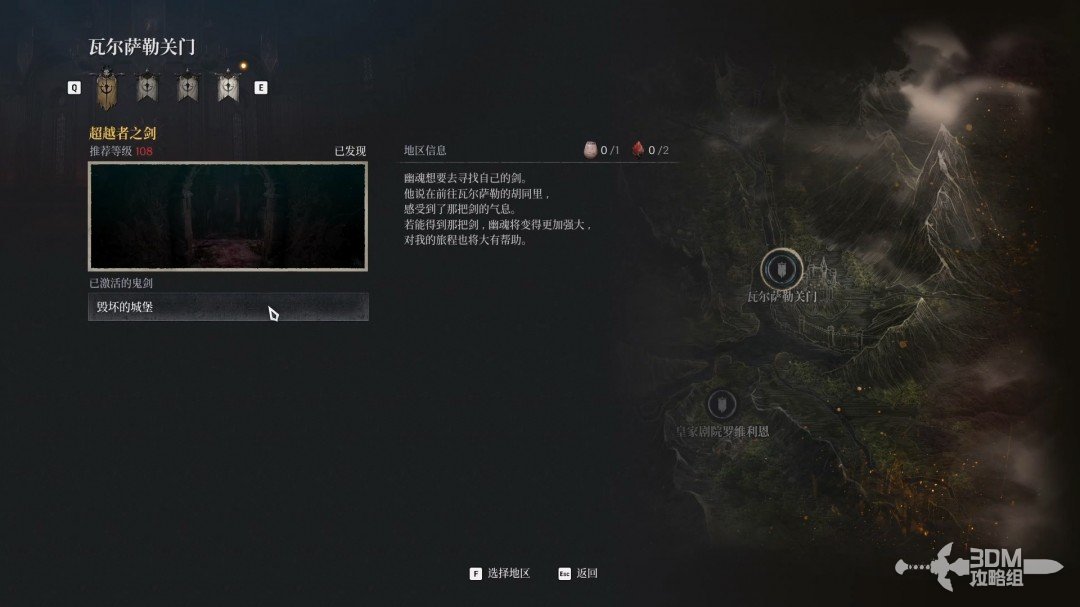
Go straight and turn right after arrival for a Nexus.
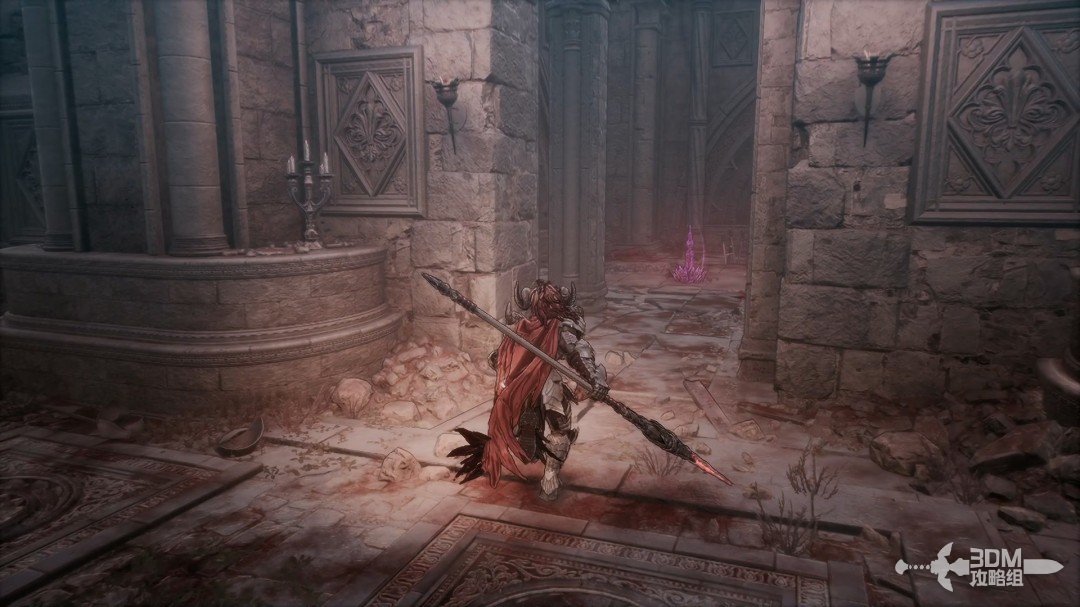
Speak to Lantimos nearby.
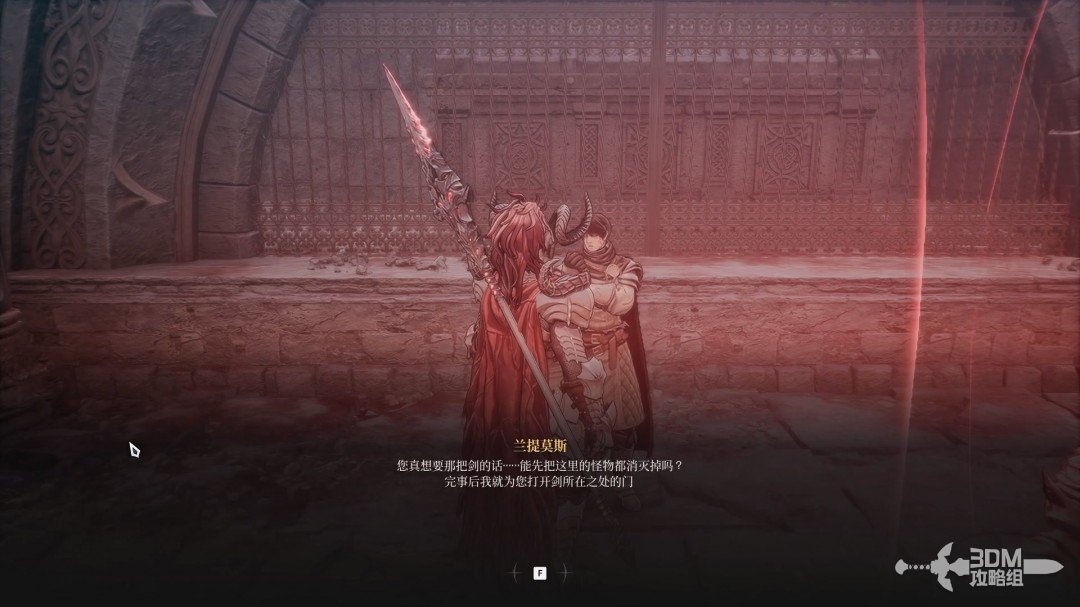
Leave and explore behind this position for a white item.
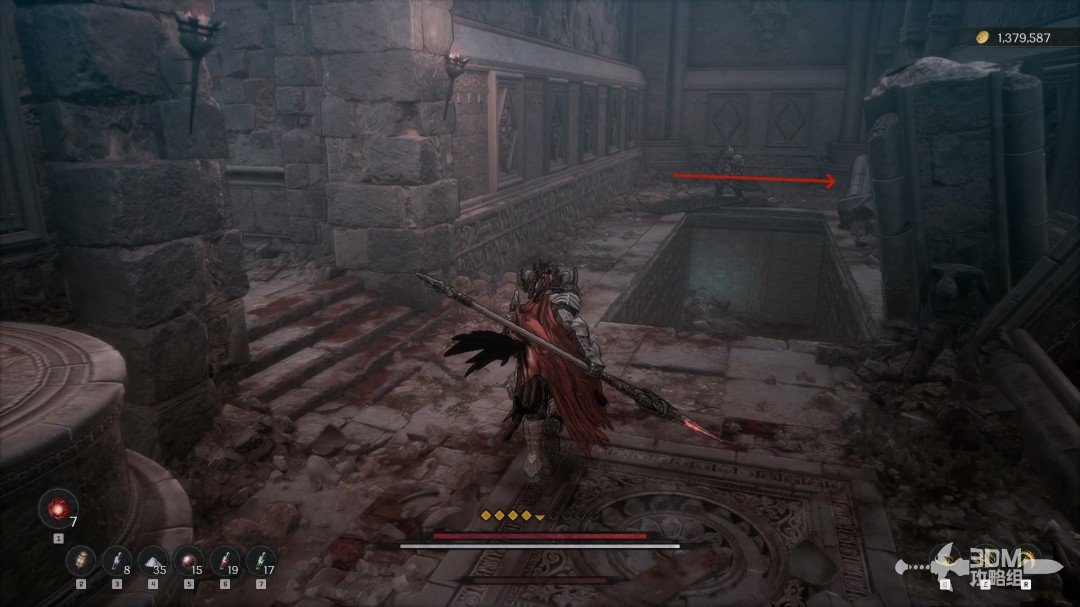
Descend the stairs first.
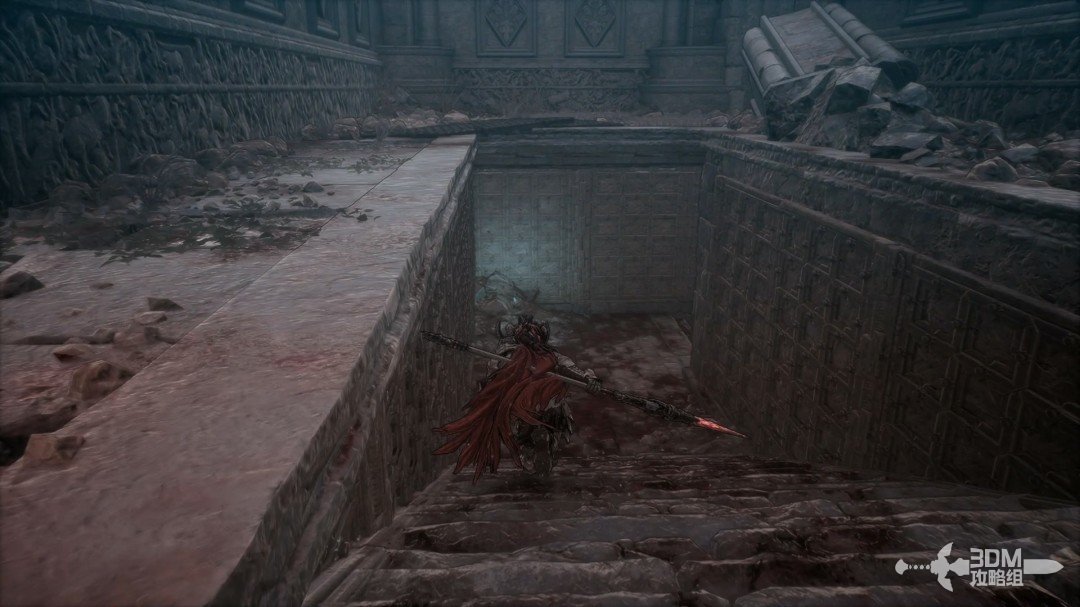
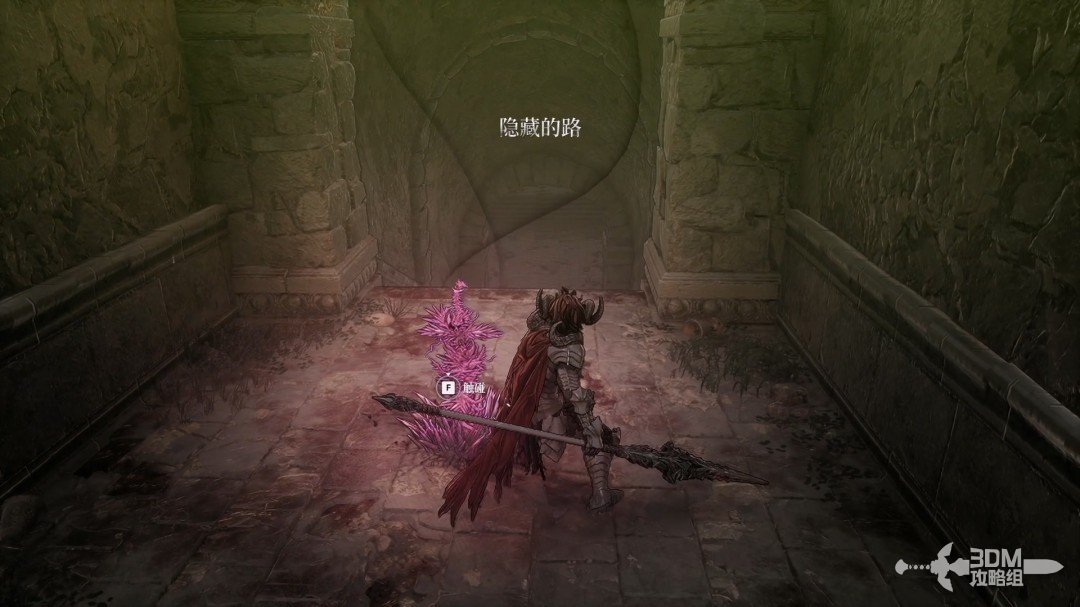
Break the hidden wall on the right below.
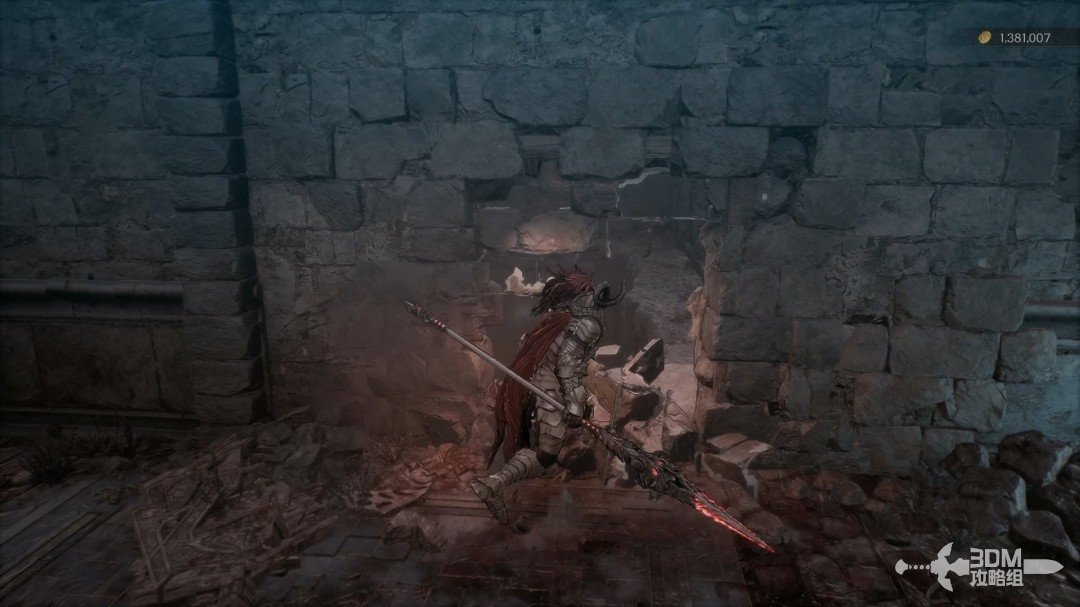
Find the Soulstone inside.
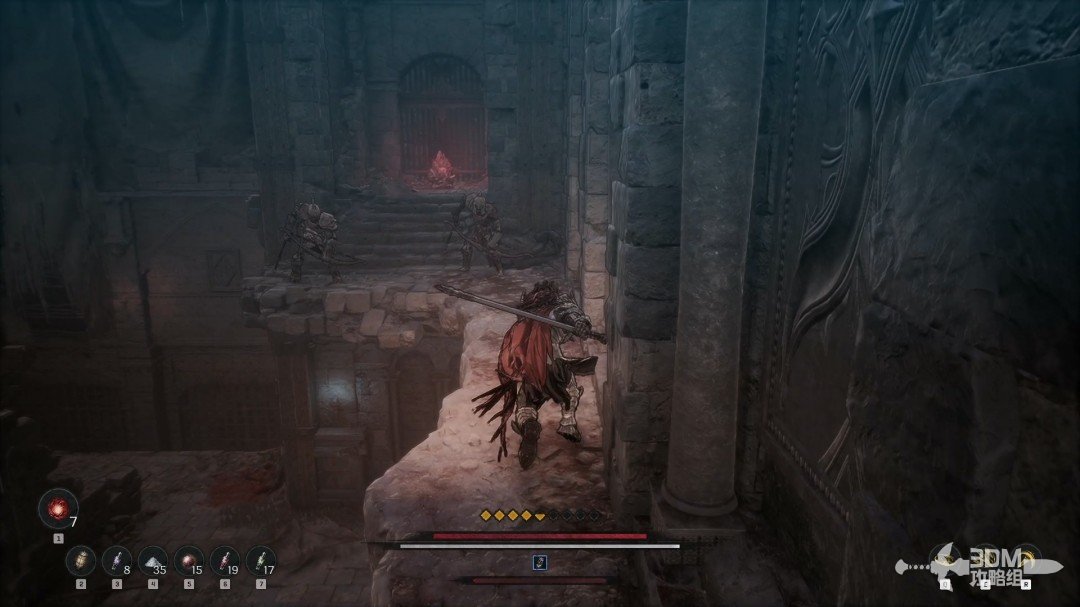
03Half-lowered bridge below the Soulstone: return to the entrance and take the other route
Drop down after the Soulstone and absorb the memory below.
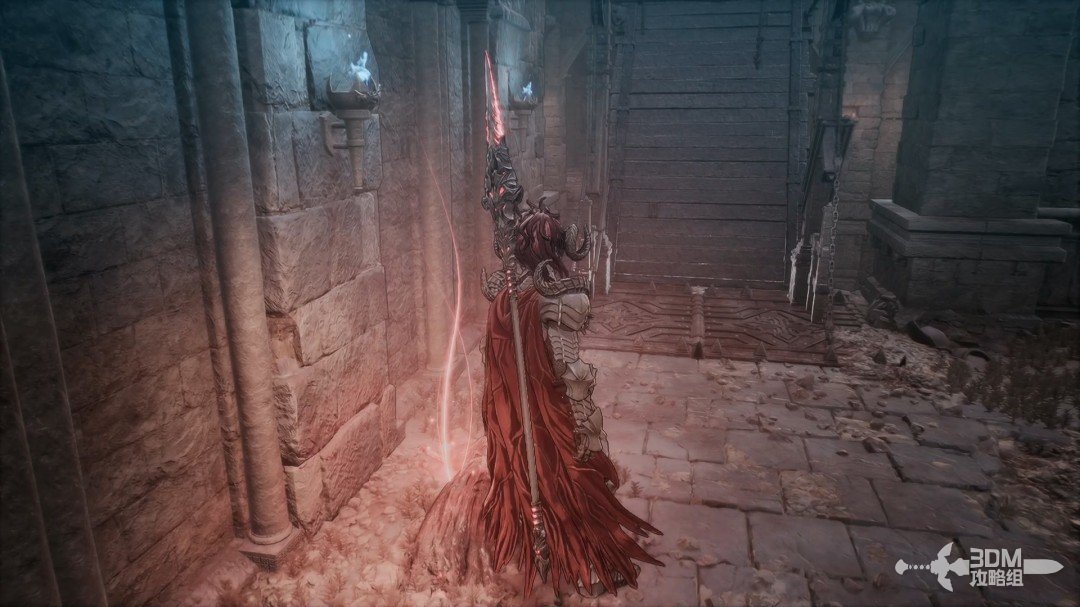
Lower this half of the bridge; the other half is operated from across the gap.
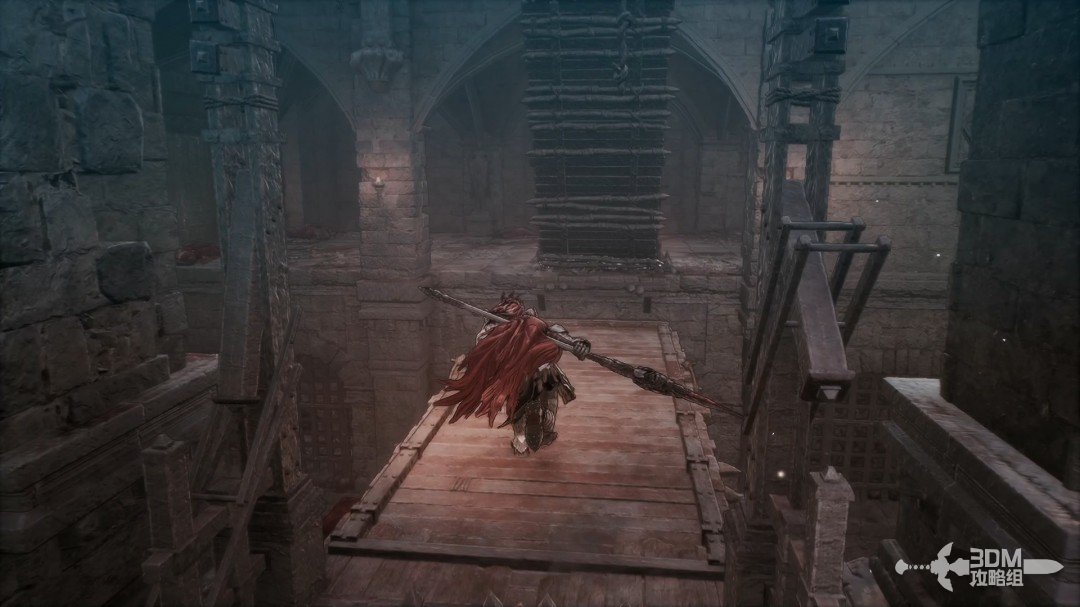
Climb the rear ladder to the area you dropped from.
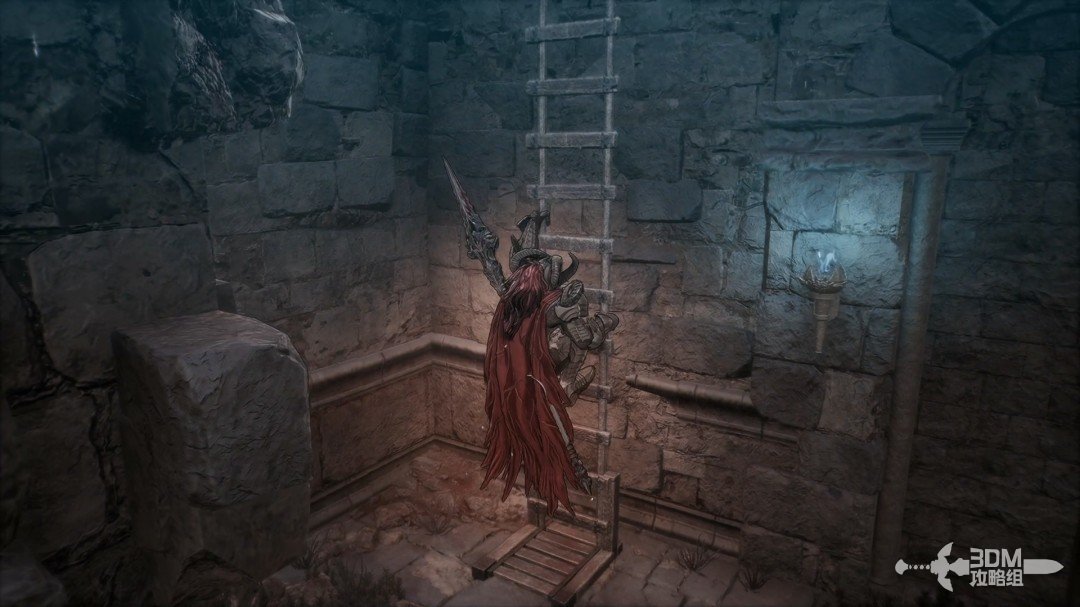
Return to the start and take the other route.
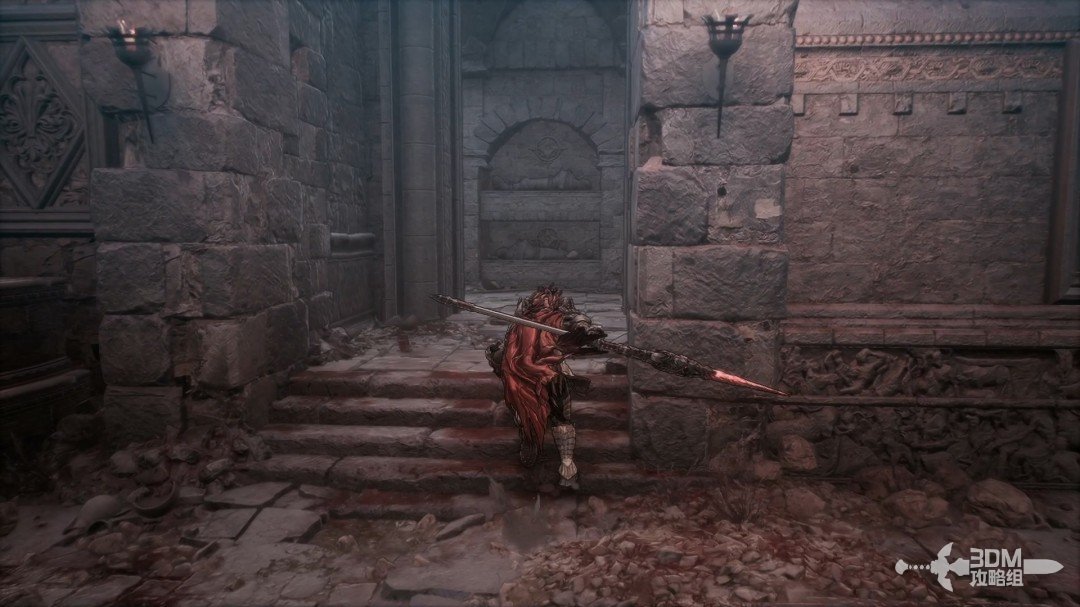
04Three-way trap fork: swords behind the screen below the right stairs
Watch for the floor mechanism while descending.
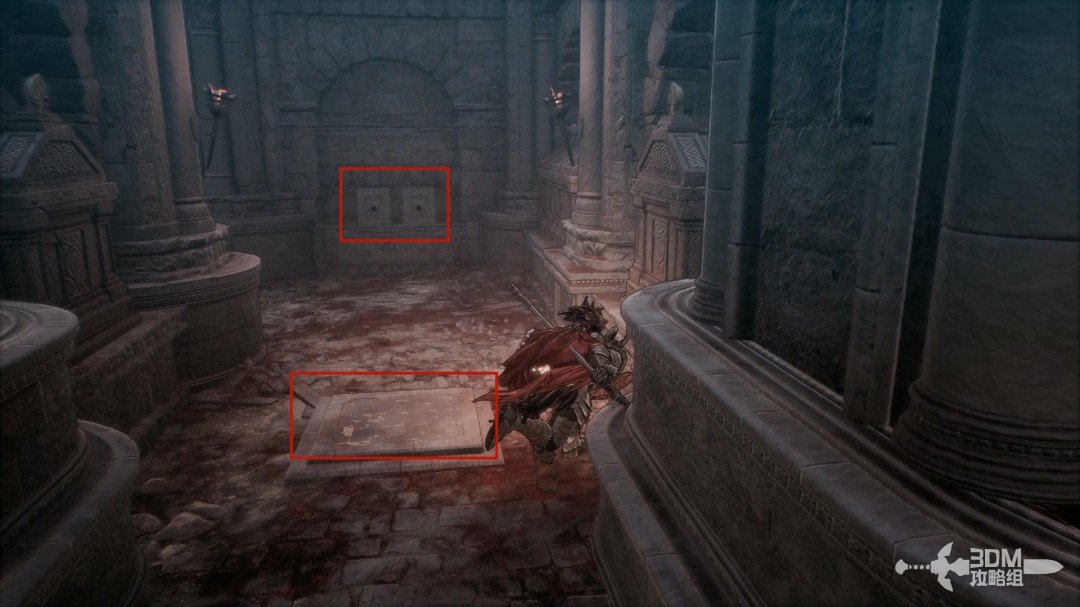
The next junction offers left, middle and right routes.
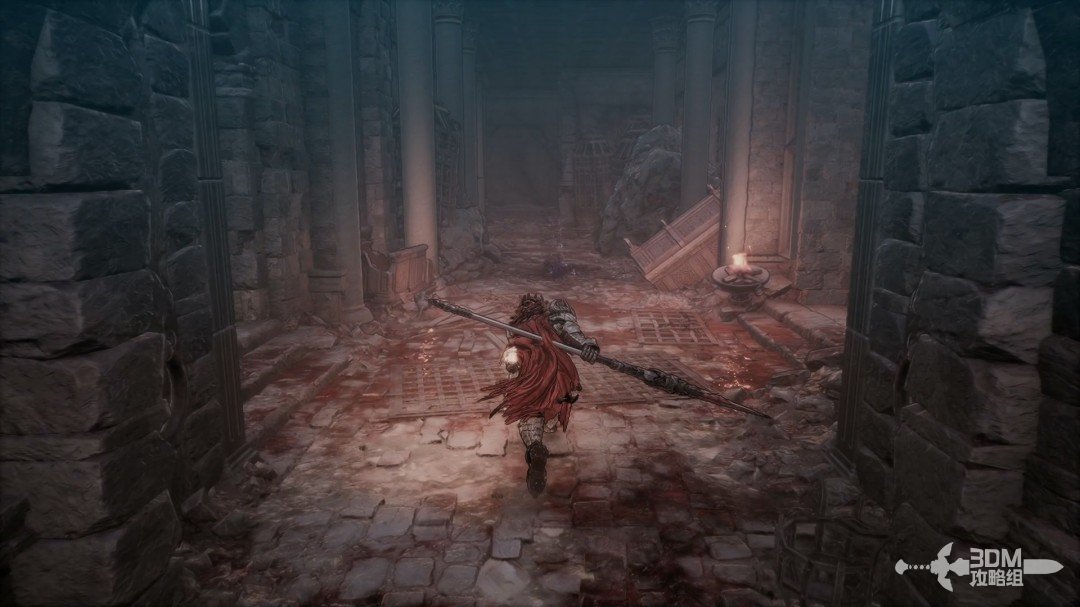
Collect the blue item on the left.
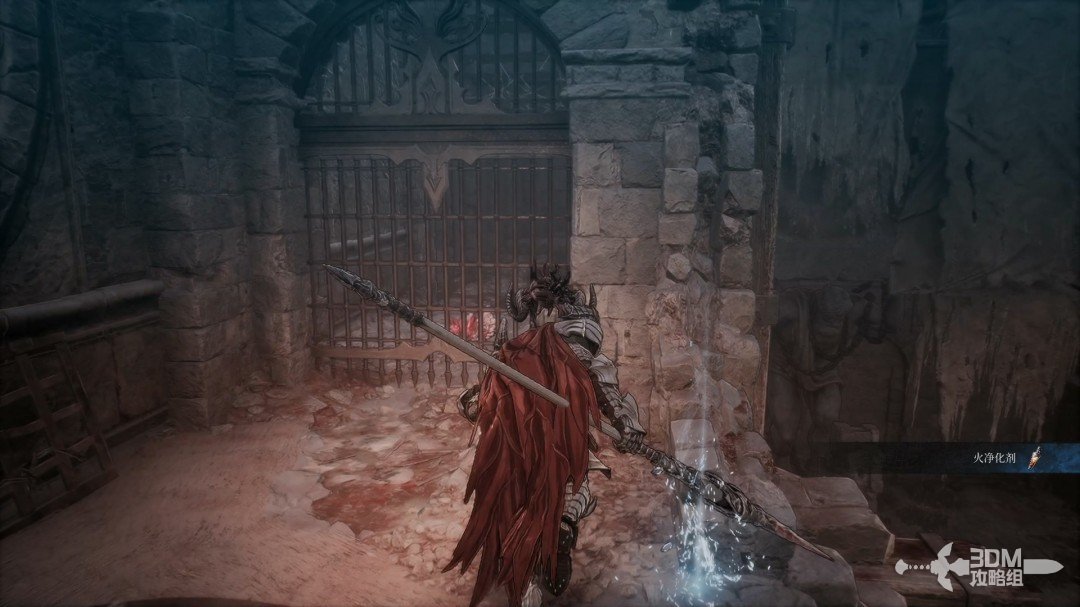
Descend the right-hand stairs.
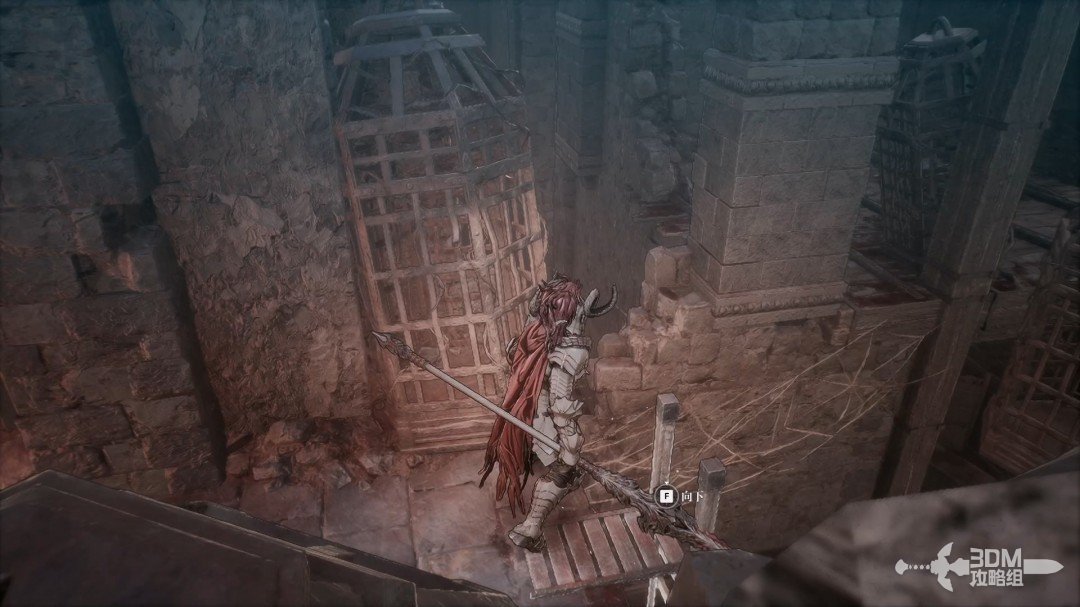
A mechanism sits behind the left boards below. Collect the Ghostly Dual Blades behind the screen.
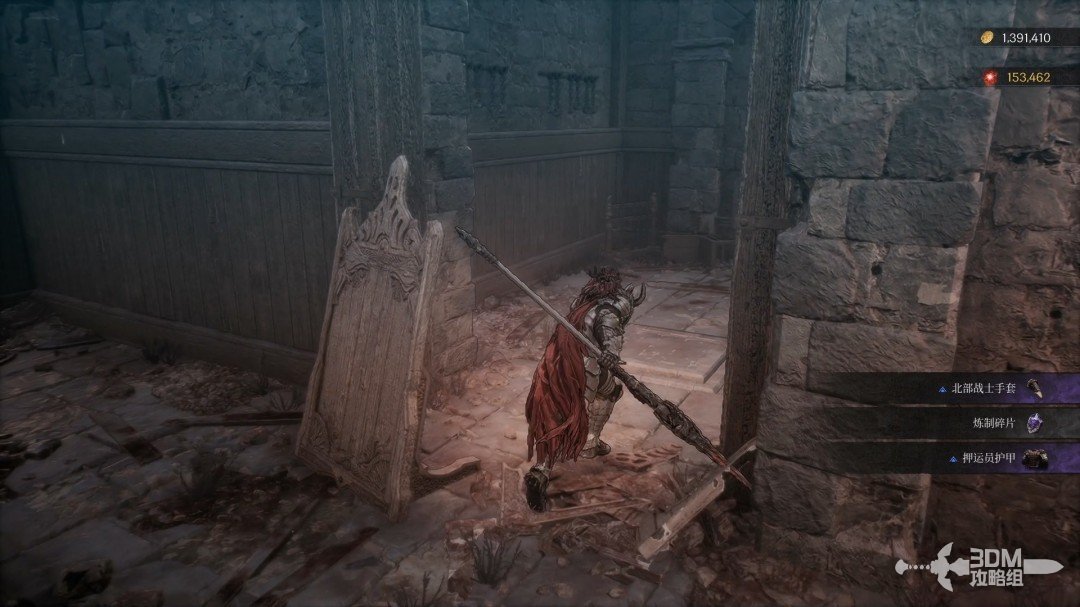
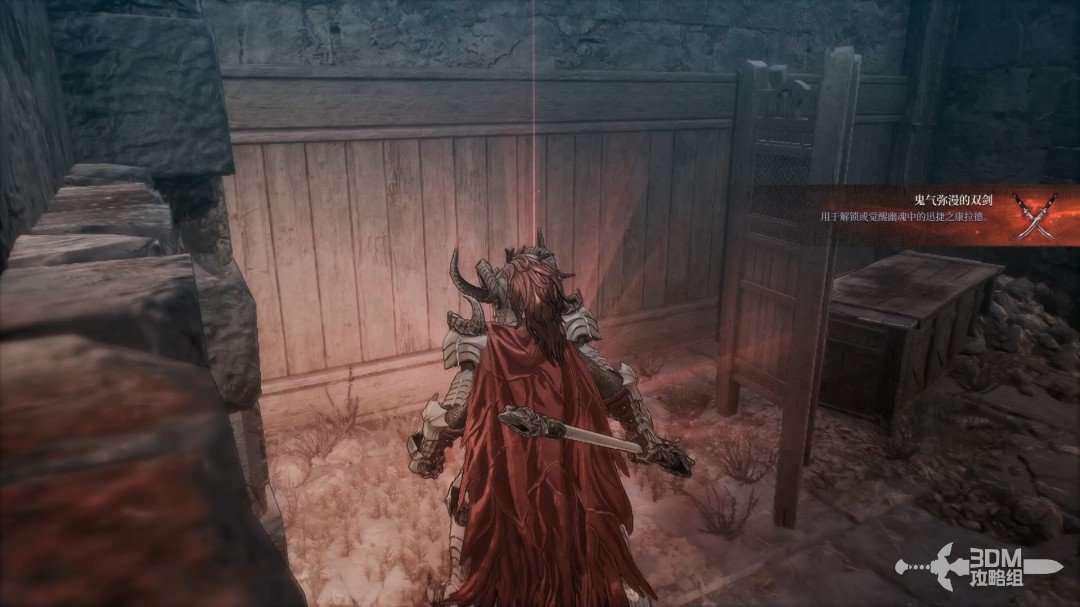
06Wooden bridge beside the trap and ledge drop: return to the Nexus
Enter the next area, avoiding another floor trigger, and collect the golden material ahead.
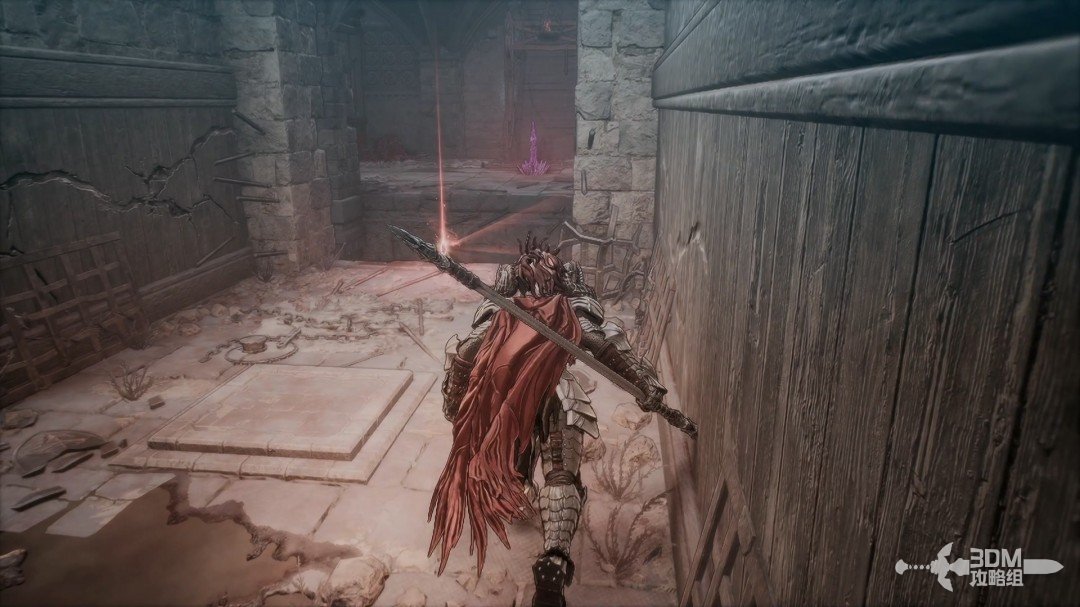
Lower the wooden bridge with Javelin from this side.
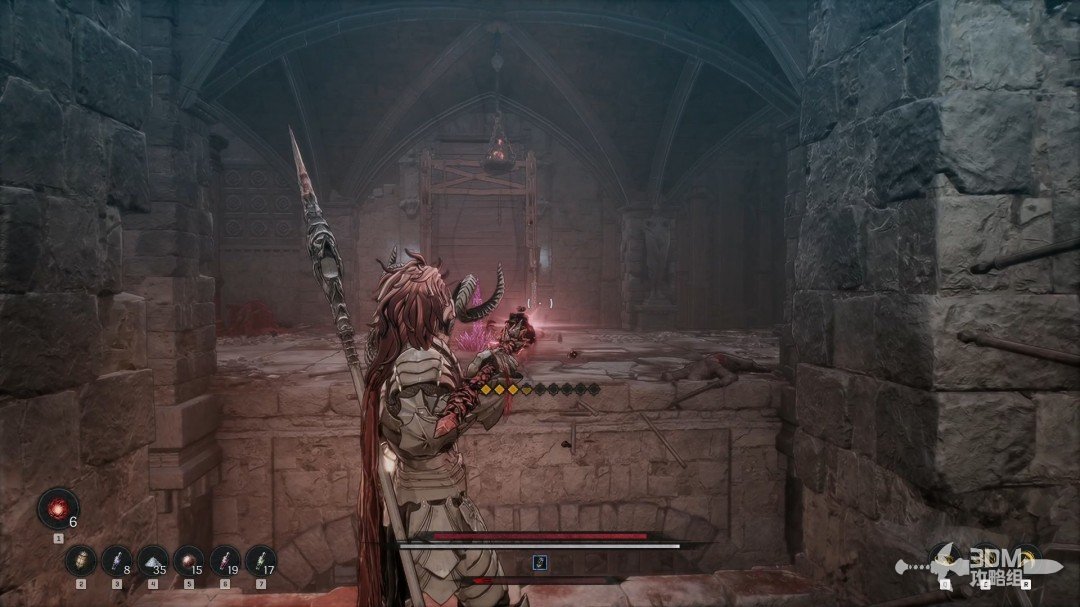
Turn back and climb the ladder.
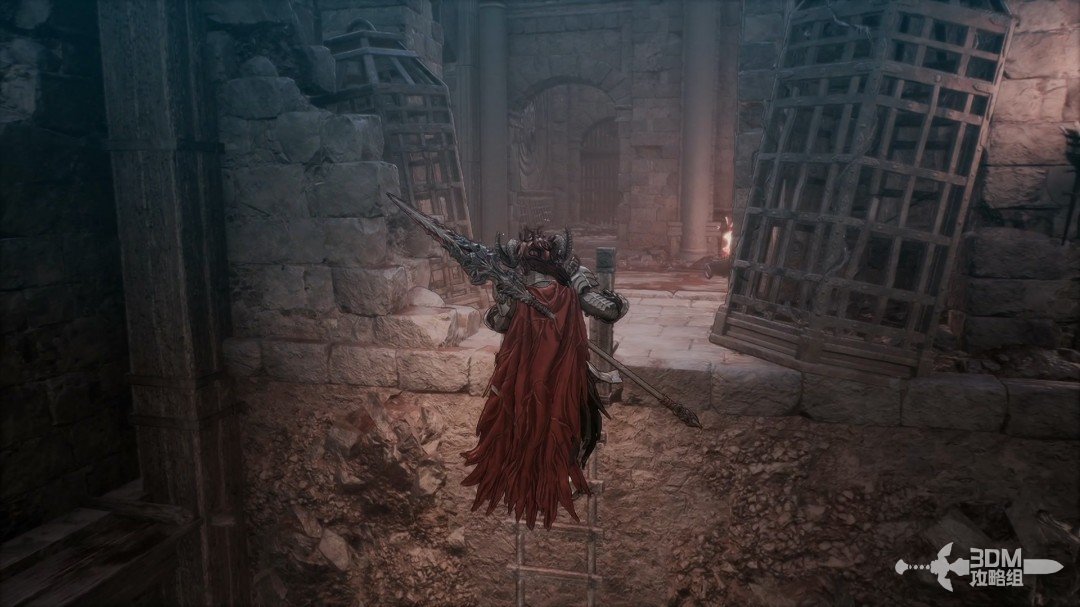
Continue to the end, watching for another floor mechanism.
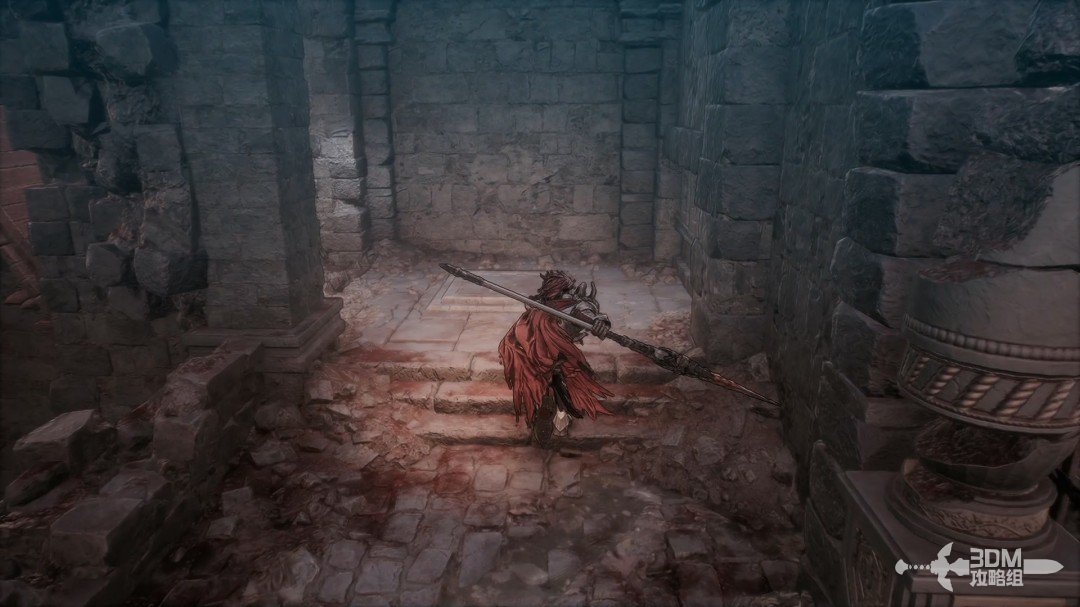
Lower the left bridge and collect the memory across it.
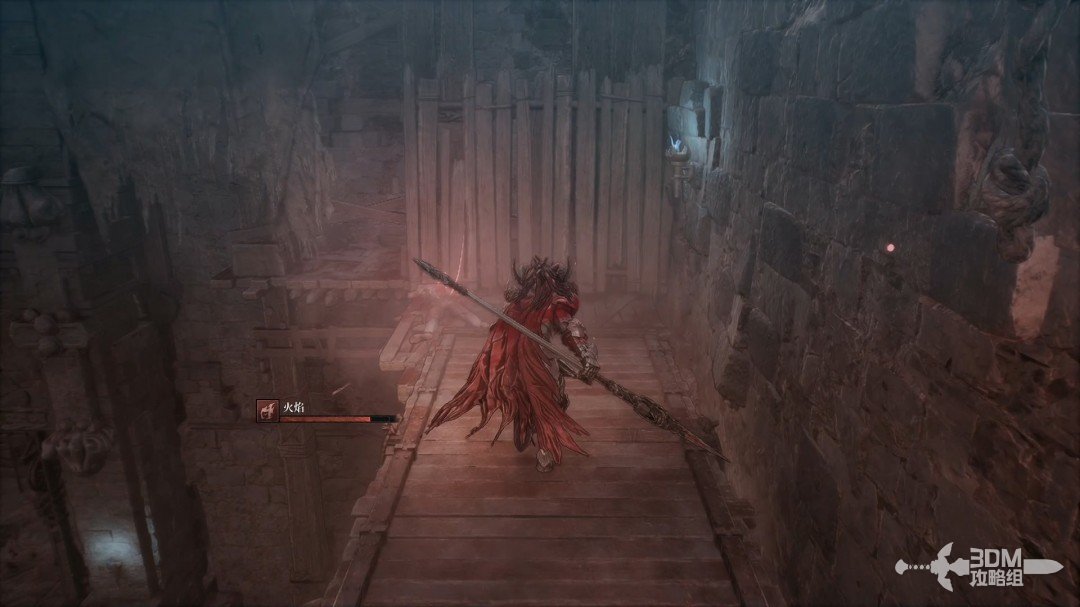
Turn back and drop from the raised platform on the right.
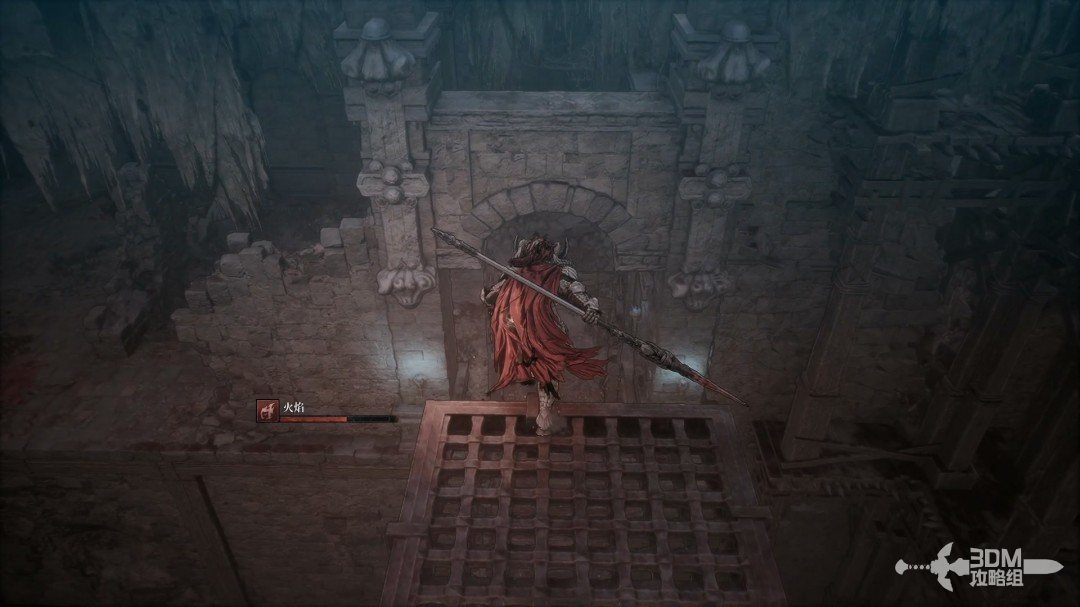
Look behind you after landing for a Blade Nexus.
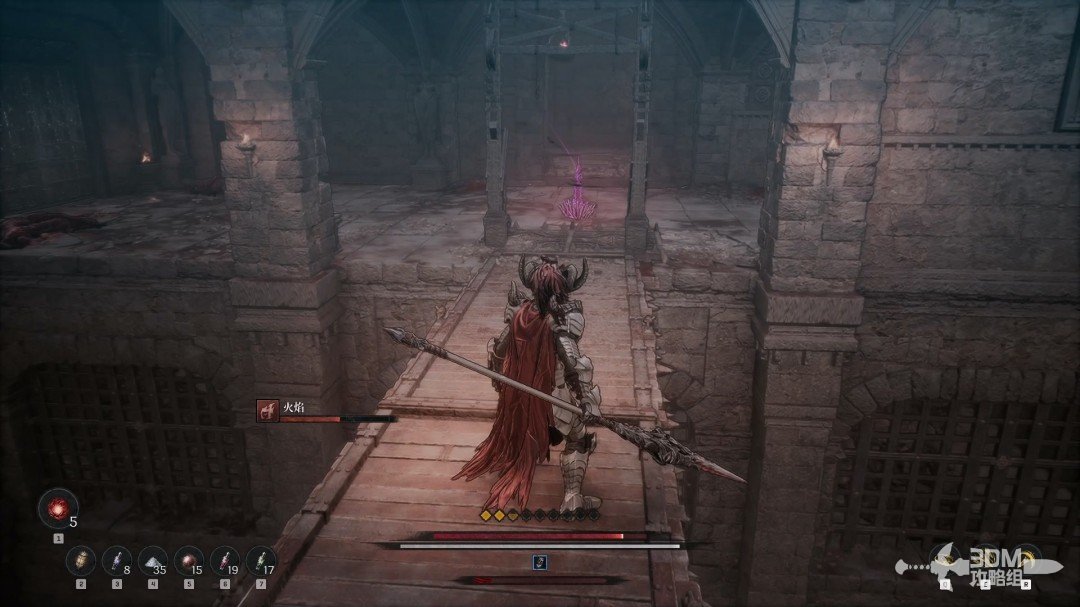
07Duplicating elite beyond the left Nexus door: open the hidden wall beside the coffin
Open the door left of the Nexus.
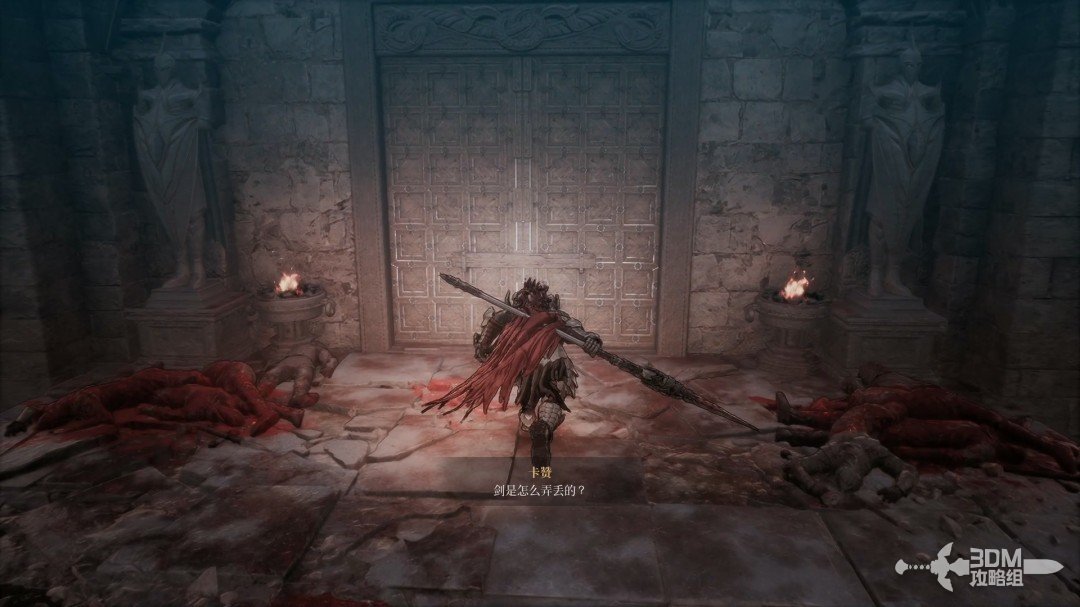
Defeat the duplicating elite beyond it. The wall by the right coffin conceals The Day the Black Moon Rose III.
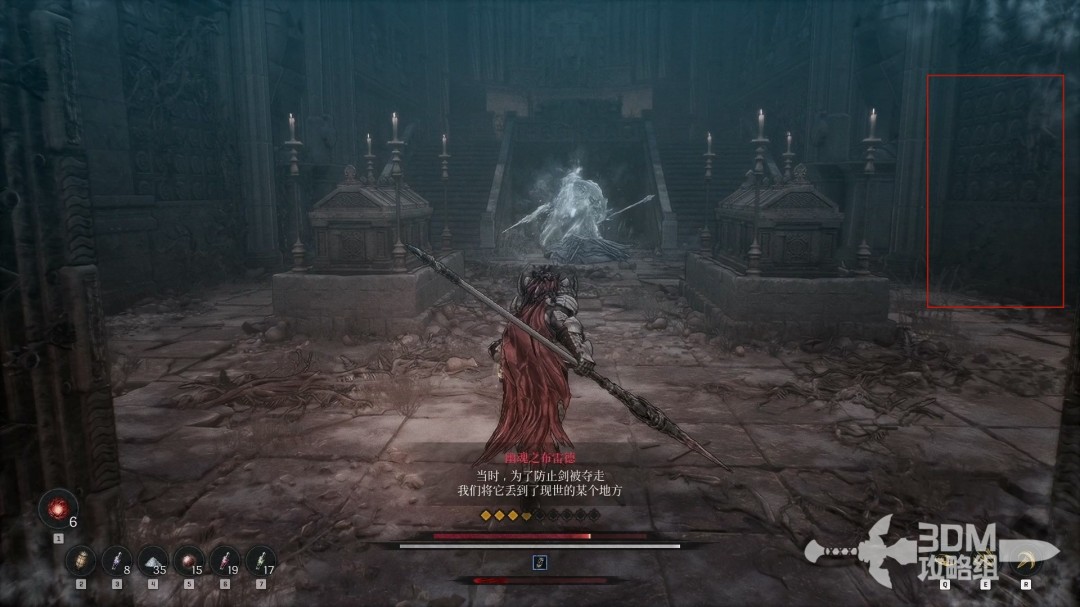
09Switch up the rear stairs: lower the statue and pass the triggered arrow trap
Climb the rear stairs and open the chest behind them.
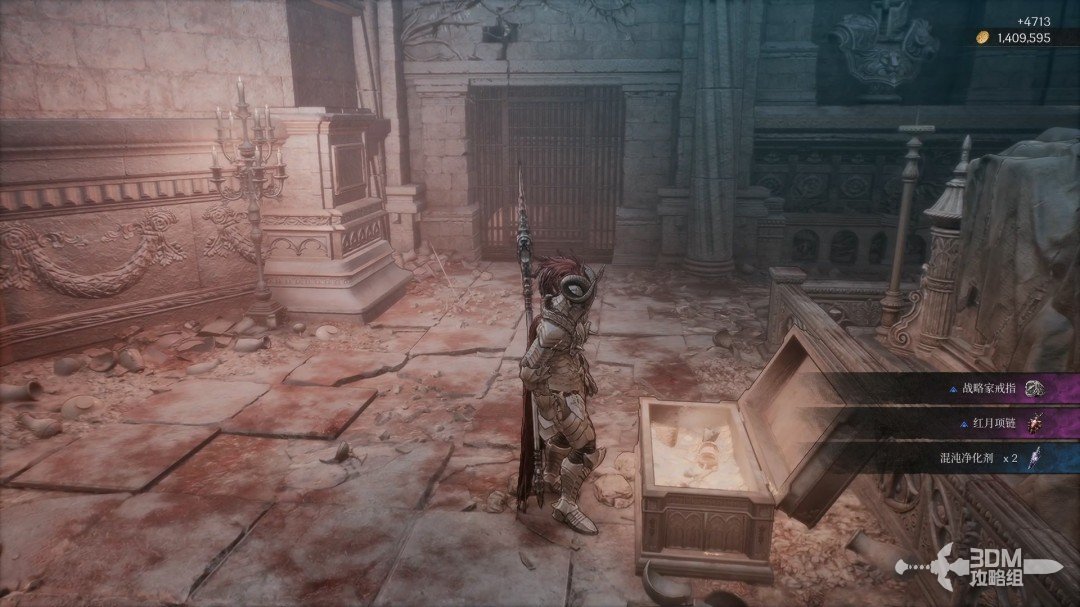
Continue left afterward.
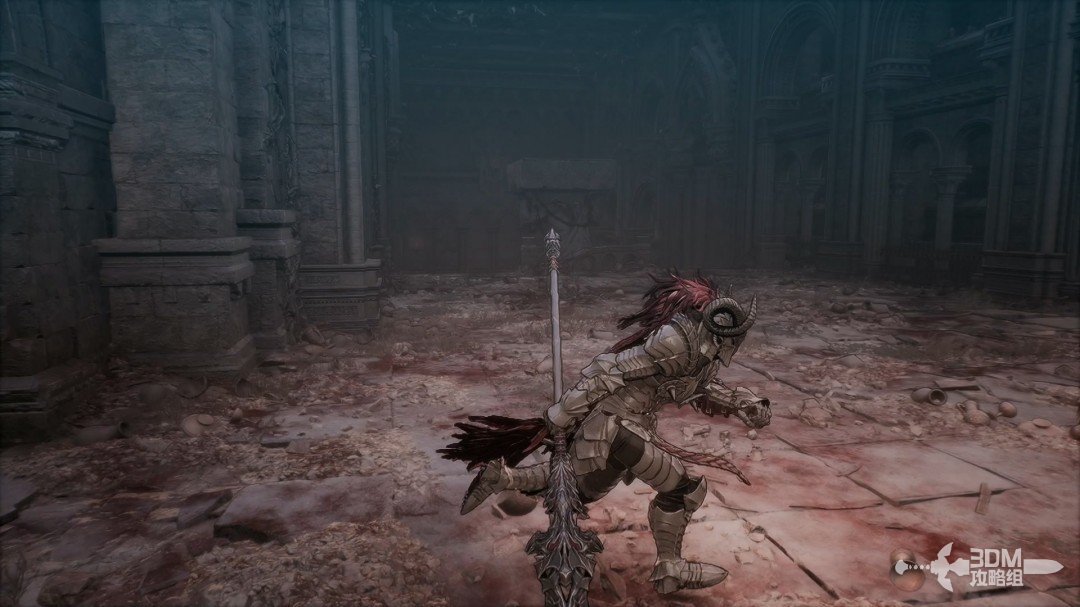
Activate the switch at the end.
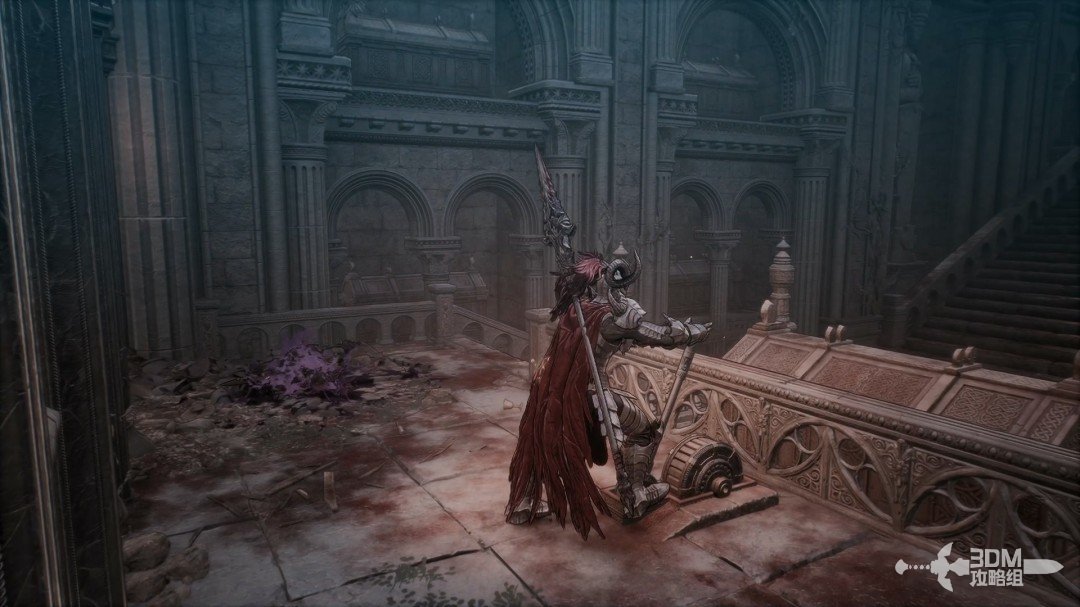
The statue below the stairs descends, revealing a memory behind it.
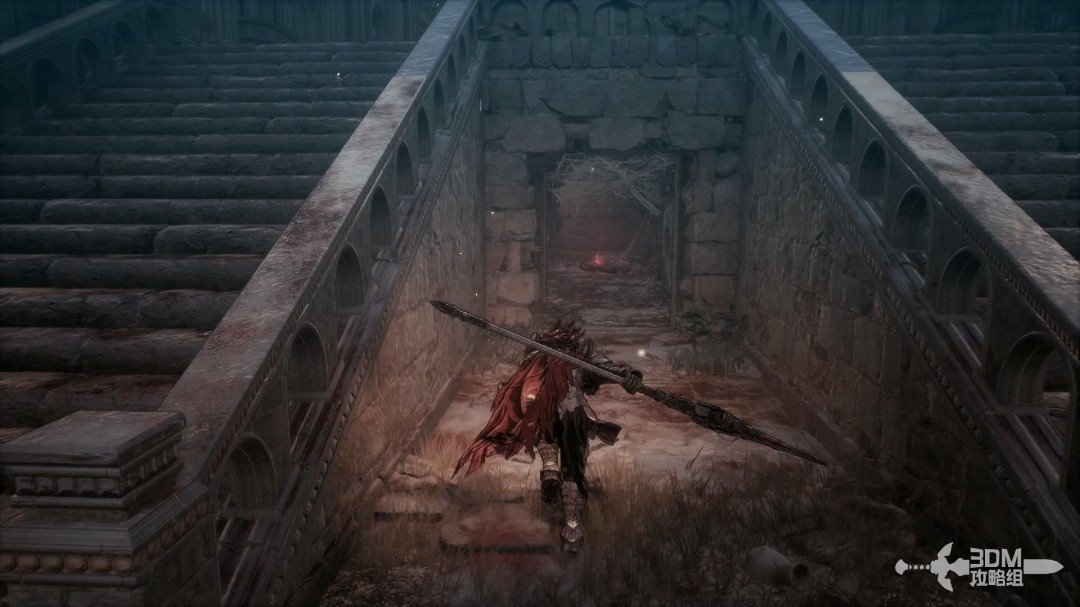
Continue past the proximity-triggered arrow trap. Wait beside the plate until the volley ends, then cross.
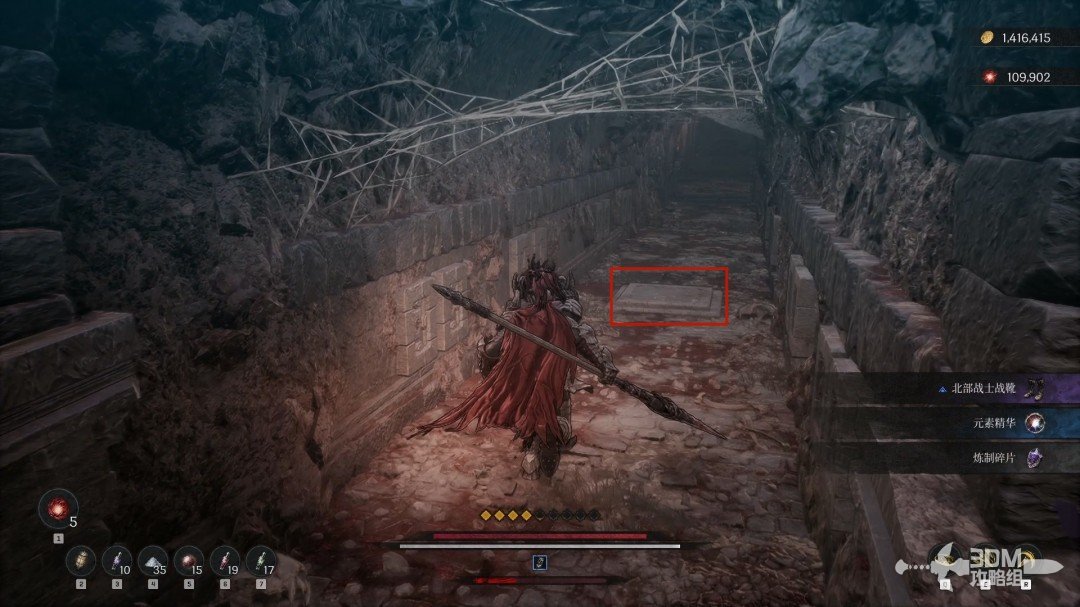
10Second-floor drop beyond the gate shortcut: search the explosive chest below
Open the left iron gate to the Nexus.
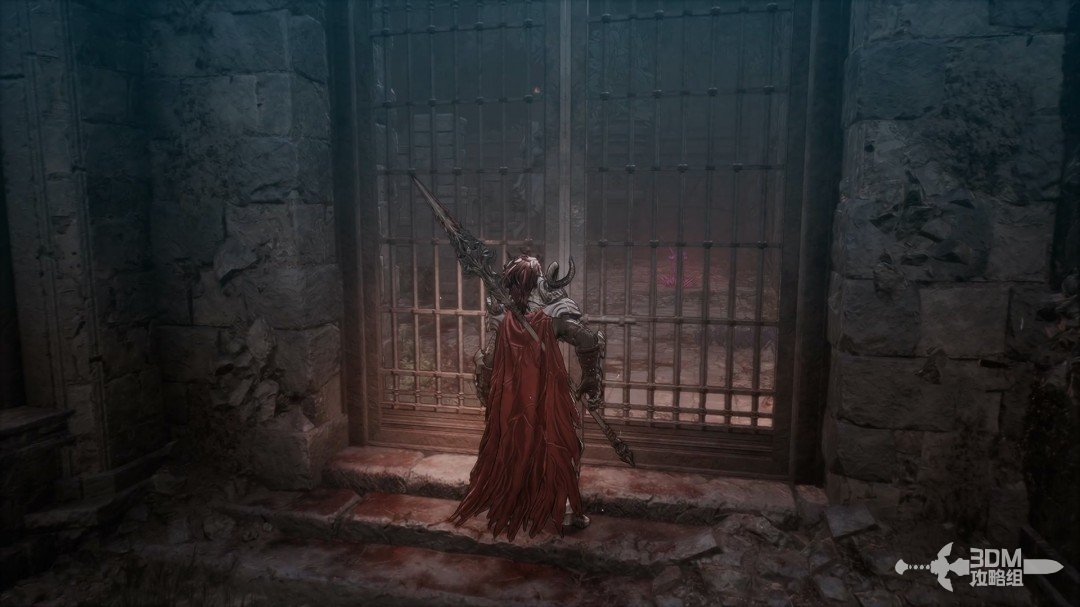
Rest and continue, collecting the purple item behind the left railing.
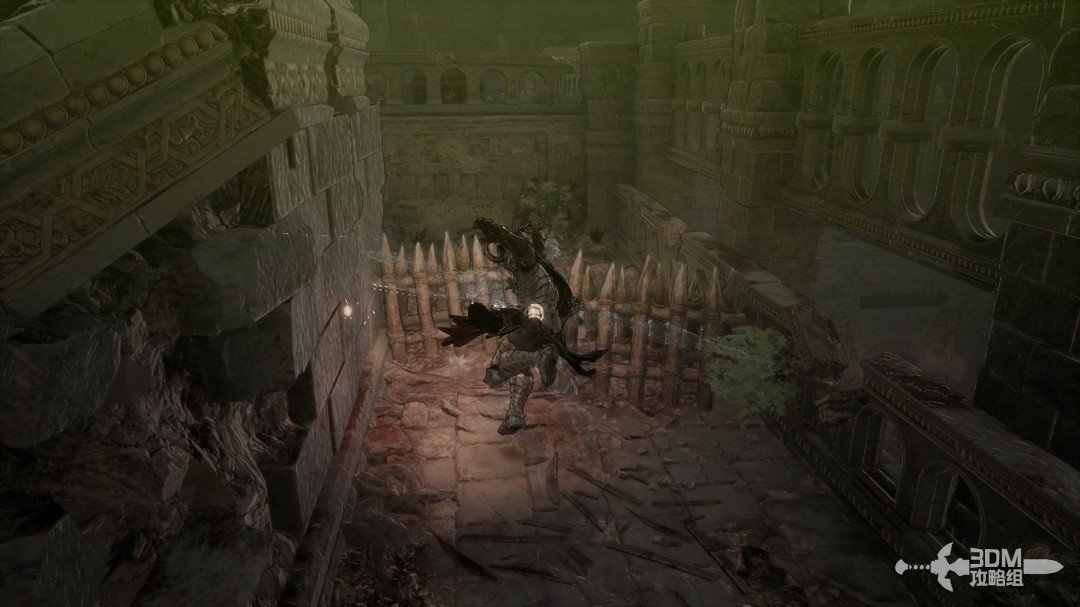
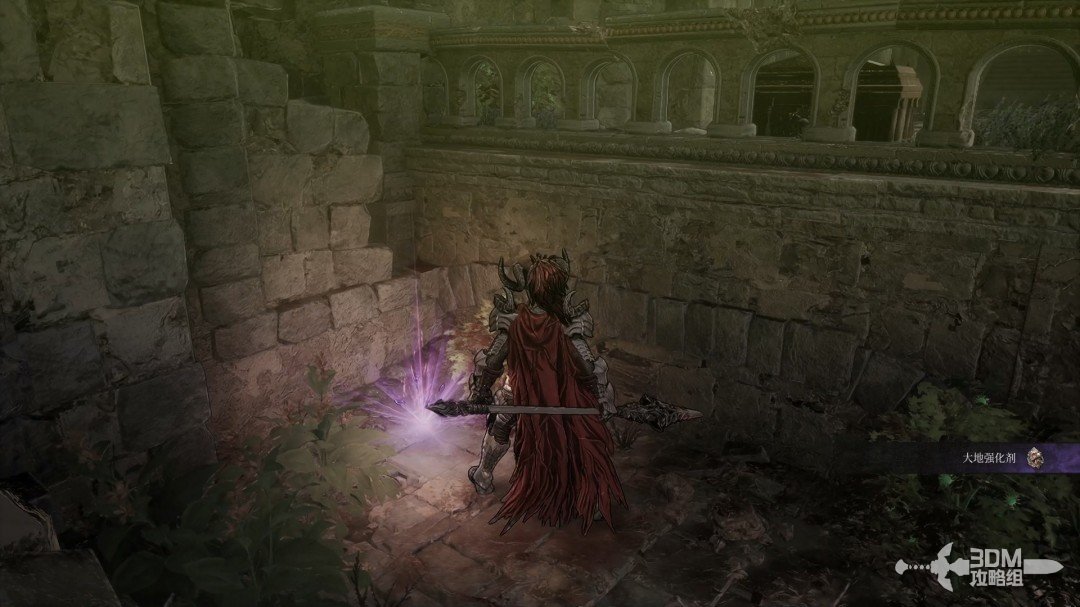
Drop from the second floor.
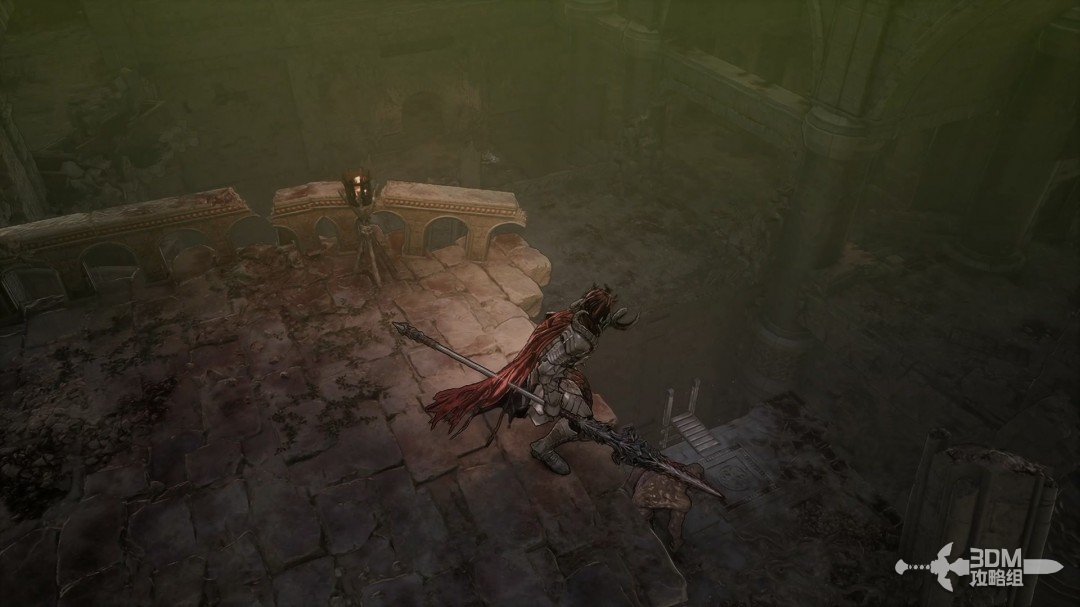
Clear the goblins below. The blue item on the right is guarded by two ambushers.
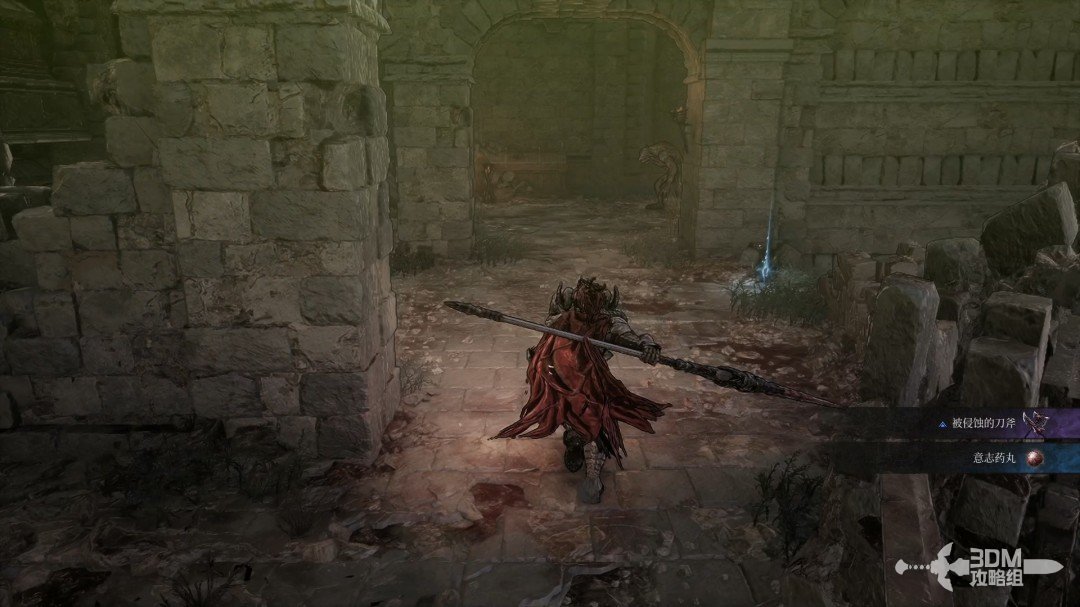
Continue by dropping farther down.
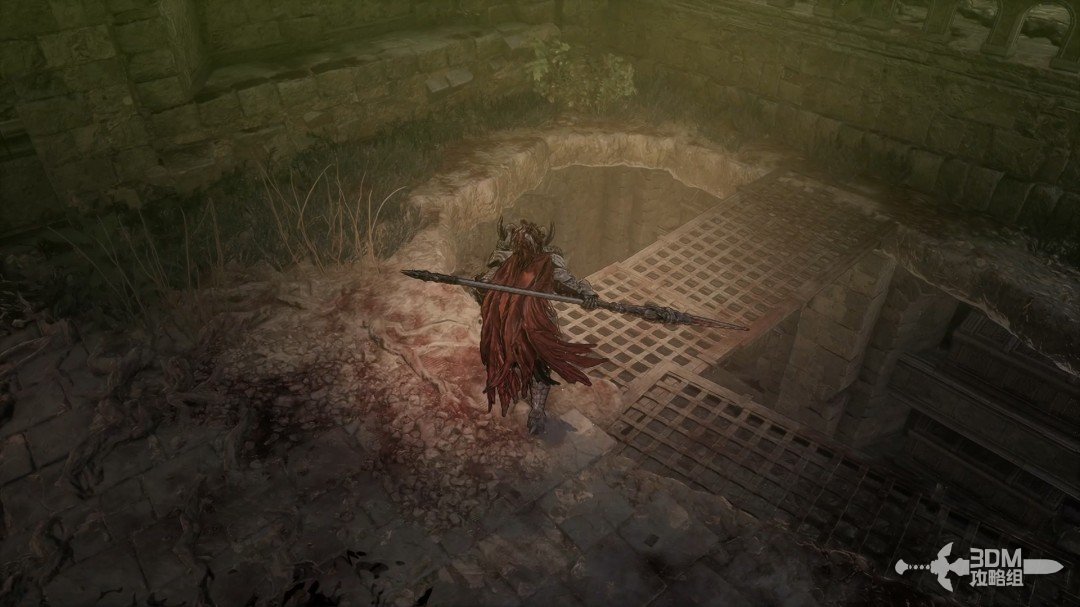
Clear the skeletons below.
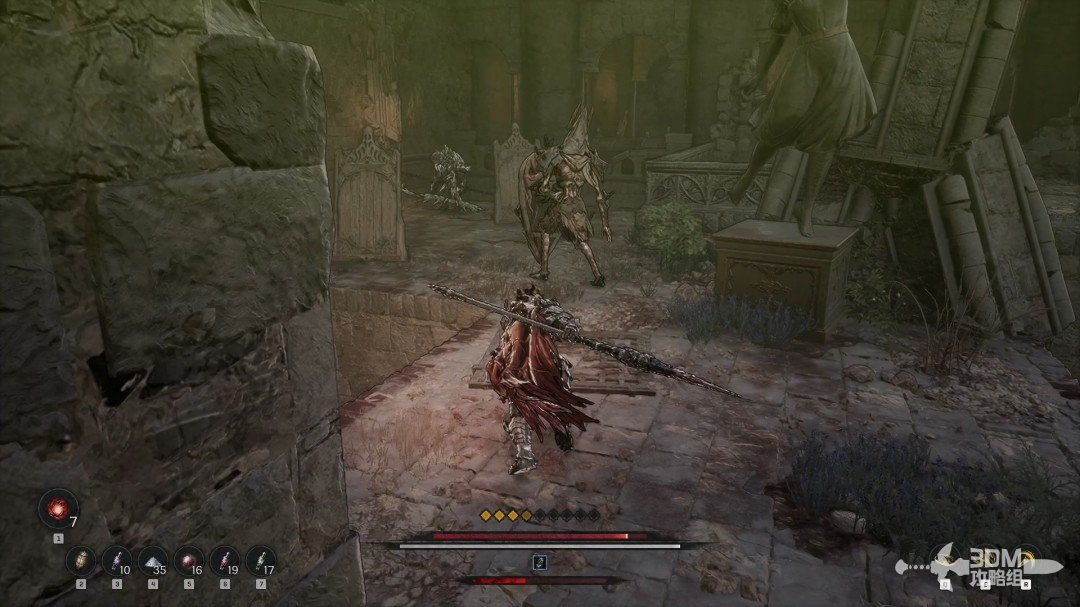
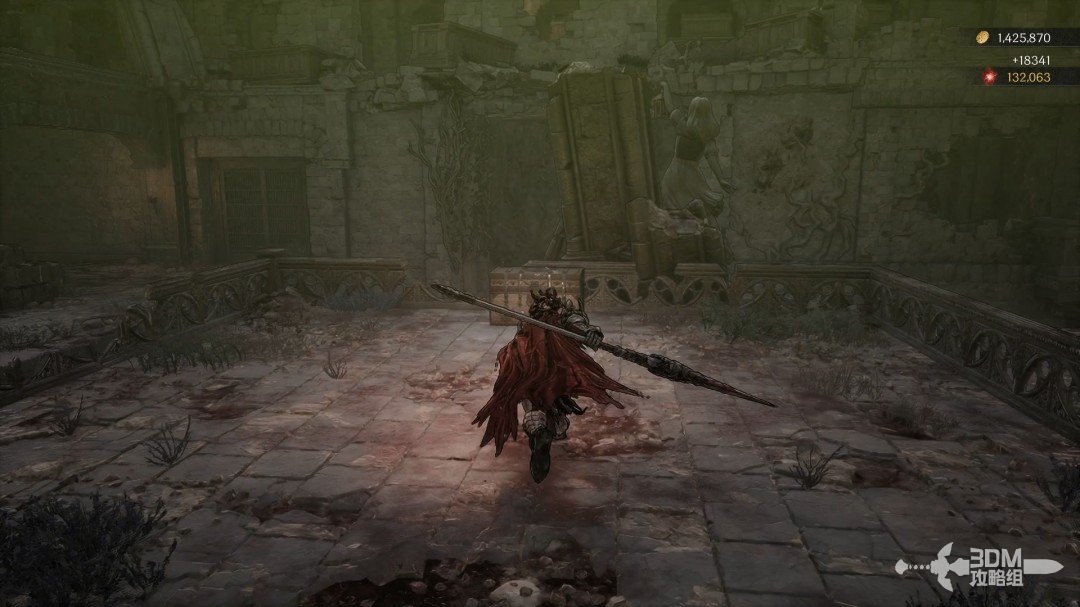
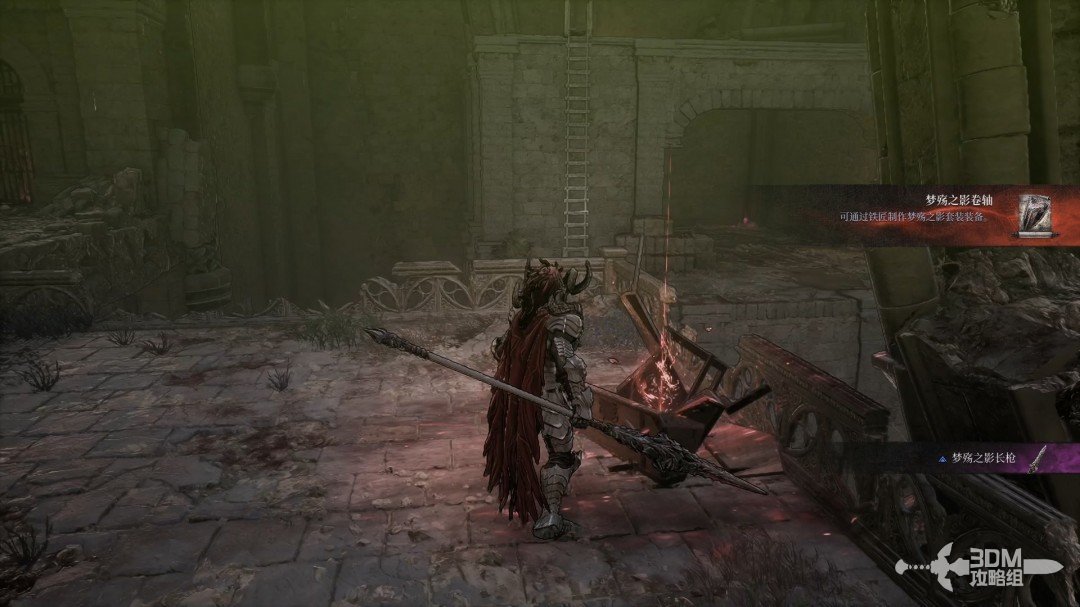
Open the exploding chest on the right for the Nightmare Shadow Scroll.
12Plank path left of the locked gate: avoid the trap and search the jar
The iron gate ahead cannot be opened from this side.
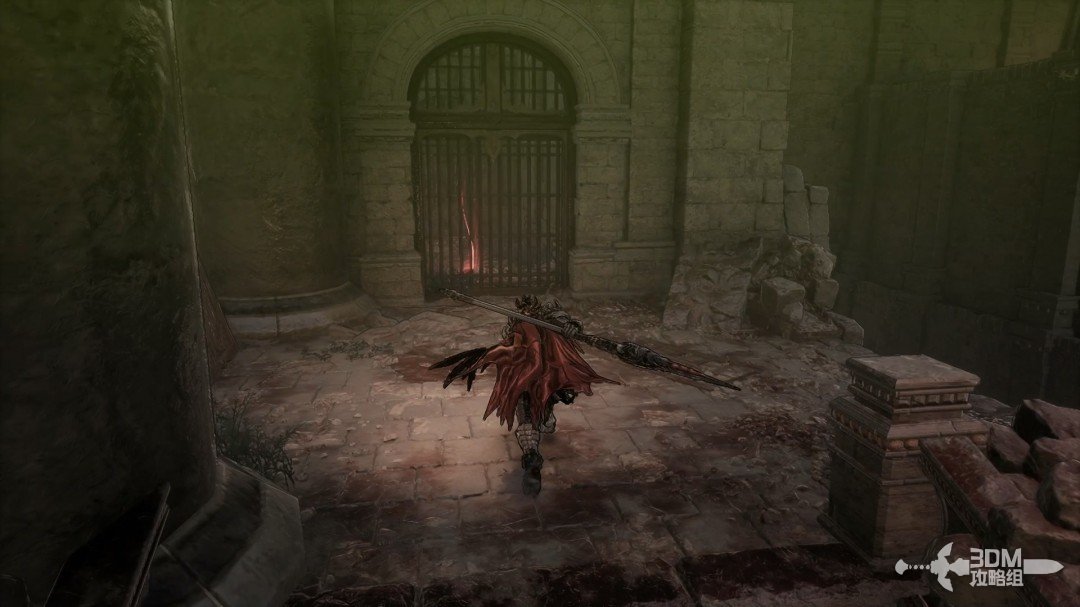
Take the left path and avoid the trigger behind these boards.
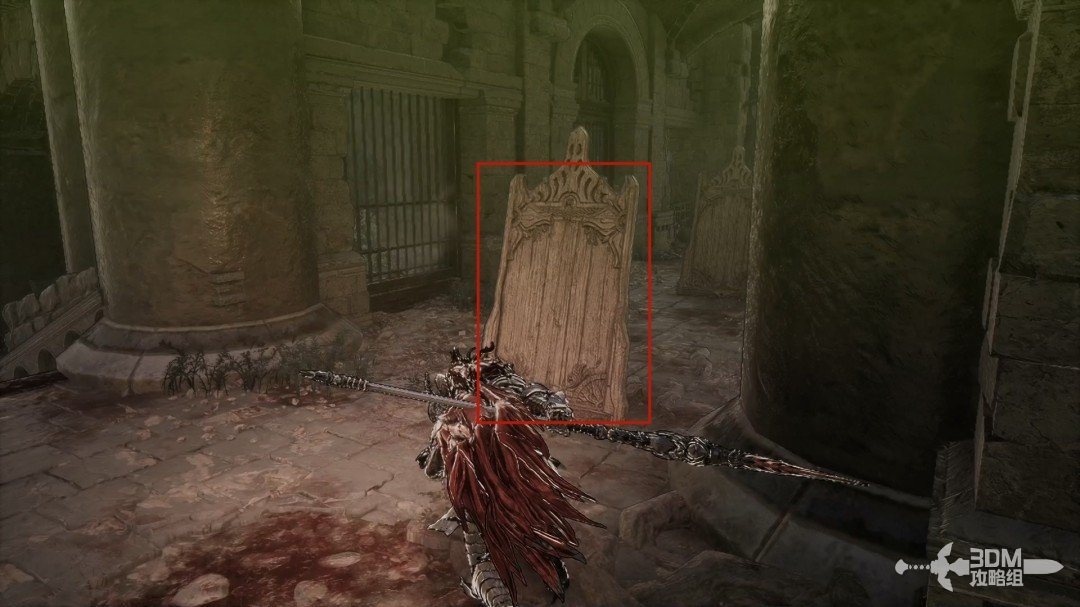
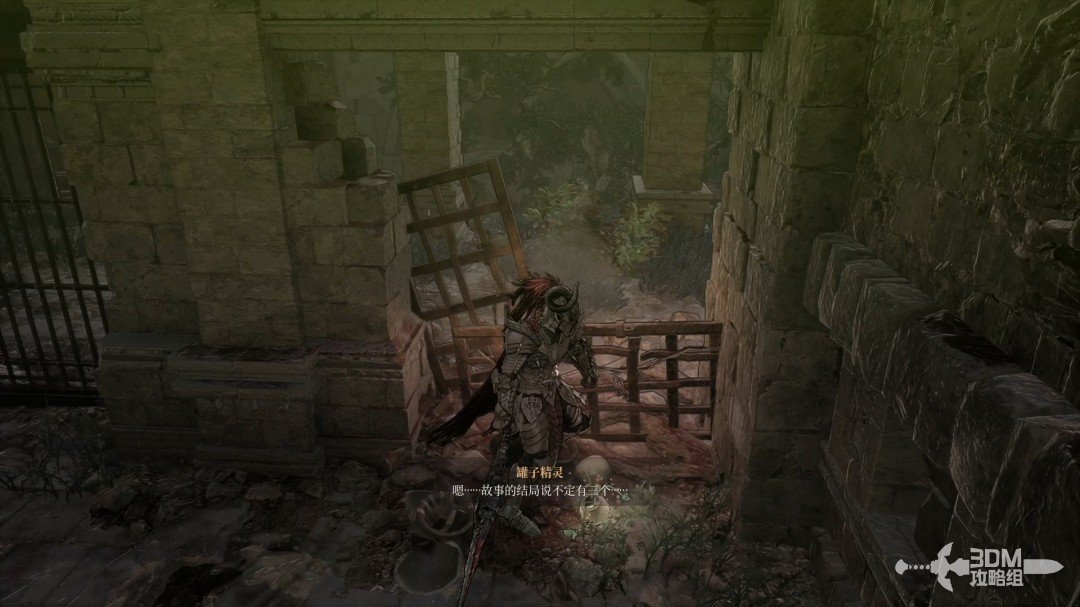
The pot beside the trigger contains a Jarling.
14Stairs beyond the right doorway: collect the Hismar Subjugation record
Enter the doorway on the right.
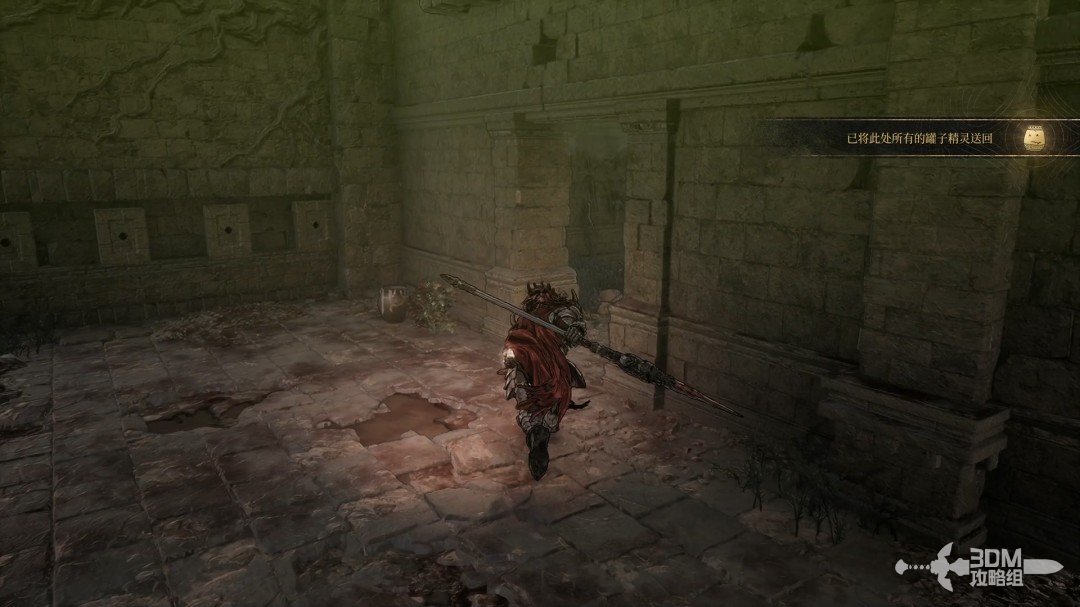
Absorb the memory in the right corner.
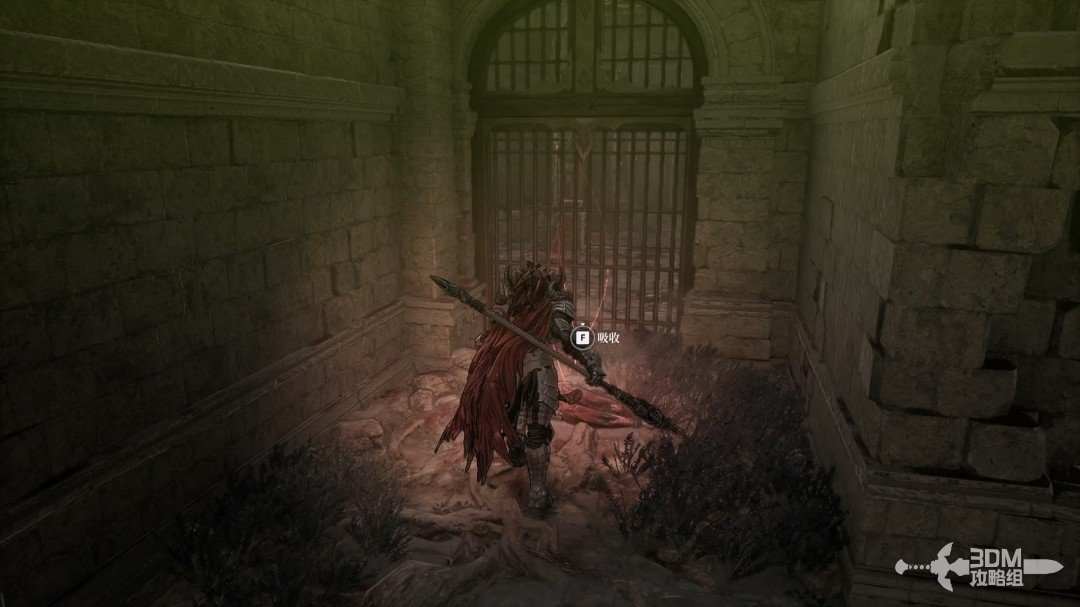
Climb the nearby stairs.
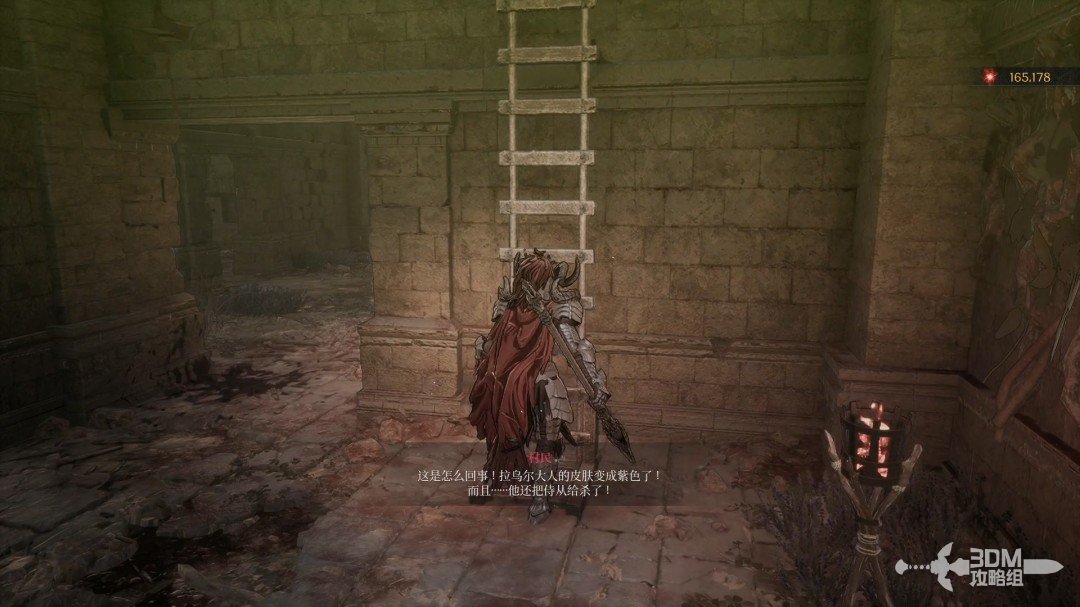
Collect Hismar Campaign I on the left above.
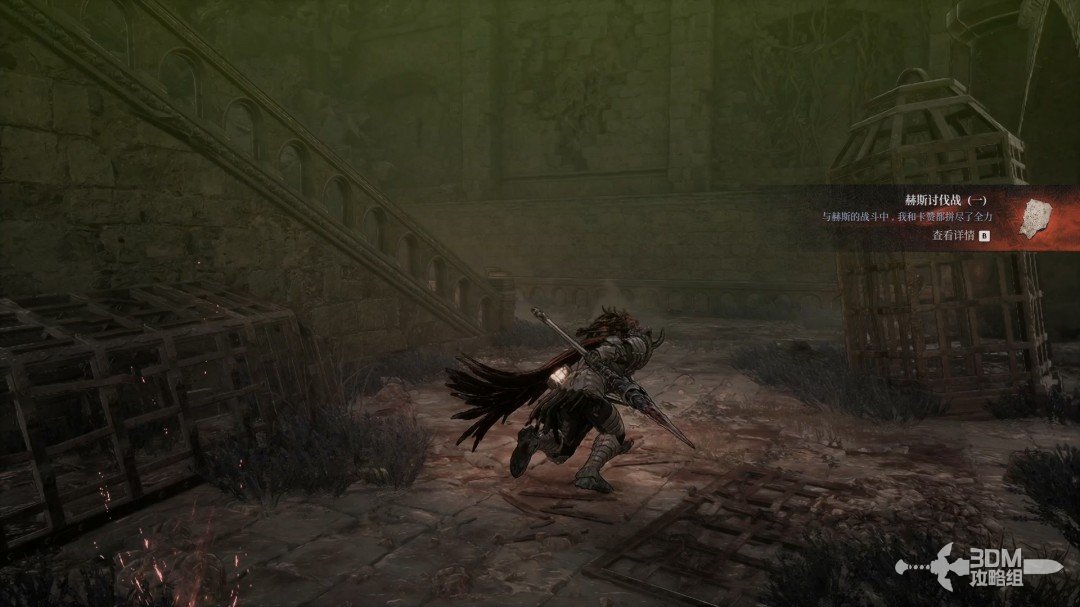
16Iron cage above the left stairs: aim at the Soulstone, then search the chest left of the gate
Climb the left stairs and locate the Soulstone in an iron cage high on the left.
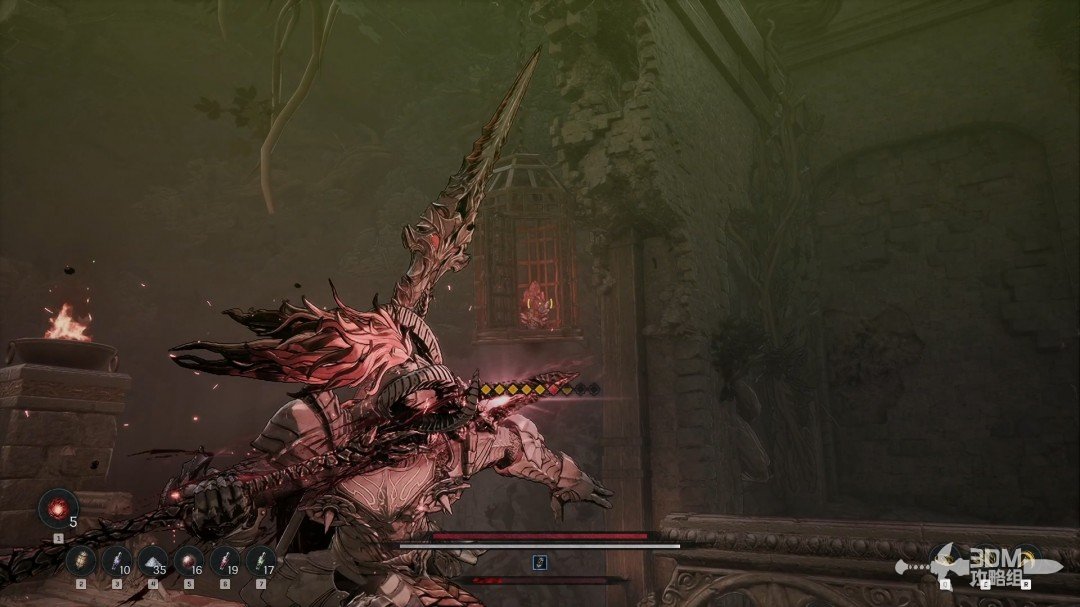
Defeat the durable enemy on the platform.
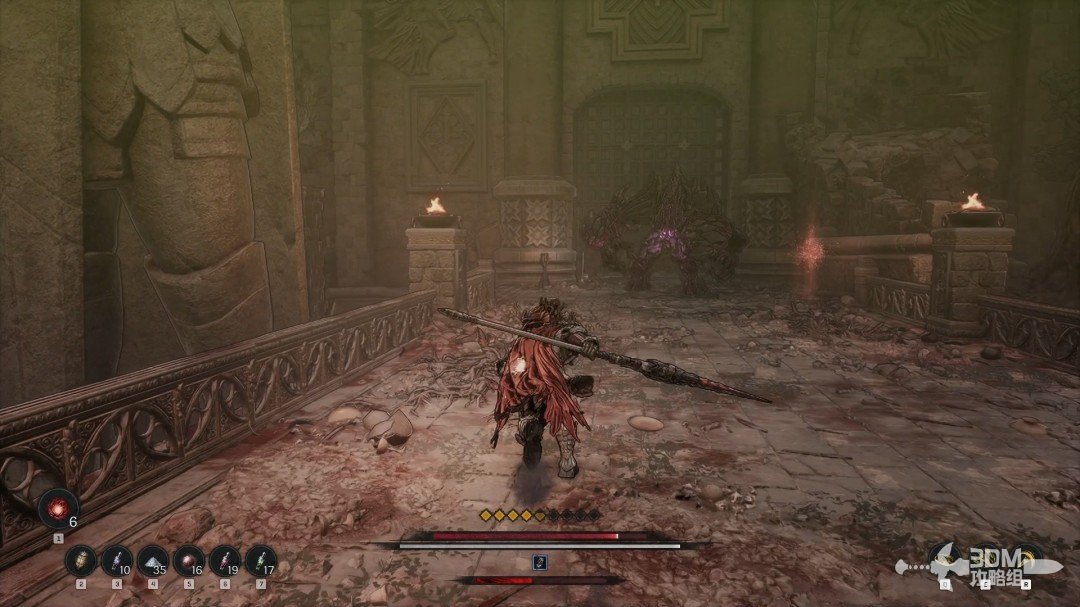
Before opening the gate ahead, descend the left stairs for a chest.
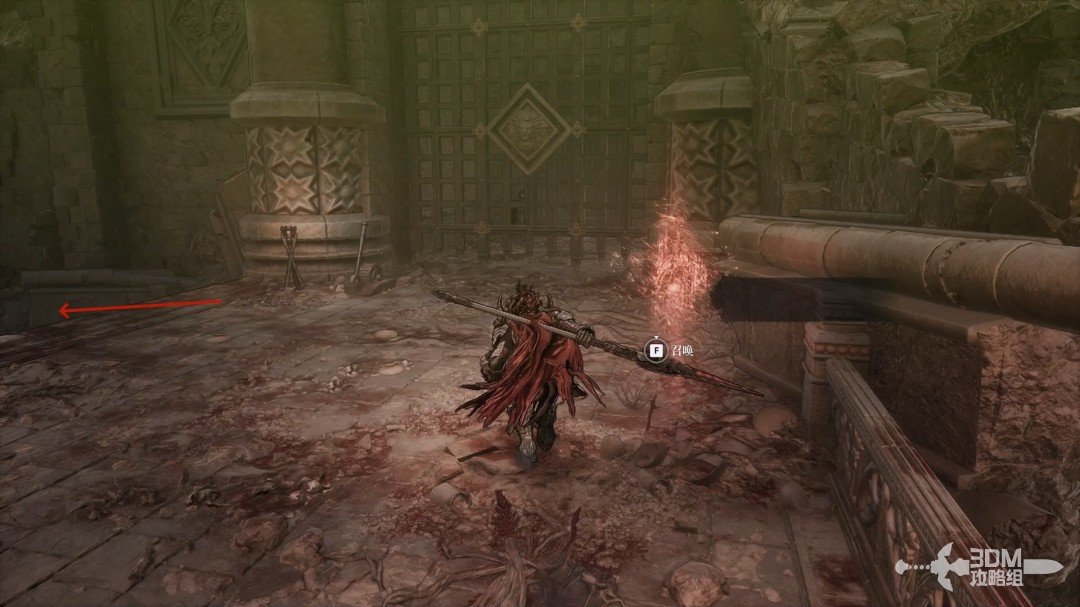
Collect the Ghostly Sword Hilt from the chest.
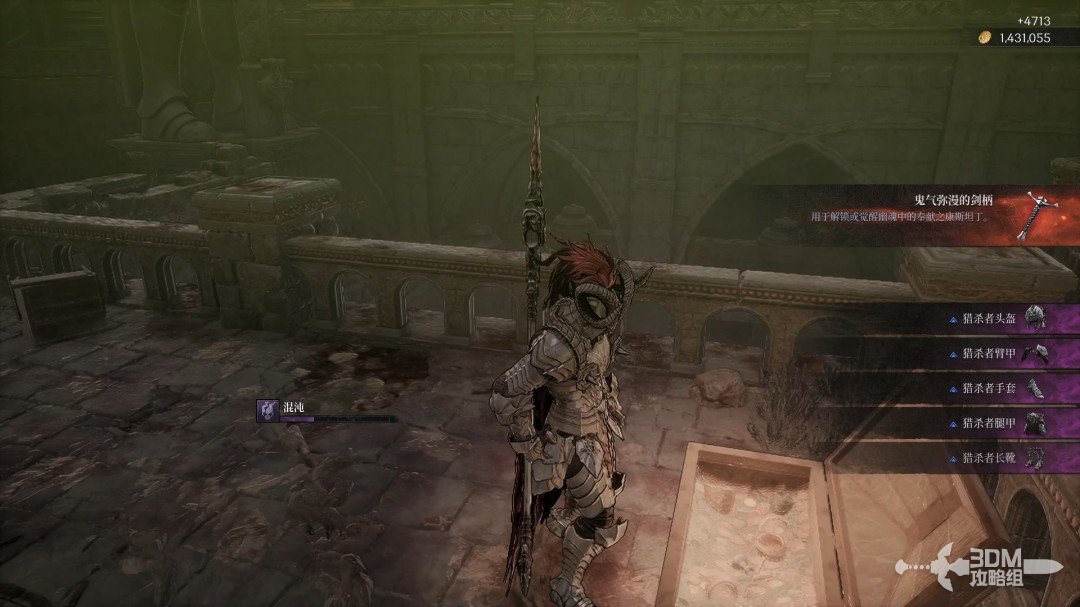
19Descend beyond the gate: defeat the elite below the Nexus
Continue beyond the iron gate afterward.
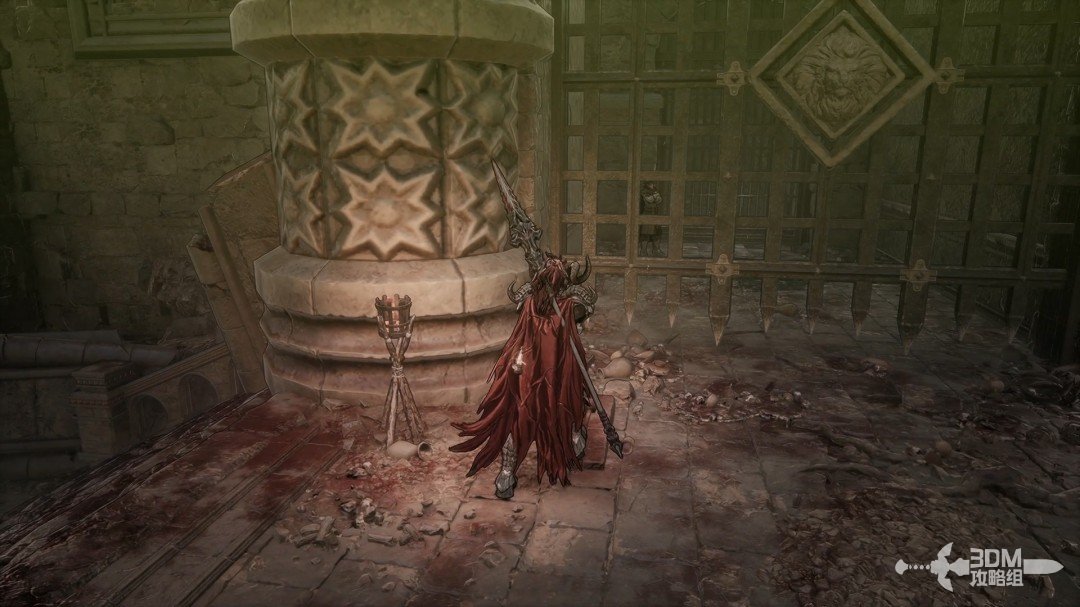
Descend to the Blade Nexus.
Defeat the elite beneath the stairs.
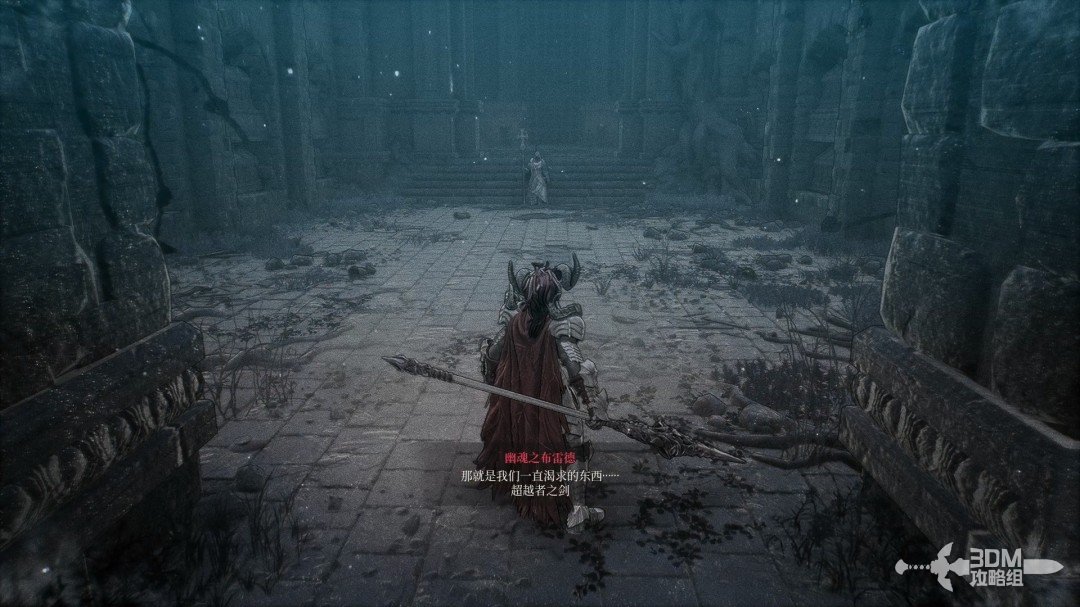
Collect the Cleric's Record after victory.
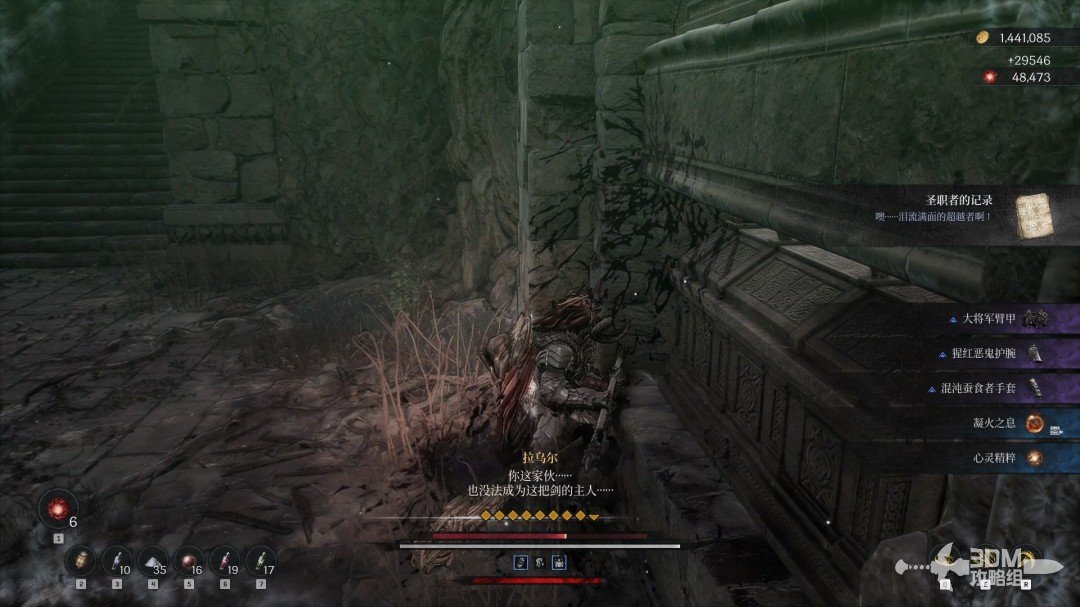
21Battlefield before the sword: defeat the guardian and recover Blade Phantom's weapon
The cinematic reveals that the man drank a chaos-infused potion to draw the sword, gaining borrowed power but ultimately failing.
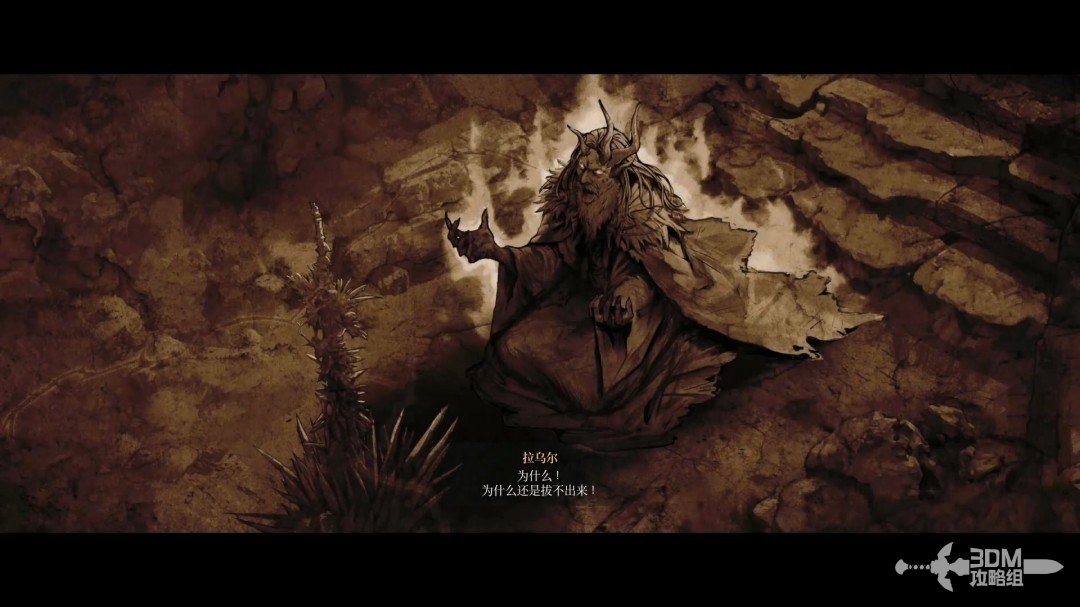
Continue into a boss fight resembling Elamein, with the same attacks.
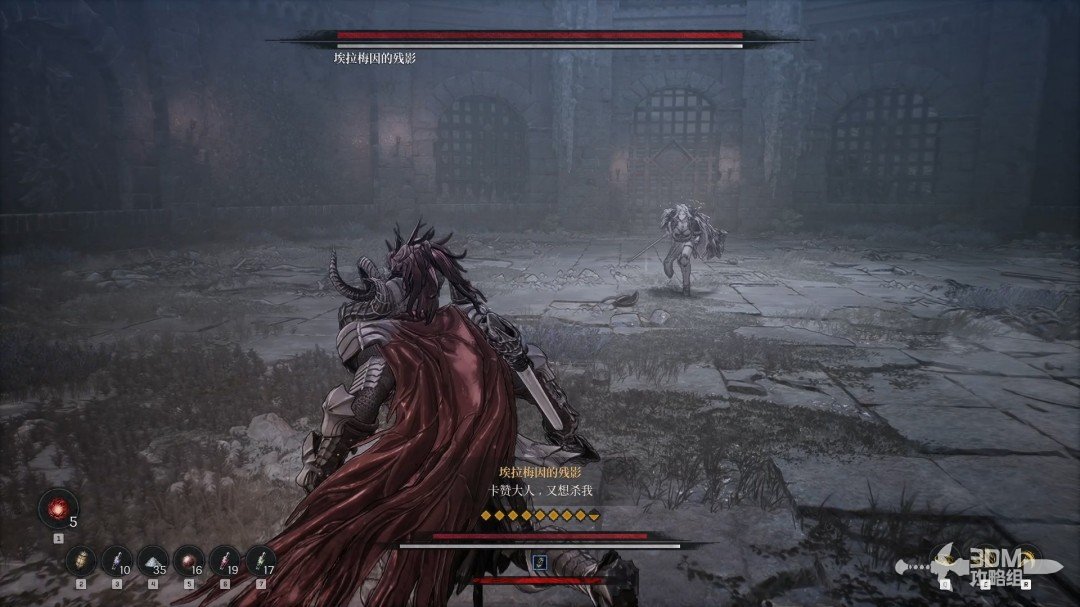
Victory recovers the sword for Blade Phantom and strengthens Khazan.
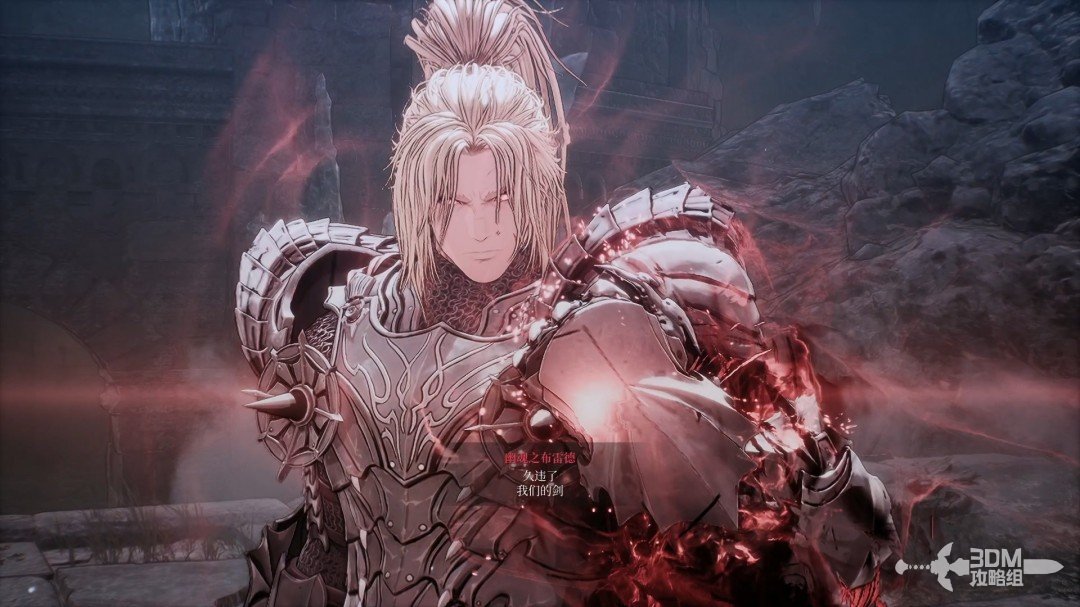
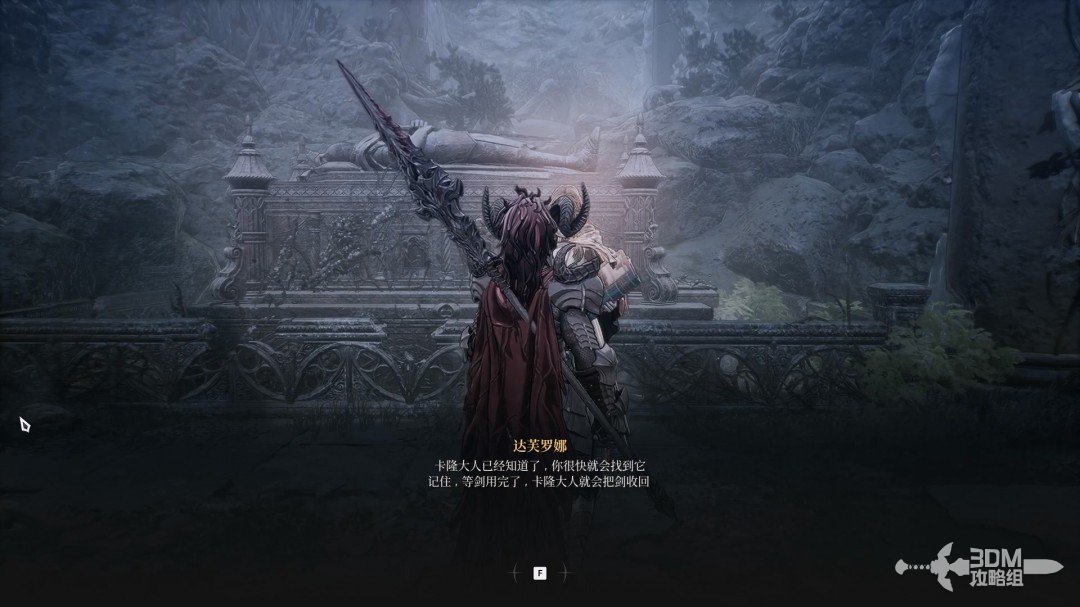
Daphrona appears and explains that the sword belongs to Charon, though you may use it for now. Speak to her to complete the mission and return.
Continue
Reference: 3DM Guide Team
GAME NOTE has reorganized and rewritten the routes from this walkthrough.