Skip to content

Inconceivable Truth

Guide editor: GAME NOTE

GAME NOTE CLASSIC · GUIDE LIBRARYThe First Berserker: Khazan

Search the labor facility and mine before Shactuka.

Pickups in this mission

01Linon Mine entrance: speak to Tristan and open the gate

Resume the main story with Unbelievable Truth.
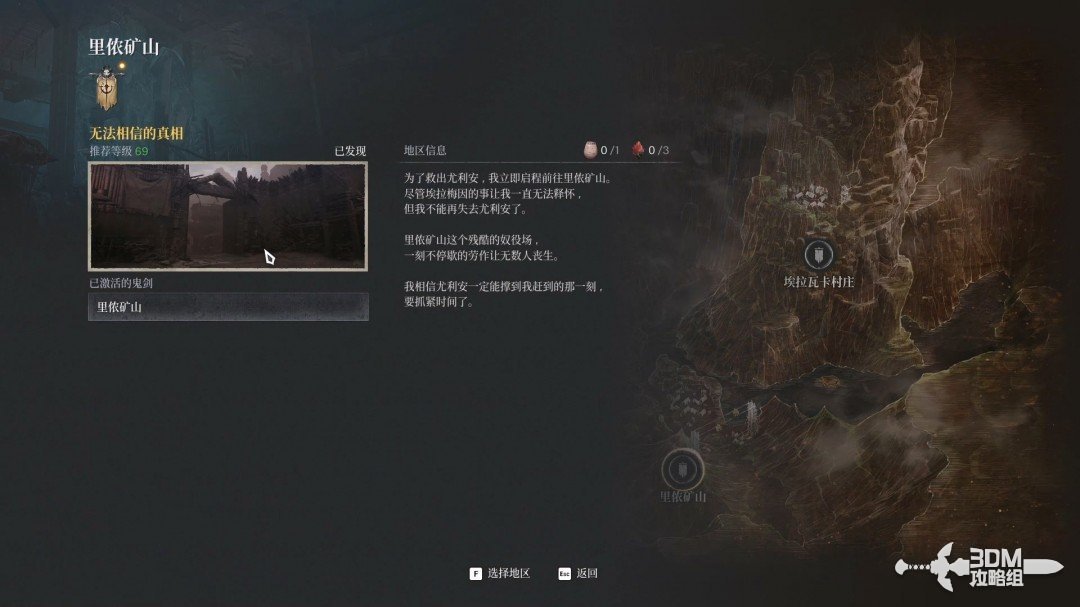
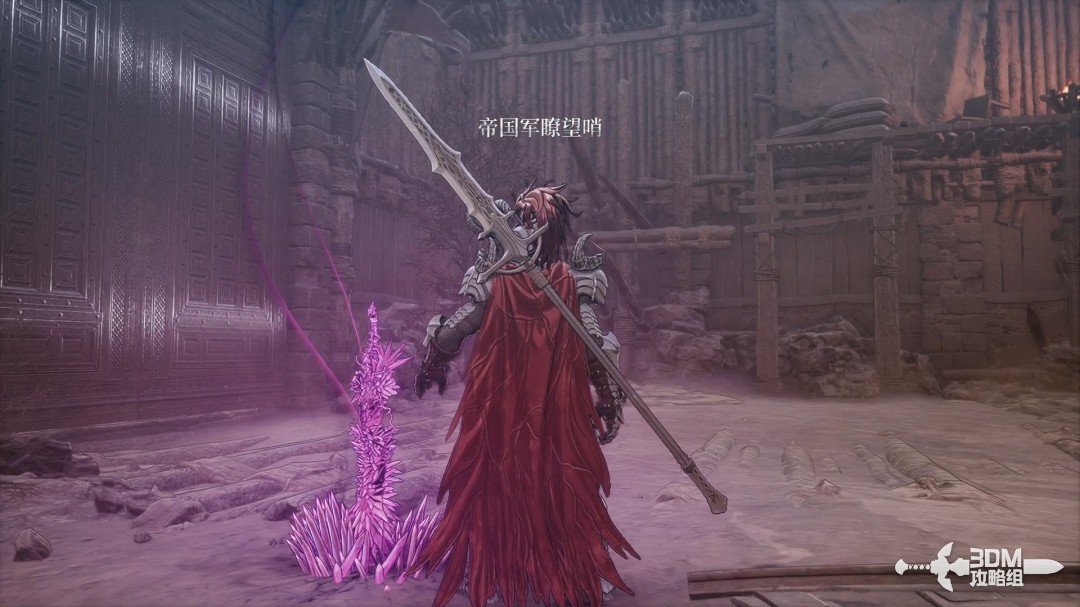
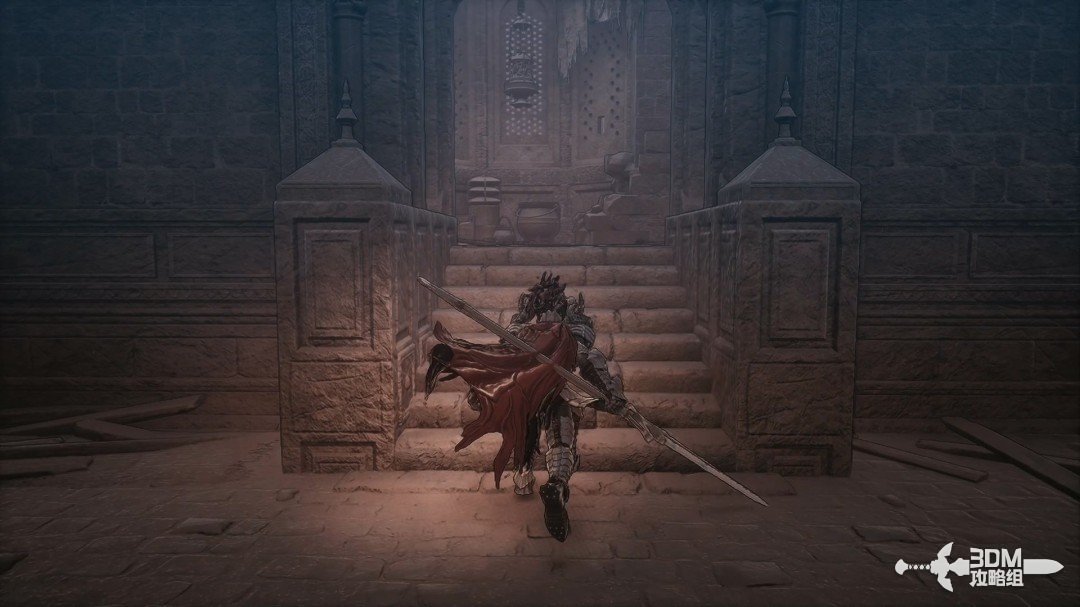
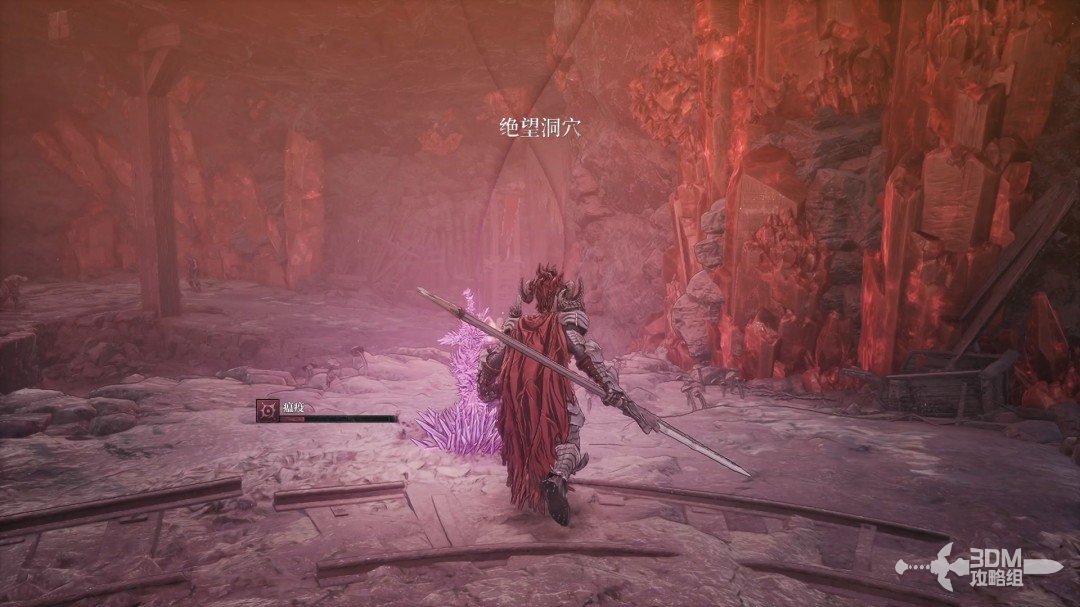
Linon Mine entrance: speak to Tristan and open the gate · route image 1

Speak to Tristan about rescuing Yulian. The source did not identify a consequence for the dialogue choice.
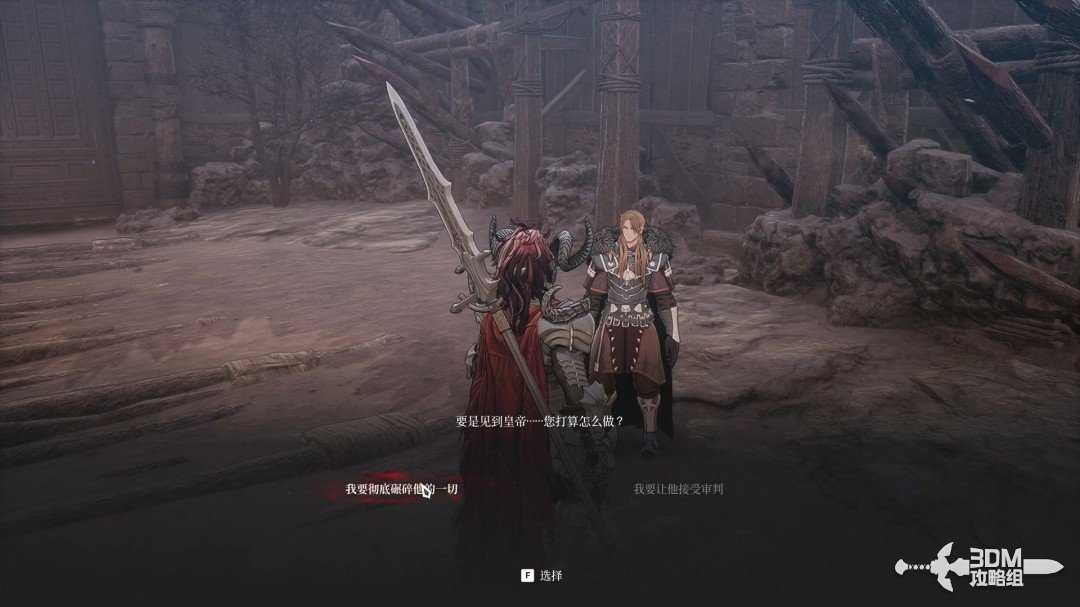
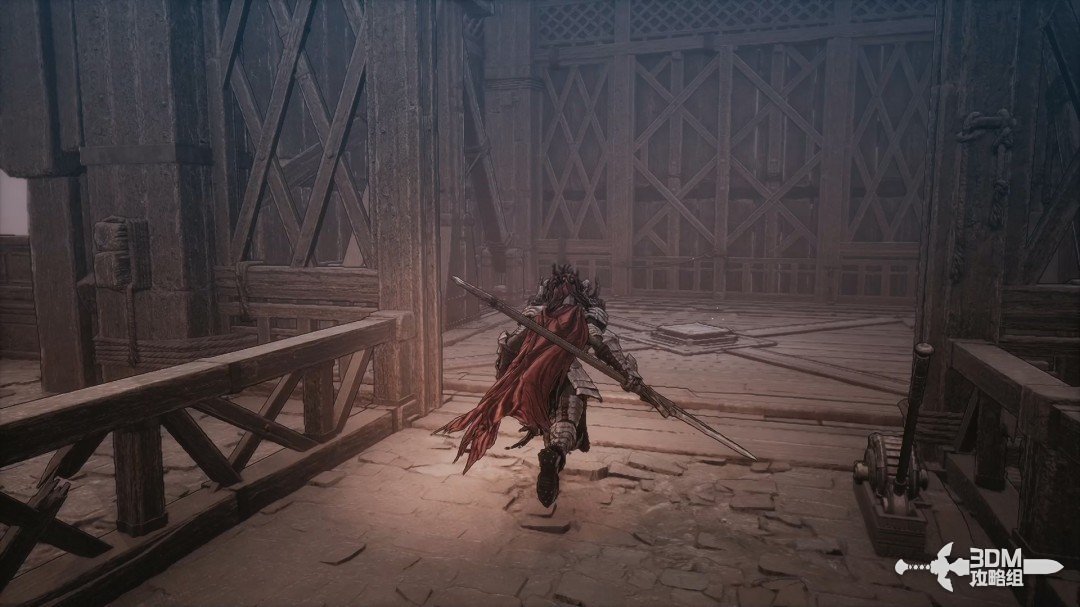
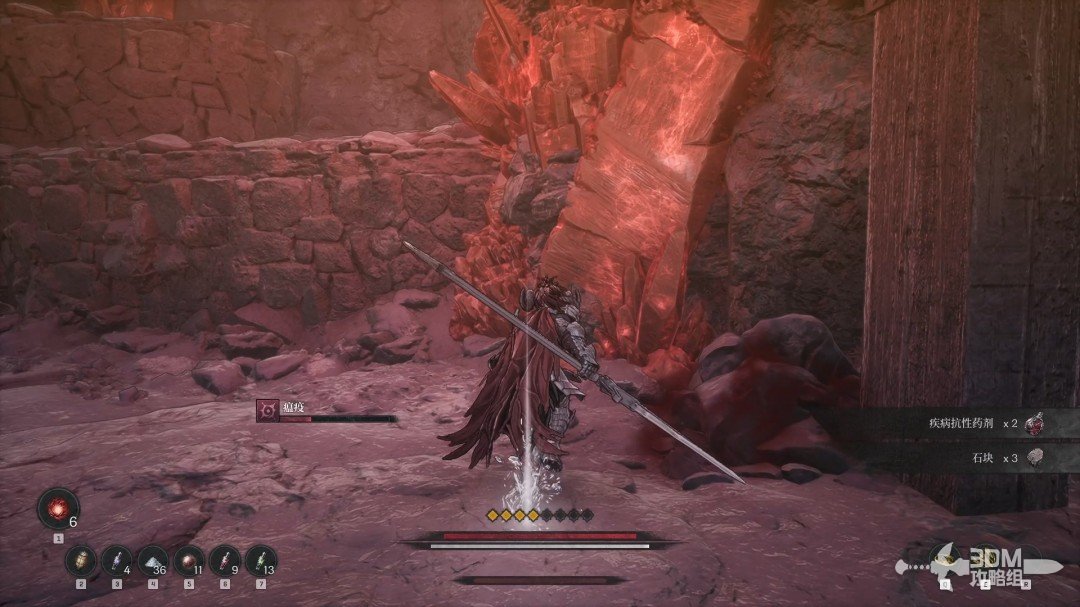
Linon Mine entrance: speak to Tristan and open the gate · route image 2

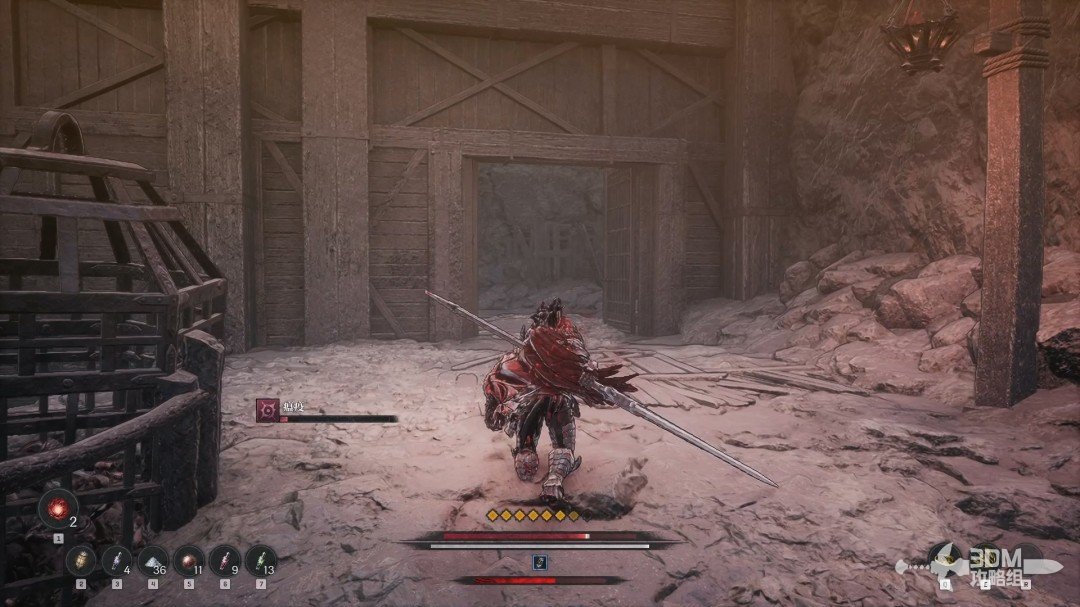
Rest nearby and open the large gate.

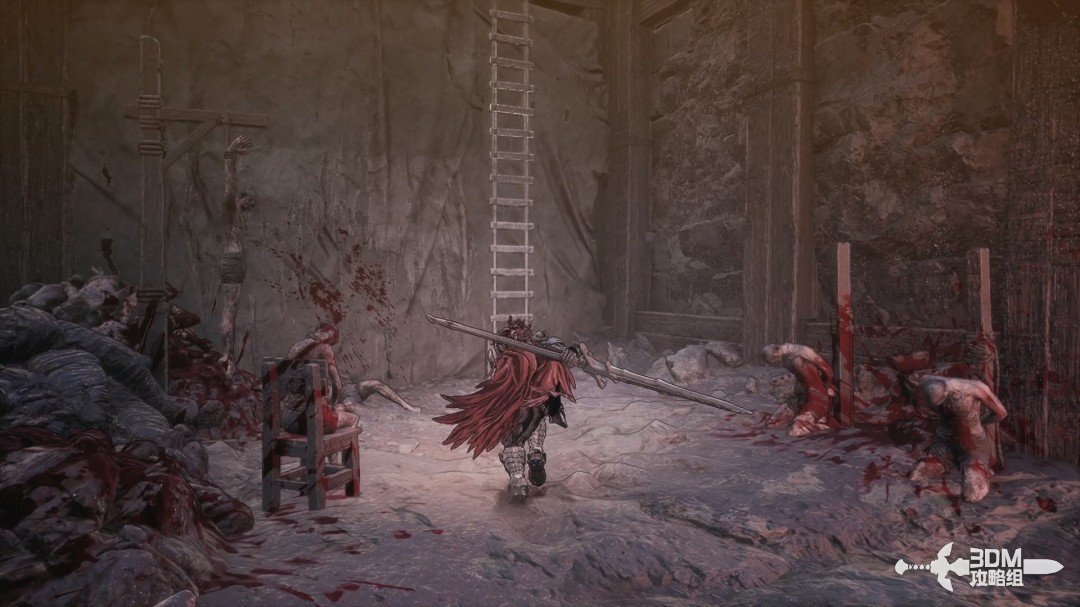
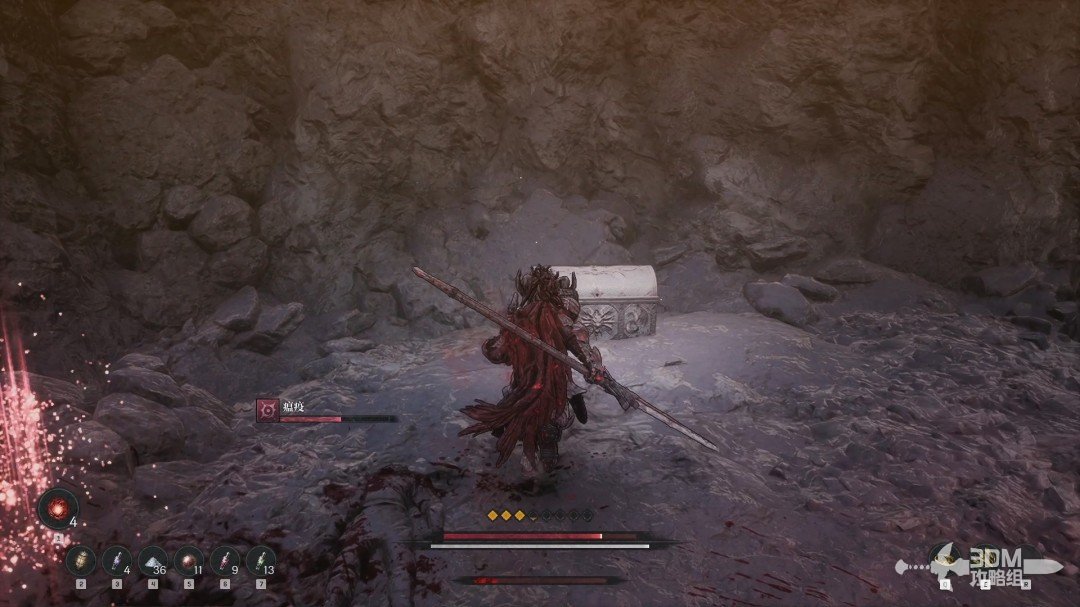
Linon Mine entrance: speak to Tristan and open the gate · route image 3

Collect the white item on the right inside.
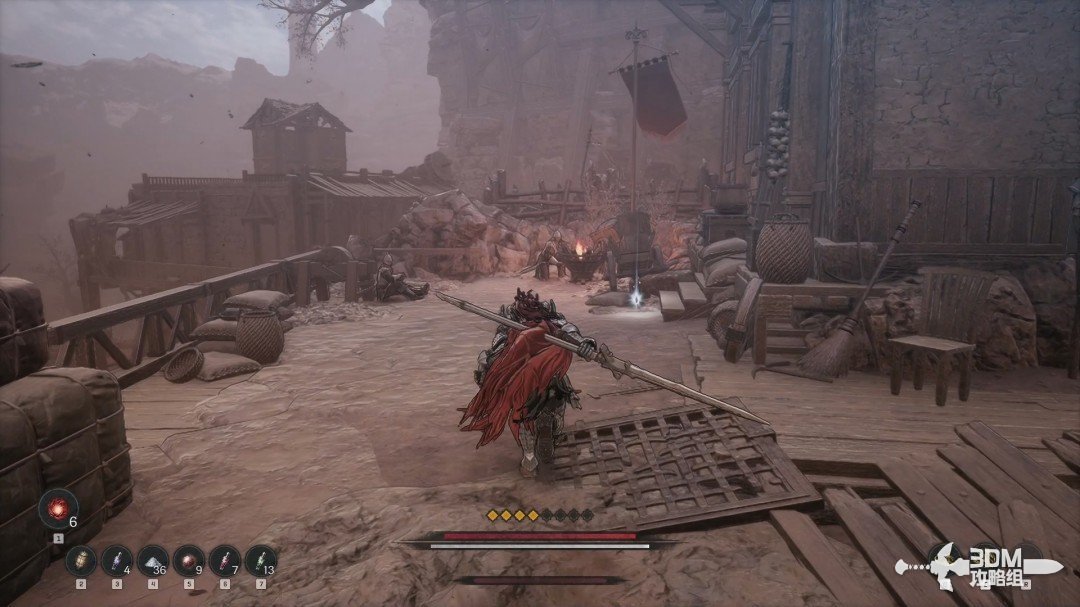
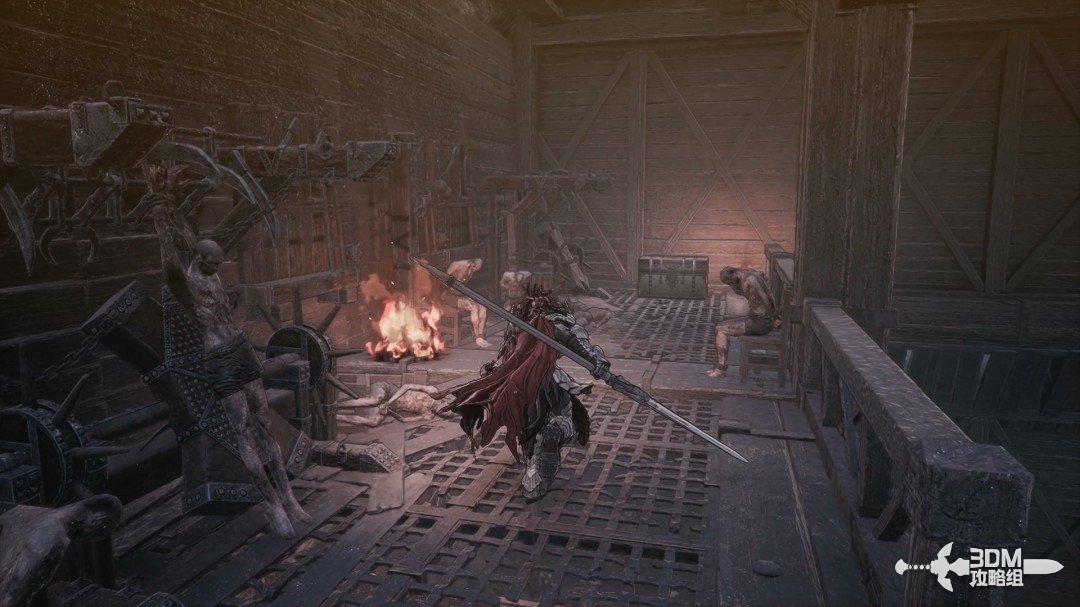
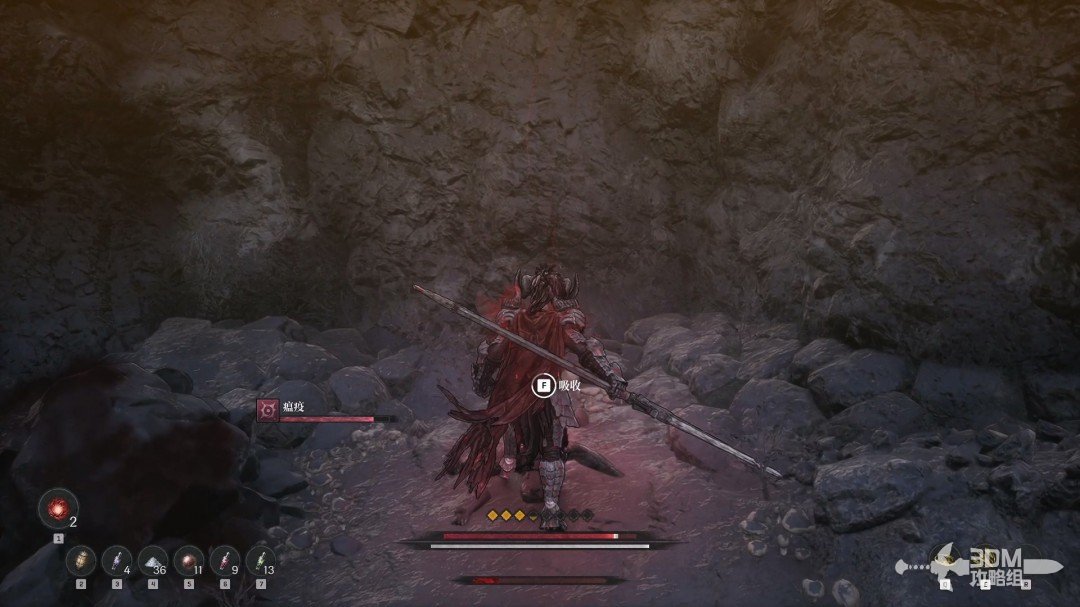
Linon Mine entrance: speak to Tristan and open the gate · route image 4

02Left slope and cliff behind the house: circle to the Soulstone behind the stairs

Descend the left slope, defeat the human soldiers and enter the room.
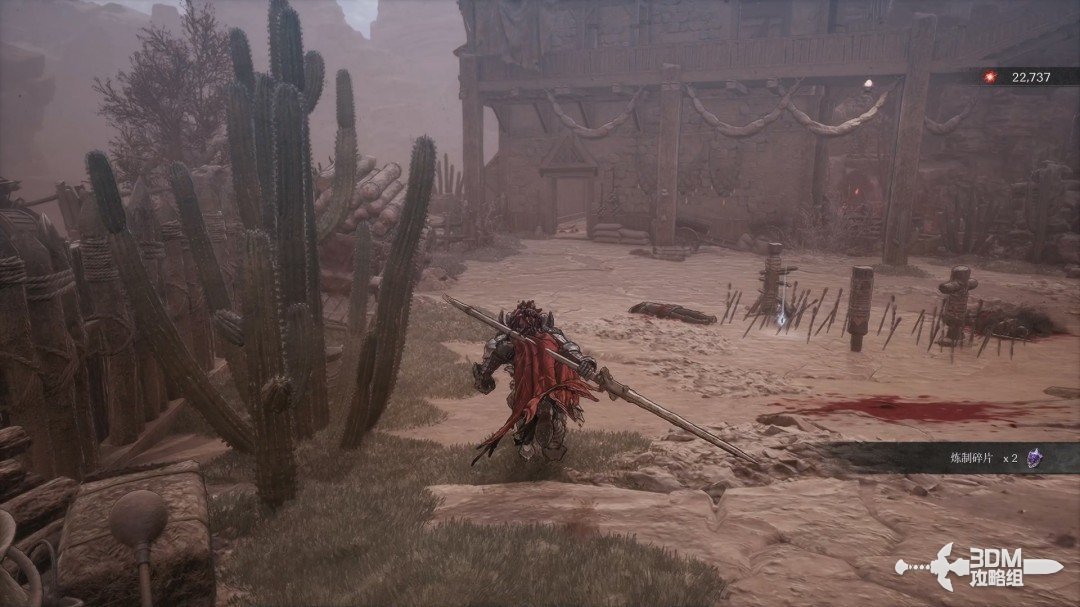
Left slope and cliff behind the house: circle to the Soulstone behind the stairs · route image 5

Open the small door on the left.

Left slope and cliff behind the house: circle to the Soulstone behind the stairs · route image 6

Collect the blue item beside the left cliff.
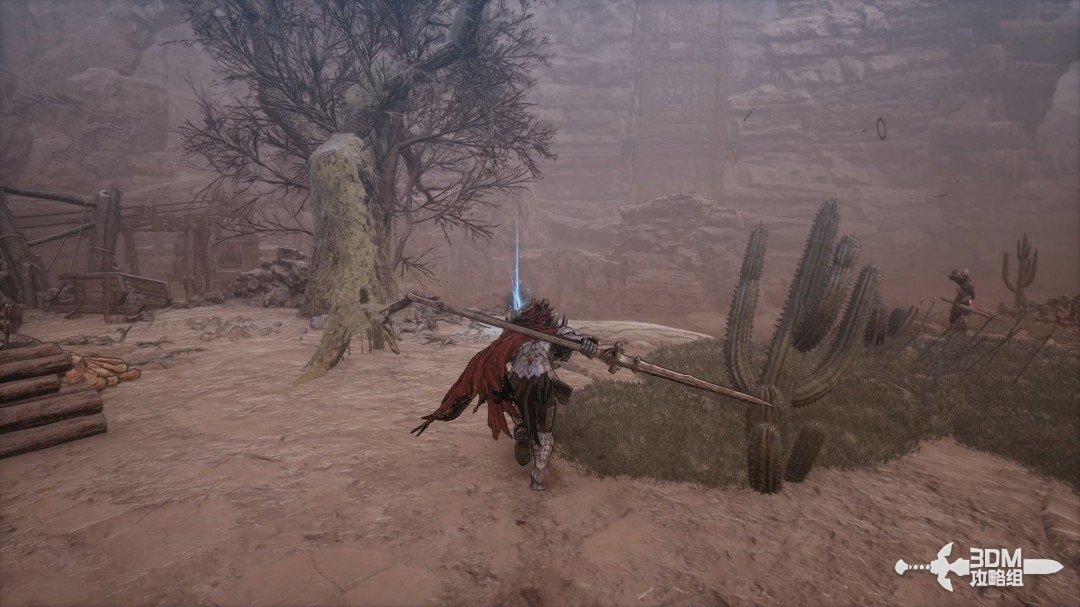
Left slope and cliff behind the house: circle to the Soulstone behind the stairs · route image 7

Follow the small path across for a memory.
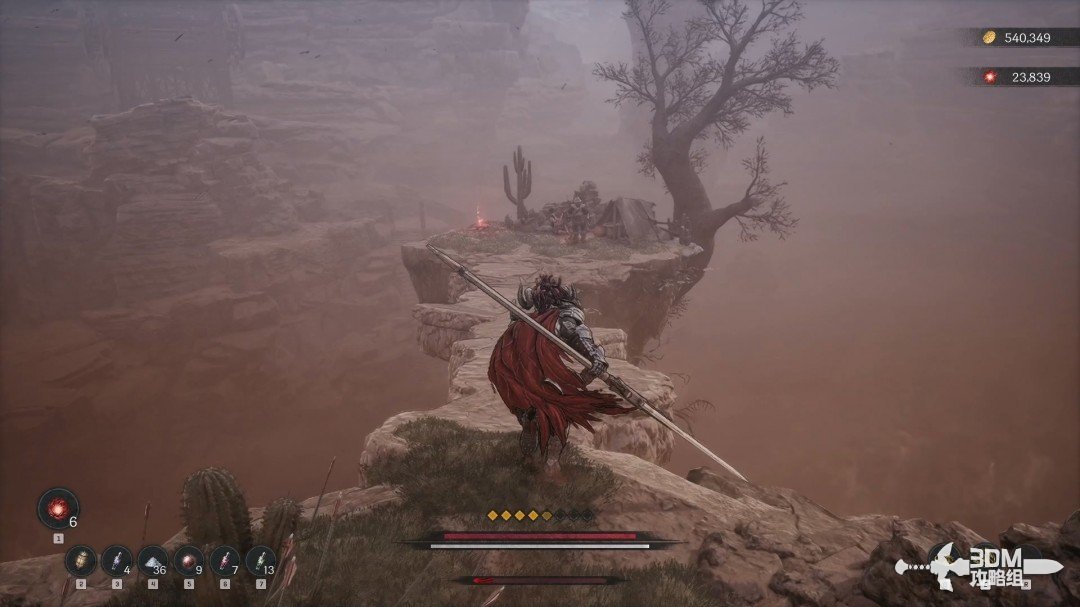
Left slope and cliff behind the house: circle to the Soulstone behind the stairs · route image 8

Return to the house and explore its other side. Break the wooden sign behind the stairs for a Soulstone.
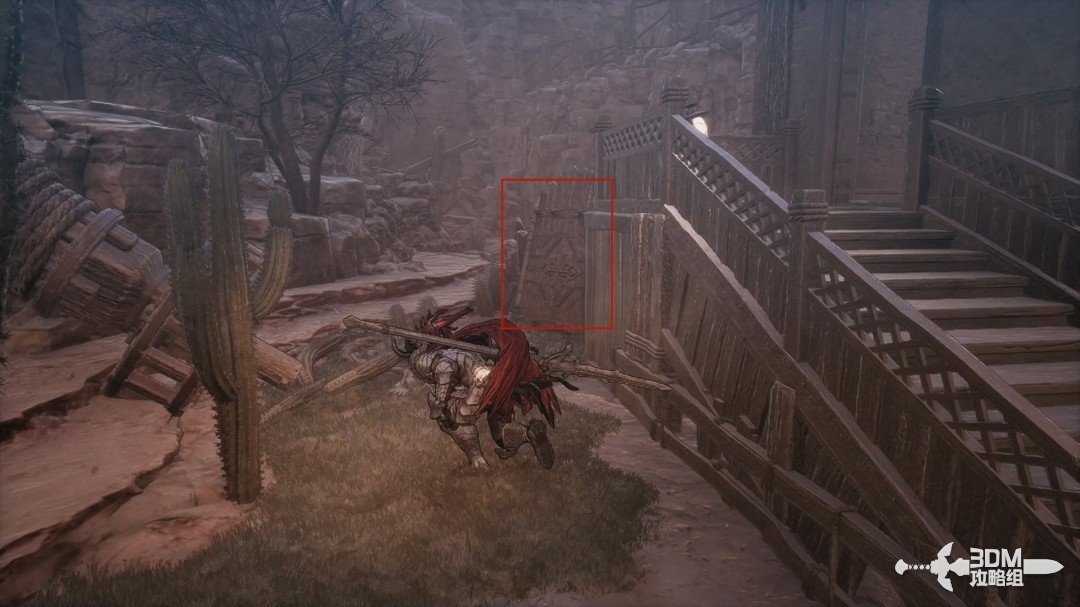
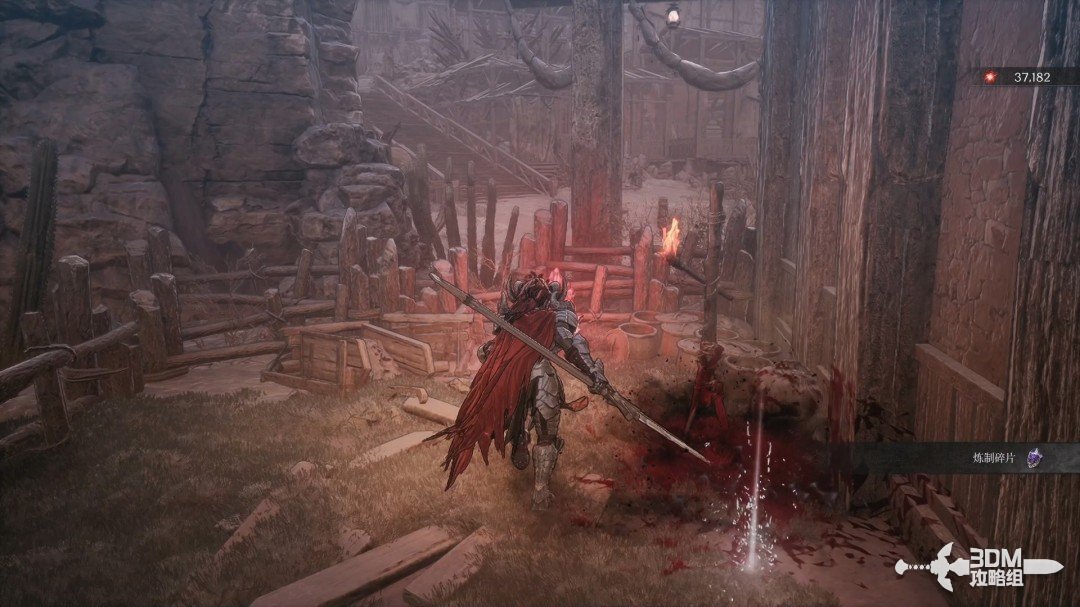
Left slope and cliff behind the house: circle to the Soulstone behind the stairs · route image 9
Left slope and cliff behind the house: circle to the Soulstone behind the stairs · route image 10

04Explosive barrels on the second floor: avoid archers and climb to the roofs

Enter the room using the previous staircase.
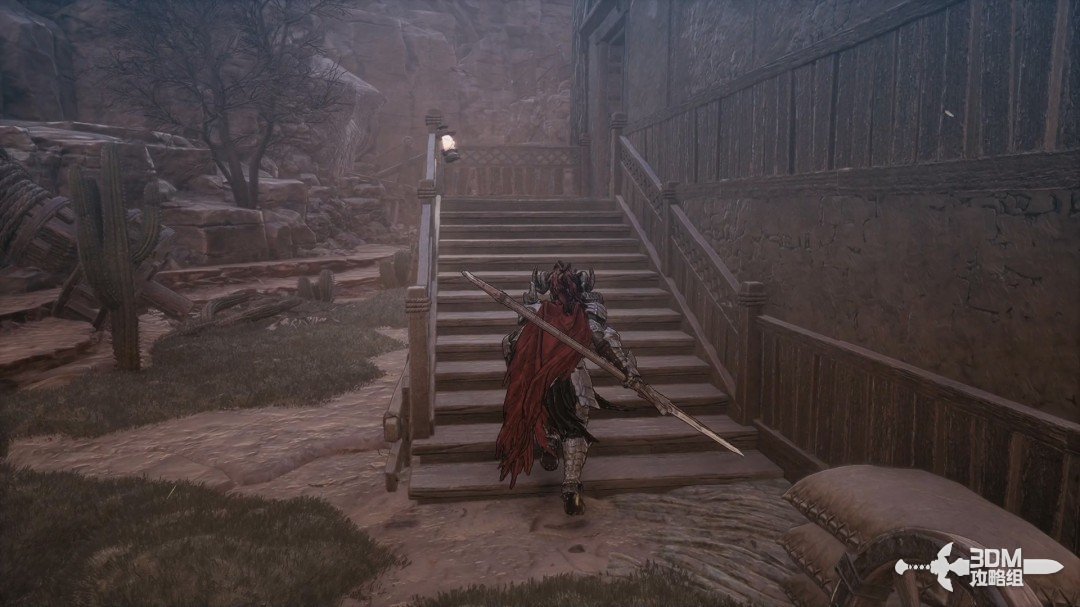
Explosive barrels on the second floor: avoid archers and climb to the roofs · route image 1

Leave the second floor carefully: archers can ignite the explosive barrels. Stay clear and prioritize the fire mage at the back.
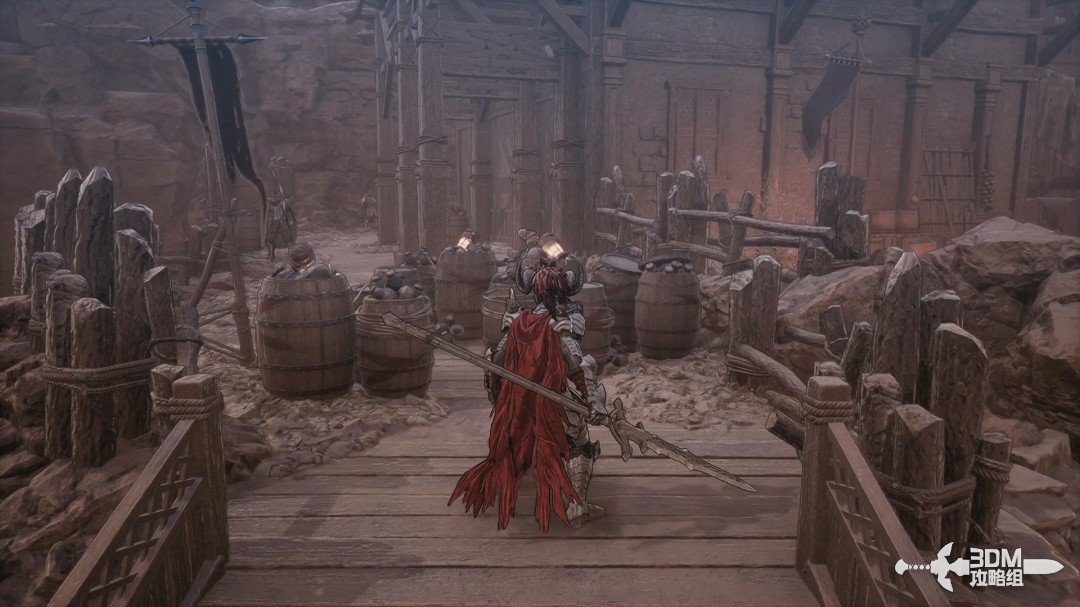
Explosive barrels on the second floor: avoid archers and climb to the roofs · route image 2

Collect the blue item in the outside corner.
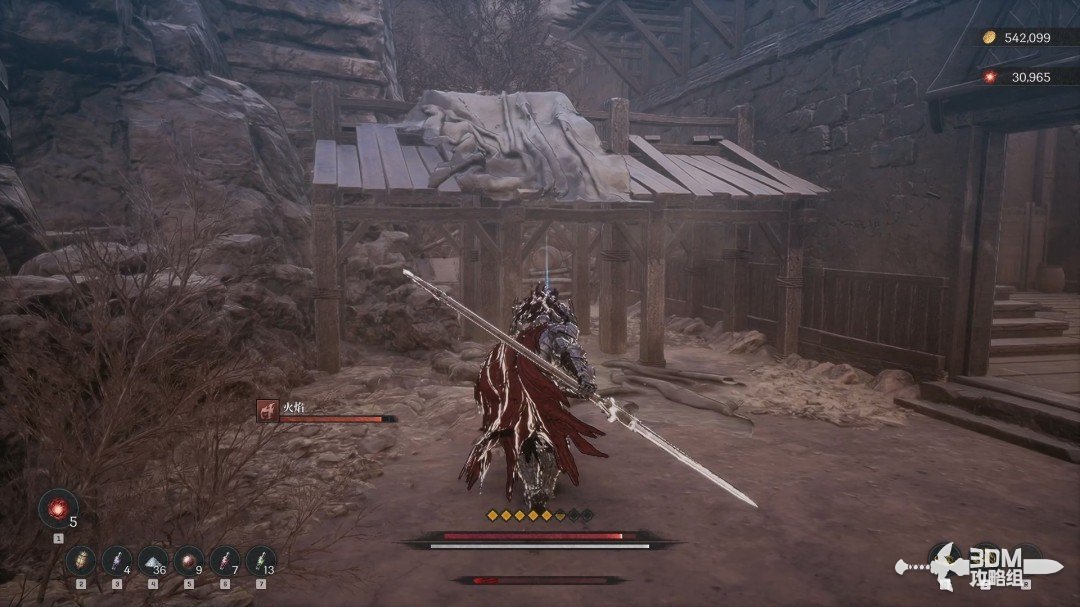
Explosive barrels on the second floor: avoid archers and climb to the roofs · route image 3

Enter and climb the stairs, then open the rooftop door.
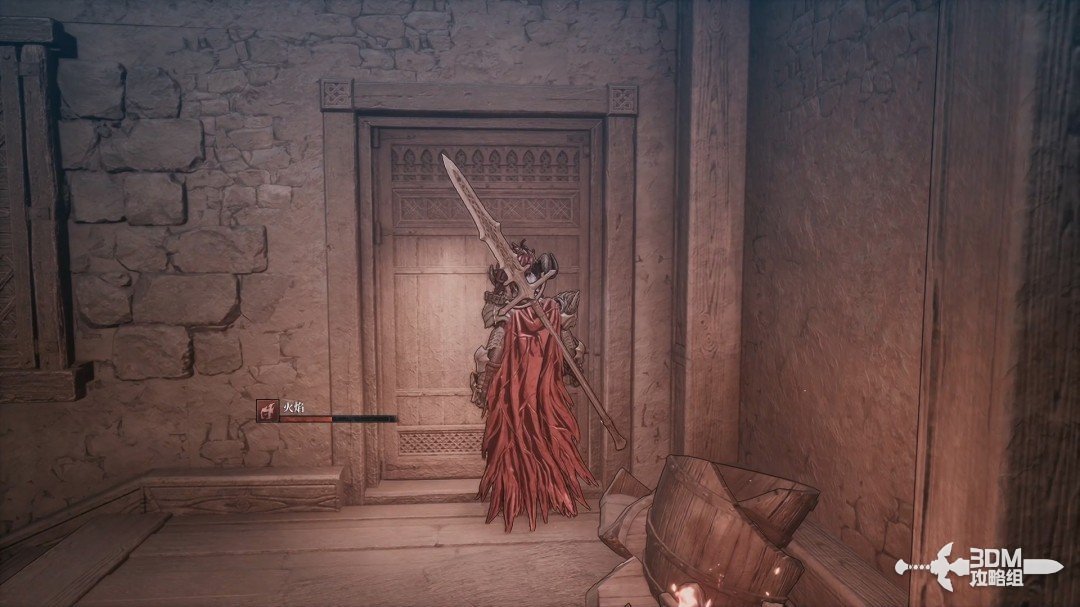
Explosive barrels on the second floor: avoid archers and climb to the roofs · route image 4

Go left outside. The ladder is the main route; the right branch has a blue item.
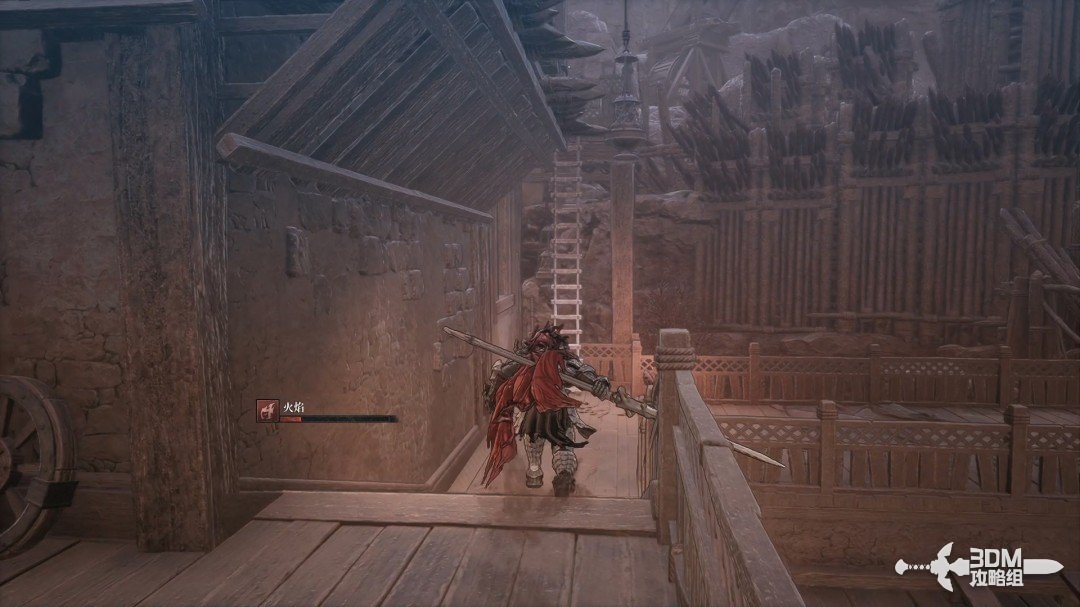
Explosive barrels on the second floor: avoid archers and climb to the roofs · route image 5
Explosive barrels on the second floor: avoid archers and climb to the roofs · route image 6

The left ladder leads to the earlier area and a place to rest if needed.
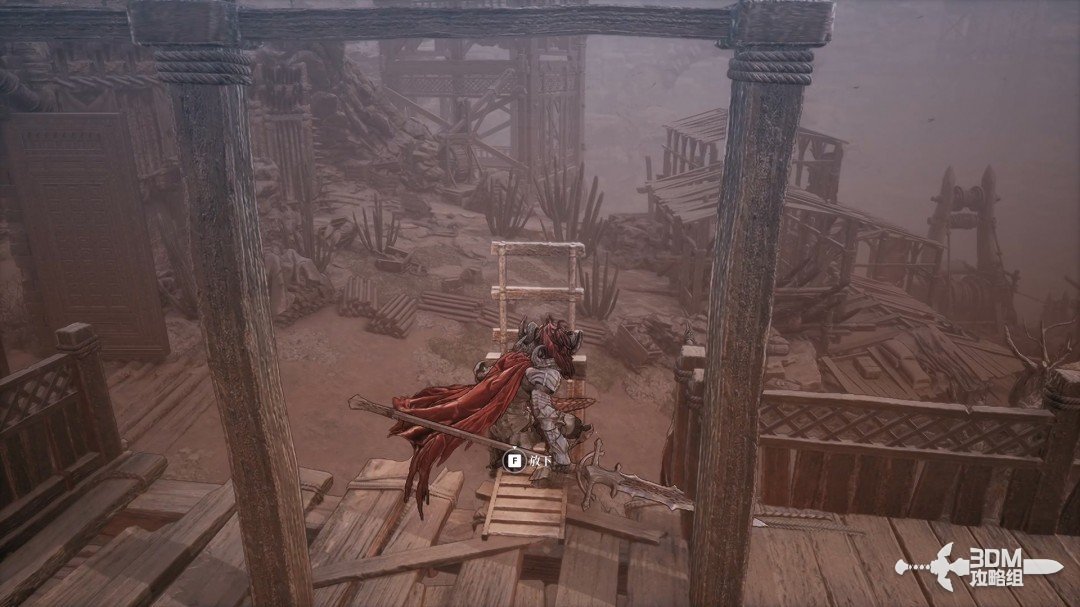
Explosive barrels on the second floor: avoid archers and climb to the roofs · route image 7

05Bridge elite and top-floor room: search the chest before dropping down

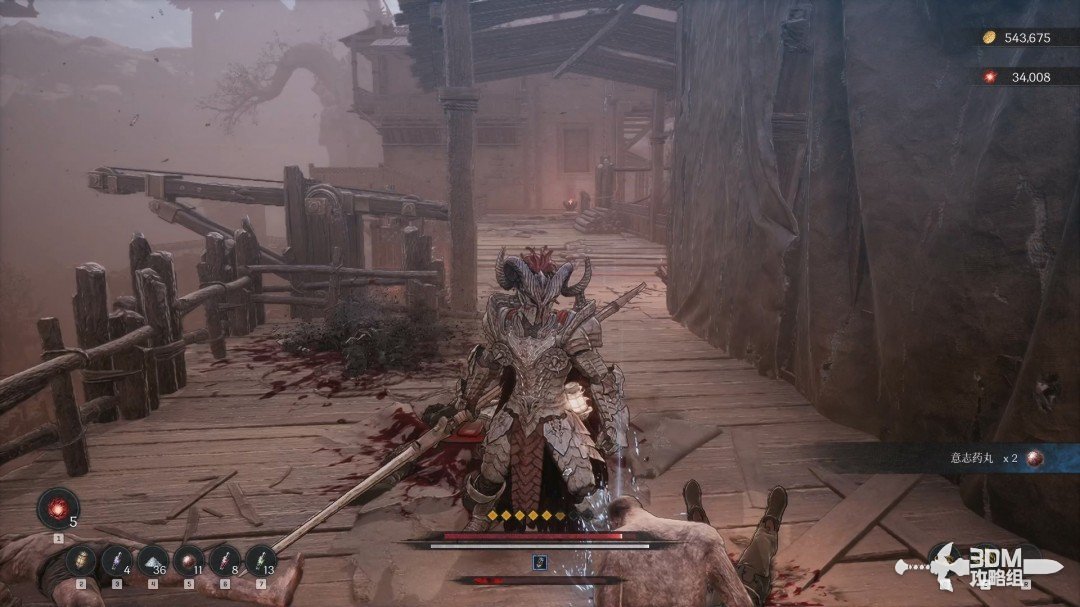
Climb the main-route ladder and defeat the familiar elite on the bridge.
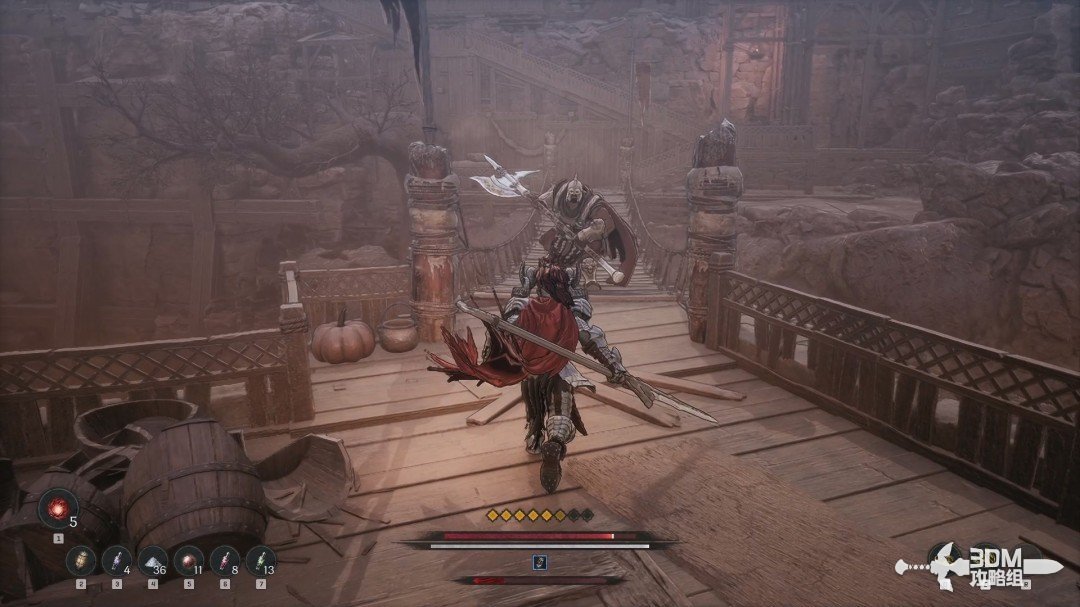
Bridge elite and top-floor room: search the chest before dropping down · route image 8

Clear the enemies ahead and enter the room.
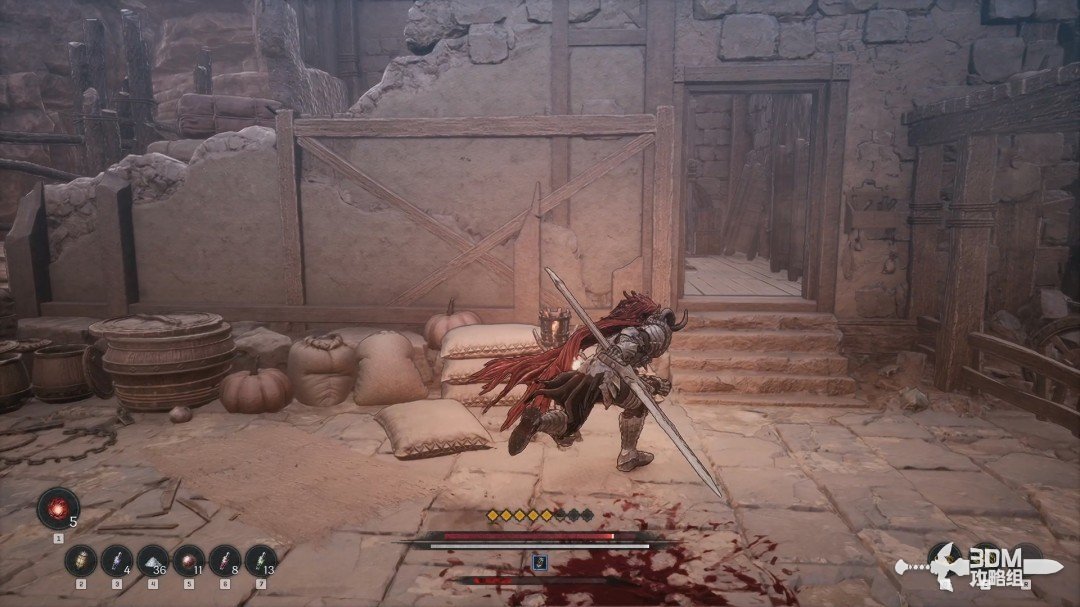
Bridge elite and top-floor room: search the chest before dropping down · route image 9

Continue climbing inside.

Bridge elite and top-floor room: search the chest before dropping down · route image 10

Open the door on the left at the top.
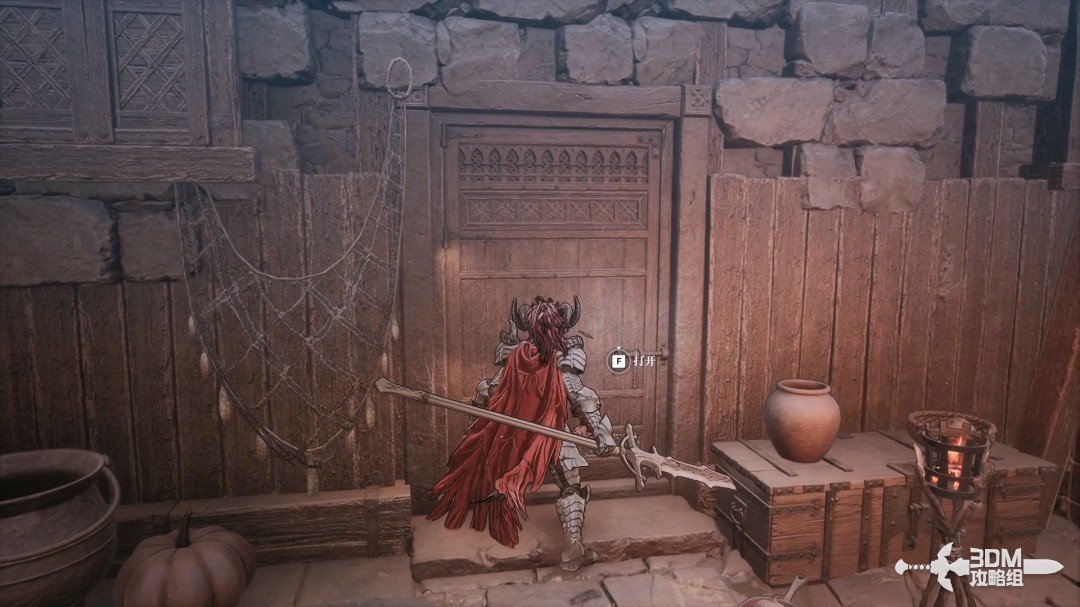
Bridge elite and top-floor room: search the chest before dropping down · route image 11

Open the chest at the room's far end.
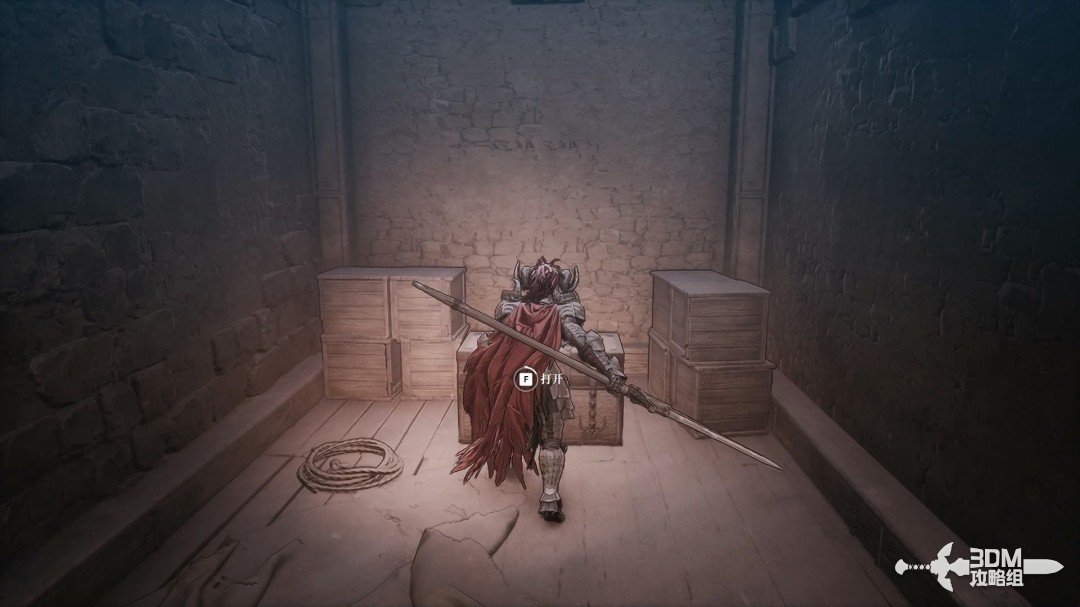
Bridge elite and top-floor room: search the chest before dropping down · route image 12

A purple item lies below the outside ledge. Collecting it requires climbing back up.
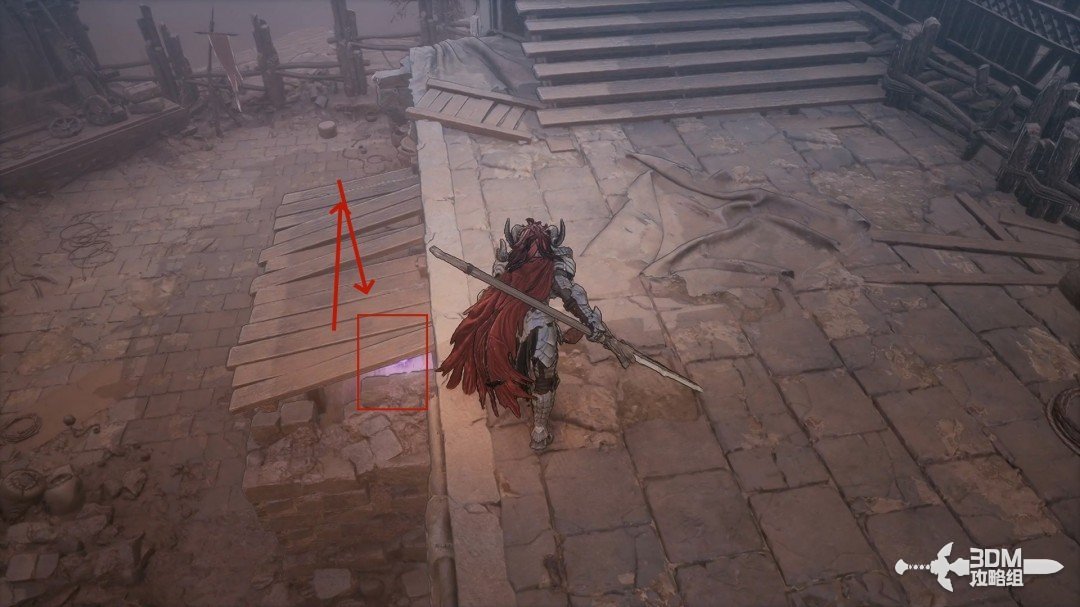
Bridge elite and top-floor room: search the chest before dropping down · route image 13

Return upstairs and drop from the pictured position, or use the room's descending exit.
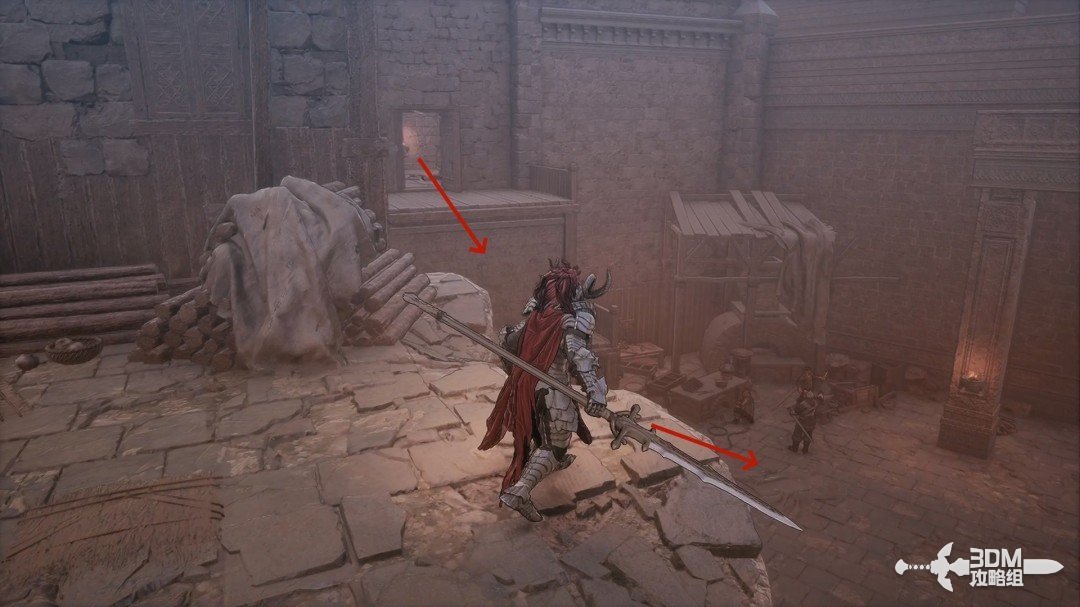
Bridge elite and top-floor room: search the chest before dropping down · route image 14

Collect the purple item beside the lower pillar.
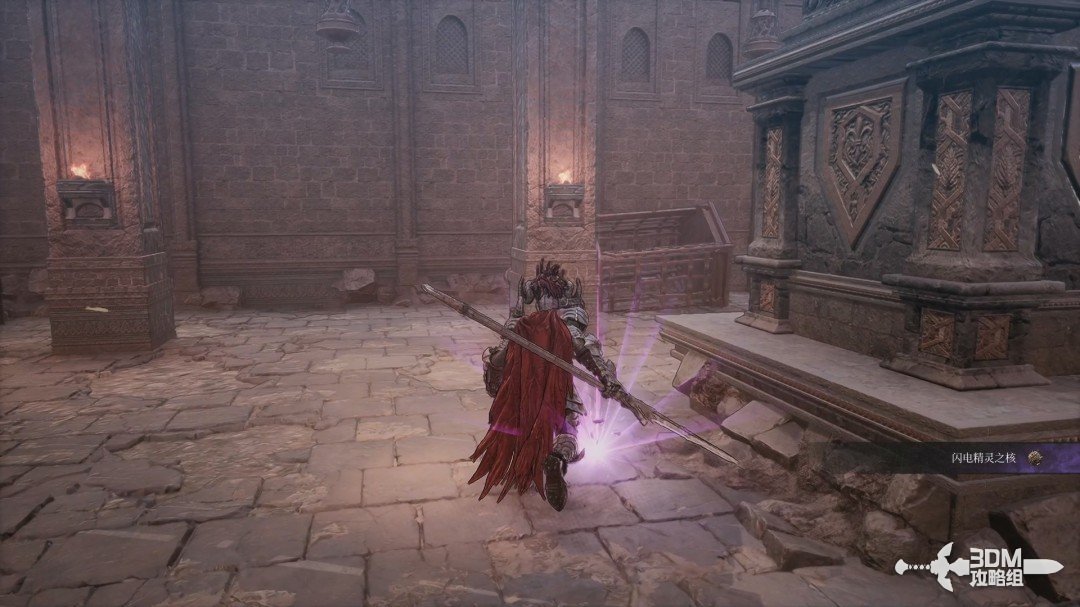
Bridge elite and top-floor room: search the chest before dropping down · route image 15

06Blacksmith workshop and explosive corridor: reach the next Nexus

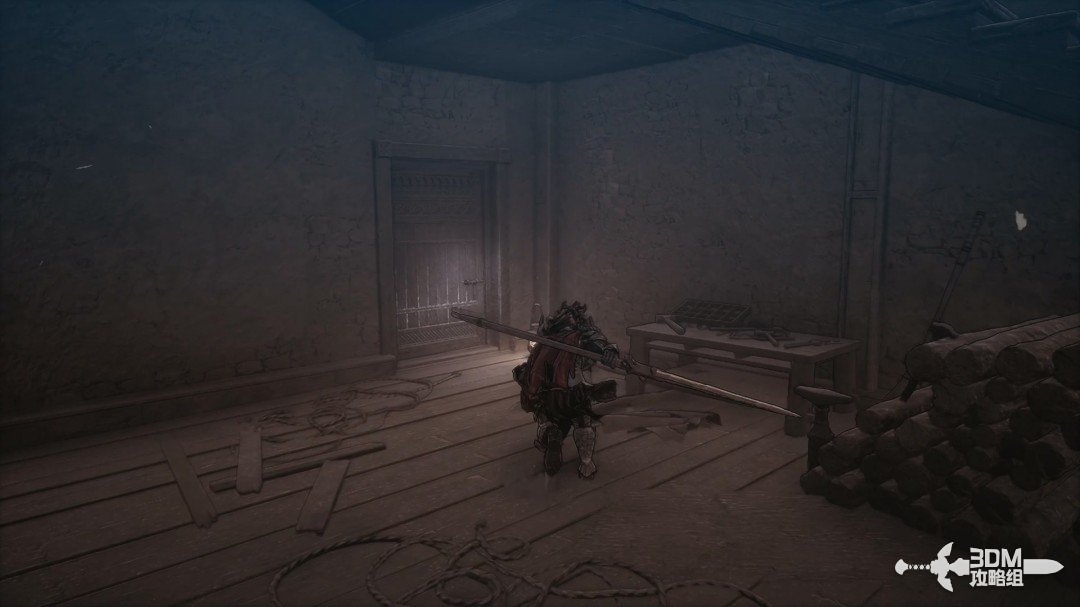
Clear the enemies outside and enter the house.
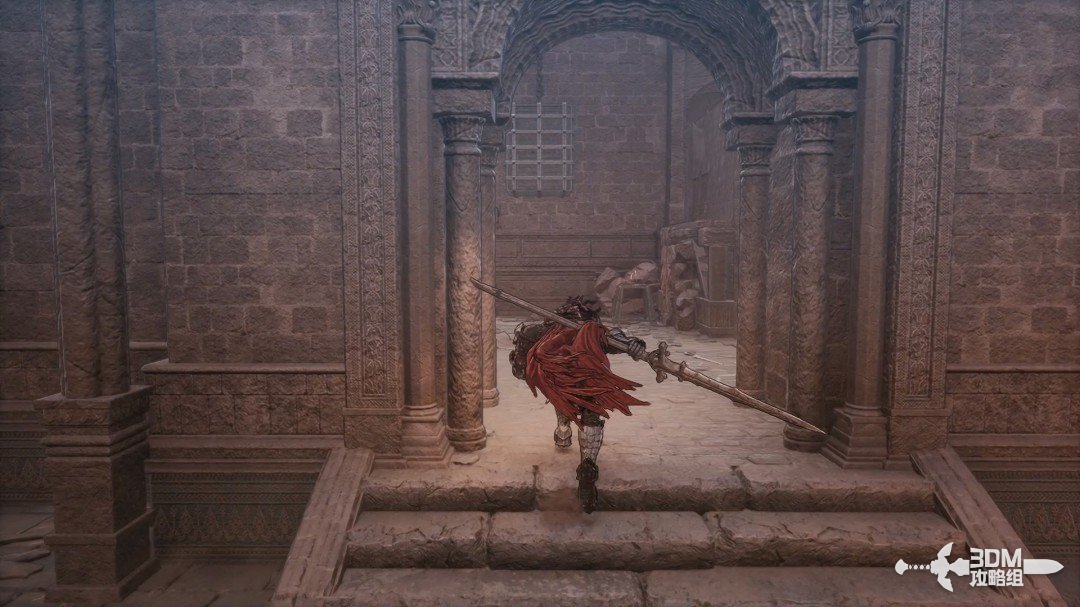
Blacksmith workshop and explosive corridor: reach the next Nexus · route image 16

The blacksmiths here are non-hostile civilians. Collect the item at the pictured location.
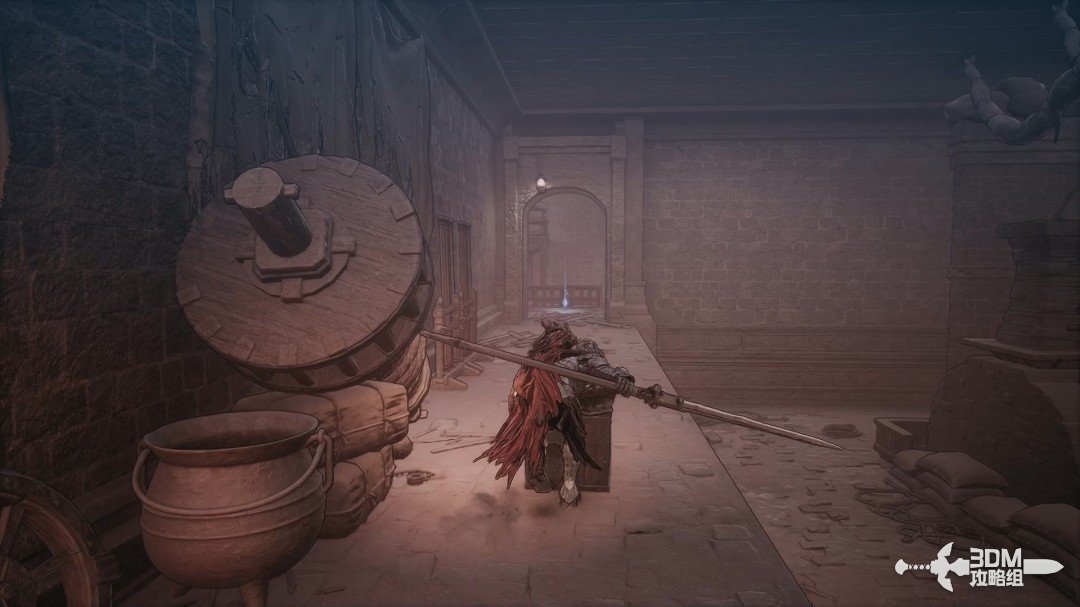
Blacksmith workshop and explosive corridor: reach the next Nexus · route image 17

Take these stairs.

Blacksmith workshop and explosive corridor: reach the next Nexus · route image 18

The corridor has explosive barrels and archers. Bait a shot, then retreat from the blast.
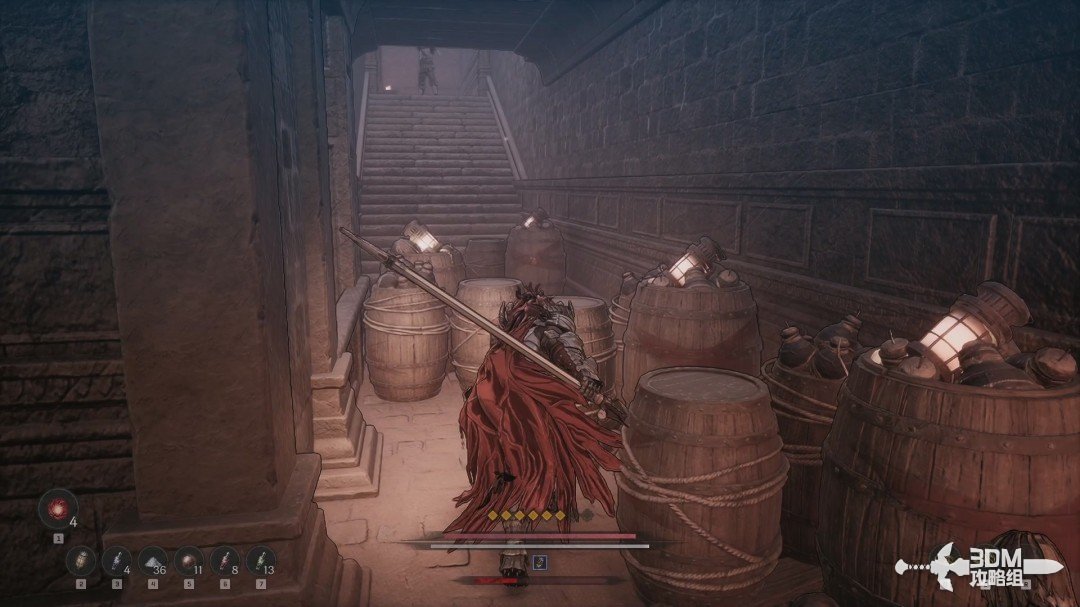
Blacksmith workshop and explosive corridor: reach the next Nexus · route image 19

After the soldiers, collect the purple item ahead.
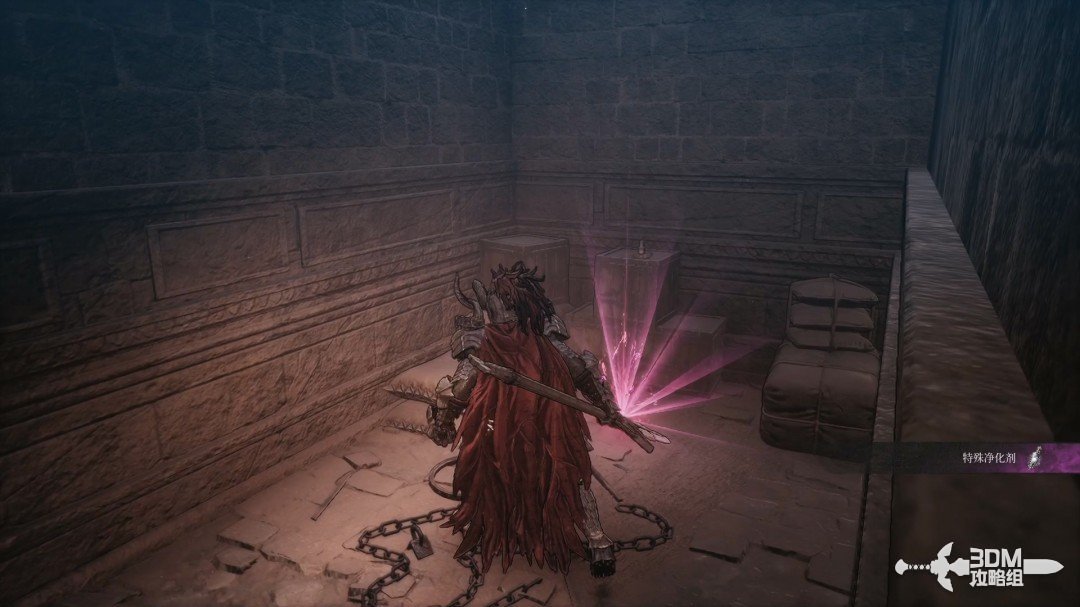
Blacksmith workshop and explosive corridor: reach the next Nexus · route image 20

Leave the room for a new Blade Nexus.
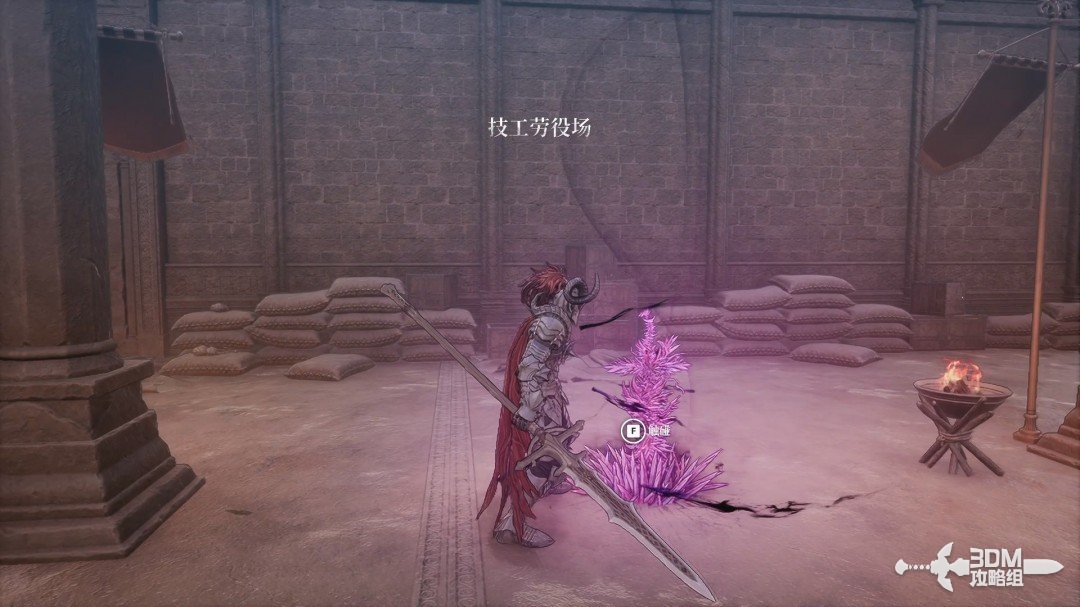
Blacksmith workshop and explosive corridor: reach the next Nexus · route image 21

07Sentry record beyond the iron gate: descend into the mine

Enter the house ahead and open its iron gate, fighting the enemies inside.
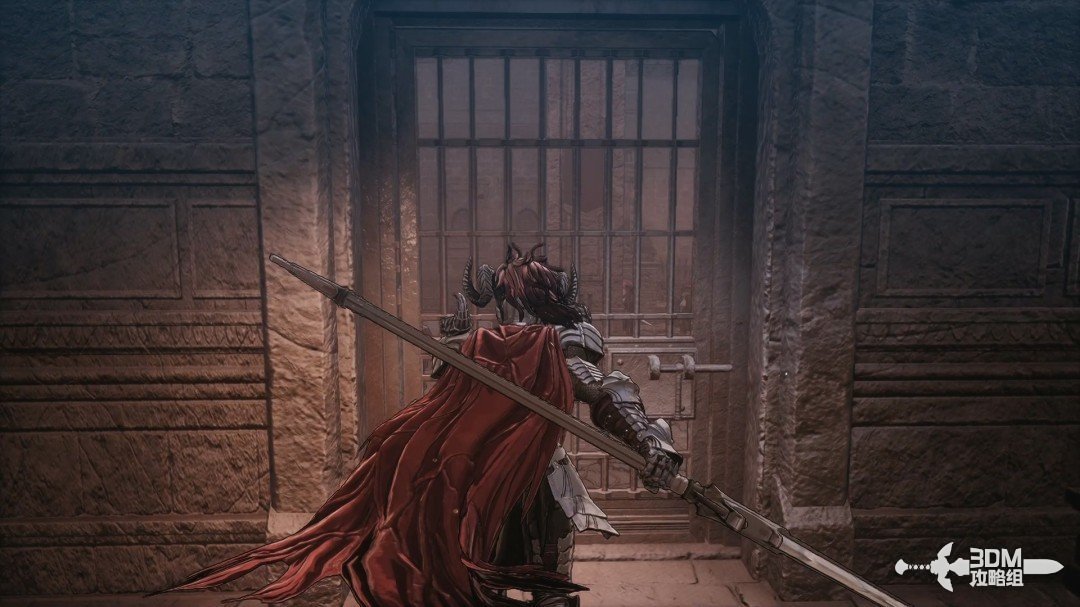
Sentry record beyond the iron gate: descend into the mine · route image 22

Leave after the fight and take the large left gate. There is no additional loot outside.
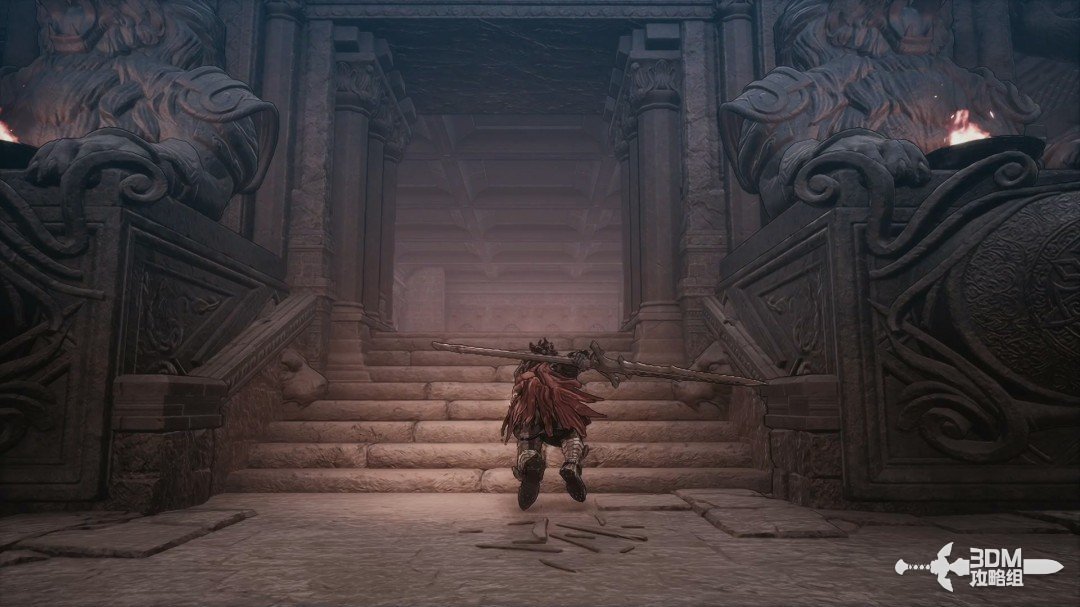
Sentry record beyond the iron gate: descend into the mine · route image 23

Collect the Imperial Sentry's Record on the ground.
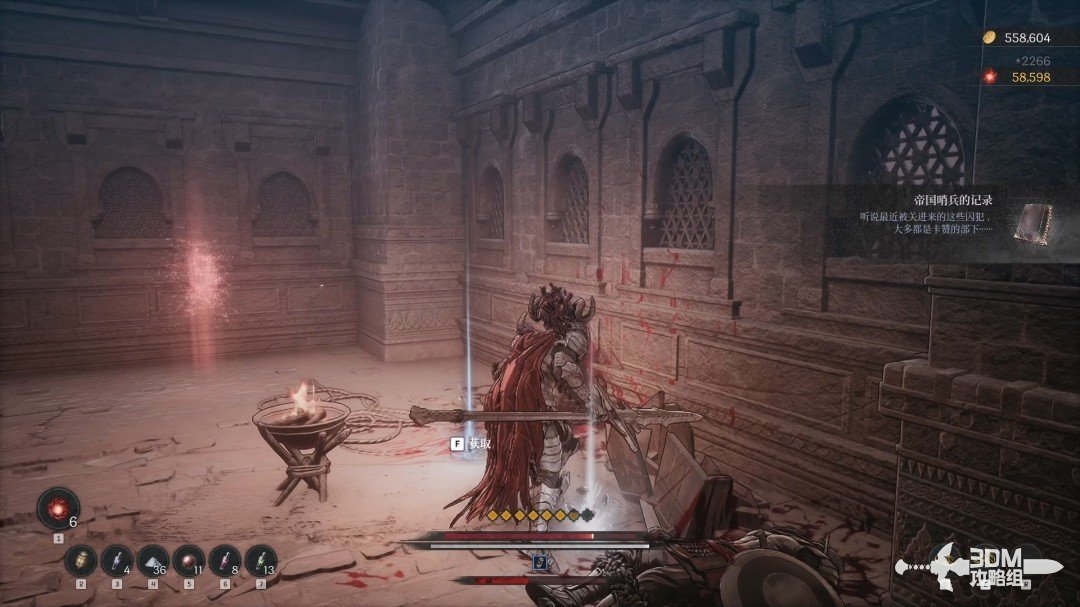
Sentry record beyond the iron gate: descend into the mine · route image 24

Take the nearby elevator.

Sentry record beyond the iron gate: descend into the mine · route image 25

09Raised area on the right of the mine: search the chest and return to the left gate

In the mine below, explore right first.
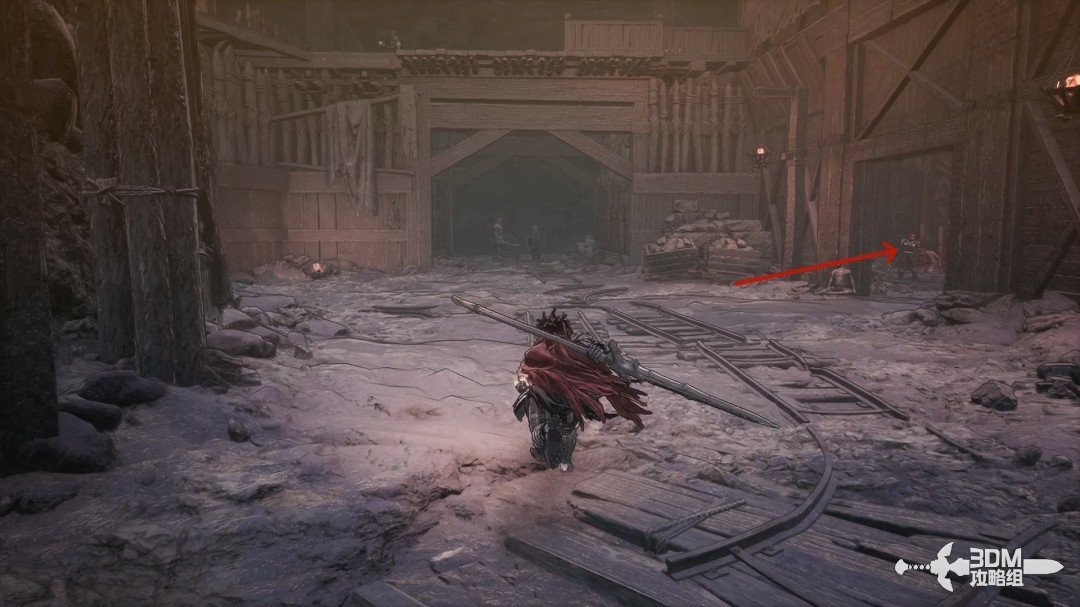
Raised area on the right of the mine: search the chest and return to the left gate · route image 26

Defeat the enemies and collect the purple item in the first room.
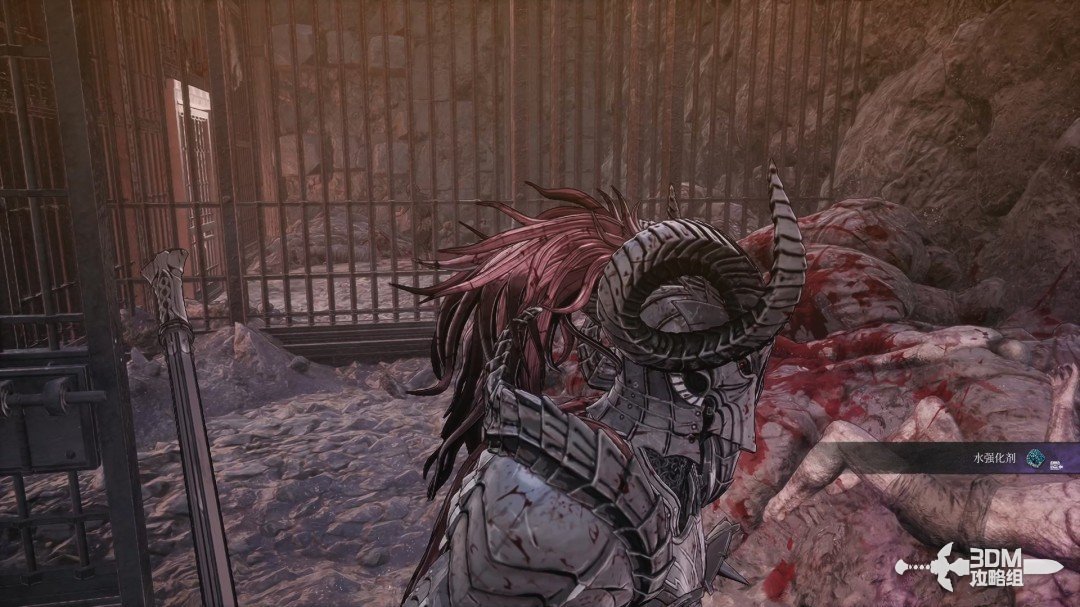
Raised area on the right of the mine: search the chest and return to the left gate · route image 27

Climb the nearby stairs.

Raised area on the right of the mine: search the chest and return to the left gate · route image 28

Open the chest in the left corner.

Raised area on the right of the mine: search the chest and return to the left gate · route image 29

Clear the right platform, including its fire mage, then absorb the memory.
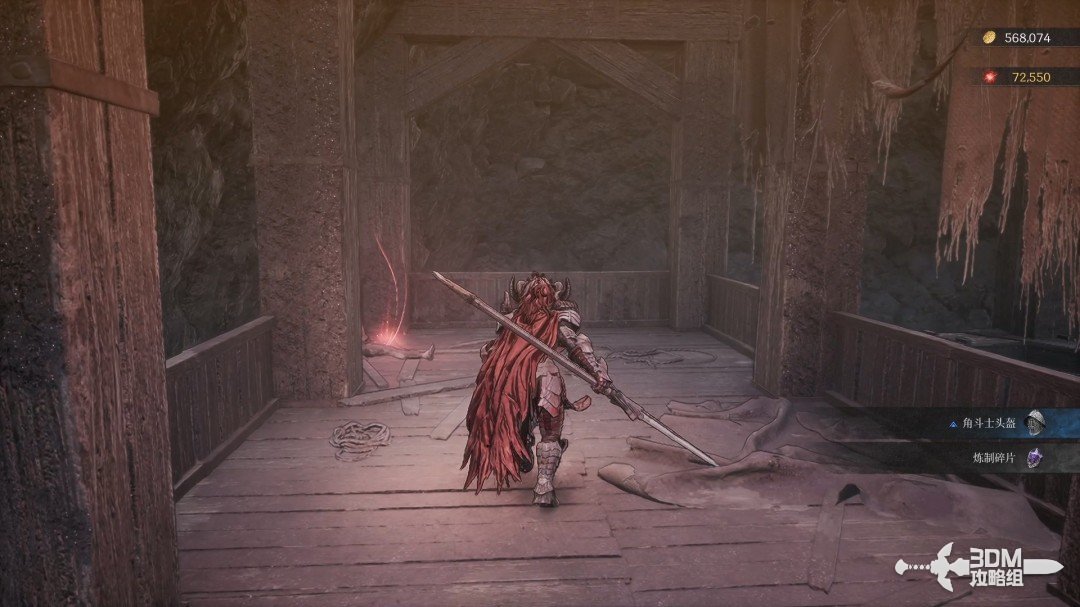
Raised area on the right of the mine: search the chest and return to the left gate · route image 30

Descend and return to the main route. Defeat the soldiers and go left.
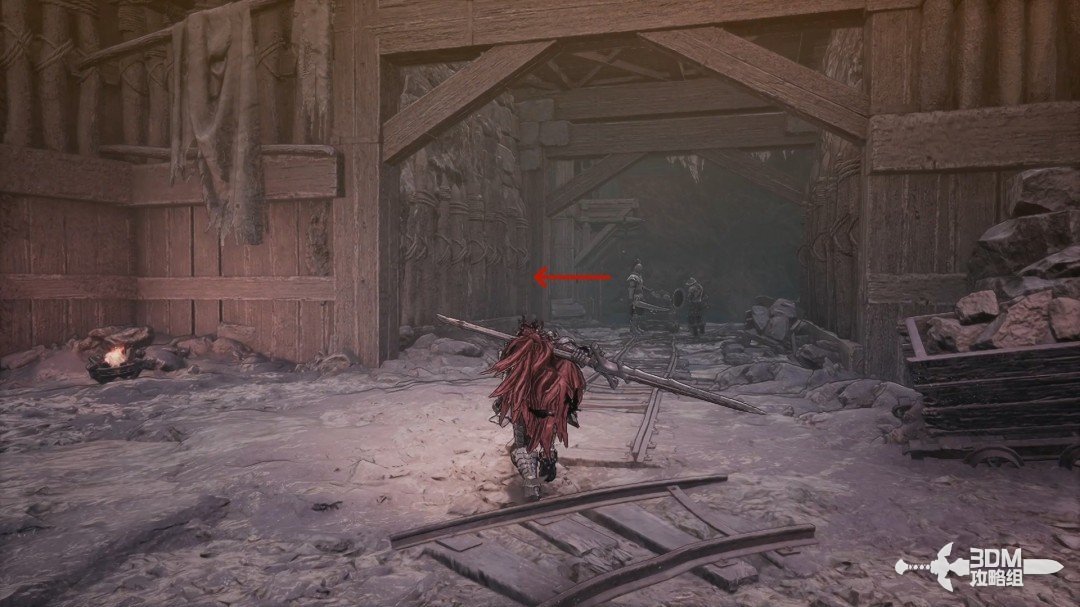
Raised area on the right of the mine: search the chest and return to the left gate · route image 31

Open the iron gate on the left for the Fugitive Scroll.
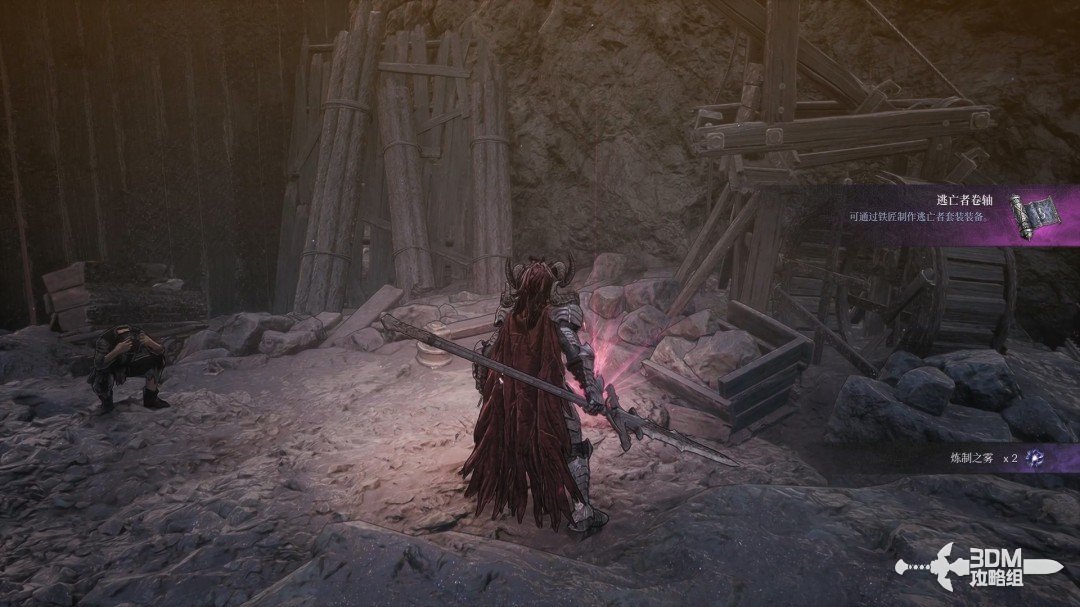
Raised area on the right of the mine: search the chest and return to the left gate · route image 32

11Prison down the slope: find Yulian's Necklace

Descend the slope and enter the left cell for loot.
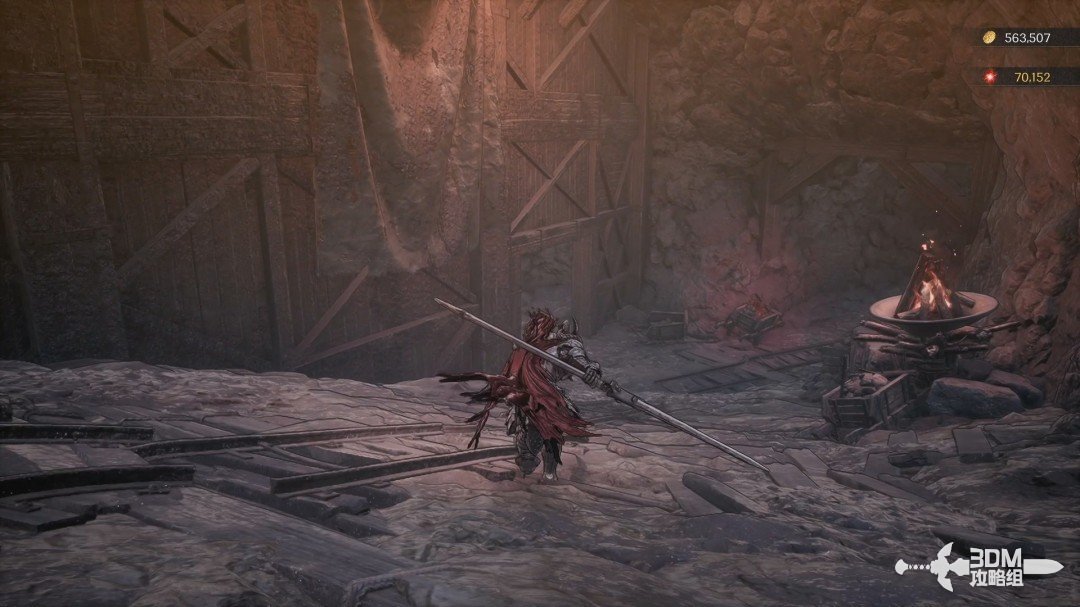
Prison down the slope: find Yulian's Necklace · route image 1

Collect Yulian's Necklace inside the cell.
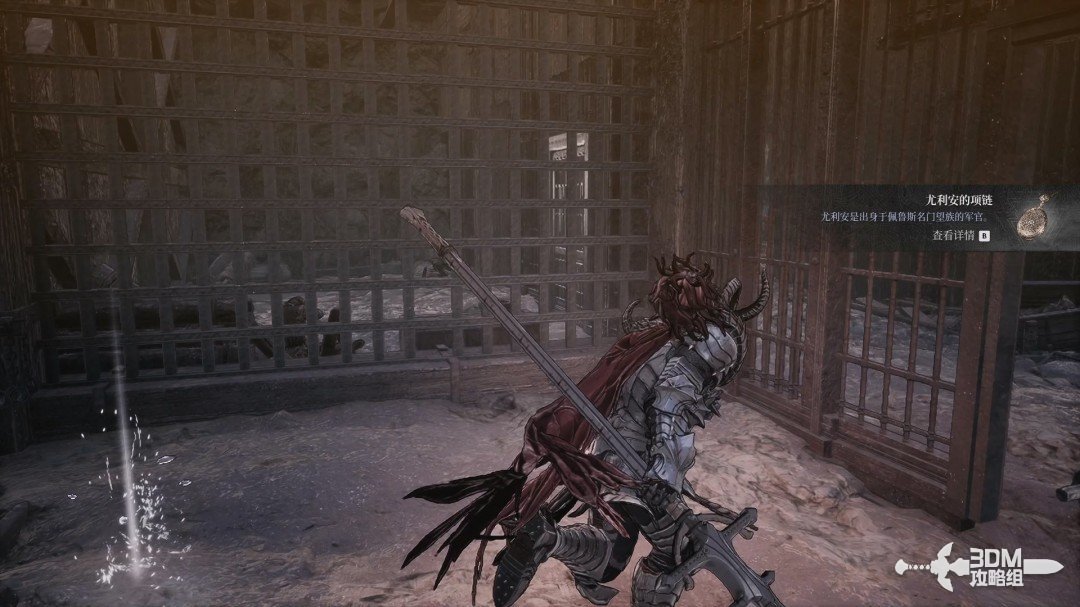
Prison down the slope: find Yulian's Necklace · route image 2

13Below the labor camp Nexus: defeat the elite and search the left platform

Return to the main route and rest at the Nexus ahead.
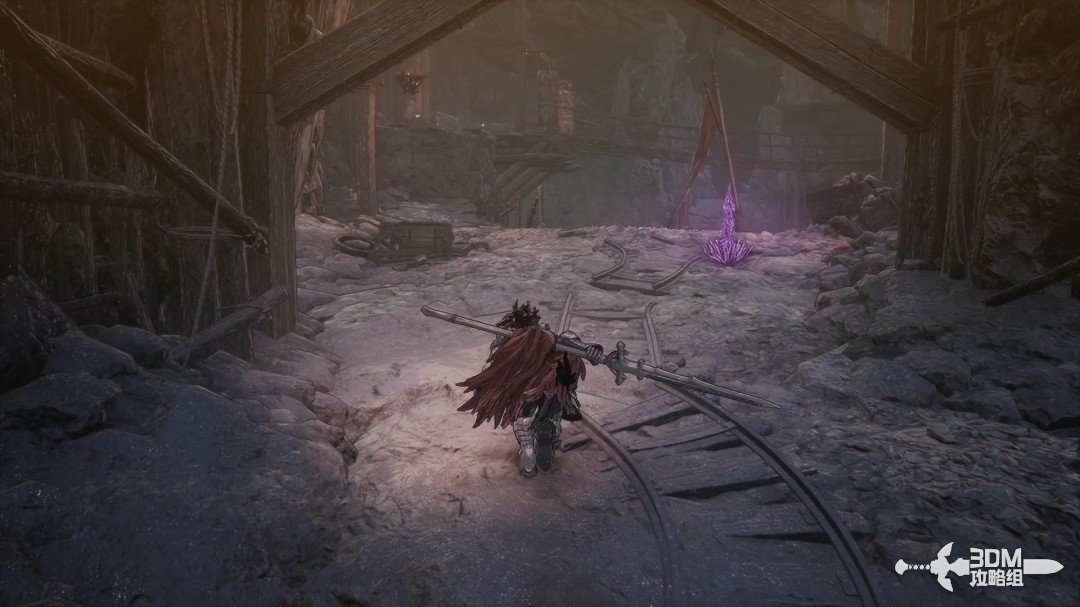
Below the labor camp Nexus: defeat the elite and search the left platform · route image 1

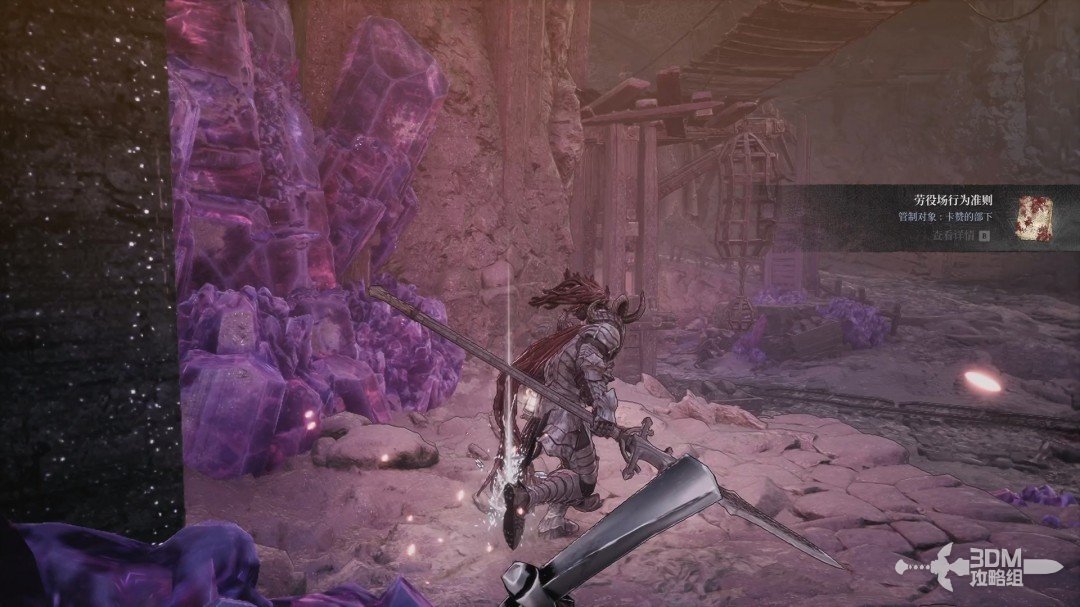
Descend, defeat the elite and collect the Labor Camp Rules on the left platform.
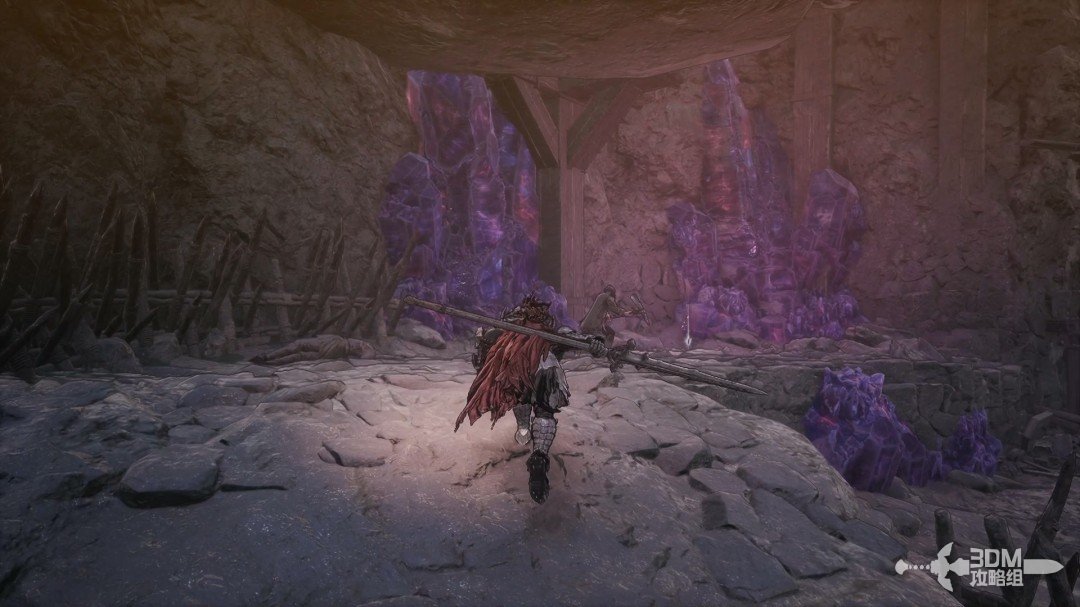
Below the labor camp Nexus: defeat the elite and search the left platform · route image 2
Below the labor camp Nexus: defeat the elite and search the left platform · route image 3

15Bridge on the left return path: aim at the Soulstone to its right

After searching the area, return and take the left route.
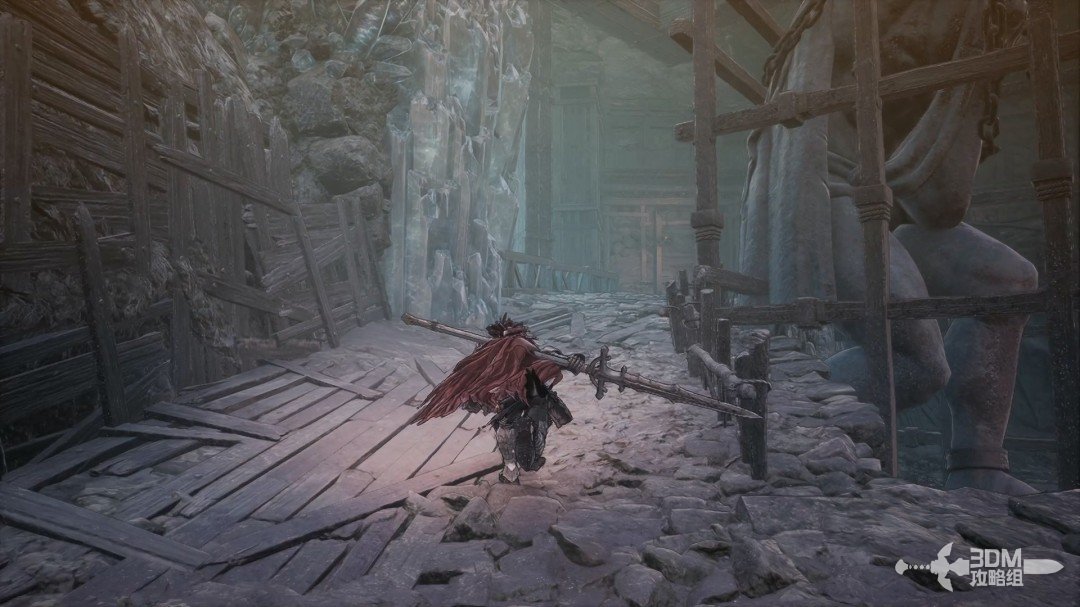
Bridge on the left return path: aim at the Soulstone to its right · route image 1

Defeat the soldiers by the bridge and find the Soulstone on its right.
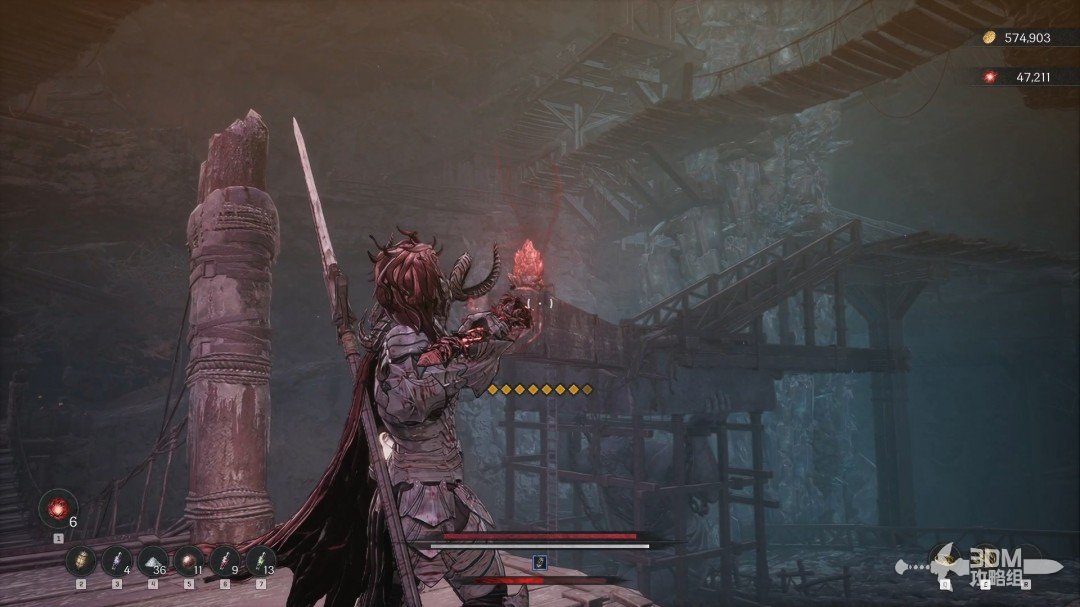
Bridge on the left return path: aim at the Soulstone to its right · route image 2

17Barrels and drop beyond the bridge: enter the zombie area for the jar

Cross the bridge and collect the blue item in the right corner.
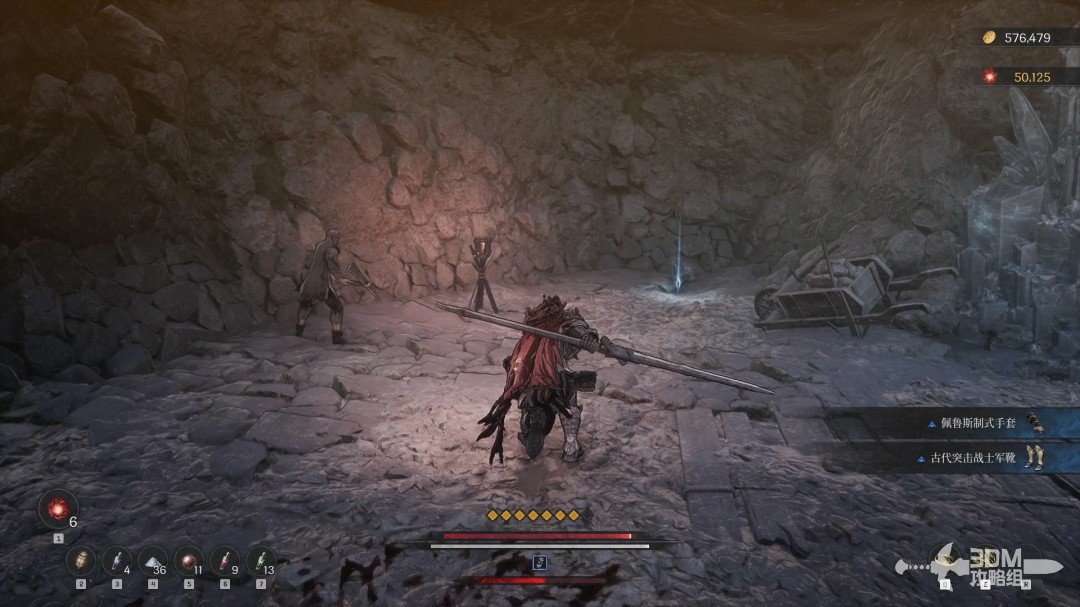
Barrels and drop beyond the bridge: enter the zombie area for the jar · route image 1

Return toward the central explosive barrels and detonate them with Javelin.
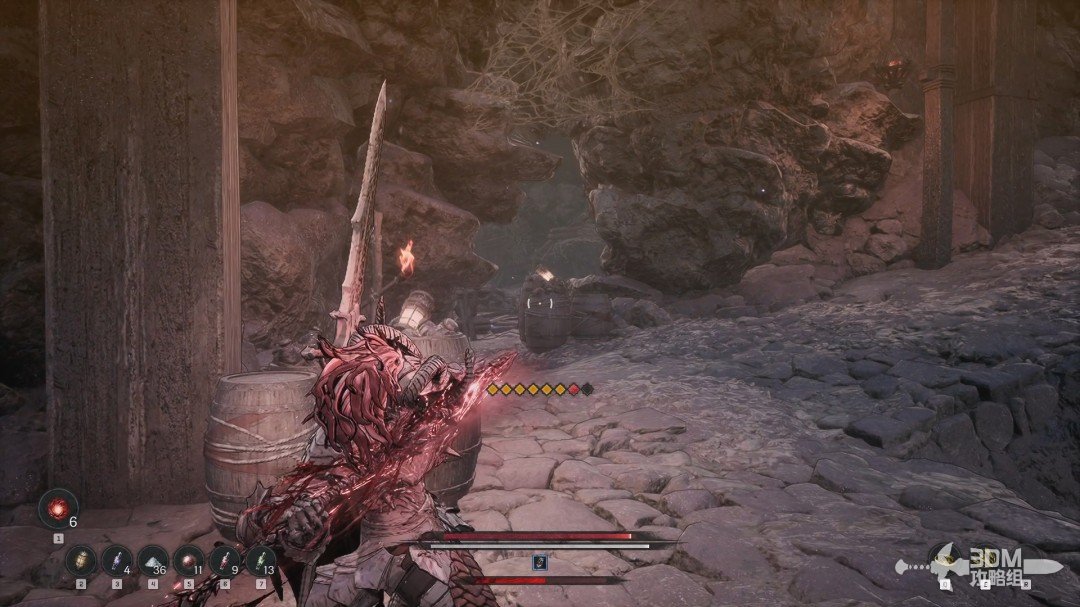
Barrels and drop beyond the bridge: enter the zombie area for the jar · route image 2

The memory ahead is a burrower. Drop down on the left.
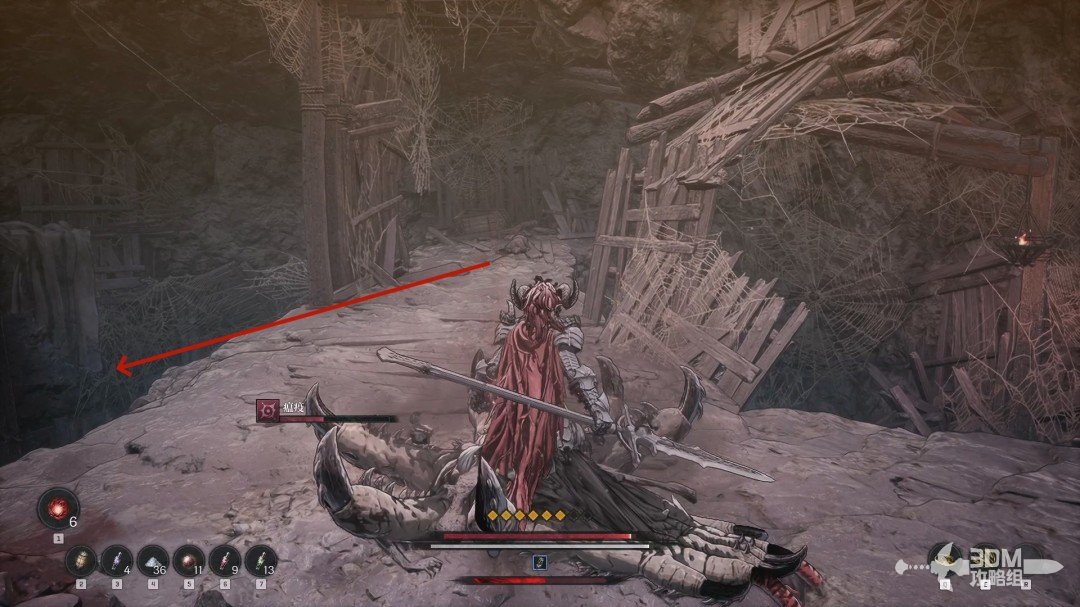
Barrels and drop beyond the bridge: enter the zombie area for the jar · route image 3

Clear the undead below and continue.

Barrels and drop beyond the bridge: enter the zombie area for the jar · route image 4

Absorb the genuine memory ahead.

Barrels and drop beyond the bridge: enter the zombie area for the jar · route image 5

Break the pot on the right for a Jarling.
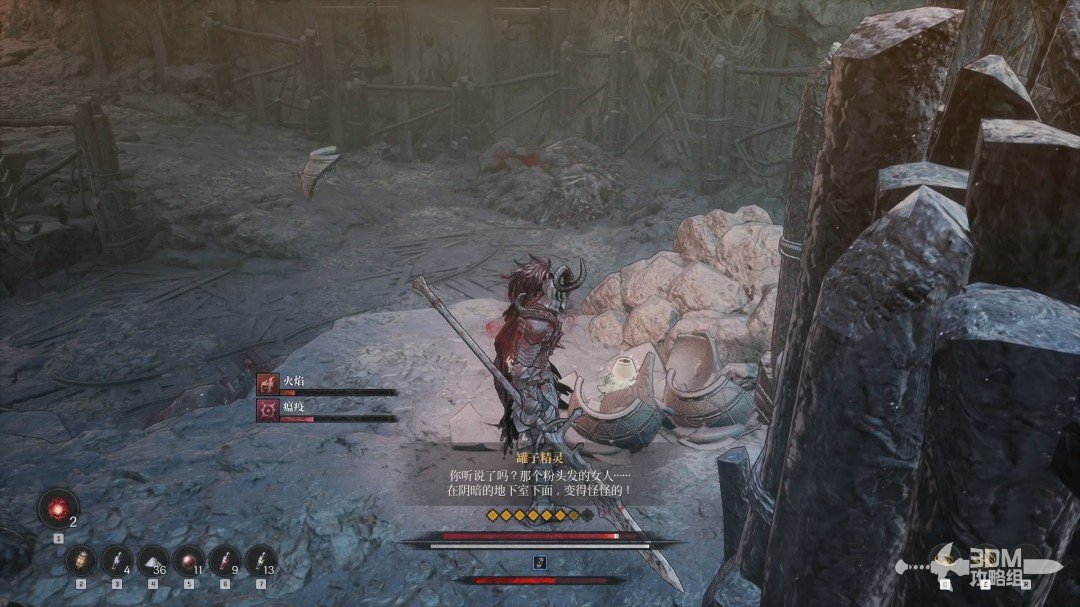
Barrels and drop beyond the bridge: enter the zombie area for the jar · route image 6

19Stairs beyond the left door and narrow bridge: circle to the explosive chest

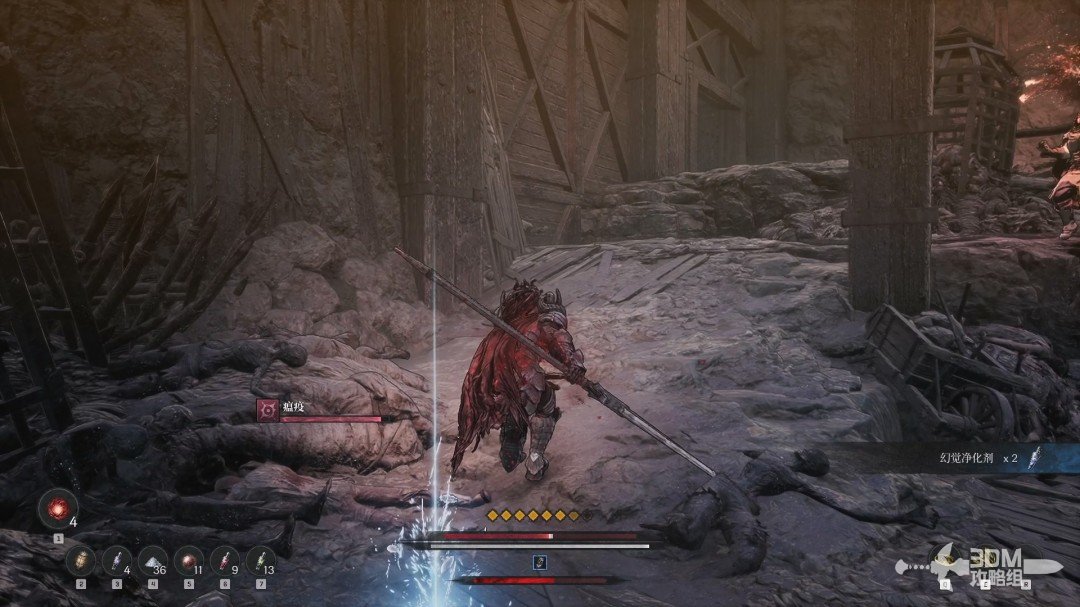
Defeat the soldiers and the enemy throwing fireballs, then collect the blue item on the left.
Stairs beyond the left door and narrow bridge: circle to the explosive chest · route image 1

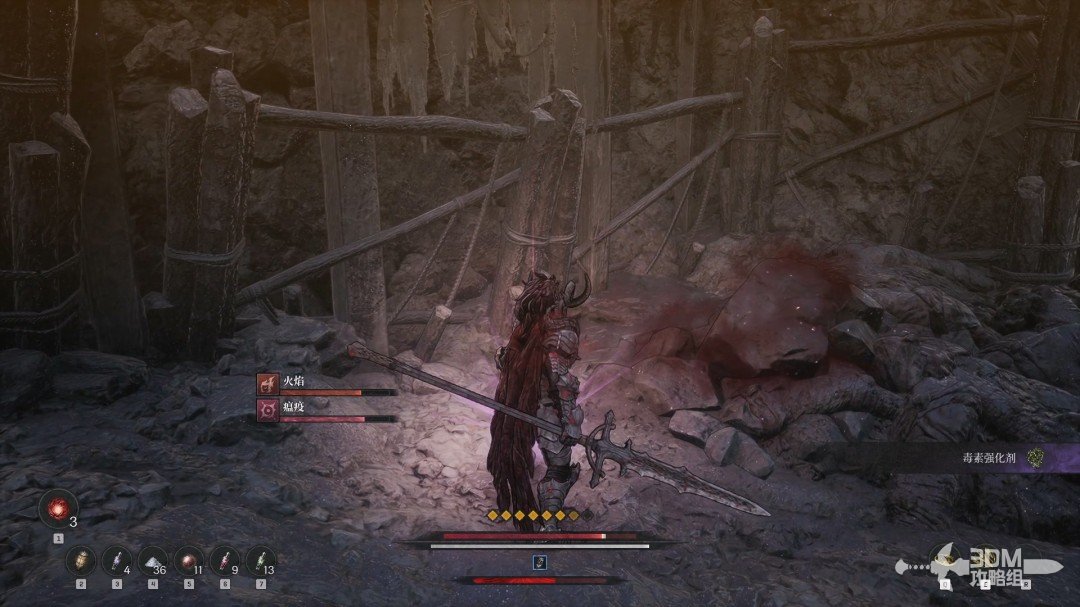
Collect the purple item in the right corner.
Stairs beyond the left door and narrow bridge: circle to the explosive chest · route image 2

Enter the left doorway.

Stairs beyond the left door and narrow bridge: circle to the explosive chest · route image 3

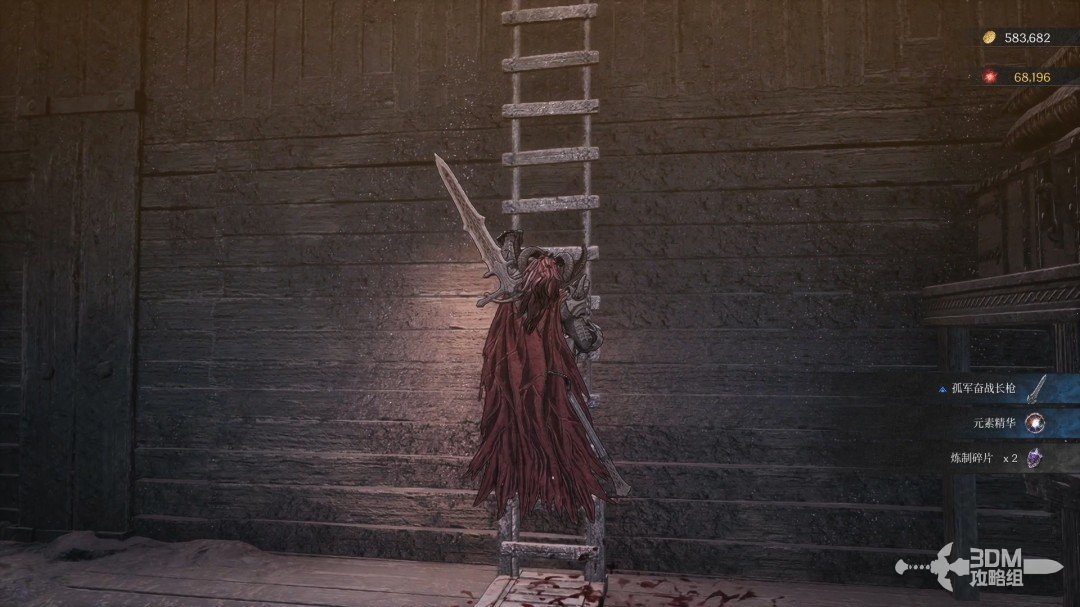
Defeat the two enemies beyond it and climb the stairs.
Stairs beyond the left door and narrow bridge: circle to the explosive chest · route image 4

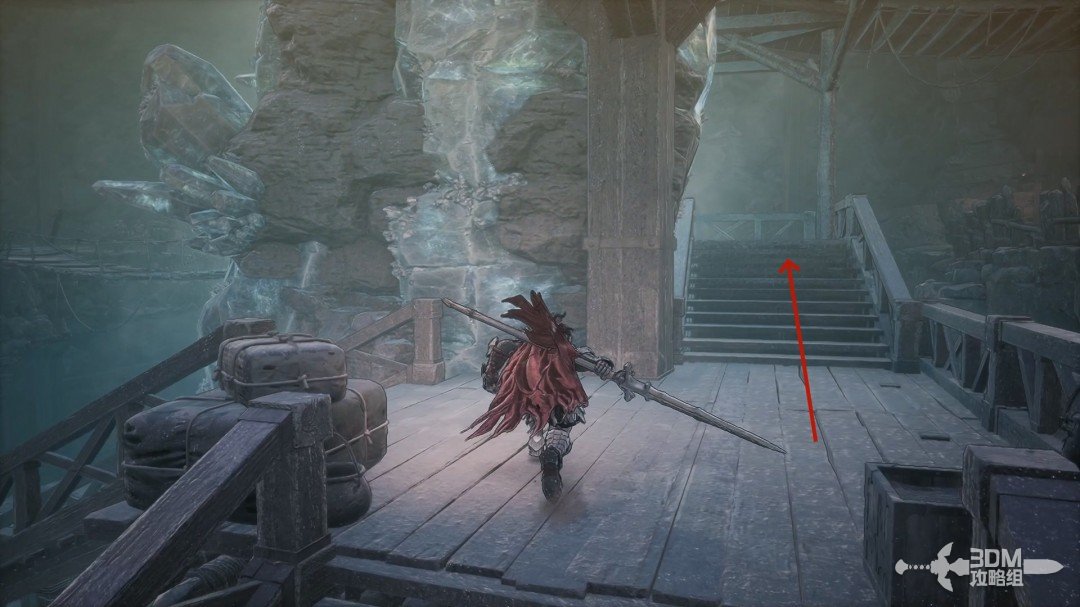
Continue straight above; the left side has no loot.
Stairs beyond the left door and narrow bridge: circle to the explosive chest · route image 5

Clear the soldiers and cross the narrow wooden bridge.
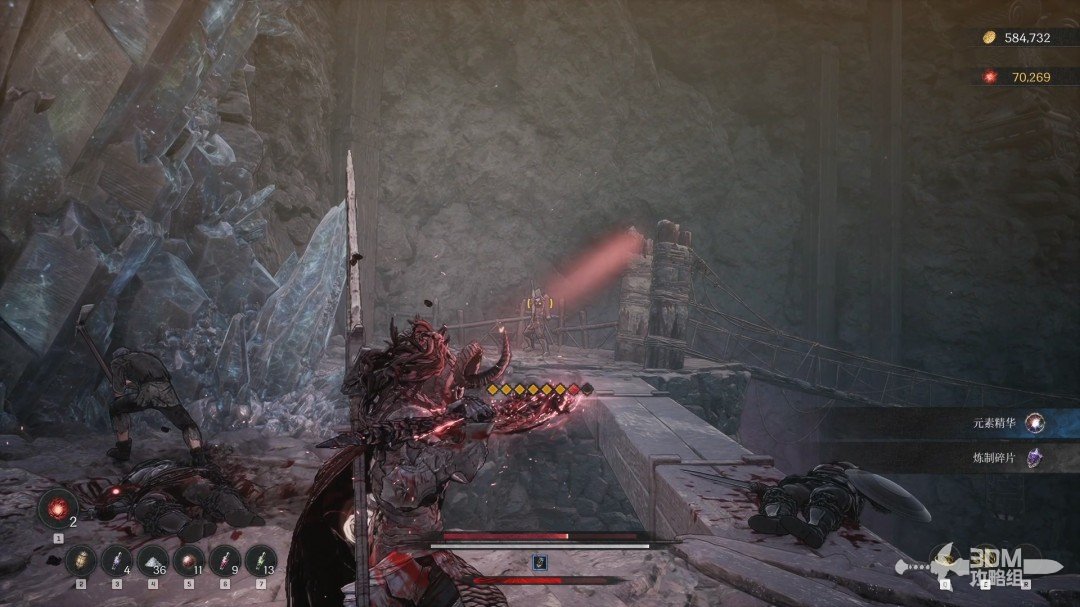
Stairs beyond the left door and narrow bridge: circle to the explosive chest · route image 6

Open the chest below and dodge its explosion.
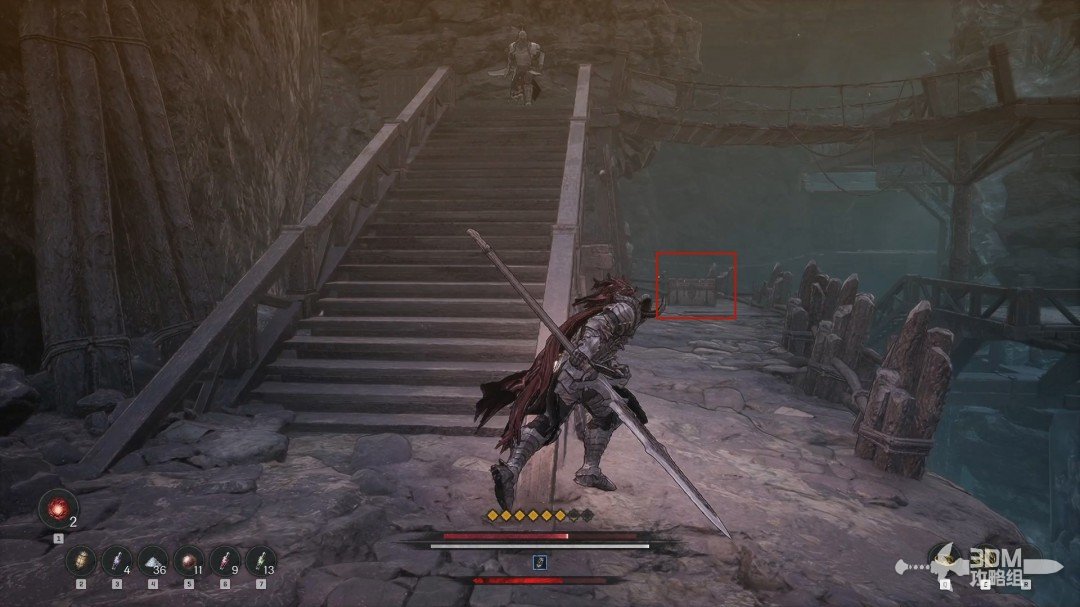
Stairs beyond the left door and narrow bridge: circle to the explosive chest · route image 7

20Descend beyond the bridge: meet Borgonov and reach the next Nexus

Climb the left ladder and absorb the memory here.
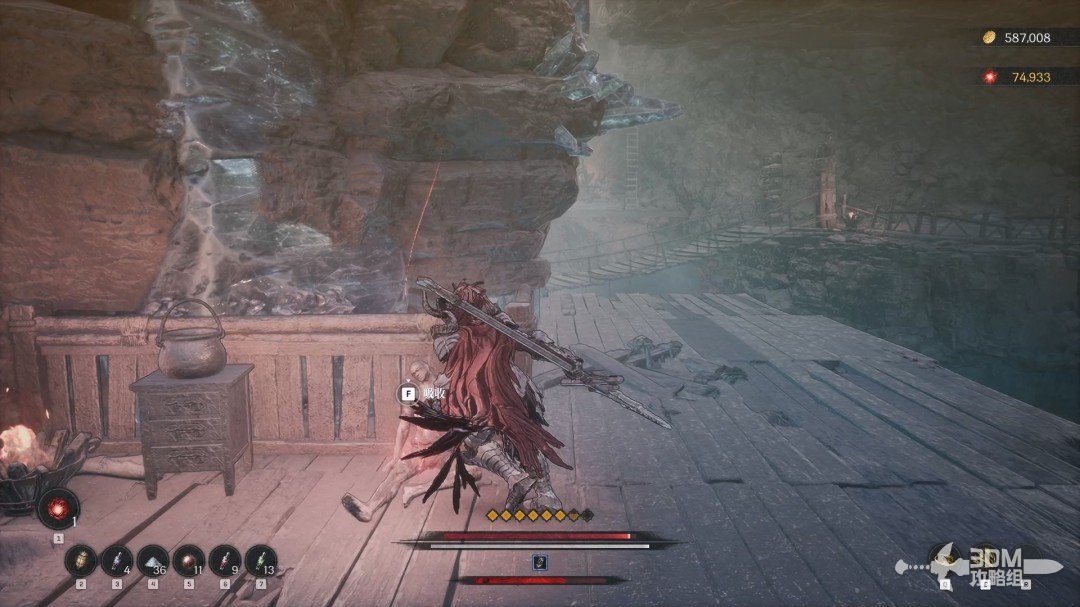
Descend beyond the bridge: meet Borgonov and reach the next Nexus · route image 8

Cross the bridge and descend the next ladder.
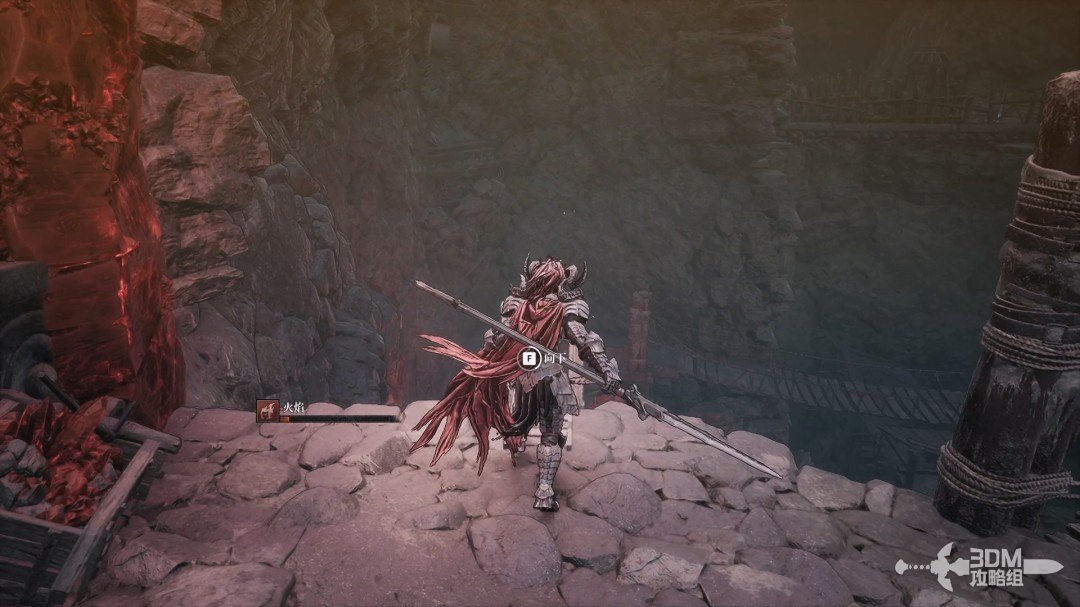
Descend beyond the bridge: meet Borgonov and reach the next Nexus · route image 9

Speak to Borgonov ahead after descending.
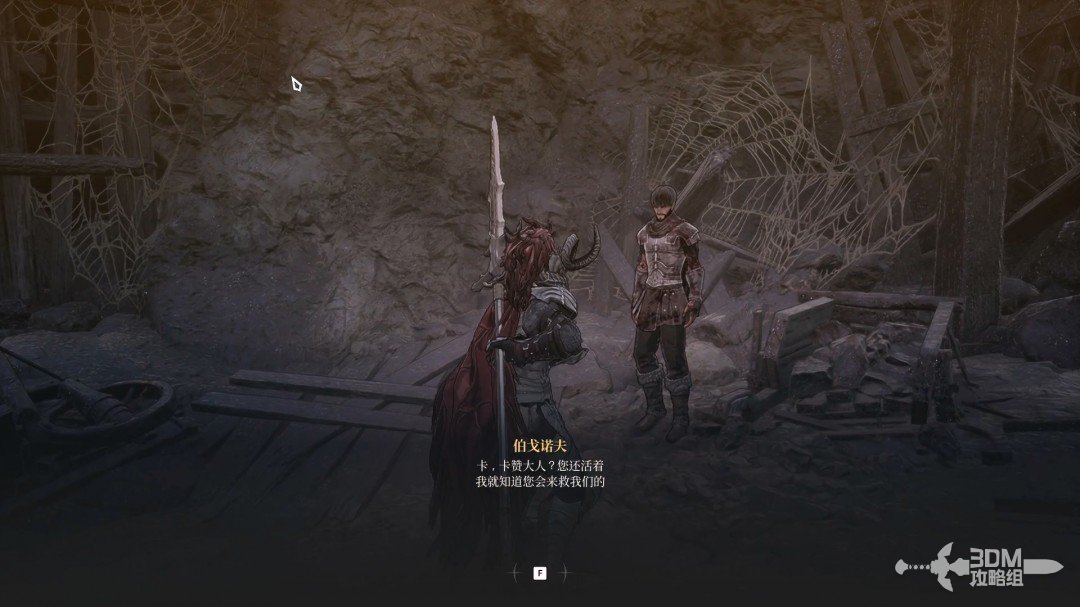
Descend beyond the bridge: meet Borgonov and reach the next Nexus · route image 10

Rest at the new Nexus.

Descend beyond the bridge: meet Borgonov and reach the next Nexus · route image 11

Collect the white item on the left.

Descend beyond the bridge: meet Borgonov and reach the next Nexus · route image 12

21Fork beyond the Nexus: chest on the left and Soulstone in the right rock wall

The memory ahead conceals a burrower. The path splits left and right.
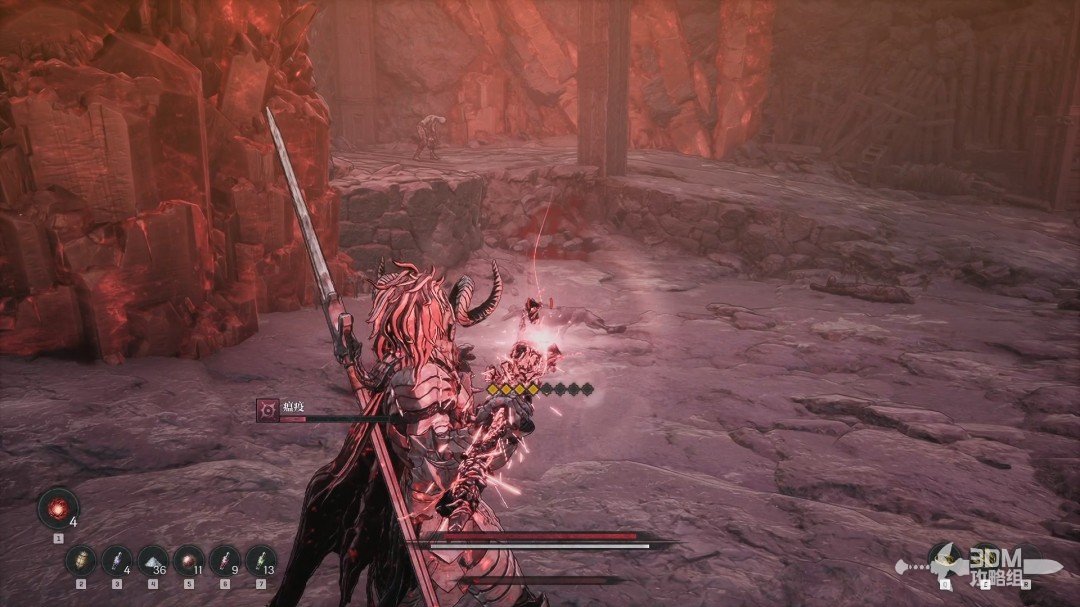
Fork beyond the Nexus: chest on the left and Soulstone in the right rock wall · route image 13

Explore left first, defeating the group for a chest.
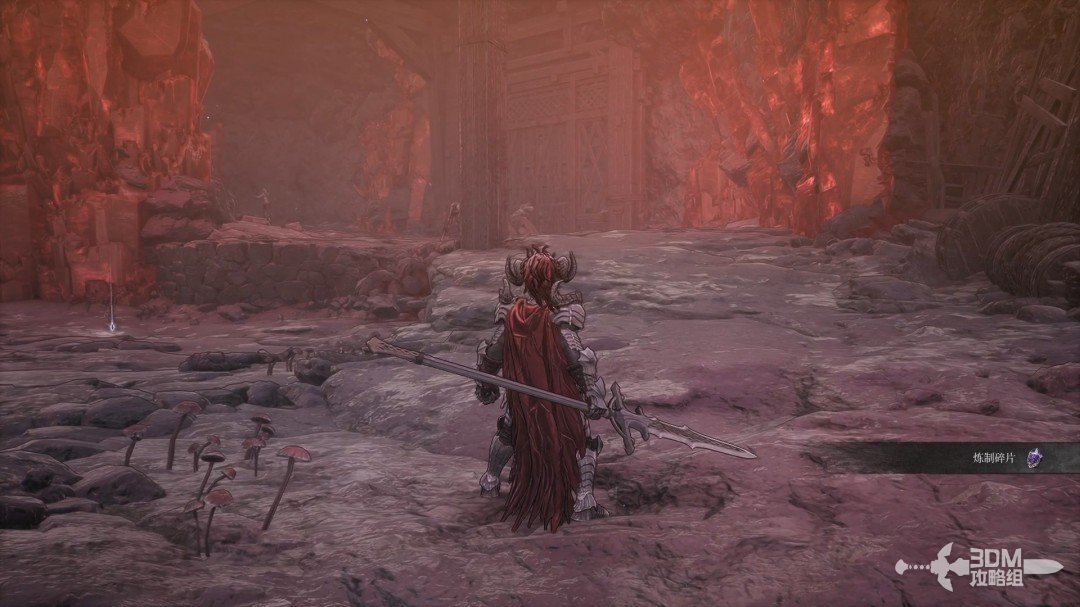
Fork beyond the Nexus: chest on the left and Soulstone in the right rock wall · route image 14
Fork beyond the Nexus: chest on the left and Soulstone in the right rock wall · route image 15

Take the right branch, clear the enemies and inspect the right wall.
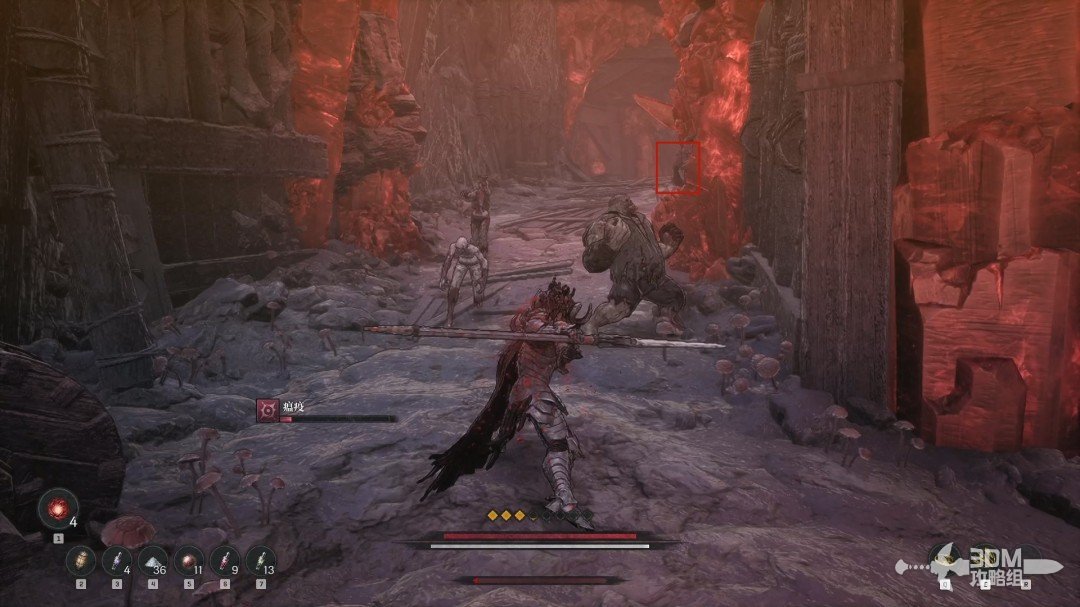
Fork beyond the Nexus: chest on the left and Soulstone in the right rock wall · route image 16

A Soulstone blends into the ore here and is easy to miss.
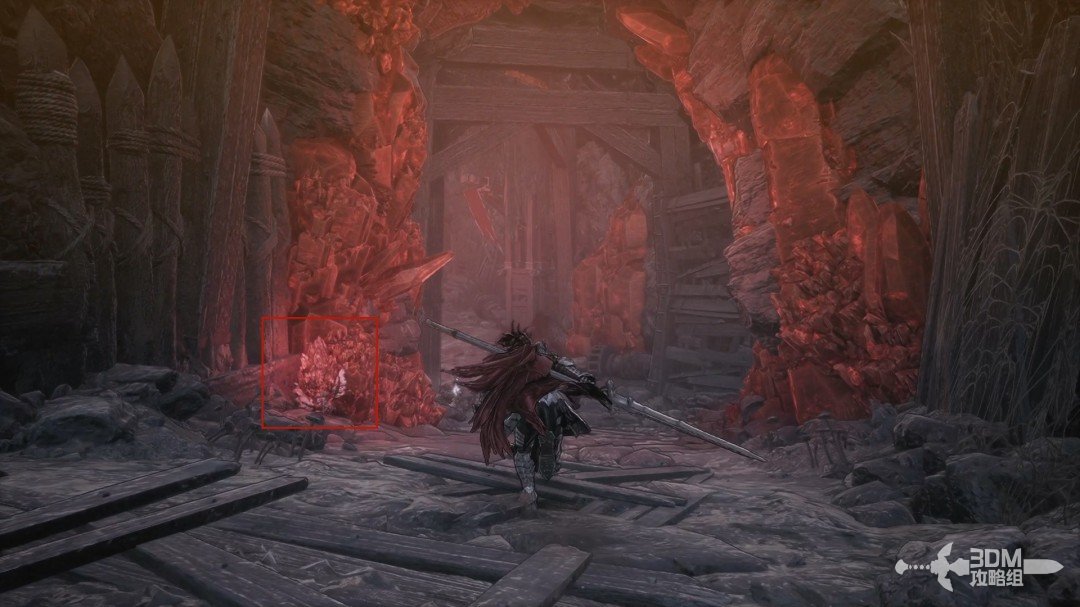
Fork beyond the Nexus: chest on the left and Soulstone in the right rock wall · route image 17

23Bat cave beyond the barrels: climb the ladders toward the boss

Continue past more explosive barrels and a fireball caster. Let the barrels detonate before approaching.
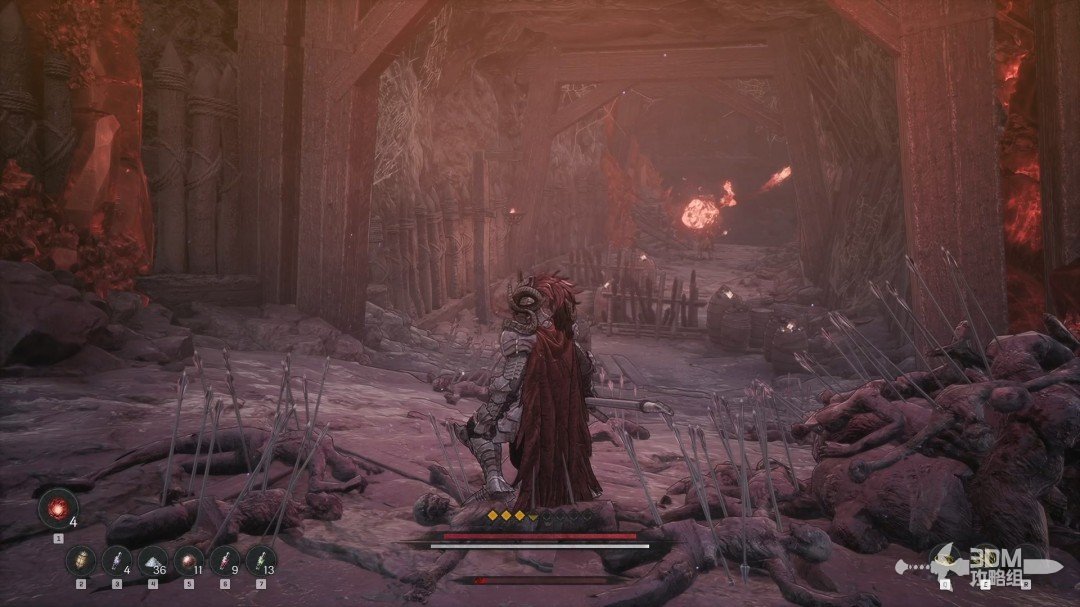
Bat cave beyond the barrels: climb the ladders toward the boss · route image 1

Follow the sole route and collect the purple item beside it.
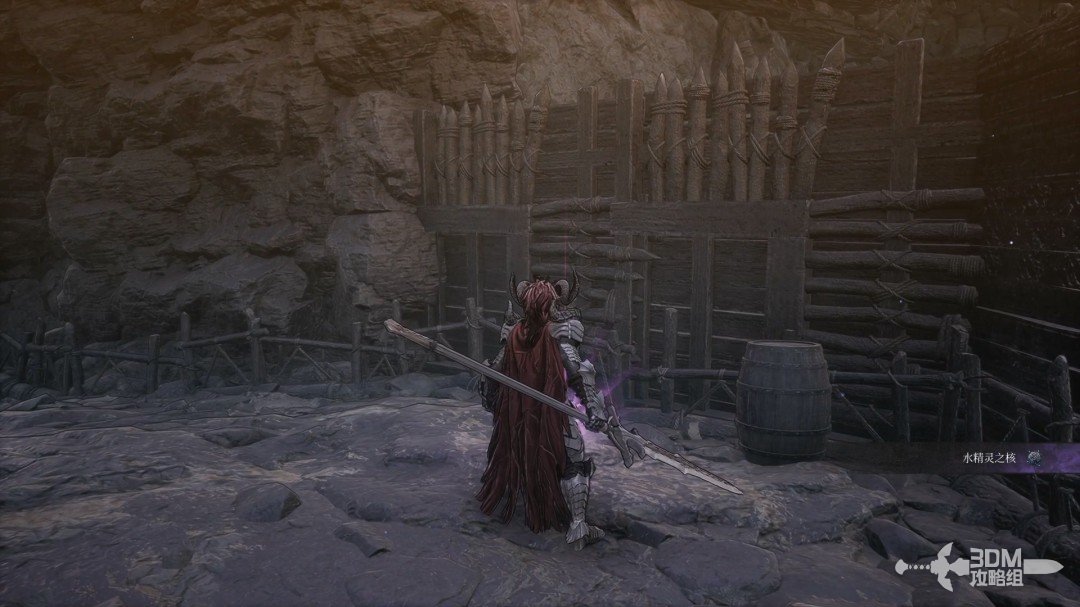
Bat cave beyond the barrels: climb the ladders toward the boss · route image 2

Guard against bats flying out of this cave entrance.
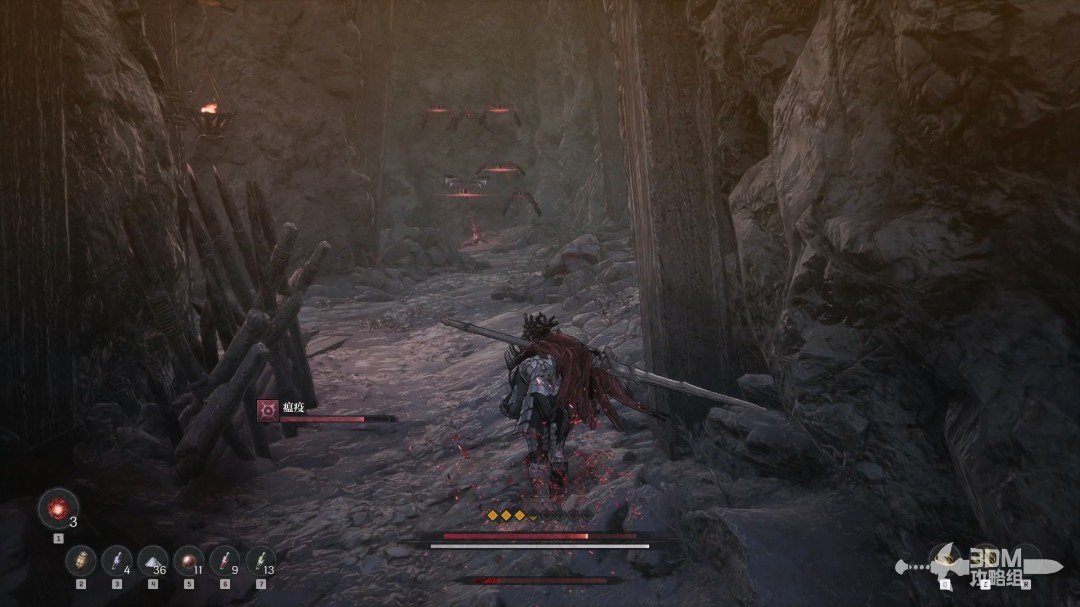
Bat cave beyond the barrels: climb the ladders toward the boss · route image 3

Absorb the memory ahead.

Bat cave beyond the barrels: climb the ladders toward the boss · route image 4

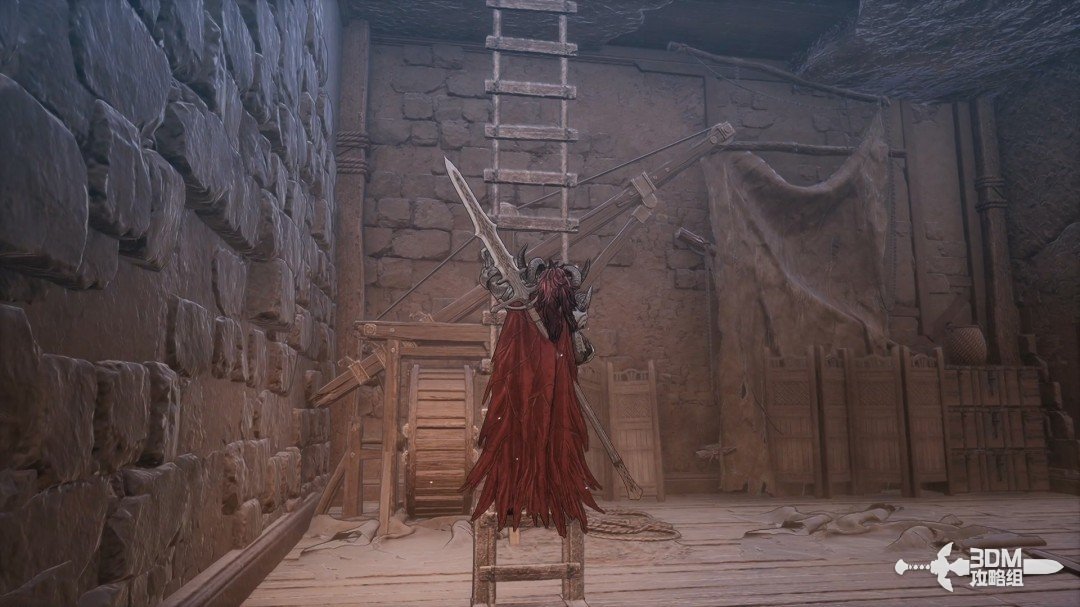
Climb the left ladder, then the next ladder above.
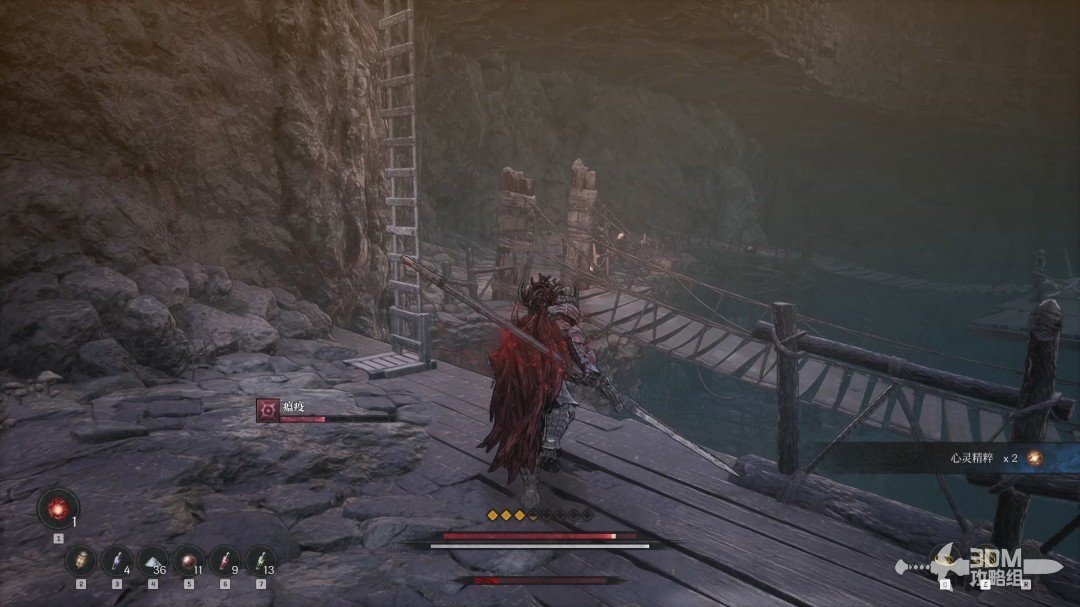
Bat cave beyond the barrels: climb the ladders toward the boss · route image 5

Follow the path to the Nexus on the platform. The boss is ahead.
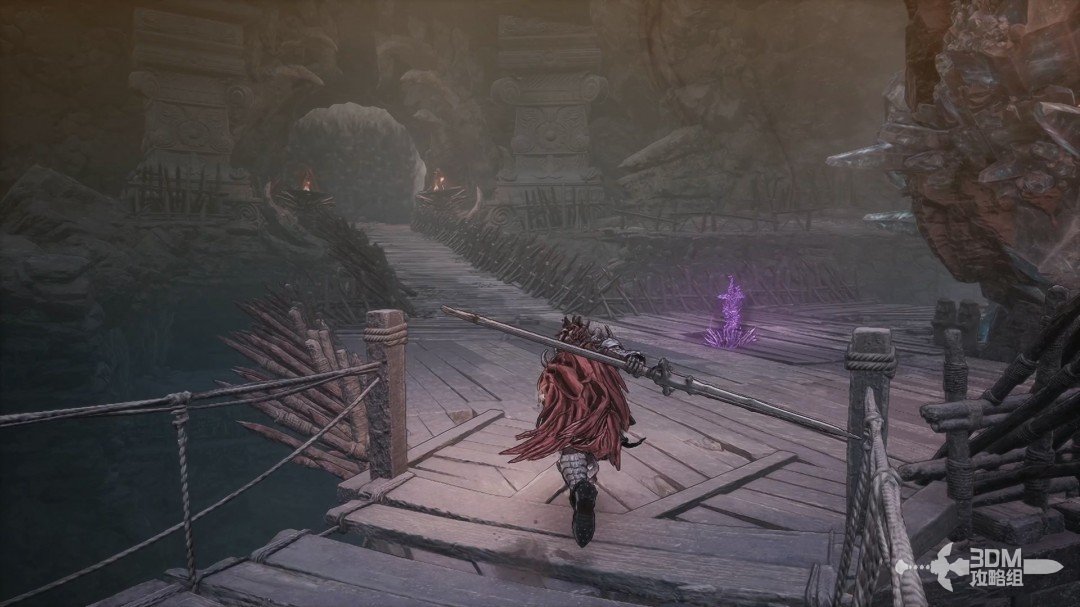
Bat cave beyond the barrels: climb the ladders toward the boss · route image 6

24Mine ambush chamber: face Shactuka, the plague chimera

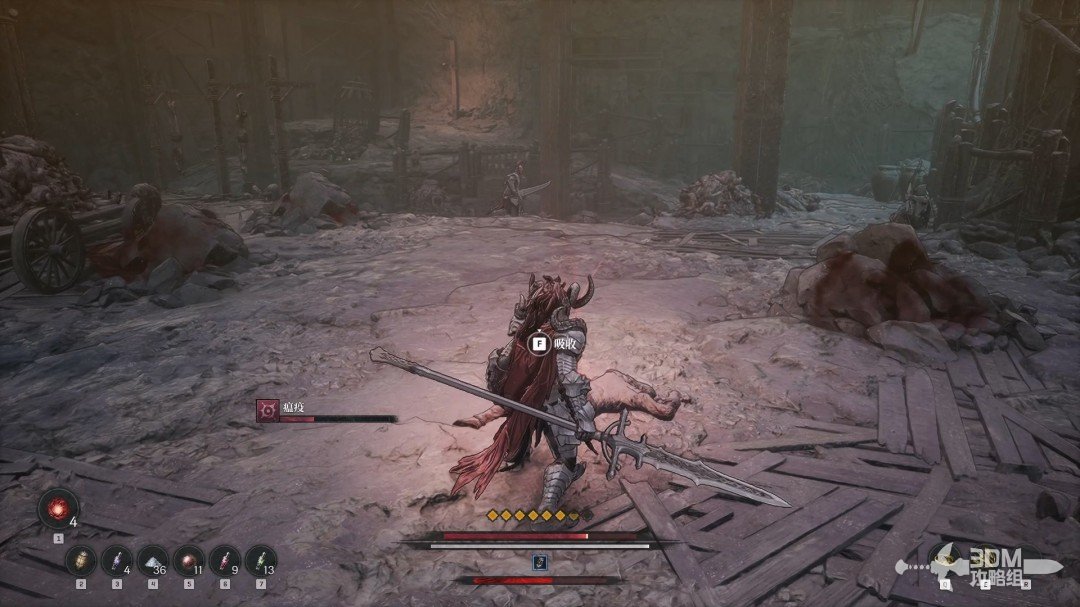
An ambush releases Shactuka, a monstrous composite beast.

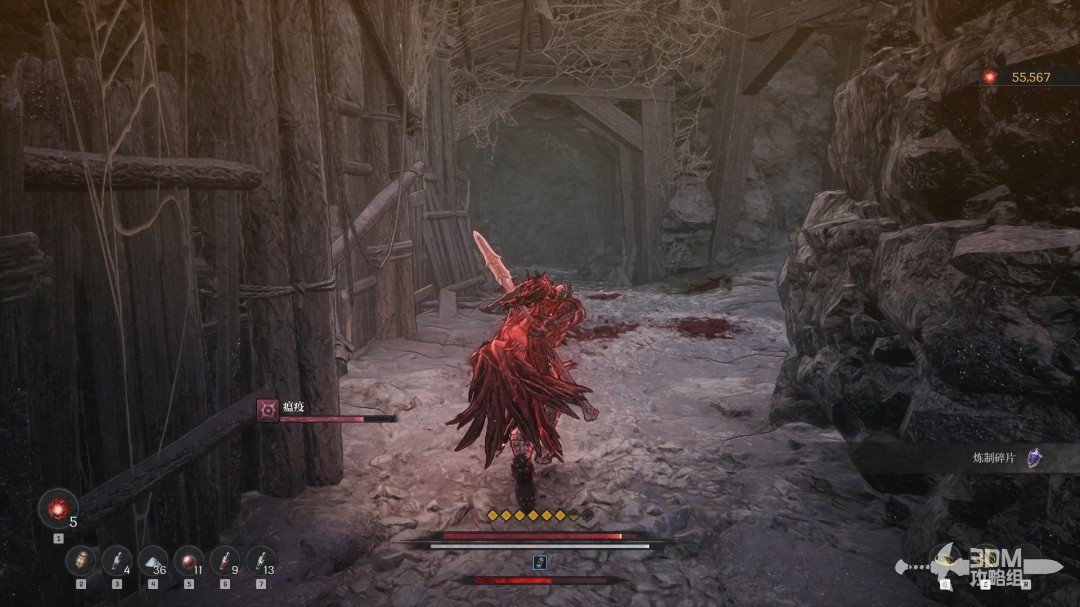
Keep plague medicine on your quick slots. Phantom Form can also clear the status effect.
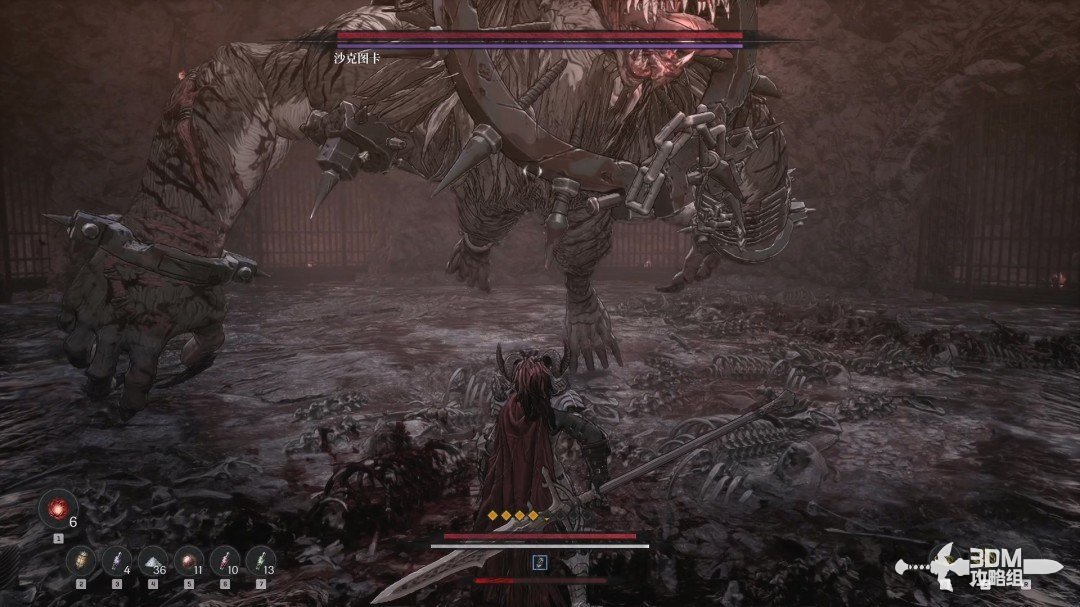
Mine ambush chamber: face Shactuka, the plague chimera · route image 1

Its main attacks are listed below.

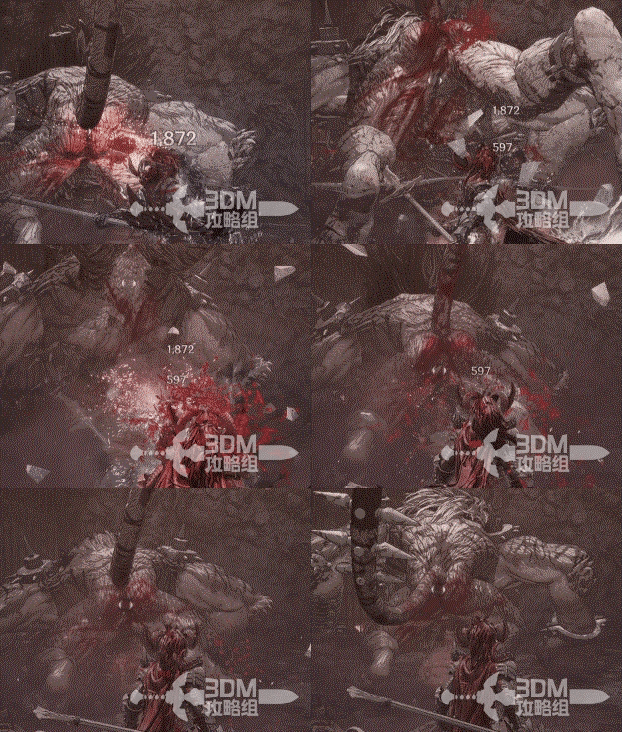
Attack ①:

Four fast strikes followed by a ground slam. Watch the opening sequence.
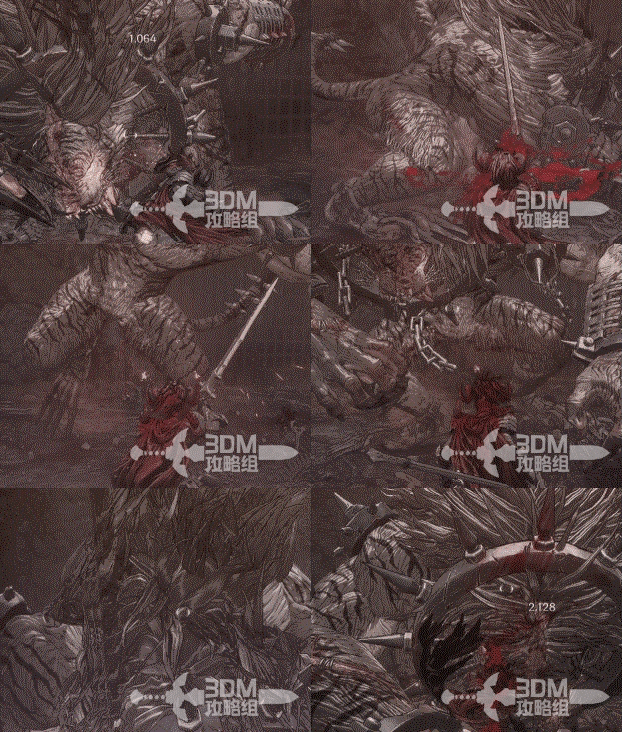
Mine ambush chamber: face Shactuka, the plague chimera · route image 2

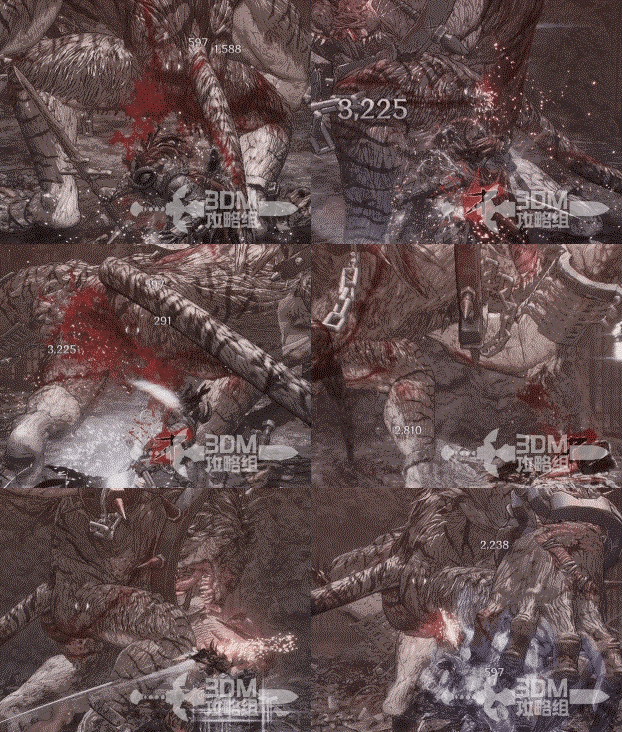
Attack ②:

A quick backward kick, particularly dangerous when attacking from behind.
Mine ambush chamber: face Shactuka, the plague chimera · route image 3

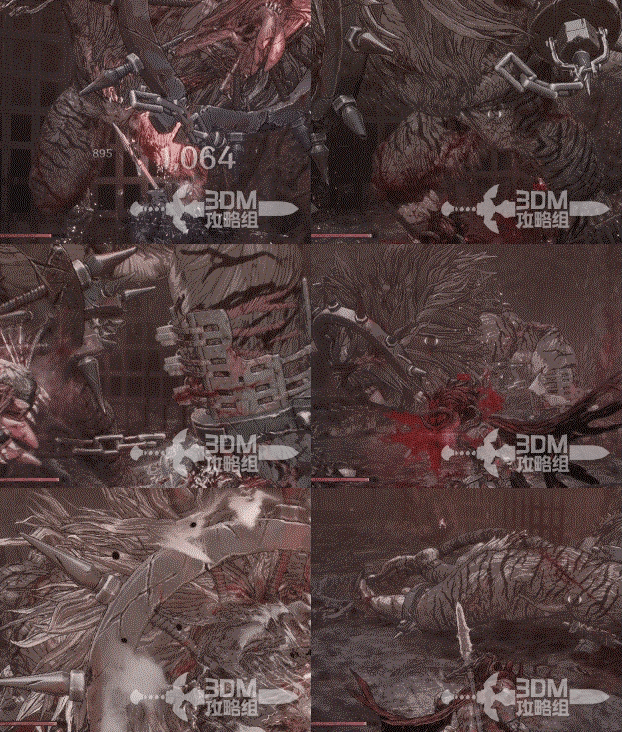
Attack ③:

A spinning attack that must be deflected with a guard.
Mine ambush chamber: face Shactuka, the plague chimera · route image 4

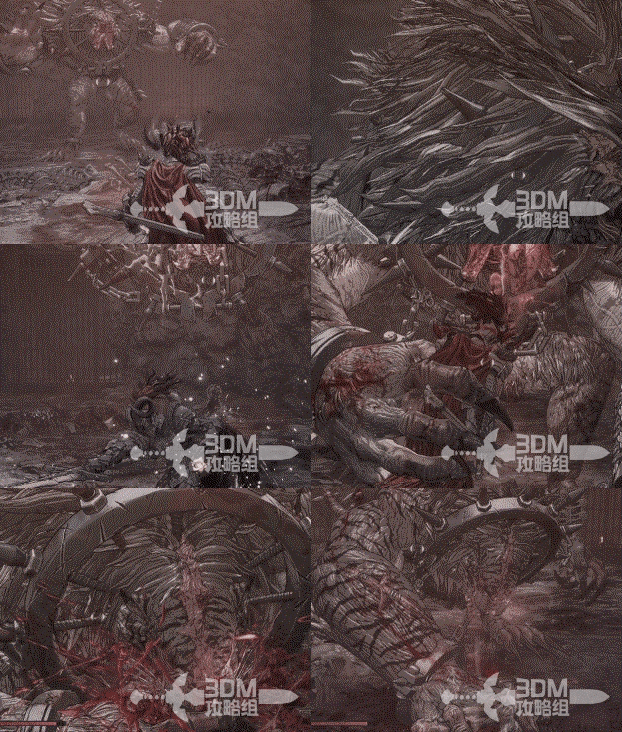
Attack ④:

Four quick bites requiring carefully timed dodges.
Mine ambush chamber: face Shactuka, the plague chimera · route image 5

Attack ⑤:

Its jumping attack and biting grab both have long wind-ups.
Mine ambush chamber: face Shactuka, the plague chimera · route image 6

25Rescue Yulian and hear the news about Ozma

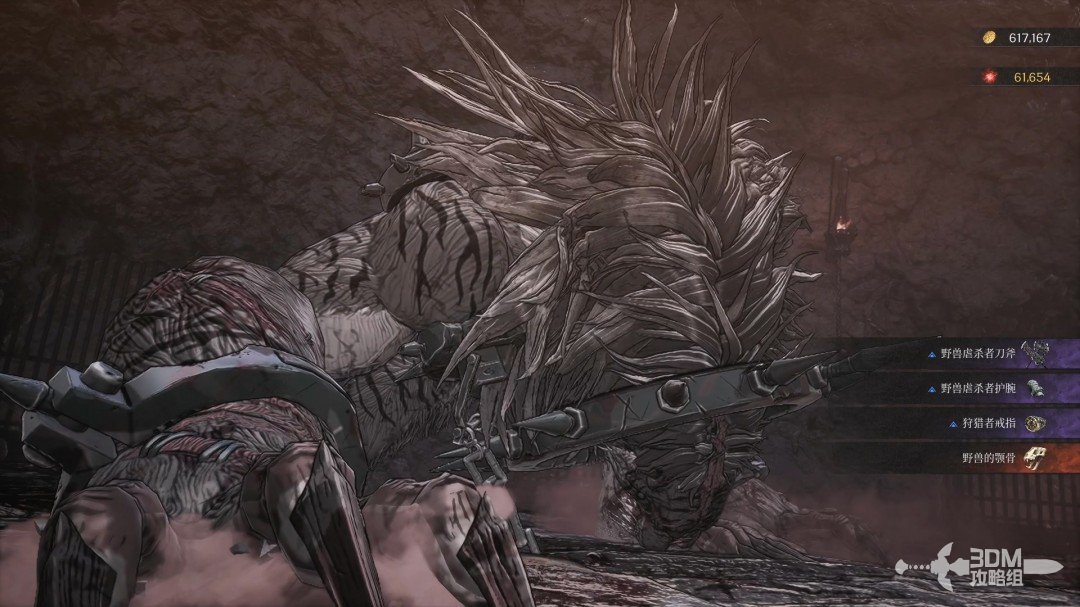
The boss has a limited move set. Defeat it for equipment.
Rescue Yulian and hear the news about Ozma · route image 7

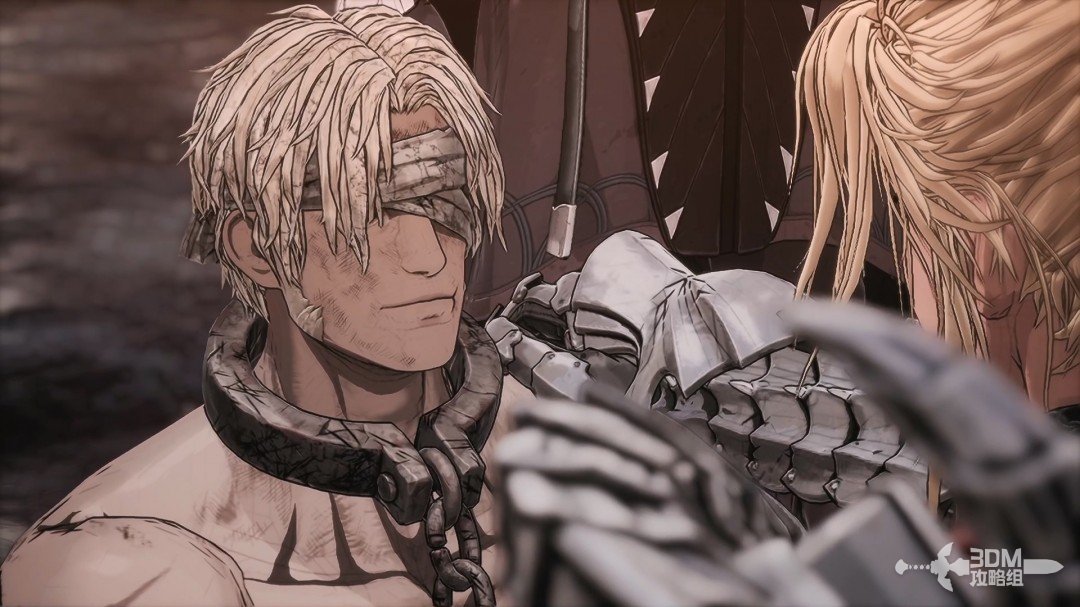
The cinematic shows Yulian's successful rescue.
Rescue Yulian and hear the news about Ozma · route image 8

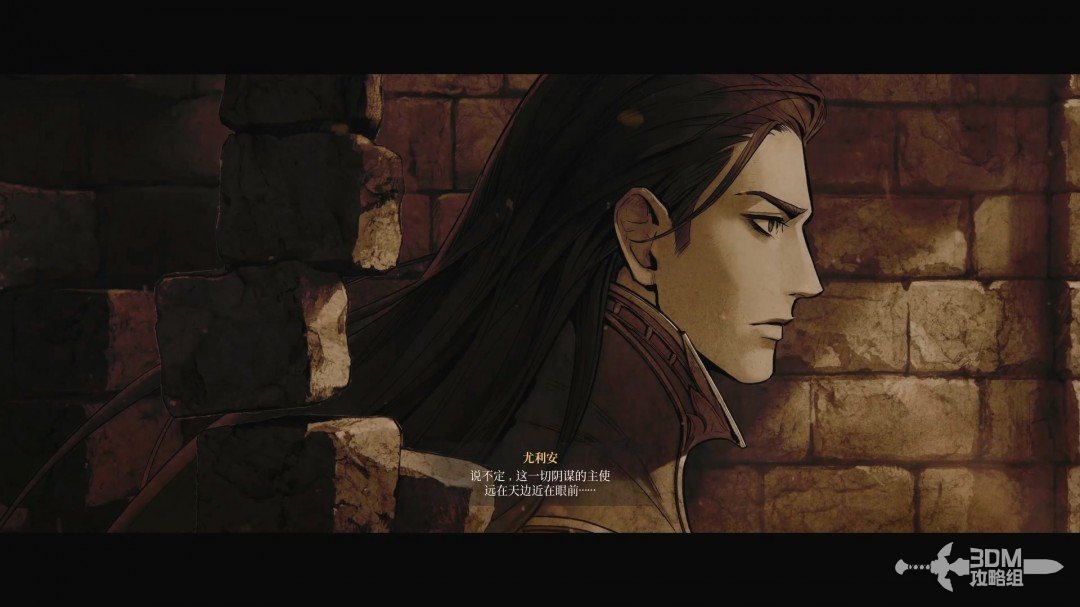
Yulian reveals that Ozma, exiled alongside Khazan, is alive and may be behind the conspiracy.
Rescue Yulian and hear the news about Ozma · route image 9

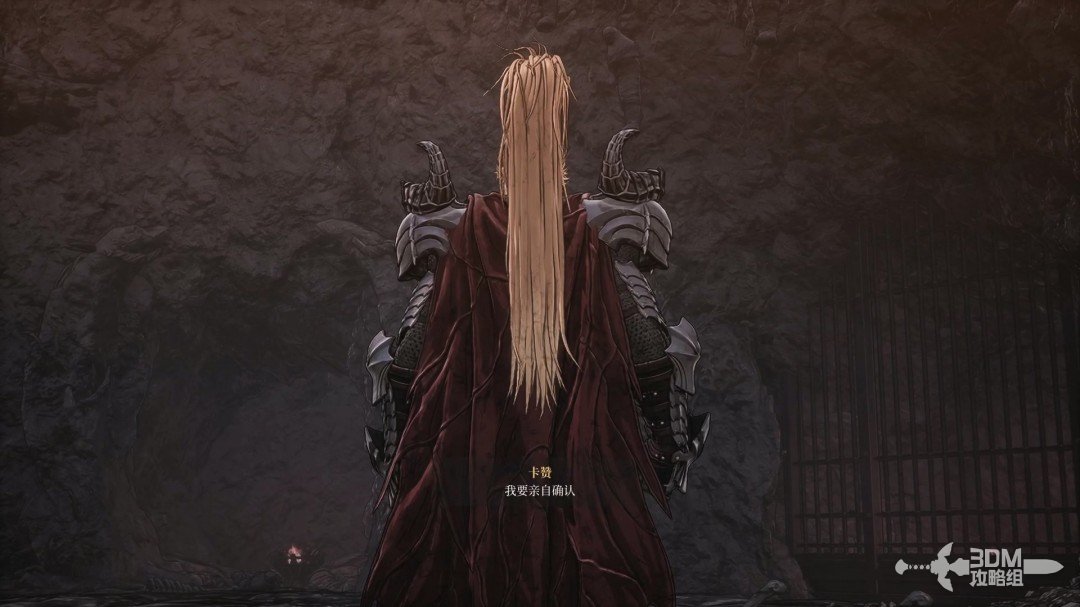
Khazan sets out to verify this revelation himself.
Rescue Yulian and hear the news about Ozma · route image 10

Meanwhile, Ozma kills the emperor in the palace. The chapter ends.
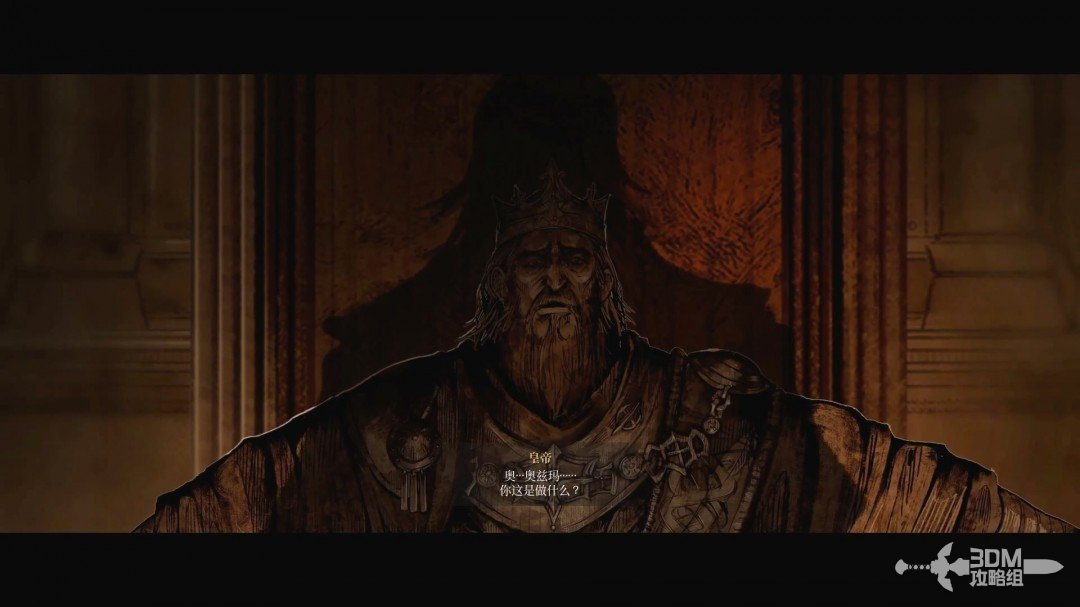
Rescue Yulian and hear the news about Ozma · route image 11

Related side missions

  1. Why Did You Abandon Us →

    Speak to Tristan at the hub after the main mission.

  2. Escaping Linon Mine →

    Speak to Yulian after the preceding side mission.

  3. The Last Command →

    Continue after the mine rescue and hub dialogue.

Reference: 3DM Guide Team

GAME NOTE has reorganized and rewritten the routes from this walkthrough.