Escape the snowy opening, unlock the cart shortcut, and face the Snow Yeti King.
Pickups in this mission
Combat basics: guard, dodge and resources →
01The convoy after the avalanche: accept the sword's power
The opening cinematic follows General Khazan into exile after false accusations of treason. His arm tendons have been severed. A mysterious voice calls him the one they seek, before an avalanche engulfs him and his escort.

The escort appears to have perished. The mysterious presence possesses Khazan, allowing him to stand again.
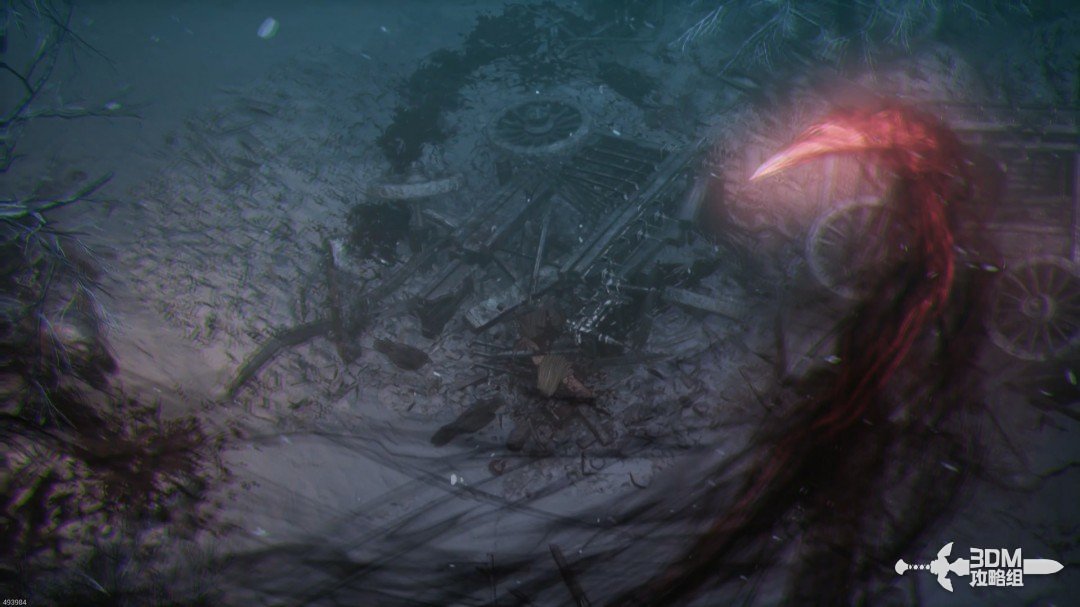
You now control Khazan. Move with WASD and use the mouse to look around.
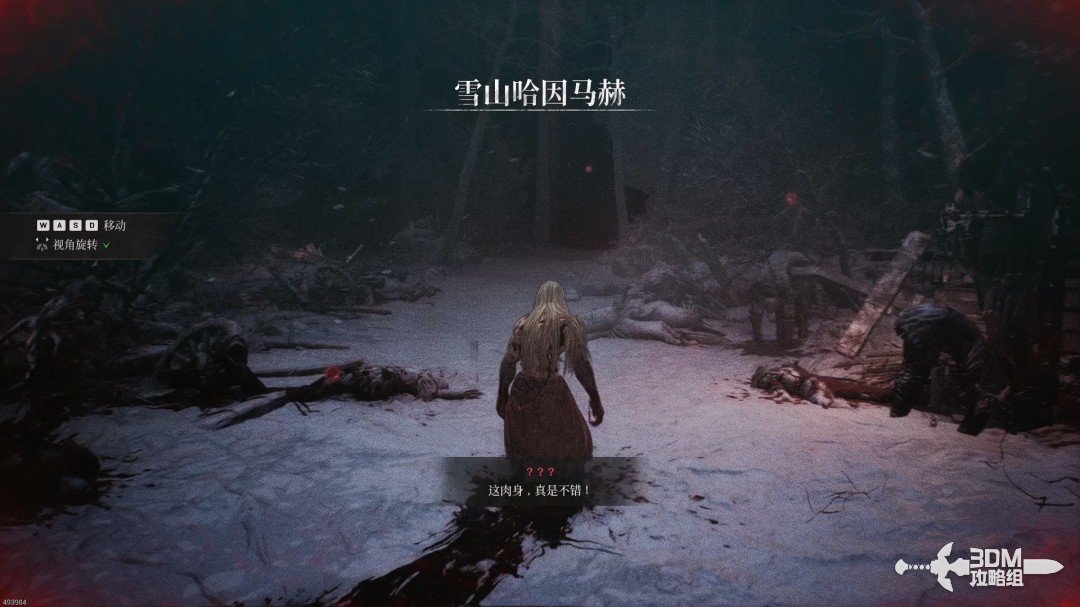
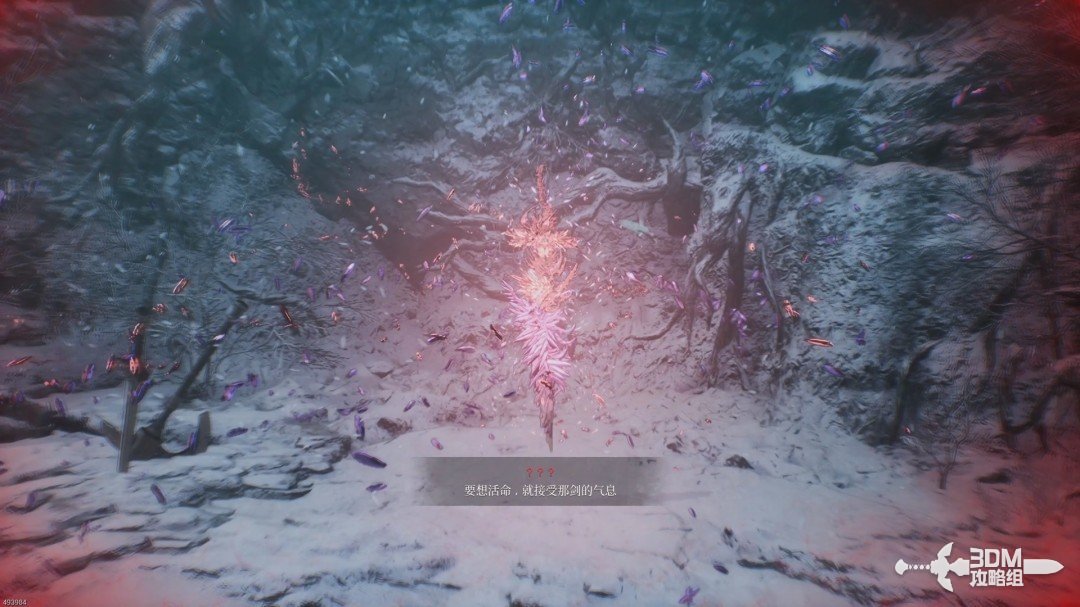
Walk forward to the sword. Accept its power to survive. This is a Blade Nexus, where you can rest and upgrade your attributes.
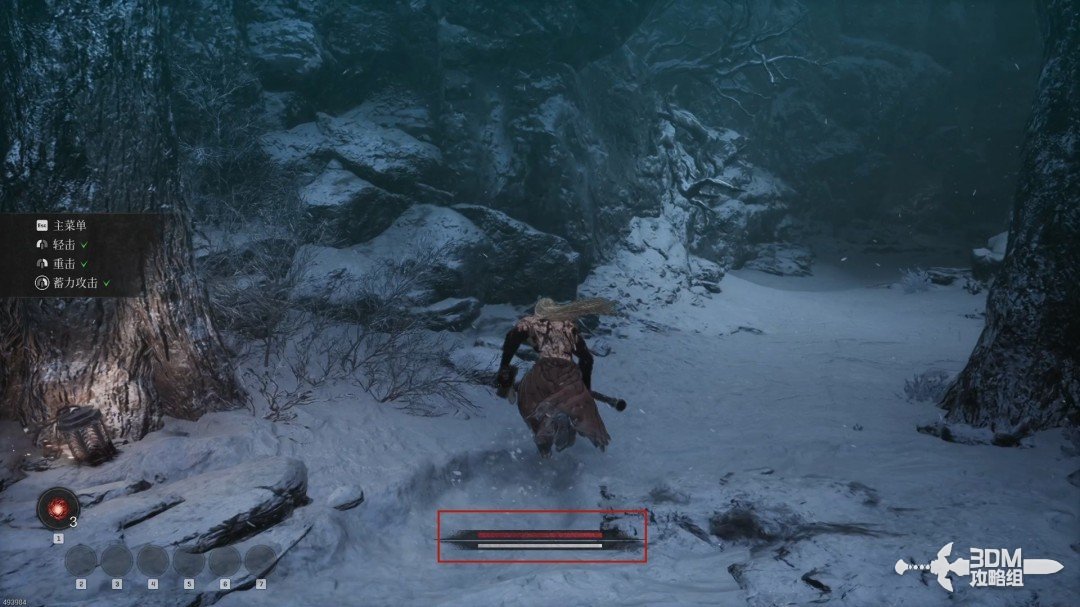
Resting grants your first Dual Wield weapon: Khazan's axe and blade. They attack quickly but deal modest damage per hit. Left-click for a quick attack, right-click for a potent attack, or hold right-click to charge it.
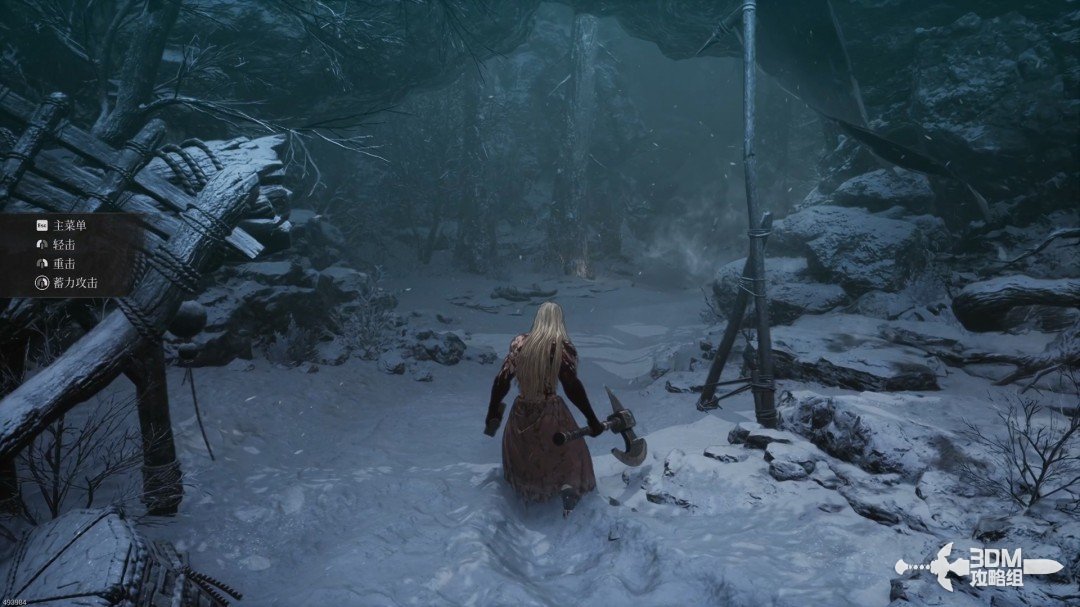
The red bar shows health; the white bar below it shows stamina. Actions consume stamina.
02Guards on the snowy path: guard and recover the Transport Order
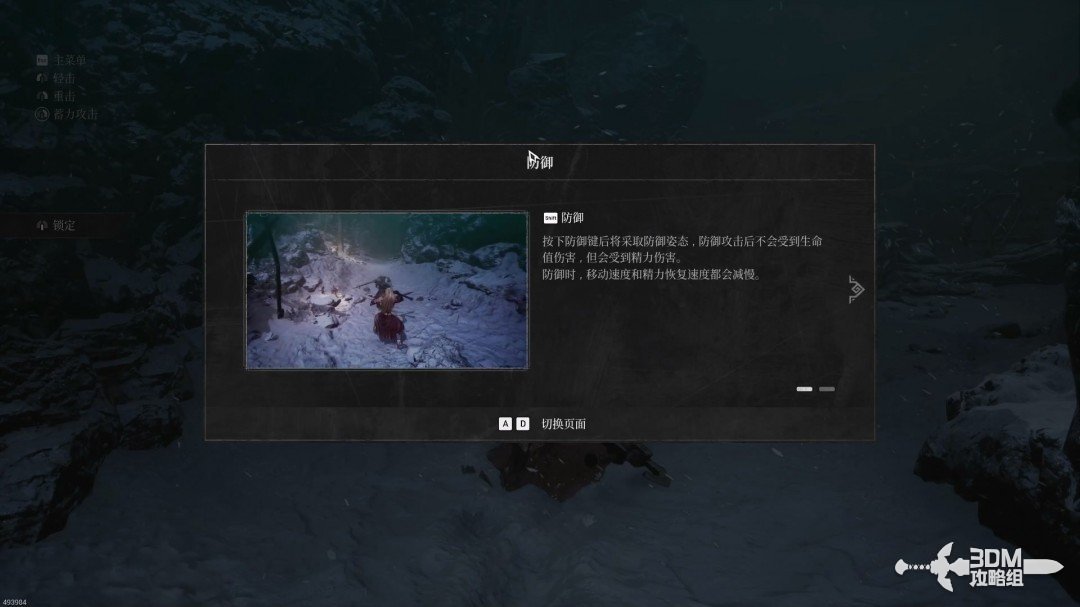
The first enemy introduces guarding with Shift. Guarding spends stamina instead of health. Guard just before impact for a Brink Guard, reducing stamina damage while damaging the enemy's stamina or fortitude.
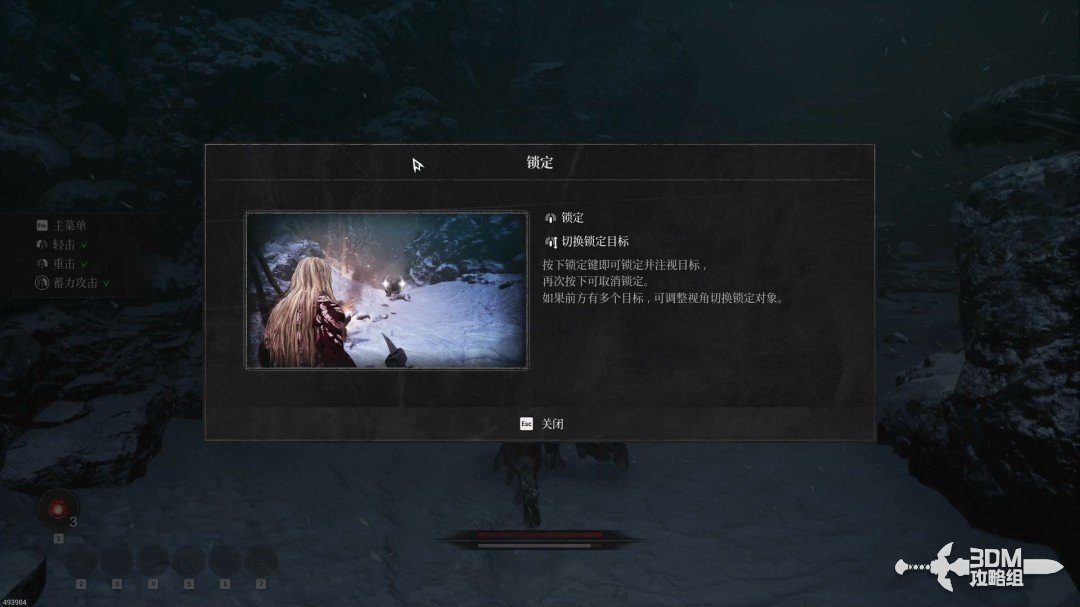
Press the middle mouse button to lock on.
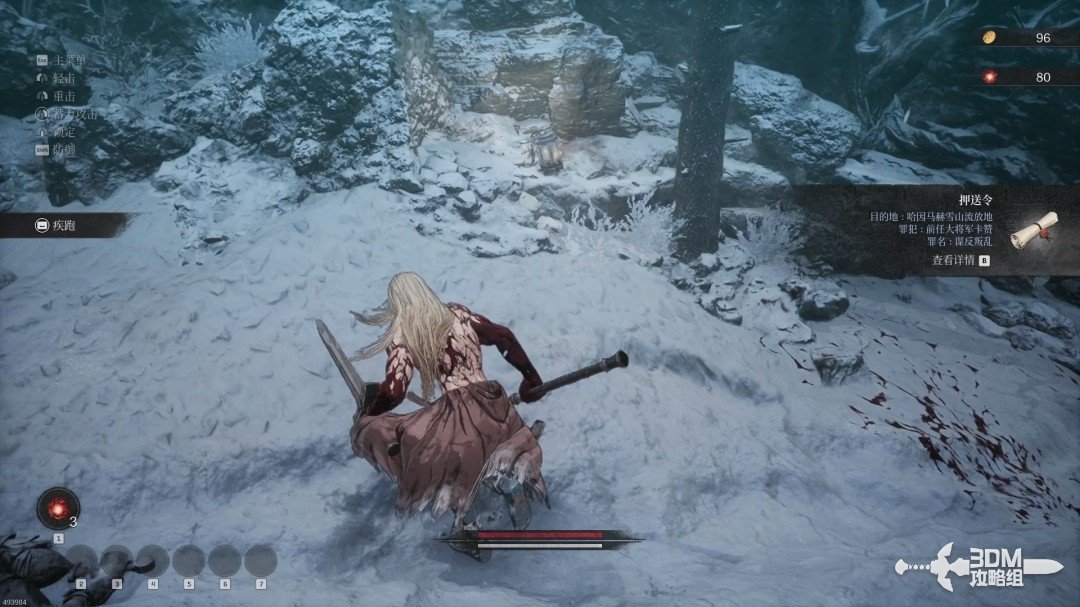
Defeat the first enemy to obtain the Escort Order collection item. Press B to read it.
Press V to sprint, or hold Space.
04Yeti ambush: drain Stamina and use a Brutal Attack
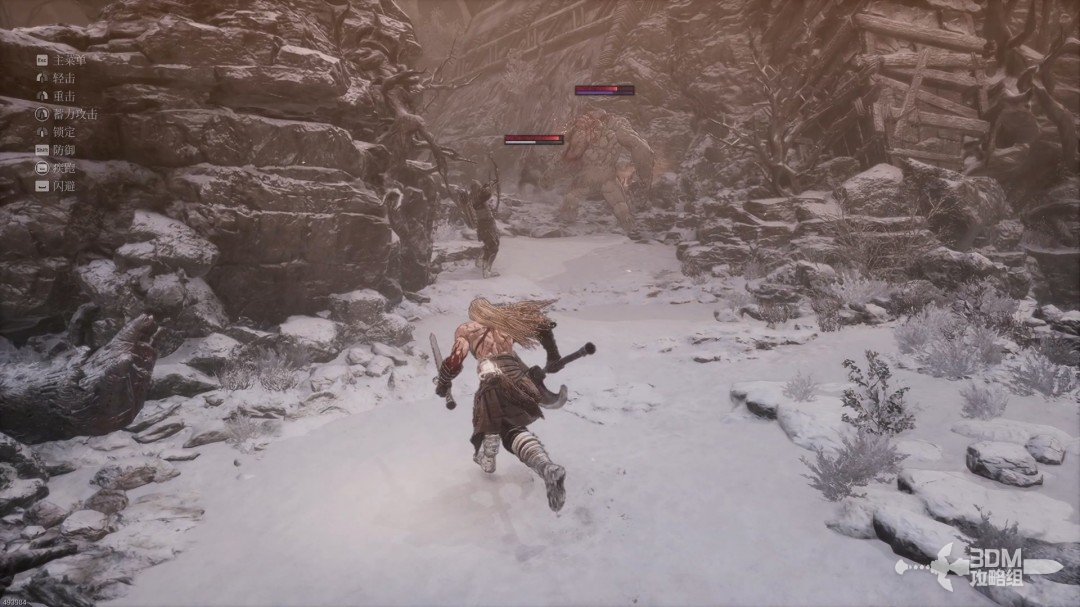
After two soldiers, continue to the first yeti elite. Its ambush may injure you. Press 1 to heal; the remaining uses appear at the lower left.
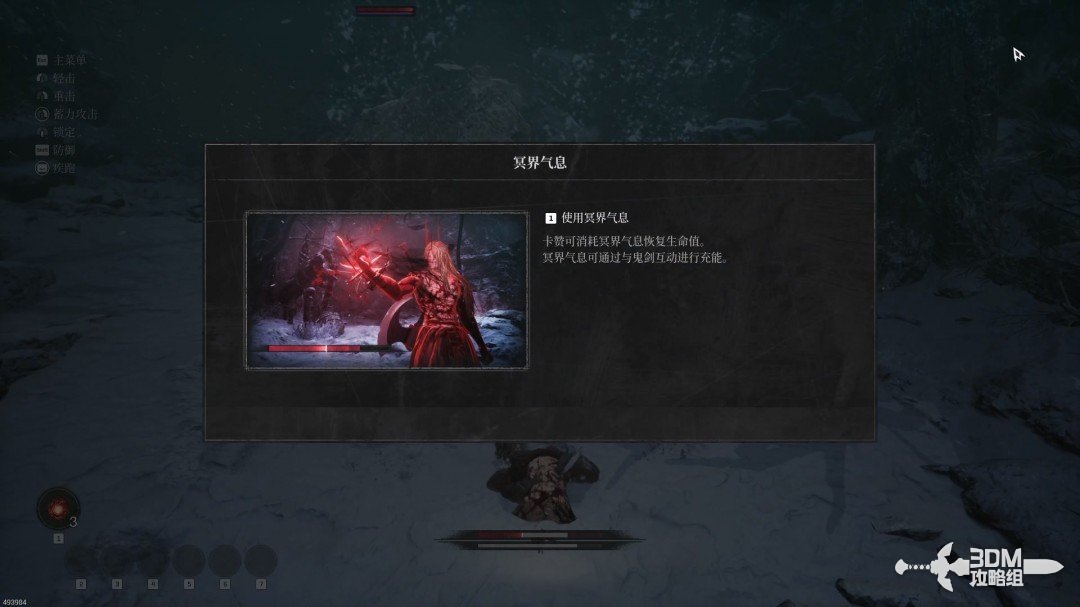
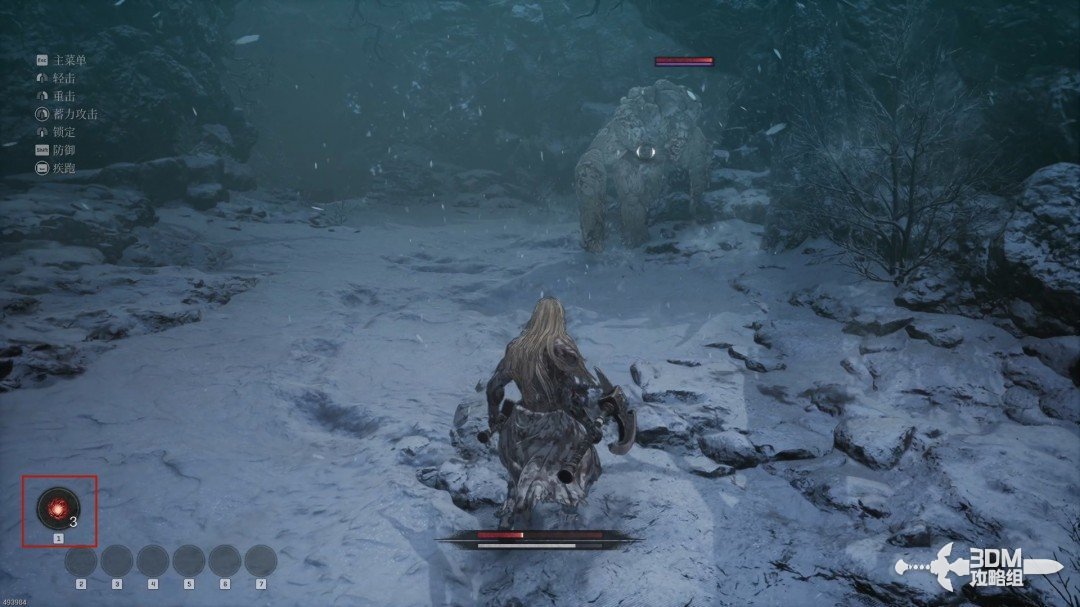
When either combatant's stamina reaches zero, they become exhausted and cannot move. Use this opening to attack.
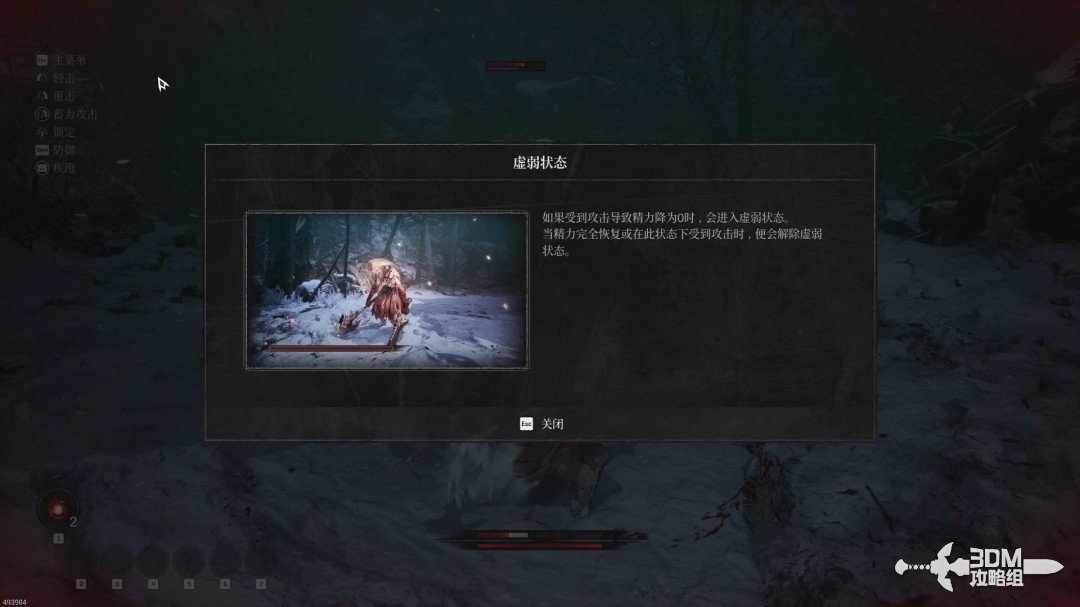
A red countdown circle marks an opening for a Brutal Attack. Press F to deal heavy damage and recover stamina. Waiting until the timer is nearly over gives you more time to recover first.
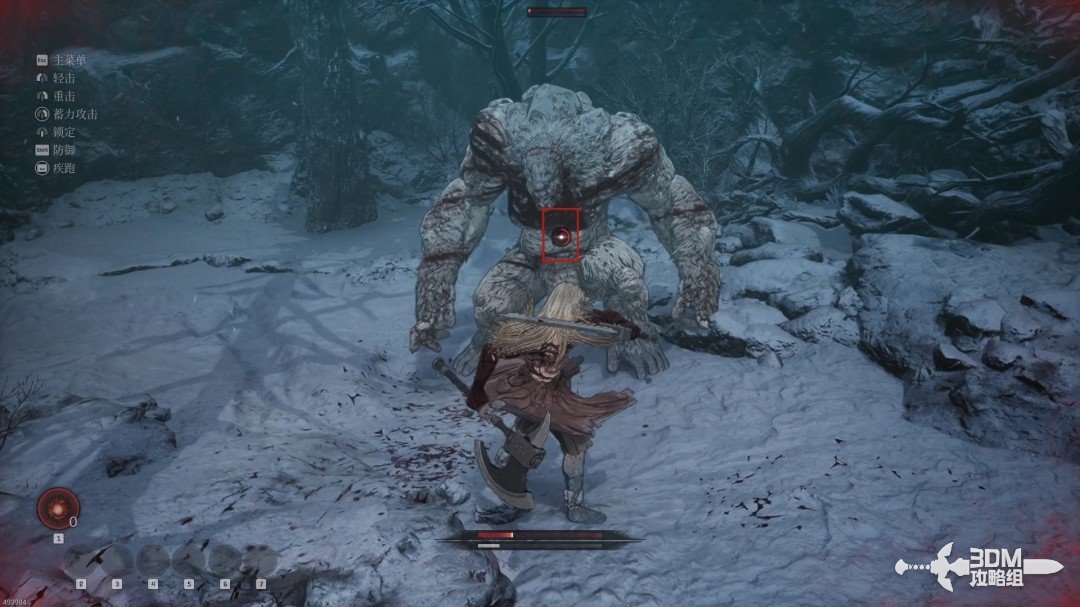
The yeti uses the following attacks.
Attack ①:
A three-hit frontal combo, occasionally extended to four hits, with a clear opening tell.
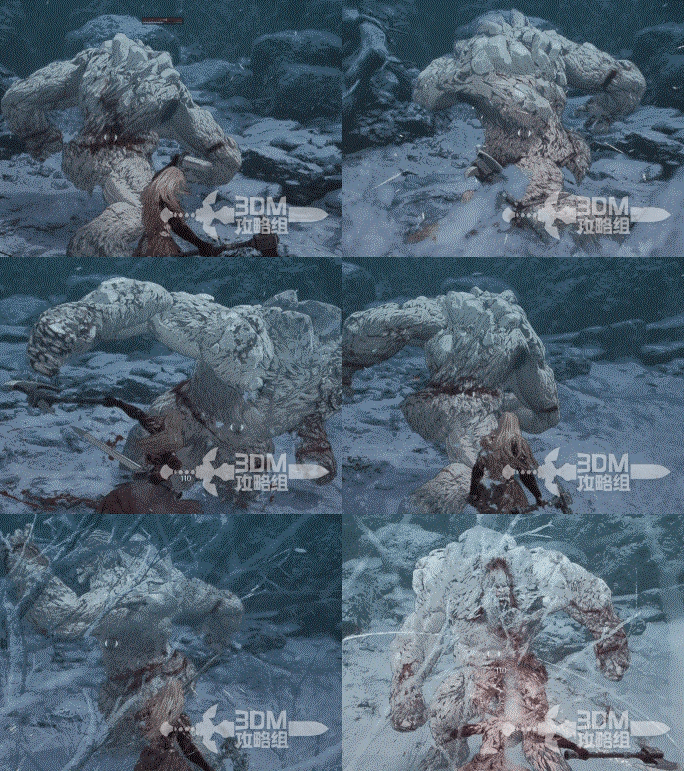
Attack ②:
A jumping slam that leaves its hands buried in the ground. Punish the long recovery.
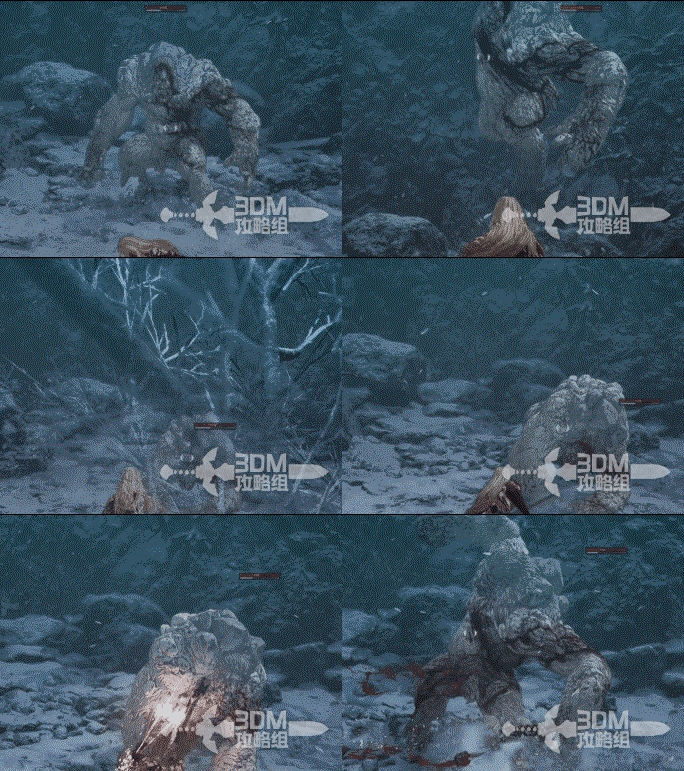
Attack ③:
A downward punch followed by an uppercut. Both are relatively easy to evade.
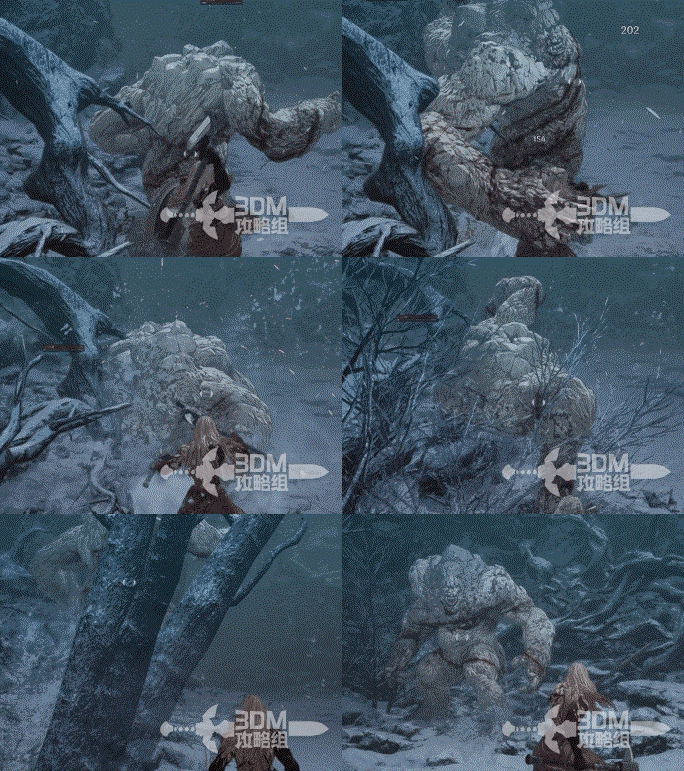
05Chest left of the yeti and the lower Nexus
Enemies drop equipment and items, with some drops appearing random. Press Esc to equip gear or assign consumables to the lower-left quick slots. Equipment can provide set bonuses.
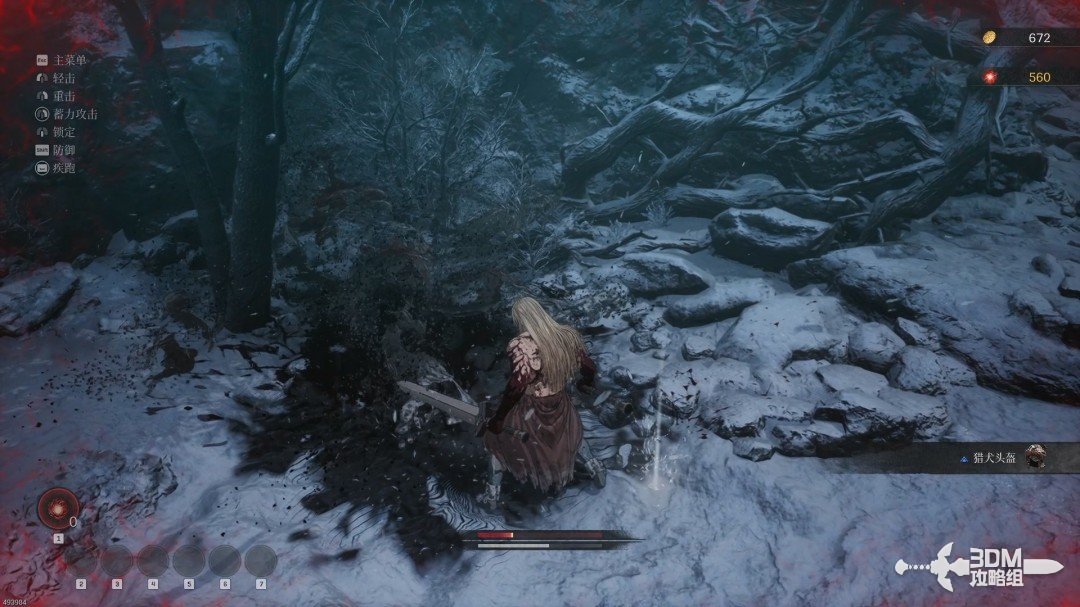
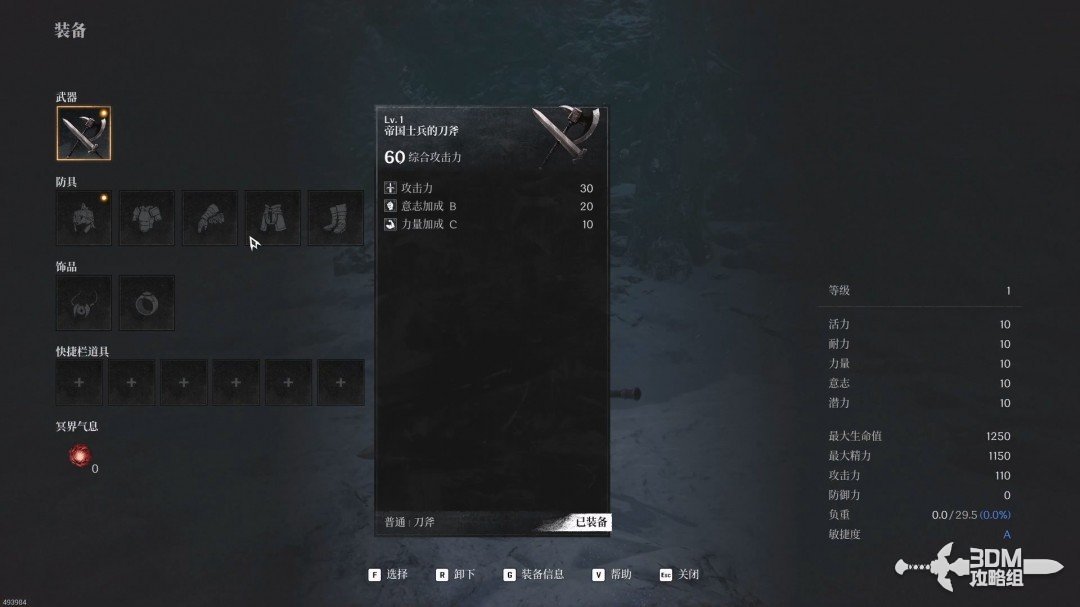
After the yeti, look left for a chest containing equipment and items.
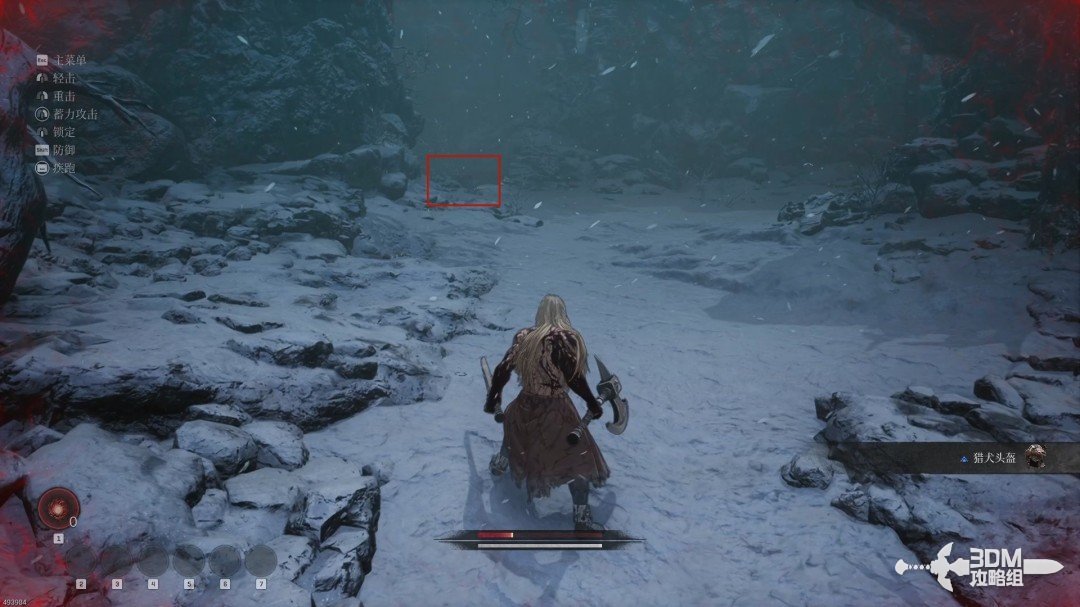
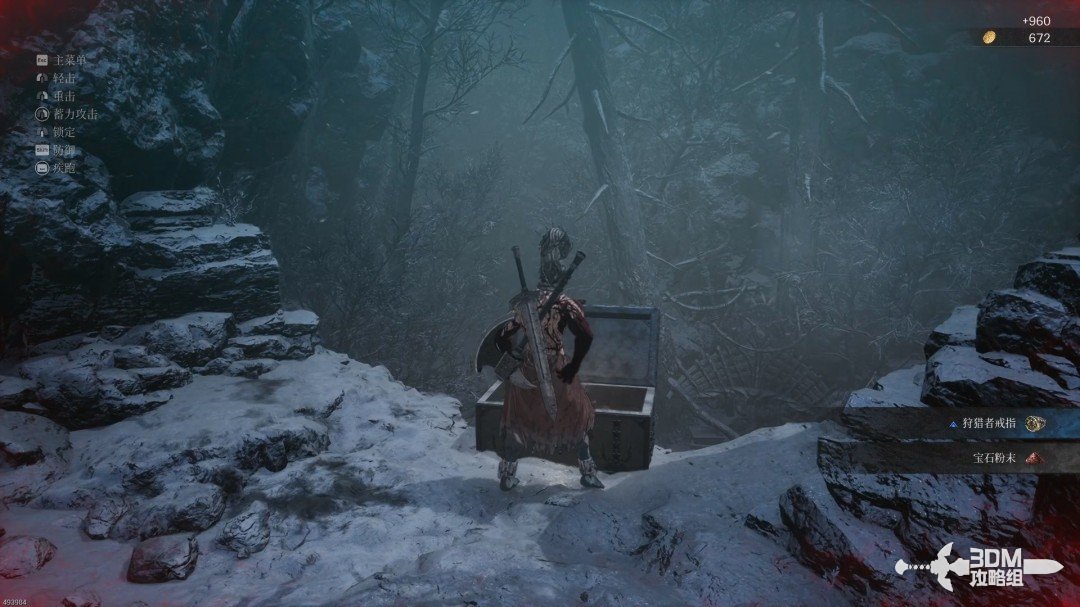
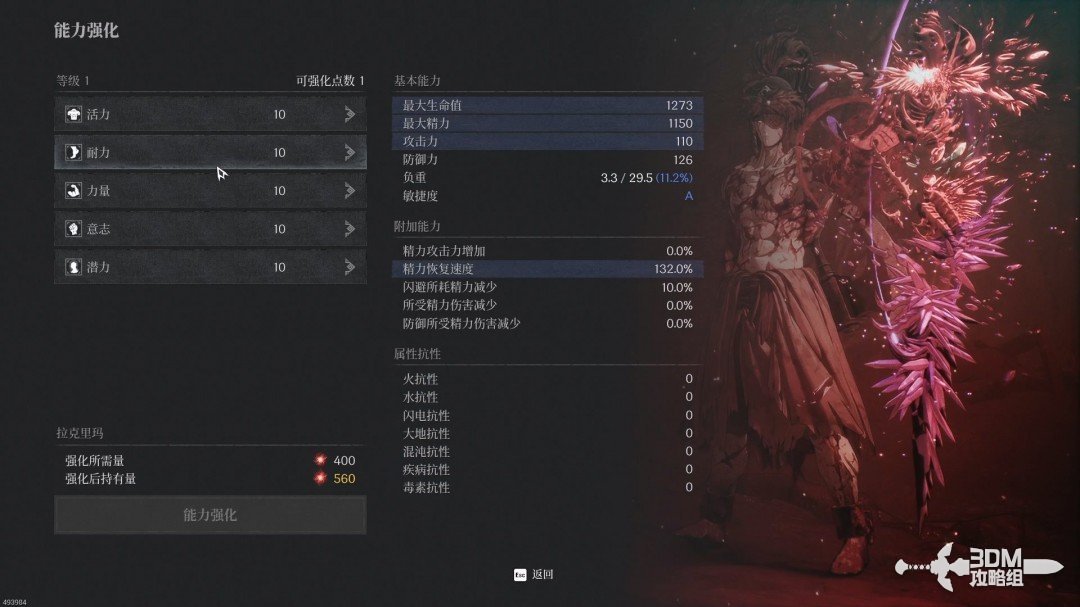
Drop to the Blade Nexus after looting the chest. Allocate attributes according to your weapon requirements and stamina needs.
06Mountain guards and ledges: dodge, backstab and plunge
Two enemies introduce dodging with Space. A well-timed Brink Dodge briefly strengthens your attacks. Dodging costs more stamina than guarding but is generally more forgiving to time.
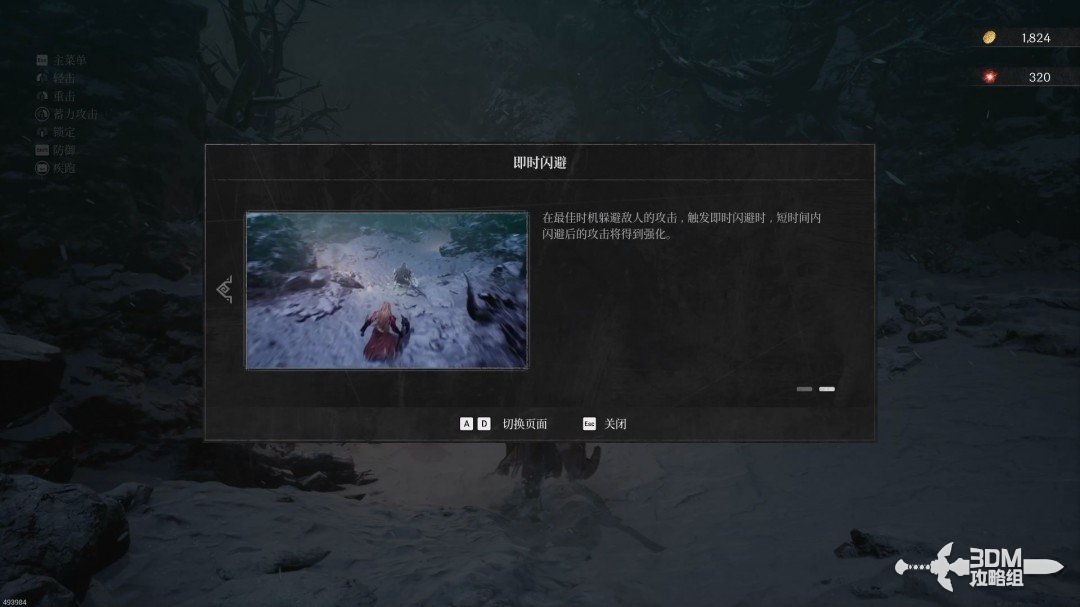
Defeat both enemies and collect the purple Fire Enhancer drop.
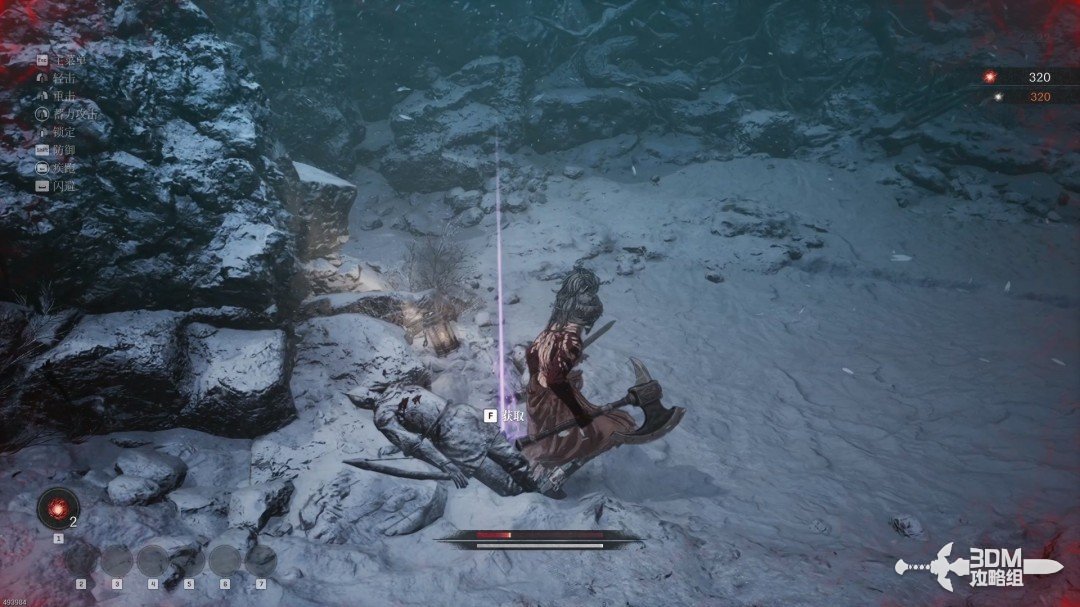
Hold Alt to walk quietly behind an unaware enemy, then press F for a Brutal Attack. This usually kills weaker foes, severely wounds medium enemies and damages larger monsters.
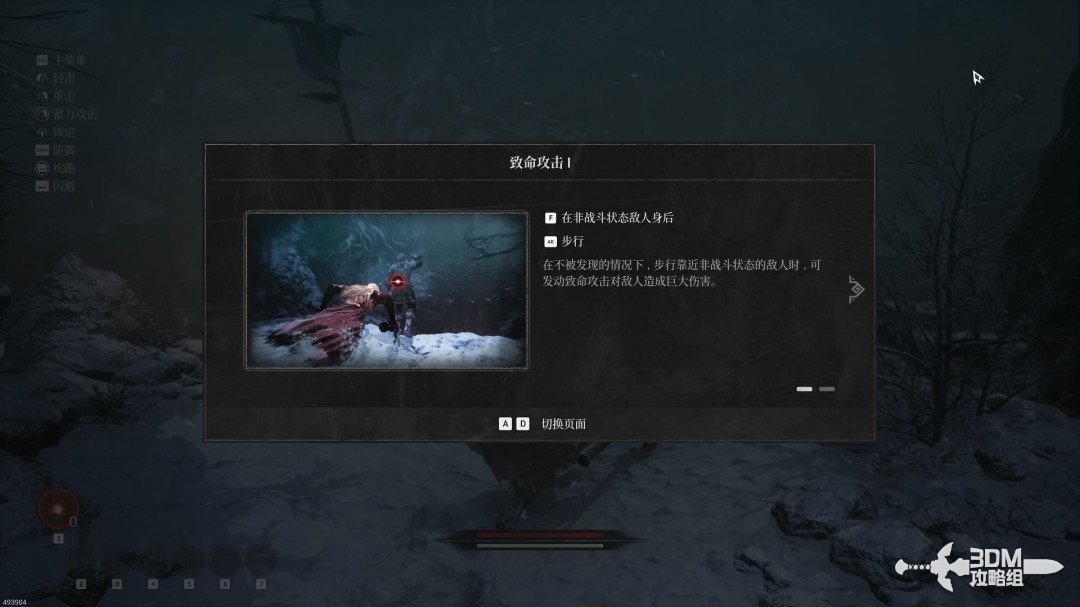
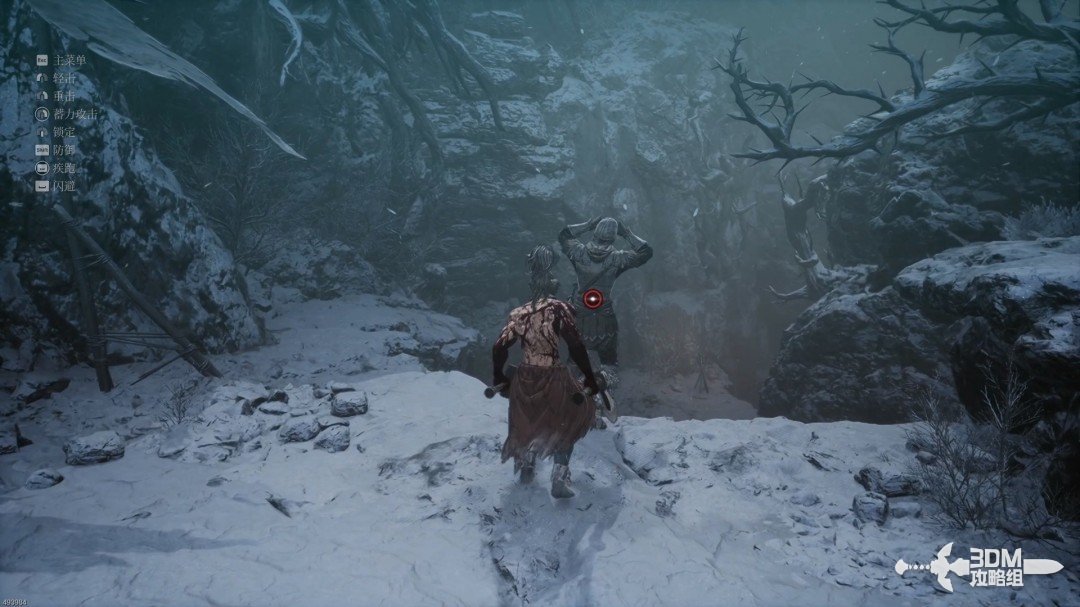
The F attack against an exhausted enemy is Brutal Attack II. It deals heavy damage and restores stamina.
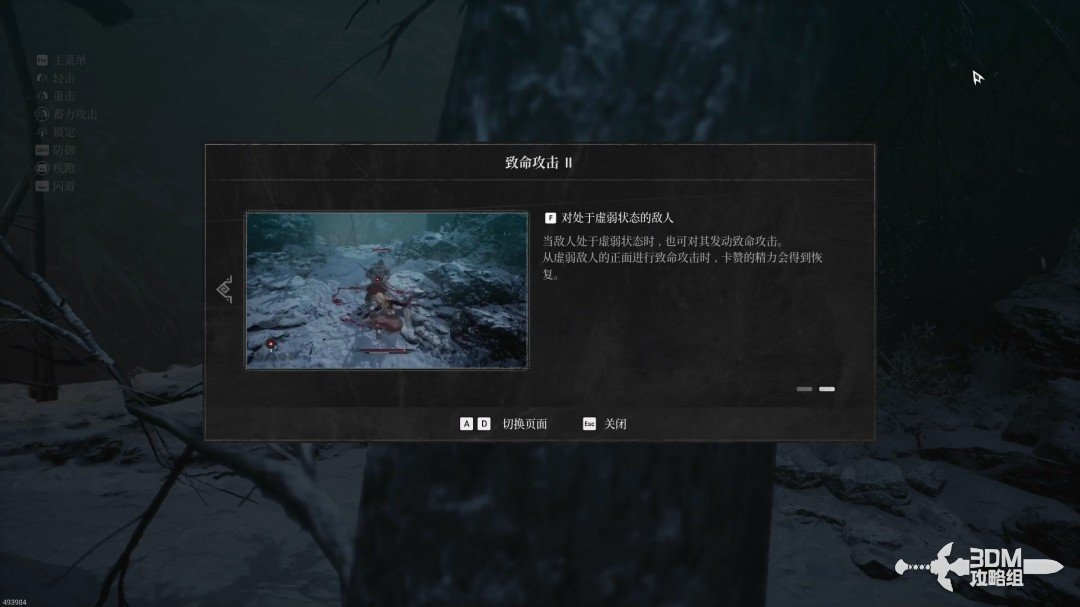
After ambushing the enemy ahead, approach the drop. Left-click while falling to strike the enemy below.
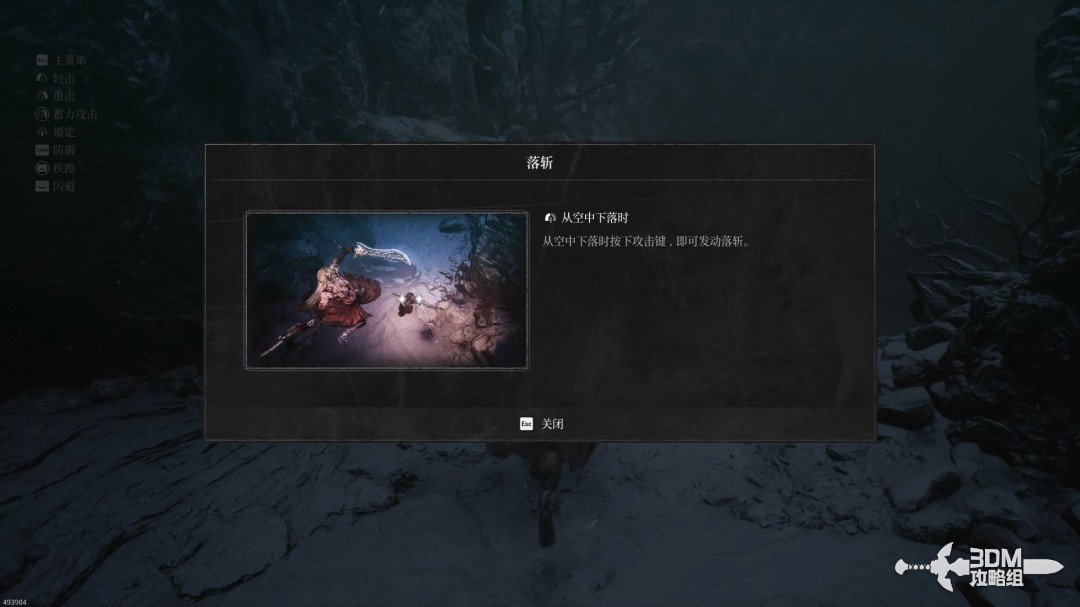
Continue after the fight to enter Heinmach.

07Cave beyond the shield guard: find the lamp and Nexus
Quick attacks struggle to stagger shielded enemies. Use potent attacks with right-click.
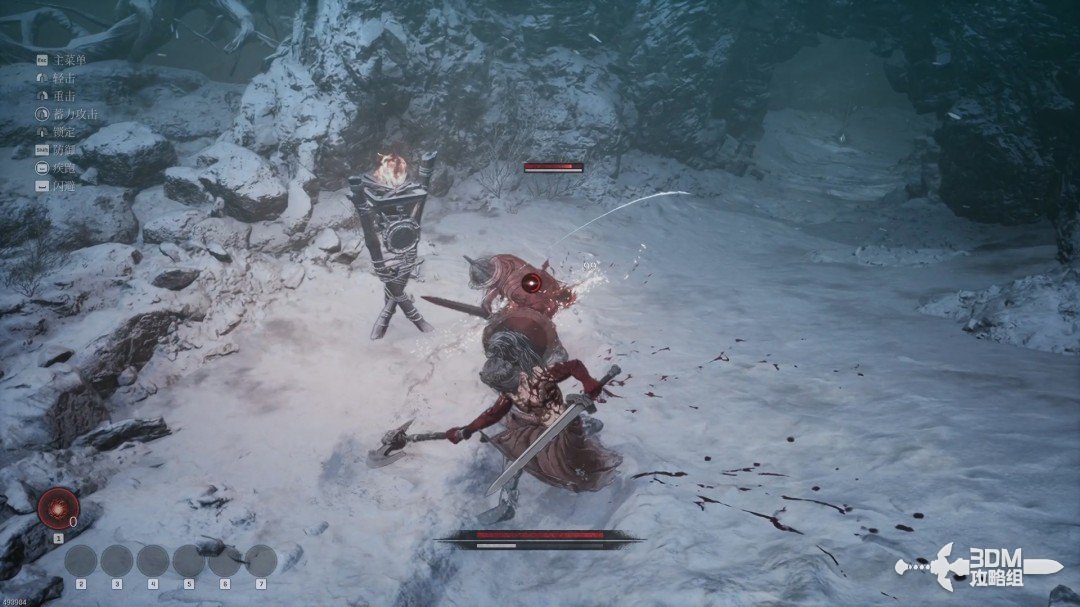
Collect the Magical Lantern inside the cave and equip it to illuminate dark areas.
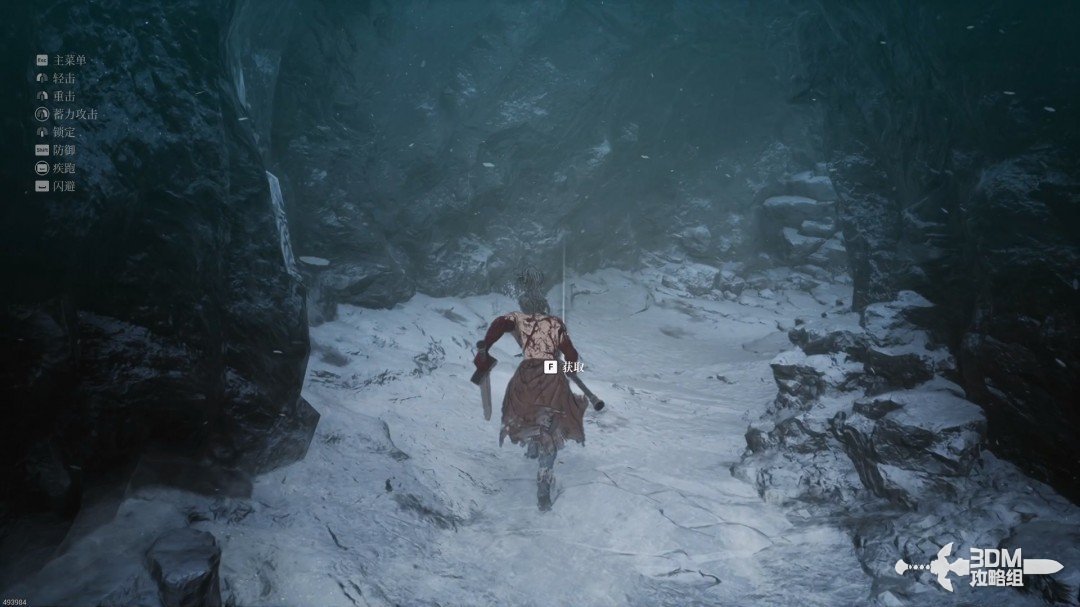
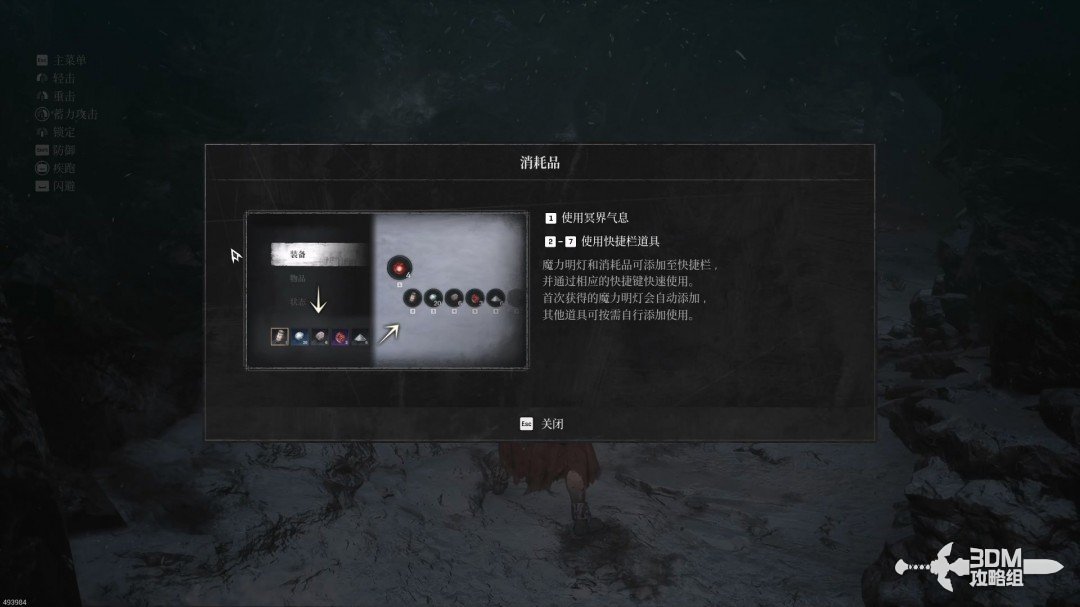
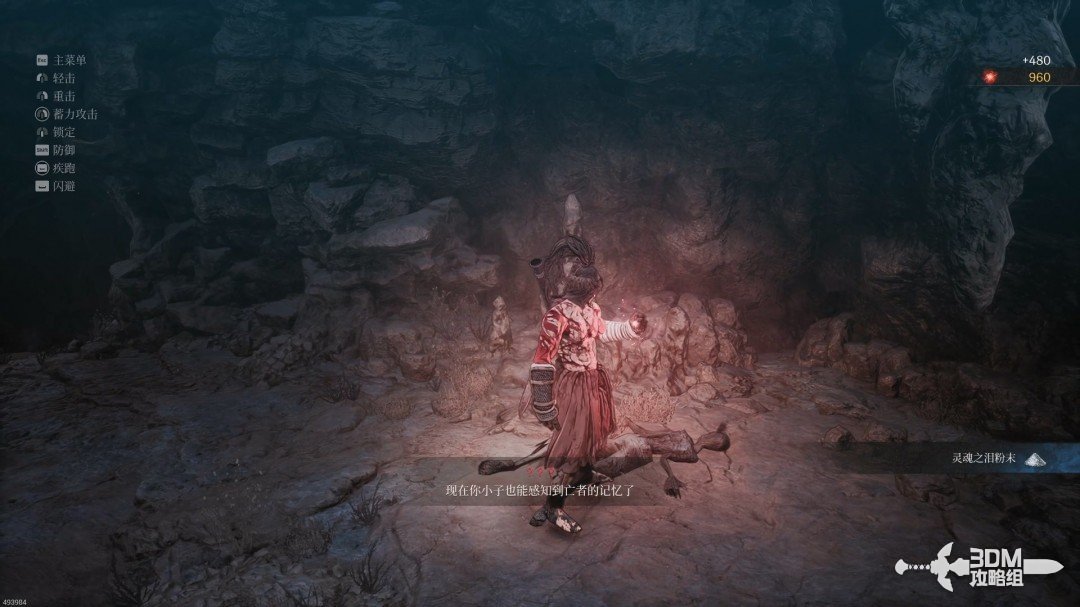
Deeper inside, the voice explains that you can sense memories of the dead. Collect the Soul Tear containing Lacrima ahead.
At the next fork, take the left branch for two vitality consumables.
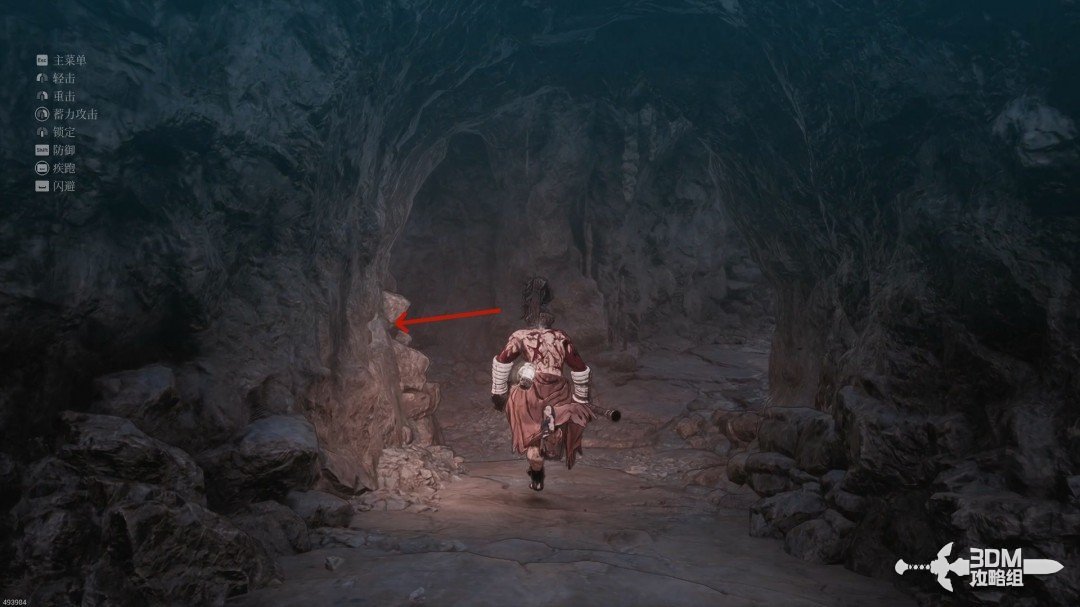
Return and take the right branch to a new Blade Nexus.
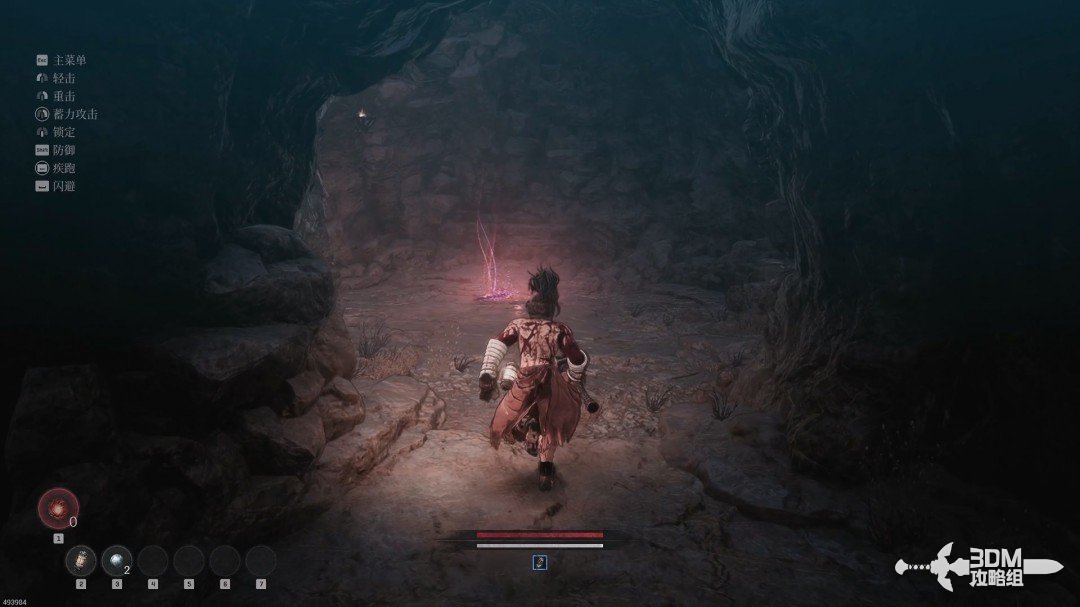
08Cave fork and cliff: search the branches and face the axe elite
After resting, check the next left branch. A soldier guards an item beside him; the recorded drop was a fire-related consumable and may vary.
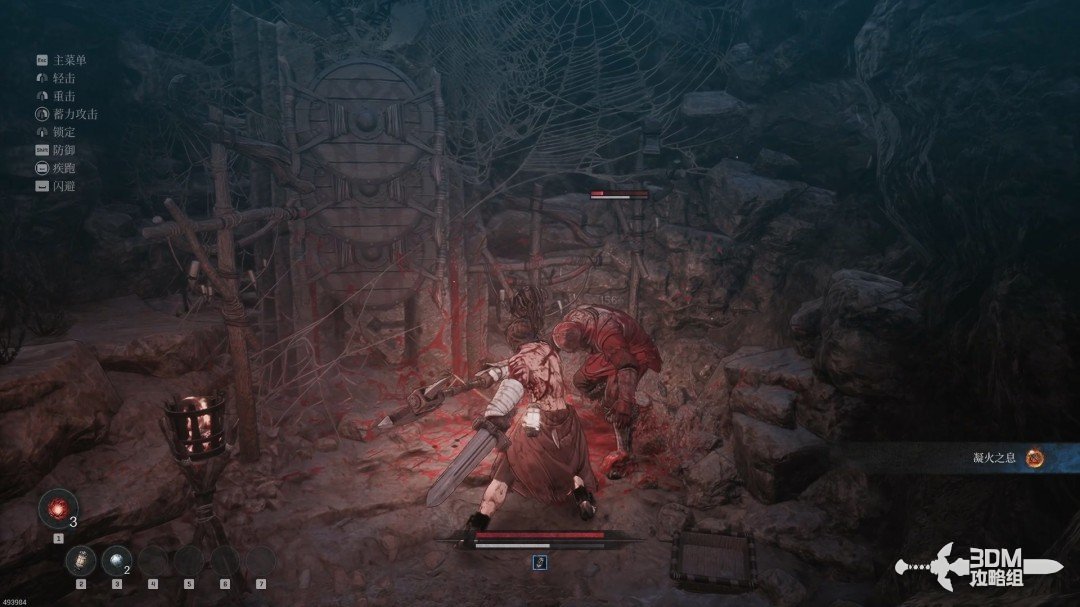
Take the right branch. You can lure the two enemies toward the cliff and knock them off. Start with the one closest to the edge.
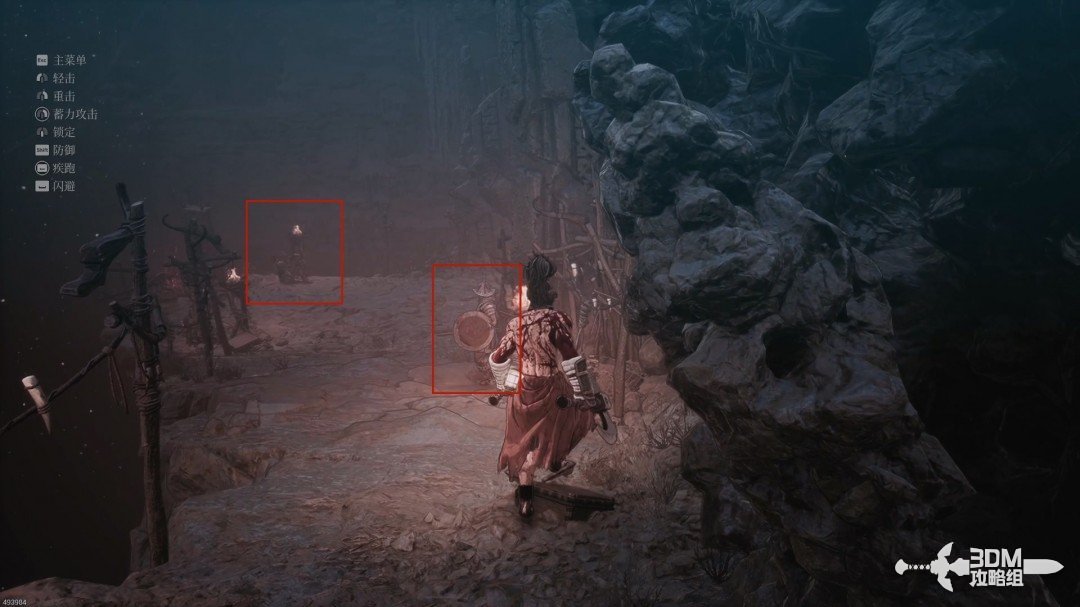
Interact with the corpse beside the cliff to view a memory.
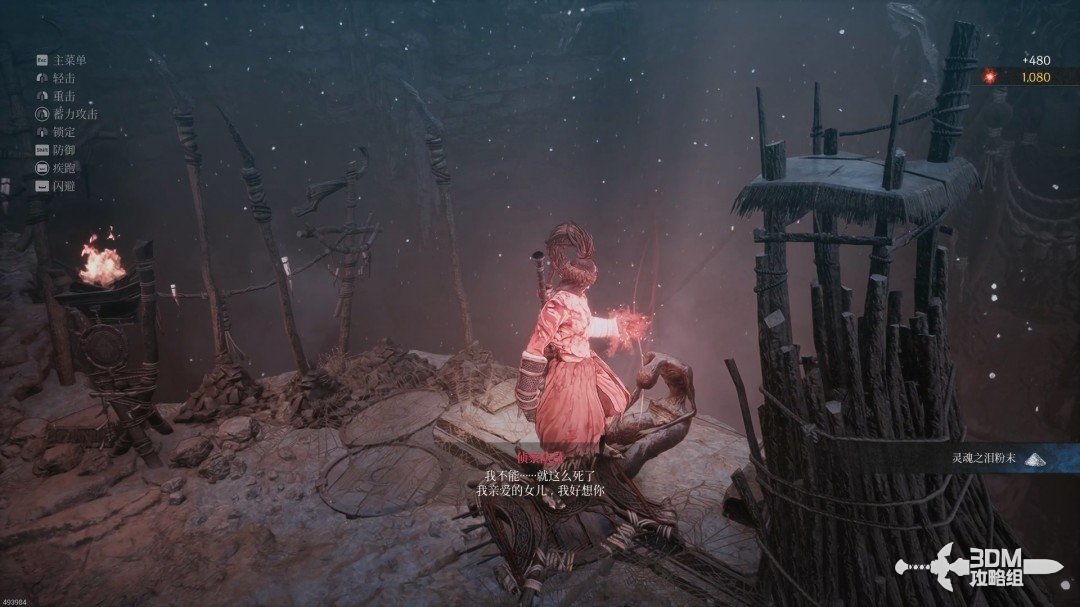
An armored elite waits farther inside. Potent attacks struggle against its defenses; the tutorial recommends charged potent attacks.
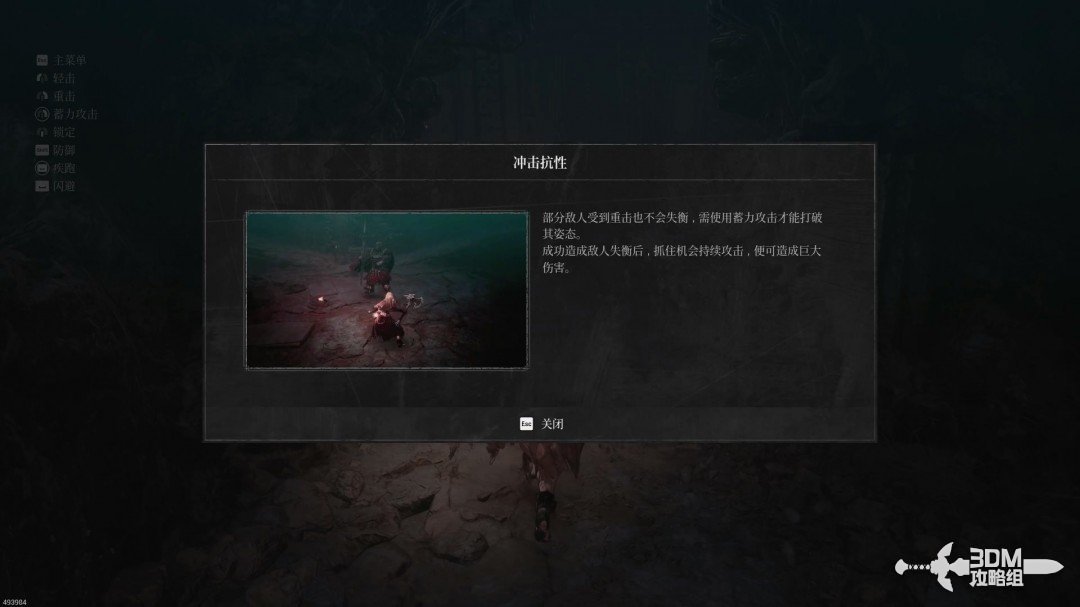
Dual Wield's charged attack has short reach. Use it during the enemy's recovery.
The elite uses the following attacks.
Attack ①:
Two forward thrusts with a clear opening motion.
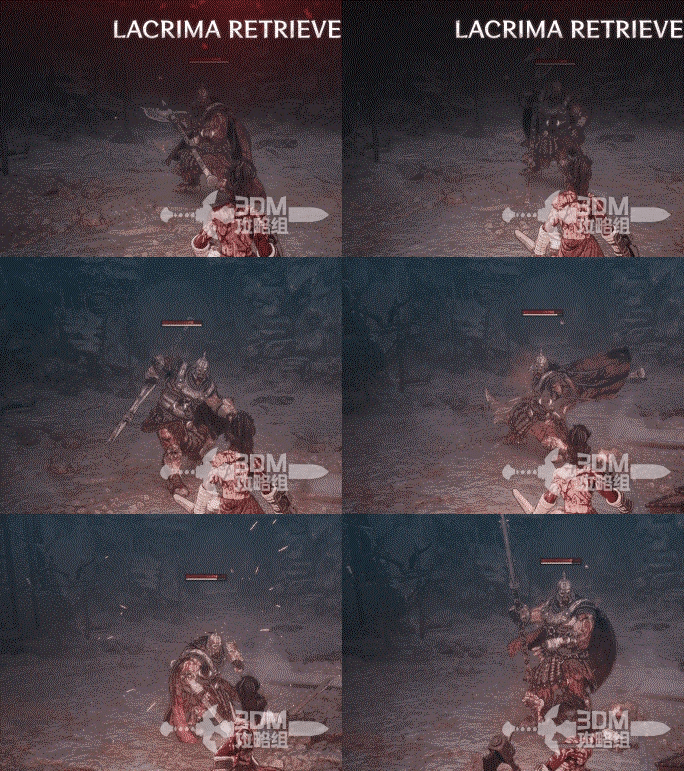
Attack ②:
An elbow strike followed by a powerful thrust. Watch closely for the subtle elbow wind-up.
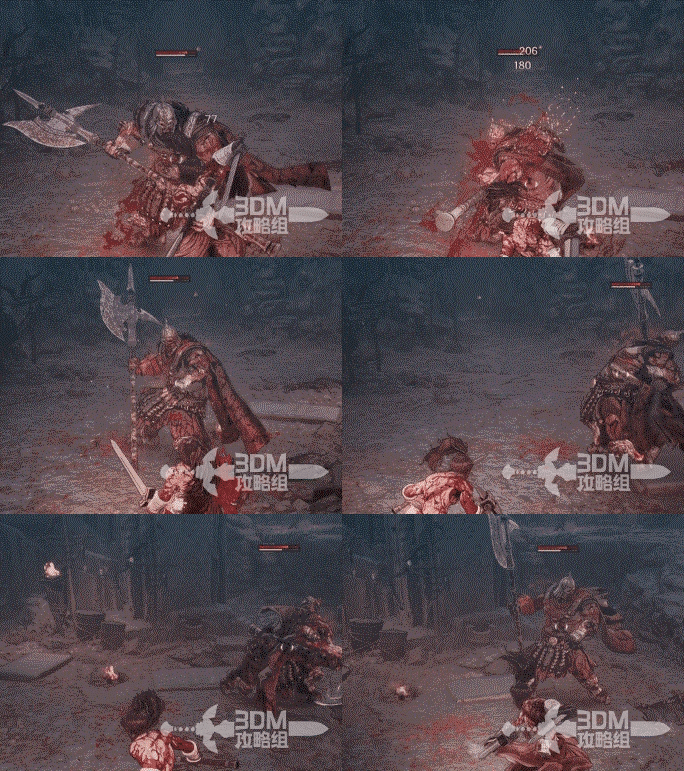
Attack ③:
Wide axe swings from side to side. Their reach makes dodging awkward; the slow rhythm is easier to guard.
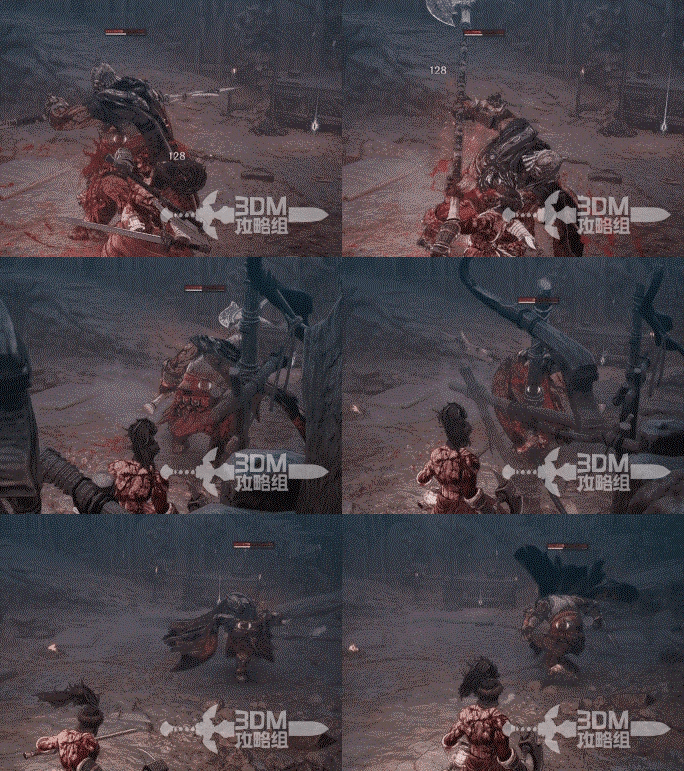
Defeat the elite to receive gladiator arm equipment.
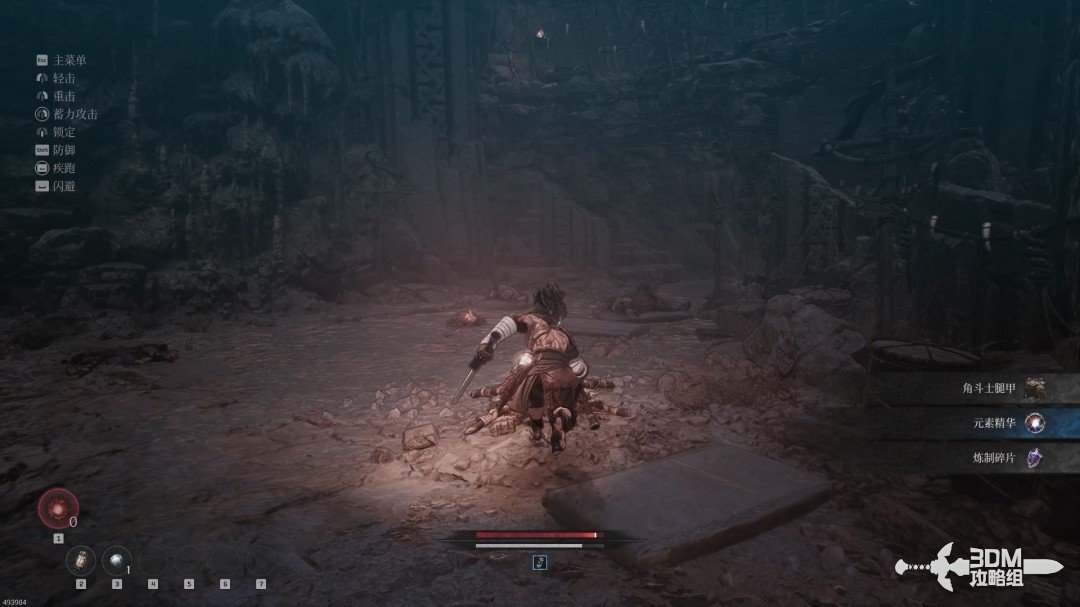
09Path of fallen soldiers: chest and record before the platform
Return to the junction. The wounded soldiers on the left cannot fight but can still provide skill fragments. A chest waits farther inside.
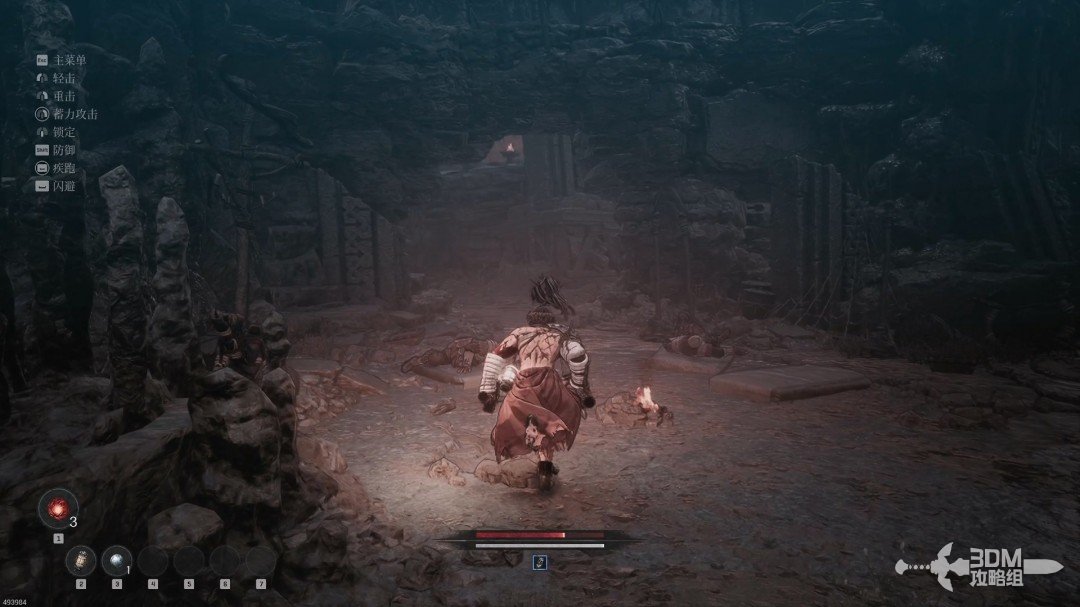
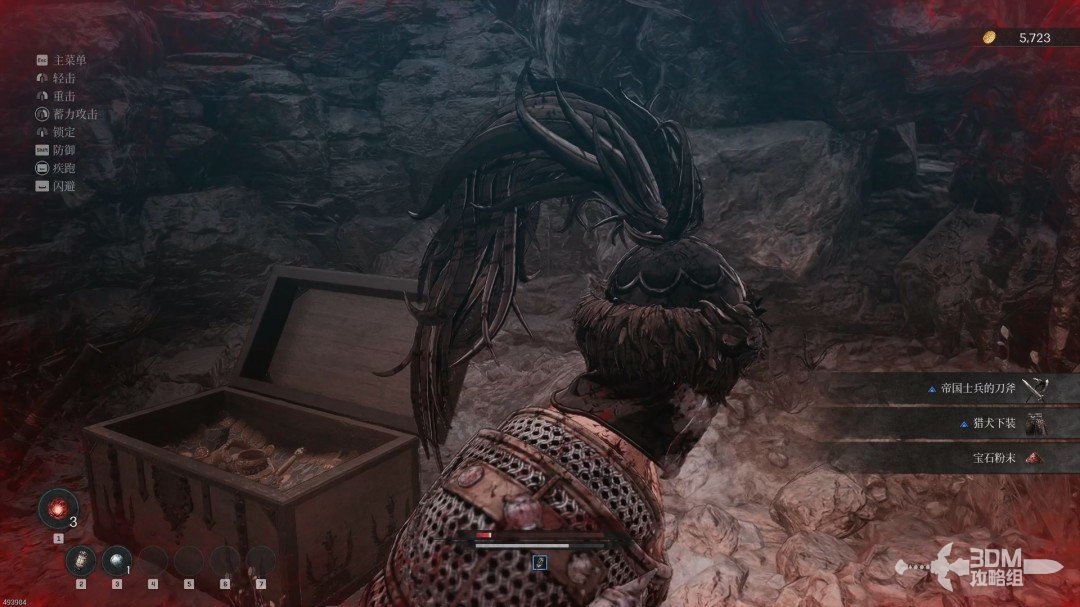
Continue to the platform and collect a Soldier's Record in front of it.
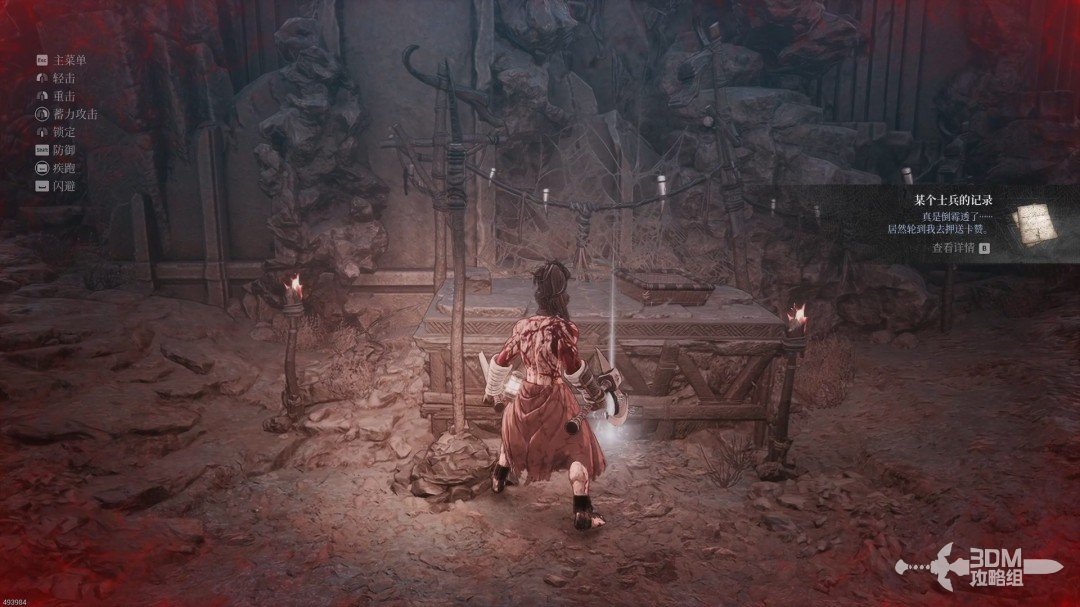
11Tunnels beside the platform: drop down to the Soulstone
Paths run along both sides of the platform. The right cave contains a red Tear Summoning Stone.
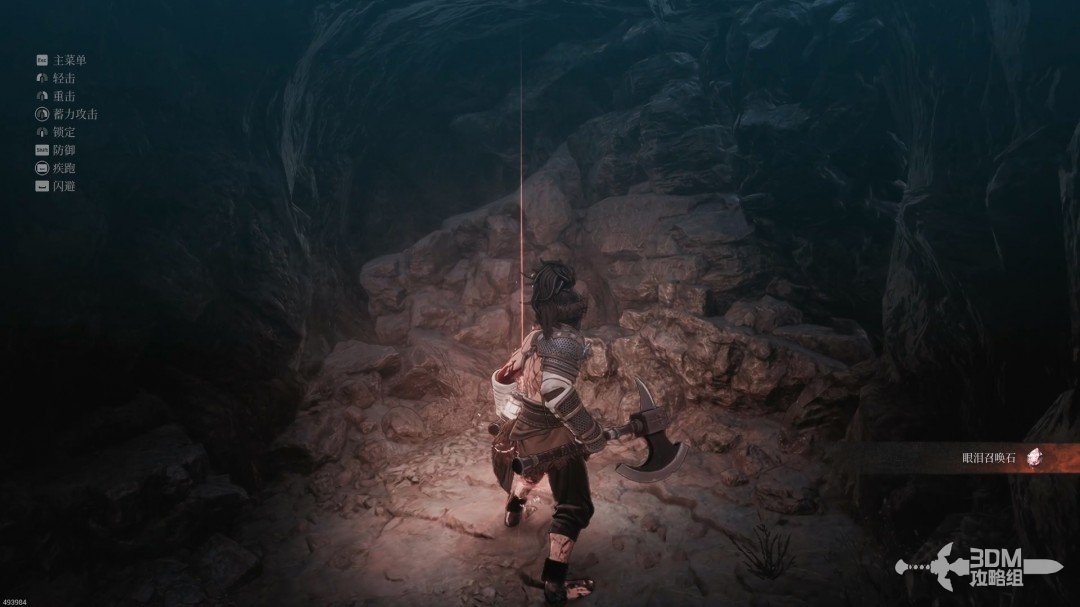
Return and take the left path. A Soulstone is visible, but you must circle around to break it. Ambush the soldiers when they face away.
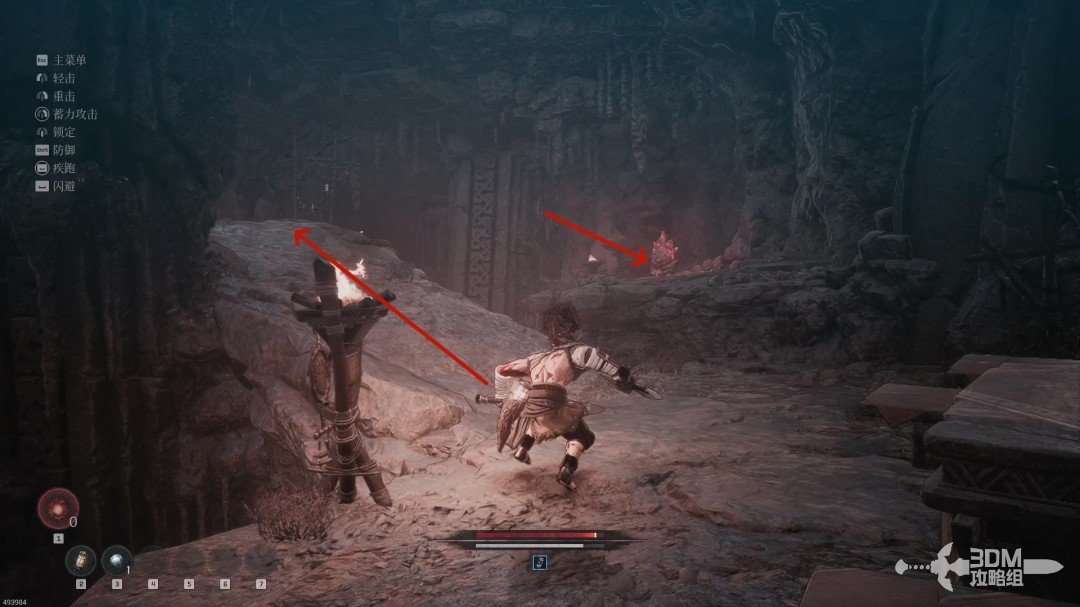
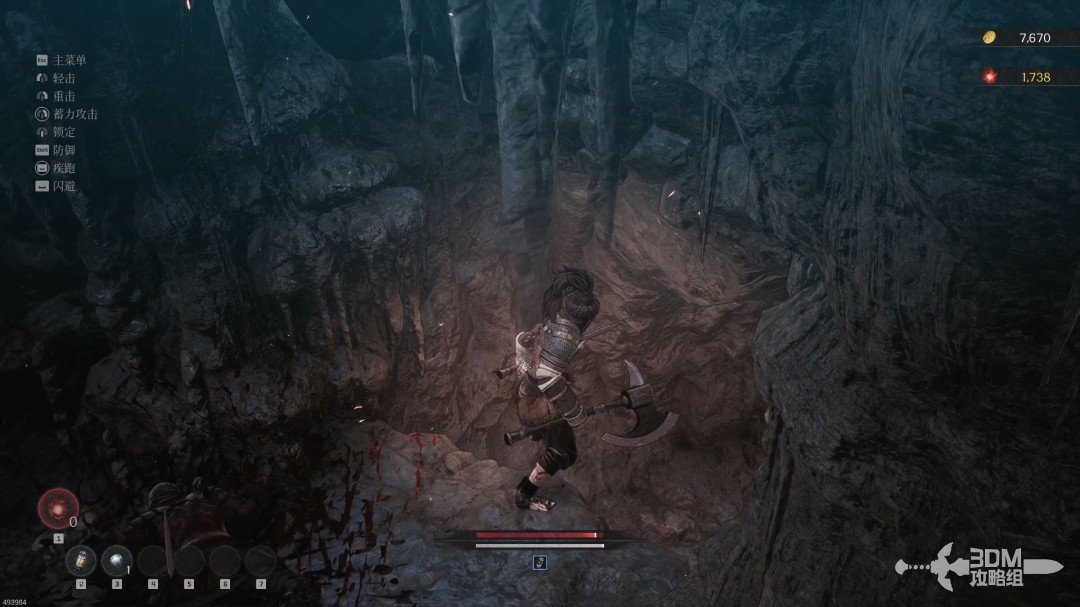
After the soldiers, look right for a hole. Drop through it to reach the Soulstone you saw earlier.
13Upper passage: return to the mountain Nexus
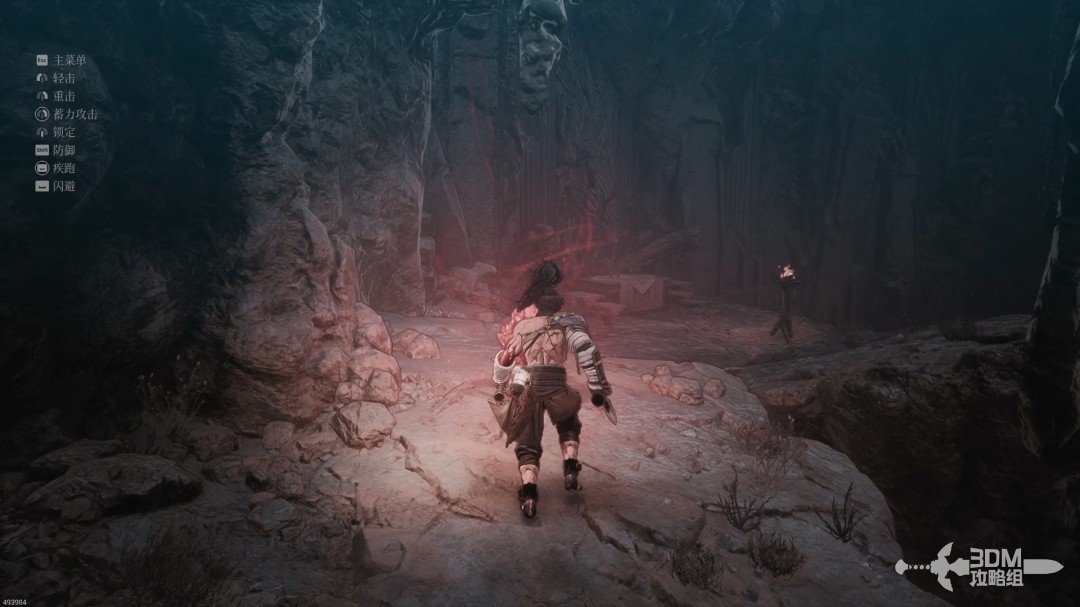
Retrace the path without dropping through the hole this time. Continue past more soldiers and collect the purple item at the junction.
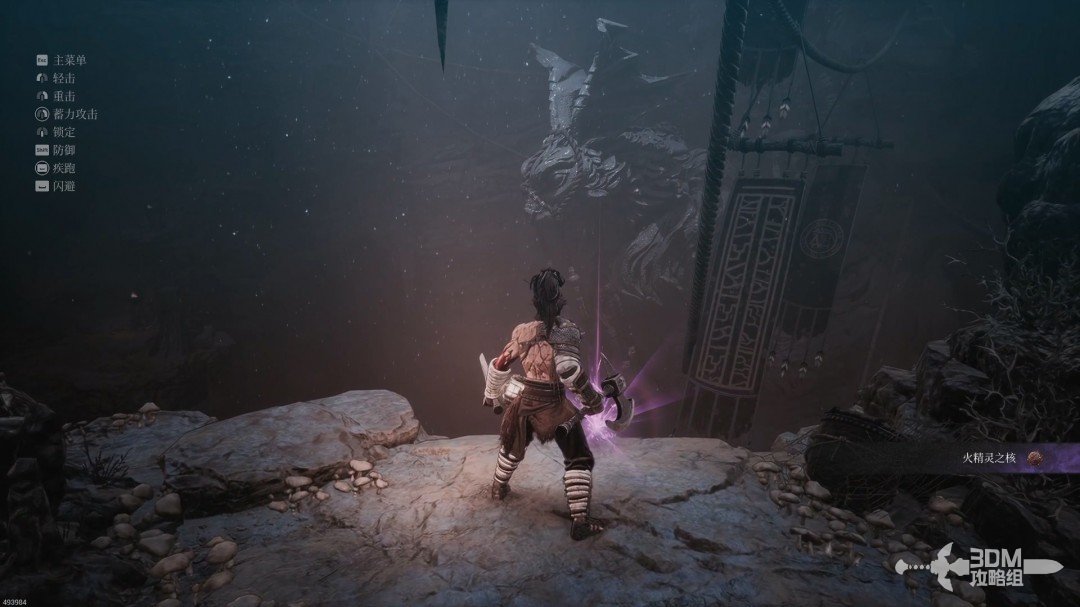
You can knock enemies off the cliffs, although improved gear also makes direct combat easier. A Blade Nexus stands in the open area ahead.
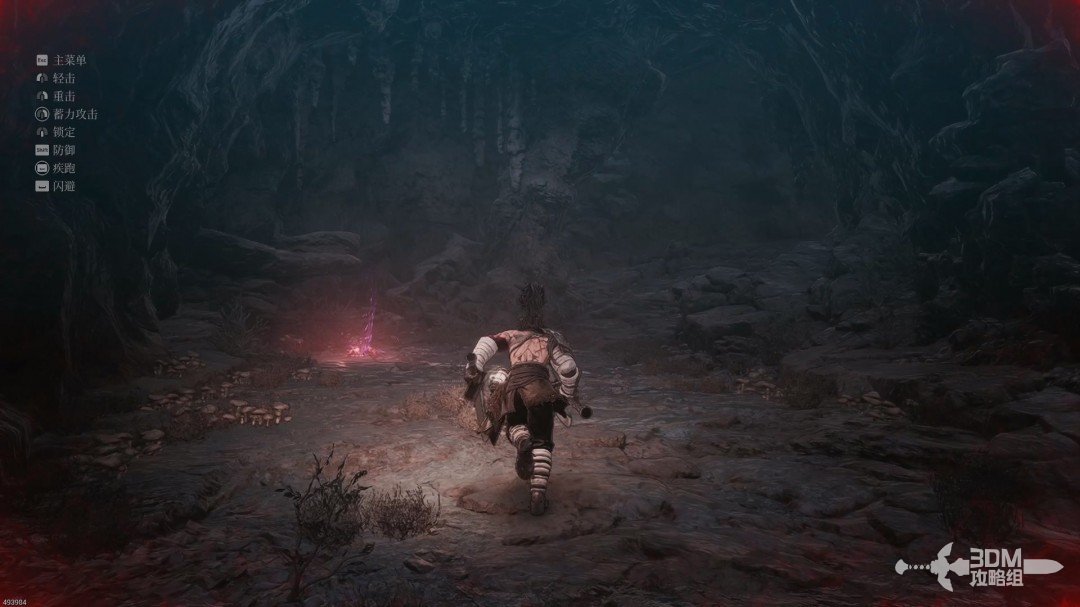
14Collapsing ice outside the cave: pass the monkeys and descend
Leave the cave after resting. A strange figure and an item lie ahead in the snowy mountains. The path collapses as you approach, forcing a detour.
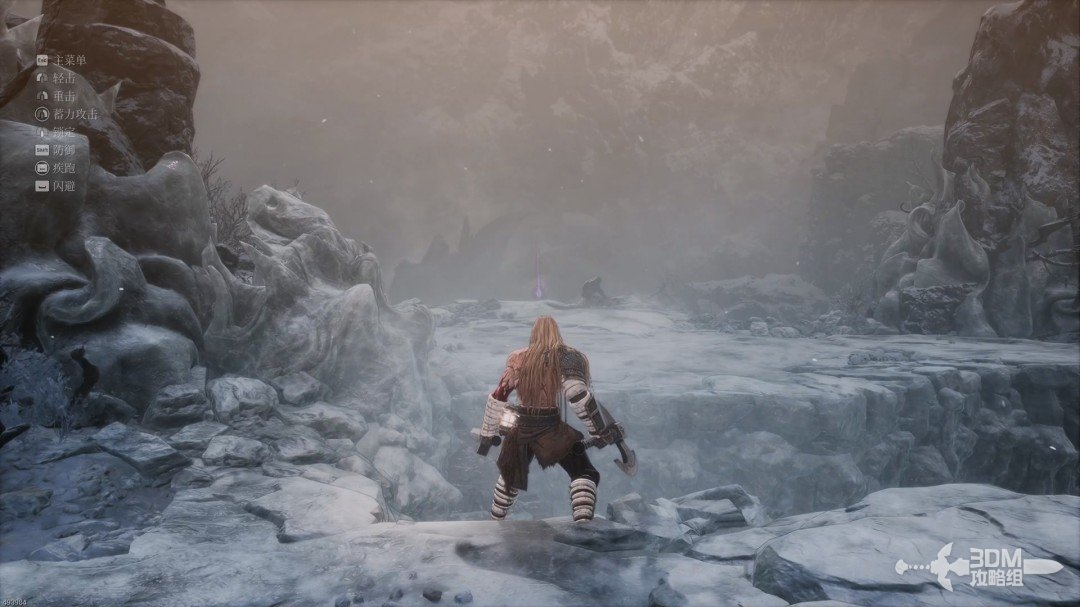
The apparent ambush target is bait: another agile monkey enemy jumps out as you approach. Be ready for its fast attacks.
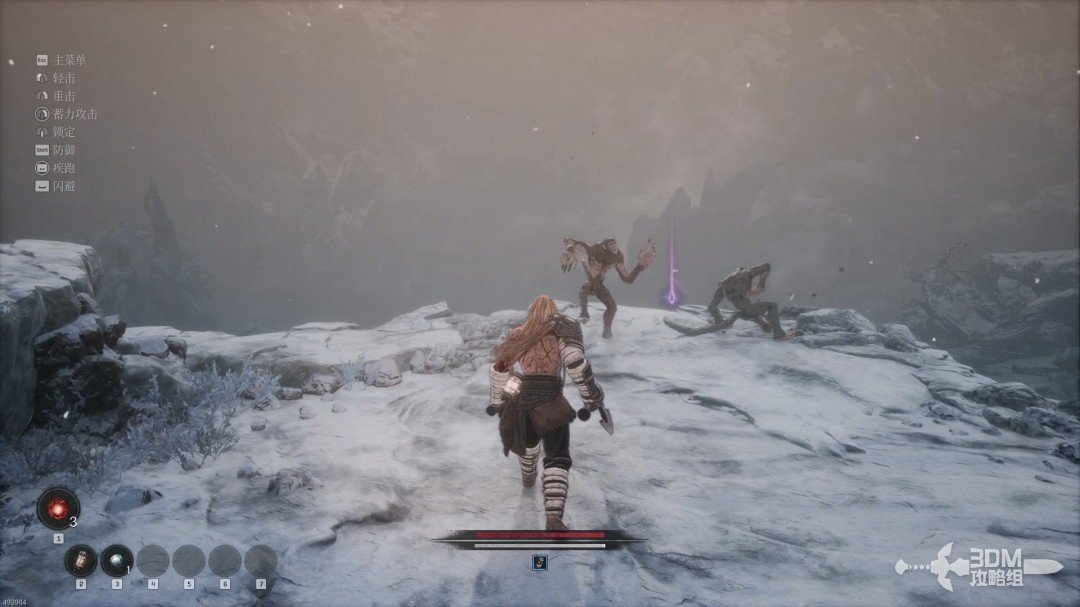
Defeat it to collect a purple item.
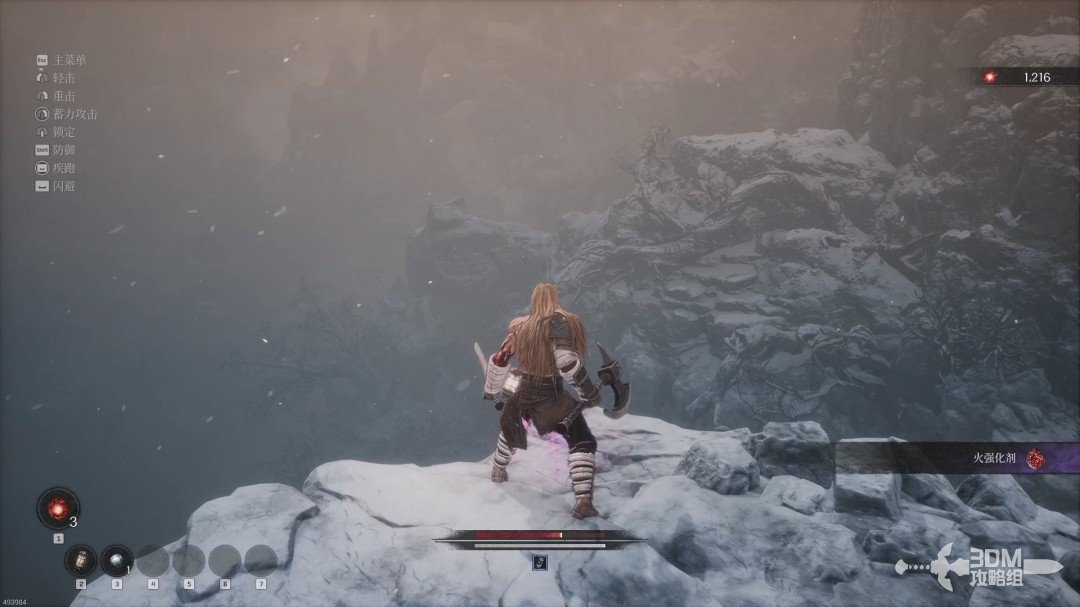
Two monkeys wait to the right. The ice between them collapses underfoot, so watch your footing.
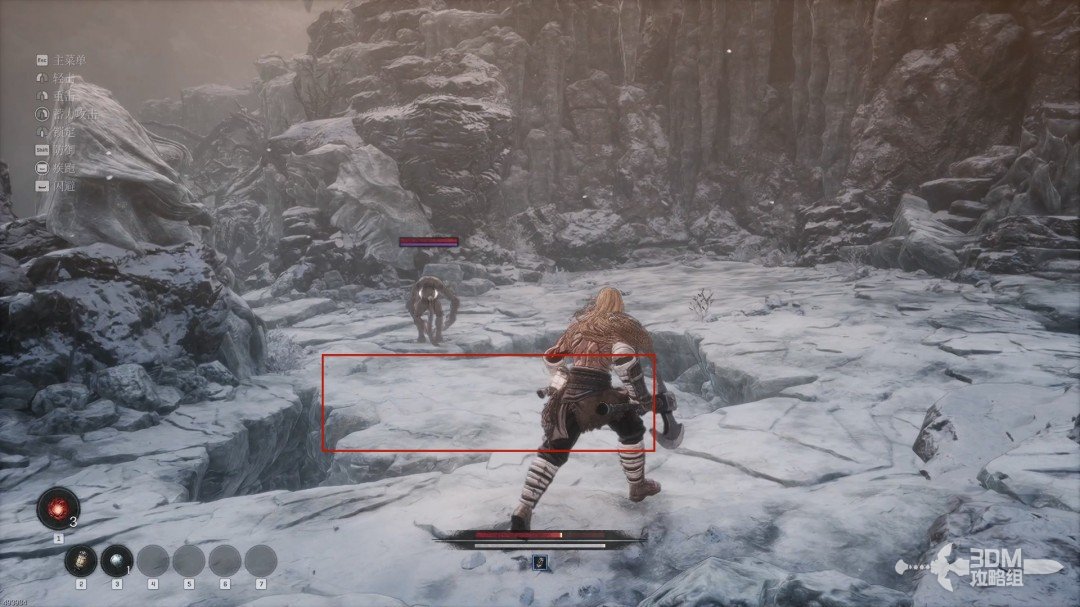
Collect the blue item at the cliff, then drop down; this is the route forward.
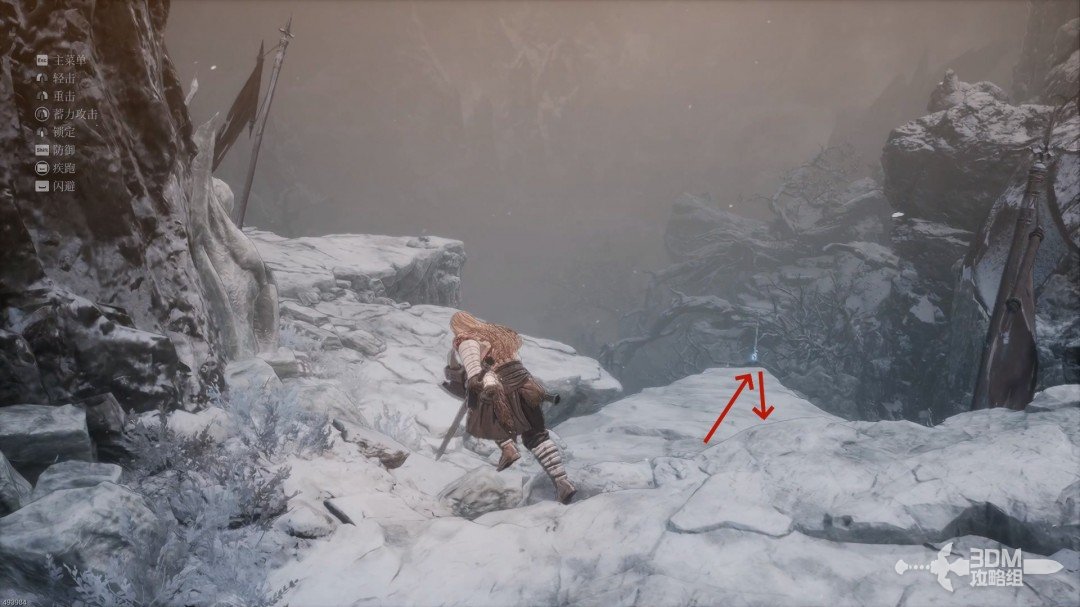
Follow the descending ledges. Use falling attacks against the monkeys below.
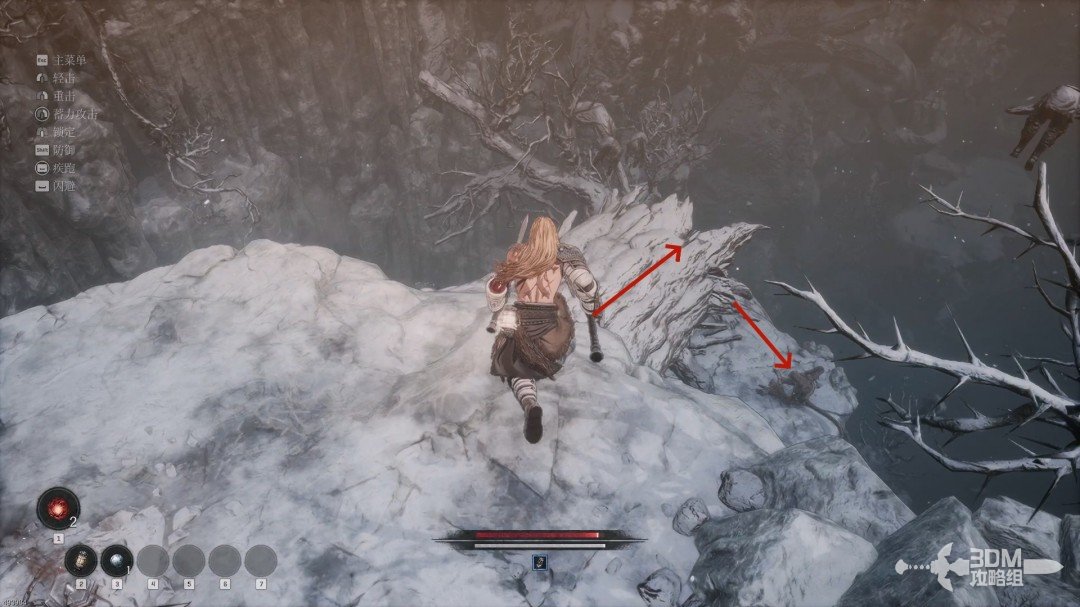
At the bottom, collect the blue item on the right.
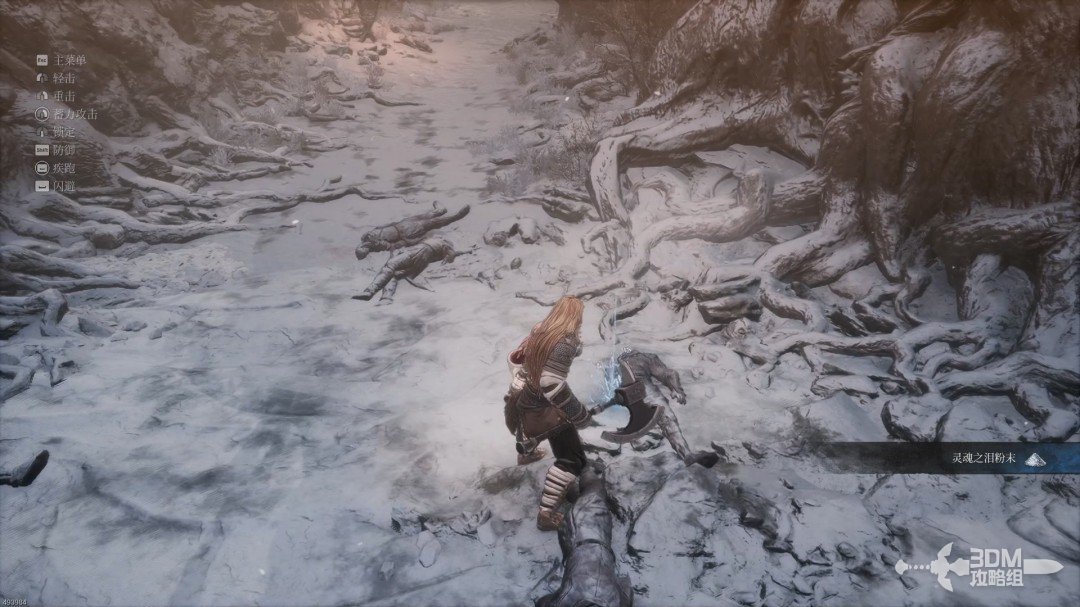
15Lower yeti and the left slope: the second Soulstone
Defeat the yeti ahead and absorb the corpse's memory. Check your equipment for available two- or three-piece set bonuses.
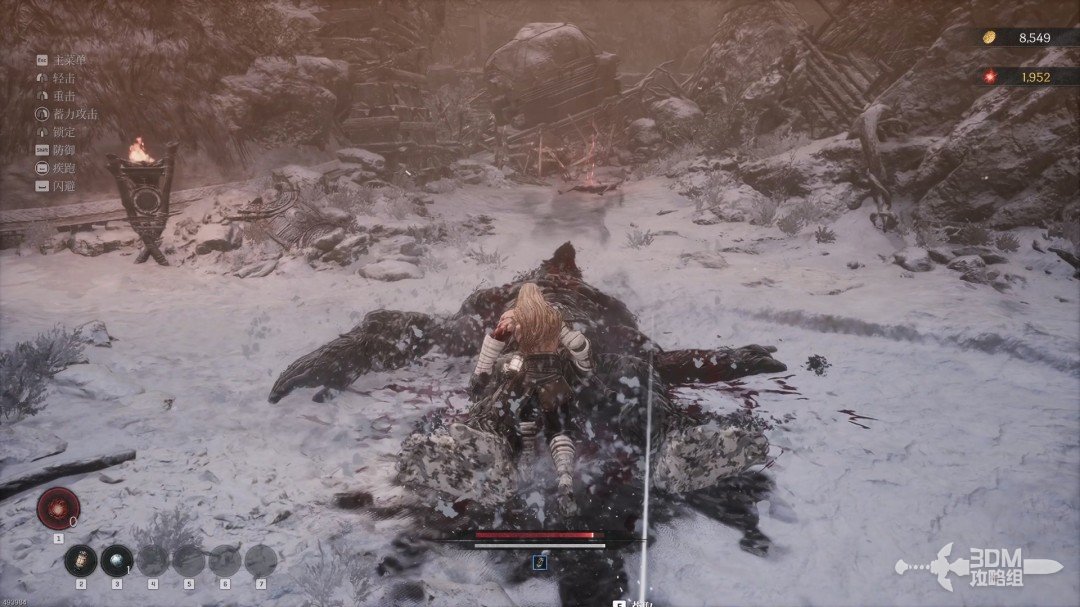
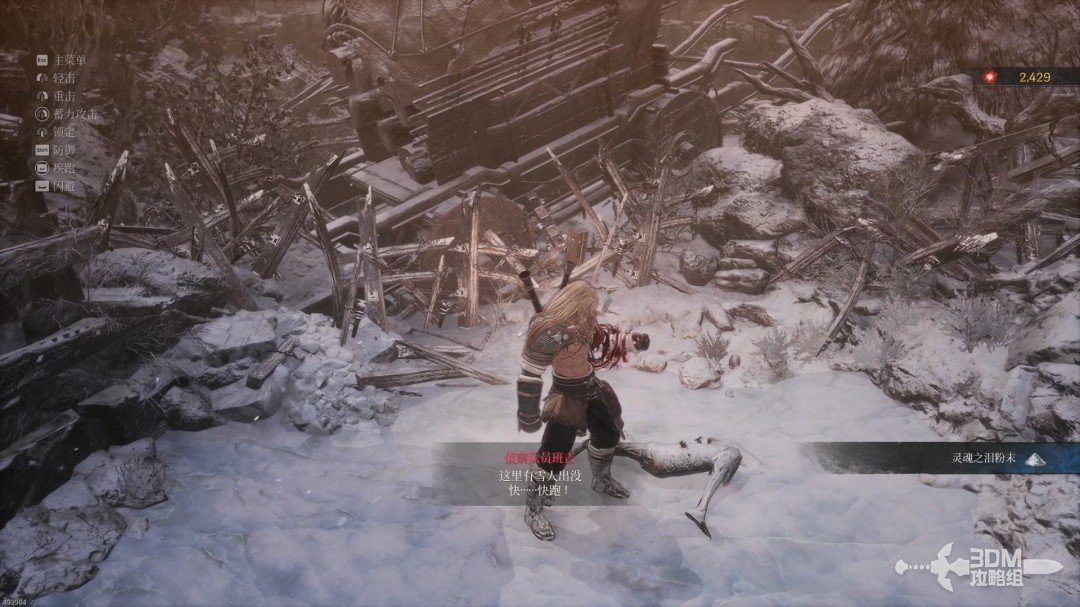
Climb the slope on the left to find the second Soulstone.
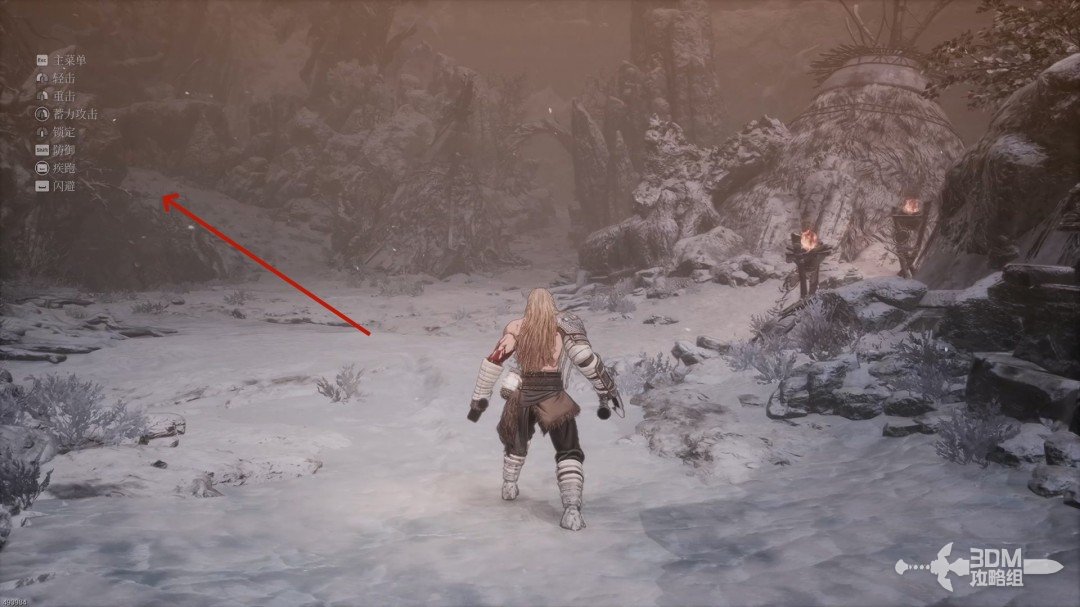
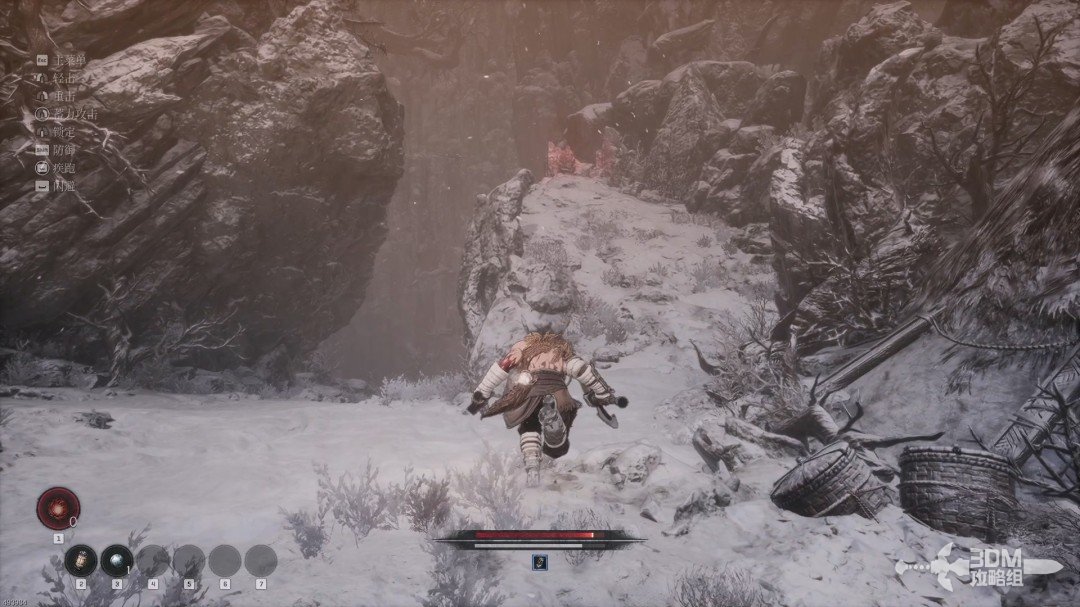
17Torchlit fork: search the side path and reach the Nexus
Descend after taking the Soulstone and explore this branch for items and a power pickup.
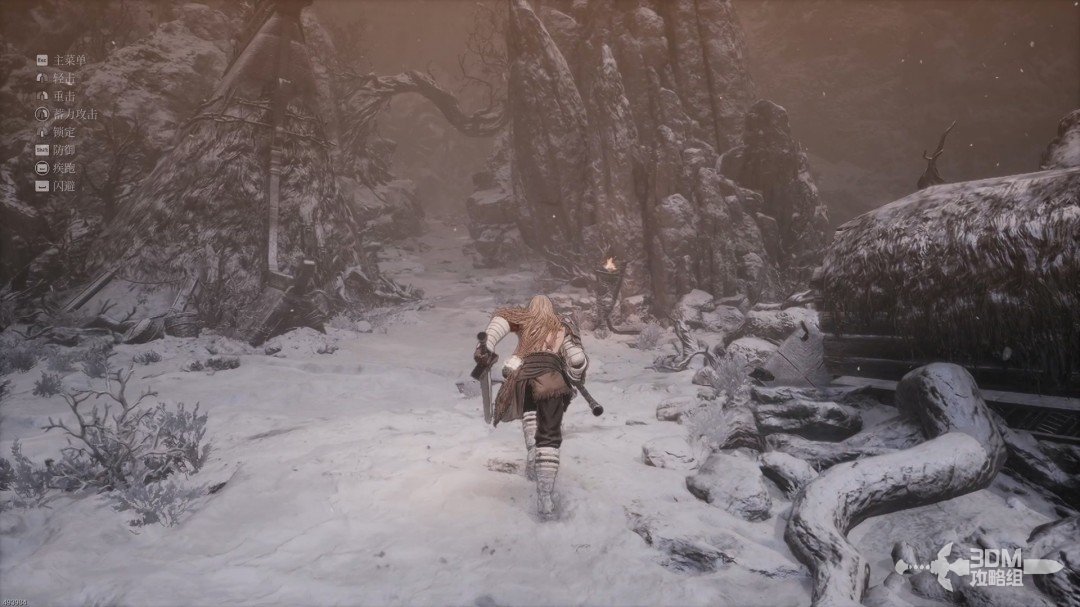
Return and follow the passage with the most torches. Collect the purple item ahead.
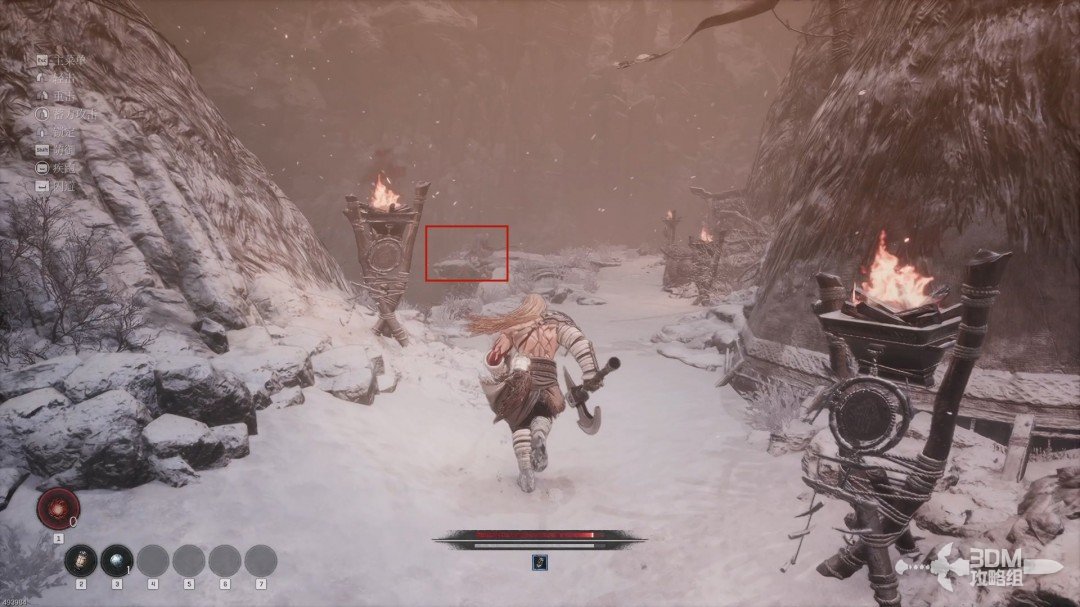
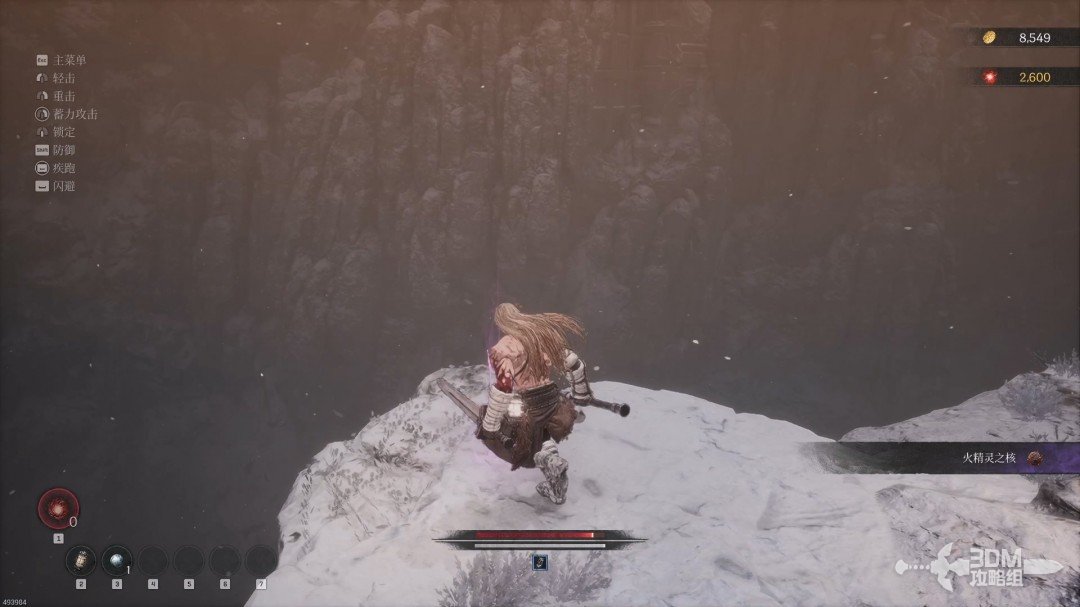
Continue a short distance to a Blade Nexus.
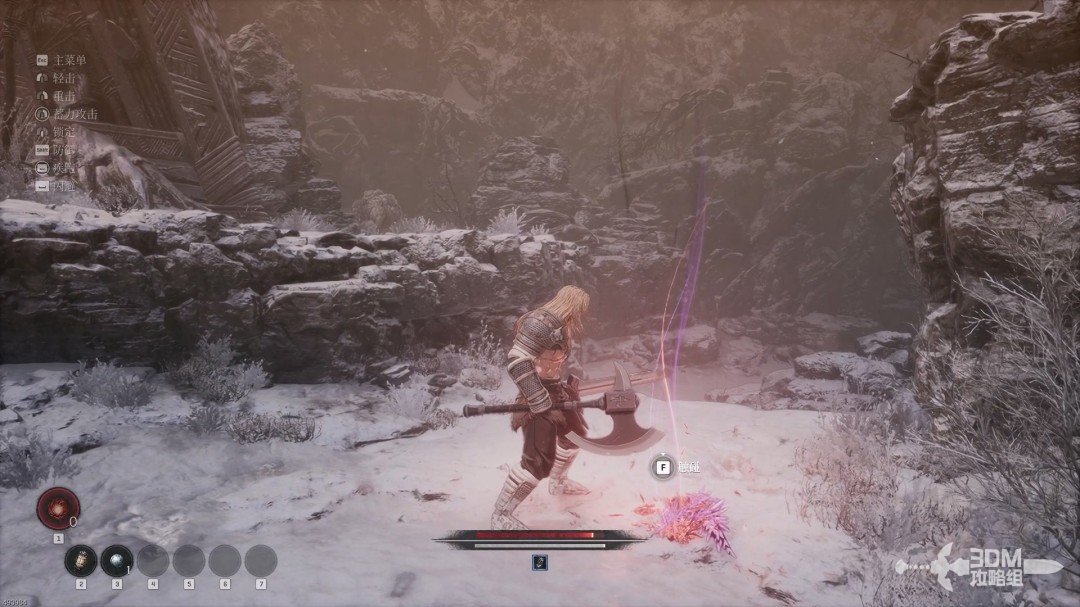
18Archer ledge and bear cave: reach the yeti record
Rest, then drop down toward two soldiers. Kill the archer first to avoid ranged pressure.
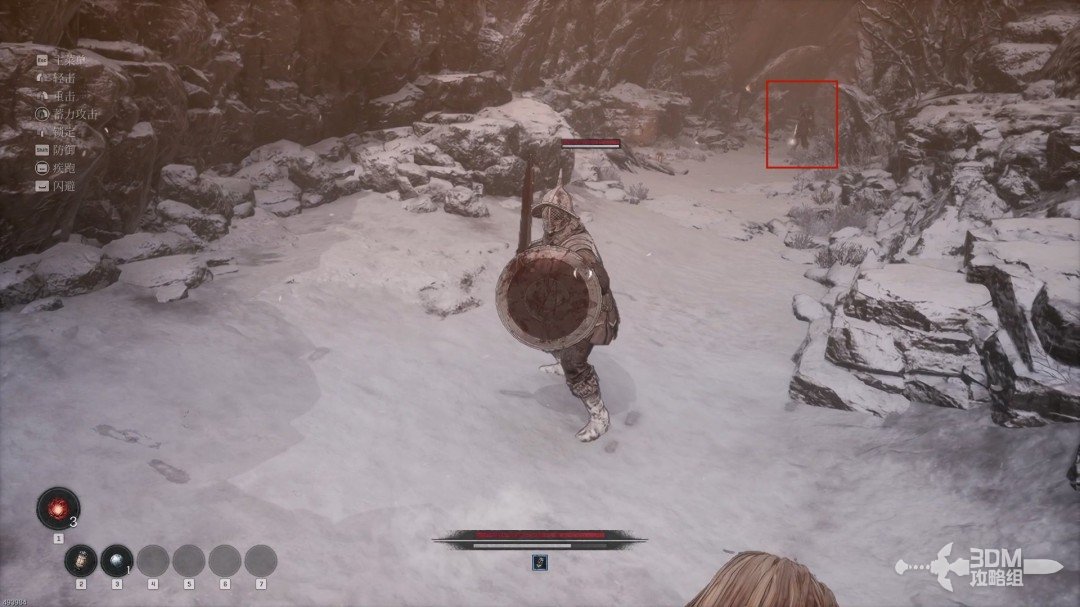
At the next fork, a fleeing soldier turns hostile when he notices you. Defeat him.
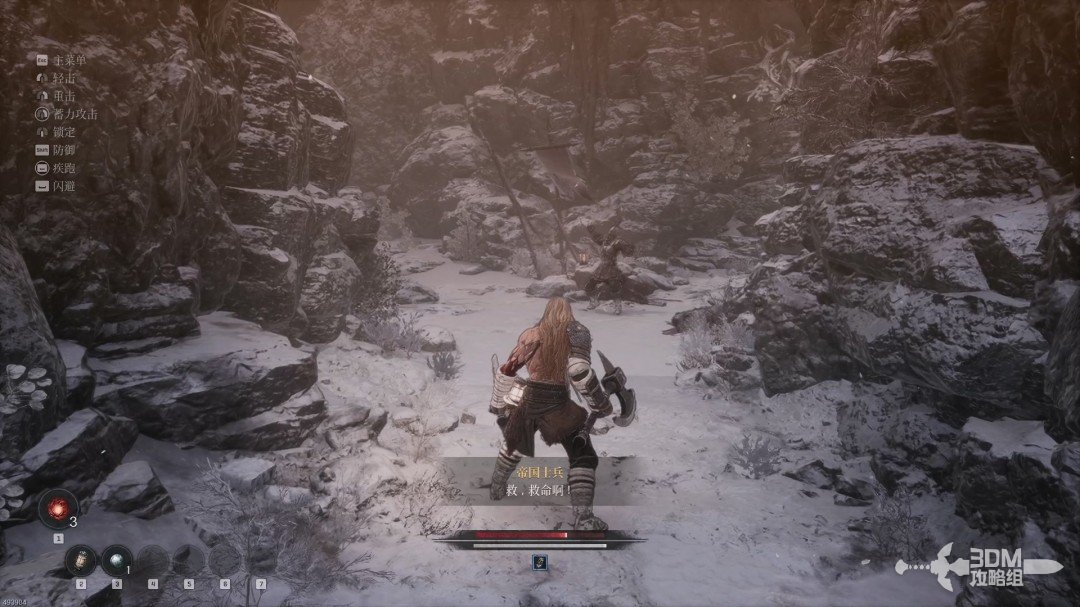
Enter the cave and ambush the bear from behind to deal substantial damage. Finish it off to receive Hound Gloves.
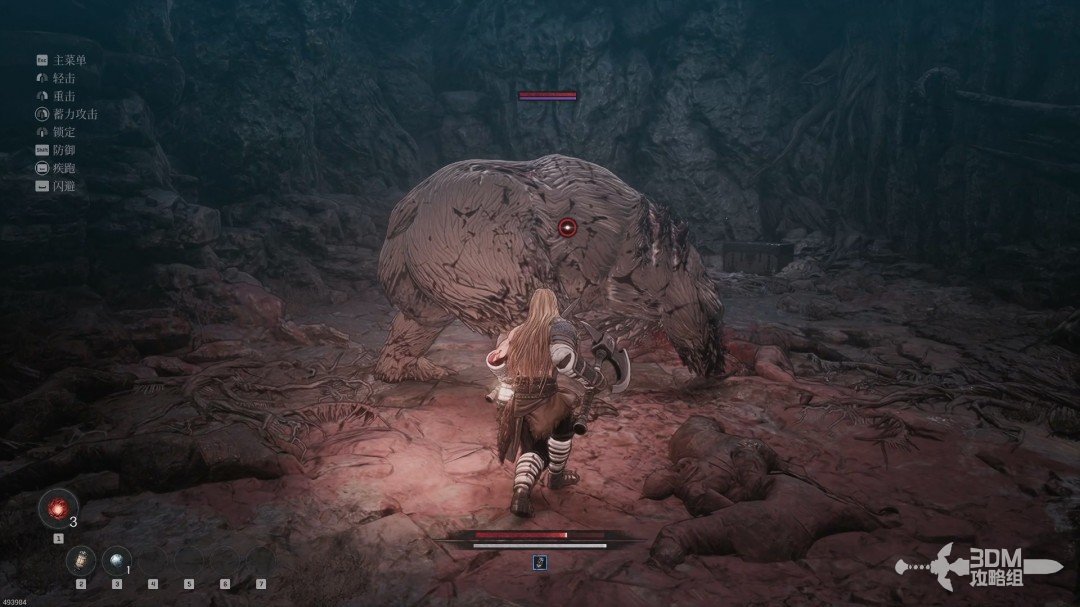
Open the chest in front of you.
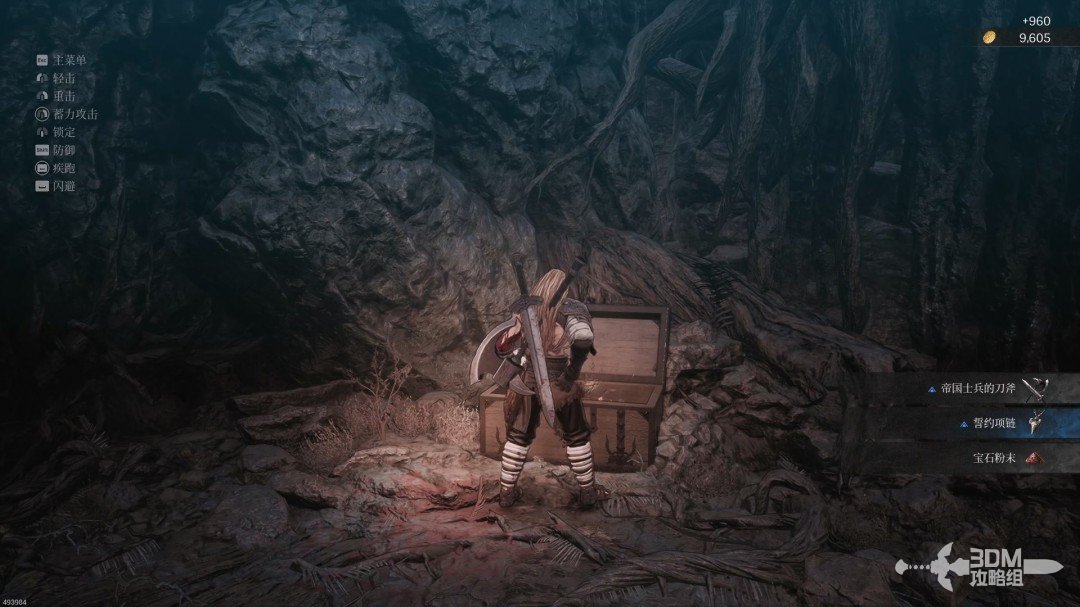
Outside, a yeti fights two soldiers. Let them exhaust each other, then exploit the opening.
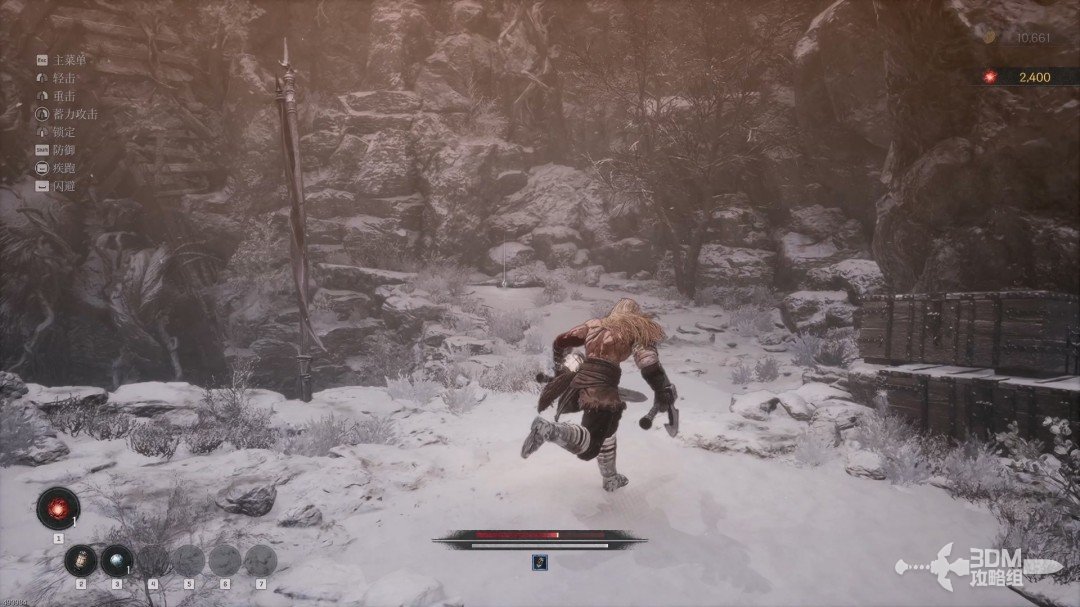
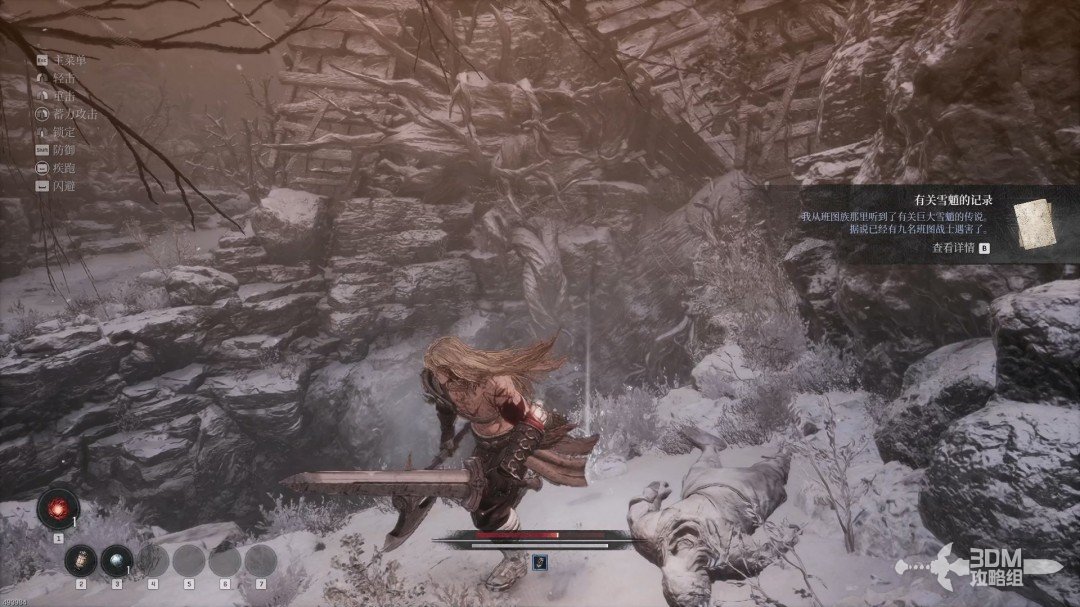
Follow the small right-hand path for the Record Concerning Yetis.
20Upper cart: open the Nexus shortcut and collect the badge
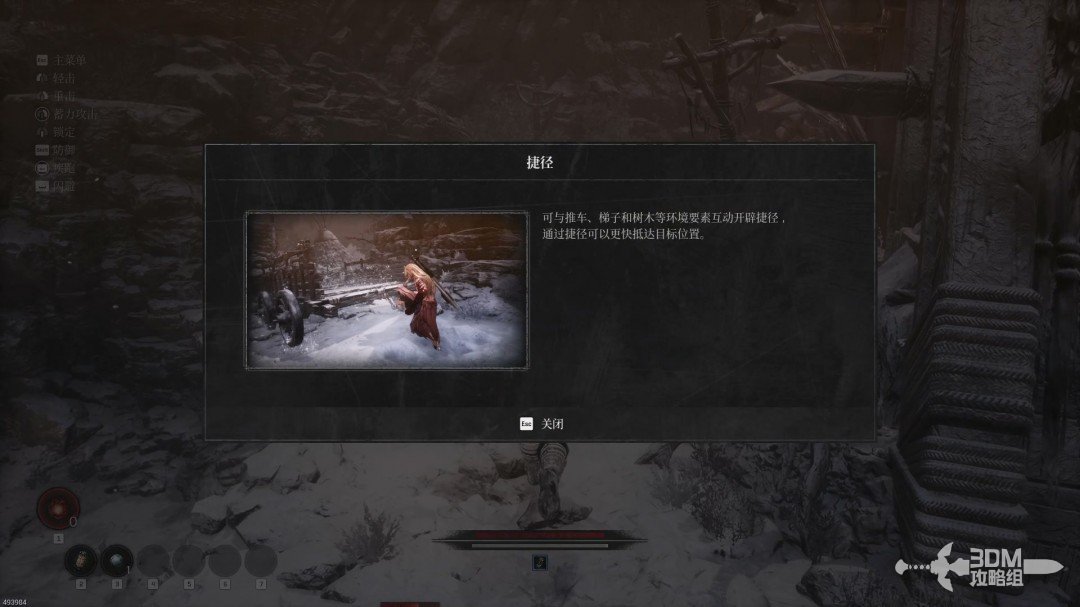
The earlier Blade Nexus is visible below. Interact with the cart ahead to open a shortcut back to it.
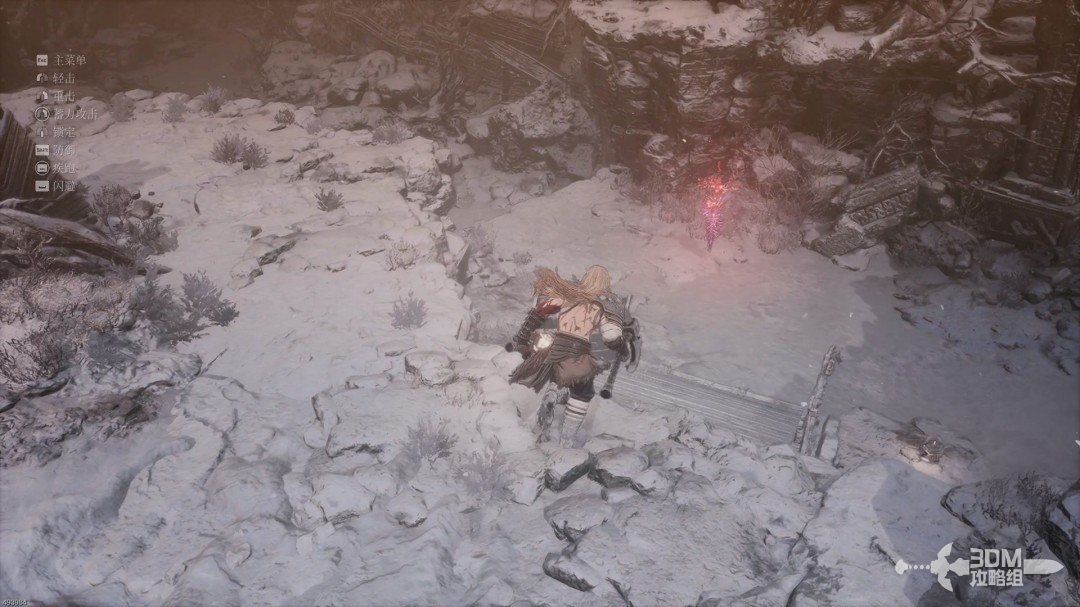
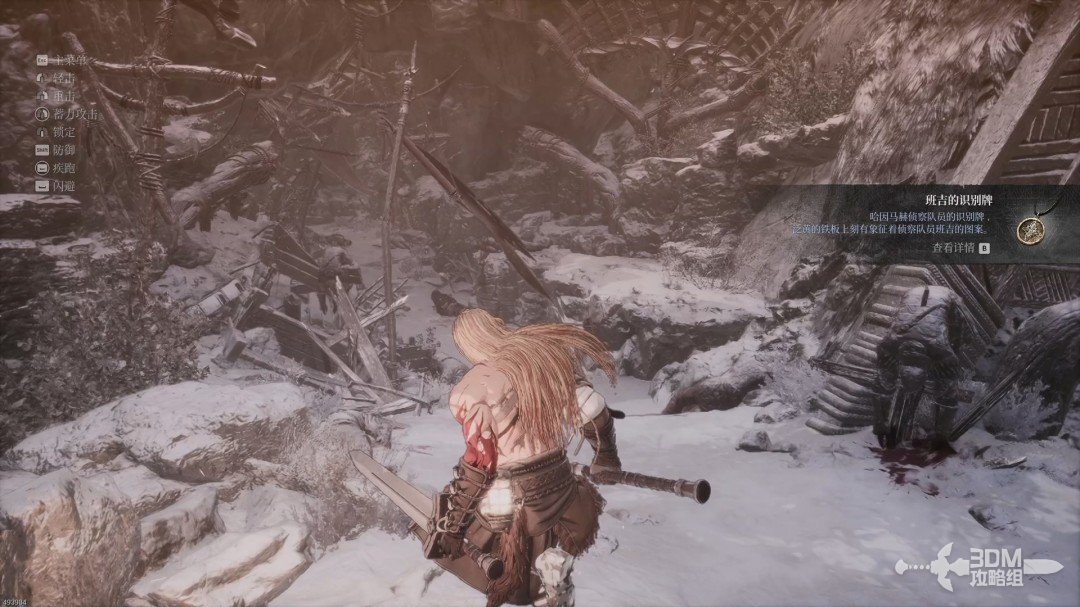
Rest if you need to recover. Collect Bangi's Identification Tag along the way.
22Yetuga's arena: melee combos and the ice phase
A short distance ahead awaits the first major boss, Yetuga.
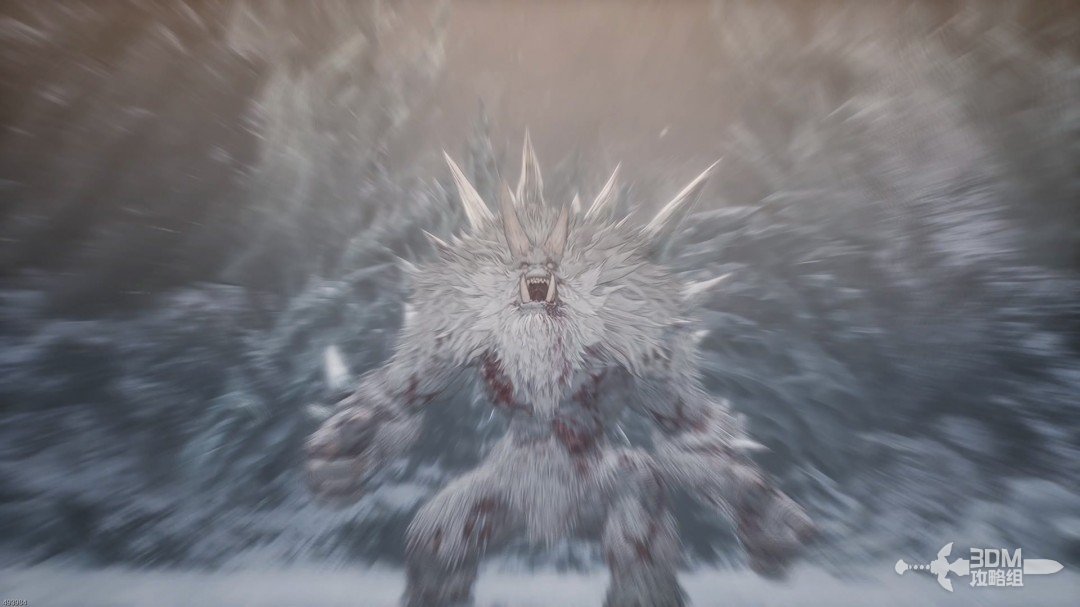
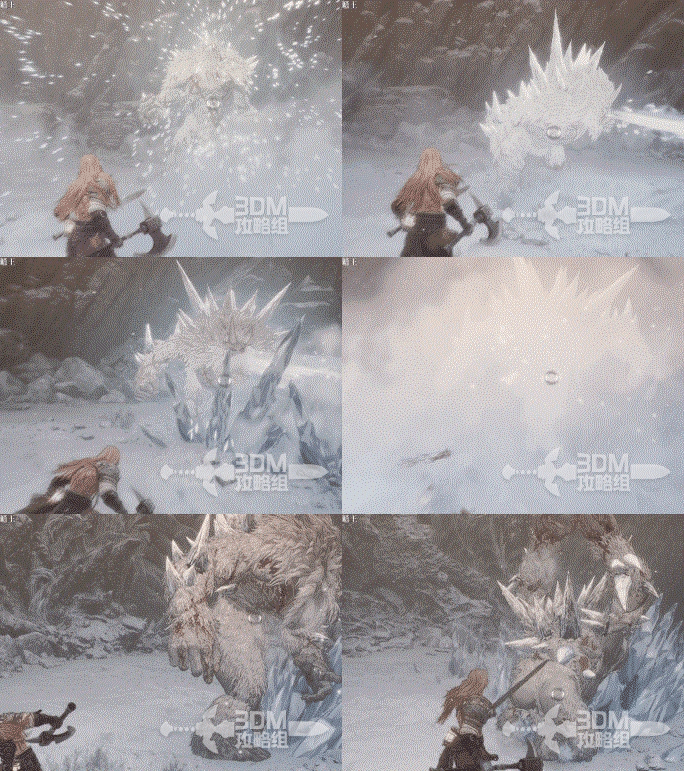
Yetuga is a larger, stronger yeti with two phases. Its first phase shares attacks with the smaller yetis; the additional moves are listed below.
Attack ①:
An occasional four-hit combo leaves a brief recovery window. Attack after the final hit.
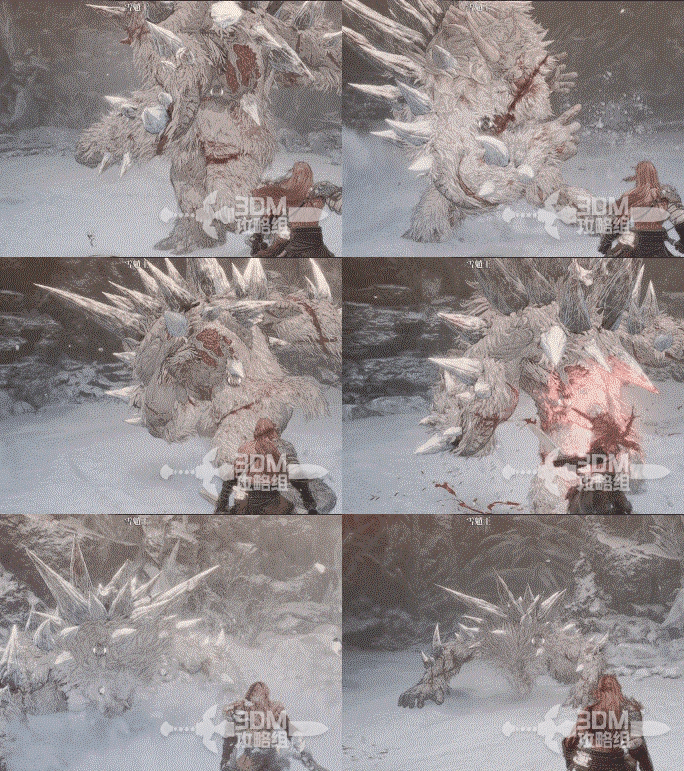
Attack ②:
A pounce and a backward body motion, both with visible wind-ups.
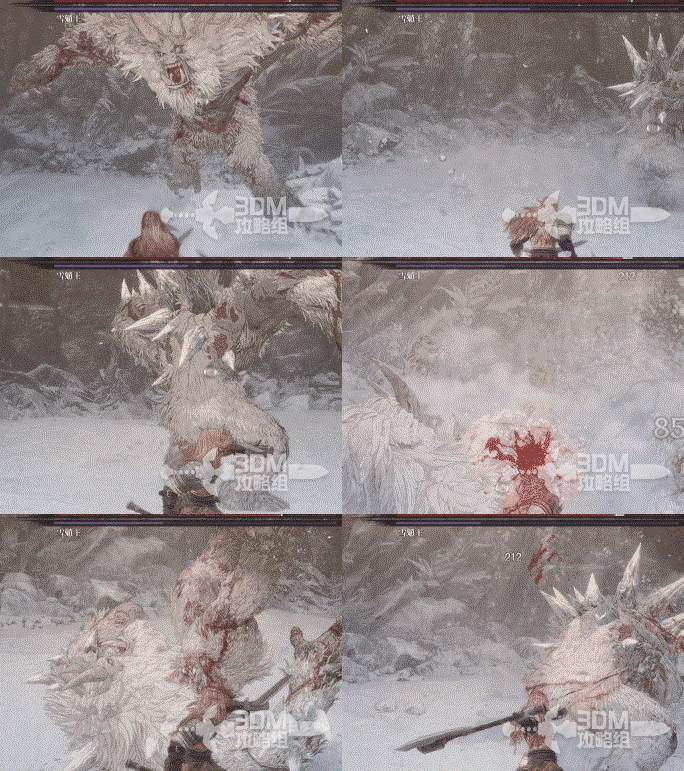
Attack ③:
A charged ground slam and a quicker, lighter slam. Distinguish their timing before responding.
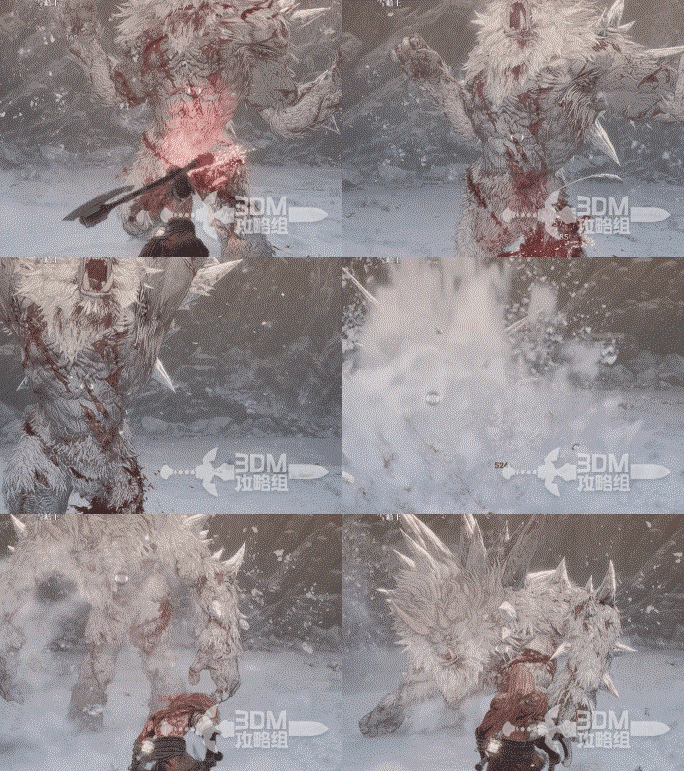
Attack ④:
A forward charge, often used at range. Dodge sideways; hitting a wall briefly stuns the boss.
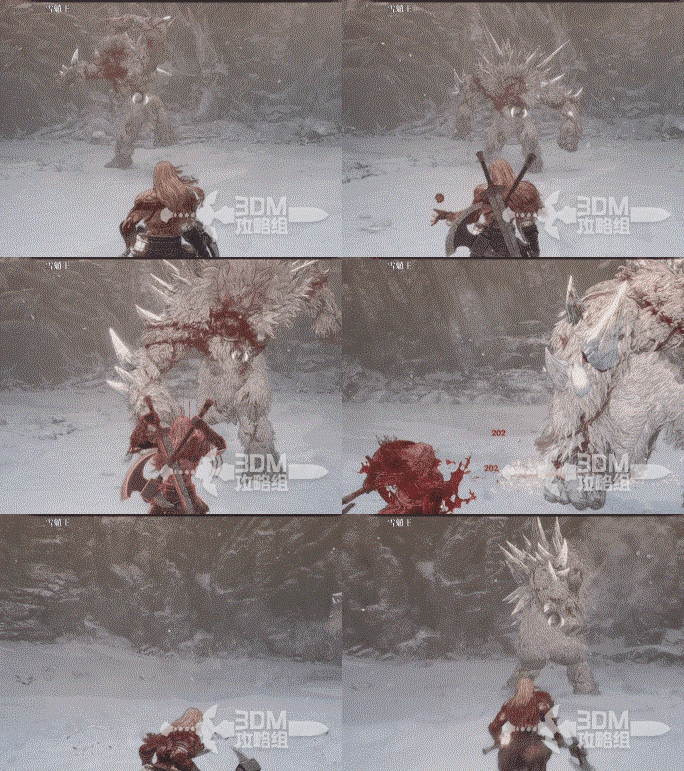
The second phase begins around half health.
Phase two — Attack ①:
Phase two opens with falling ice blocks. Dodge as they descend.
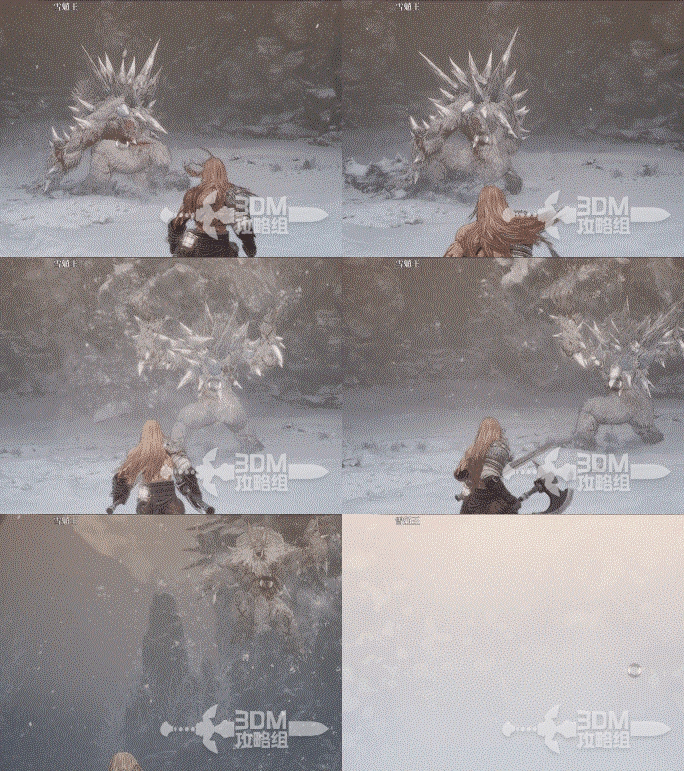
Attack ②:
It charges before spraying ice spikes. Dodge toward its rear; at close range you can move behind it and attack.
23Rescue after the battle: reach the Bantu shelter
Defeat Yetuga to obtain equipment and items.
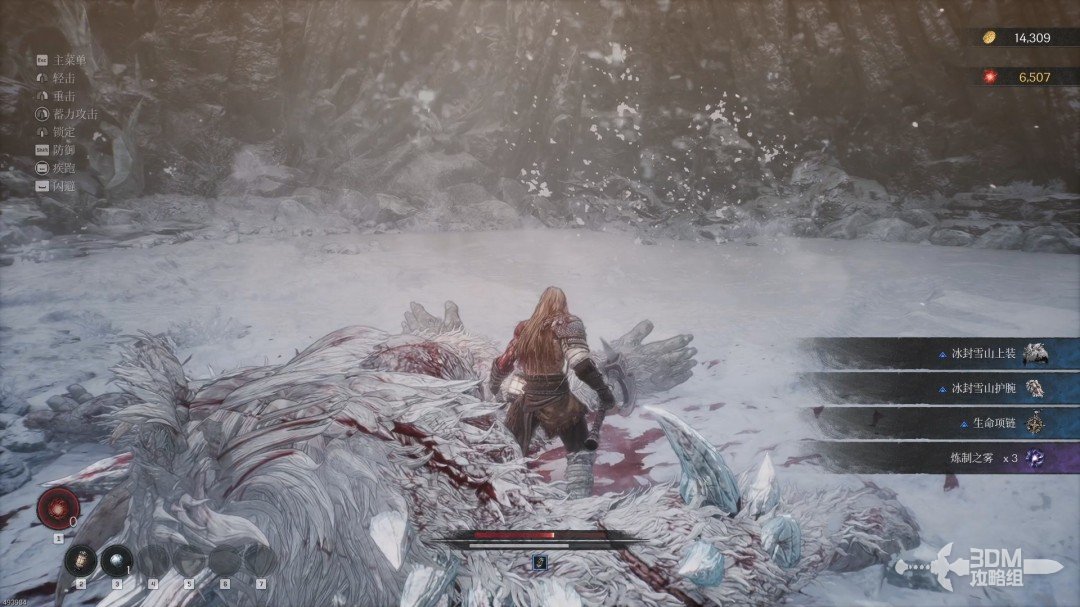
The Bantu rescue Khazan in the following cinematic. Speak to Quimuk when you wake; the next chapter begins here.
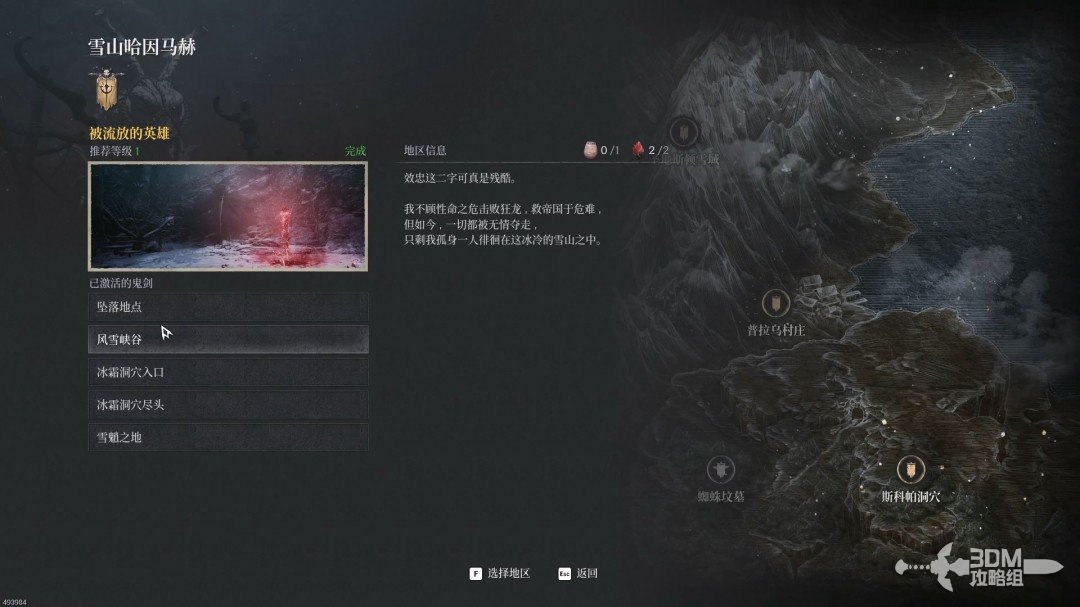
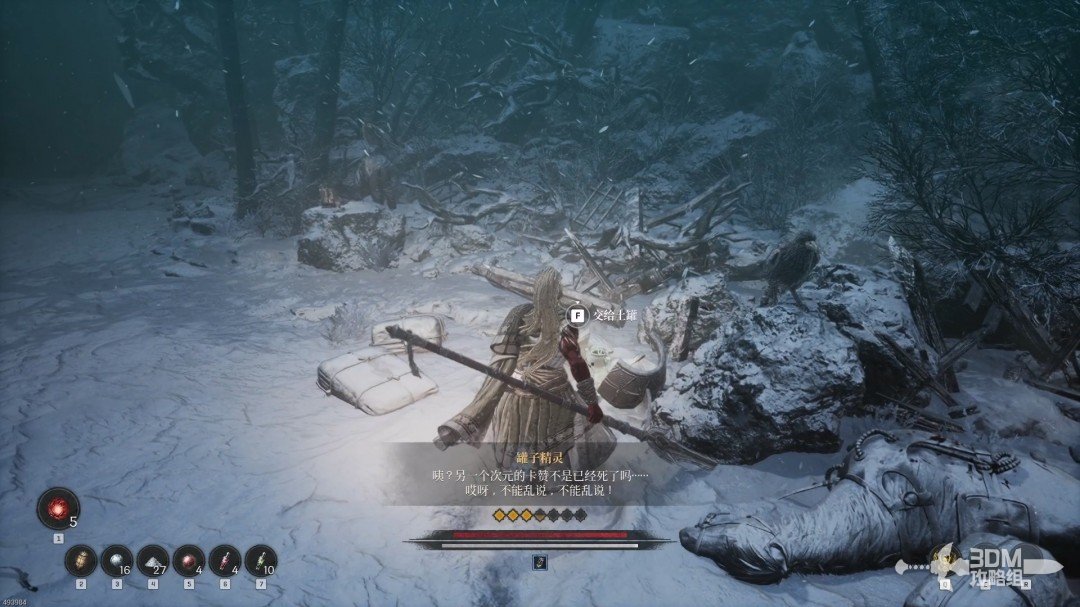
24Revisit Snowy Gorge: the jar in front of the arrival point
After Jar Enthusiast, revisit earlier missions for newly available Jarlings. These pickups do not appear before completing that side mission.
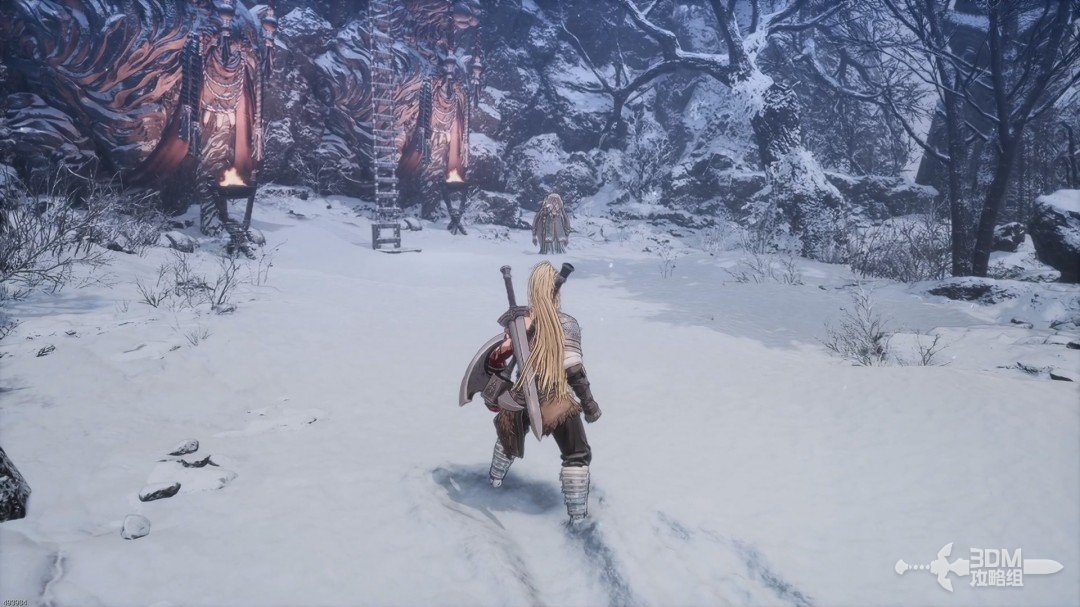
Travel to the snowy gorge checkpoint pictured.
The Jarling is directly ahead beside a crow.
Continue
Reference: 3DM Guide Team
GAME NOTE has reorganized and rewritten the routes from this walkthrough.