Skip to content

Corruptors’ Fortress

Guide editor: GAME NOTE

GAME NOTE CLASSIC · GUIDE LIBRARYThe First Berserker: Khazan

Traverse the fortress, towers and bridges to Skalpel.

Pickups in this mission

01Outer fortress stairs: meet Tristan and drop along the outside wall

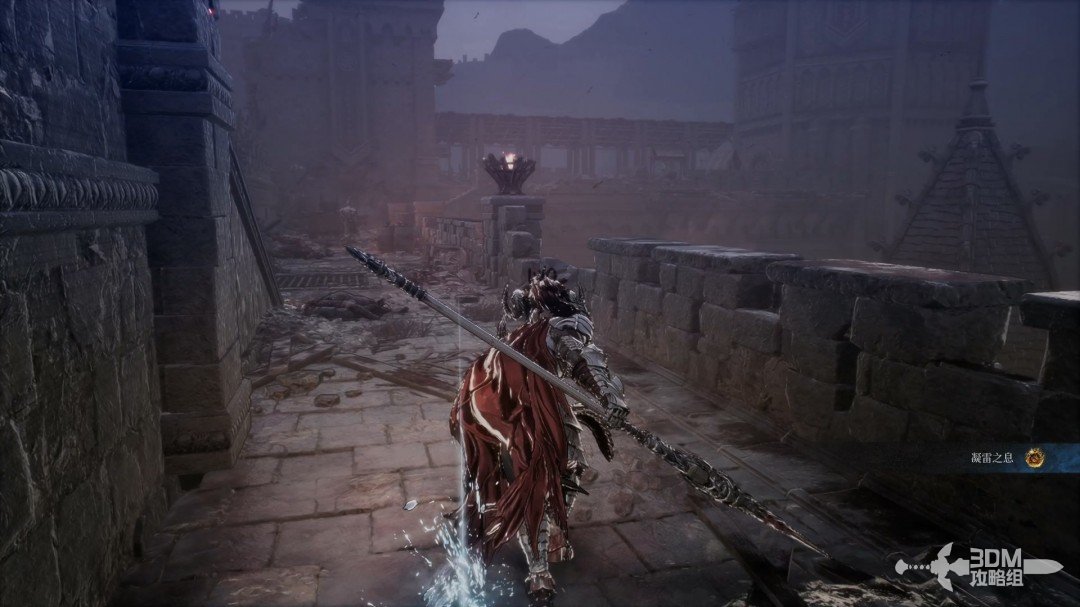
Resume the main story in Cursed Fortress to find Skalpel.
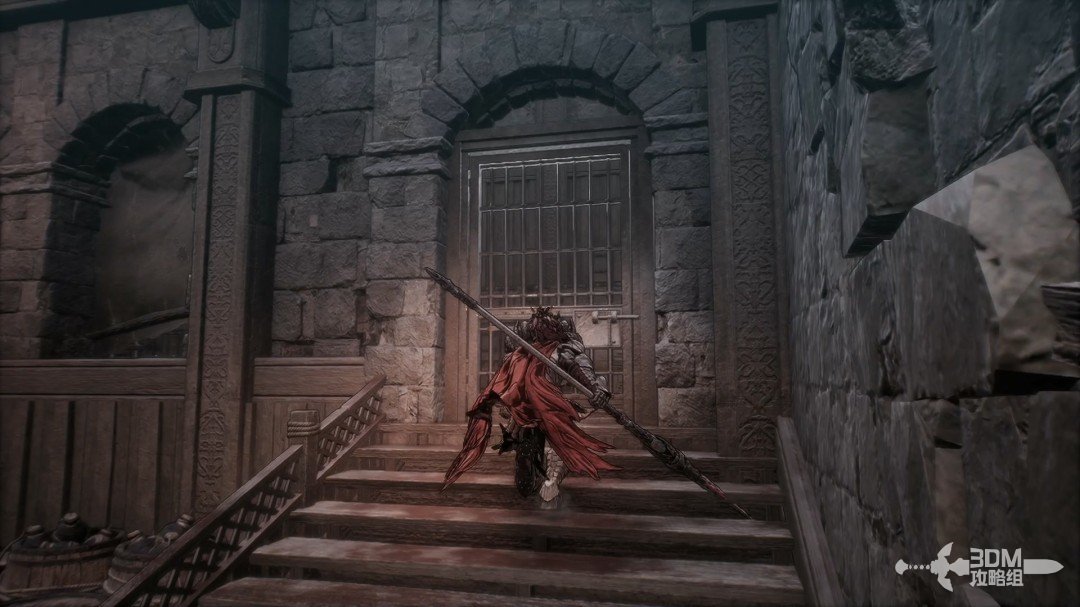
Outer fortress stairs: meet Tristan and drop along the outside wall · route image 1

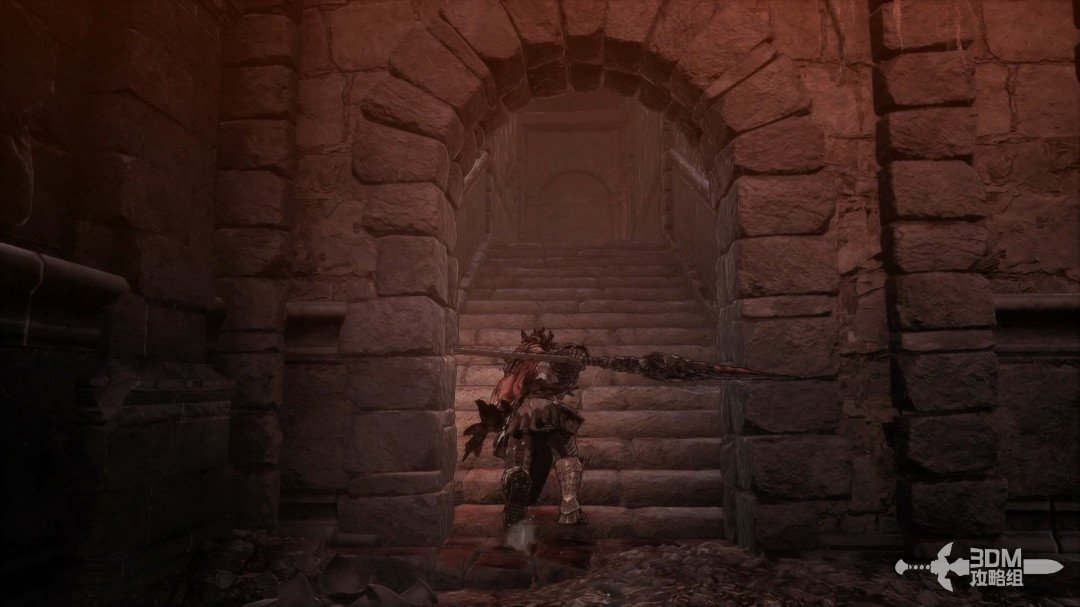
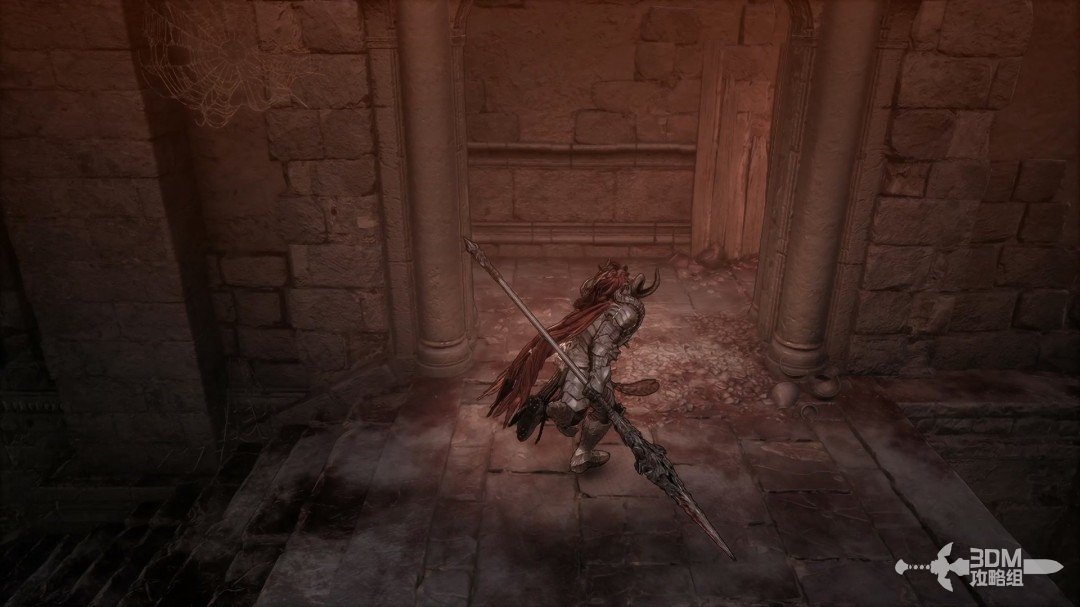
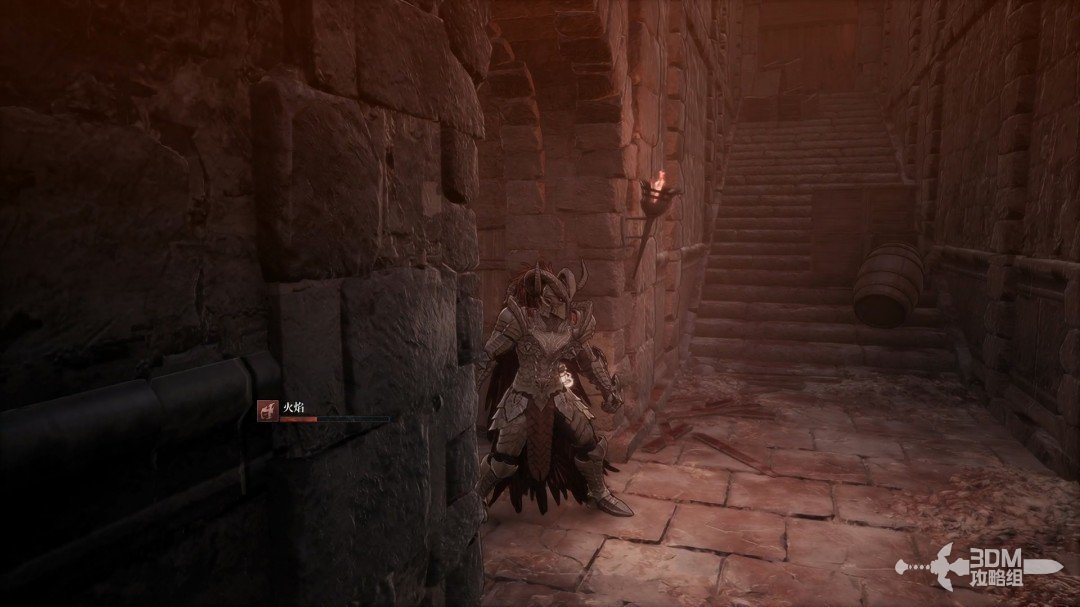
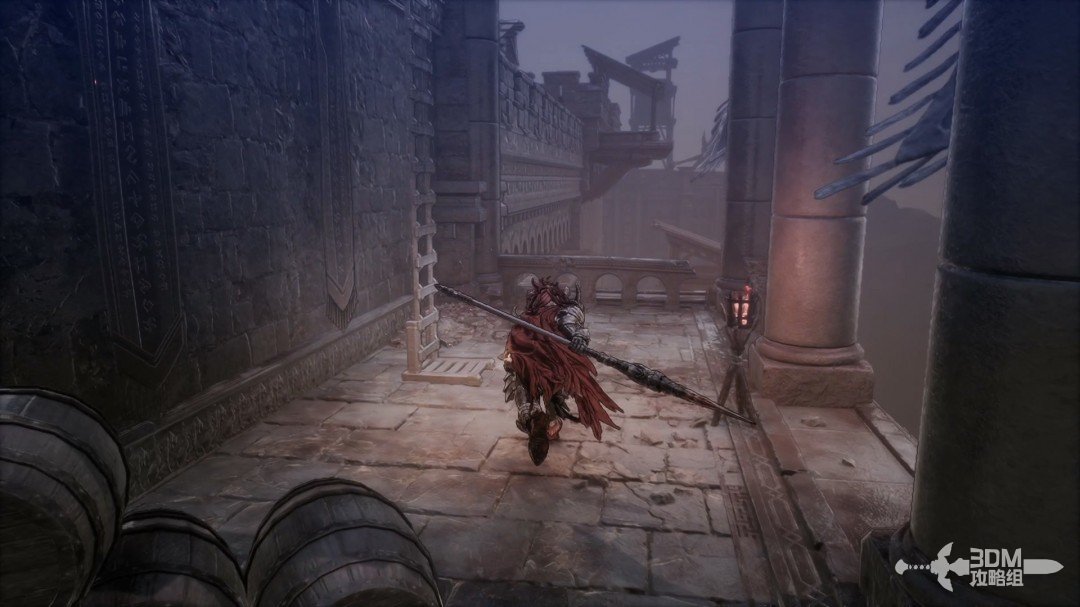
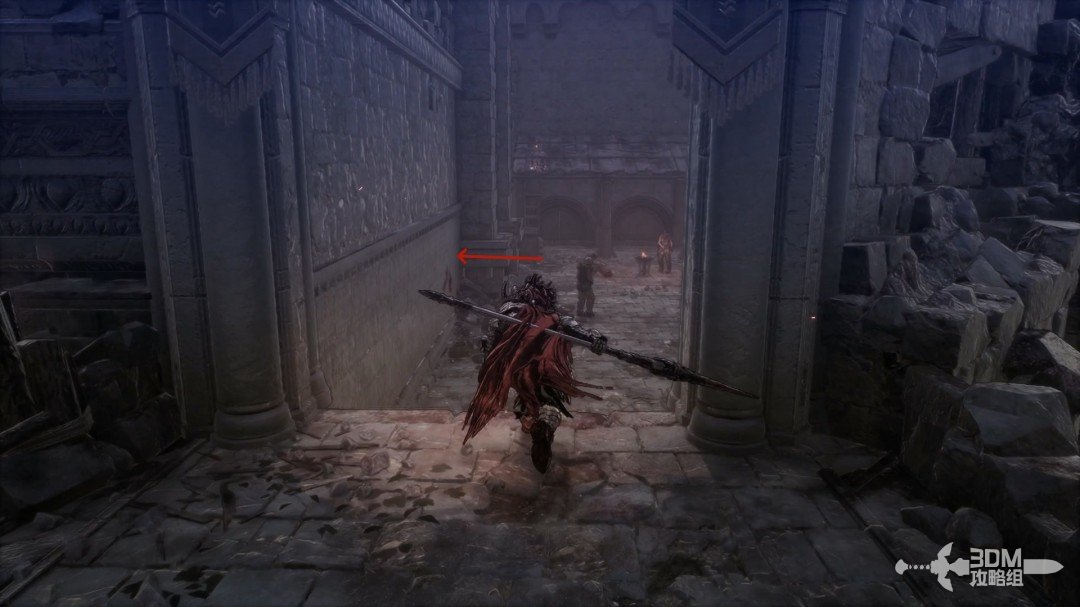
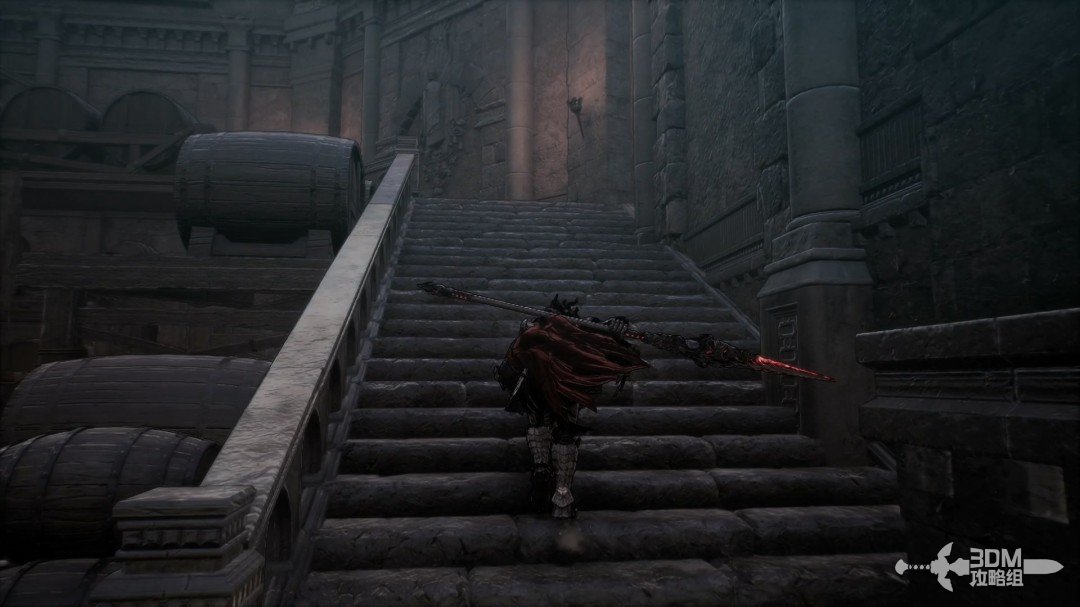
Follow the only route and climb the stairs.
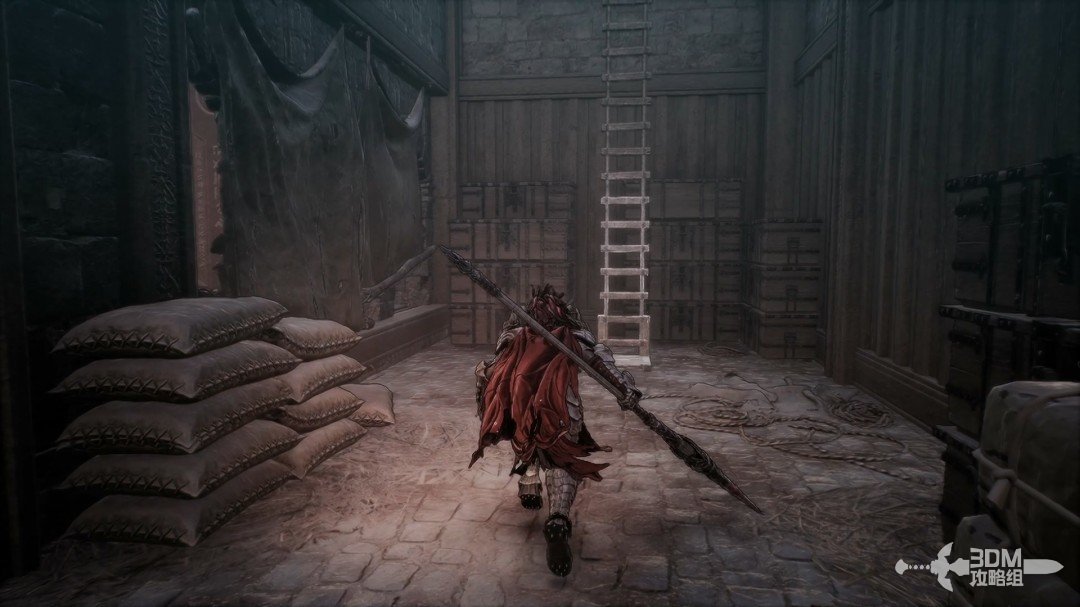
Outer fortress stairs: meet Tristan and drop along the outside wall · route image 2

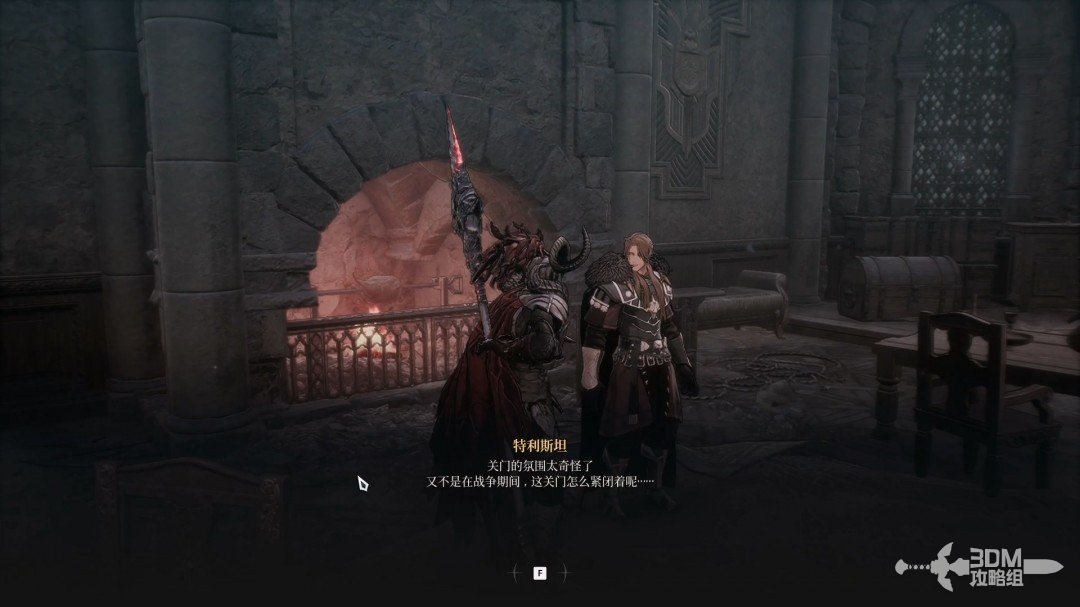
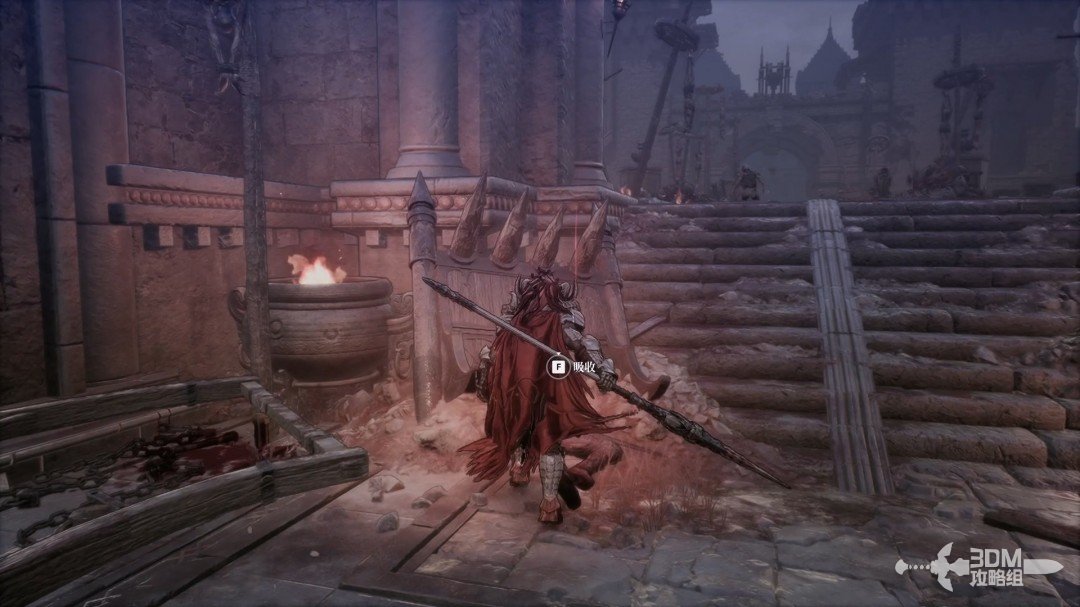
Speak to Tristan above.

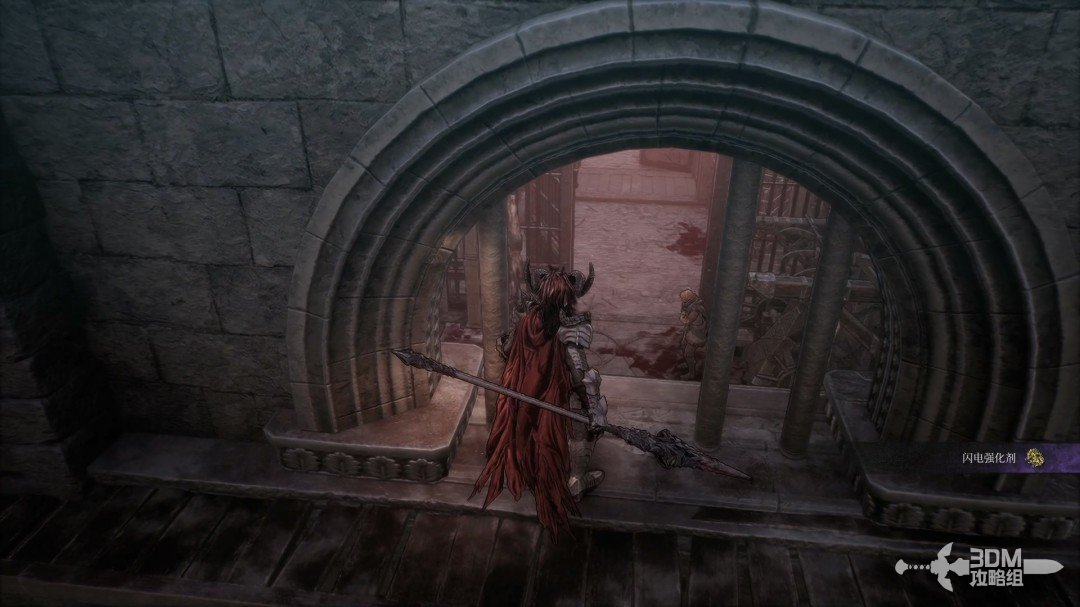
Outer fortress stairs: meet Tristan and drop along the outside wall · route image 3

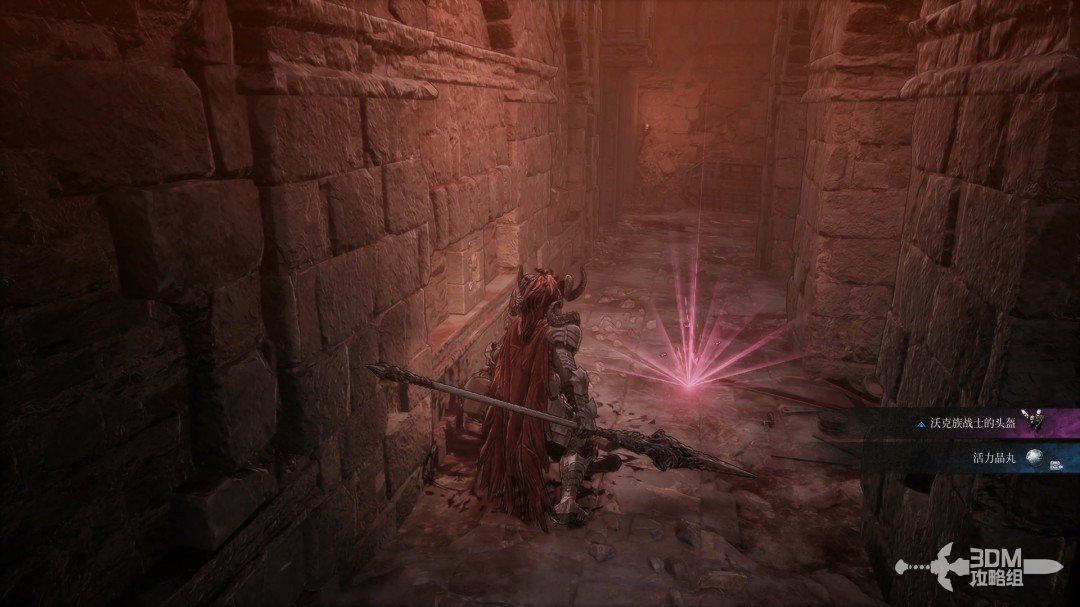
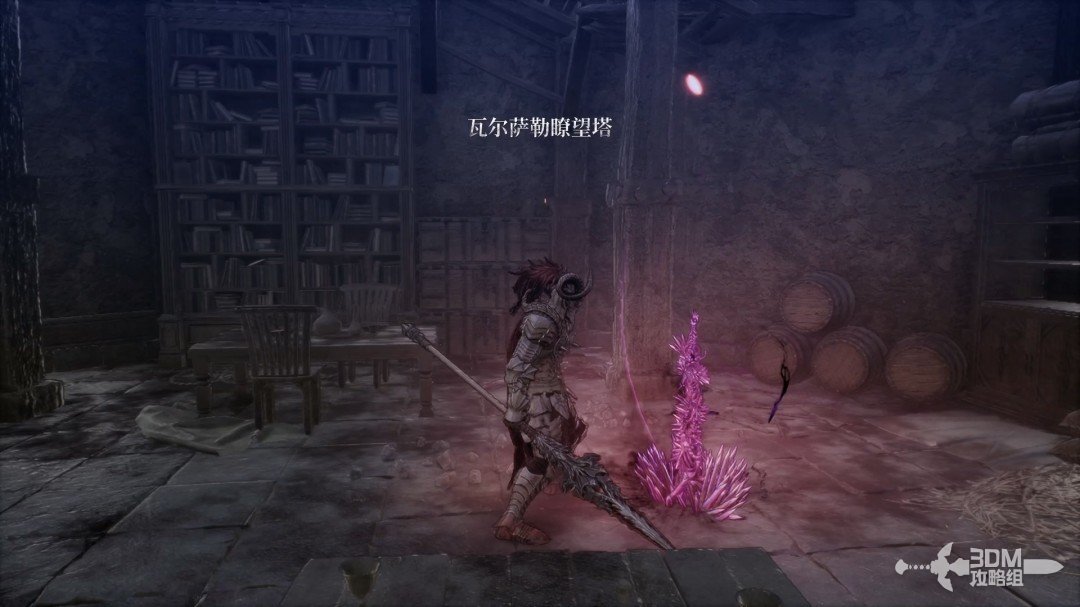
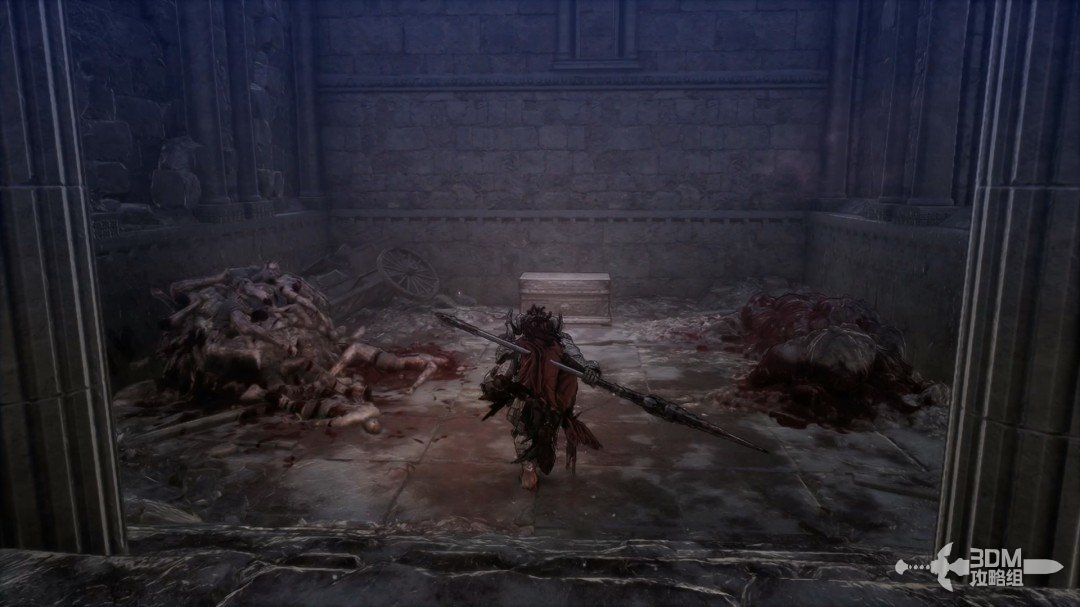
Collect the purple item left of the doorway before leaving.
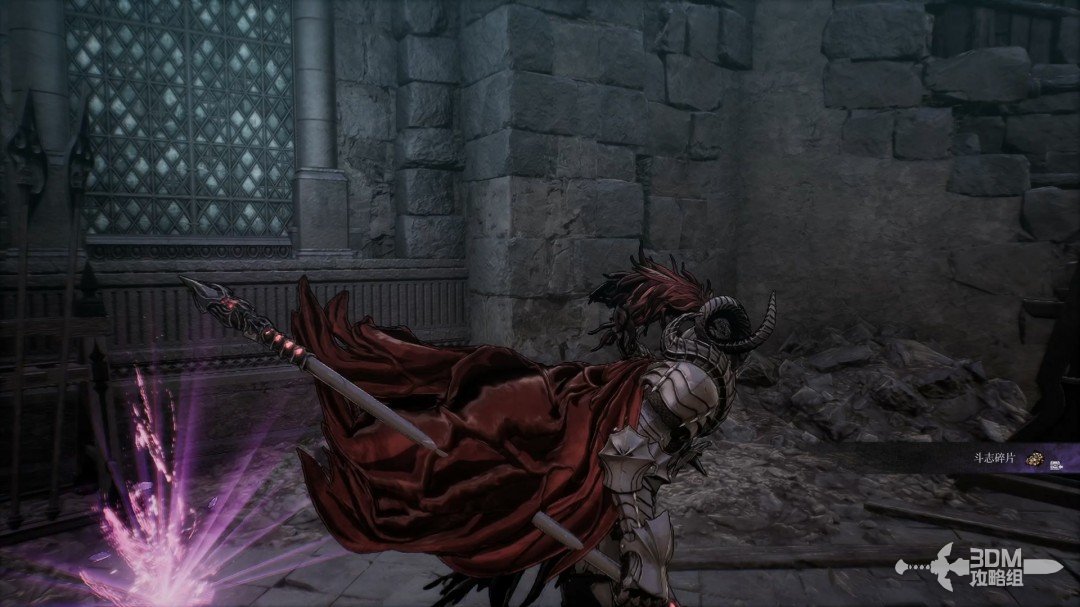
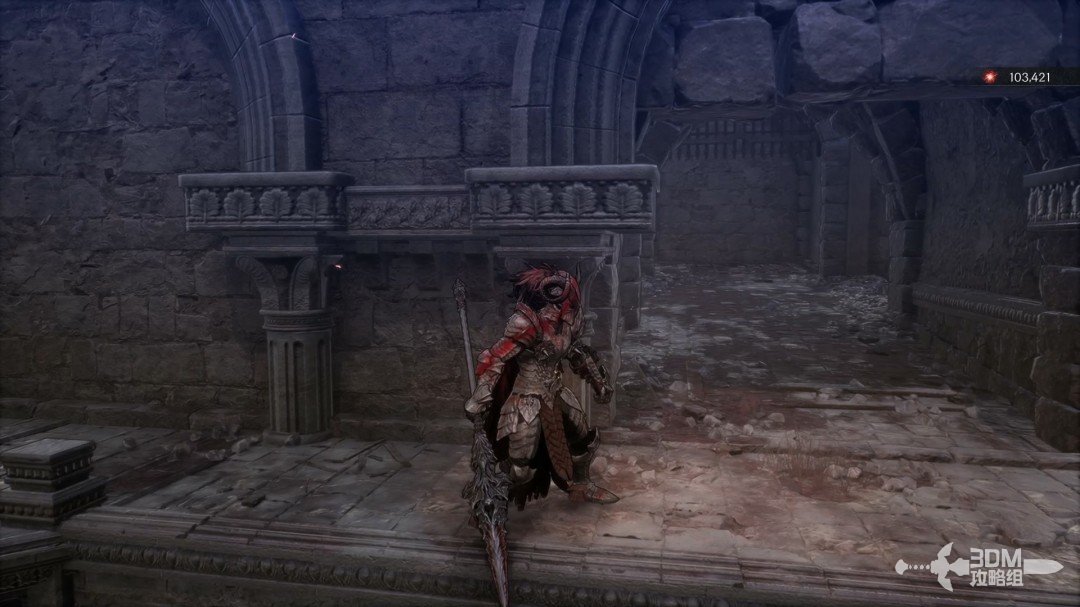
Outer fortress stairs: meet Tristan and drop along the outside wall · route image 4

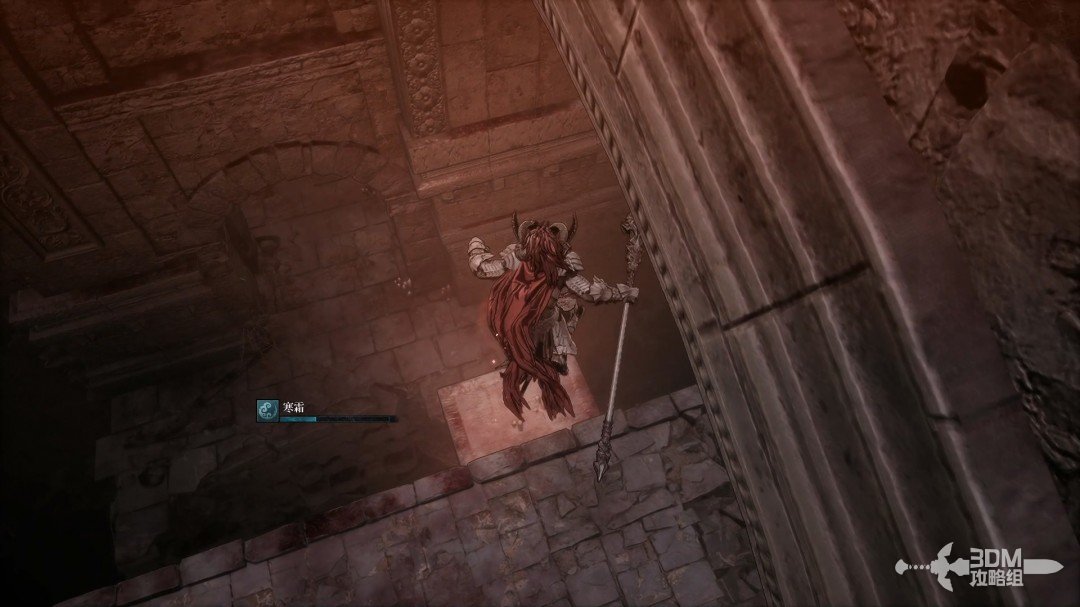
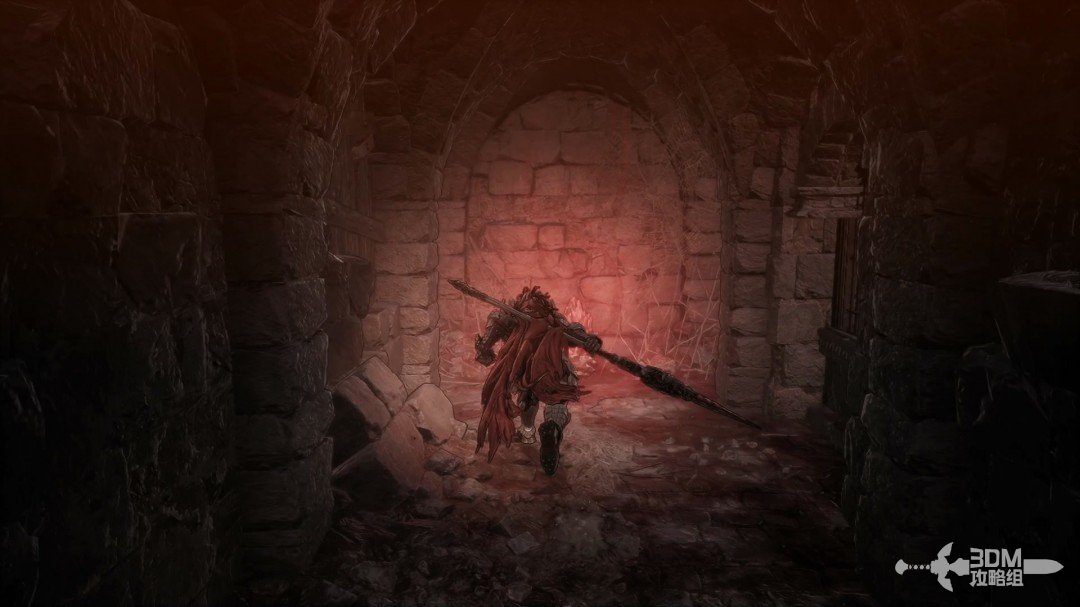
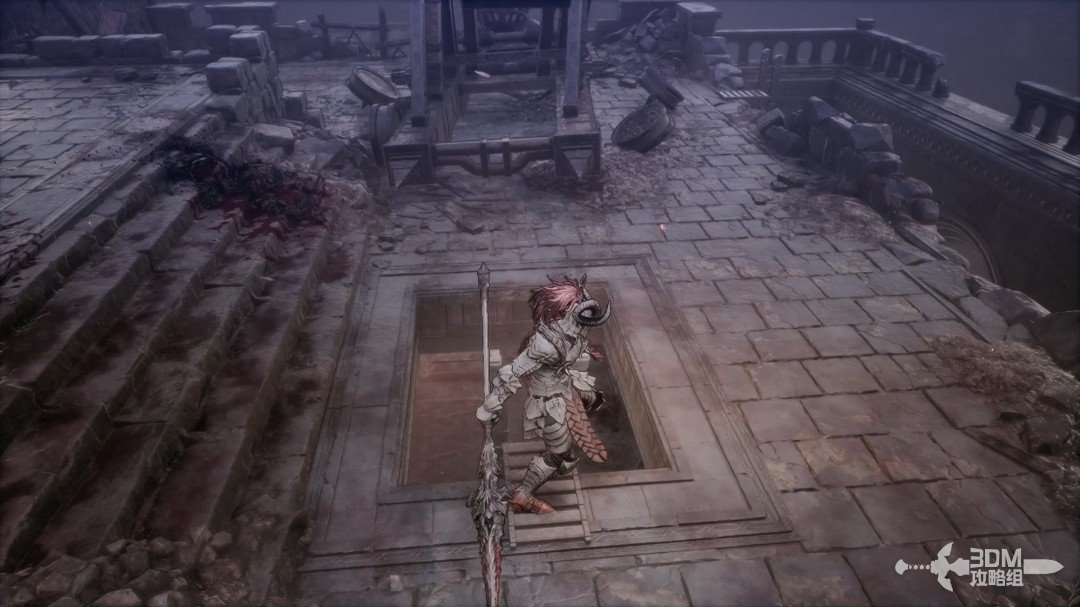
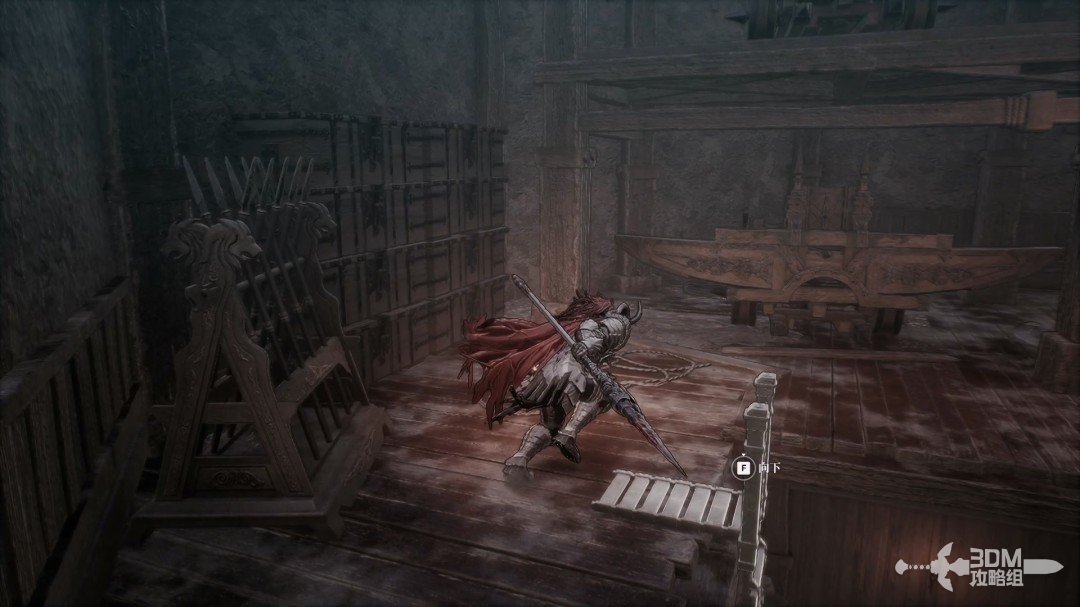
Choose your landing carefully and drop at the entrance.
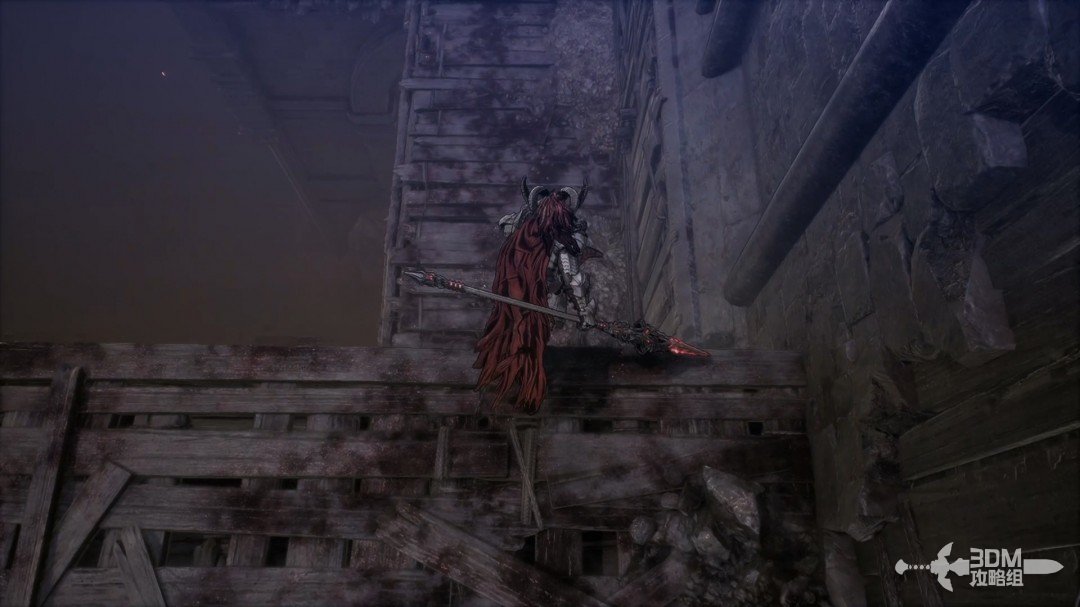
Outer fortress stairs: meet Tristan and drop along the outside wall · route image 5

02Nexus inside the outer wall: open the bookshelf passage for the diary

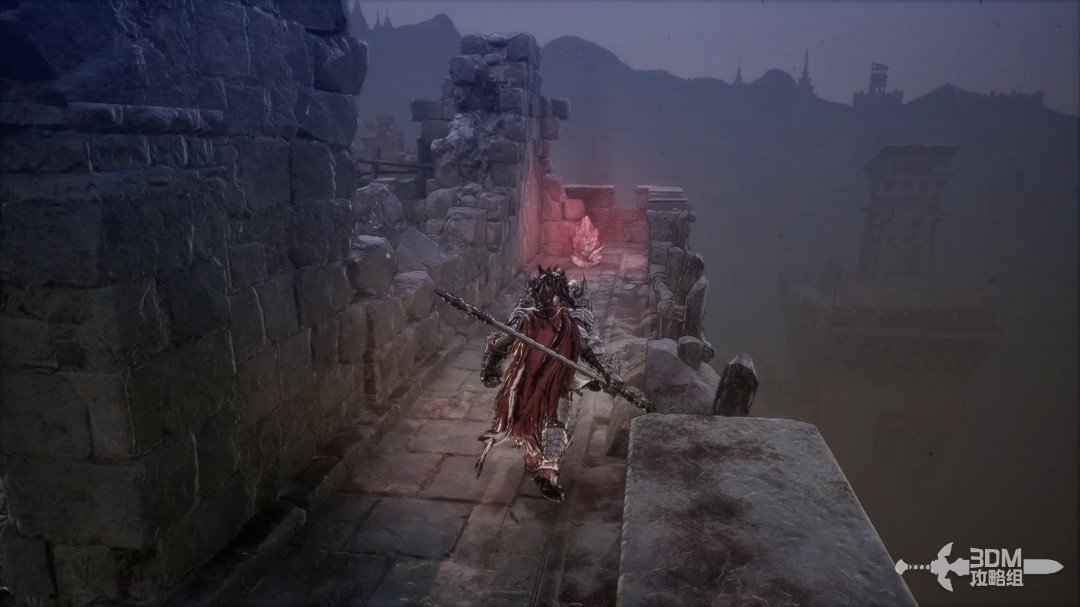
Follow the exterior path to a Blade Nexus.
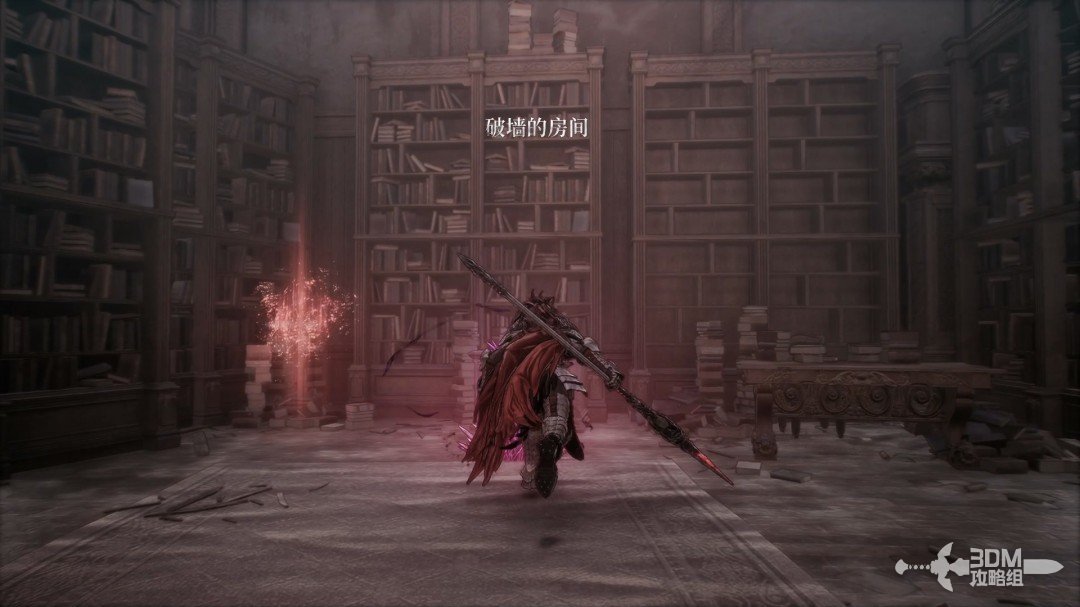
Nexus inside the outer wall: open the bookshelf passage for the diary · route image 6

Interact with the bookshelf to reveal a passage.
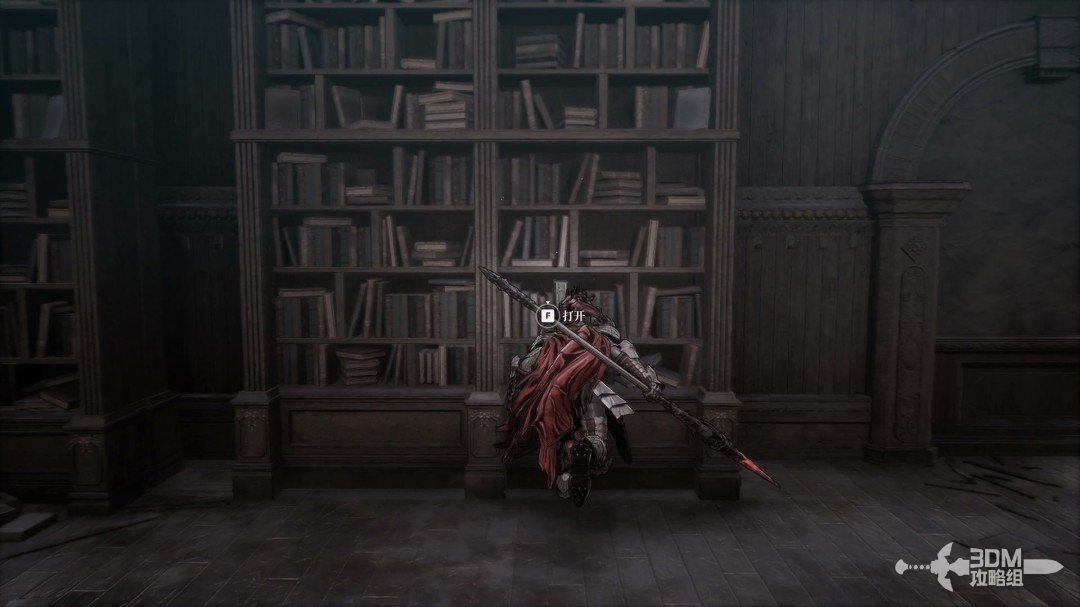
Nexus inside the outer wall: open the bookshelf passage for the diary · route image 7

Descend inside for Attendant Lantimos's Diary.
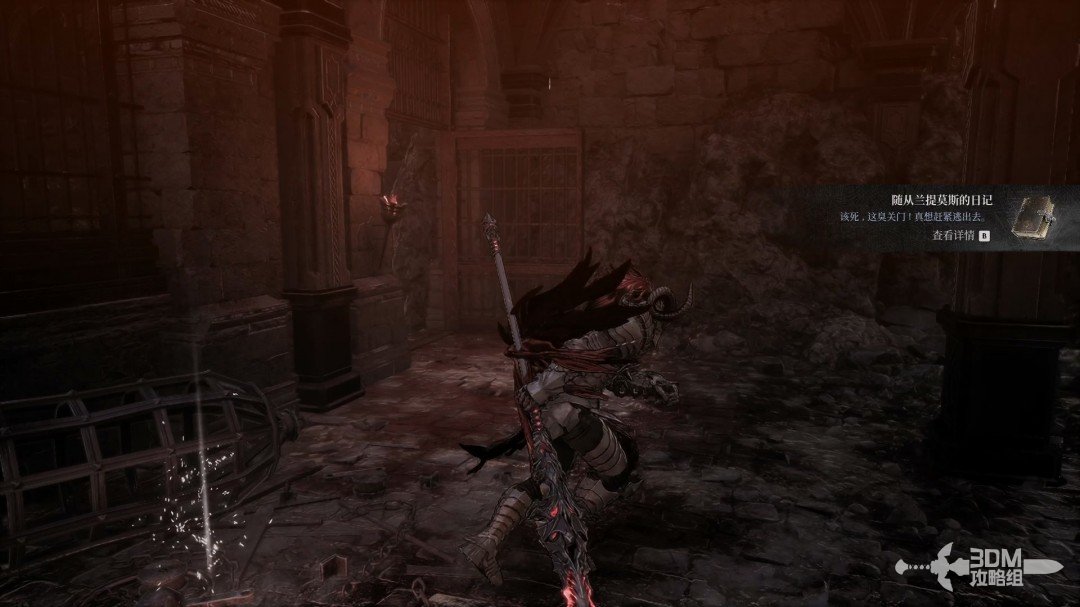
Nexus inside the outer wall: open the bookshelf passage for the diary · route image 8

04Underground cells and swinging iron balls: cross before dropping down

Continue forward, watching for floor traps beneath the stairs.
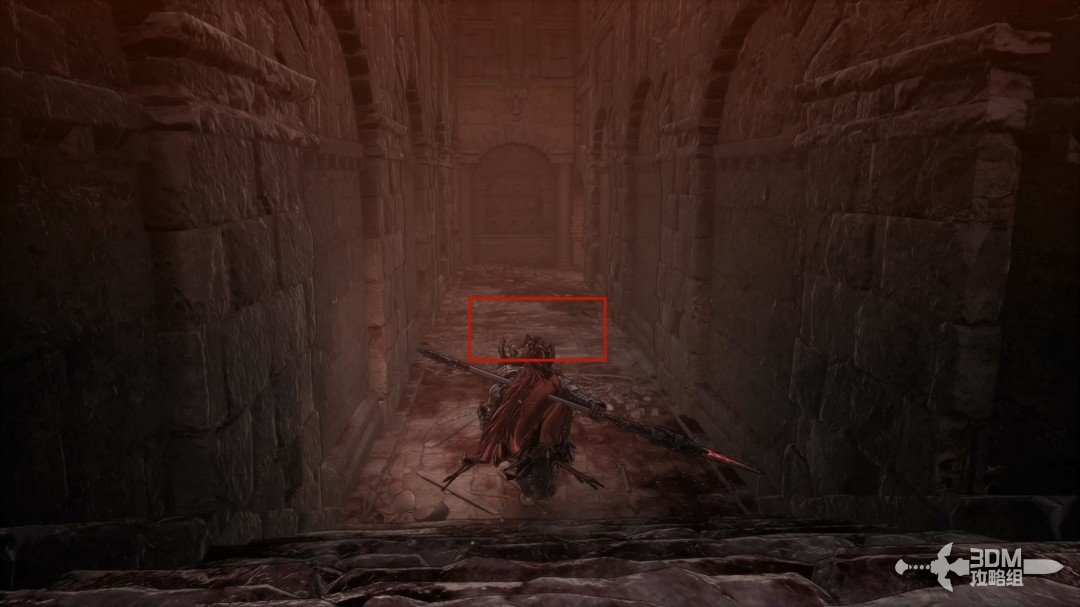
Underground cells and swinging iron balls: cross before dropping down · route image 1

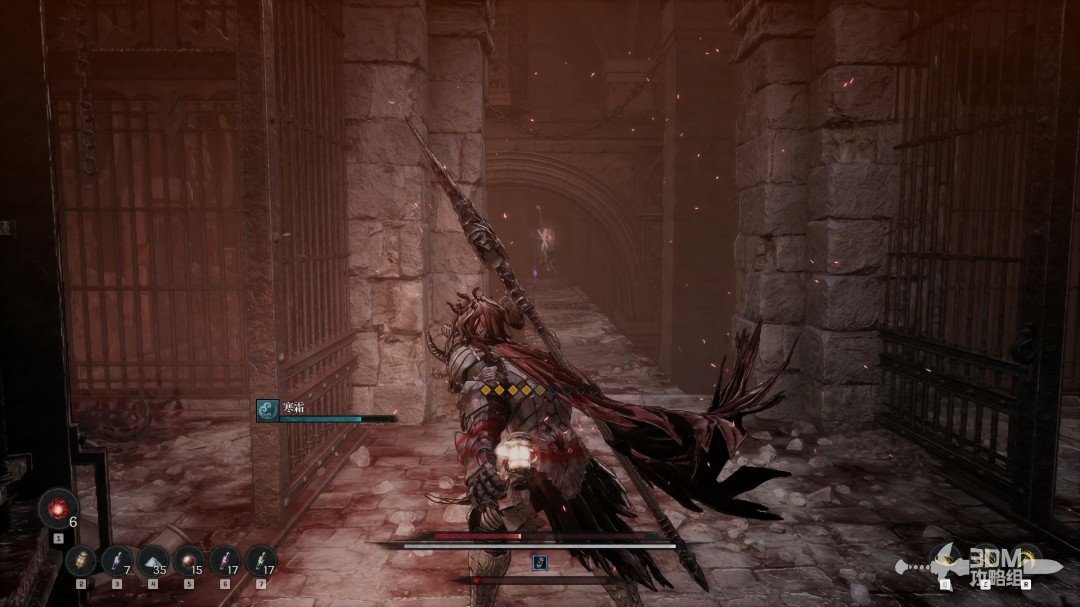
Go right below, anticipating an ambush from the right cell.
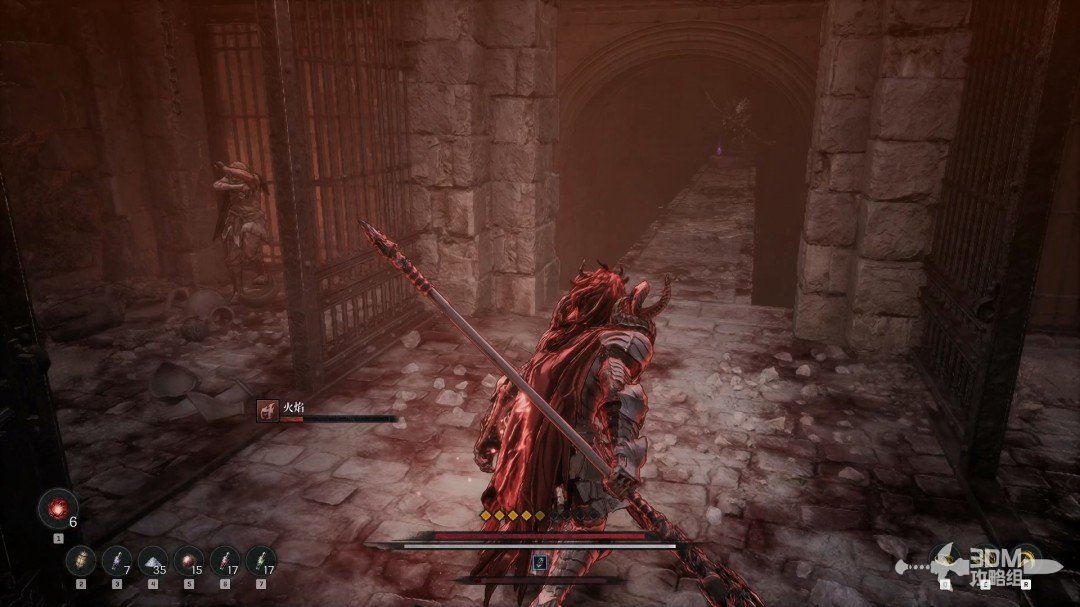
Underground cells and swinging iron balls: cross before dropping down · route image 2

Remove the archer ahead from range.

Underground cells and swinging iron balls: cross before dropping down · route image 3

Time your crossing past the swinging iron ball.
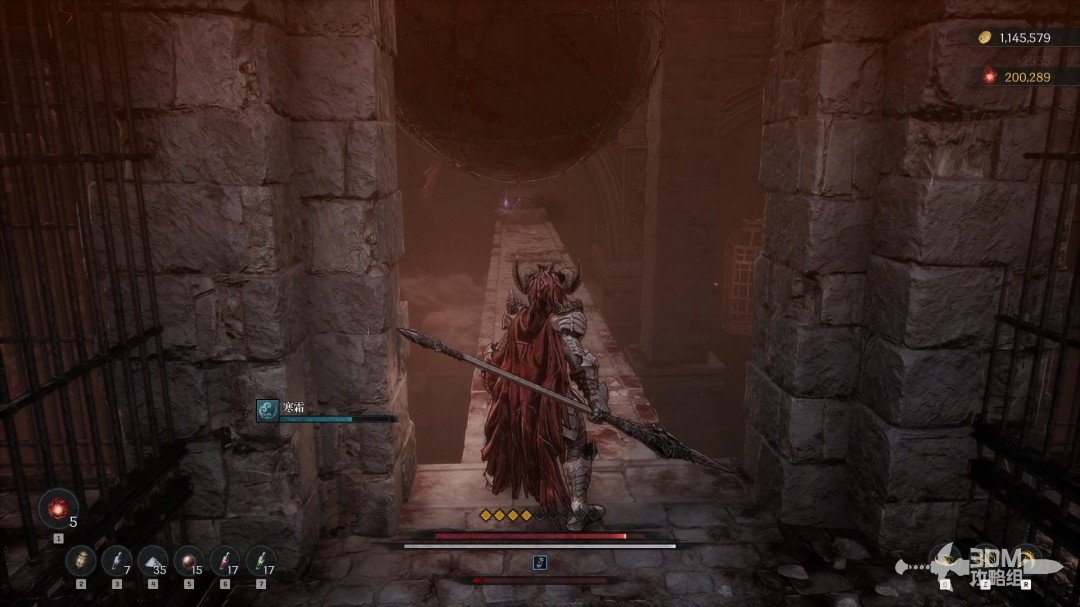
Underground cells and swinging iron balls: cross before dropping down · route image 4

Drop on the left after crossing.

Underground cells and swinging iron balls: cross before dropping down · route image 5

05Iron-ball corridor and upper shield guards: use the traps to clear the way

The left door cannot be opened from here. Go right.
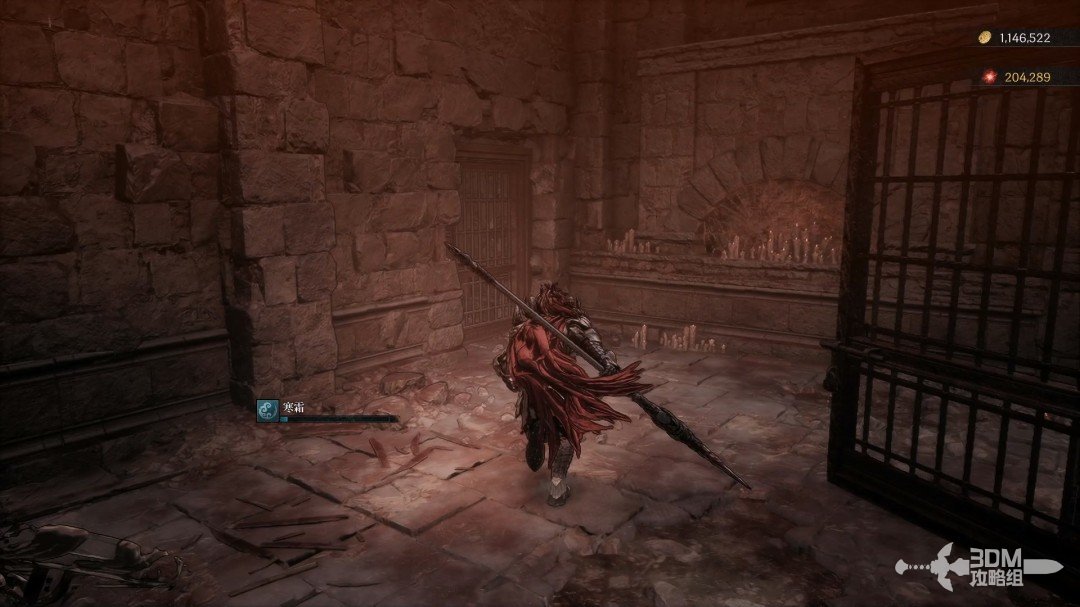
Iron-ball corridor and upper shield guards: use the traps to clear the way · route image 6

Another swinging ball guards the corridor. First enter the small left door.
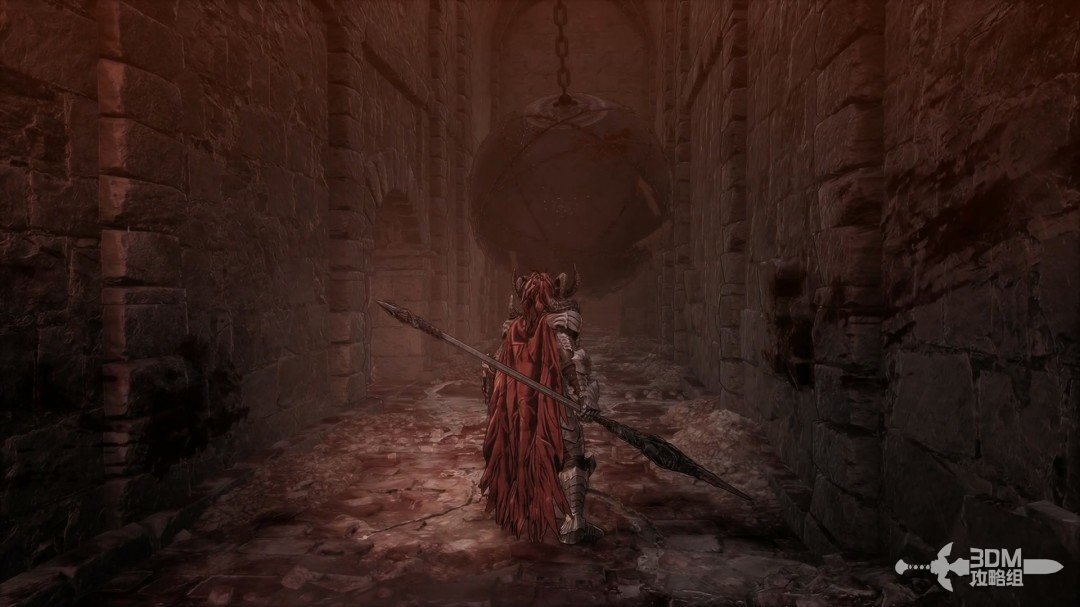
Iron-ball corridor and upper shield guards: use the traps to clear the way · route image 7

Defeat two skeletons and collect the white item in the dead end.
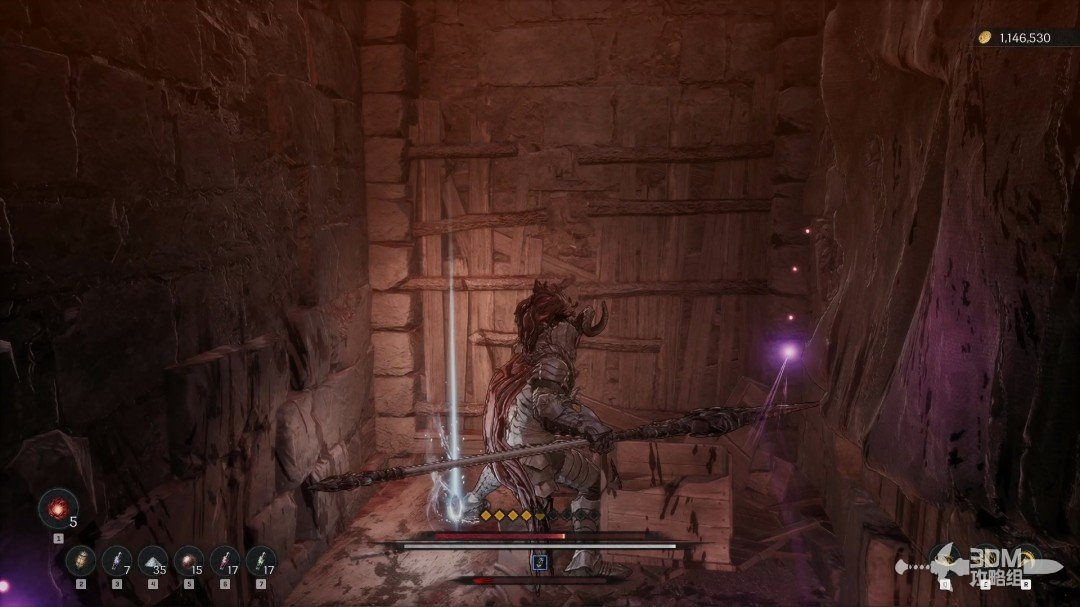
Iron-ball corridor and upper shield guards: use the traps to clear the way · route image 8

Continue and climb the stairs.

Iron-ball corridor and upper shield guards: use the traps to clear the way · route image 9

Explore right for a purple item while avoiding the iron ball.
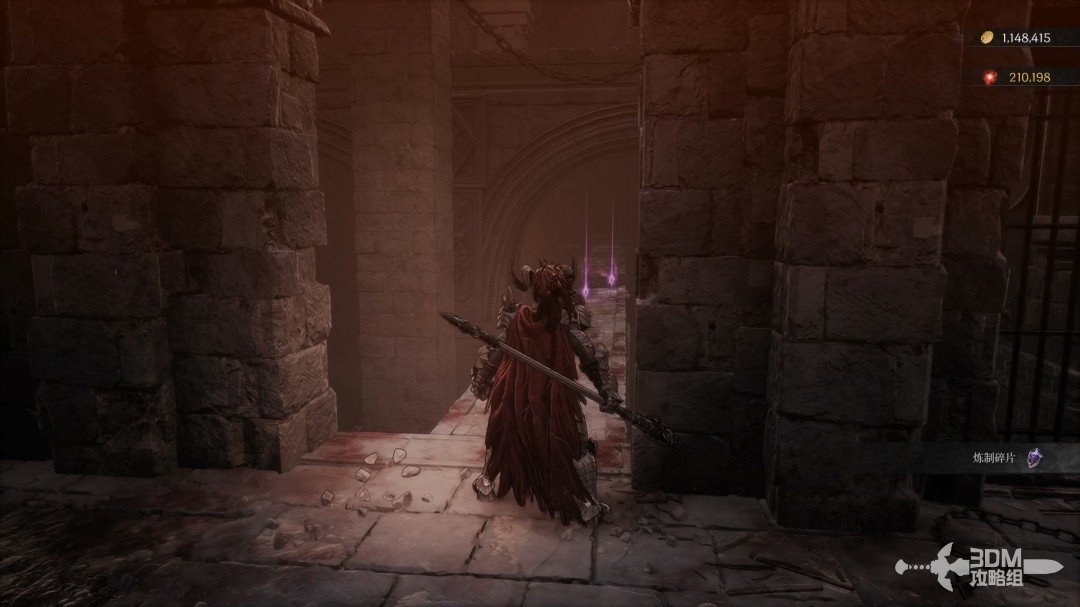
Iron-ball corridor and upper shield guards: use the traps to clear the way · route image 10

Return left and lure the charging shield soldier into the swinging ball if possible.
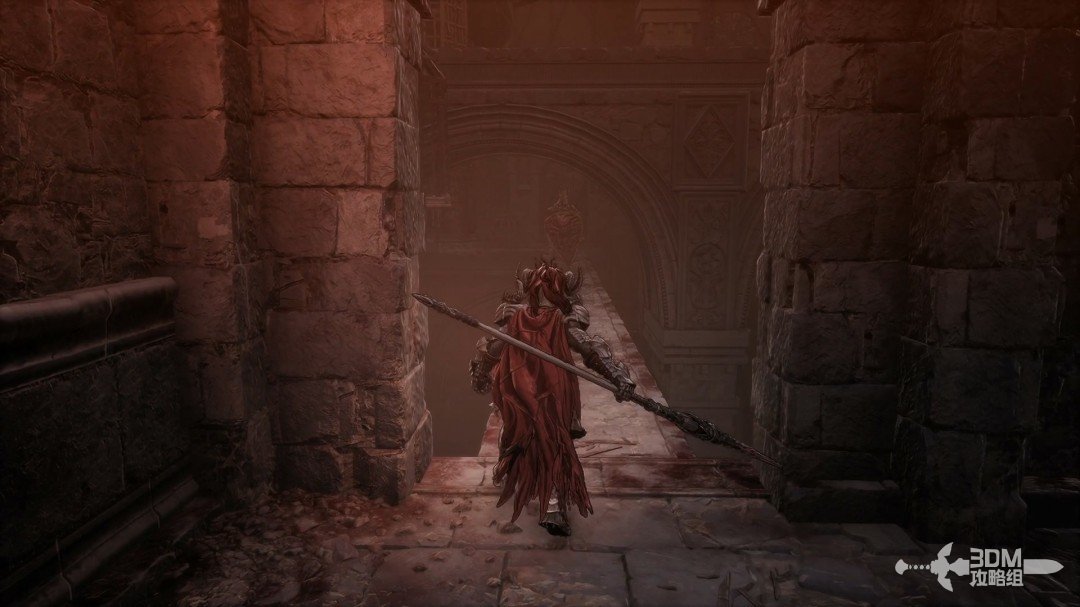
Iron-ball corridor and upper shield guards: use the traps to clear the way · route image 11

Turn left here, timing the iron ball at the intersection.
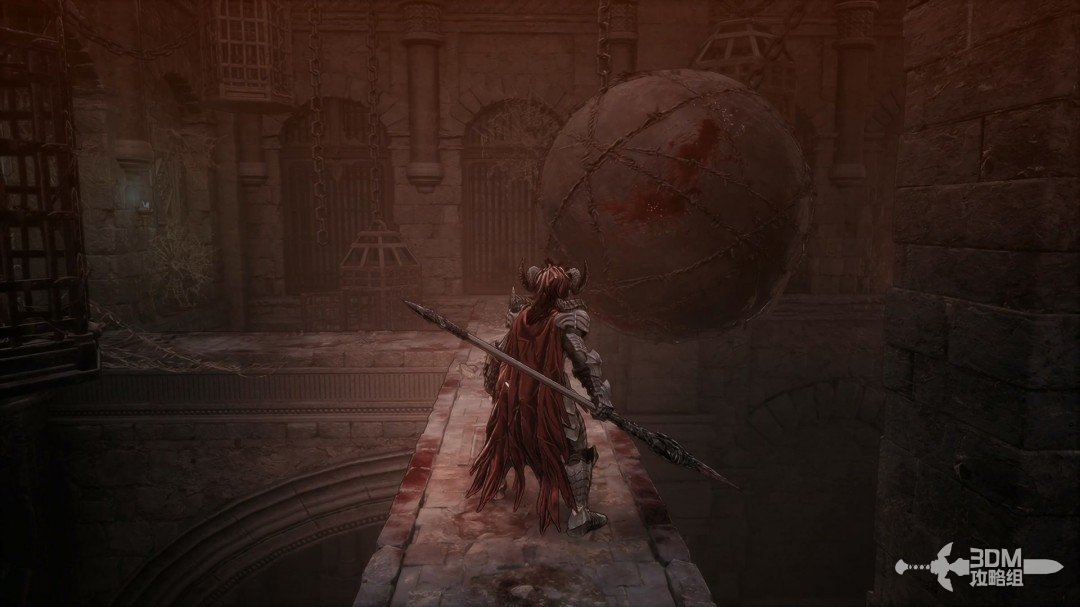
Iron-ball corridor and upper shield guards: use the traps to clear the way · route image 12

Another shield soldier waits left. Avoid being knocked off.
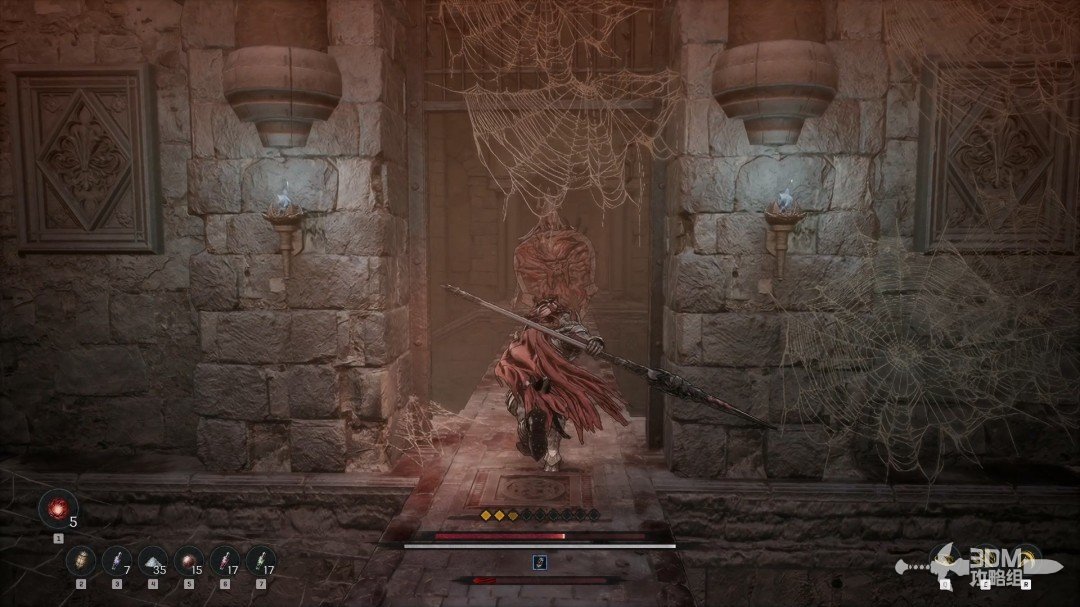
Iron-ball corridor and upper shield guards: use the traps to clear the way · route image 13

06Descending left branch: defeat the room elite and break the planks for the shield

At the next fork, descend left first.
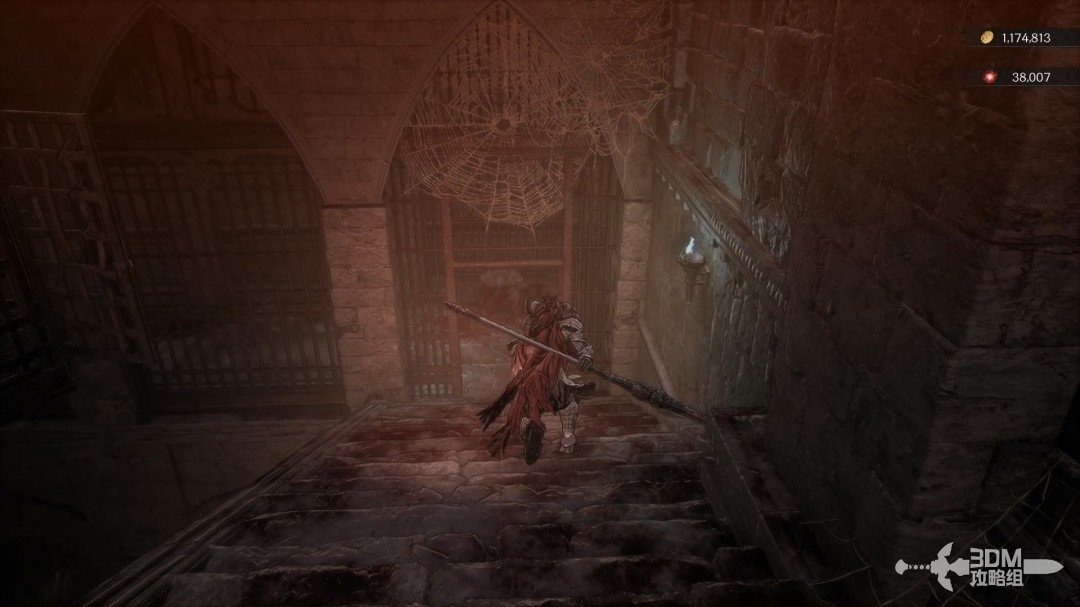
Descending left branch: defeat the room elite and break the planks for the shield · route image 14

At the bottom, turn left at the end for a white item.
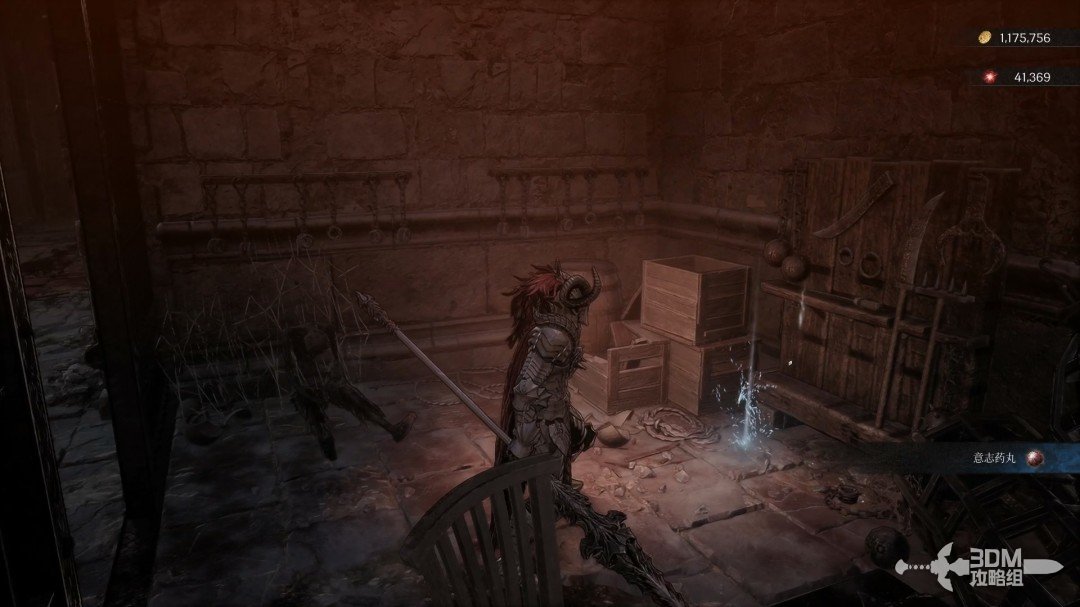
Descending left branch: defeat the room elite and break the planks for the shield · route image 15

Defeat the elite inside the right room.
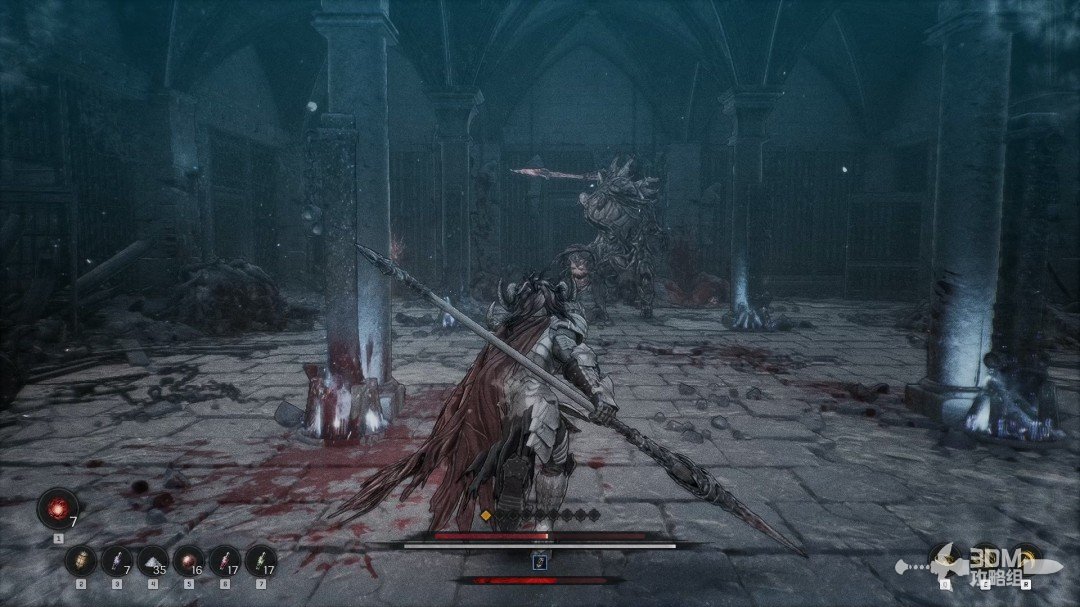
Descending left branch: defeat the room elite and break the planks for the shield · route image 16

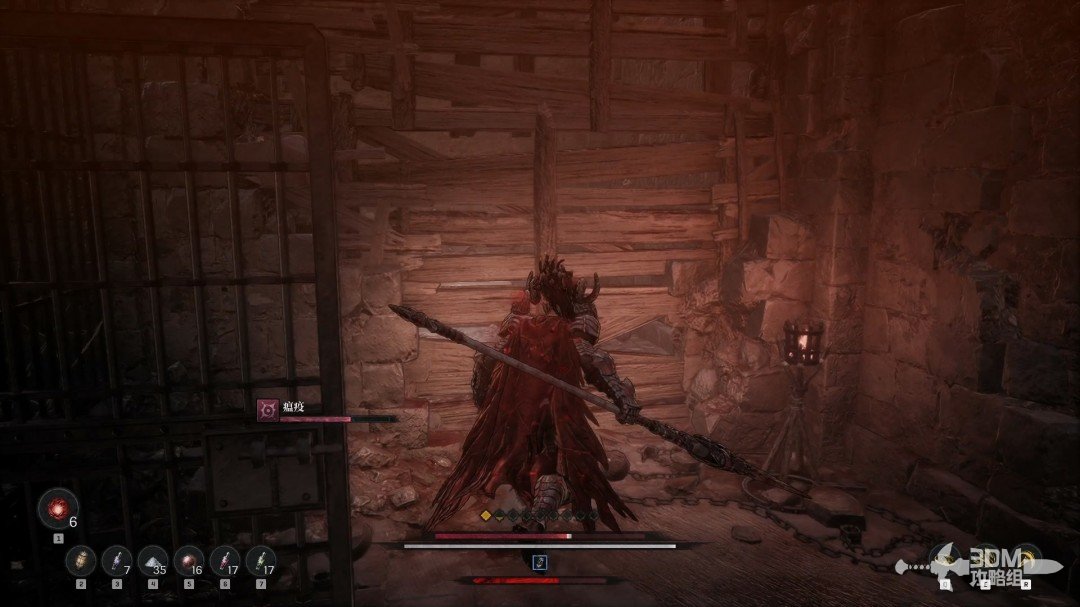
Open the iron gate on the left afterward.
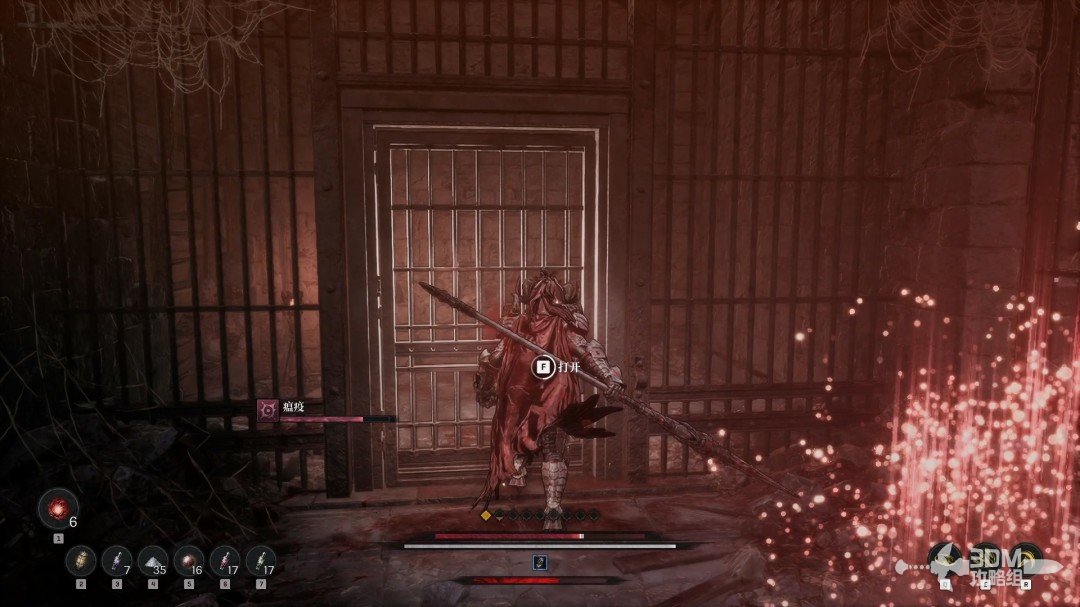
Descending left branch: defeat the room elite and break the planks for the shield · route image 17

Break the left boards for a chest.

Descending left branch: defeat the room elite and break the planks for the shield · route image 18

Collect the Ghostly Shield from the chest.
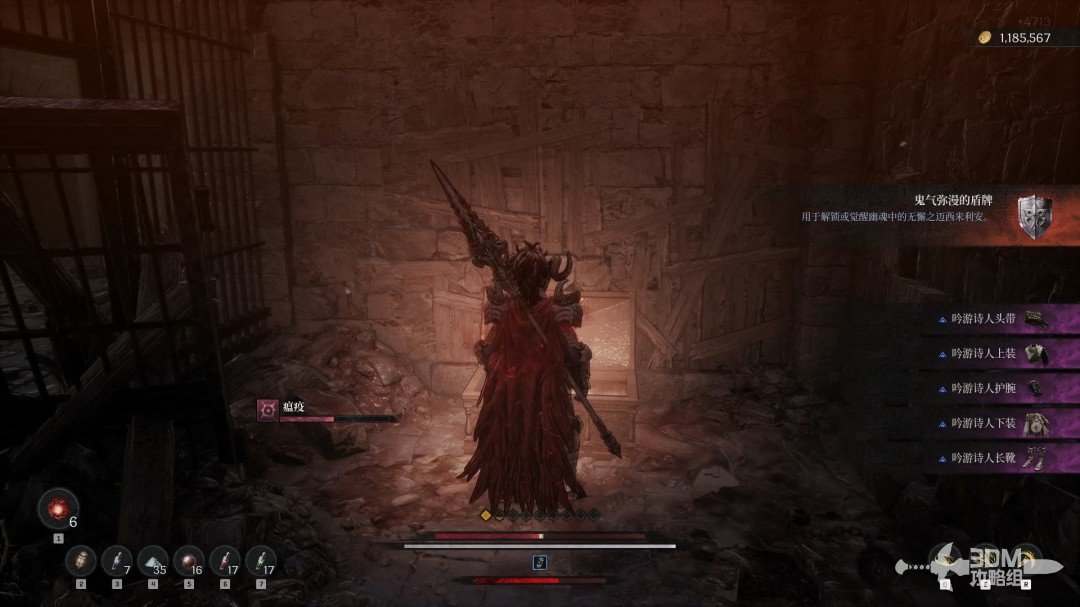
Descending left branch: defeat the room elite and break the planks for the shield · route image 19

08Back to the iron-ball route: search the cage and descend to connect the gate

A different cell contains a white item. The remaining empty cell need not be opened.
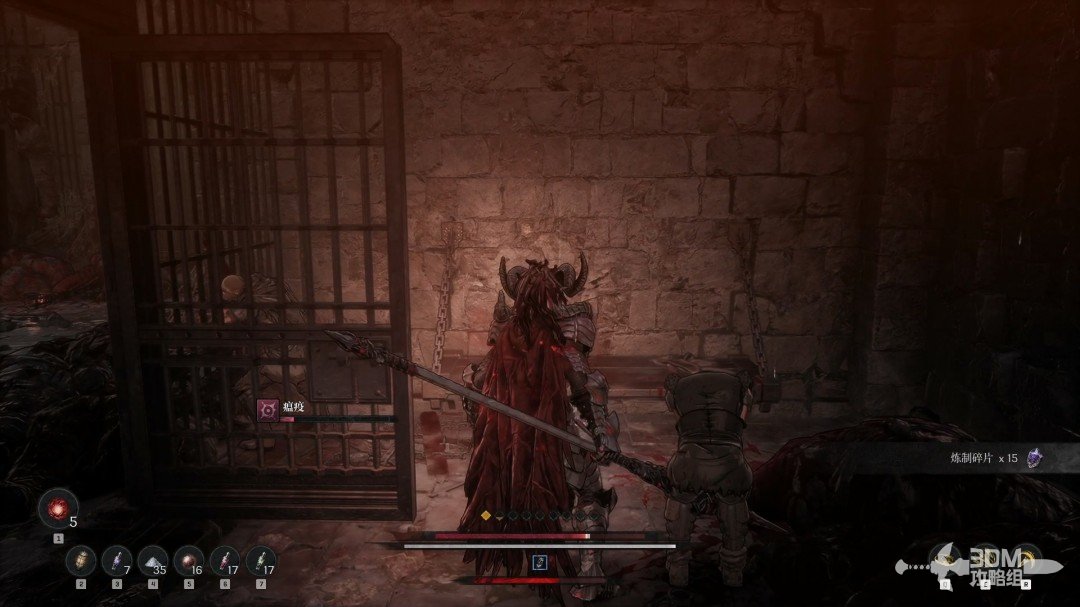
Back to the iron-ball route: search the cage and descend to connect the gate · route image 1

Return to the main route.

Back to the iron-ball route: search the cage and descend to connect the gate · route image 2

Eliminate the next archer before crossing the swinging ball. The cage on the right contains a white item and offers shelter.
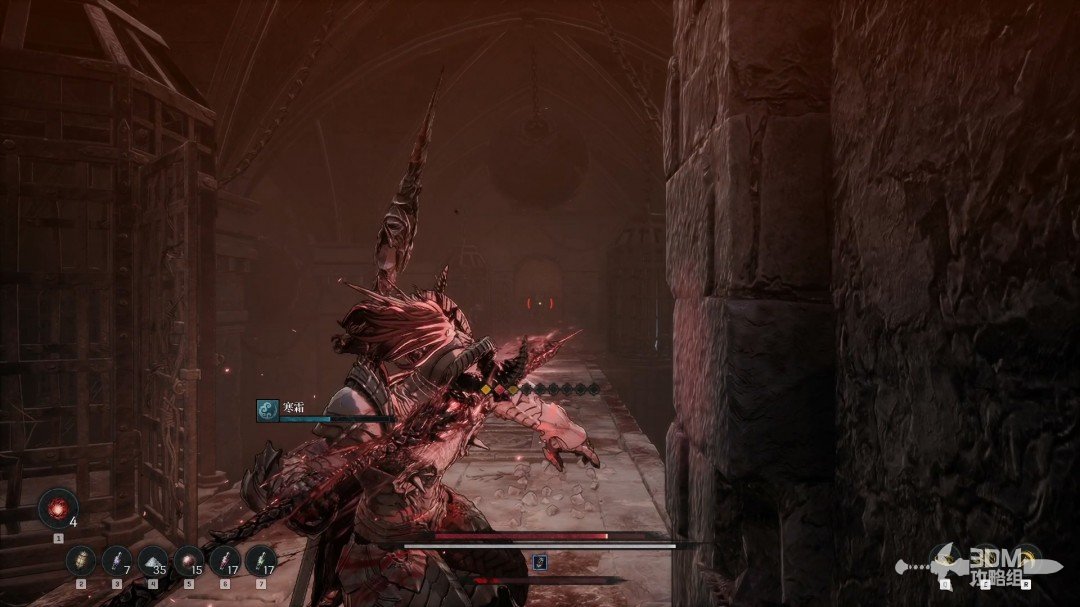
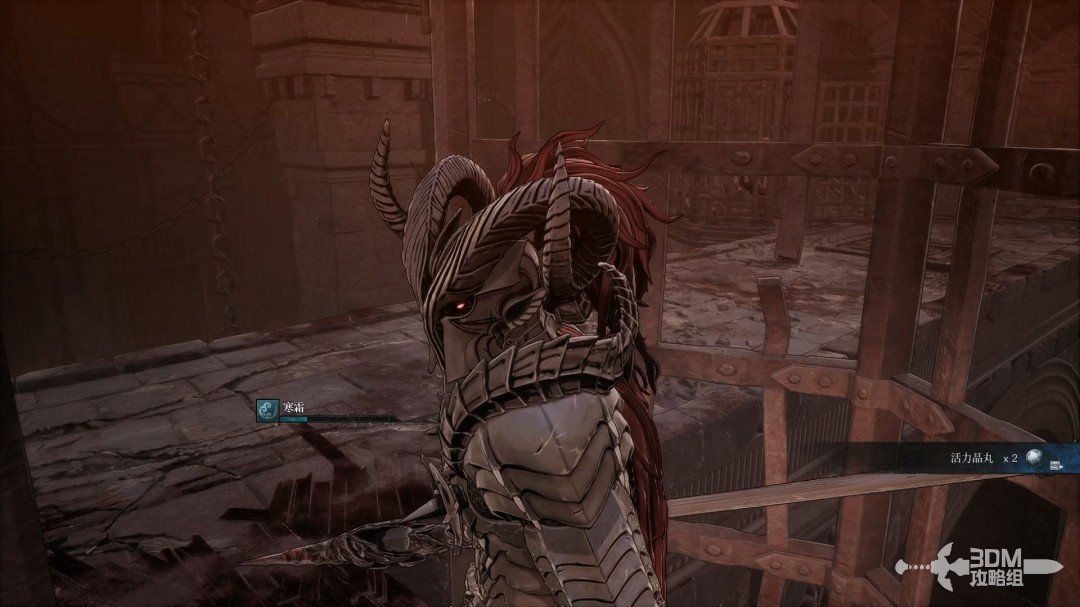
Back to the iron-ball route: search the cage and descend to connect the gate · route image 3
Back to the iron-ball route: search the cage and descend to connect the gate · route image 4

Watch for the left enemy's ambush and avoid the floor trigger ahead.
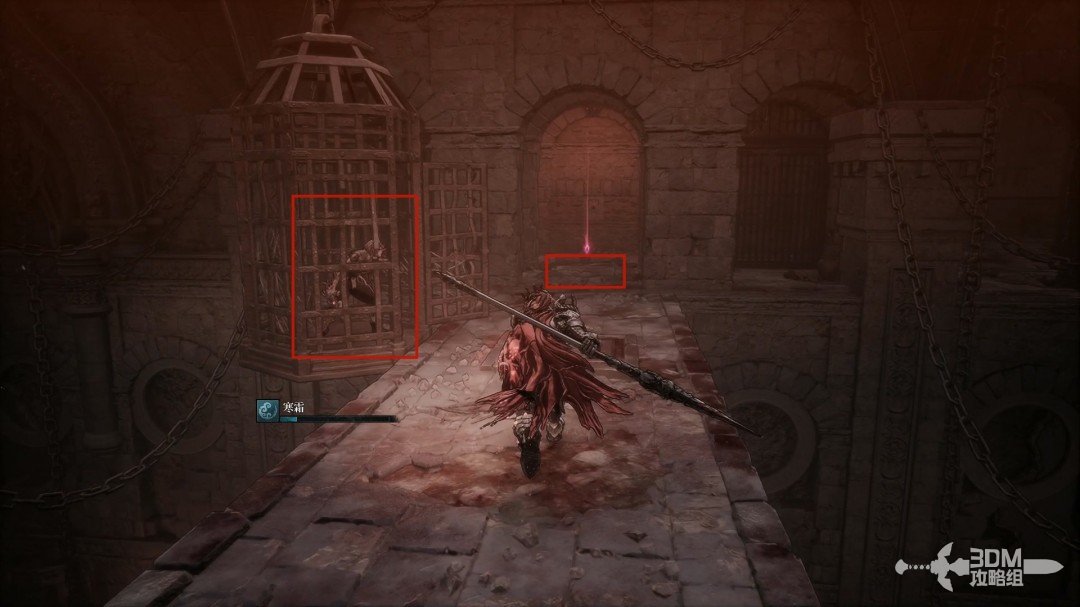
Back to the iron-ball route: search the cage and descend to connect the gate · route image 5

Collect the item on the ground.

Back to the iron-ball route: search the cage and descend to connect the gate · route image 6

First take the left branch down the stairs.
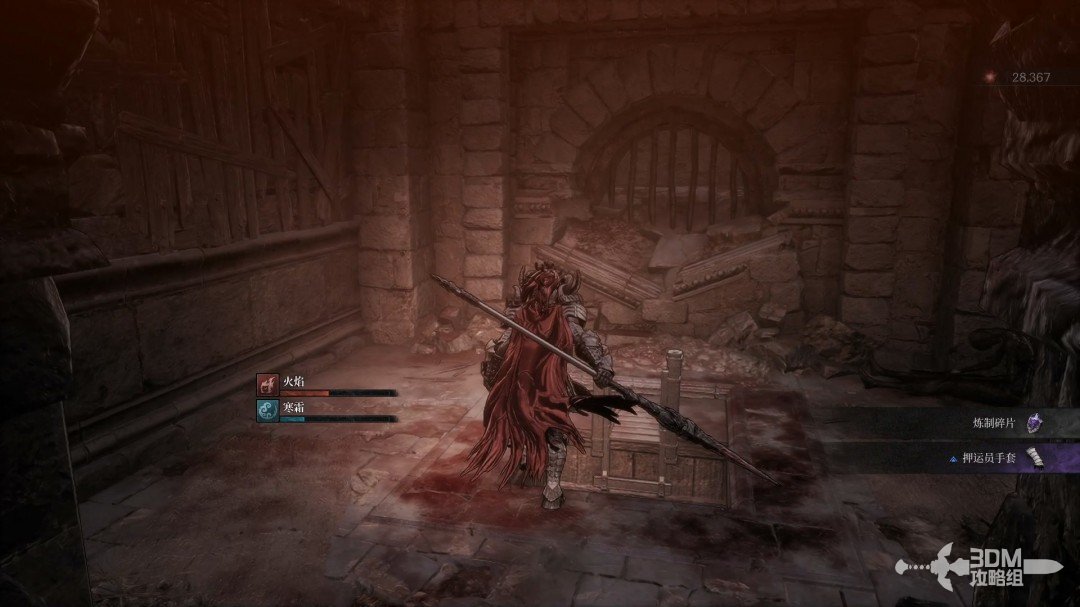
Back to the iron-ball route: search the cage and descend to connect the gate · route image 7

Absorb the memory below and open the right gate as a shortcut to the earlier area.
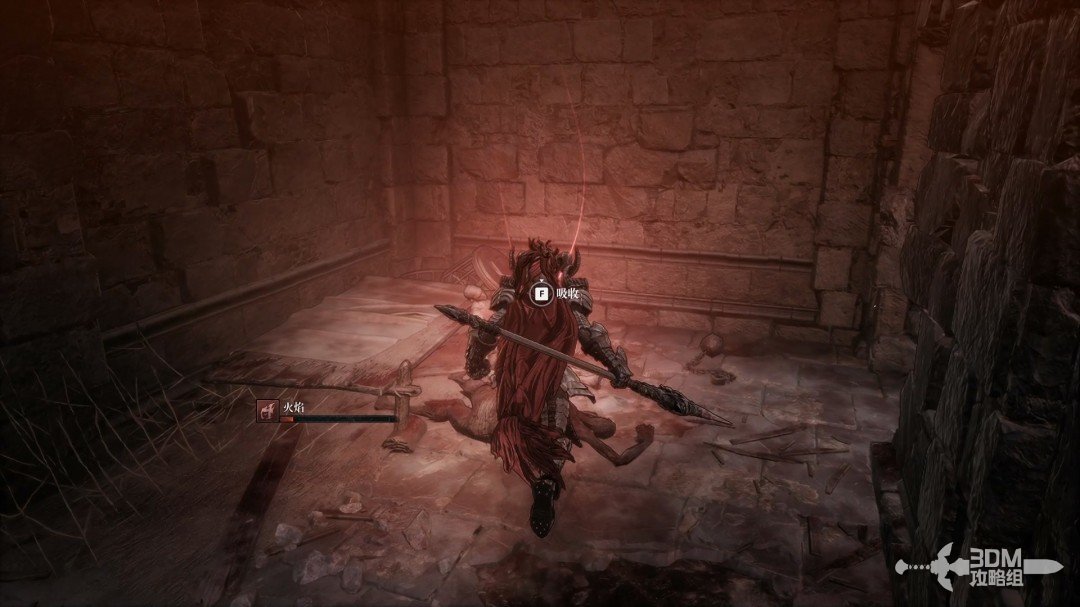
Back to the iron-ball route: search the cage and descend to connect the gate · route image 8

09Upper right corridor: break the left wall for the Soulstone

Climb back and go right this time.
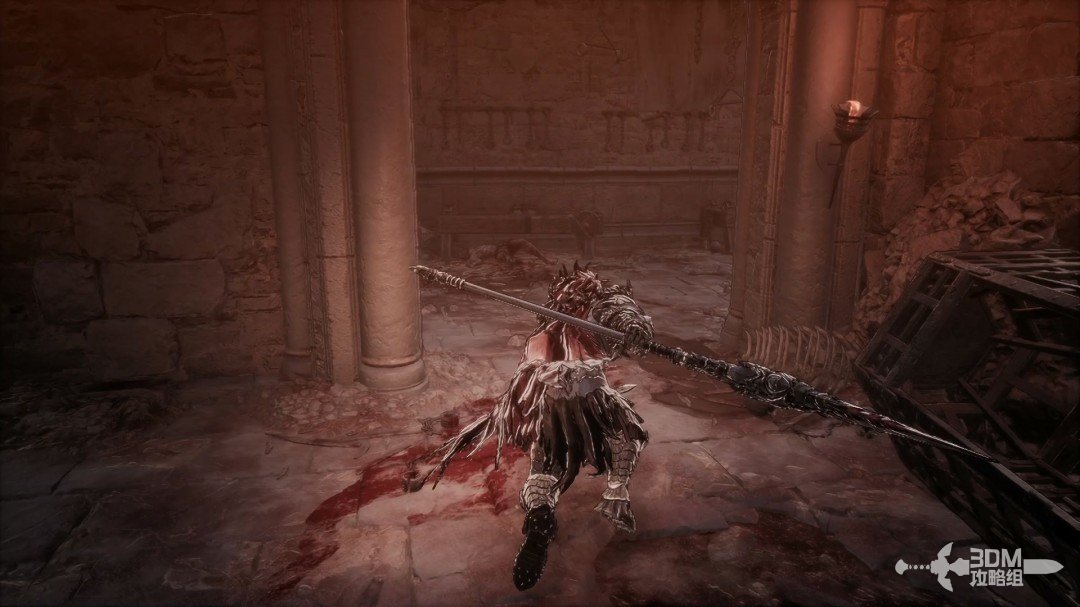
Upper right corridor: break the left wall for the Soulstone · route image 9

Defeat the corridor skeleton and break the hidden wall on the left.
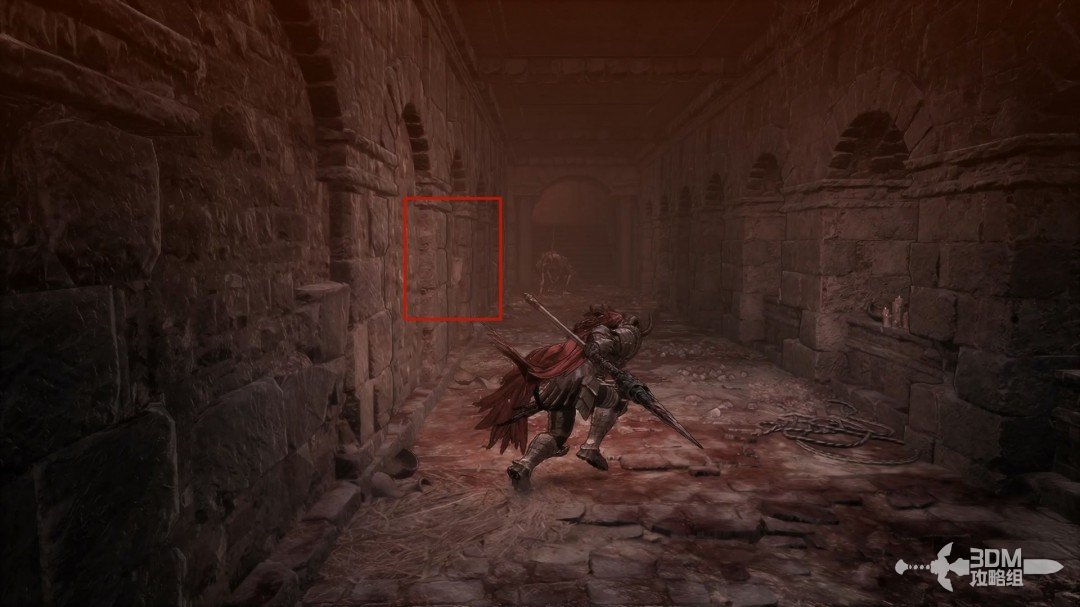
Upper right corridor: break the left wall for the Soulstone · route image 10

Break the Soulstone inside.

Upper right corridor: break the left wall for the Soulstone · route image 11

11Narrow shield-guard passage and gate: reach the next Nexus

Continue upward through a narrow passage containing a shield soldier and a trap.
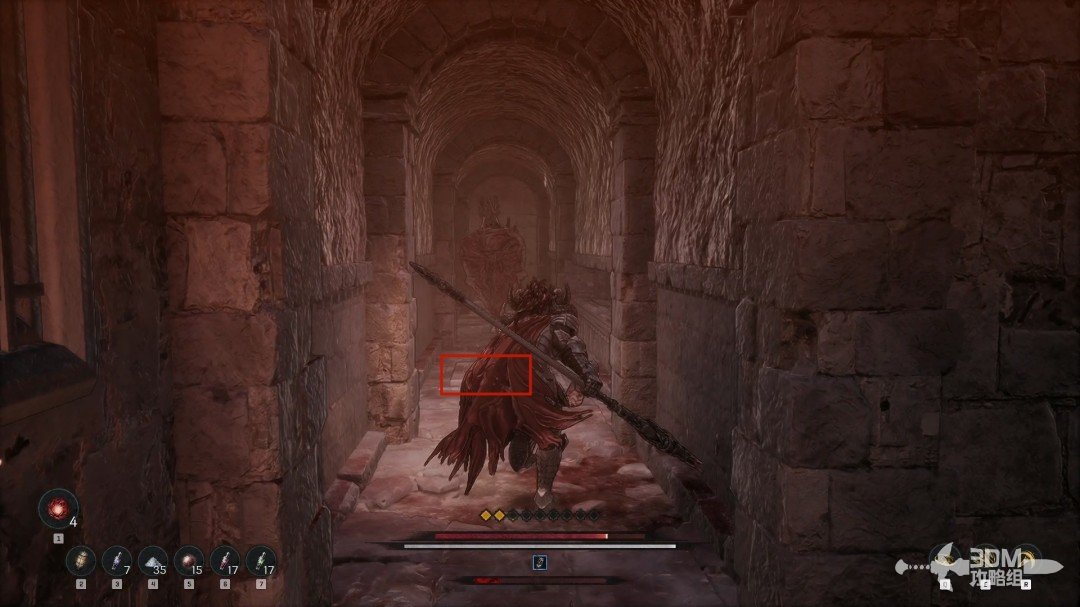
Narrow shield-guard passage and gate: reach the next Nexus · route image 1

Climb the left stairs beyond it.

Narrow shield-guard passage and gate: reach the next Nexus · route image 2

Activate the switch to open the iron gate.
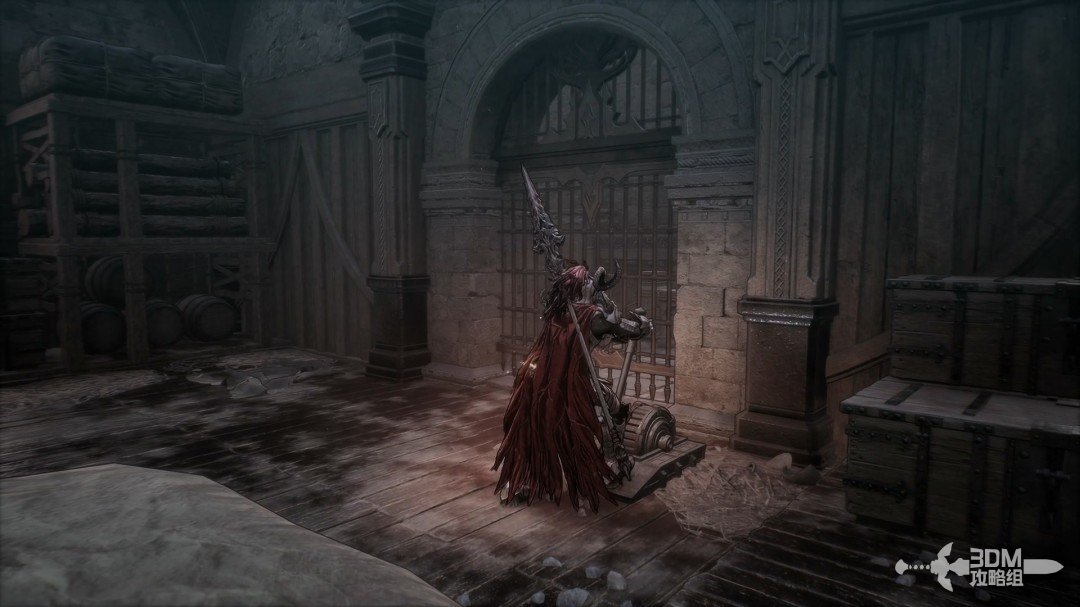
Narrow shield-guard passage and gate: reach the next Nexus · route image 3

Rest at the new Nexus beyond the gate.
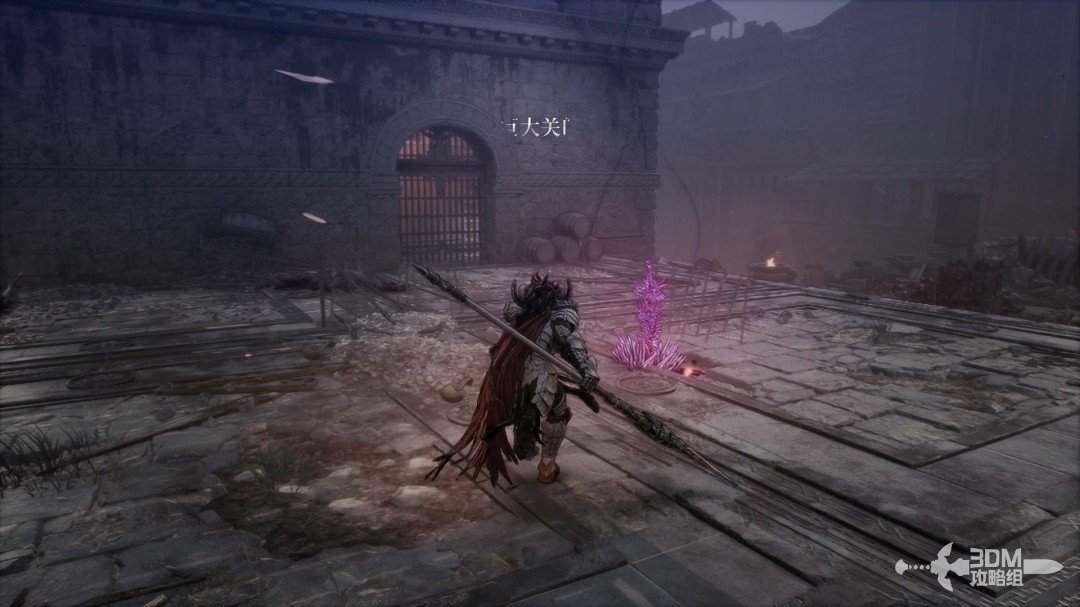
Narrow shield-guard passage and gate: reach the next Nexus · route image 4

Collect the items in front of it.

Narrow shield-guard passage and gate: reach the next Nexus · route image 5
Narrow shield-guard passage and gate: reach the next Nexus · route image 6

12Camp by the left stairs: search the tent memory and enter the barrel room

Turn back and enter the route left of the stairs.
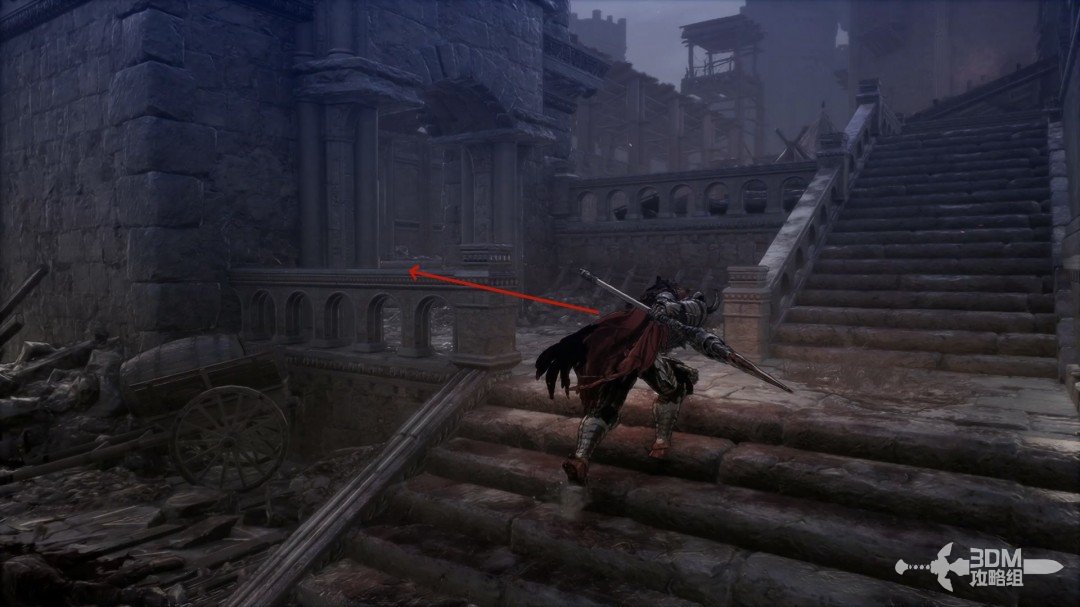
Camp by the left stairs: search the tent memory and enter the barrel room · route image 7

Clear the soldiers and climb the left staircase.
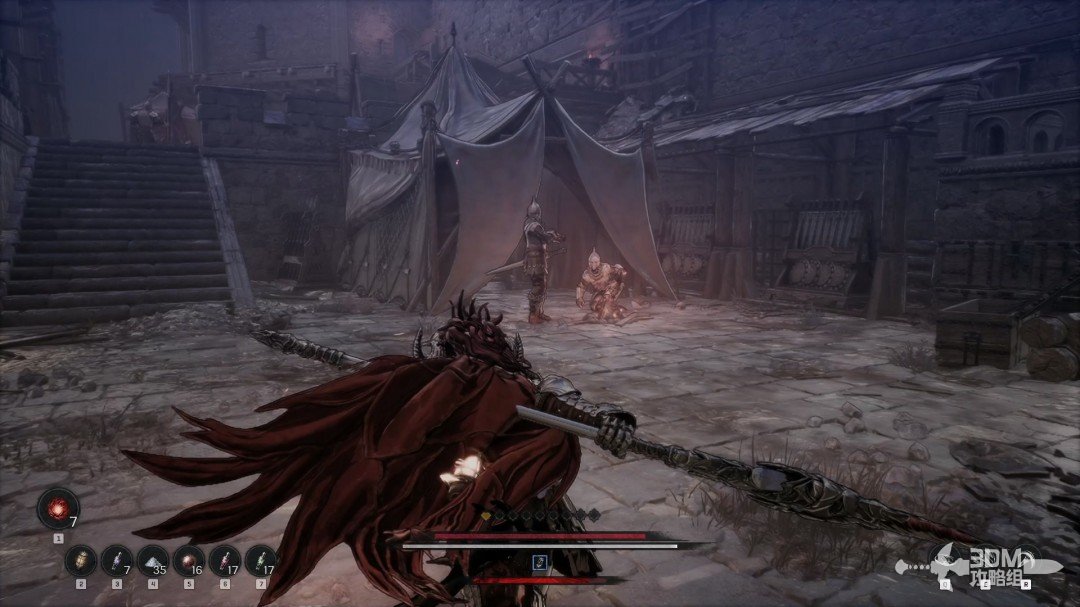
Camp by the left stairs: search the tent memory and enter the barrel room · route image 8

Open the exploding chest on the left.
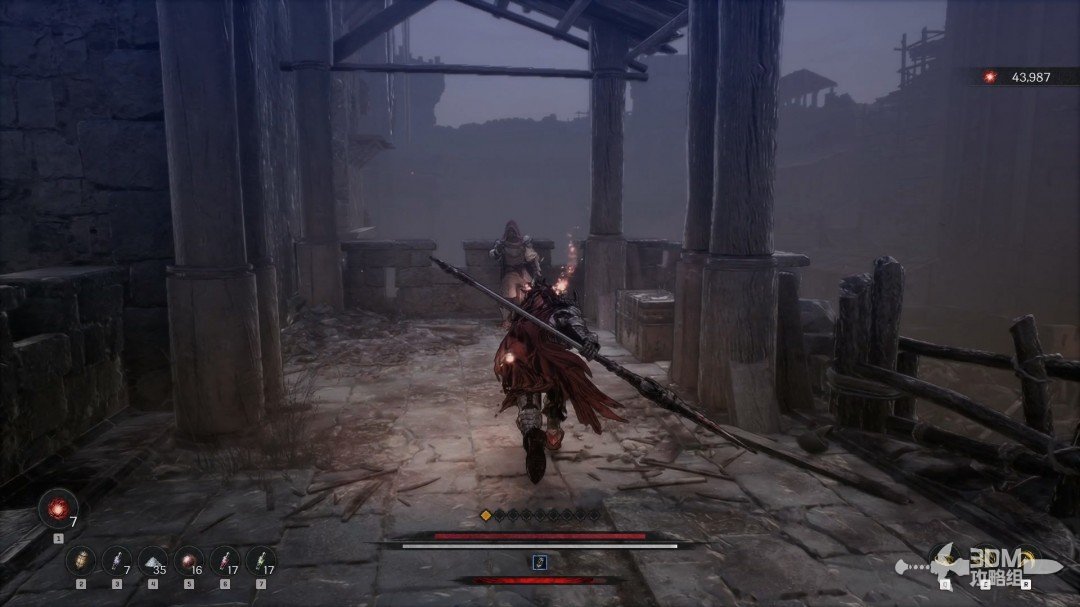
Camp by the left stairs: search the tent memory and enter the barrel room · route image 9

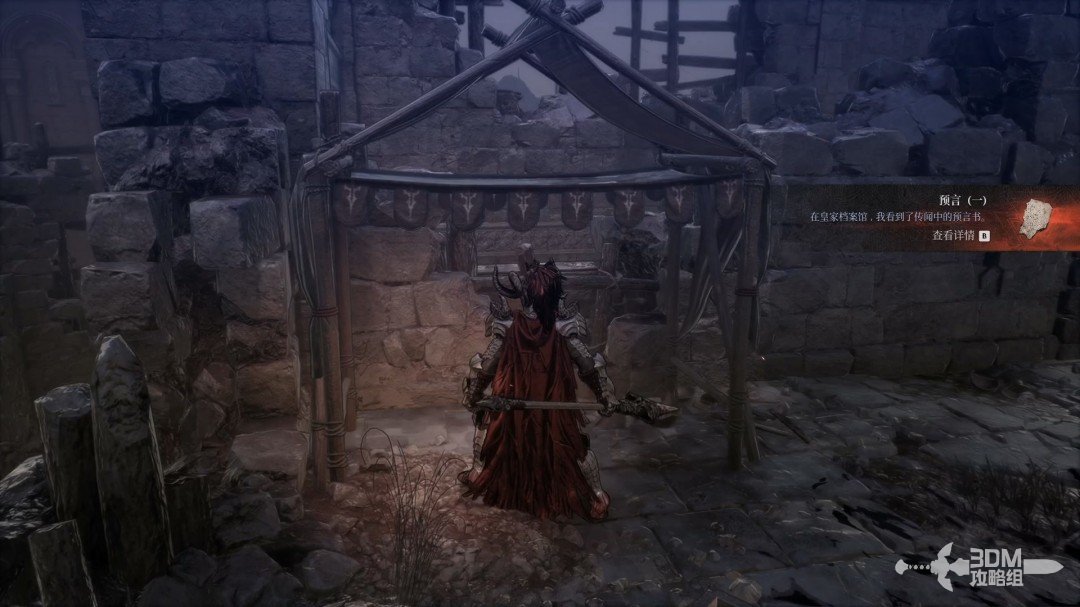
Turn back and absorb the memory behind the tent.
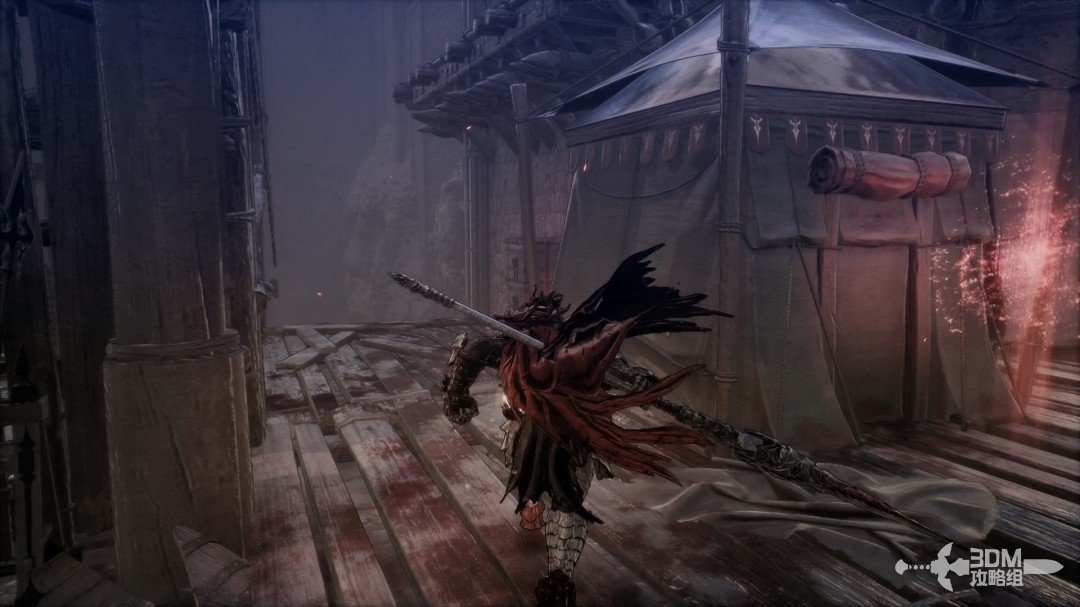
Camp by the left stairs: search the tent memory and enter the barrel room · route image 10

Climb the right stairs. Enter directly or circle around the left side.
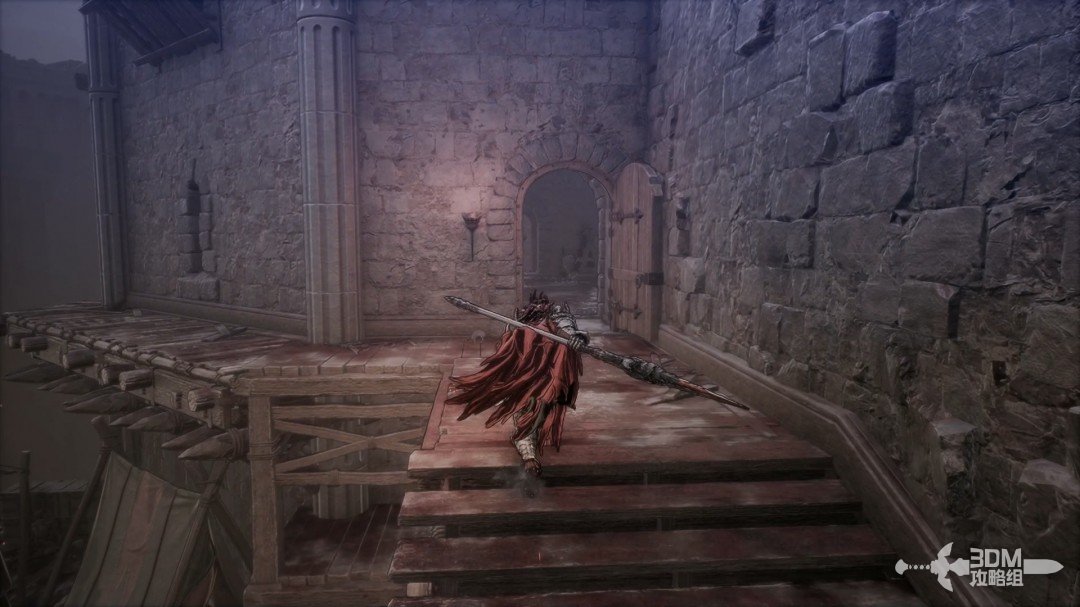
Camp by the left stairs: search the tent memory and enter the barrel room · route image 11

Collect the blue item outside.

Camp by the left stairs: search the tent memory and enter the barrel room · route image 12

13Indoor stairs and central gap: land on the planks for the jar

Inside, climb the left stairs. The right room has only optional white items.
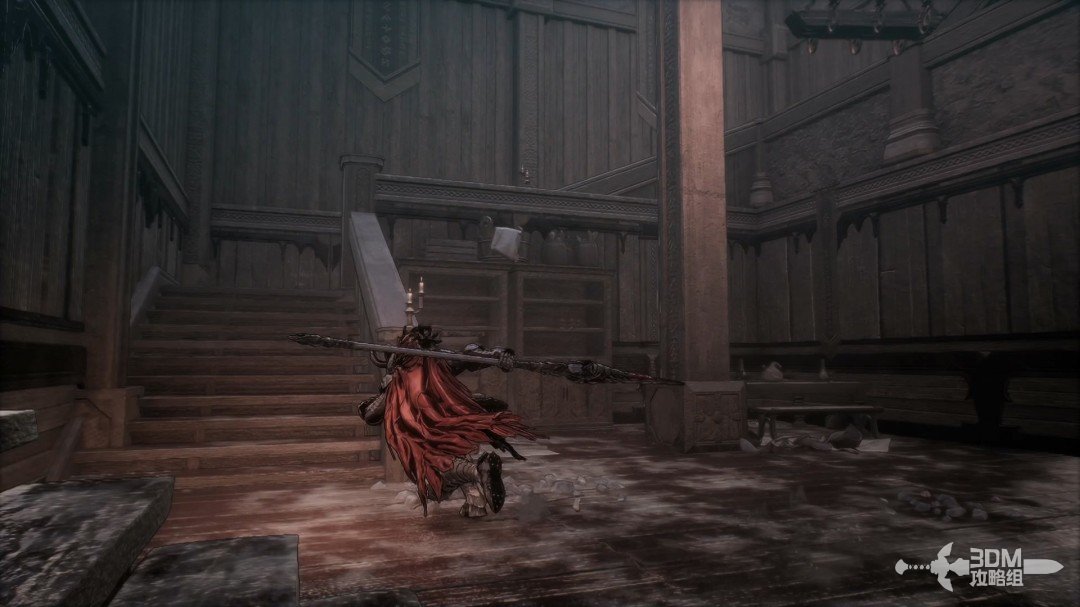
Indoor stairs and central gap: land on the planks for the jar · route image 13

Watch for archers igniting the explosive barrels above.
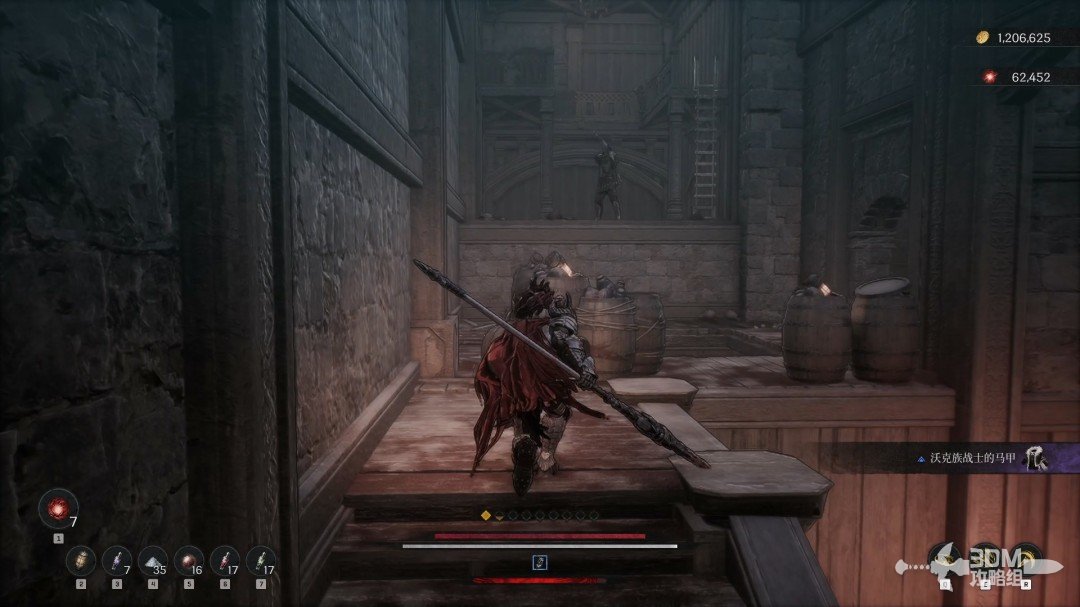
Indoor stairs and central gap: land on the planks for the jar · route image 14

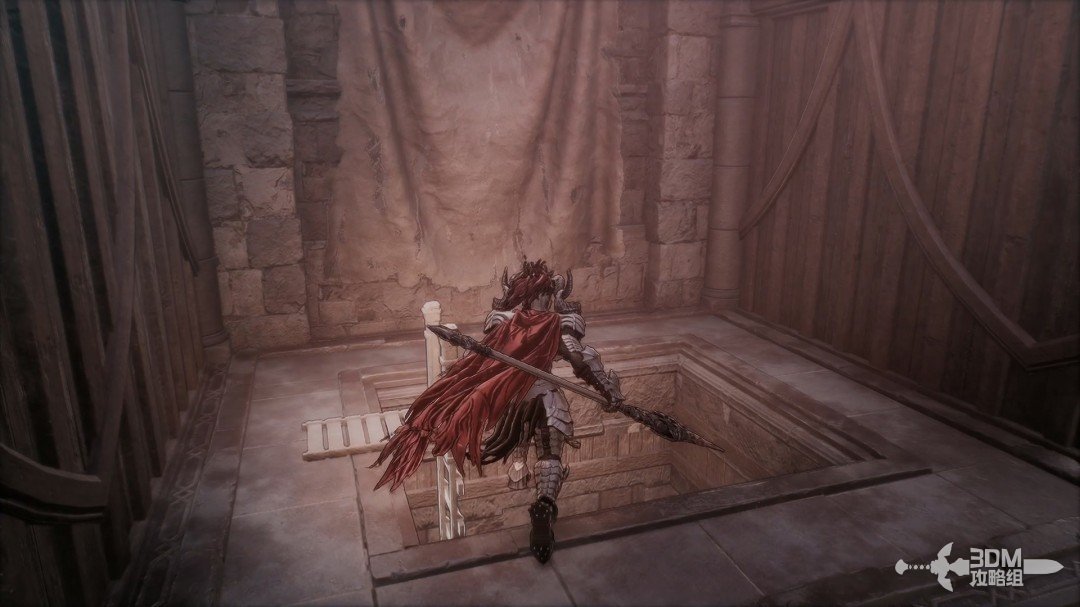
Choose a landing and drop through the central hole onto the boards.
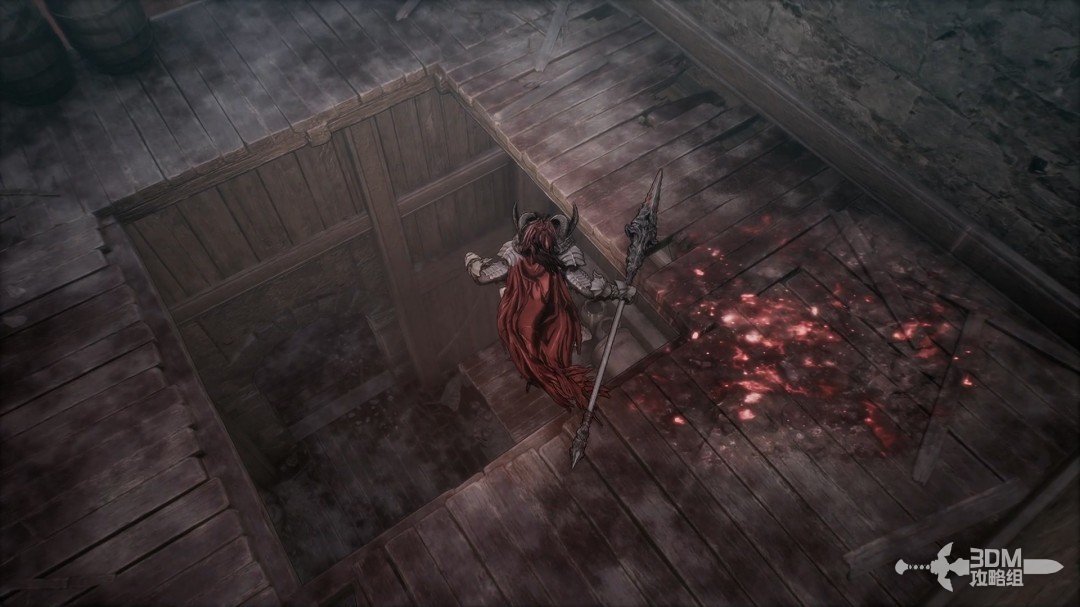
Indoor stairs and central gap: land on the planks for the jar · route image 15

The boards hold this mission's Jarling.
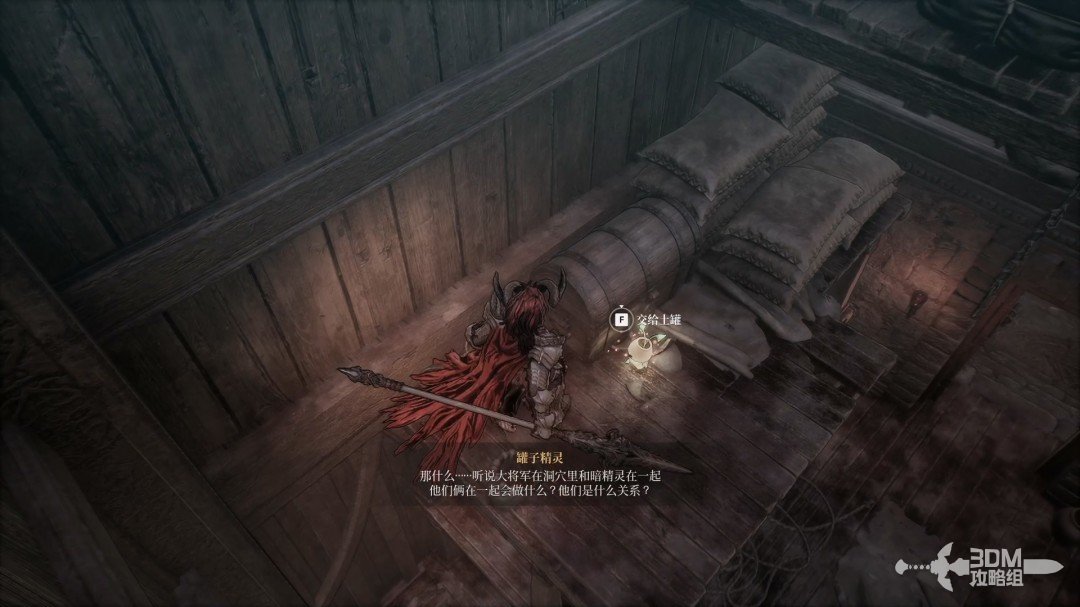
Indoor stairs and central gap: land on the planks for the jar · route image 16

15Climb the stairs again: head right past the triggered trap

Drop to the earlier right doorway and climb the stairs again.
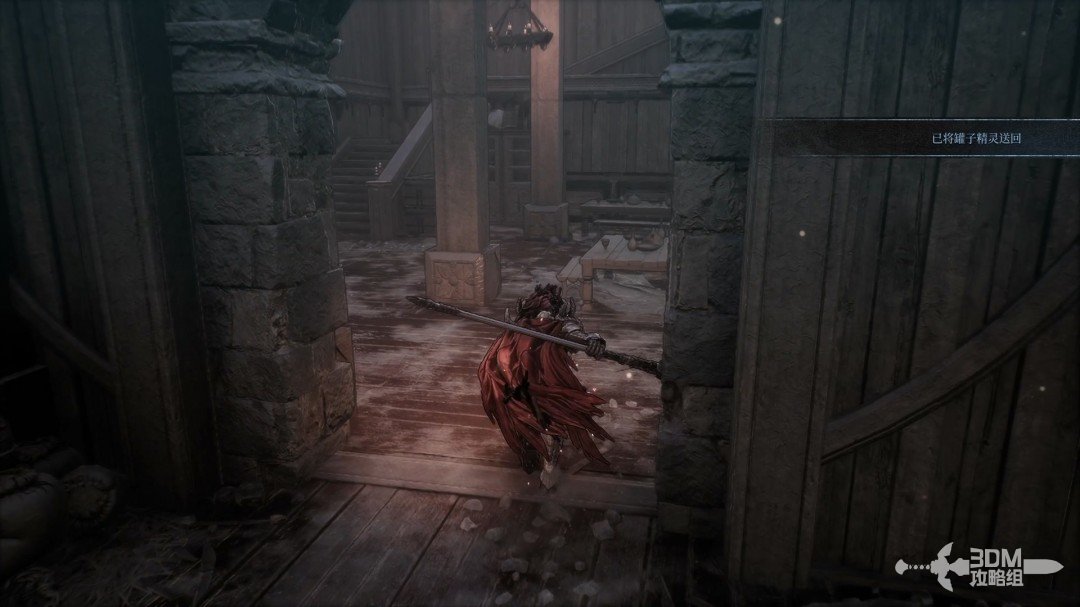
Climb the stairs again: head right past the triggered trap · route image 1

This time go right of the opening. A proximity-triggered trap guards the route; dodge through as you approach.
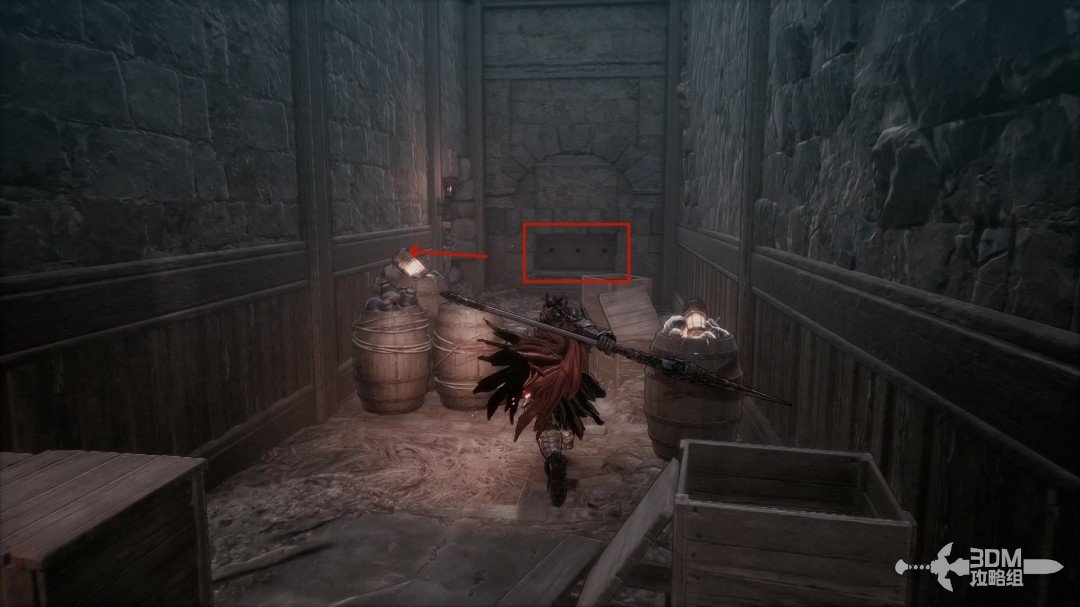
Climb the stairs again: head right past the triggered trap · route image 2

Collect the blue item on the mandatory route.
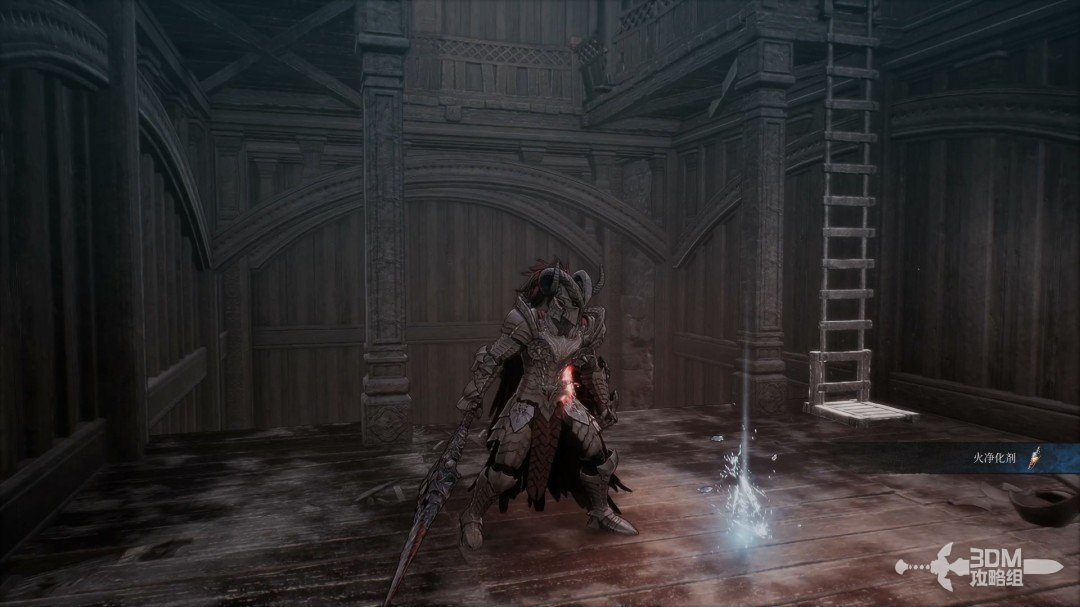
Climb the stairs again: head right past the triggered trap · route image 3

Climb the ladder into another corridor with enemies and explosive barrels.
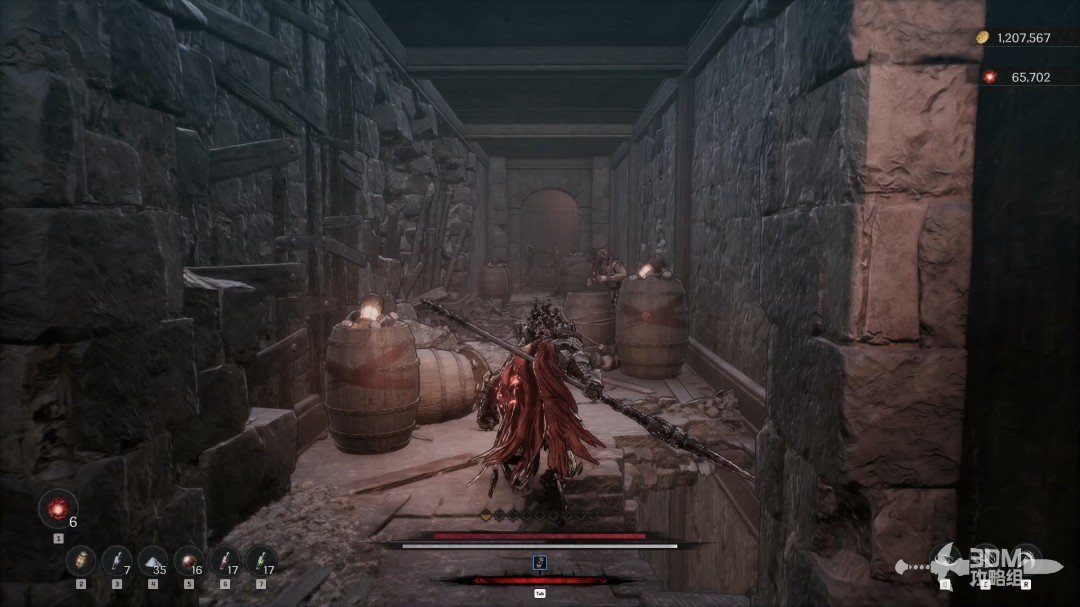
Climb the stairs again: head right past the triggered trap · route image 4

Outside ahead, collect the purple item on the right beam.
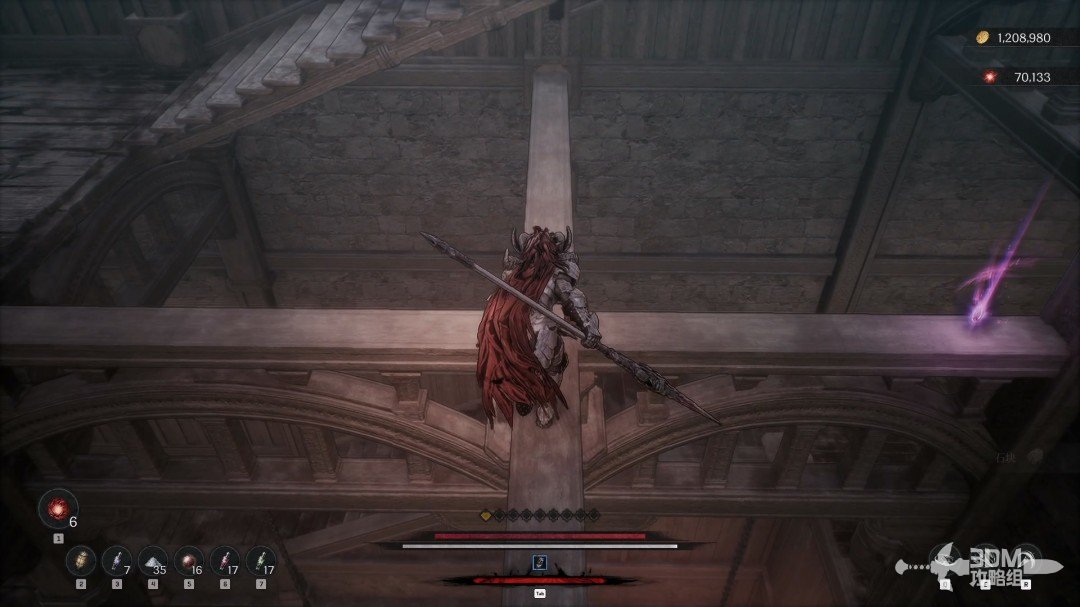
Climb the stairs again: head right past the triggered trap · route image 5

16Long ladder to the roof and window: drop along the edge to the outer wall

Climb the left staircase.
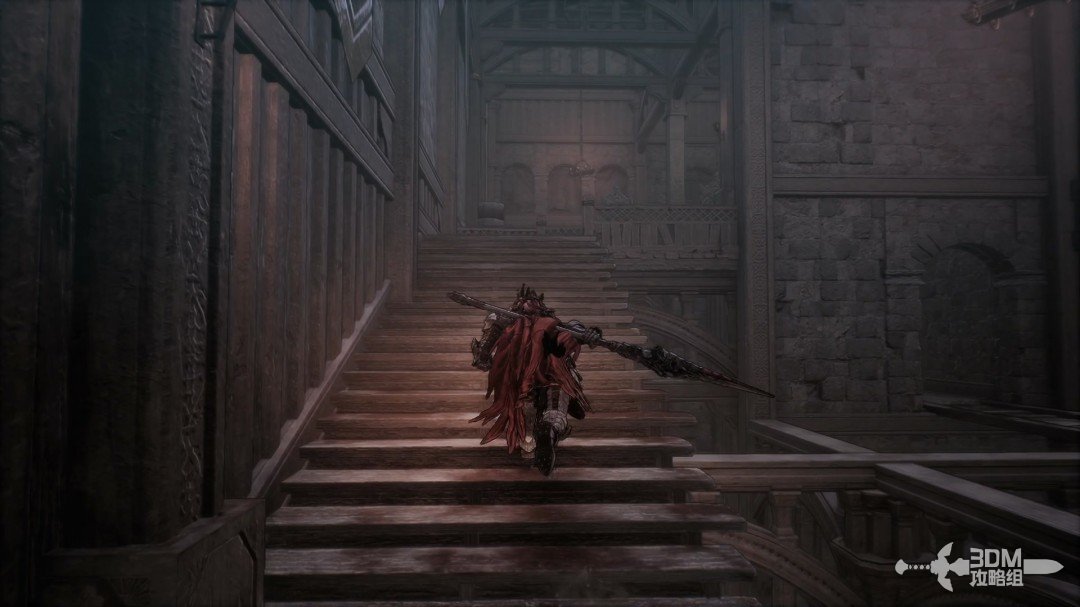
Long ladder to the roof and window: drop along the edge to the outer wall · route image 6

Open the iron gate and enter.

Long ladder to the roof and window: drop along the edge to the outer wall · route image 7

Climb the long ladder inside.

Long ladder to the roof and window: drop along the edge to the outer wall · route image 8

Clear the enemies above and absorb the memory on the right.
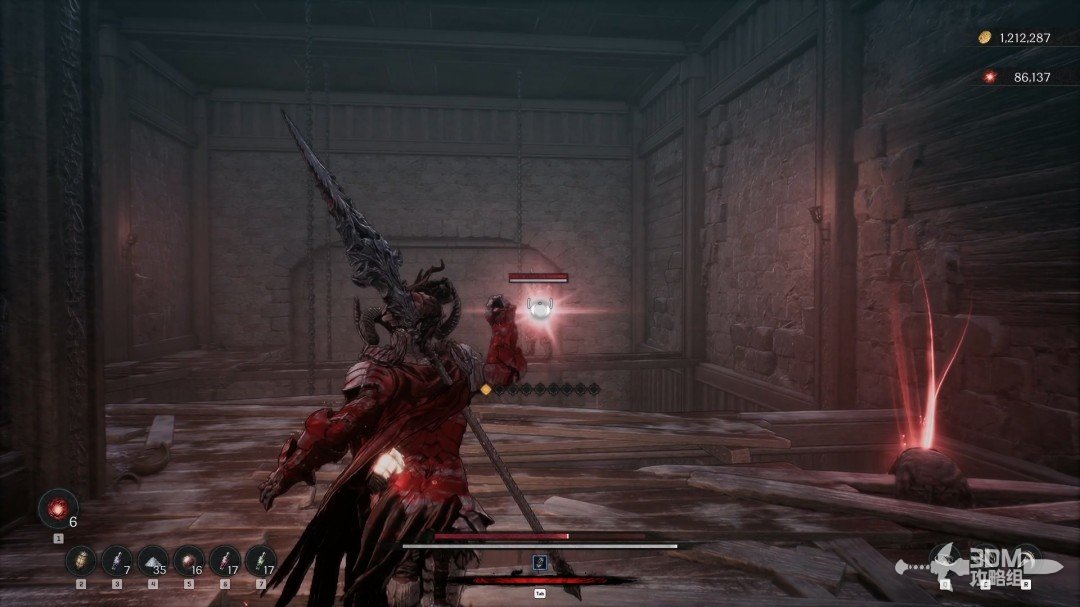
Long ladder to the roof and window: drop along the edge to the outer wall · route image 9

Follow the left edge and drop for a purple item.
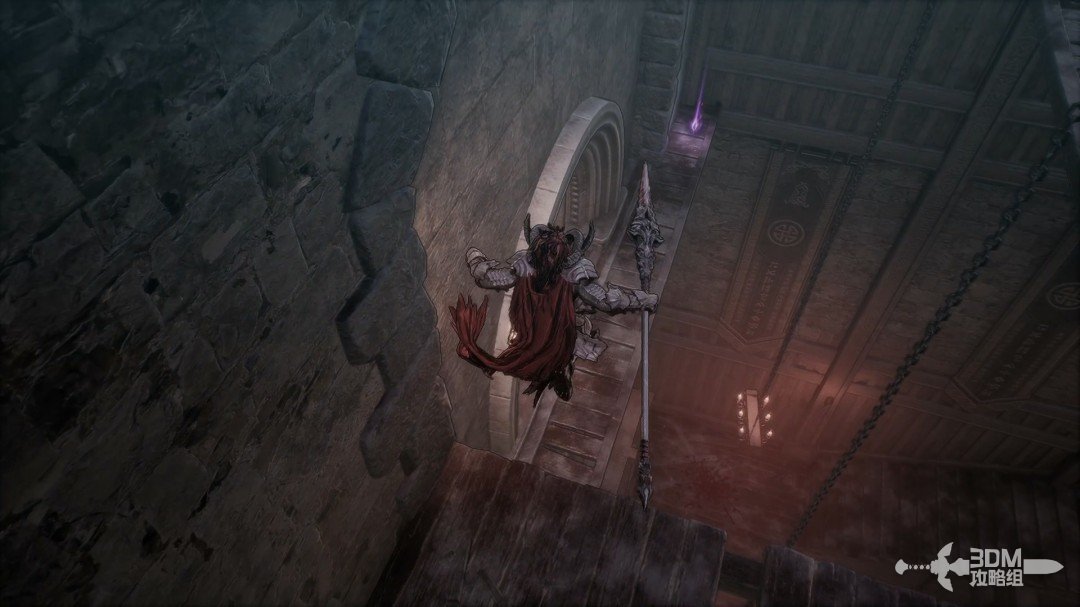
Long ladder to the roof and window: drop along the edge to the outer wall · route image 10

Descend through the window.

Long ladder to the roof and window: drop along the edge to the outer wall · route image 11

17Bombarded wall and plank path: search the breached-wall chest before climbing

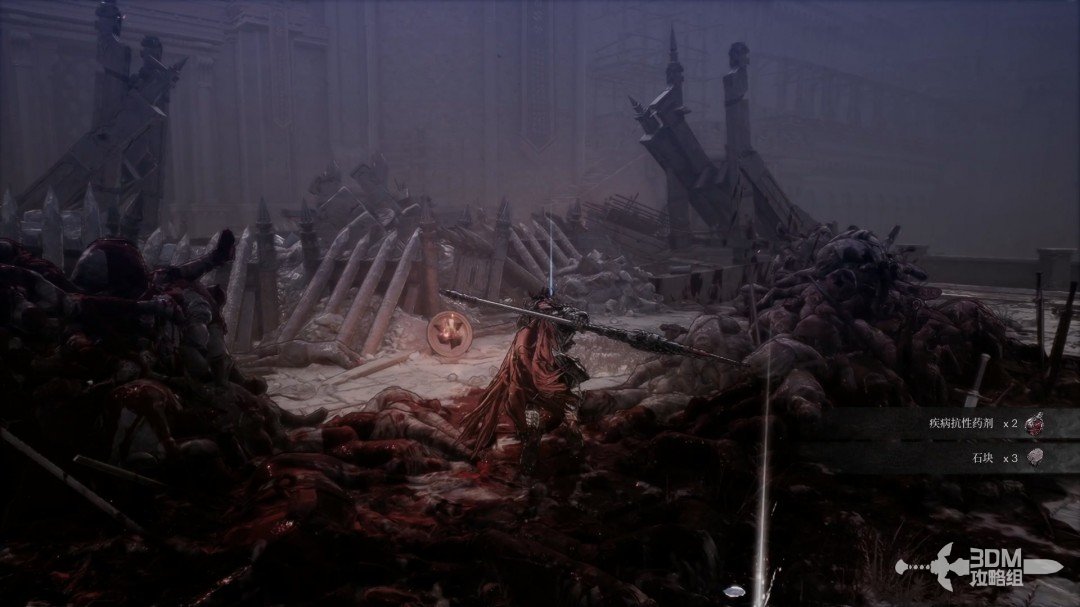
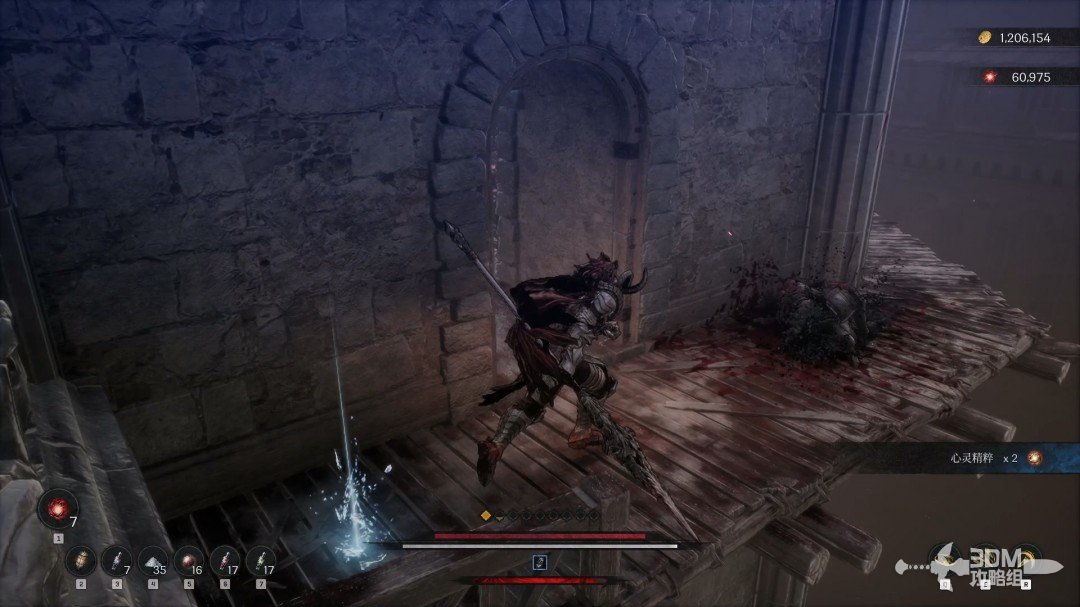
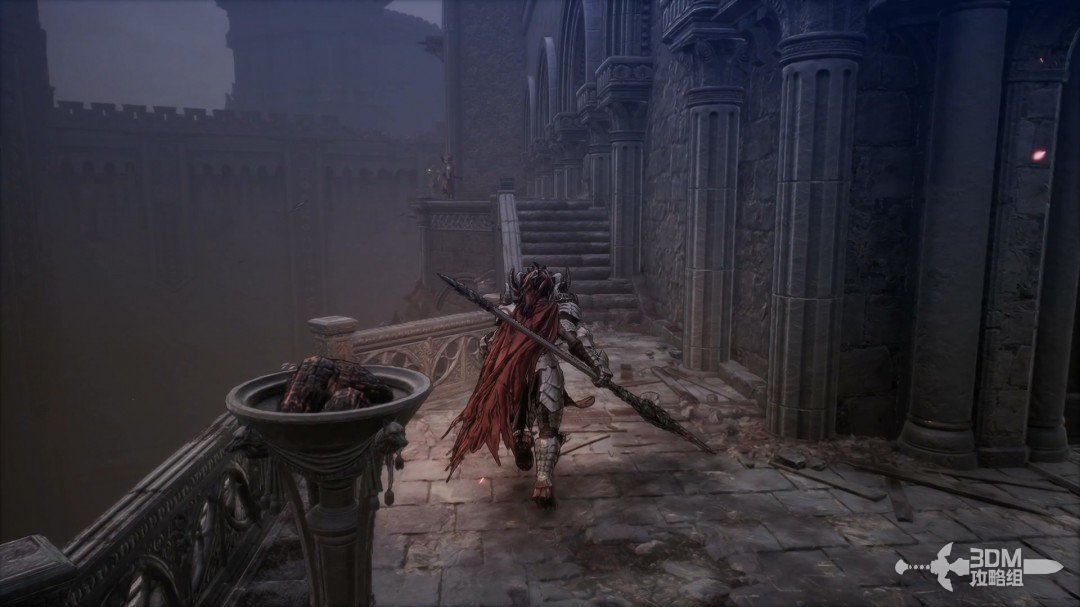
Continue outside the castle and move quickly as the right stone wall breaks open.
Bombarded wall and plank path: search the breached-wall chest before climbing · route image 12
Bombarded wall and plank path: search the breached-wall chest before climbing · route image 13

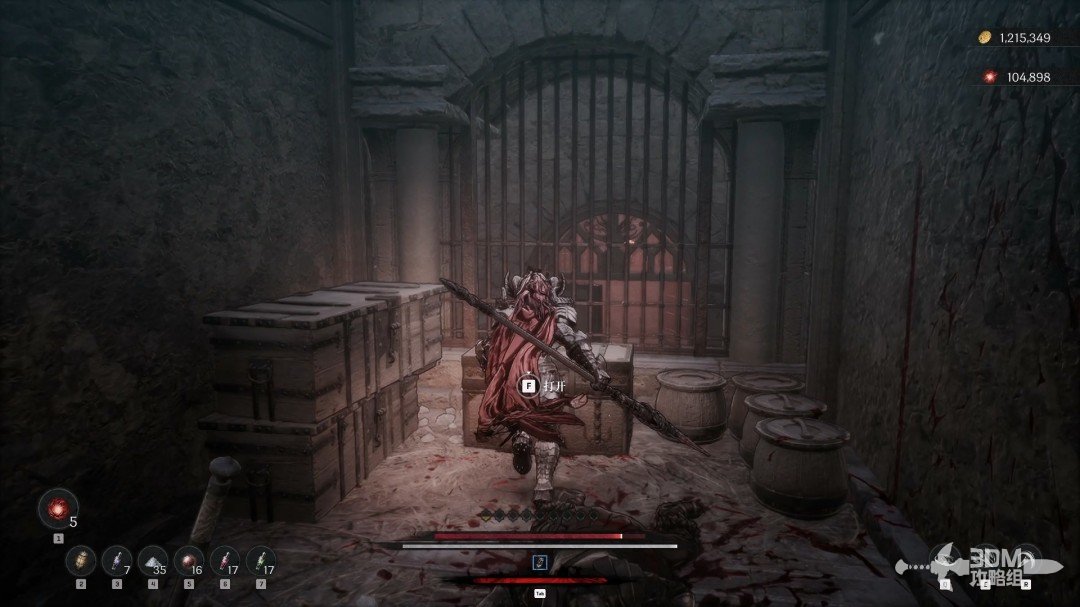
Open the chest on the right inside the breach.
Bombarded wall and plank path: search the breached-wall chest before climbing · route image 14

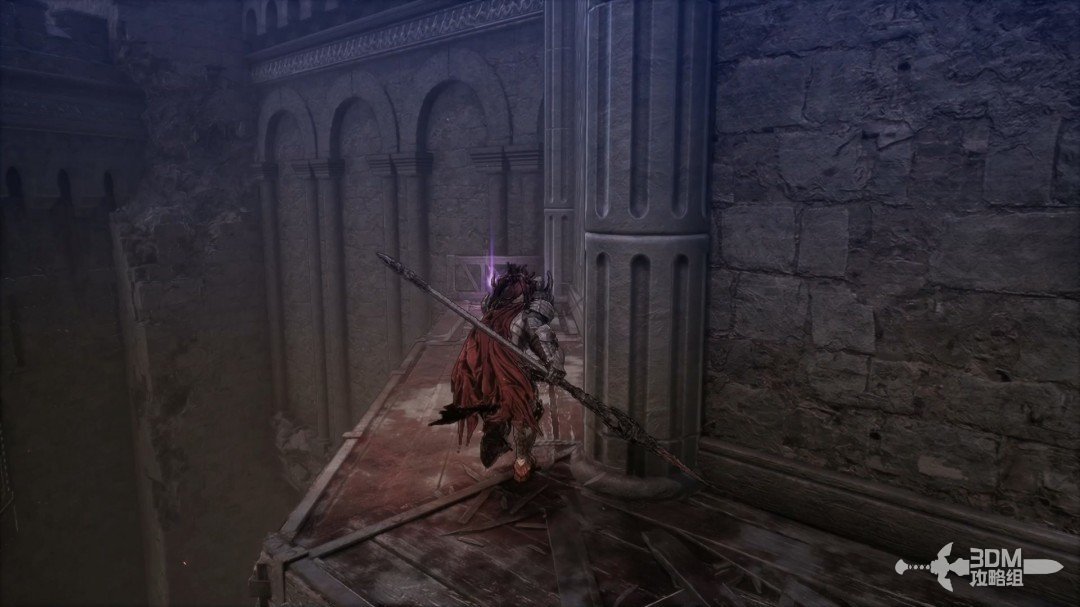
Leave and continue along the boards for a purple item around the bend.
Bombarded wall and plank path: search the breached-wall chest before climbing · route image 15

18Roof under catapult fire: cross the platforms and drop through the central opening

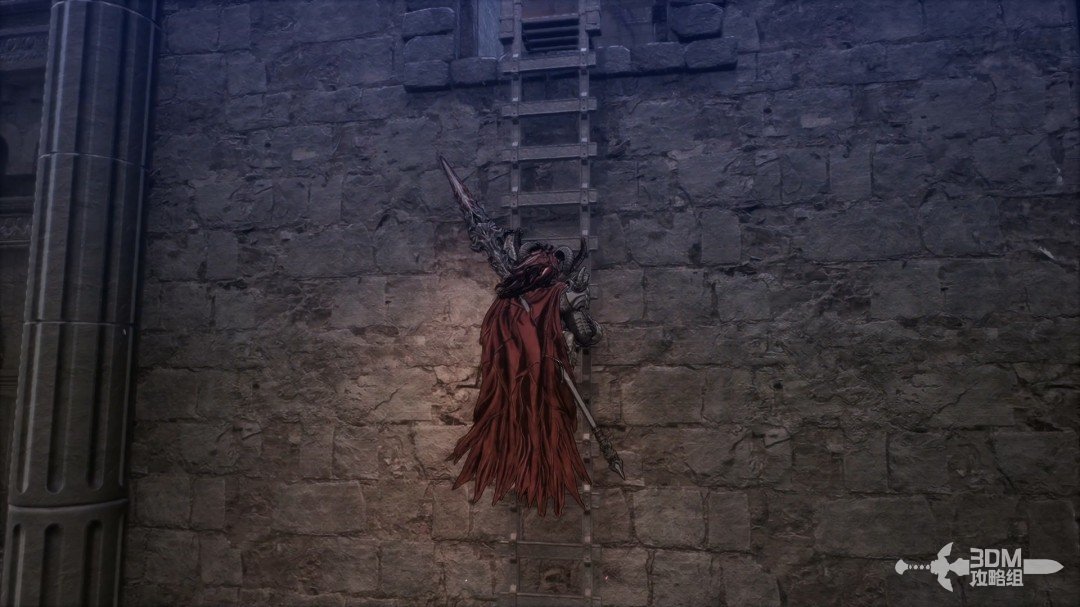
Climb to the Blade Nexus and rest.
Roof under catapult fire: cross the platforms and drop through the central opening · route image 16
Roof under catapult fire: cross the platforms and drop through the central opening · route image 17

Collect the white item on the rooftop's right side.
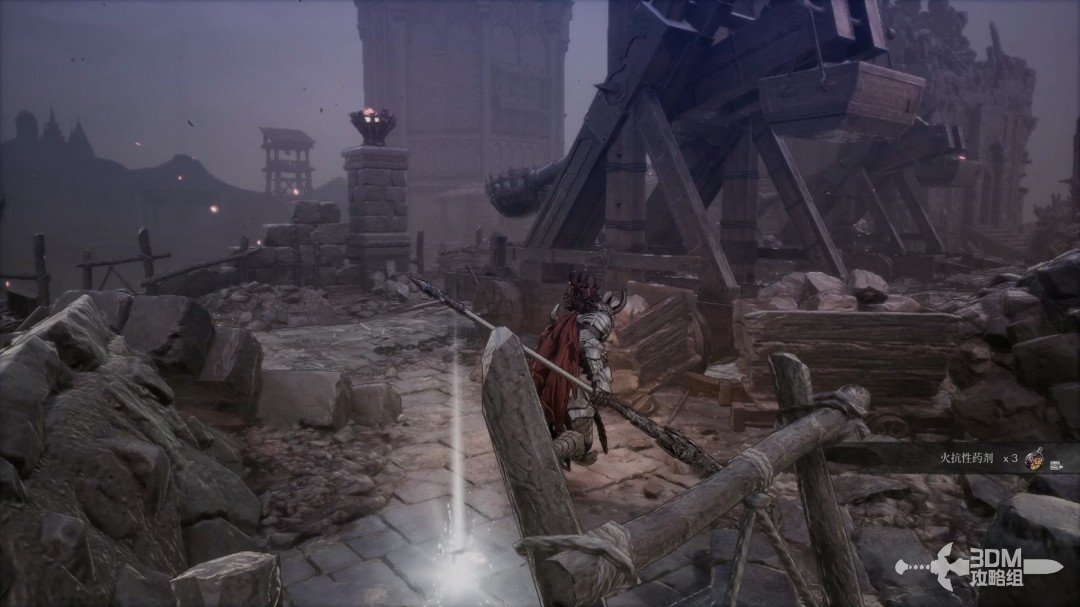
Roof under catapult fire: cross the platforms and drop through the central opening · route image 18

Keep moving under catapult fire. Follow the sole route and collect the blue item in the corner.
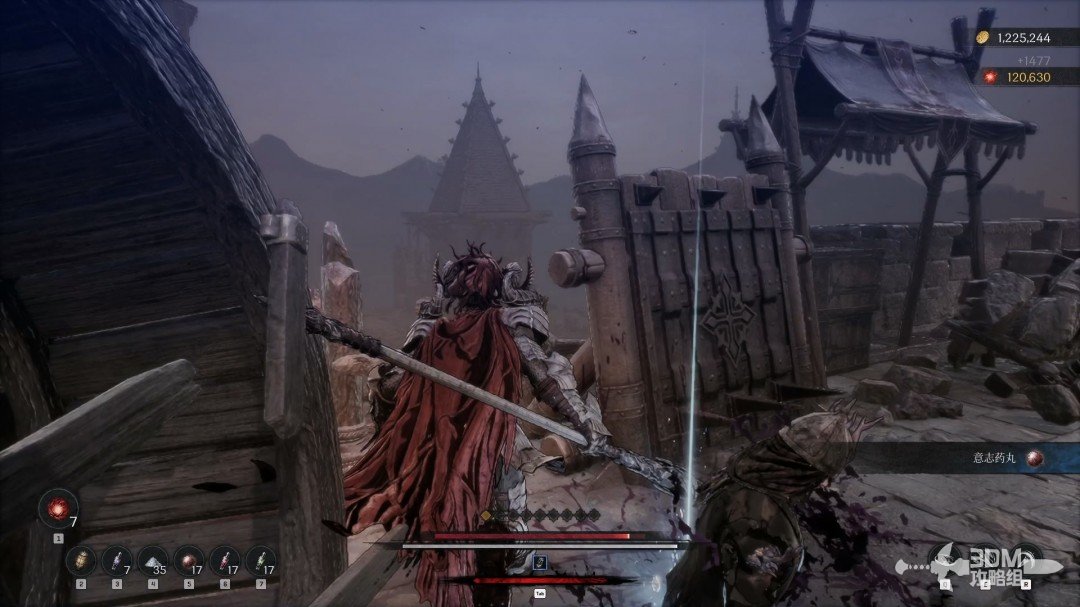
Roof under catapult fire: cross the platforms and drop through the central opening · route image 19

Continue for a memory in the right corner.
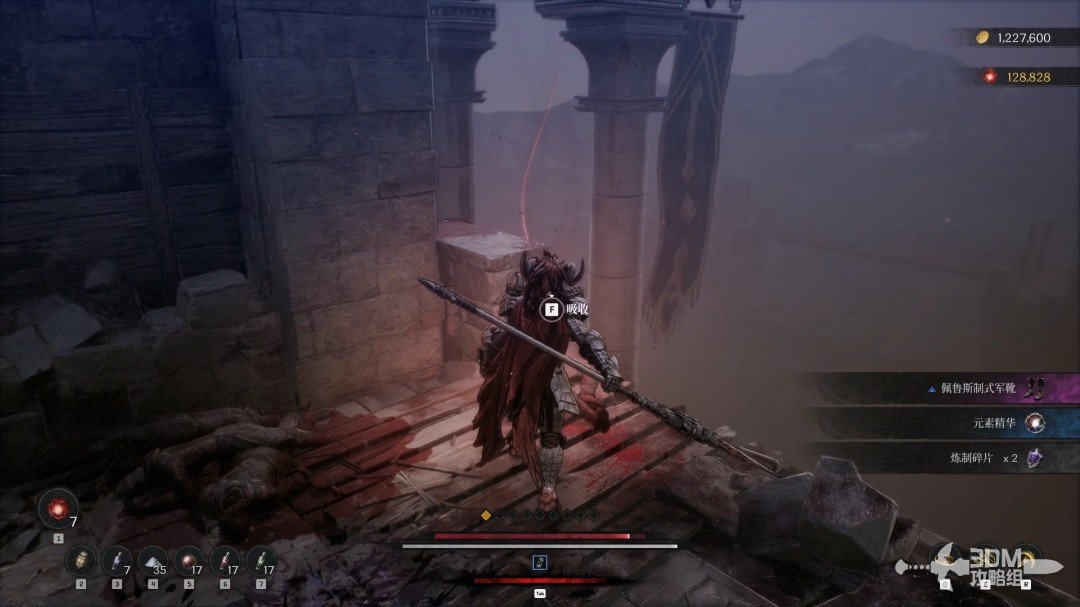
Roof under catapult fire: cross the platforms and drop through the central opening · route image 20

Drop from the pictured position afterward.
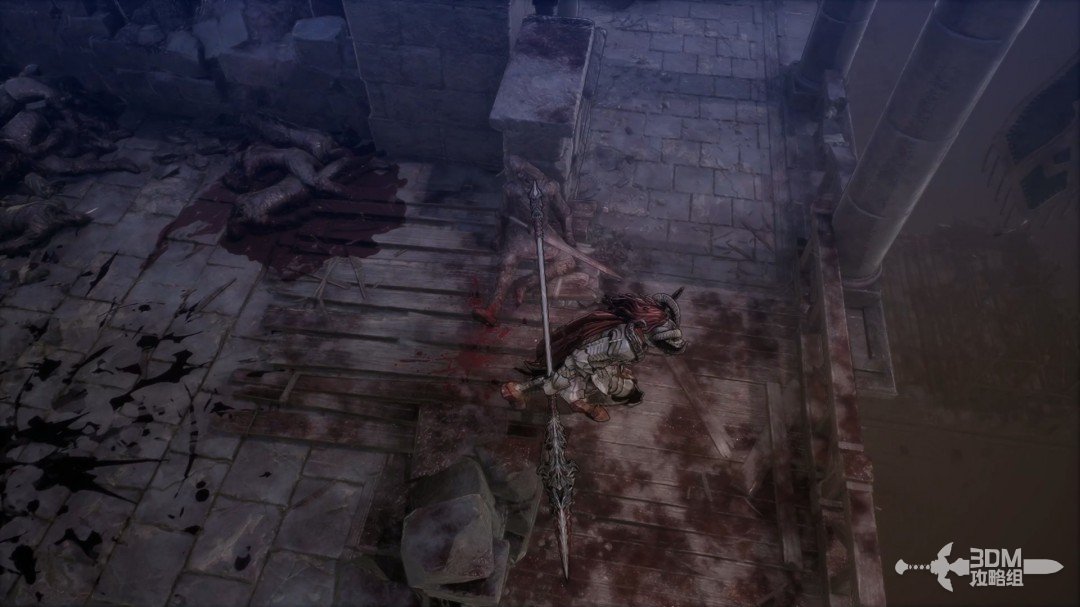
Roof under catapult fire: cross the platforms and drop through the central opening · route image 21

Climb this ladder below.

Roof under catapult fire: cross the platforms and drop through the central opening · route image 22

Drop through the central hole above.

Roof under catapult fire: cross the platforms and drop through the central opening · route image 23

Look left after landing for the Soulstone behind the crates.
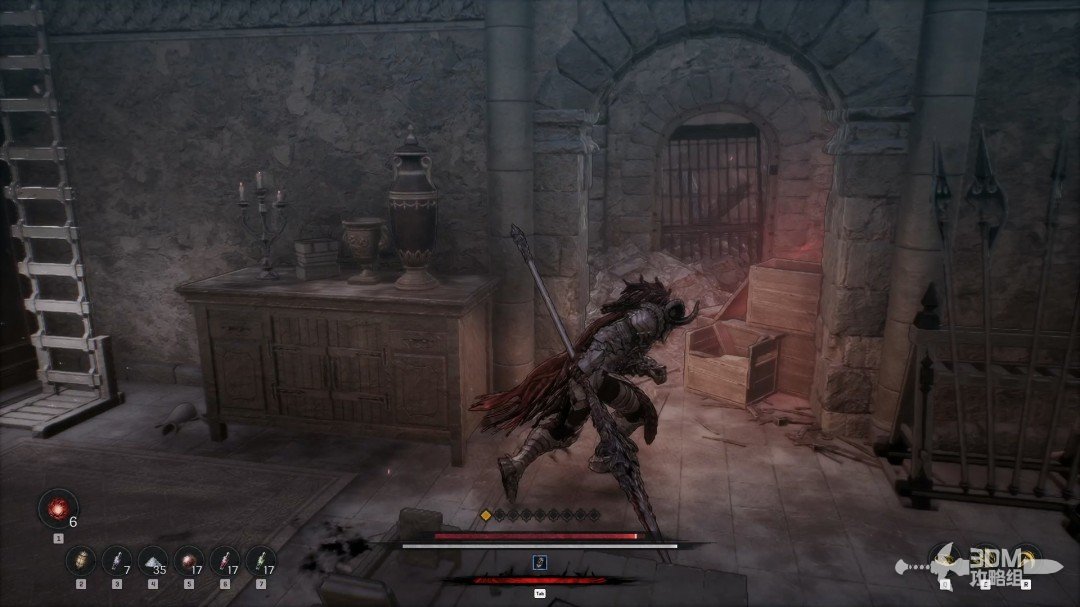
Roof under catapult fire: cross the platforms and drop through the central opening · route image 24

20Side room below the roof: open the shortcut and search the golden material

Follow this route and turn back on the right for a blue item.
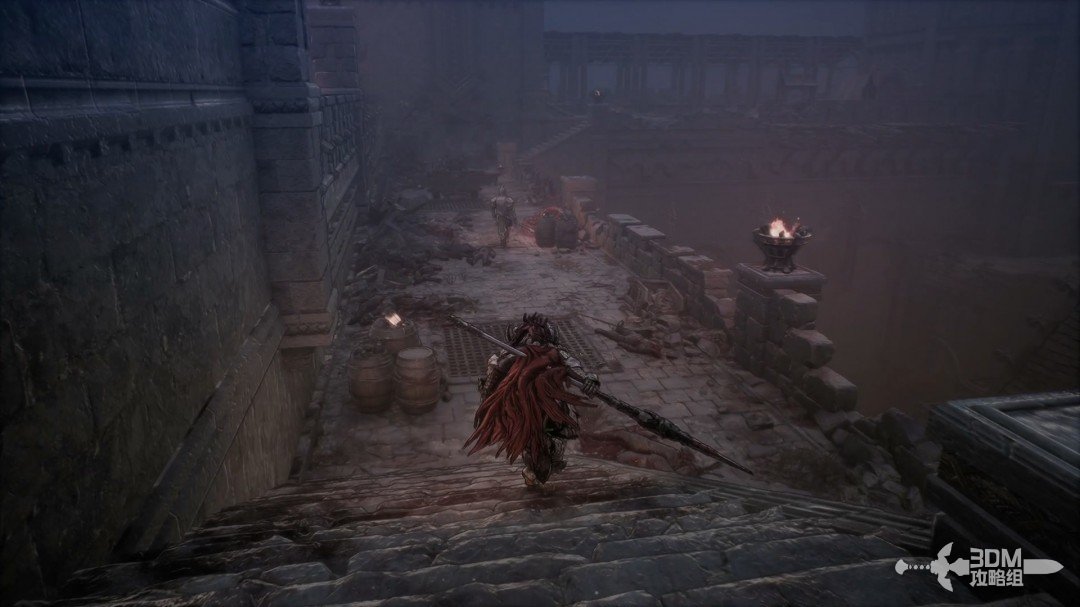
Side room below the roof: open the shortcut and search the golden material · route image 1
Side room below the roof: open the shortcut and search the golden material · route image 2

A ladder on the left leads to a gate reconnecting with the previous area.
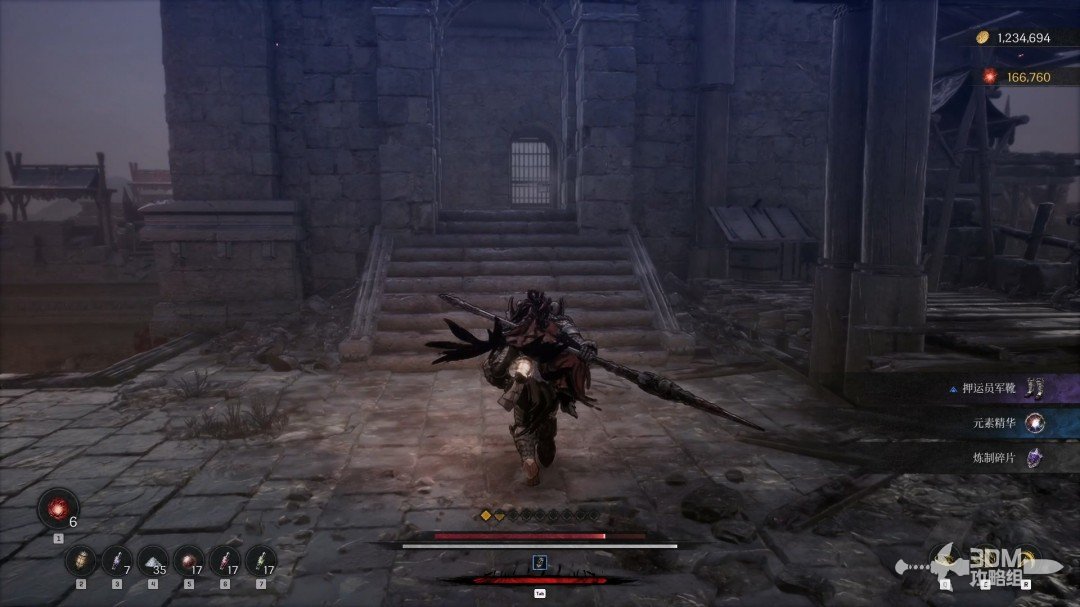
Side room below the roof: open the shortcut and search the golden material · route image 3

Collect the golden material in the room.
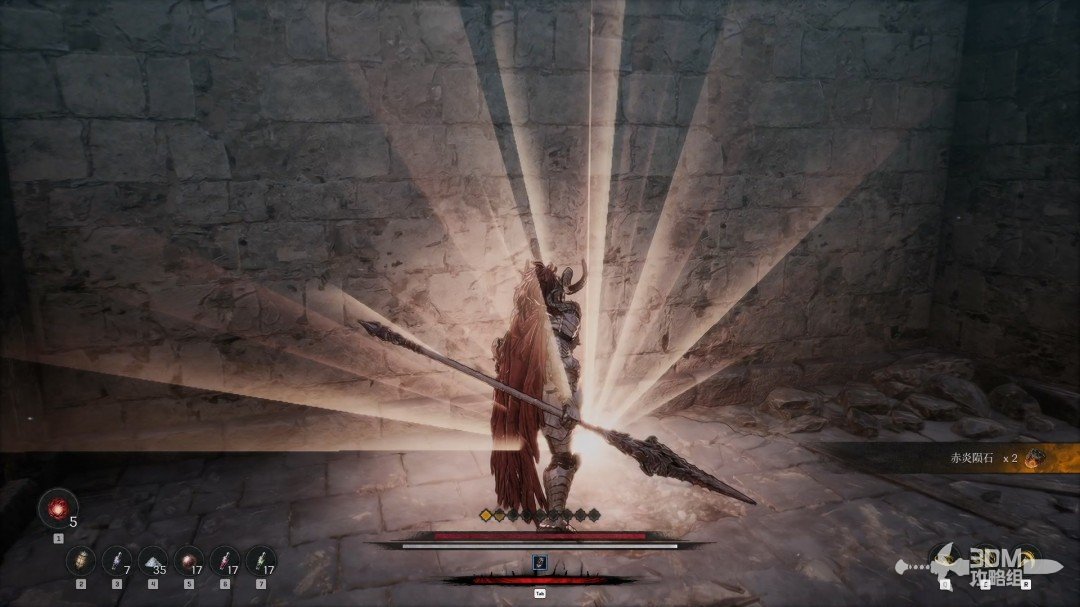
Side room below the roof: open the shortcut and search the golden material · route image 4

21Lower main route and elite shield guard: climb the left stairs to the balcony

Return to the main route and open the chest right of the door.
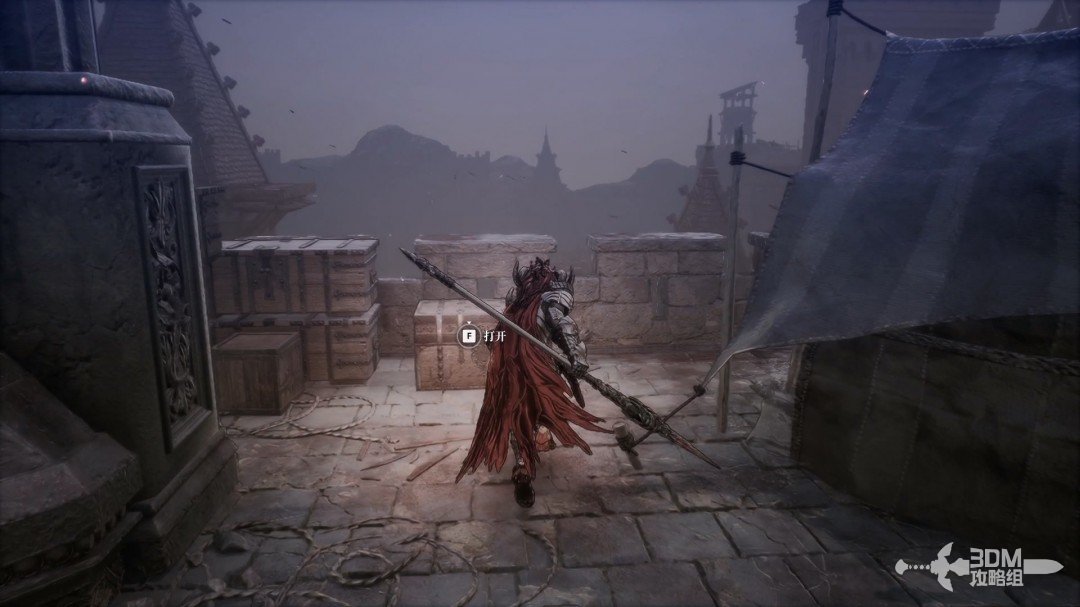
Lower main route and elite shield guard: climb the left stairs to the balcony · route image 5

Enter and descend.

Lower main route and elite shield guard: climb the left stairs to the balcony · route image 6

The room has little loot. Outside right, two enemies guard no collection items.
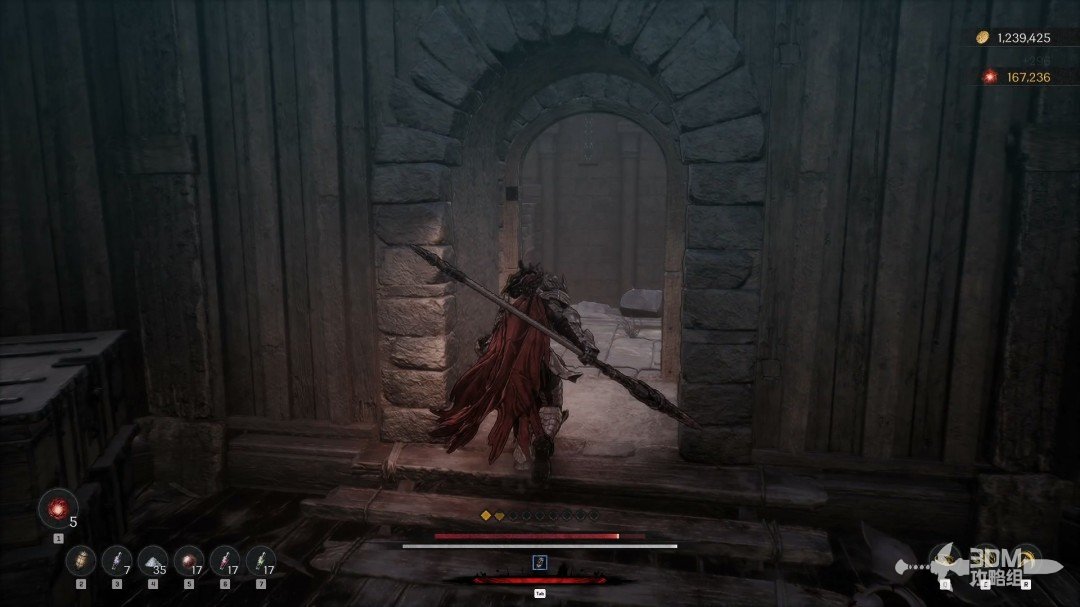
Lower main route and elite shield guard: climb the left stairs to the balcony · route image 7

Absorb the memory in the left corner.
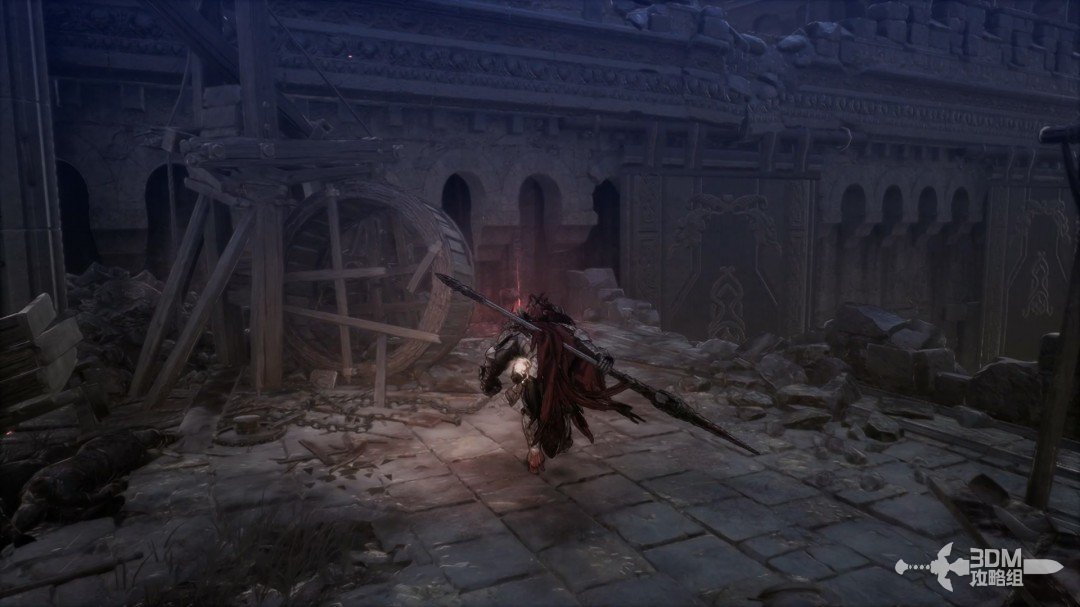
Lower main route and elite shield guard: climb the left stairs to the balcony · route image 8

Turn back and continue straight toward an elite shield soldier.
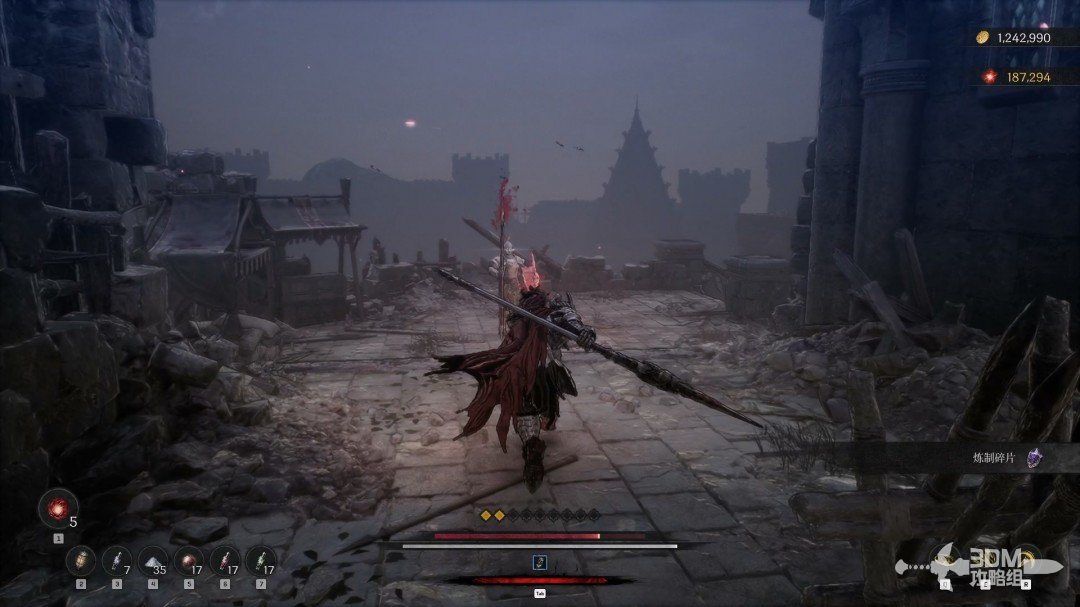
Lower main route and elite shield guard: climb the left stairs to the balcony · route image 9

Defeat it and collect the blue item on the right.
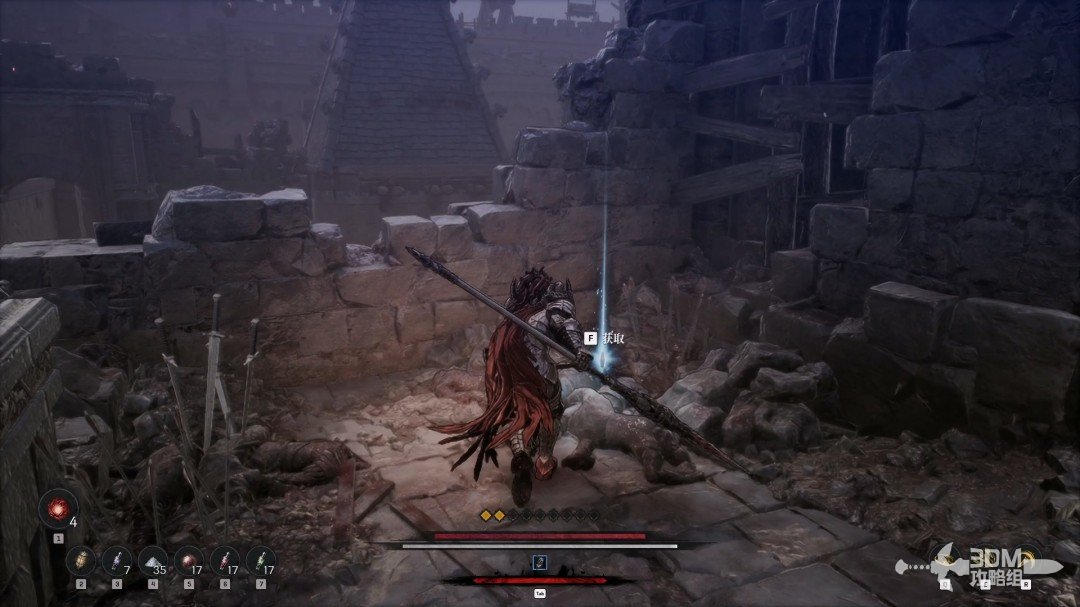
Lower main route and elite shield guard: climb the left stairs to the balcony · route image 10

Turn left along this route.

Lower main route and elite shield guard: climb the left stairs to the balcony · route image 11

Climb the stairs and go onto the balcony for a Soulstone.
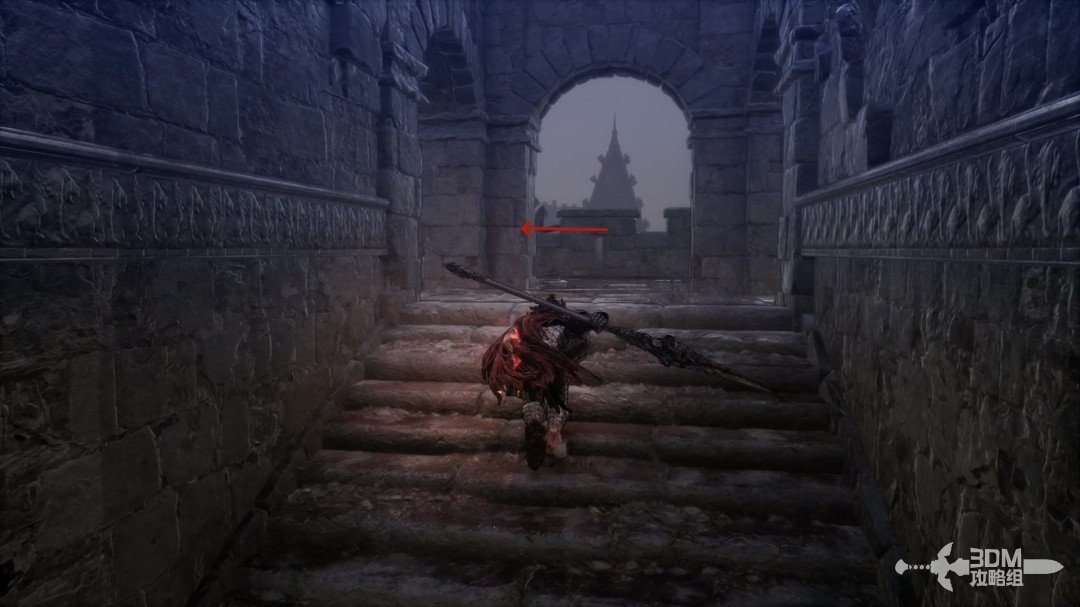
Lower main route and elite shield guard: climb the left stairs to the balcony · route image 12
Lower main route and elite shield guard: climb the left stairs to the balcony · route image 13

23Inner room on the return from the balcony: find the Prophecy

Return and take the pictured route.
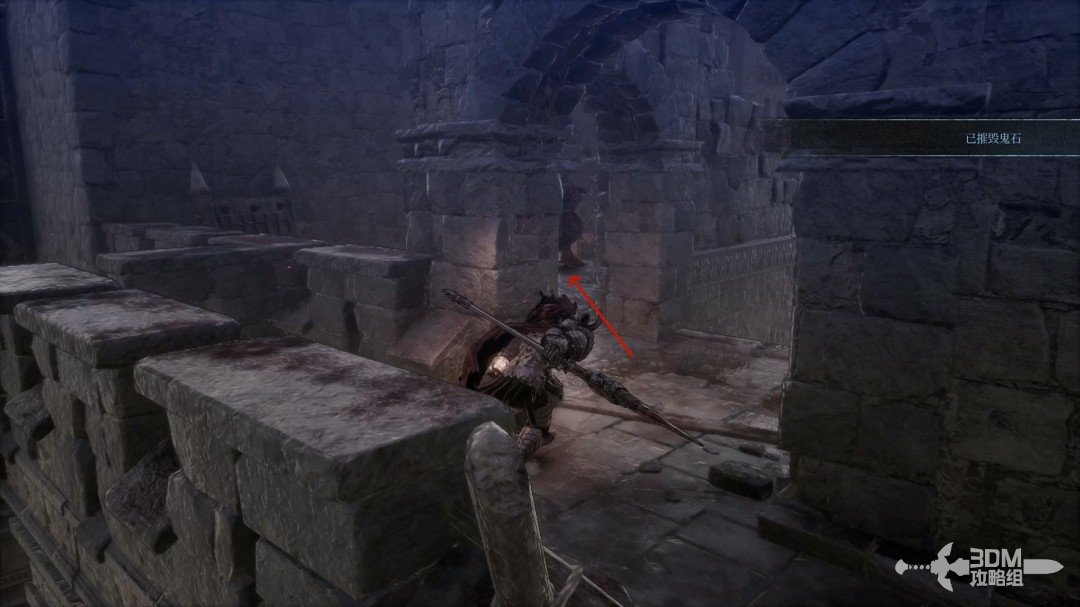
Inner room on the return from the balcony: find the Prophecy · route image 1

Collect Prophecy I inside.

Inner room on the return from the balcony: find the Prophecy · route image 2

25Paired switches inside the castle: circle back to the earlier Nexus

Return to the main route and descend these stairs.
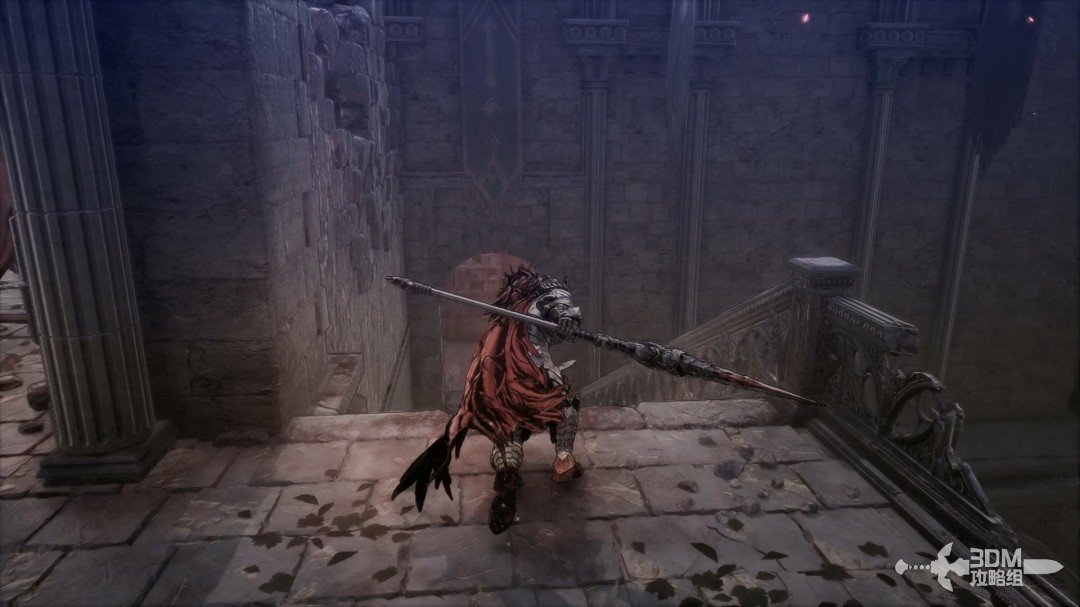
Paired switches inside the castle: circle back to the earlier Nexus · route image 1

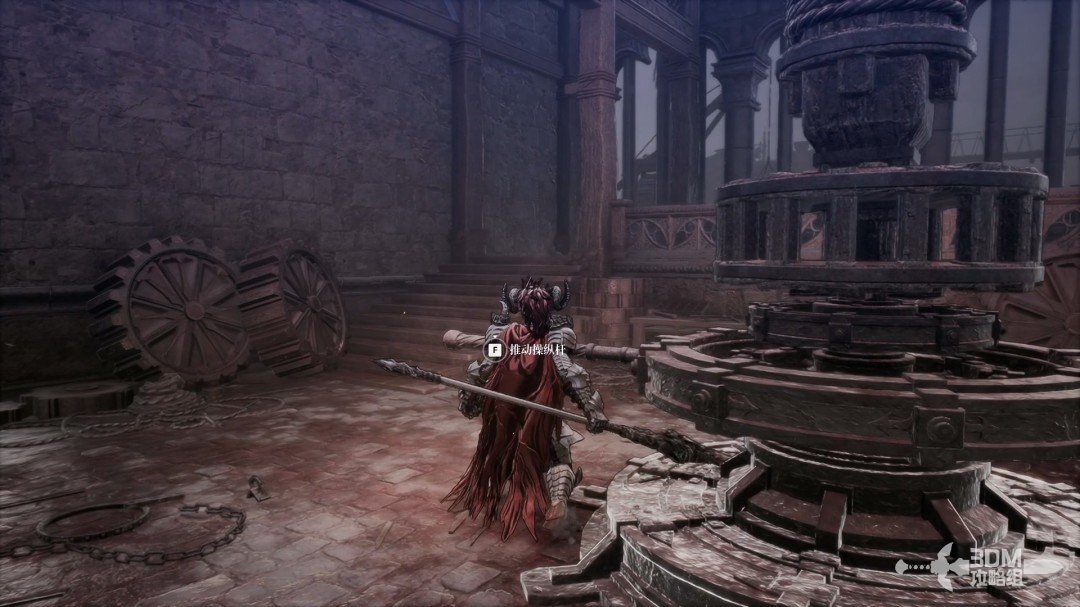
Inside the castle, pull this switch to open the left iron gate.
Paired switches inside the castle: circle back to the earlier Nexus · route image 2

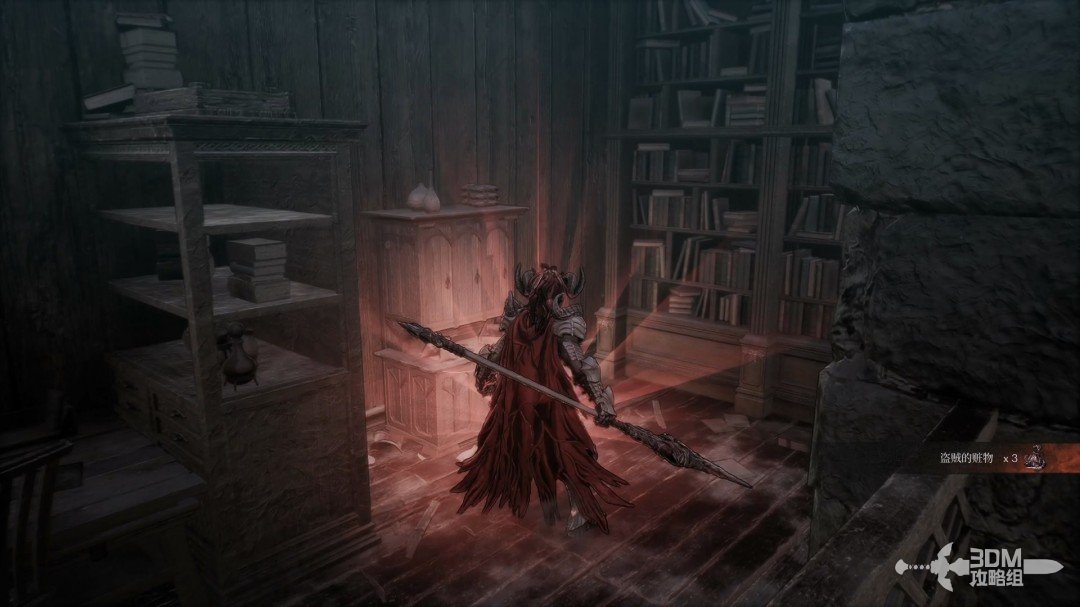
Descend beyond it and go left on the level ground for a red material.
Paired switches inside the castle: circle back to the earlier Nexus · route image 3

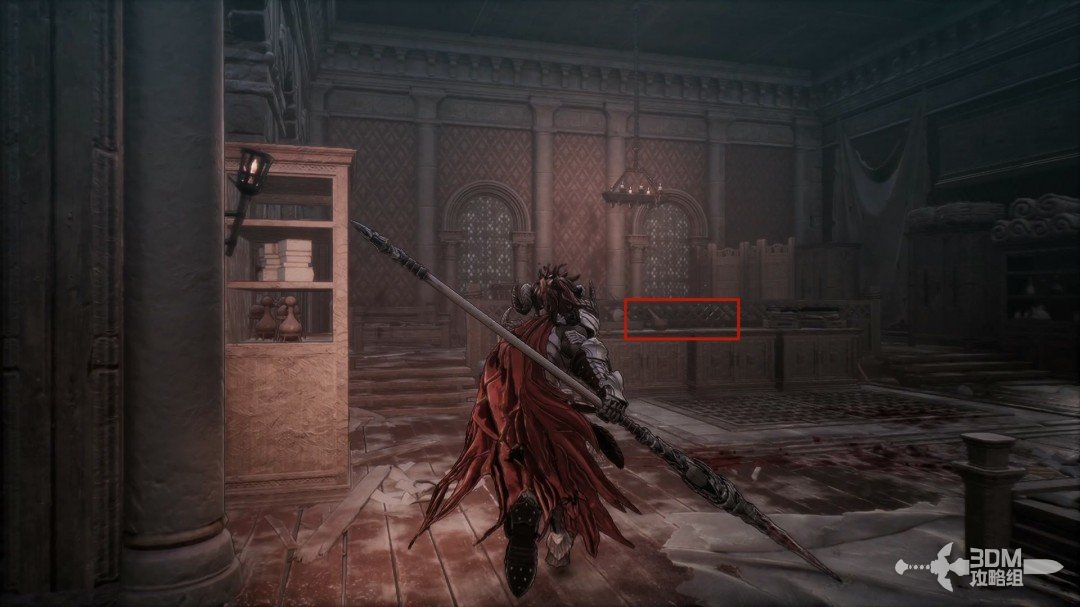
Pass through the doorway for a chest behind it.
Paired switches inside the castle: circle back to the earlier Nexus · route image 4

Descend the right stairs afterward.

Paired switches inside the castle: circle back to the earlier Nexus · route image 5

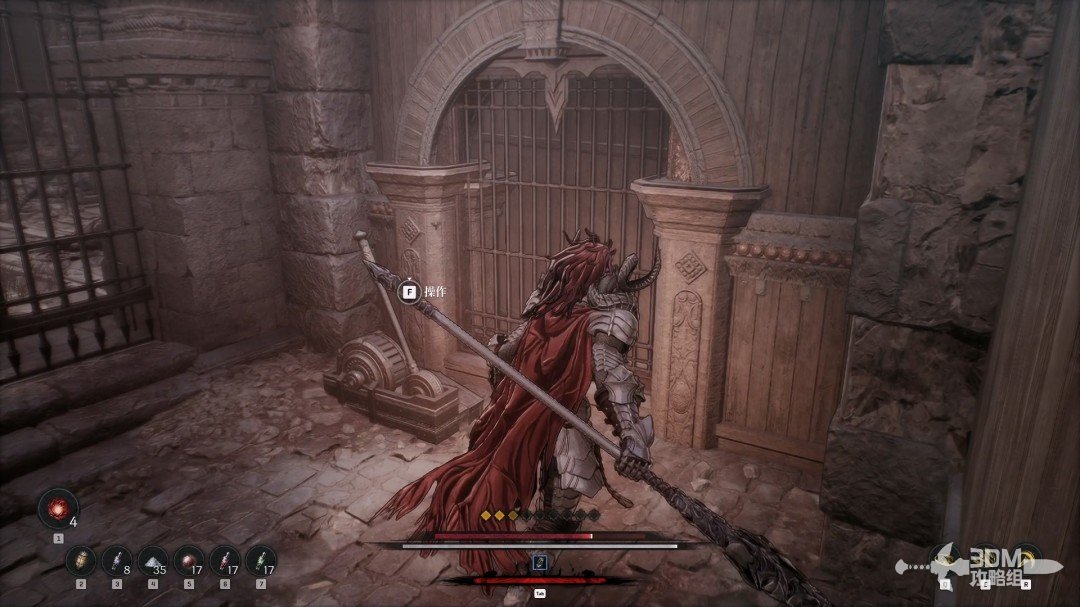
Activate the lower mechanism to open the iron gate.
Paired switches inside the castle: circle back to the earlier Nexus · route image 6

The gate reconnects with the previous Nexus.
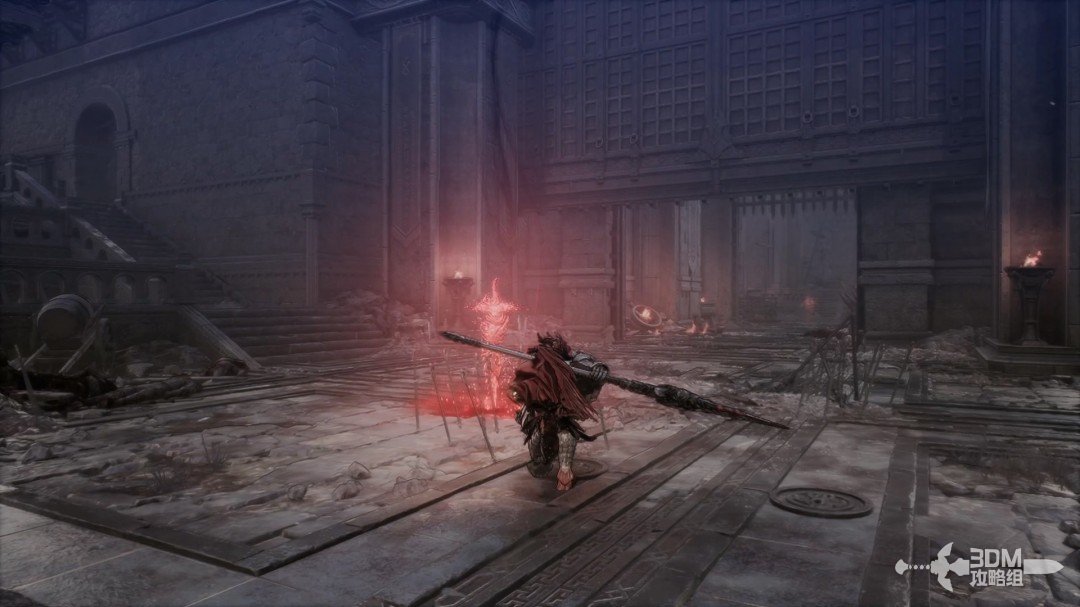
Paired switches inside the castle: circle back to the earlier Nexus · route image 7

26Stairs on both sides beyond the gate: scroll on the right and Soulstone on the left

Rest, then enter the large gate directly.
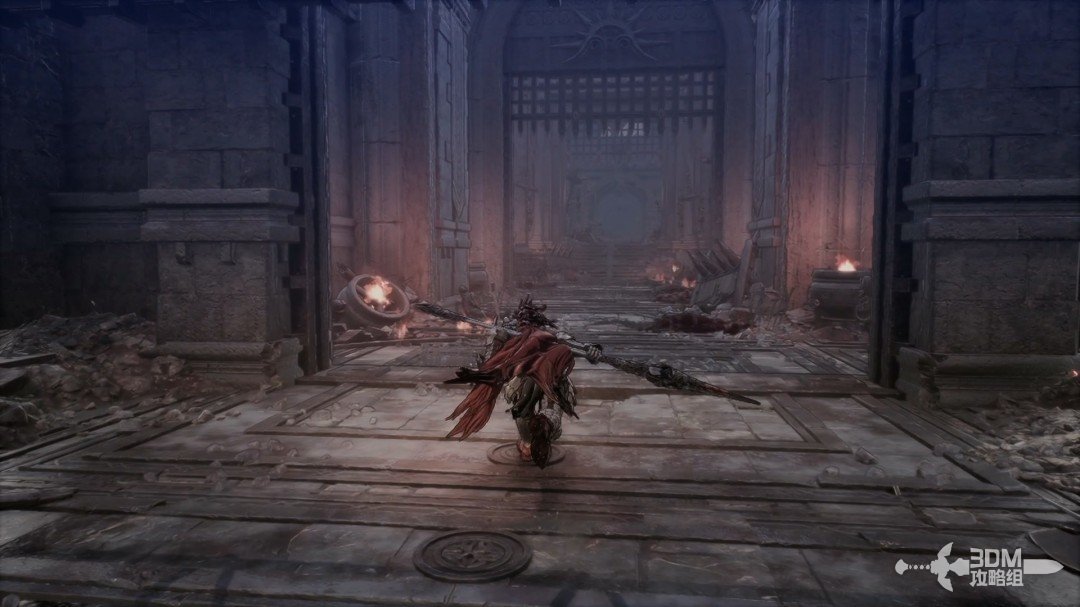
Stairs on both sides beyond the gate: scroll on the right and Soulstone on the left · route image 8

Absorb the memory beside the stairs.

Stairs on both sides beyond the gate: scroll on the right and Soulstone on the left · route image 9

At the first doorway ahead, take the right stairs.
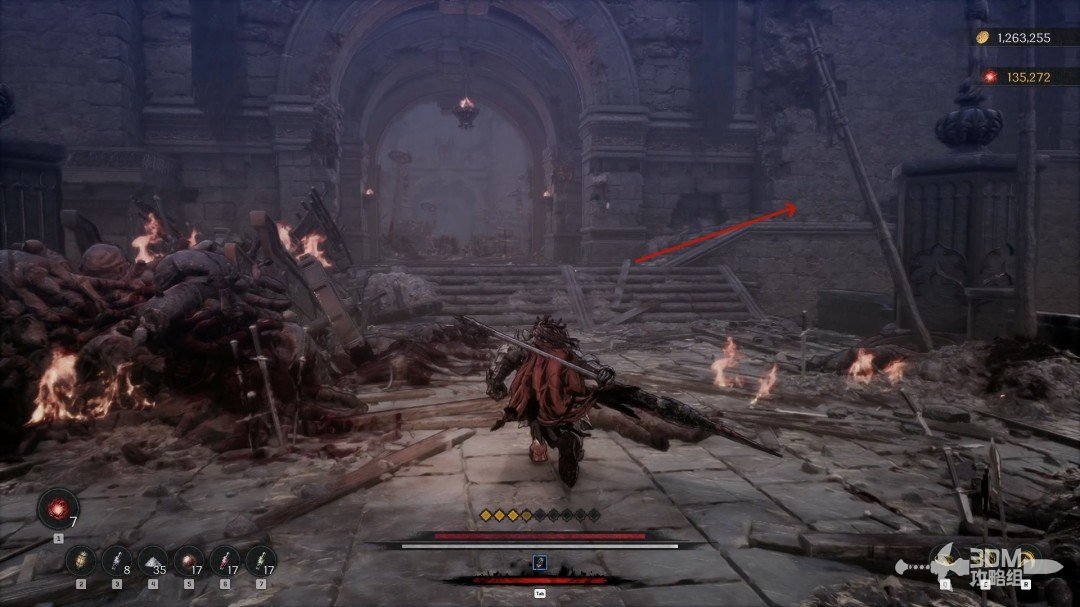
Stairs on both sides beyond the gate: scroll on the right and Soulstone on the left · route image 10

Defeat the two soldiers for the Great General Scroll in the corner.
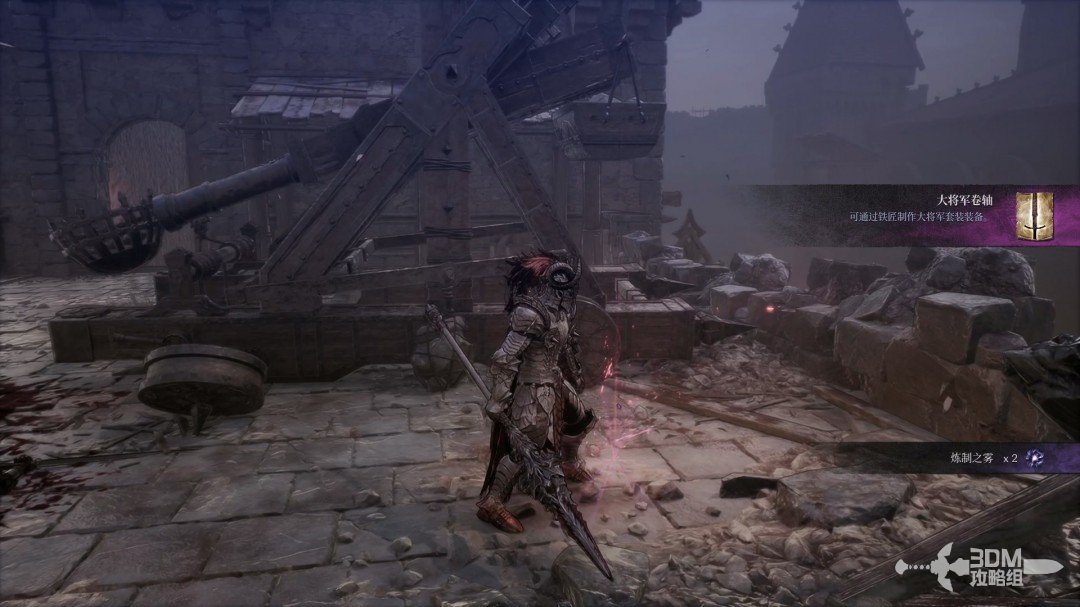
Stairs on both sides beyond the gate: scroll on the right and Soulstone on the left · route image 11

Return to the main road and collect the white item on the left.
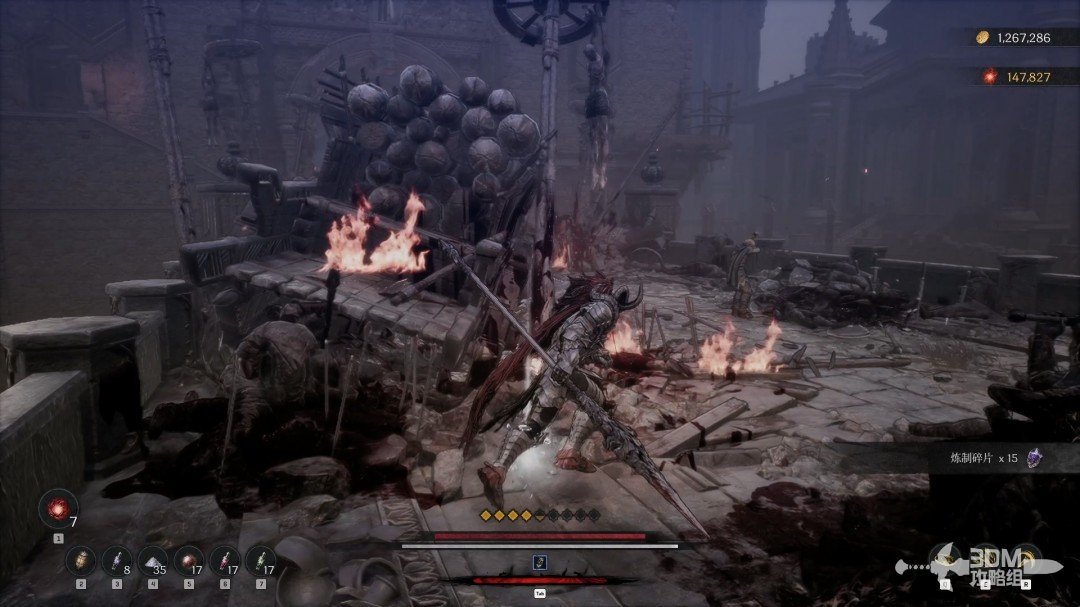
Stairs on both sides beyond the gate: scroll on the right and Soulstone on the left · route image 12

At this doorway, climb the left stairs.
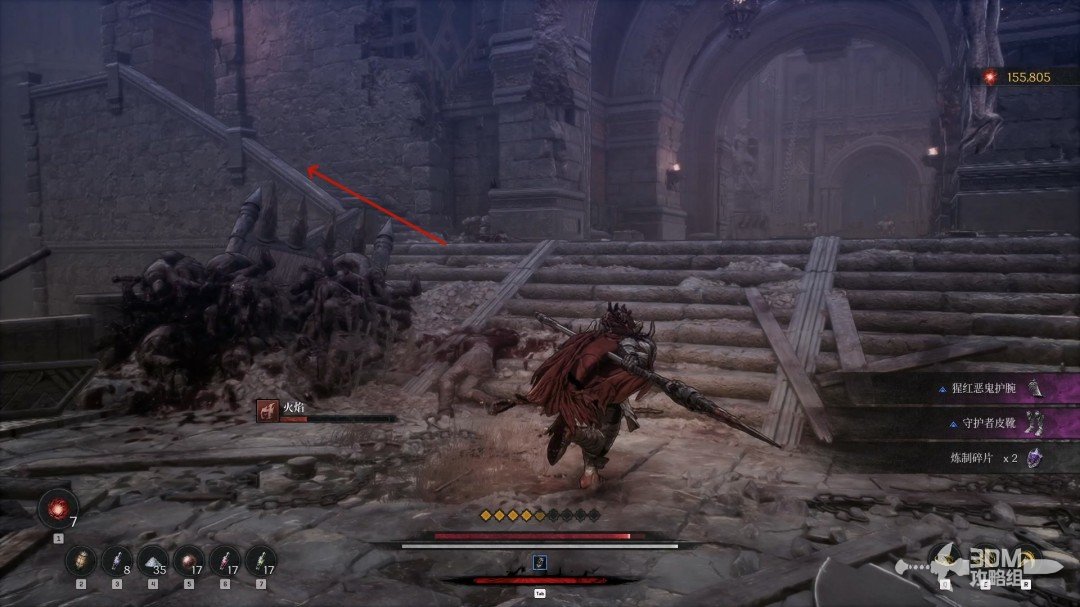
Stairs on both sides beyond the gate: scroll on the right and Soulstone on the left · route image 13

Continue inside, defeat the soldiers and break the Soulstone behind them.
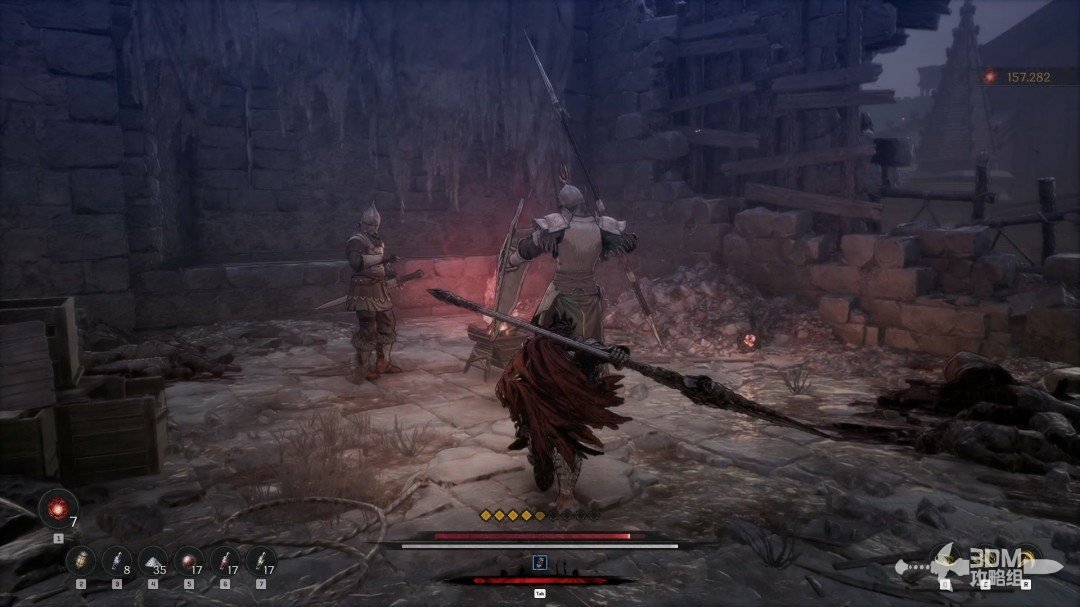
Stairs on both sides beyond the gate: scroll on the right and Soulstone on the left · route image 14

29Ballista route and plague pool: diary in the left corner and chest up the right stairs

Return to the main route and destroy the machine firing arrows ahead.
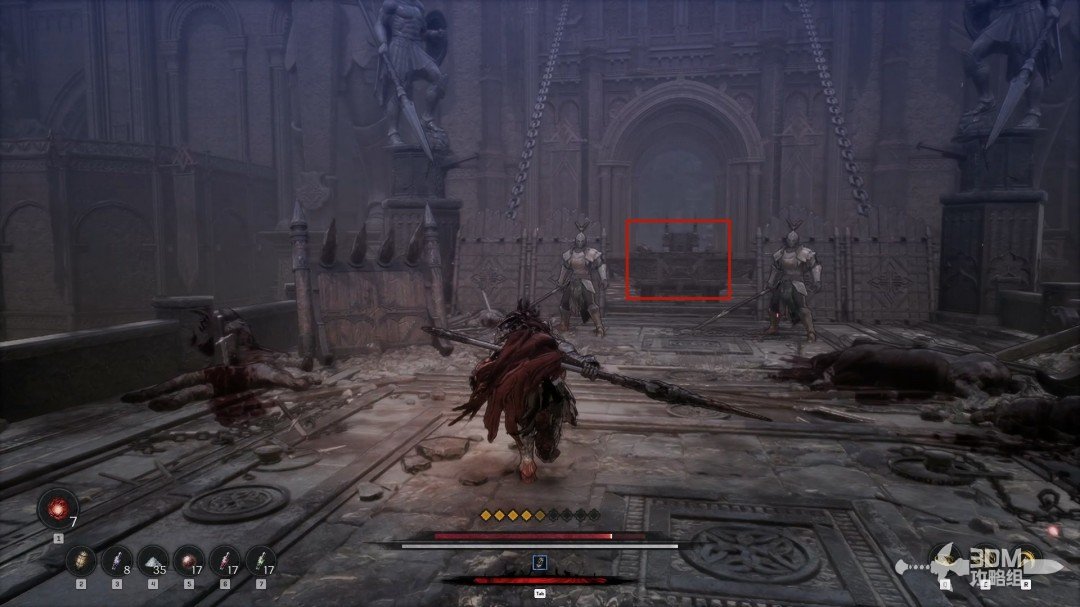
Ballista route and plague pool: diary in the left corner and chest up the right stairs · route image 1

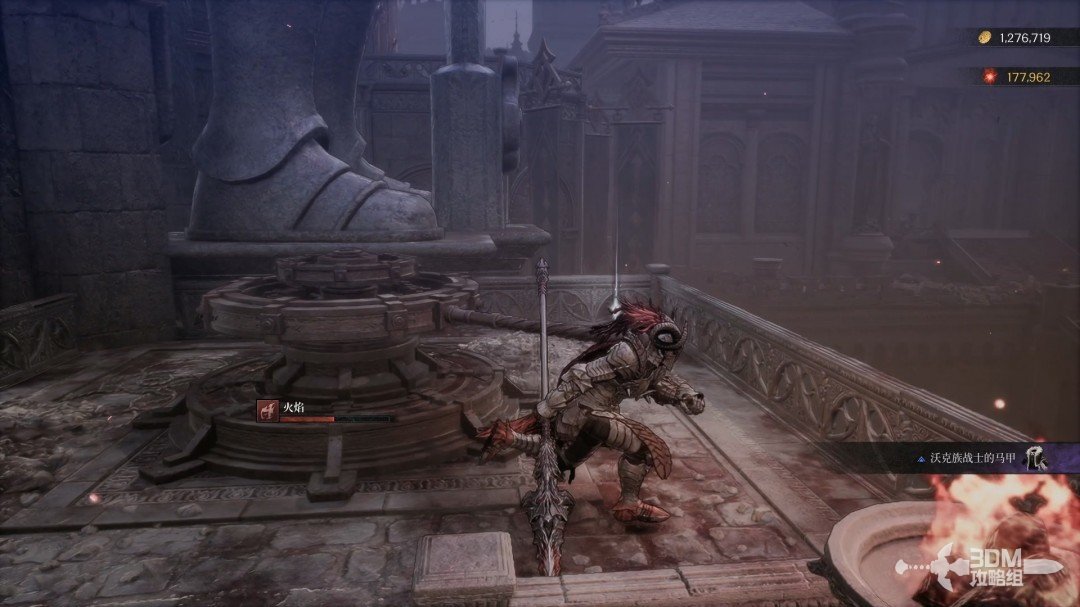
Collect the white item on the right platform.
Ballista route and plague pool: diary in the left corner and chest up the right stairs · route image 2

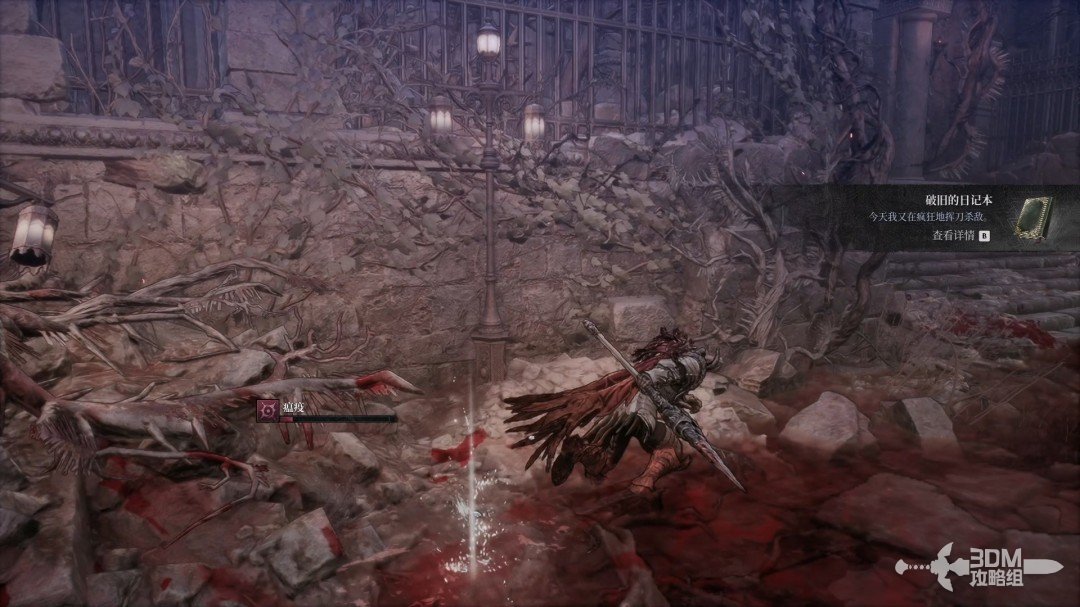
Avoid lingering in the blood pool, which inflicts plague. Collect the Worn Diary in the left corner.
Ballista route and plague pool: diary in the left corner and chest up the right stairs · route image 3

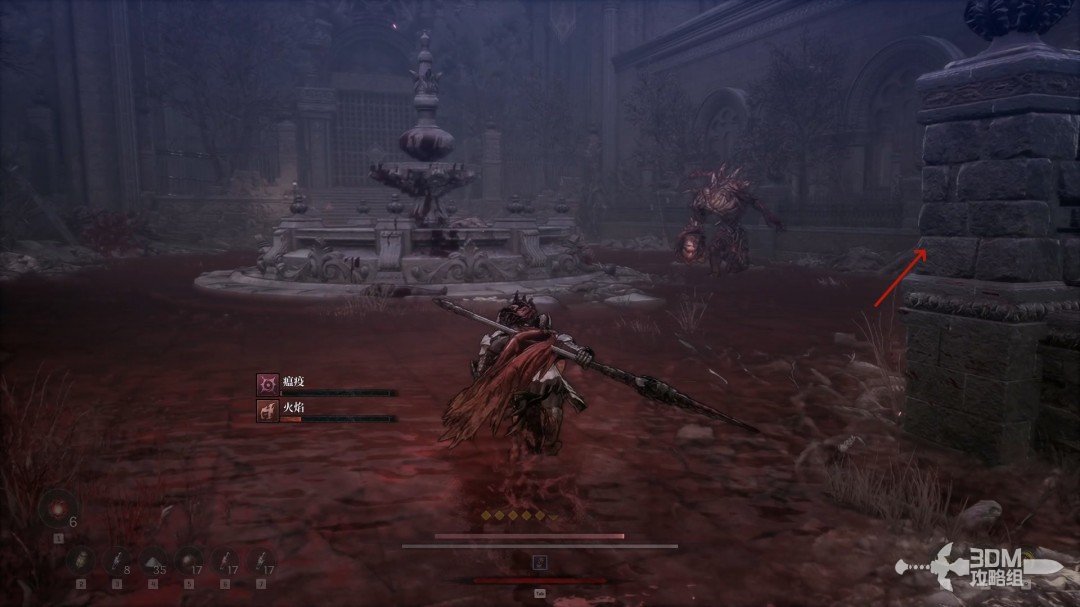
Defeat the enemy on the right and take the right stairs.
Ballista route and plague pool: diary in the left corner and chest up the right stairs · route image 4

Open the chest inside.

Ballista route and plague pool: diary in the left corner and chest up the right stairs · route image 5

31Memory ahead and elevator on the left: reach the Nexus and hall fragment

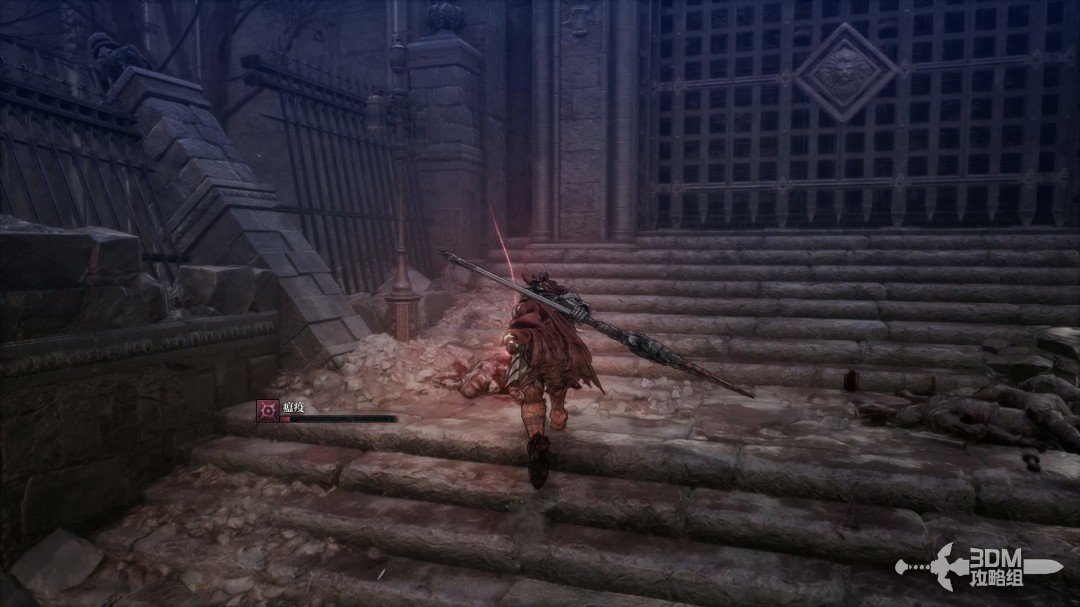
Climb the forward stairs to absorb a memory.
Memory ahead and elevator on the left: reach the Nexus and hall fragment · route image 6

Finally, take the elevator on the left.
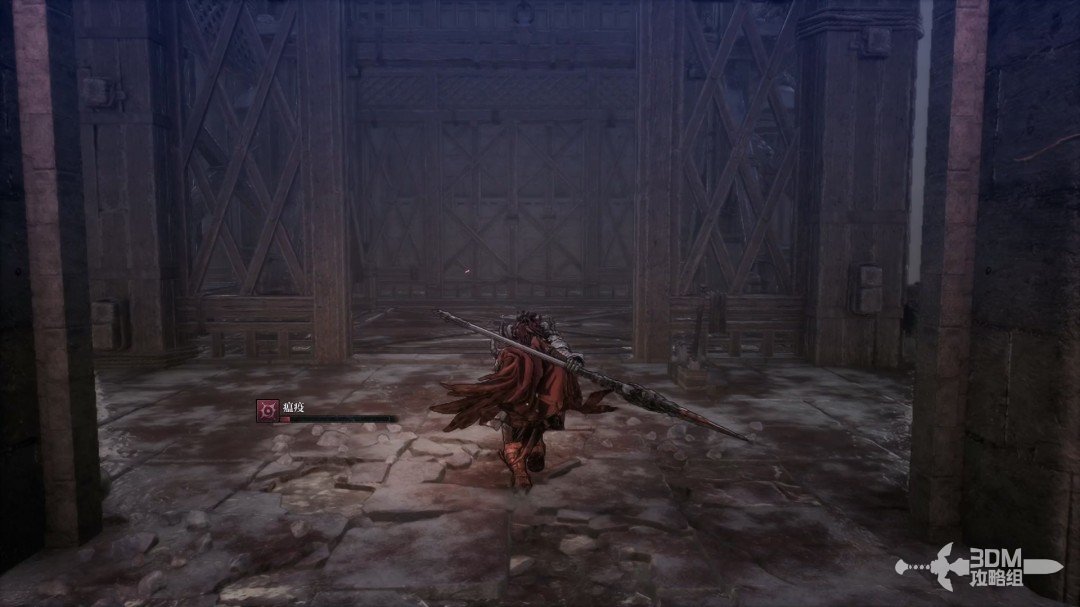
Memory ahead and elevator on the left: reach the Nexus and hall fragment · route image 7

Rest at the new Nexus above.

Memory ahead and elevator on the left: reach the Nexus and hall fragment · route image 8

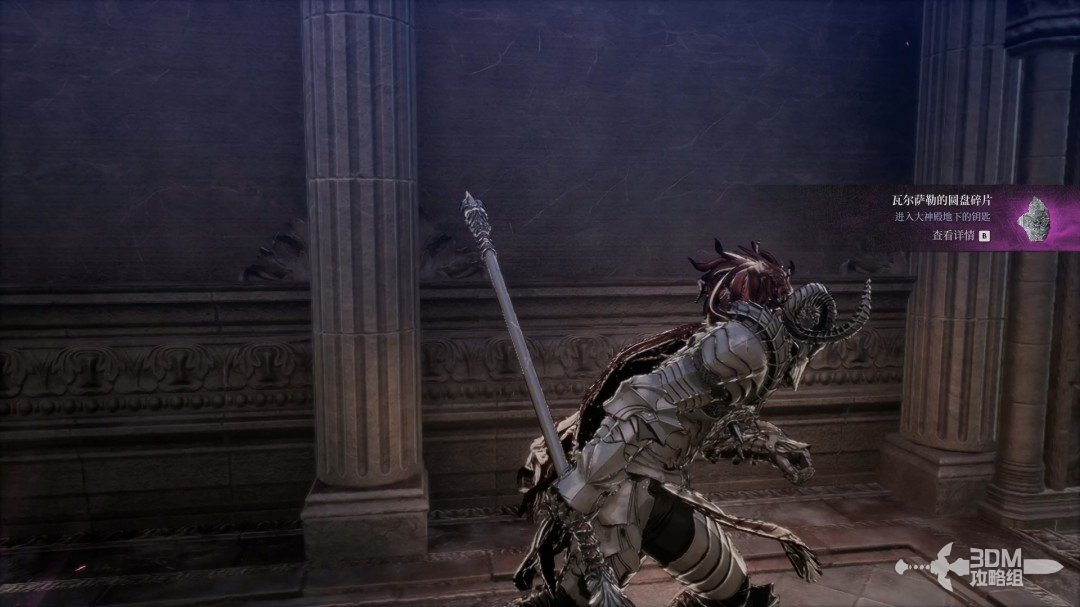
Climb into the hall and collect the purple Vaisar Disc Fragment on the left.
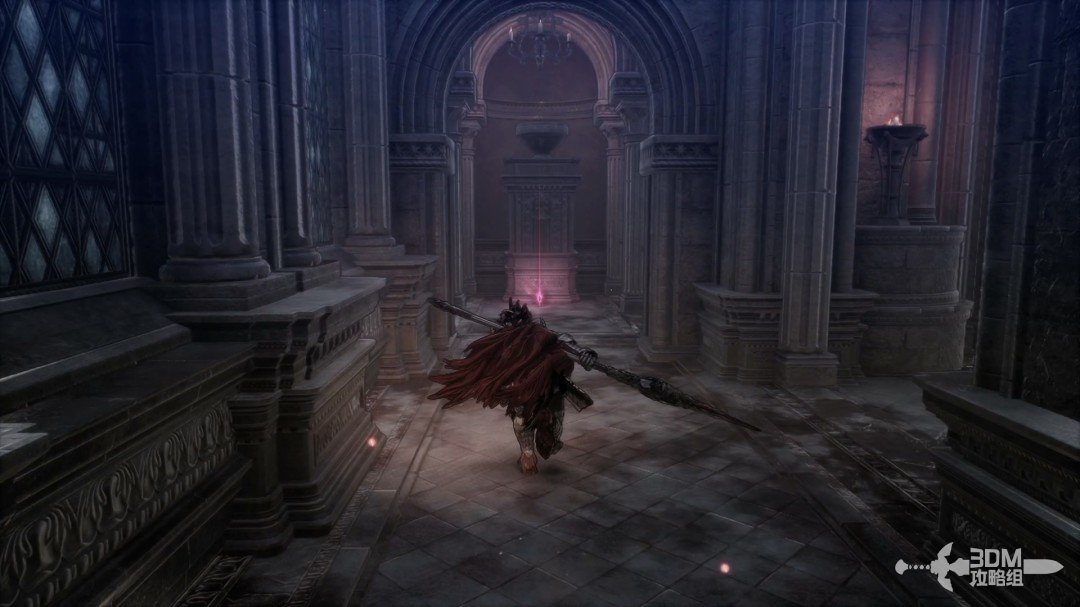
Memory ahead and elevator on the left: reach the Nexus and hall fragment · route image 9
Memory ahead and elevator on the left: reach the Nexus and hall fragment · route image 10

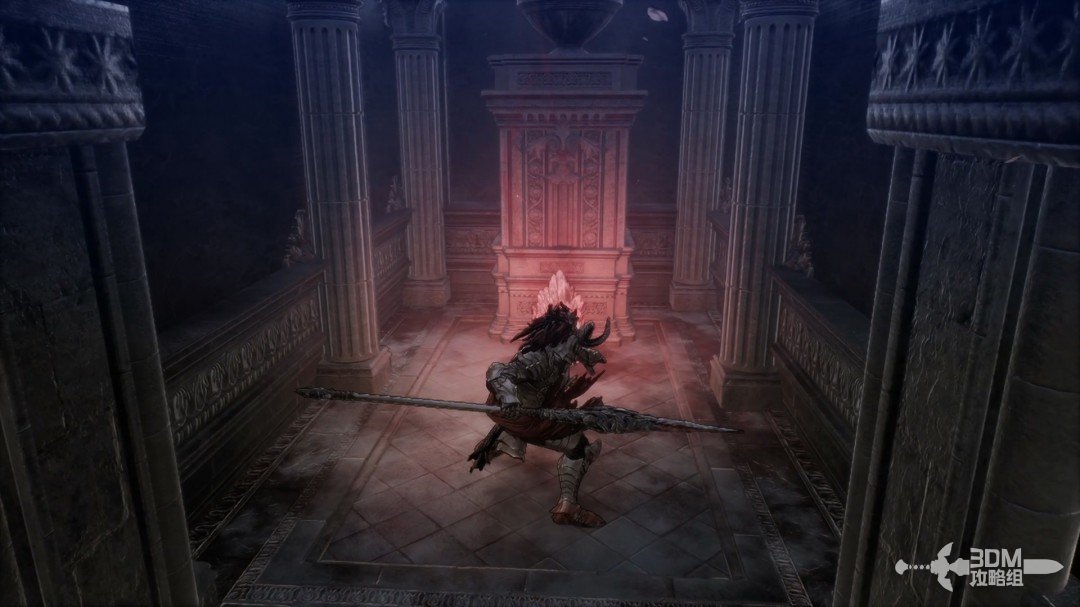
Break the hidden wall on the right for another Soulstone.
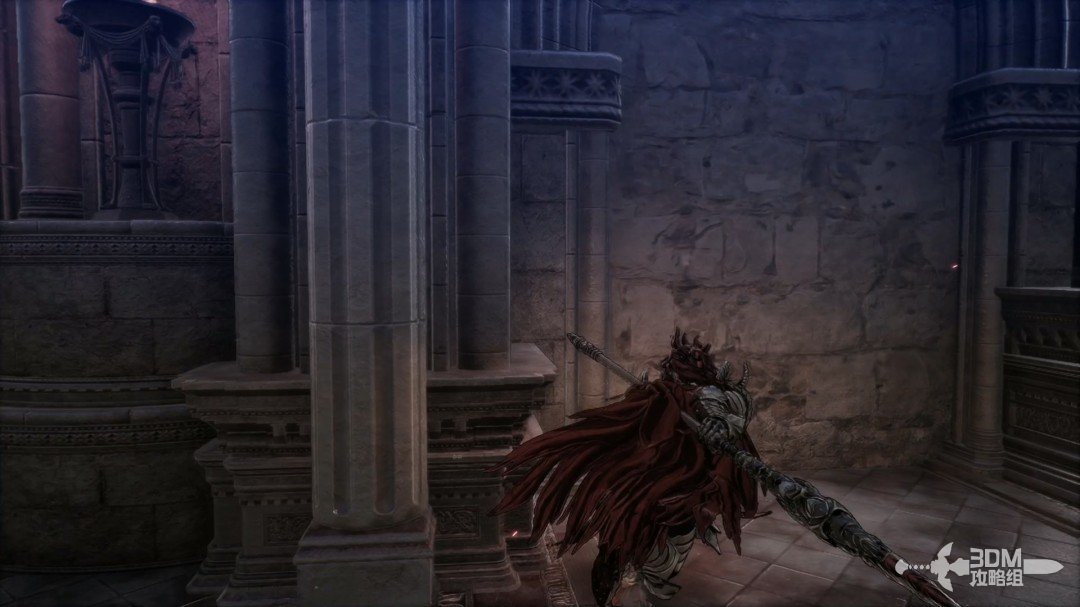
Memory ahead and elevator on the left: reach the Nexus and hall fragment · route image 1
Memory ahead and elevator on the left: reach the Nexus and hall fragment · route image 2

The large gate on the main route leads to the boss.
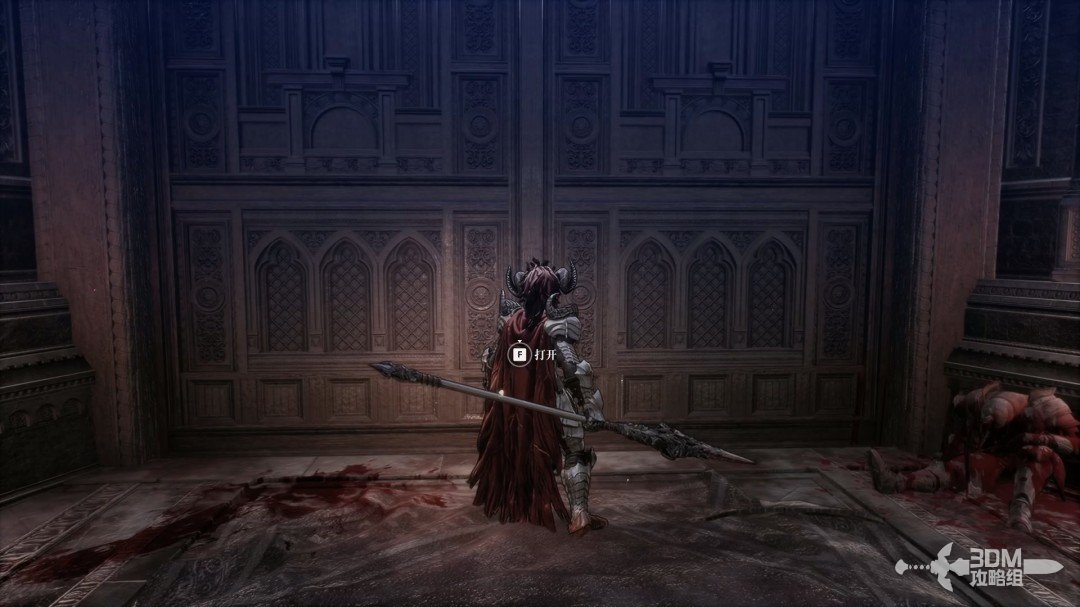
Memory ahead and elevator on the left: reach the Nexus and hall fragment · route image 3

34Coffin hall: Skalpel's Greatsword and coffin charges

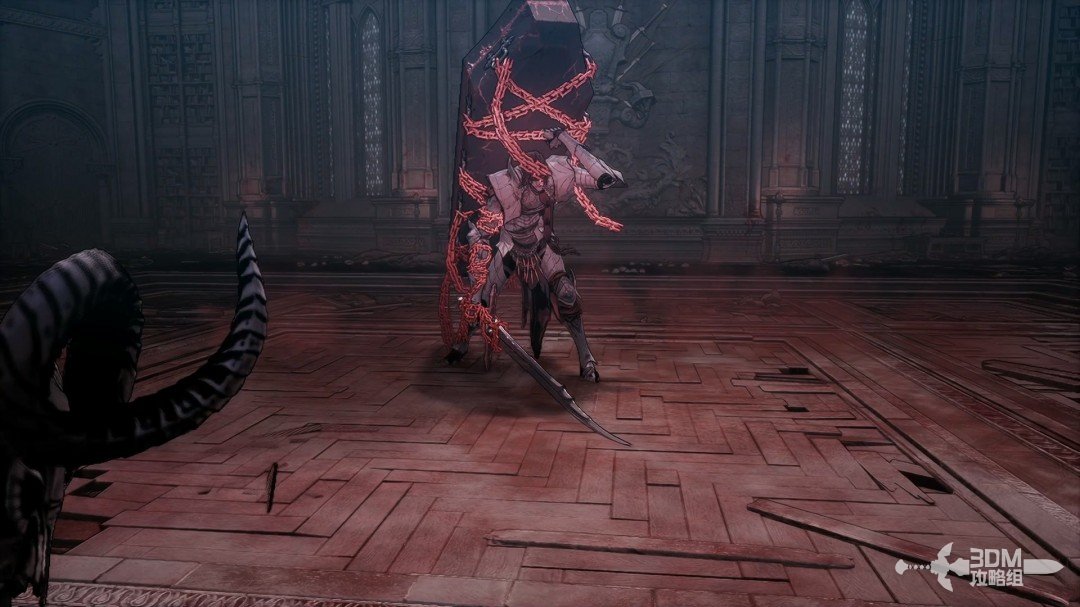
Enter to find Skalpel wielding a greatsword and carrying a coffin, already corrupted by chaos.
Coffin hall: Skalpel's Greatsword and coffin charges · route image 1

Skalpel has two phases.

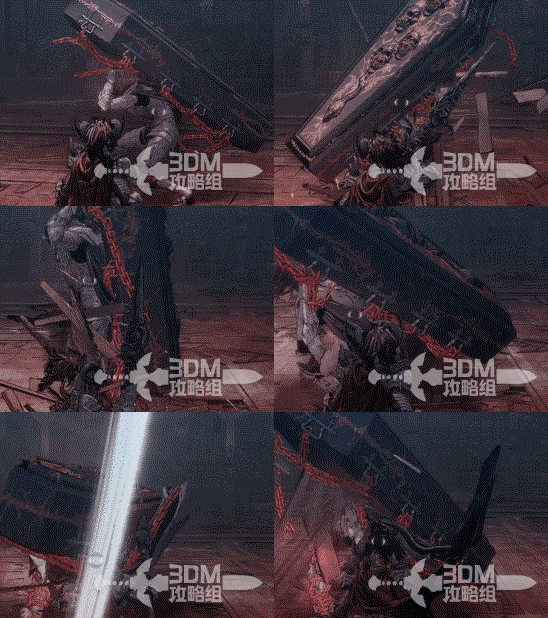
Attack ①:

A three-slash combo with a delayed final hit.
Coffin hall: Skalpel's Greatsword and coffin charges · route image 2

Attack ②:

Another three-slash combo ends in a Burst Attack.
Coffin hall: Skalpel's Greatsword and coffin charges · route image 3

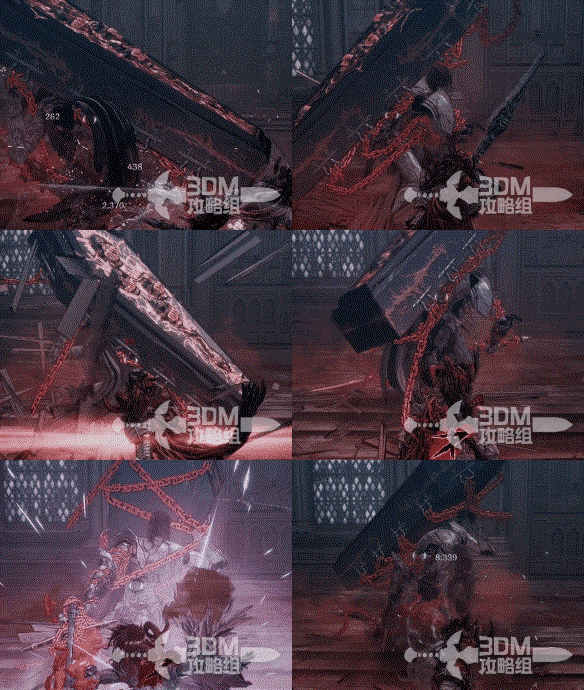
Attack ③:

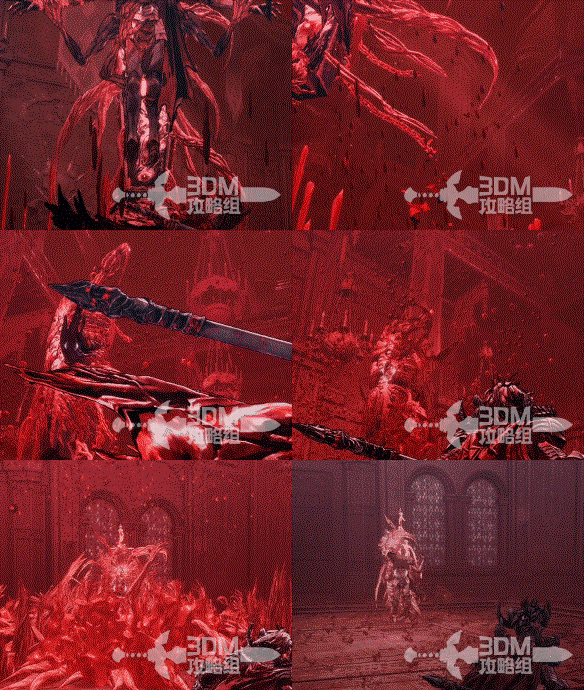
A shockwave precedes his climb onto the coffin, which he rides toward you through four waves.
Coffin hall: Skalpel's Greatsword and coffin charges · route image 4

Attack ④:

An attack from behind the coffin vehicle causes a relatively small explosion around it.
Coffin hall: Skalpel's Greatsword and coffin charges · route image 5

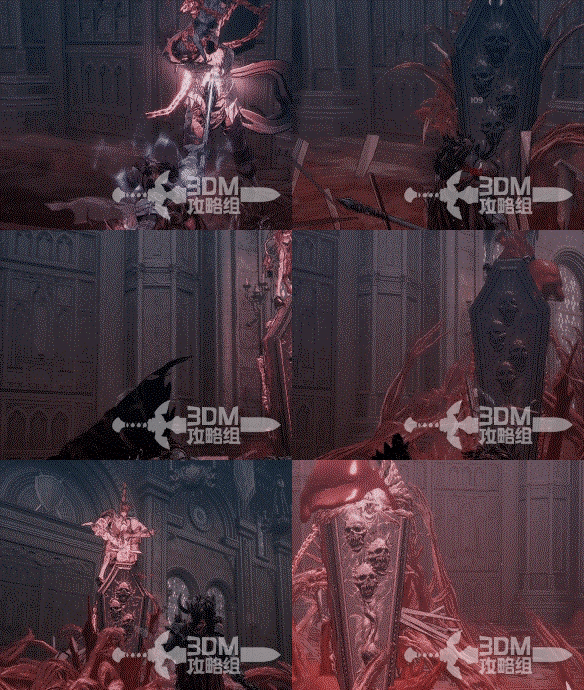
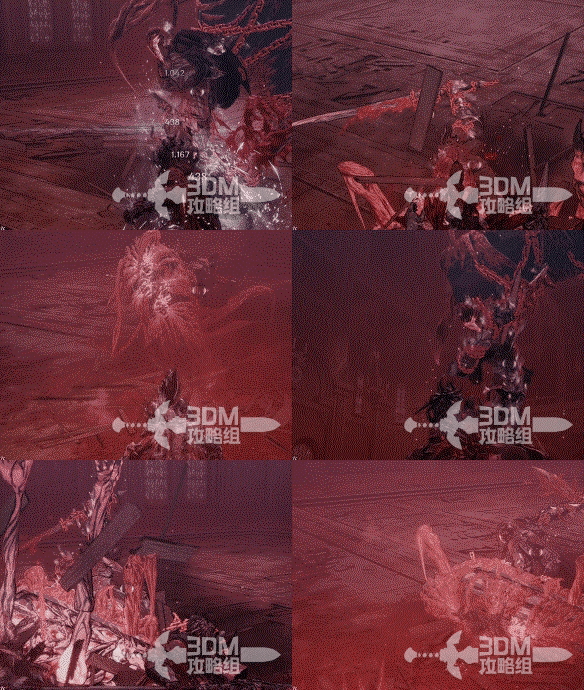
Attack ⑤:

A jumping coffin shockwave. Time your response to the landing.
Coffin hall: Skalpel's Greatsword and coffin charges · route image 6

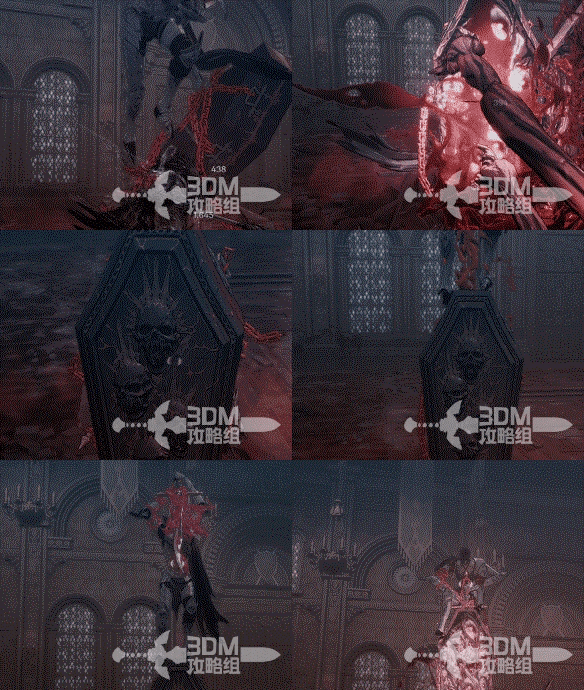
Attack ⑥:

The coffin glows before a grab pulls you inside. Listen for the audio cue as well.
Coffin hall: Skalpel's Greatsword and coffin charges · route image 7

35The coffin opens again: handle Skalpel's second phase

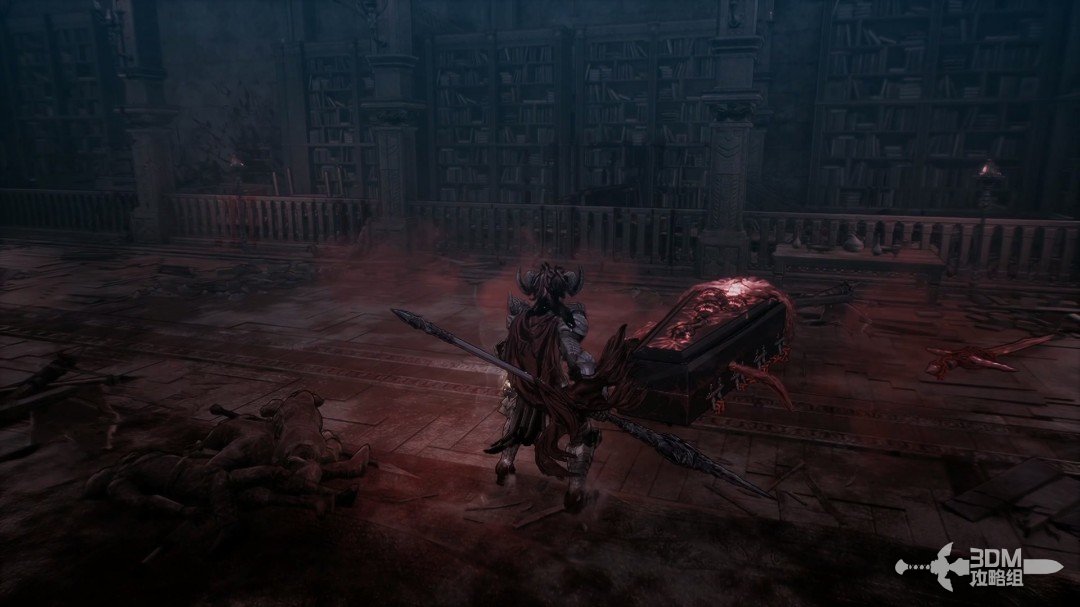
After the first health bar, he enters the coffin. The mission-complete message does not mean the fight is over.
The coffin opens again: handle Skalpel's second phase · route image 8

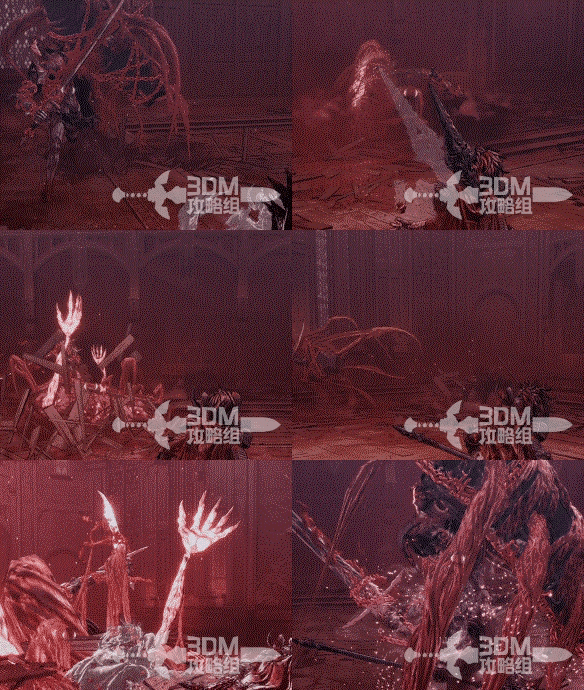
He emerges again, seemingly controlled by the coffin. During phase two, he slowly loses health on his own.
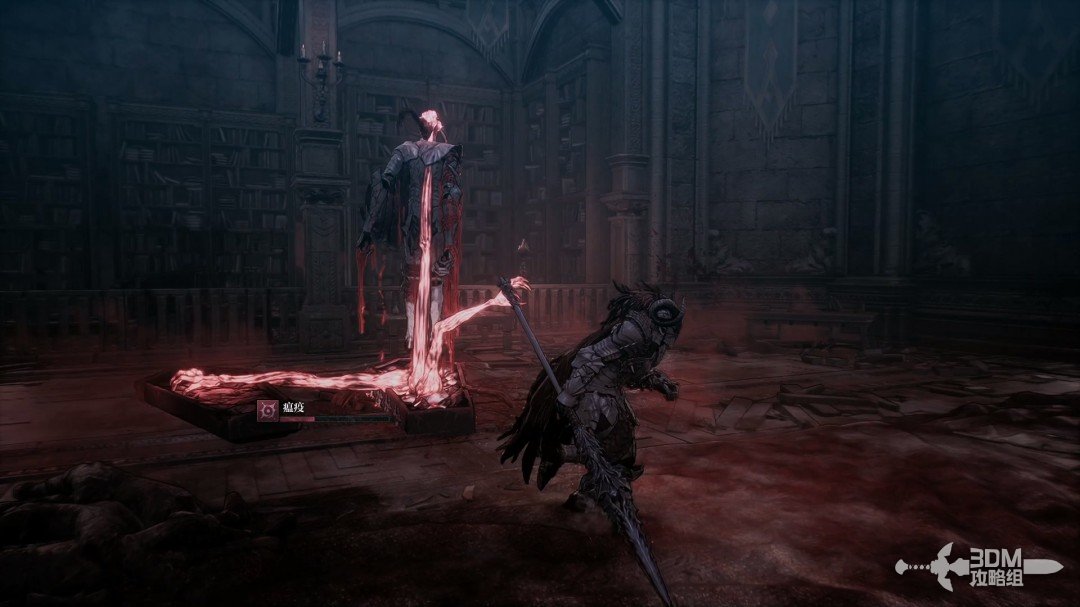
The coffin opens again: handle Skalpel's second phase · route image 9

Phase two — Attack ①:

Three ranged shockwaves. Dodge with each downward strike.
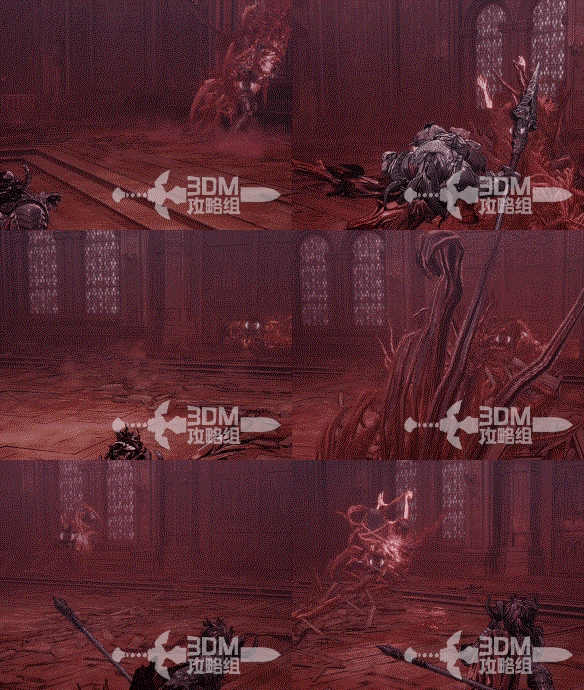
The coffin opens again: handle Skalpel's second phase · route image 10

Attack ②:

He jumps, launches tentacles from the coffin and slams down, then charges an explosion around himself.
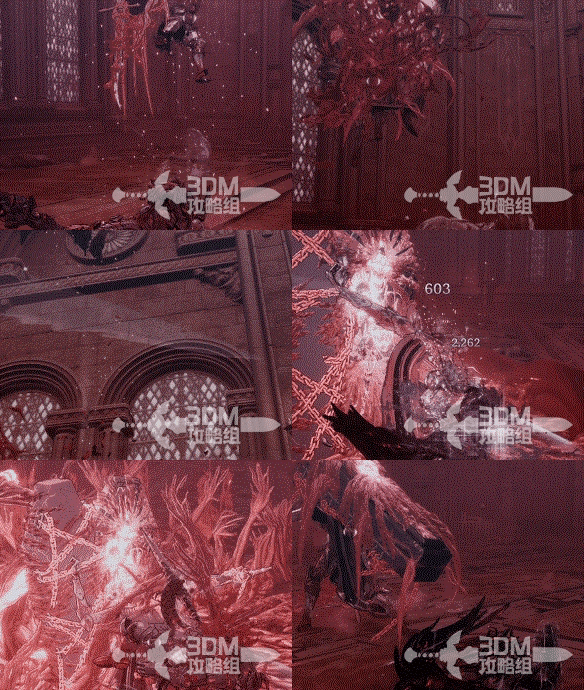
The coffin opens again: handle Skalpel's second phase · route image 11

Attack ③:

Short-range homing projectiles emerge around the sword. Back away and they hit the ground harmlessly.
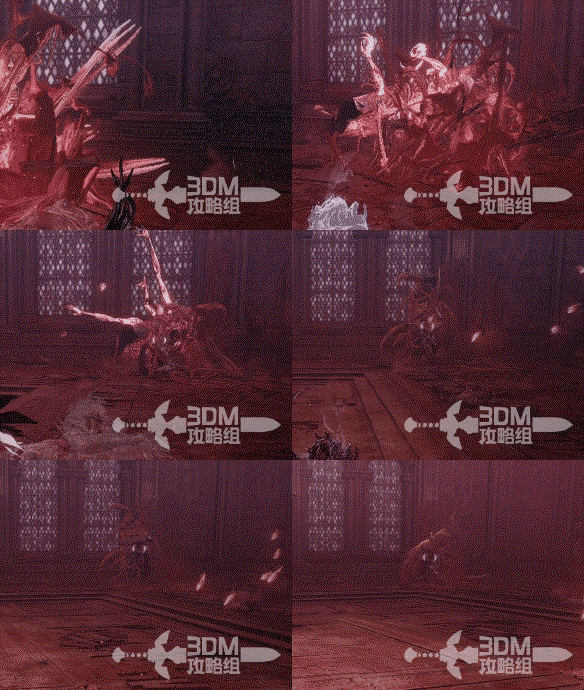
The coffin opens again: handle Skalpel's second phase · route image 12

Attack ④:

Another tentacle sequence begins on the ground, then repeats twice with jumps.
The coffin opens again: handle Skalpel's second phase · route image 13

36Absorb Skalpel's memory: confirm the Lord of Chaos's identity

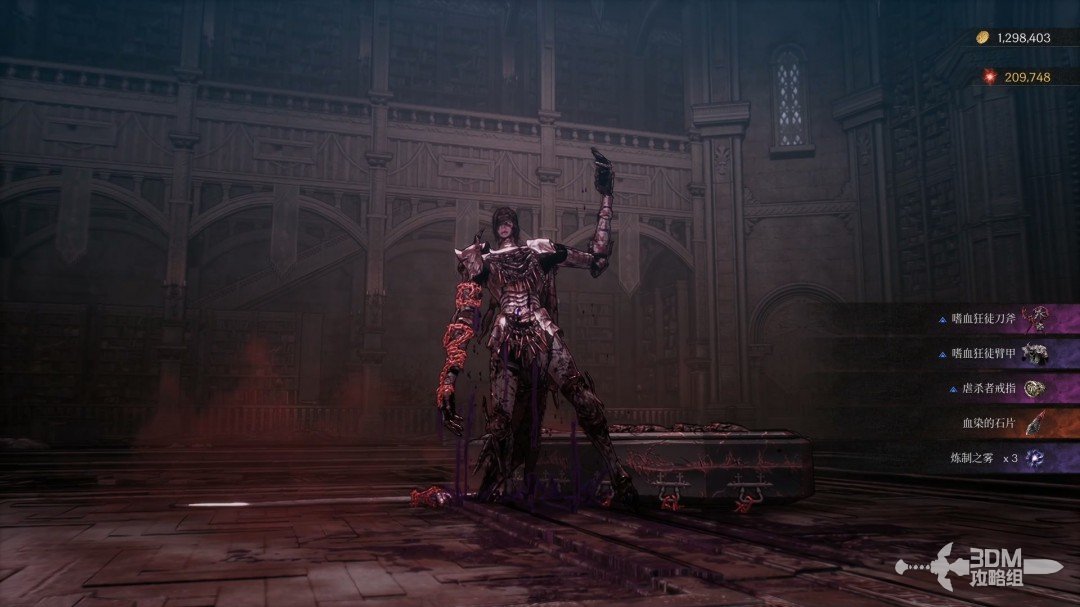
Other moves resemble phase one. Defeat him again to win.
Absorb Skalpel's memory: confirm the Lord of Chaos's identity · route image 14

His memory reveals he resisted Ozma and continued believing in Khazan's innocence.
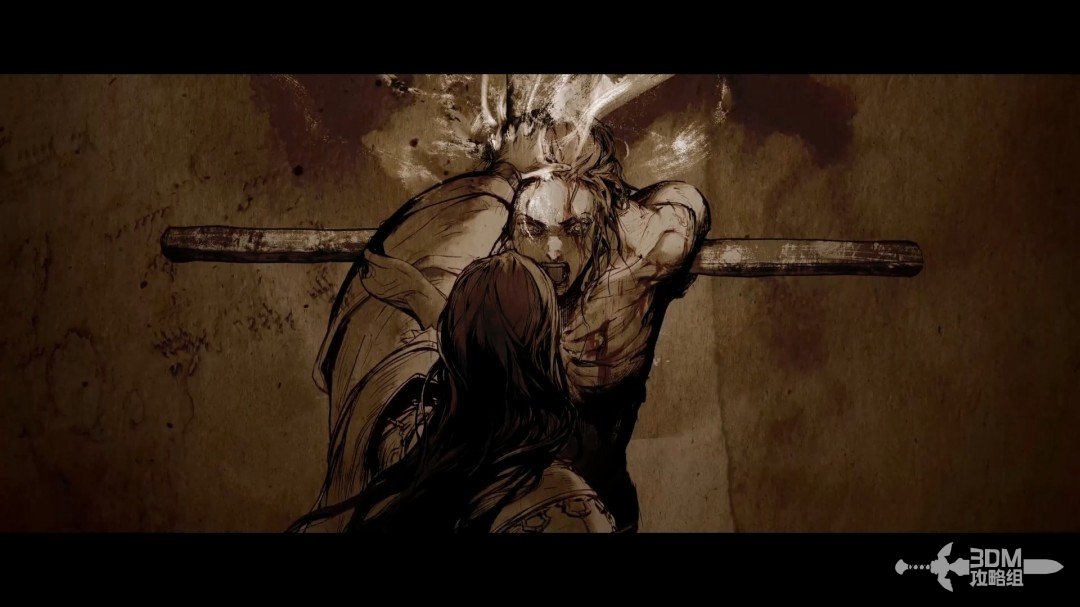
Absorb Skalpel's memory: confirm the Lord of Chaos's identity · route image 15

Blade Phantom protects Khazan from chaos afterward. Both now recognize Ozma as their shared enemy.
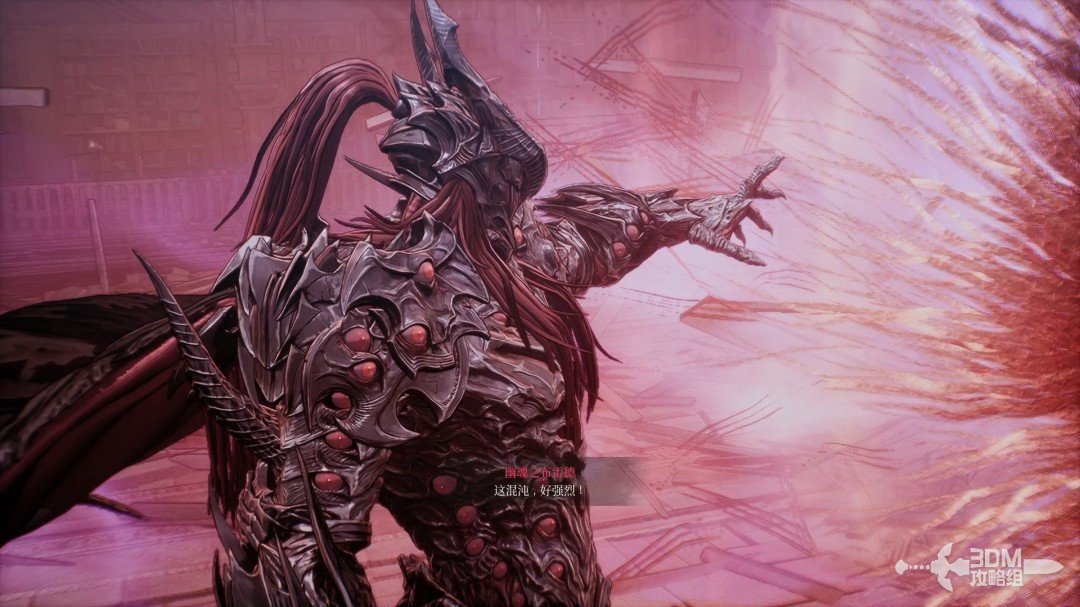
Absorb Skalpel's memory: confirm the Lord of Chaos's identity · route image 16

Khazan prepares to confront the master of chaos, ending the chapter.
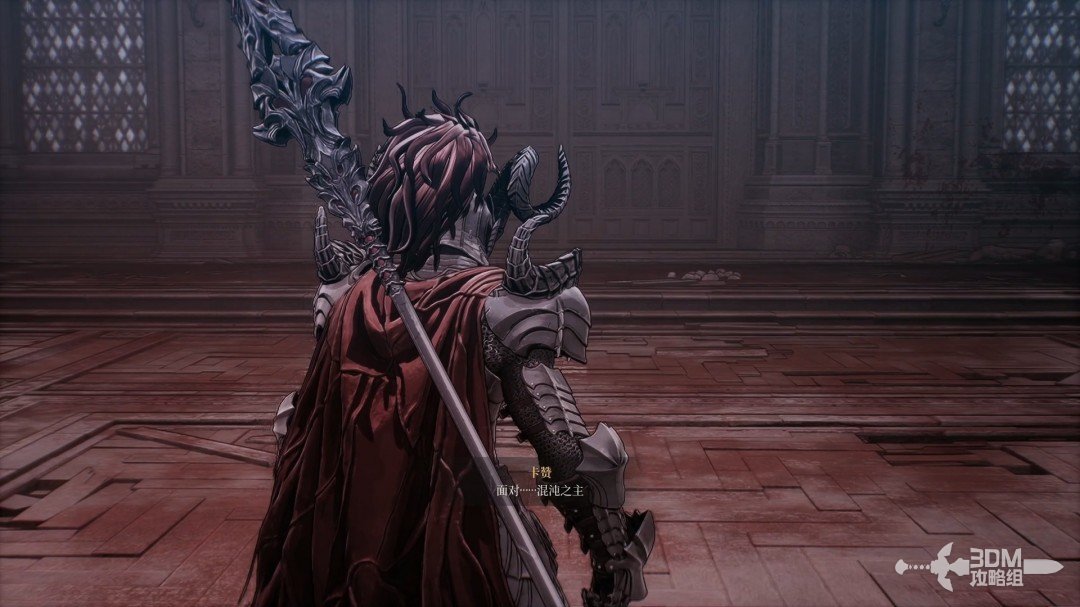
Absorb Skalpel's memory: confirm the Lord of Chaos's identity · route image 17

Related side missions

  1. Crimson Trace →

    Select the mission after the fortress and hub dialogue.

  2. The Last Guard →

    Speak to Tristan to search for Sivan and Vimon.

  3. Transcendental Sword →

    Continue the side missions to recover Blade’s sword.

Reference: 3DM Guide Team

GAME NOTE has reorganized and rewritten the routes from this walkthrough.