Skip to content

Traitor Revealed

Guide editor: GAME NOTE

GAME NOTE CLASSIC · GUIDE LIBRARYThe First Berserker: Khazan

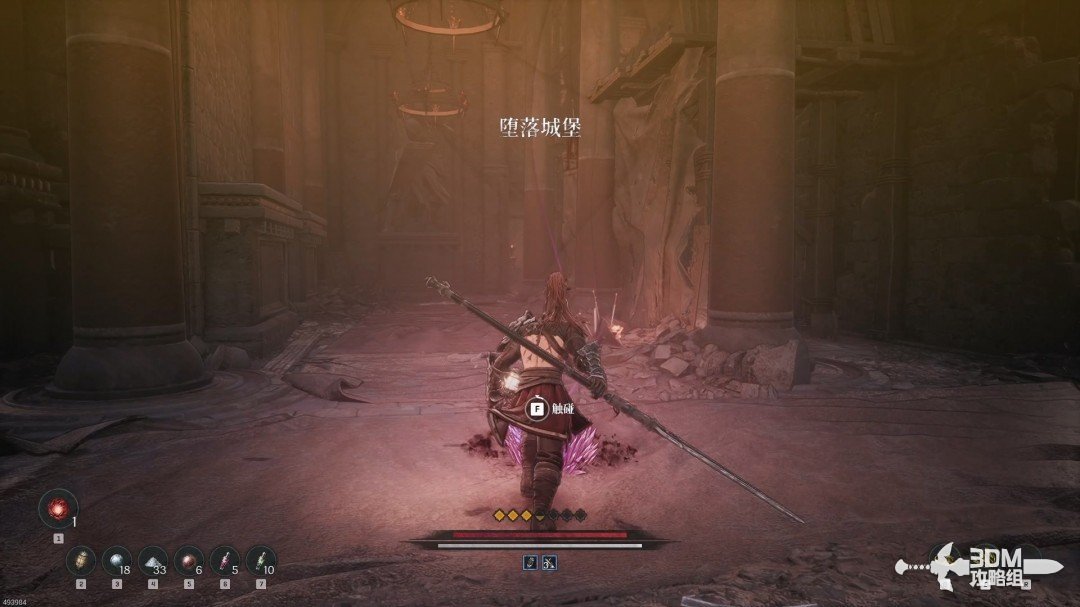
Cross the city and citadel, opening shortcuts before Rangkus.

Pickups in this mission

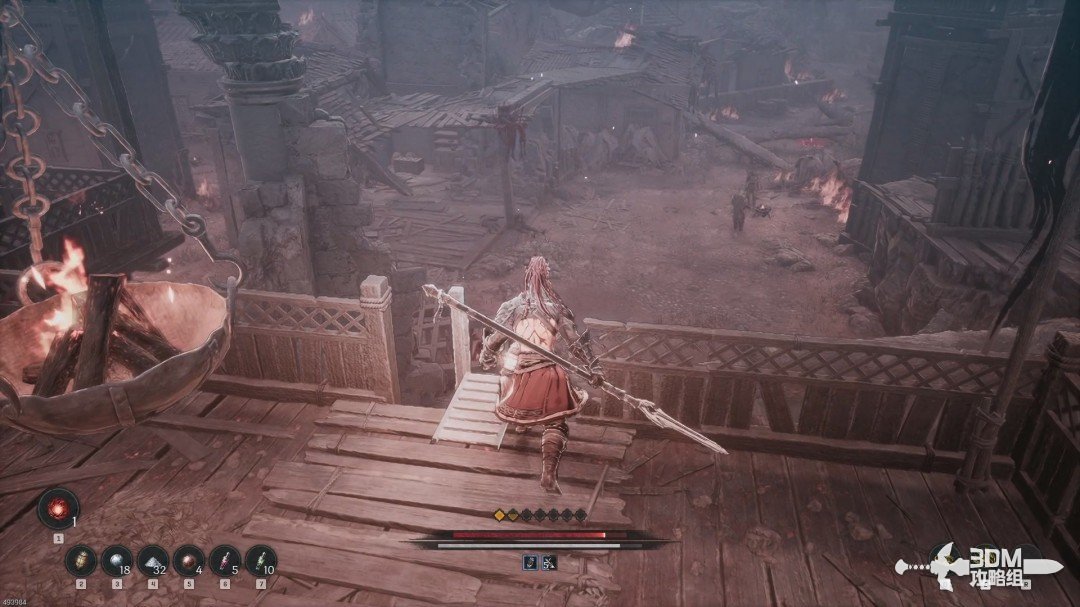
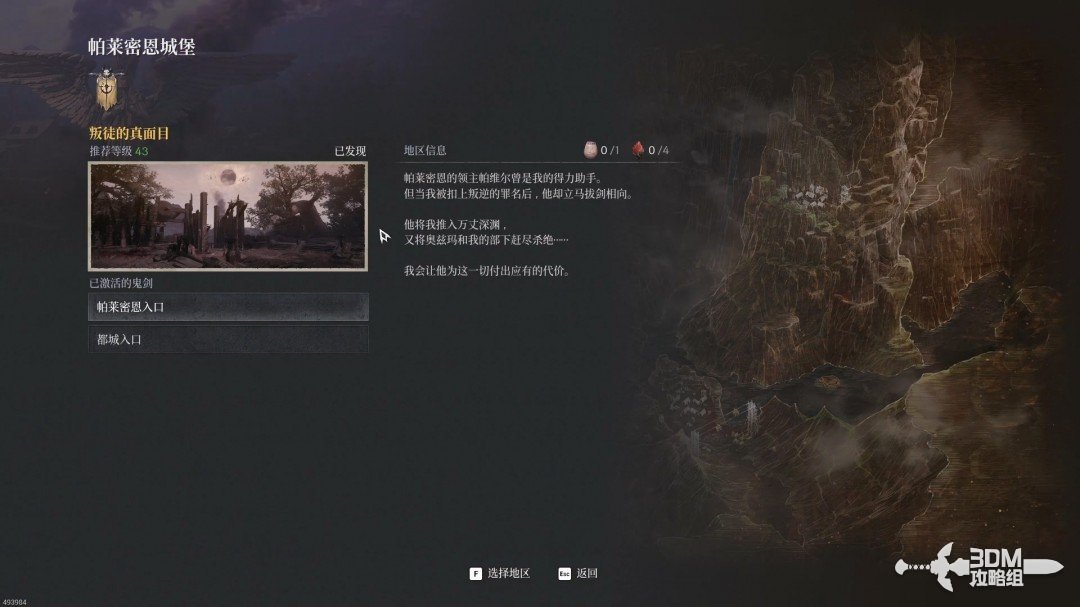
01Meet Elamein and descend the broken bridges to the lower town

With the side missions cleared, begin the sixth main mission.
Meet Elamein and descend the broken bridges to the lower town · route image 1

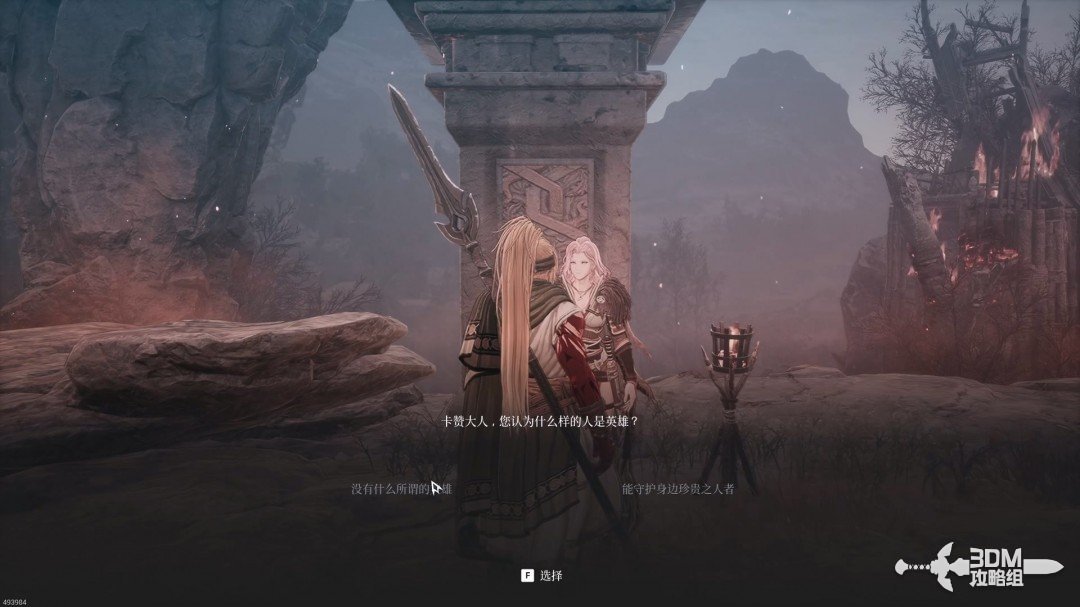
Speak to Elamein on arrival. The source did not establish whether her dialogue choices change anything.
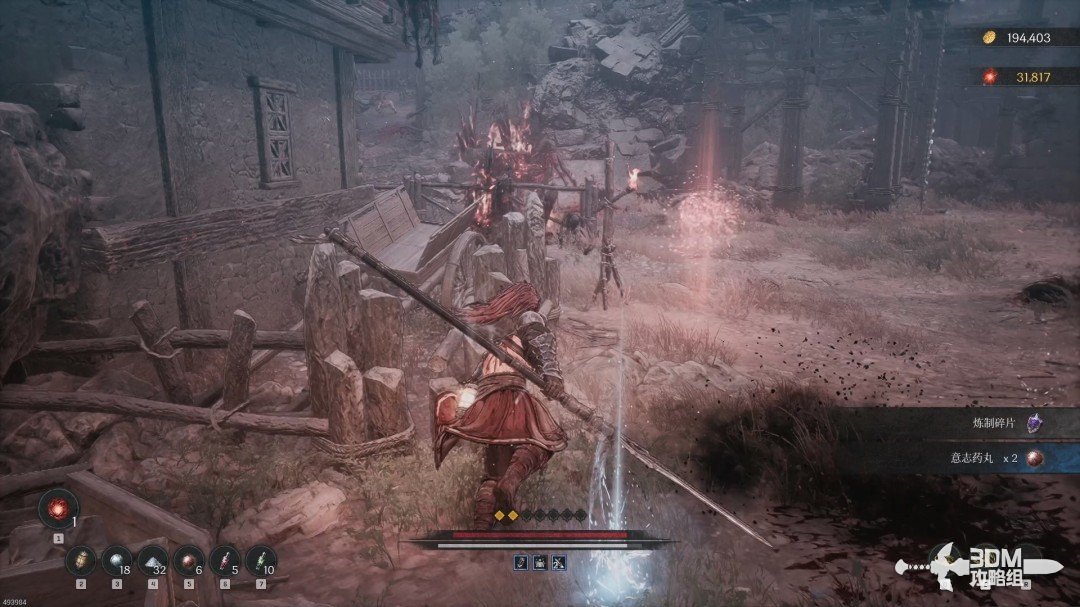
Meet Elamein and descend the broken bridges to the lower town · route image 2

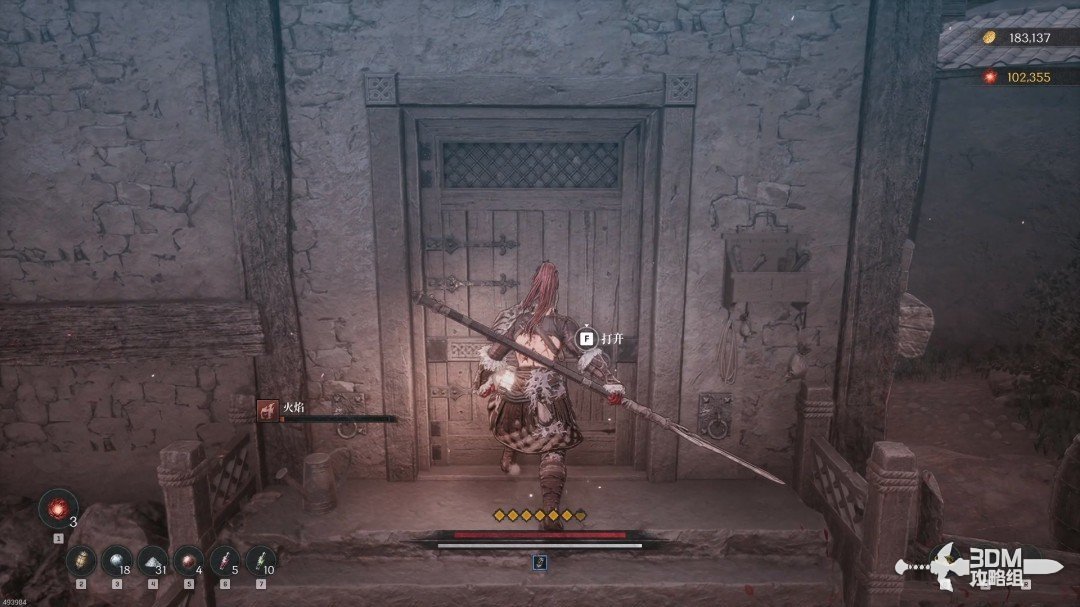
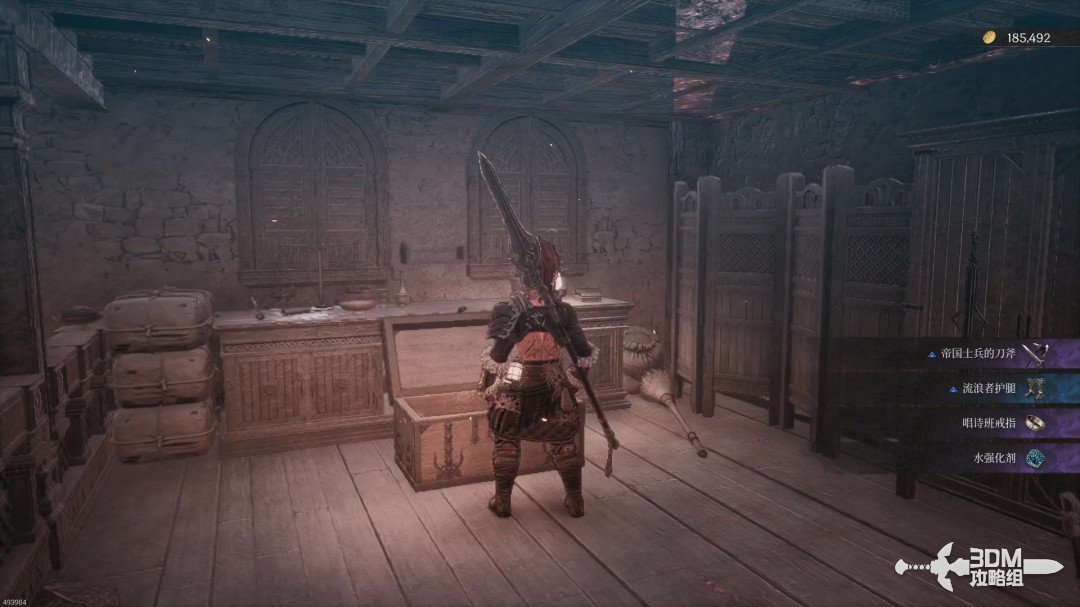
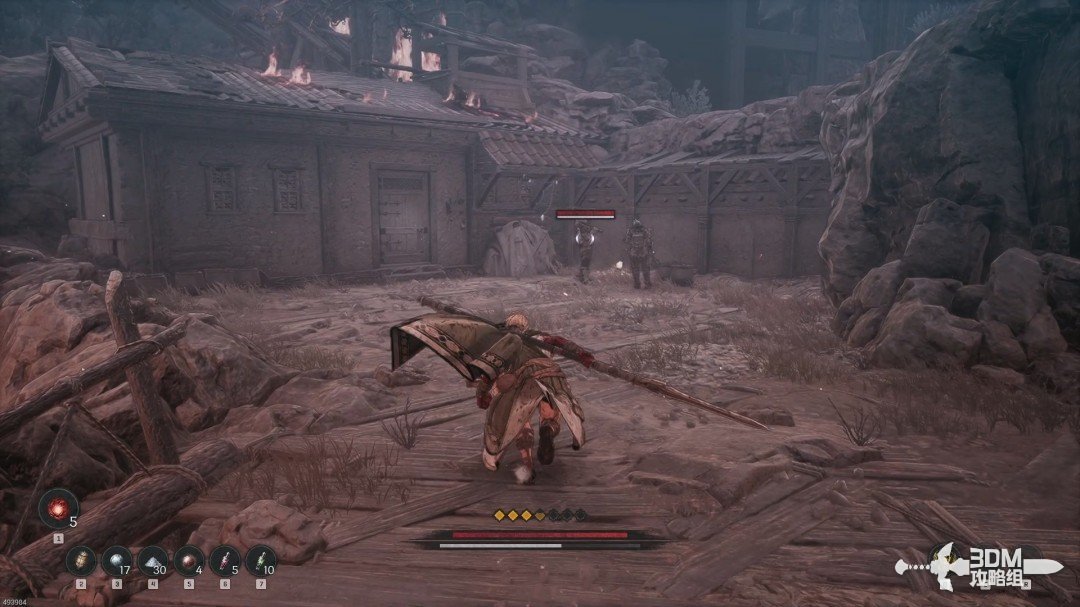
Two soldiers guard loot in the house at the bottom-right end of the slope.
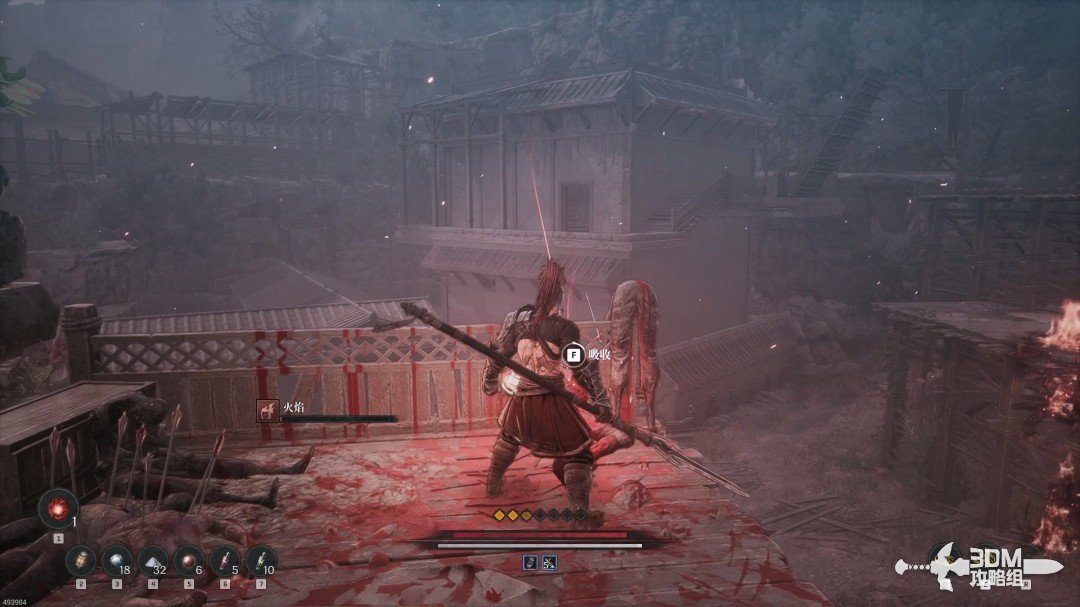
Meet Elamein and descend the broken bridges to the lower town · route image 3
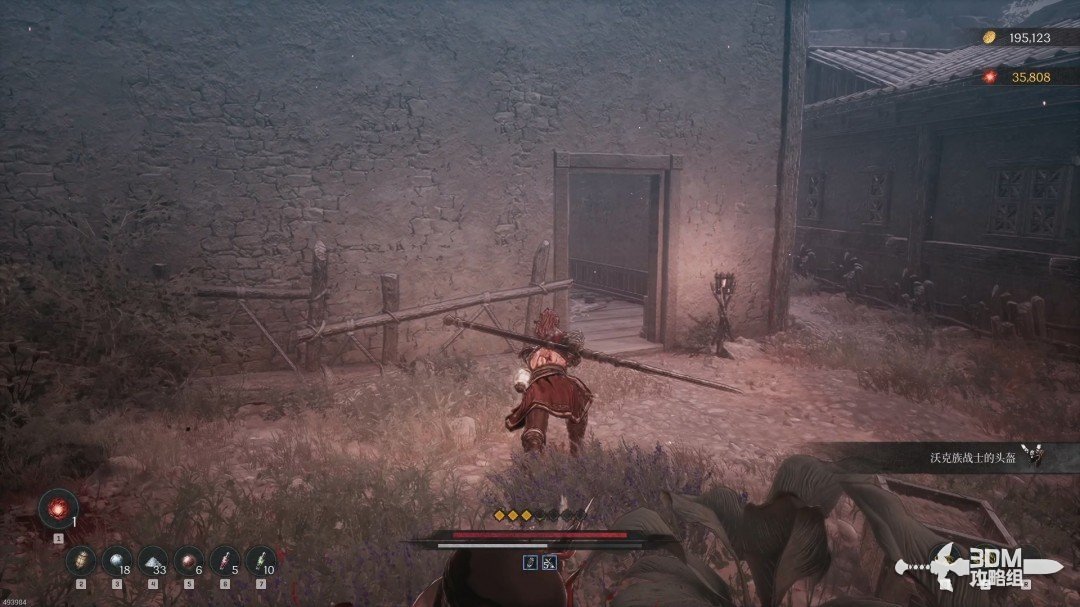
Meet Elamein and descend the broken bridges to the lower town · route image 4

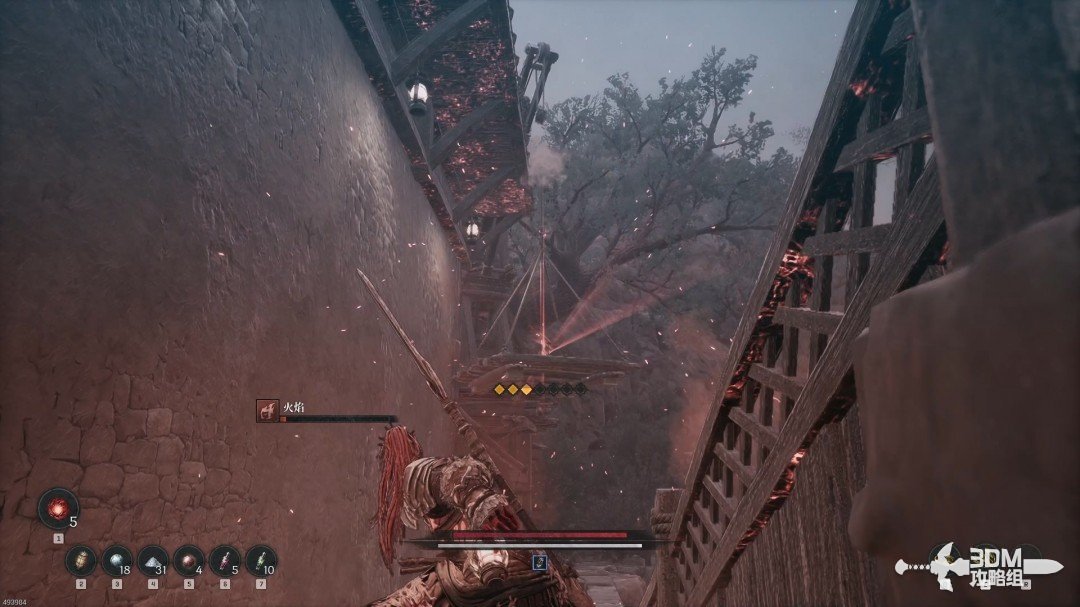
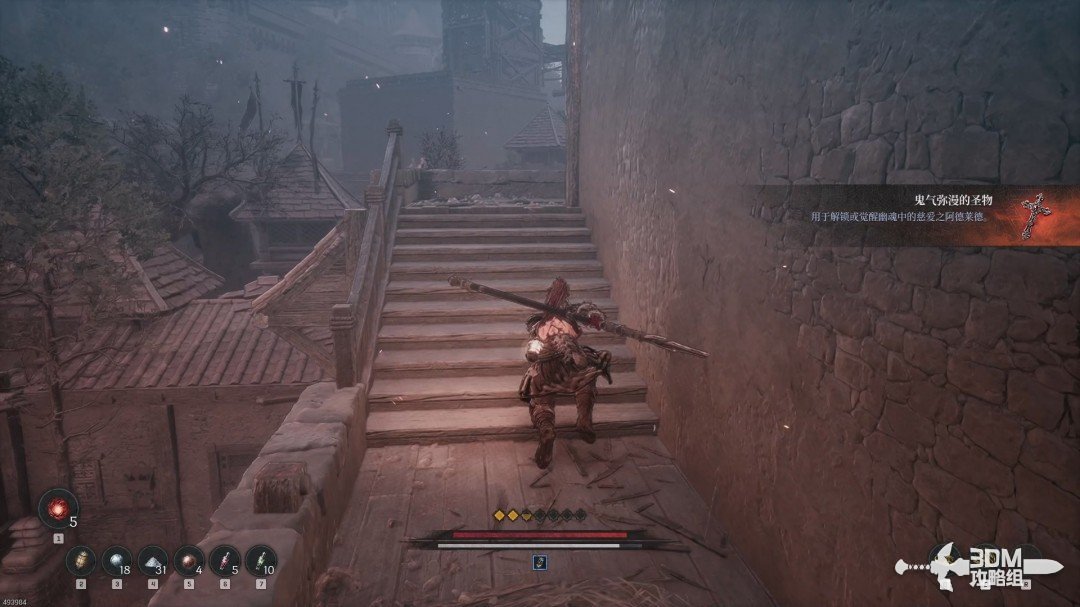
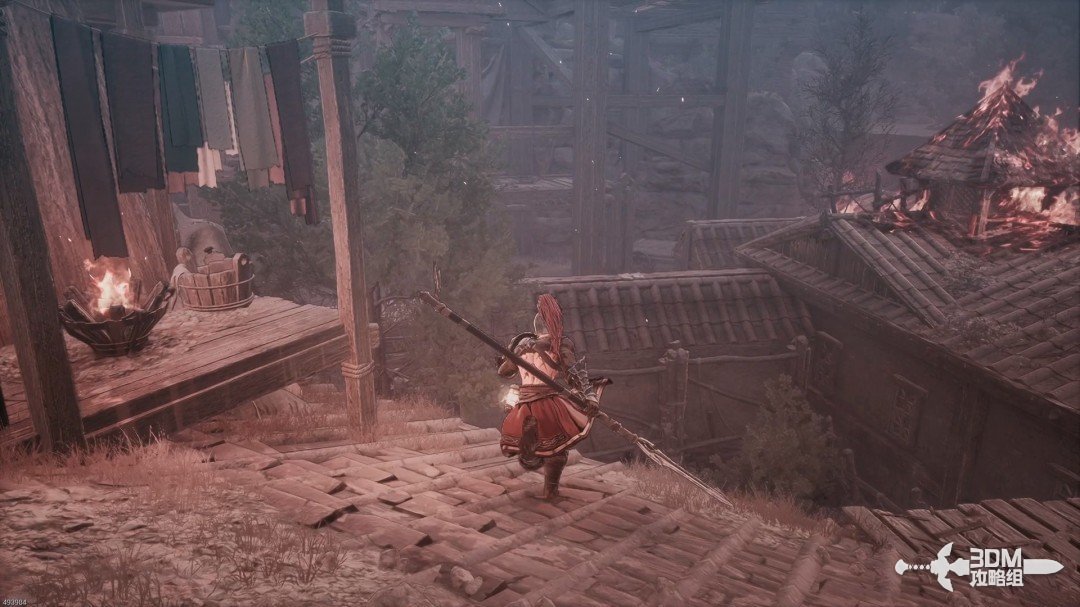
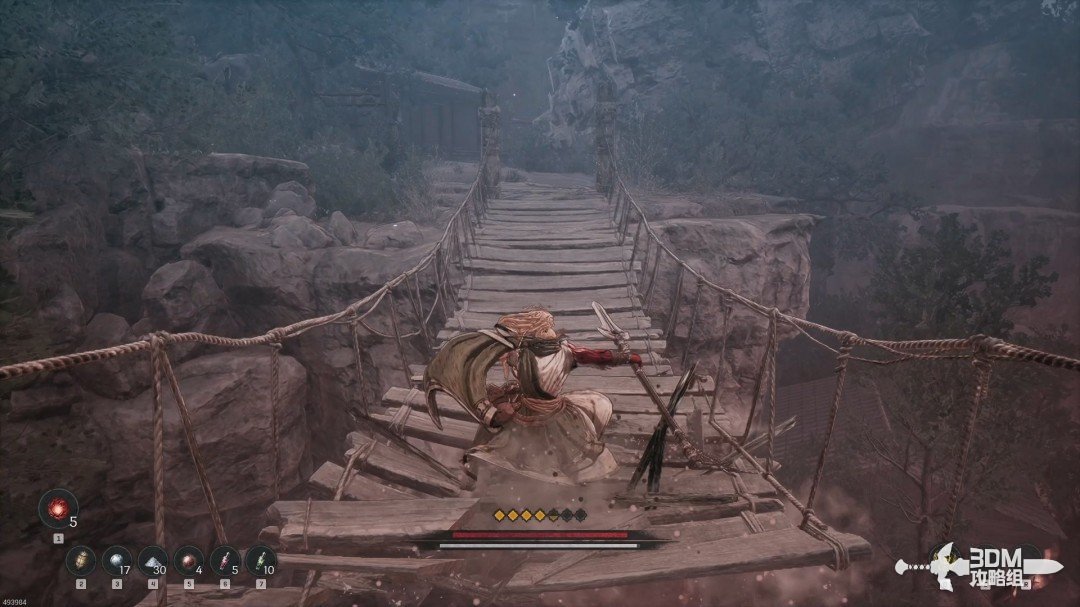
Follow the main path. The bridges collapse, forcing you down successive drops.
Meet Elamein and descend the broken bridges to the lower town · route image 5

02Rooftop fork and blocking cart: find the Wanted Poster

At the lower fork, take the right route onto the roof for a blue item.
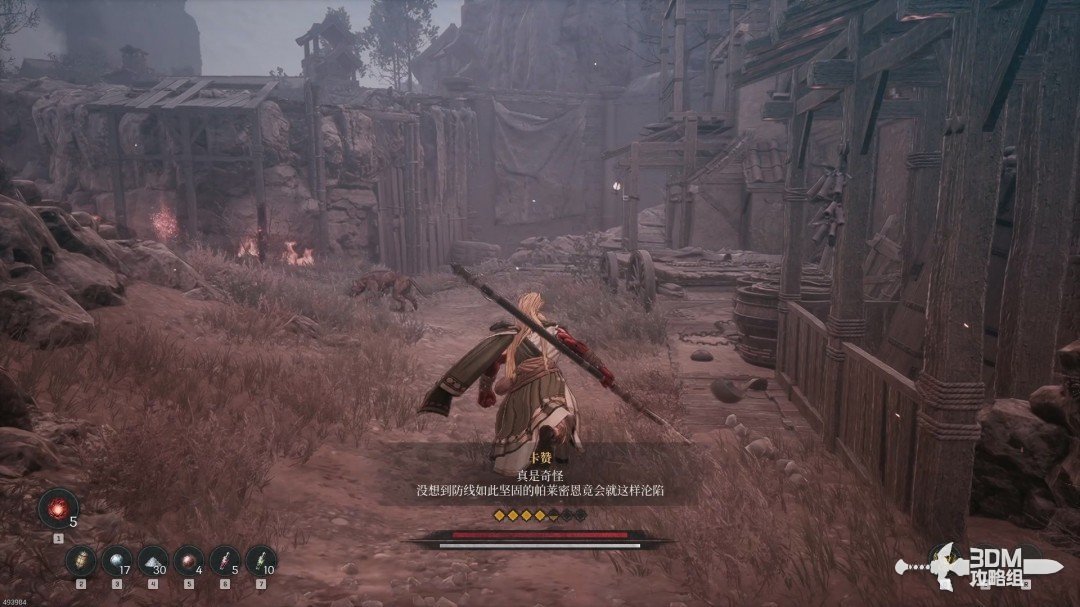
Rooftop fork and blocking cart: find the Wanted Poster · route image 6
Rooftop fork and blocking cart: find the Wanted Poster · route image 7

Continue left and collect the white roadside item.
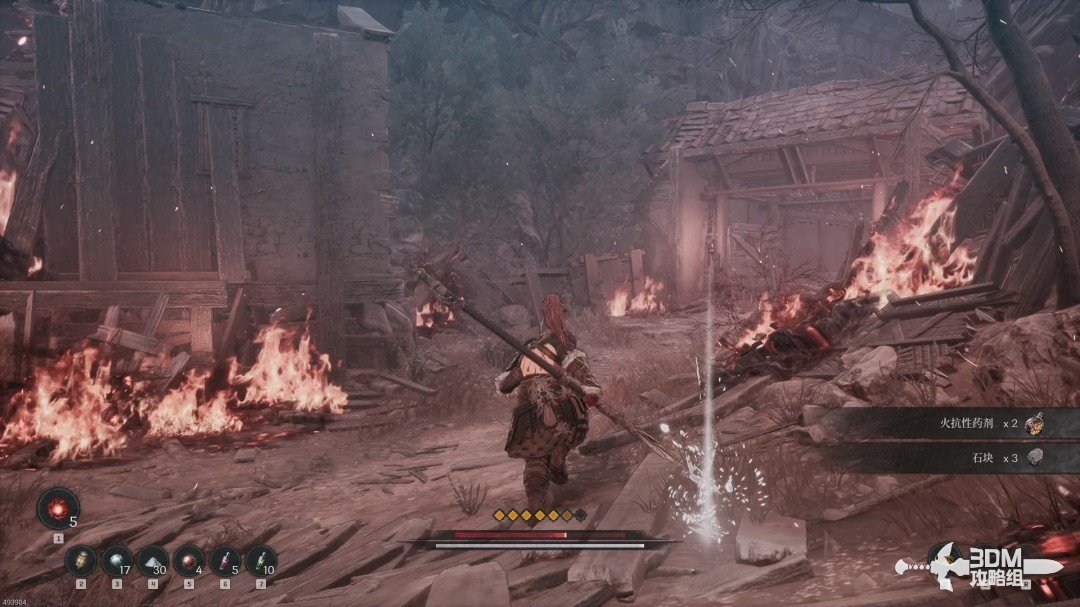
Rooftop fork and blocking cart: find the Wanted Poster · route image 8

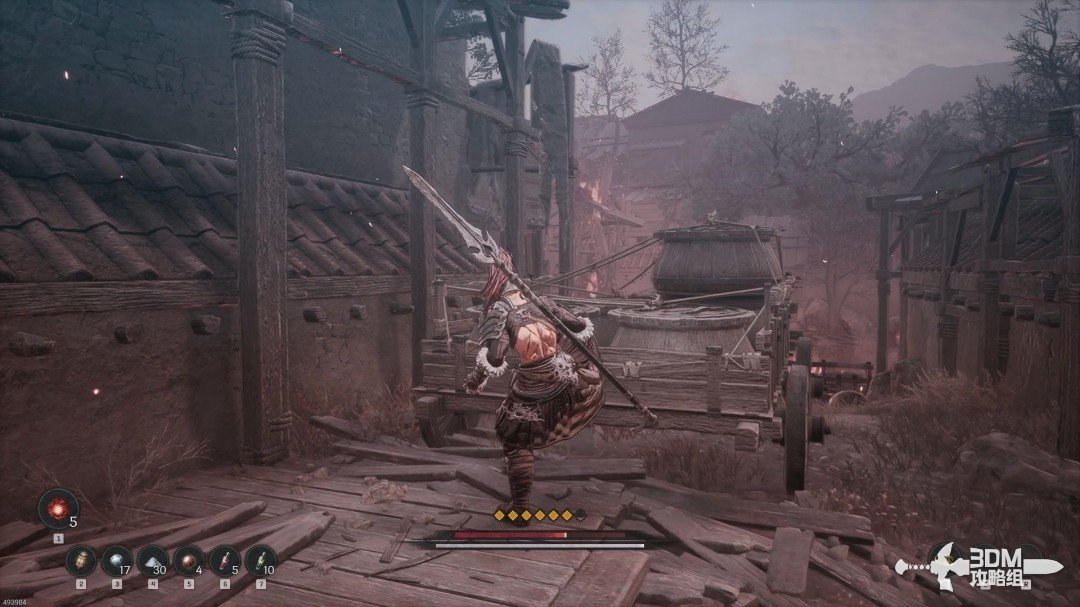
Smash the cart blocking the path.

Rooftop fork and blocking cart: find the Wanted Poster · route image 9

Collect the wanted notice for the Veiled Knives bandits beside the road.
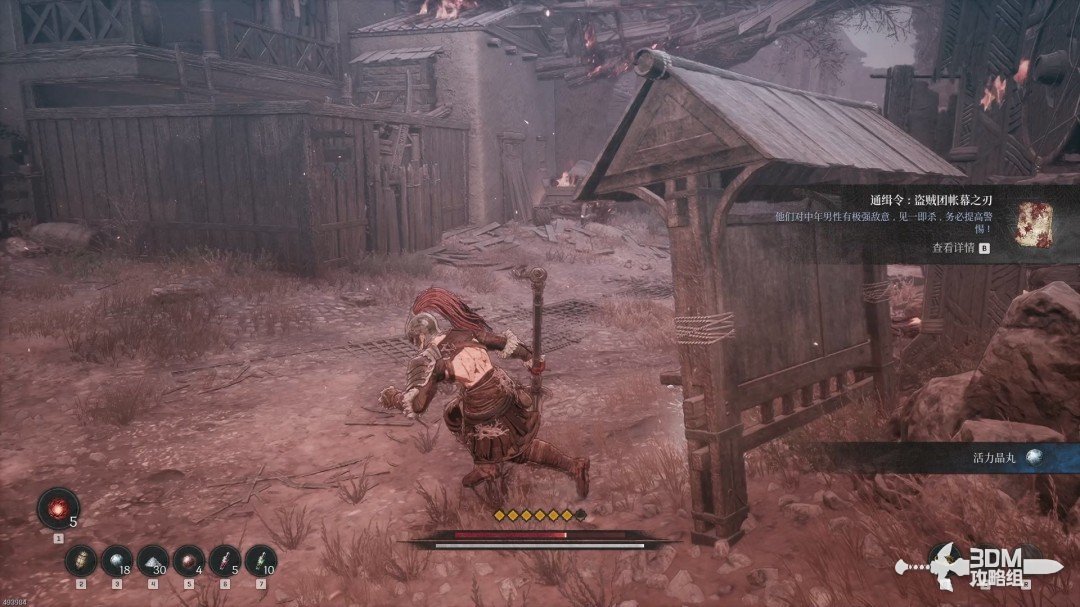
Rooftop fork and blocking cart: find the Wanted Poster · route image 10

04Soldier at the left door and explosive chest: climb the indoor stairs

A tough soldier emerges from the left doorway. First eliminate the archer across from you to reduce the pressure.
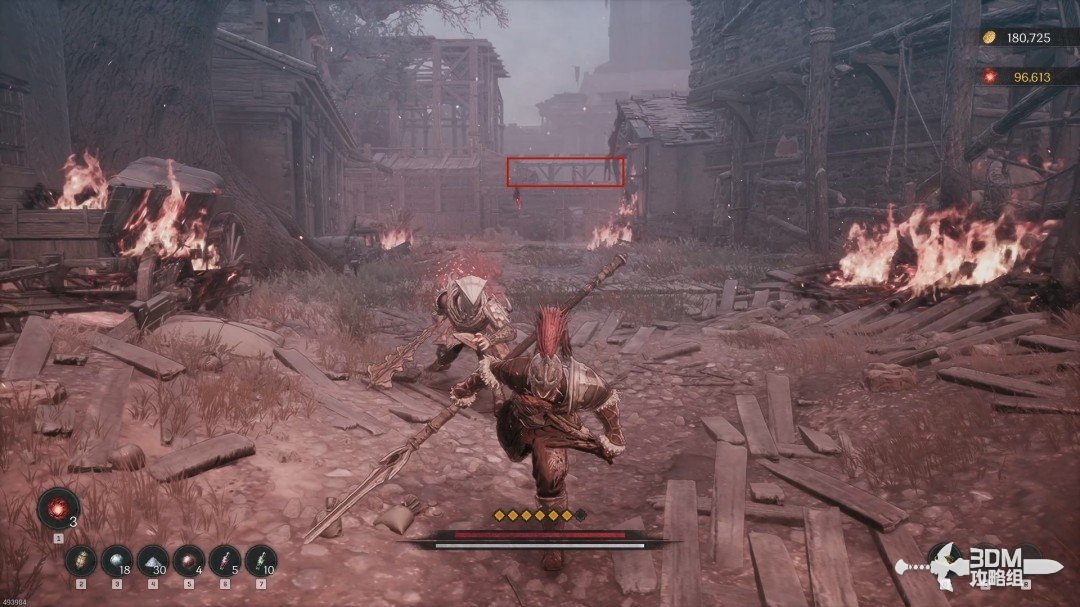
Soldier at the left door and explosive chest: climb the indoor stairs · route image 1

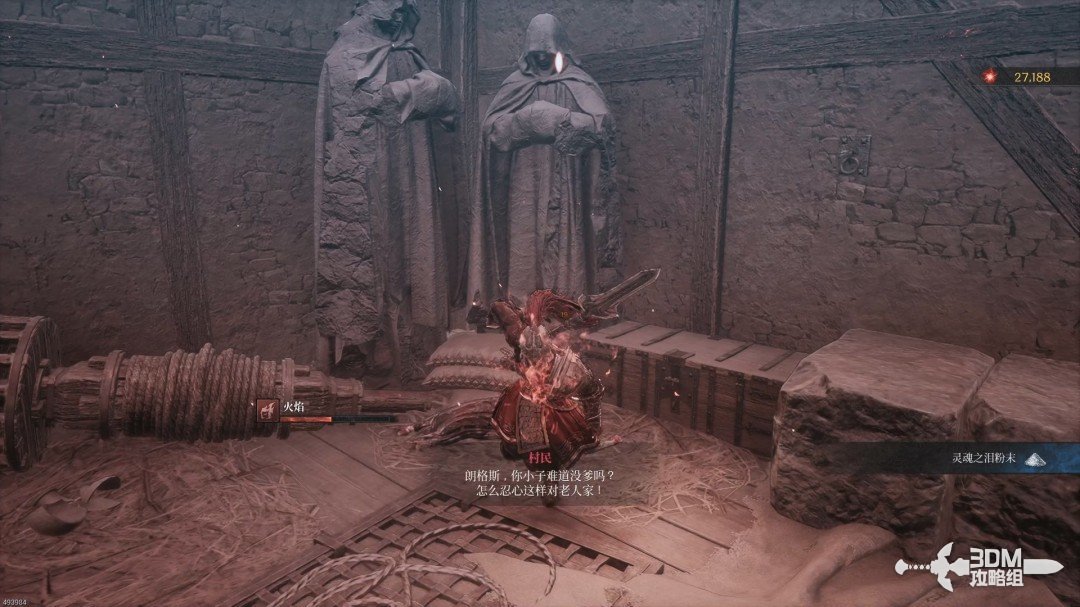
Enter the left doorway after the fight and absorb the memory.
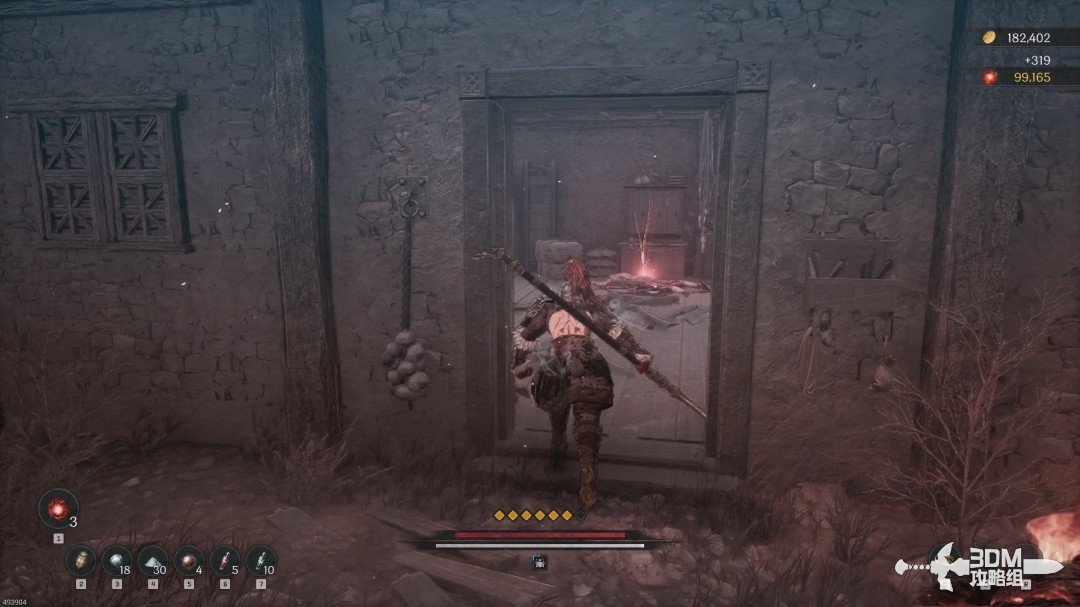
Soldier at the left door and explosive chest: climb the indoor stairs · route image 2

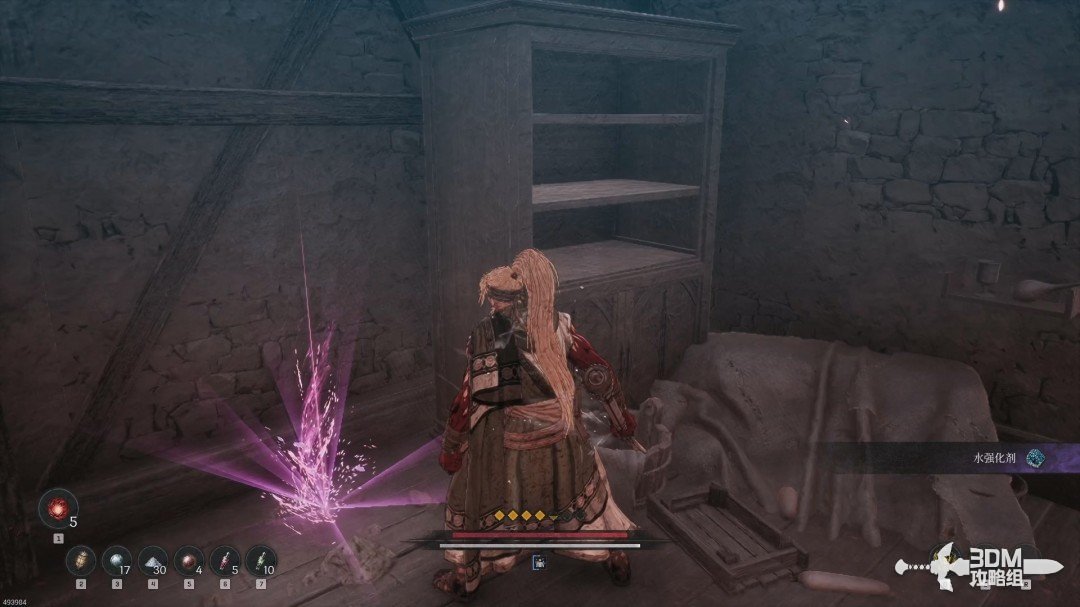
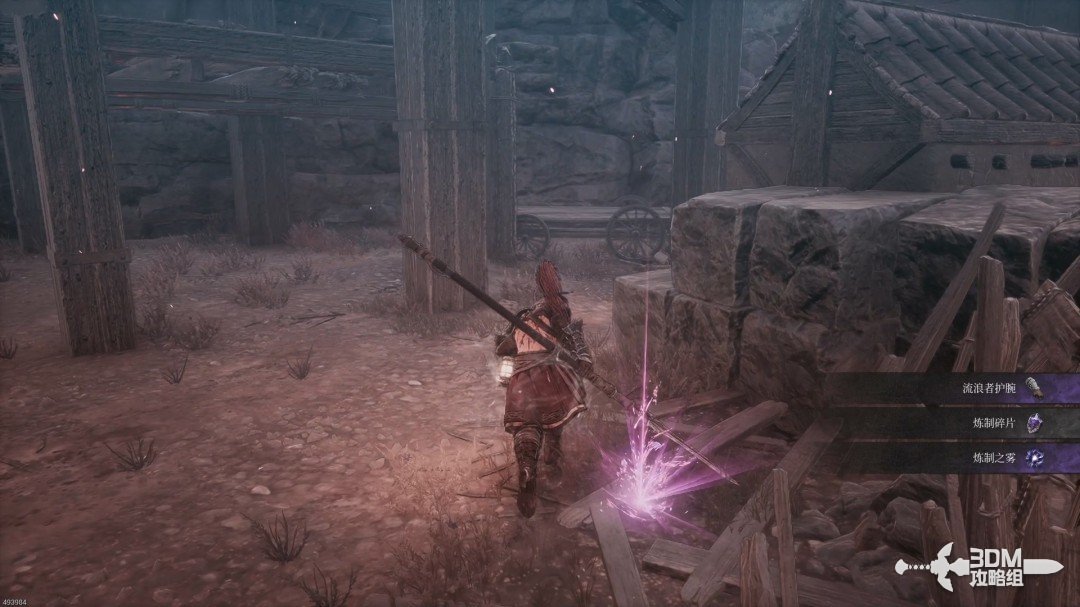
Collect the purple item behind the house.
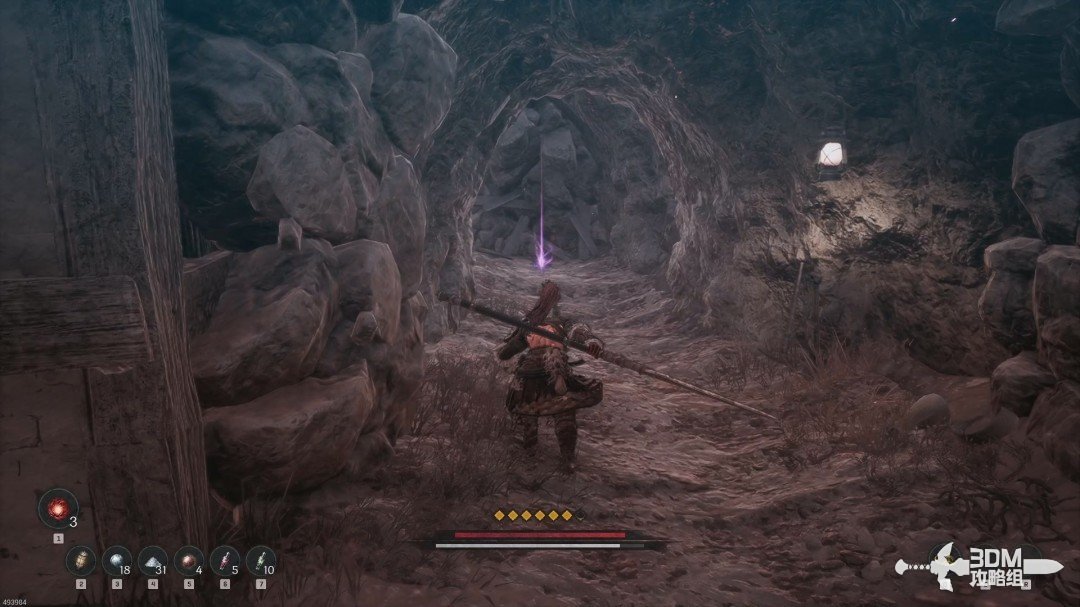
Soldier at the left door and explosive chest: climb the indoor stairs · route image 3

Return and climb the stairs to a chest. Dodge its explosion after opening.
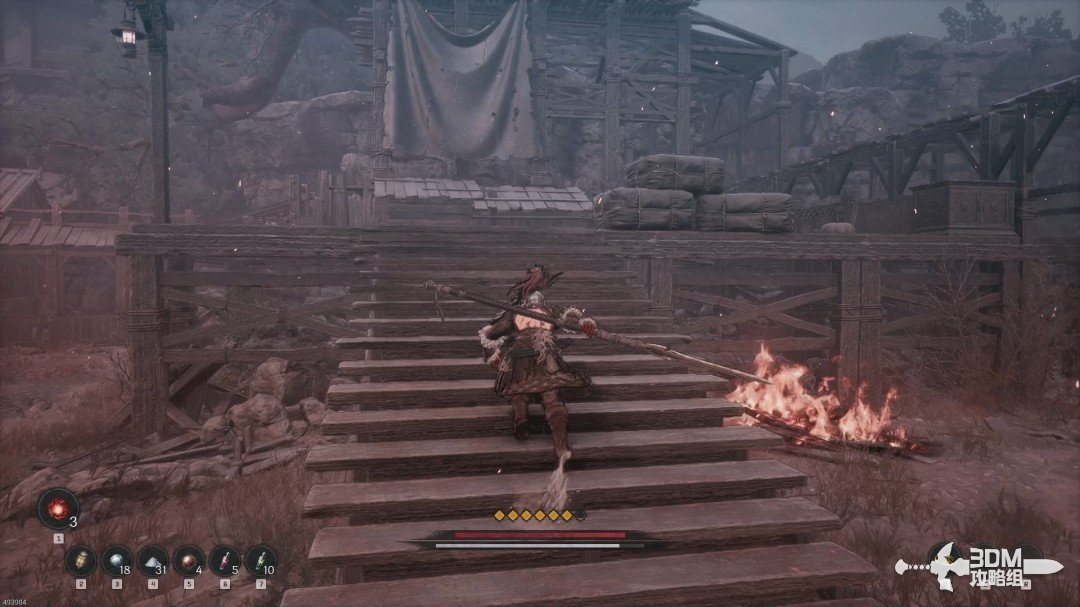
Soldier at the left door and explosive chest: climb the indoor stairs · route image 4
Soldier at the left door and explosive chest: climb the indoor stairs · route image 5

Take the other staircase and open the upper door.
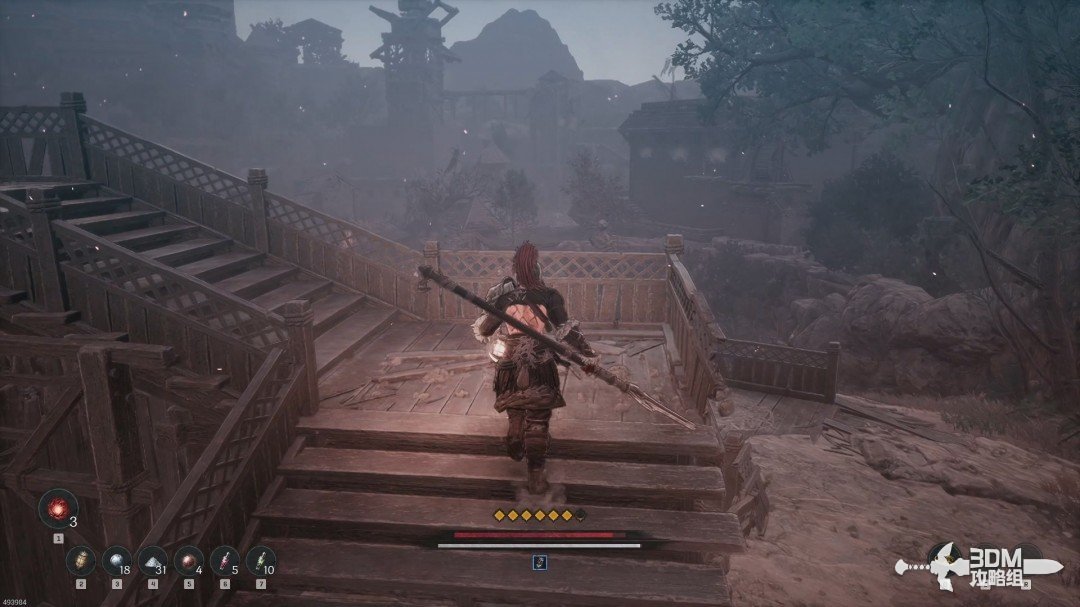
Soldier at the left door and explosive chest: climb the indoor stairs · route image 6
Soldier at the left door and explosive chest: climb the indoor stairs · route image 7

Open the chest inside.

Soldier at the left door and explosive chest: climb the indoor stairs · route image 8

05Lower alley Nexus: aim at the relic from the house on the right

Descend toward the enemies below.
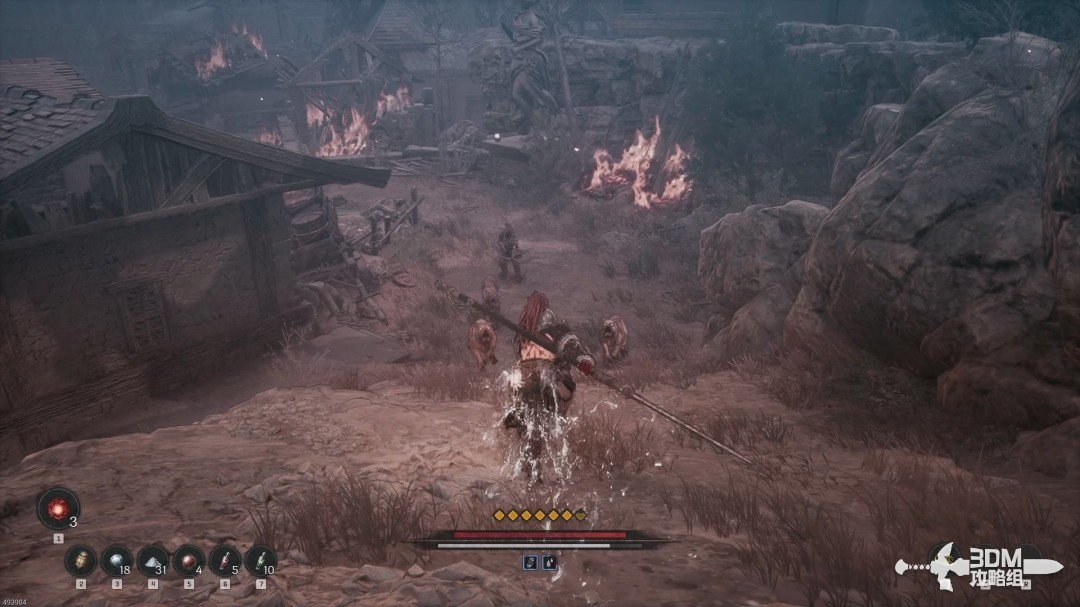
Lower alley Nexus: aim at the relic from the house on the right · route image 9

Collect the blue item in the left alley.
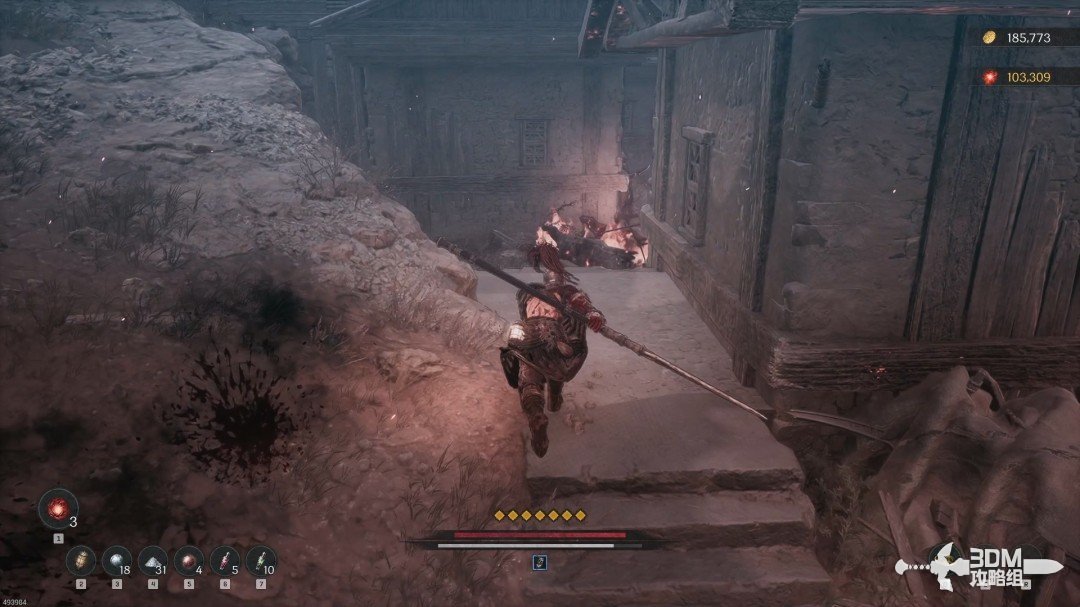
Lower alley Nexus: aim at the relic from the house on the right · route image 10

Return to the main road and rest at the Nexus ahead.
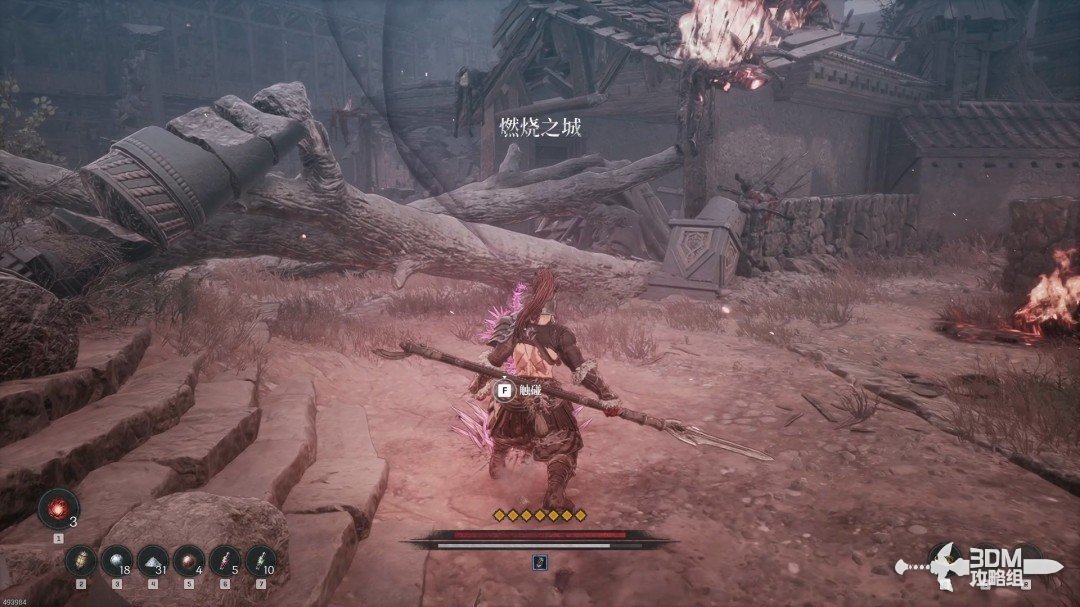
Lower alley Nexus: aim at the relic from the house on the right · route image 11

Take the right-hand route after resting.
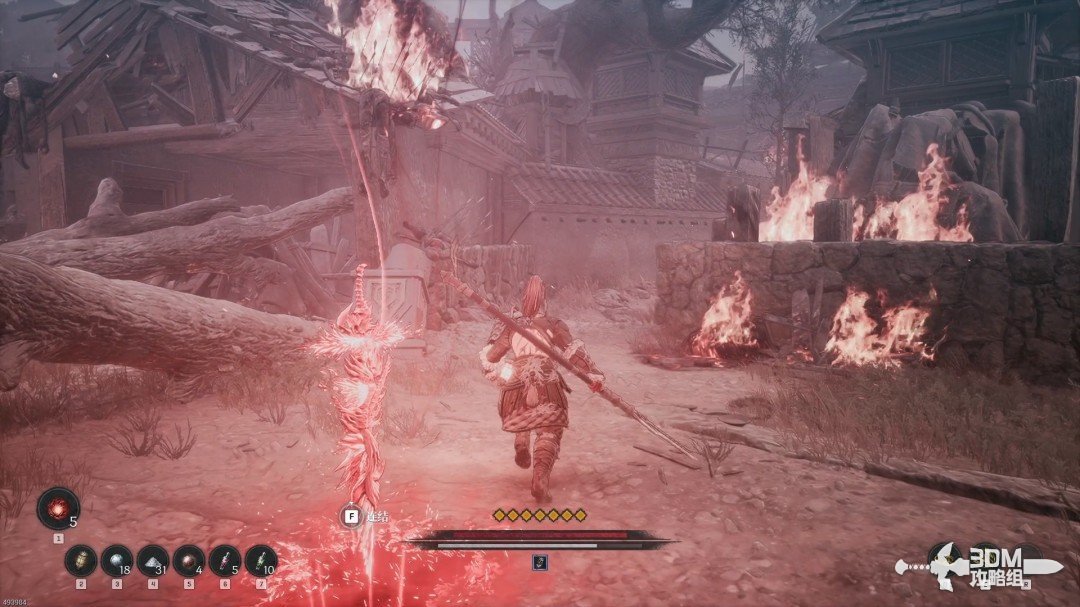
Lower alley Nexus: aim at the relic from the house on the right · route image 12

Defeat the enemy bursting through this door and enter.
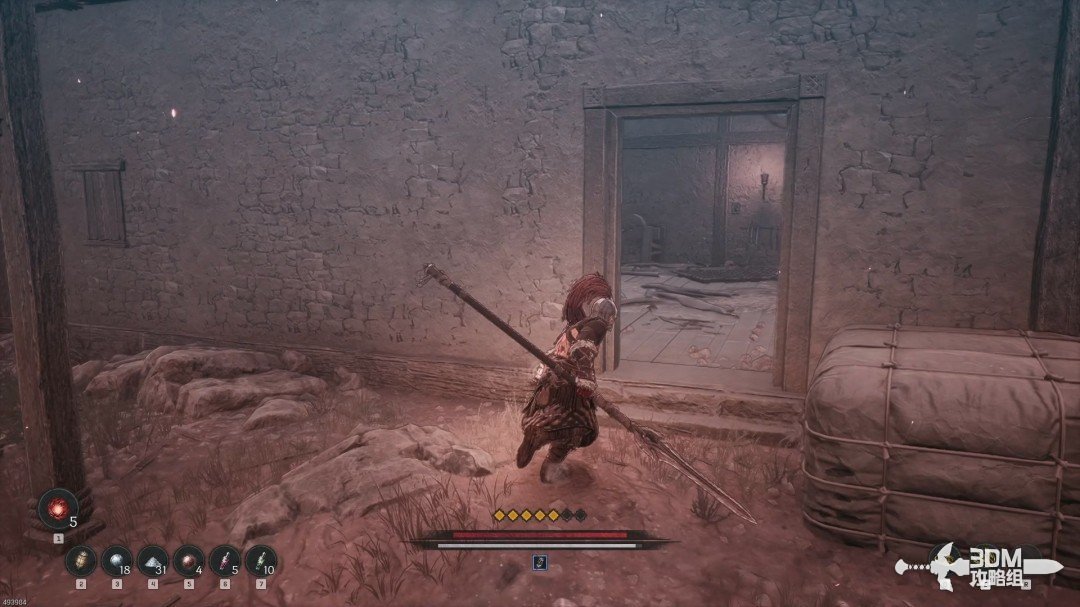
Lower alley Nexus: aim at the relic from the house on the right · route image 13

Climb inside and turn left outside the upper door. Use Javelin to knock down the red item.
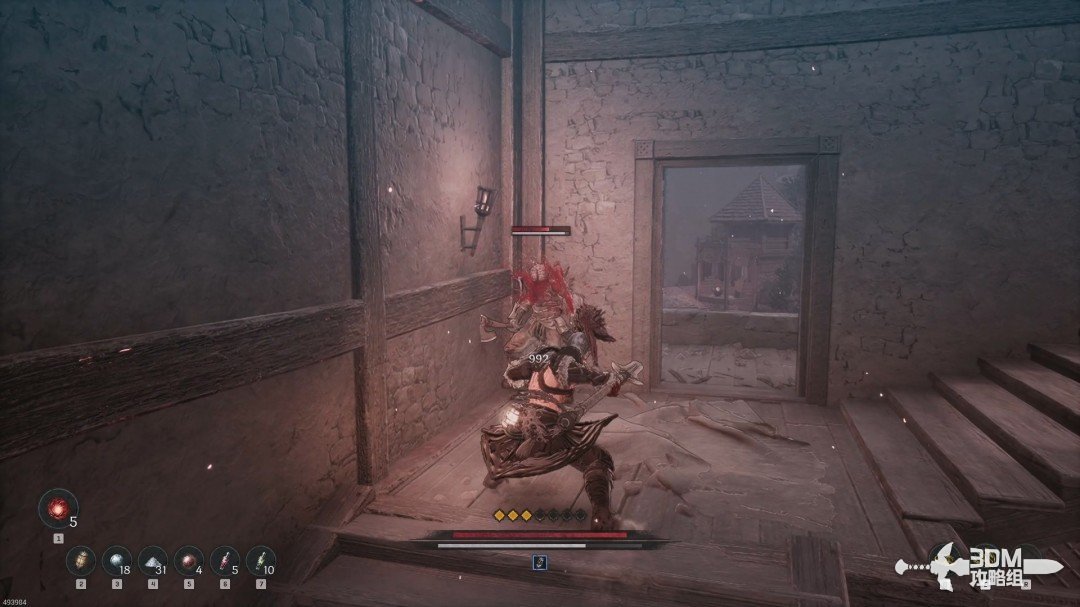
Lower alley Nexus: aim at the relic from the house on the right · route image 14
Lower alley Nexus: aim at the relic from the house on the right · route image 15

Collect the Ghostly Relic.

Lower alley Nexus: aim at the relic from the house on the right · route image 16

07Rooftop chest and drop: circle beneath the beams for the Soulstone

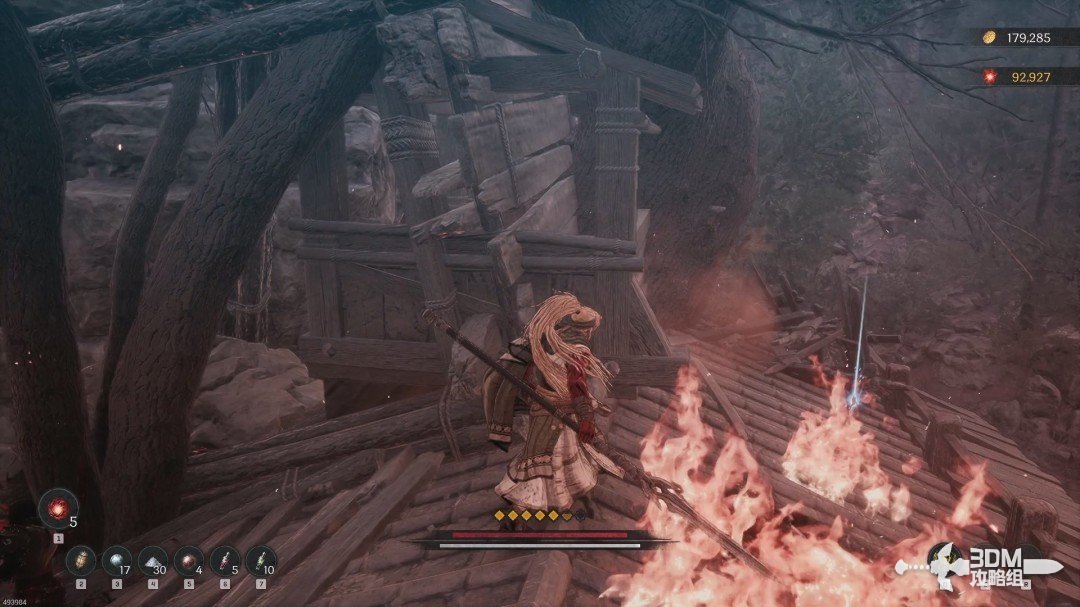
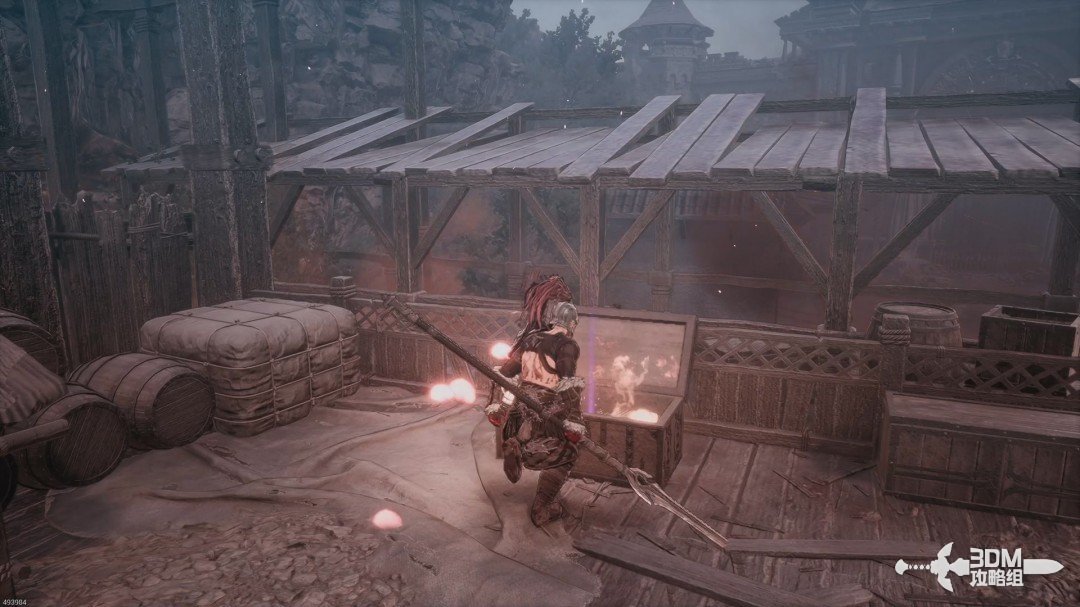
Climb farther for a rooftop chest.
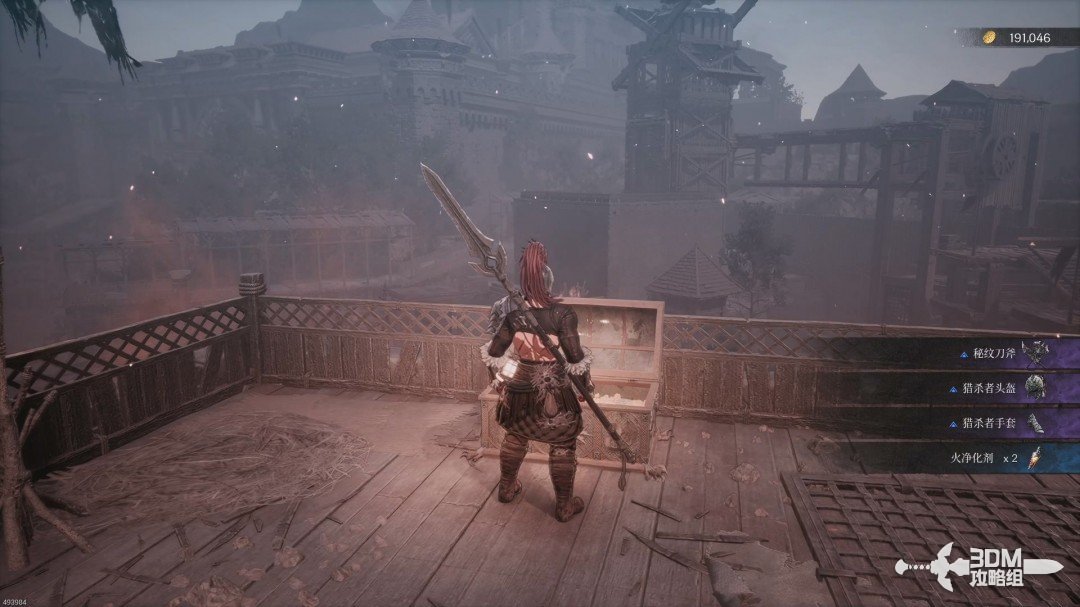
Rooftop chest and drop: circle beneath the beams for the Soulstone · route image 1

Descend, then use the pictured corner to reach another rooftop.
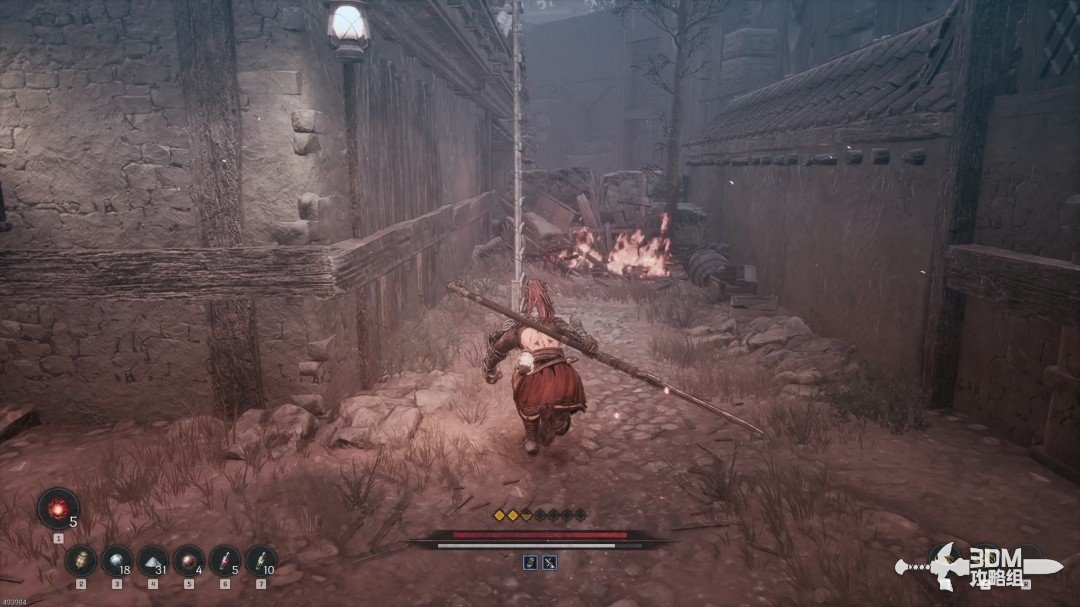
Rooftop chest and drop: circle beneath the beams for the Soulstone · route image 2

Drop from this position.

Rooftop chest and drop: circle beneath the beams for the Soulstone · route image 3

Absorb the memory ahead.

Rooftop chest and drop: circle beneath the beams for the Soulstone · route image 4

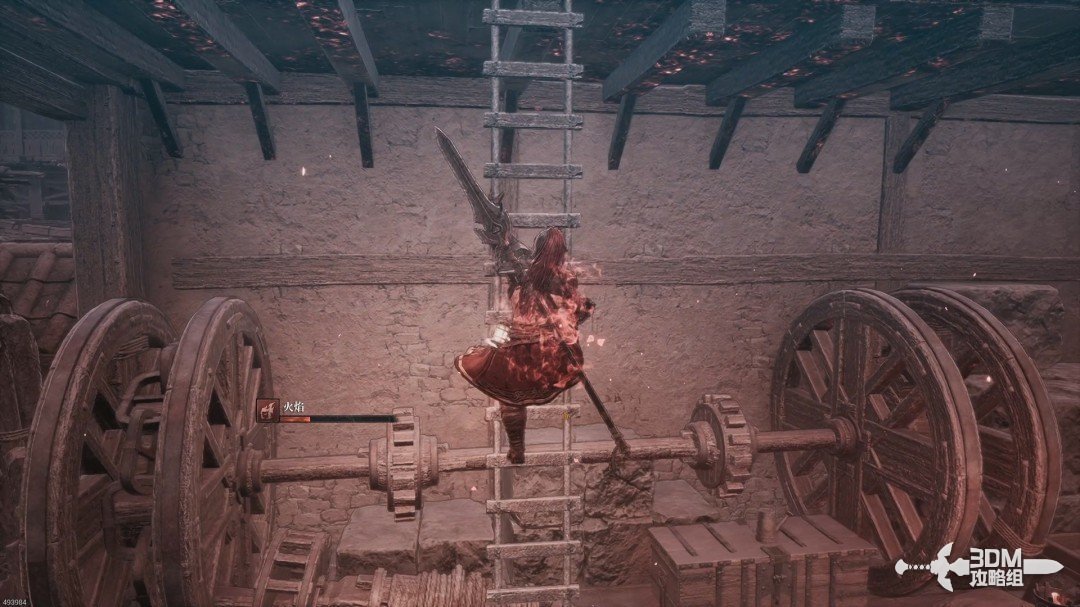
Climb the ladder behind you.

Rooftop chest and drop: circle beneath the beams for the Soulstone · route image 5

After two climbs, leave the building. Both sides are accessible; drop right first for loot.
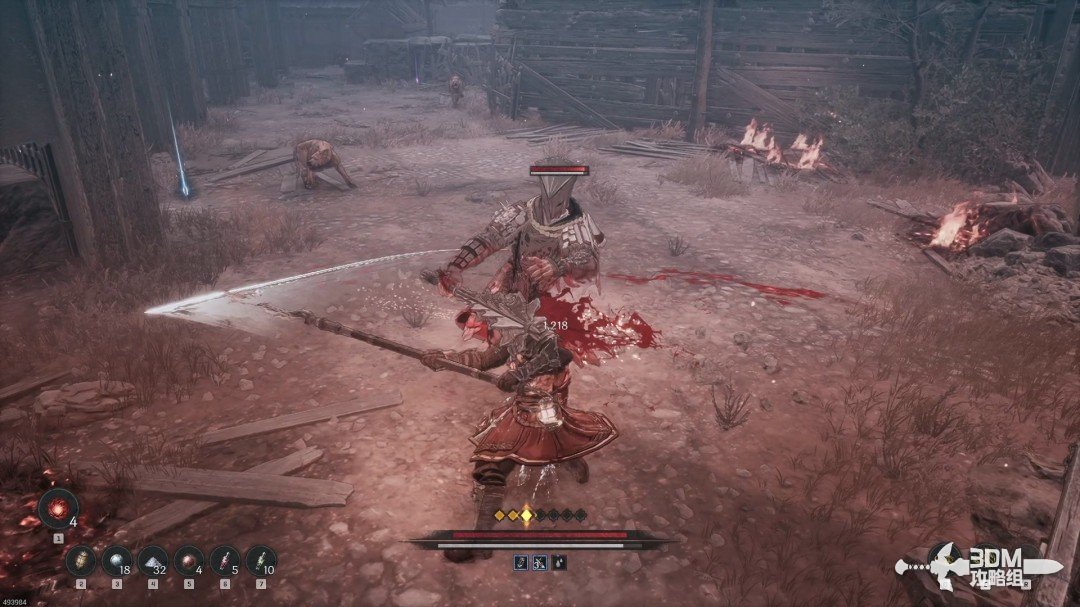
Rooftop chest and drop: circle beneath the beams for the Soulstone · route image 6
Rooftop chest and drop: circle beneath the beams for the Soulstone · route image 7

A Soulstone sits on the beam inside.
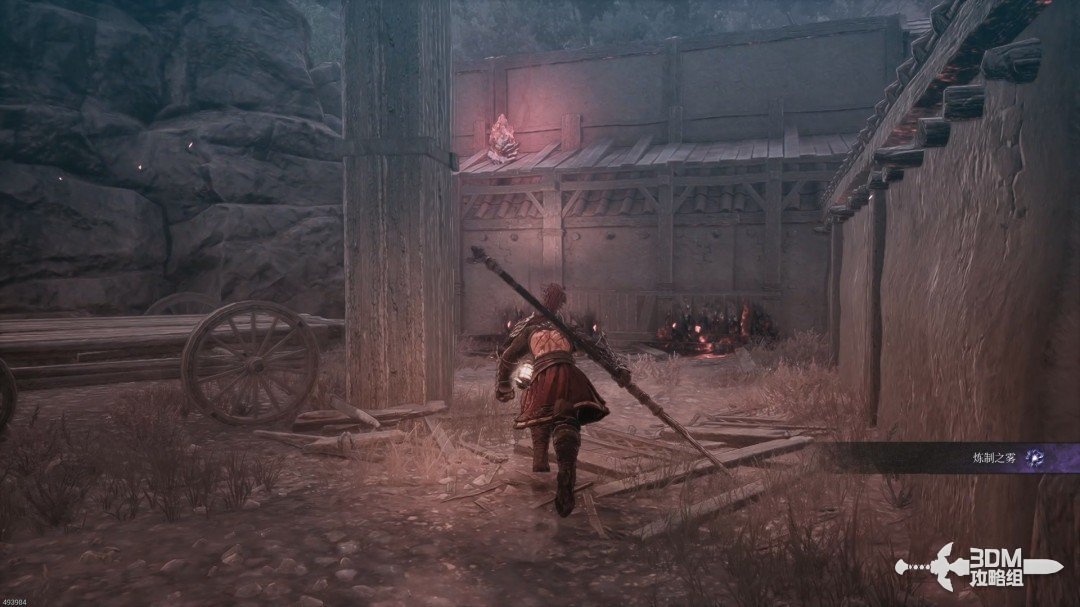
Rooftop chest and drop: circle beneath the beams for the Soulstone · route image 8

09Below the left ladder: circle to the back door and climb to the top

Return after the Soulstone, climb the ladder and go left.
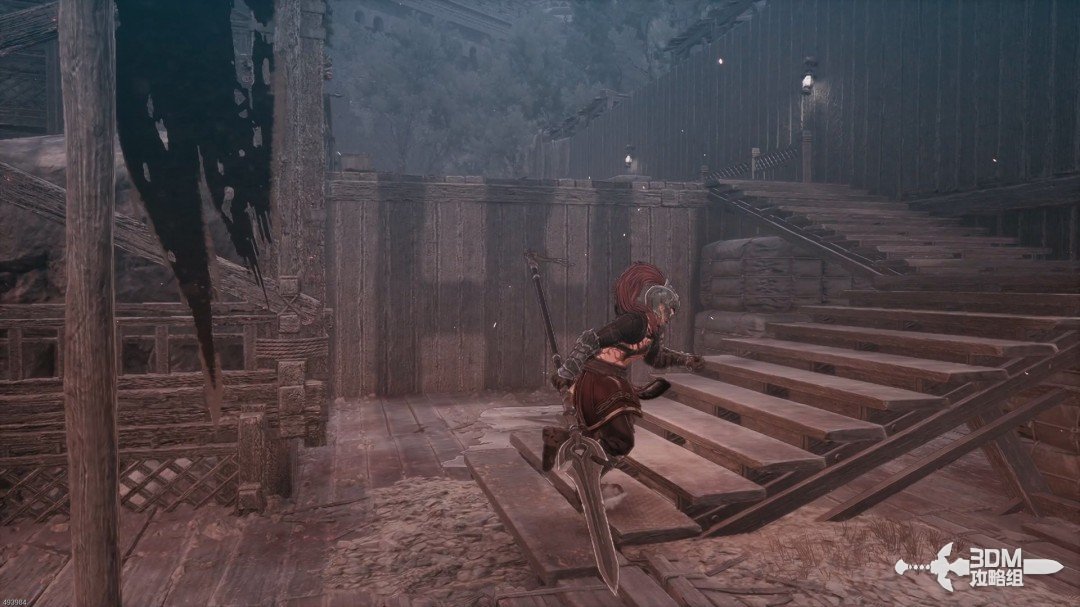
Below the left ladder: circle to the back door and climb to the top · route image 1

At the end, descend the ladder.

Below the left ladder: circle to the back door and climb to the top · route image 2

Continue straight for a blue item.

Below the left ladder: circle to the back door and climb to the top · route image 3

Explore the right branch for another blue item and a memory on its platform, then return.
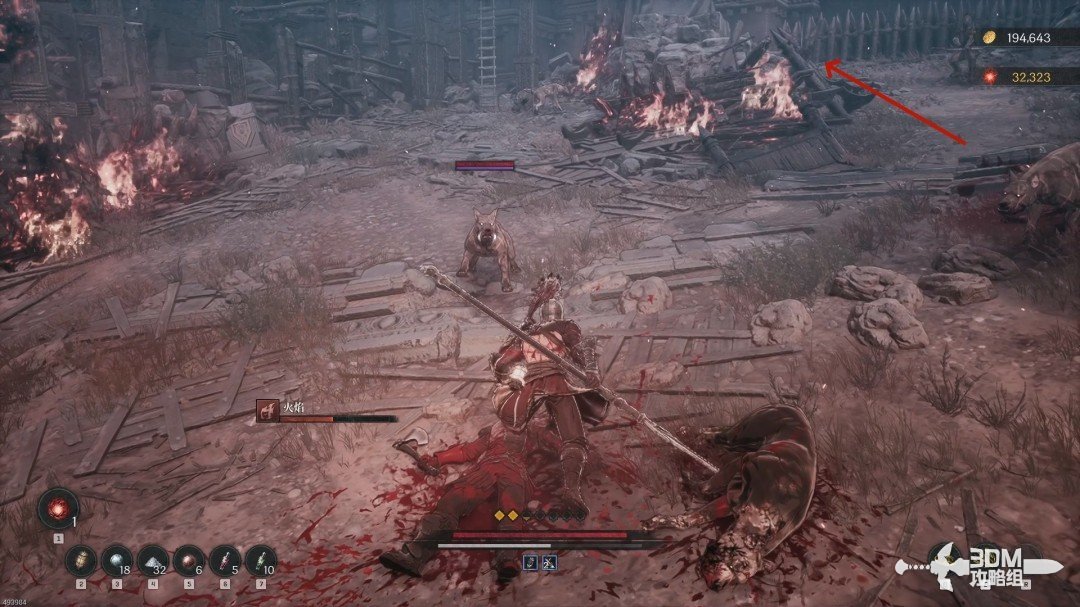
Below the left ladder: circle to the back door and climb to the top · route image 4
Below the left ladder: circle to the back door and climb to the top · route image 5

Follow the small path behind the house.
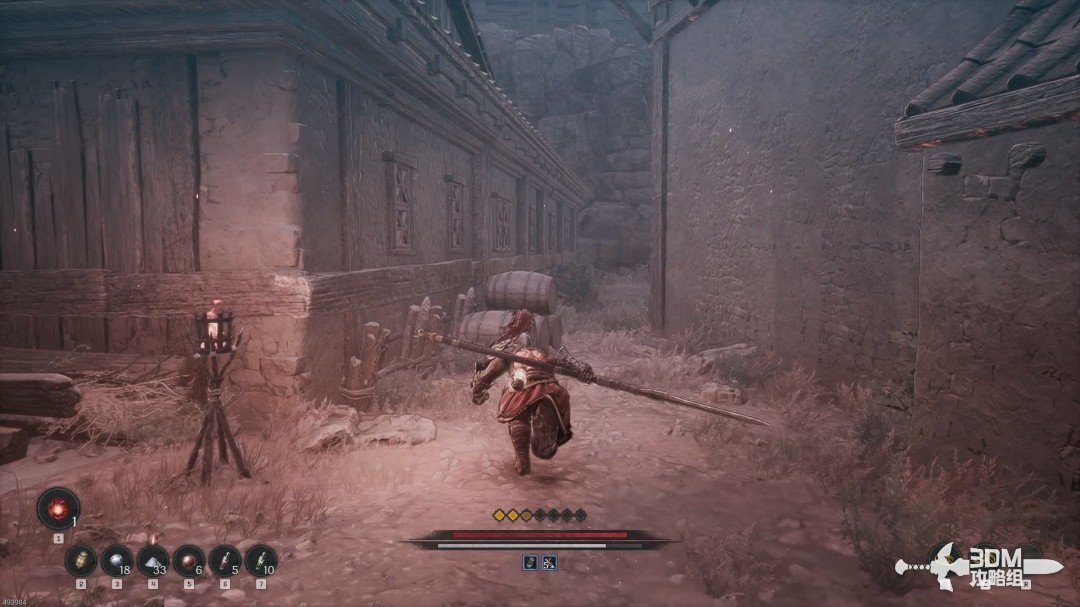
Below the left ladder: circle to the back door and climb to the top · route image 6

Enter the small doorway.

Below the left ladder: circle to the back door and climb to the top · route image 7

Climb the ladder to the Soulstone on the upper level.
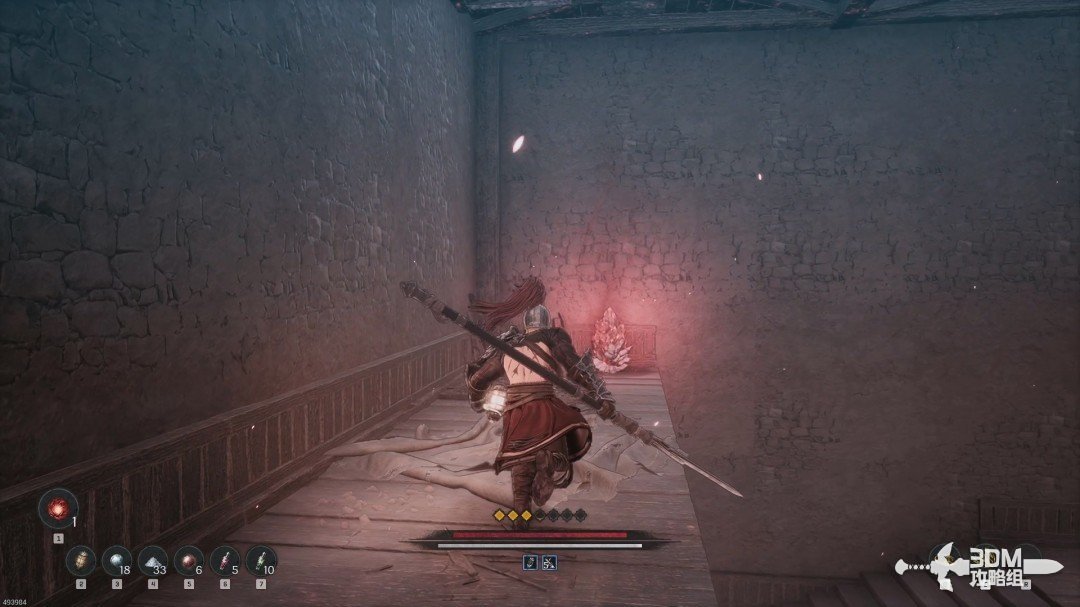
Below the left ladder: circle to the back door and climb to the top · route image 8

11Chain bridge and castle drop: reach the inner Nexus

Break the bridge's chain to lower the crossing.
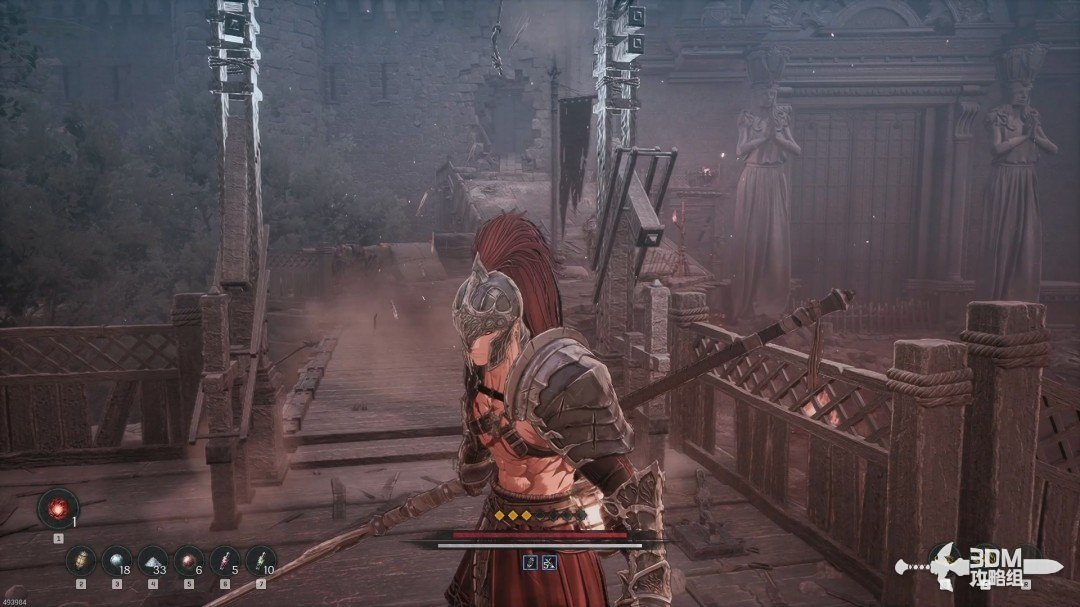
Chain bridge and castle drop: reach the inner Nexus · route image 1

Drop from this point into the castle.
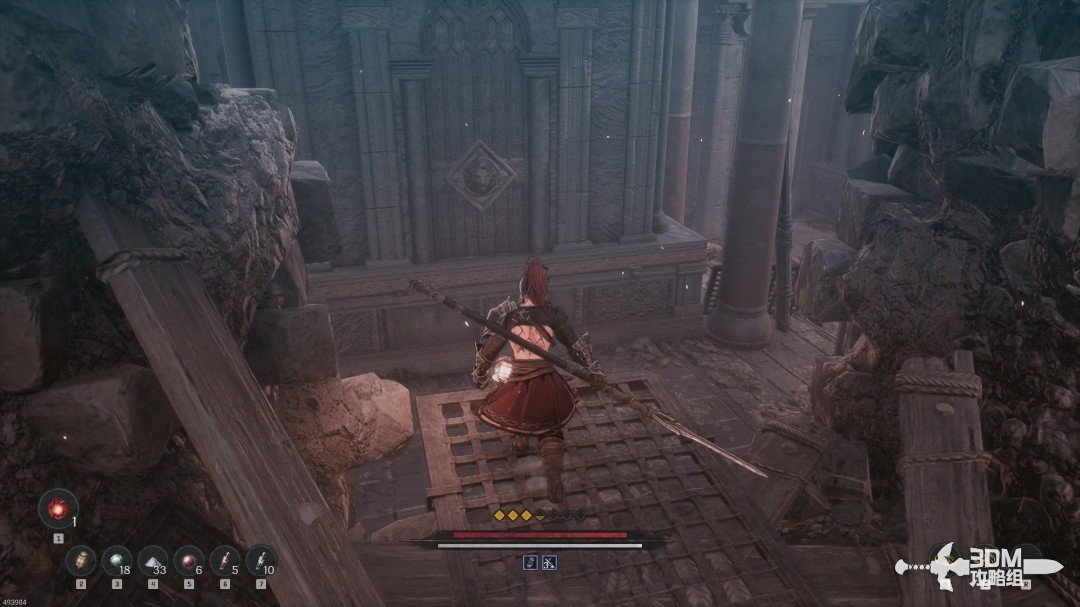
Chain bridge and castle drop: reach the inner Nexus · route image 2

Continue dropping on the right and collect the purple item.
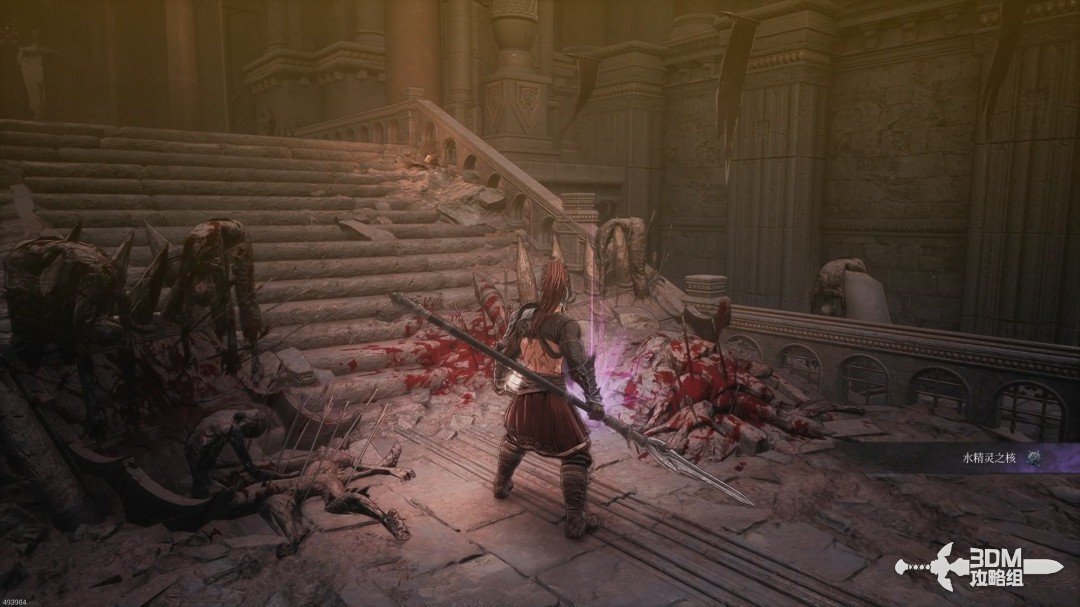
Chain bridge and castle drop: reach the inner Nexus · route image 3

Rest at the Nexus to the left.

Chain bridge and castle drop: reach the inner Nexus · route image 4

12Passage beside the locked gates: find the emperor's letter by the desk

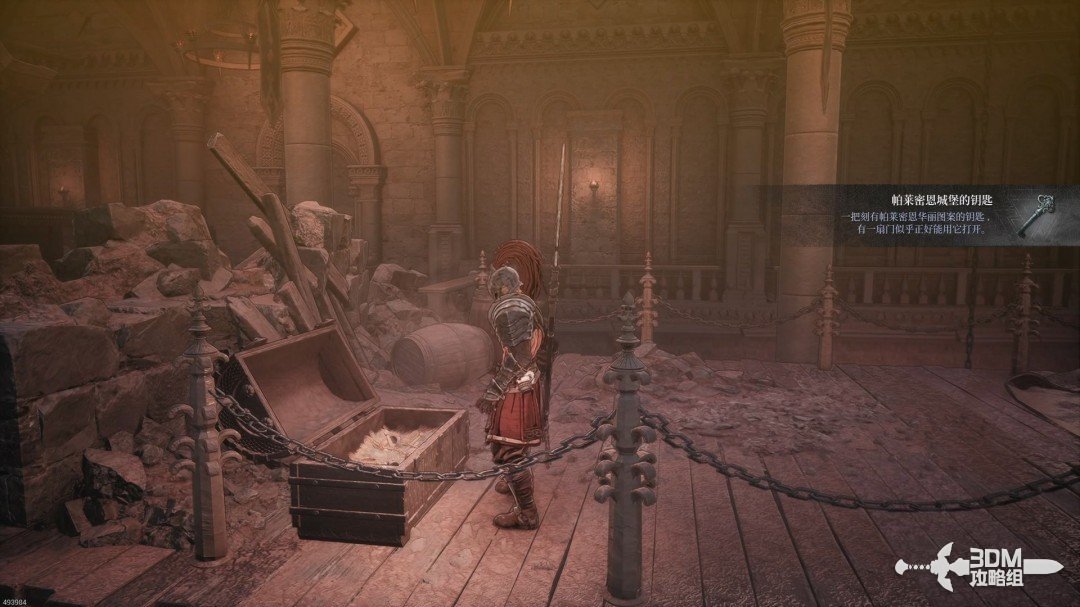
Follow the pictured route; the iron gates on the right remain locked.
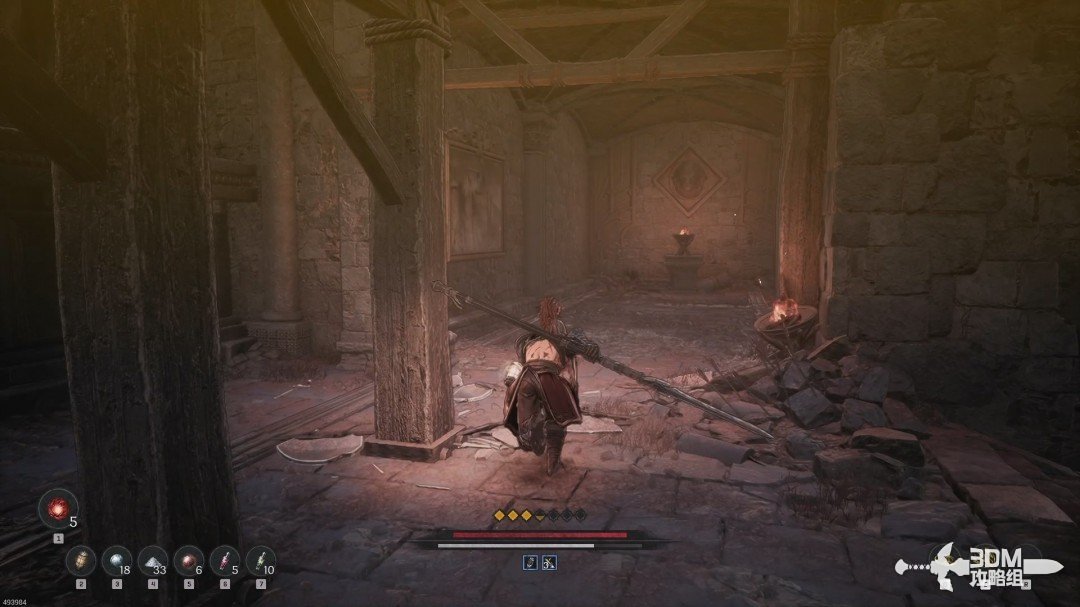
Passage beside the locked gates: find the emperor's letter by the desk · route image 5

At the path's end, collect the Grimy Imperial Letter beside the table.
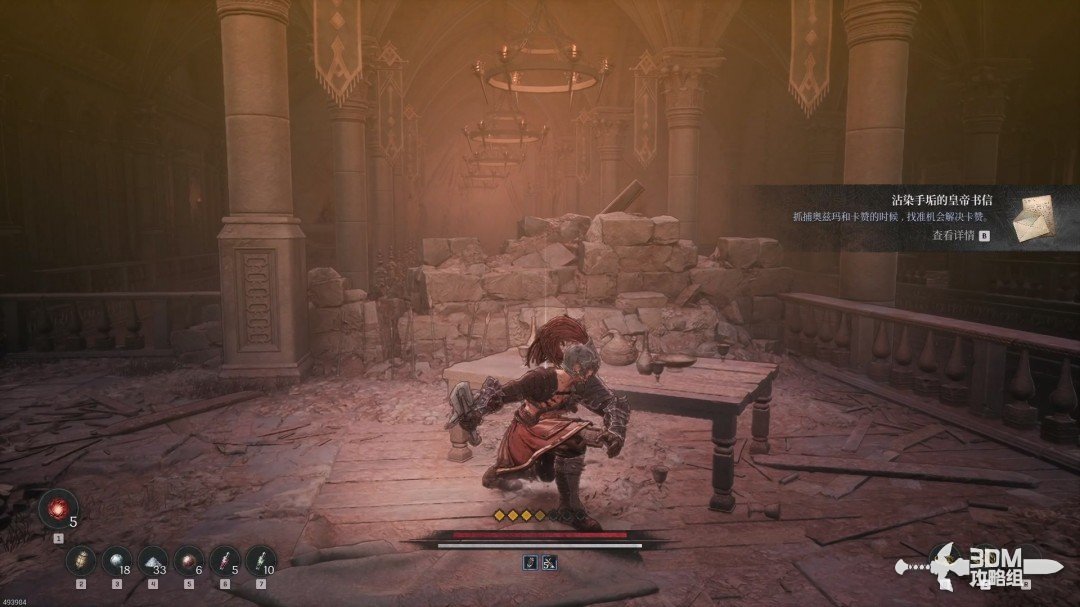
Passage beside the locked gates: find the emperor's letter by the desk · route image 6

14Alley key and study: break the wall to find the jar

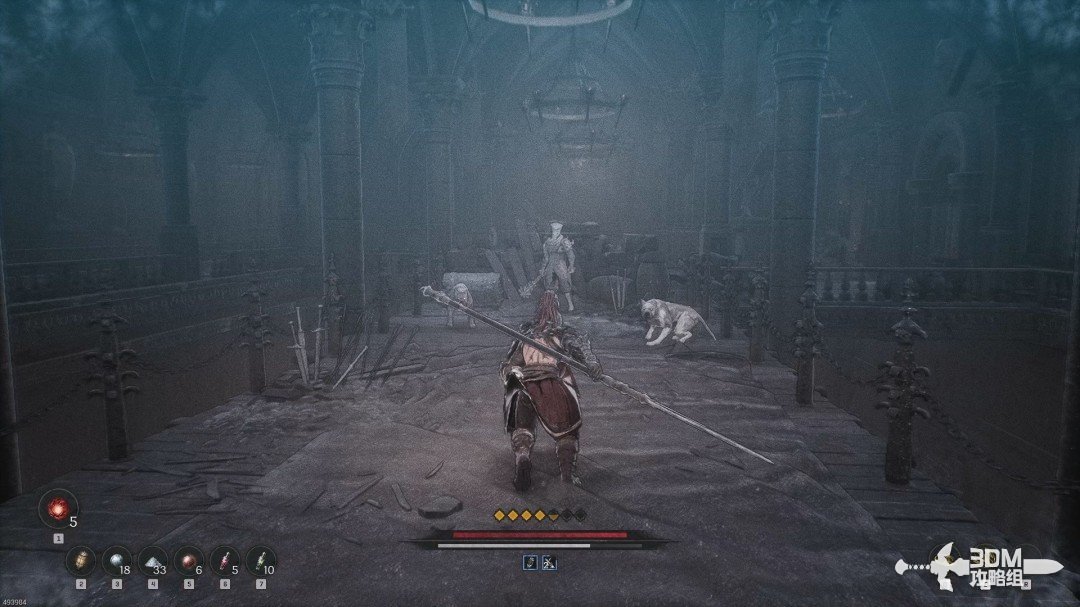
The narrow left path contains several enemies. Watch the archers.
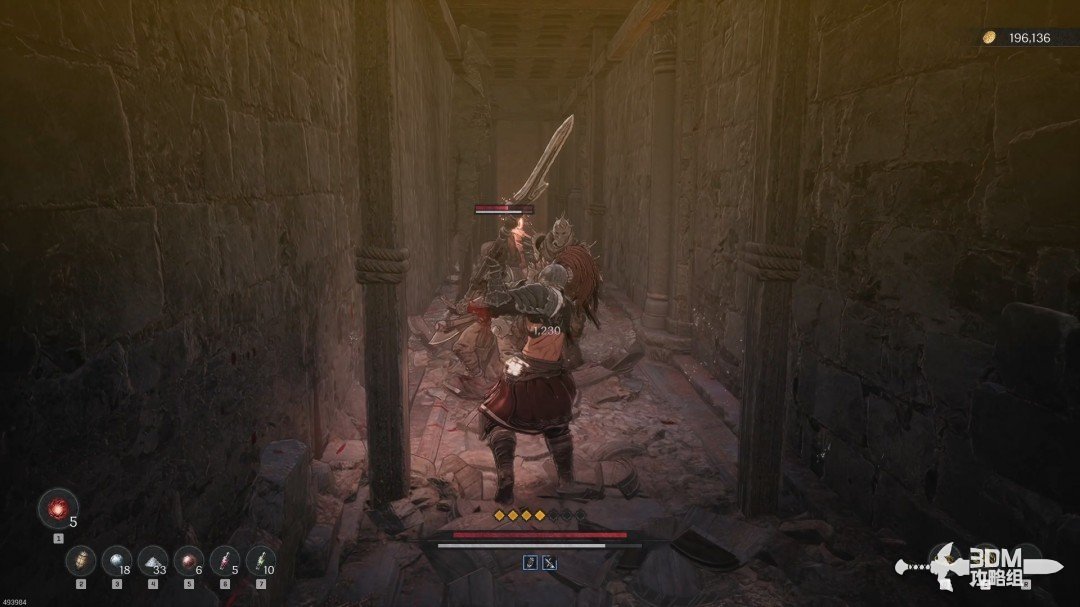
Alley key and study: break the wall to find the jar · route image 1

Defeat the group guarding the right chest and obtain the key inside.
Alley key and study: break the wall to find the jar · route image 2
Alley key and study: break the wall to find the jar · route image 3

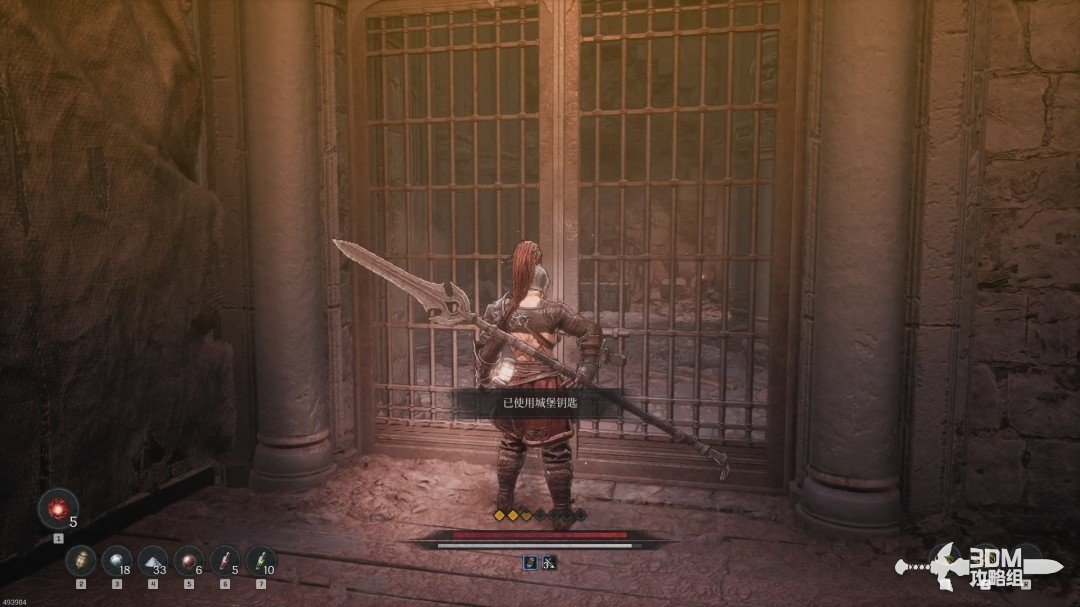
Use it on the gate behind you for another chest.
Alley key and study: break the wall to find the jar · route image 4

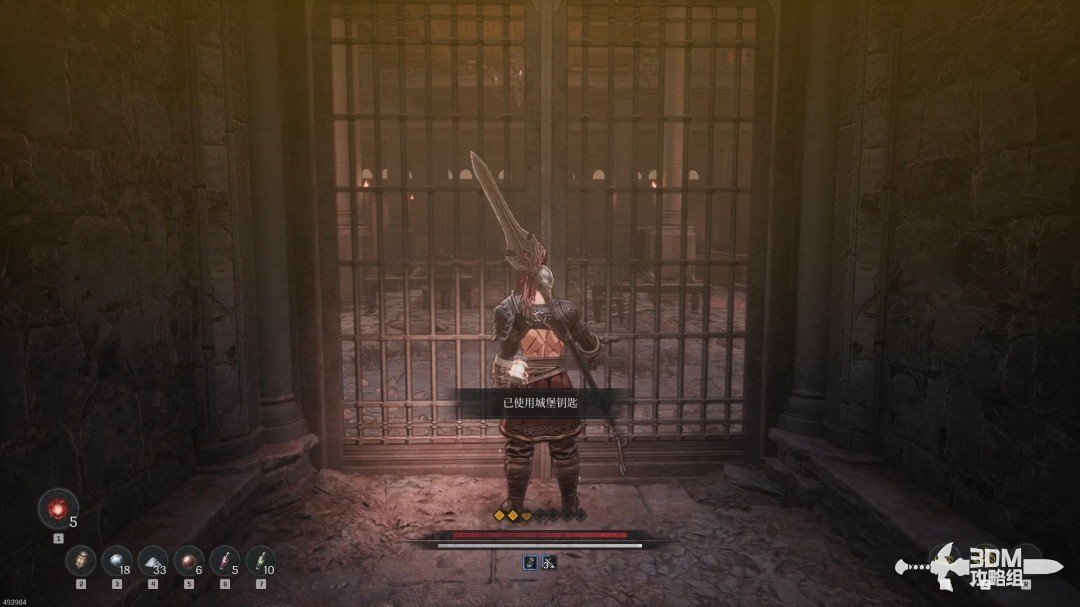
Return to the Nexus and open the previously locked iron gate.
Alley key and study: break the wall to find the jar · route image 5

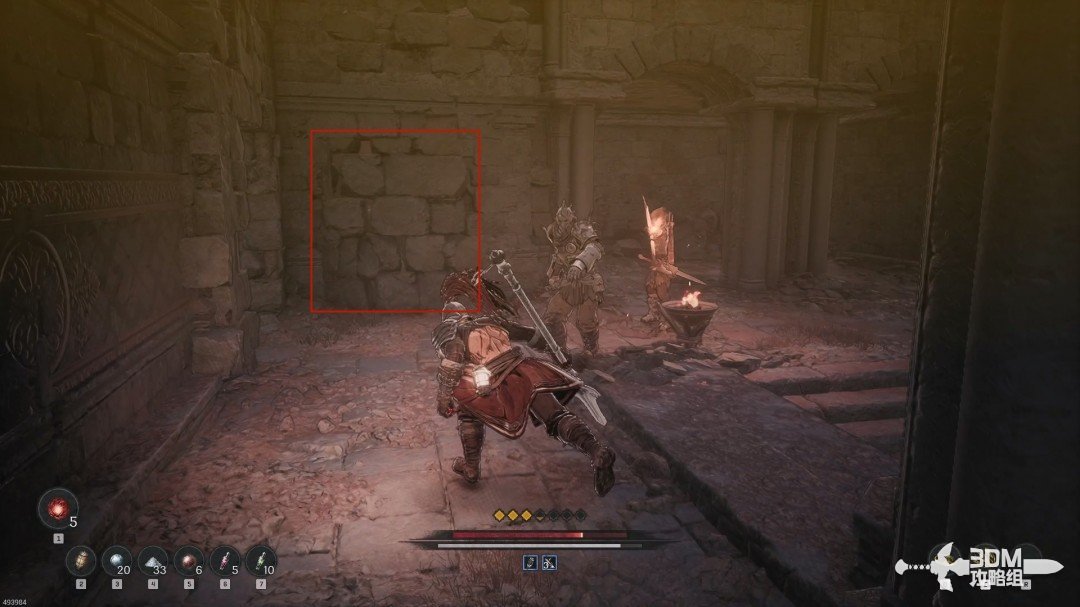
Clear the study and break the wall at the corner. Leave the route down on the right for later.
Alley key and study: break the wall to find the jar · route image 6

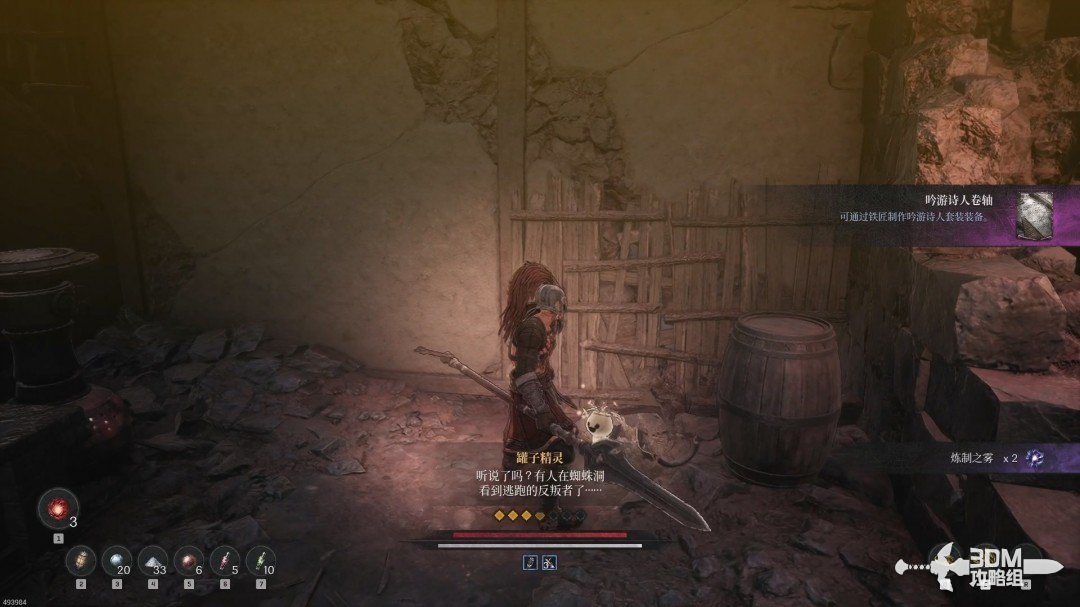
Inside the hidden area, collect the Bard Scroll and the Jarling in the corner.
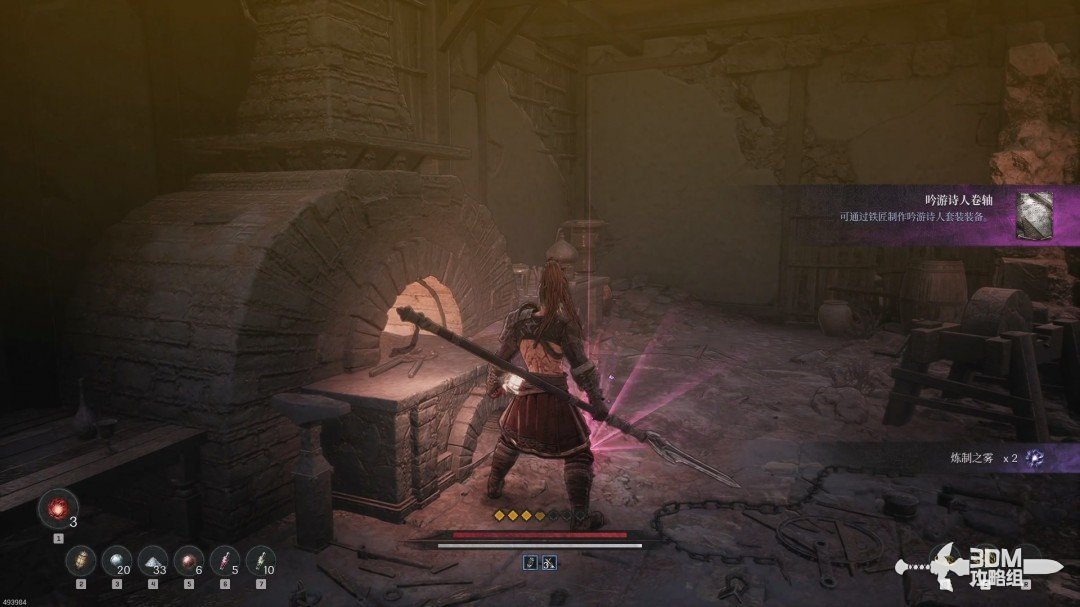
Alley key and study: break the wall to find the jar · route image 7
Alley key and study: break the wall to find the jar · route image 8

17Descend through the wine cellar: break the stone wall beside the barrels

Leave and cross the wine cellar to absorb a memory ahead.
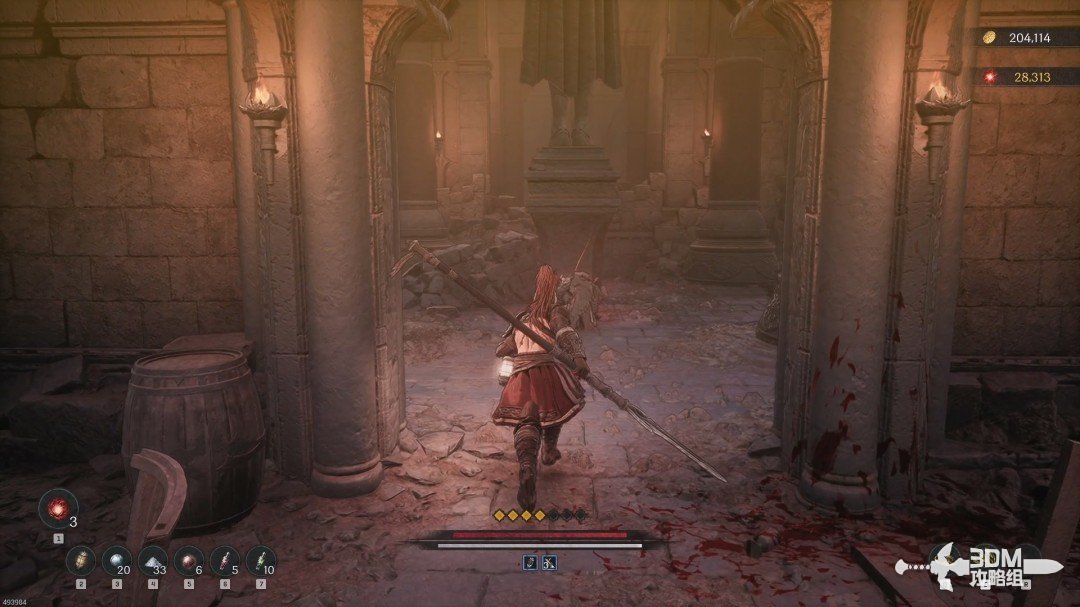
Descend through the wine cellar: break the stone wall beside the barrels · route image 1

Turn back and take the route to the lower floor.
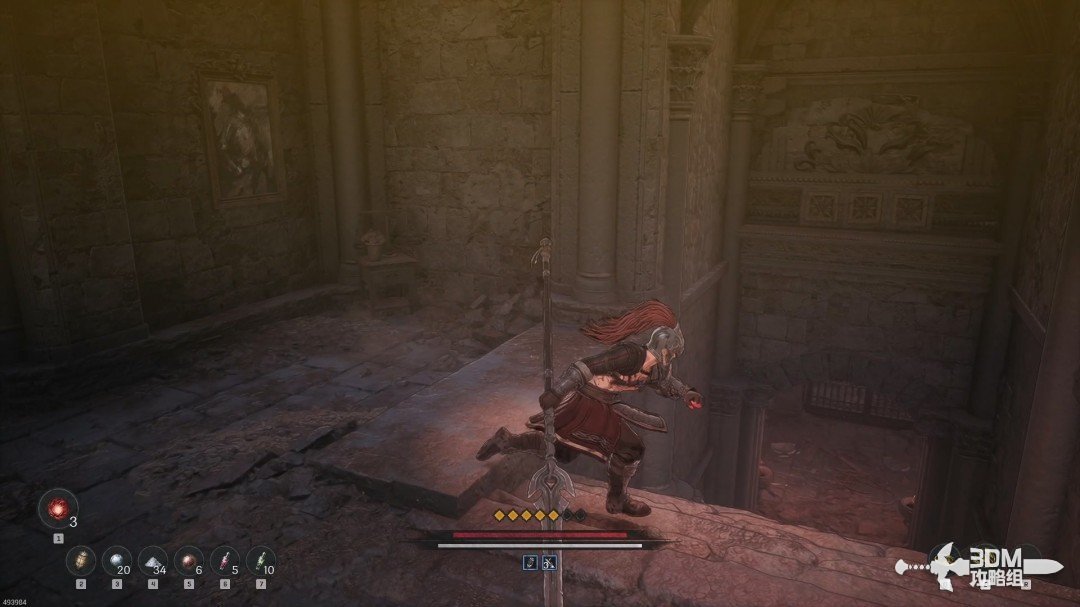
Descend through the wine cellar: break the stone wall beside the barrels · route image 2

Open the iron gate below. The left route also connects and its room contains items.
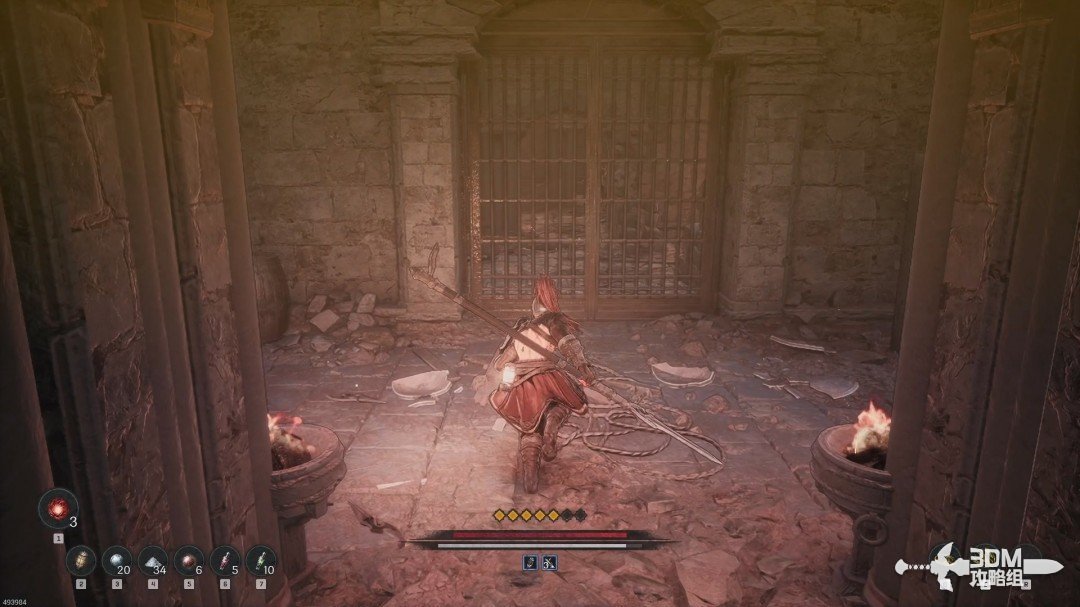
Descend through the wine cellar: break the stone wall beside the barrels · route image 3

Break the stone wall beside two barrels in the corridor.
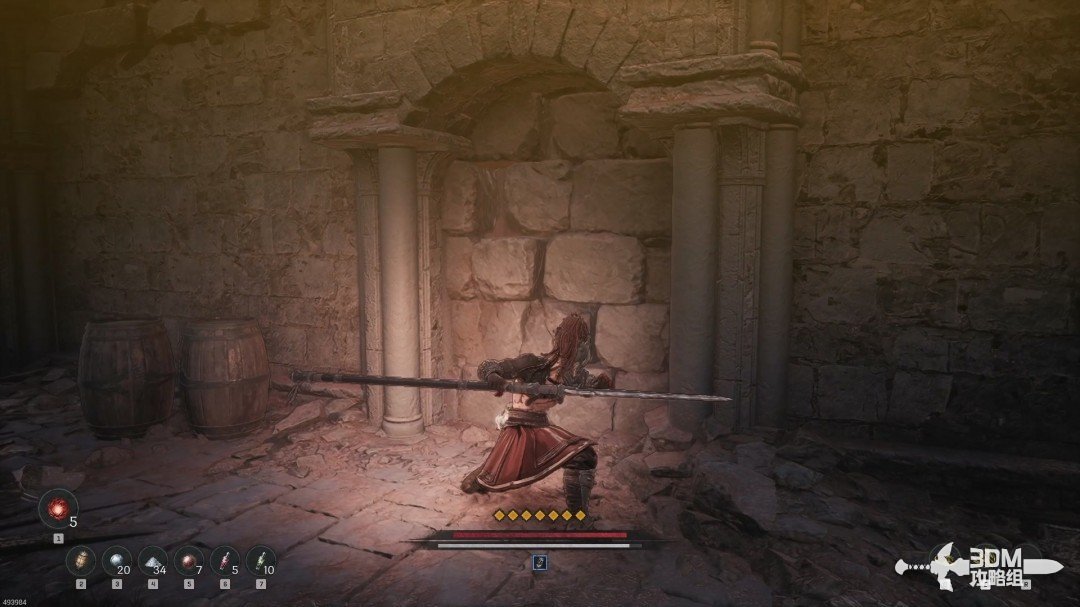
Descend through the wine cellar: break the stone wall beside the barrels · route image 4

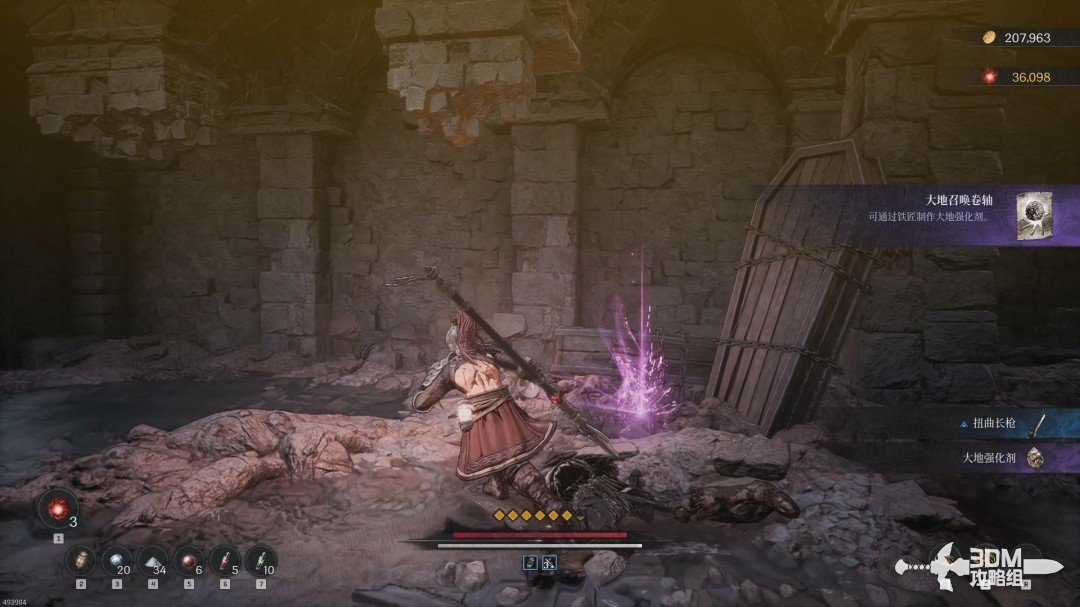
A Soulstone lies inside. Watch for an enemy ambush.
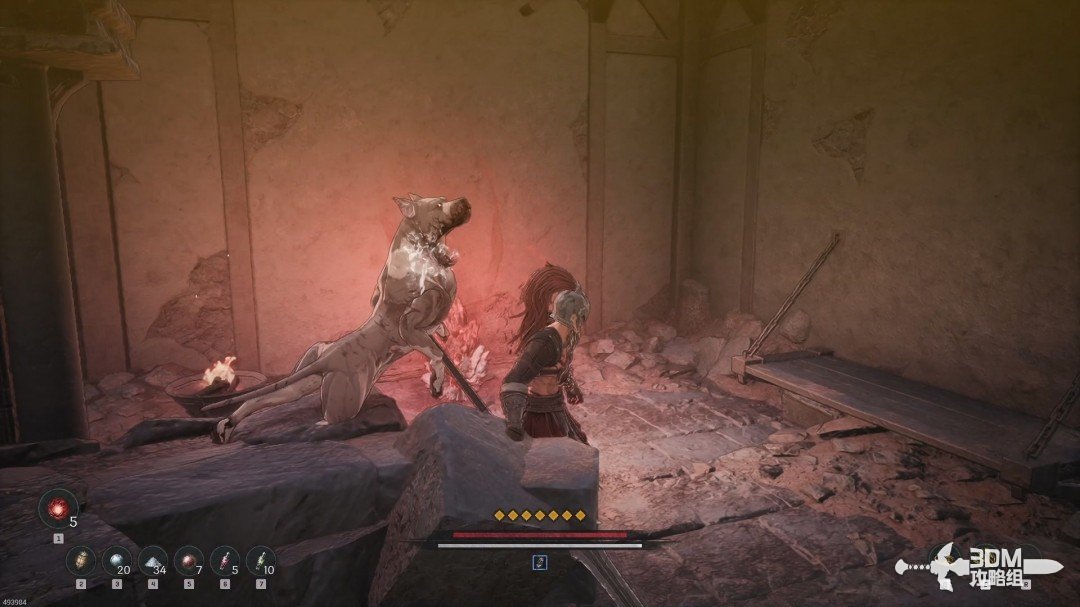
Descend through the wine cellar: break the stone wall beside the barrels · route image 5

19Invisible sewer enemy: open the gate with the corner switch

Descend farther and open the next door.
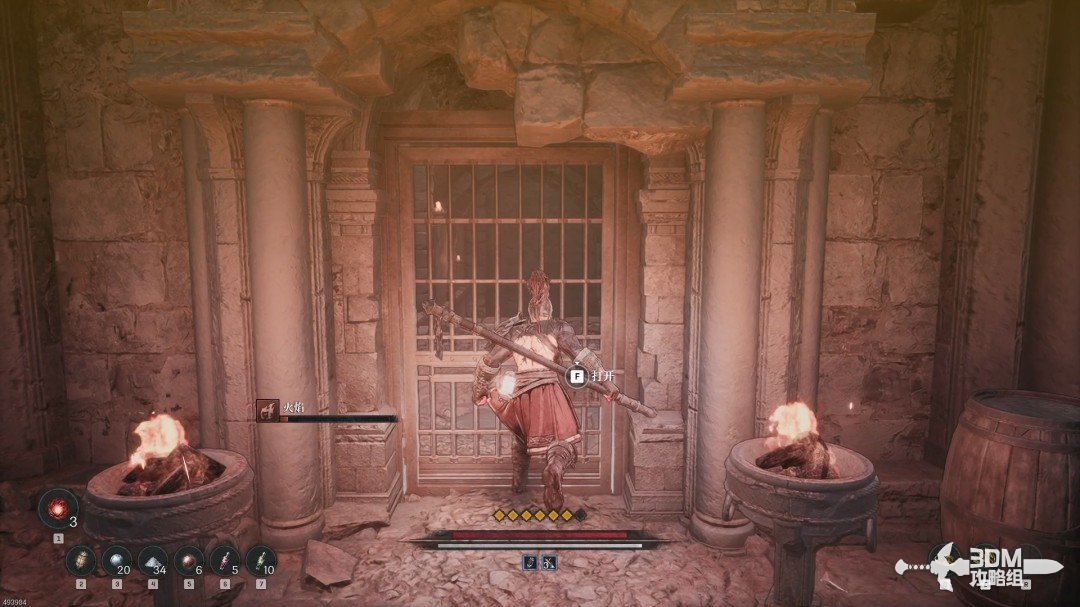
Invisible sewer enemy: open the gate with the corner switch · route image 1

The sewer contains invisible enemies. Defeat the first and collect the white item on the left.
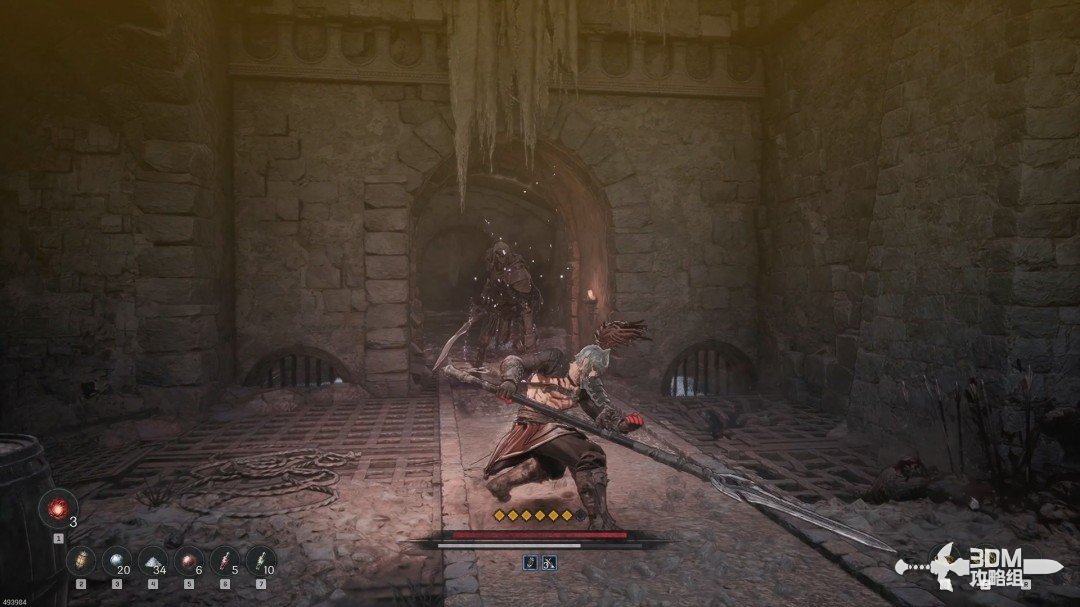
Invisible sewer enemy: open the gate with the corner switch · route image 2

At the fork ahead, the right branch holds a purple item.
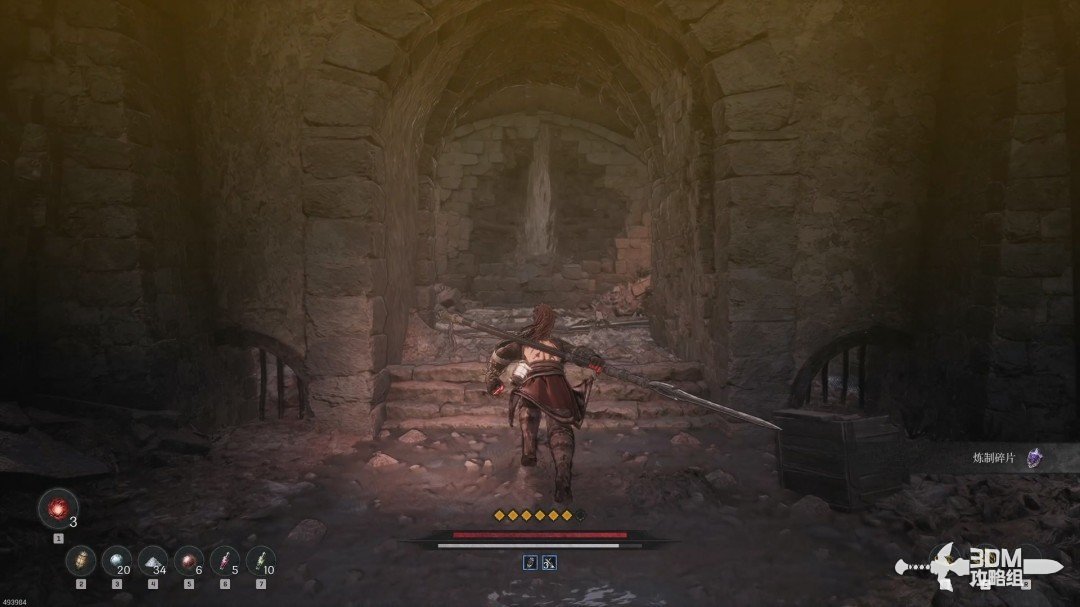
Invisible sewer enemy: open the gate with the corner switch · route image 3
Invisible sewer enemy: open the gate with the corner switch · route image 4

Take the left branch and operate the corner mechanism to open the gate.
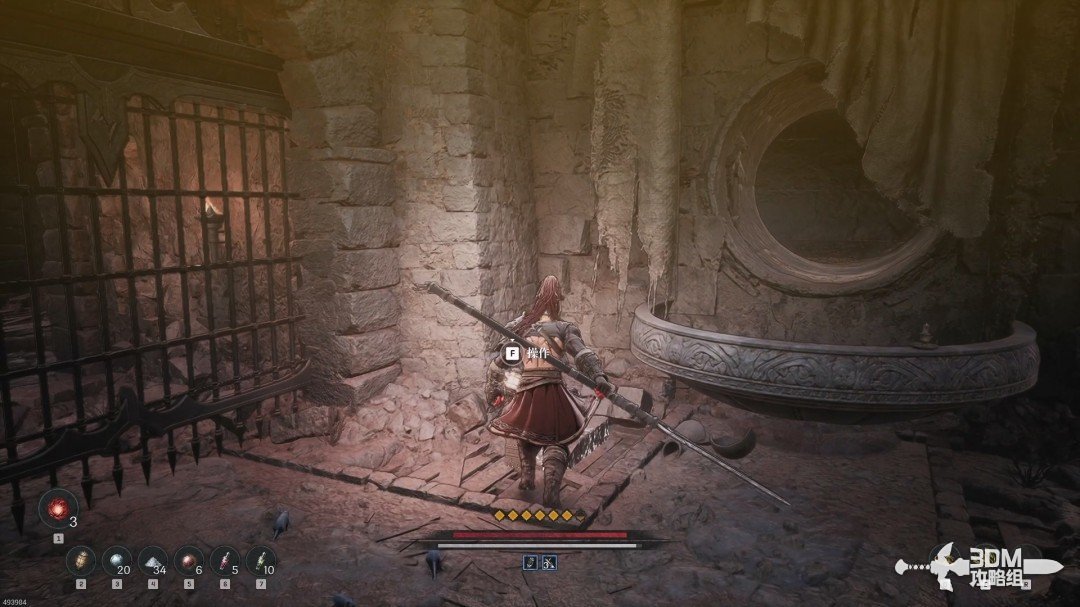
Invisible sewer enemy: open the gate with the corner switch · route image 5

20Sewer shaft: speak to Andell and descend to the planks

Follow the path to its end and descend.
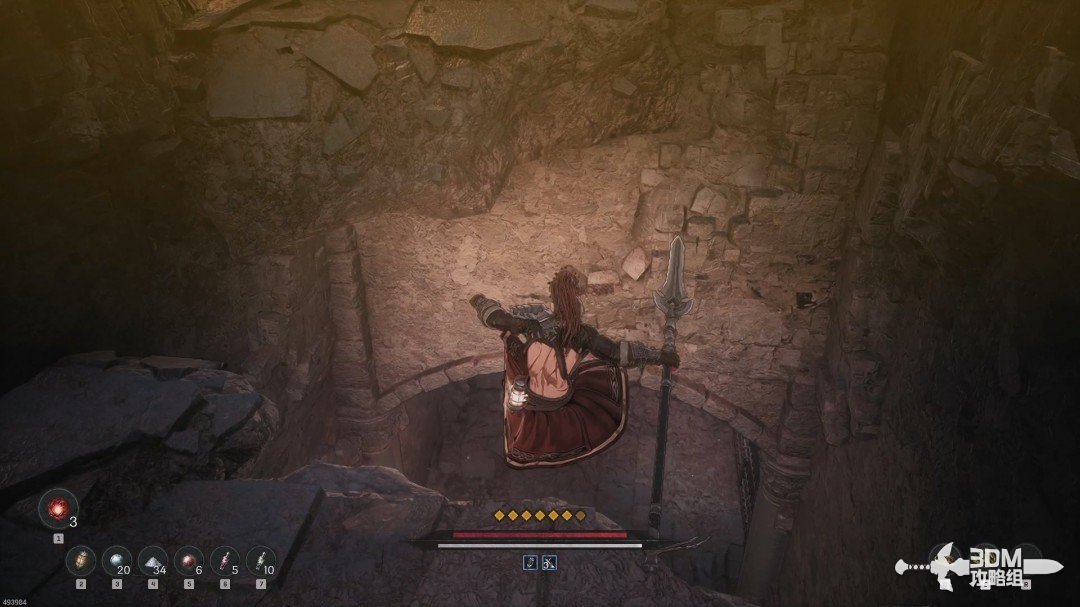
Sewer shaft: speak to Andell and descend to the planks · route image 6

Speak to Andell on the left before dropping farther down.
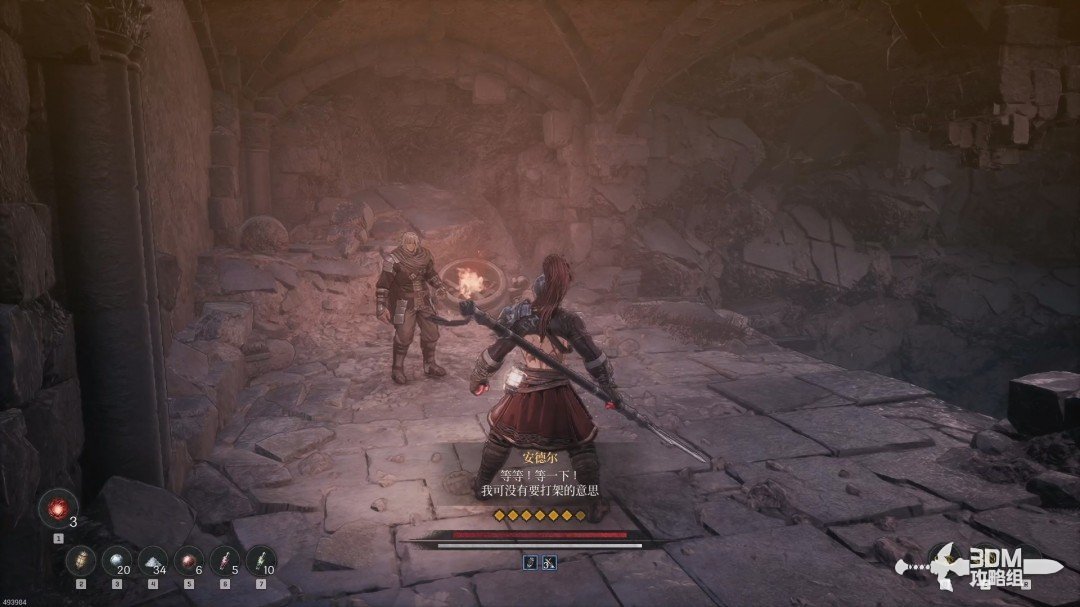
Sewer shaft: speak to Andell and descend to the planks · route image 7

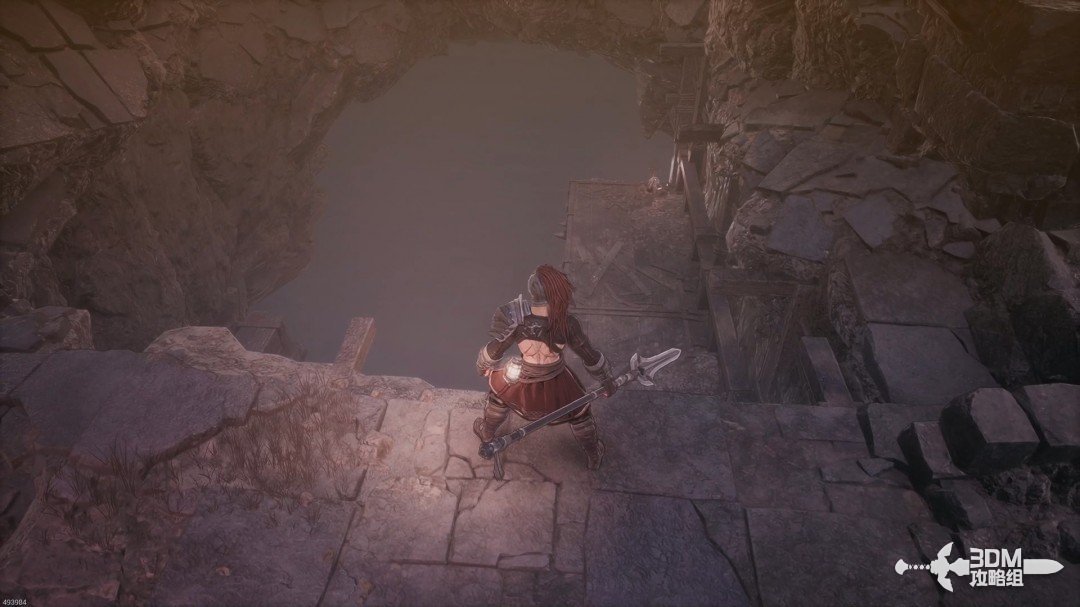
Follow the descending ledges carefully to avoid falling into the void.
Sewer shaft: speak to Andell and descend to the planks · route image 8

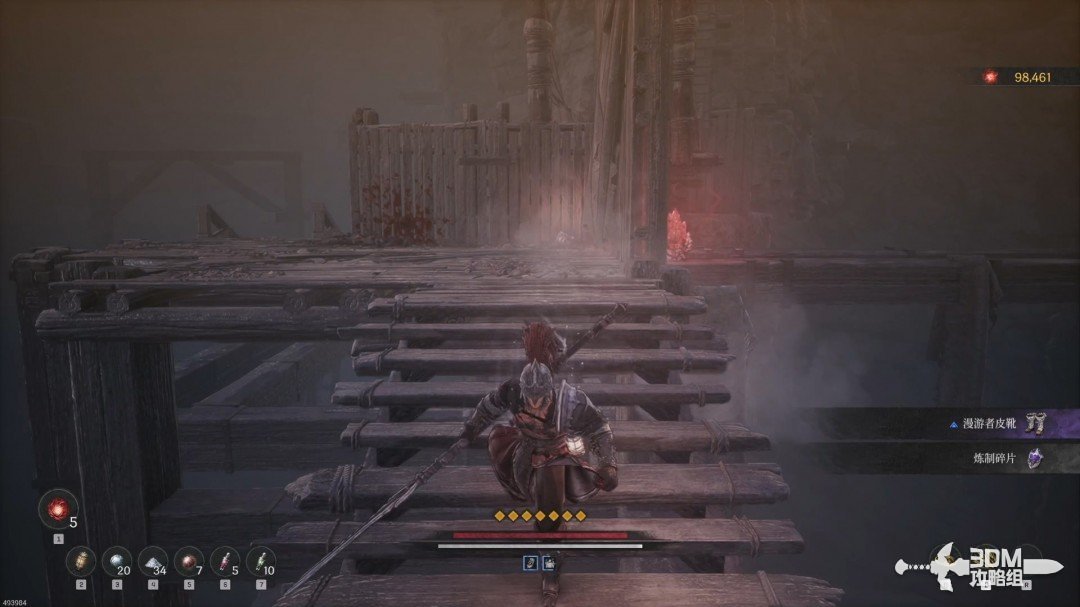
A Soulstone is hidden behind the boards on this mandatory route.
Sewer shaft: speak to Andell and descend to the planks · route image 9

22Elevator at the shaft's end: reach the upper Nexus

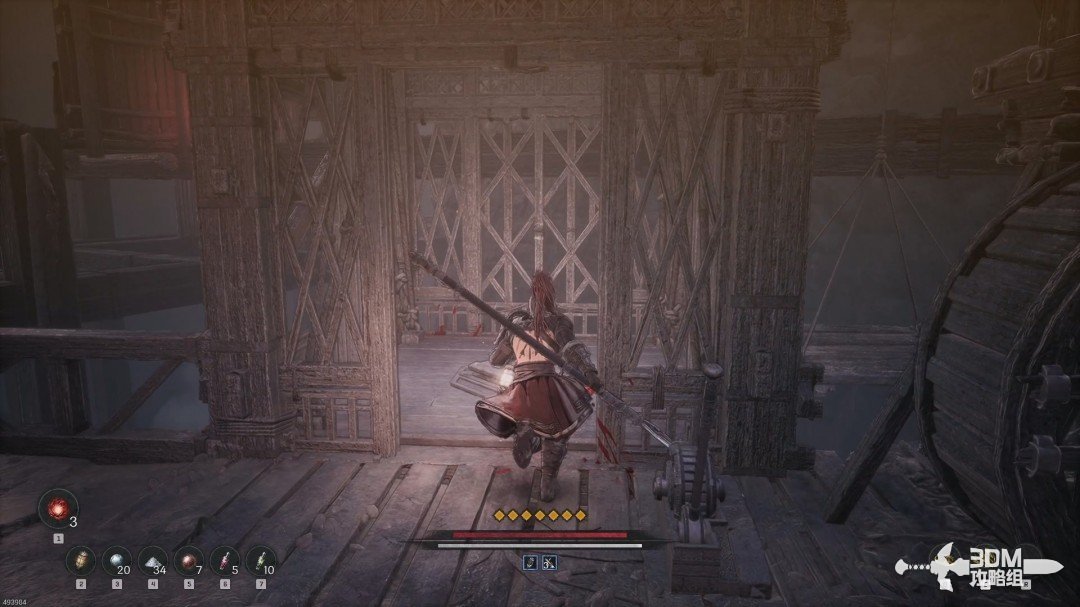
Take the elevator upward.
Elevator at the shaft's end: reach the upper Nexus · route image 1

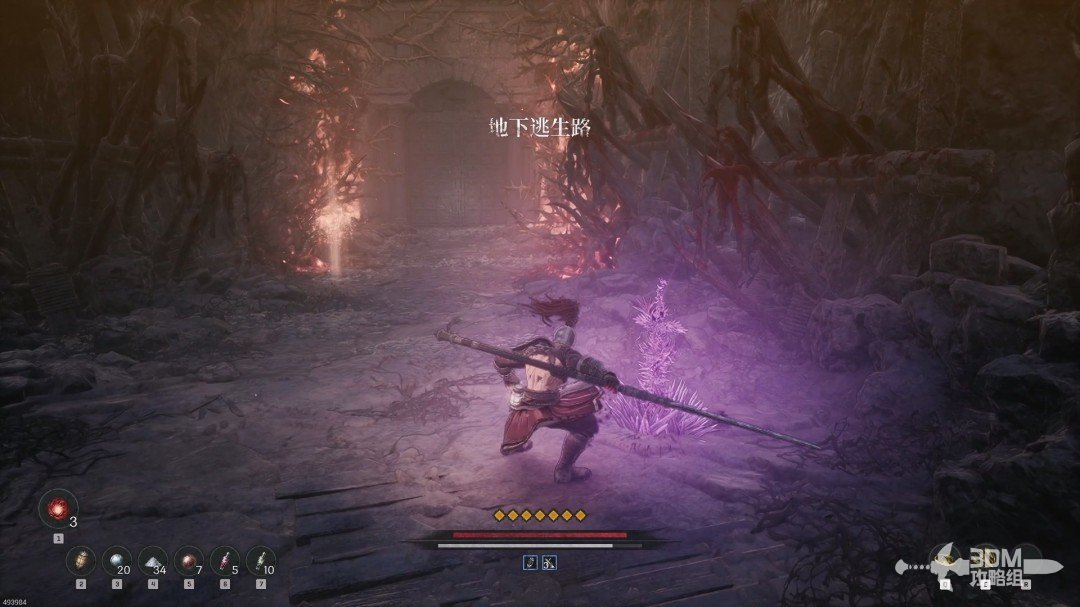
Rest at the Nexus above before the boss.
Elevator at the shaft's end: reach the upper Nexus · route image 2

23Castle hall: Rangkus's hammer and firearm

The cinematic shows Tristan defending Pavel, Khazan's revenge target, against a powerful attacker.
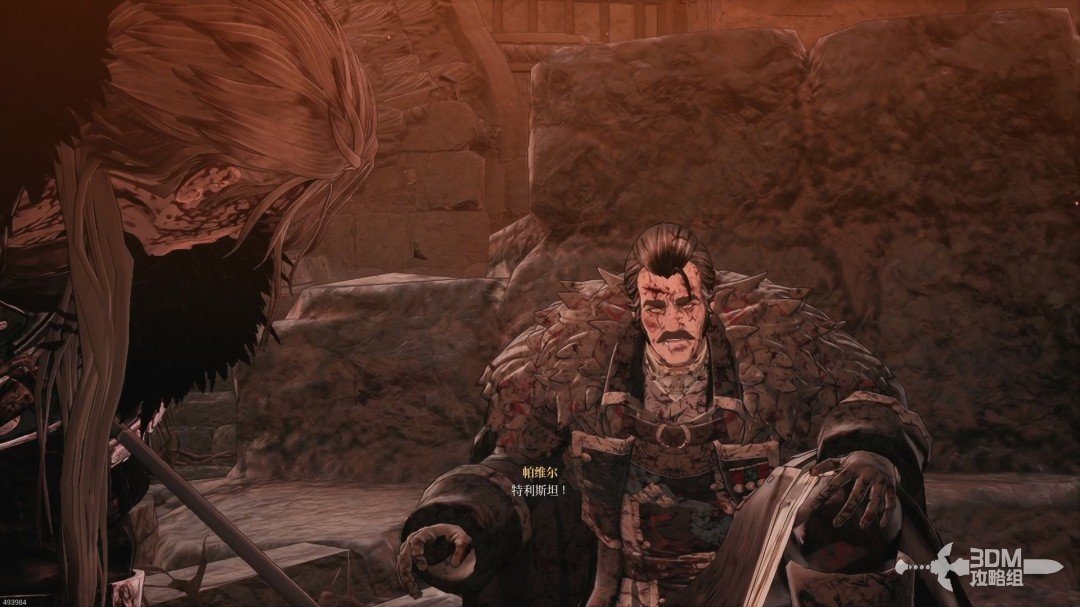
Castle hall: Rangkus's hammer and firearm · route image 1

Tristan is overpowered, and the attacker kills the defenseless Pavel.
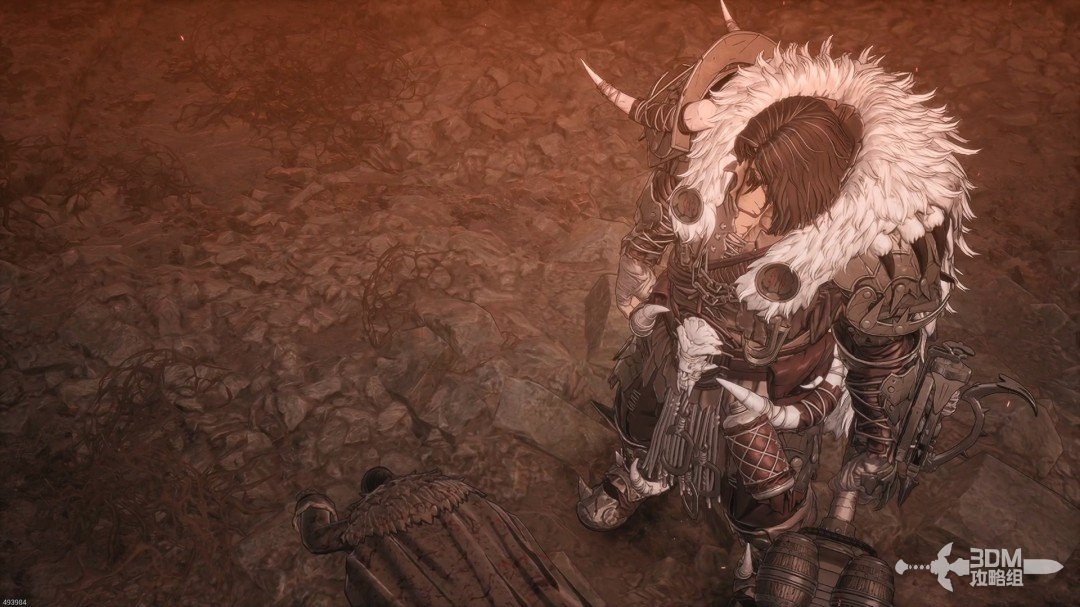
Castle hall: Rangkus's hammer and firearm · route image 2

The attacker is Rangkus. Seeing Khazan alive, he turns on him.
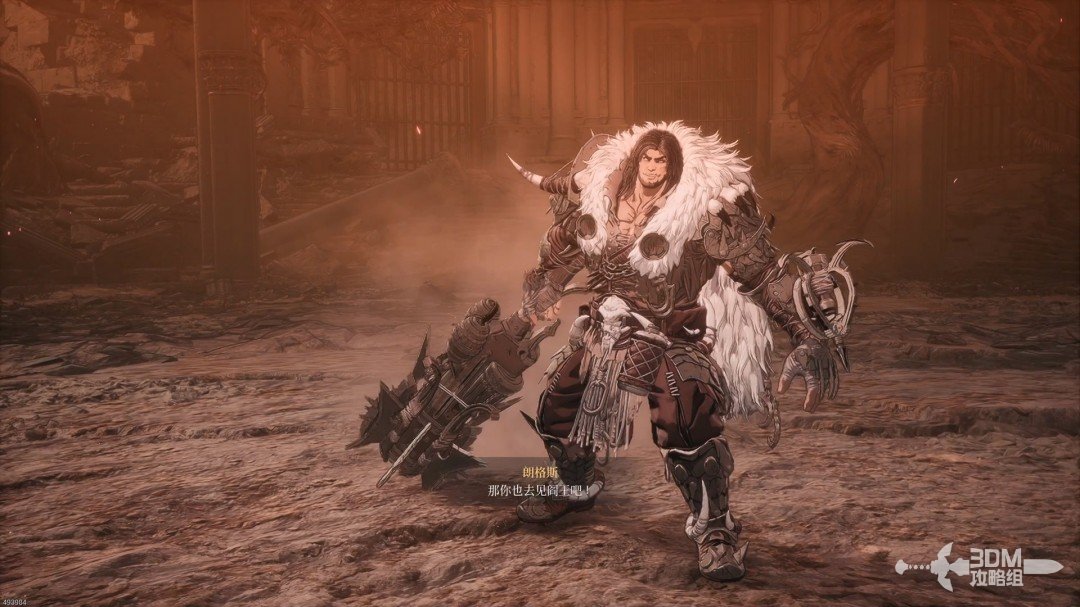
Castle hall: Rangkus's hammer and firearm · route image 3

Rangkus does not change phases. Potent attacks can interrupt some moves, but respect his hammer combos.

Attack ①:

Four slow hits. Do not guard too early.
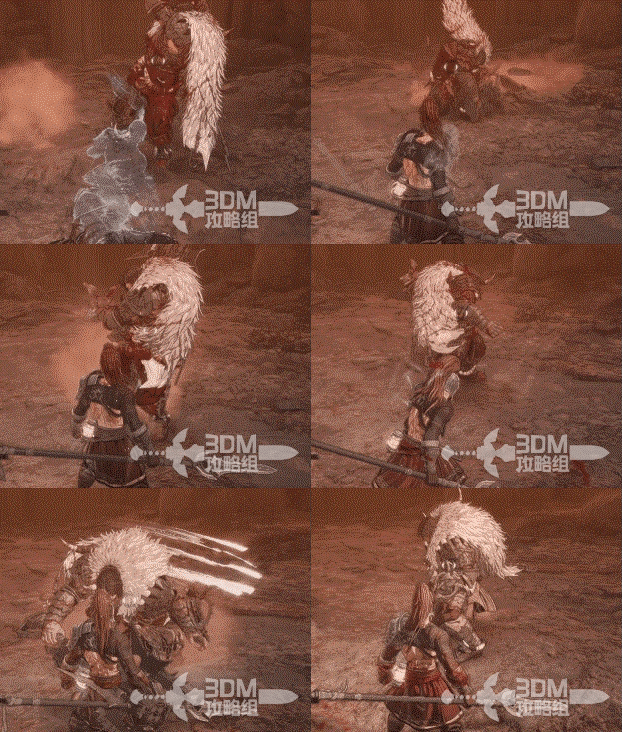
Castle hall: Rangkus's hammer and firearm · route image 4

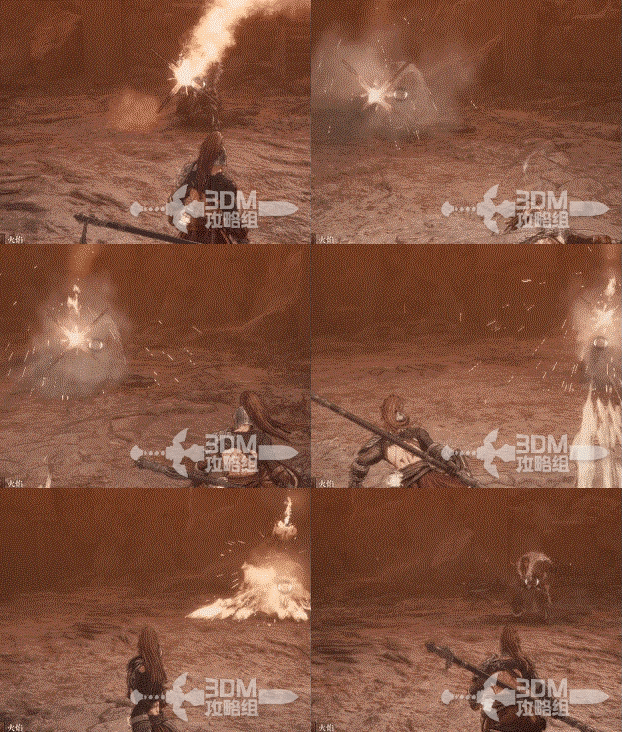
Attack ②: repeated cannon fire. Rangkus raises his weapon at range and fires toward Khazan as the muzzle flashes. Move sideways and dodge as each shot approaches. Do not stop to heal or rush in after the first projectile; wait for the firing sequence to finish before closing the distance.
Castle hall: Rangkus's hammer and firearm · route image 5

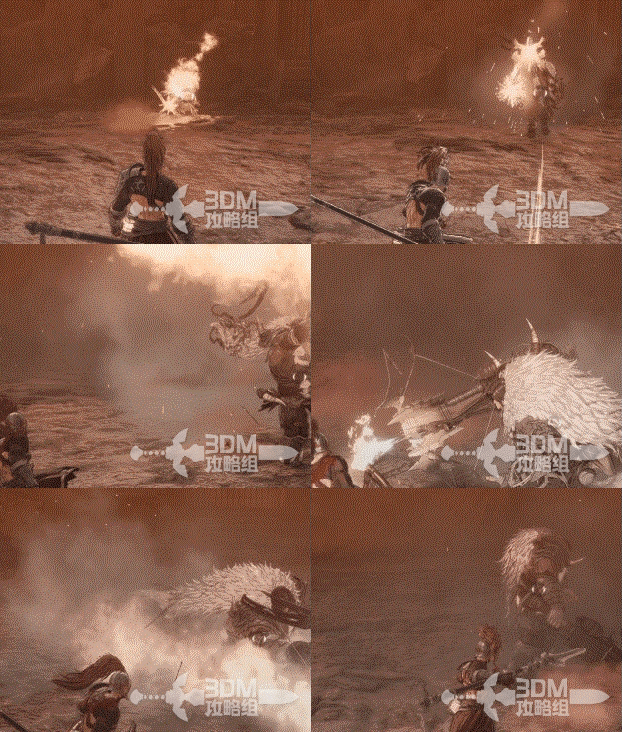
Attack ③:

A charging firearm attack ending in a thrust.
Castle hall: Rangkus's hammer and firearm · route image 6

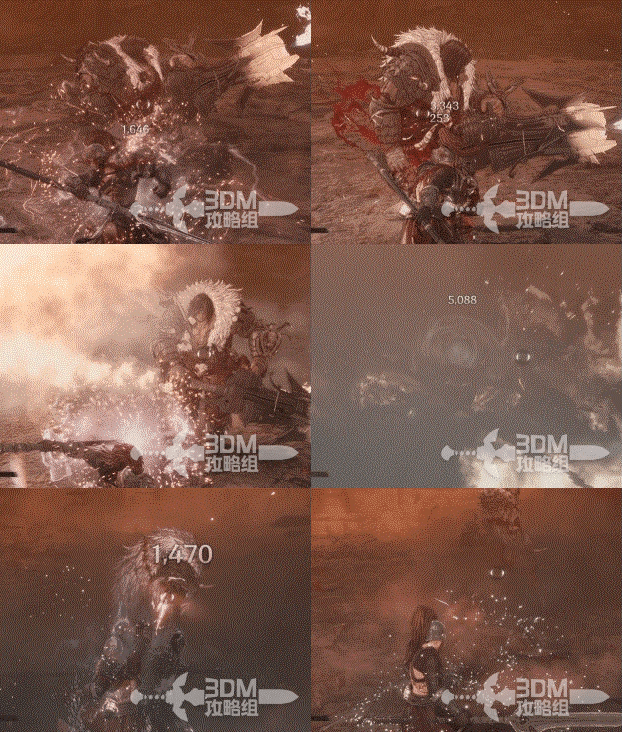
Attack ④:

He charges the firearm and spins through a large area. Interrupt him if possible.
Castle hall: Rangkus's hammer and firearm · route image 7

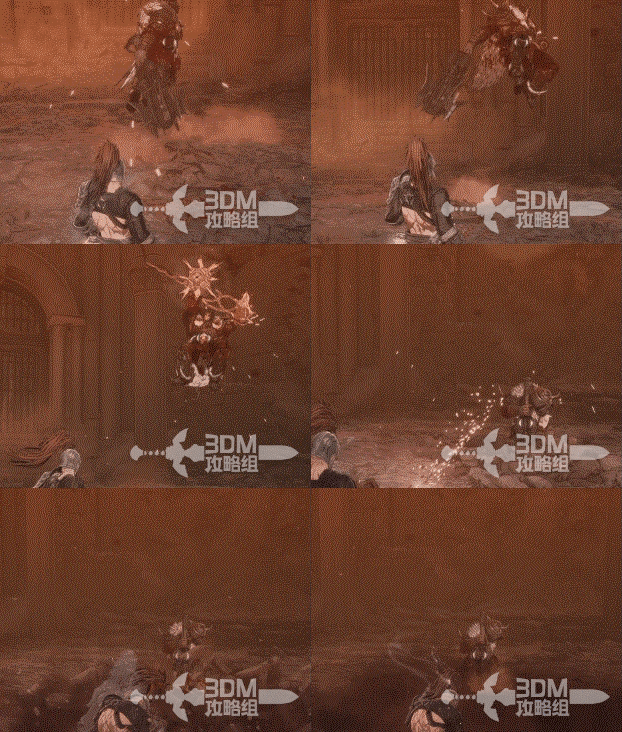
Attack ⑤:

An aerial slam with a visible leap.
Castle hall: Rangkus's hammer and firearm · route image 8

Attack ⑥:

A sweep leads into aerial fire and a ground slam, followed by an almost arena-wide ground explosion. Time your dodge for the blast.
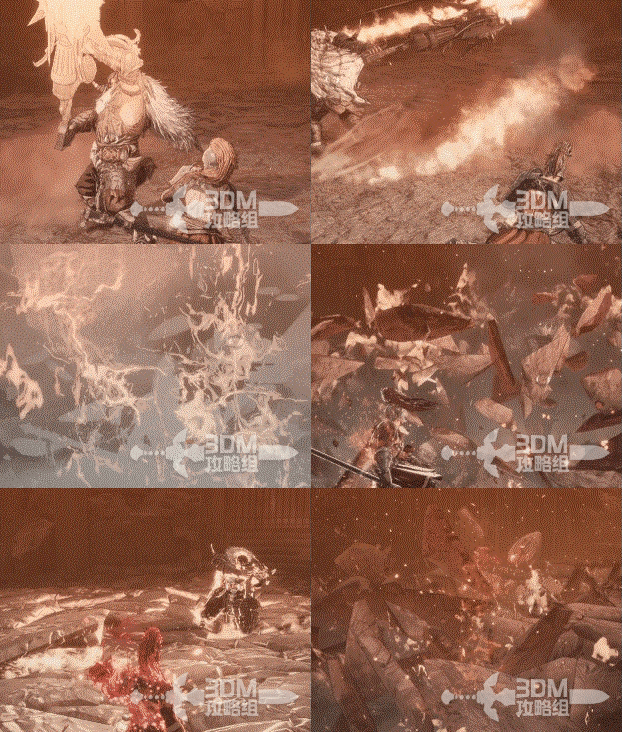
Castle hall: Rangkus's hammer and firearm · route image 9

Attack ⑦:

A charged stomp resembling his other ground strikes.
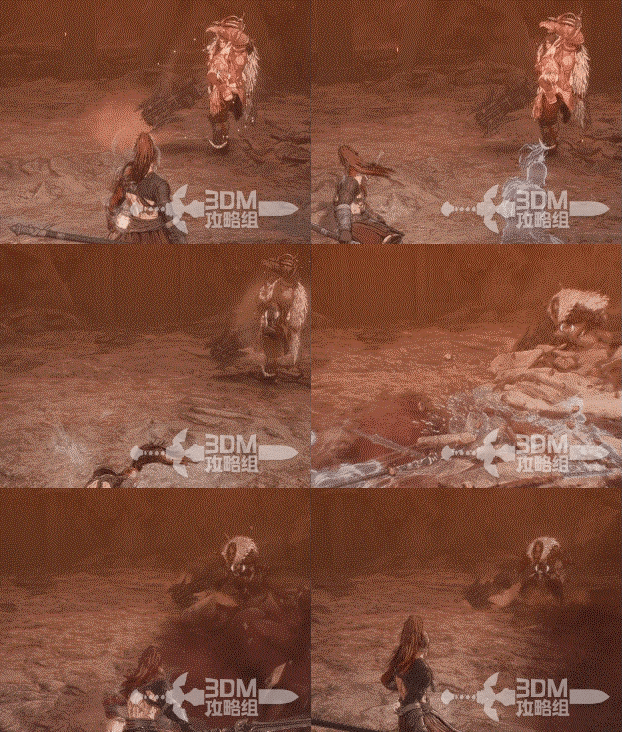
Castle hall: Rangkus's hammer and firearm · route image 10

Attack ⑧:

Three ranged shots without fire damage; these can be guarded.
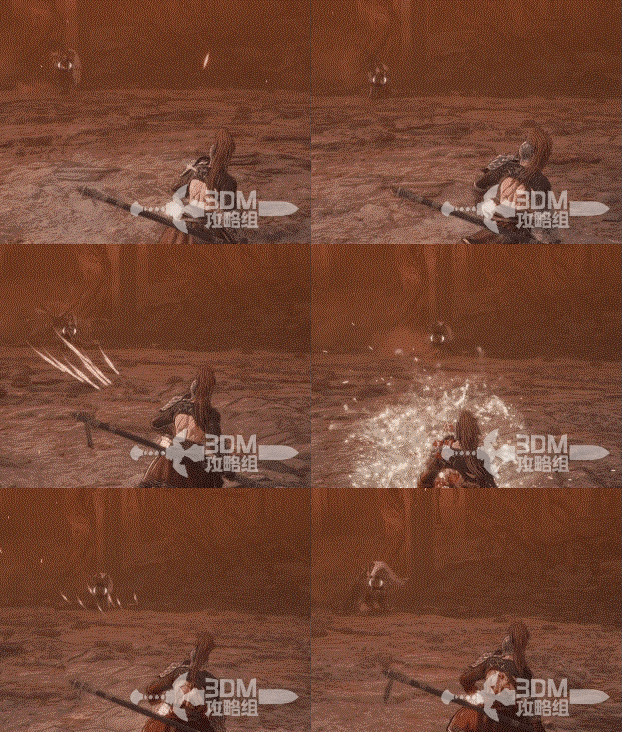
Castle hall: Rangkus's hammer and firearm · route image 11

24Speak to Tristan: uncover the truth about Pavel

Defeat Rangkus for equipment.
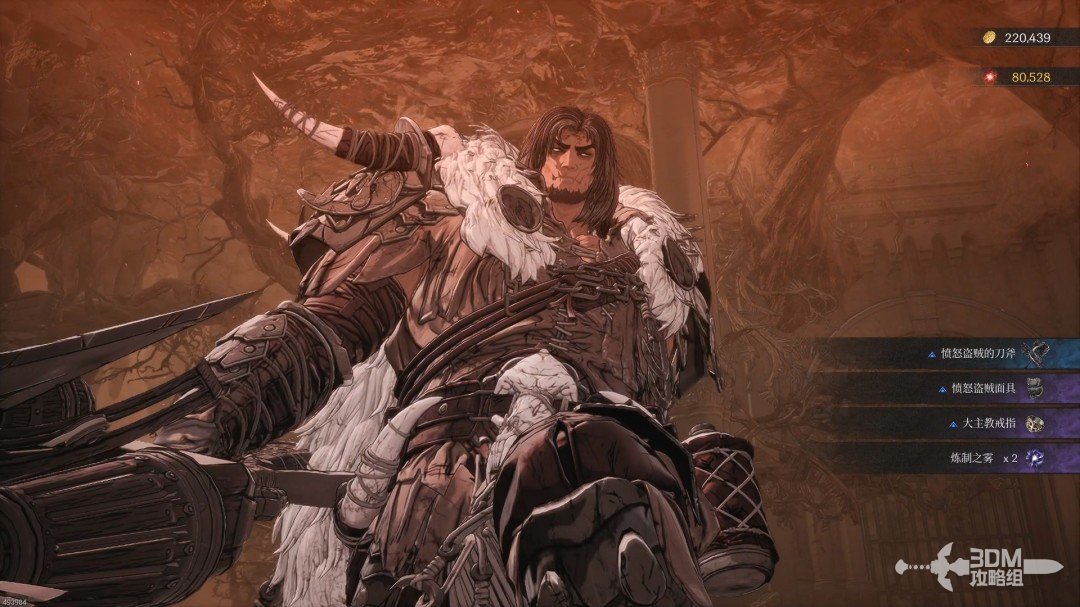
Speak to Tristan: uncover the truth about Pavel · route image 12

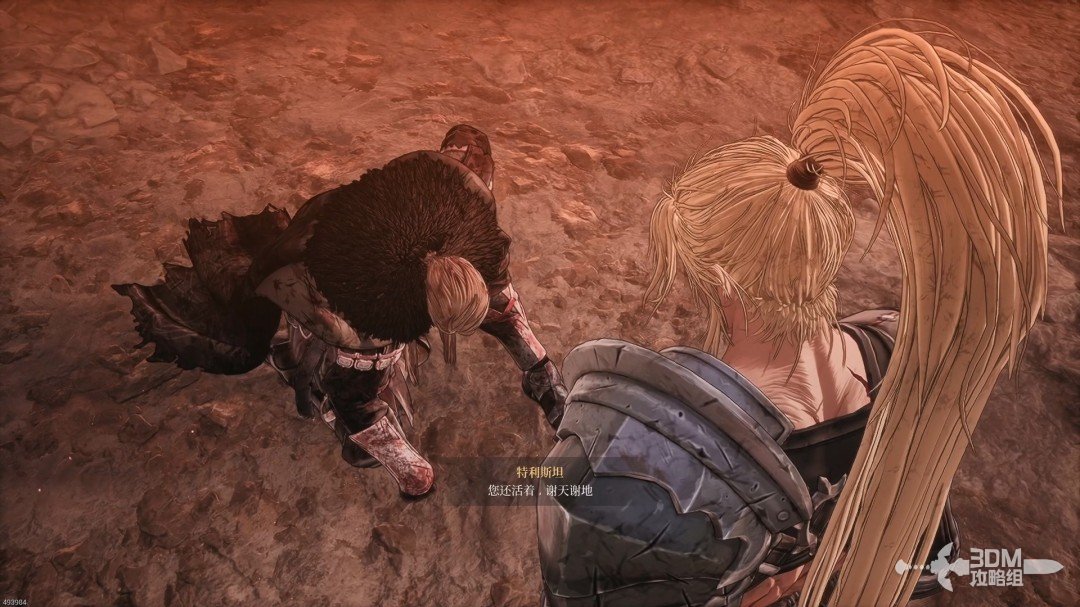
Tristan survives and is surprised to find Khazan alive.
Speak to Tristan: uncover the truth about Pavel · route image 13

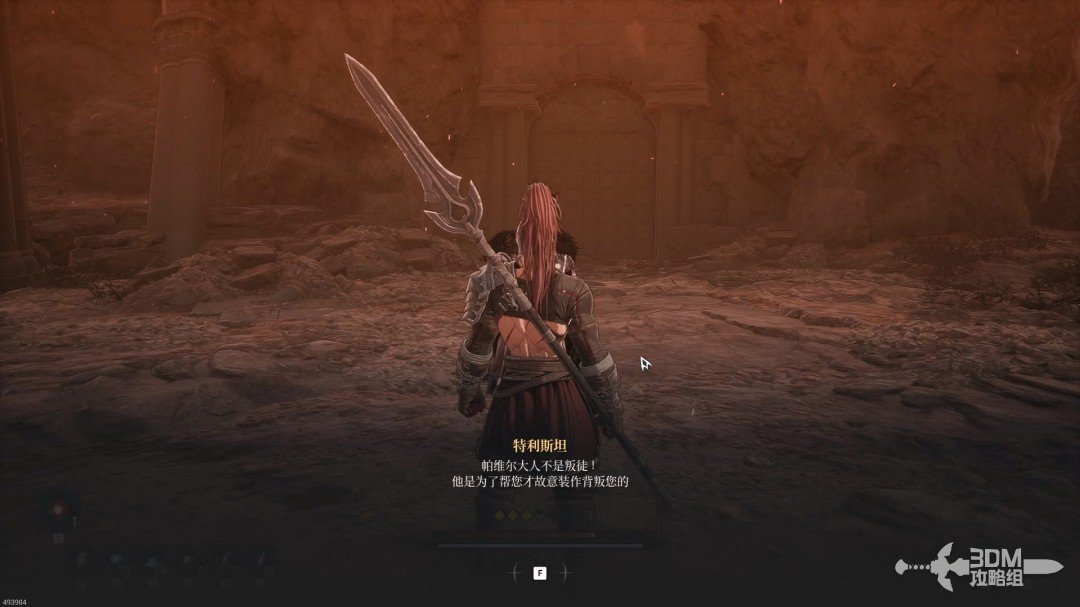
He explains that Pavel pretended to betray Khazan to save him, clearing the misunderstanding too late.
Speak to Tristan: uncover the truth about Pavel · route image 14

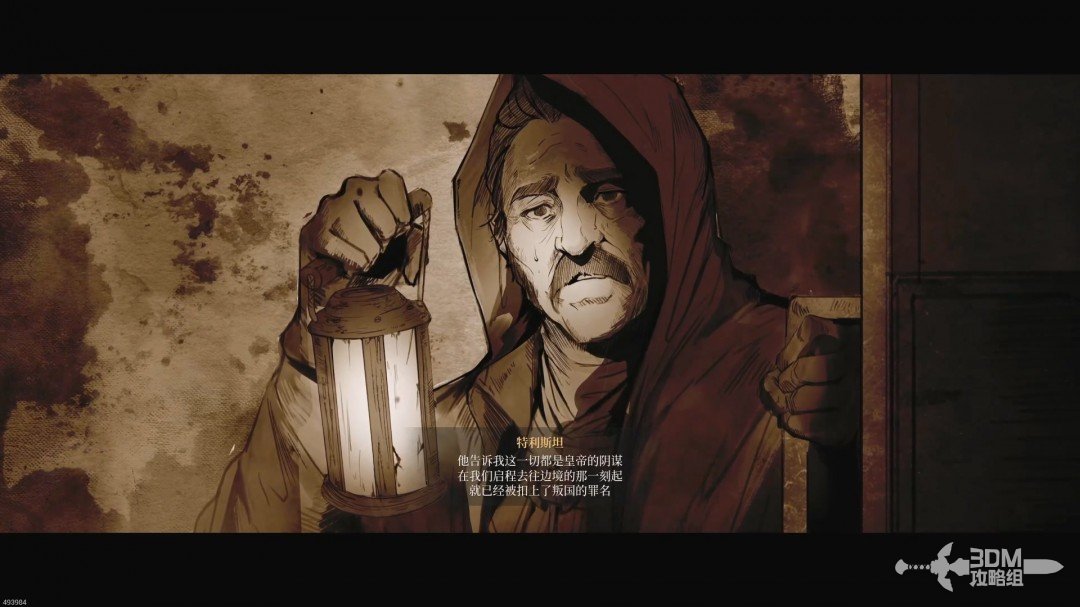
The emperor feared the popularity Khazan gained by defeating Hismar and engineered the treason accusations.
Speak to Tristan: uncover the truth about Pavel · route image 15

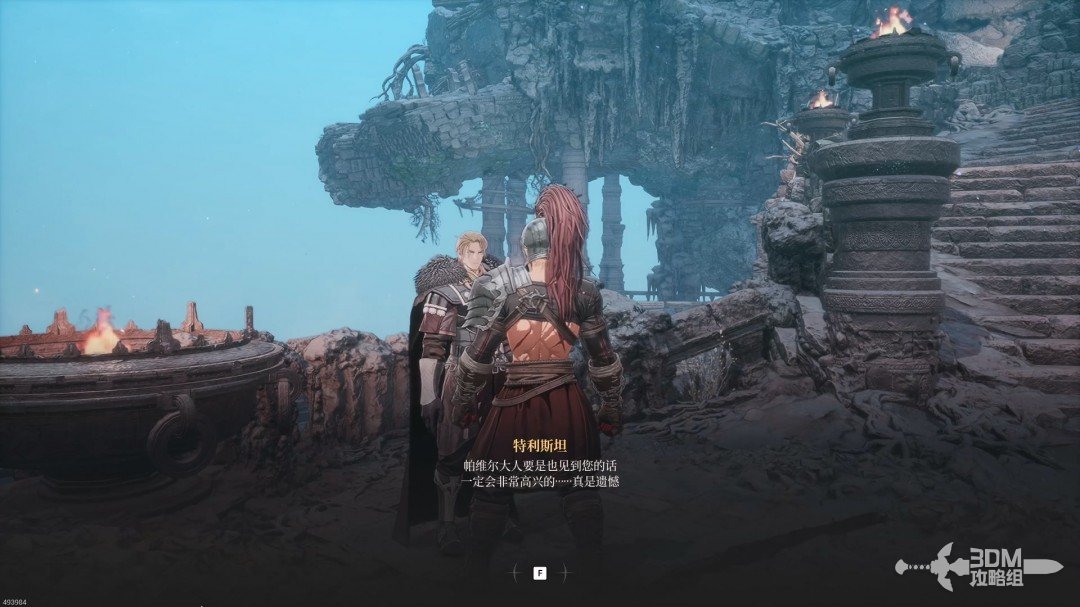
You return to the hub, where Tristan joins you. The chapter ends.
Speak to Tristan: uncover the truth about Pavel · route image 16

Continue

Back to mission index →

Reference: 3DM Guide Team

GAME NOTE has reorganized and rewritten the routes from this walkthrough.