Skip to content

Escaping Linon Mine

Guide editor: GAME NOTE

GAME NOTE CLASSIC · GUIDE LIBRARYThe First Berserker: Khazan

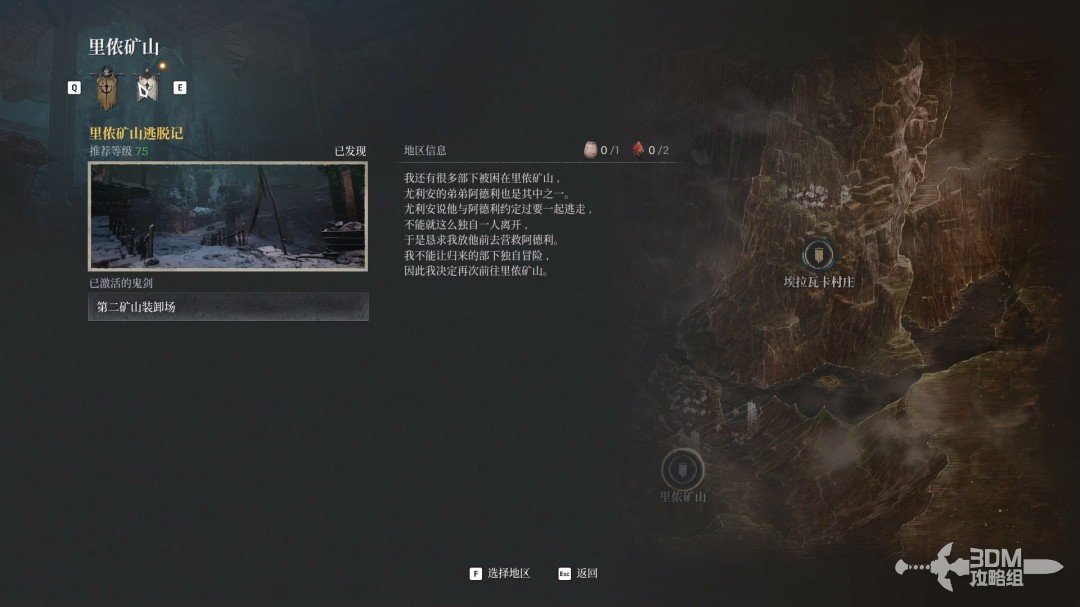
Speak to Yulian after the preceding side mission.

Pickups in this mission

Open this mission’s independent boss guide →

01Enter the mine with Yulian: search the spider slope first

Speak to Yulian again at the hub to accept Escaping Linon Mine.
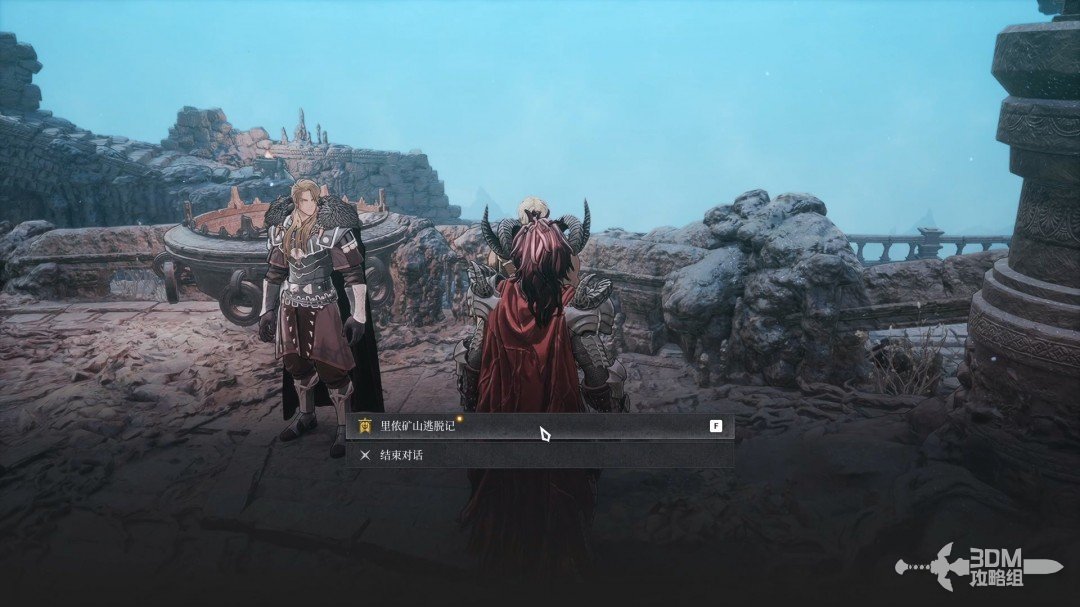
Enter the mine with Yulian: search the spider slope first · route image 1

Travel to the mission.

Enter the mine with Yulian: search the spider slope first · route image 2

Speak to Yulian on arrival, then rest on the left.
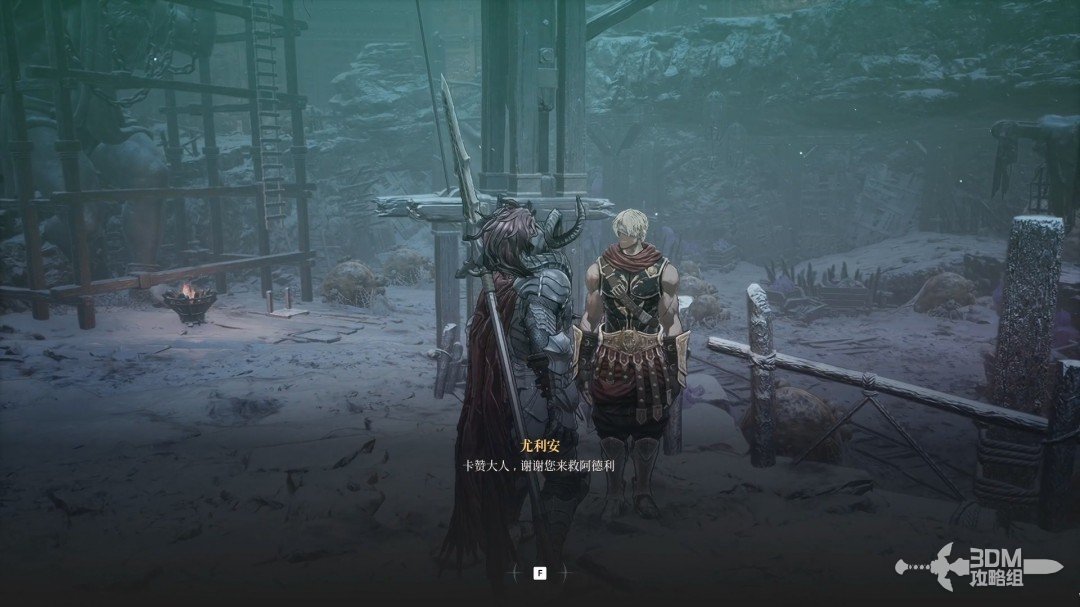
Enter the mine with Yulian: search the spider slope first · route image 3

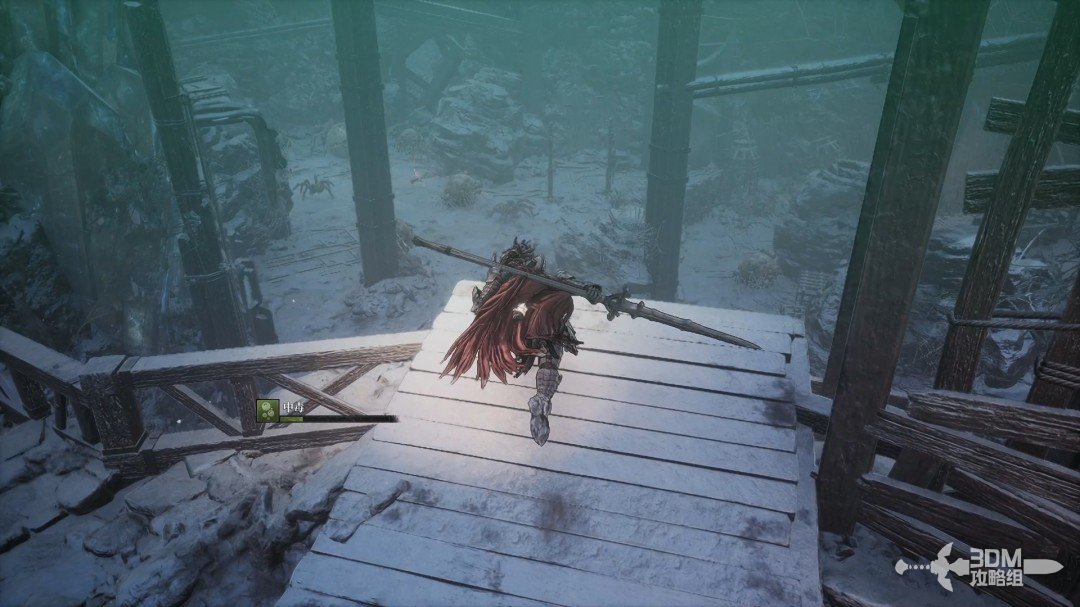
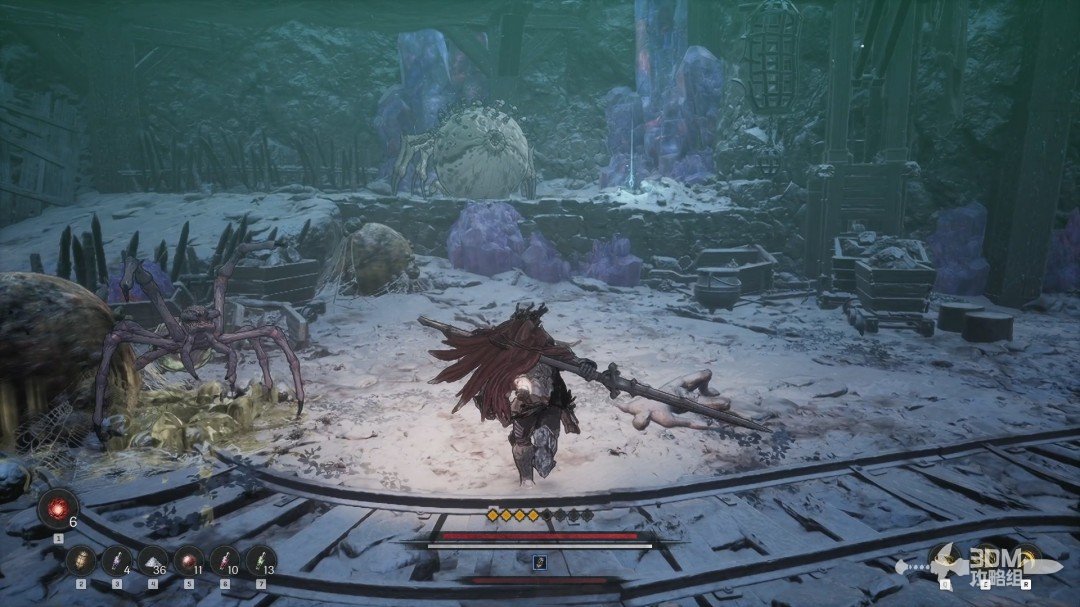
Descend the slope for items, clearing the spiders.
Enter the mine with Yulian: search the spider slope first · route image 4
Enter the mine with Yulian: search the spider slope first · route image 5

02Drop from the left slope: clear spiders and find the corner jar

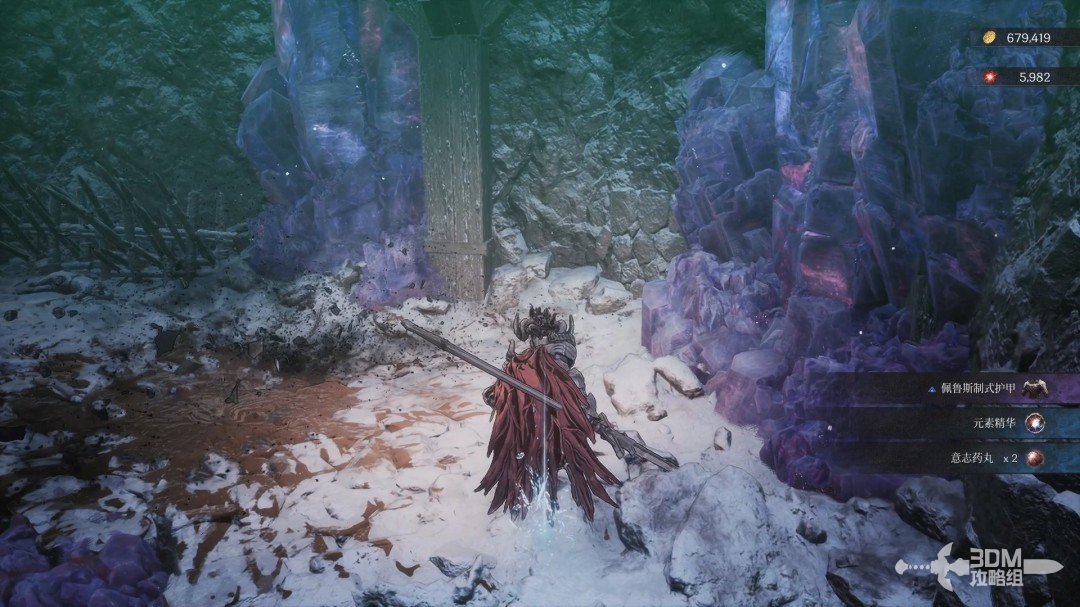
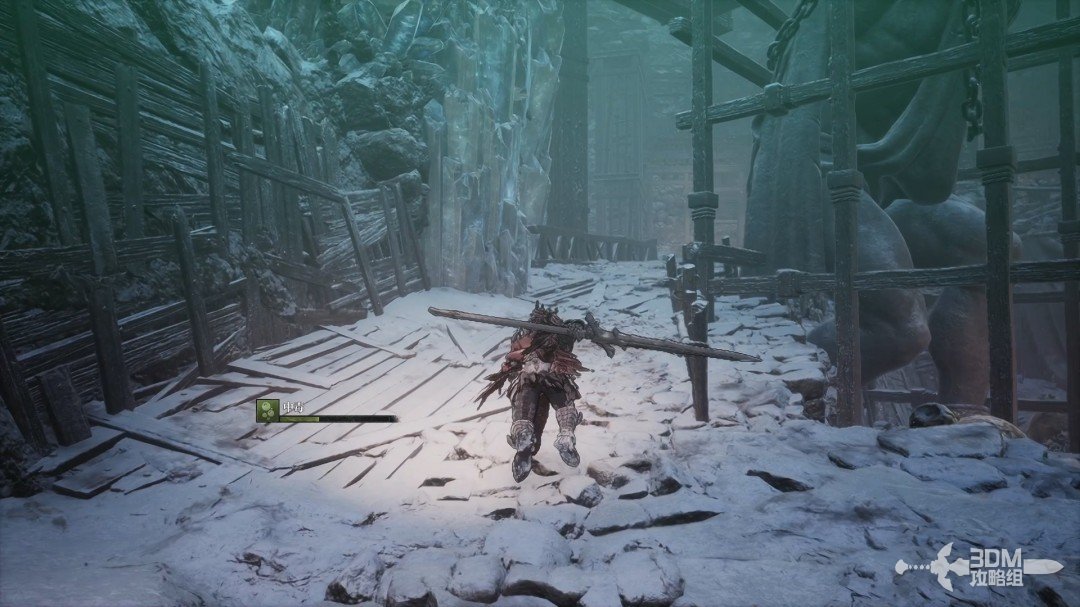
Collect the blue item on the platform and take the left uphill route.
Drop from the left slope: clear spiders and find the corner jar · route image 6

Drop from this platform.

Drop from the left slope: clear spiders and find the corner jar · route image 7

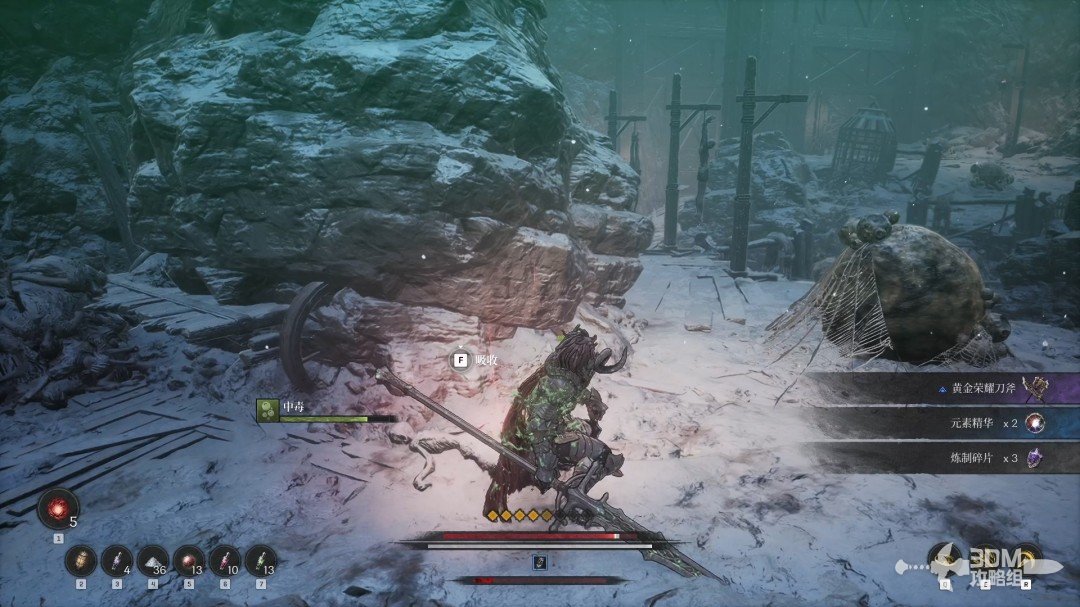
Clear the spiders on the left and absorb the nearby memory.
Drop from the left slope: clear spiders and find the corner jar · route image 8

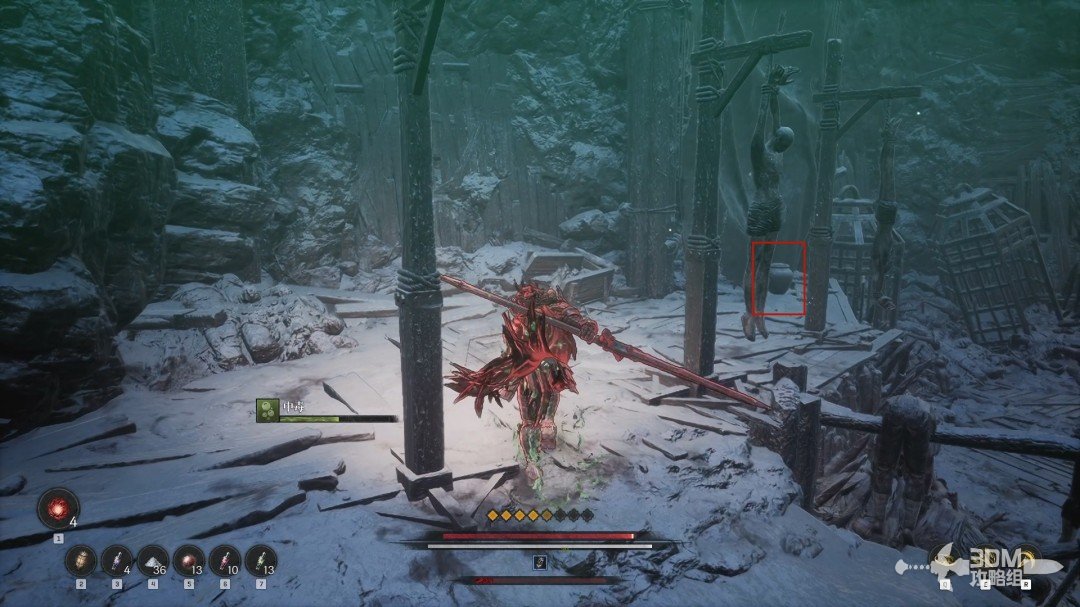
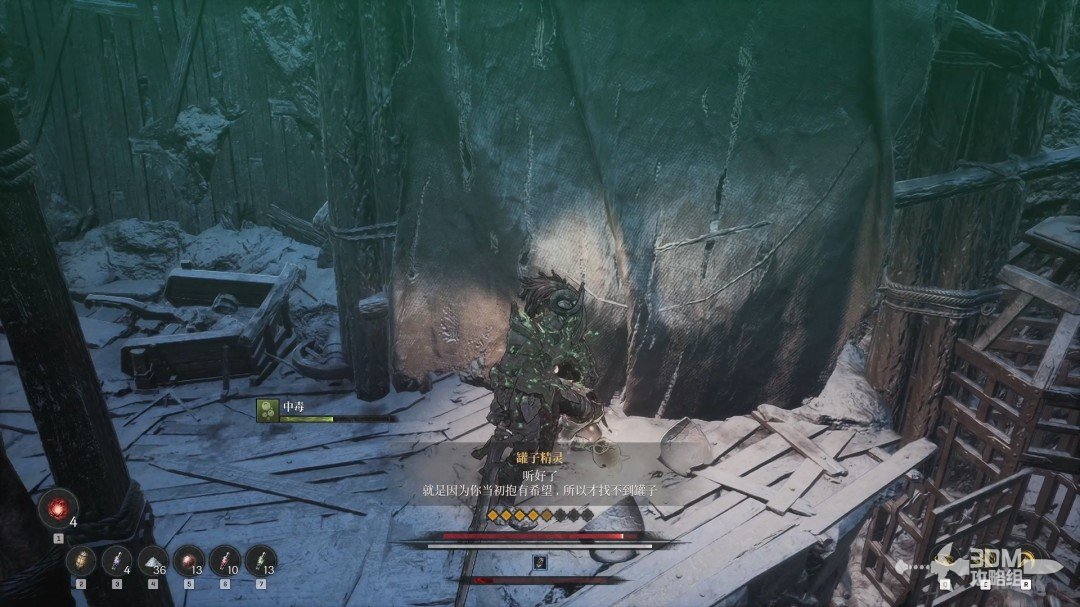
A Jarling hides in the corner pot.

Drop from the left slope: clear spiders and find the corner jar · route image 9
Drop from the left slope: clear spiders and find the corner jar · route image 10

04Long stairs and lion statue: open the entrance shortcut

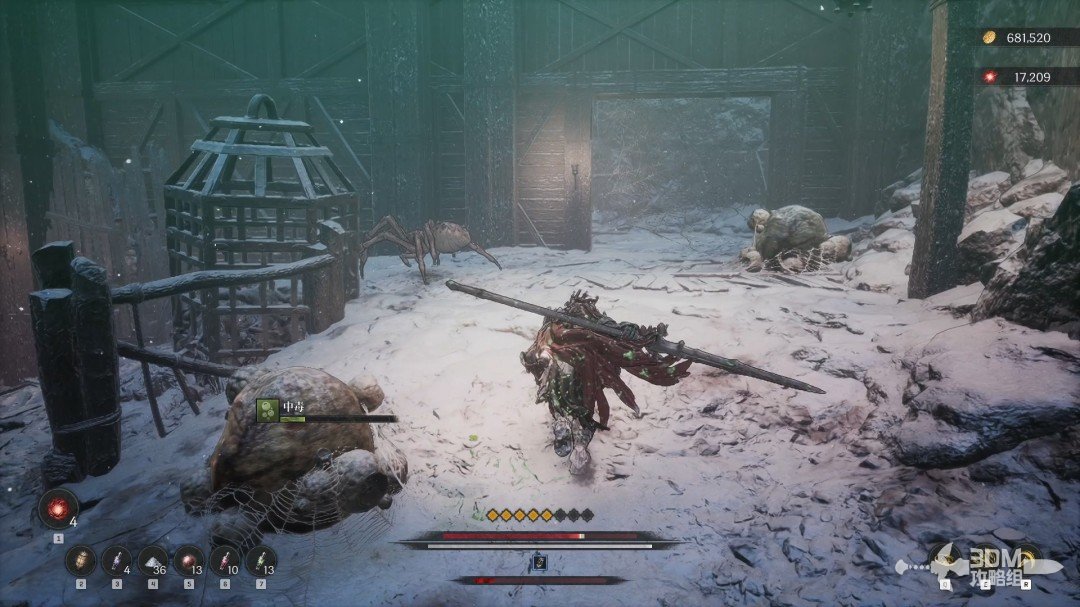
Climb the slope on the left.
Long stairs and lion statue: open the entrance shortcut · route image 1

Ascend the long ladder.

Long stairs and lion statue: open the entrance shortcut · route image 2

Collect the blue item beside the left lion statue.
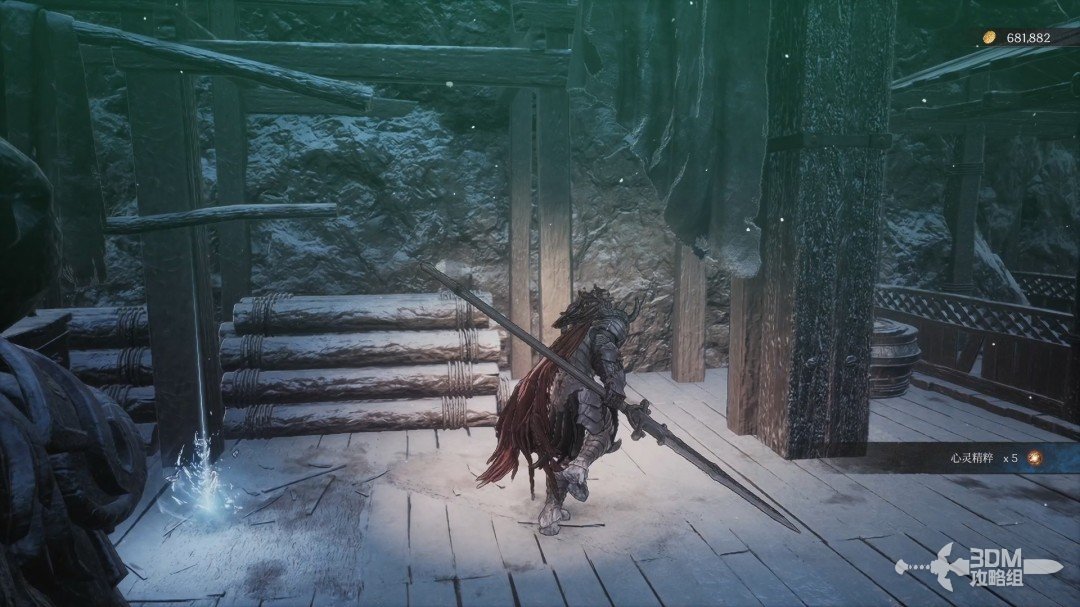
Long stairs and lion statue: open the entrance shortcut · route image 3

Watch for exploding spiders dropping from the roof.
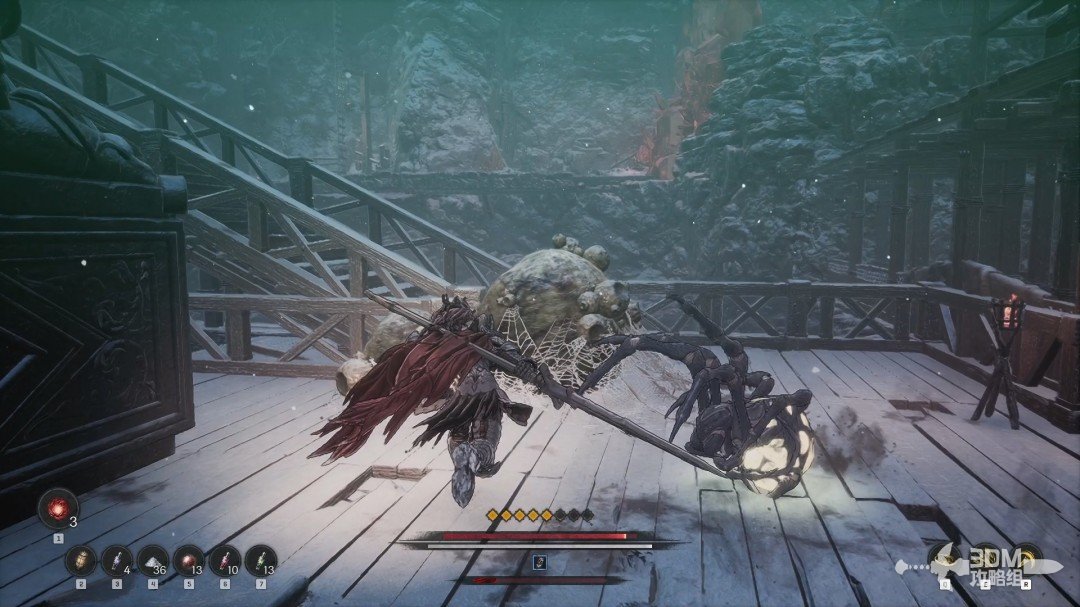
Long stairs and lion statue: open the entrance shortcut · route image 4

Climb the stairs and explore left first.
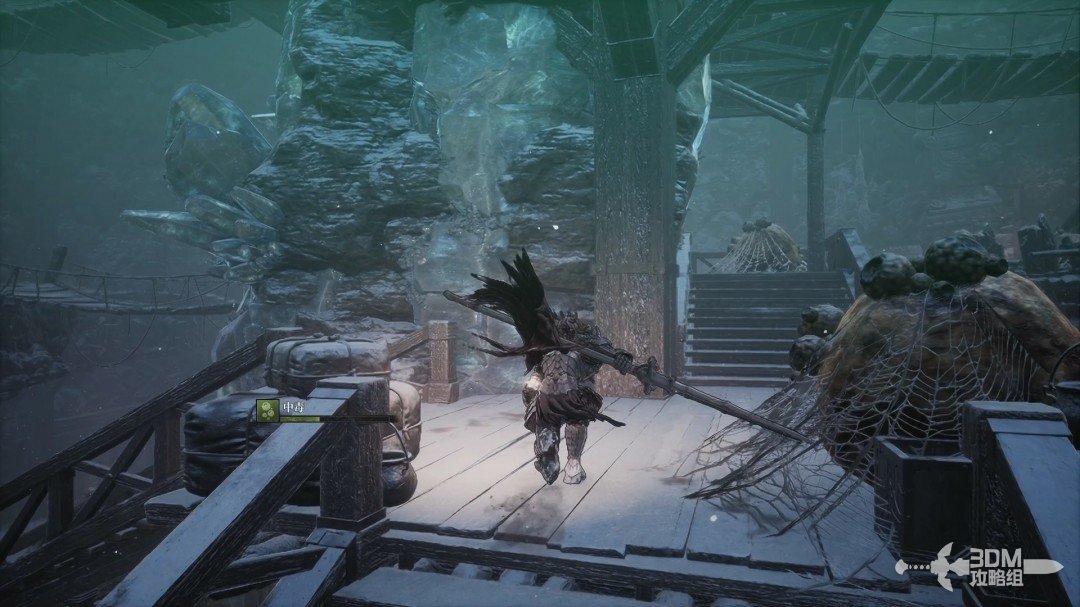
Long stairs and lion statue: open the entrance shortcut · route image 5

The ladder returns to the starting Nexus. If healthy, stay on the route and take the purple item on the left boards.
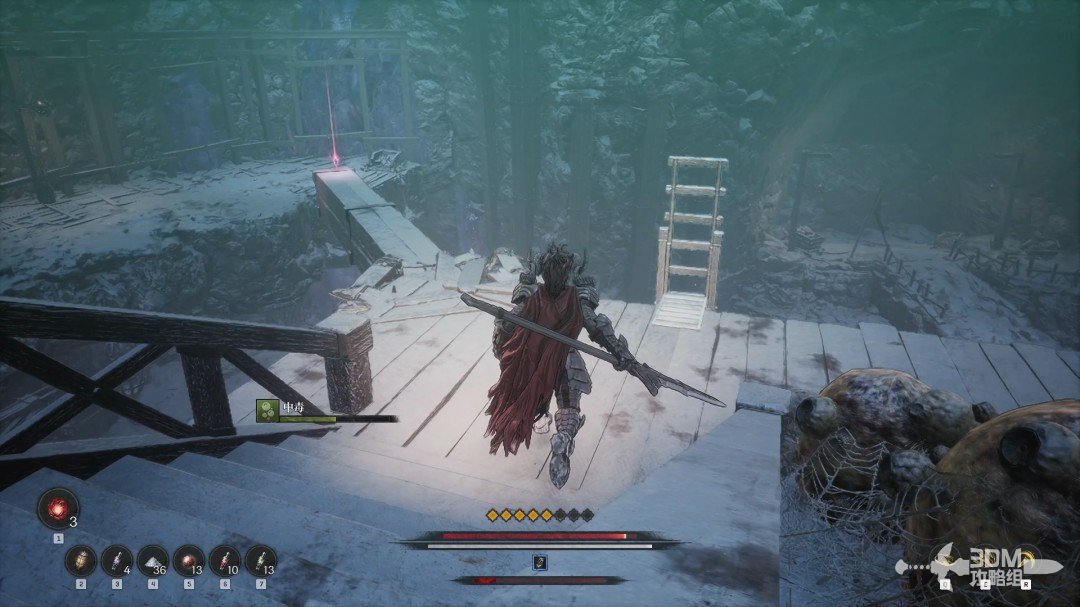
Long stairs and lion statue: open the entrance shortcut · route image 6

05Bridge guarded by a spawning spider: shoot down the webbed shield and search right for the Soulstone

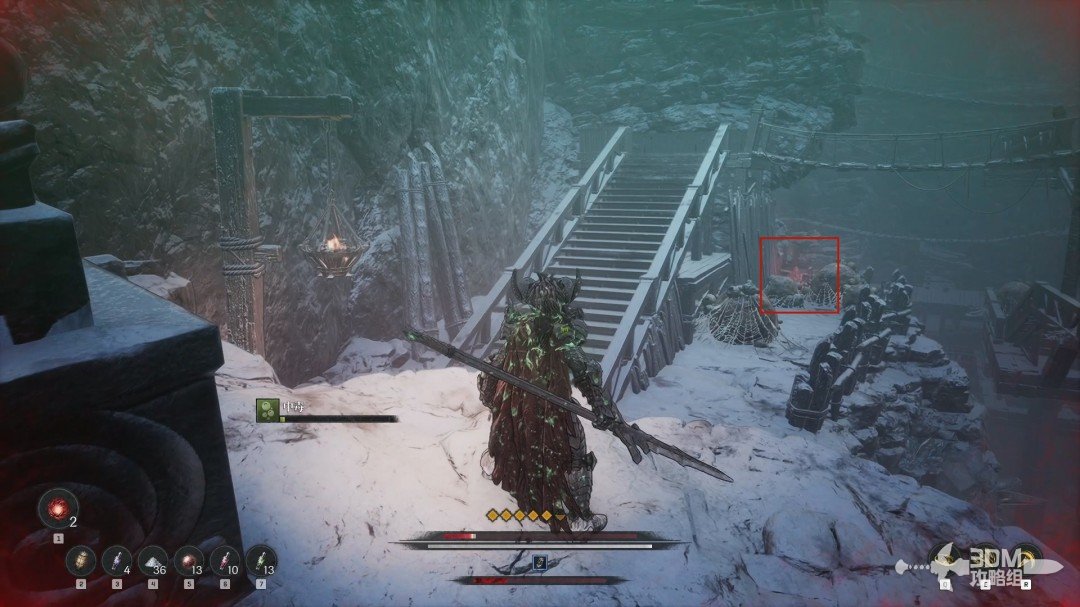
Return to the main route for a memory. Shoot the overhead spider with Javelin before approaching.
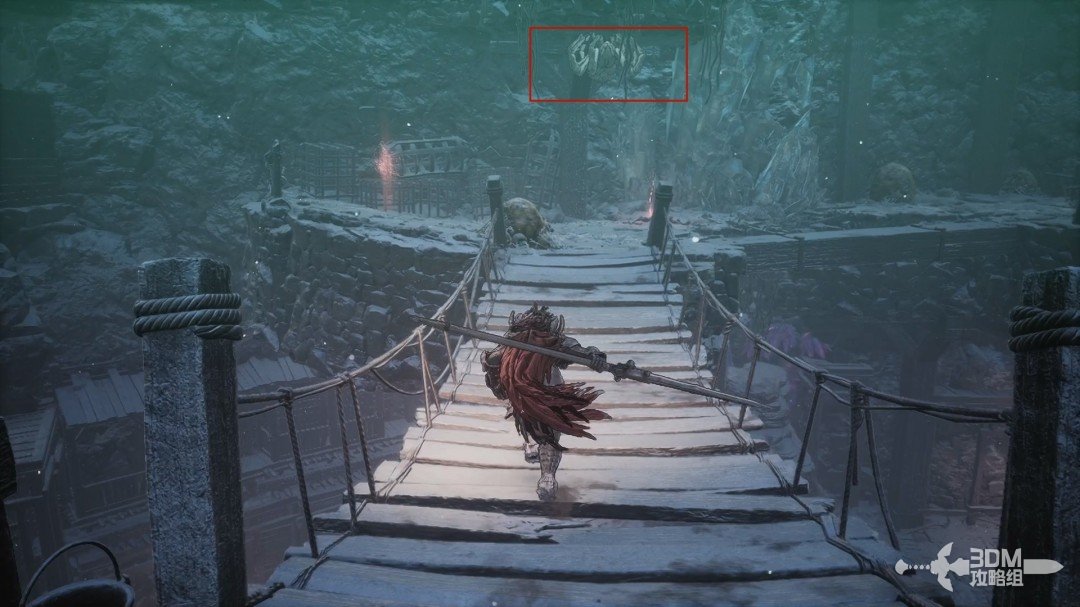
Bridge guarded by a spawning spider: shoot down the webbed shield and search right for the Soulstone · route image 7

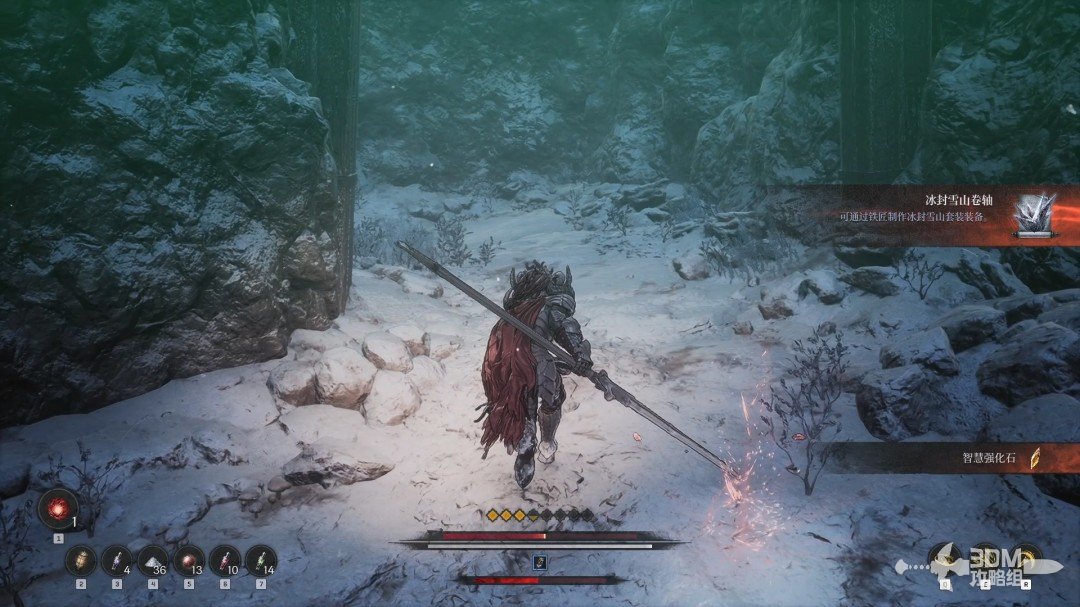
Cross toward the white egg-laying spider, watching for exploding offspring. Break the web above it for a red Ghostly Shield.
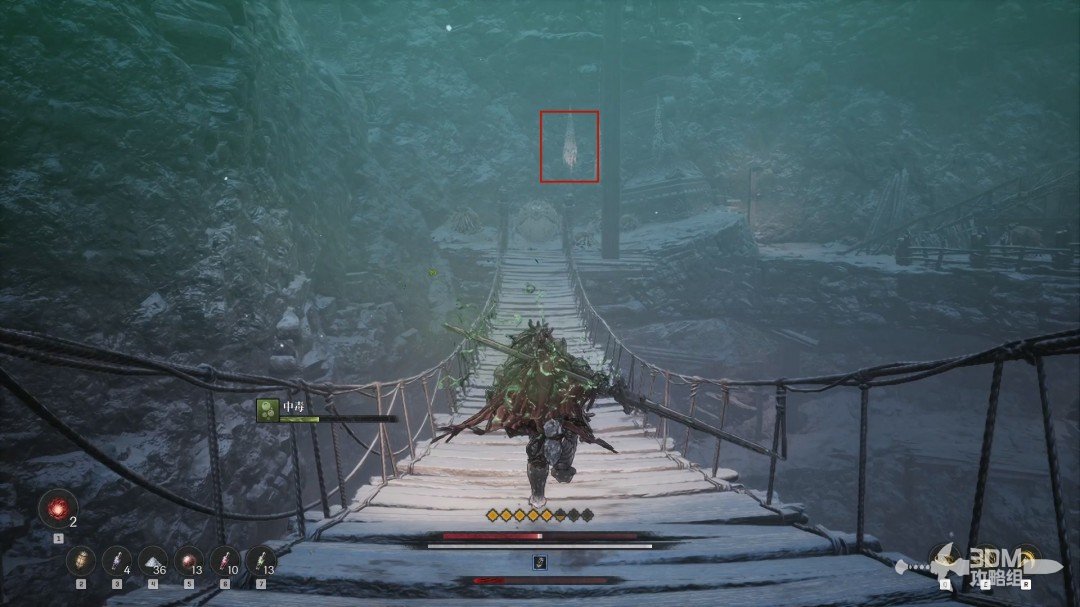
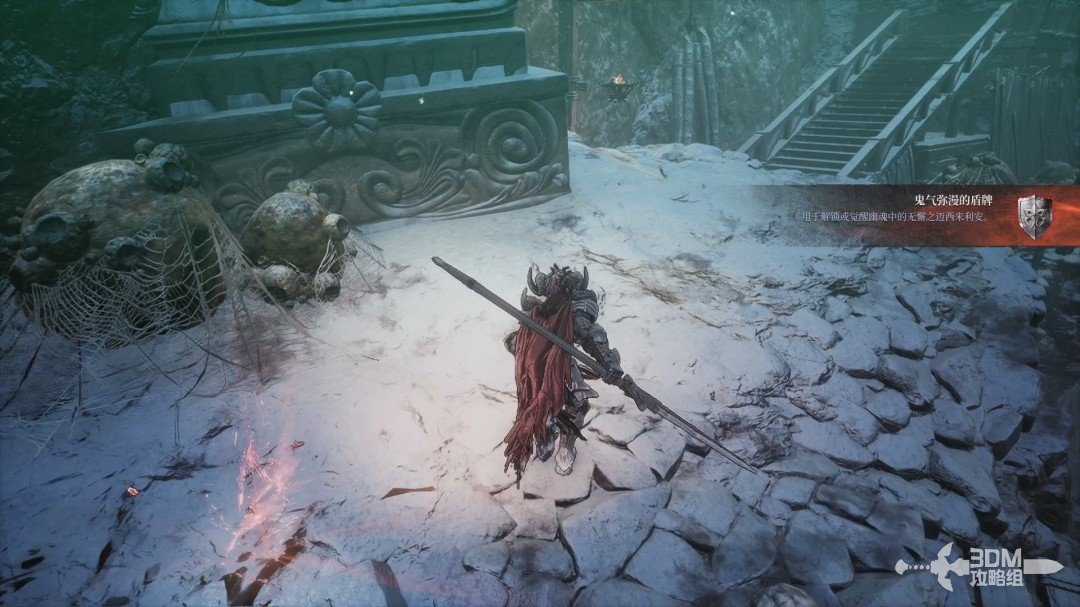
Bridge guarded by a spawning spider: shoot down the webbed shield and search right for the Soulstone · route image 8
Bridge guarded by a spawning spider: shoot down the webbed shield and search right for the Soulstone · route image 9

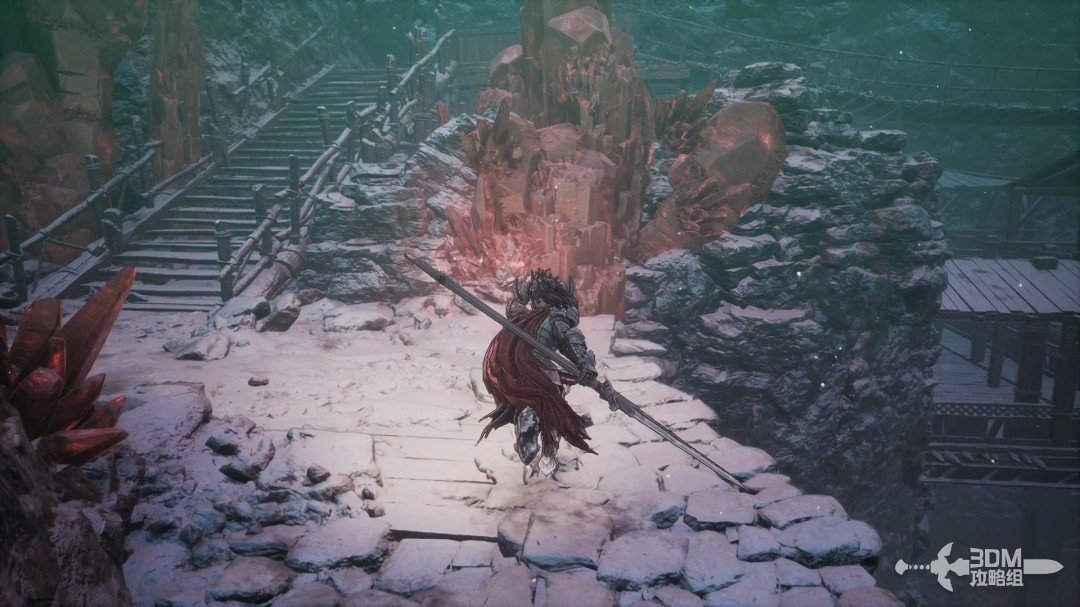
Go right for a Soulstone.

Bridge guarded by a spawning spider: shoot down the webbed shield and search right for the Soulstone · route image 10

08Egg-covered chest and bridge Nexus: descend the right ladder

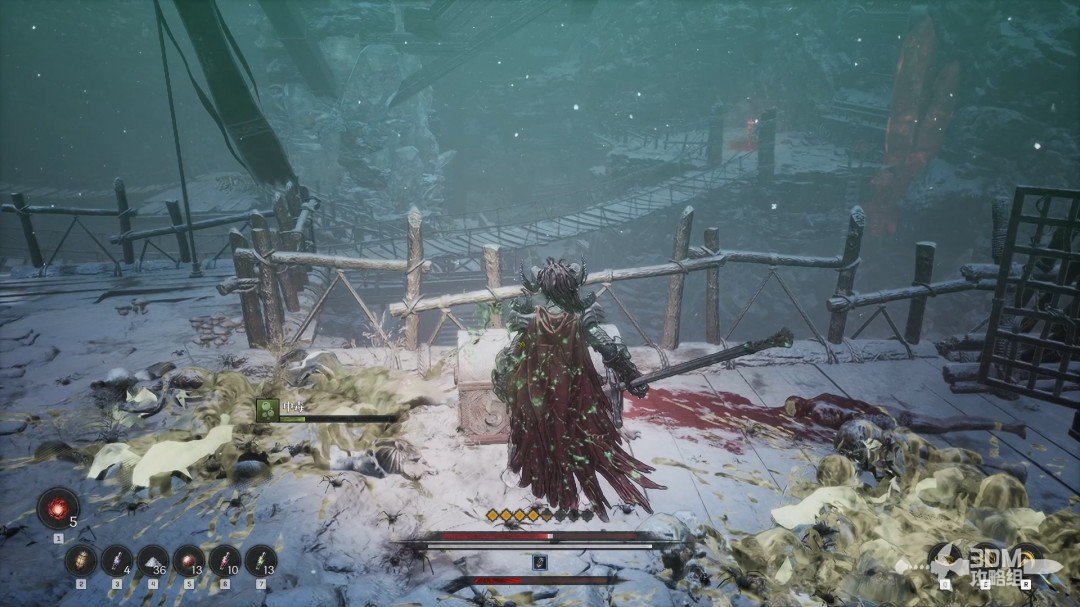
Climb the stairs and open the exploding chest among the spider eggs.
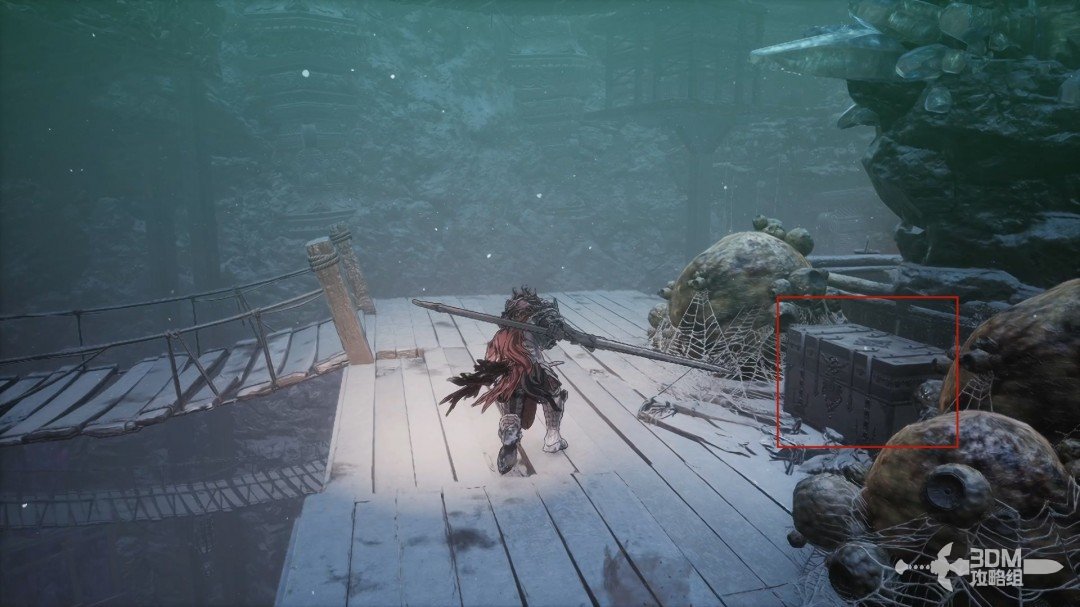
Egg-covered chest and bridge Nexus: descend the right ladder · route image 1

Cross the bridge to a new Blade Nexus.
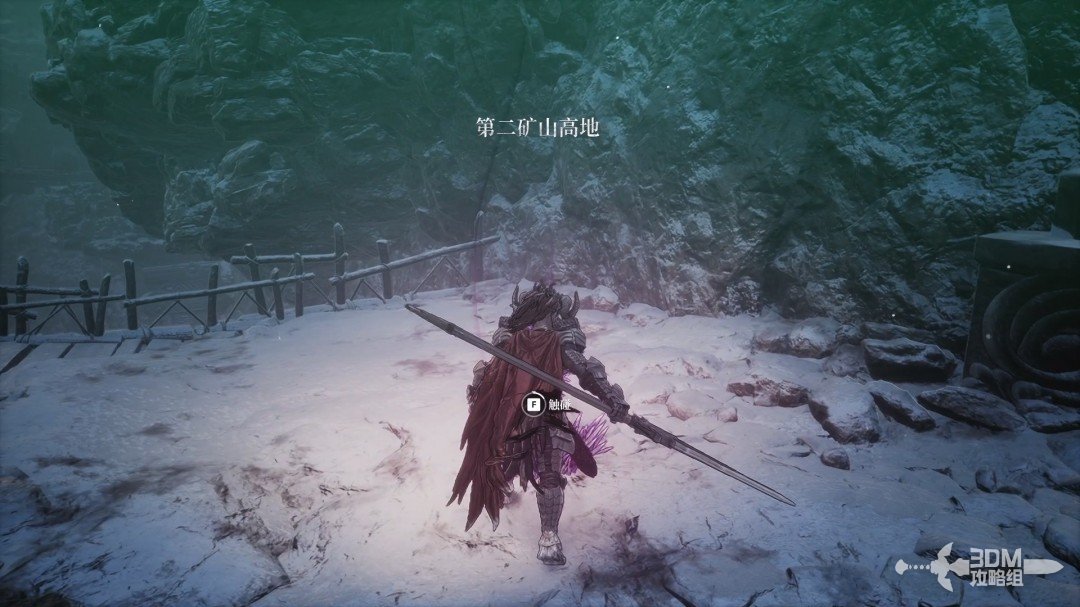
Egg-covered chest and bridge Nexus: descend the right ladder · route image 2

Descend the ladder right of the Nexus. The memory below is a burrower trap.
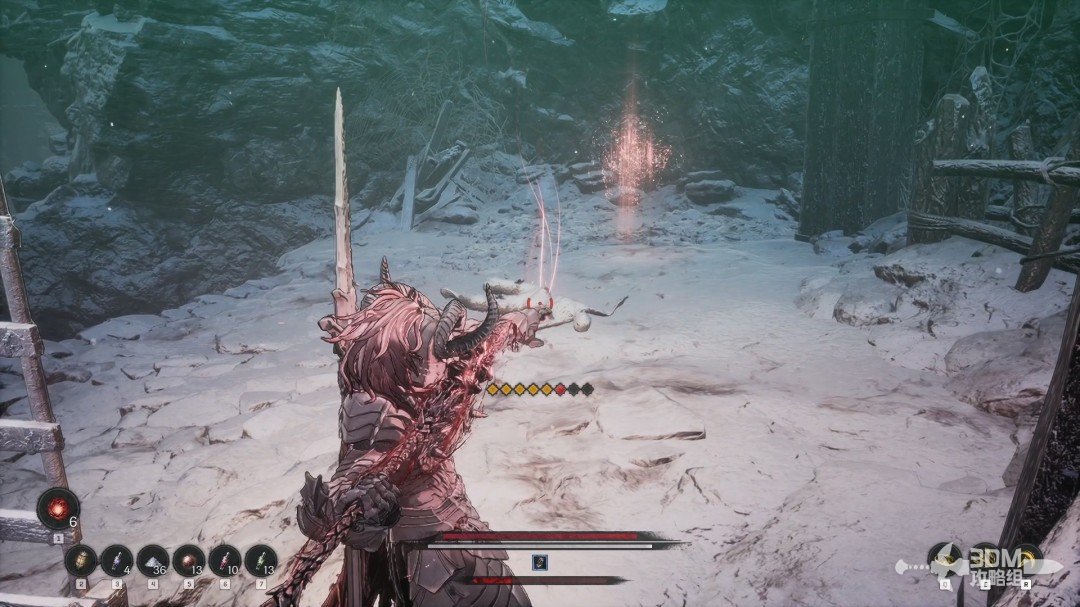
Egg-covered chest and bridge Nexus: descend the right ladder · route image 3

Break the Soulstone on the right.

Egg-covered chest and bridge Nexus: descend the right ladder · route image 4

10Spider cave ahead: shoot down the scroll in the overhead web

Continue across the bridge and absorb the memory.
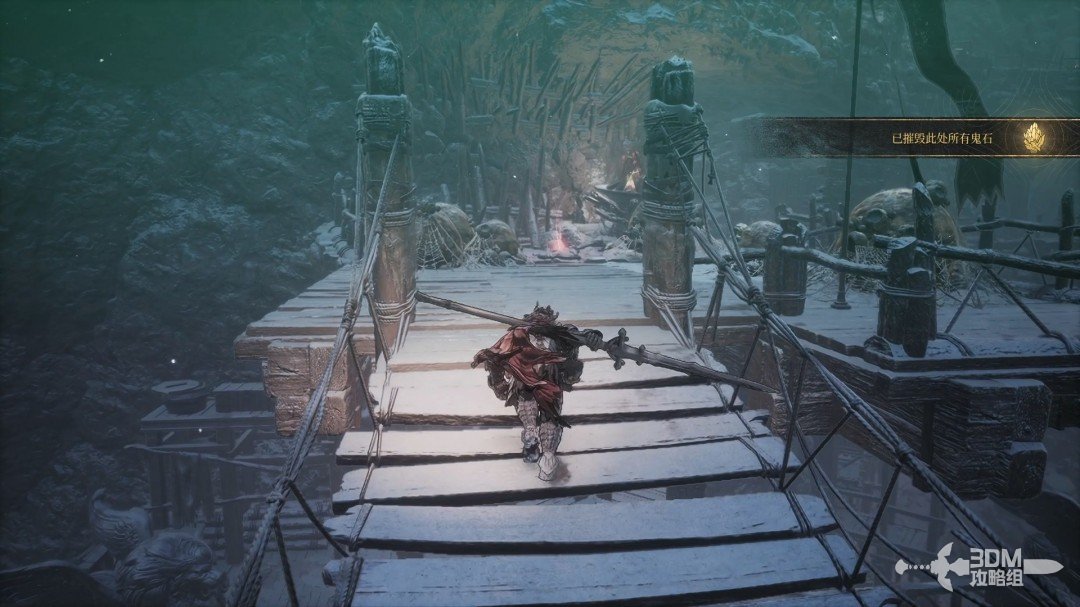
Spider cave ahead: shoot down the scroll in the overhead web · route image 1

Enter the spider-filled cave ahead. Look up for the ambusher's visible legs and attack first.
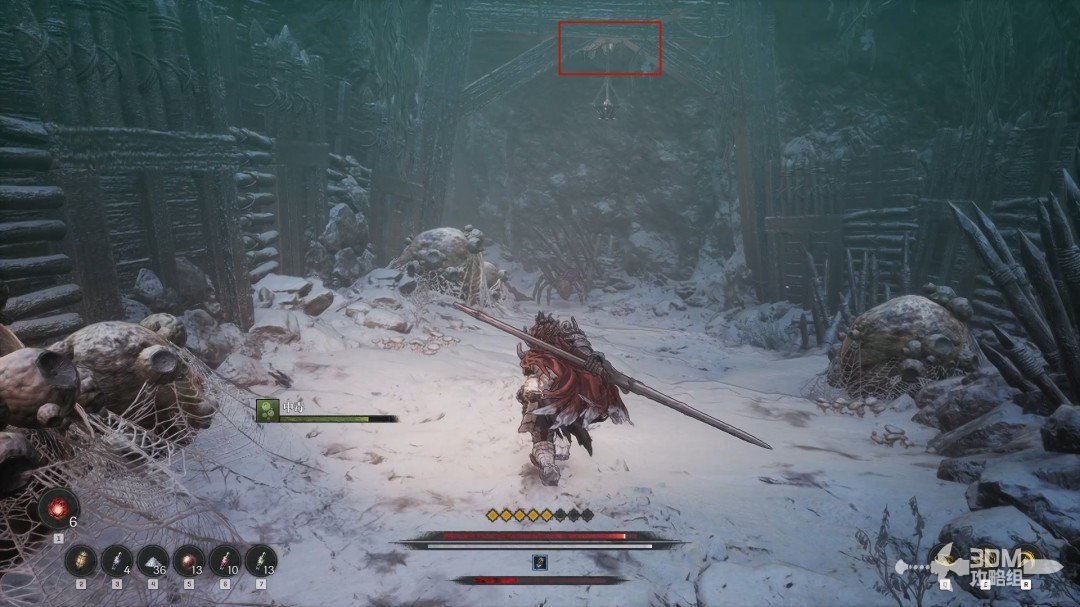
Spider cave ahead: shoot down the scroll in the overhead web · route image 2

After clearing them, break the overhead web for the Frozen Mountain Scroll.
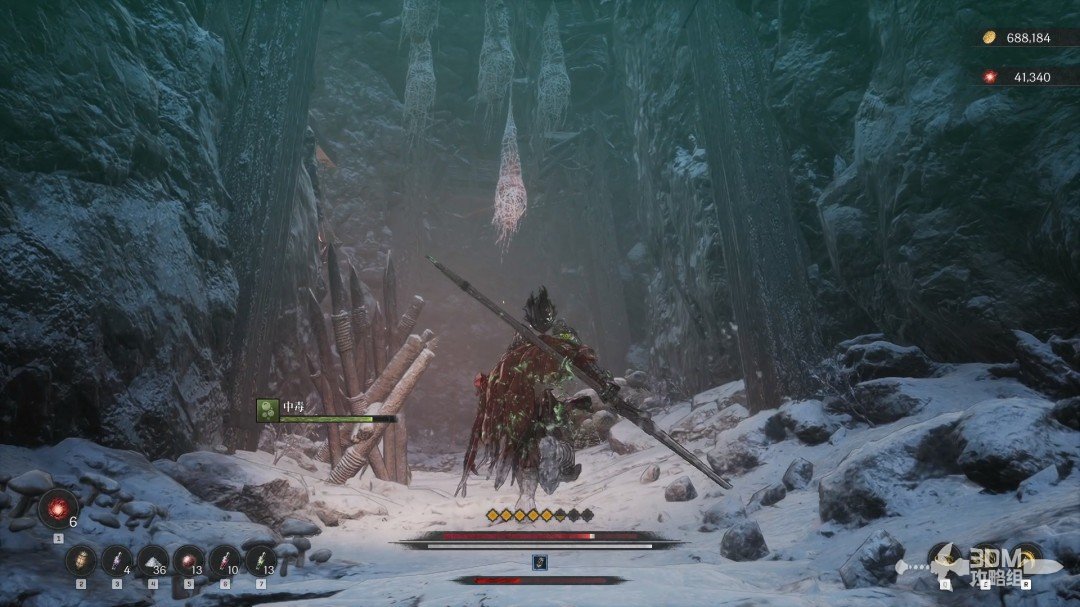
Spider cave ahead: shoot down the scroll in the overhead web · route image 3
Spider cave ahead: shoot down the scroll in the overhead web · route image 4

12Left stairs beside the burrower: save at the top and face the Yetuga-like foe

The memory ahead conceals another burrower.
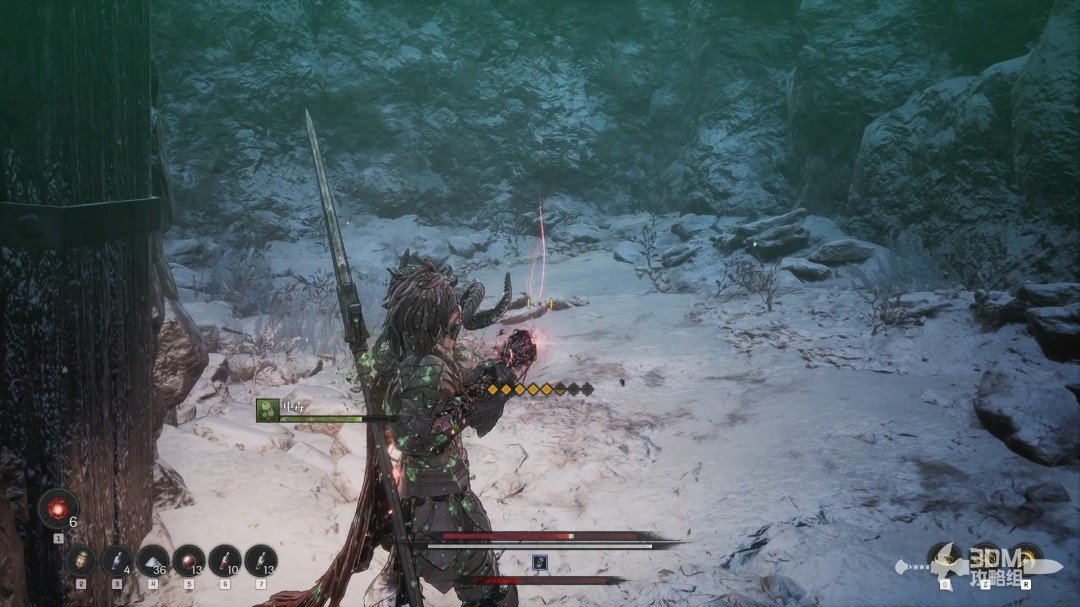
Left stairs beside the burrower: save at the top and face the Yetuga-like foe · route image 1

Climb the left ladder for a chest.

Left stairs beside the burrower: save at the top and face the Yetuga-like foe · route image 2

Continue up the stairs and follow the route to a Blade Nexus.
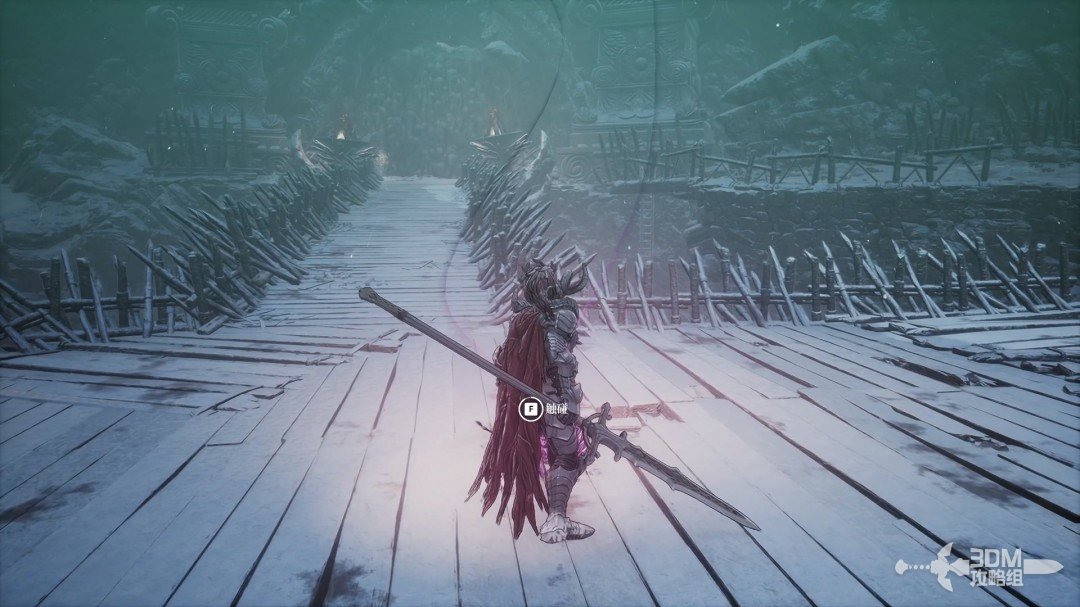
Left stairs beside the burrower: save at the top and face the Yetuga-like foe · route image 3

Rest before the boss, a variant of Yetuga.
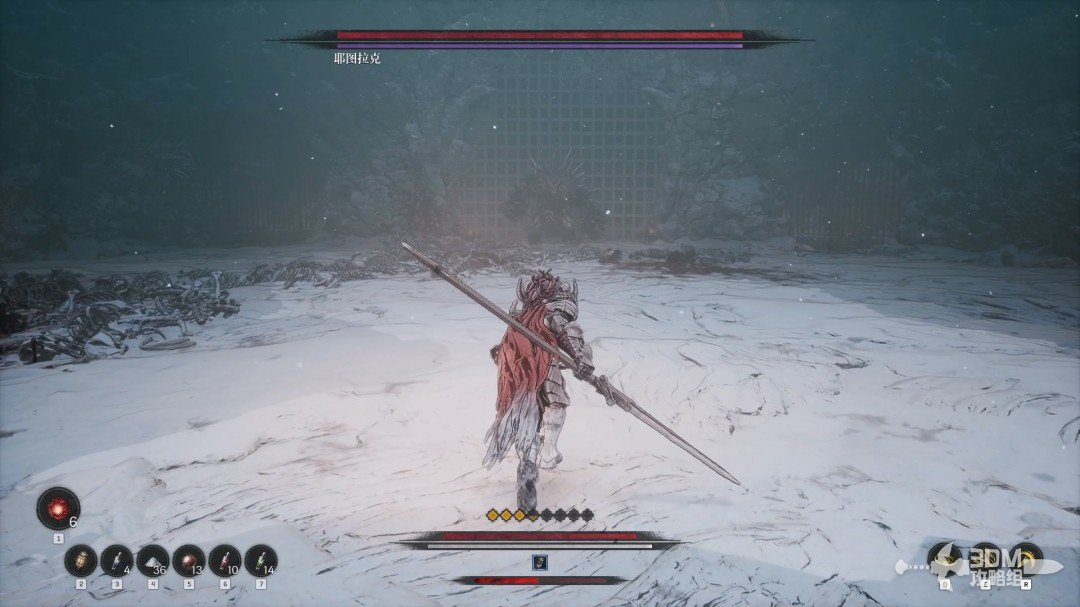
Left stairs beside the burrower: save at the top and face the Yetuga-like foe · route image 4

Speak to the two people behind the arena after victory to finish the mission.
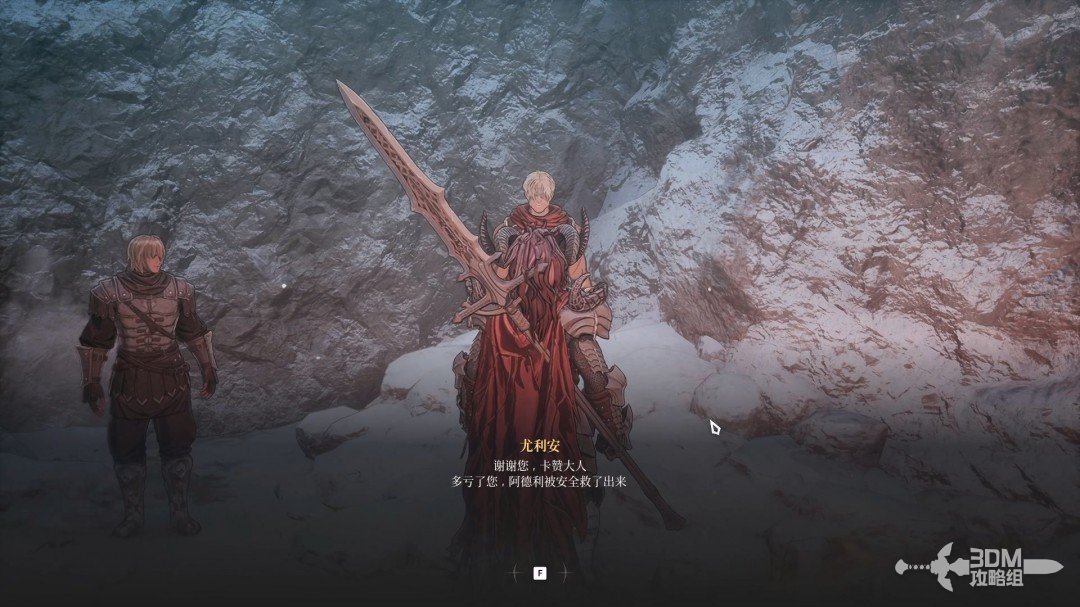
Left stairs beside the burrower: save at the top and face the Yetuga-like foe · route image 5

Continue

Back to mission index →

Reference: 3DM Guide Team

GAME NOTE has reorganized and rewritten the routes from this walkthrough.