Skip to content

Crimson Trace

Guide editor: GAME NOTE

GAME NOTE CLASSIC · GUIDE LIBRARYThe First Berserker: Khazan

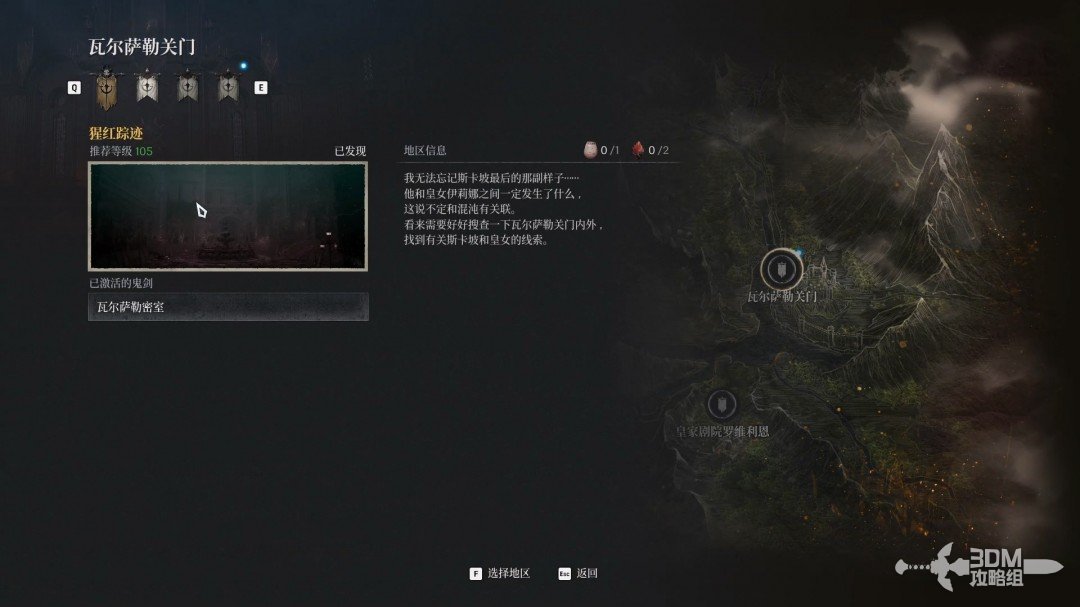
Select the mission after the fortress and hub dialogue.

Pickups in this mission

Open this mission’s independent boss guide →

01Crimson Trace entrance: search the right steps, then the left corridor

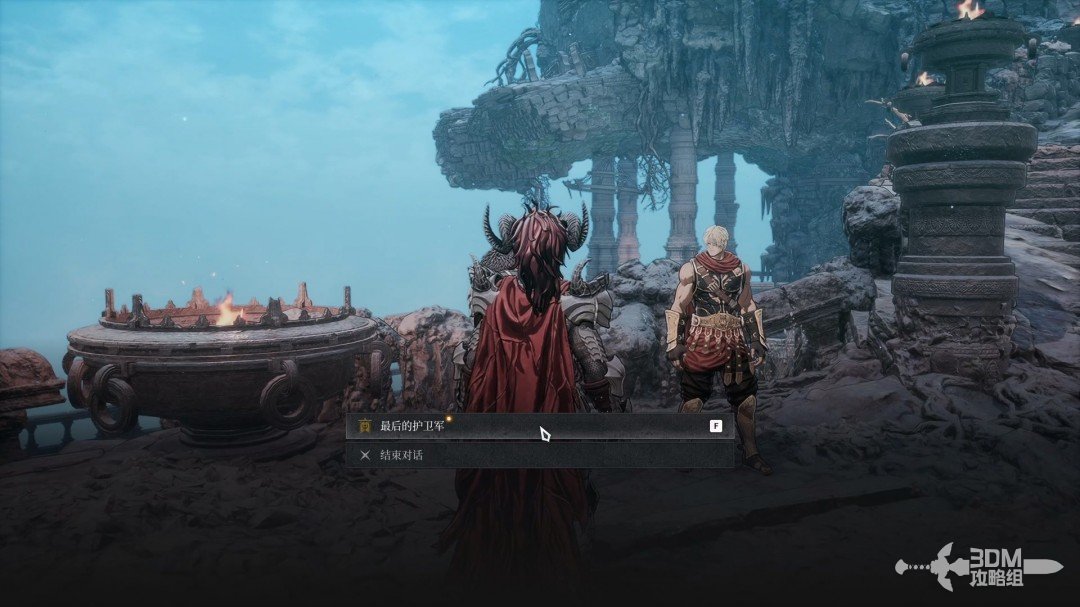
Speak to Tristan at the hub to unlock The Last Guard.
Crimson Trace entrance: search the right steps, then the left corridor · route image 1

Crimson Trace also becomes available. Complete it first.
Crimson Trace entrance: search the right steps, then the left corridor · route image 2

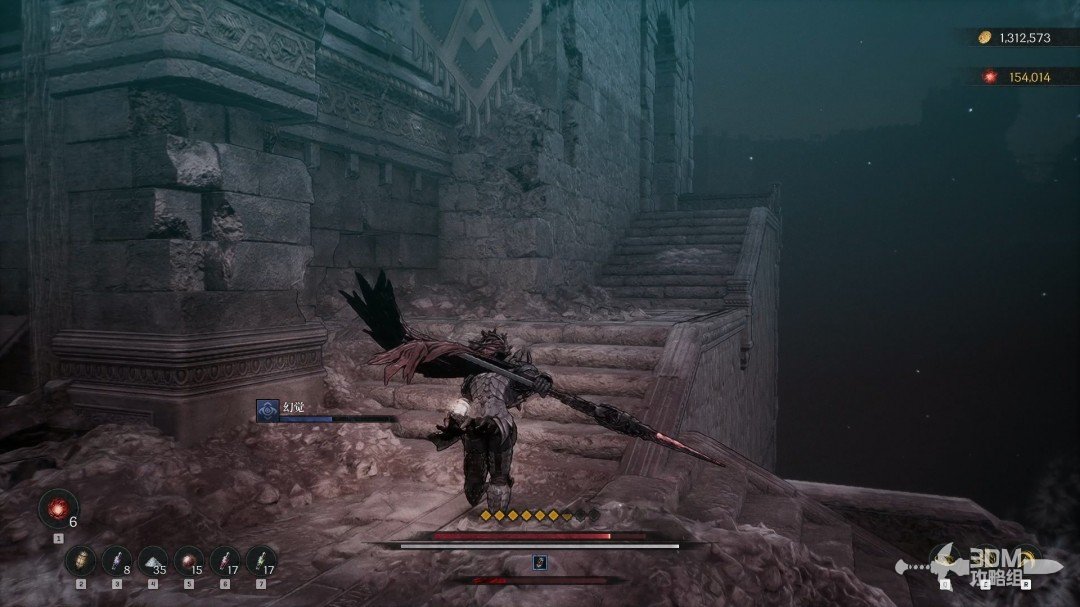
Collect the purple item on the right steps after arrival.
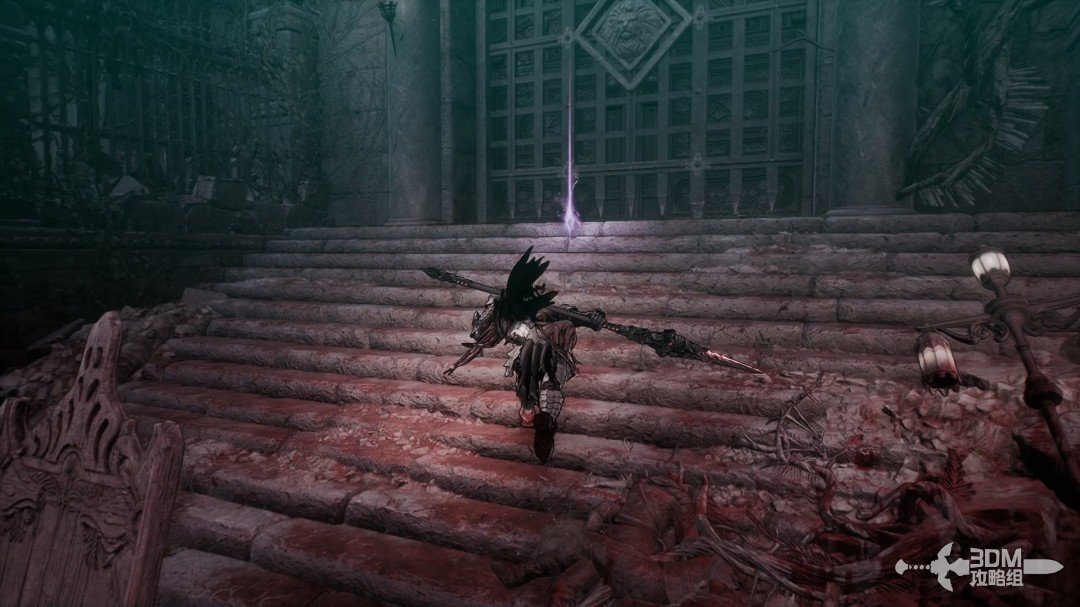
Crimson Trace entrance: search the right steps, then the left corridor · route image 3

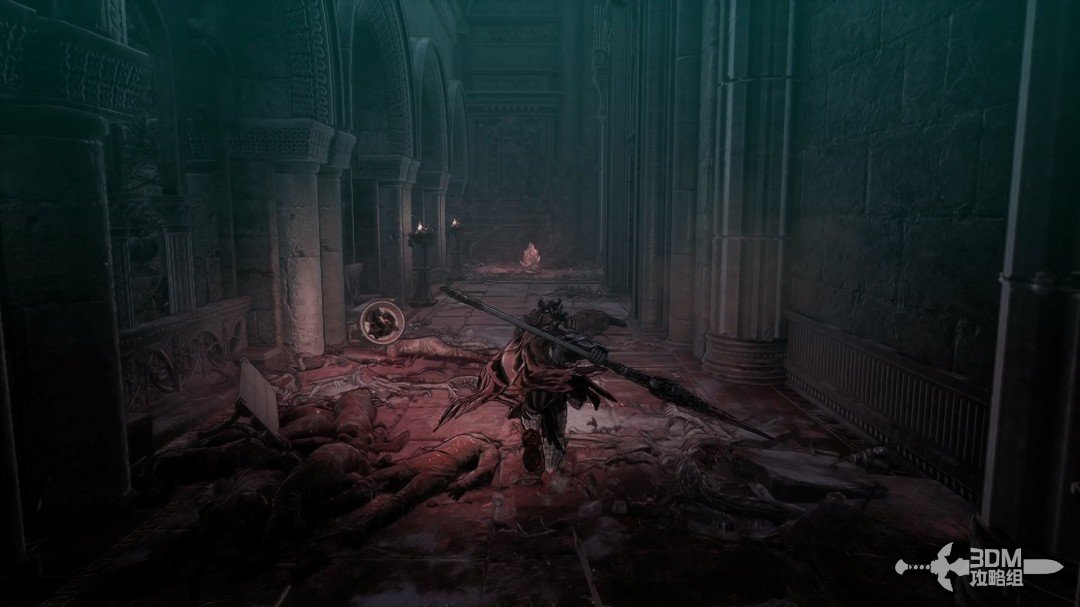
Take the left route to the Soulstone at the corridor's end.
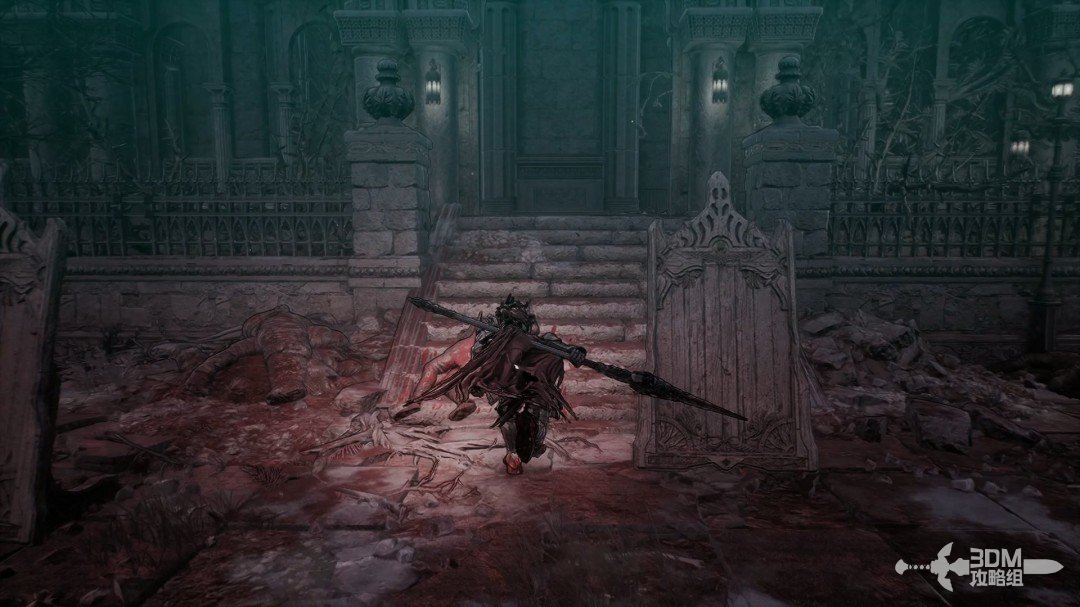
Crimson Trace entrance: search the right steps, then the left corridor · route image 4
Crimson Trace entrance: search the right steps, then the left corridor · route image 5

03Steps and Prophecy beyond the duplicating elite

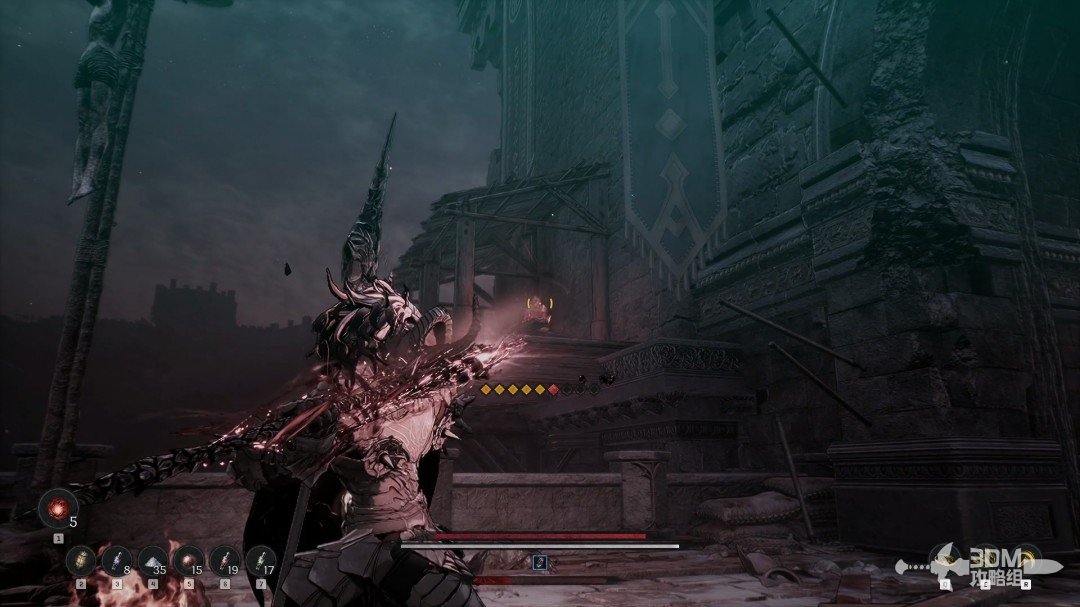
Resume the main route and fight the elite whose duplicates attack alongside it.
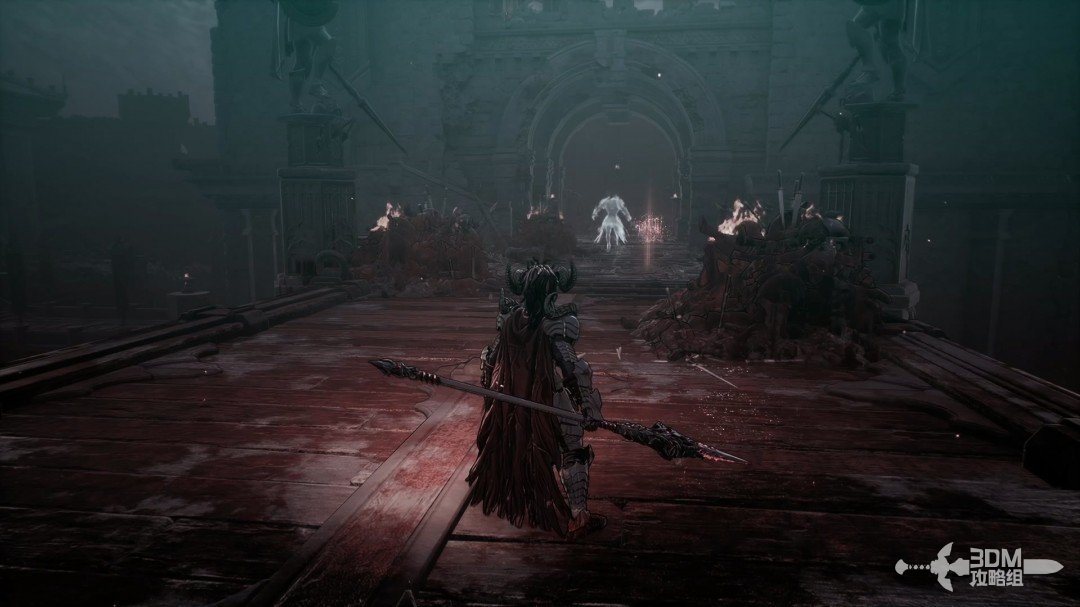
Steps and Prophecy beyond the duplicating elite · route image 1

Collect the golden material on the left steps after victory.
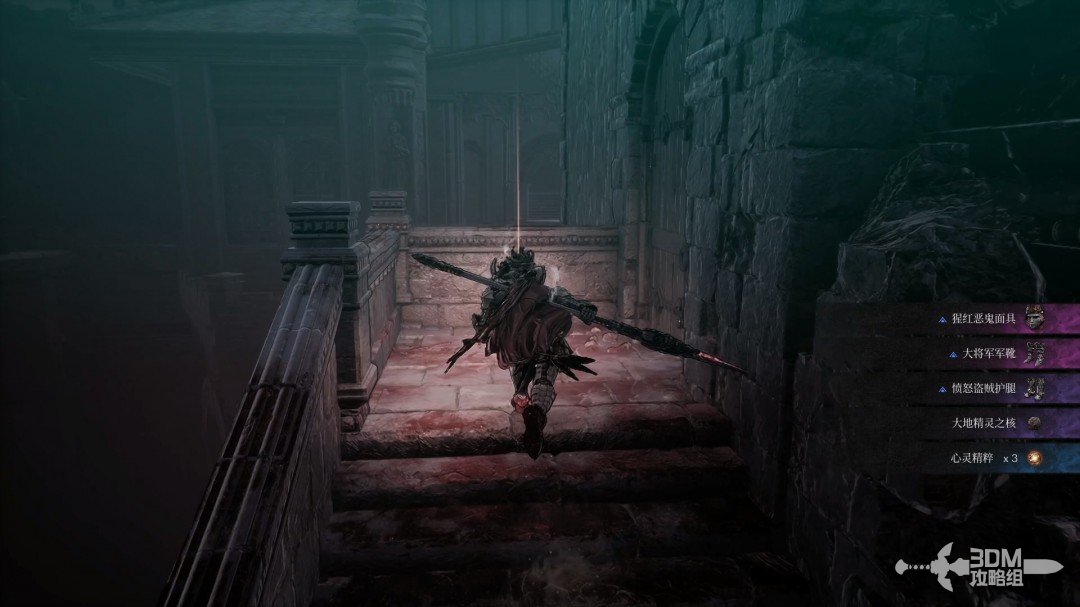
Steps and Prophecy beyond the duplicating elite · route image 2

Continue to Prophecy II on the left side of the route.
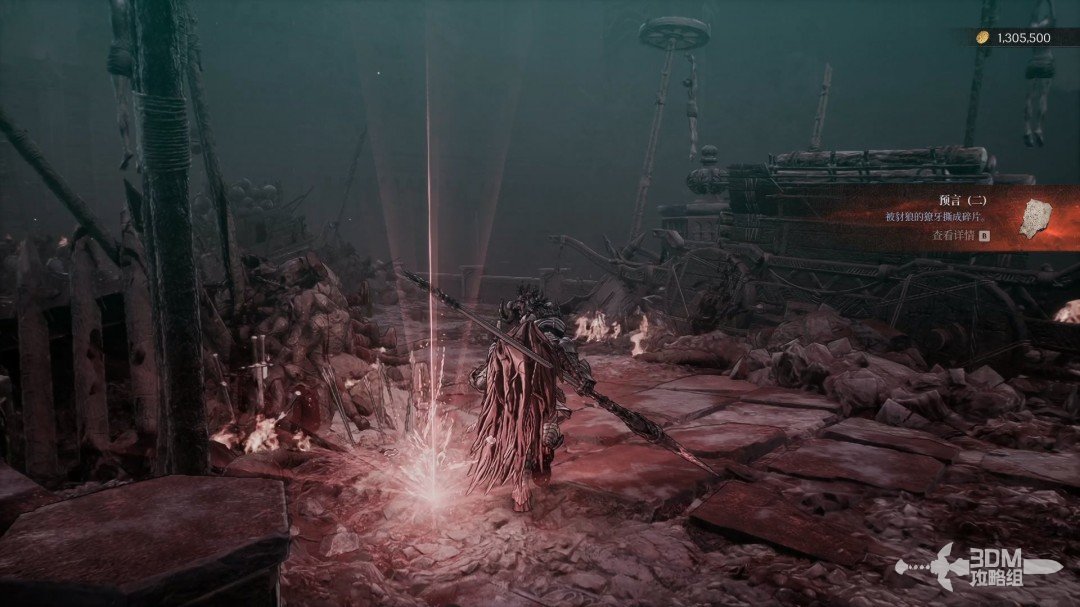
Steps and Prophecy beyond the duplicating elite · route image 3

05Memory ahead and high left ledge: find the Soulstone, then climb for the jar

Collect the memory ahead and defeat the familiar enemy.
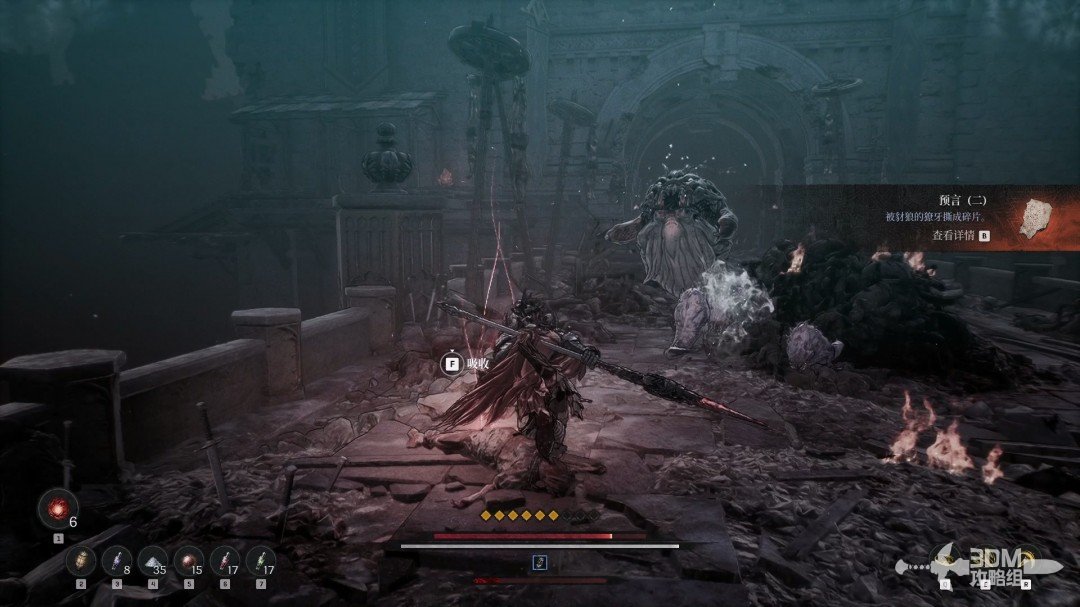
Memory ahead and high left ledge: find the Soulstone, then climb for the jar · route image 1

A Soulstone sits high on the left.

Memory ahead and high left ledge: find the Soulstone, then climb for the jar · route image 2

Continue and climb the left ladder.

Memory ahead and high left ledge: find the Soulstone, then climb for the jar · route image 1

Absorb the memory on the room's floor.
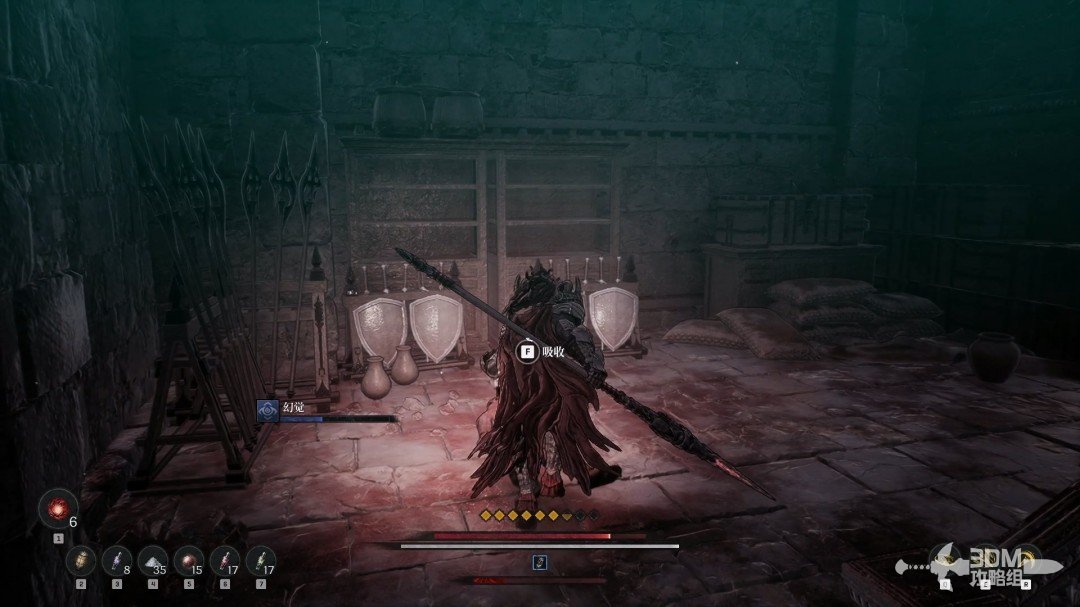
Memory ahead and high left ledge: find the Soulstone, then climb for the jar · route image 2

The pot beside it contains a Jarling.
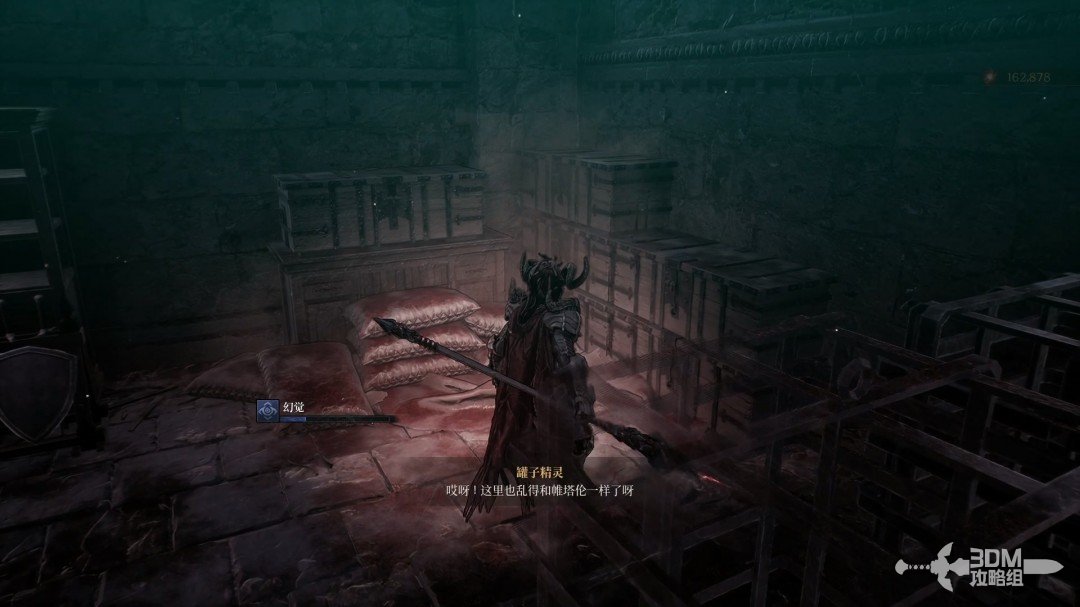
Memory ahead and high left ledge: find the Soulstone, then climb for the jar · route image 3

08Nexus at the end and paired elites: meet Lantimos after the fight

Follow the main route and collect the equipment in the middle.
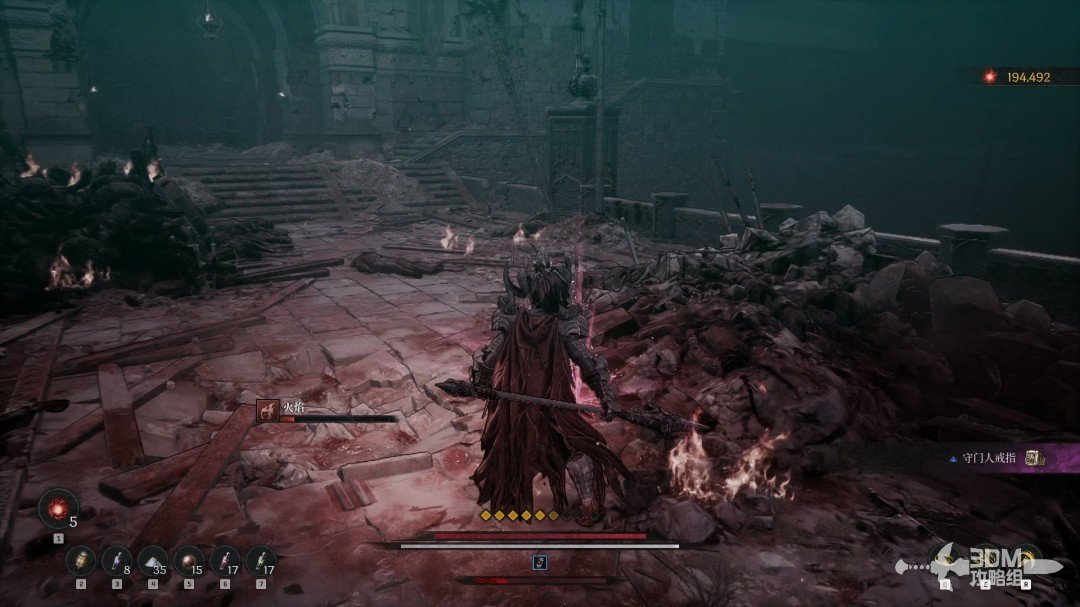
Nexus at the end and paired elites: meet Lantimos after the fight · route image 1

Rest at the Nexus ahead before entering the boss room.
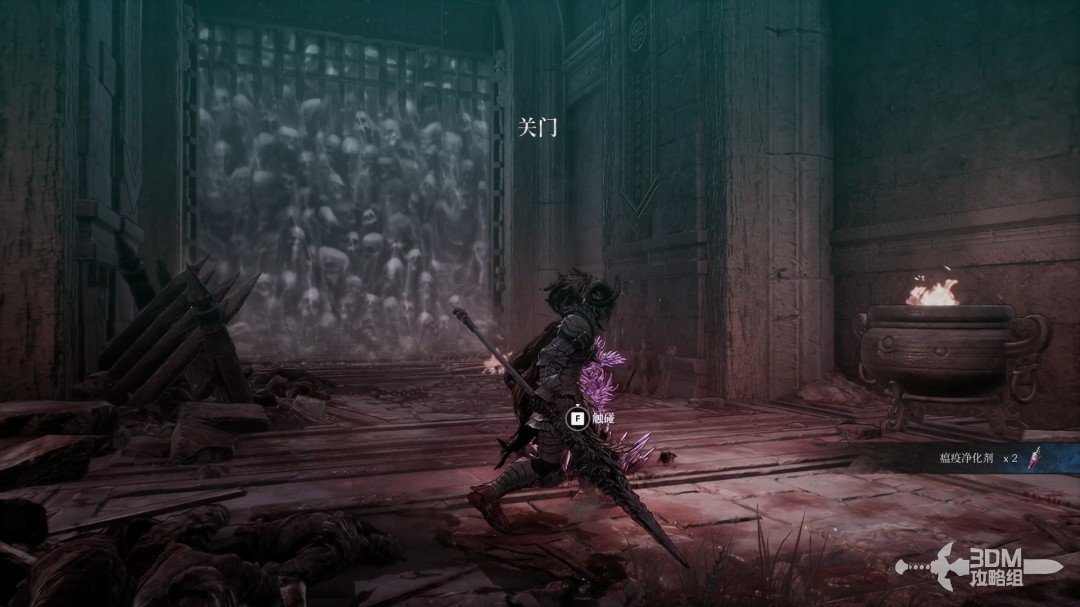
Nexus at the end and paired elites: meet Lantimos after the fight · route image 2

Defeat the two elite enemies in this encounter.
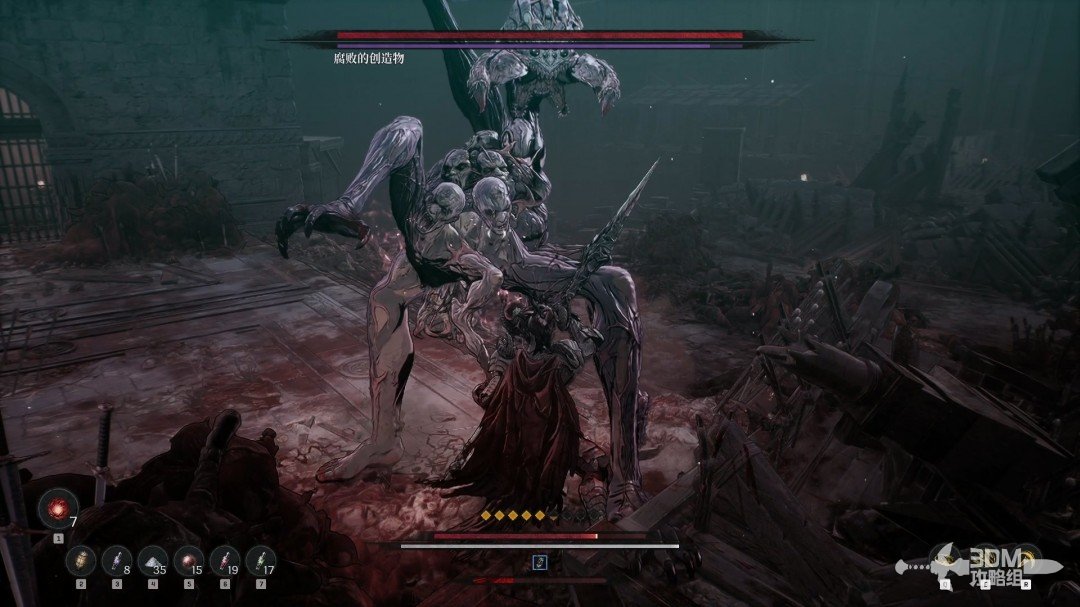
Nexus at the end and paired elites: meet Lantimos after the fight · route image 3

Speak to Lantimos, who reveals Skalpel often disappeared through the room below.
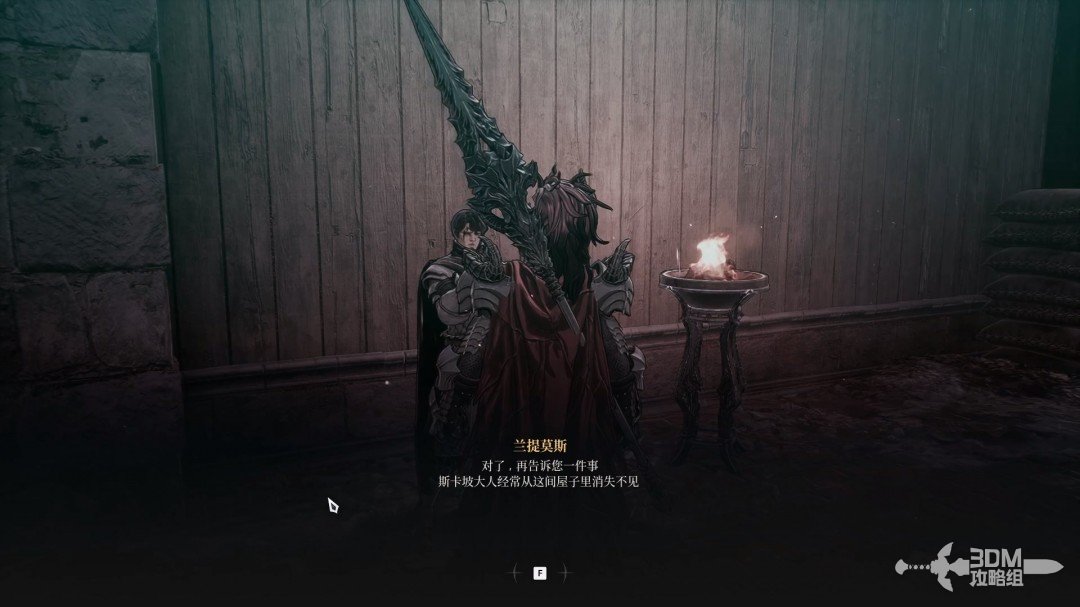
Nexus at the end and paired elites: meet Lantimos after the fight · route image 4

09Lower bookshelf passage: open the chest for the Singing Eagle's Hair

Descend and open the hidden bookshelf passage.
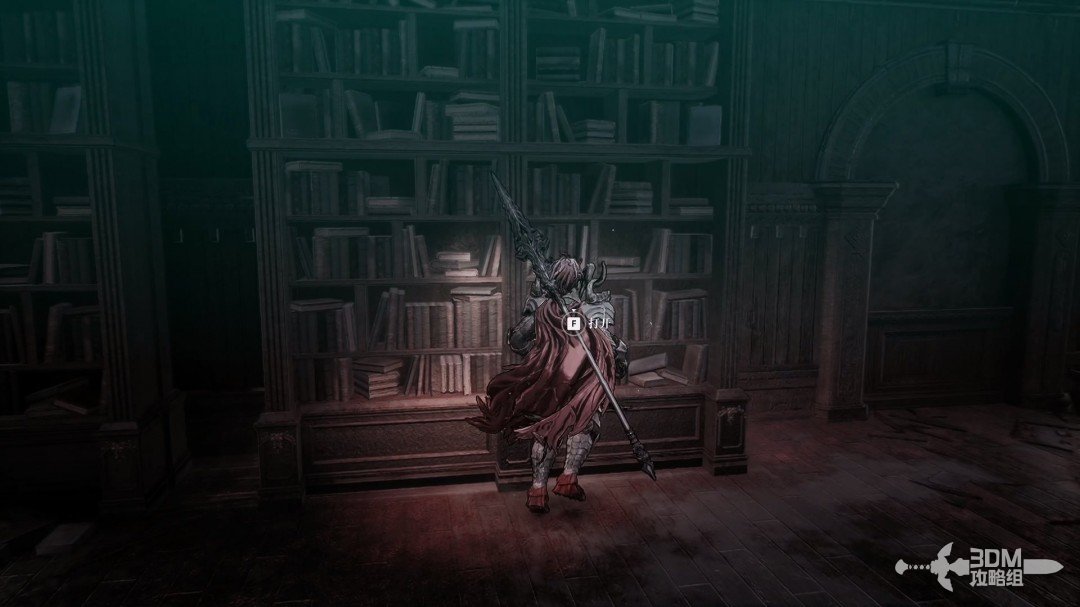
Lower bookshelf passage: open the chest for the Singing Eagle's Hair · route image 5

The chest below contains the Singing Hawk's Hair. Collect it and return.
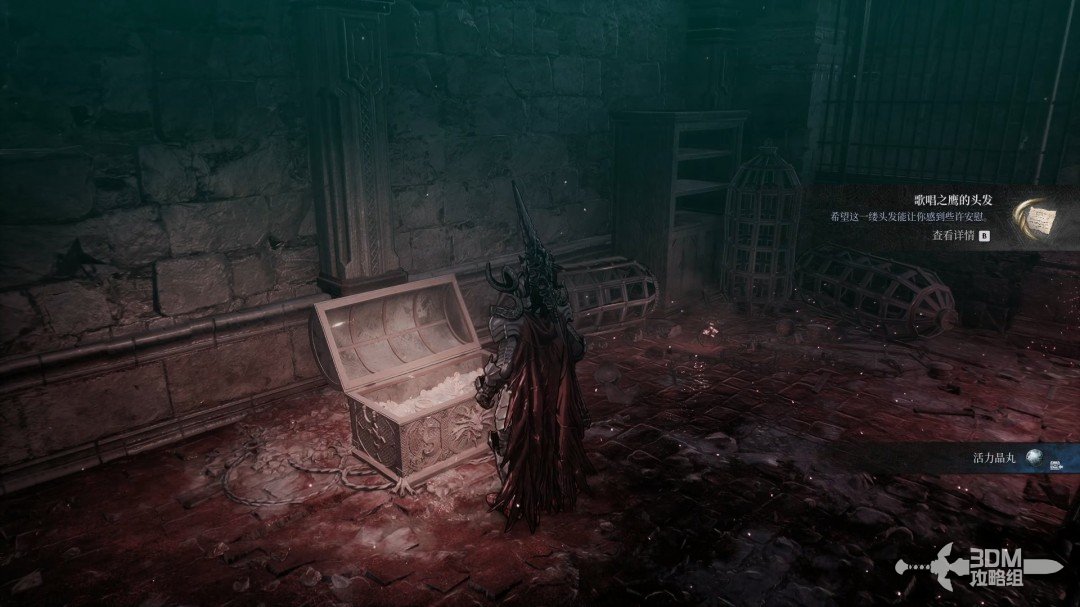
Lower bookshelf passage: open the chest for the Singing Eagle's Hair · route image 6

Continue

Back to mission index →

Reference: 3DM Guide Team

GAME NOTE has reorganized and rewritten the routes from this walkthrough.