Skip to content

Master of Chaos

Guide editor: GAME NOTE

GAME NOTE CLASSIC · GUIDE LIBRARYThe First Berserker: Khazan

Cross the palace and hidden passage to Ozma.

Pickups in this mission

01Magic orbs outside the palace: follow the stairs to Danjin's Nexus

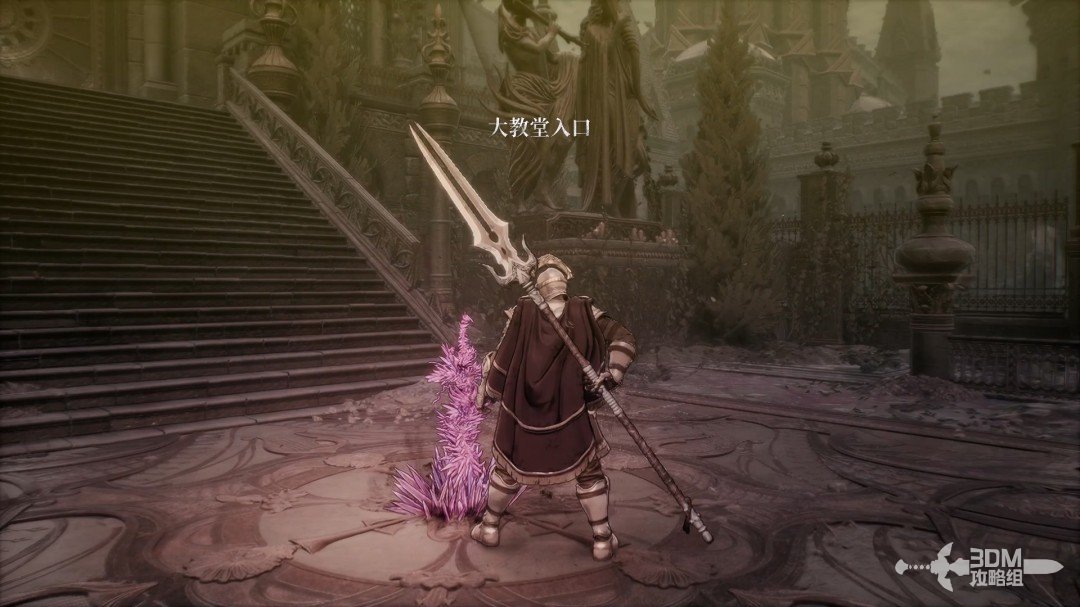
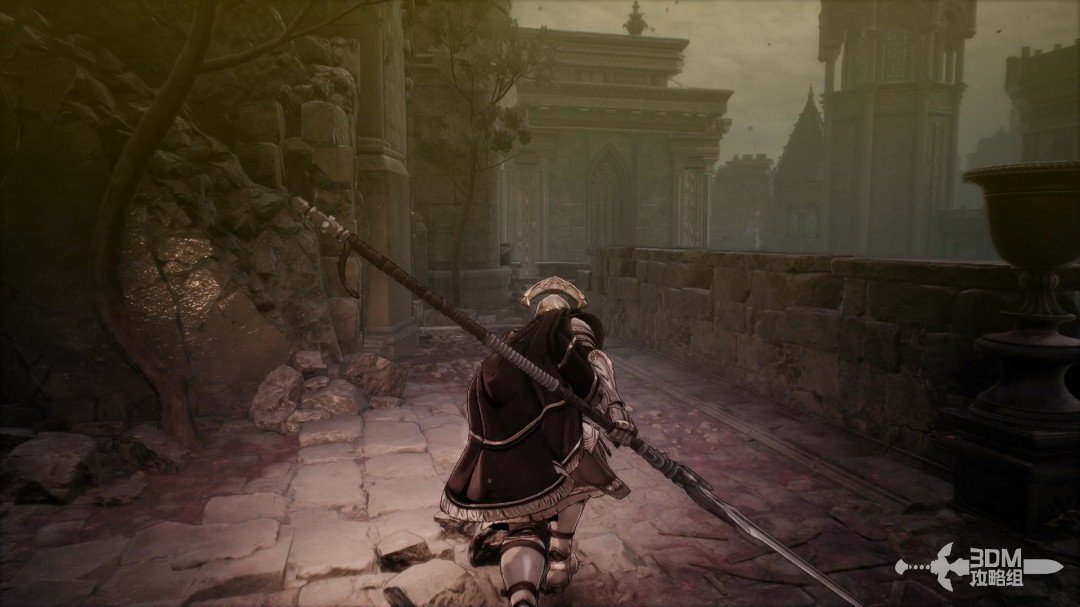
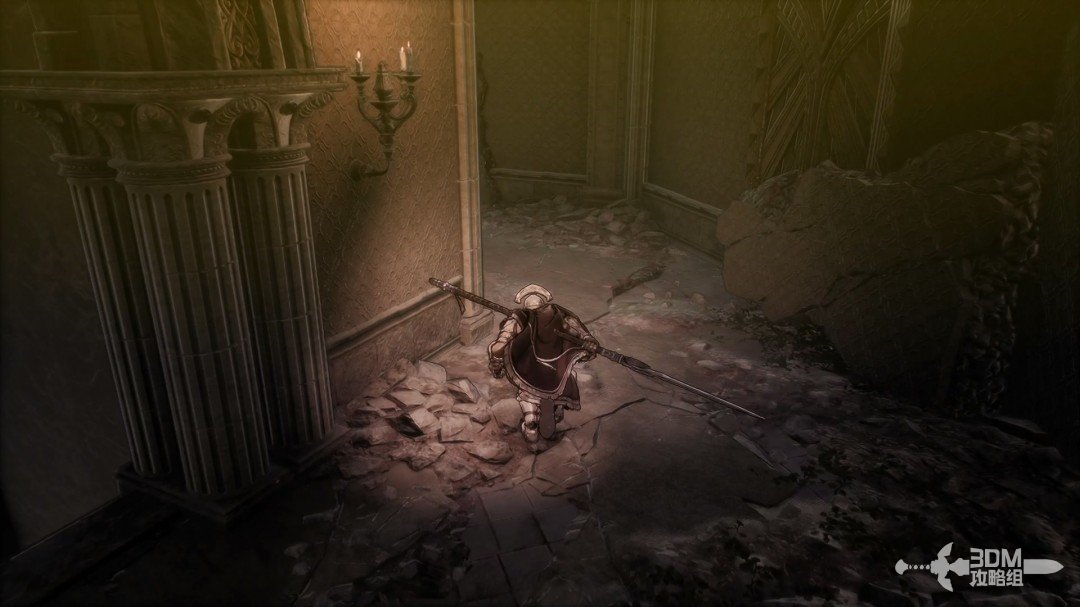
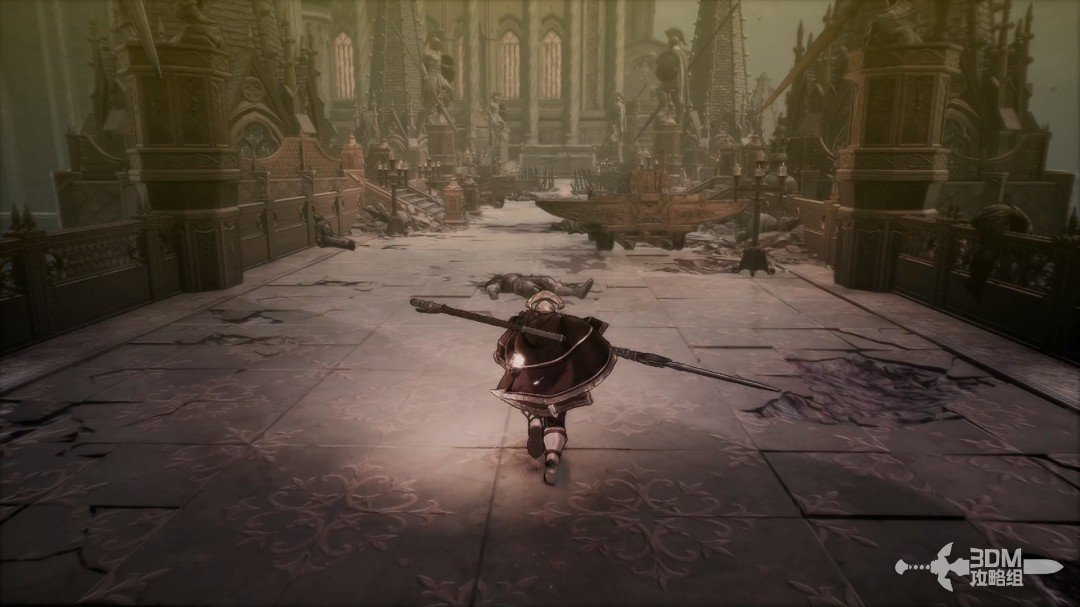
After Reese, the story sends you directly to the Imperial Palace.
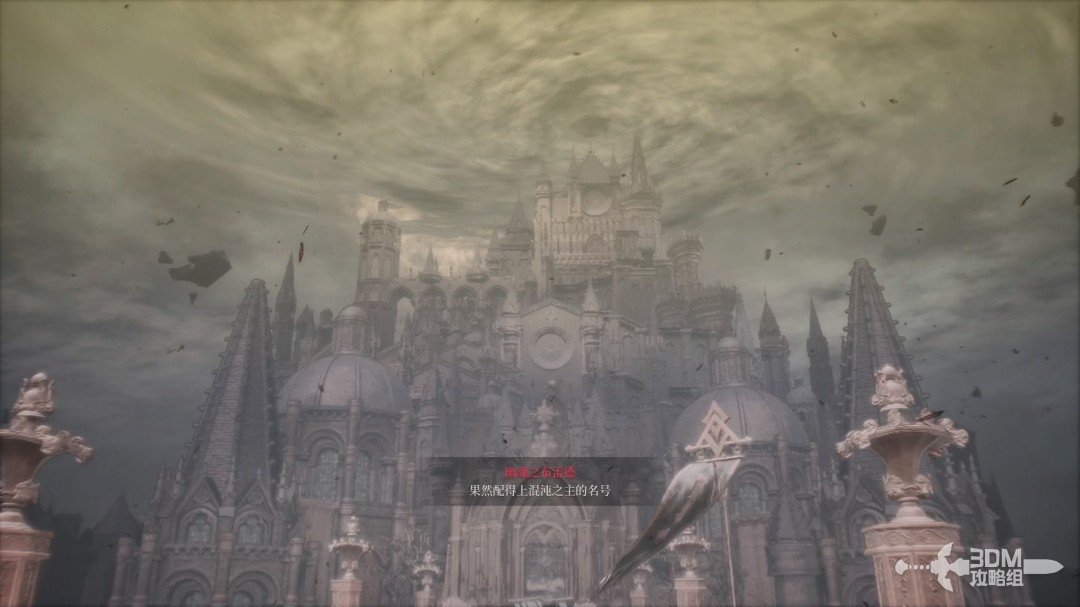
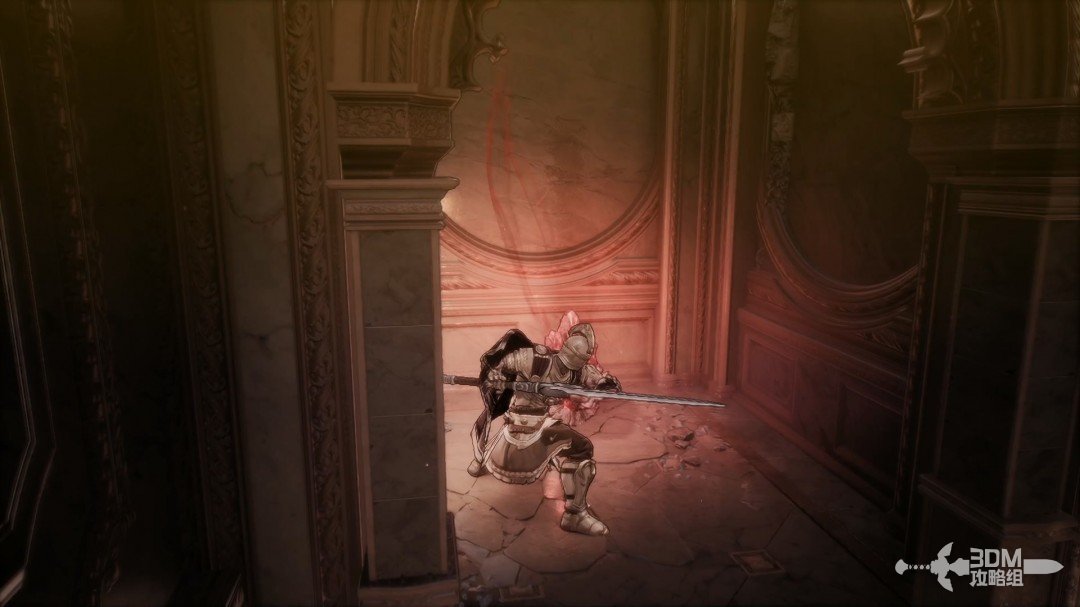
Magic orbs outside the palace: follow the stairs to Danjin's Nexus · route image 1

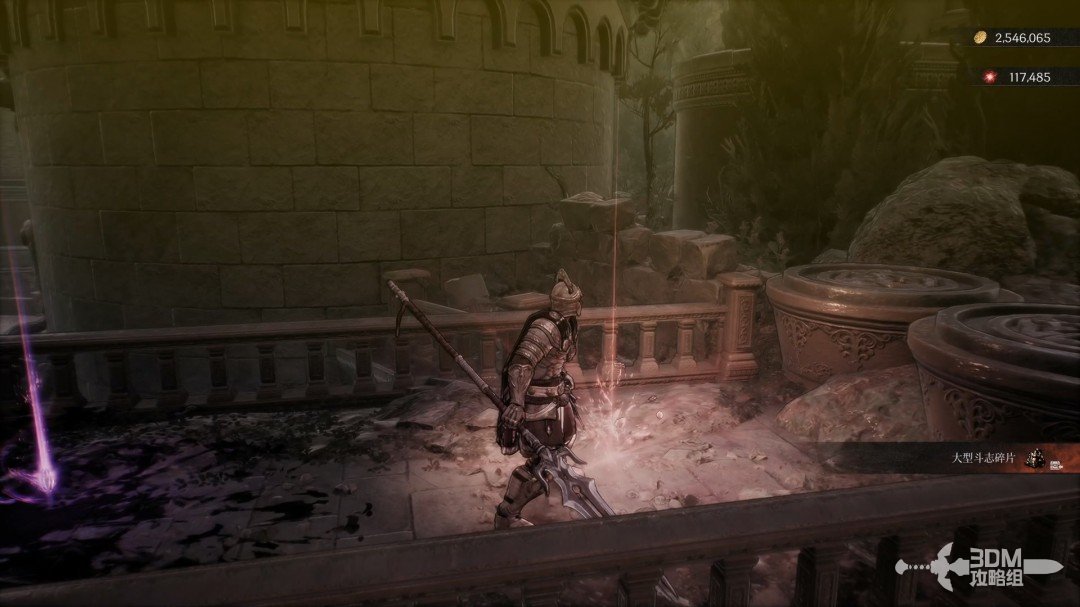
Advance while dodging the magic orbs attacking from above.
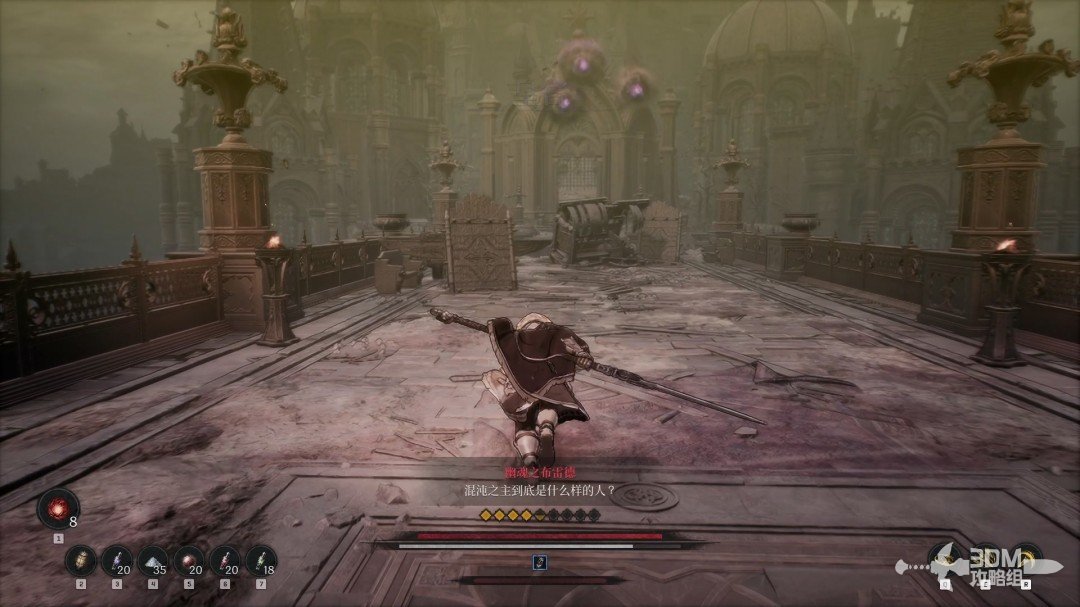
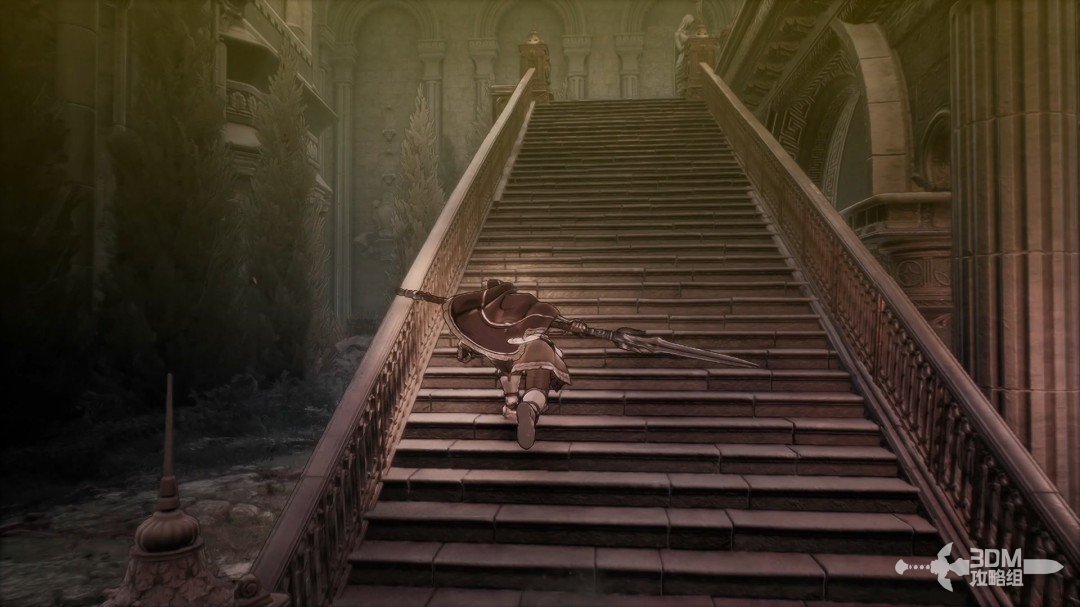
Magic orbs outside the palace: follow the stairs to Danjin's Nexus · route image 2

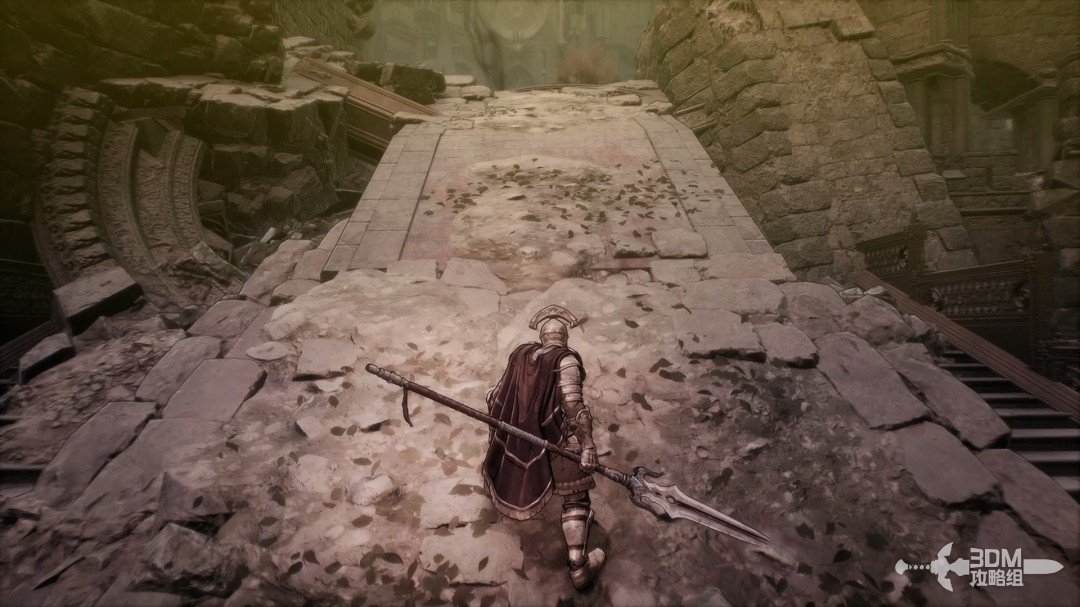
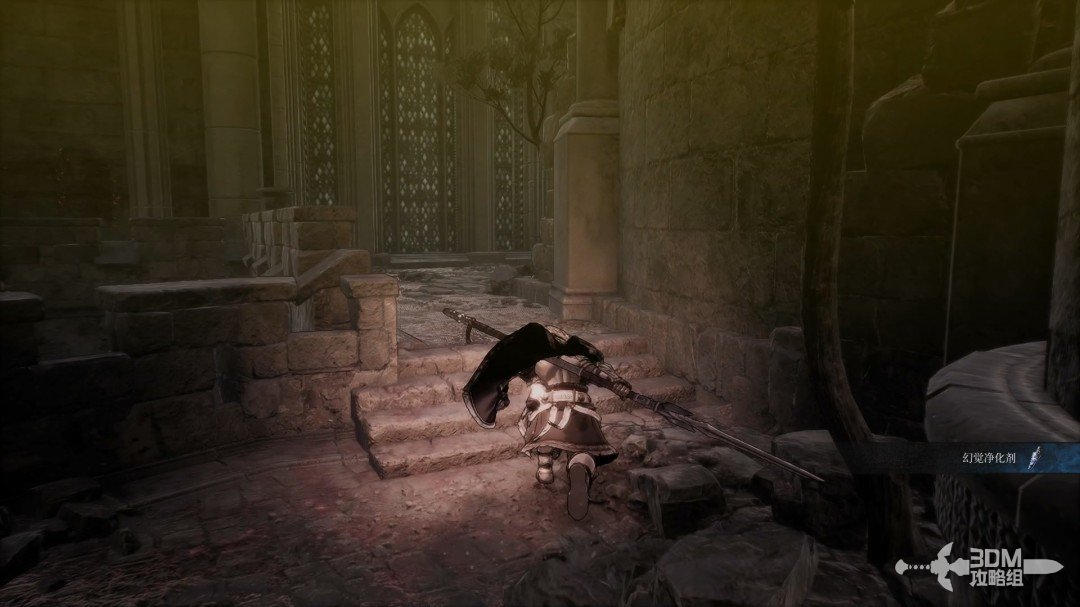
Follow the sole path ahead.

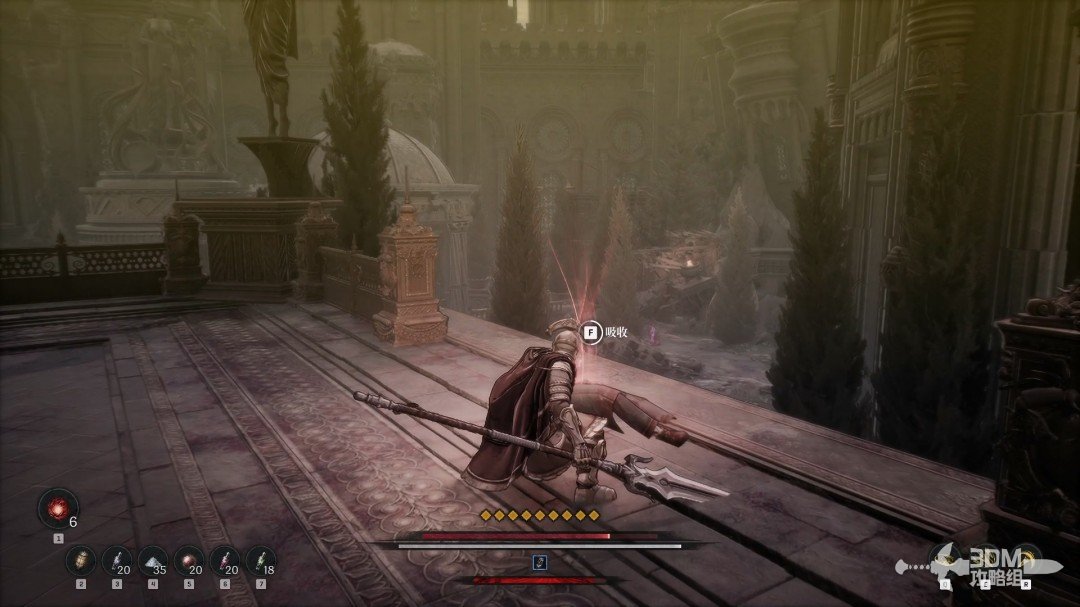
Magic orbs outside the palace: follow the stairs to Danjin's Nexus · route image 3

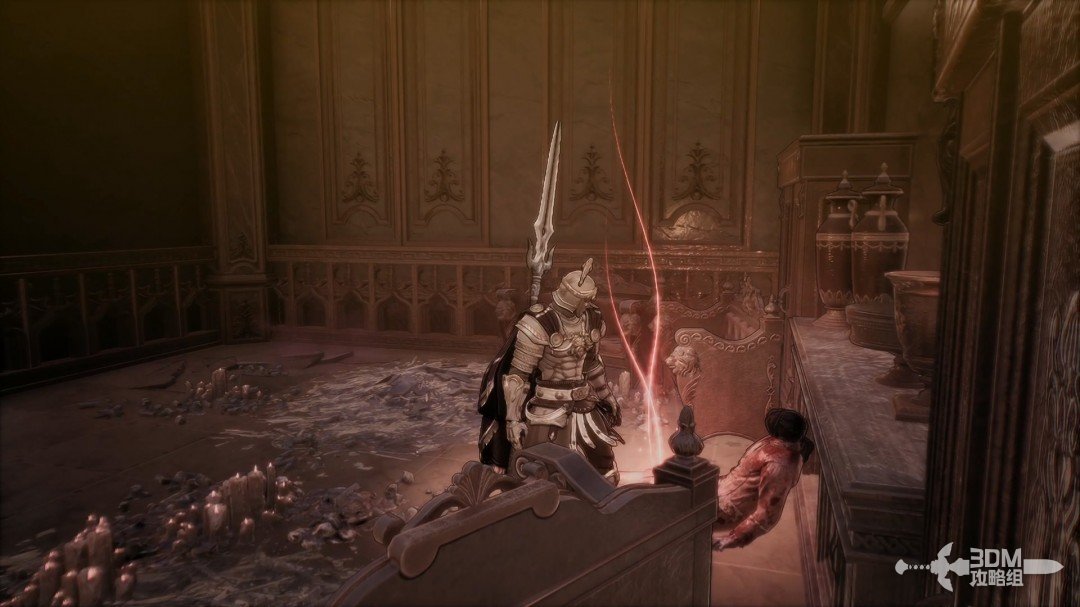
Defeat the skeletons inside and absorb the memory at the end.
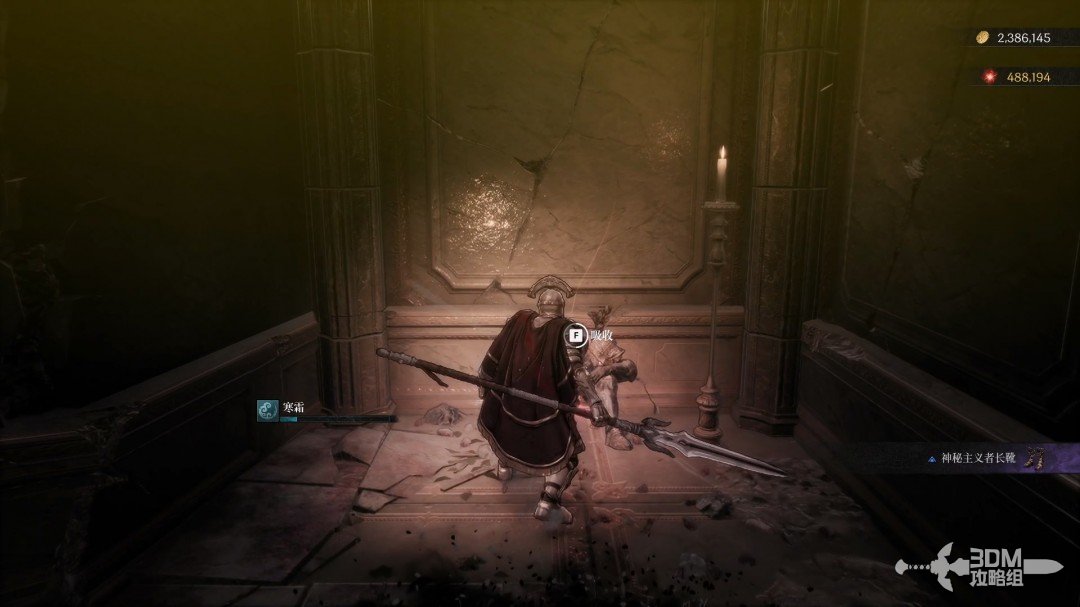
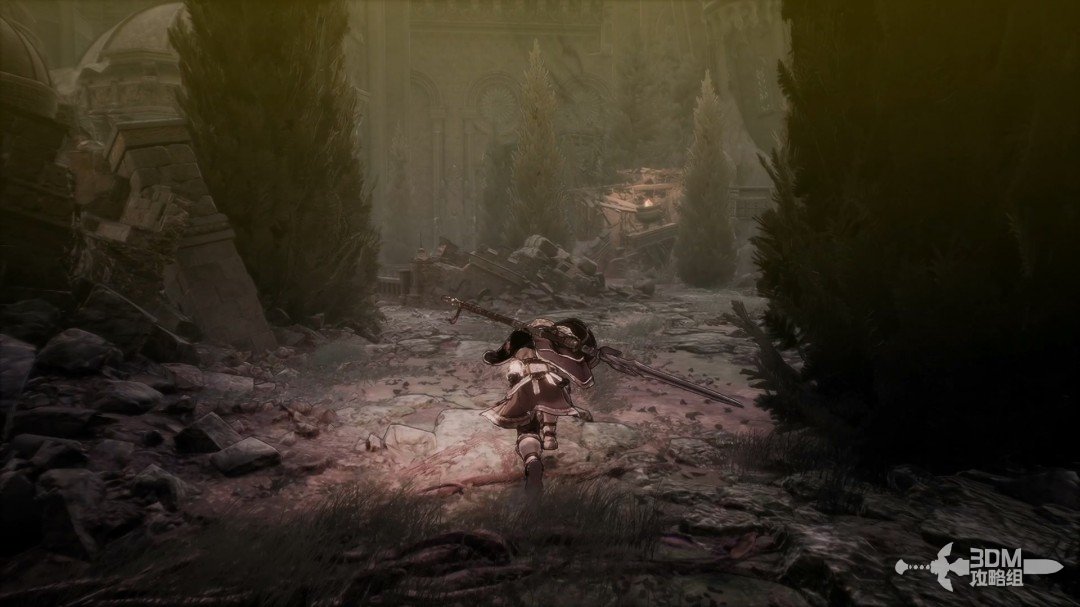
Magic orbs outside the palace: follow the stairs to Danjin's Nexus · route image 4

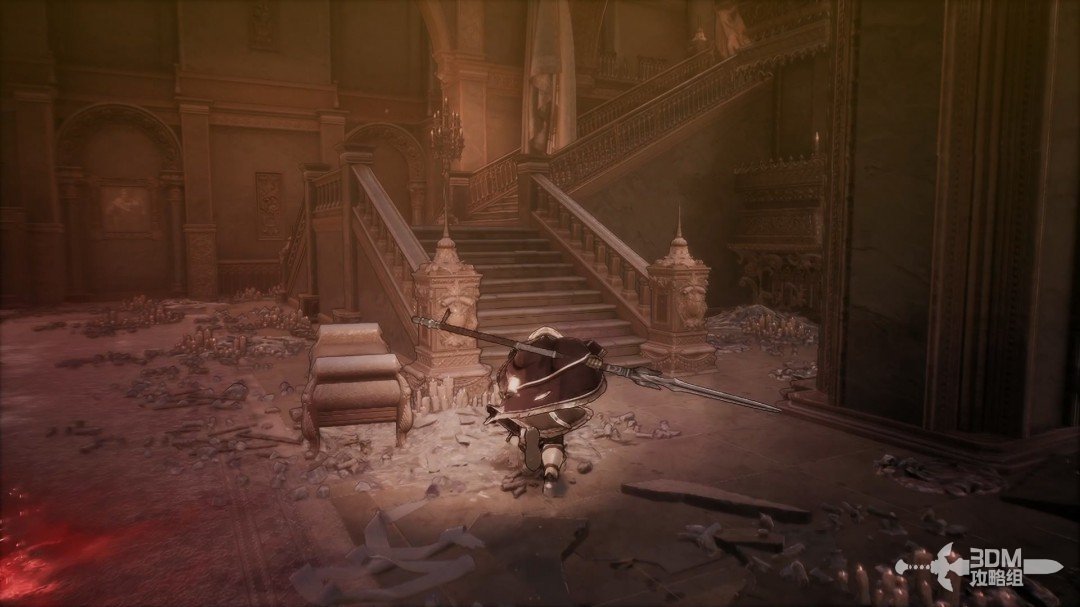
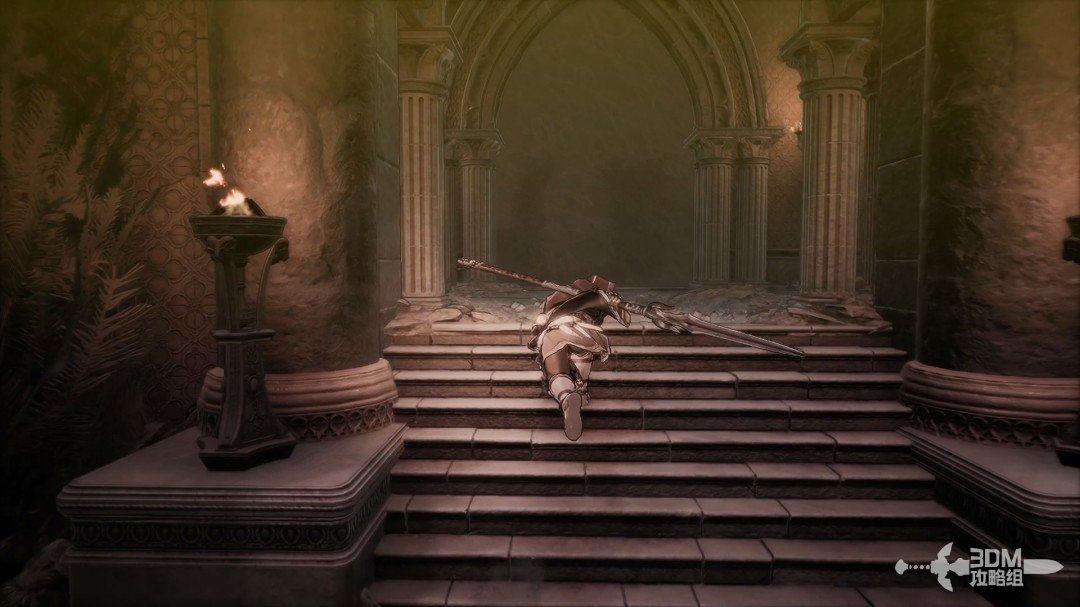
Take the main route right of the memory and climb the stairs.
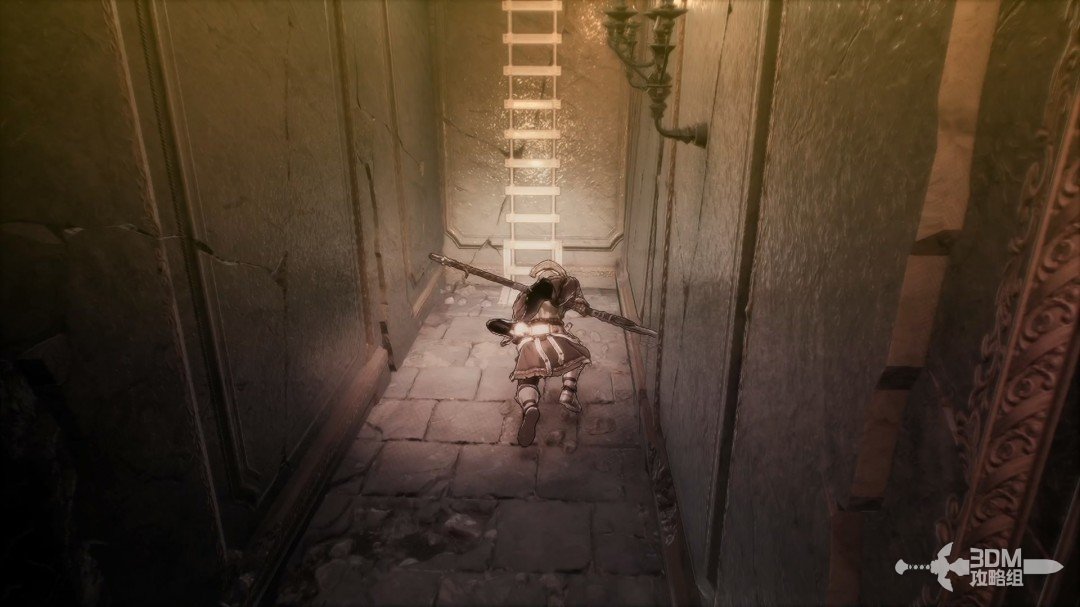
Magic orbs outside the palace: follow the stairs to Danjin's Nexus · route image 5

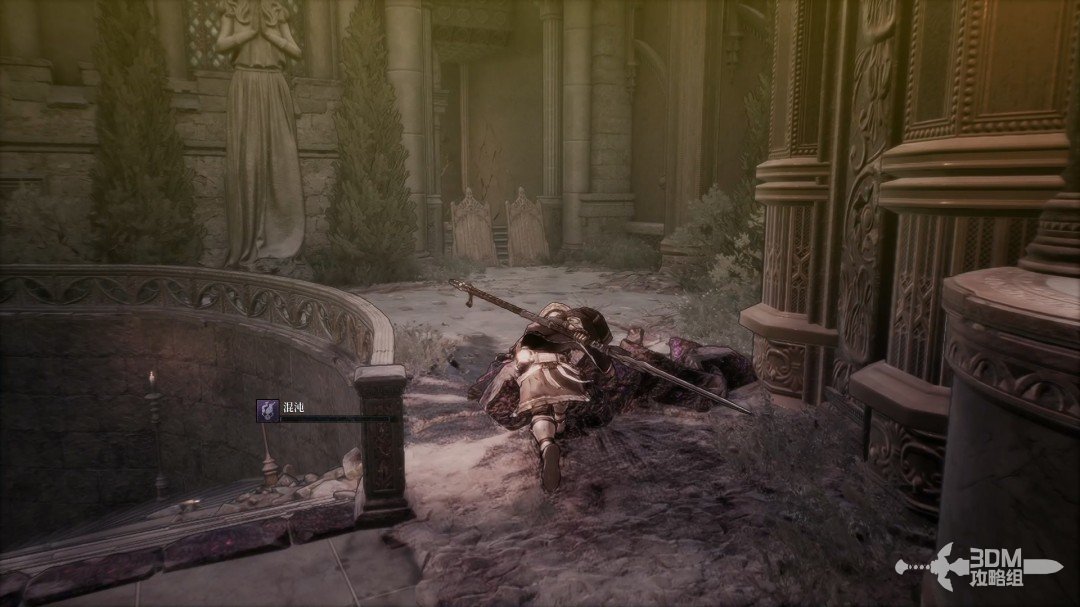
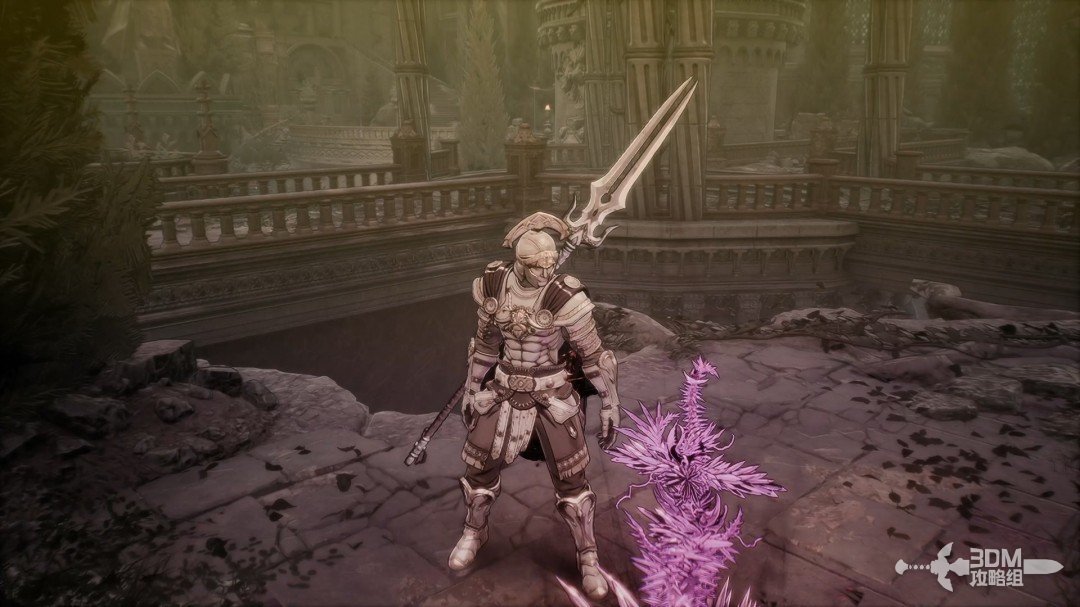
First explore left above for a purple item.
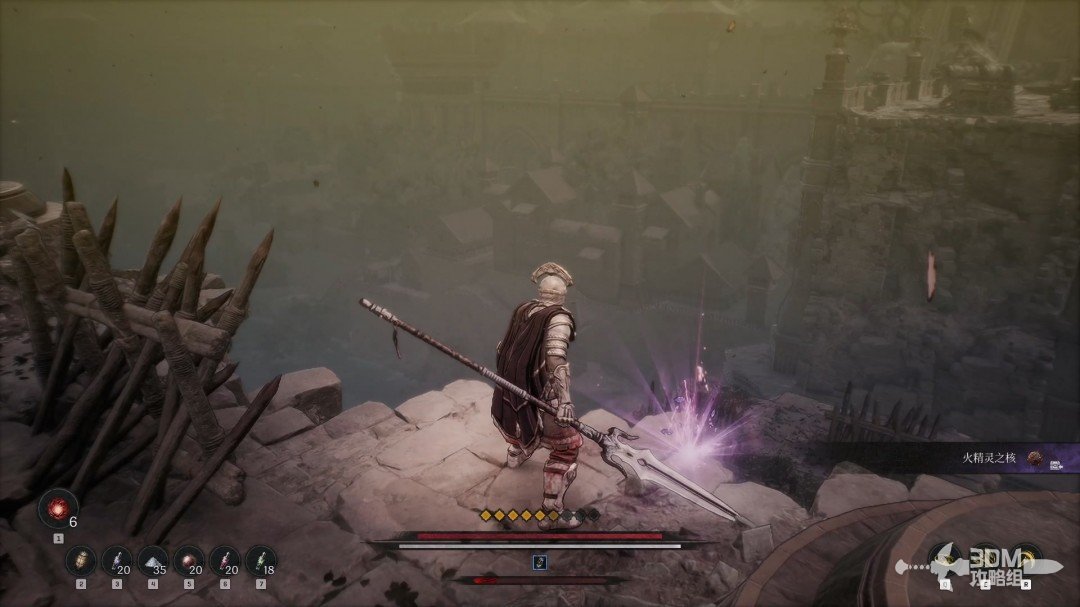
Magic orbs outside the palace: follow the stairs to Danjin's Nexus · route image 6

Return and climb the main slope.

Magic orbs outside the palace: follow the stairs to Danjin's Nexus · route image 7

Drop down to the Blade Nexus.

Magic orbs outside the palace: follow the stairs to Danjin's Nexus · route image 8

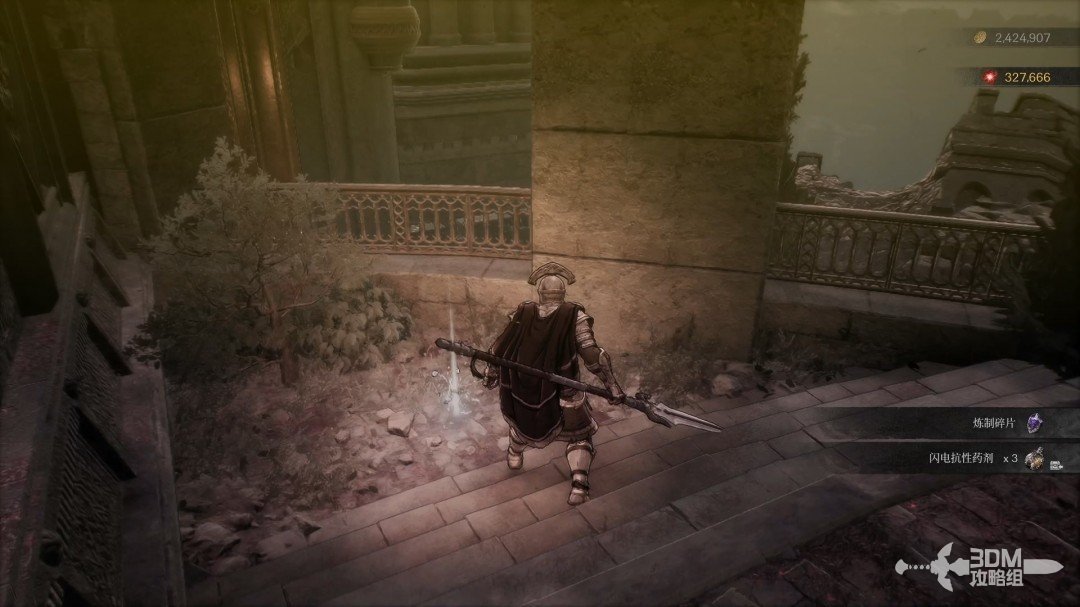
Speak to Danjin right of the Nexus for three chaos-cleansing consumables.
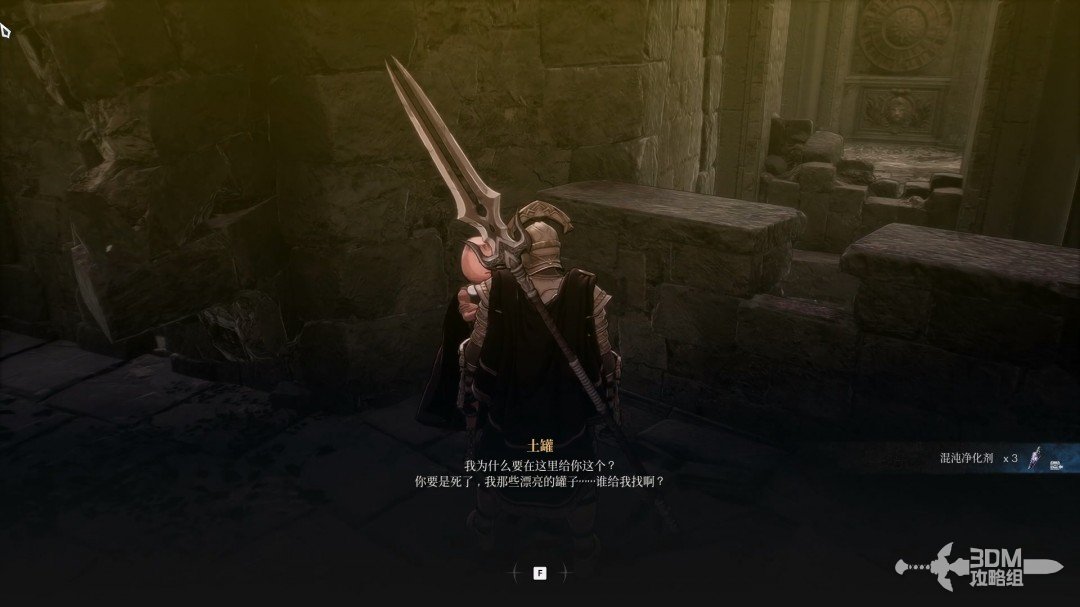
Magic orbs outside the palace: follow the stairs to Danjin's Nexus · route image 9

02Moving stone passage: clear the elite beyond the gate and ride the elevator up

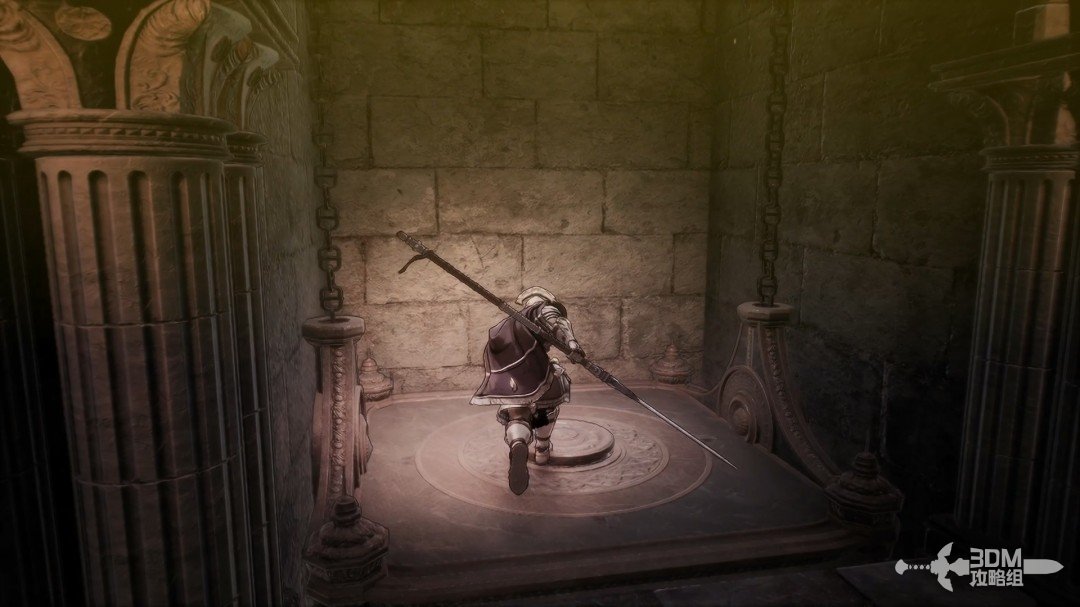
Continue and ride the moving stone blocks across.
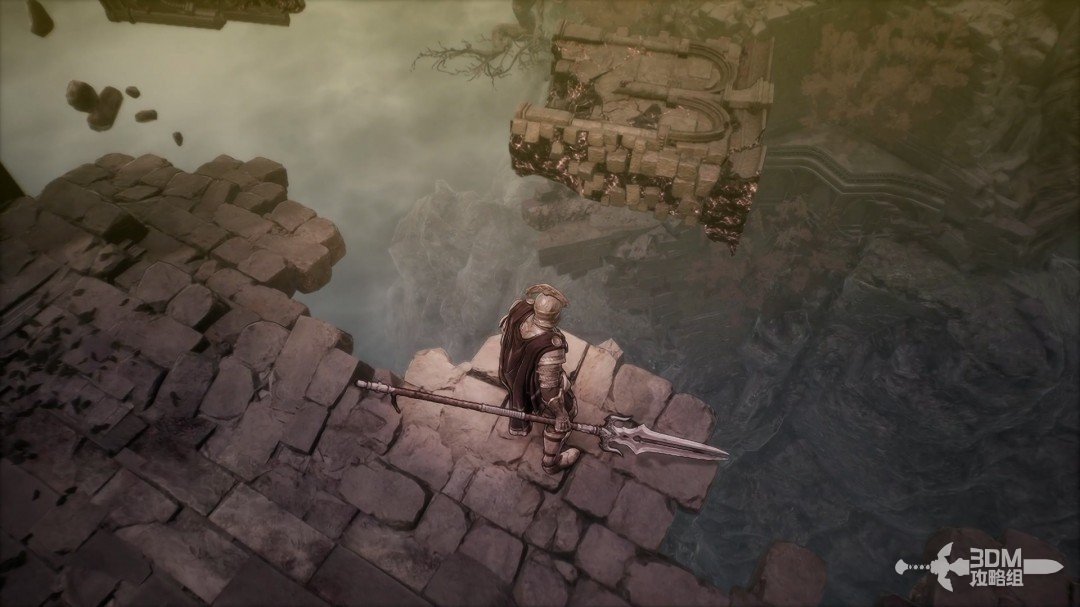
Moving stone passage: clear the elite beyond the gate and ride the elevator up · route image 10

An elite emerges when you open the opposite door.
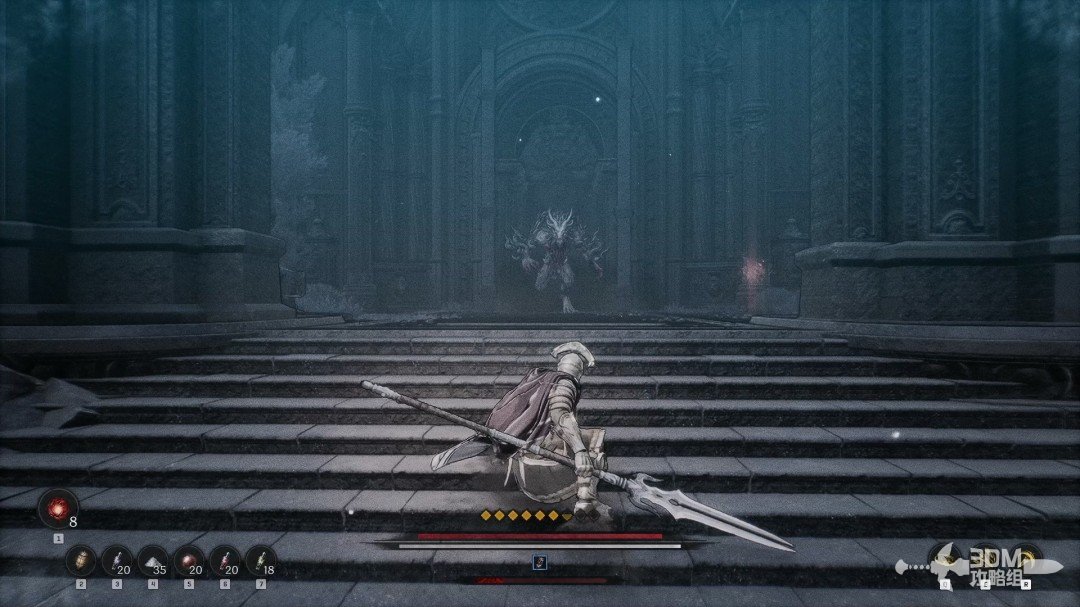
Moving stone passage: clear the elite beyond the gate and ride the elevator up · route image 11

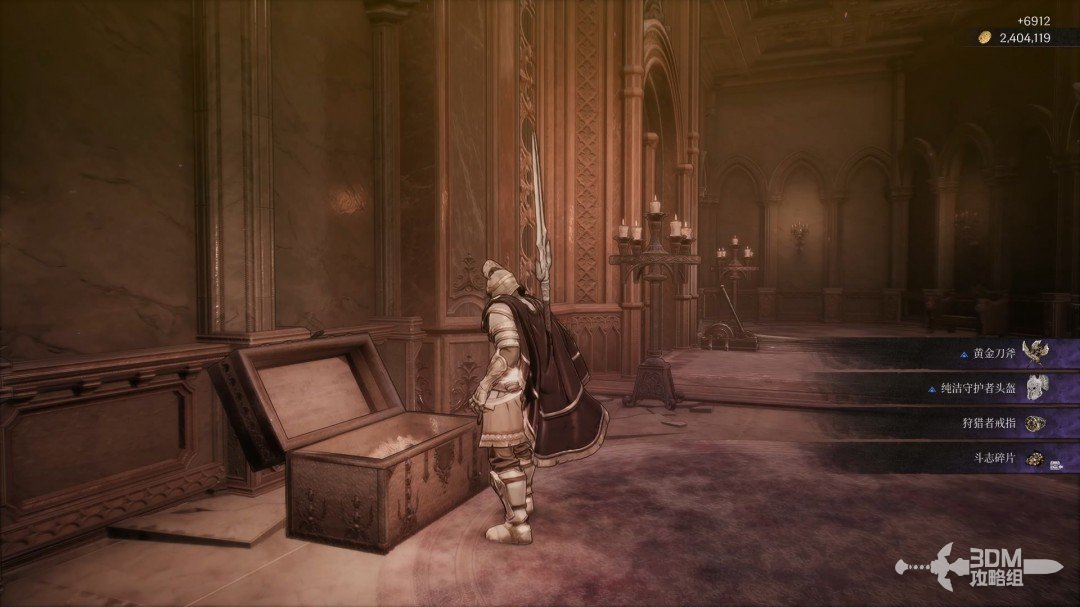
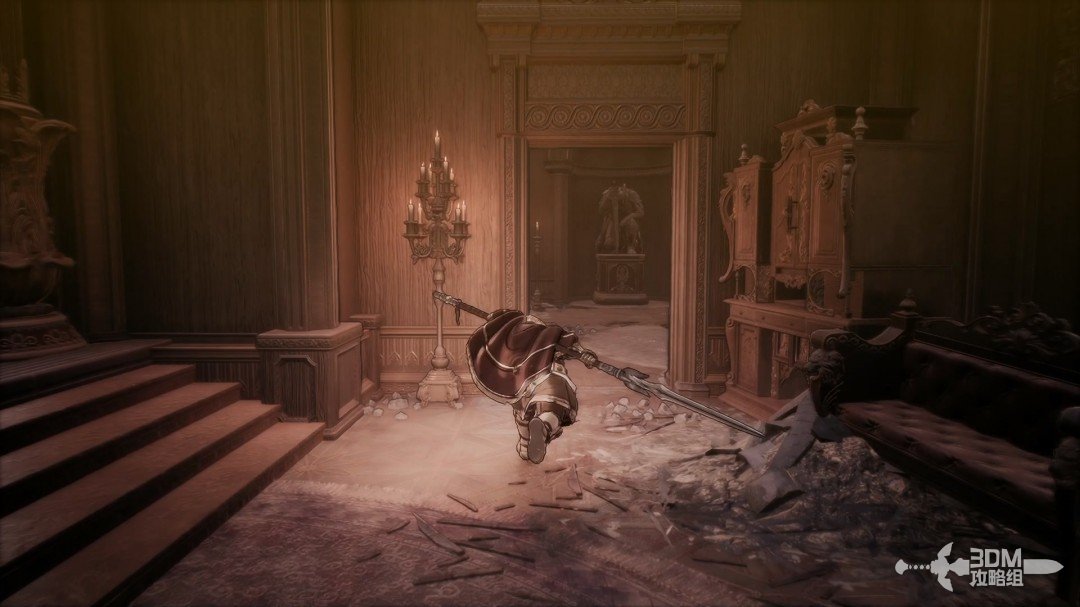
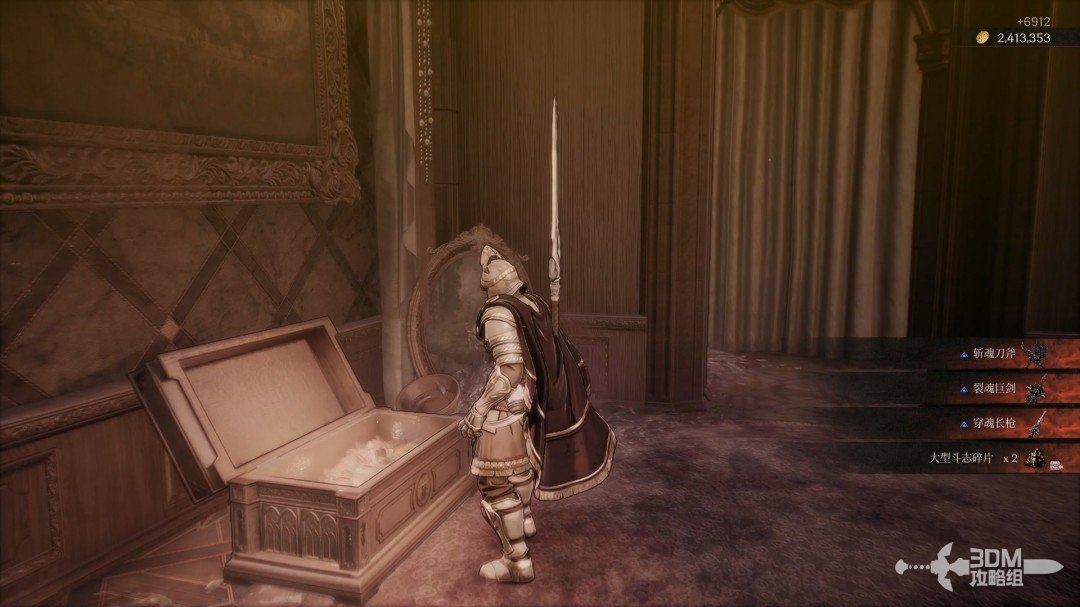
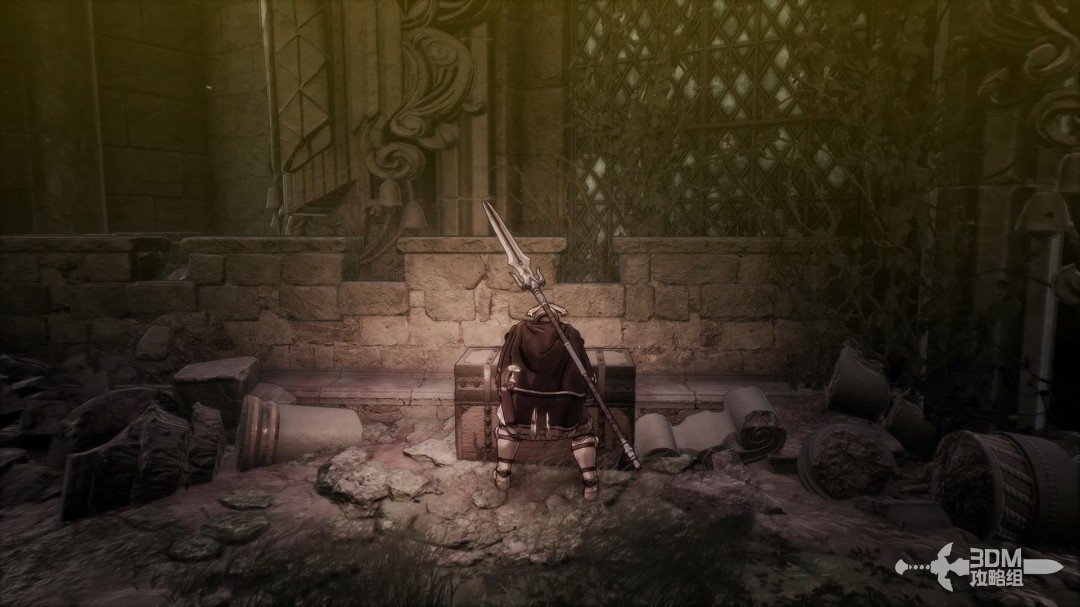
Defeat it and continue inside for a chest on the left.
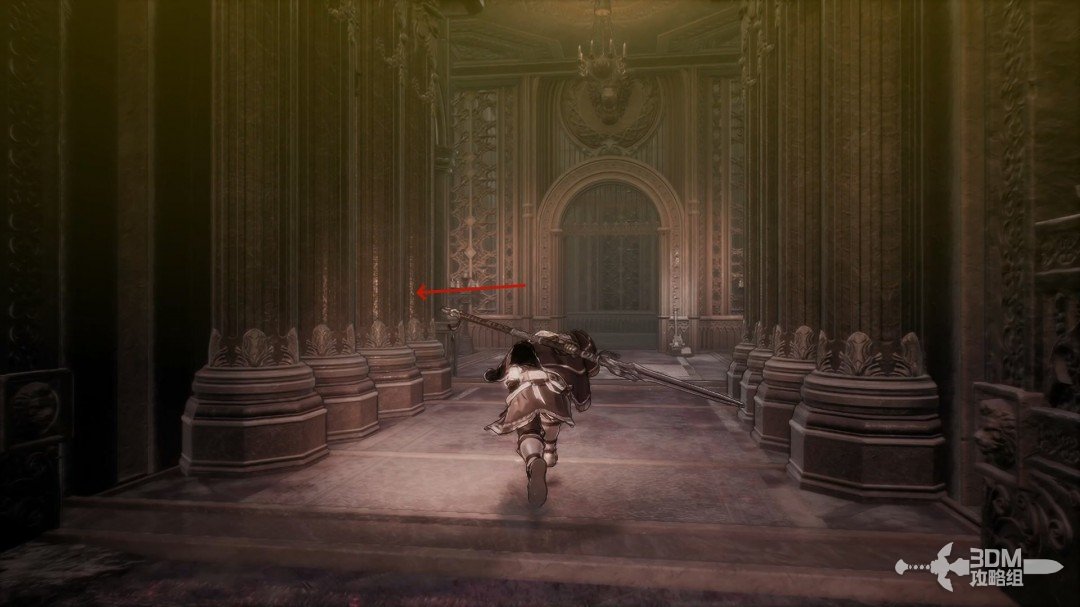
Moving stone passage: clear the elite beyond the gate and ride the elevator up · route image 12
Moving stone passage: clear the elite beyond the gate and ride the elevator up · route image 13

Pull the lever to call the elevator.
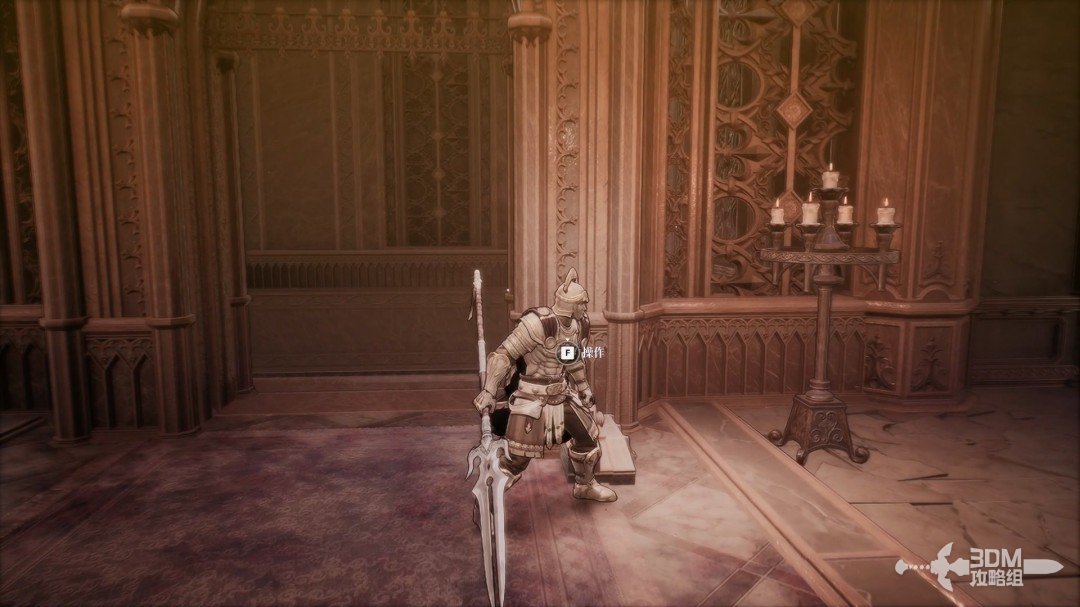
Moving stone passage: clear the elite beyond the gate and ride the elevator up · route image 14

Ride up to a Nexus at the doorway.

Moving stone passage: clear the elite beyond the gate and ride the elevator up · route image 15

03Gap beside the Nexus: search the lower chest and climb back

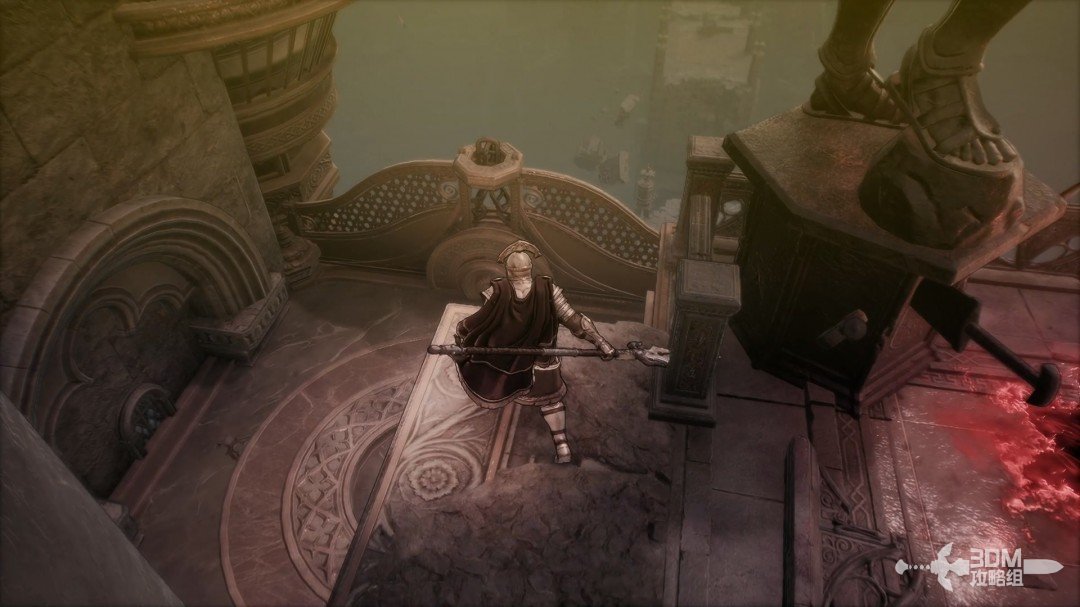
Rest, then drop through the nearby gap.
Gap beside the Nexus: search the lower chest and climb back · route image 1

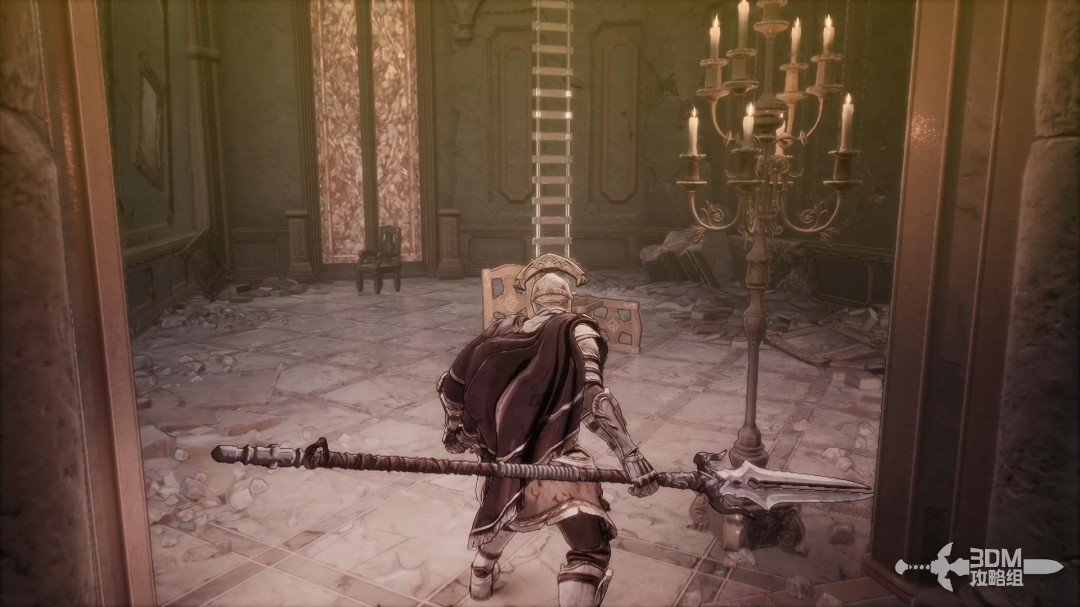
Enter this small doorway.

Gap beside the Nexus: search the lower chest and climb back · route image 2

Open the chest inside.

Gap beside the Nexus: search the lower chest and climb back · route image 3

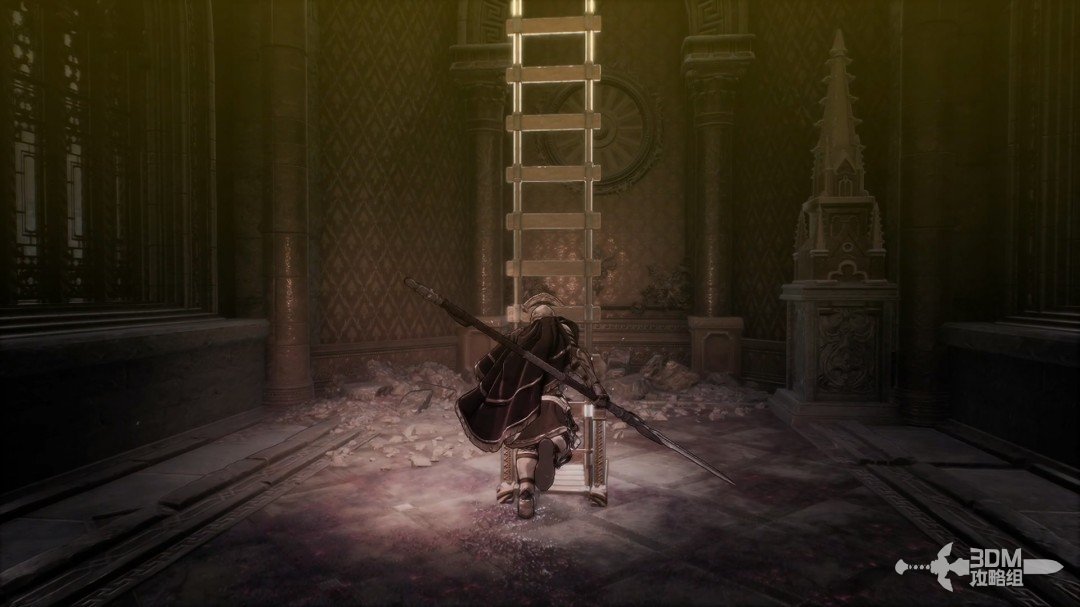
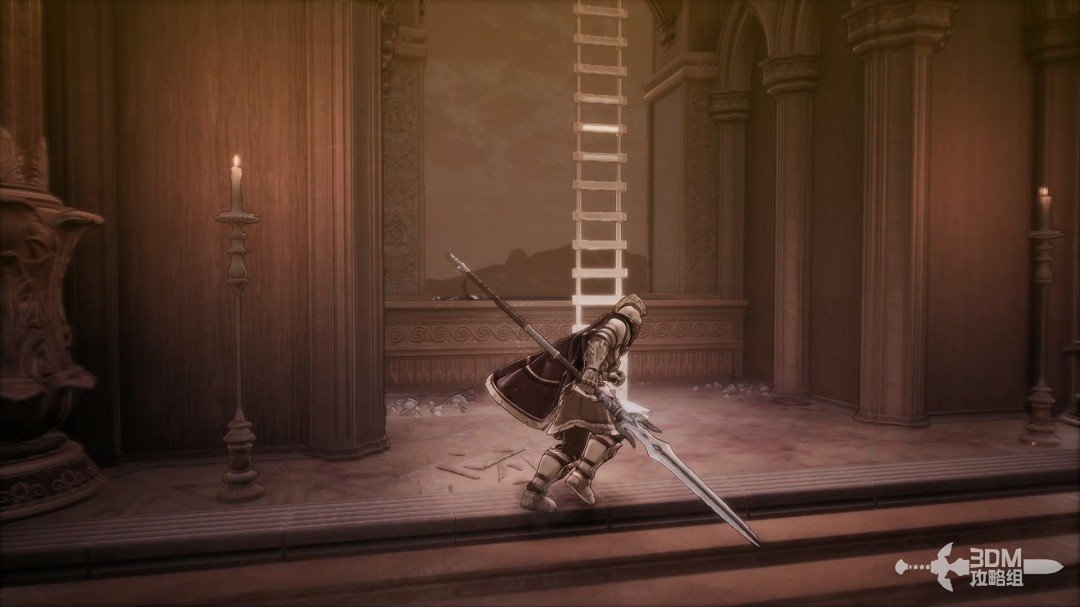
Return to the drop's landing area and climb the ladder there.
Gap beside the Nexus: search the lower chest and climb back · route image 4

04Branches beside the statue: search supplies and memories before the main door

Follow the pictured direction above.
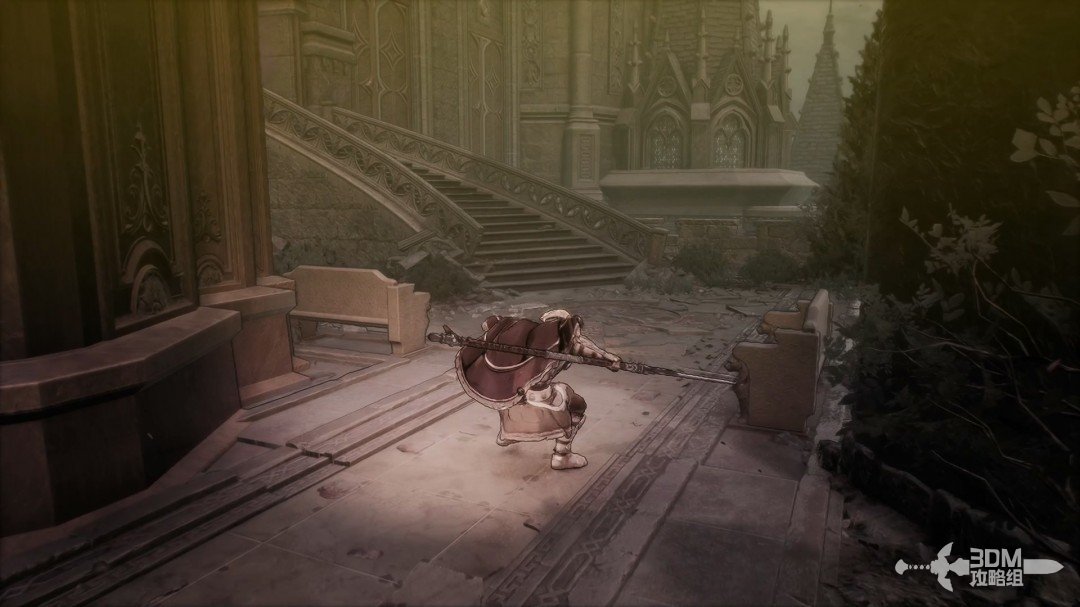
Branches beside the statue: search supplies and memories before the main door · route image 5

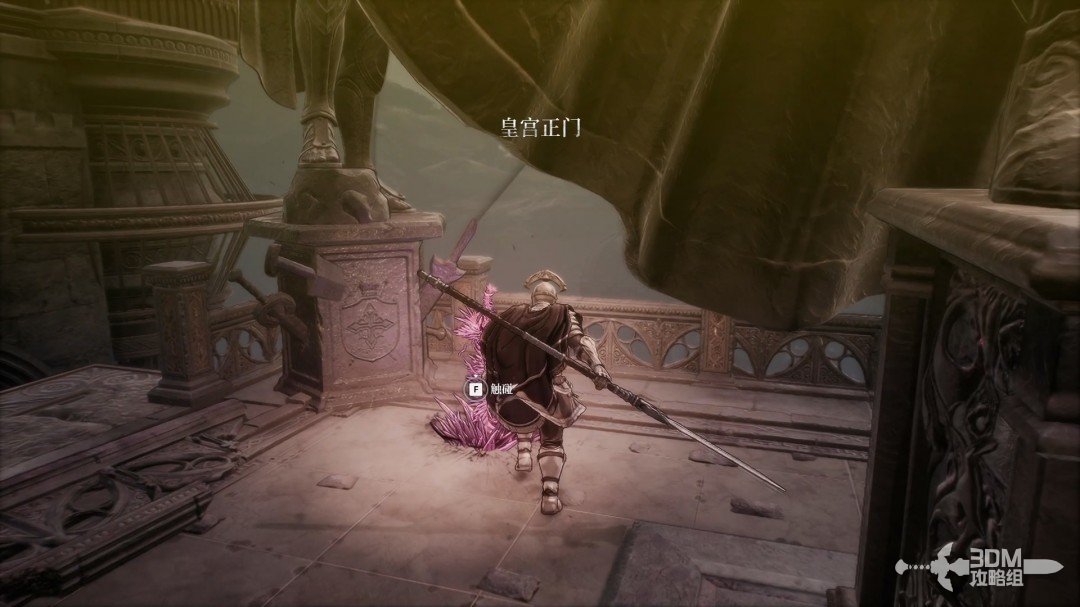
Collect the white item by the left statue. Leave the door opposite it for later.
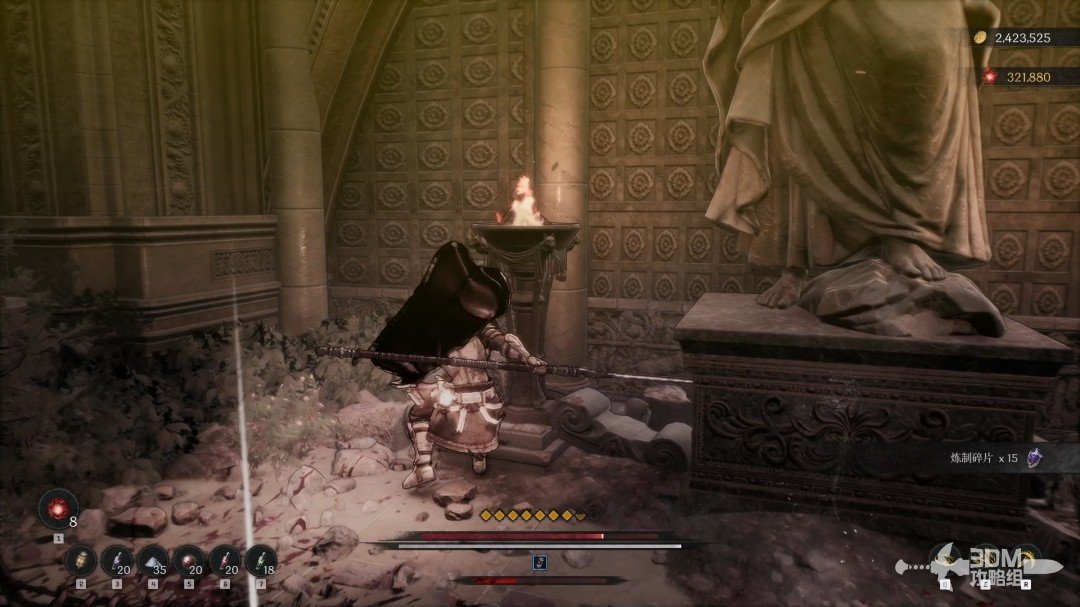
Branches beside the statue: search supplies and memories before the main door · route image 6

Continue and descend the next staircase for another white item.
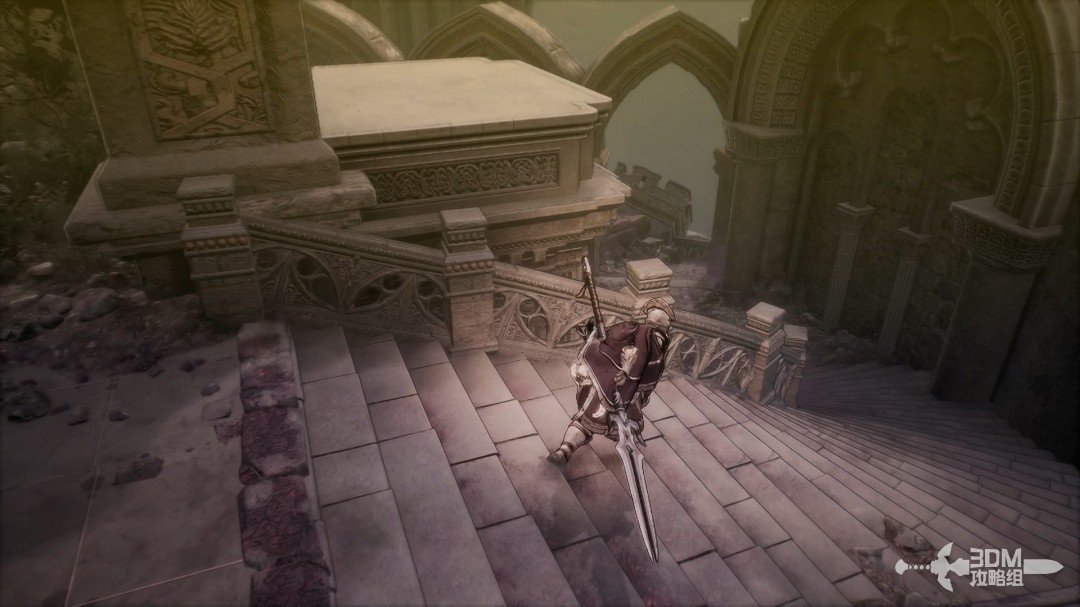
Branches beside the statue: search supplies and memories before the main door · route image 7
Branches beside the statue: search supplies and memories before the main door · route image 8

Return up and take the left path.

Branches beside the statue: search supplies and memories before the main door · route image 9

Climb the stairs for a memory.

Branches beside the statue: search supplies and memories before the main door · route image 10

Return to the large door you passed earlier and enter.
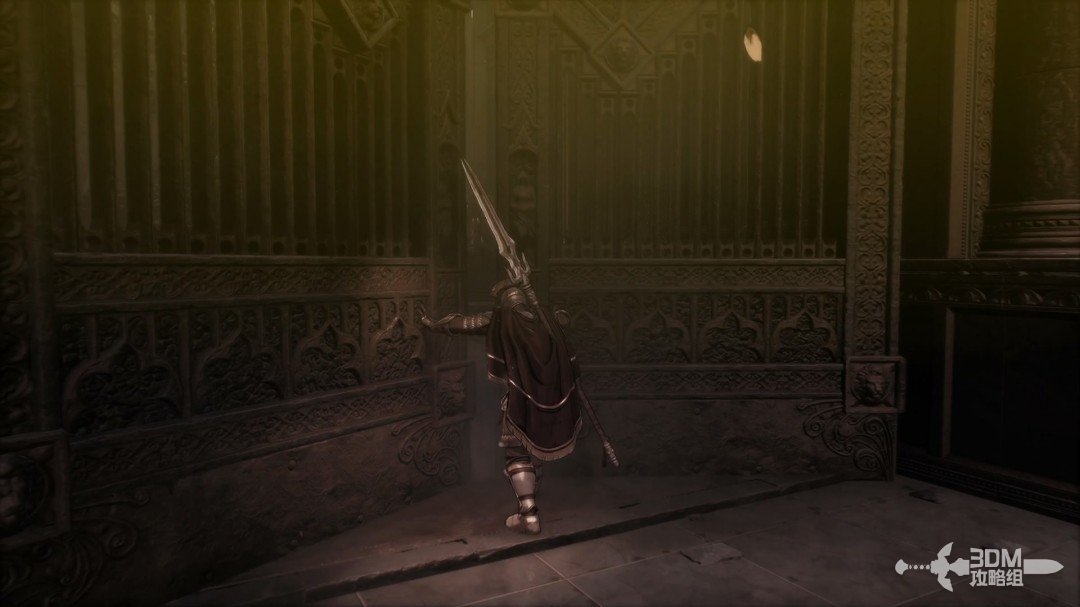
Branches beside the statue: search supplies and memories before the main door · route image 11

Absorb the memory immediately inside.
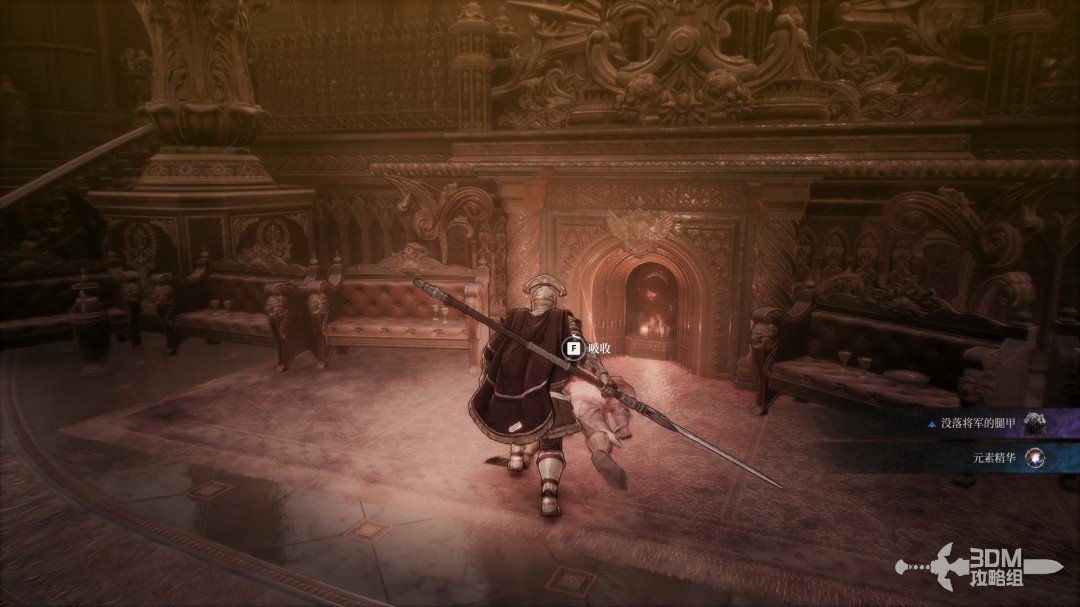
Branches beside the statue: search supplies and memories before the main door · route image 12

Climb the nearby stairs. The right side has an openable door; the left is blocked.
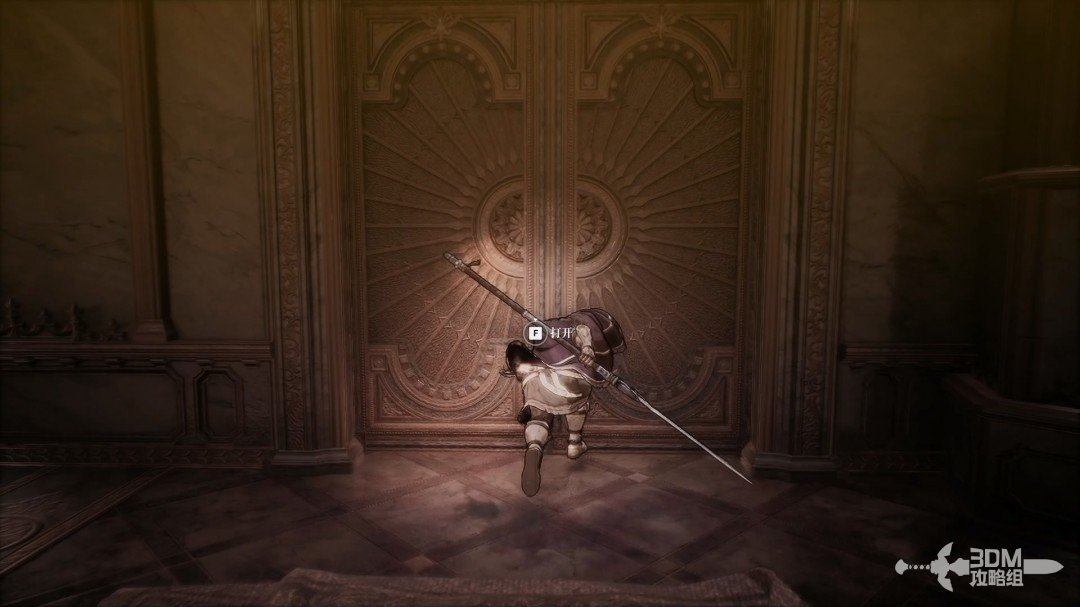
Branches beside the statue: search supplies and memories before the main door · route image 13

05Outdoor pavilions and magic orbs: climb the platforms to the next Nexus

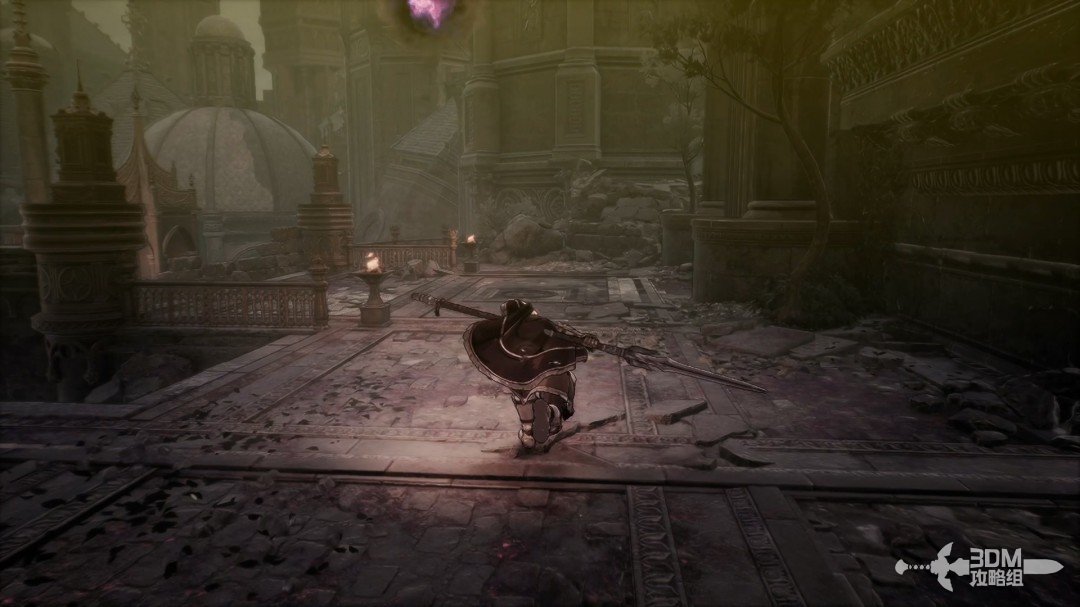
Follow the main route outside, where magic orbs resume attacking.
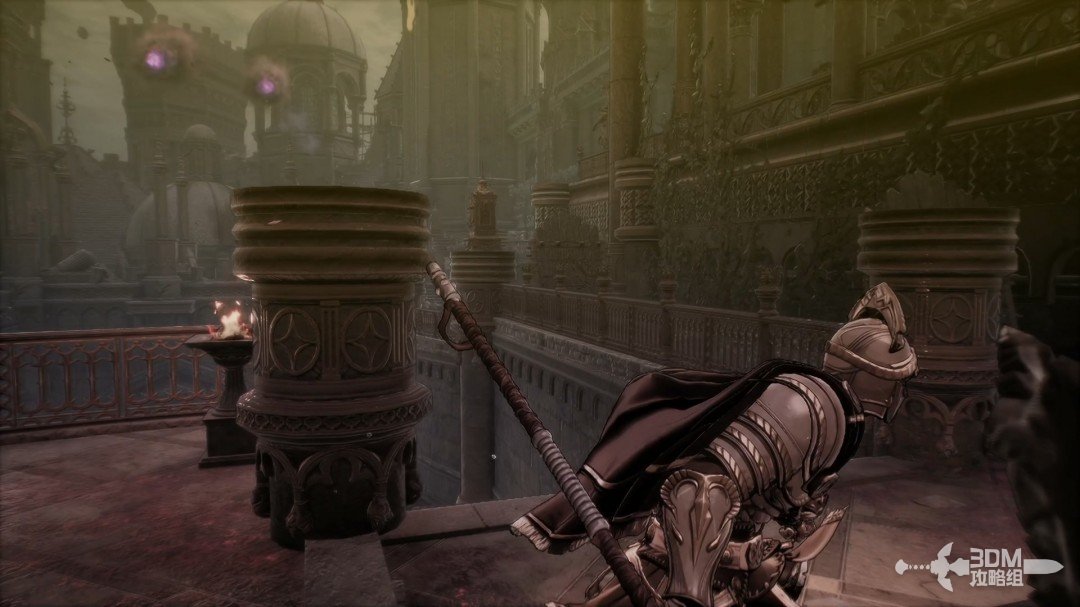
Outdoor pavilions and magic orbs: climb the platforms to the next Nexus · route image 14

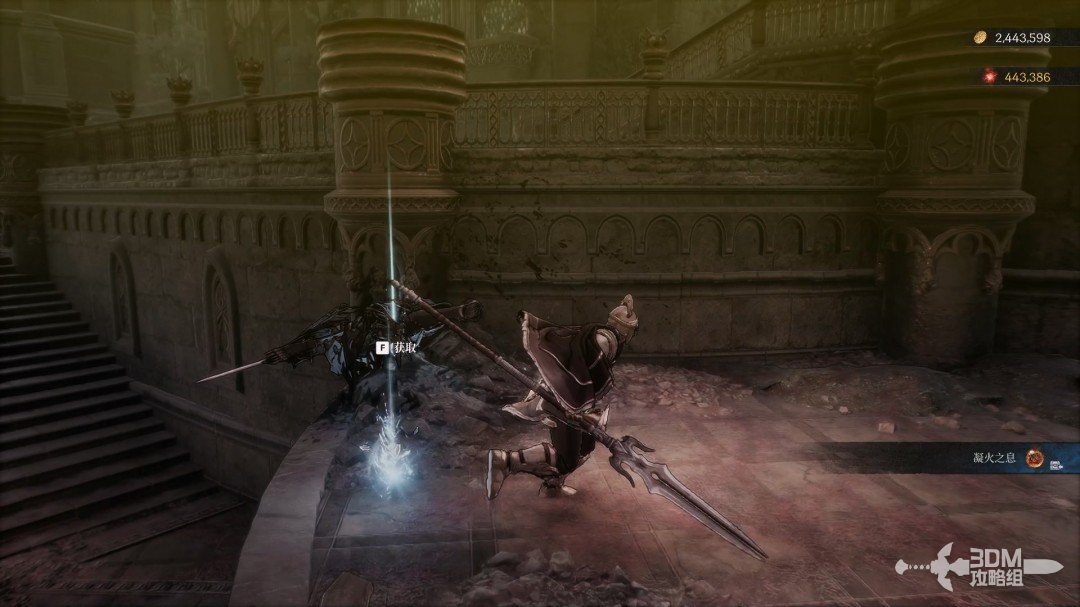
Descend the left stairs for a purple item in the pavilion.
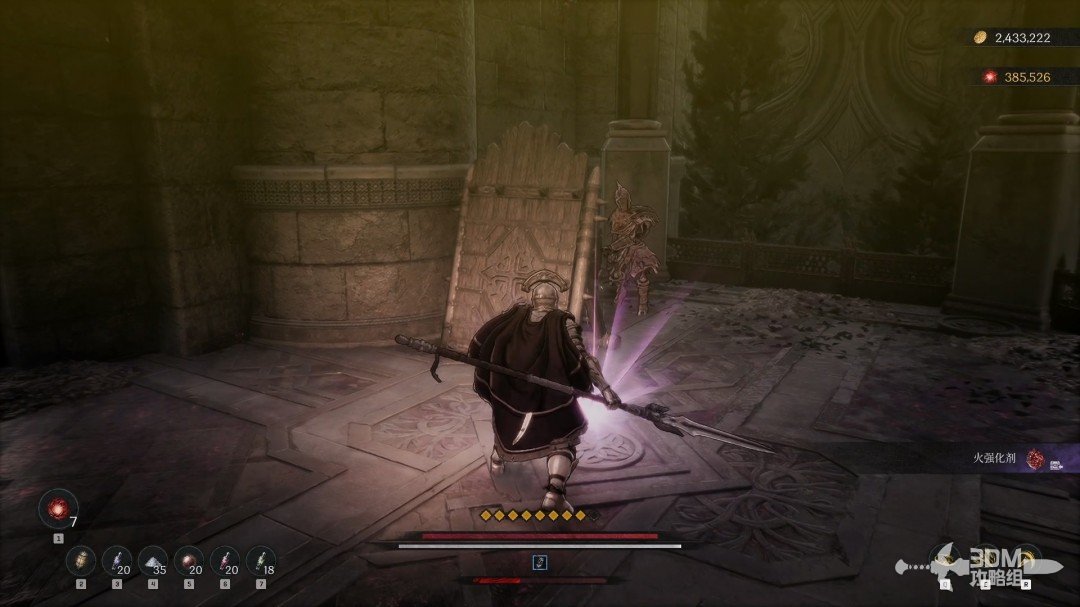
Outdoor pavilions and magic orbs: climb the platforms to the next Nexus · route image 15

Climb back up for a white item in the upper pavilion.
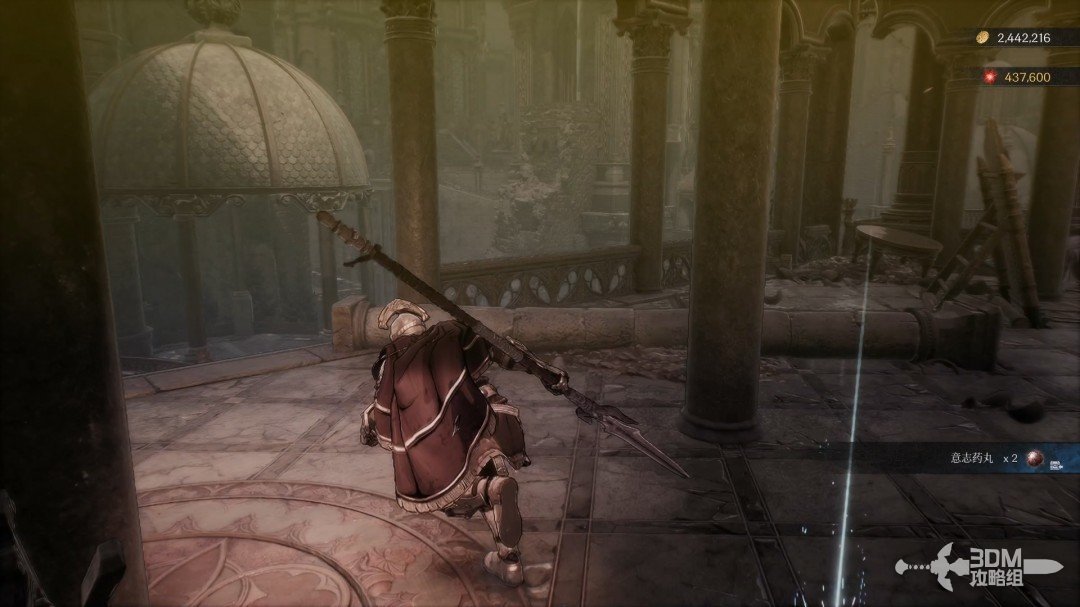
Outdoor pavilions and magic orbs: climb the platforms to the next Nexus · route image 16

Drop one level beside it for another white item on the right.
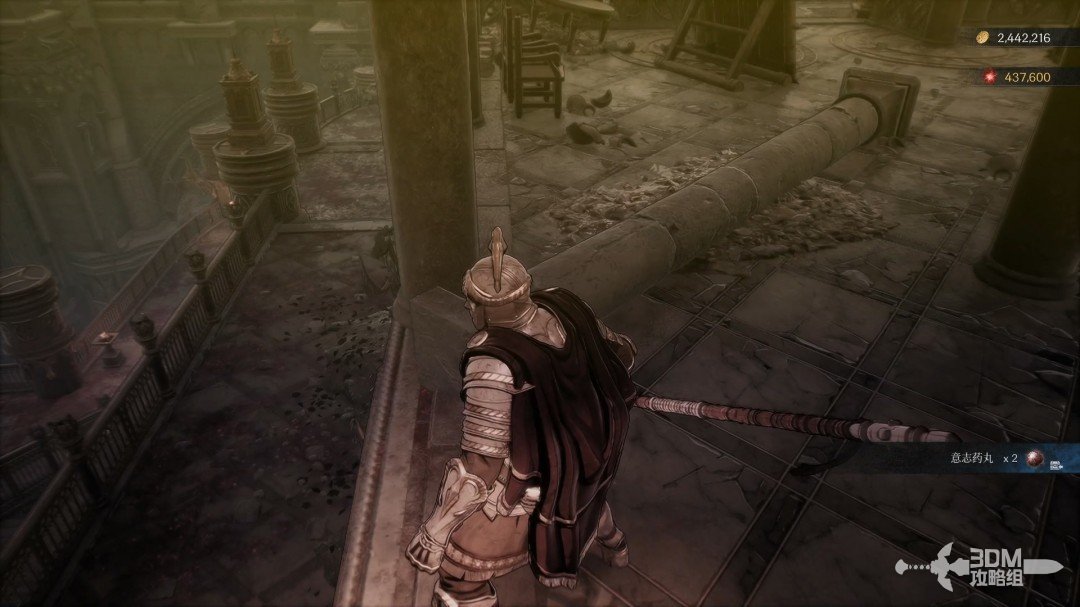
Outdoor pavilions and magic orbs: climb the platforms to the next Nexus · route image 17
Outdoor pavilions and magic orbs: climb the platforms to the next Nexus · route image 18

Return to the main route.

Outdoor pavilions and magic orbs: climb the platforms to the next Nexus · route image 19

Defeat the three skeleton soldiers at this position.
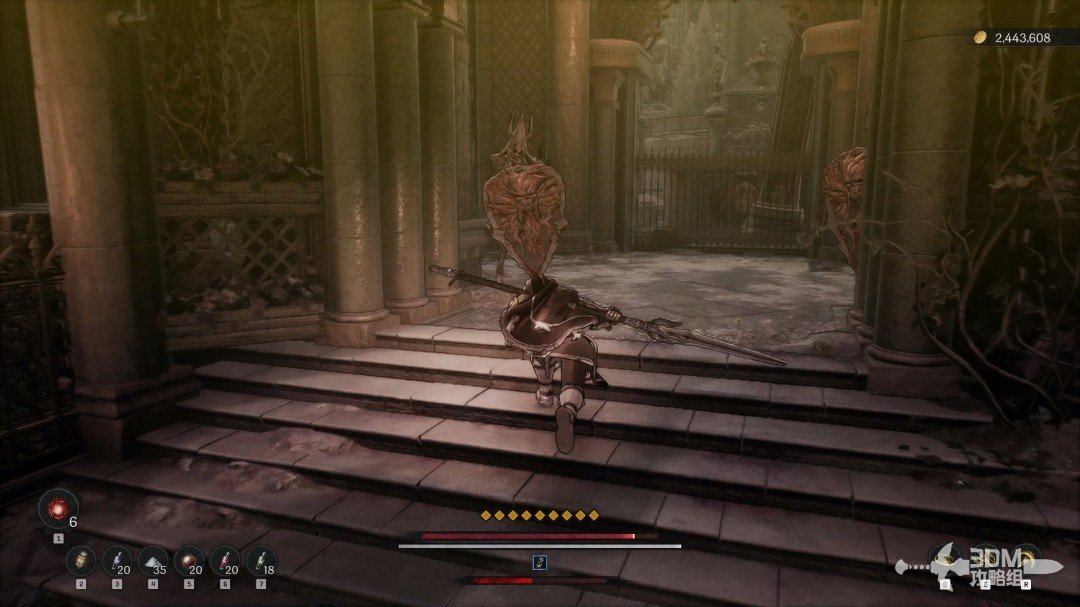
Outdoor pavilions and magic orbs: climb the platforms to the next Nexus · route image 20

Absorb the memory on the right afterward.
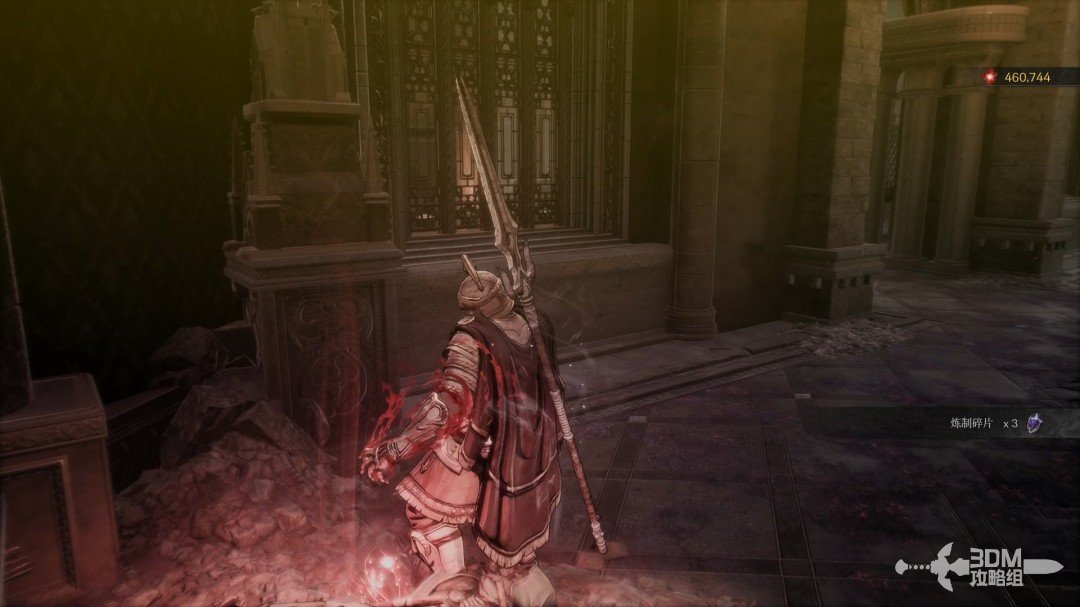
Outdoor pavilions and magic orbs: climb the platforms to the next Nexus · route image 21

Climb the nearby ladder.

Outdoor pavilions and magic orbs: climb the platforms to the next Nexus · route image 22

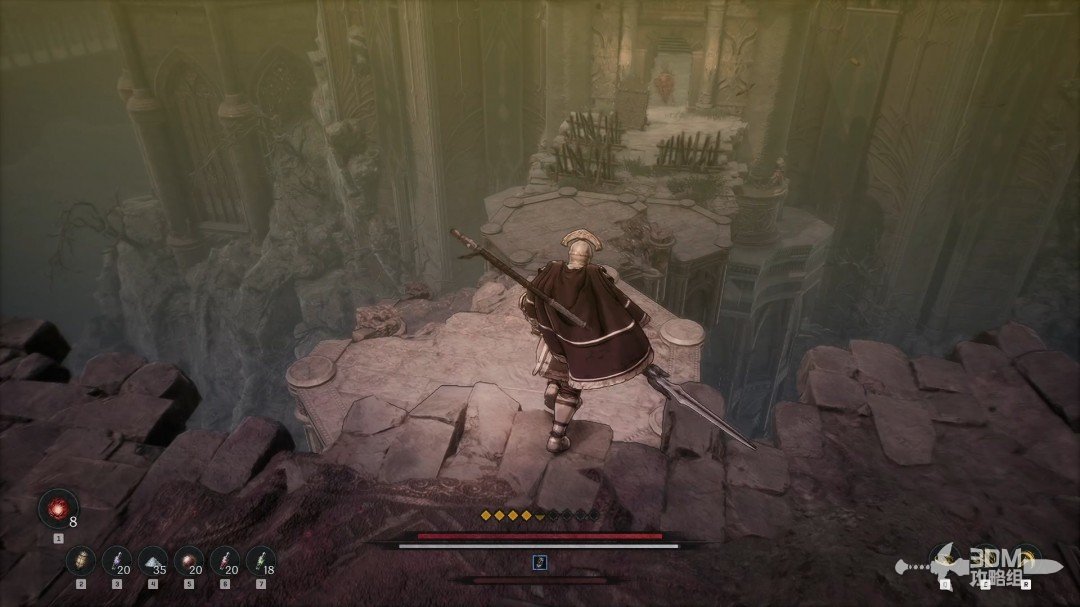
Drop in the pictured direction above.
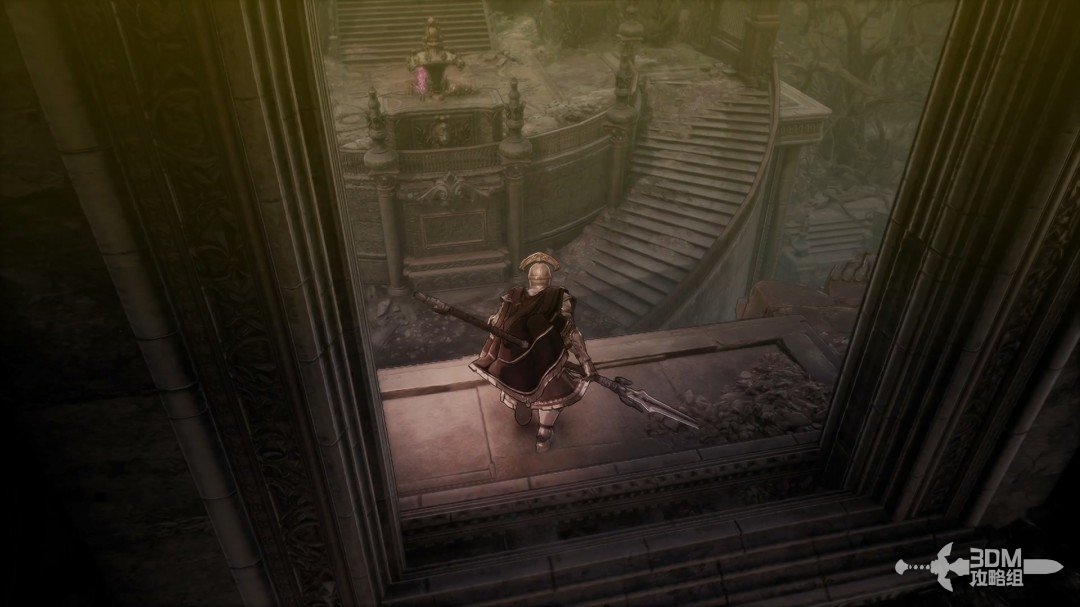
Outdoor pavilions and magic orbs: climb the platforms to the next Nexus · route image 23

Rest at the new Nexus ahead.

Outdoor pavilions and magic orbs: climb the platforms to the next Nexus · route image 24

06Elite hall beyond the gate: search both upper sides and pull the lever to open the tunnel

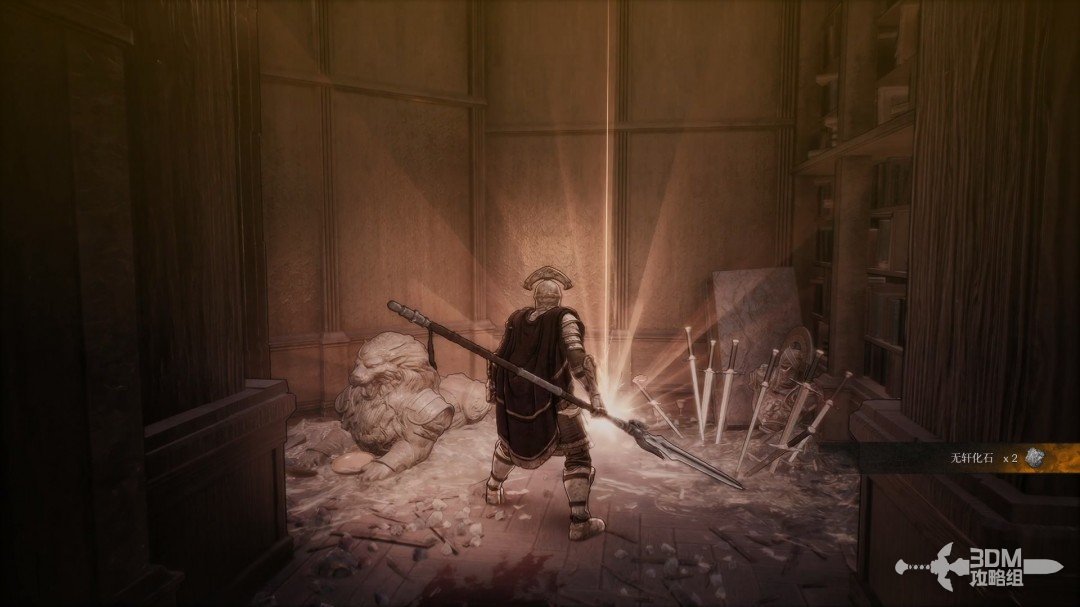
Collect the white item behind the right statue.
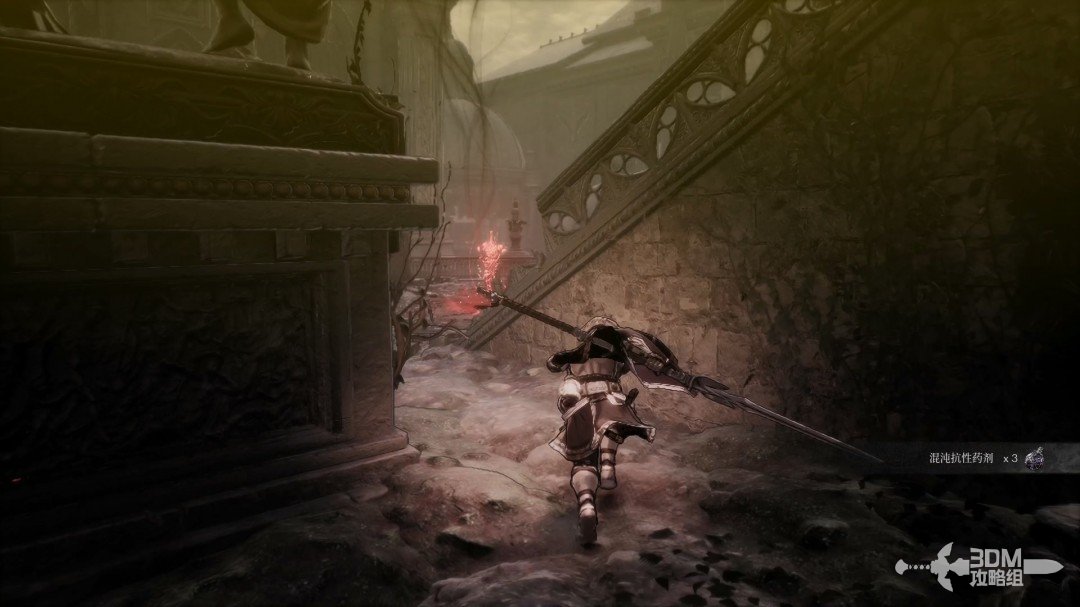
Elite hall beyond the gate: search both upper sides and pull the lever to open the tunnel · route image 1

Enter the large gate toward another elite.
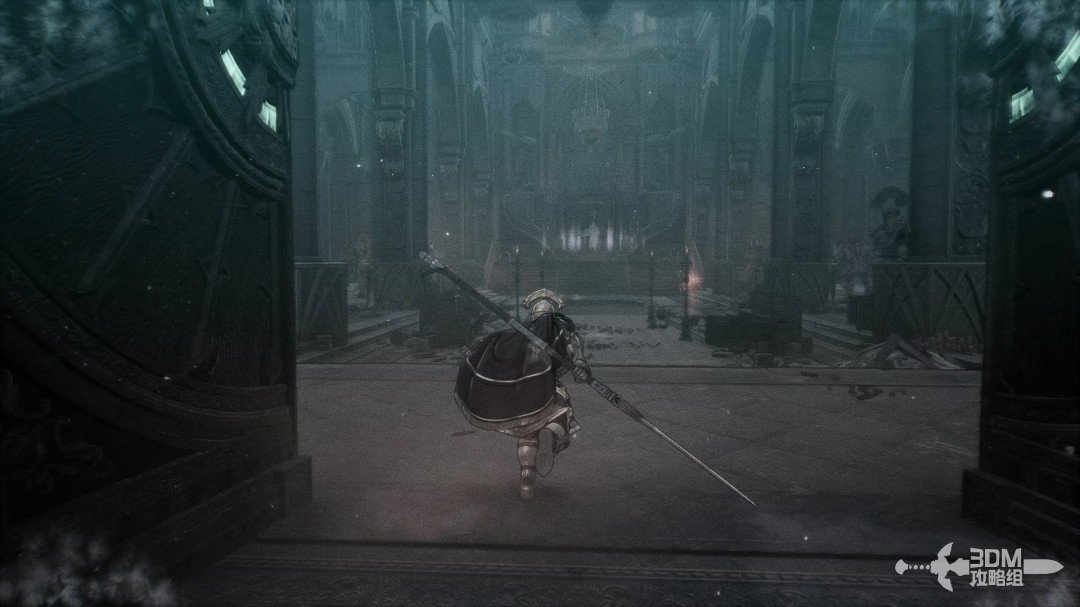
Elite hall beyond the gate: search both upper sides and pull the lever to open the tunnel · route image 2

First climb the right stairs for a purple item.
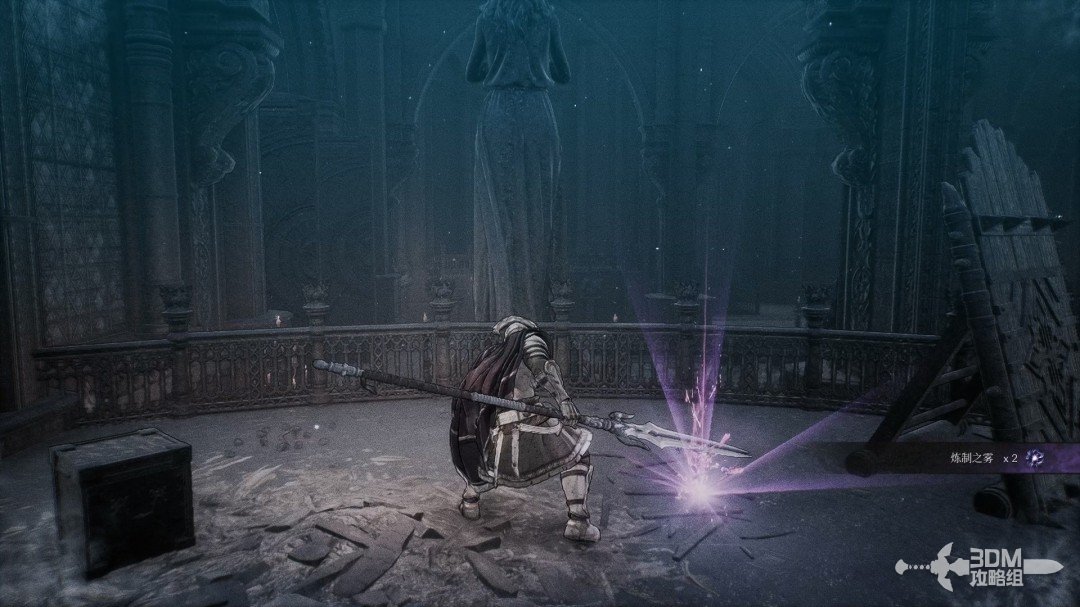
Elite hall beyond the gate: search both upper sides and pull the lever to open the tunnel · route image 3

Cross to the far end opposite for another purple item.
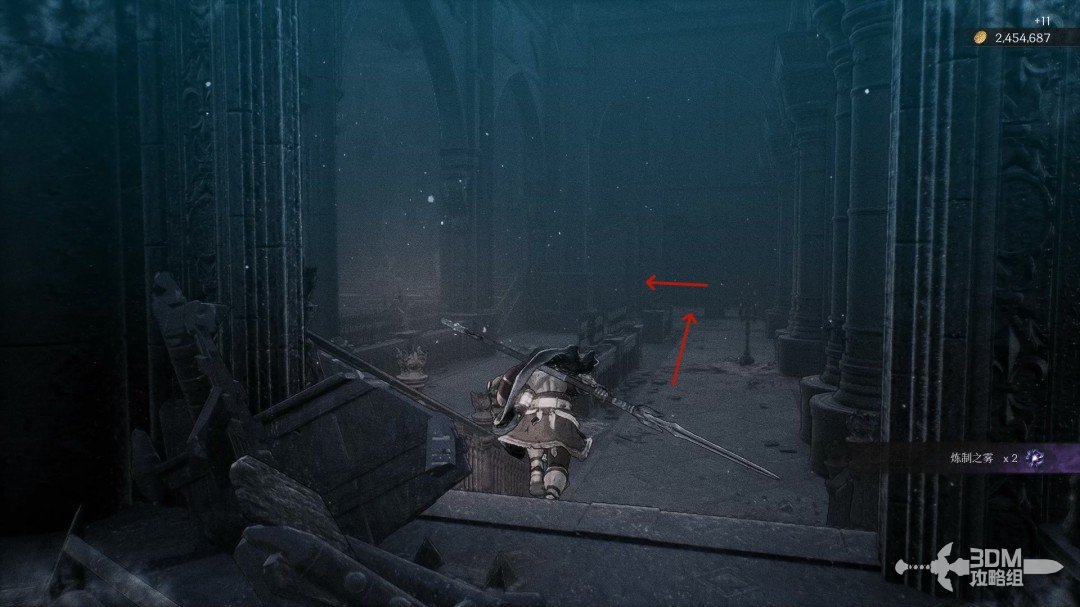
Elite hall beyond the gate: search both upper sides and pull the lever to open the tunnel · route image 4
Elite hall beyond the gate: search both upper sides and pull the lever to open the tunnel · route image 5

Return to defeat the hall's elite, then climb the stairs and pull the switch.
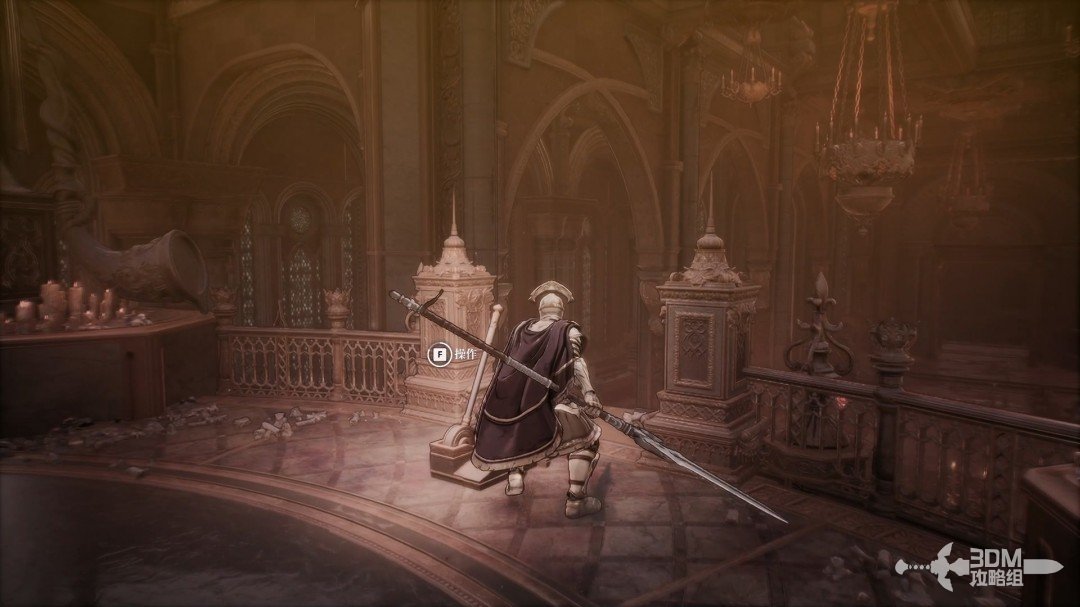
Elite hall beyond the gate: search both upper sides and pull the lever to open the tunnel · route image 6

07Soulstone left of the tunnel and return ladder on the right

A passage opens below.
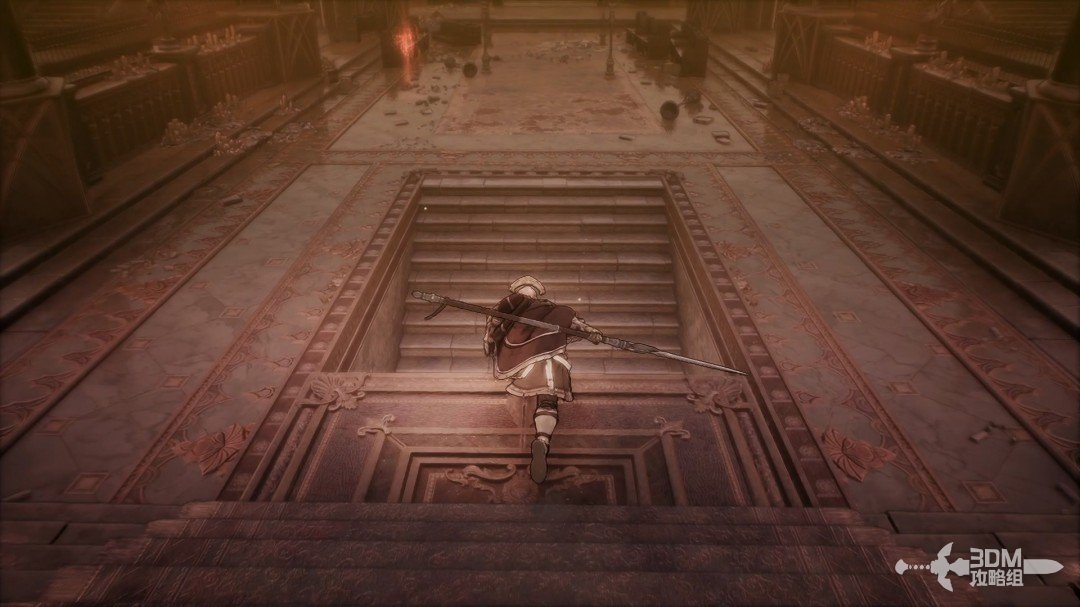
Soulstone left of the tunnel and return ladder on the right · route image 7

Descend into it and go left first for a Soulstone.
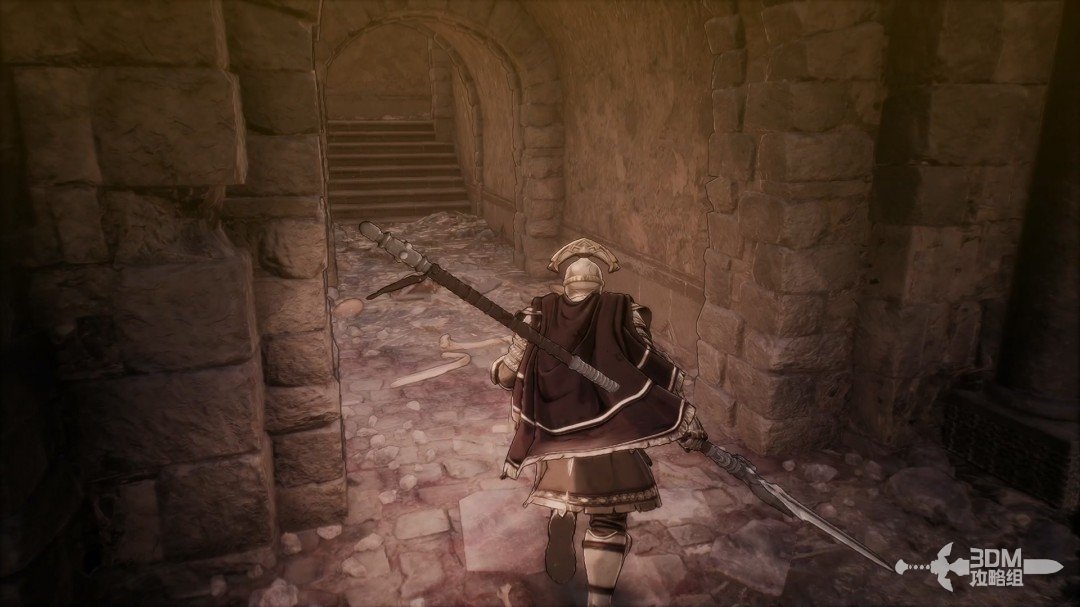
Soulstone left of the tunnel and return ladder on the right · route image 8
Soulstone left of the tunnel and return ladder on the right · route image 9

09Upper gap and beams: collect the memory, then cross the crumbling outdoor stones

Return and climb the right-hand ladder.
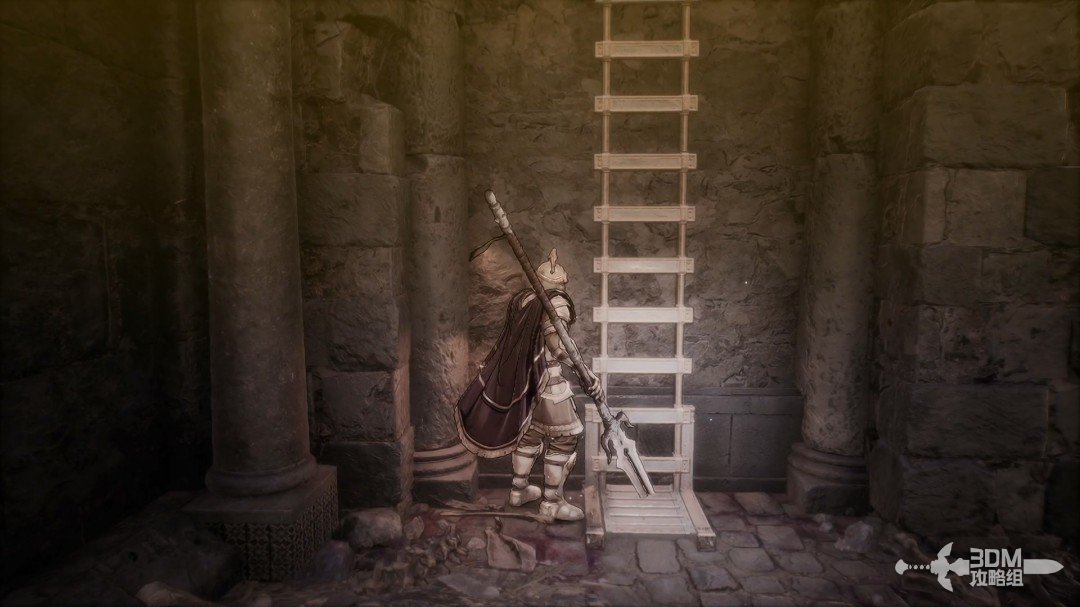
Upper gap and beams: collect the memory, then cross the crumbling outdoor stones · route image 1

Drop through the gap on the left above for a memory.
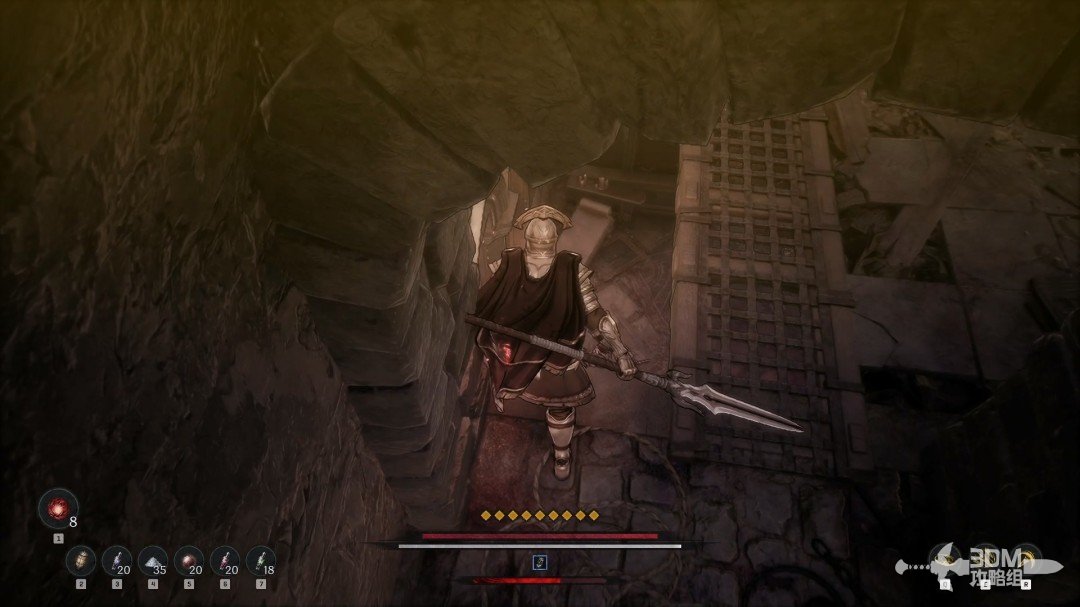
Upper gap and beams: collect the memory, then cross the crumbling outdoor stones · route image 2
Upper gap and beams: collect the memory, then cross the crumbling outdoor stones · route image 3

This returns you to the hall. Reenter the lower passage and climb back to the gap.
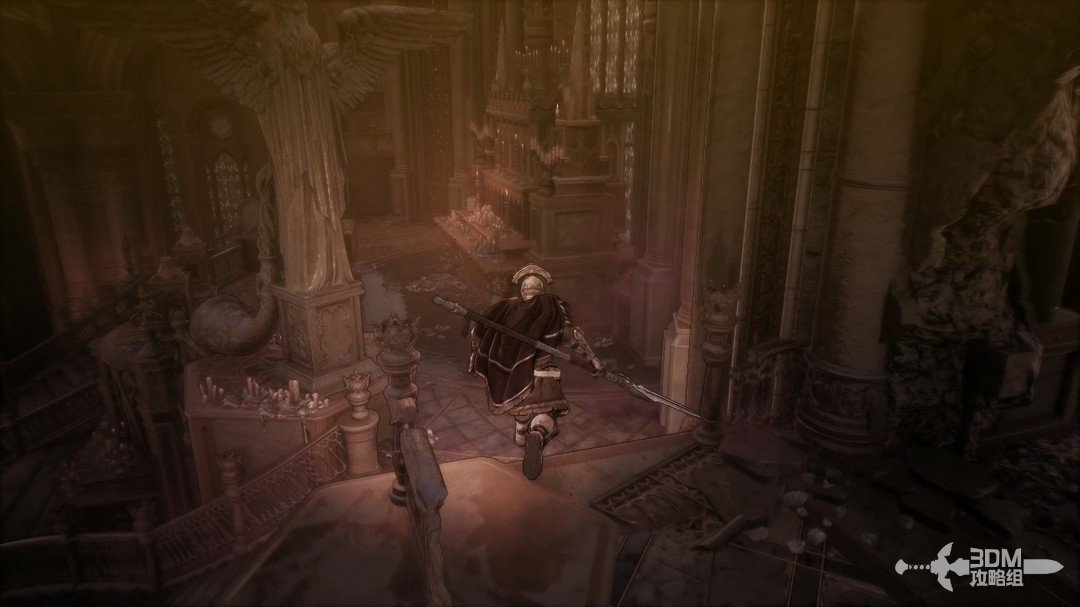
Upper gap and beams: collect the memory, then cross the crumbling outdoor stones · route image 4

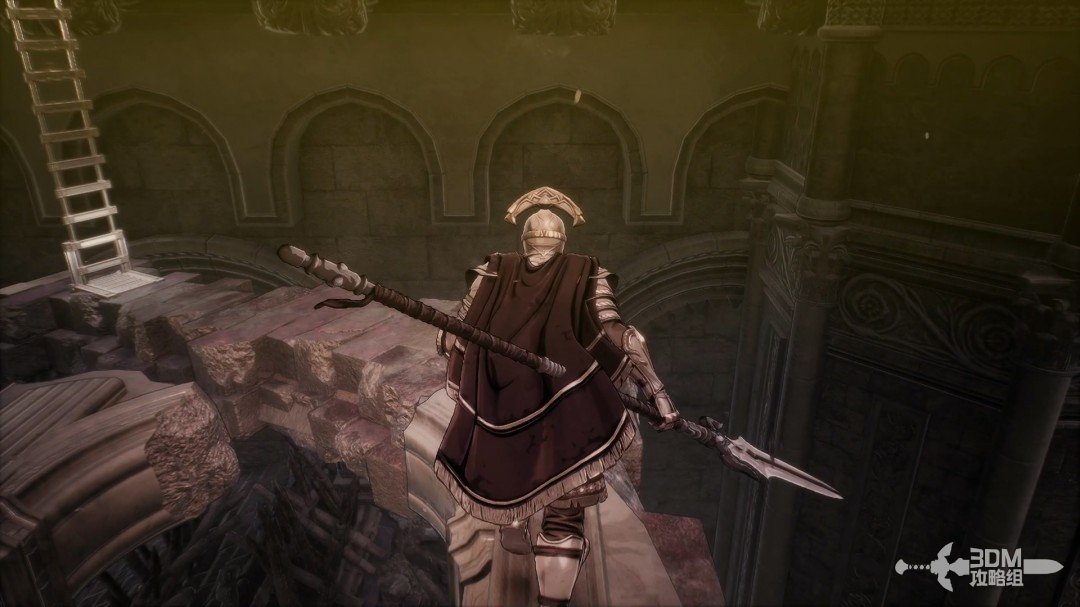
Cross the beam this time, watching for interference from enemies.
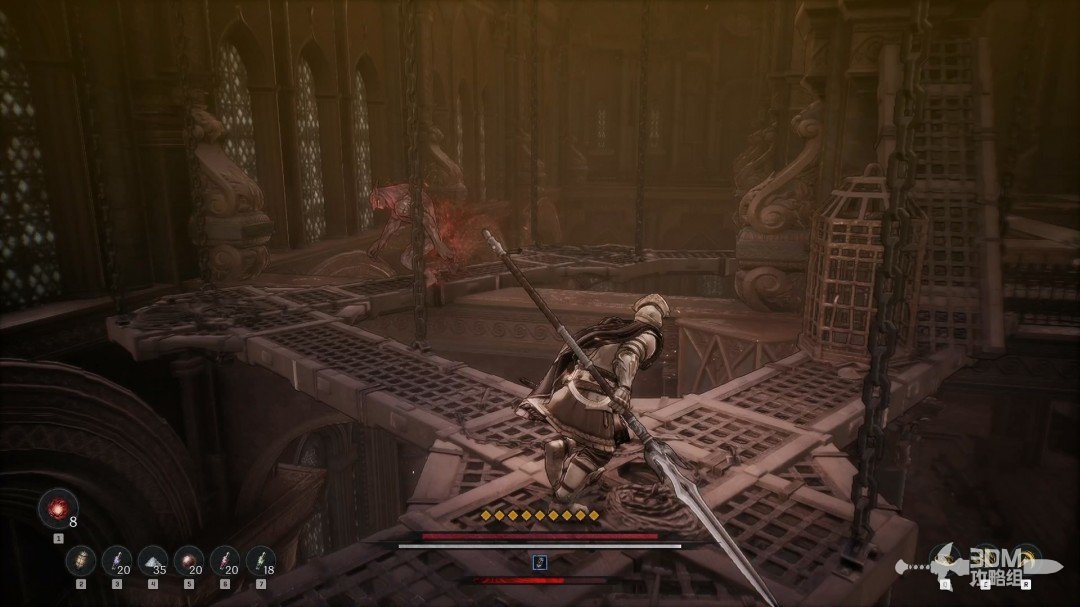
Upper gap and beams: collect the memory, then cross the crumbling outdoor stones · route image 5

Collect the purple item along the beam.
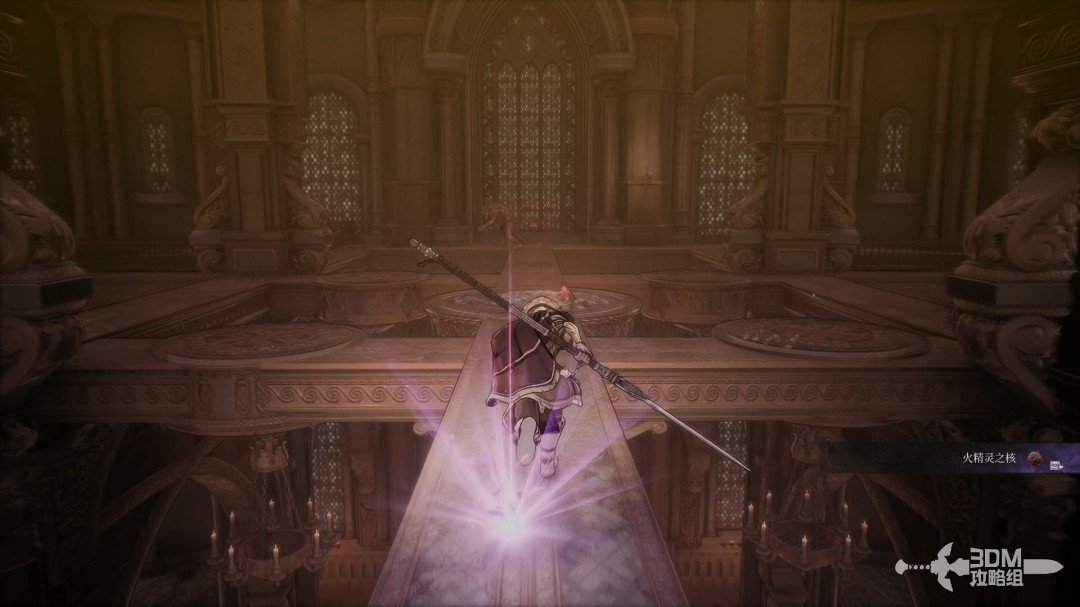
Upper gap and beams: collect the memory, then cross the crumbling outdoor stones · route image 6

Continue outside.

Upper gap and beams: collect the memory, then cross the crumbling outdoor stones · route image 7

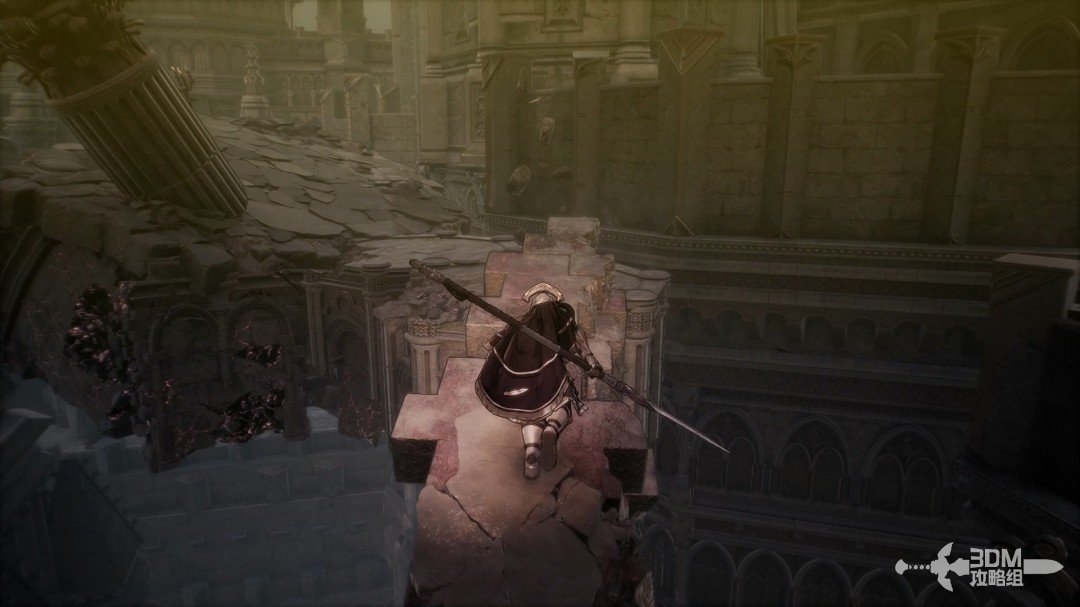
The small stone blocks ahead collapse. Cross without lingering.
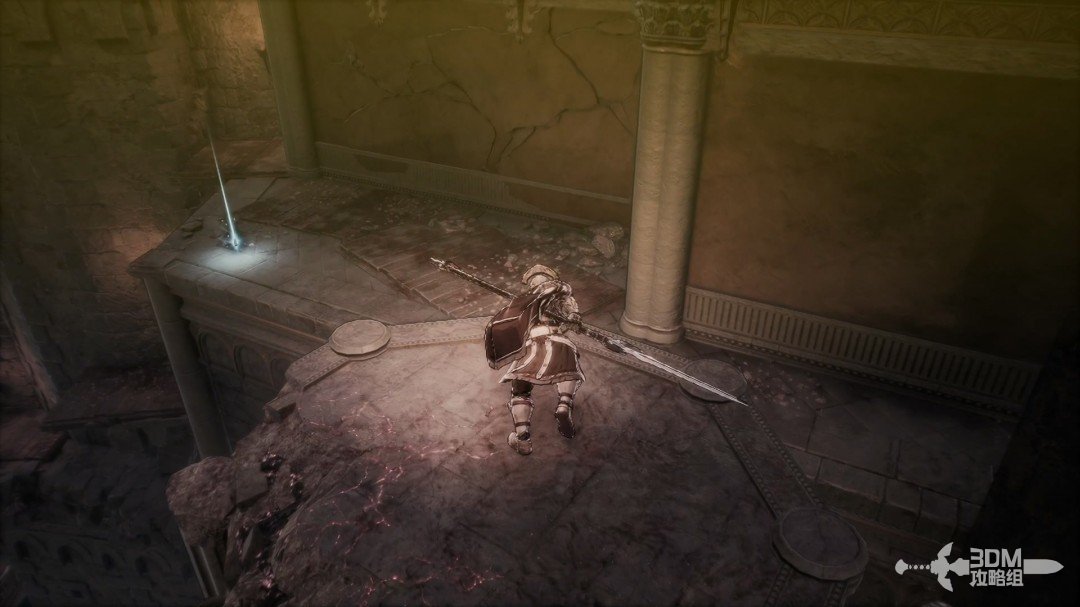
Upper gap and beams: collect the memory, then cross the crumbling outdoor stones · route image 8

Collect the white item on the route.

Upper gap and beams: collect the memory, then cross the crumbling outdoor stones · route image 9

10Descend to the balcony: rotate the stairs with the switch and search the corridor Soulstone

Drop from this position.
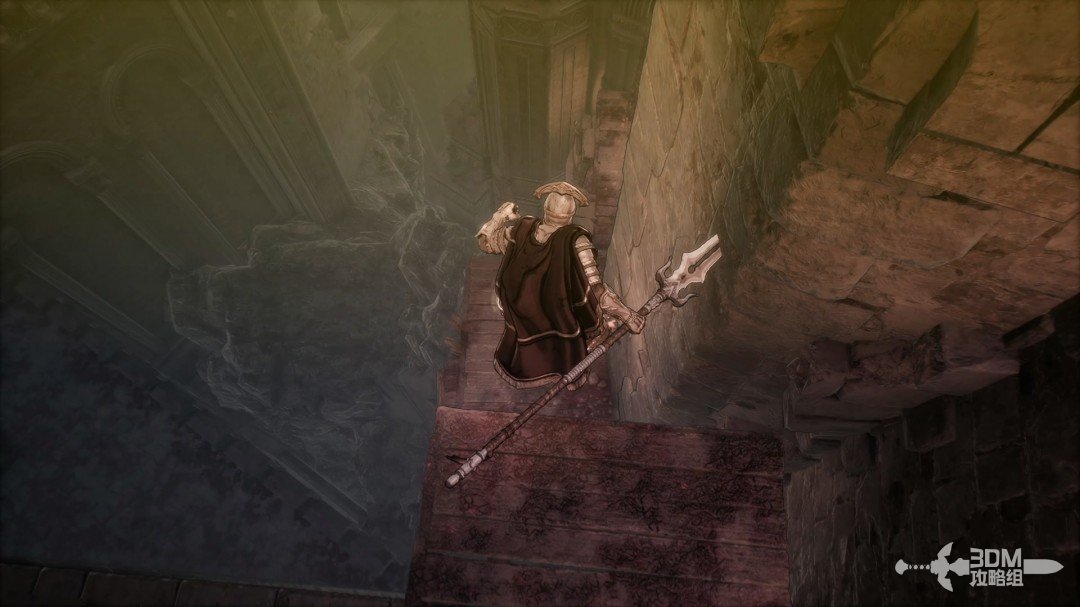
Descend to the balcony: rotate the stairs with the switch and search the corridor Soulstone · route image 10

Continue descending to a balcony.

Descend to the balcony: rotate the stairs with the switch and search the corridor Soulstone · route image 11

Step on the trigger to rotate the staircase, then turn back into the corridor first.
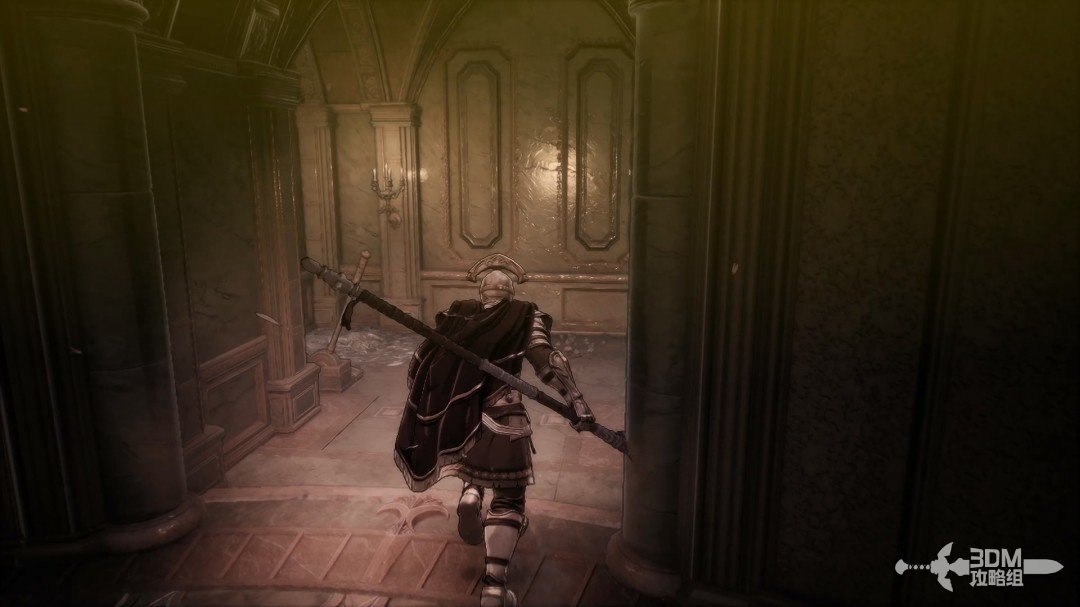
Descend to the balcony: rotate the stairs with the switch and search the corridor Soulstone · route image 12

A Soulstone waits at the corridor's end.
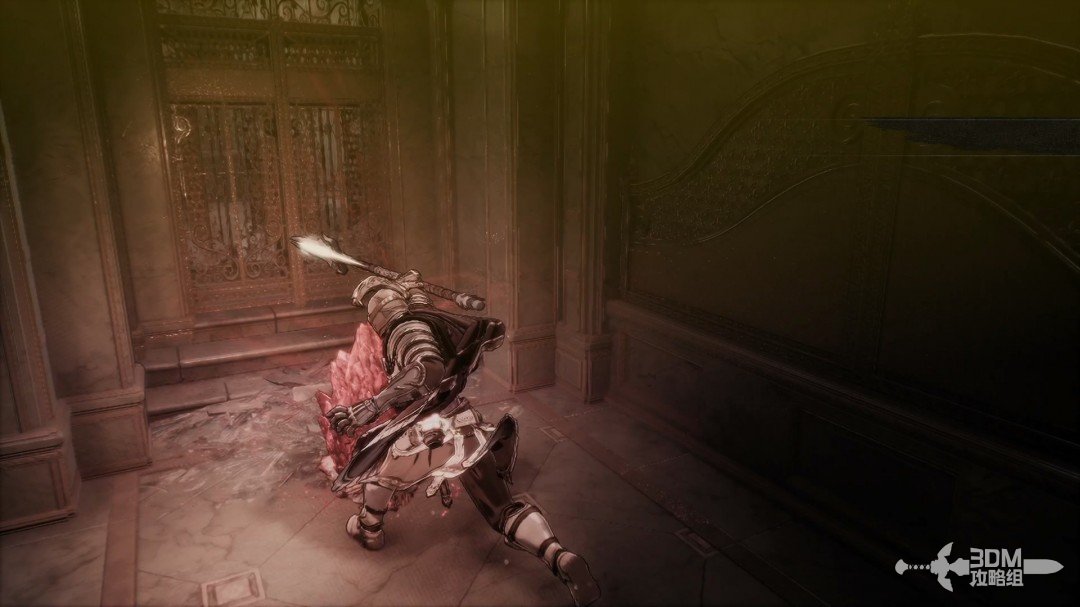
Descend to the balcony: rotate the stairs with the switch and search the corridor Soulstone · route image 13

12Rotate the stairs twice: reach Daphrona's ending-choice Nexus

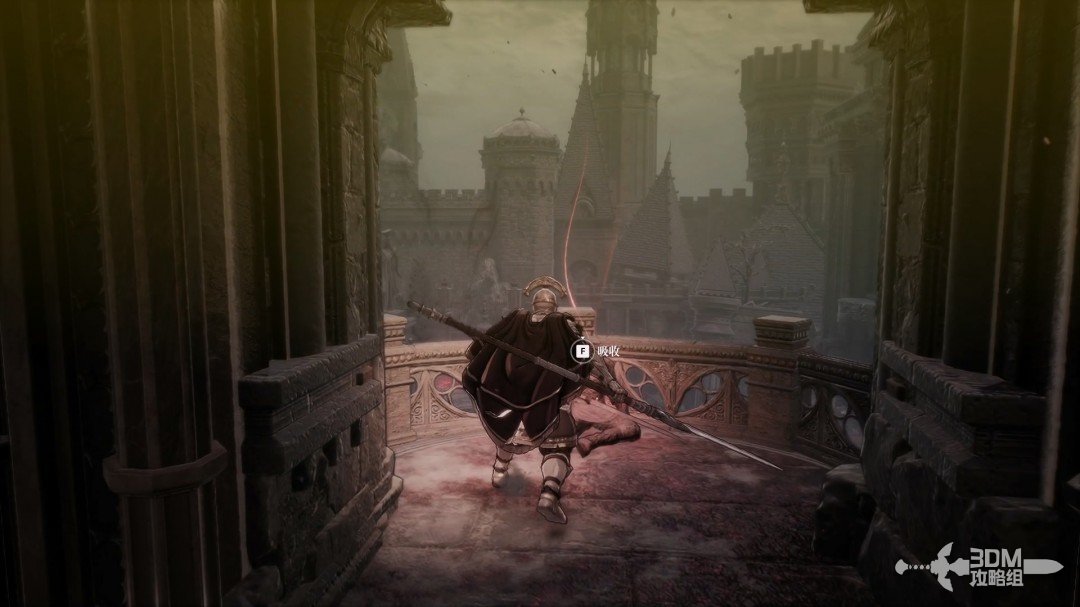
Return up the rotating stairs for the memory outside the balcony.
Rotate the stairs twice: reach Daphrona's ending-choice Nexus · route image 1

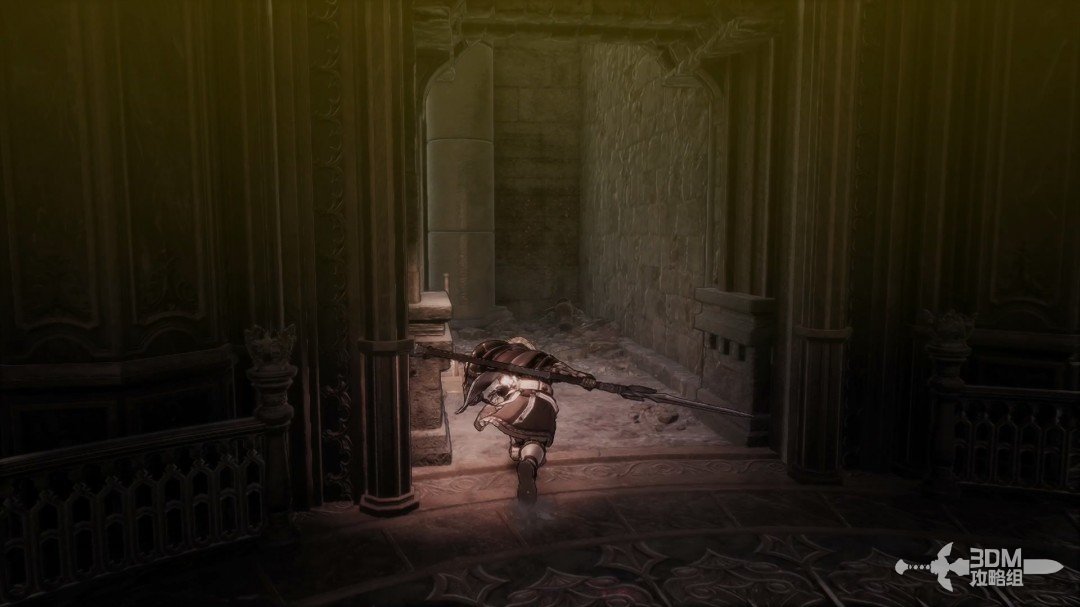
Descend and step on the trigger again, then climb the stairs to access a different route.
Rotate the stairs twice: reach Daphrona's ending-choice Nexus · route image 2

Explore left ahead for a blue item.

Rotate the stairs twice: reach Daphrona's ending-choice Nexus · route image 3
Rotate the stairs twice: reach Daphrona's ending-choice Nexus · route image 4

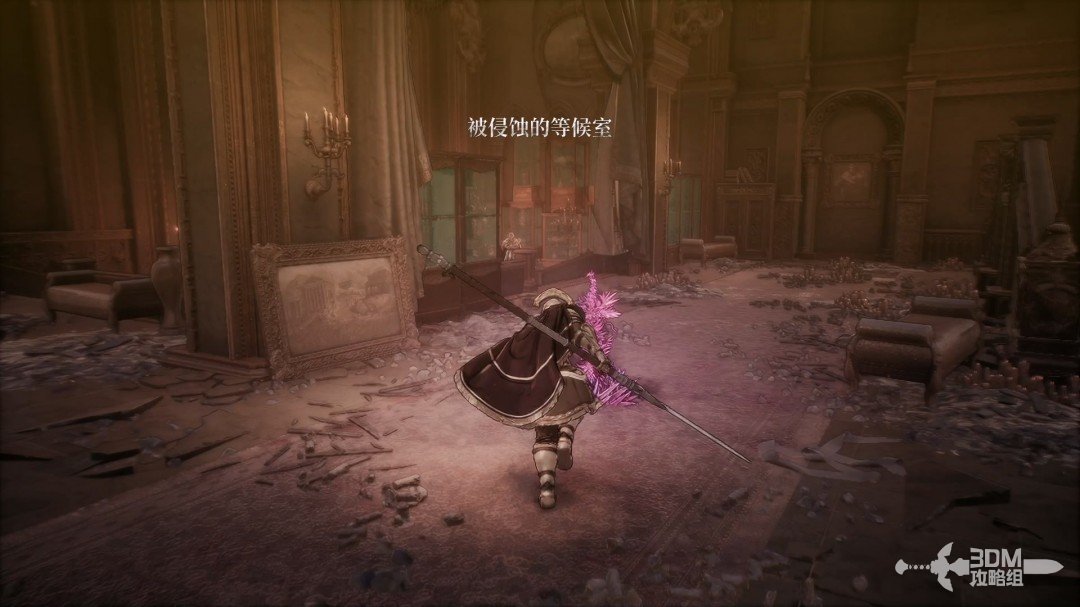
Return right and rest at the new Nexus.
Rotate the stairs twice: reach Daphrona's ending-choice Nexus · route image 5

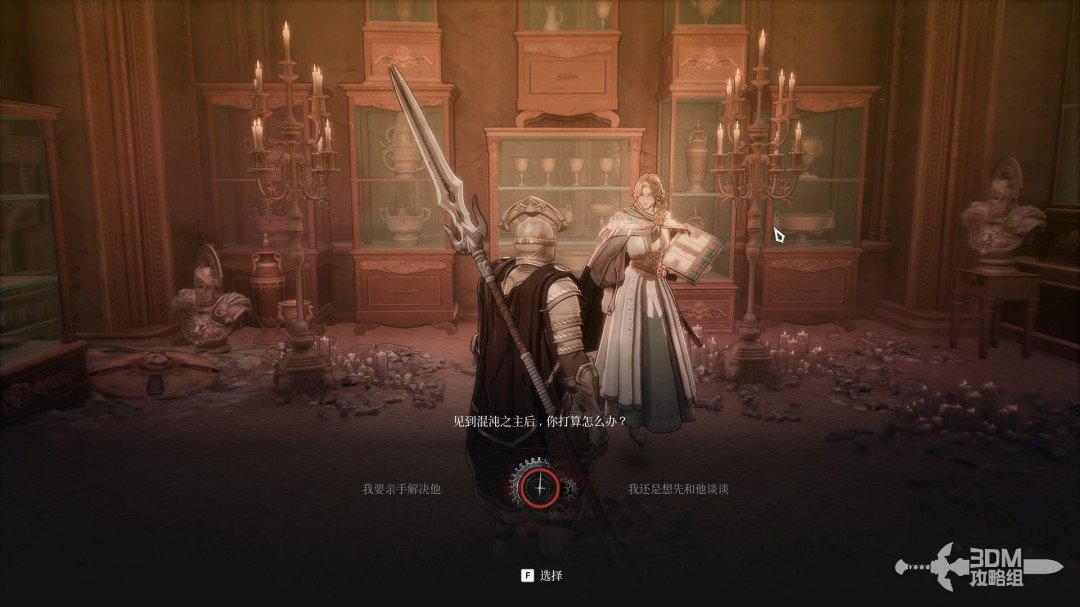
Speak to Daphrona for the ending choice. The left and right options lead to different branches, while the bottom option leads toward the truth ending. The right branch adds a battle.

The truth route requires all 15 diary items, including The Day the Black Moon Rose III from Transcendental Sword. With the requirements met, choose the bottom dialogue option.
Rotate the stairs twice: reach Daphrona's ending-choice Nexus · route image 6

13Study beyond the Nexus: search the right bookshelf and cross the central beams

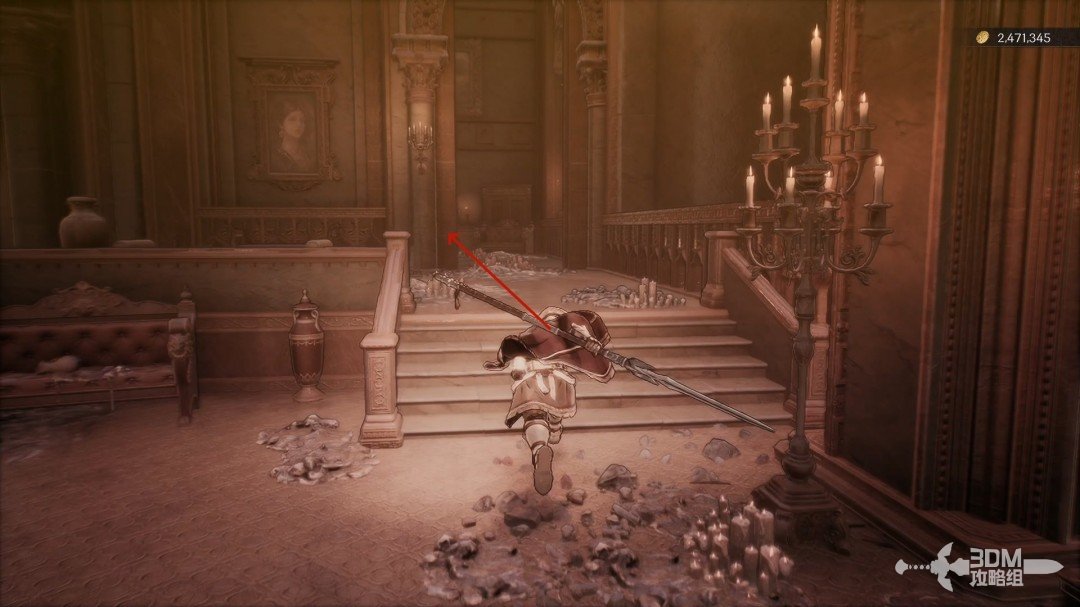
Follow the pictured direction for a memory.
Study beyond the Nexus: search the right bookshelf and cross the central beams · route image 7
Study beyond the Nexus: search the right bookshelf and cross the central beams · route image 8

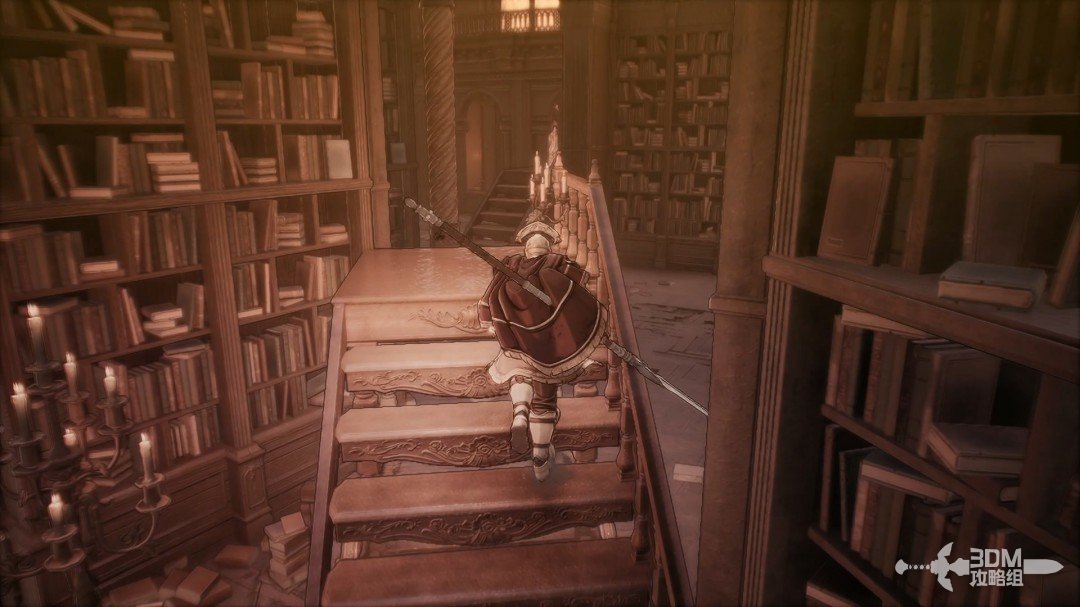
Climb these stairs afterward.

Study beyond the Nexus: search the right bookshelf and cross the central beams · route image 9

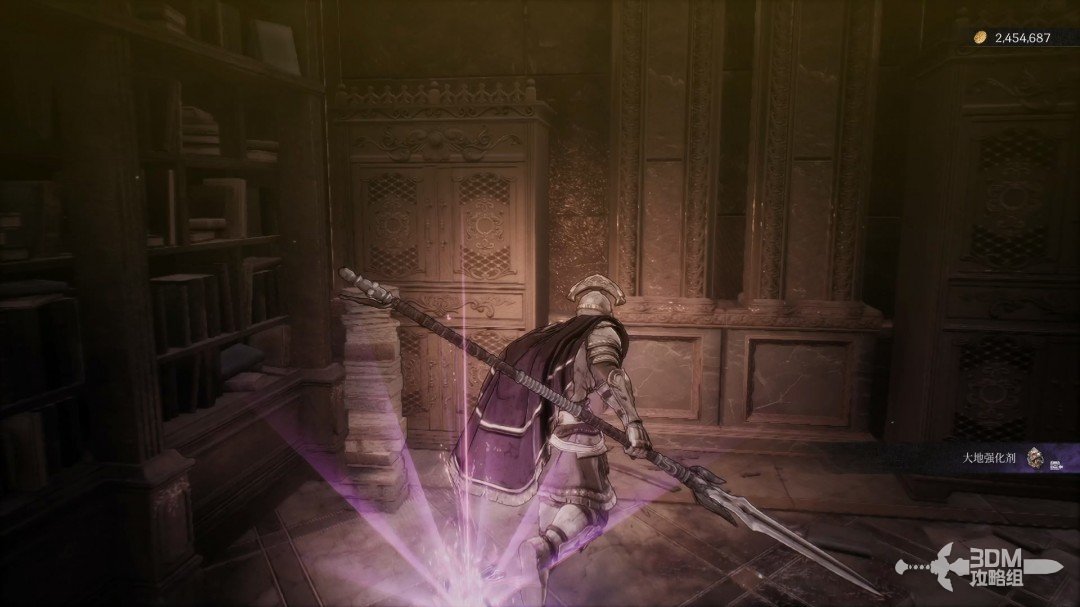
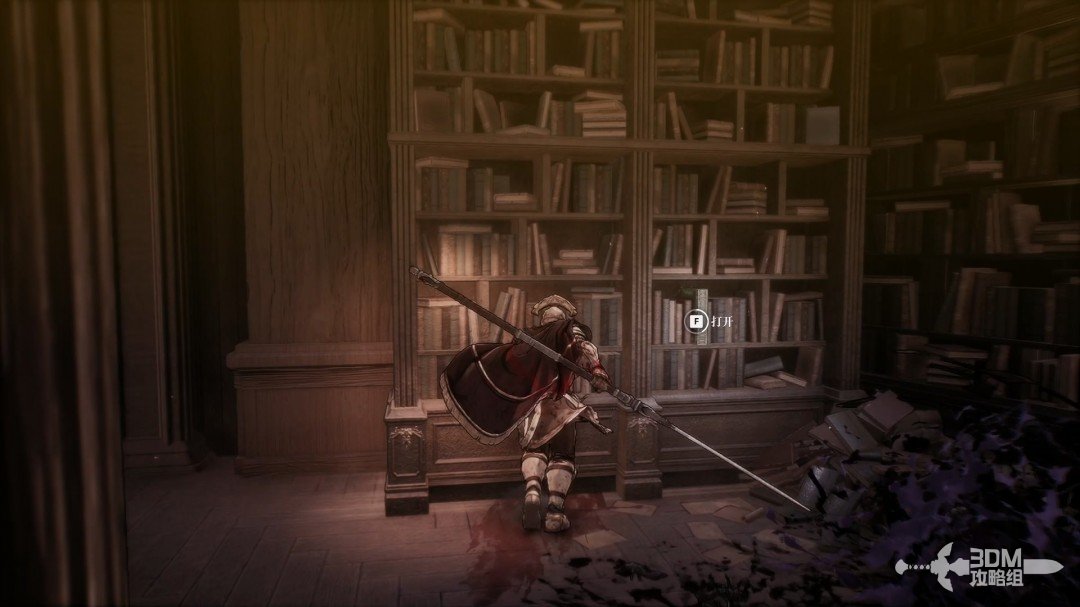
In the study above, first clear the goblins on the right and operate the bookshelf.
Study beyond the Nexus: search the right bookshelf and cross the central beams · route image 10

Collect the golden material inside.

Study beyond the Nexus: search the right bookshelf and cross the central beams · route image 11

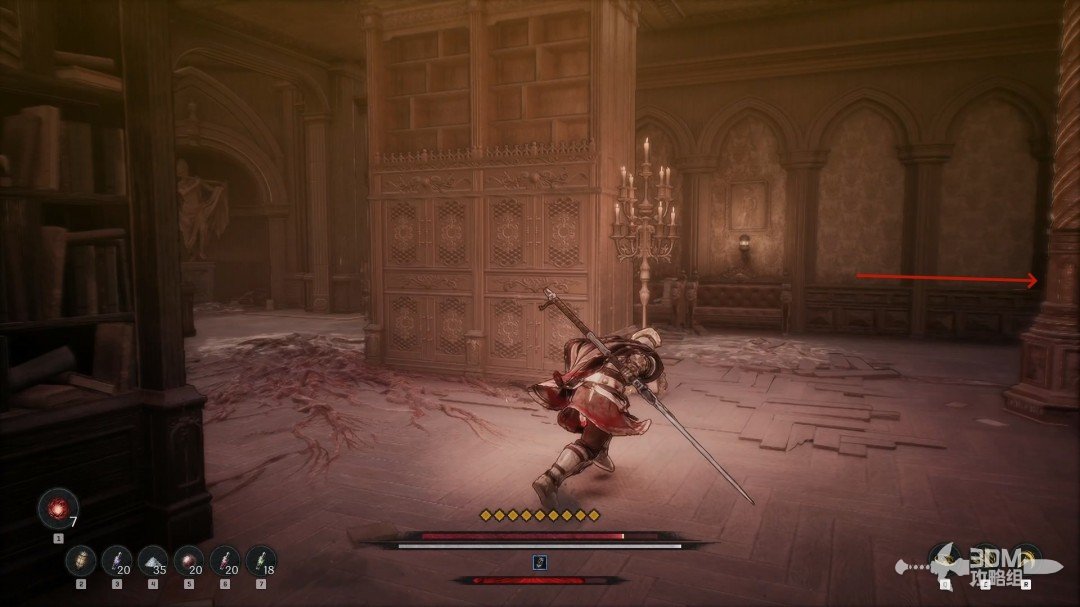
Turn back and cross this shelf.

Study beyond the Nexus: search the right bookshelf and cross the central beams · route image 12

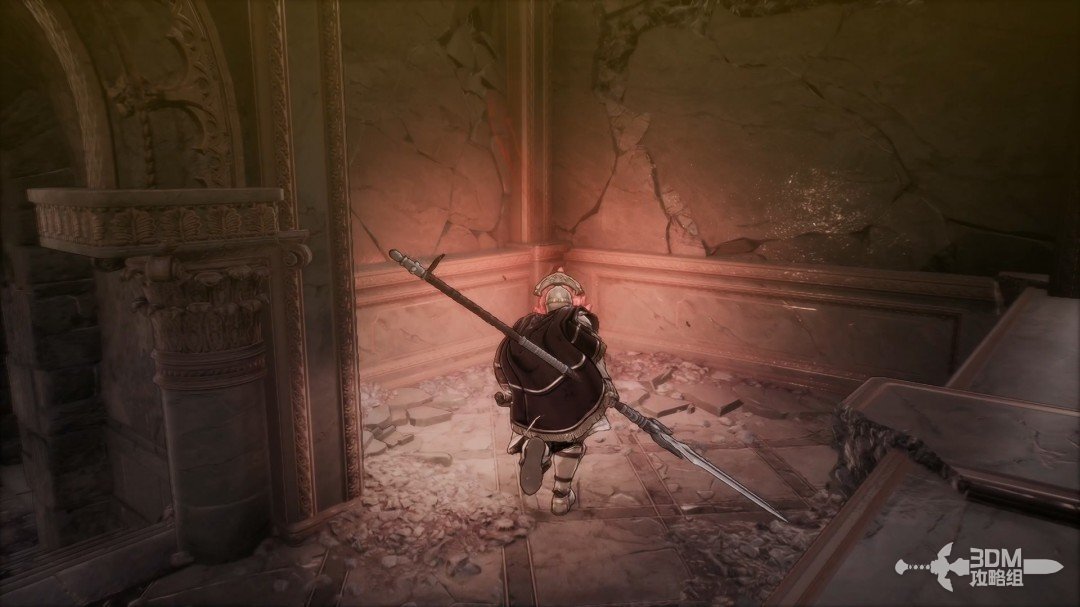
Collect the red material in the right corner.
Study beyond the Nexus: search the right bookshelf and cross the central beams · route image 13
Study beyond the Nexus: search the right bookshelf and cross the central beams · route image 14

A white item lies on the shelf across the way.
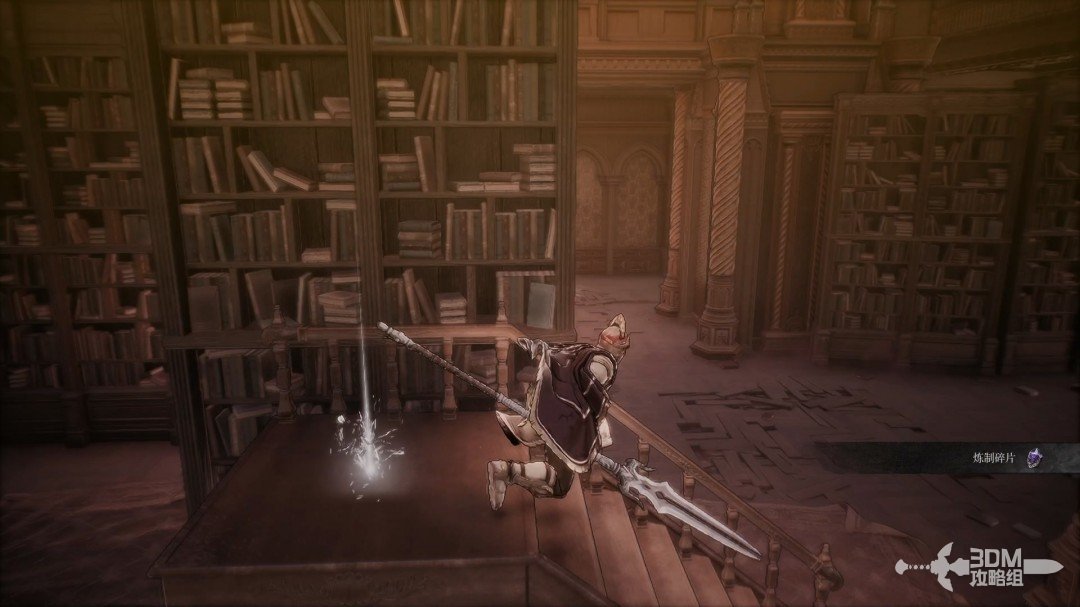
Study beyond the Nexus: search the right bookshelf and cross the central beams · route image 15

14Bookshelf switch beside the beams: climb through the passage to the overhead Soulstone

Stop on the central shelf and inspect the mechanism on the right bookshelf.
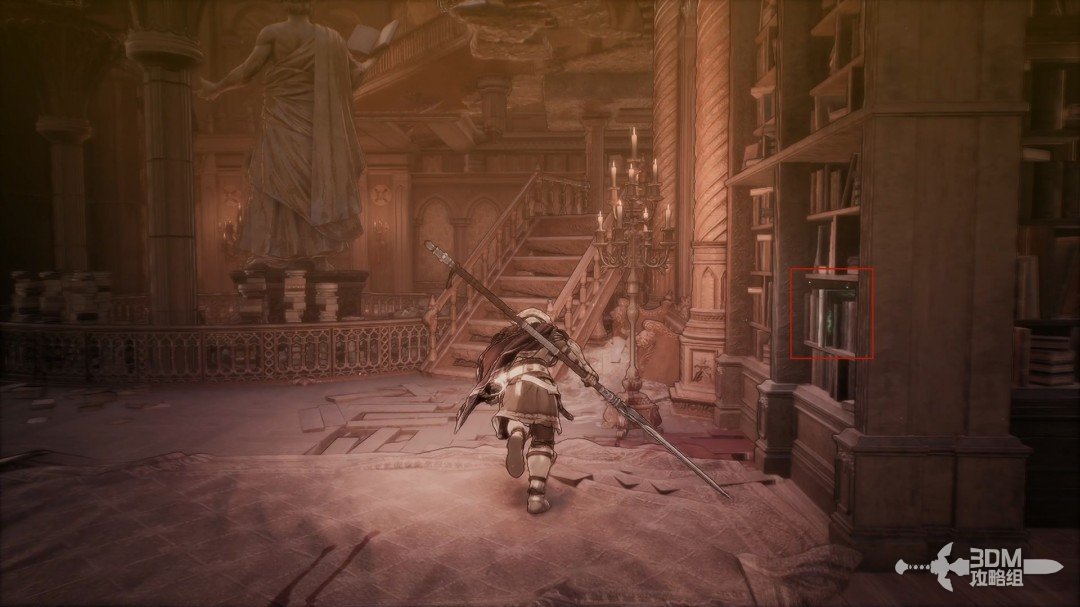
Bookshelf switch beside the beams: climb through the passage to the overhead Soulstone · route image 16

The main route lies behind the bookshelf.
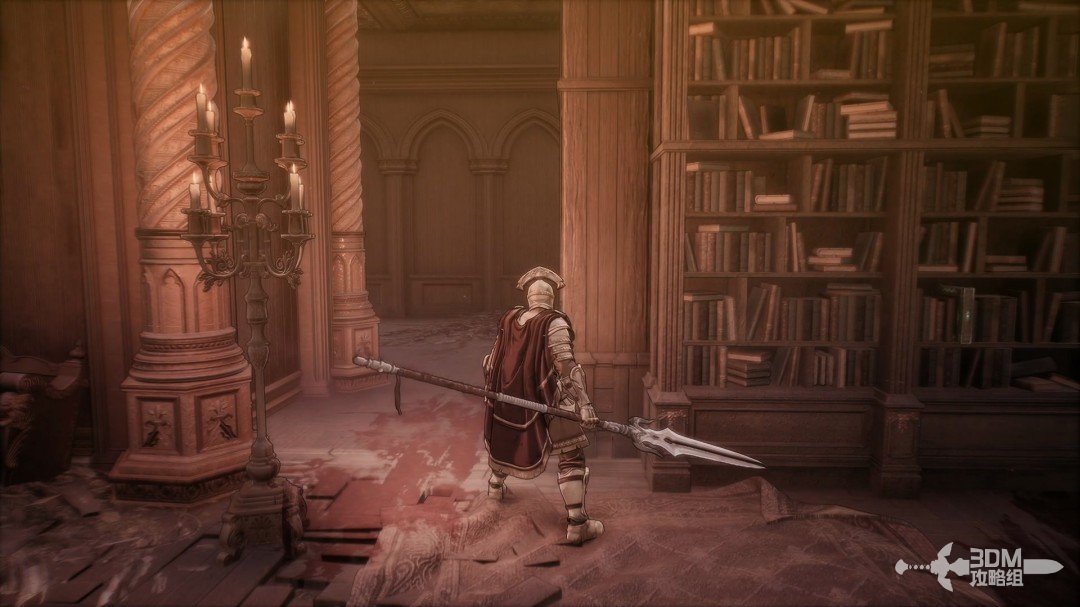
Bookshelf switch beside the beams: climb through the passage to the overhead Soulstone · route image 17

Absorb the memory on the left inside.
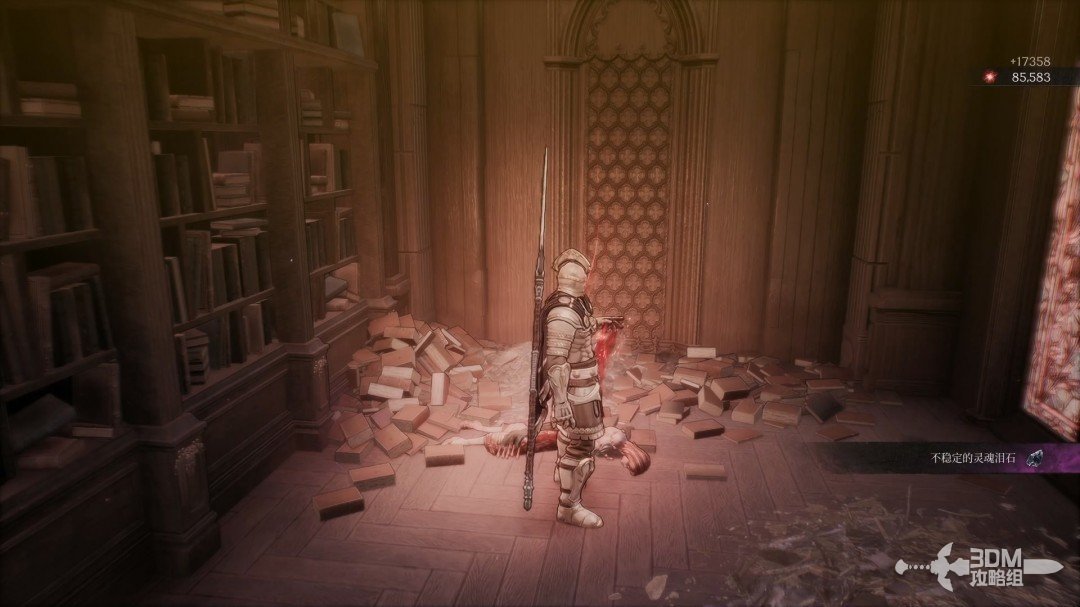
Bookshelf switch beside the beams: climb through the passage to the overhead Soulstone · route image 18

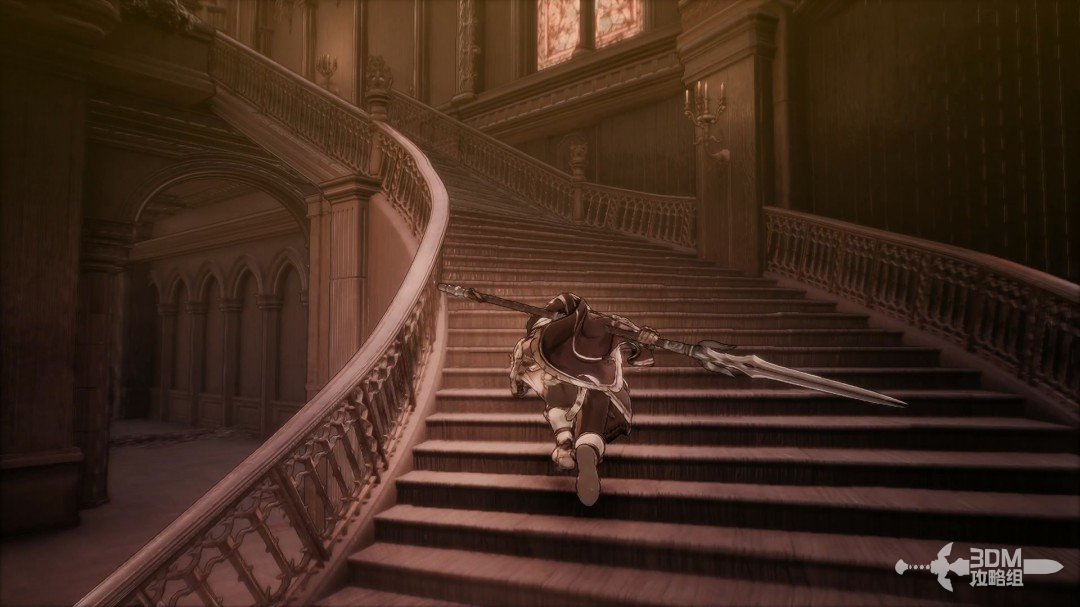
Go right and climb the stairs afterward.
Bookshelf switch beside the beams: climb through the passage to the overhead Soulstone · route image 19

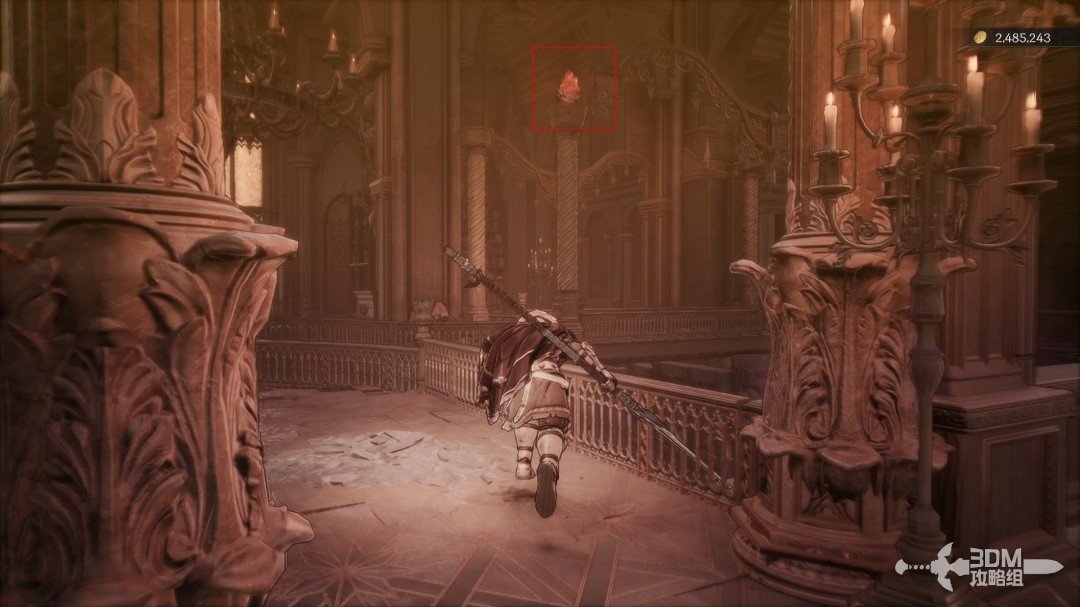
In the next corridor, look up for a Soulstone.
Bookshelf switch beside the beams: climb through the passage to the overhead Soulstone · route image 20

16Spiral stairs and outer balcony: circle to the room's Nexus

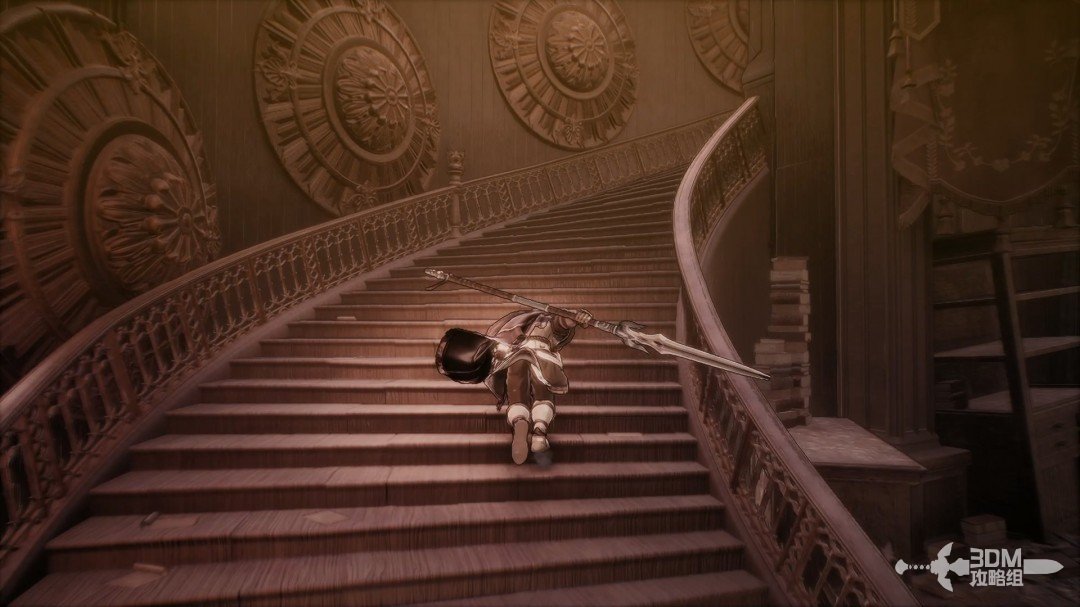
At the end, climb another spiral staircase.
Spiral stairs and outer balcony: circle to the room's Nexus · route image 1

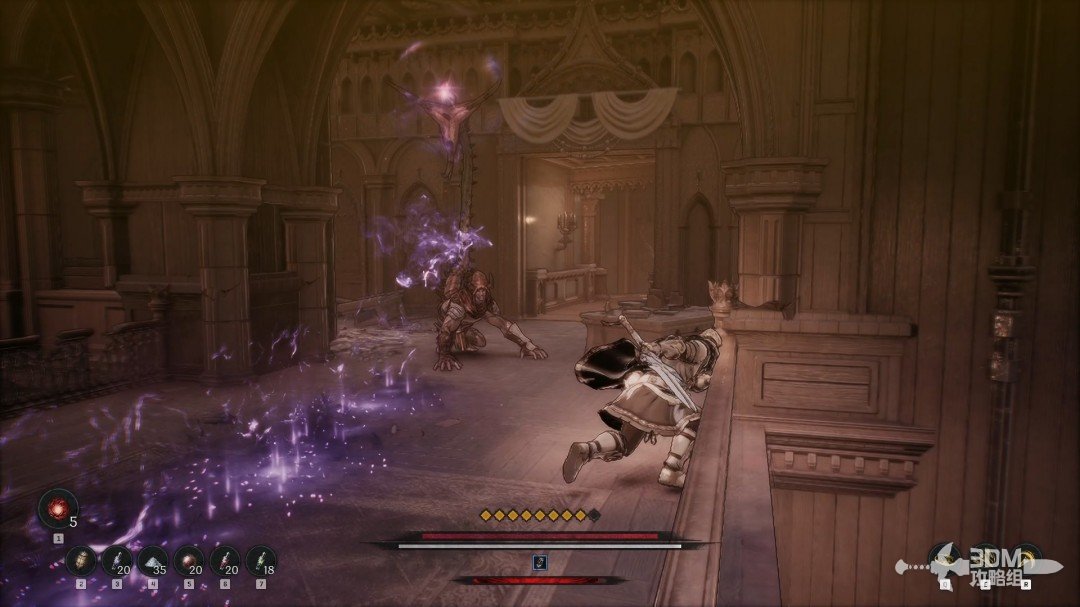
Defeat the laser-firing enemy on the stairs and continue straight.
Spiral stairs and outer balcony: circle to the room's Nexus · route image 2

The next stairs lead both up and down.
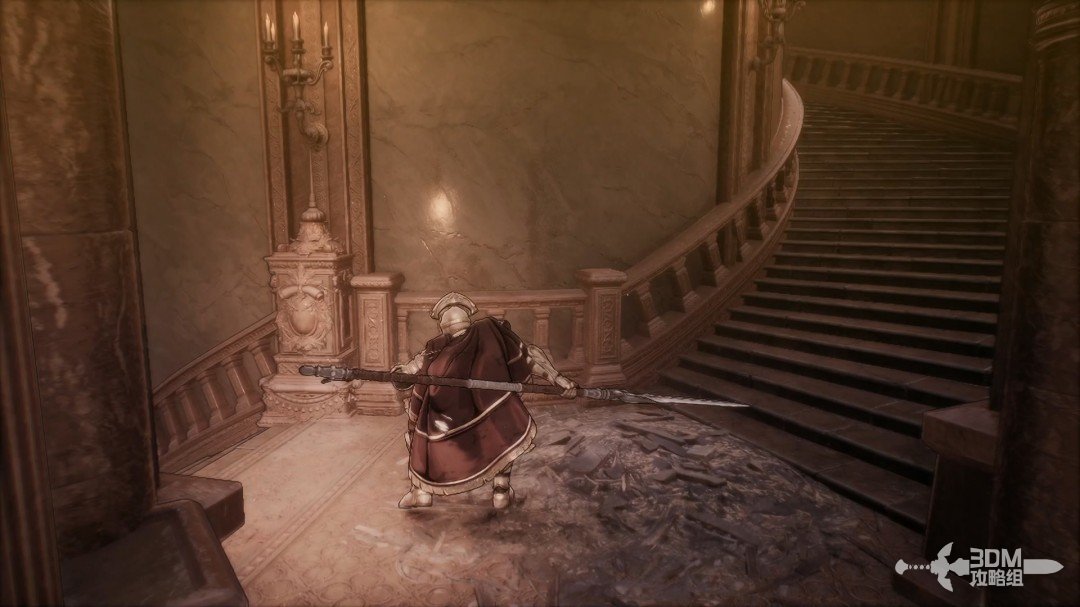
Spiral stairs and outer balcony: circle to the room's Nexus · route image 3

Explore downstairs for a blue item, then climb.
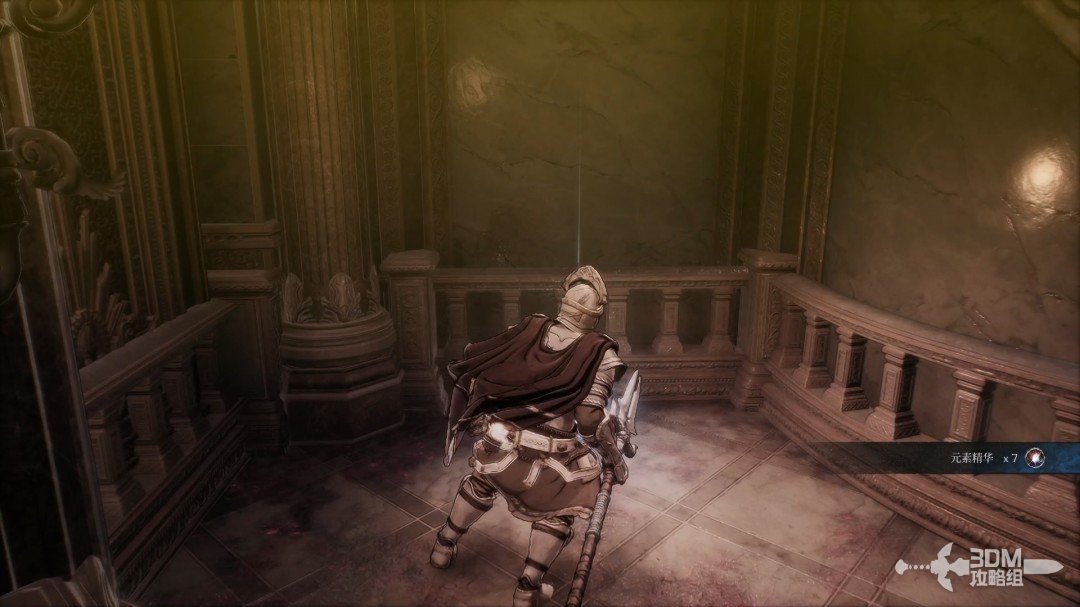
Spiral stairs and outer balcony: circle to the room's Nexus · route image 4

Collect the blue item on the left near the upper exit.
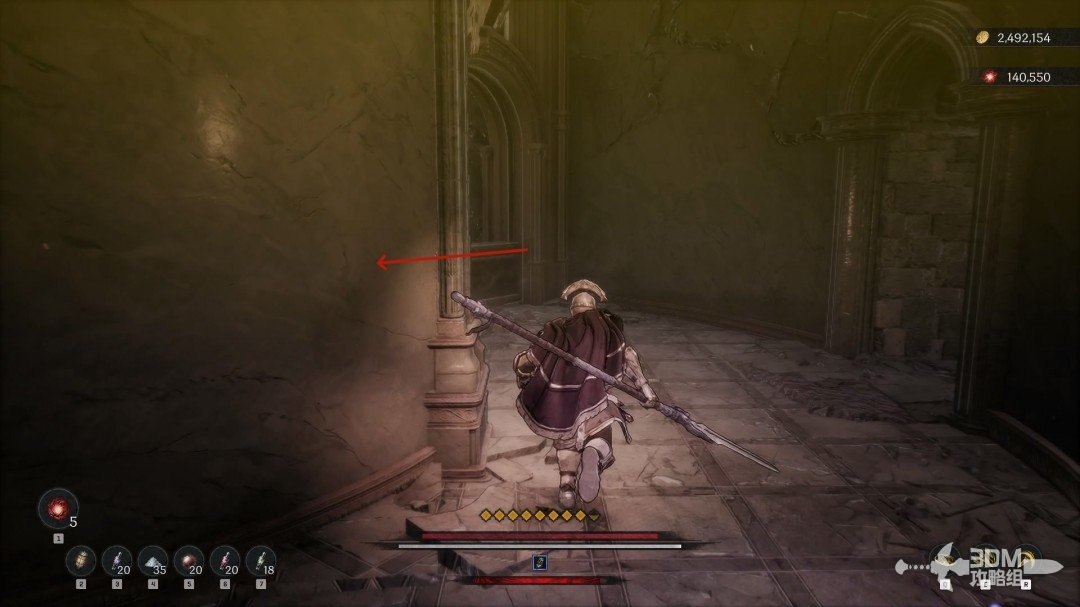
Spiral stairs and outer balcony: circle to the room's Nexus · route image 5
Spiral stairs and outer balcony: circle to the room's Nexus · route image 6

Leave and circle around the outside balcony.
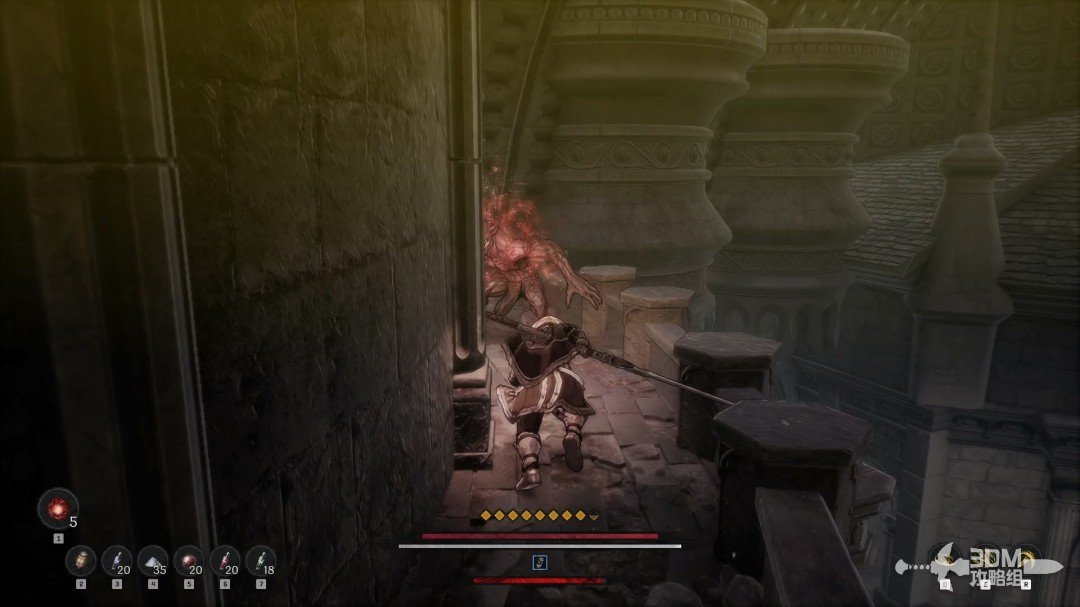
Spiral stairs and outer balcony: circle to the room's Nexus · route image 7

Continue upward, watching for an enemy dropping at the doorway.
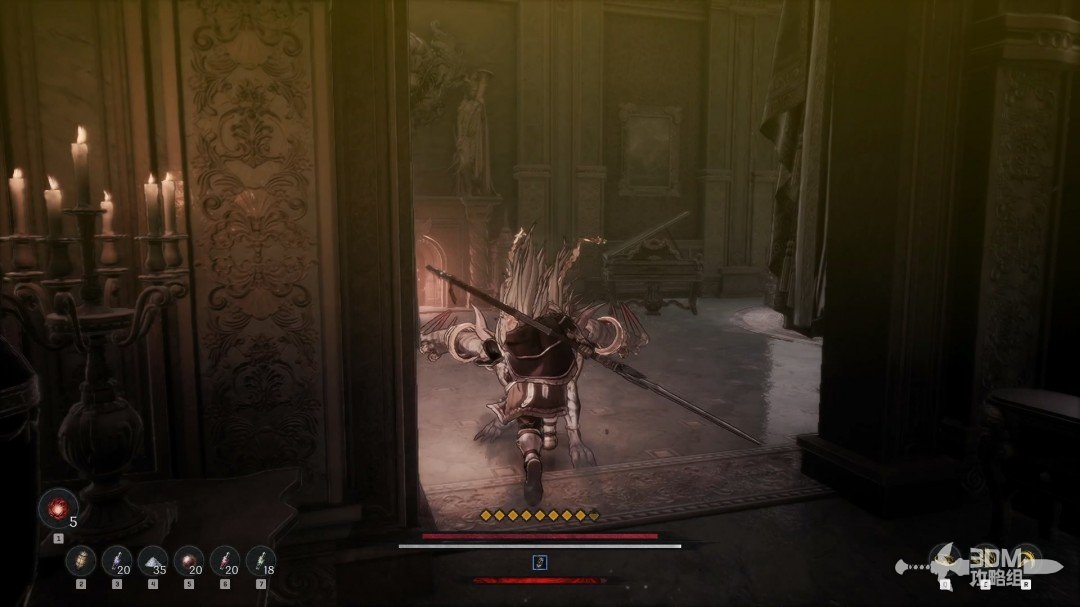
Spiral stairs and outer balcony: circle to the room's Nexus · route image 8

Open the chest on the room's right.

Spiral stairs and outer balcony: circle to the room's Nexus · route image 9

Leave left for a new Blade Nexus.

Spiral stairs and outer balcony: circle to the room's Nexus · route image 10

17Rooms beyond the Nexus: elite chest on the left and jar on the right

Rest and continue inward. Defeat the elite in the left building for materials and a chest.
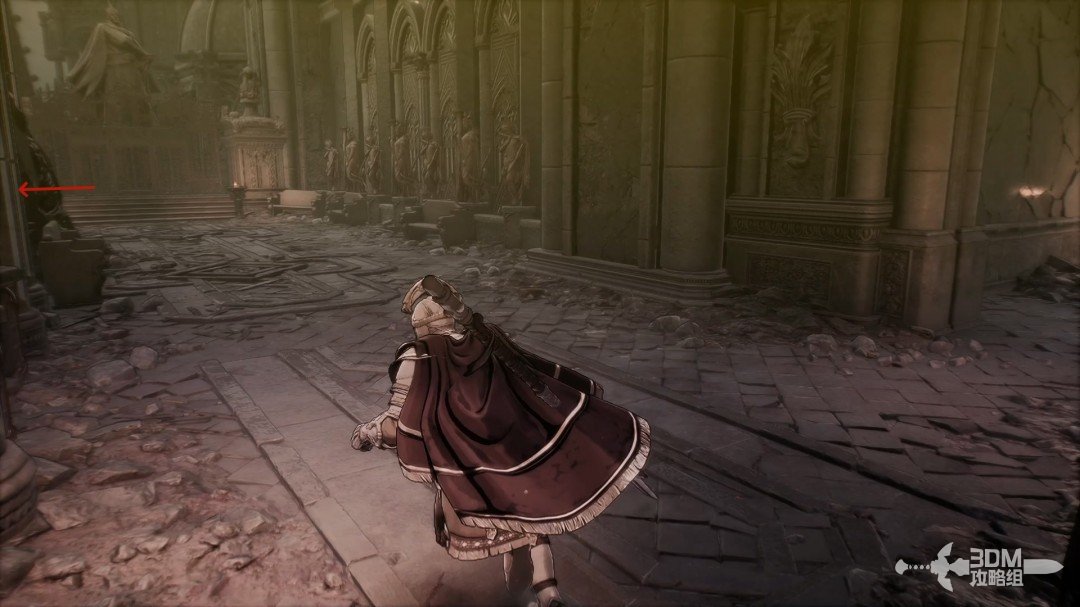
Rooms beyond the Nexus: elite chest on the left and jar on the right · route image 11

Return to the main route and ignore the left door. Take the right stairs.
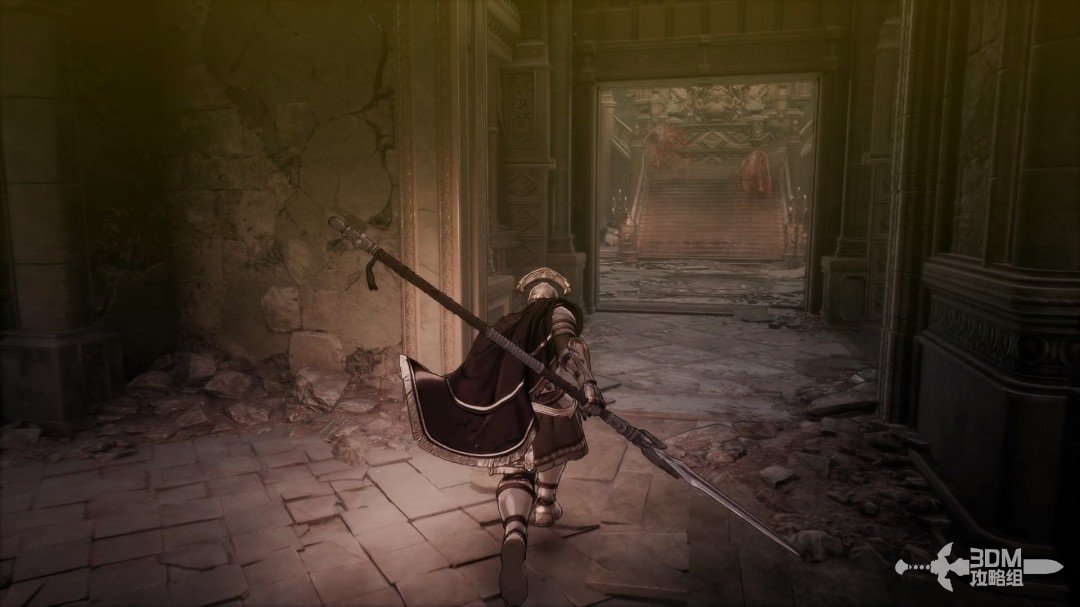
Rooms beyond the Nexus: elite chest on the left and jar on the right · route image 12

Climb the right-hand staircase first.
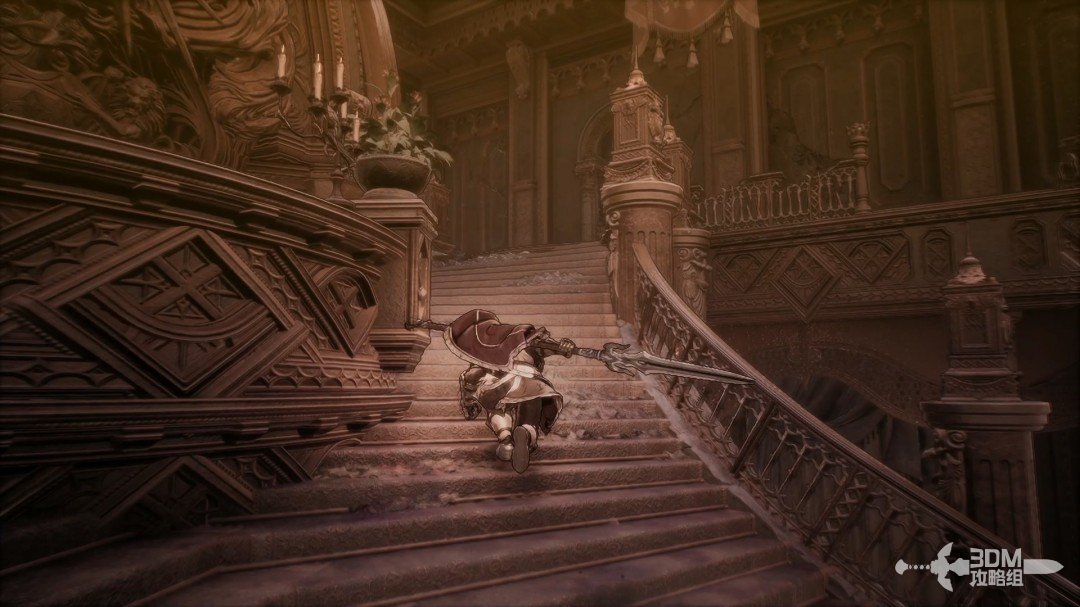
Rooms beyond the Nexus: elite chest on the left and jar on the right · route image 13

A Jarling hides behind the fallen cabinet in the right corridor.
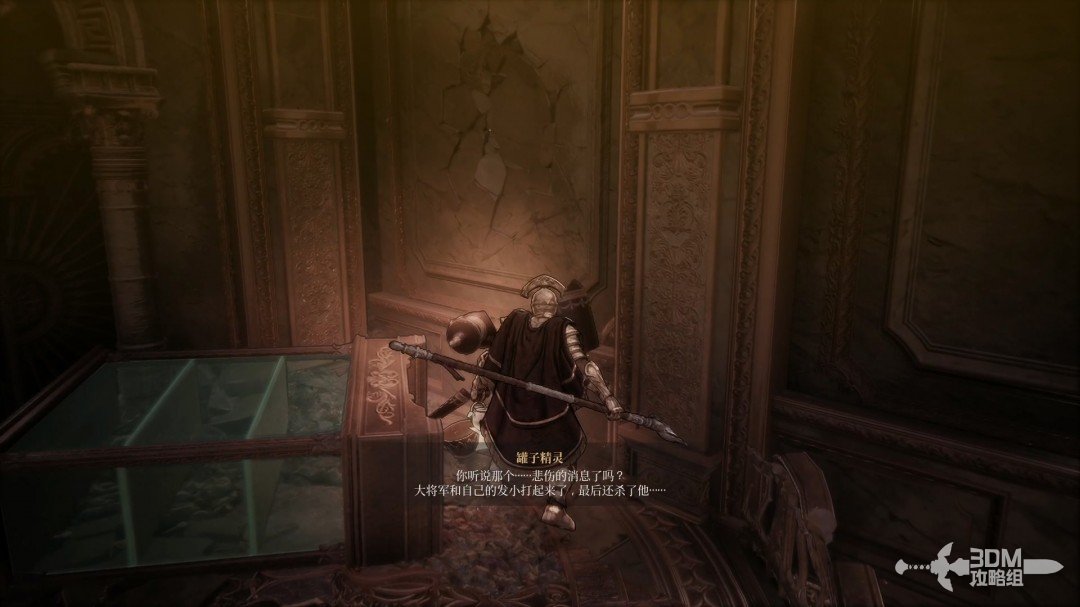
Rooms beyond the Nexus: elite chest on the left and jar on the right · route image 14

19Opening in the left room and barrel corridor: search the memory and explosive chest

Collect the purple item through the left door.
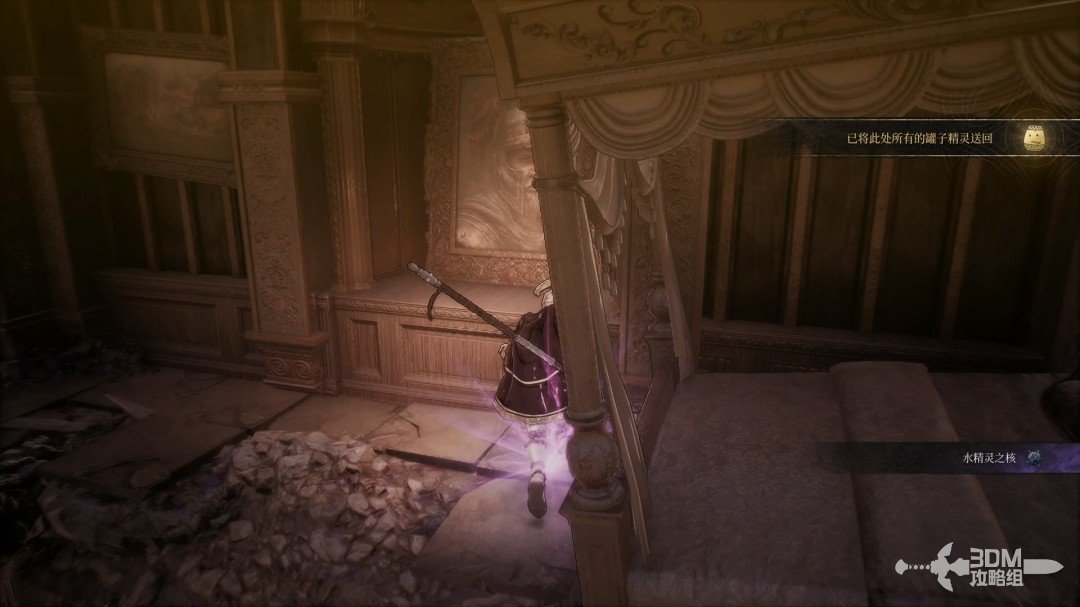
Opening in the left room and barrel corridor: search the memory and explosive chest · route image 1

Drop through the room's hole and leave through this doorway.
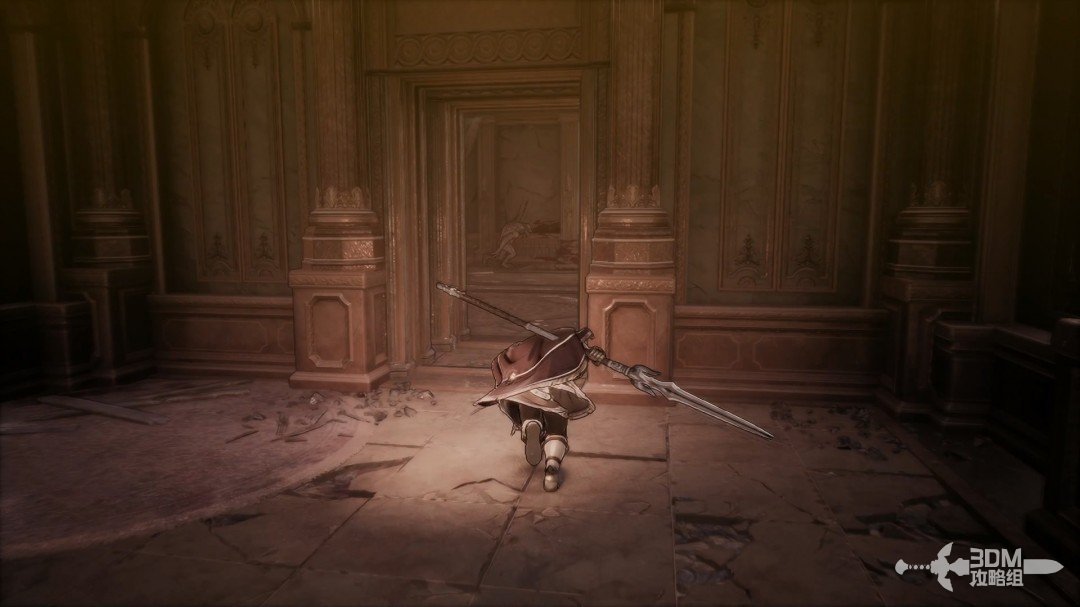
Opening in the left room and barrel corridor: search the memory and explosive chest · route image 2

Descend the stairs here.

Opening in the left room and barrel corridor: search the memory and explosive chest · route image 3

Collect the red material in the left corner below.
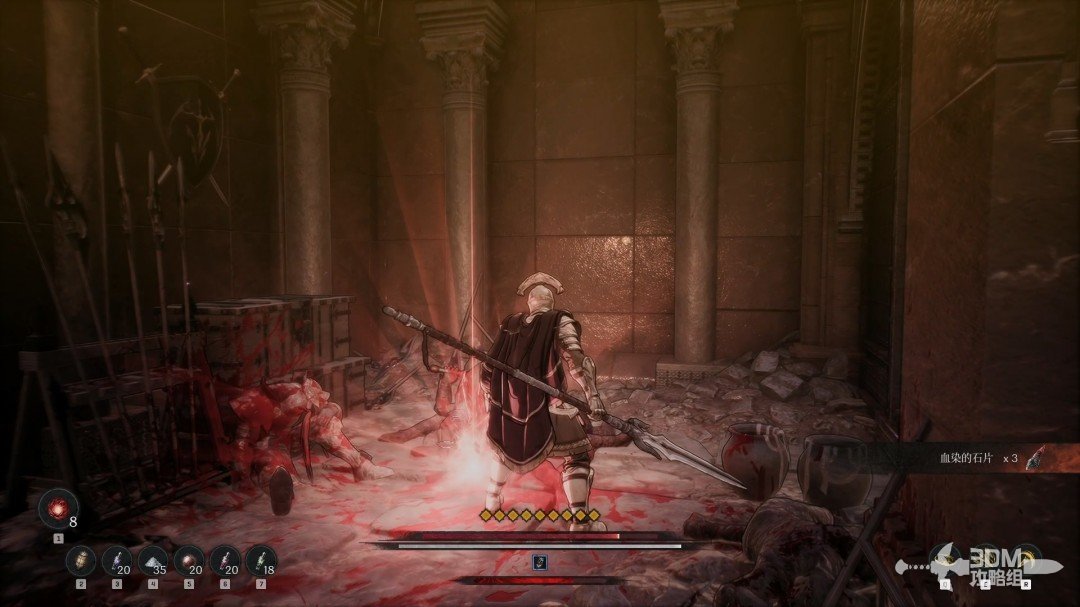
Opening in the left room and barrel corridor: search the memory and explosive chest · route image 4

Absorb the memory behind the barrels on the right main route.
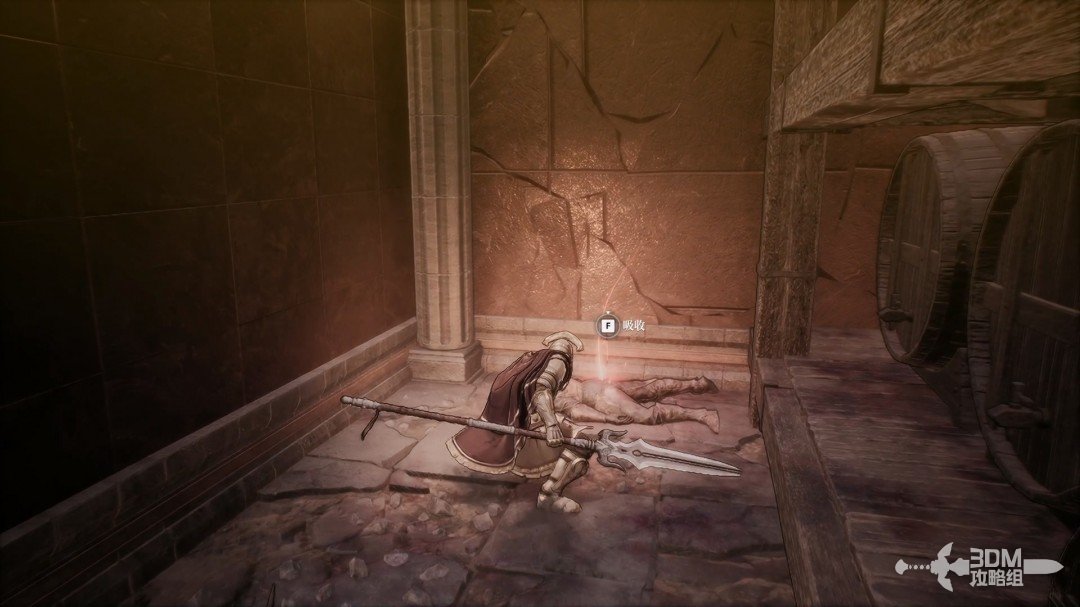
Opening in the left room and barrel corridor: search the memory and explosive chest · route image 5

Climb the left stairs for an exploding chest.
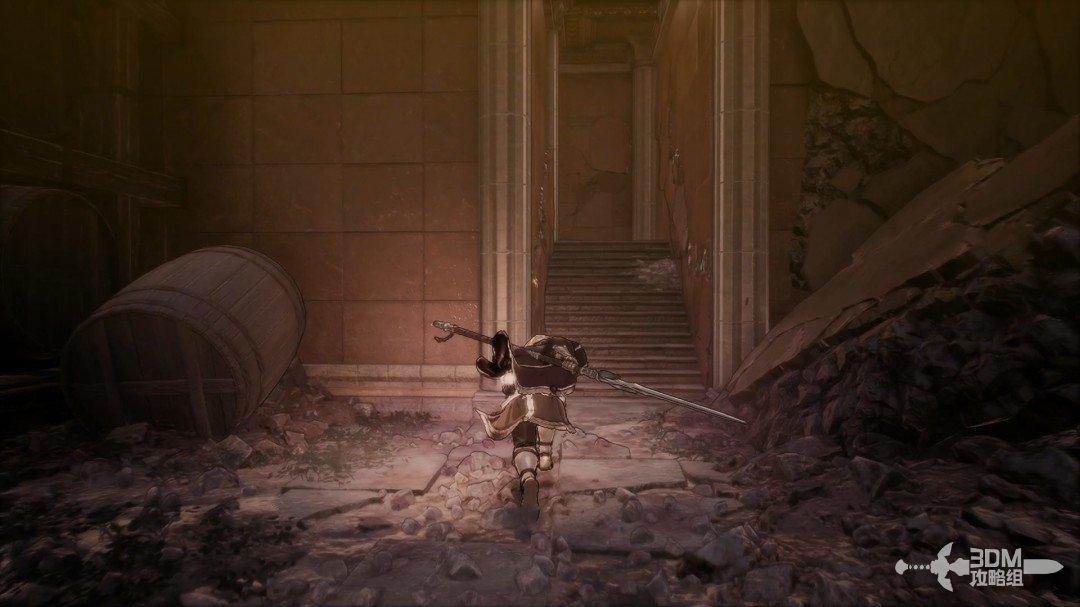
Opening in the left room and barrel corridor: search the memory and explosive chest · route image 6
Opening in the left room and barrel corridor: search the memory and explosive chest · route image 7

20Hidden wall in the room up the right slope: break the final Soulstone

Return below and climb the right slope.
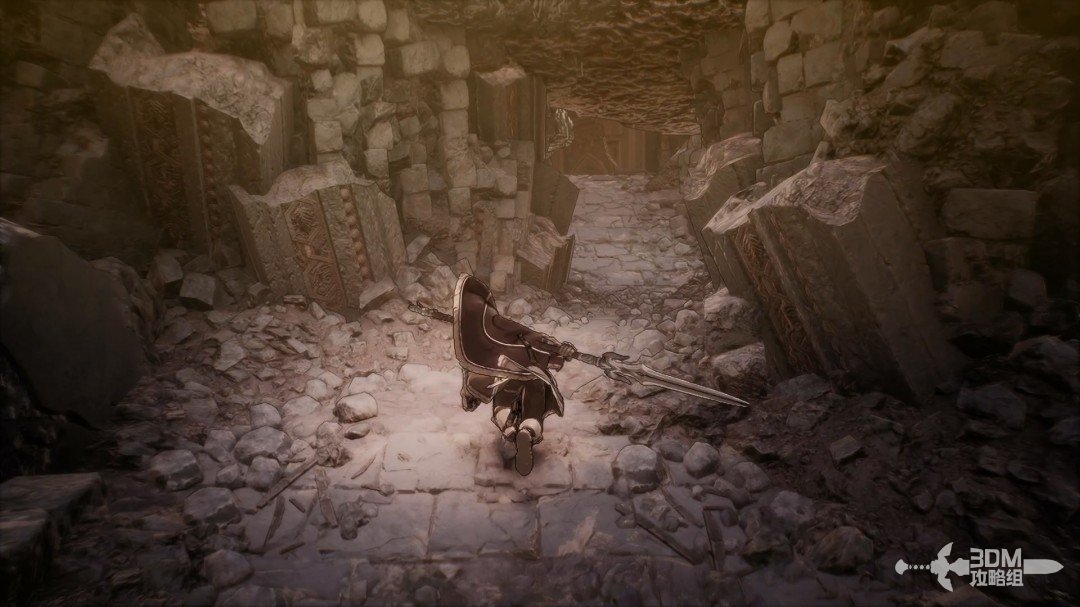
Hidden wall in the room up the right slope: break the final Soulstone · route image 8

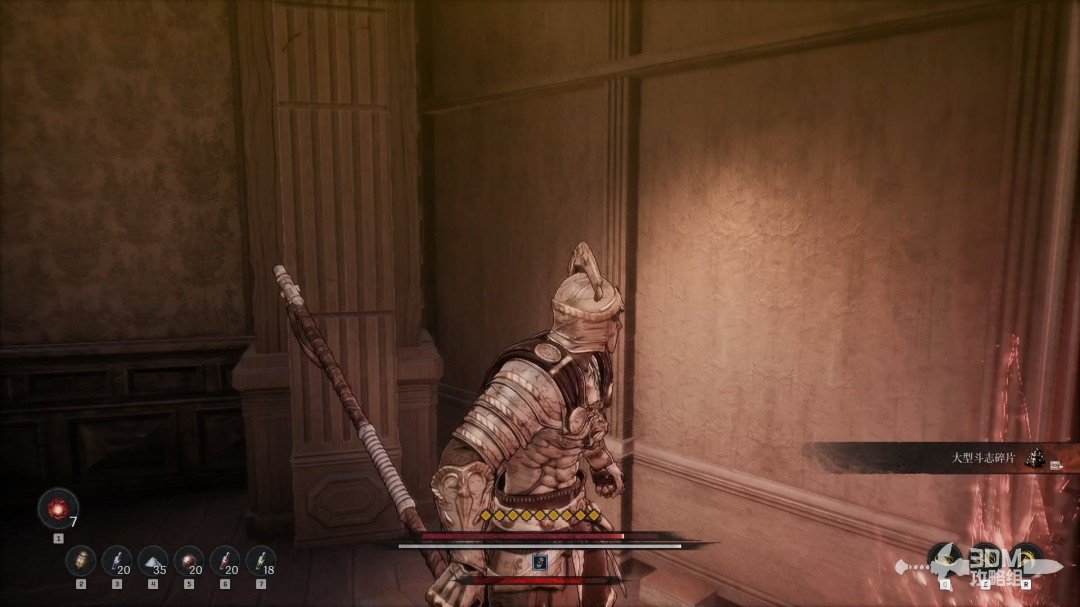
Break the hidden wall in the room above for a Soulstone.
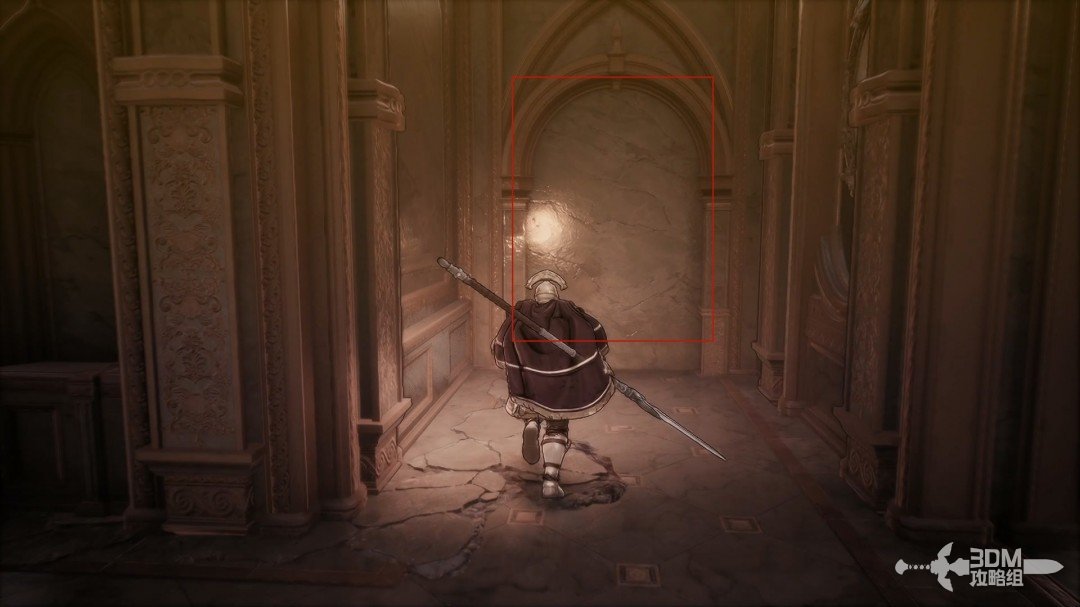
Hidden wall in the room up the right slope: break the final Soulstone · route image 9
Hidden wall in the room up the right slope: break the final Soulstone · route image 10

22Balcony elevator mechanism: raise the platform for material, then descend and leave

Continue inward. This door reconnects with the earlier route but need not be opened.
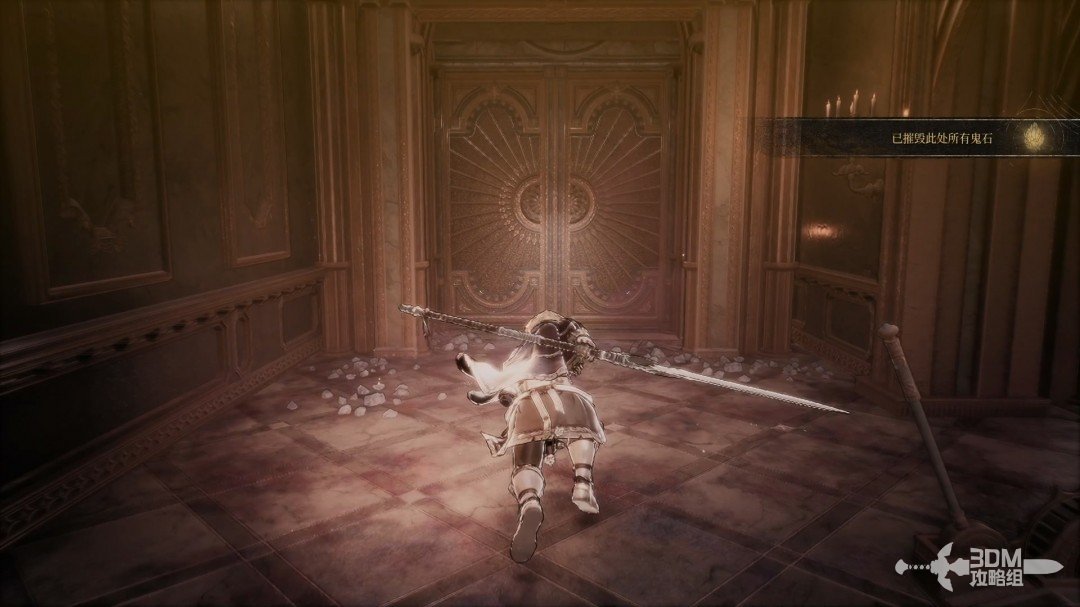
Balcony elevator mechanism: raise the platform for material, then descend and leave · route image 1

A red item is visible on the right balcony but inaccessible. Descend the spiral stairs and activate the lift first.
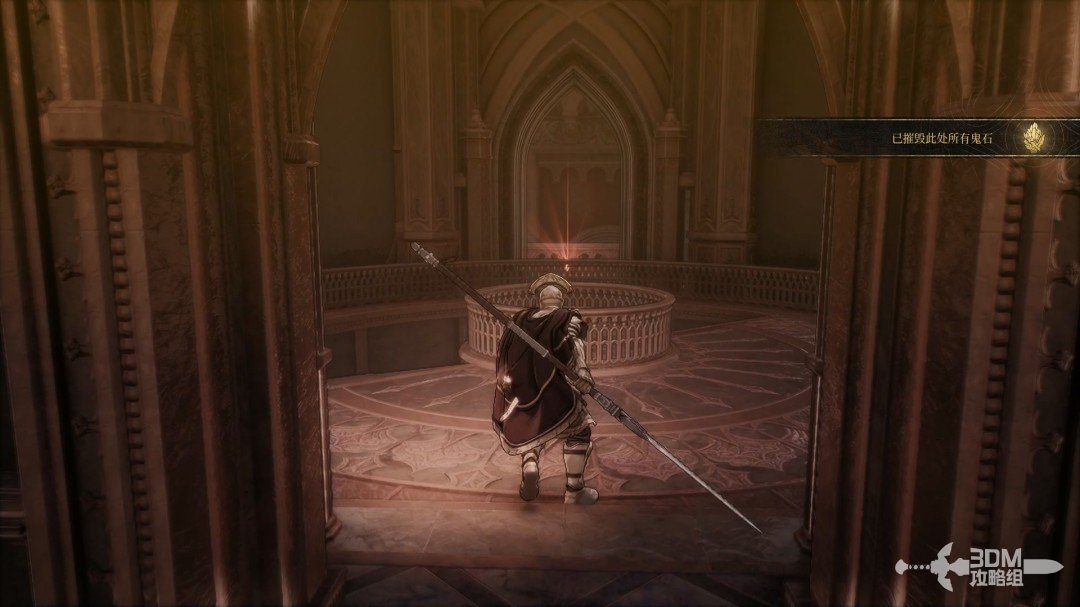
Balcony elevator mechanism: raise the platform for material, then descend and leave · route image 2

Return upstairs to collect the material.
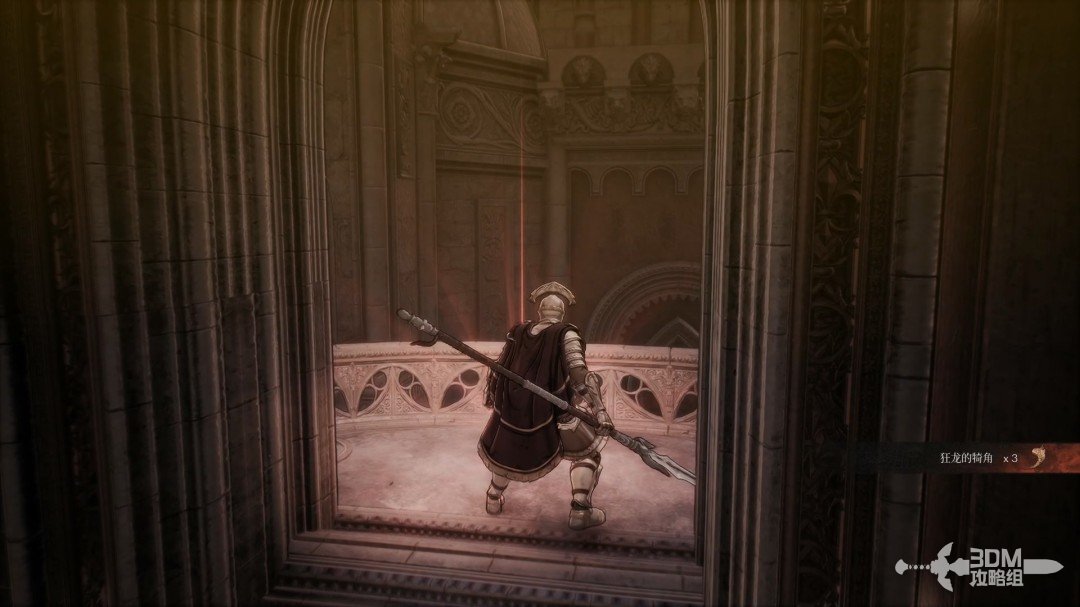
Balcony elevator mechanism: raise the platform for material, then descend and leave · route image 3

Go back to the first floor, activate the lift and head outside.
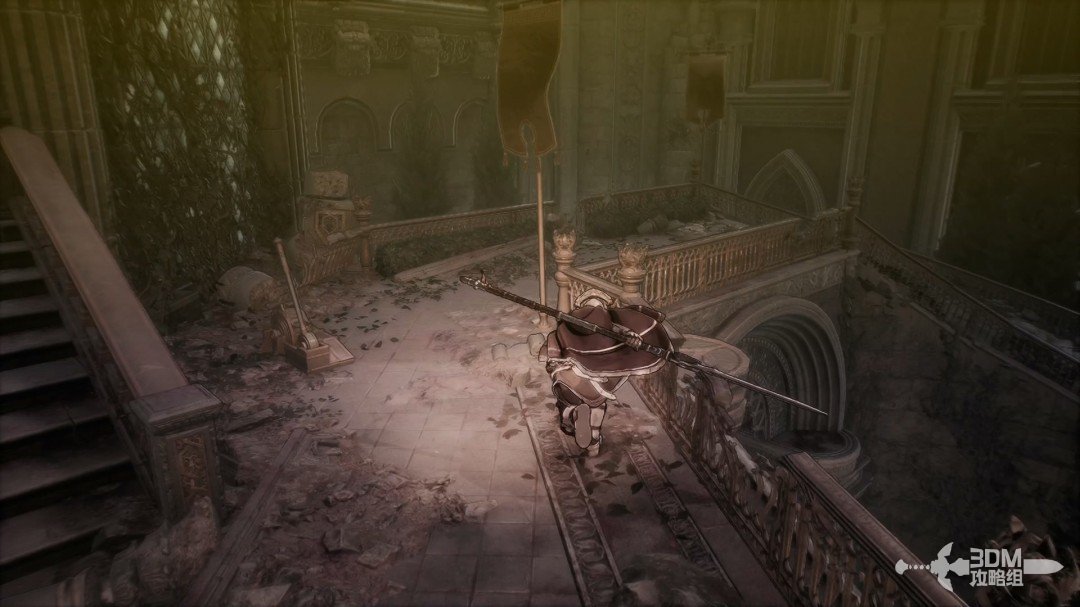
Balcony elevator mechanism: raise the platform for material, then descend and leave · route image 4

Collect the red item beneath the stairs.
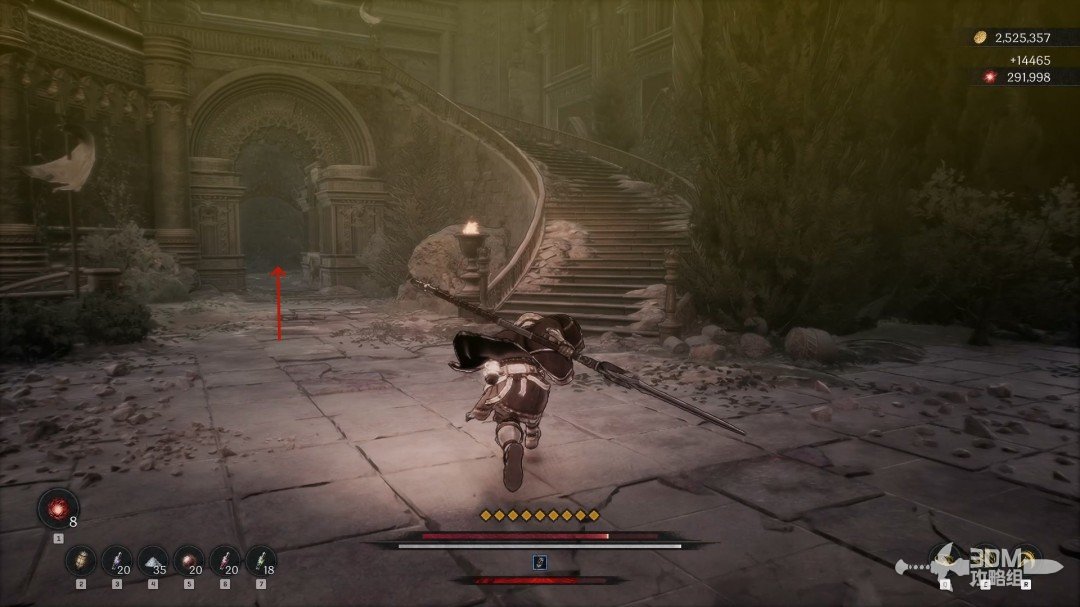
Balcony elevator mechanism: raise the platform for material, then descend and leave · route image 5

23Courtyard stairs and central drop: search the material and reach the Nexus

Continue down the main route.
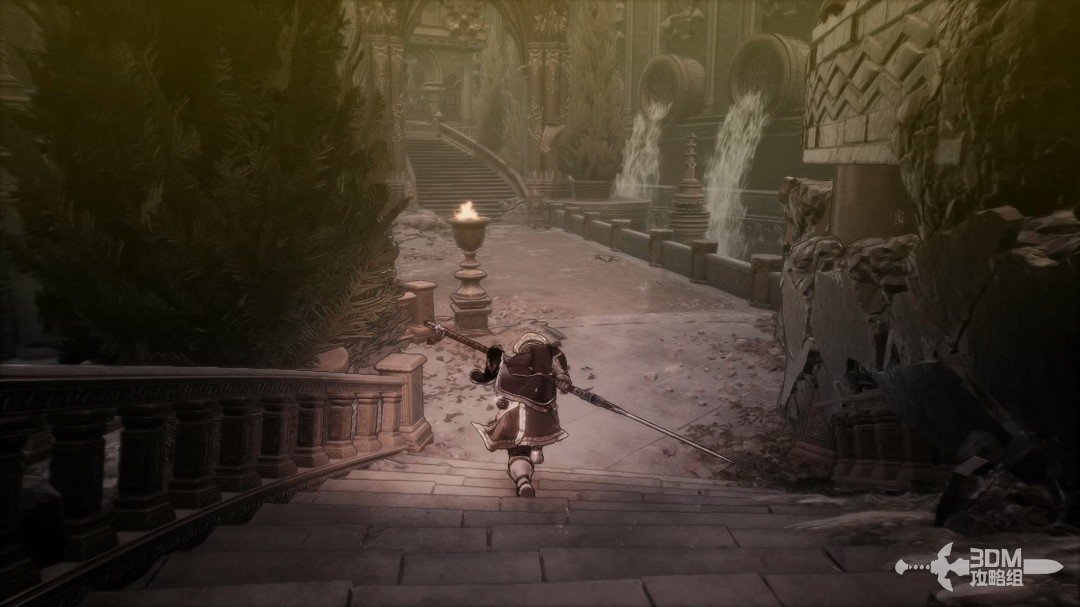
Courtyard stairs and central drop: search the material and reach the Nexus · route image 6

Climb the steps for a blue item on the left.
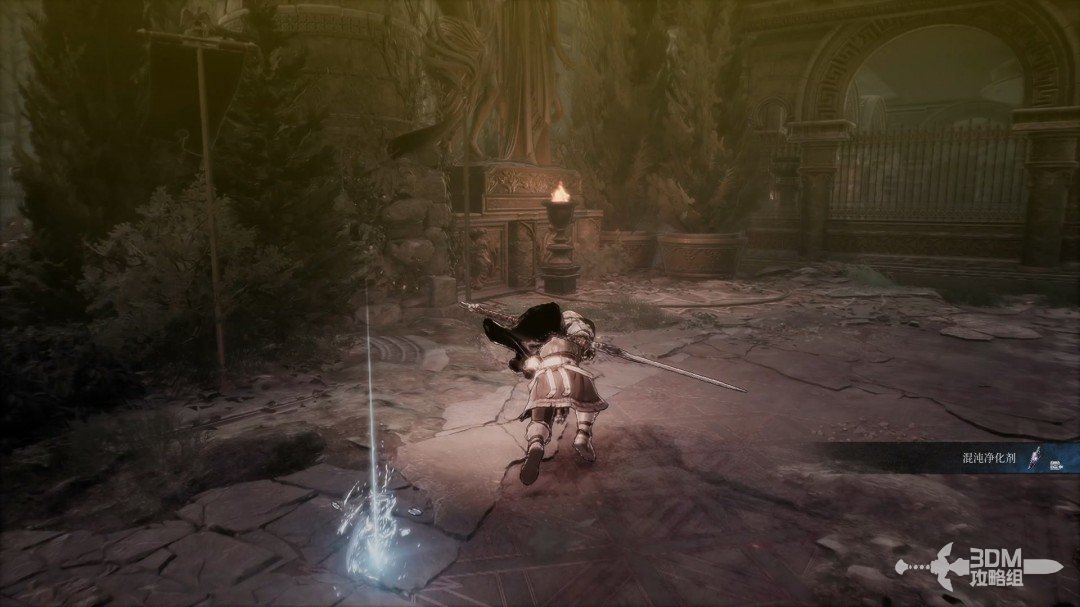
Courtyard stairs and central drop: search the material and reach the Nexus · route image 7

A red item in the right atrium cannot be reached directly.
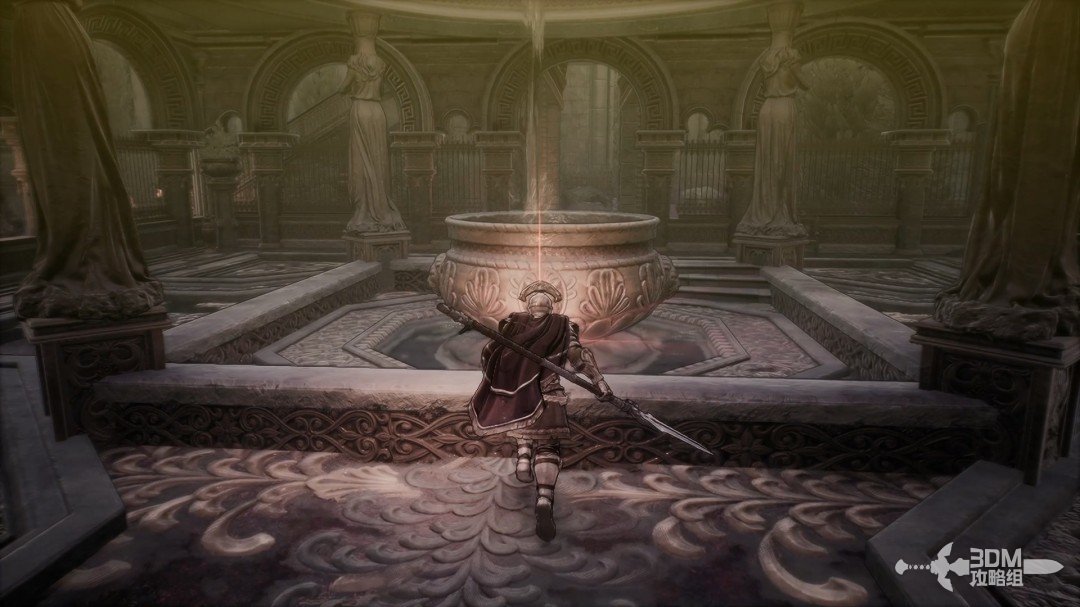
Courtyard stairs and central drop: search the material and reach the Nexus · route image 8

Take the stairs behind you.

Courtyard stairs and central drop: search the material and reach the Nexus · route image 9

Absorb the memory upstairs.

Courtyard stairs and central drop: search the material and reach the Nexus · route image 10

Drop through the central atrium afterward.
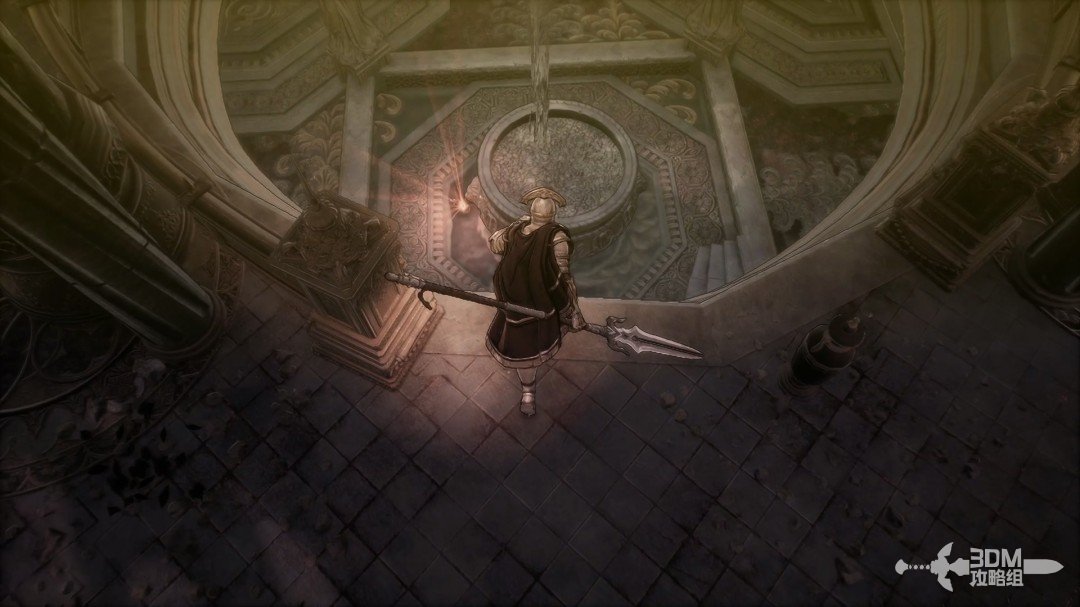
Courtyard stairs and central drop: search the material and reach the Nexus · route image 11

Collect the red material and leave by the side passage.
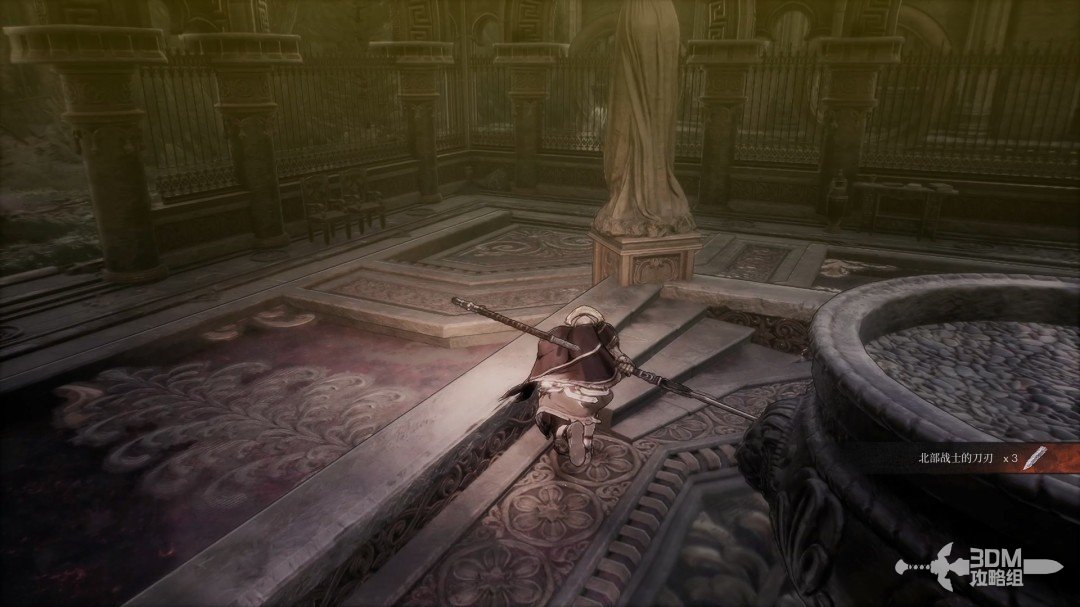
Courtyard stairs and central drop: search the material and reach the Nexus · route image 12

Continue inward.

Courtyard stairs and central drop: search the material and reach the Nexus · route image 13

Rest at the Nexus ahead.

Courtyard stairs and central drop: search the material and reach the Nexus · route image 14

24Supplies beside the Nexus: search the succubus chest, then enter the right elevator

Explore this side for loot after resting.
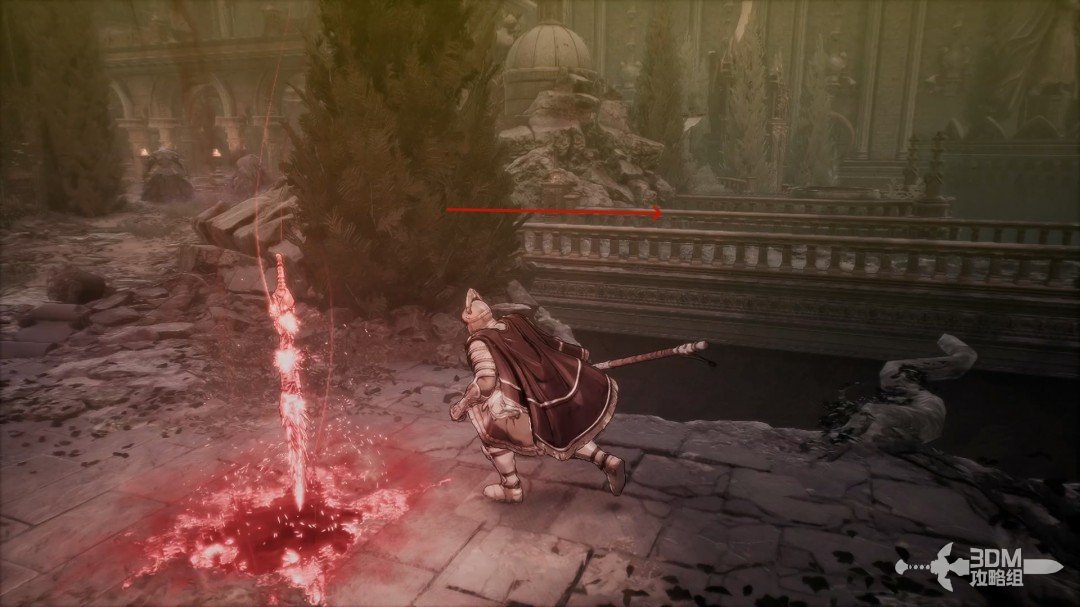
Supplies beside the Nexus: search the succubus chest, then enter the right elevator · route image 1

Collect the red material inside.

Supplies beside the Nexus: search the succubus chest, then enter the right elevator · route image 2

Go to the other side and ambush the succubus visible within.
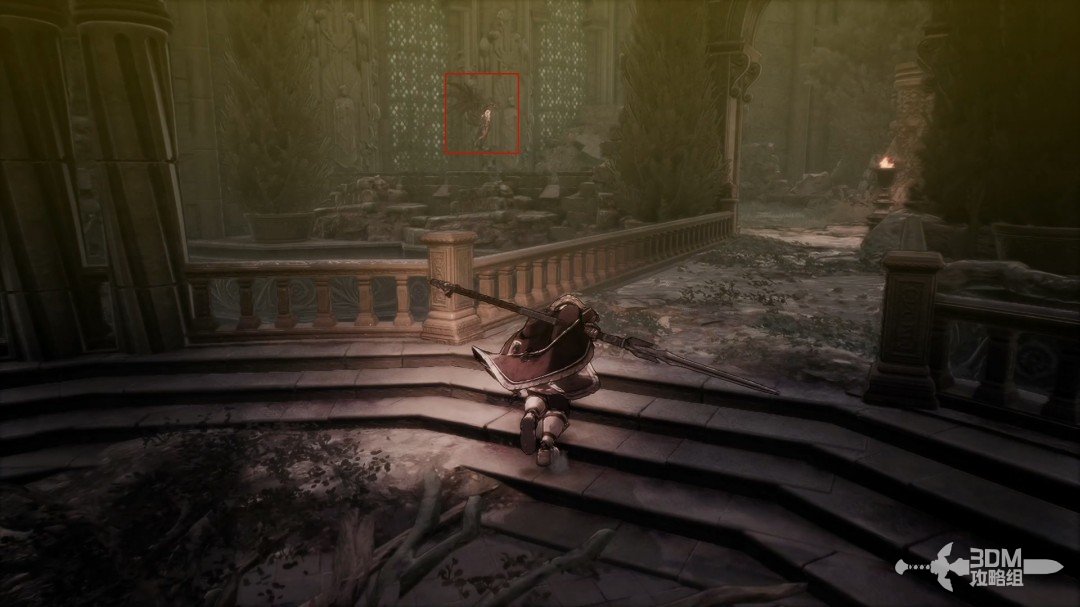
Supplies beside the Nexus: search the succubus chest, then enter the right elevator · route image 3

Open the chest beside her.

Supplies beside the Nexus: search the succubus chest, then enter the right elevator · route image 4

Return to the main route afterward.

Supplies beside the Nexus: search the succubus chest, then enter the right elevator · route image 5

Enter and turn right.

Supplies beside the Nexus: search the succubus chest, then enter the right elevator · route image 6

Take the elevator inside.

Supplies beside the Nexus: search the succubus chest, then enter the right elevator · route image 7

25Tilting stone slabs: cross the platforms and wait for the rising block

Continue ahead above toward more moving stone platforms.
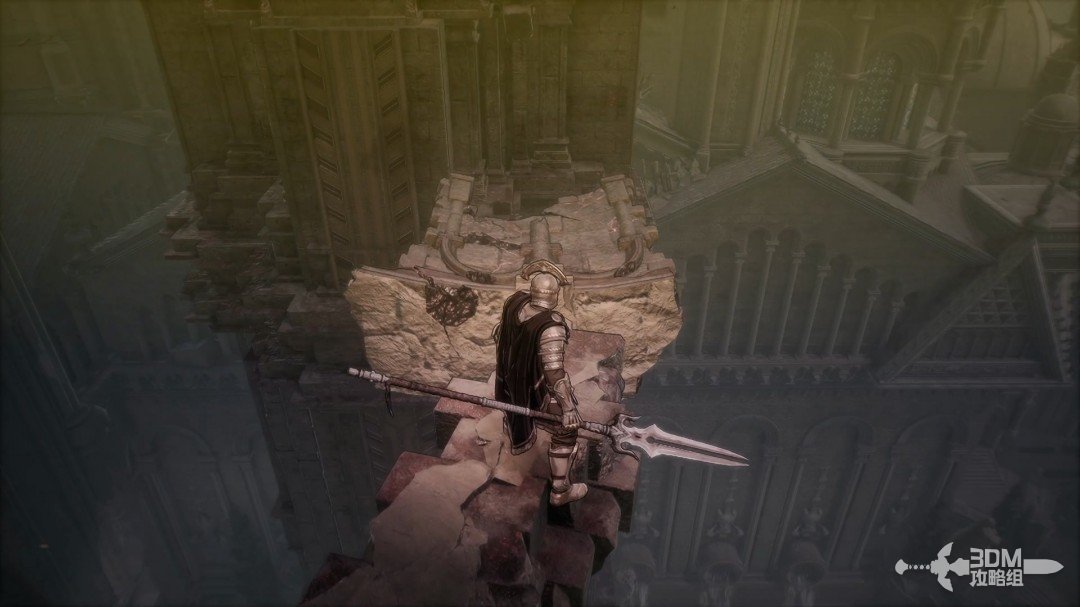
Tilting stone slabs: cross the platforms and wait for the rising block · route image 8

Ride the stones to the opposite platform.
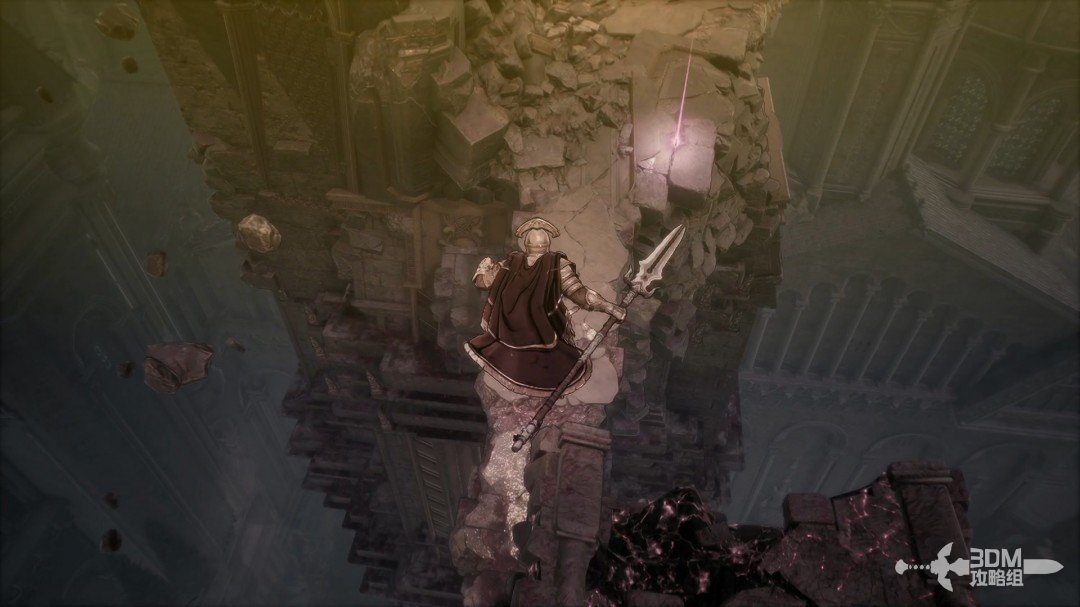
Tilting stone slabs: cross the platforms and wait for the rising block · route image 9

Collect the purple item beside the route.
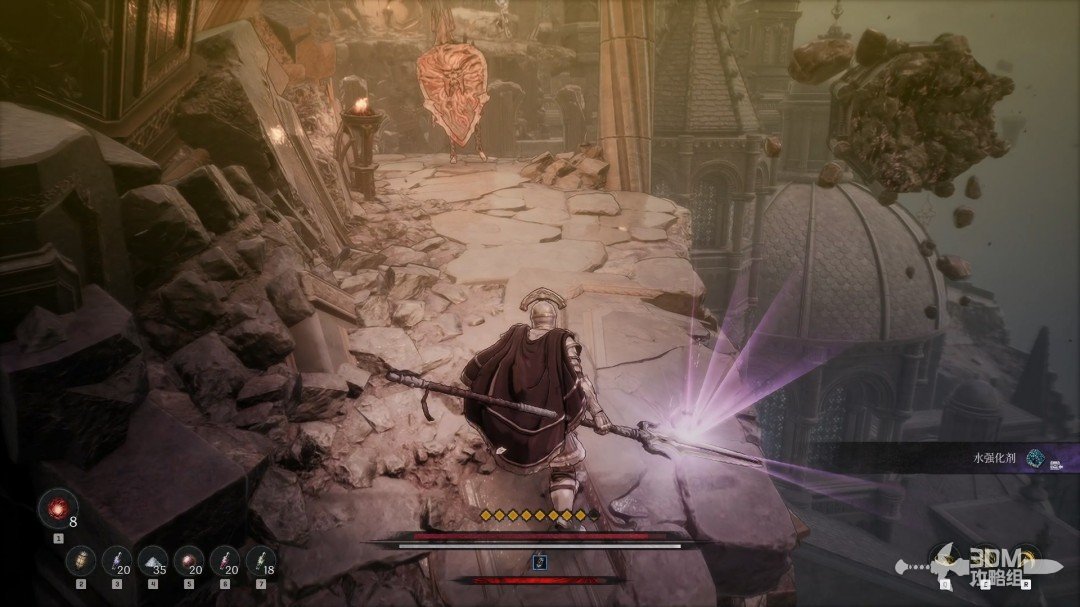
Tilting stone slabs: cross the platforms and wait for the rising block · route image 10

On the next slab, quickly reach the marked position before it tilts and throws you off.
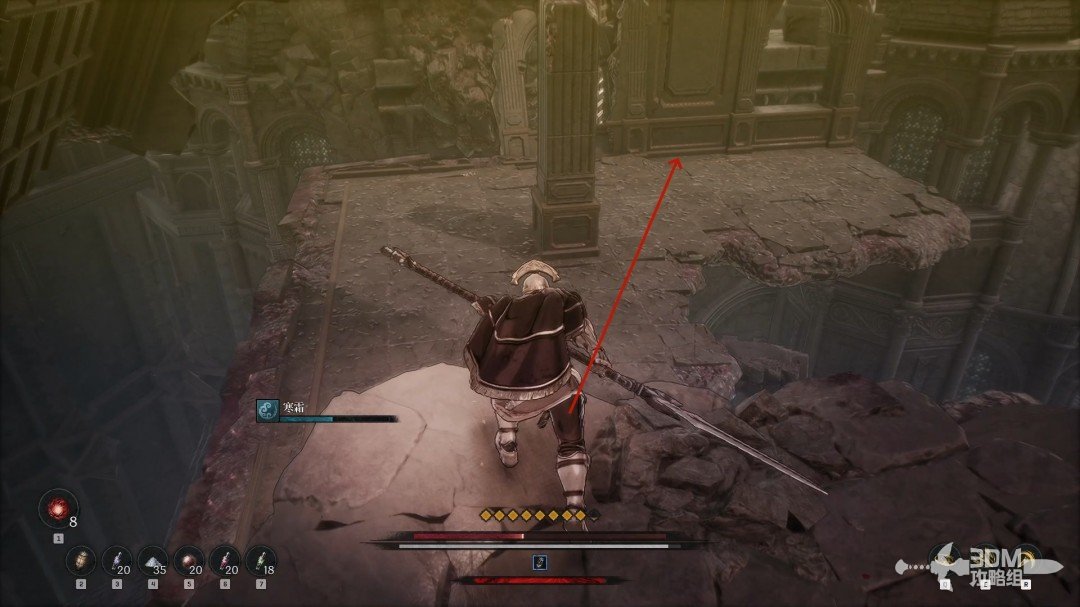
Tilting stone slabs: cross the platforms and wait for the rising block · route image 11

Follow the edge afterward.

Tilting stone slabs: cross the platforms and wait for the rising block · route image 12

Climb the stairs and go left.

Tilting stone slabs: cross the platforms and wait for the rising block · route image 13

Descend here without lingering on the collapsing slabs.
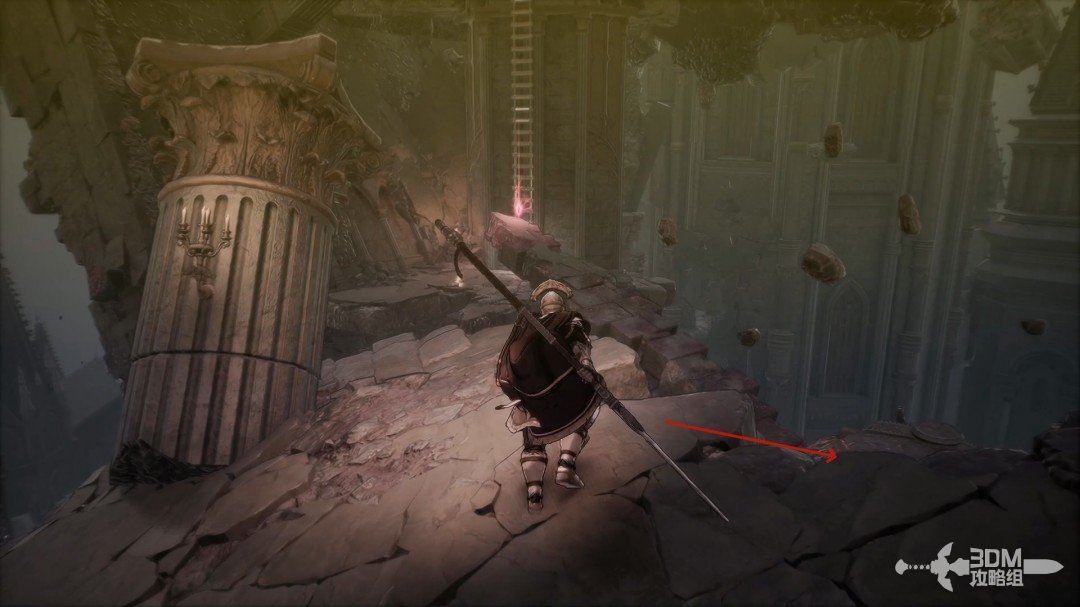
Tilting stone slabs: cross the platforms and wait for the rising block · route image 14

Collect the purple item along the way.
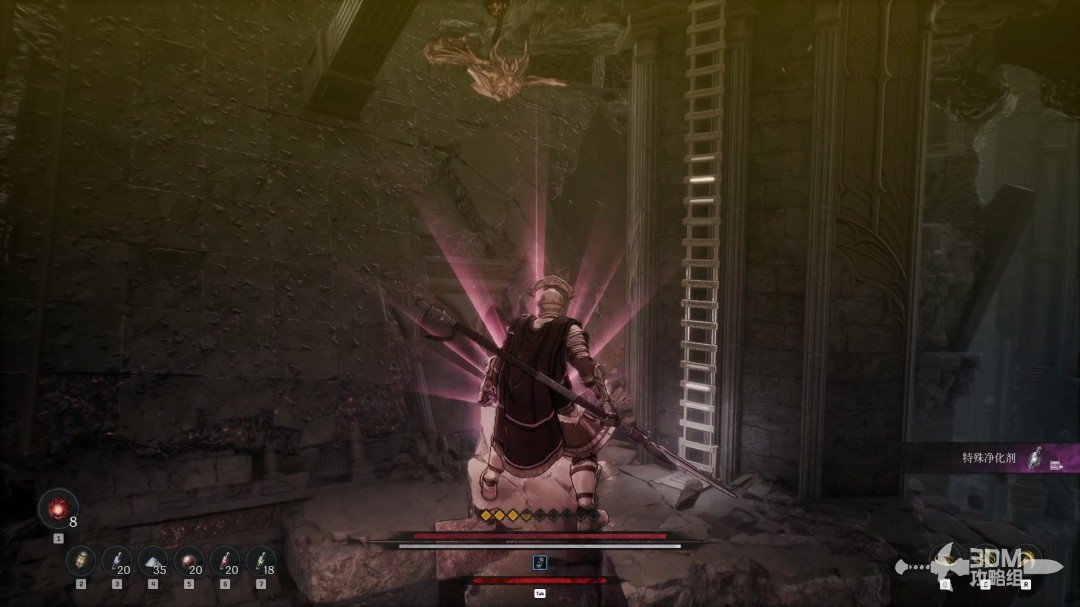
Tilting stone slabs: cross the platforms and wait for the rising block · route image 15

Climb the stairs and continue along the small path.
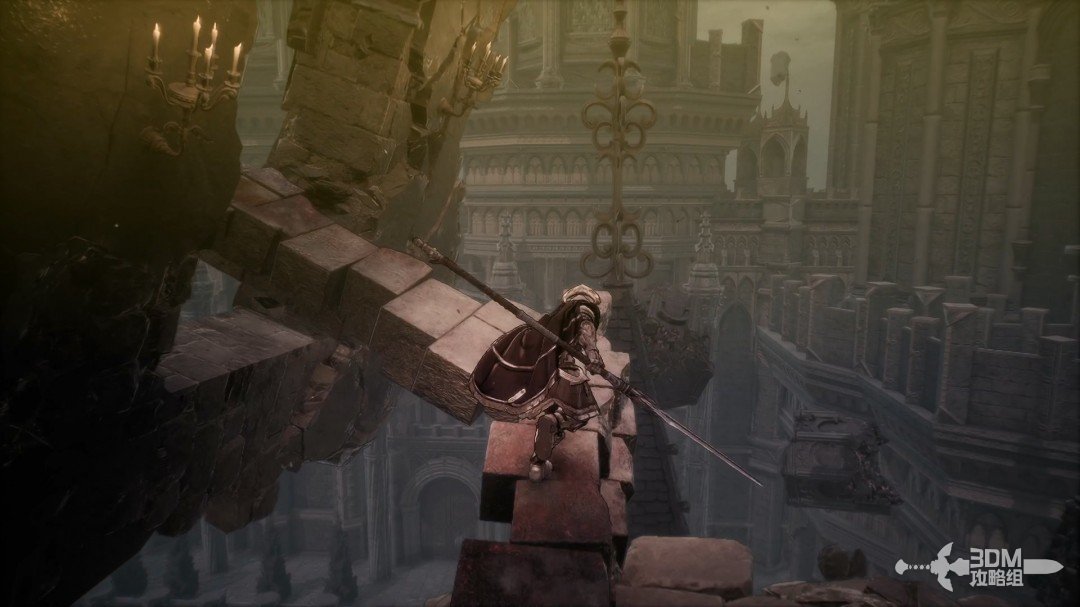
Tilting stone slabs: cross the platforms and wait for the rising block · route image 16

Again, hurry to the marked position before the slab flips.
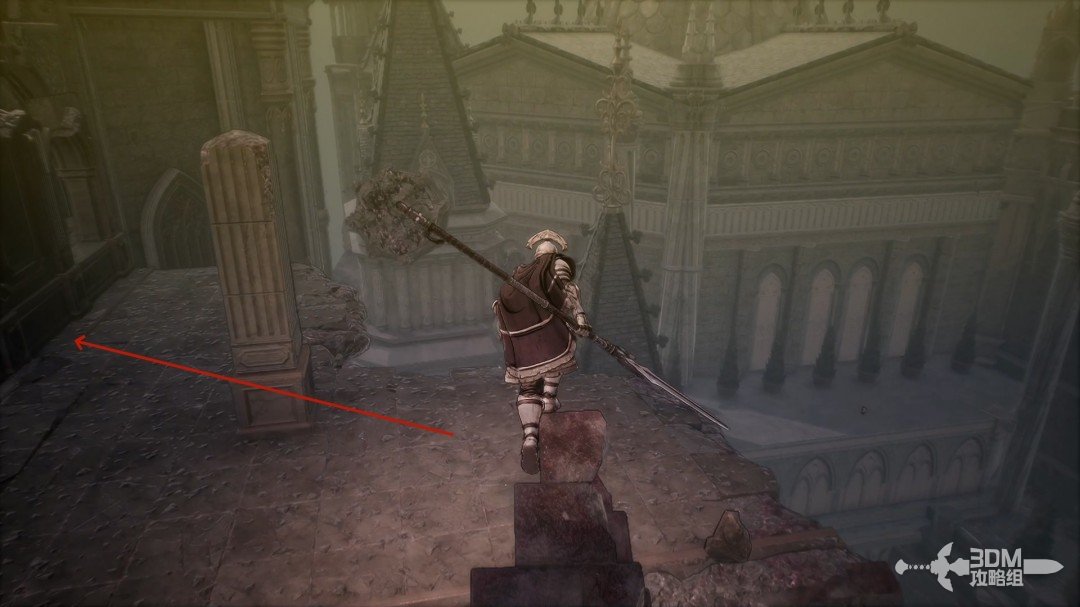
Tilting stone slabs: cross the platforms and wait for the rising block · route image 17

Follow the side for a purple item ahead.
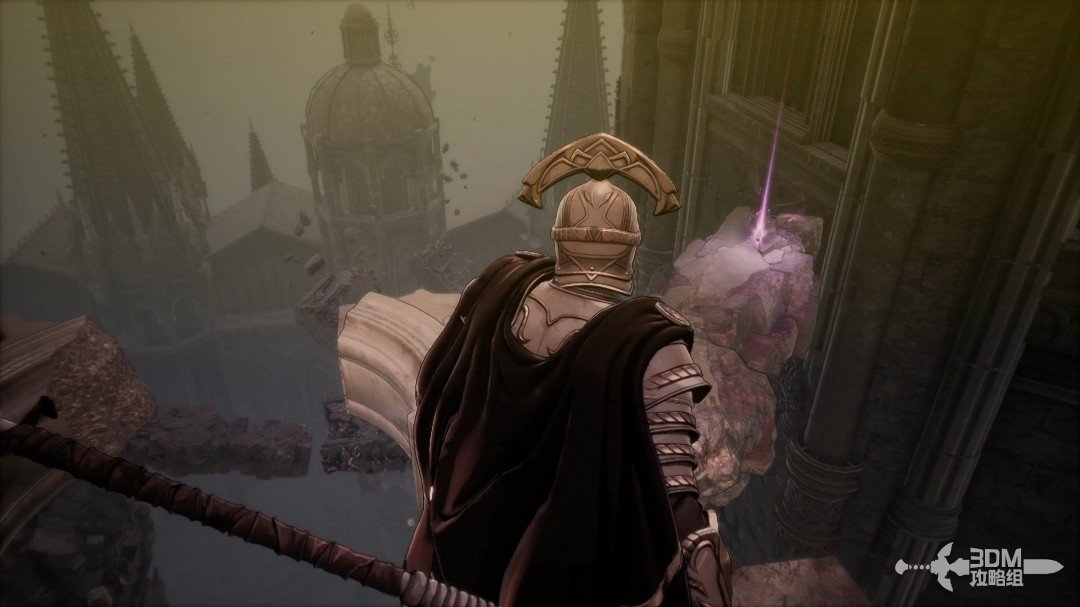
Tilting stone slabs: cross the platforms and wait for the rising block · route image 18

After collecting it, wait in place for the stone slab to descend on the right.
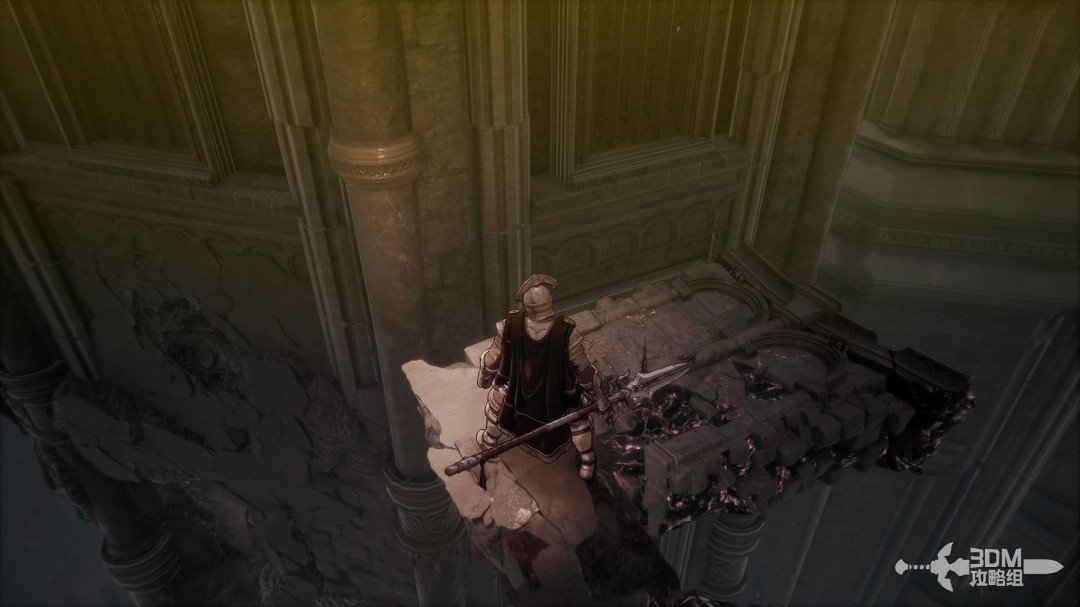
Tilting stone slabs: cross the platforms and wait for the rising block · route image 19

26Opening beside the upper elevator: drop to the main path and cross the skeleton platforms

Ride it upward. The left door is locked, so continue up the stairs.
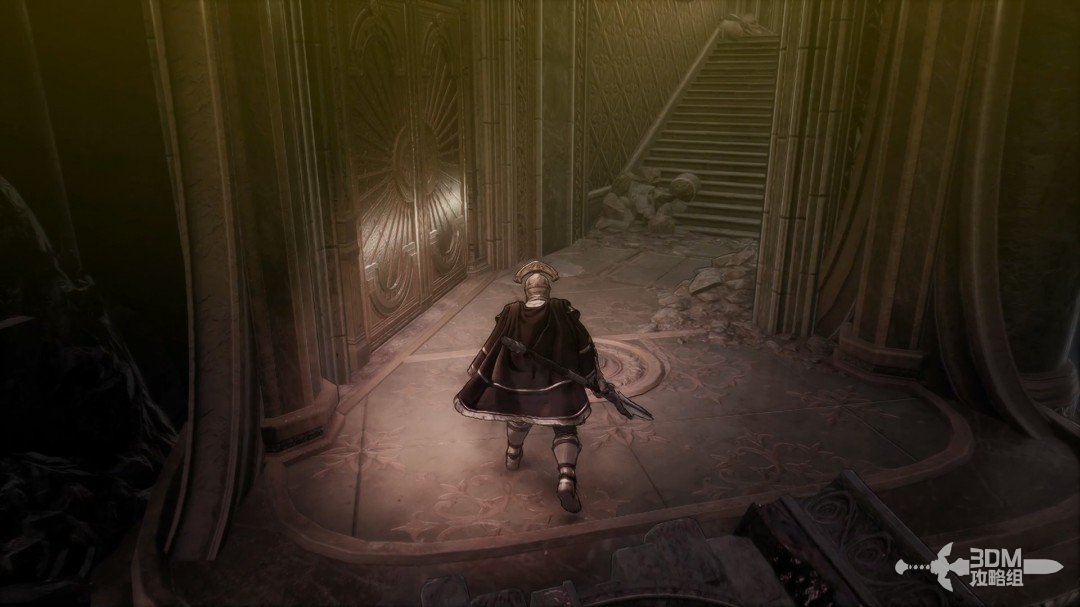
Opening beside the upper elevator: drop to the main path and cross the skeleton platforms · route image 20

The elevator above returns to an earlier Nexus if you need to rest.
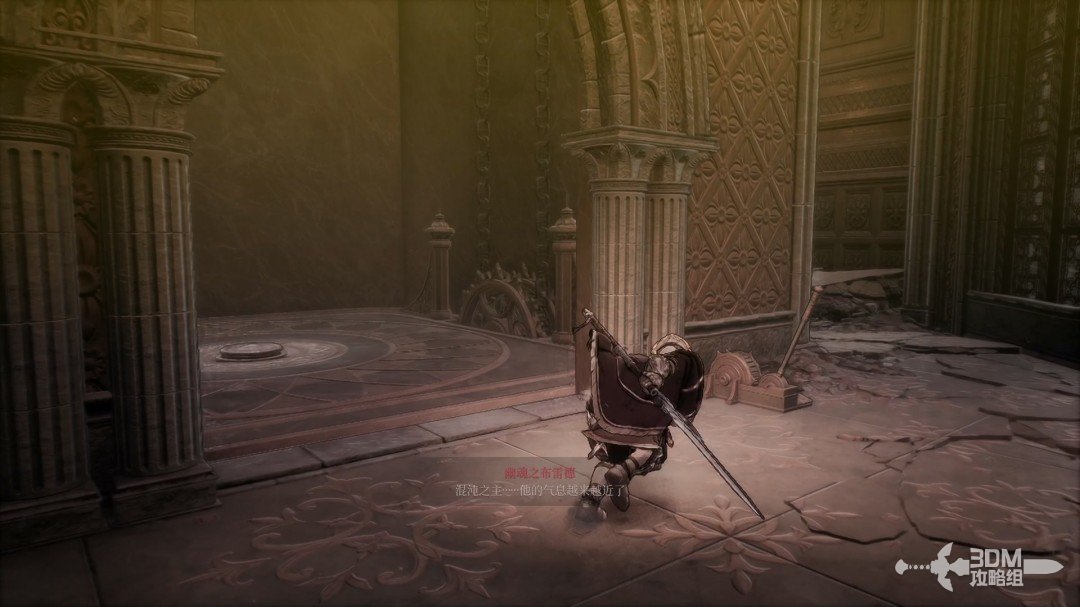
Opening beside the upper elevator: drop to the main path and cross the skeleton platforms · route image 21

The main route drops through the hole beside the elevator.
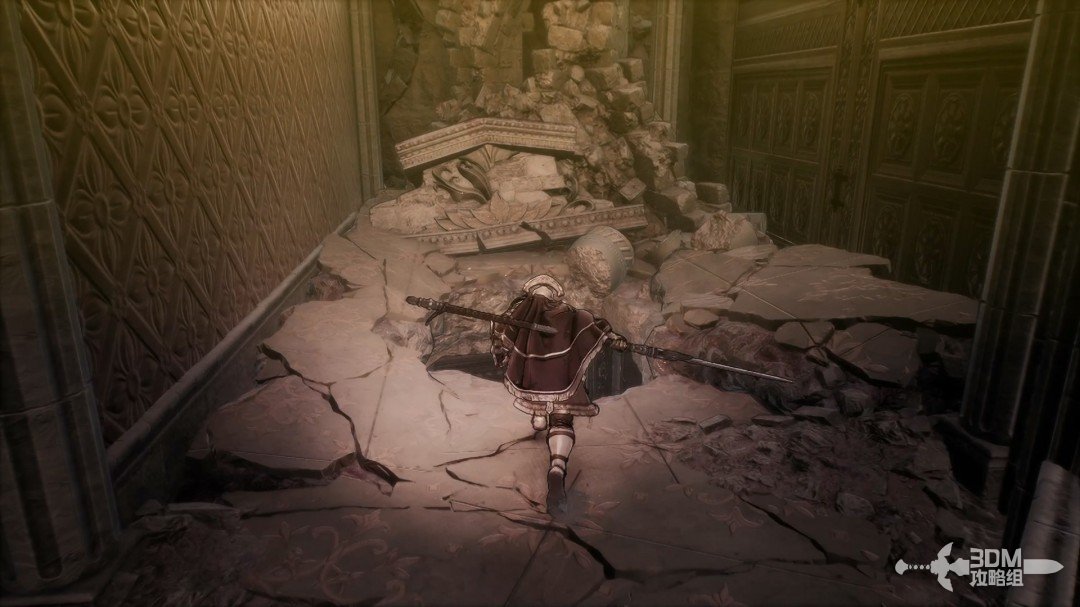
Opening beside the upper elevator: drop to the main path and cross the skeleton platforms · route image 22

Continue straight after landing.

Opening beside the upper elevator: drop to the main path and cross the skeleton platforms · route image 23

Collect the purple item on the left platform.
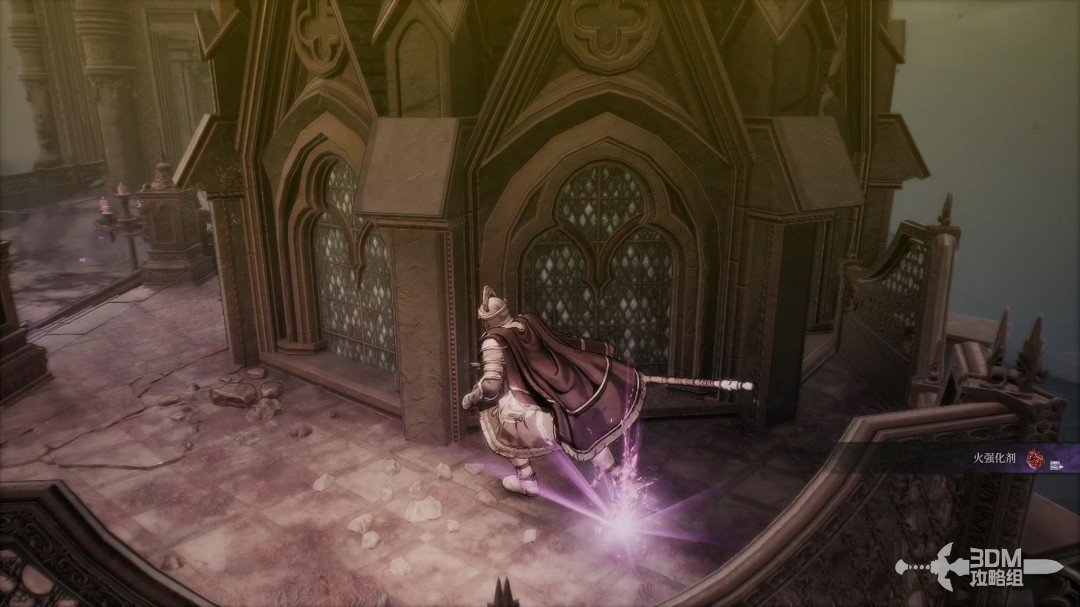
Opening beside the upper elevator: drop to the main path and cross the skeleton platforms · route image 24

Absorb the memory in the middle of the path.
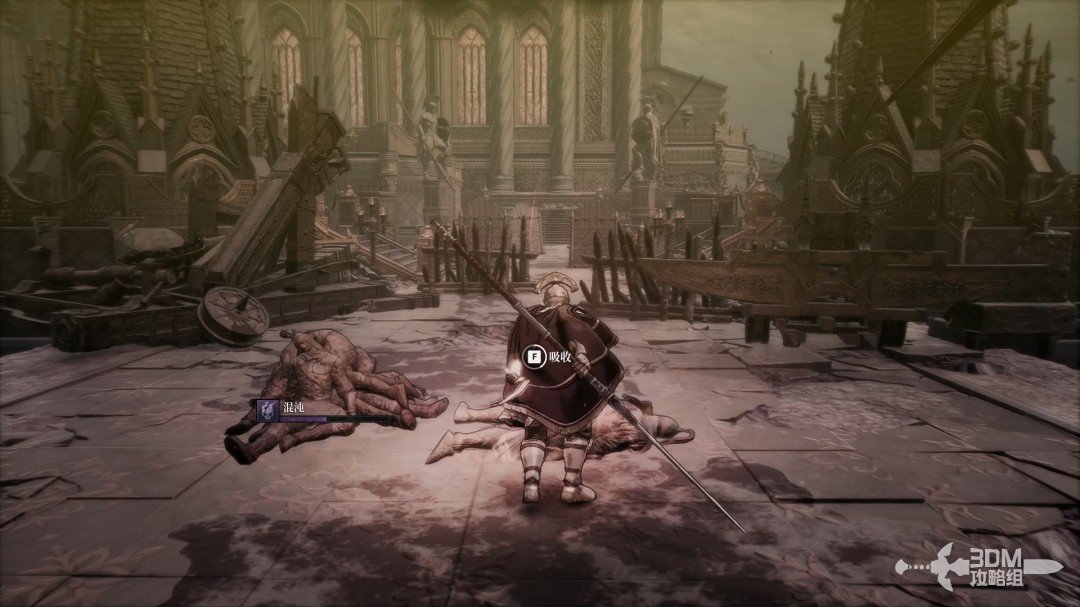
Opening beside the upper elevator: drop to the main path and cross the skeleton platforms · route image 25

Absorb another memory on the right platform.
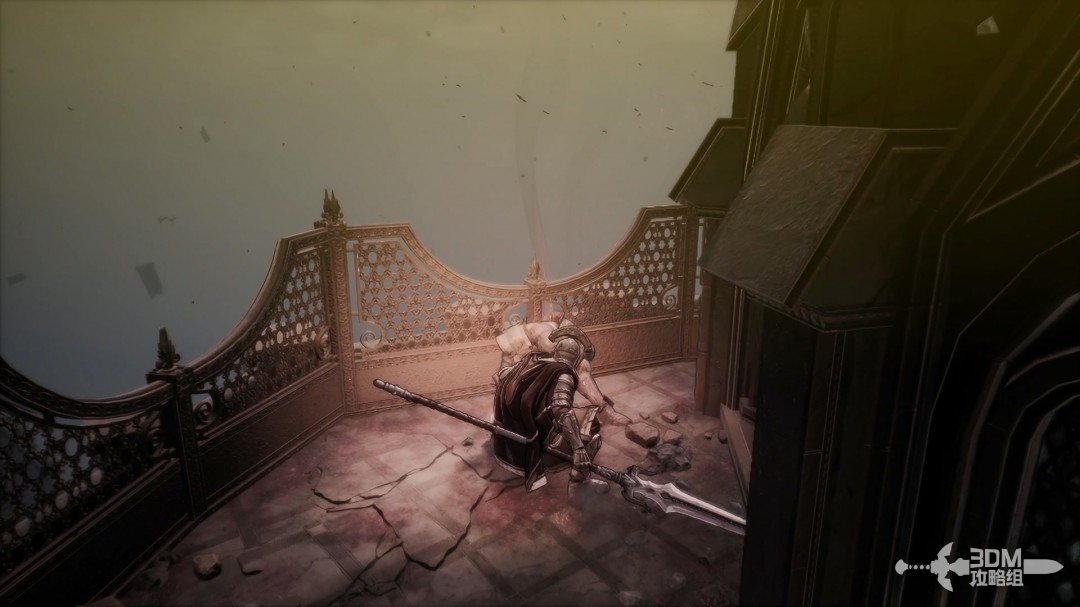
Opening beside the upper elevator: drop to the main path and cross the skeleton platforms · route image 26

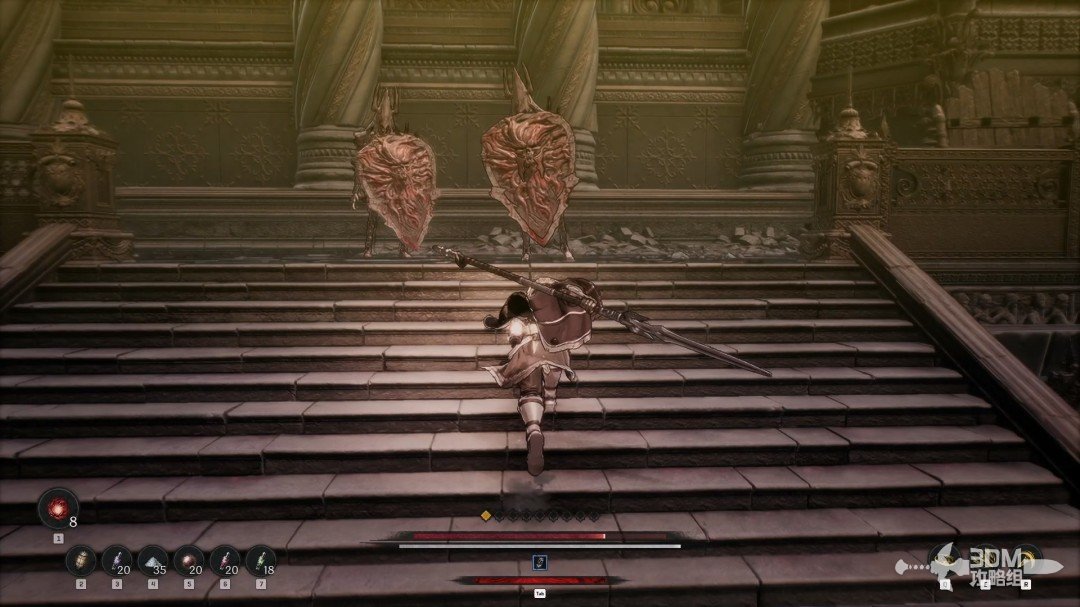
Continue toward the skeleton shield soldiers.
Opening beside the upper elevator: drop to the main path and cross the skeleton platforms · route image 27

27Spiral stairs on the right: open the gate to the final Nexus

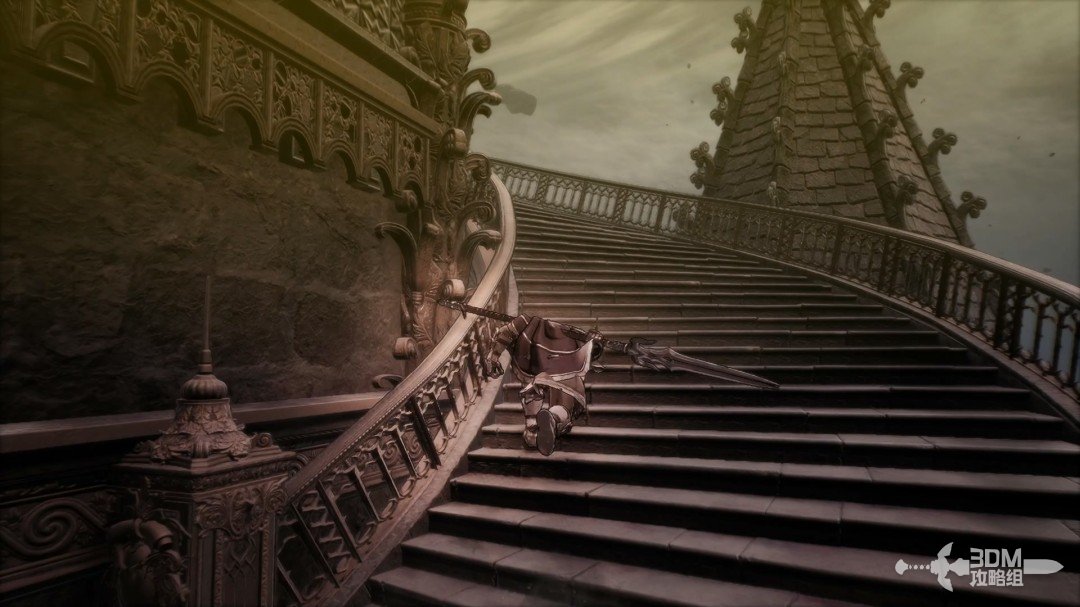
Defeat them and climb the right spiral staircase.
Spiral stairs on the right: open the gate to the final Nexus · route image 28

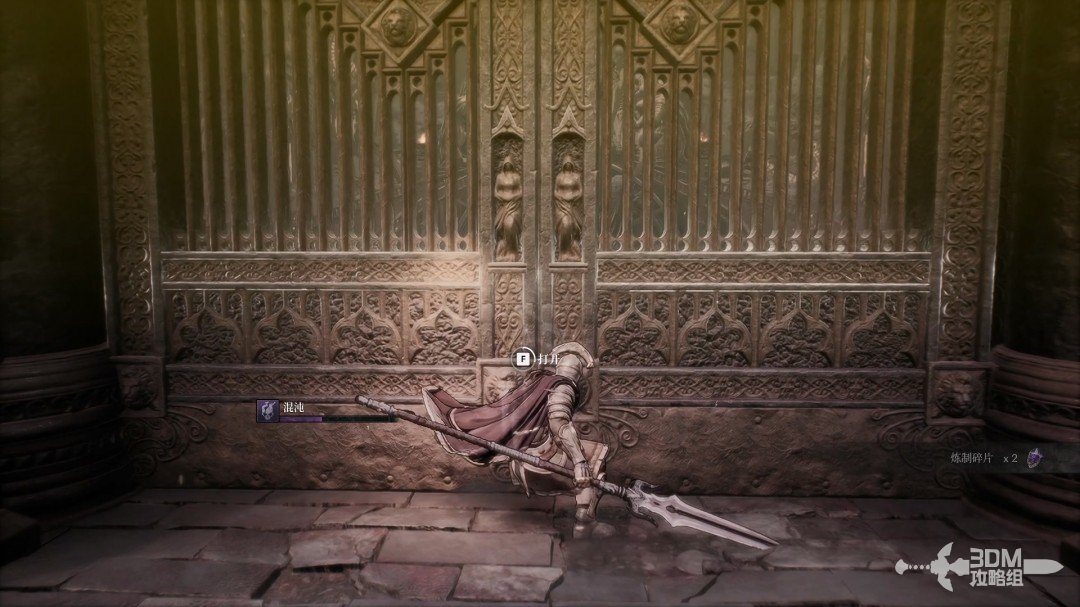
Clear the doorway and open the large left gate.
Spiral stairs on the right: open the gate to the final Nexus · route image 29

Rest at the Nexus beyond it.

Spiral stairs on the right: open the gate to the final Nexus · route image 30

28Before Ozma's gate: final conversation and battle preparations

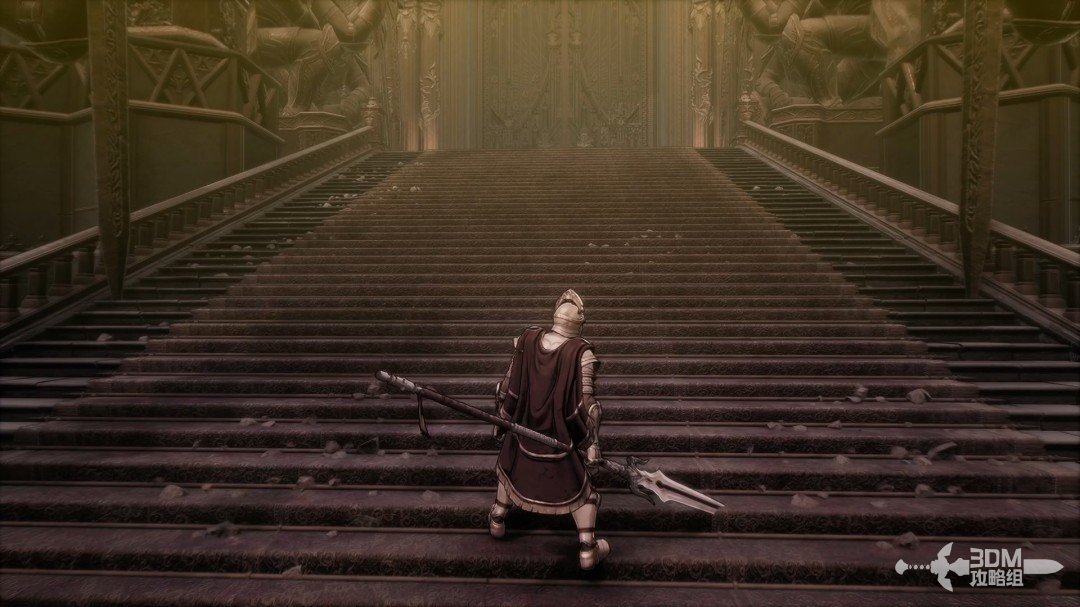
Climb after resting. Ozma awaits beyond the next gate.
Before Ozma's gate: final conversation and battle preparations · route image 31

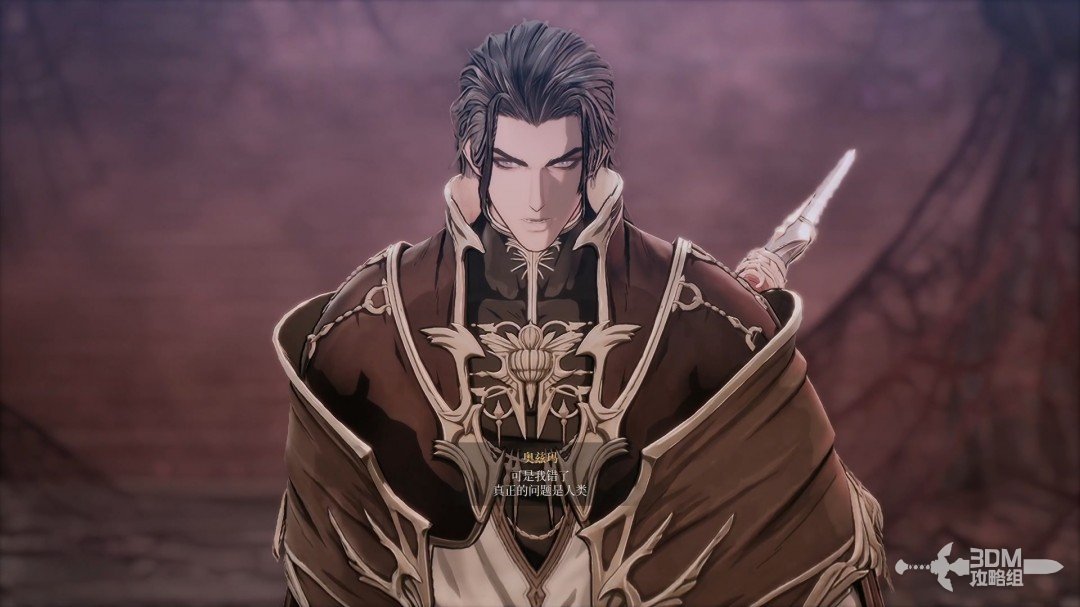
Ozma initially looks unchanged, but now believes humanity itself is the world's problem.
Before Ozma's gate: final conversation and battle preparations · route image 32

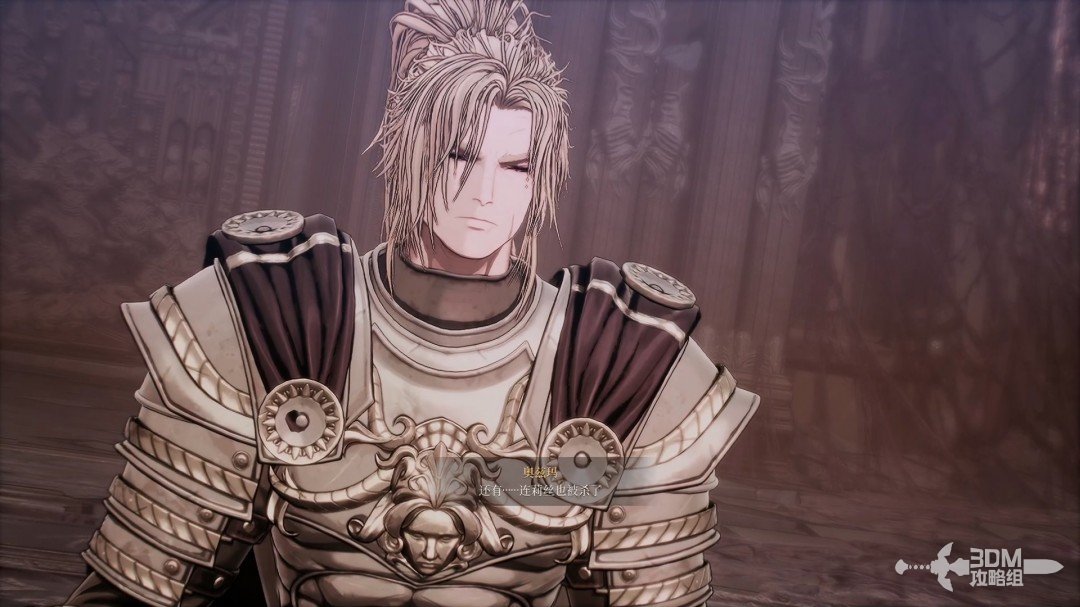
They saved the world only to be abandoned, and Reese was killed.
Before Ozma's gate: final conversation and battle preparations · route image 33

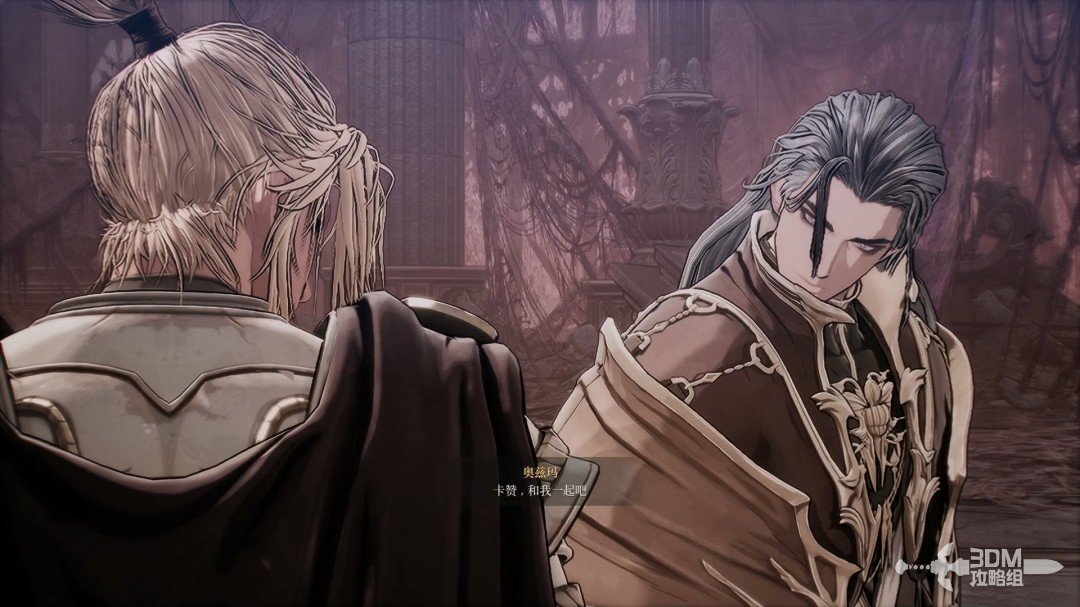
Ozma asks Khazan to join him.

Before Ozma's gate: final conversation and battle preparations · route image 34

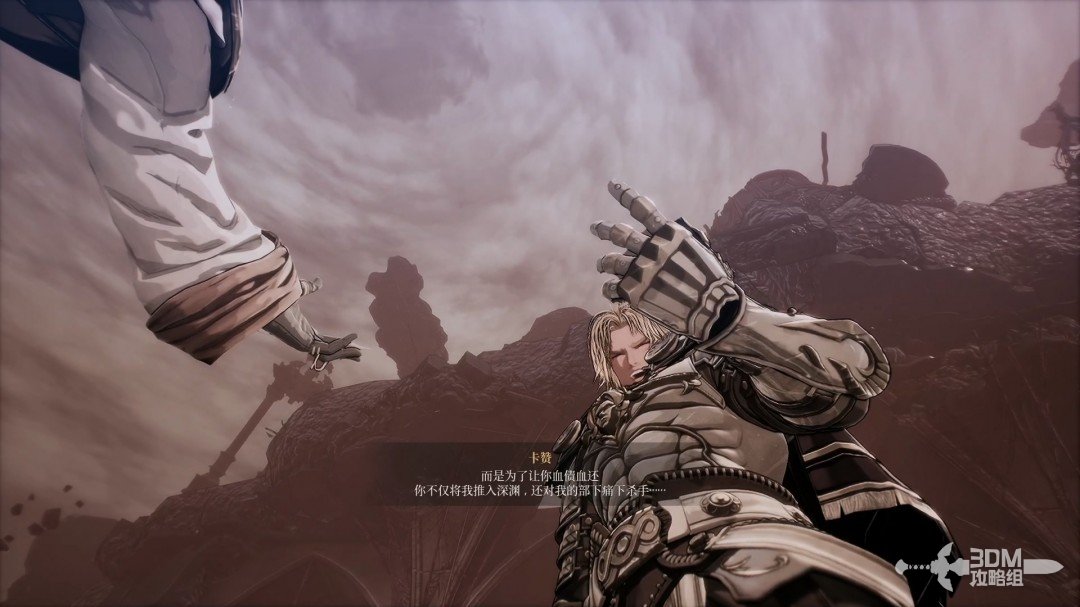
Khazan rejects him, remembering his actions and seeking justice for Reese and their companions.
Before Ozma's gate: final conversation and battle preparations · route image 35

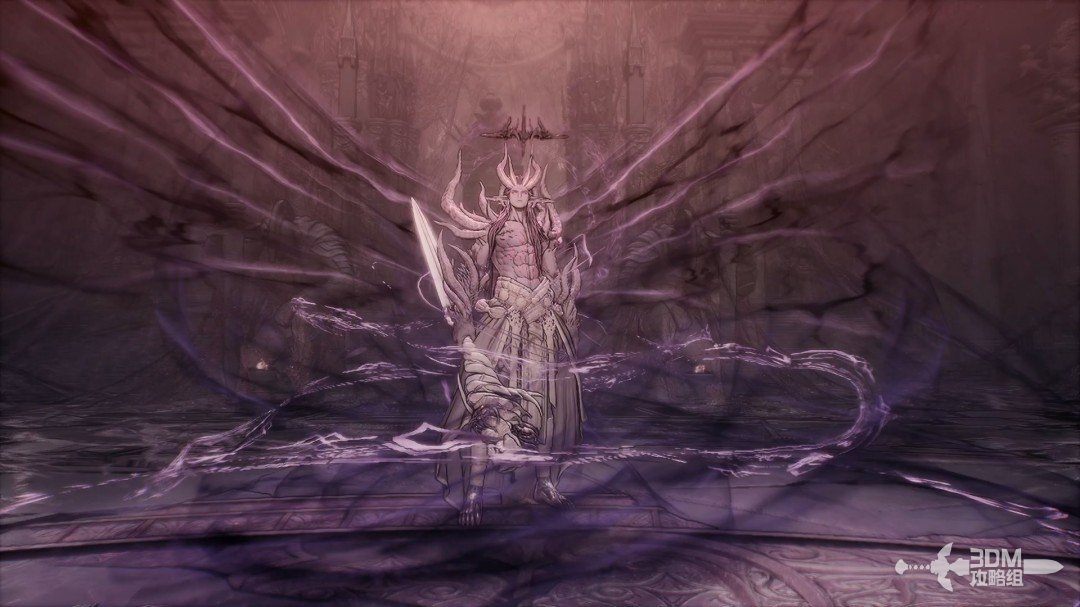
The final boss fight begins as Ozma unleashes chaos.
Before Ozma's gate: final conversation and battle preparations · route image 36

29Lord of Chaos phase one: sword attacks and elemental spells

Ozma has two main phases; the earlier right-hand ending branch adds a third duel.

His principal attacks are listed below.

Attack ①:

Two slashes lead into a charged weapon plunge and a large explosion around him. Time your dodge for the blast.
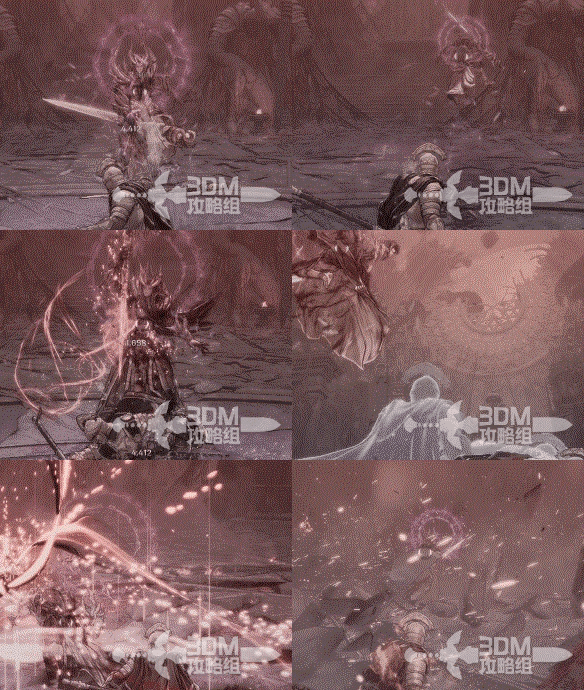
Lord of Chaos phase one: sword attacks and elemental spells · route image 1

Attack ②:

A charged forward shockwave with a clear release timing.
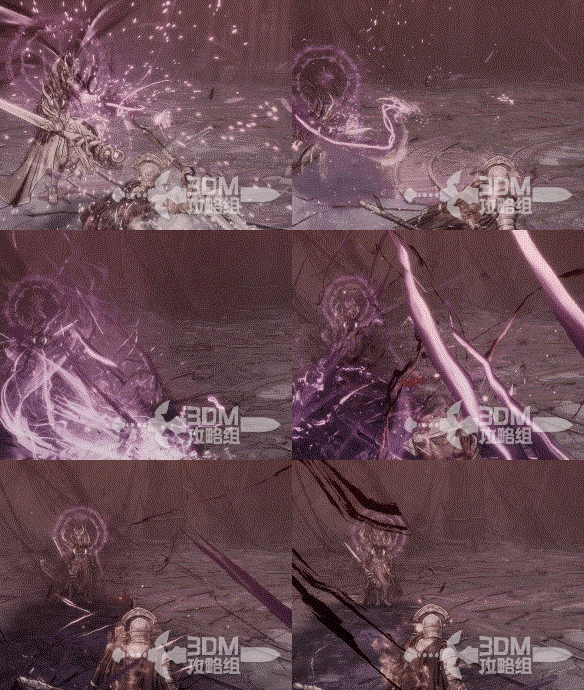
Lord of Chaos phase one: sword attacks and elemental spells · route image 2

Attack ③:

Arcane projectiles that can be evaded.
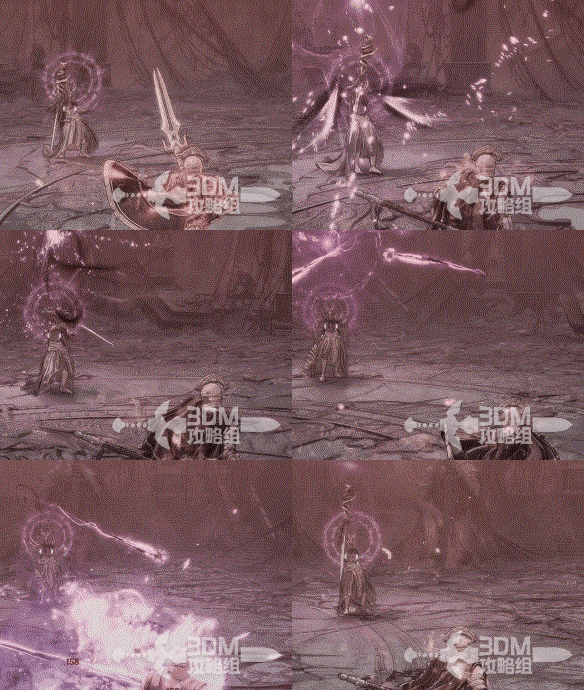
Lord of Chaos phase one: sword attacks and elemental spells · route image 3

Attack ④:

He rises and throws down a charged Javelin, resembling your own spear attack.
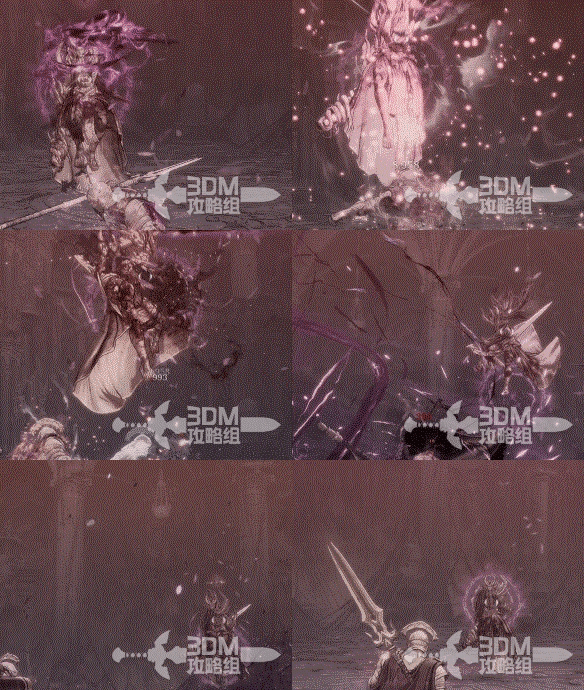
Lord of Chaos phase one: sword attacks and elemental spells · route image 4

Attack ⑤:

An aerial fire column strikes forward and explodes a second time.
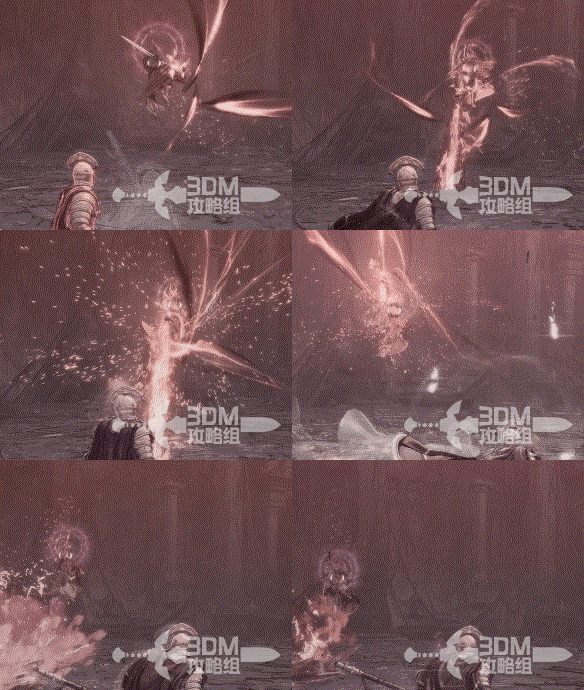
Lord of Chaos phase one: sword attacks and elemental spells · route image 5

Attack ⑥:

Forward ice spikes travel with a similar speed and reach to the fire column.
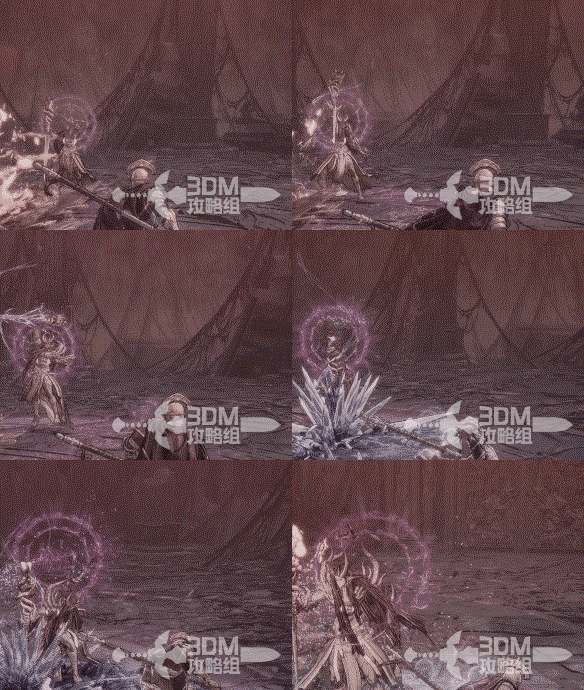
Lord of Chaos phase one: sword attacks and elemental spells · route image 6

Attack ⑦:

A wide attack first pulls you toward him without damage, then charges a large blast. Walk clear during the long wind-up.
Lord of Chaos phase one: sword attacks and elemental spells · route image 7

These cover the main first-phase attacks.

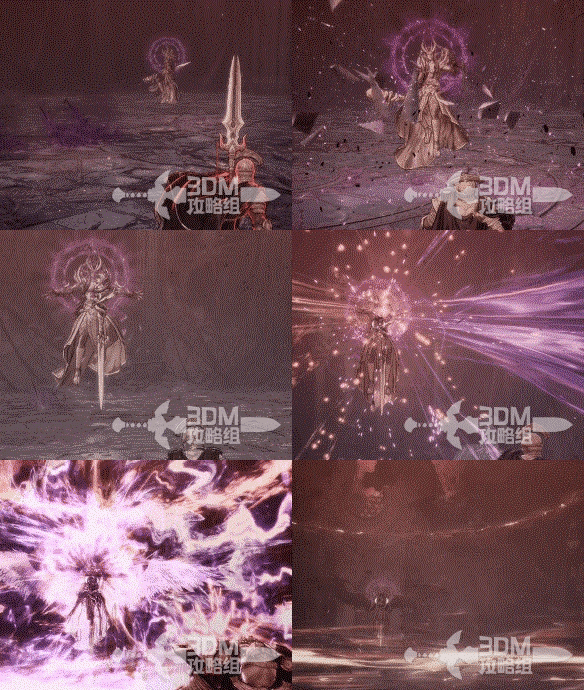
30Ozma's second form: combos, slams and area blasts

Depleting the first health bar triggers the second form.
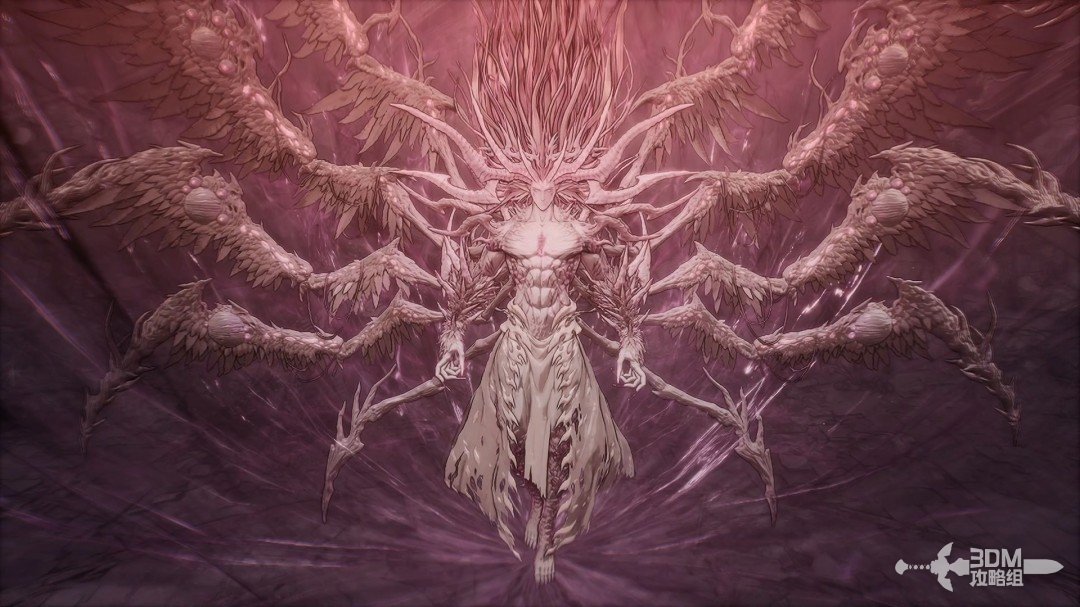
Ozma's second form: combos, slams and area blasts · route image 8

Attack ①:

Four basic attacks followed by a potent strike that can be deflected.
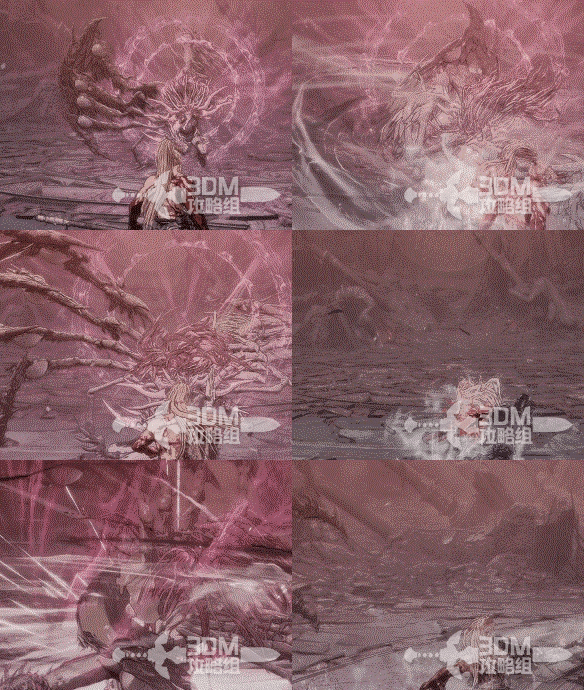
Ozma's second form: combos, slams and area blasts · route image 9

Attack ②:

A shockwave with a very obvious charge. Dodge at release.
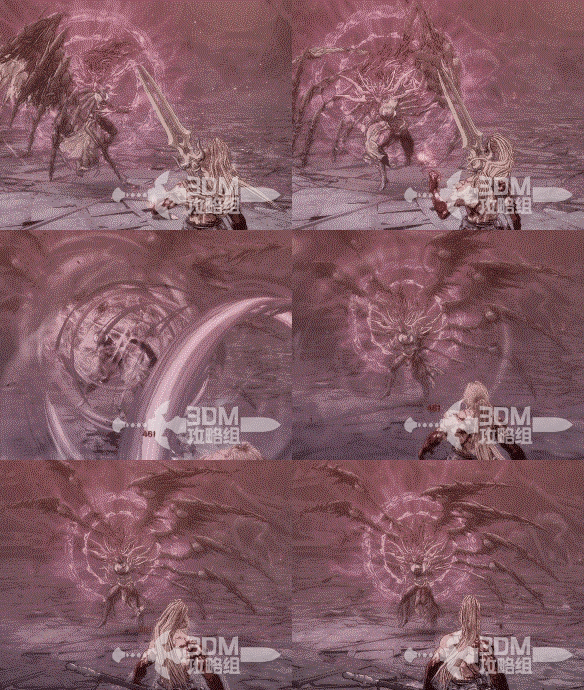
Ozma's second form: combos, slams and area blasts · route image 10

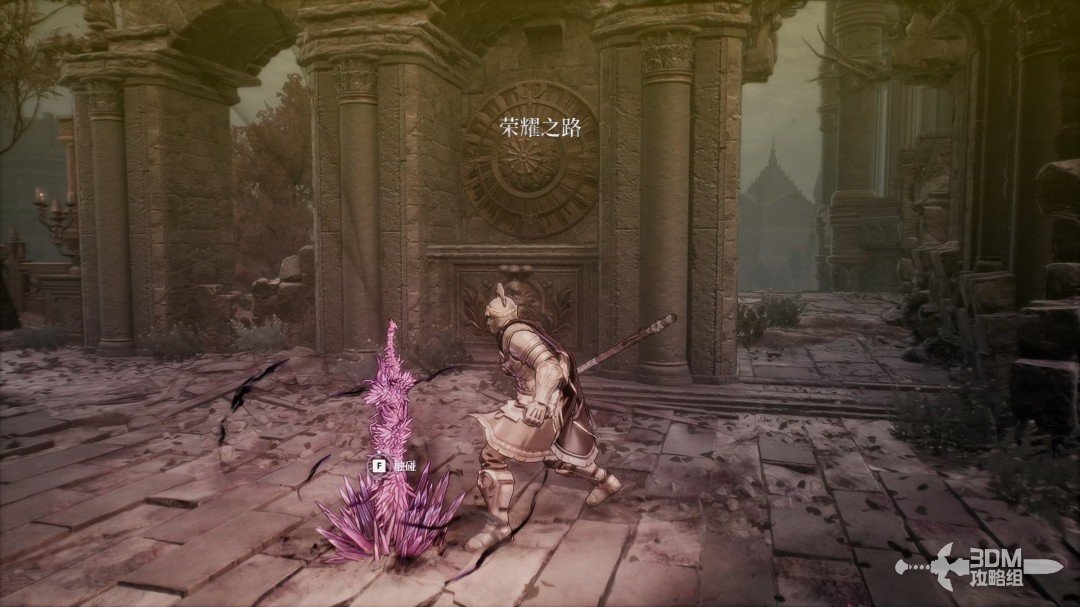
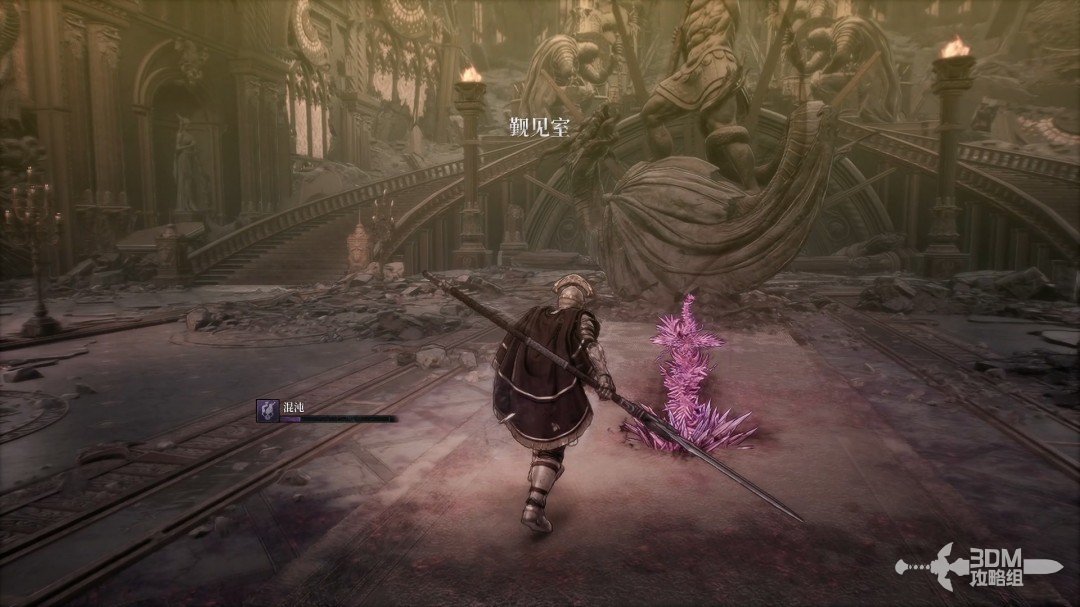
Attack ③: healing crystal. Ozma summons a purple crystal in front of him and prepares to absorb it to restore health. Switch attention to the crystal and destroy it rather than attacking only the boss. The crystal emits area pulses: dodge the outward energy wave, then resume attacking it instead of committing through the pulse.
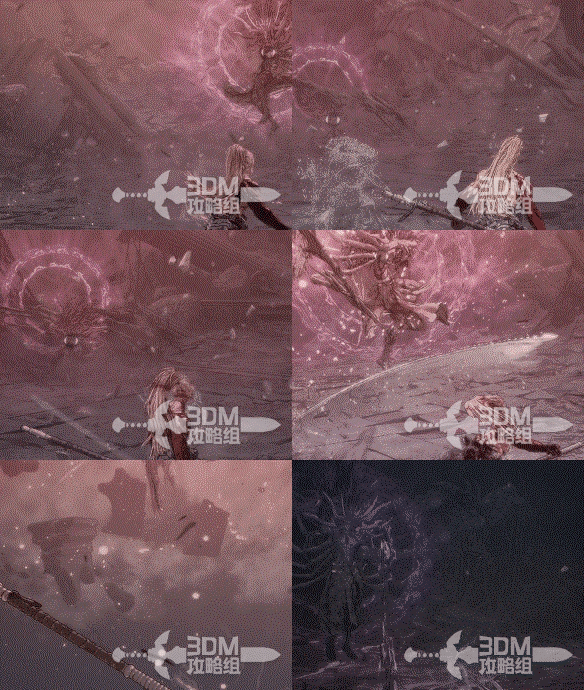
Ozma's second form: combos, slams and area blasts · route image 11

Attack ④:

Three jumping slams drop large spheres nearby. The first two are quicker; the third has a longer charge and ends in a surrounding explosion. Retreat early.
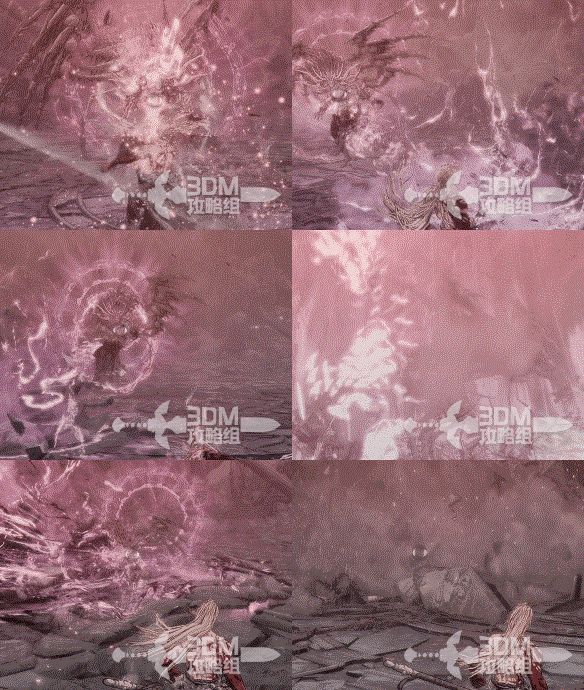
Ozma's second form: combos, slams and area blasts · route image 12

Attack ⑤:

He flies up, fires projectiles and finishes with an explosive slam. Stay clear of the landing.
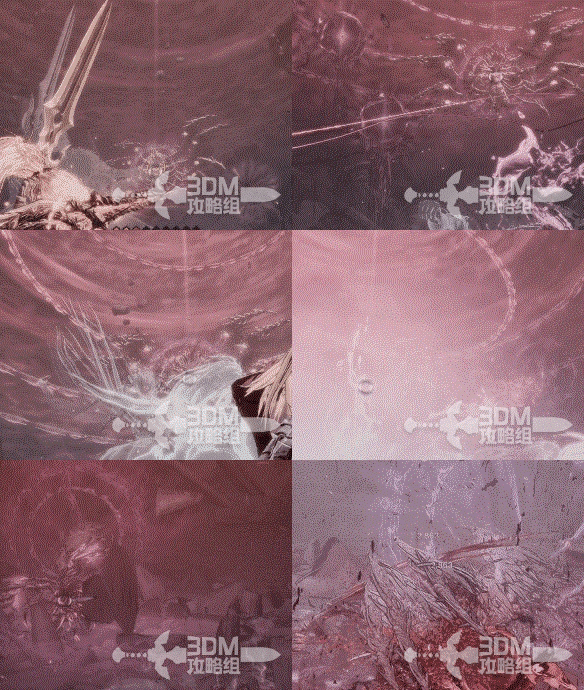
Ozma's second form: combos, slams and area blasts · route image 13

Attack ⑥:

A close-range grab. Watch the charging hand.
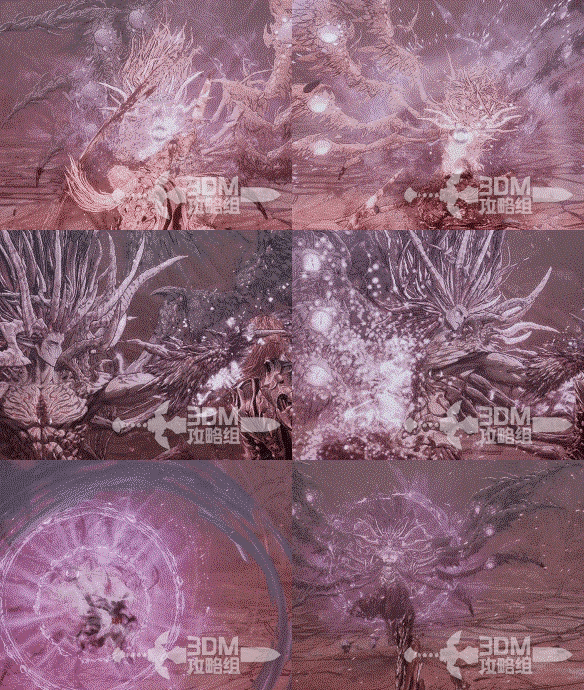
Ozma's second form: combos, slams and area blasts · route image 14

31After the final battle: scroll reward and ending branches

Defeating the second phase grants the Lord of Chaos Scroll.
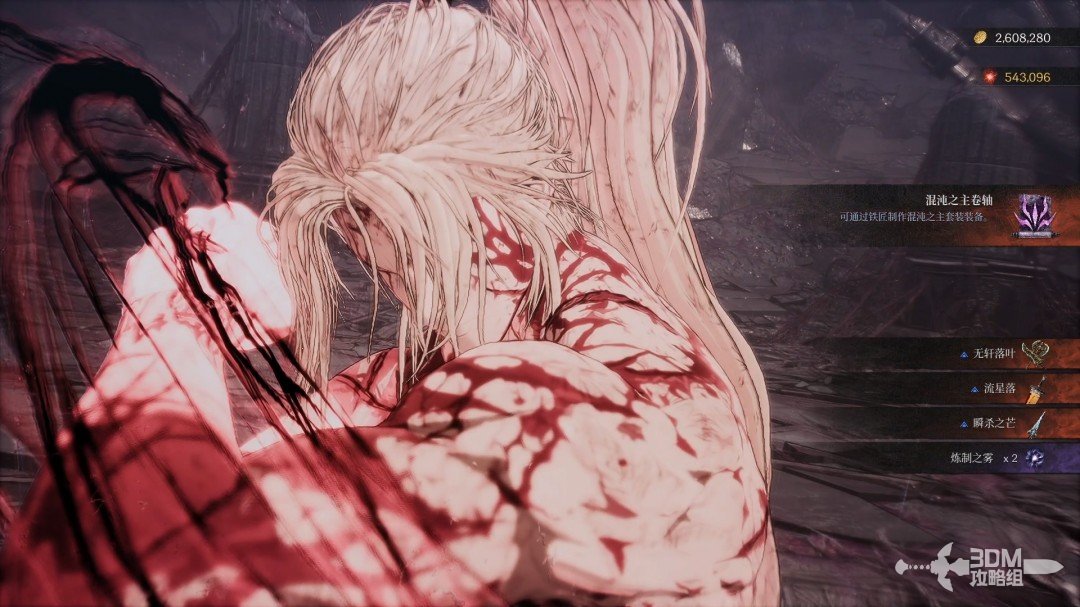
After the final battle: scroll reward and ending branches · route image 15

If you chose the earlier right-hand ending branch, complete a third duel as well.

The illustrated left-branch ending shows Khazan killing Ozma.
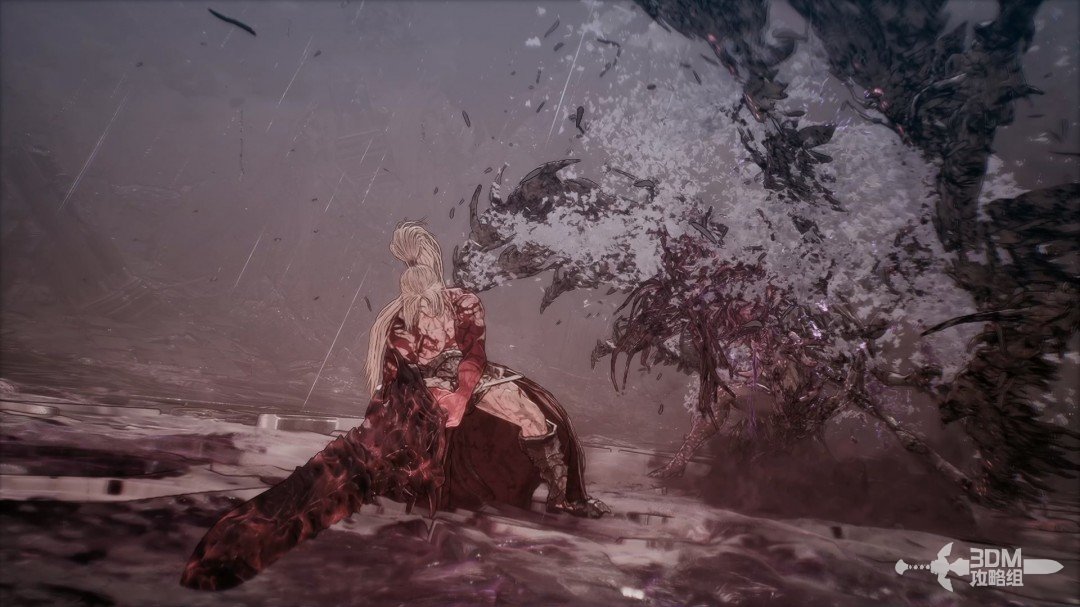
After the final battle: scroll reward and ending branches · route image 16

33Ozma's residence: explore the memories and lay a flower at the portrait

The credits follow.
Ozma's residence: explore the memories and lay a flower at the portrait · route image 1

Khazan revisits a place filled with memories.
Ozma's residence: explore the memories and lay a flower at the portrait · route image 2

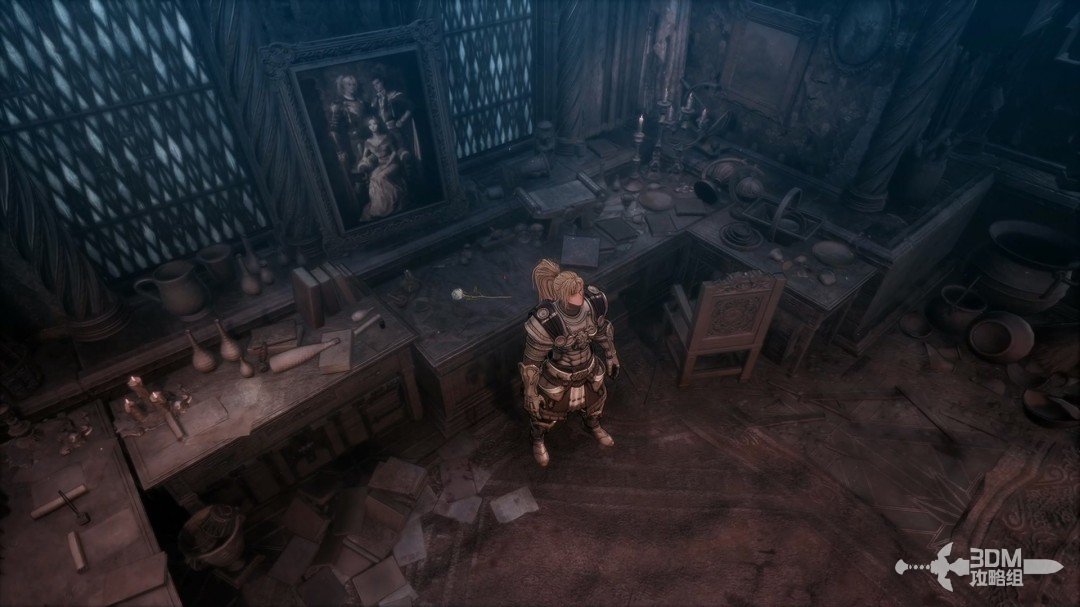
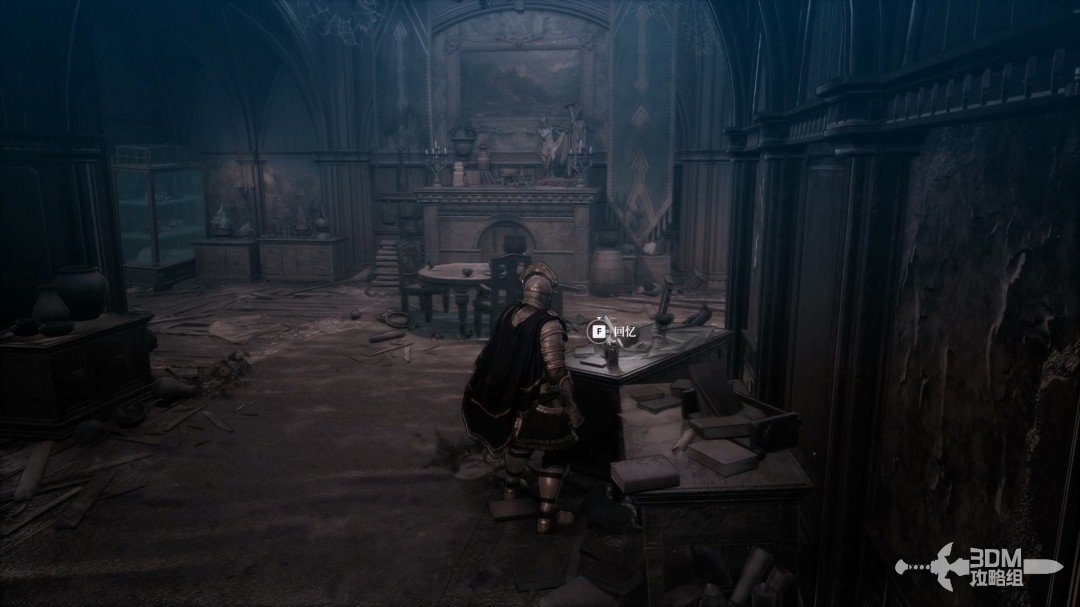
In Ozma's residence, first interact with the object on the right for a memory.
Ozma's residence: explore the memories and lay a flower at the portrait · route image 3

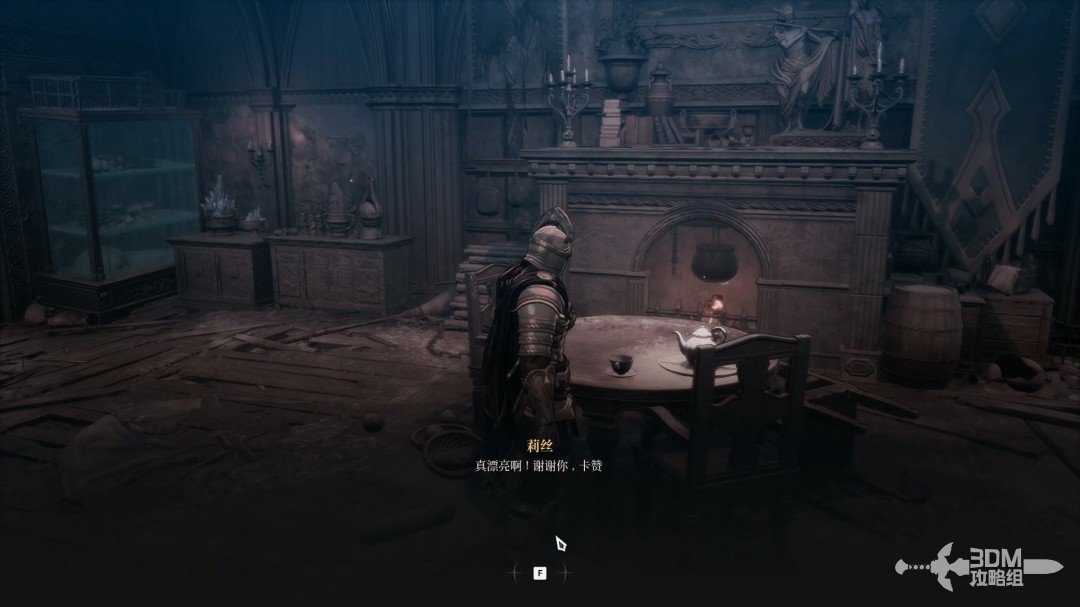
Inspect the object on the table next.
Ozma's residence: explore the memories and lay a flower at the portrait · route image 4

Descend and absorb the memory to trigger a cinematic.
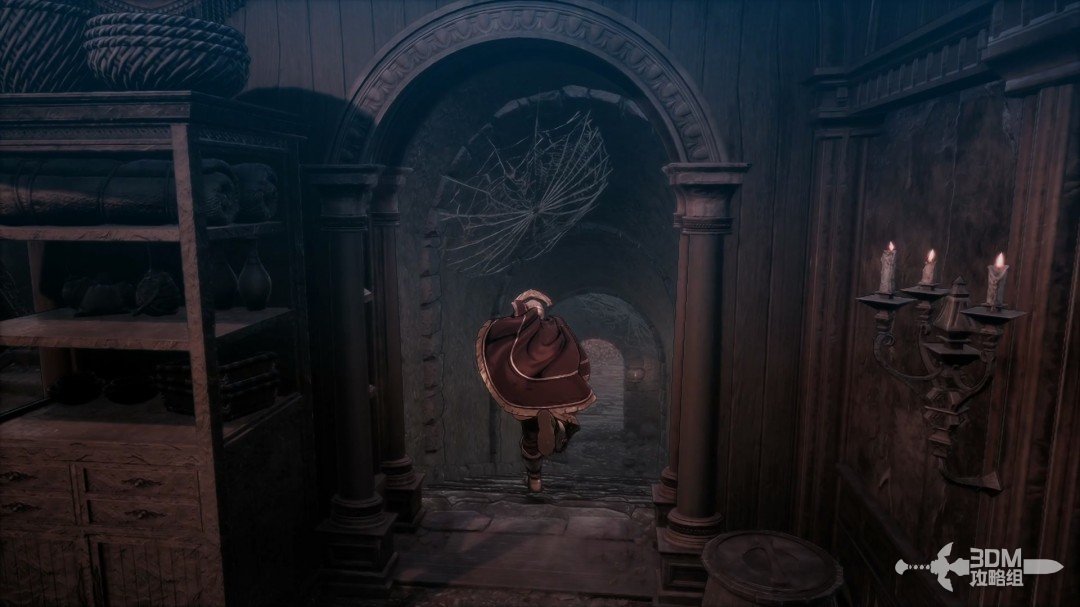
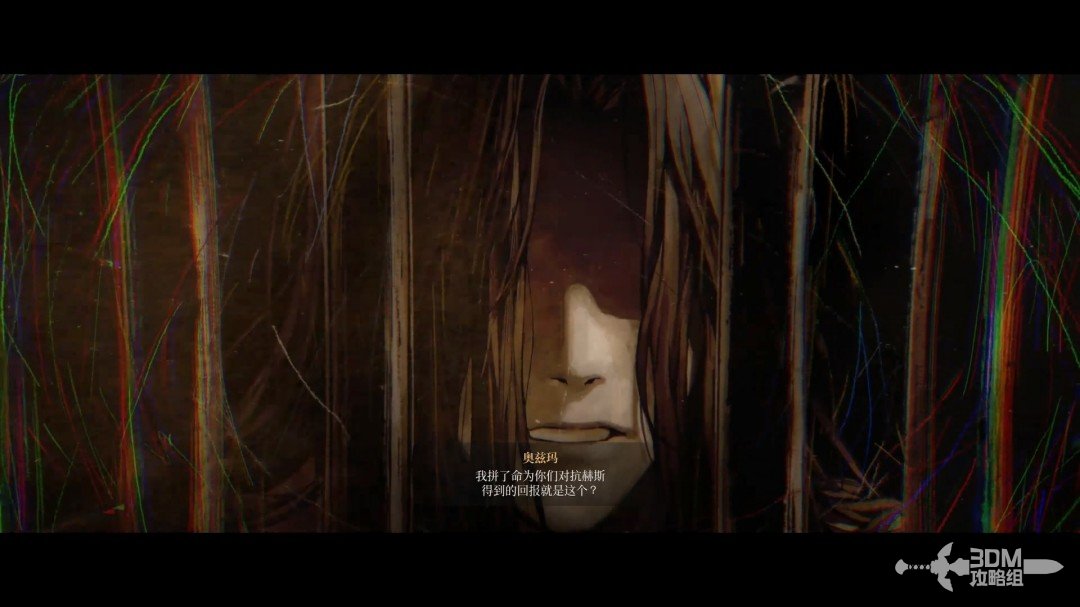
Ozma's residence: explore the memories and lay a flower at the portrait · route image 5

It shows Reese's death and the circumstances of Ozma's fall after the treason accusation.
Ozma's residence: explore the memories and lay a flower at the portrait · route image 6

Climb the left stairs after the lower memory.
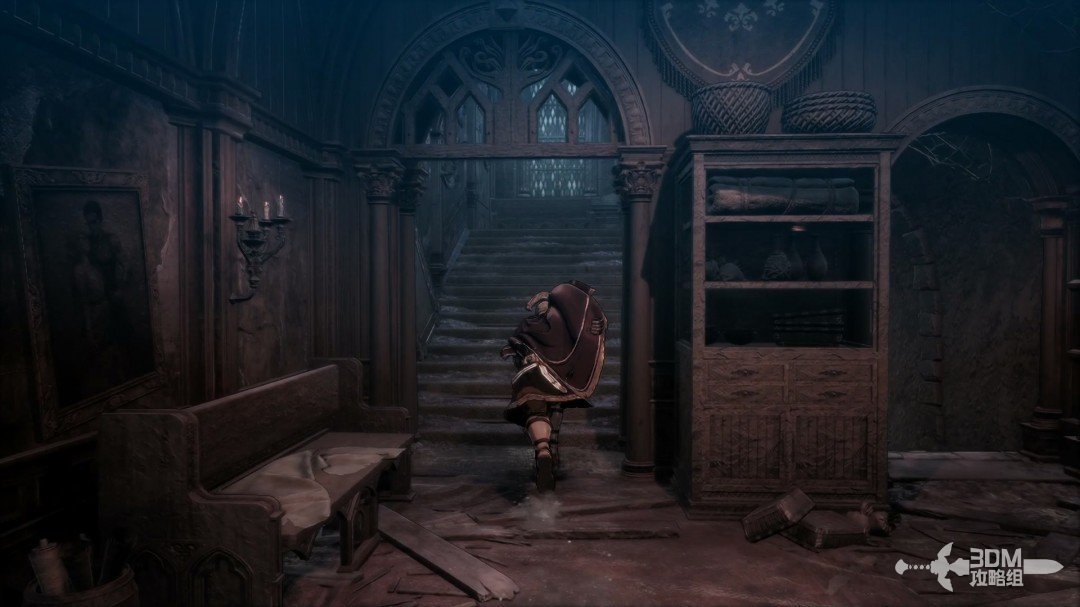
Ozma's residence: explore the memories and lay a flower at the portrait · route image 7

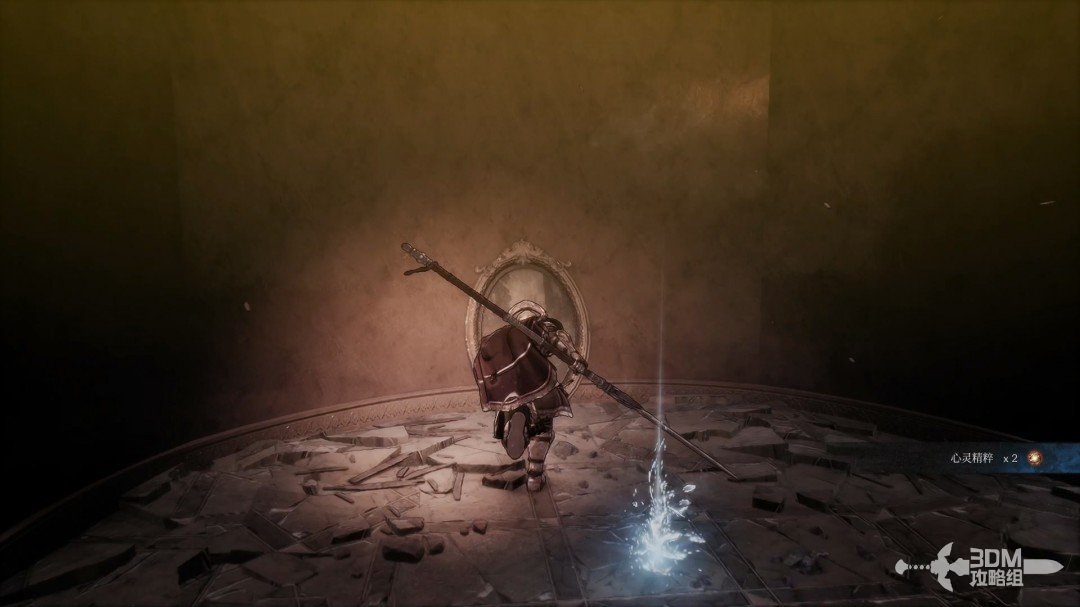
Inspect the portrait and offer a flower to reach the ending.

This concludes the campaign walkthrough.
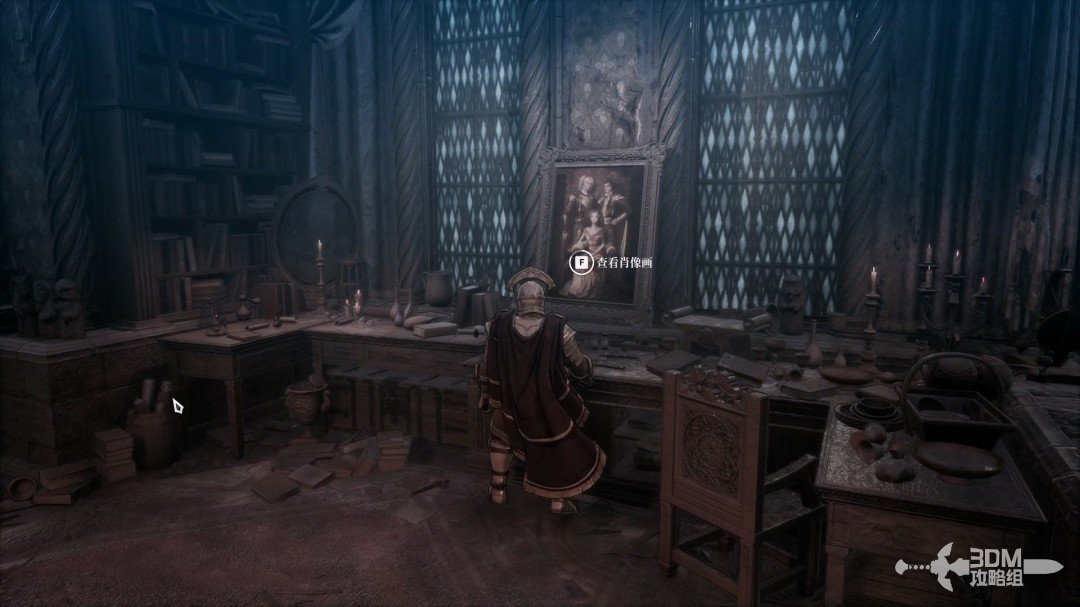
Ozma's residence: explore the memories and lay a flower at the portrait · route image 8
Ozma's residence: explore the memories and lay a flower at the portrait · route image 9

You can begin New Game+ after completing the campaign.
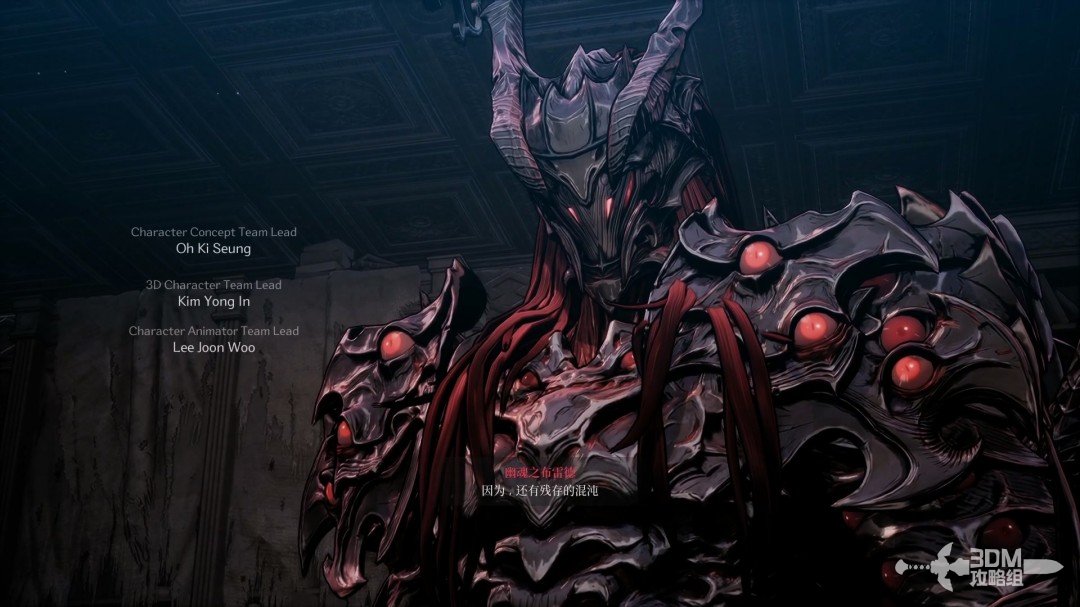
Ozma's residence: explore the memories and lay a flower at the portrait · route image 10

Continue

Back to mission index →

Reference: 3DM Guide Team

GAME NOTE has reorganized and rewritten the routes from this walkthrough.