Rangkus encounter guide in Traitor Revealed.
Introduction
The attacker pursuing Pavel and Tristan, armed with hammer strikes, gunfire and wide explosions.
Location and mission
Palemion Citadel
Strategy · Rangkus
The cinematic shows Tristan defending Pavel, Khazan's revenge target, against a powerful attacker.
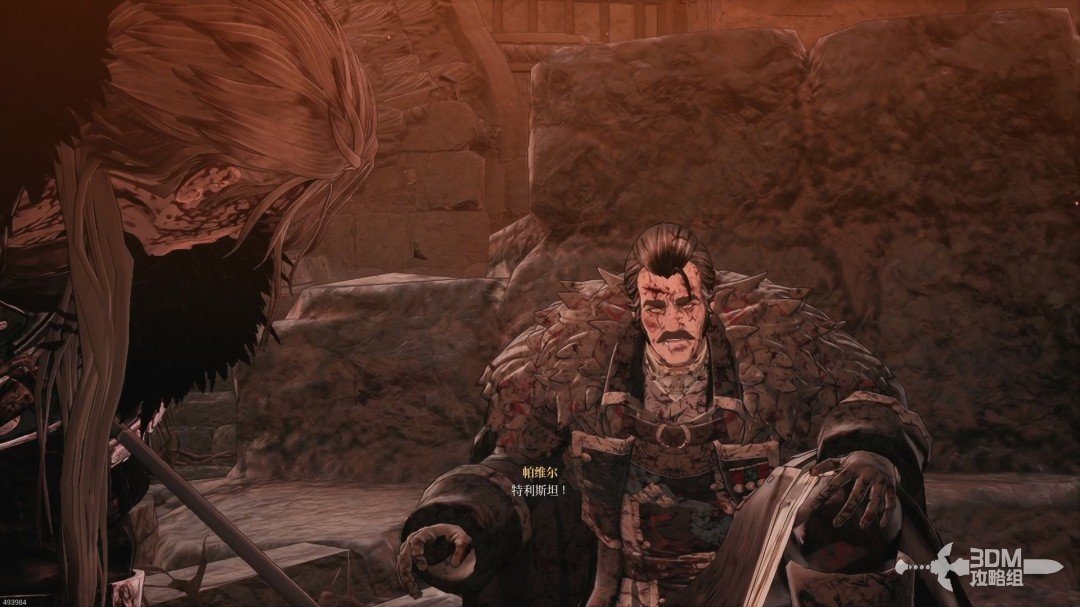
Tristan is overpowered, and the attacker kills the defenseless Pavel.
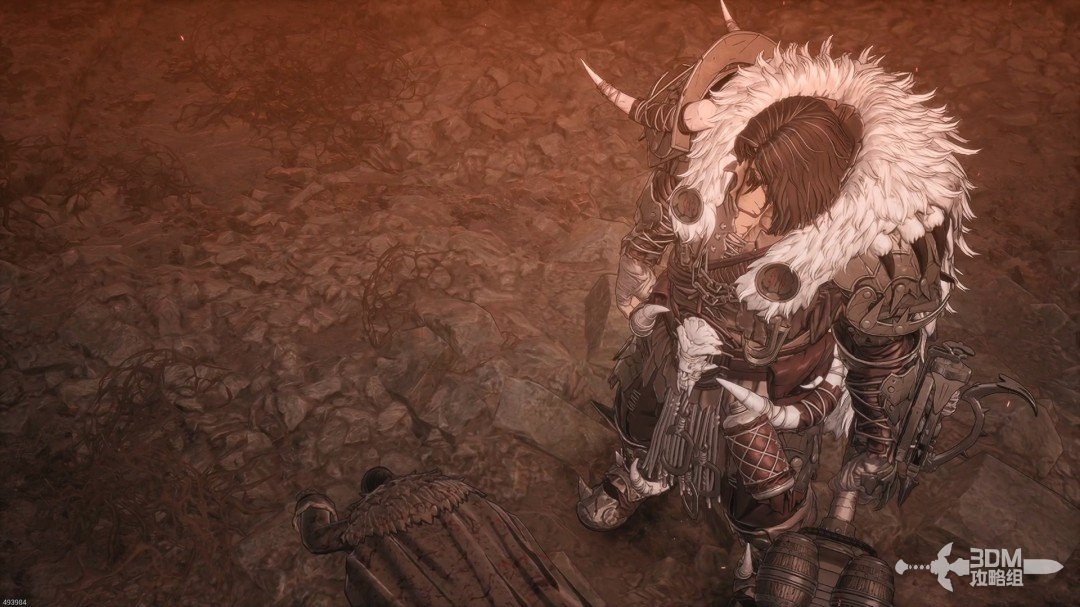
The attacker is Rangkus. Seeing Khazan alive, he turns on him.
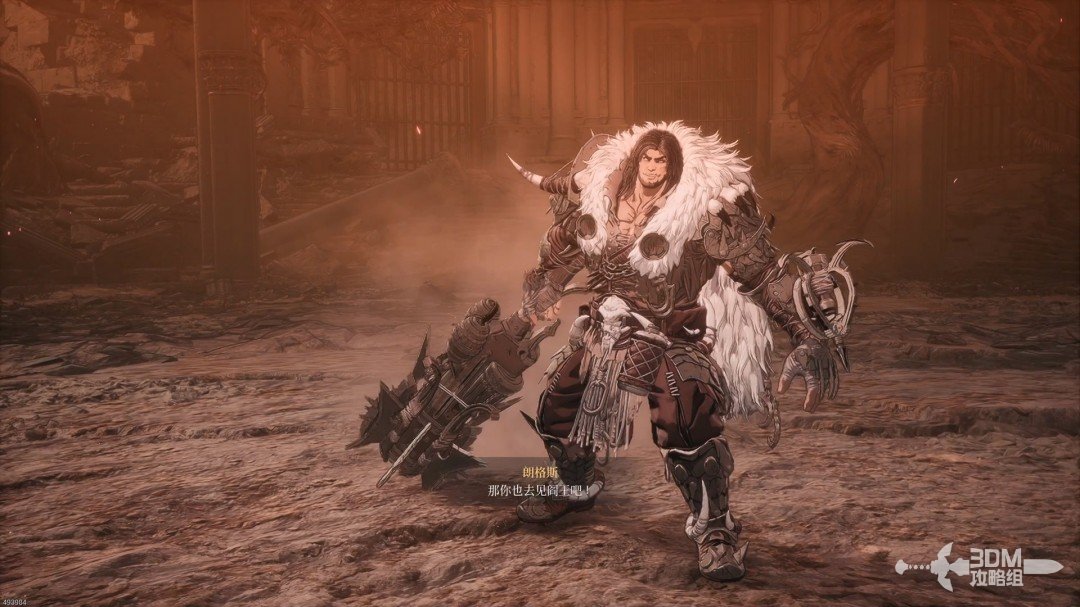
Rangkus does not change phases. Potent attacks can interrupt some moves, but respect his hammer combos.
Attack ①:
Four slow hits. Do not guard too early.
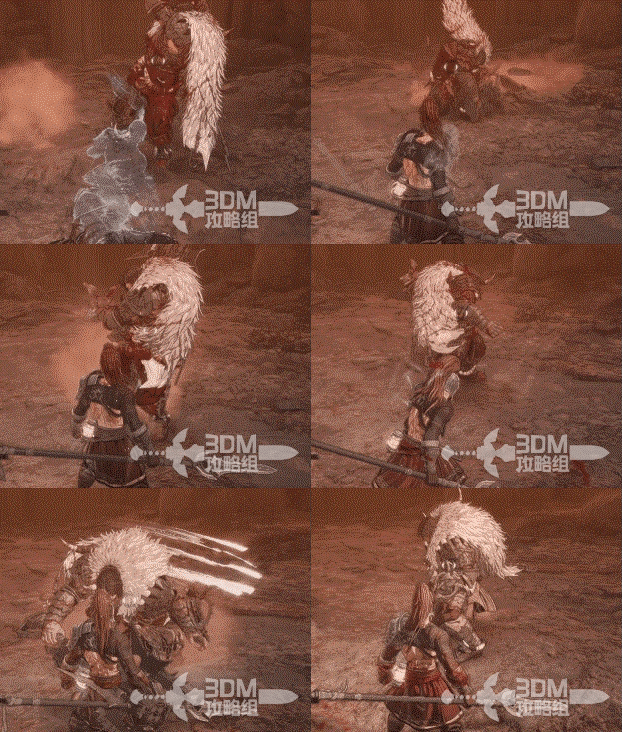
Attack ②: repeated cannon fire. Rangkus raises his weapon at range and fires toward Khazan as the muzzle flashes. Move sideways and dodge as each shot approaches. Do not stop to heal or rush in after the first projectile; wait for the firing sequence to finish before closing the distance.
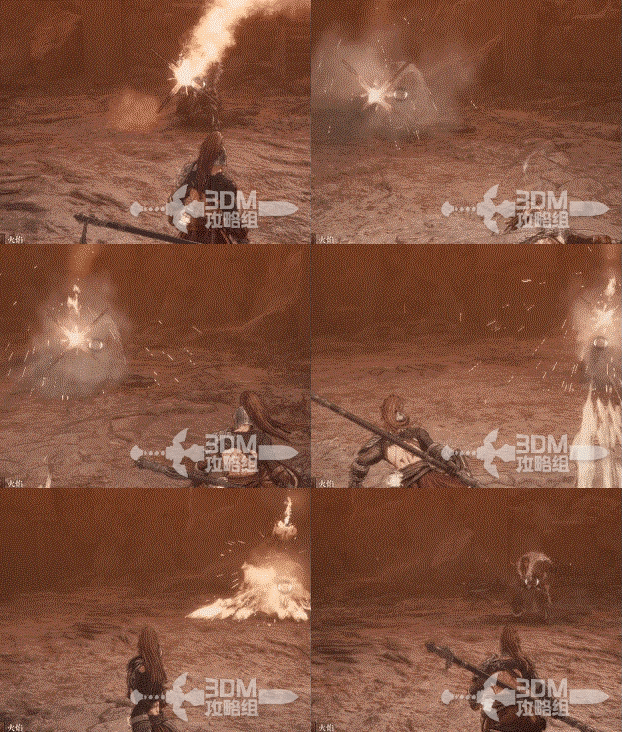
Attack ③:
A charging firearm attack ending in a thrust.
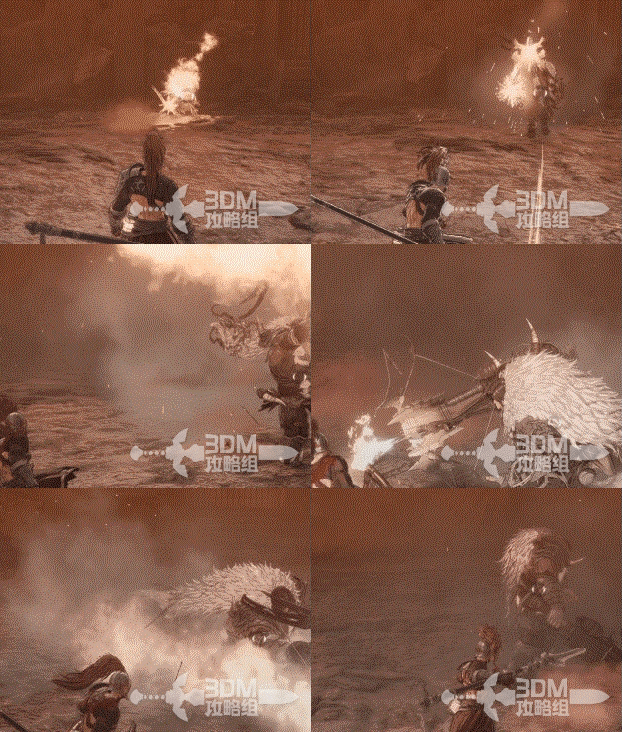
Attack ④:
He charges the firearm and spins through a large area. Interrupt him if possible.
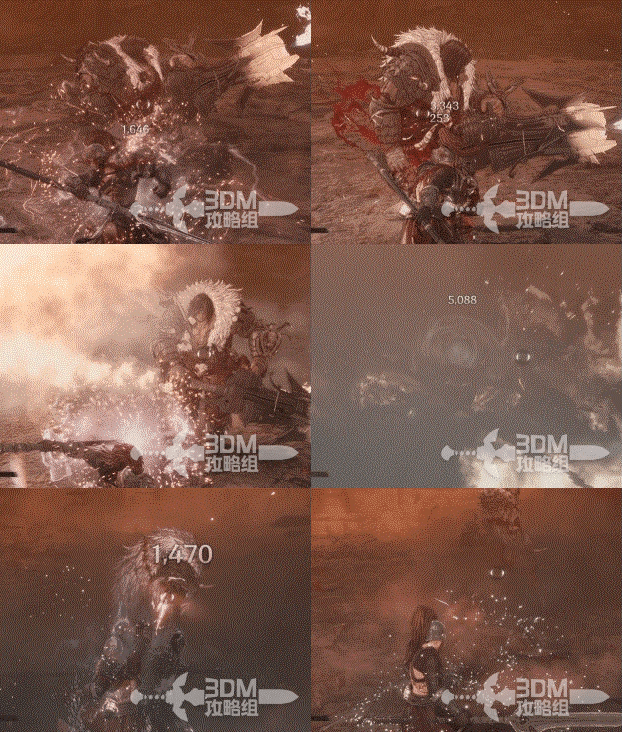
Attack ⑤:
An aerial slam with a visible leap.
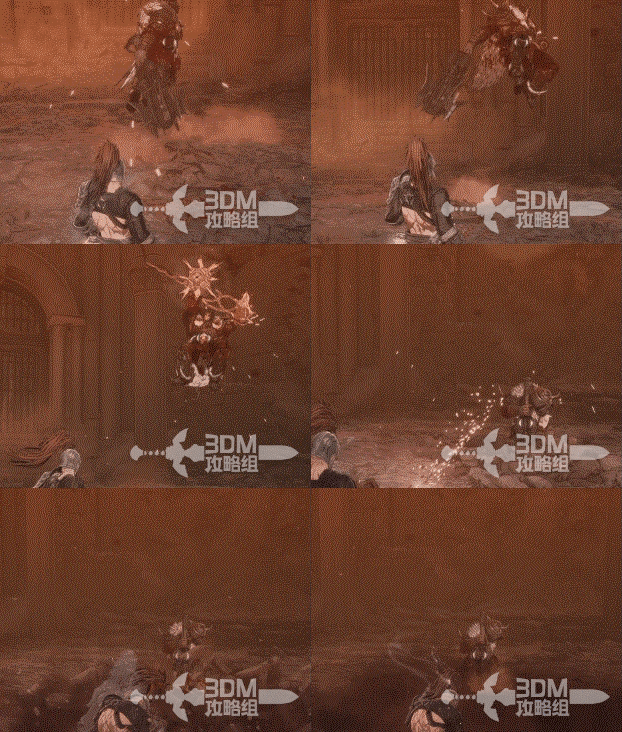
Attack ⑥:
A sweep leads into aerial fire and a ground slam, followed by an almost arena-wide ground explosion. Time your dodge for the blast.
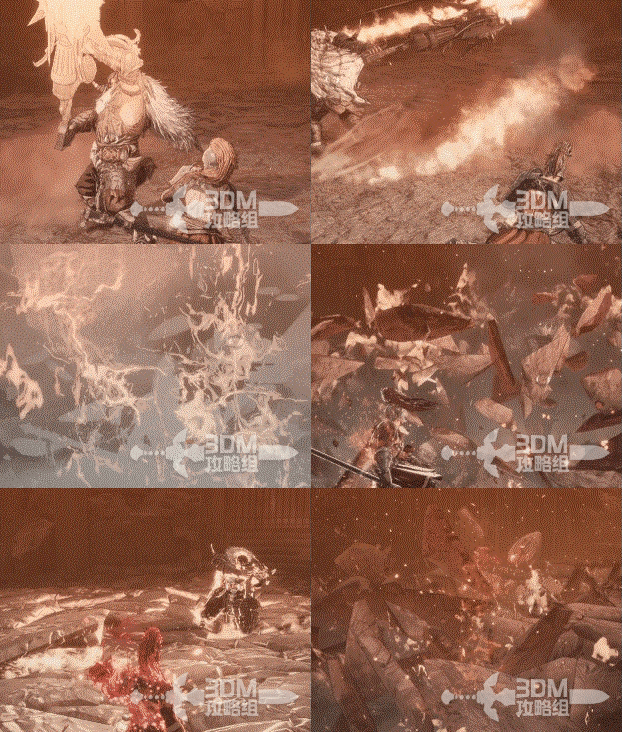
Attack ⑦:
A charged stomp resembling his other ground strikes.
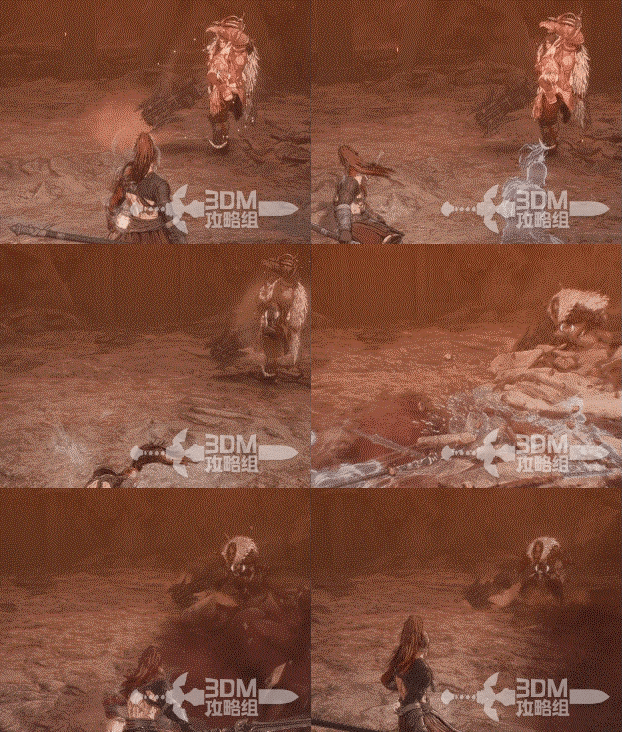
Attack ⑧:
Three ranged shots without fire damage; these can be guarded.
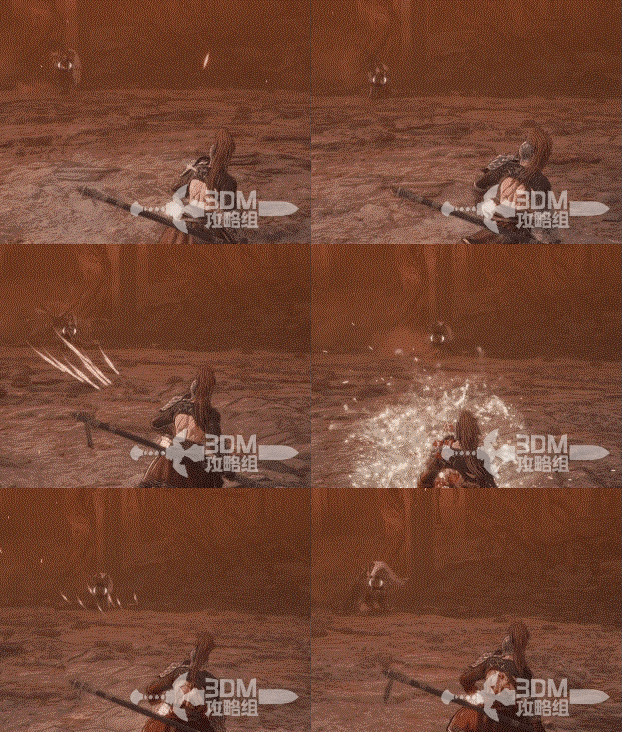
Defeat Rangkus for equipment.

Tristan survives and is surprised to find Khazan alive.
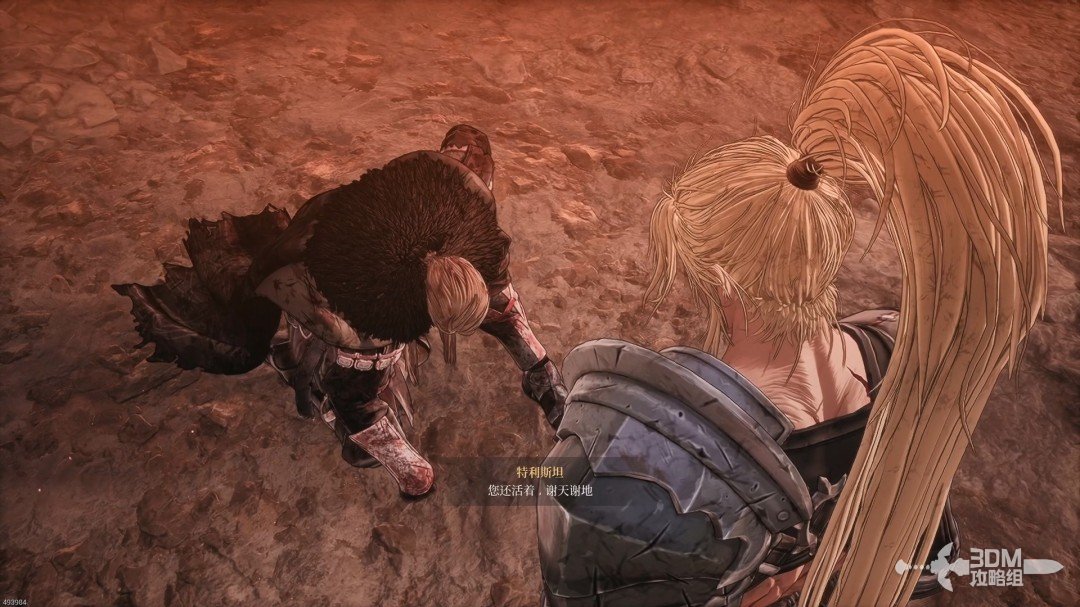
He explains that Pavel pretended to betray Khazan to save him, clearing the misunderstanding too late.
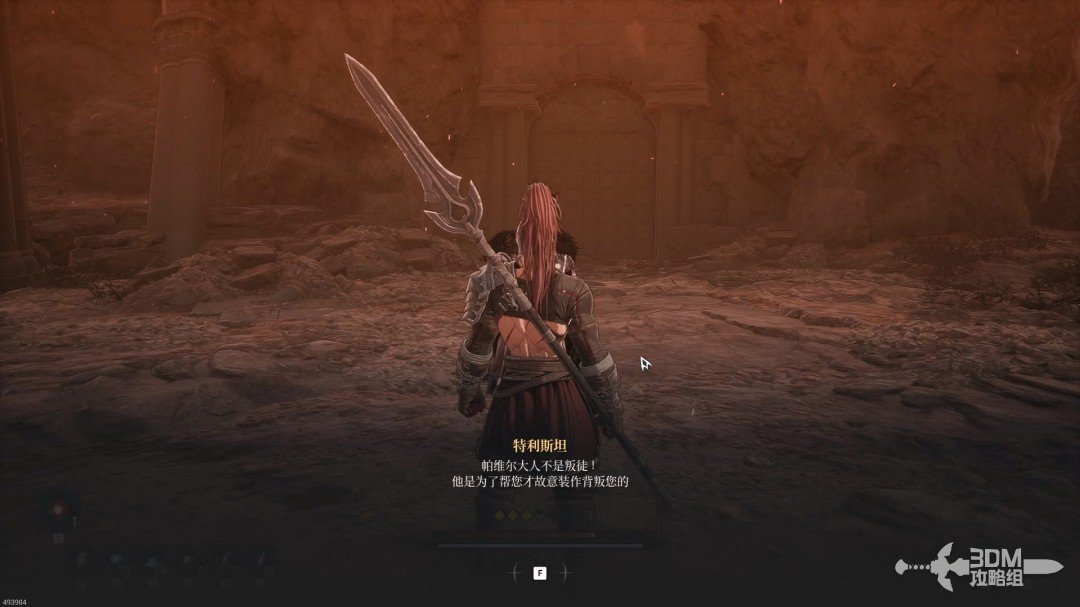
The emperor feared the popularity Khazan gained by defeating Hismar and engineered the treason accusations.
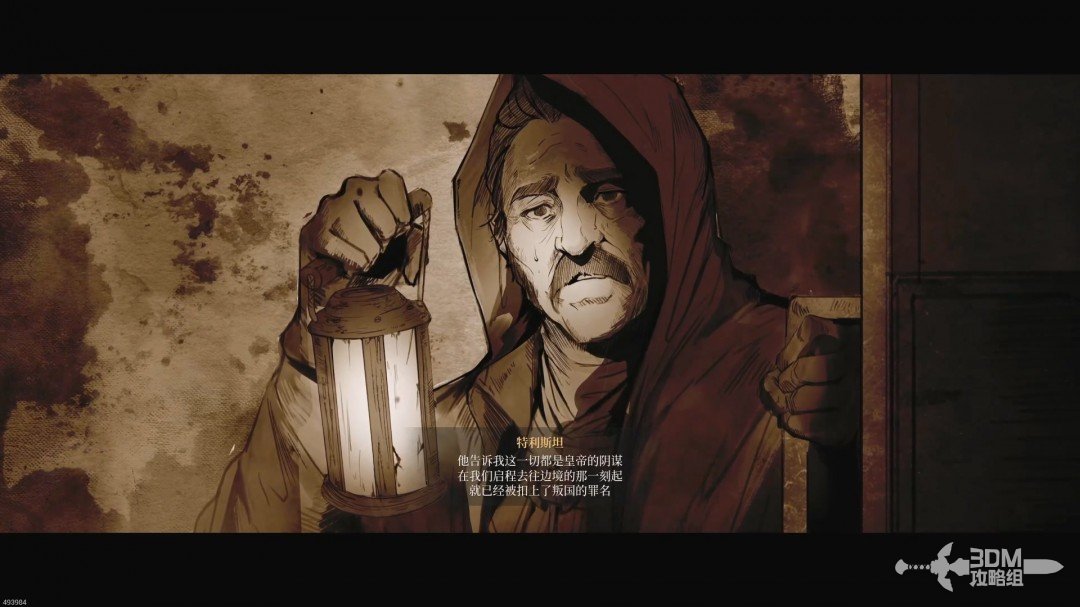
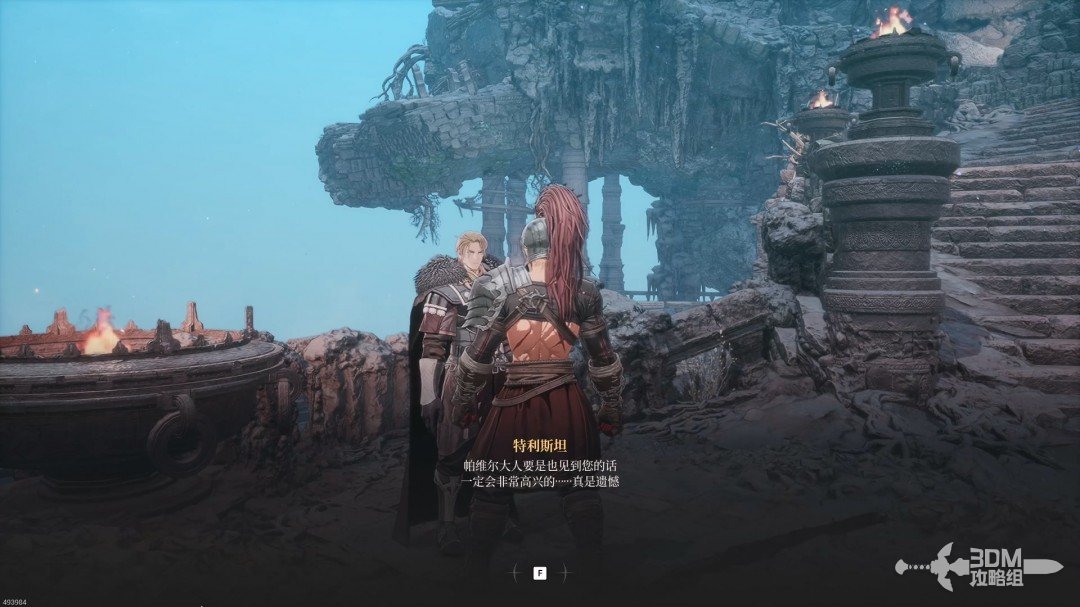
You return to the hub, where Tristan joins you. The chapter ends.
Rewards and drops
Since June 16, 2025, main-mission bosses guarantee set-crafting materials. This does not guarantee a specific finished item, full set or scroll.
Crafting material: Bandit's Loot · Furious Bandit
Material regions and scroll routes →
The local walkthrough does not identify a reliable named set for this encounter. Use the material guarantee above rather than assuming a specific piece will drop.
Reference: 3DM Guide Team
GAME NOTE has reorganized and rewritten the routes from this walkthrough.