Skip to content

Bloodied Sanctuary

Guide editor: GAME NOTE

GAME NOTE CLASSIC · GUIDE LIBRARYThe First Berserker: Khazan

Climb through the sanctuary and beam sections before Reese.

Pickups in this mission

01Wedding sanctuary entrance: save before exploring the central garden

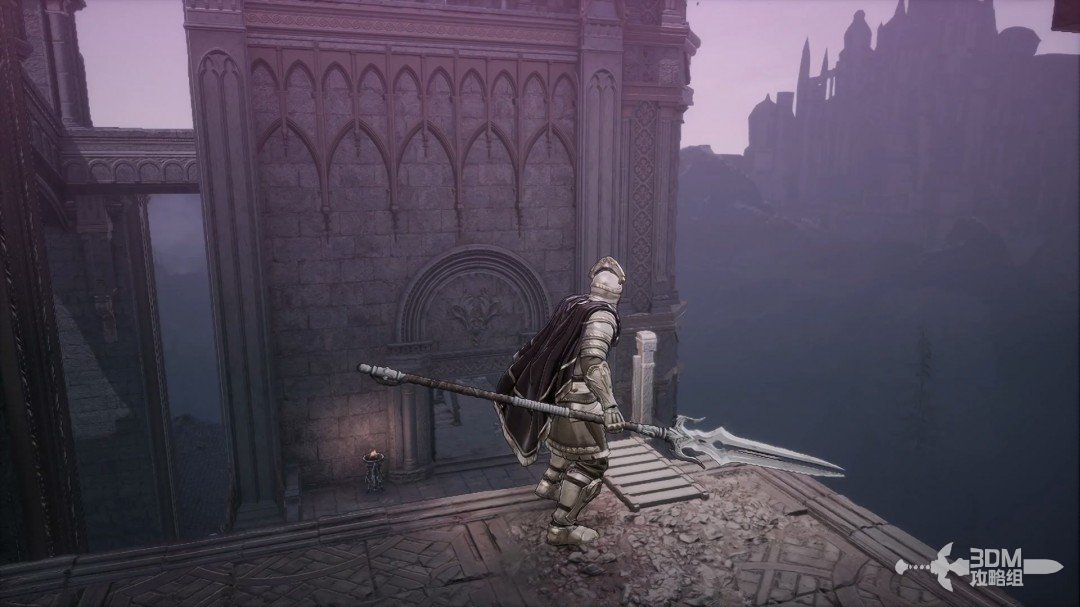
Begin Bloodstained Sanctuary at the Great Temple, where Reese and Ozma were to be married.
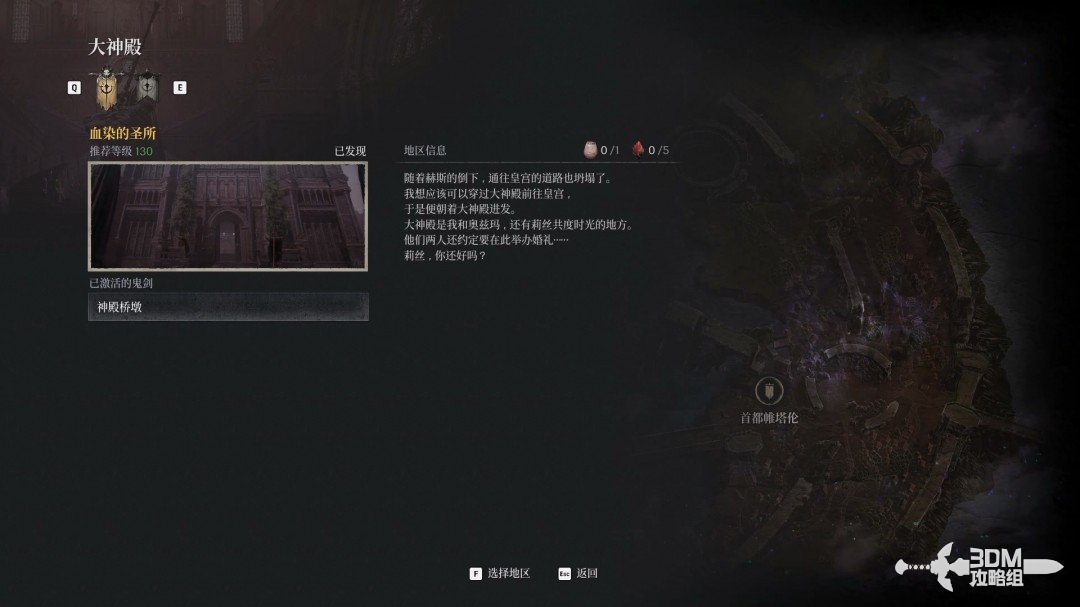
Wedding sanctuary entrance: save before exploring the central garden · route image 1

A wedding-related vision plays on arrival.
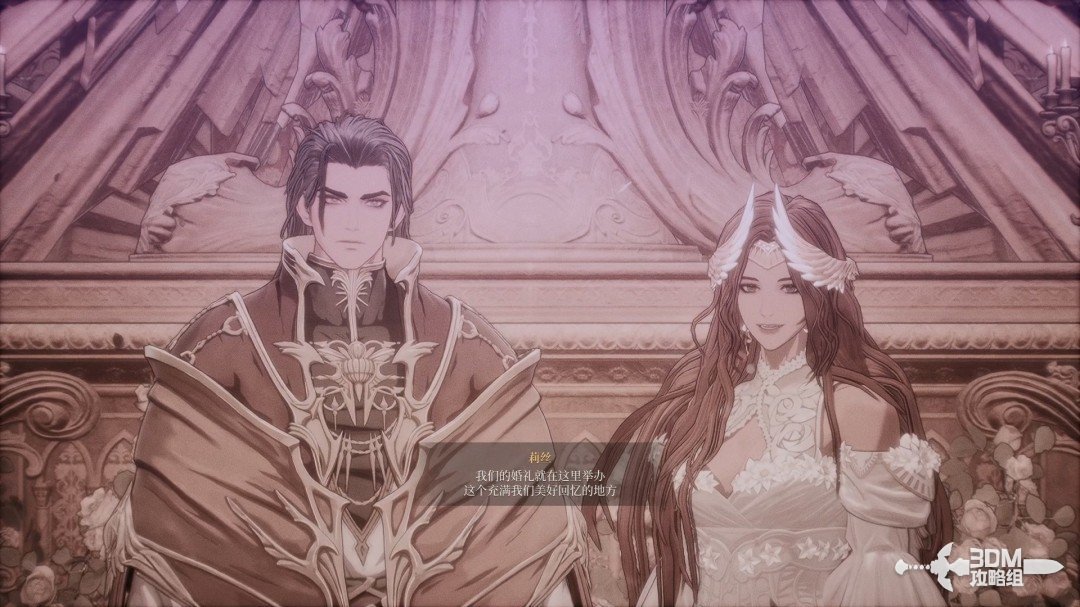
Wedding sanctuary entrance: save before exploring the central garden · route image 2

Rest at the Nexus after the cinematic.
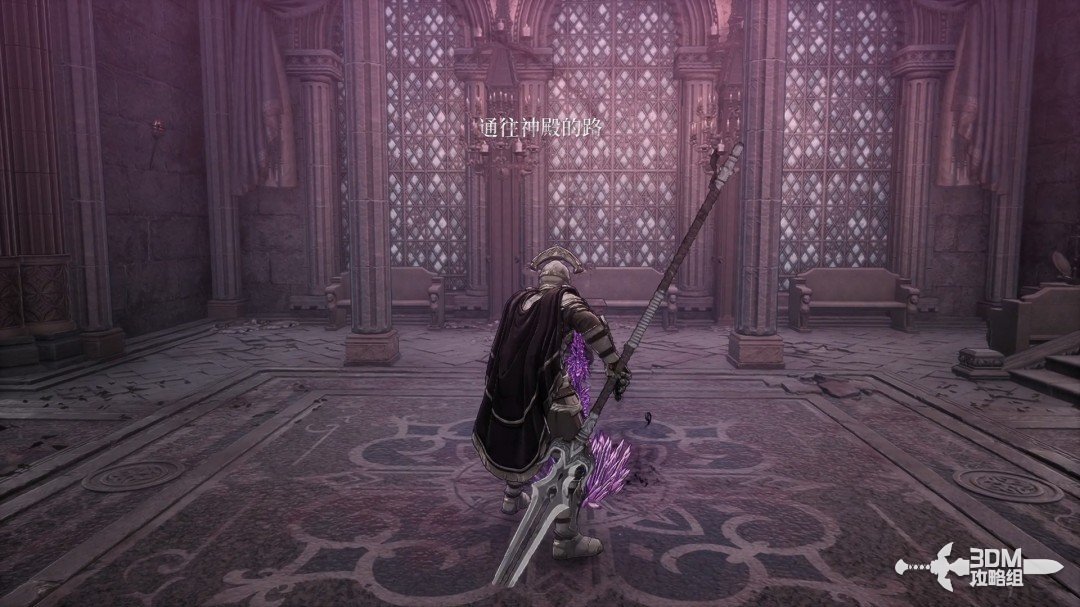
Wedding sanctuary entrance: save before exploring the central garden · route image 3

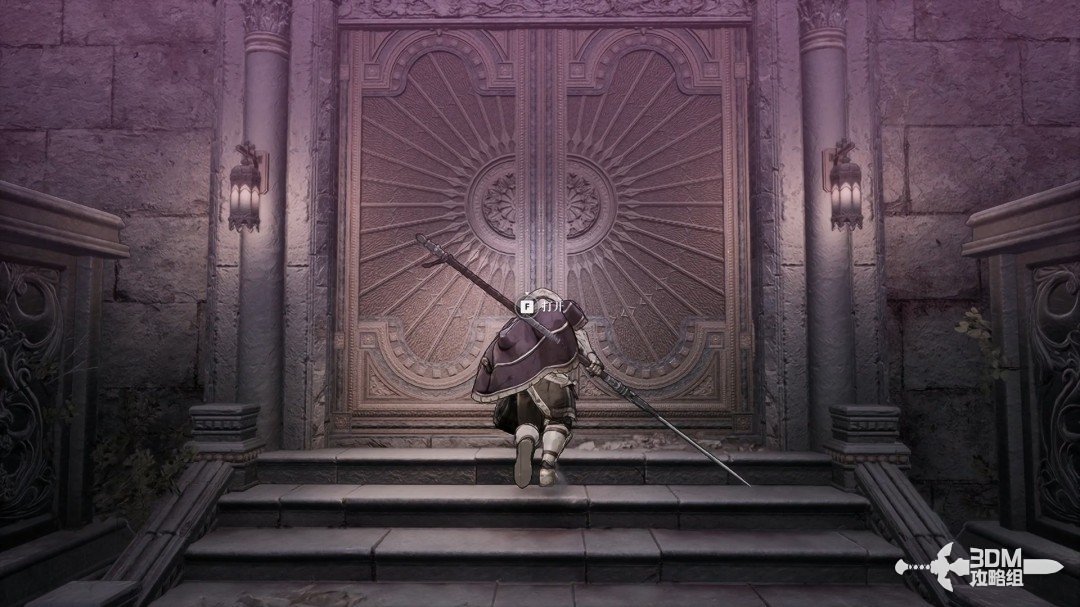
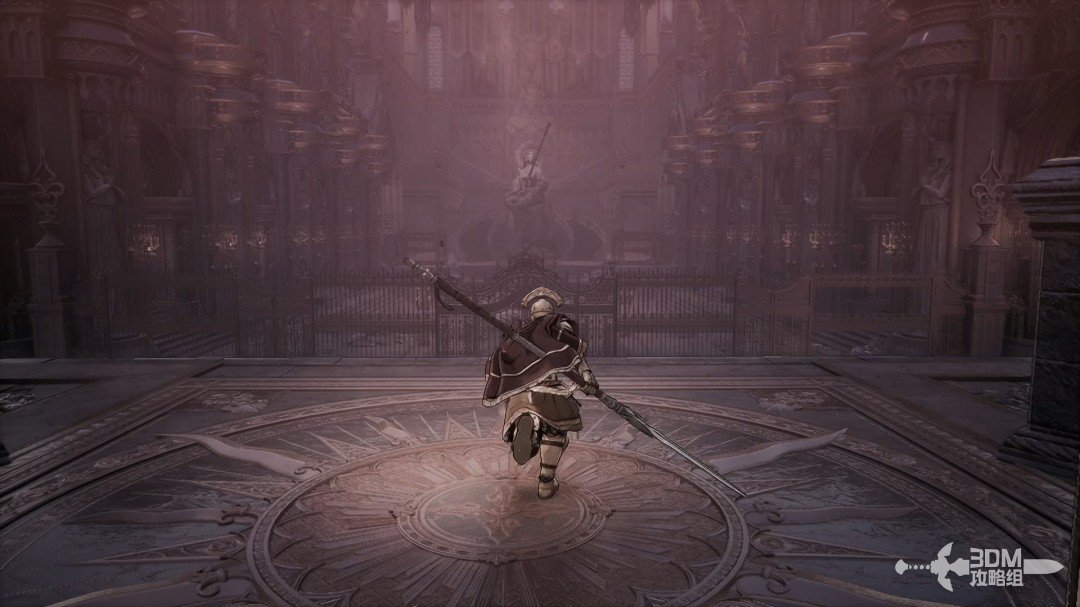
Enter the large gate toward the enemies inside.
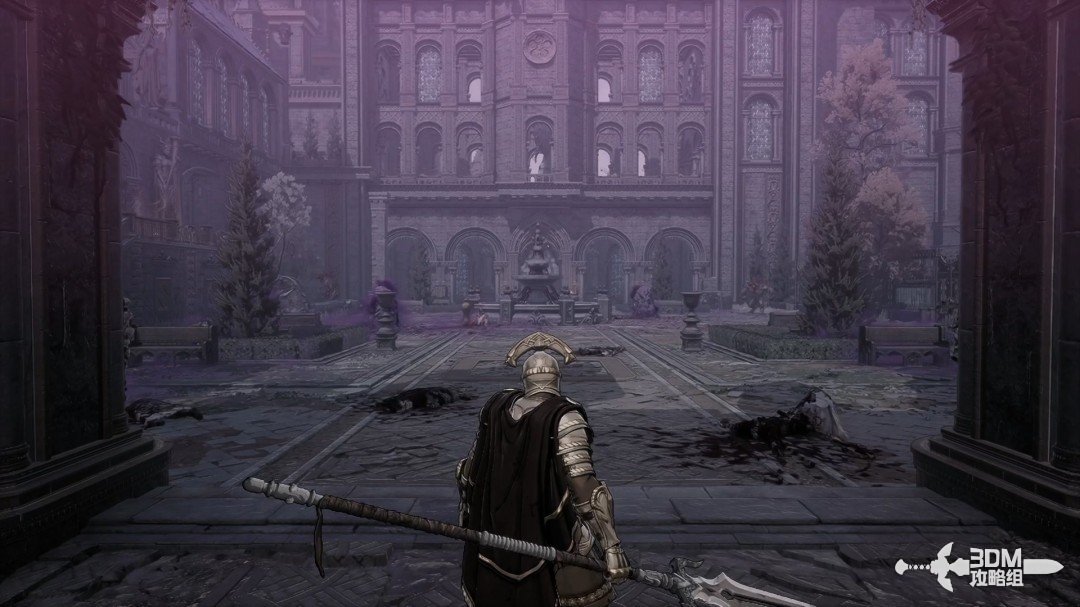
Wedding sanctuary entrance: save before exploring the central garden · route image 4

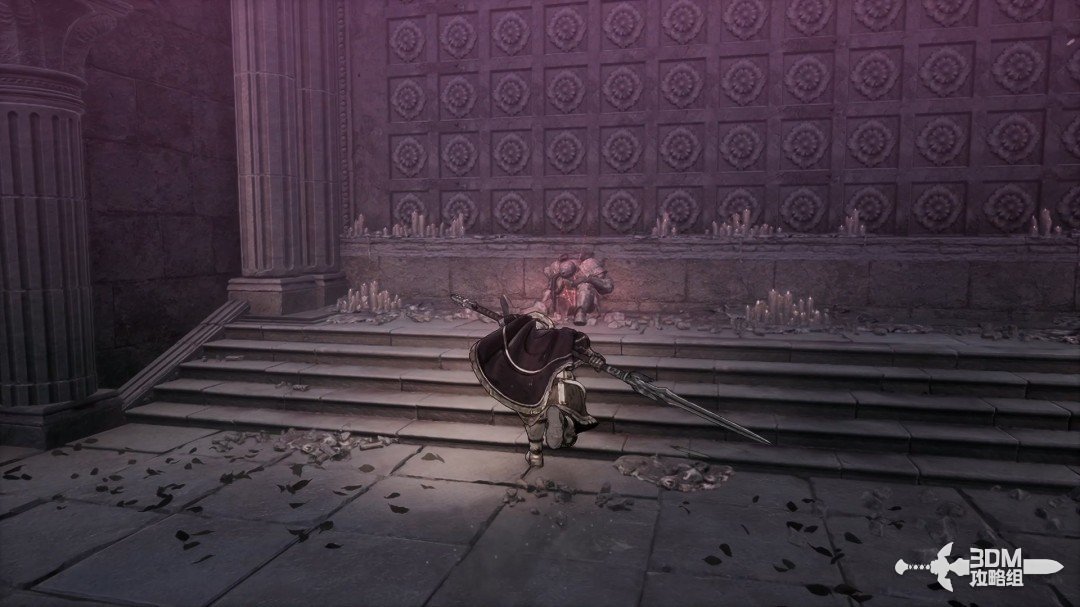
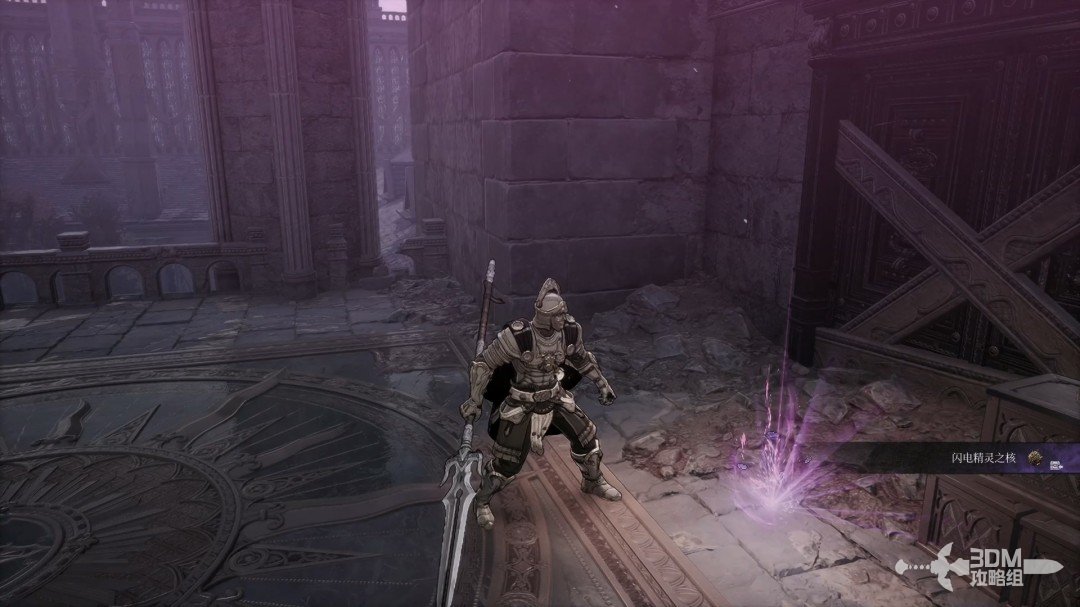
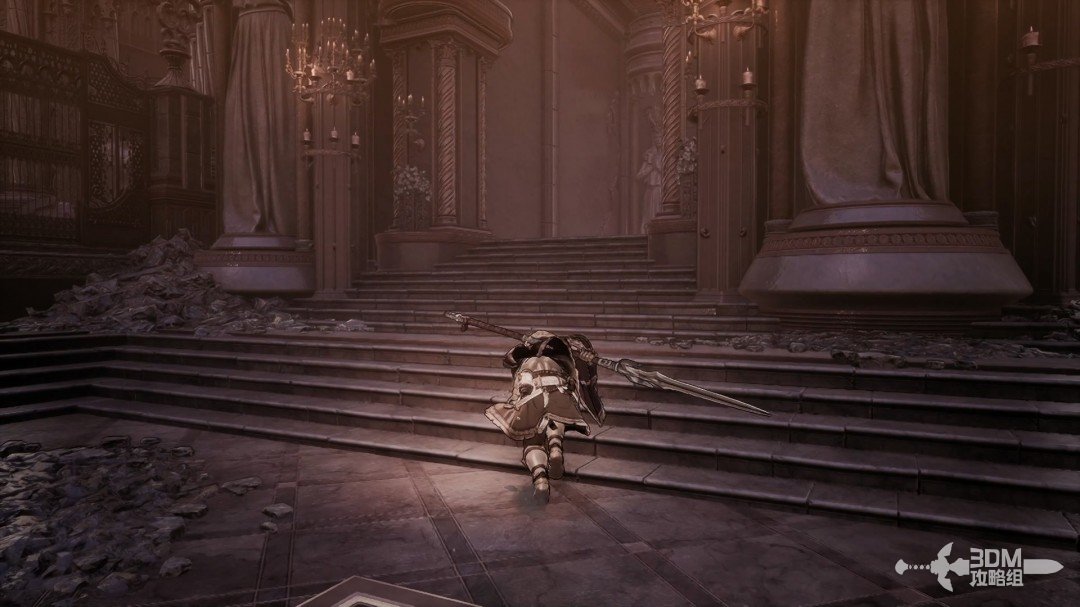
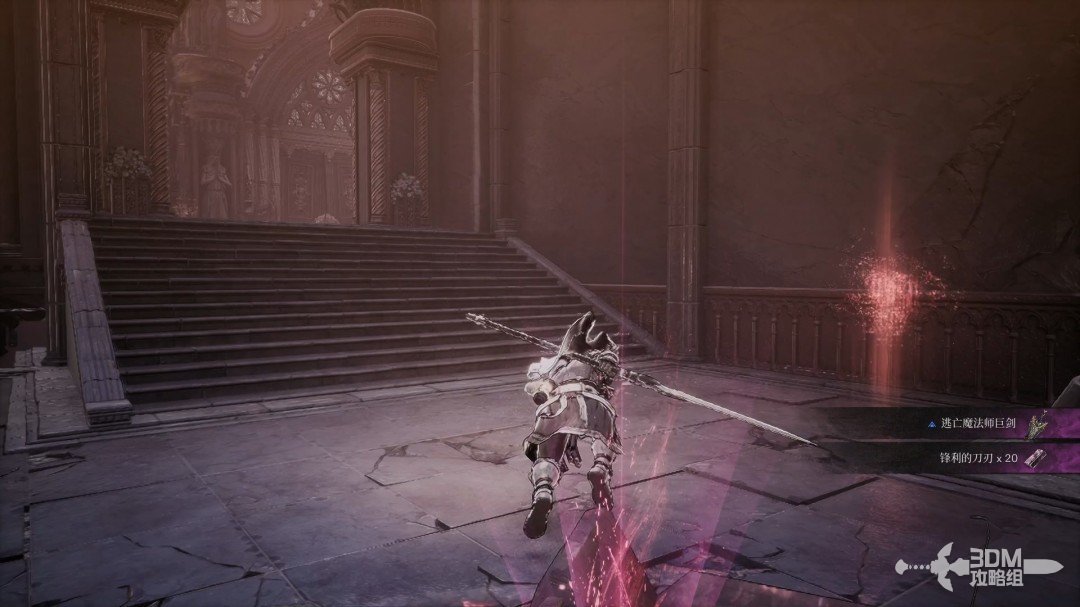
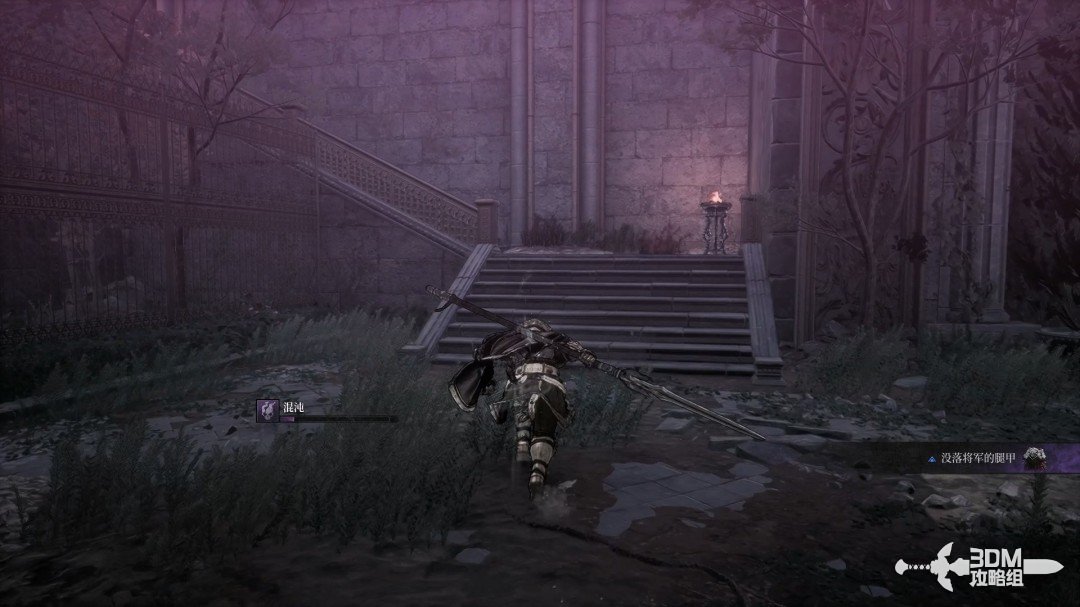
First climb the courtyard's left stairs for a red material.
Wedding sanctuary entrance: save before exploring the central garden · route image 5
Wedding sanctuary entrance: save before exploring the central garden · route image 6

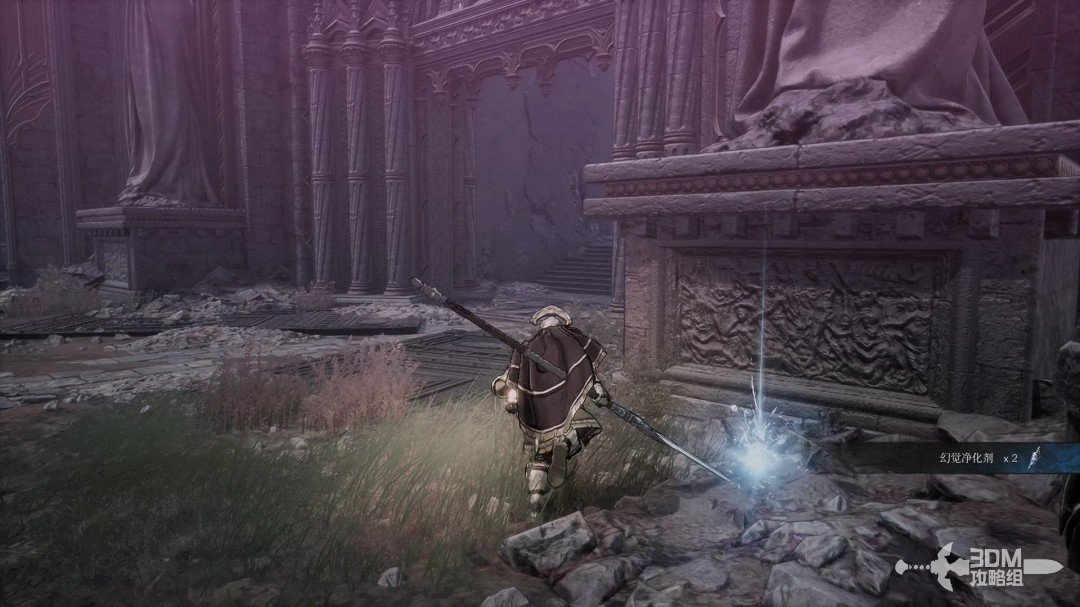
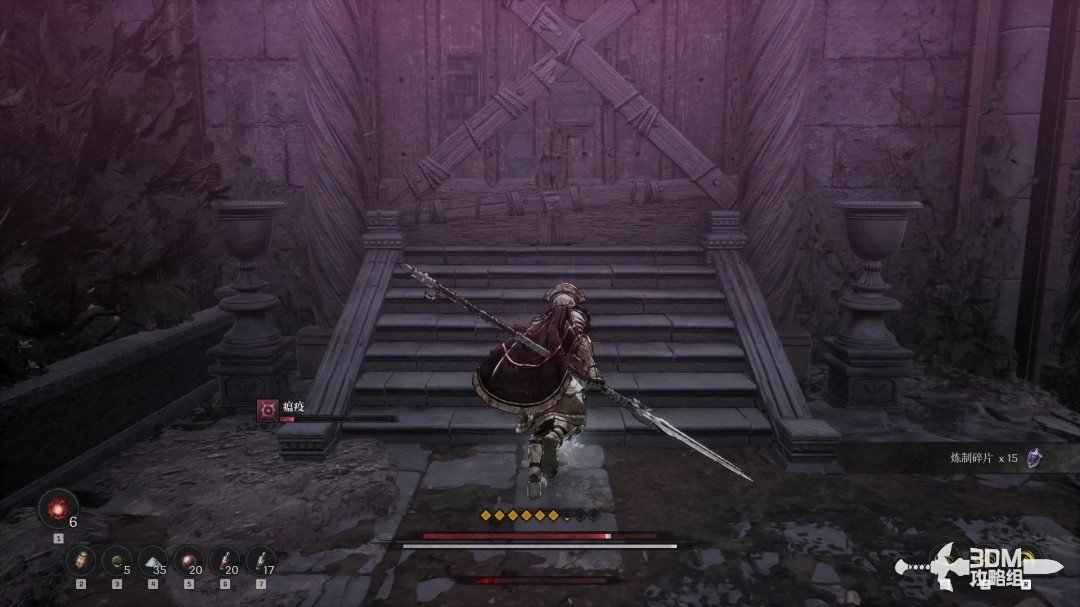
Descend and collect the white item right of the large gate.
Wedding sanctuary entrance: save before exploring the central garden · route image 7

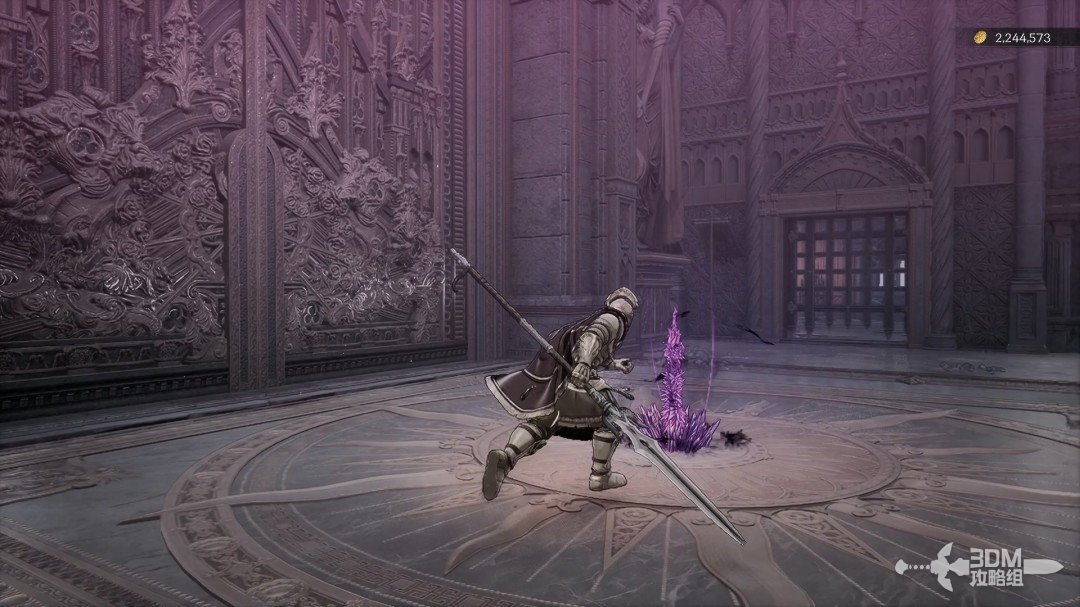
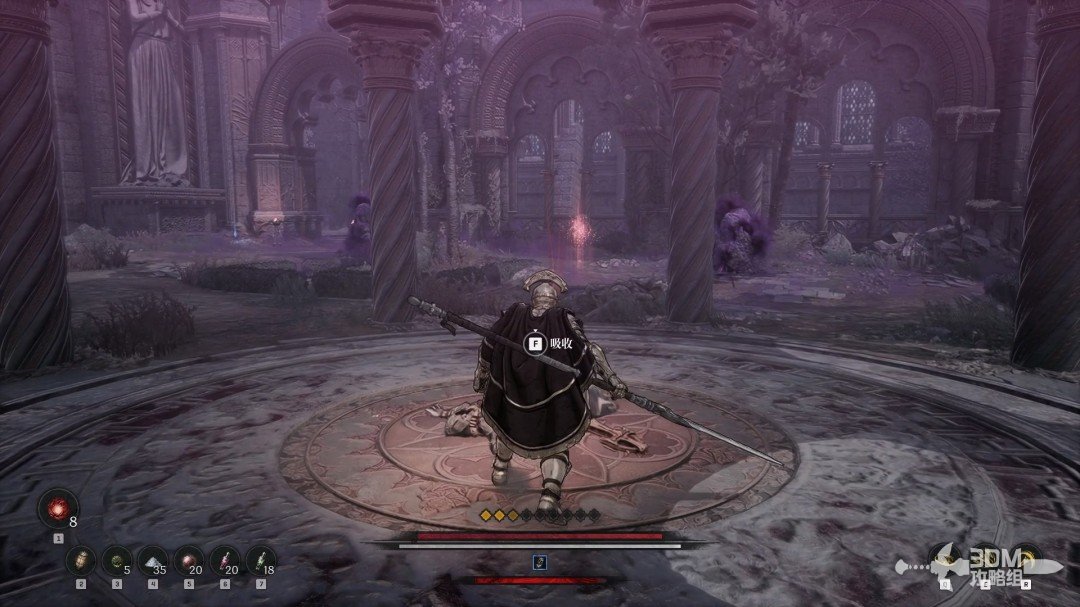
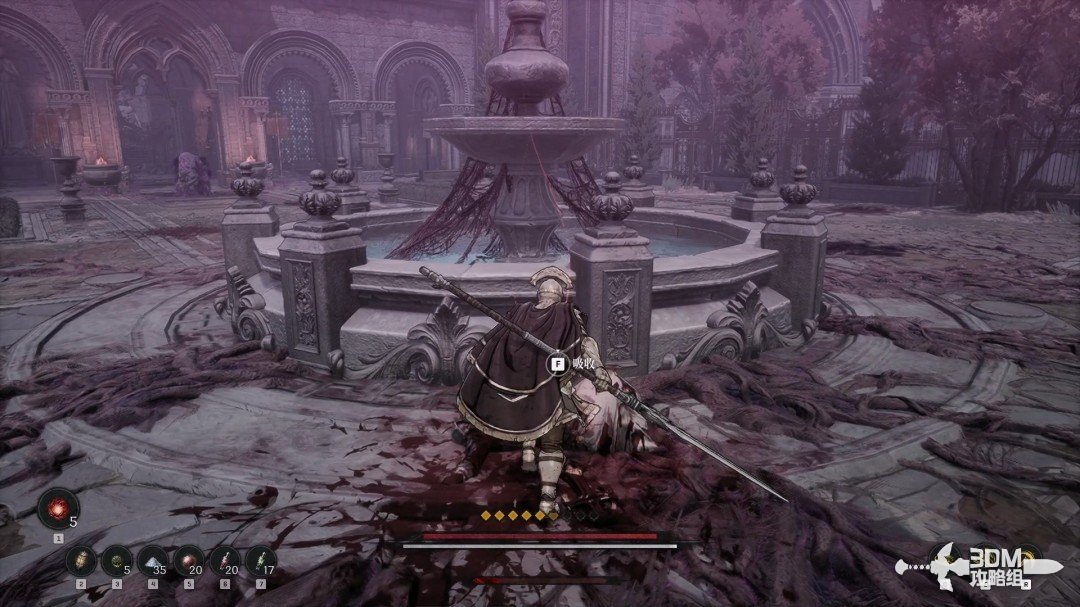
Absorb the memory in the garden's center.
Wedding sanctuary entrance: save before exploring the central garden · route image 8

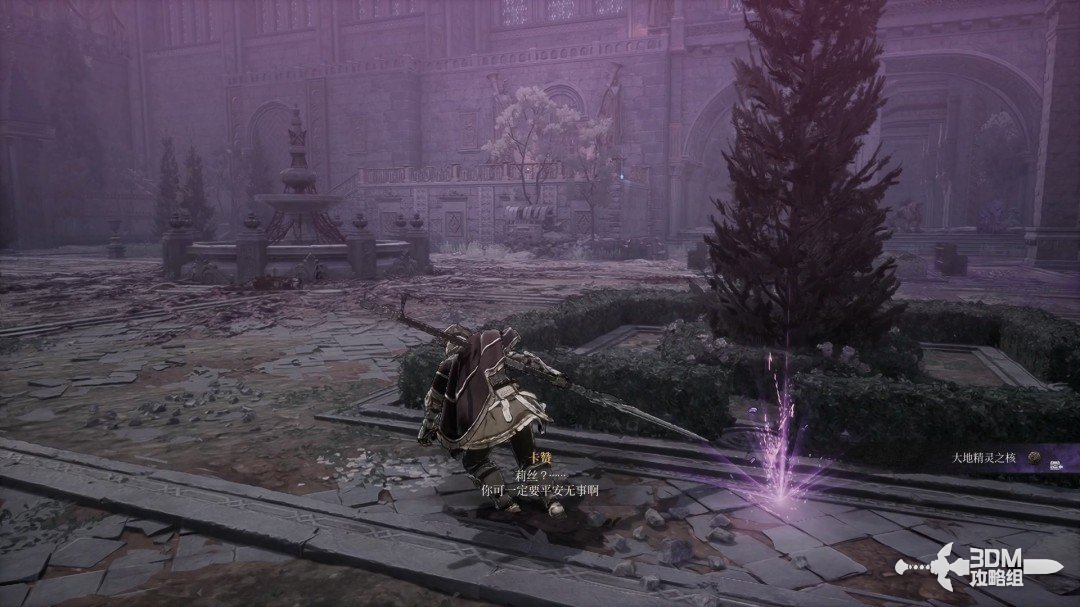
Collect the purple item on the right.
Wedding sanctuary entrance: save before exploring the central garden · route image 9

02Left garden stairs and main gate: find the Soulstone beyond the door

Take the blue item on the left stairs.
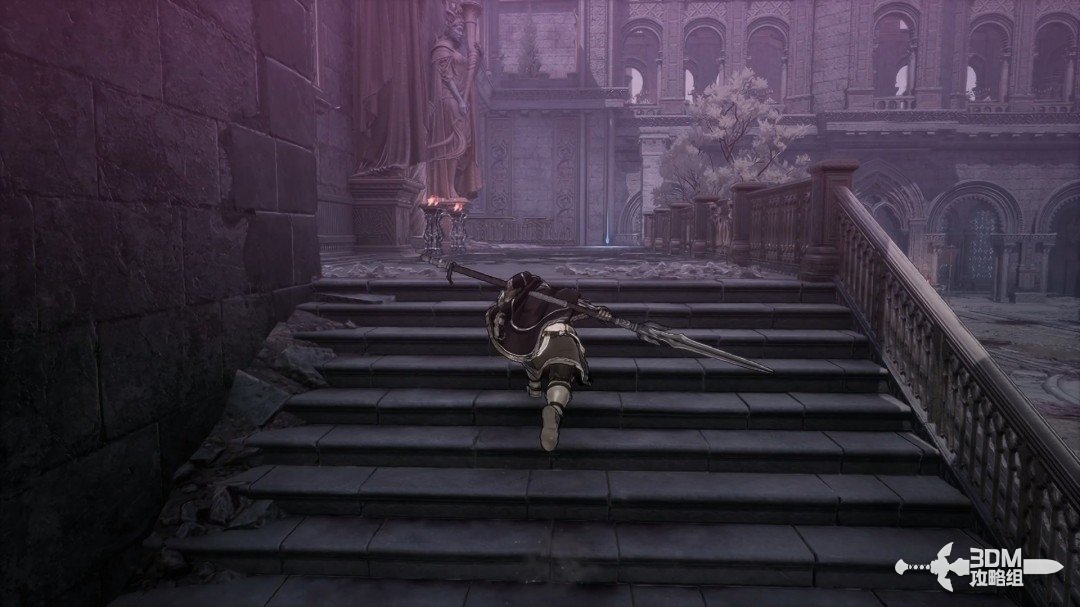
Left garden stairs and main gate: find the Soulstone beyond the door · route image 10

Drop from above for a purple item on the left.
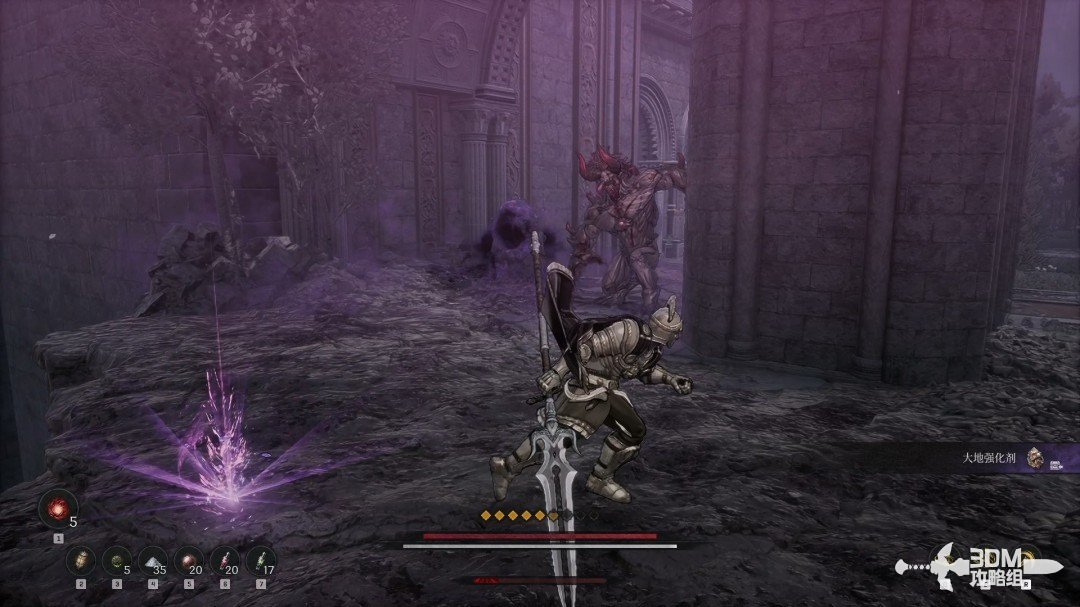
Left garden stairs and main gate: find the Soulstone beyond the door · route image 11

Enter the large gate ahead for a Soulstone on the right beyond it.
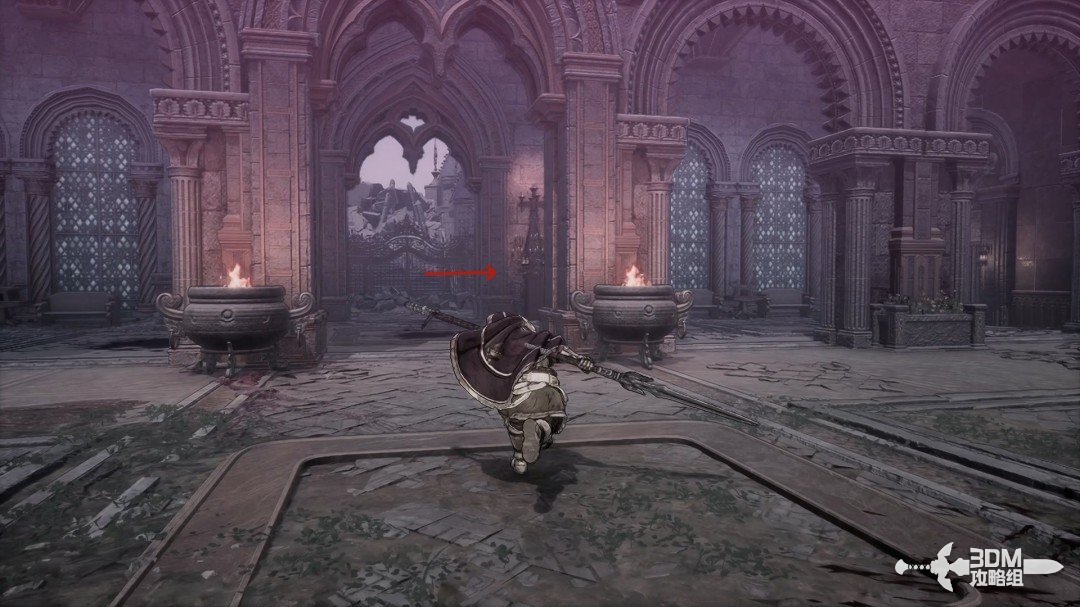
Left garden stairs and main gate: find the Soulstone beyond the door · route image 12
Left garden stairs and main gate: find the Soulstone beyond the door · route image 13

04Stairs through the right doorway: clear the mage and open the garden shortcut

Take the small right door afterward. First climb the stairs on its left.
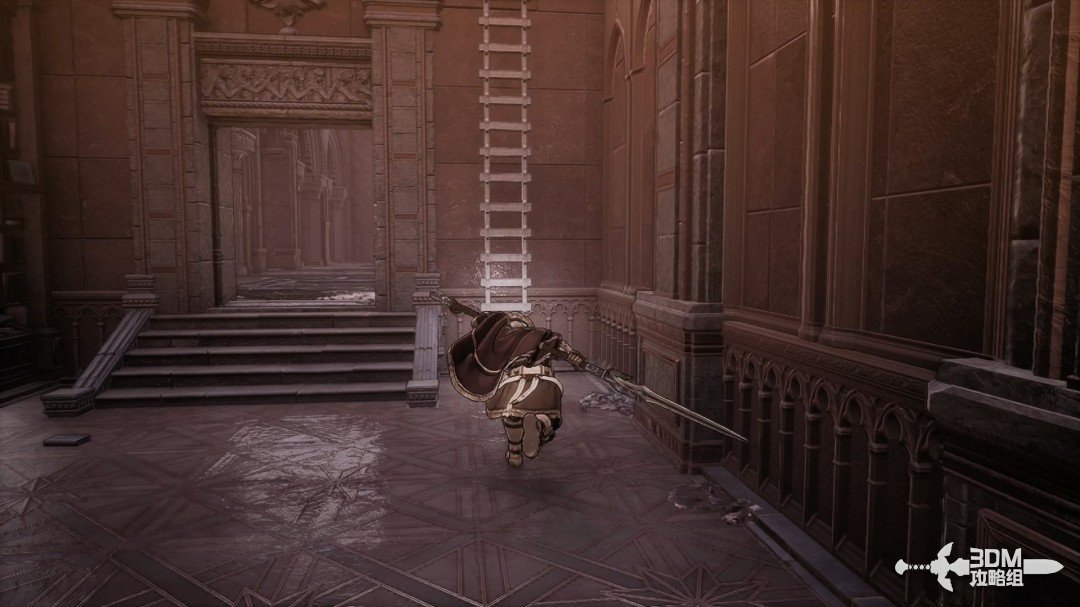
Stairs through the right doorway: clear the mage and open the garden shortcut · route image 1

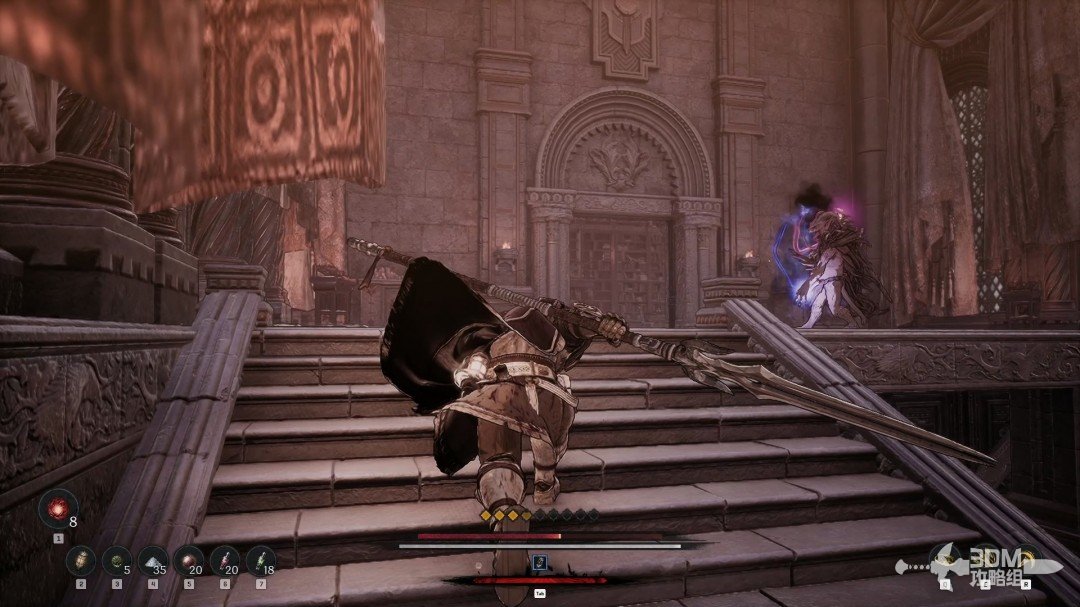
Defeat the elite mage above.

Stairs through the right doorway: clear the mage and open the garden shortcut · route image 2

Continue toward the right staircase, but first absorb the memory on the left.
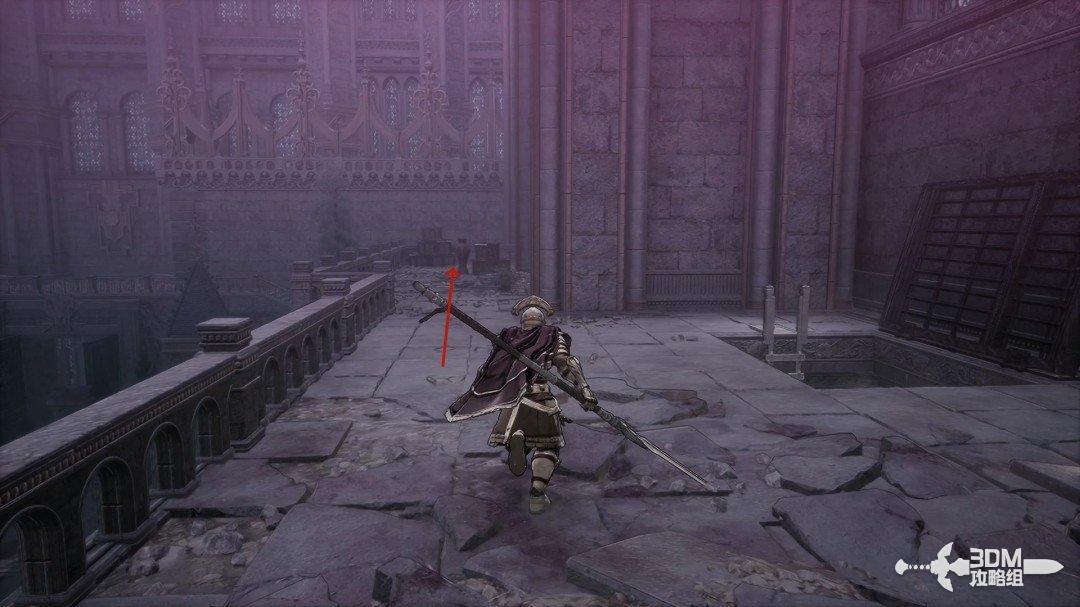
Stairs through the right doorway: clear the mage and open the garden shortcut · route image 3
Stairs through the right doorway: clear the mage and open the garden shortcut · route image 4

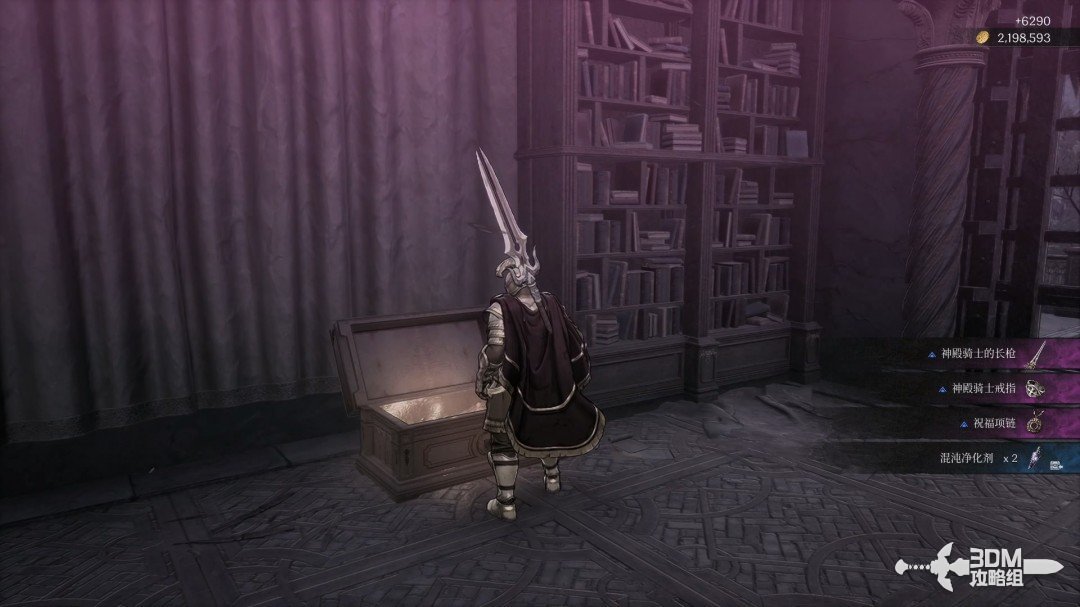
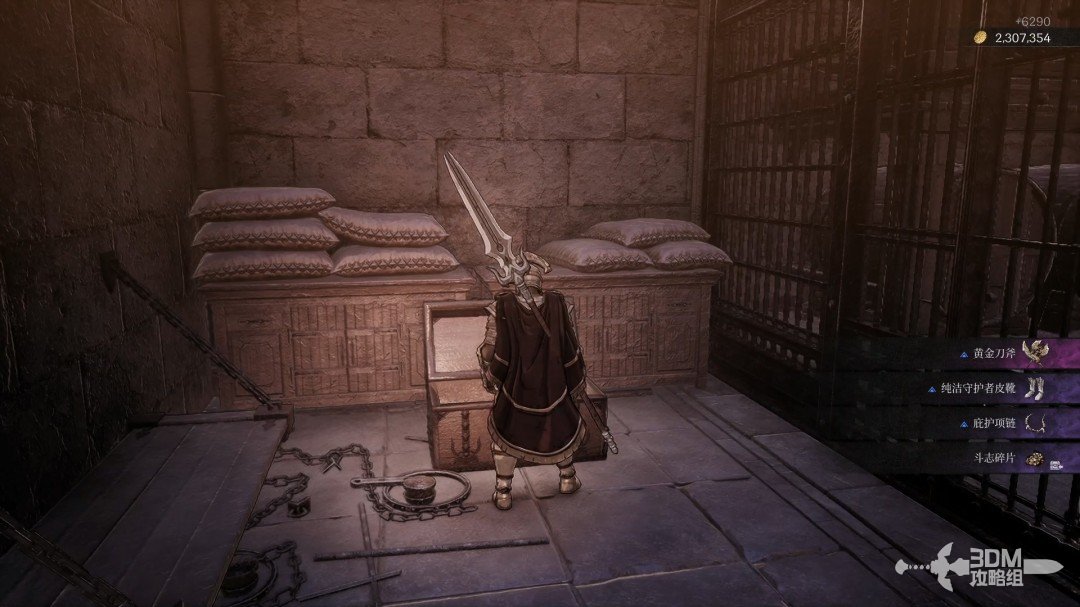
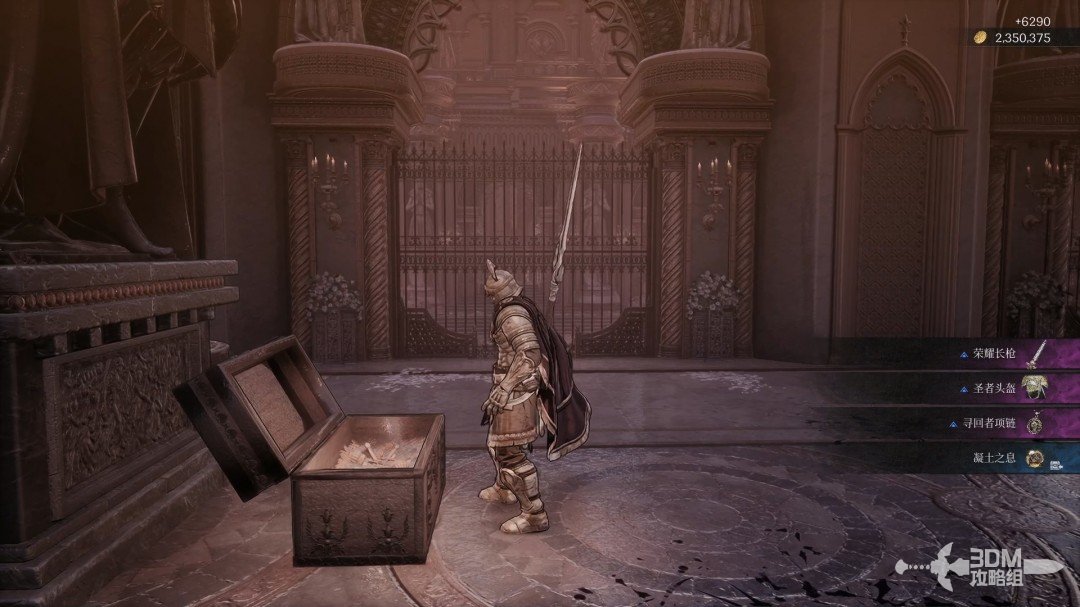
Descend the stairs for a chest.

Stairs through the right doorway: clear the mage and open the garden shortcut · route image 5

Open the nearby gate to reconnect with the courtyard garden, or retrace your route.
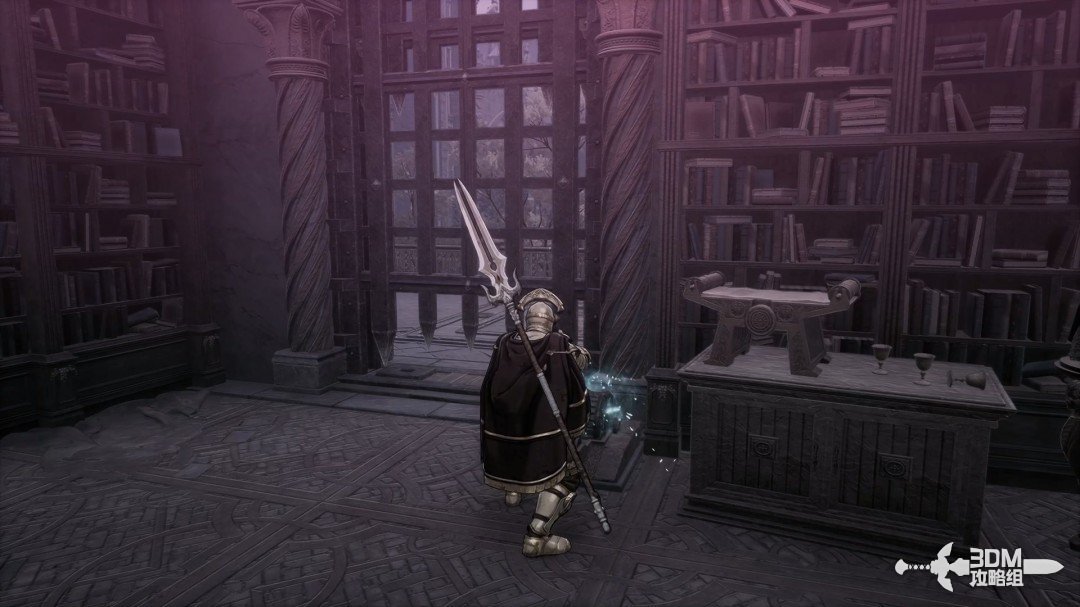
Stairs through the right doorway: clear the mage and open the garden shortcut · route image 6

05Below the indoor elevator: watch for an overhead ambush and follow the cliff to the castle

Take the elevator in the previous room.
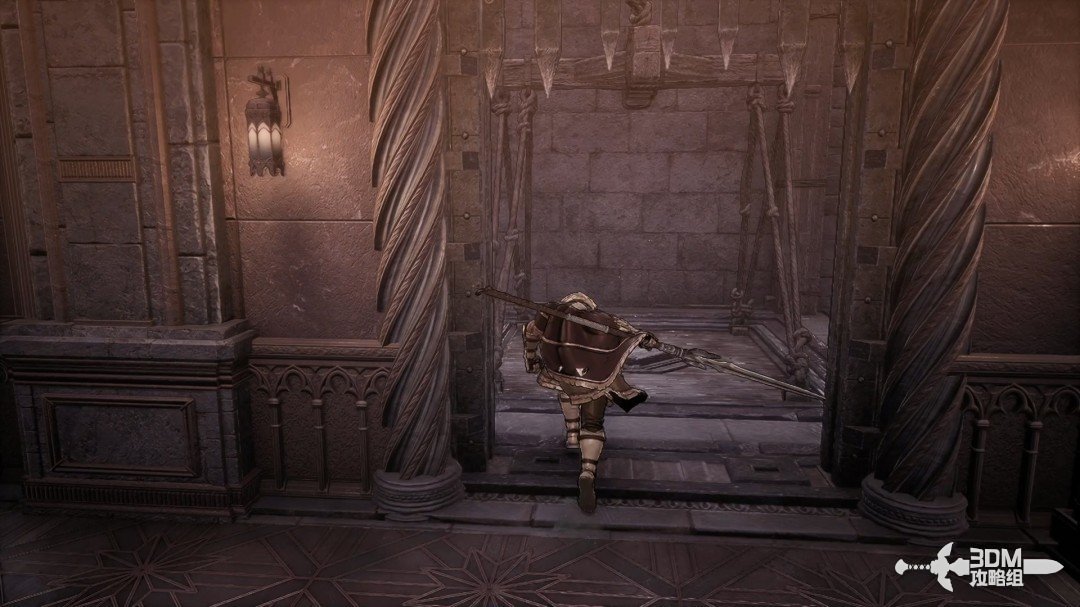
Below the indoor elevator: watch for an overhead ambush and follow the cliff to the castle · route image 7

After descending, look up and shoot the enemy waiting to ambush you.
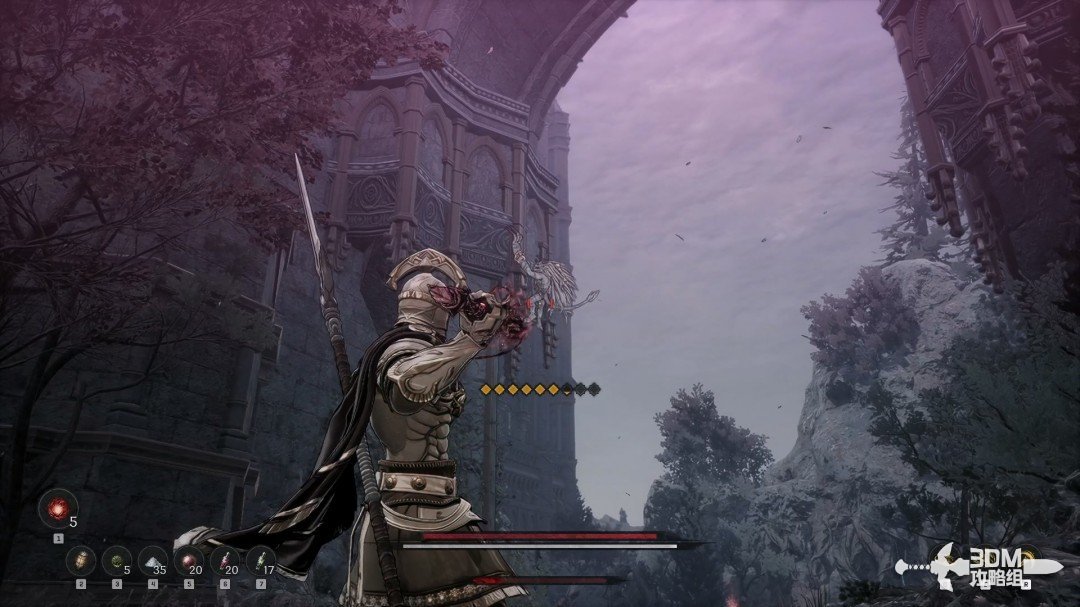
Below the indoor elevator: watch for an overhead ambush and follow the cliff to the castle · route image 8

Collect the blue item beside the right cliff.
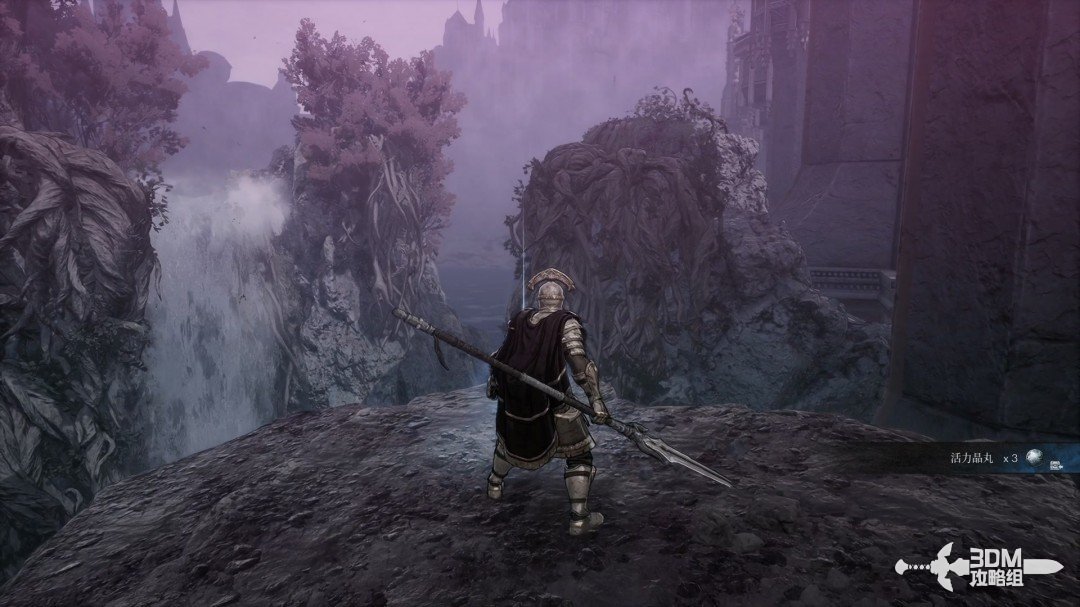
Below the indoor elevator: watch for an overhead ambush and follow the cliff to the castle · route image 9

Follow the main route for a blue item before the right statue.
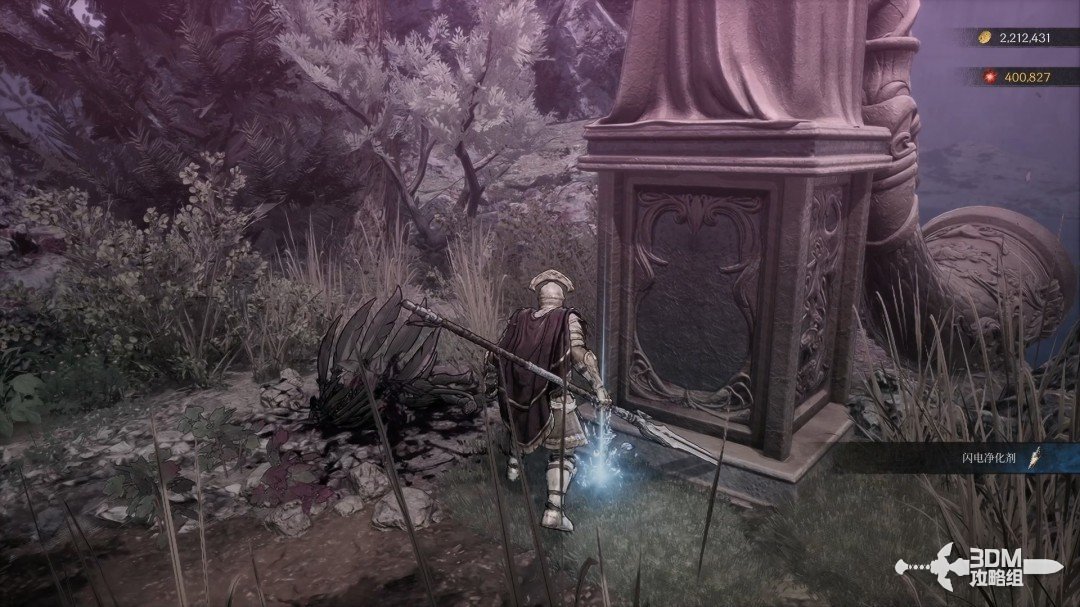
Below the indoor elevator: watch for an overhead ambush and follow the cliff to the castle · route image 10

A Soulstone is visible high on the castle's left side. A Javelin shot is awkward from here; you can collect it later.
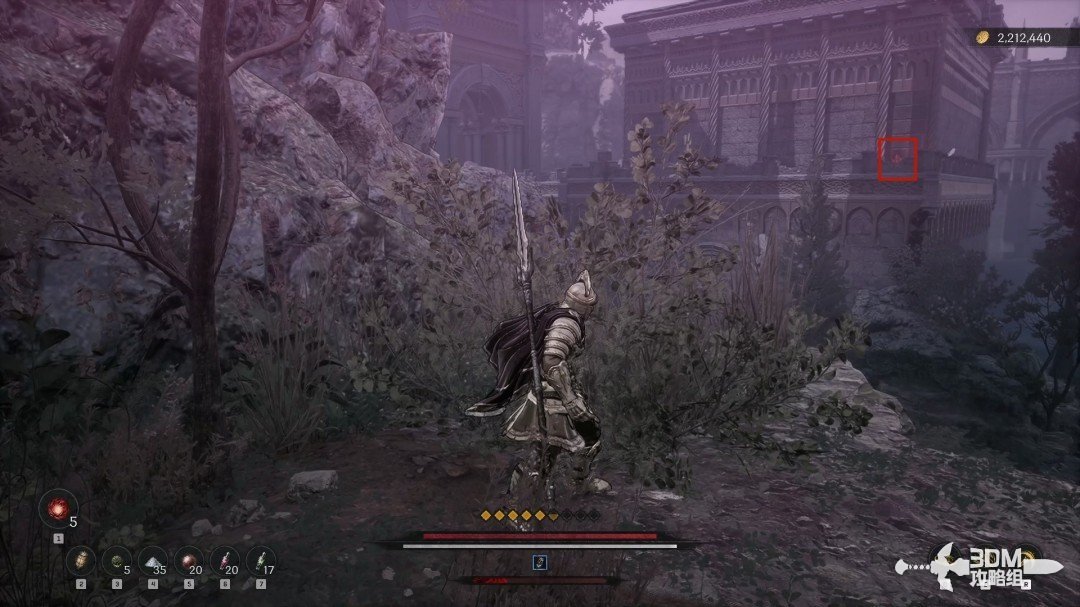
Below the indoor elevator: watch for an overhead ambush and follow the cliff to the castle · route image 11

07Succubus at the castle gate and inner stairs: find the Reese record

Ambush the succubus by the castle entrance from range.
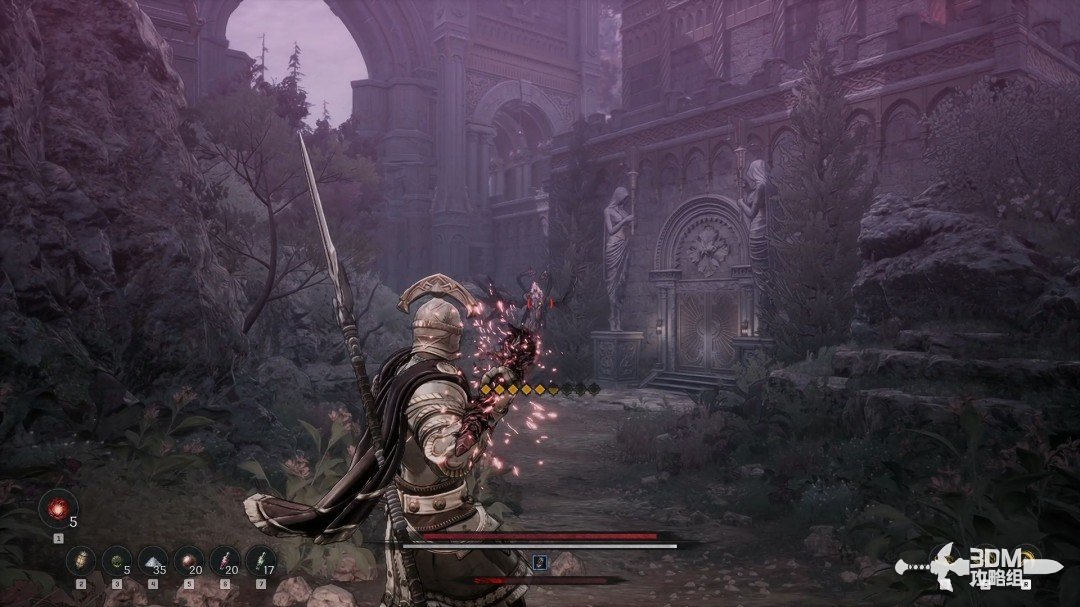
Succubus at the castle gate and inner stairs: find the Reese record · route image 1

Enter the gate.

Succubus at the castle gate and inner stairs: find the Reese record · route image 2

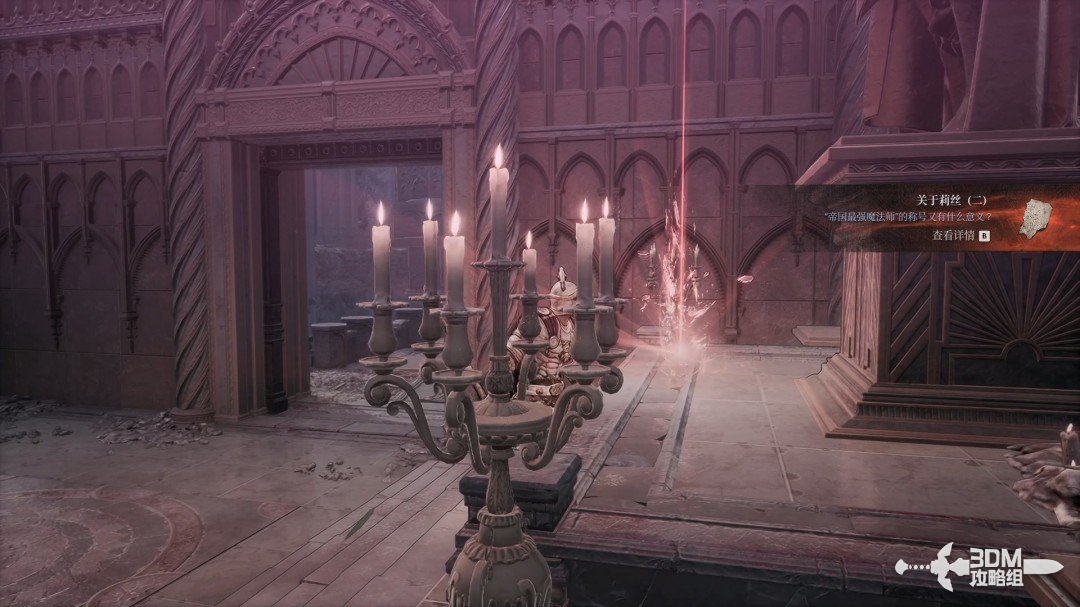
Climb the stairs and collect About Reese II beside the statue.
Succubus at the castle gate and inner stairs: find the Reese record · route image 3

09Soulstone outside the castle and next Nexus: follow the main path to the duplicating elite's room

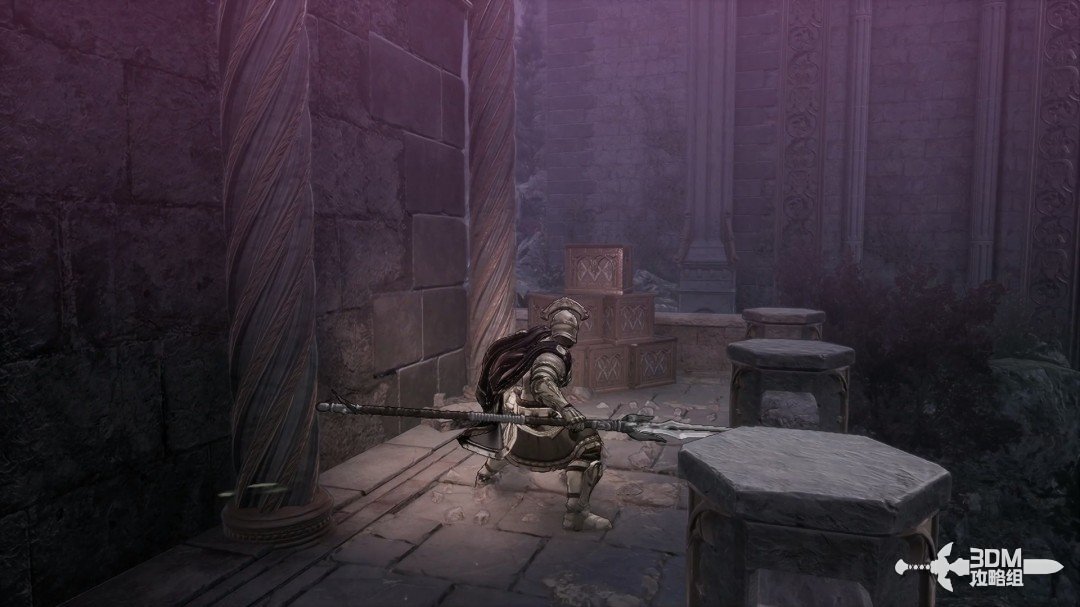
If you missed the Soulstone below, look left outside and break the crates to reach its position.
Soulstone outside the castle and next Nexus: follow the main path to the duplicating elite's room · route image 1
Soulstone outside the castle and next Nexus: follow the main path to the duplicating elite's room · route image 2

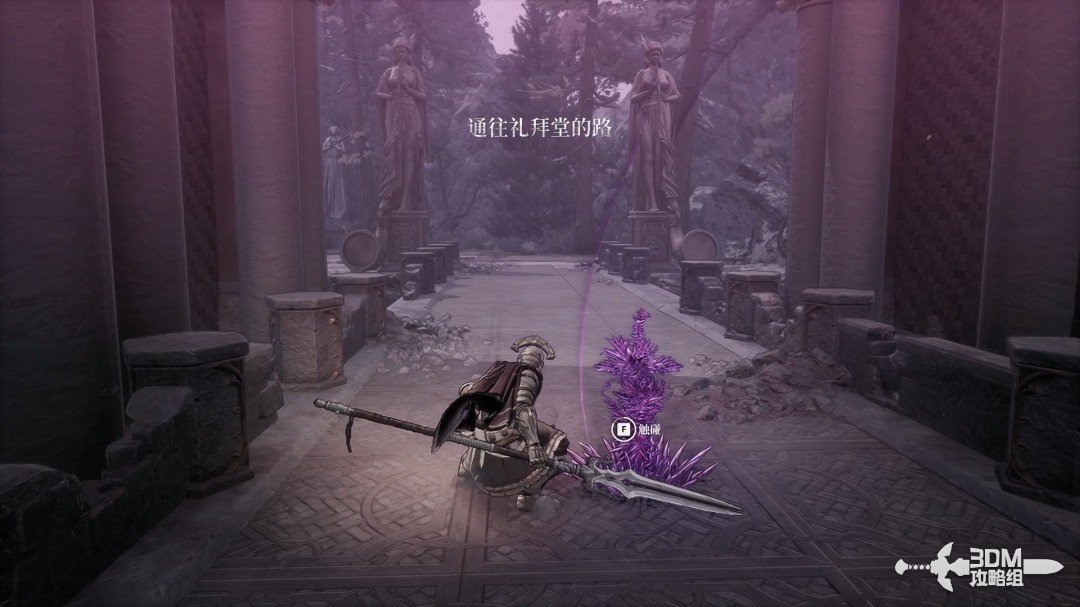
Return to the route and rest at the new Nexus ahead.
Soulstone outside the castle and next Nexus: follow the main path to the duplicating elite's room · route image 3

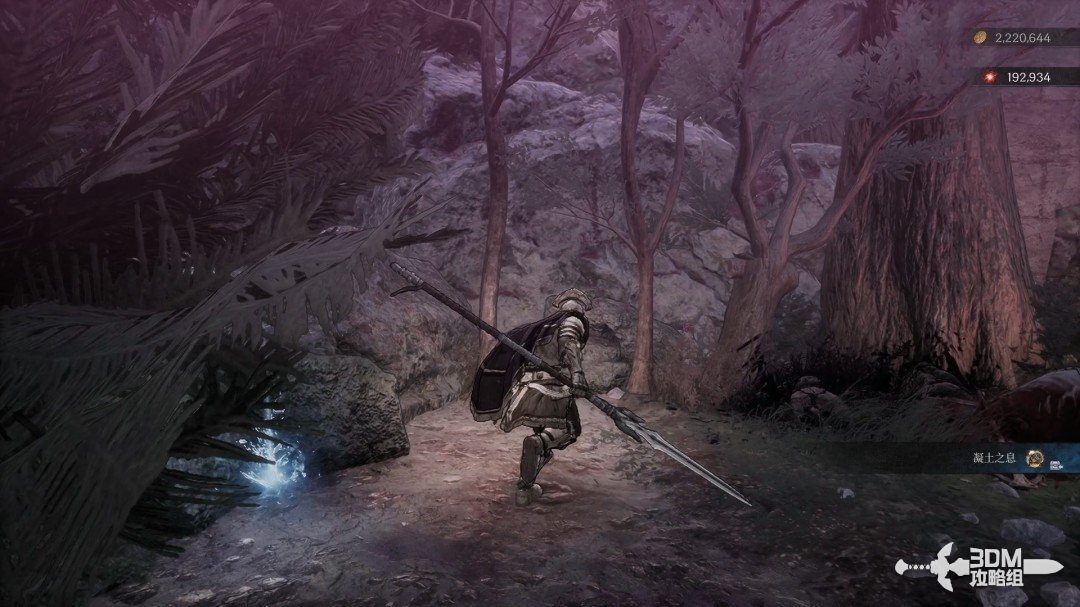
Follow the main route, clearing enemies and collecting blue items along the way.
Soulstone outside the castle and next Nexus: follow the main path to the duplicating elite's room · route image 4

Absorb the memory inside the right doorway ahead.
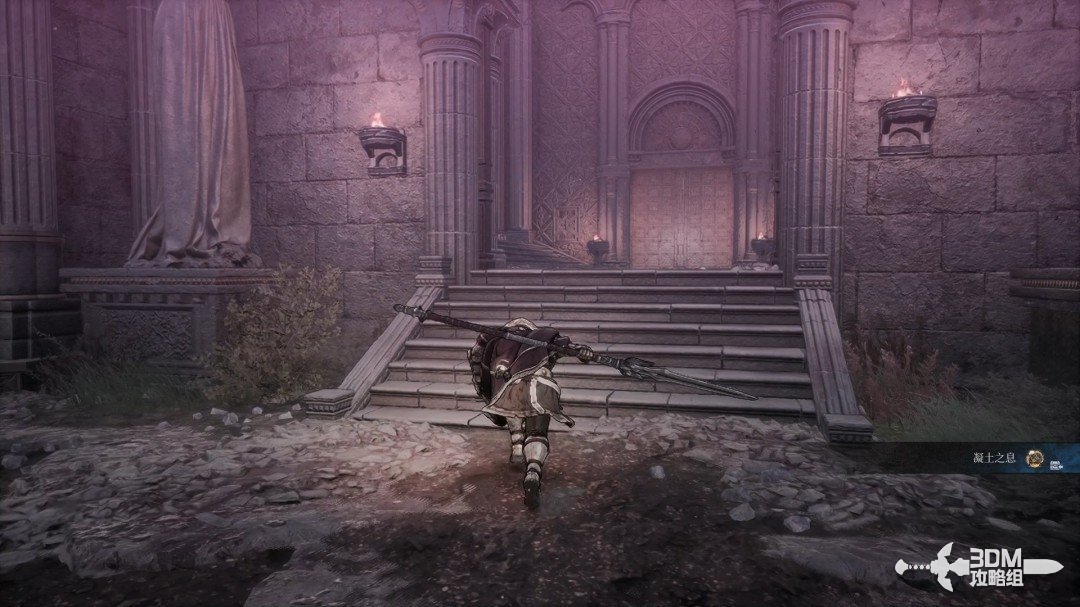
Soulstone outside the castle and next Nexus: follow the main path to the duplicating elite's room · route image 5
Soulstone outside the castle and next Nexus: follow the main path to the duplicating elite's room · route image 6

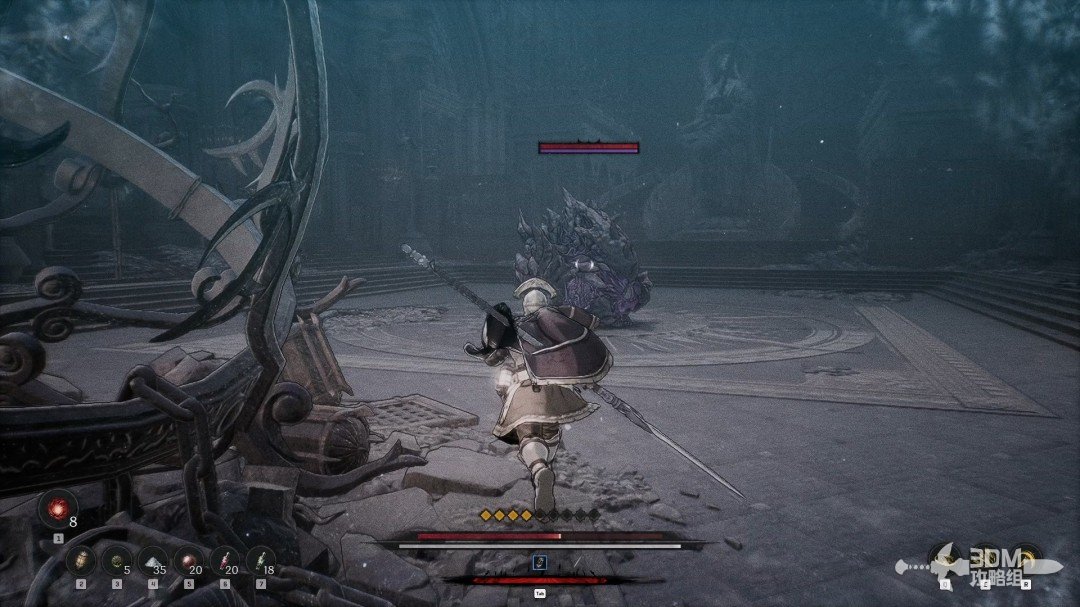
Enter the neighboring door and defeat the duplicating elite.
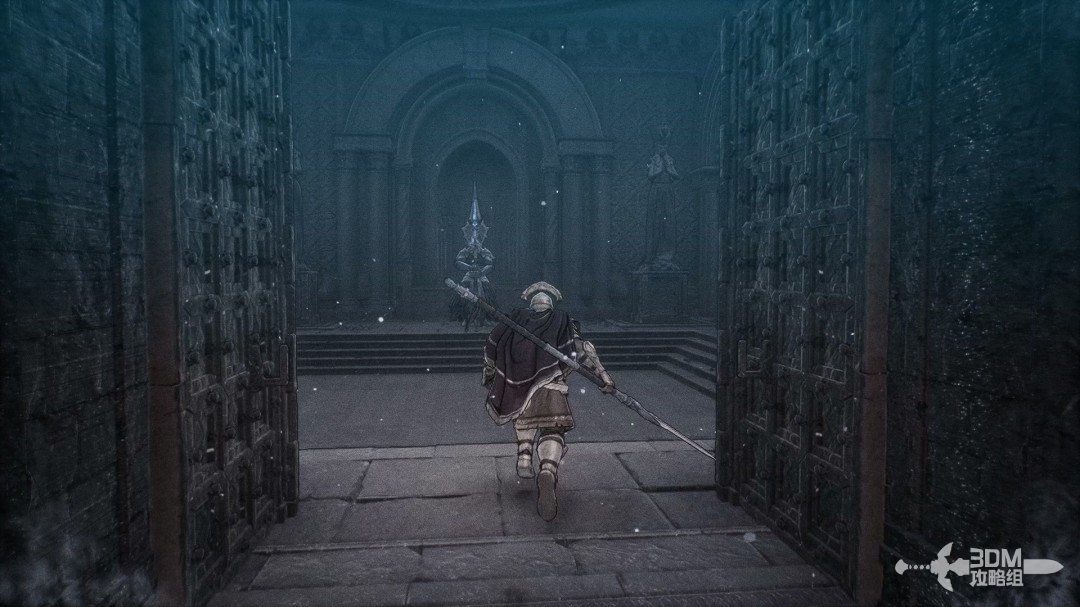
Soulstone outside the castle and next Nexus: follow the main path to the duplicating elite's room · route image 7

Collect Vilades's Confession afterward.
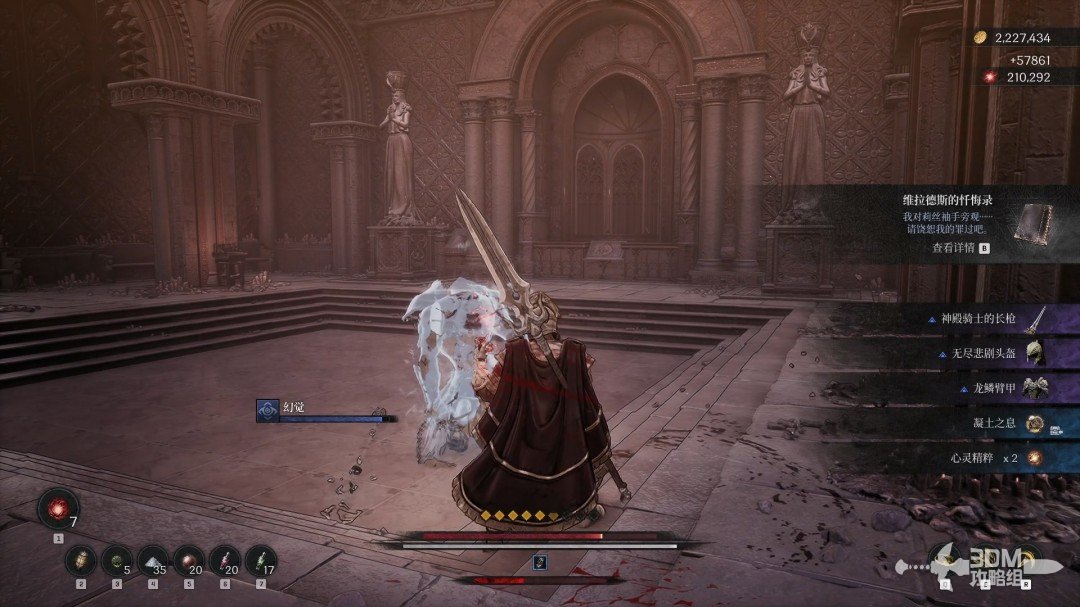
Soulstone outside the castle and next Nexus: follow the main path to the duplicating elite's room · route image 8

11Align the paired statues: open the passage and clear corridor ambushes

Rotate the two statues ahead to face one another.
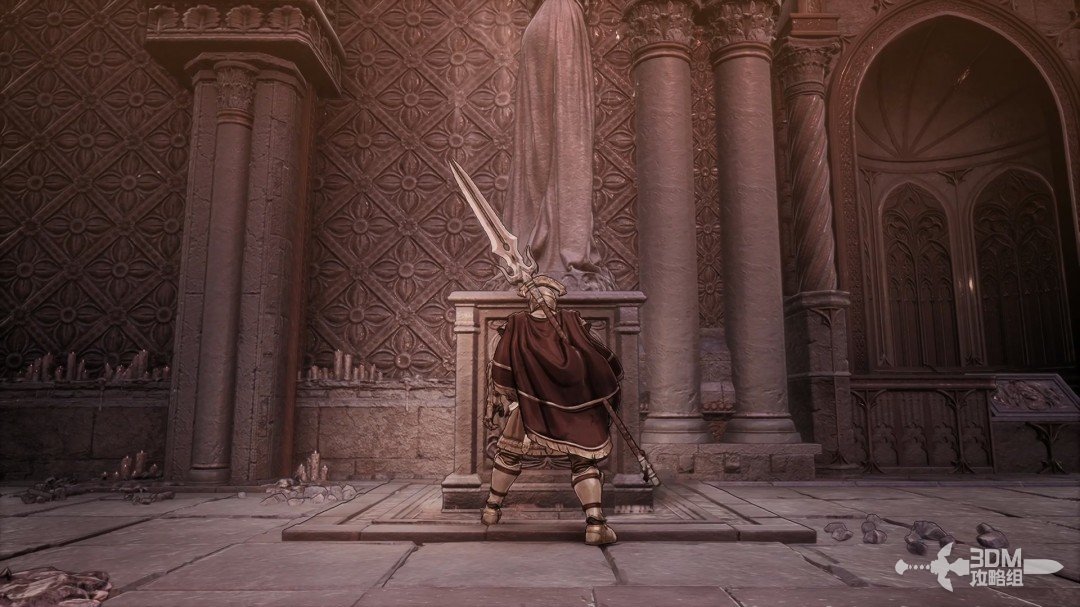
Align the paired statues: open the passage and clear corridor ambushes · route image 1

The alignment opens the central passage.
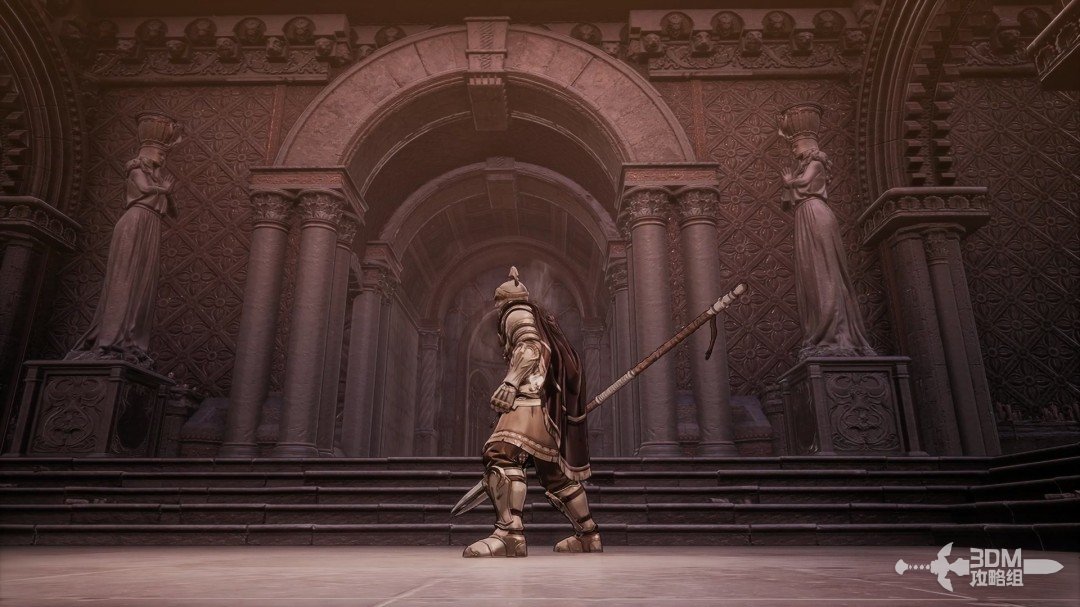
Align the paired statues: open the passage and clear corridor ambushes · route image 2

Enter and clear the ambushers lining the corridor.
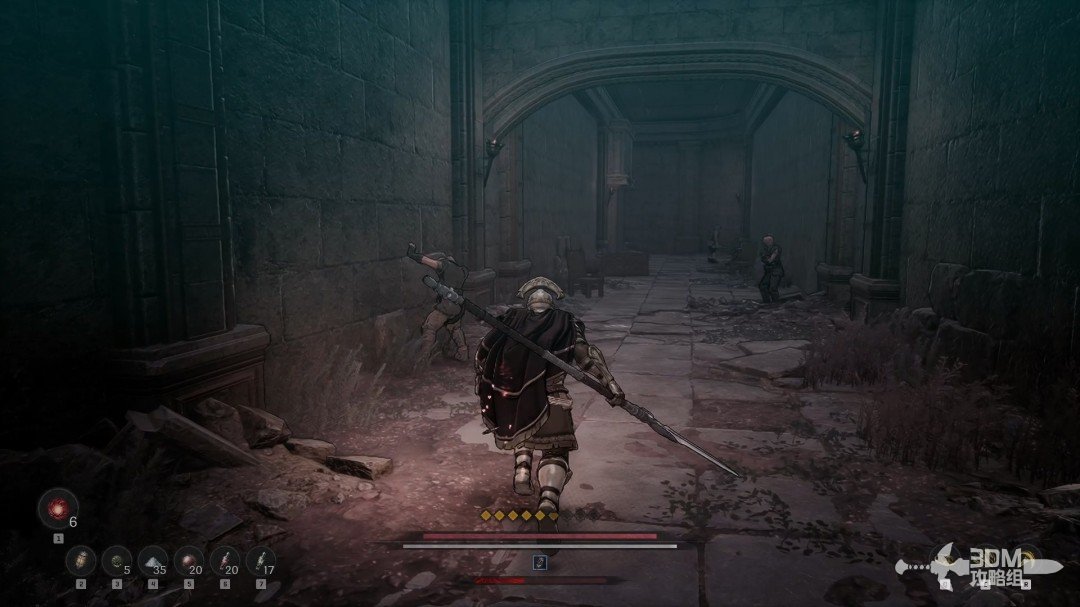
Align the paired statues: open the passage and clear corridor ambushes · route image 3

Watch for the laser-firing enemy ahead.
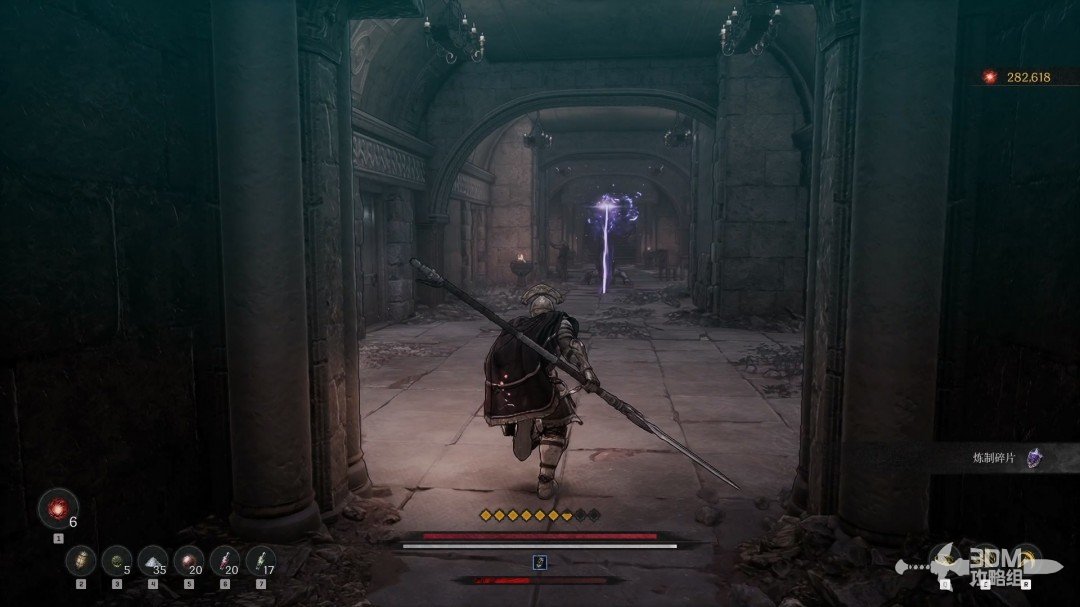
Align the paired statues: open the passage and clear corridor ambushes · route image 4

12Small rooms beside the passage: search the jar in the right room

After the fight, enter the first door on the left.
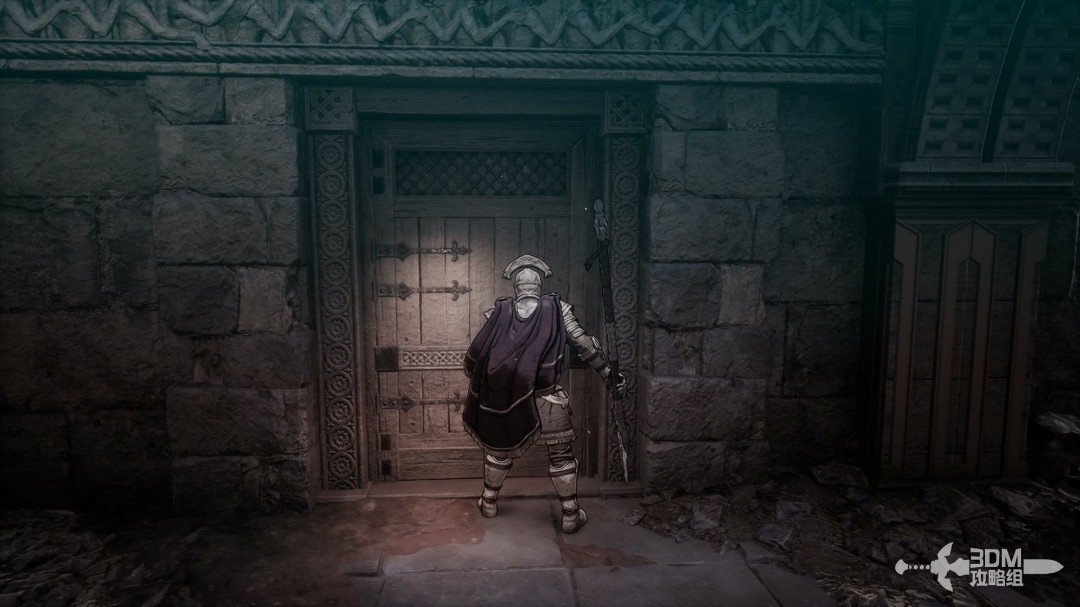
Small rooms beside the passage: search the jar in the right room · route image 5

Collect the blue item inside.

Small rooms beside the passage: search the jar in the right room · route image 6

Search the small right room carefully for another ambush.
Small rooms beside the passage: search the jar in the right room · route image 7

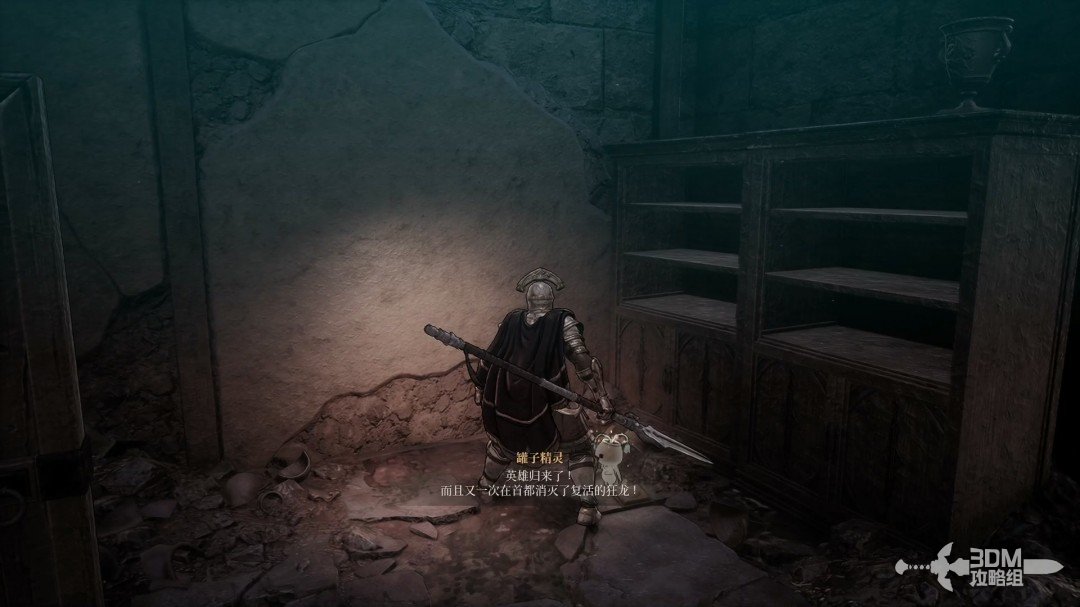
Its pot contains a Jarling.

Small rooms beside the passage: search the jar in the right room · route image 8

14Chest behind the coffin and elevator: reach the next Nexus

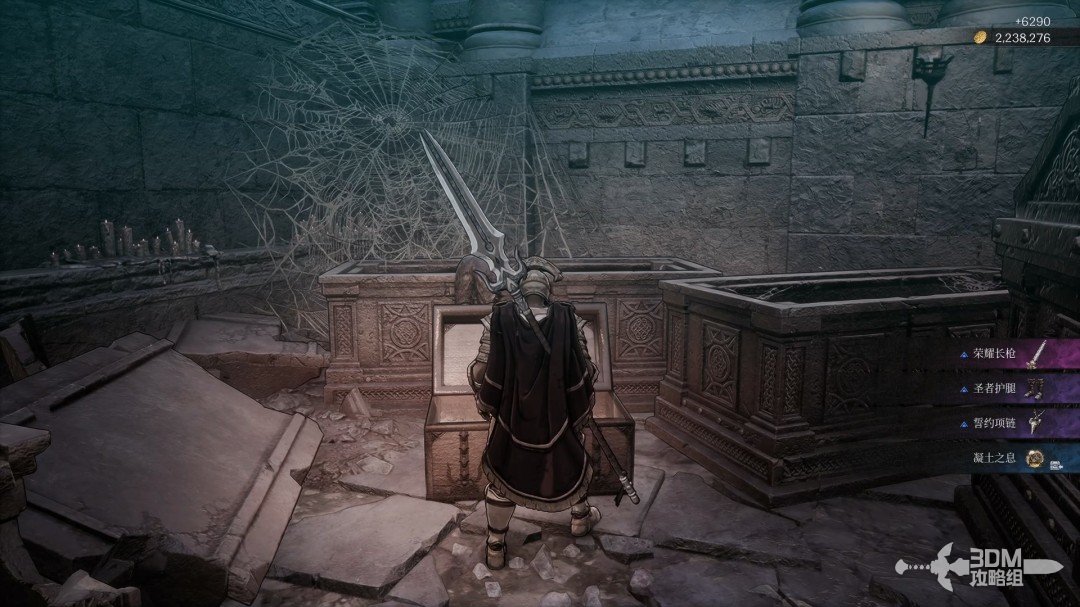
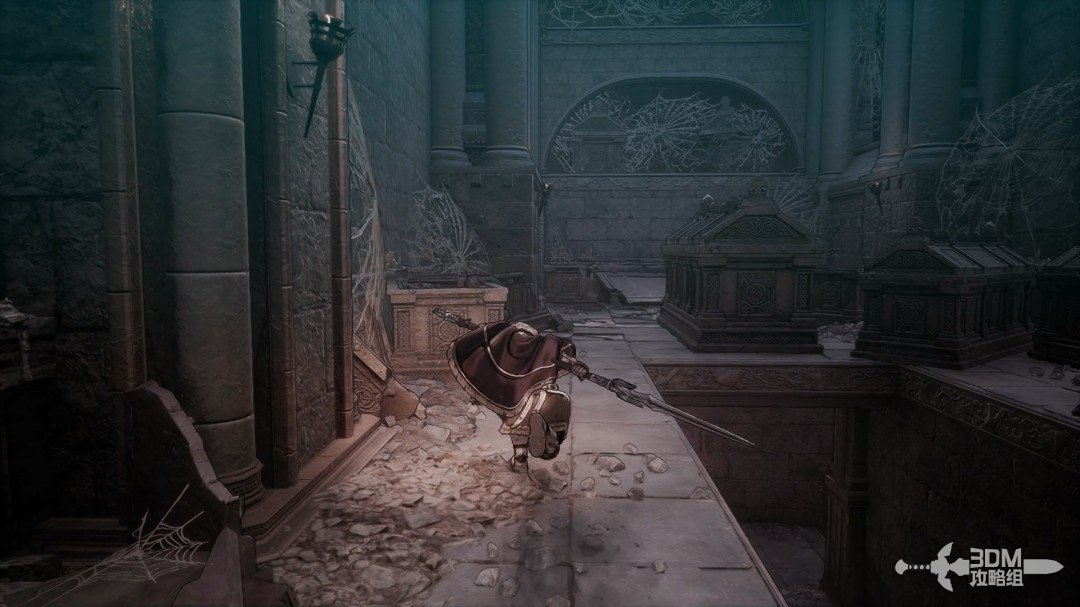
Climb the stairs and turn back for the chest behind the coffin.
Chest behind the coffin and elevator: reach the next Nexus · route image 1
Chest behind the coffin and elevator: reach the next Nexus · route image 2

Take the elevator ahead afterward.

Chest behind the coffin and elevator: reach the next Nexus · route image 3

Rest at the new Nexus above.

Chest behind the coffin and elevator: reach the next Nexus · route image 4

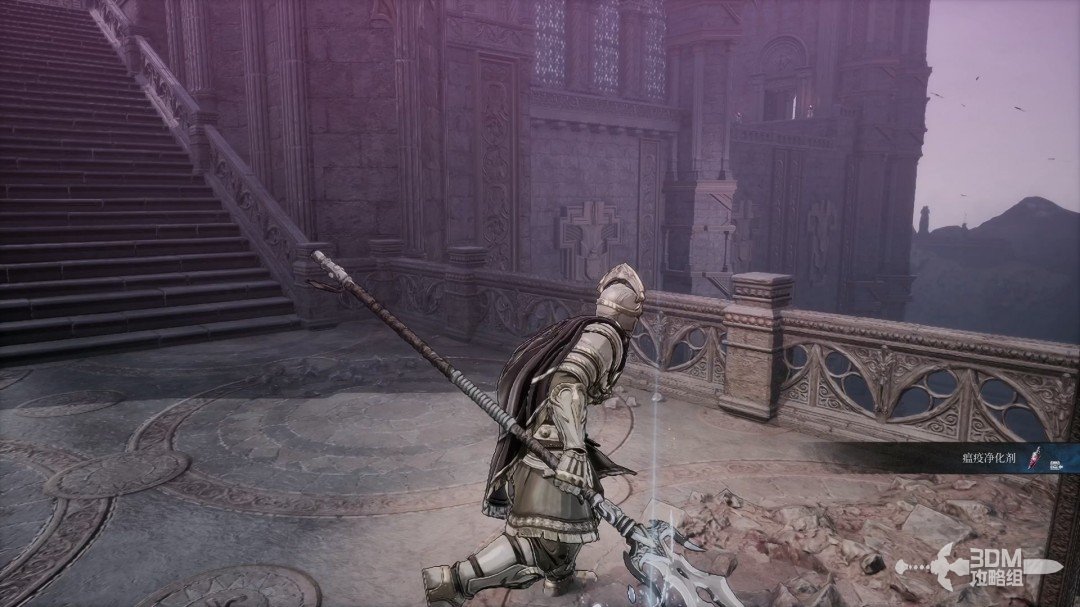
Collect the blue item beneath the right stairs.
Chest behind the coffin and elevator: reach the next Nexus · route image 5

15Hidden door right of the main gate: collect the Soulstone, then climb for the knight scroll

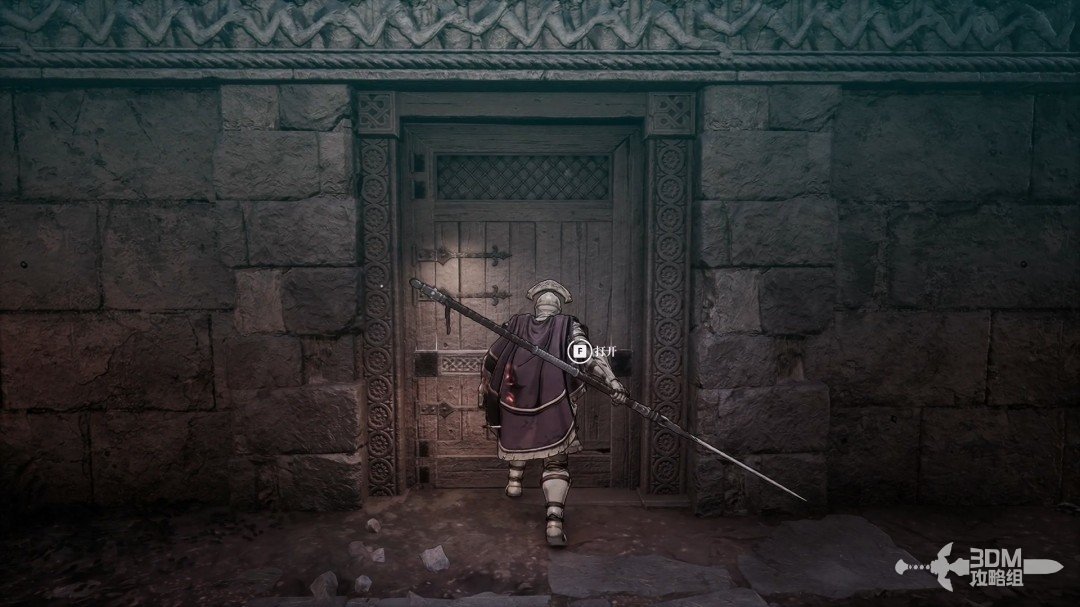
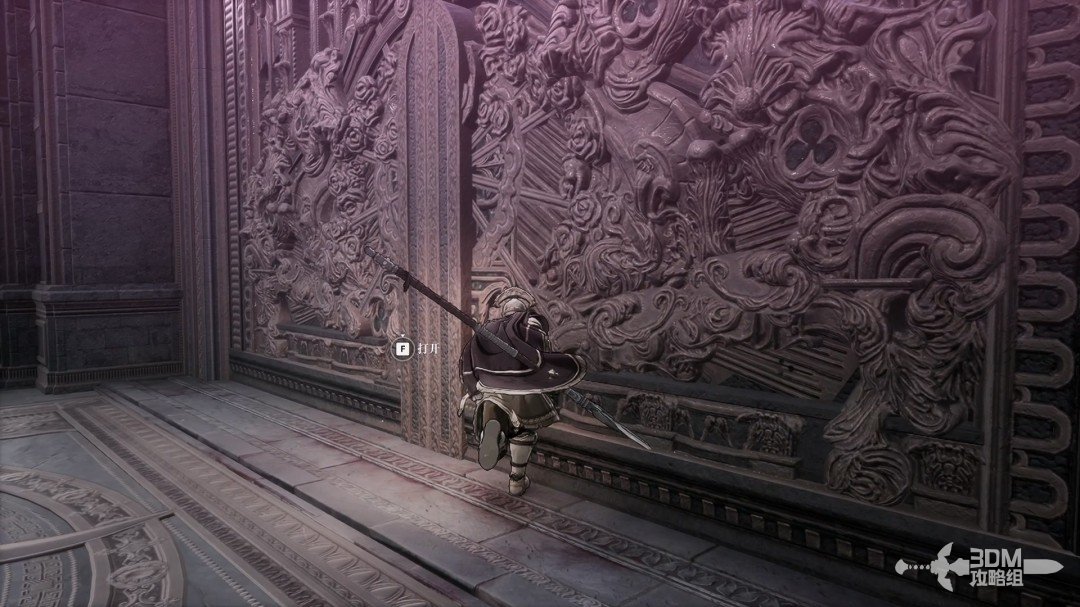
Enter the large gate, the only route forward.
Hidden door right of the main gate: collect the Soulstone, then climb for the knight scroll · route image 6

Explore right inside first.

Hidden door right of the main gate: collect the Soulstone, then climb for the knight scroll · route image 7

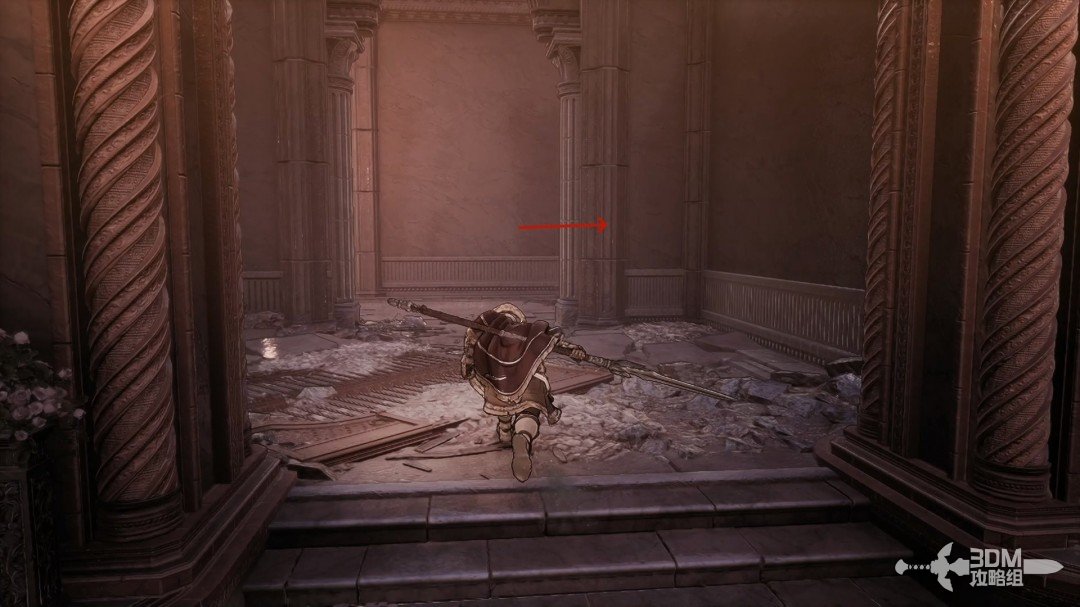
Break the hidden wall on the right.

Hidden door right of the main gate: collect the Soulstone, then climb for the knight scroll · route image 8

Defeat the enemies and collect the Soulstone inside.
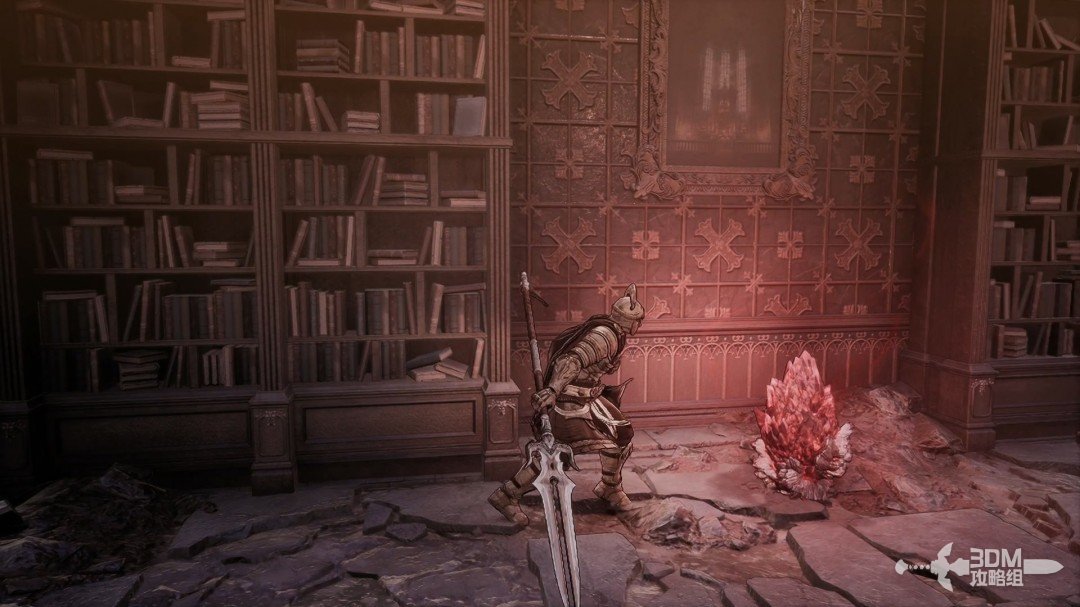
Hidden door right of the main gate: collect the Soulstone, then climb for the knight scroll · route image 9

Climb all the way up the stairs. At the top, clear the right side and collect the purple item behind the enemies.
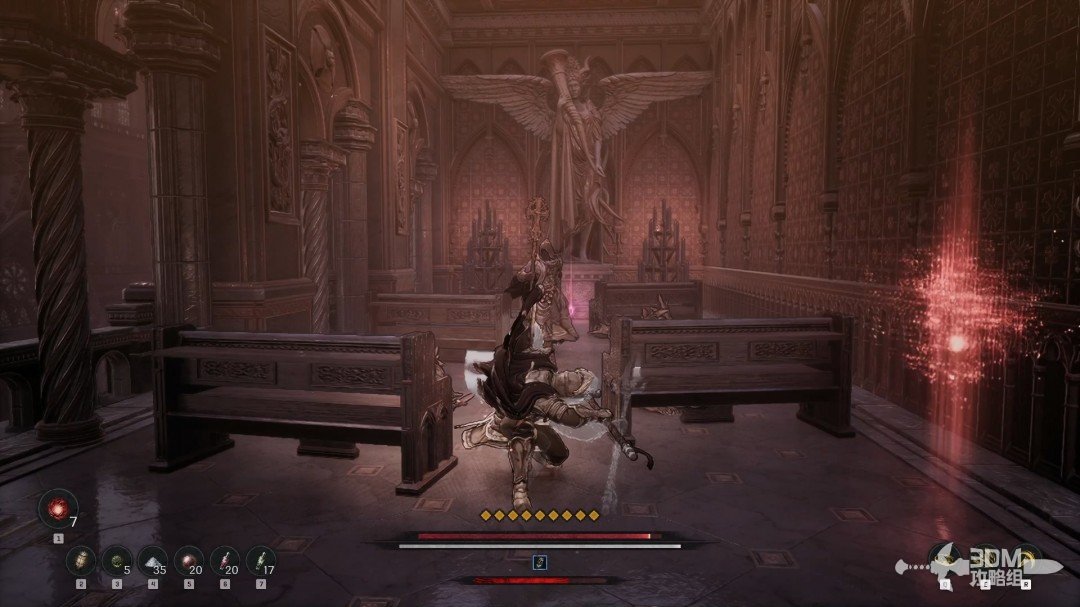
Hidden door right of the main gate: collect the Soulstone, then climb for the knight scroll · route image 1

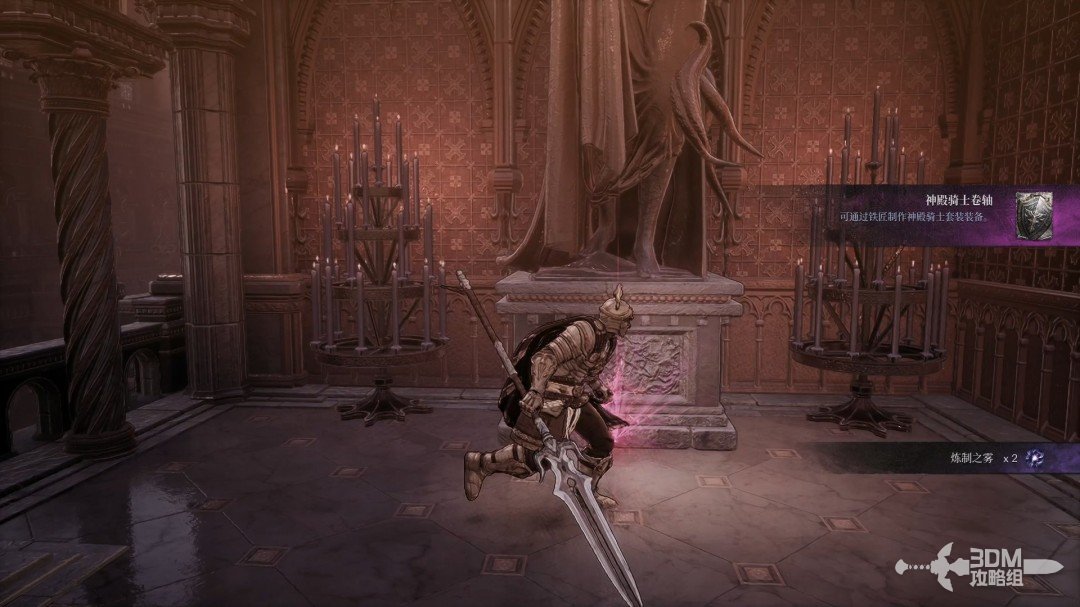
Collect the Temple Knight Scroll.

Hidden door right of the main gate: collect the Soulstone, then climb for the knight scroll · route image 2

18Drop on the upper left: open the Nexus shortcut

Go left. The small left doorway contains no additional loot.
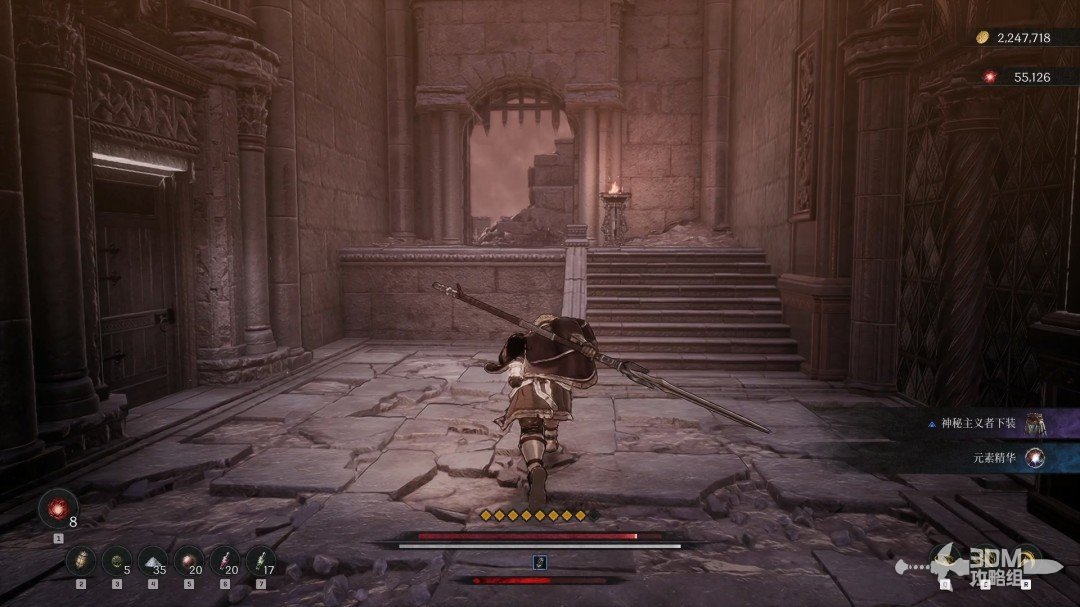
Drop on the upper left: open the Nexus shortcut · route image 1

Continue forward and drop from the ledge.
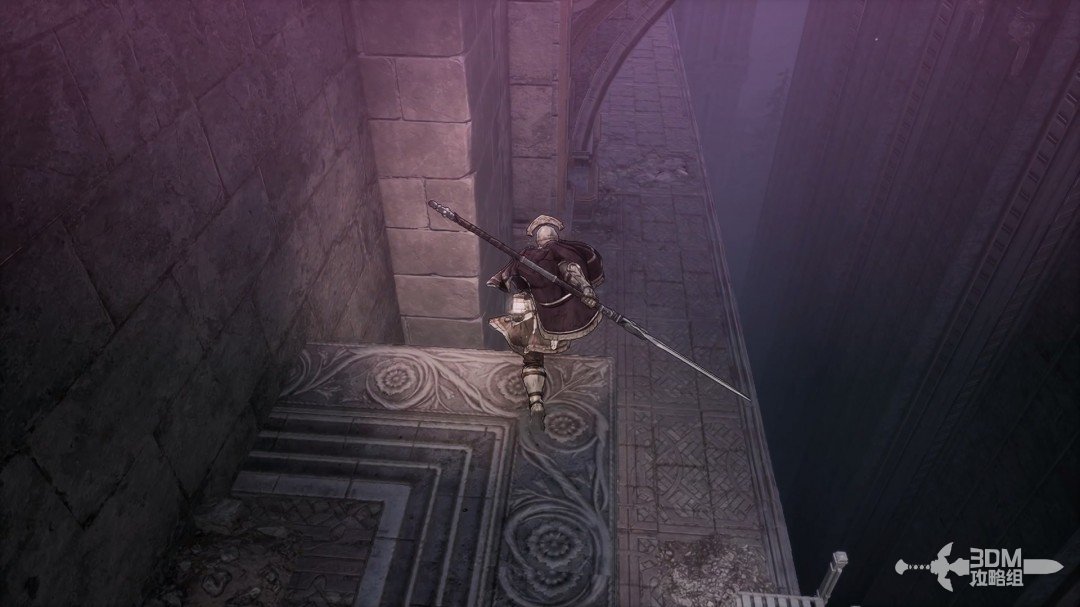
Drop on the upper left: open the Nexus shortcut · route image 2

Advance toward the purple item. Look up and attack the enemy poised to drop onto you.
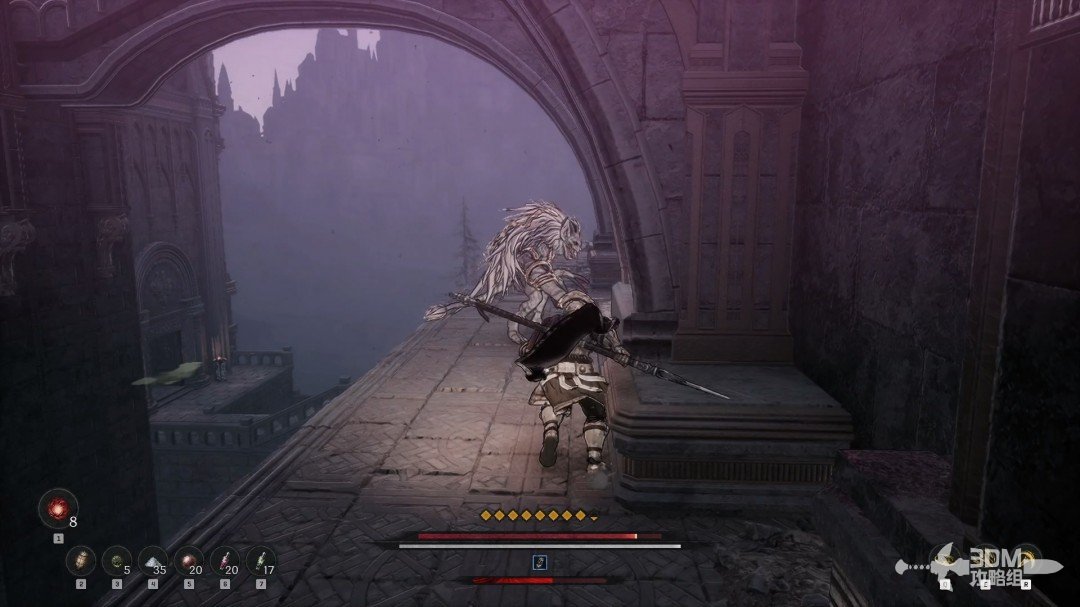
Drop on the upper left: open the Nexus shortcut · route image 3

Defeat it and collect the purple item.
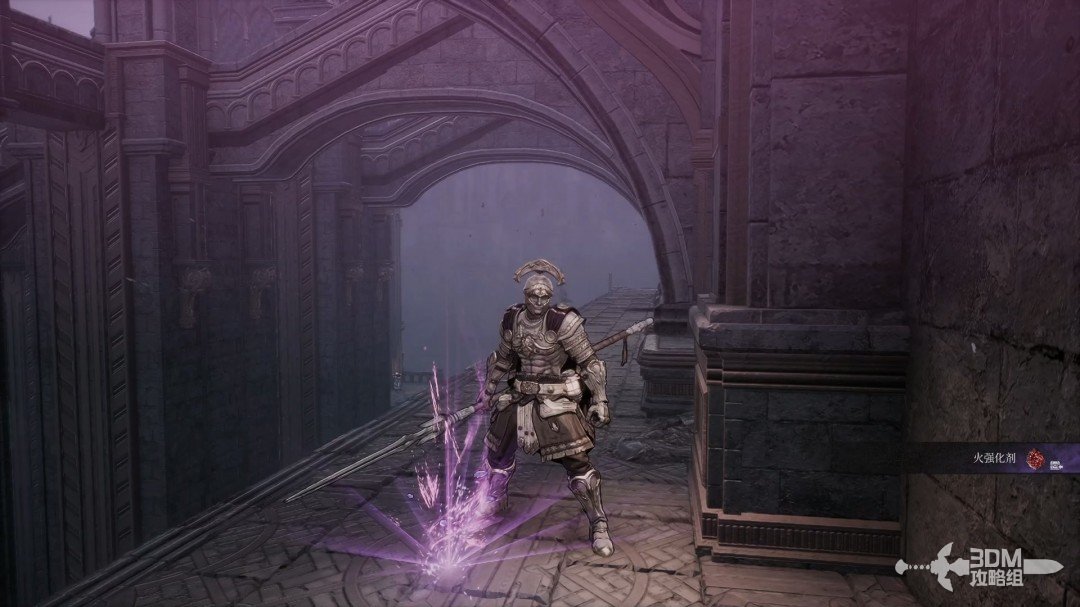
Drop on the upper left: open the Nexus shortcut · route image 4

Turn back and descend the stairs.

Drop on the upper left: open the Nexus shortcut · route image 5

The lower staircase lets you open a shortcut gate to the previous Nexus.
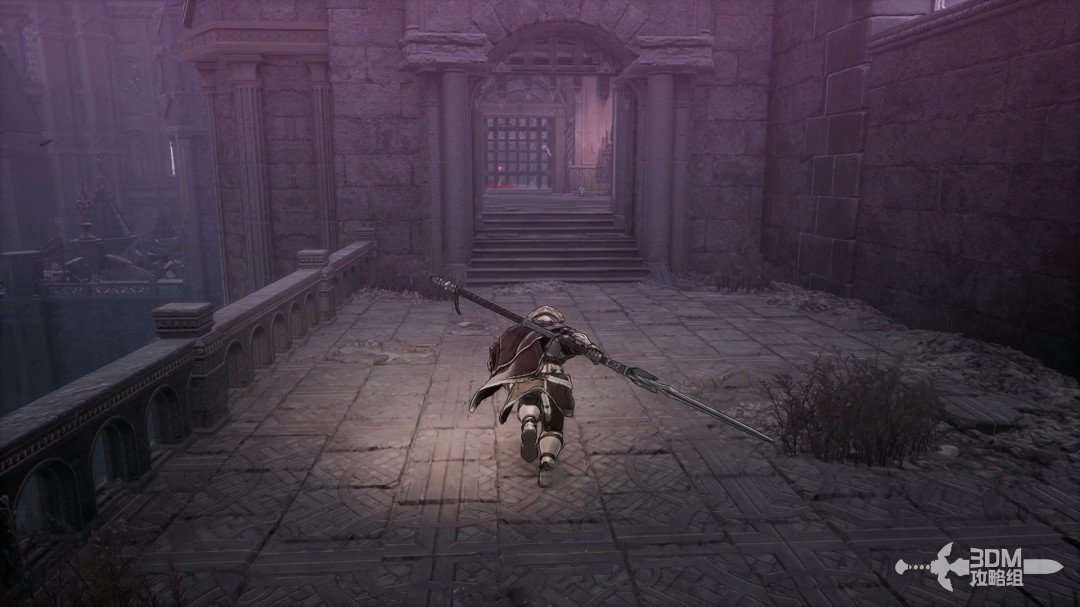
Drop on the upper left: open the Nexus shortcut · route image 6

19Descending stairs beside the elevator: drop to the roof for the scroll and record

Rest if needed, then return toward the elevator and stairs ahead. Descend the stairs first.
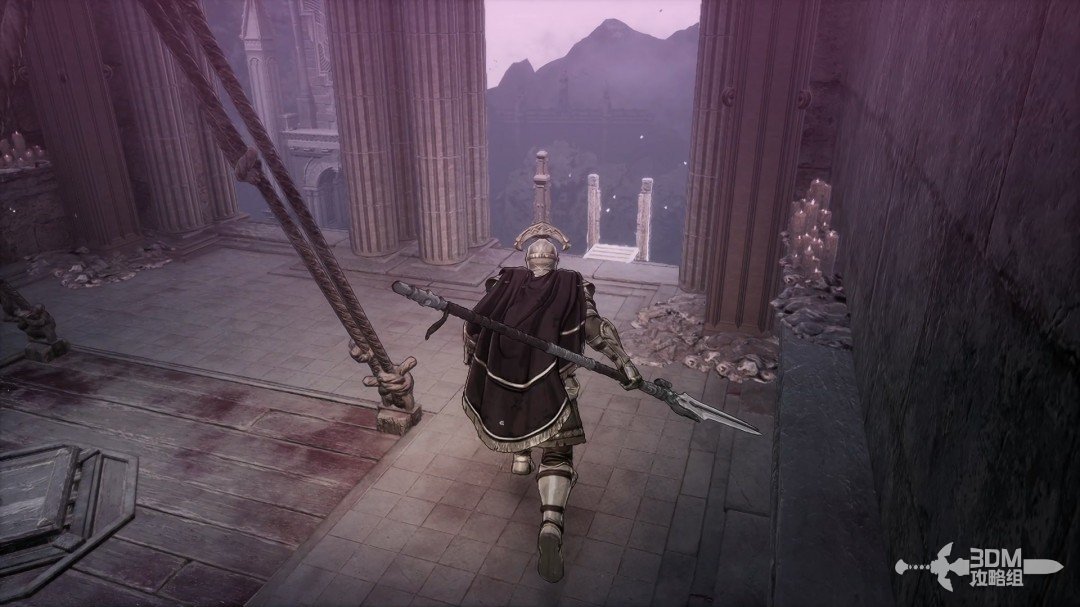
Descending stairs beside the elevator: drop to the roof for the scroll and record · route image 7

You reach the roofs. Drop from this position.
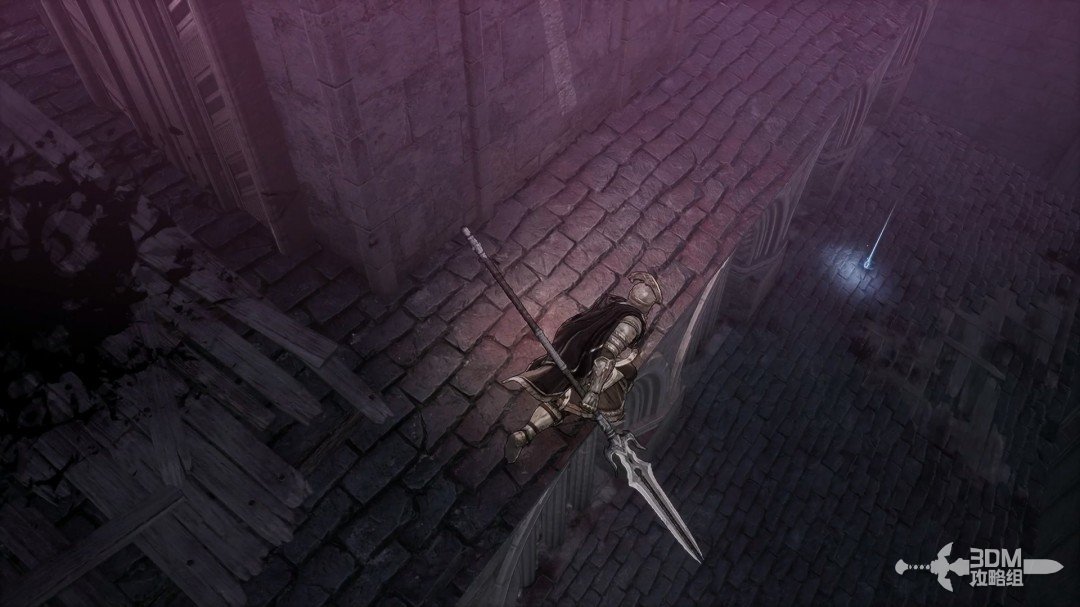
Descending stairs beside the elevator: drop to the roof for the scroll and record · route image 8

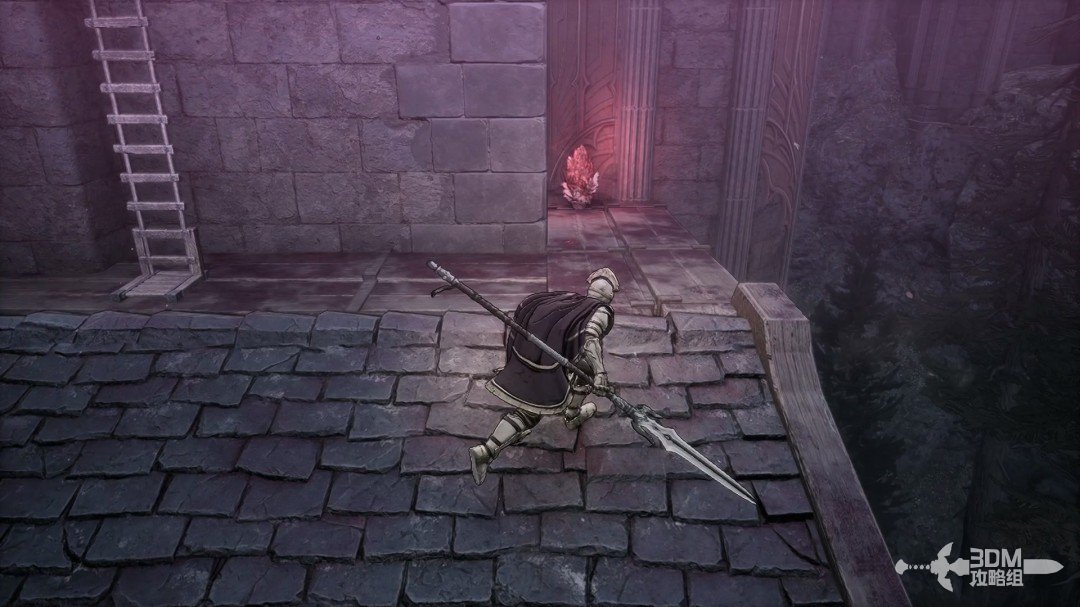
Collect the blue Earth Purification Magic Scroll below.
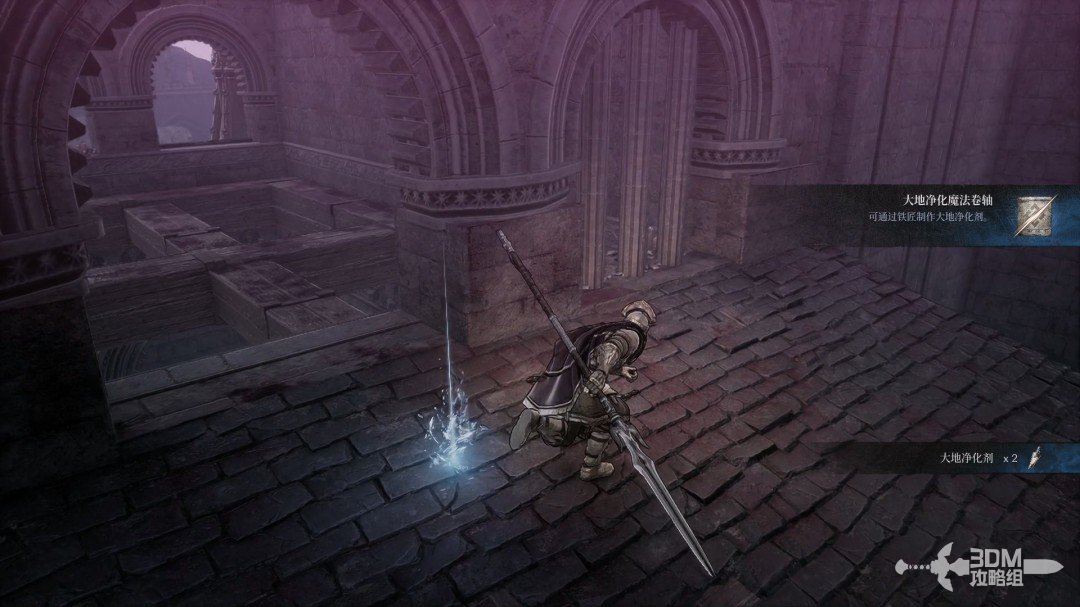
Descending stairs beside the elevator: drop to the roof for the scroll and record · route image 9

Go left for About Reese III on the beam.
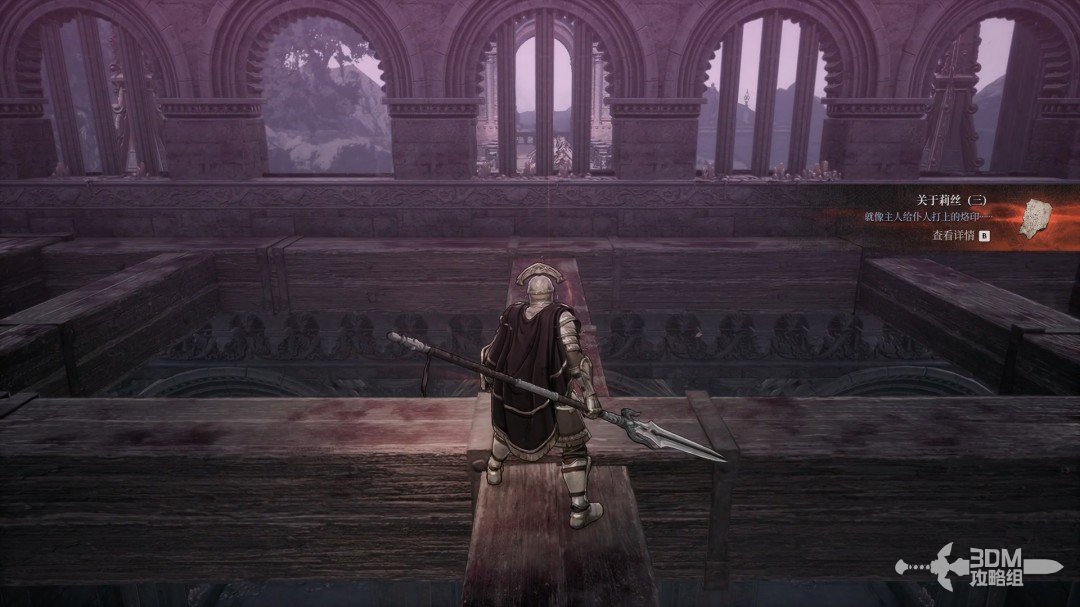
Descending stairs beside the elevator: drop to the roof for the scroll and record · route image 10

22Memory below the beams: return up the ladder for the Soulstone behind the stairs

Descend the nearby ladder afterward.
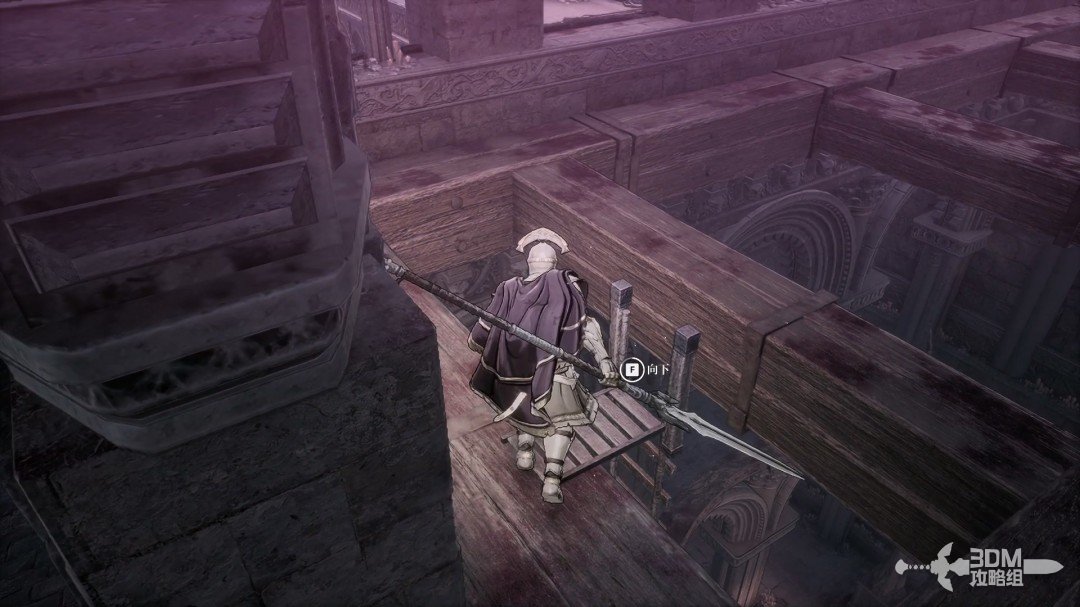
Memory below the beams: return up the ladder for the Soulstone behind the stairs · route image 1

Absorb the memory on the lower floor.
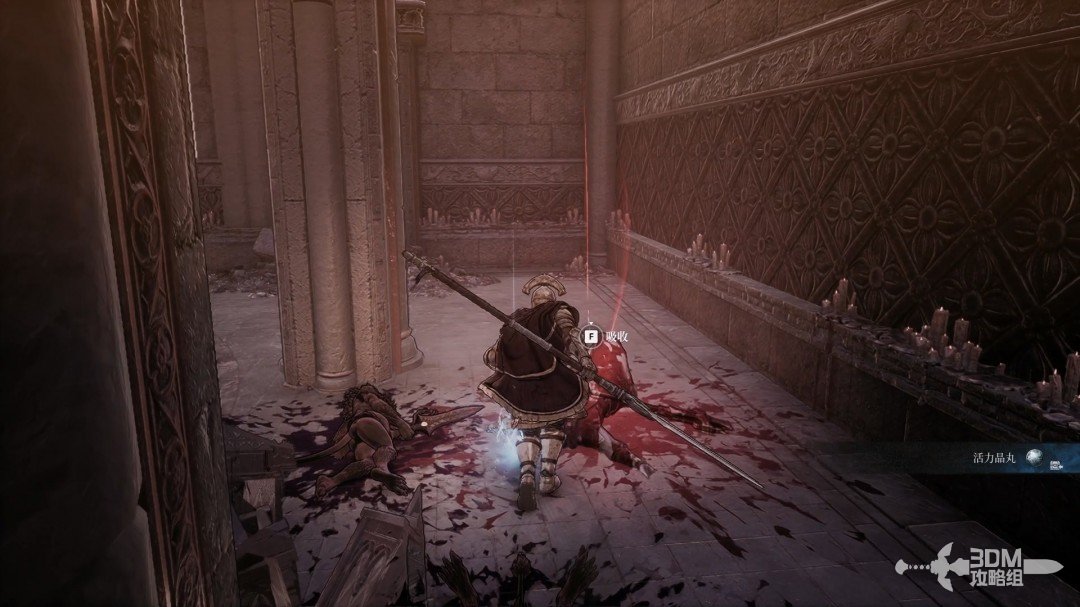
Memory below the beams: return up the ladder for the Soulstone behind the stairs · route image 2

Do not drop farther after the memory. Climb back up.

Memory below the beams: return up the ladder for the Soulstone behind the stairs · route image 3

At the pictured position, find the Soulstone behind the stairs ahead.
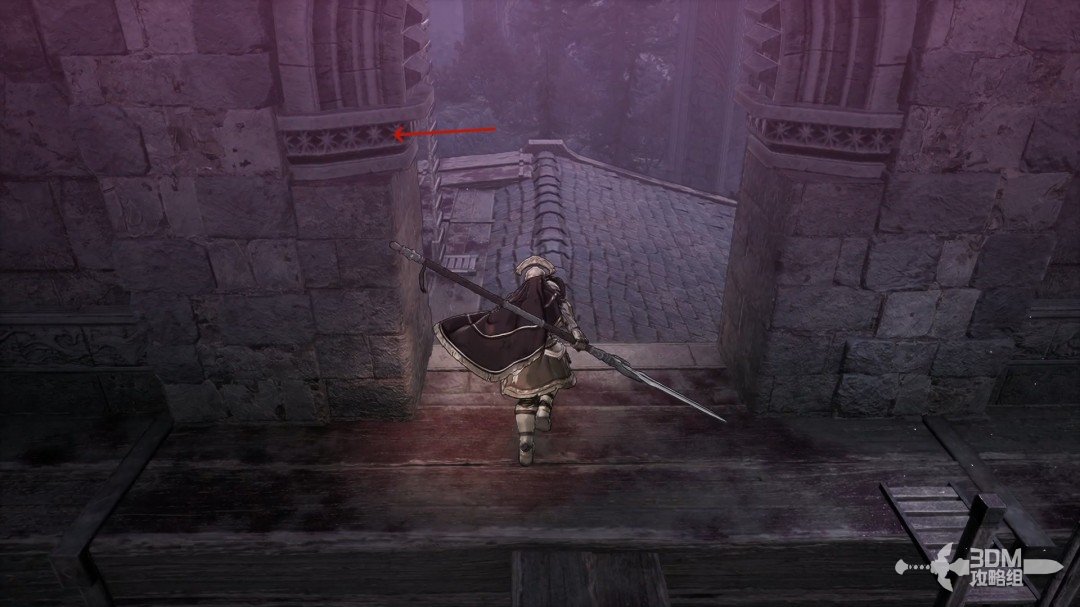
Memory below the beams: return up the ladder for the Soulstone behind the stairs · route image 4
Memory below the beams: return up the ladder for the Soulstone behind the stairs · route image 5

Return to the roof and open the chest ahead.
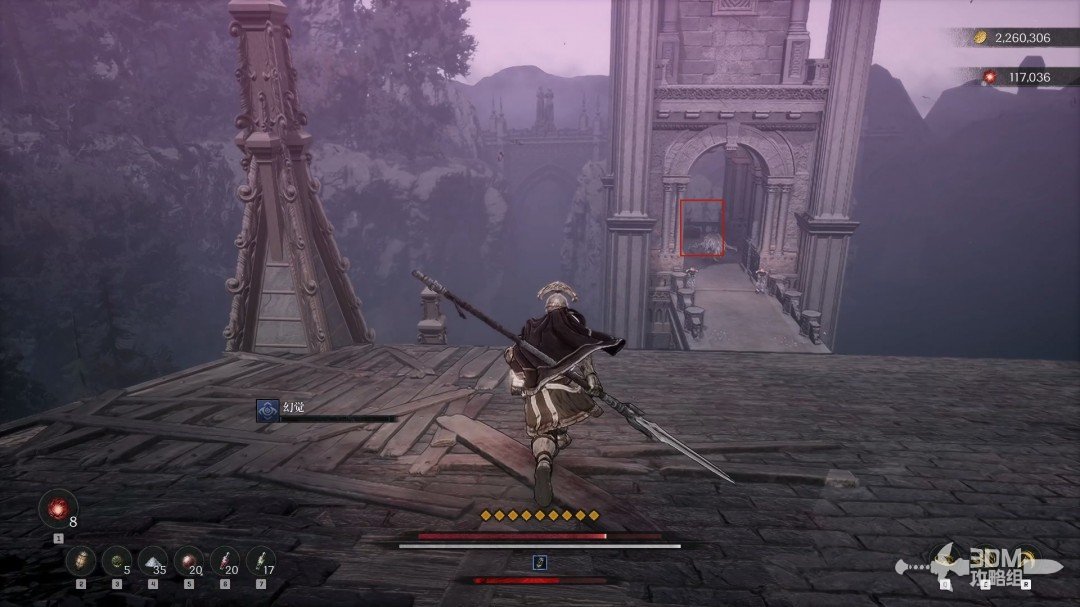
Memory below the beams: return up the ladder for the Soulstone behind the stairs · route image 1

Collect the Ghostly Beast Fang Necklace inside.
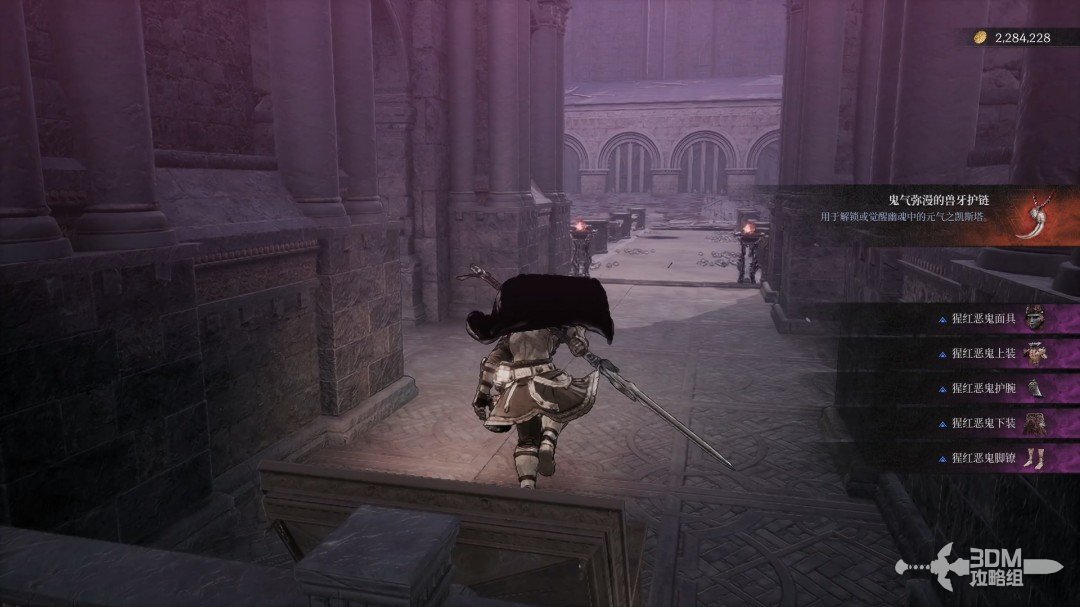
Memory below the beams: return up the ladder for the Soulstone behind the stairs · route image 2

25Return to the elevator drop: follow the final stone path to the high Soulstone

Return to the elevator now.
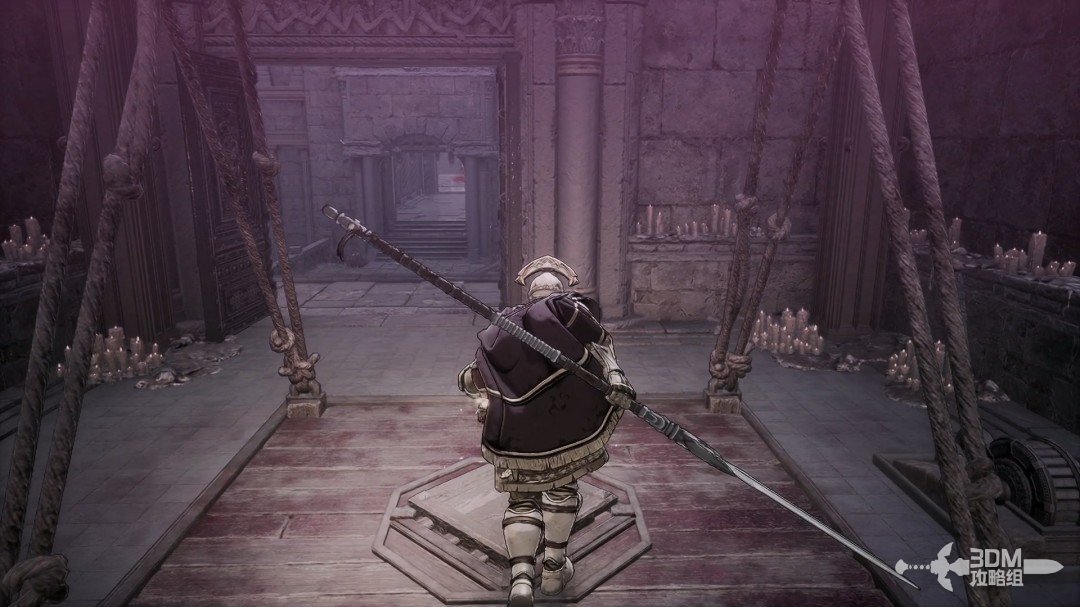
Return to the elevator drop: follow the final stone path to the high Soulstone · route image 1

Drop from this position, taking care not to miss the landing.
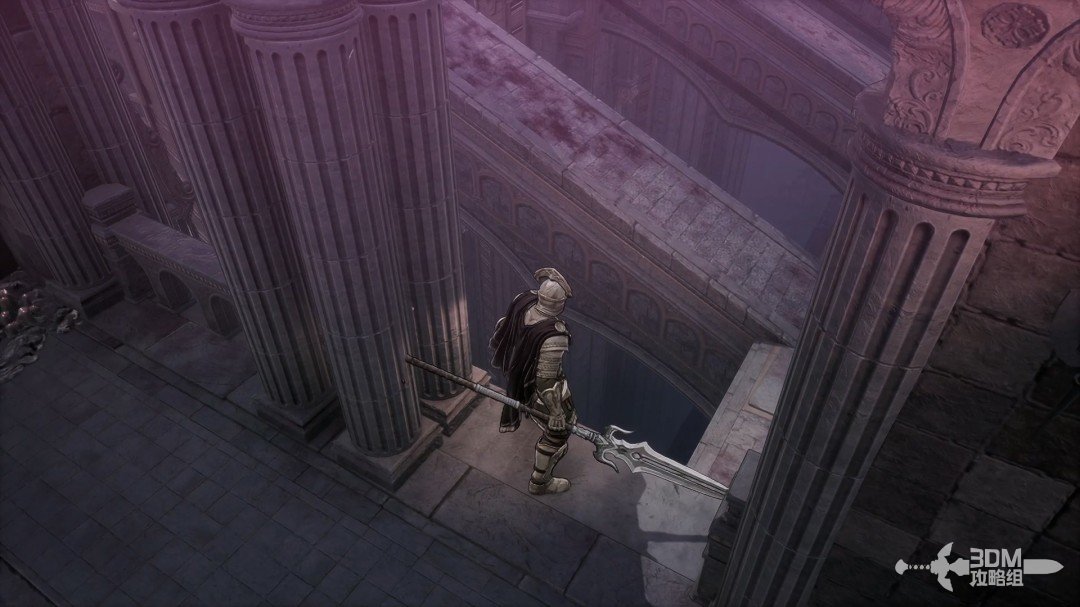
Return to the elevator drop: follow the final stone path to the high Soulstone · route image 2

Climb left for a white item.

Return to the elevator drop: follow the final stone path to the high Soulstone · route image 3
Return to the elevator drop: follow the final stone path to the high Soulstone · route image 4

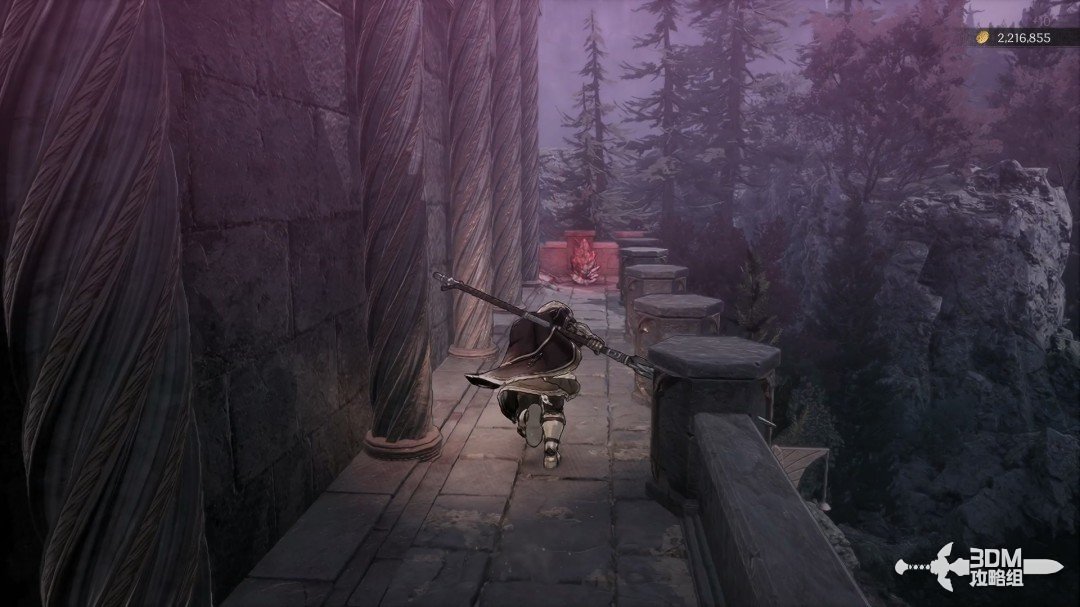
Continue up the final stone path.

Return to the elevator drop: follow the final stone path to the high Soulstone · route image 5

Collect the blue item below on the left.
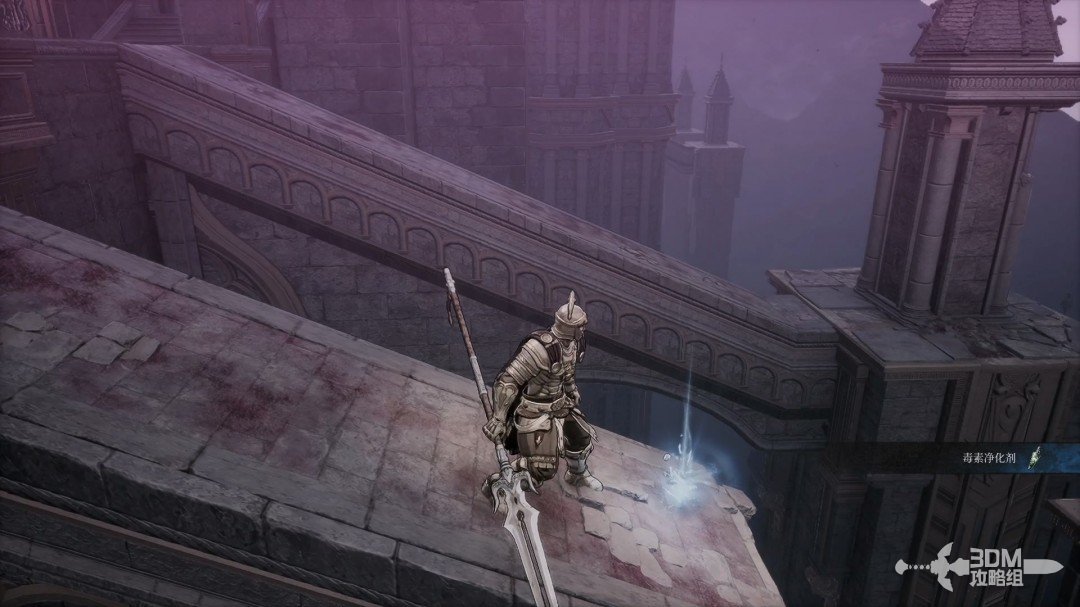
Return to the elevator drop: follow the final stone path to the high Soulstone · route image 6

Return to the main route and approach the staircase.
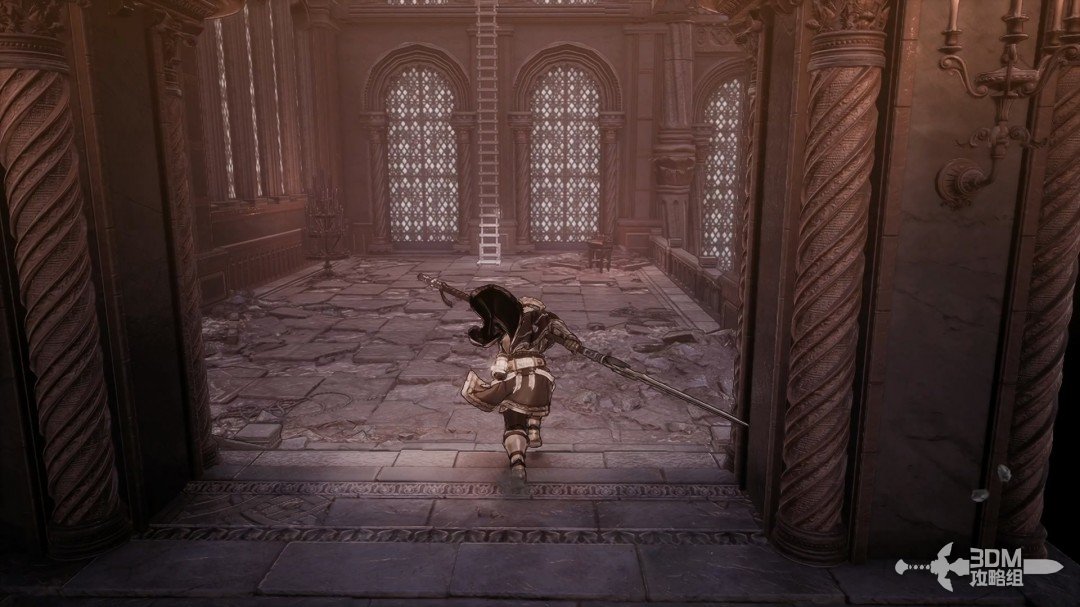
Return to the elevator drop: follow the final stone path to the high Soulstone · route image 7

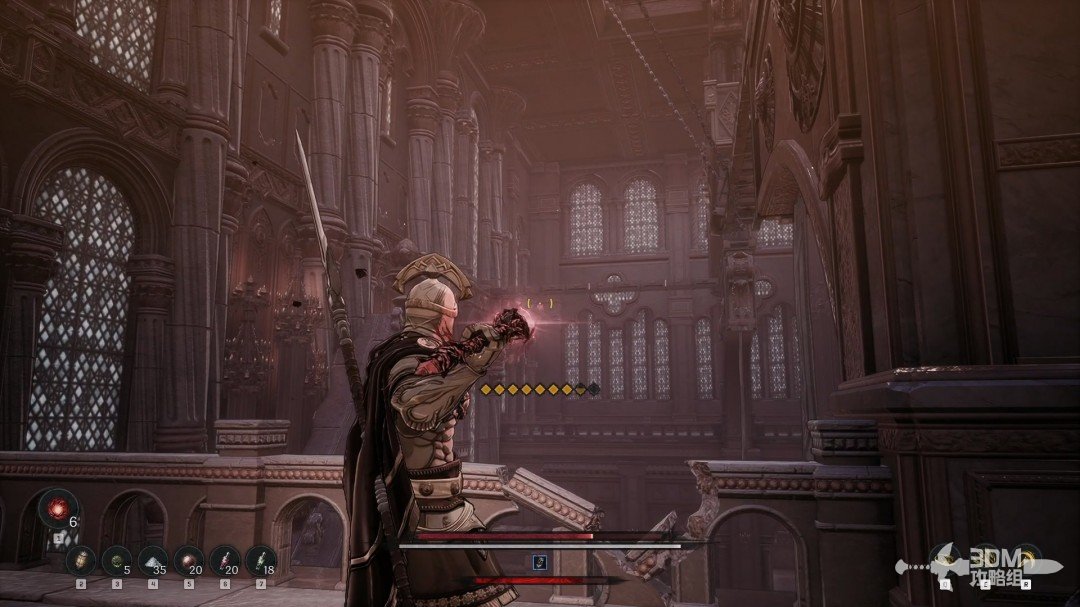
A Soulstone sits high on the right. Shoot it now with Javelin or from above later.
Return to the elevator drop: follow the final stone path to the high Soulstone · route image 8

27Narrow upper stone path: hit the Soulstone across the gap, then drop to the beams

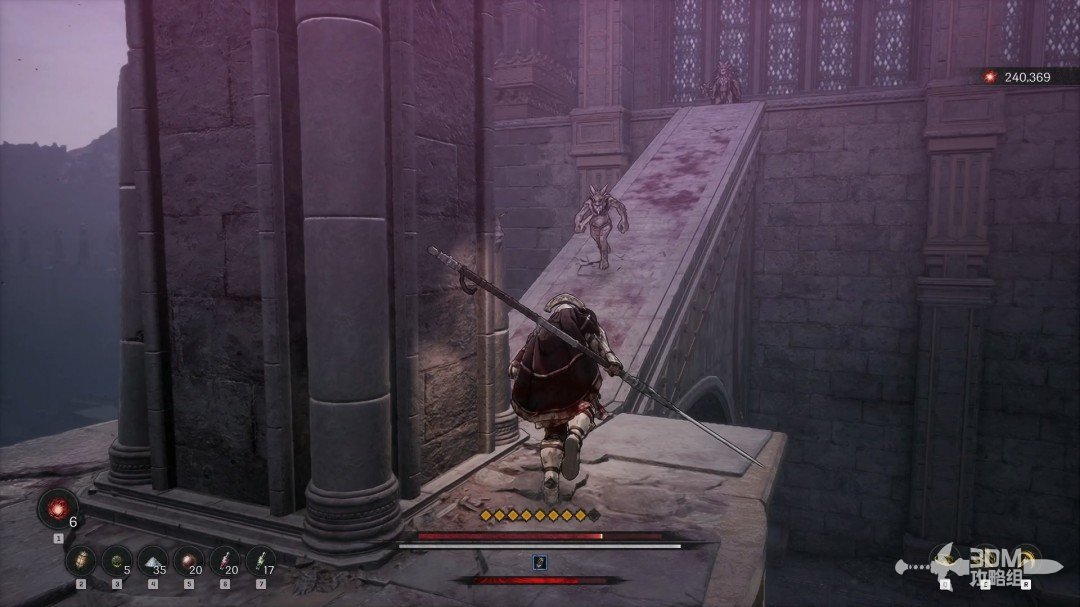
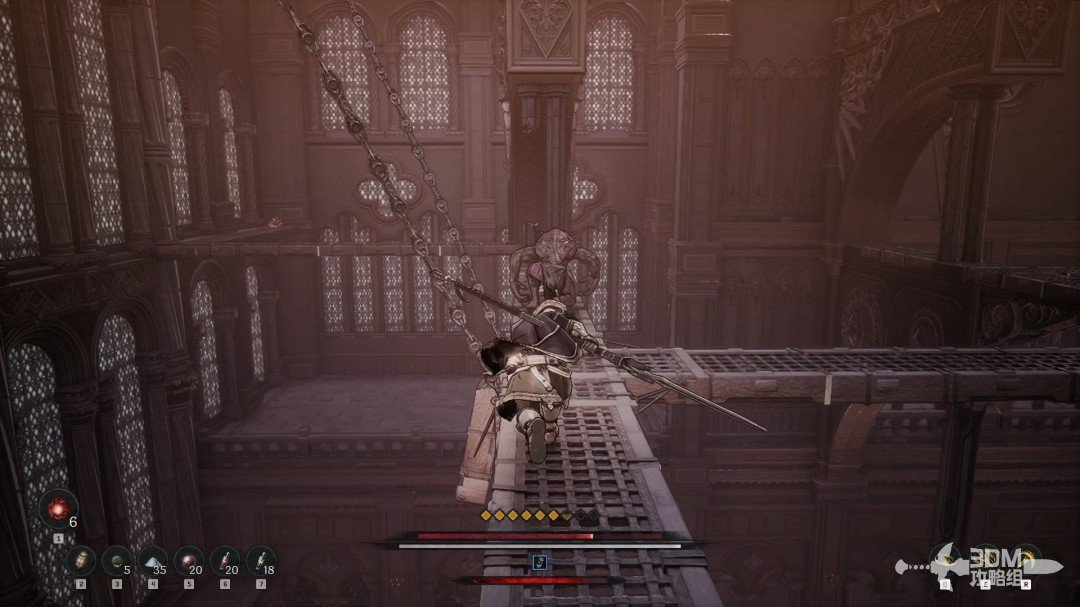
Climb the stairs carefully: enemies pressure you along the narrow route.
Narrow upper stone path: hit the Soulstone across the gap, then drop to the beams · route image 1

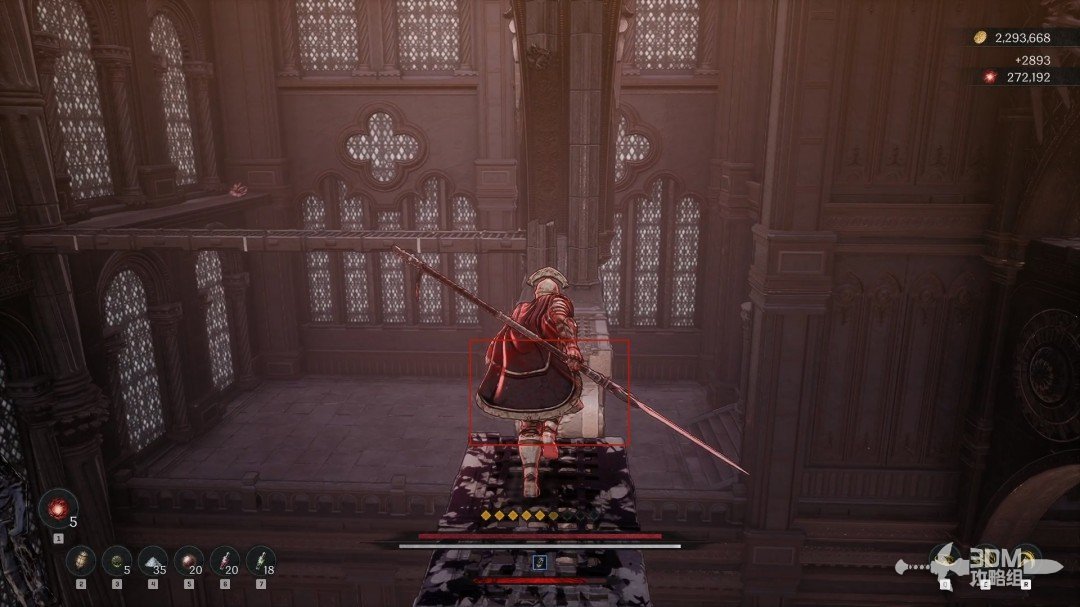
If you missed the Soulstone below, throw a Javelin from here. Do not walk toward it because the path is broken.
Narrow upper stone path: hit the Soulstone across the gap, then drop to the beams · route image 2

Absorb the memory on the right.

Narrow upper stone path: hit the Soulstone across the gap, then drop to the beams · route image 3

Drop from above afterward.

Narrow upper stone path: hit the Soulstone across the gap, then drop to the beams · route image 4

Continue forward and descend here.

Narrow upper stone path: hit the Soulstone across the gap, then drop to the beams · route image 5

Collect the purple item at the end.

Narrow upper stone path: hit the Soulstone across the gap, then drop to the beams · route image 6

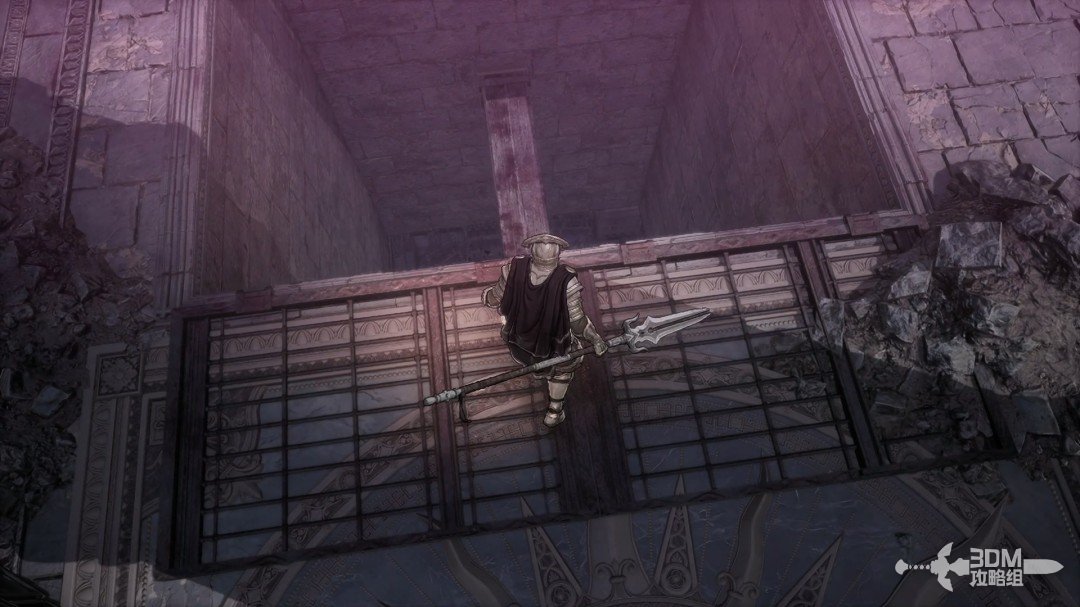
Drop through the large hole onto the wooden beam.
Narrow upper stone path: hit the Soulstone across the gap, then drop to the beams · route image 7

28Lower Nexus and cell: enter the large garden and clear the paired powerful foes

Rest at the new Nexus below.
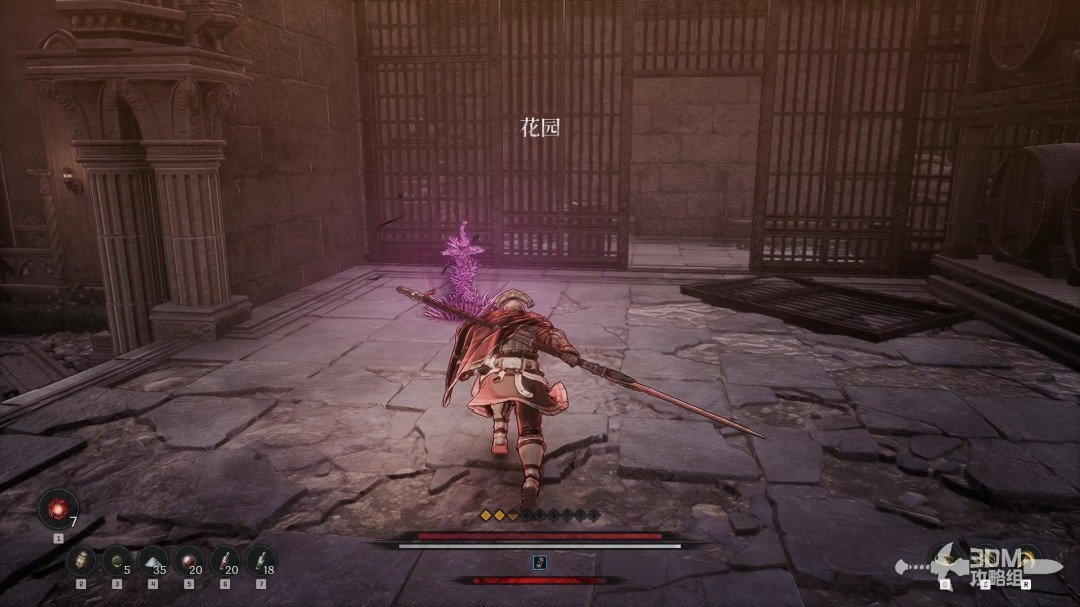
Lower Nexus and cell: enter the large garden and clear the paired powerful foes · route image 8

Open the chest in the nearby cell.

Lower Nexus and cell: enter the large garden and clear the paired powerful foes · route image 9

Leave into the large garden. Detonate the growths against its two large enemies.
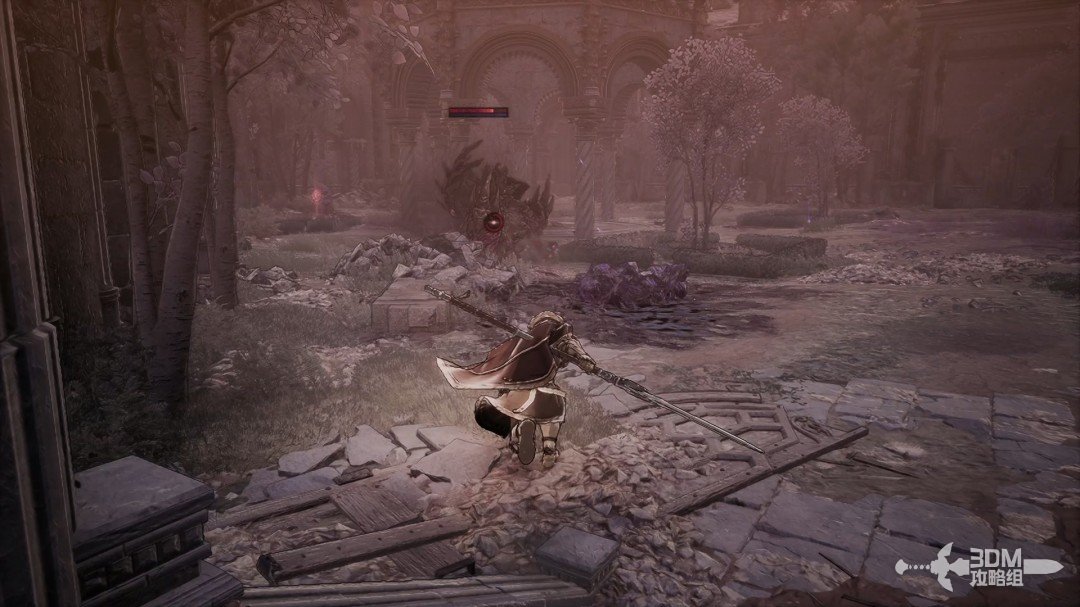
Lower Nexus and cell: enter the large garden and clear the paired powerful foes · route image 10

Absorb the central memory.

Lower Nexus and cell: enter the large garden and clear the paired powerful foes · route image 11

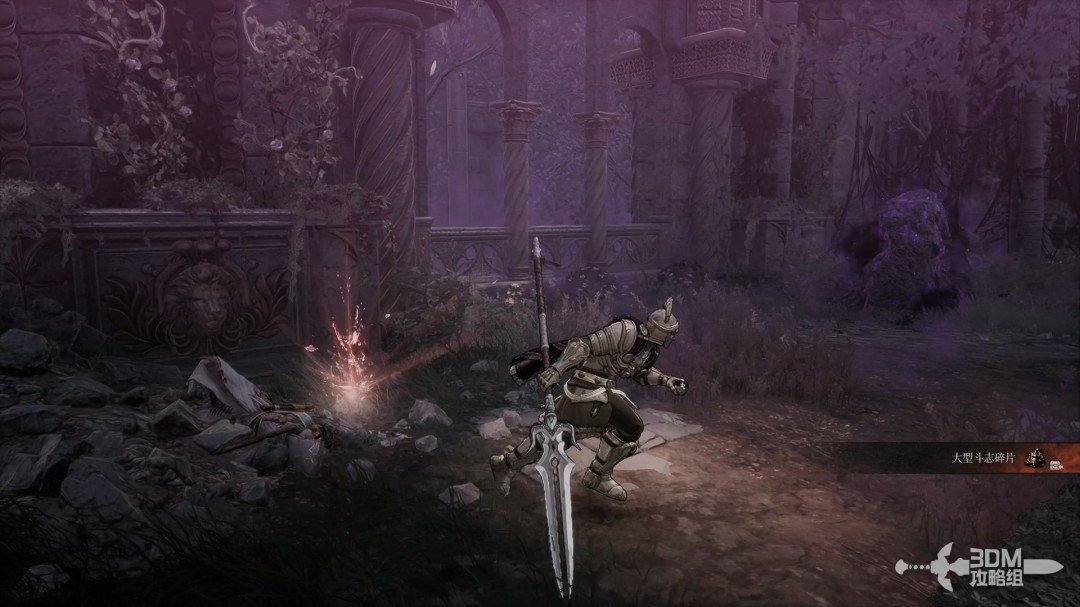
Collect the red material nearby.

Lower Nexus and cell: enter the large garden and clear the paired powerful foes · route image 12

Collect the blue item on the side.

Lower Nexus and cell: enter the large garden and clear the paired powerful foes · route image 13

Take the purple item on the left steps.
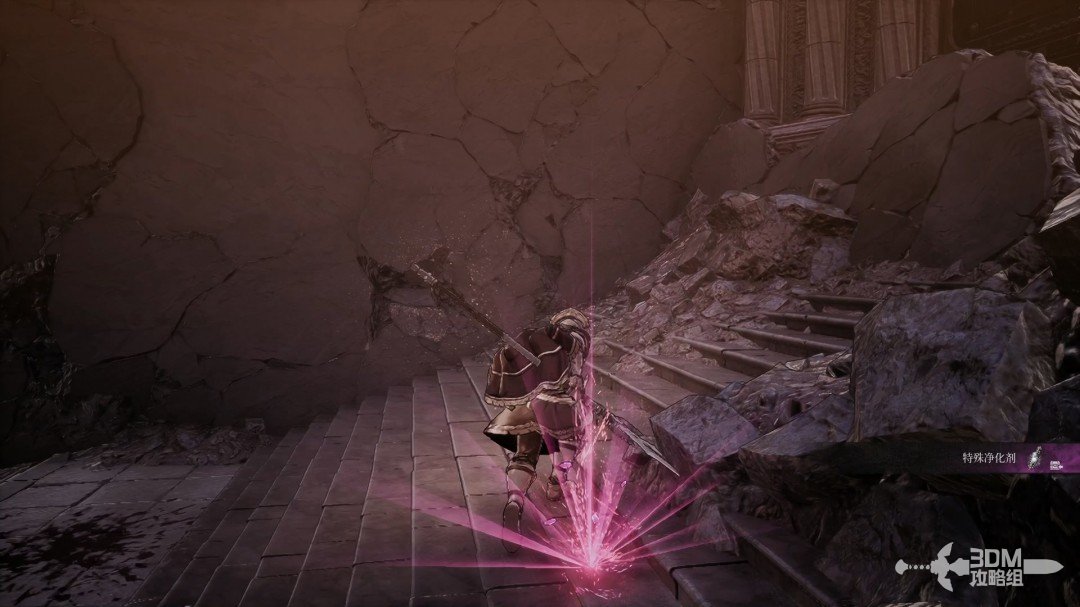
Lower Nexus and cell: enter the large garden and clear the paired powerful foes · route image 14

29Garden side door and hall: search both chests and climb to Reese's gate

Enter this doorway afterward.
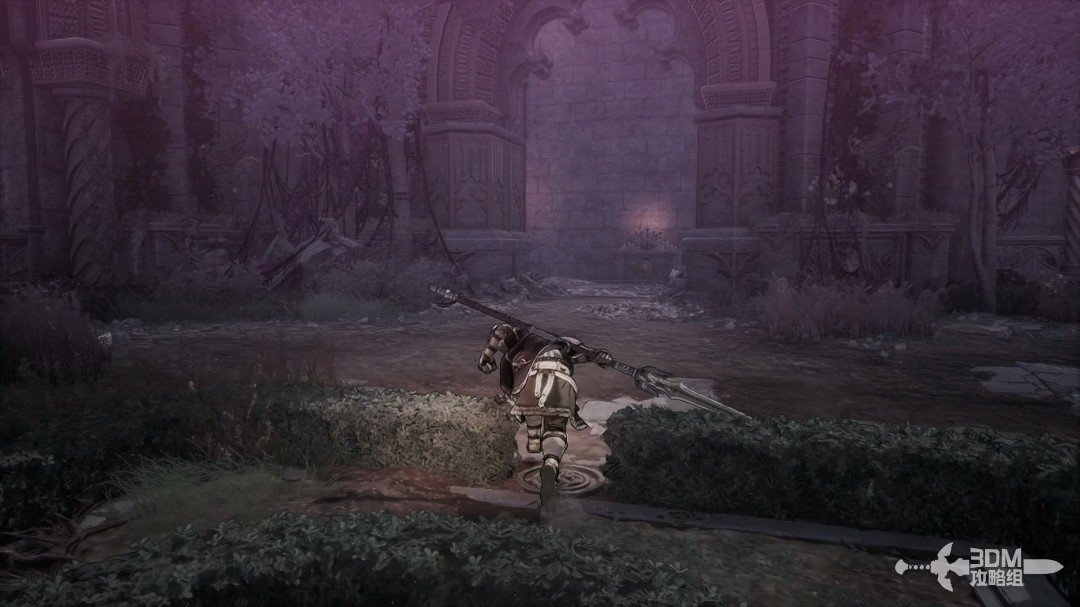
Garden side door and hall: search both chests and climb to Reese's gate · route image 15

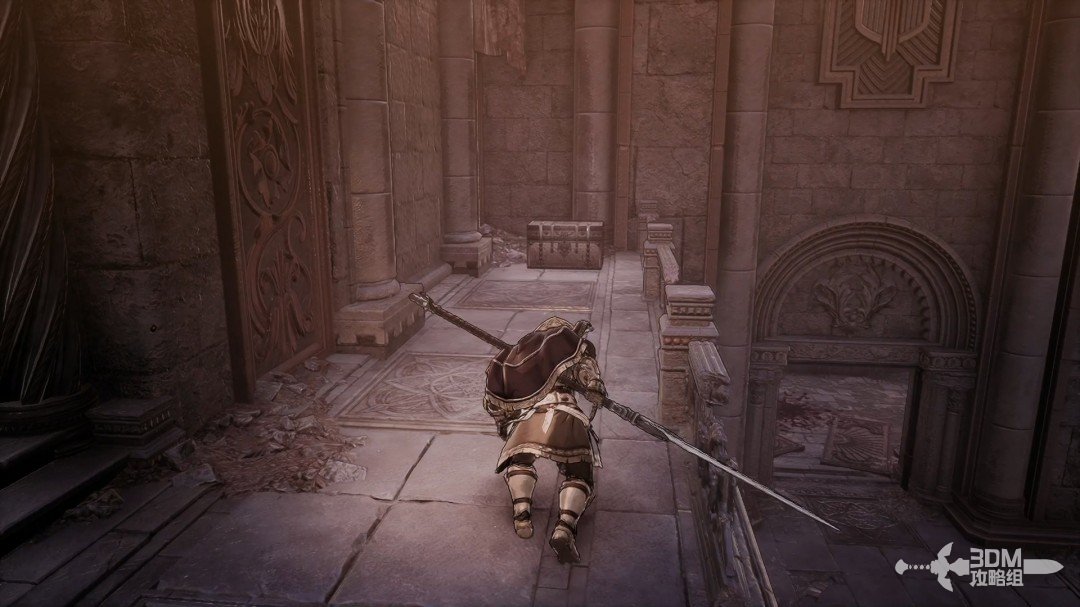
Climb to the chest, collect it, then drop down.
Garden side door and hall: search both chests and climb to Reese's gate · route image 16

Climb the left stairs.

Garden side door and hall: search both chests and climb to Reese's gate · route image 17

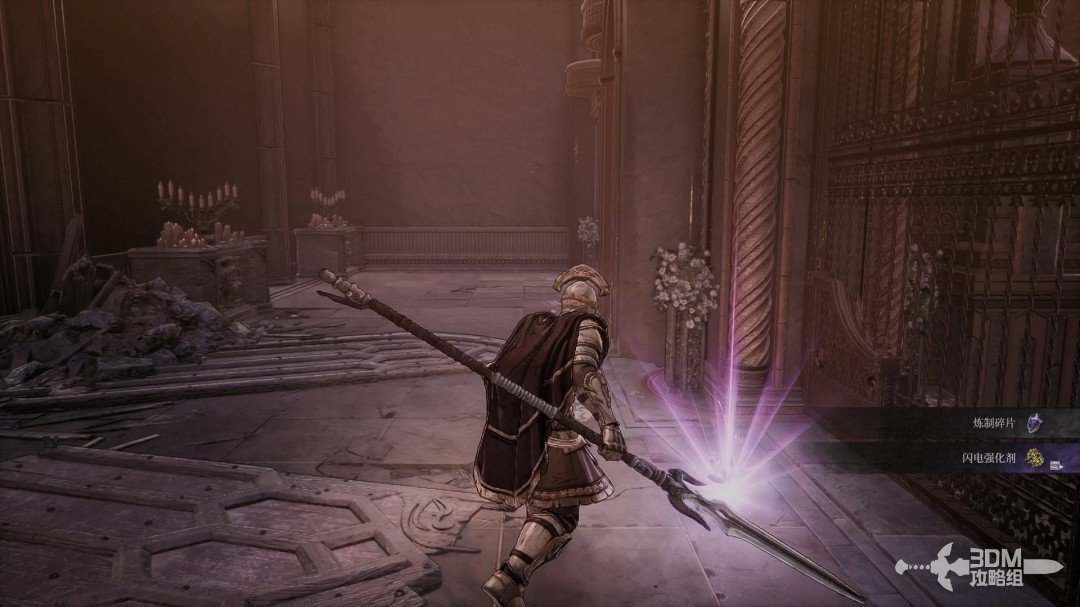
Continue inside for a purple item as you reconnect with the hall.
Garden side door and hall: search both chests and climb to Reese's gate · route image 18

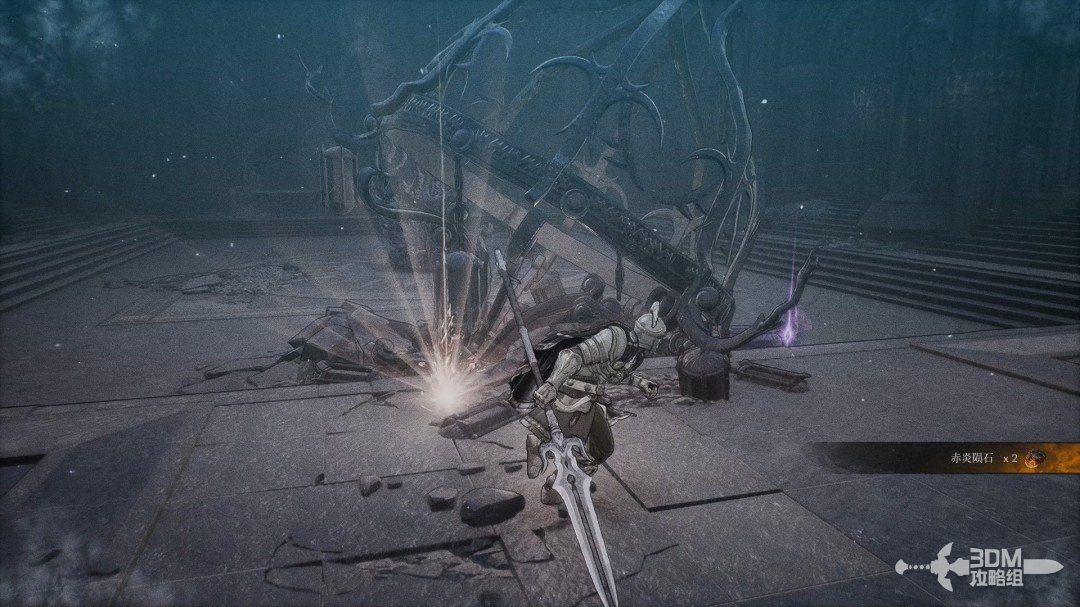
Collect the golden material in the hall.
Garden side door and hall: search both chests and climb to Reese's gate · route image 19

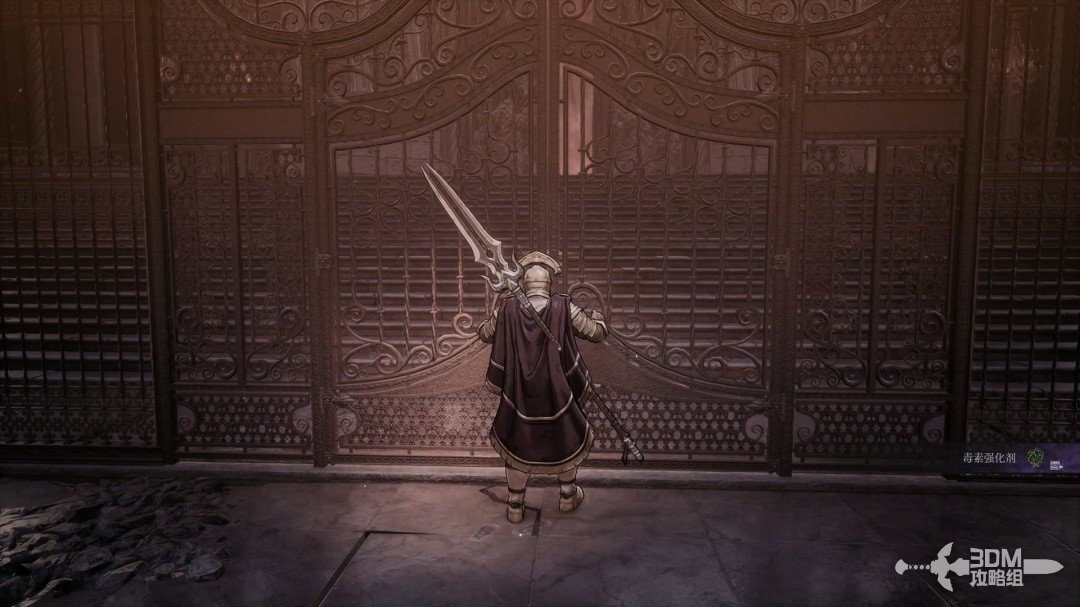
The rear gate reconnects with your arrival route and is optional.
Garden side door and hall: search both chests and climb to Reese's gate · route image 20

Defeat the elite in the middle.

Garden side door and hall: search both chests and climb to Reese's gate · route image 21

Take the left door afterward for a chest.
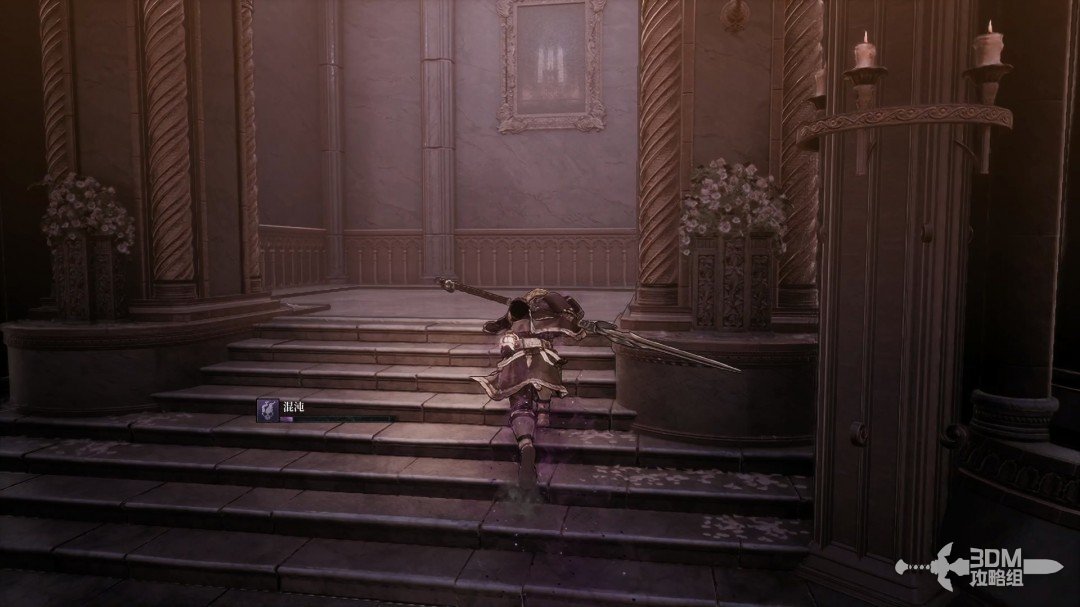
Garden side door and hall: search both chests and climb to Reese's gate · route image 22
Garden side door and hall: search both chests and climb to Reese's gate · route image 23

Open the other chest opposite.

Garden side door and hall: search both chests and climb to Reese's gate · route image 24

Dodge this chest's explosion.

Garden side door and hall: search both chests and climb to Reese's gate · route image 25

Climb the stairs after collecting it.
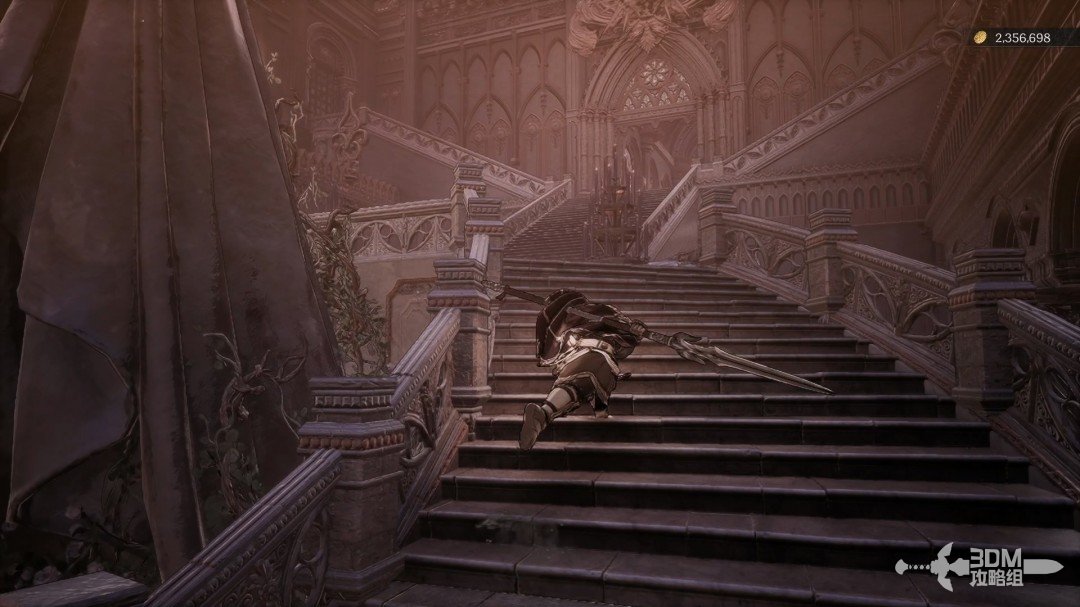
Garden side door and hall: search both chests and climb to Reese's gate · route image 26

Rest at the Nexus above. The boss room is ahead.
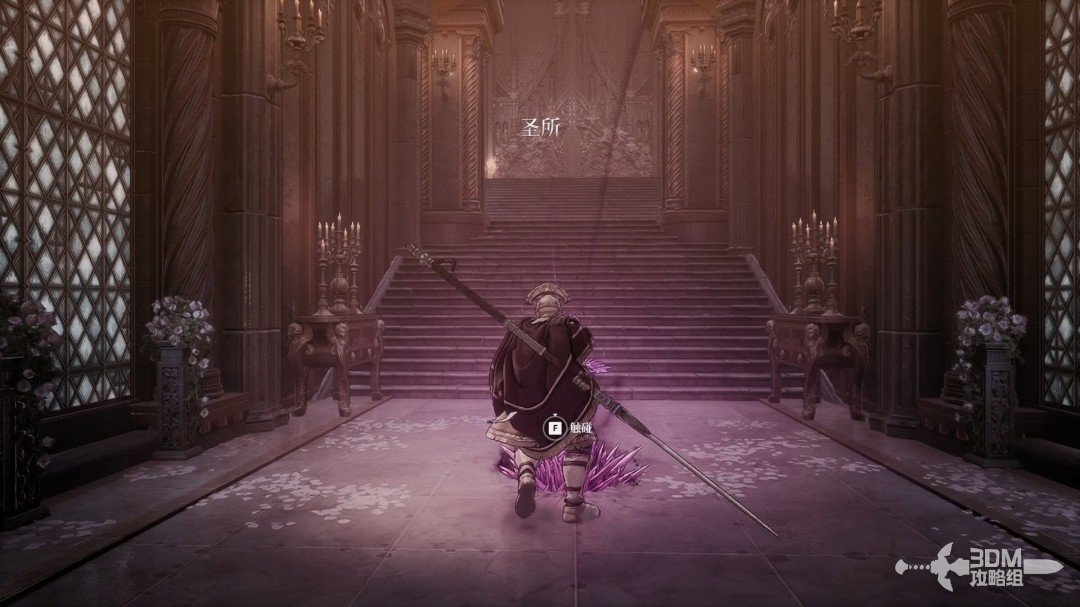
Garden side door and hall: search both chests and climb to Reese's gate · route image 27

30Wedding hall: Reese's spells and light barriers

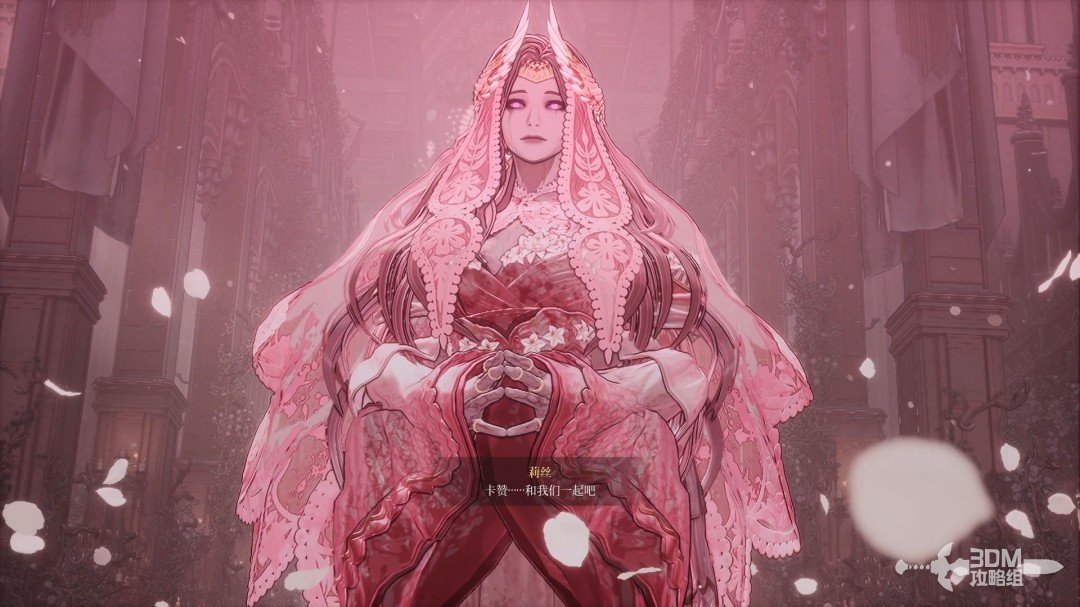
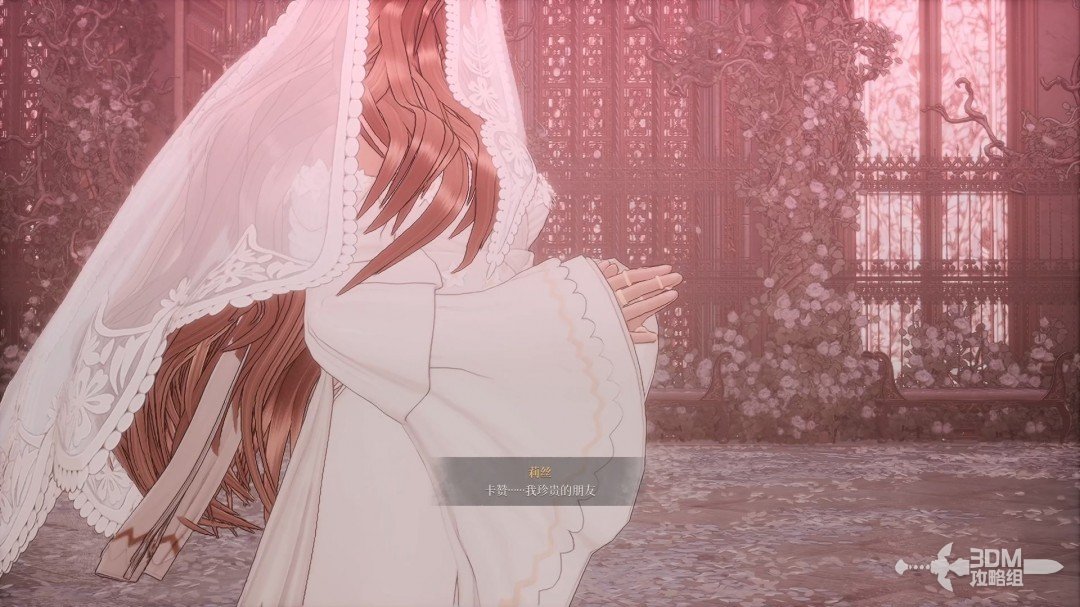
Enter to find Reese facing away in a white wedding dress.
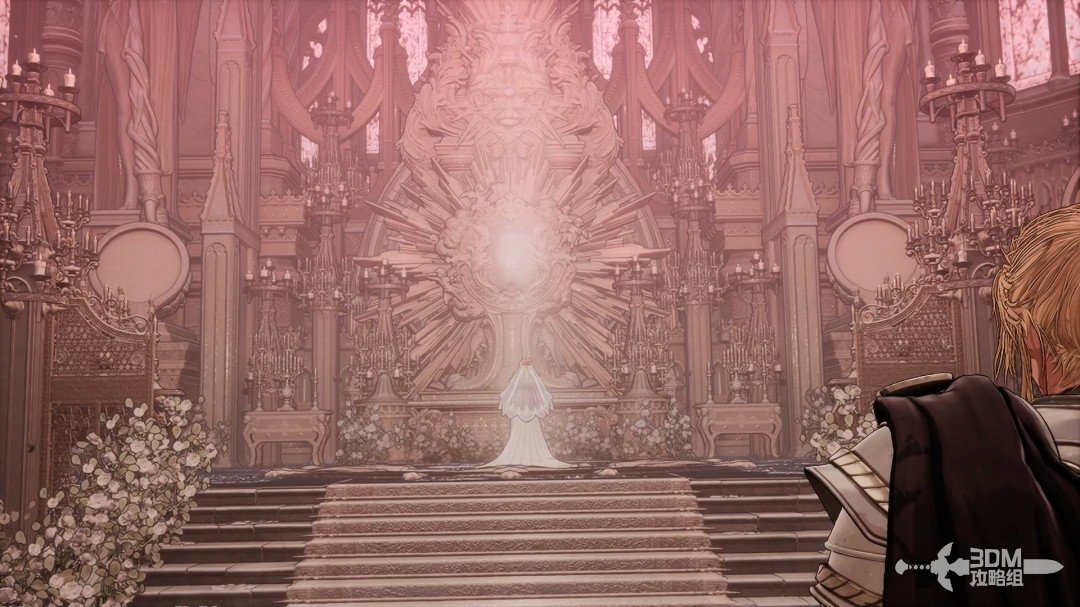
Wedding hall: Reese's spells and light barriers · route image 1

She initially appears normal when she turns.
Wedding hall: Reese's spells and light barriers · route image 2

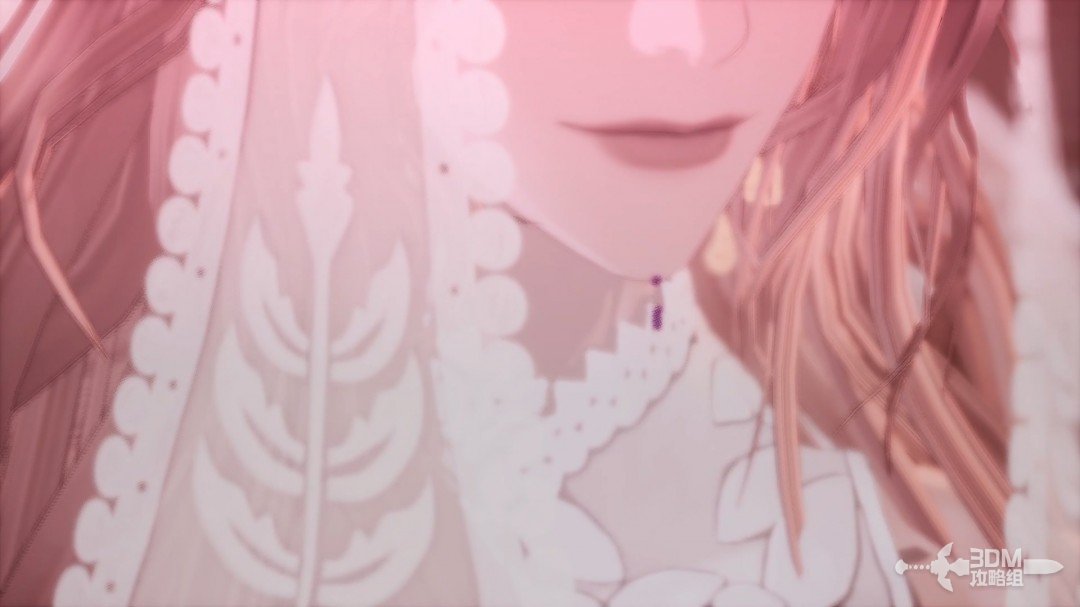
Then chaos-colored fluid seeps across her pale skin.
Wedding hall: Reese's spells and light barriers · route image 3

She becomes the bloodstained bride.

Wedding hall: Reese's spells and light barriers · route image 4

Reese has two forms. The first emphasizes magic; exhausting its health bar triggers the more melee-focused second form.

Her attacks are described below.

Attack ①:

Fast magic projectiles.
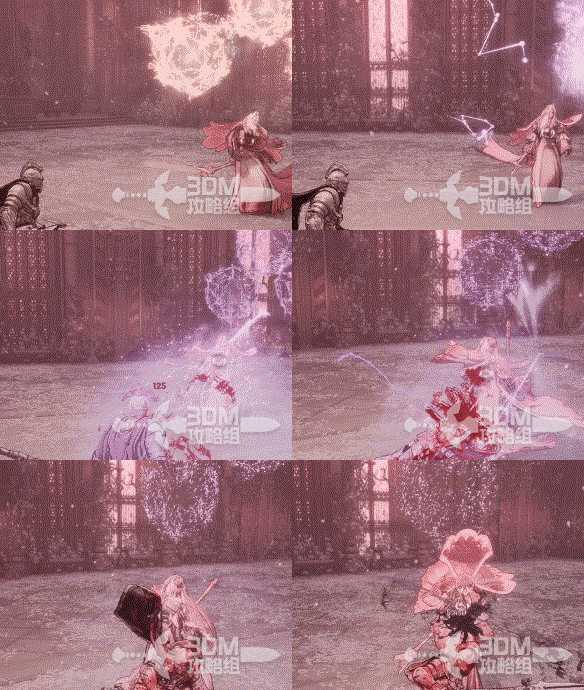
Wedding hall: Reese's spells and light barriers · route image 5

Attack ②:

Two diving attacks that can be deflected.
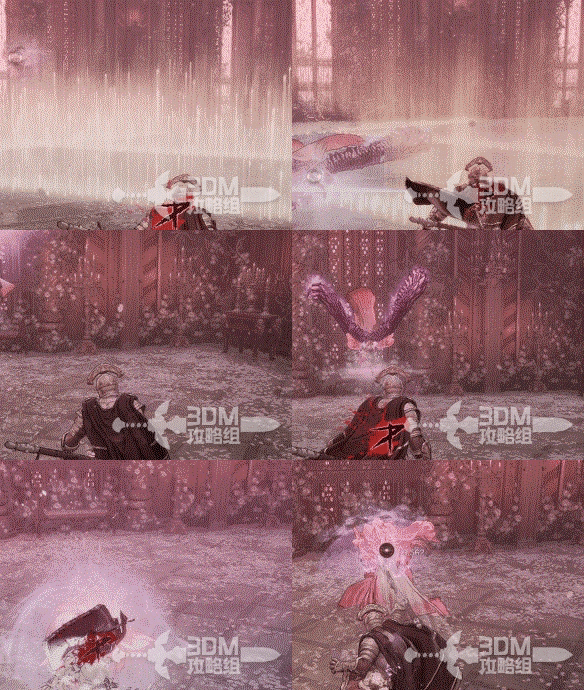
Wedding hall: Reese's spells and light barriers · route image 6

Attack ③:

A light wall blocks movement and can also stop her own attacks.
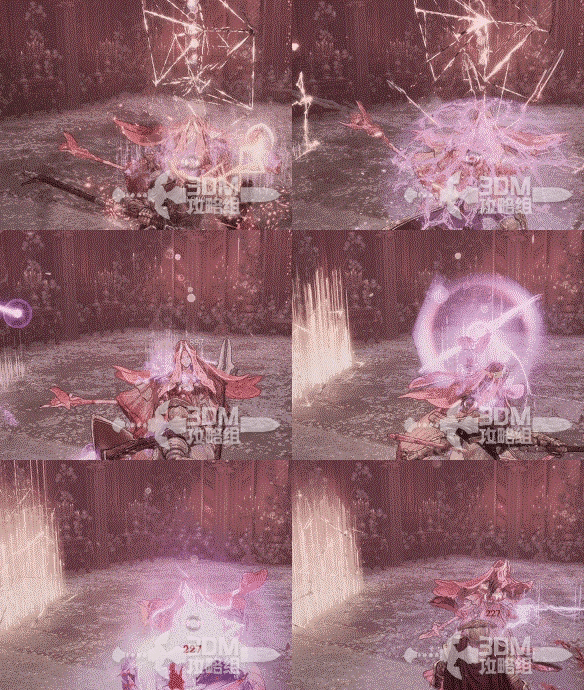
Wedding hall: Reese's spells and light barriers · route image 7

Attack ④:

Several magic-circle variations share similar tells. The lightning circle causes repeated follow-up explosions.
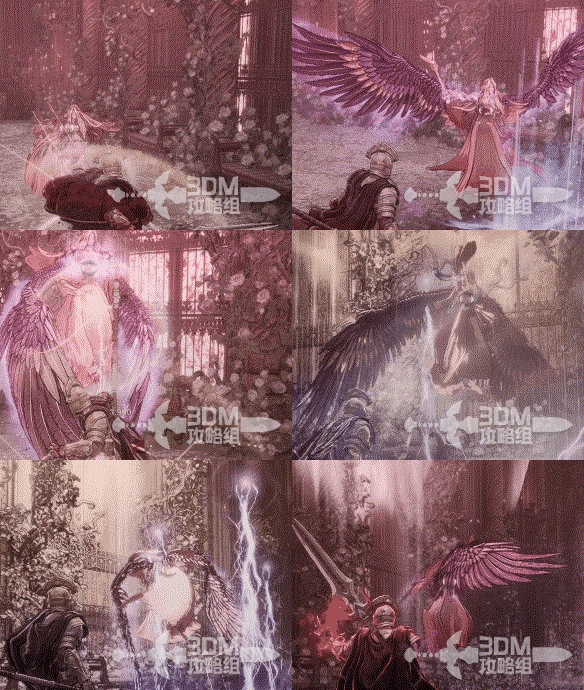
Wedding hall: Reese's spells and light barriers · route image 8

Attack ⑤:

A charged projectile becomes a magic circle on landing. Avoid its marked area.
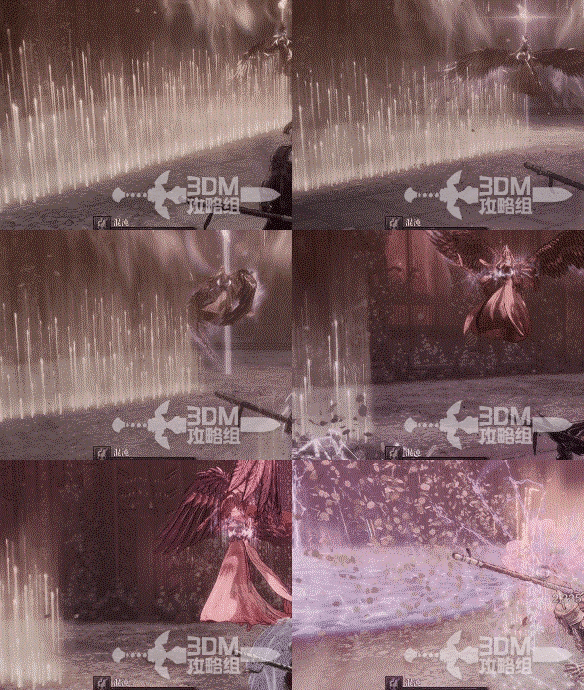
Wedding hall: Reese's spells and light barriers · route image 9

Attack ⑥:

She rises and fires projectiles from above.
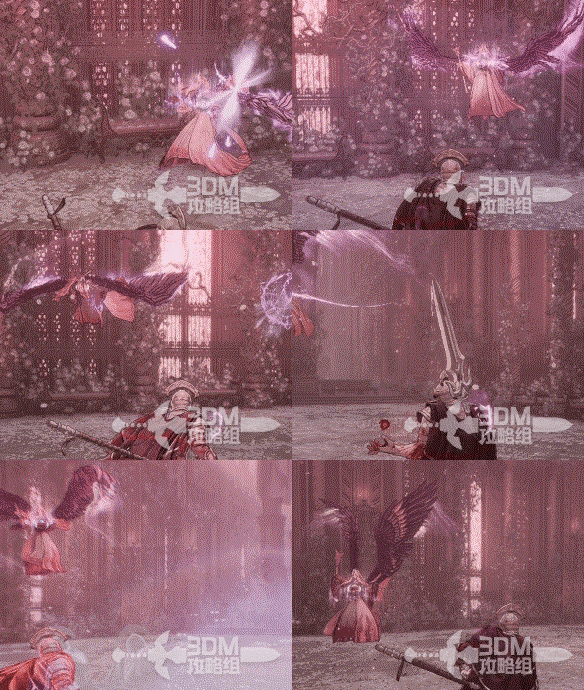
Wedding hall: Reese's spells and light barriers · route image 10

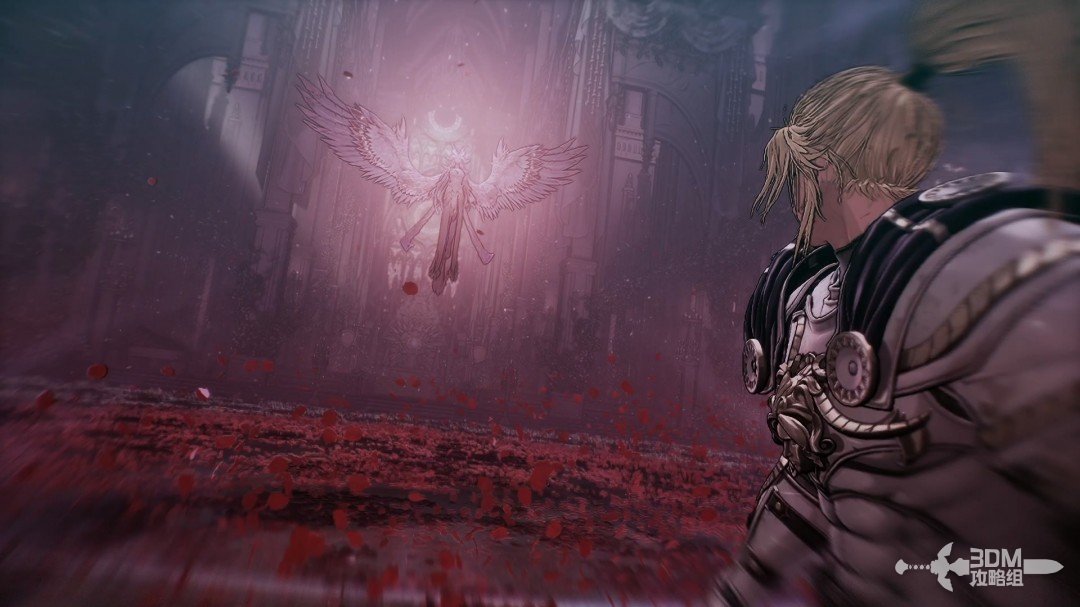
31Blood Bride's second form: scythe melee and teleporting blasts

After the first health bar, her new form emphasizes melee but retains earlier spells.
Blood Bride's second form: scythe melee and teleporting blasts · route image 11

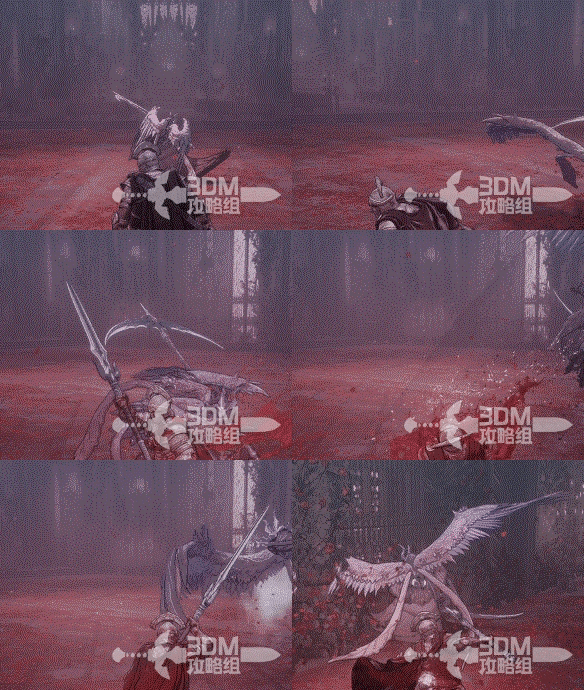
Second form — Attack ①:

A five-hit melee combo.
Blood Bride's second form: scythe melee and teleporting blasts · route image 12

Attack ②:

Two ordinary slashes followed by a thrown projectile.
Blood Bride's second form: scythe melee and teleporting blasts · route image 13

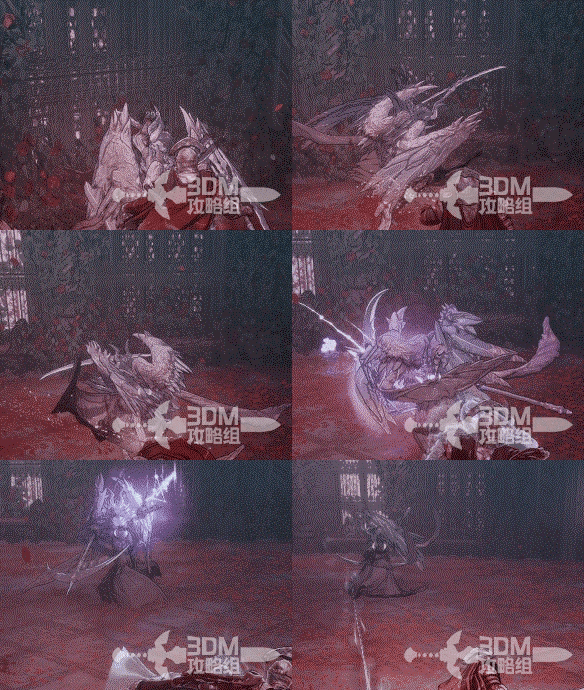
Attack ③:

She enchants the scythe and dashes at you three times, ending with an explosion around herself.
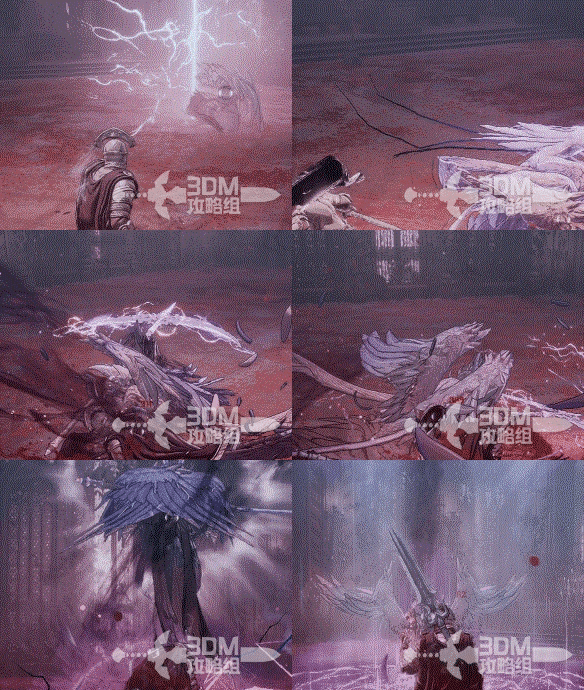
Blood Bride's second form: scythe melee and teleporting blasts · route image 14

Other moves largely reuse the first form's patterns.

32Reese's last request: prepare to enter the palace

Victory grants the Faded Memories Scroll.
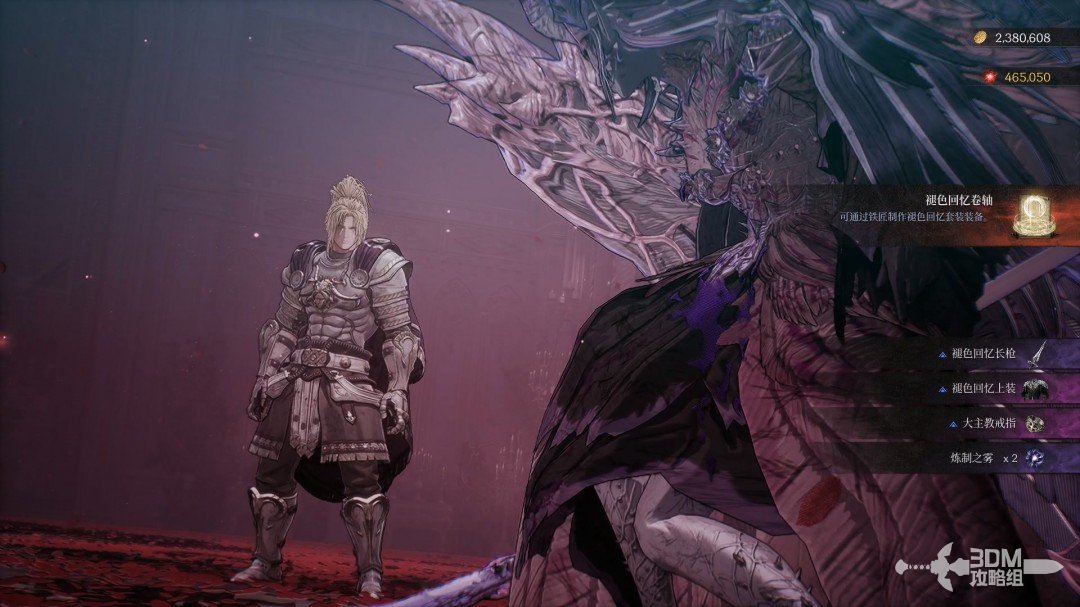
Reese's last request: prepare to enter the palace · route image 15

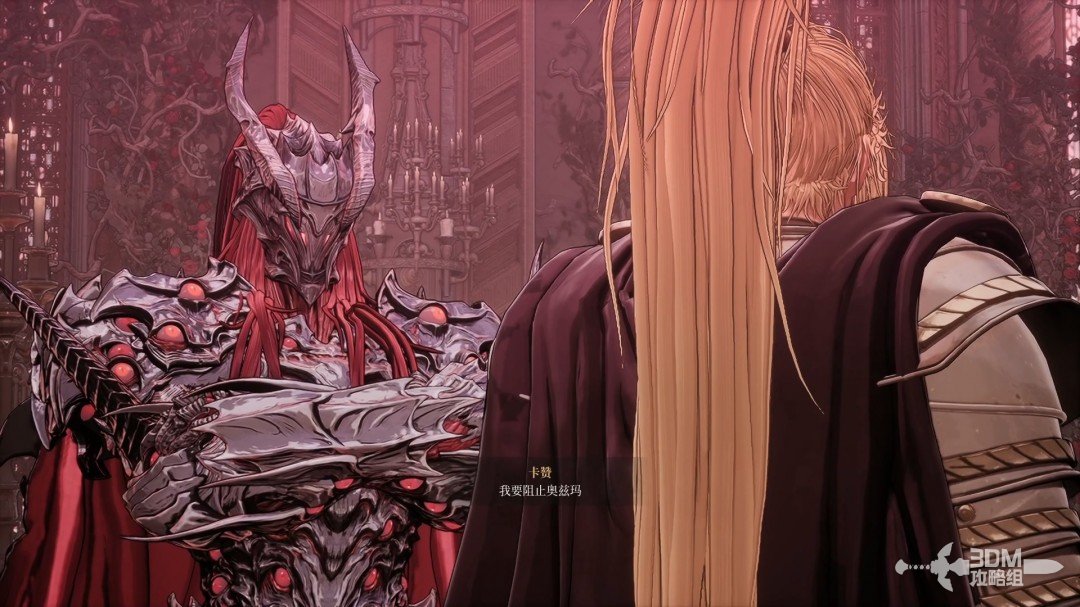
Before fading, Reese asks Khazan to call out to Ozma.
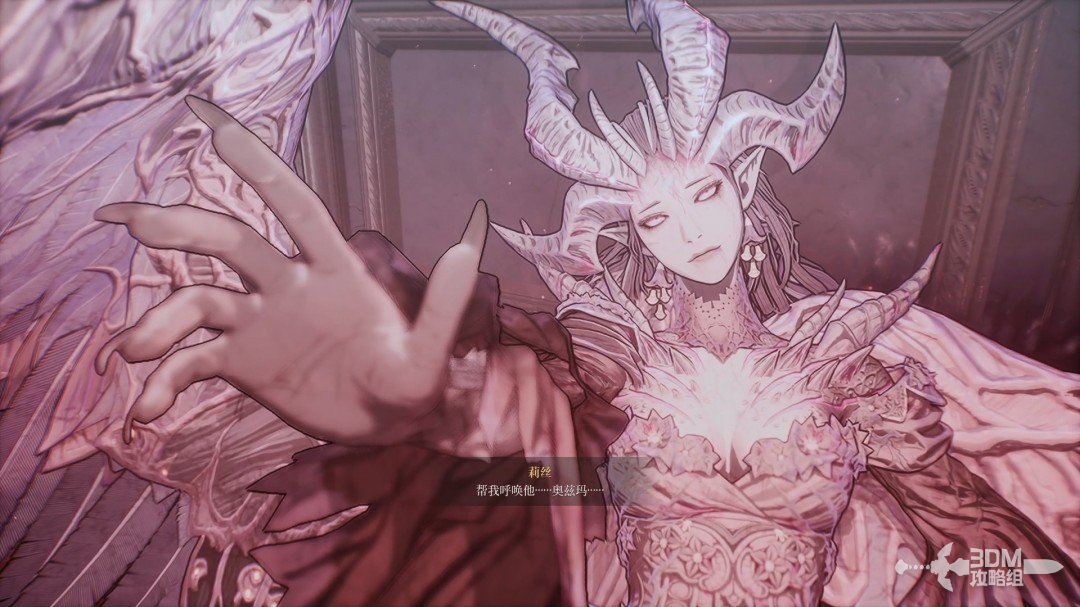
Reese's last request: prepare to enter the palace · route image 16

A fallen feather glows and briefly restores her white bridal appearance. She asks Khazan to save Ozma, then disappears completely.
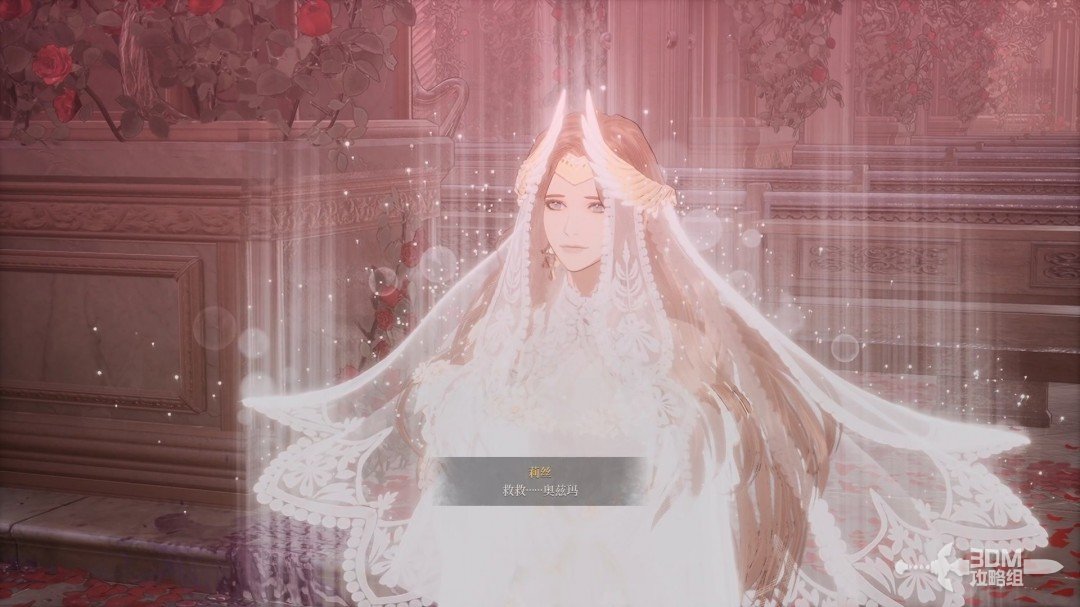
Reese's last request: prepare to enter the palace · route image 17

Khazan prepares to stop Ozma.

Reese's last request: prepare to enter the palace · route image 18

Continue

Back to mission index →

Reference: 3DM Guide Team

GAME NOTE has reorganized and rewritten the routes from this walkthrough.