Skip to content

Veiled Knives

Guide editor: GAME NOTE

GAME NOTE CLASSIC · GUIDE LIBRARYThe First Berserker: Khazan

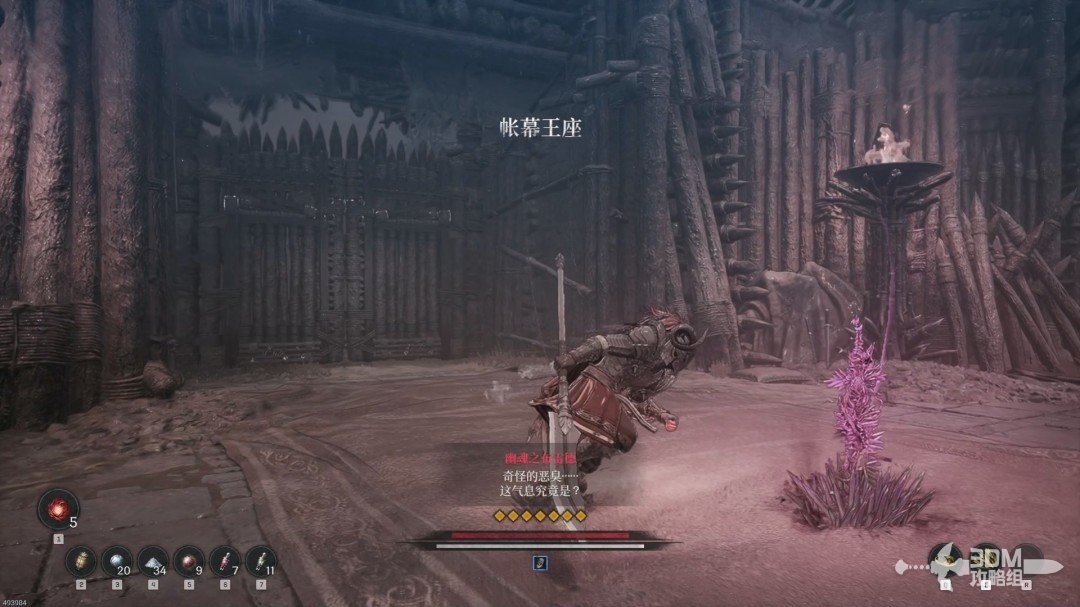
Traverse the quarry and bandit citadel before Maluca.

Pickups in this mission

01Nadin Ruins entrance: meet Tristan and enter the mine

Begin the next main mission in Nadin Quarry.
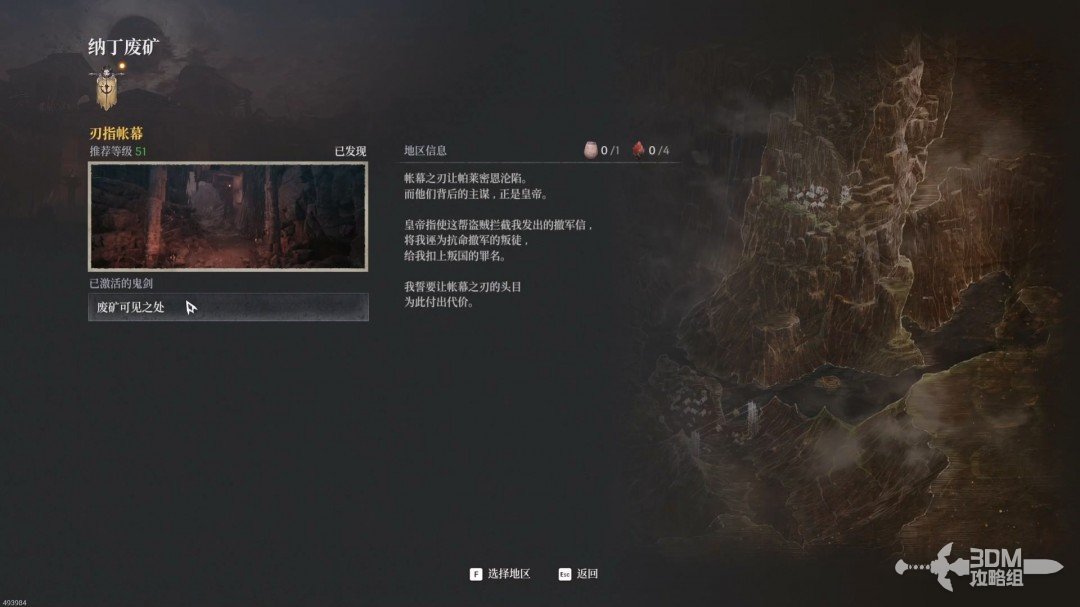
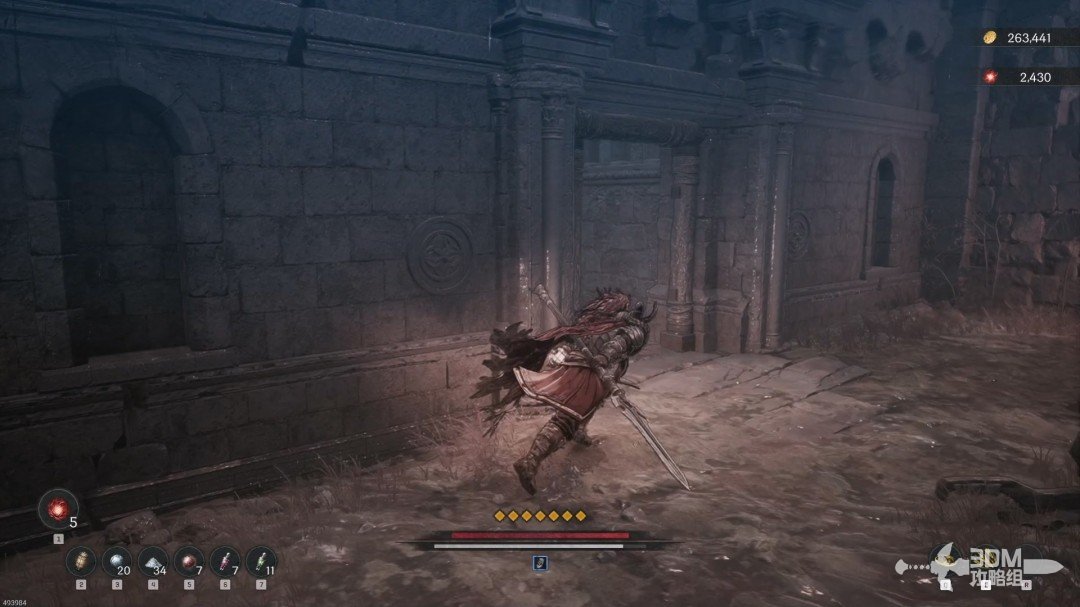
Nadin Ruins entrance: meet Tristan and enter the mine · route image 1

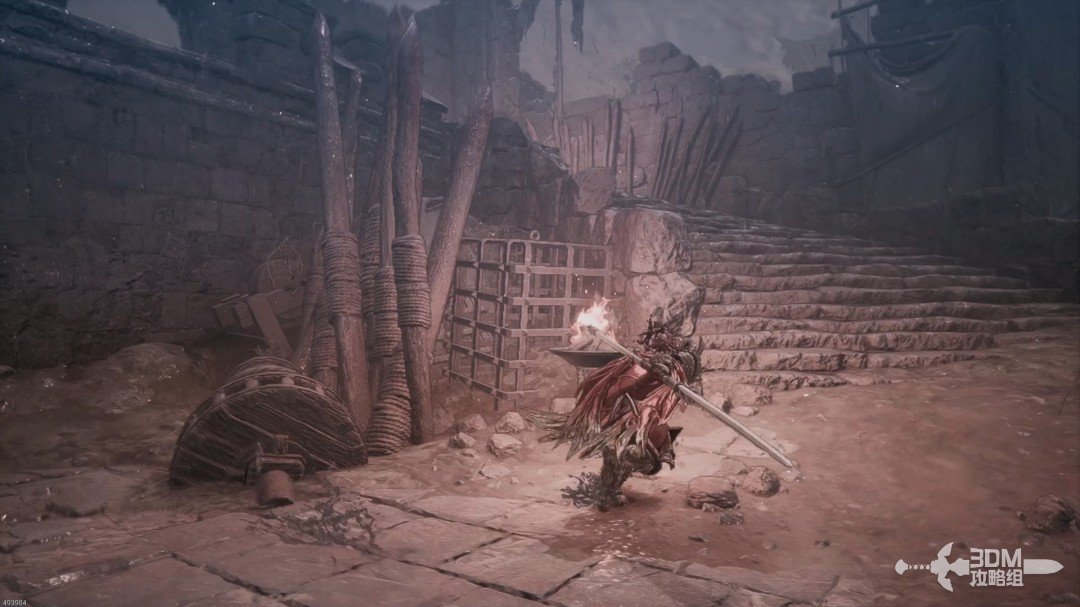
Rest at the nearby Nexus and speak to Tristan ahead.
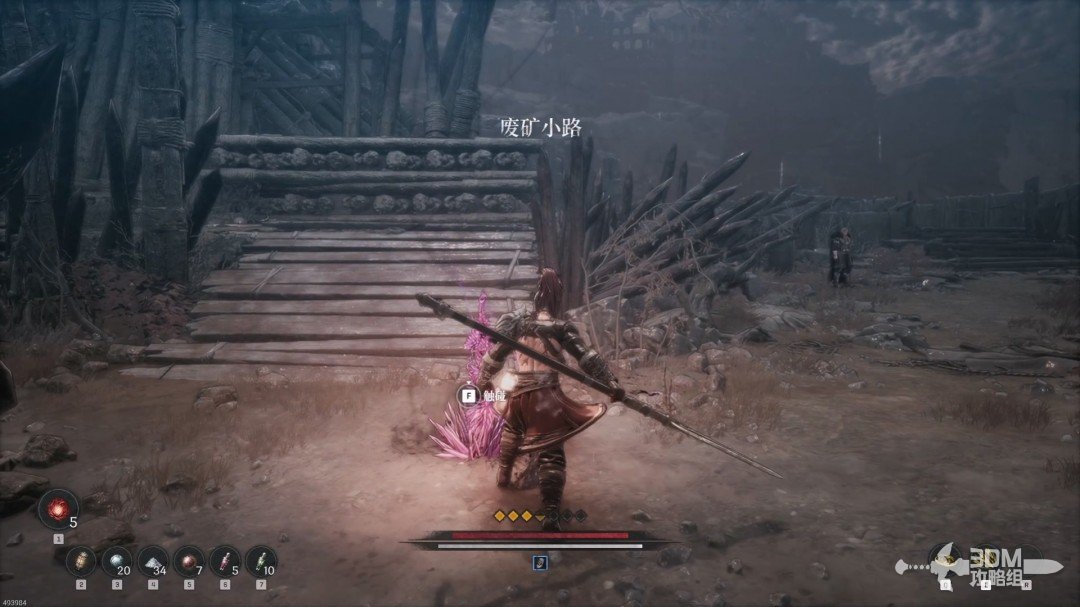
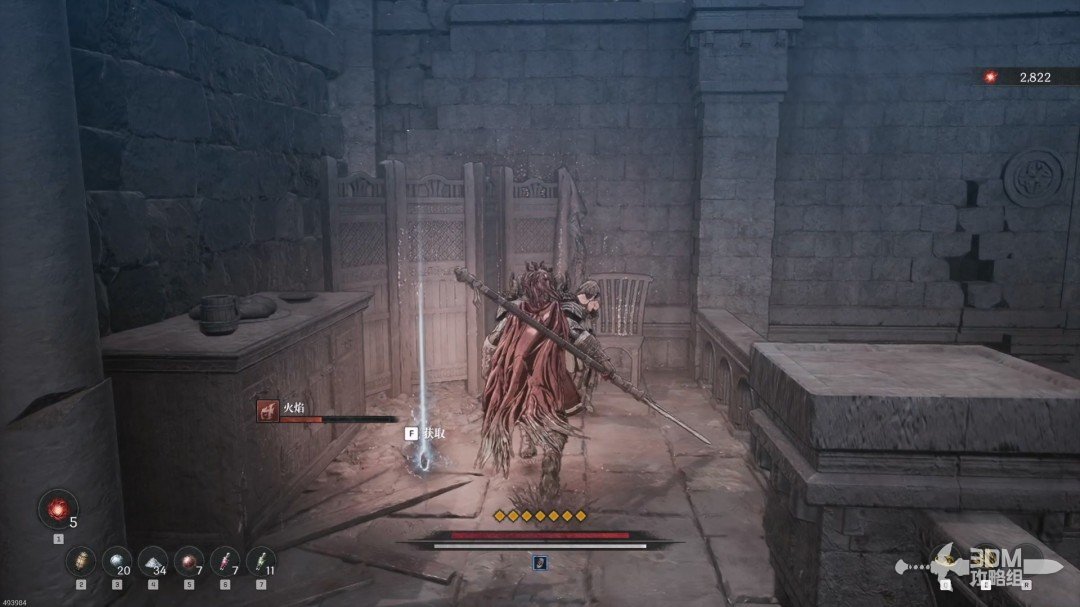
Nadin Ruins entrance: meet Tristan and enter the mine · route image 2

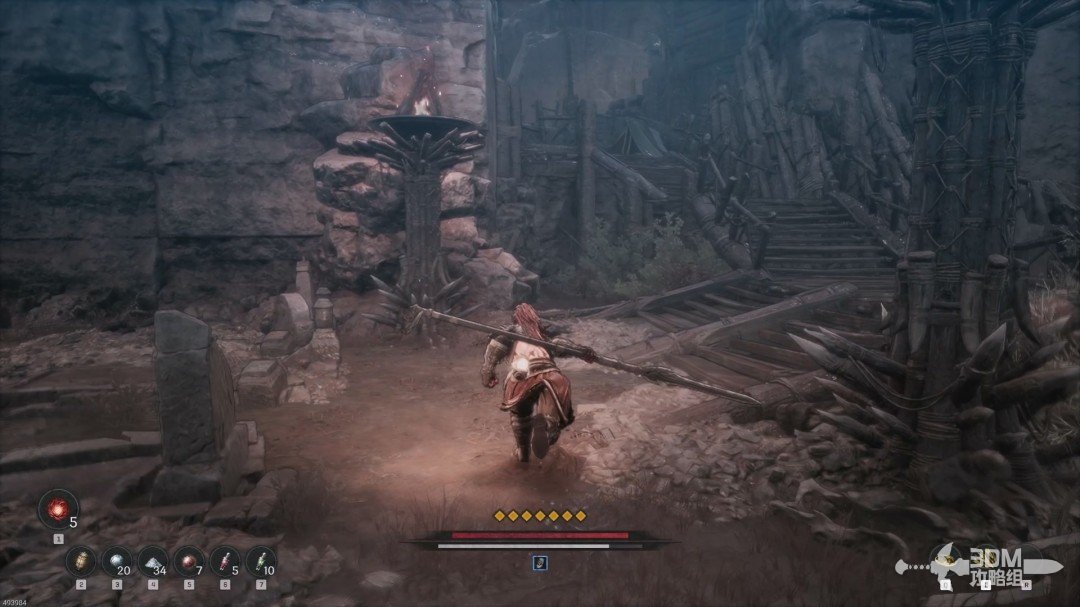
Clear the enemies and collect the white item here.
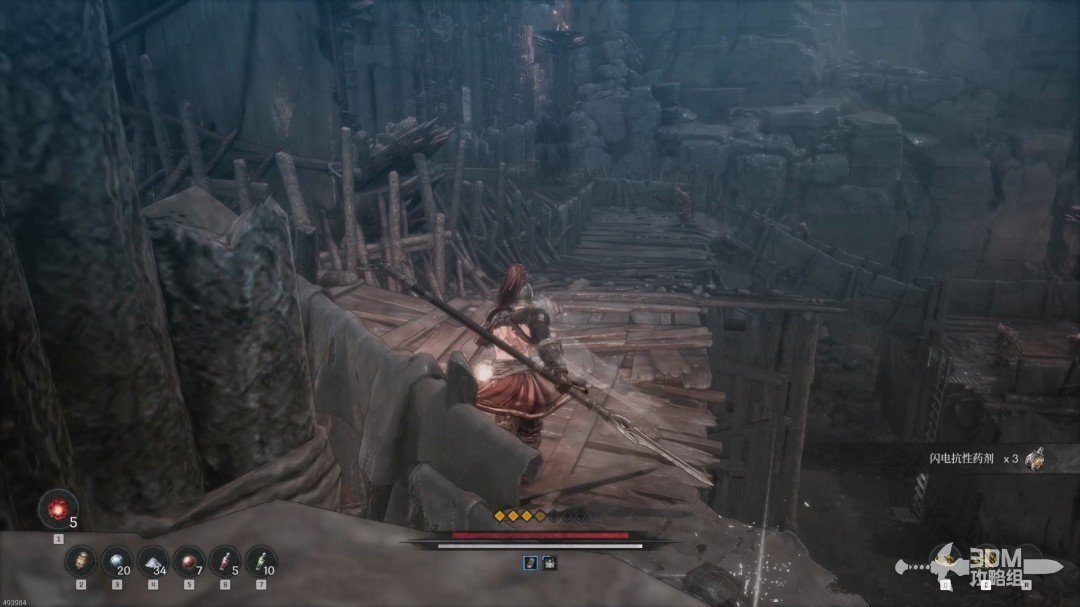
Nadin Ruins entrance: meet Tristan and enter the mine · route image 3

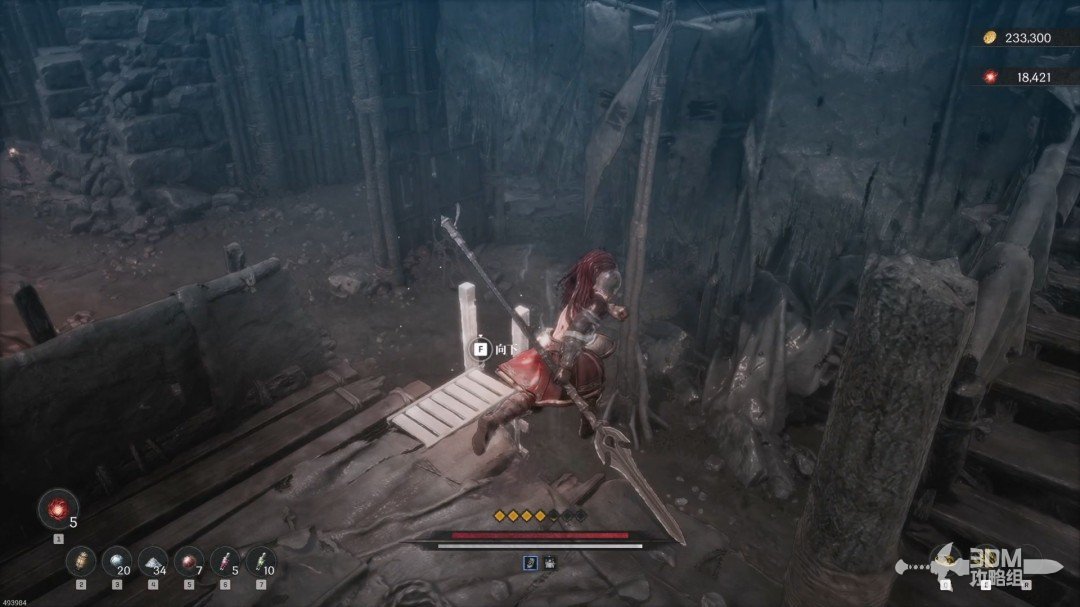
Drop from the platform's end.

Nadin Ruins entrance: meet Tristan and enter the mine · route image 4

Take the purple item inside the doorway on the right.
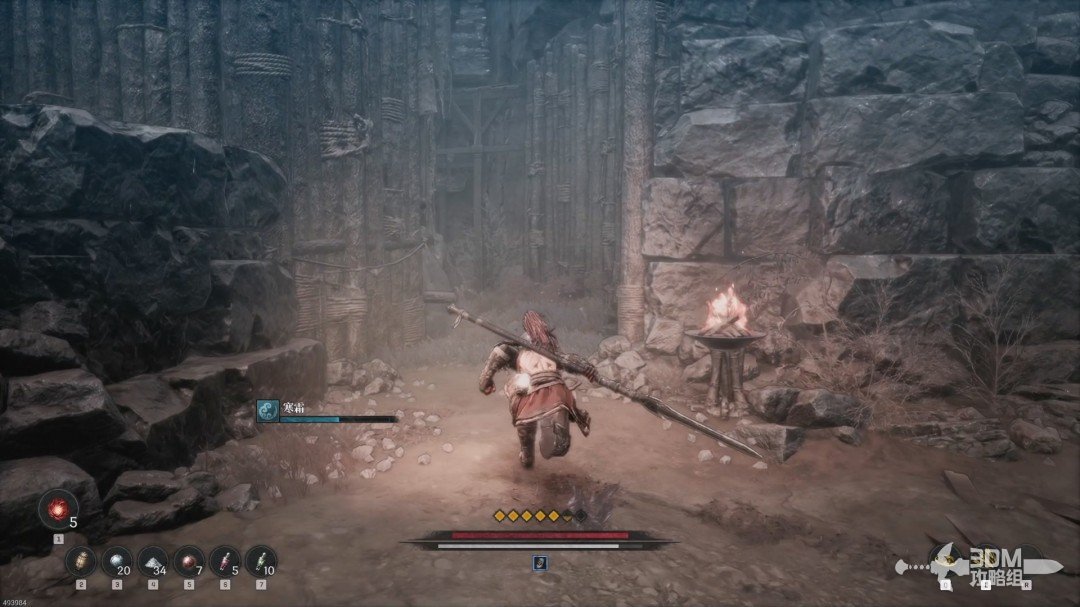
Nadin Ruins entrance: meet Tristan and enter the mine · route image 5

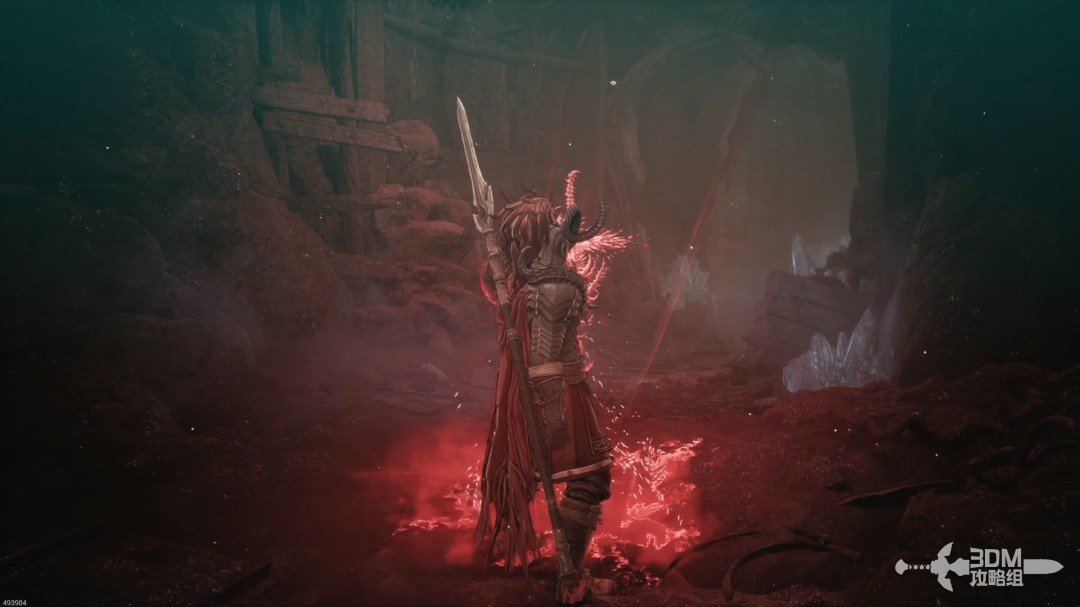
Clear the main road and absorb its genuine memory.
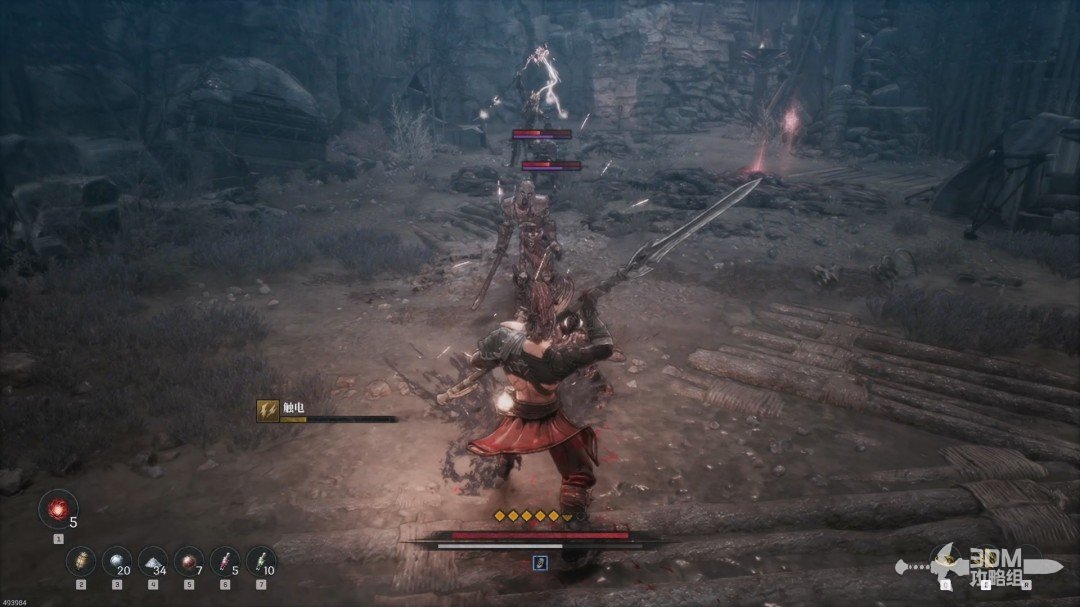
Nadin Ruins entrance: meet Tristan and enter the mine · route image 6

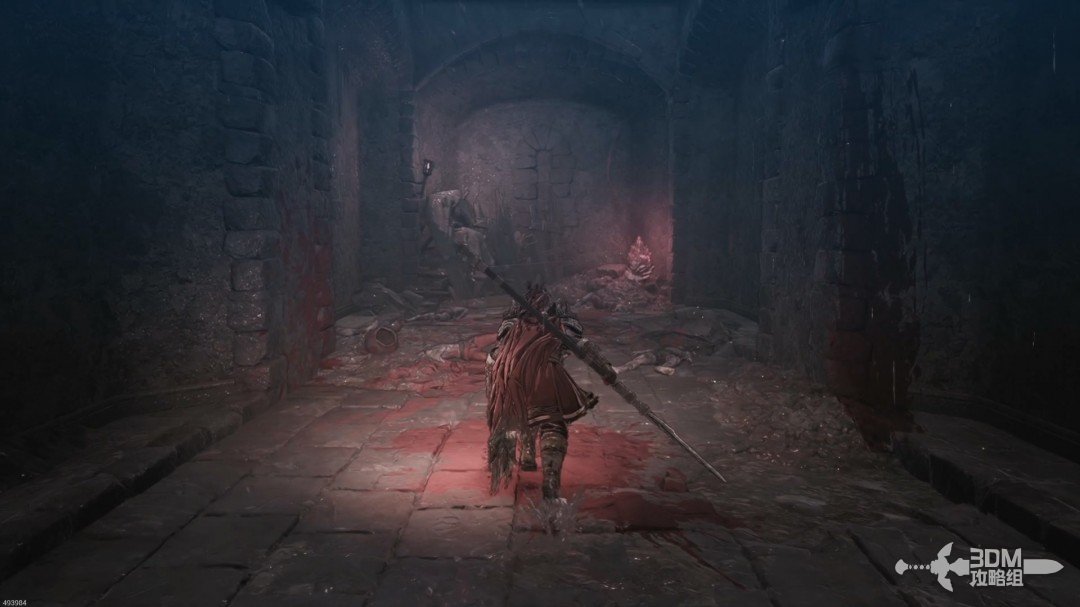
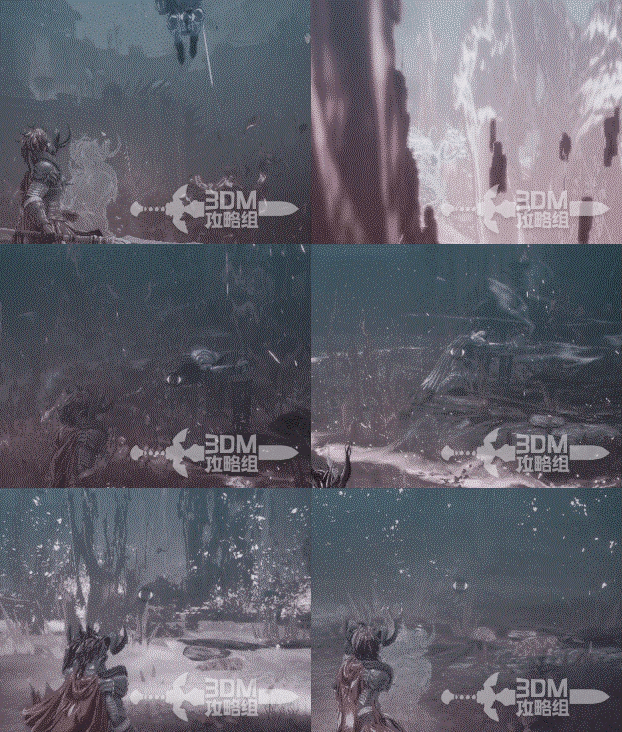
An invisible enemy waits in the quarry. Defeat it and reach the Nexus visible above on the right.
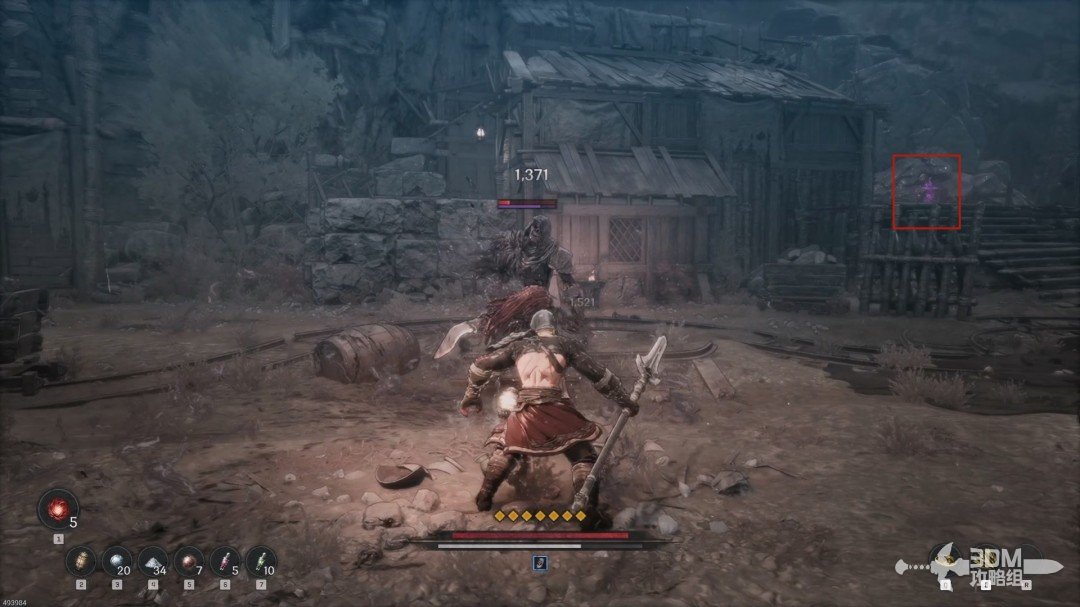
Nadin Ruins entrance: meet Tristan and enter the mine · route image 7

02Graveyard and lookout: lower the ladder to the Nexus

Rest, then drop from this position.
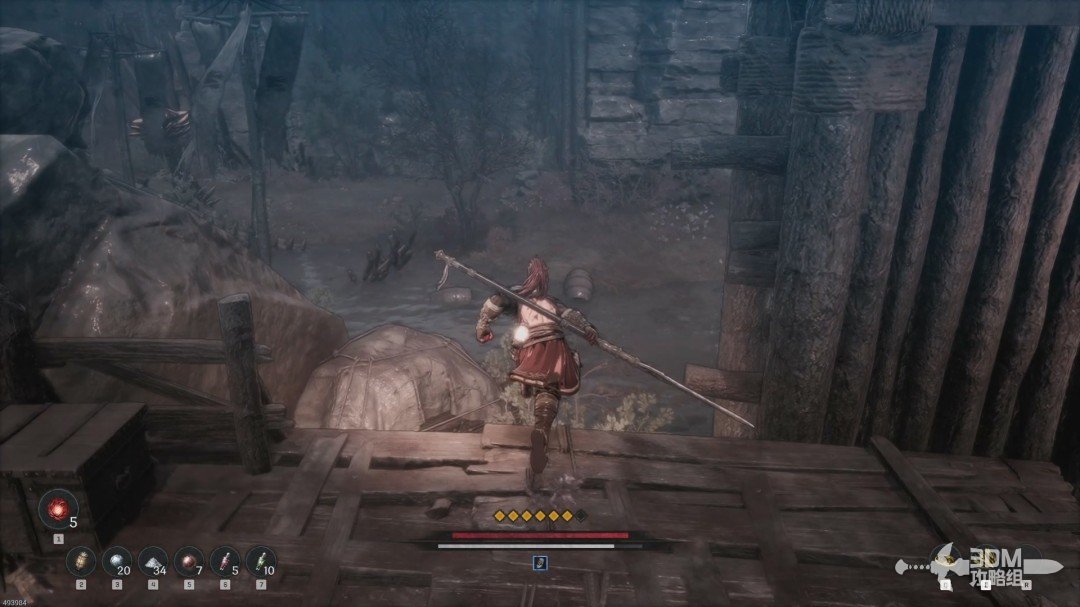
Graveyard and lookout: lower the ladder to the Nexus · route image 8

Go left and absorb the cemetery memory.
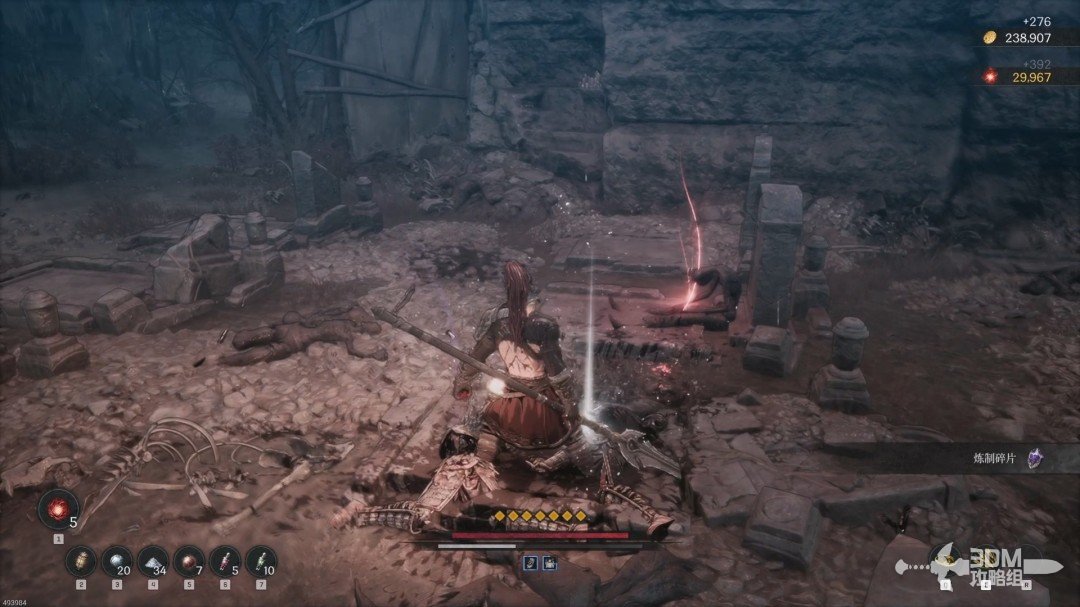
Graveyard and lookout: lower the ladder to the Nexus · route image 9

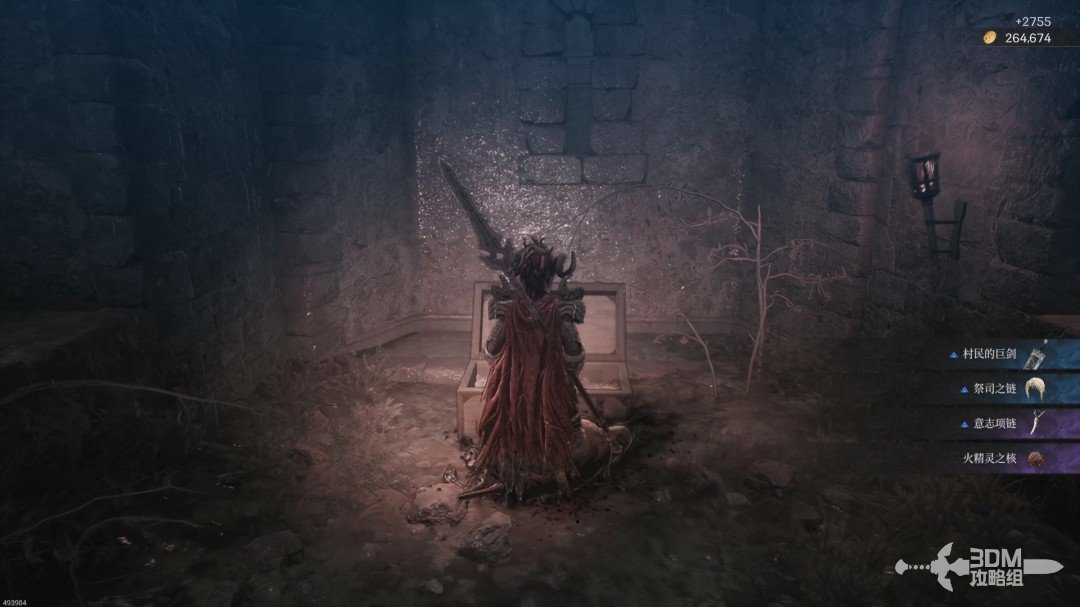
Open the chest beneath the left lookout tower.
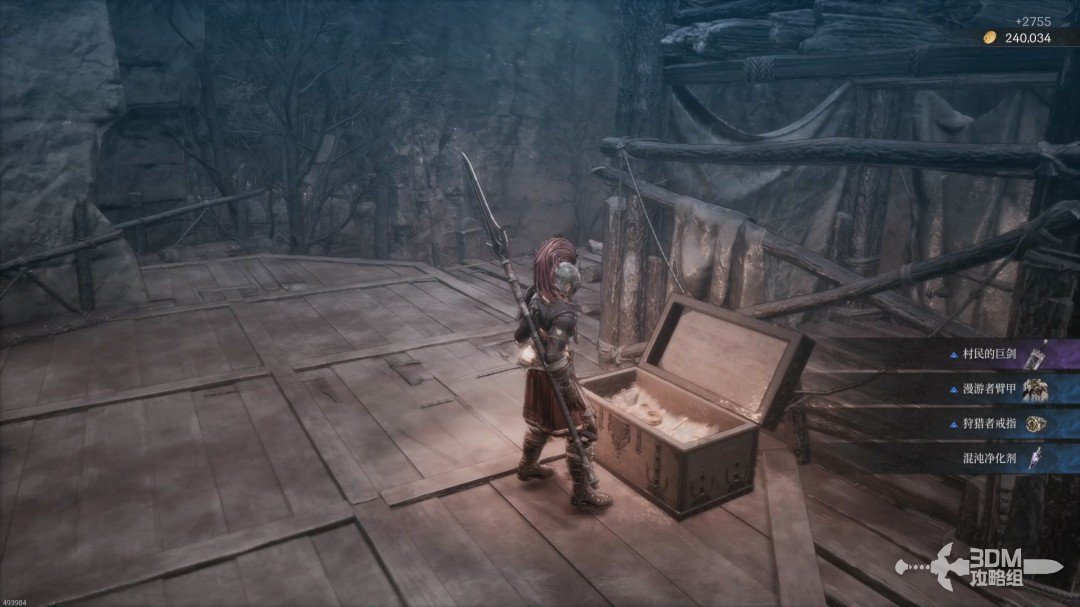
Graveyard and lookout: lower the ladder to the Nexus · route image 10

Climb the pictured stairs.

Graveyard and lookout: lower the ladder to the Nexus · route image 11

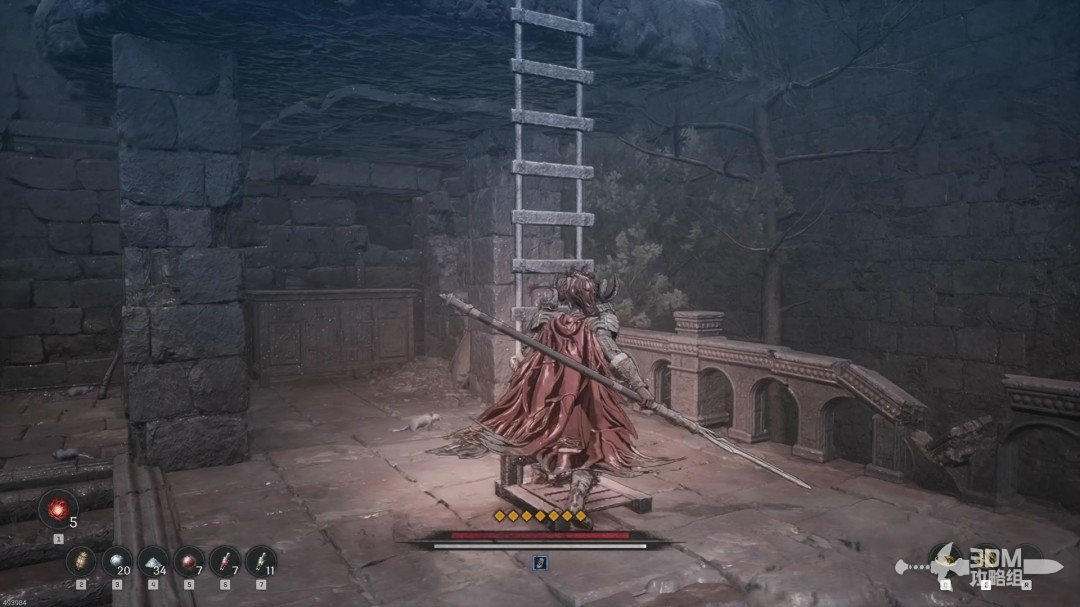
Lower the platform ladder to open a shortcut to the earlier Nexus.
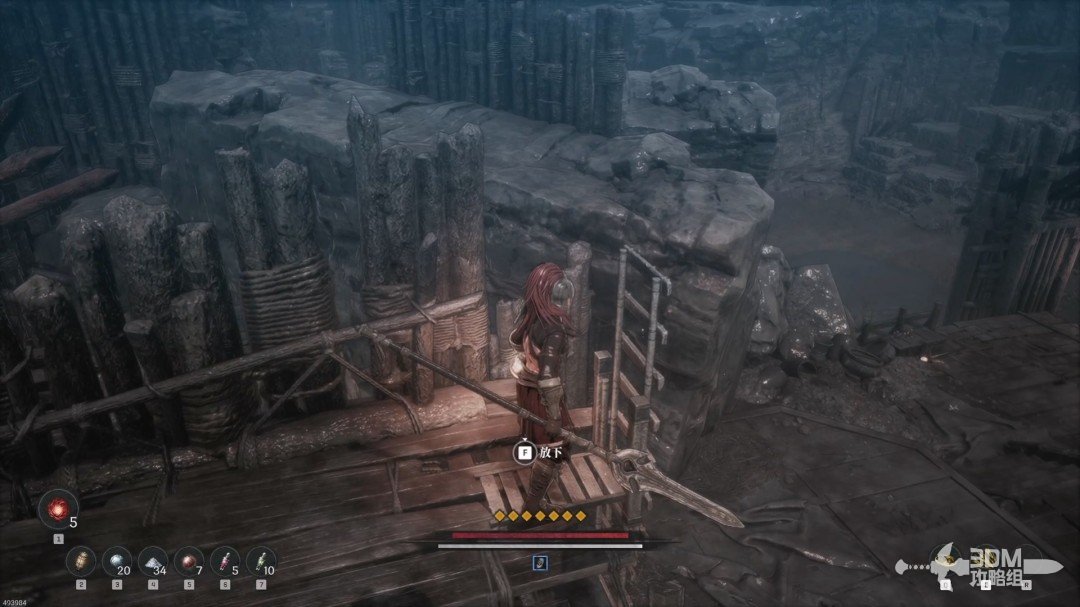
Graveyard and lookout: lower the ladder to the Nexus · route image 12

03Spider nest down the upper slope: Soulstone and Man-Eating Spider Scroll

Stay above and continue up the next ladder.
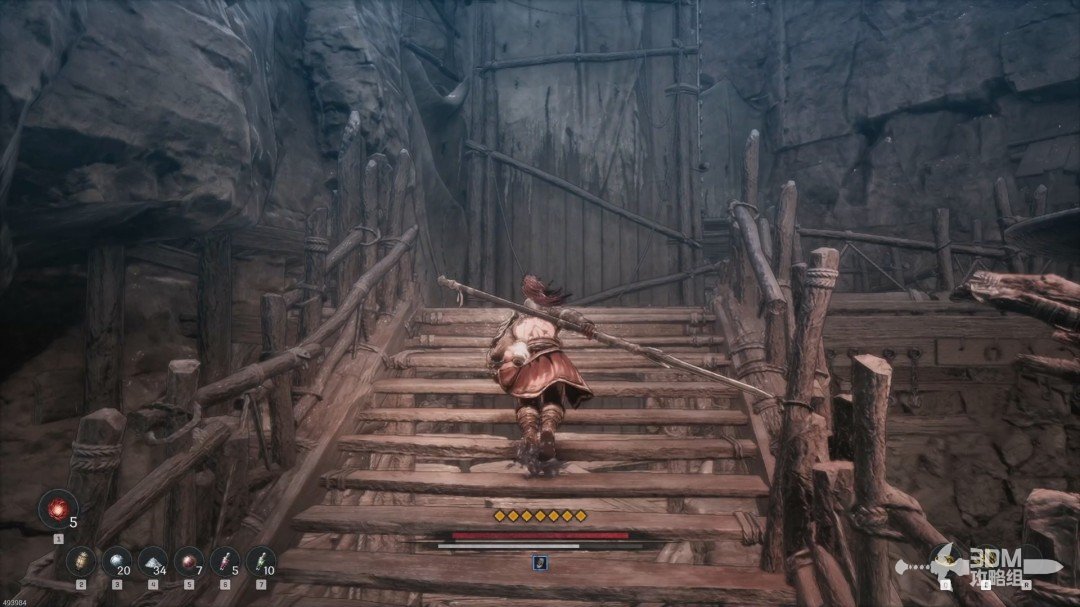
Spider nest down the upper slope: Soulstone and Man-Eating Spider Scroll · route image 13

After several climbs, descend the slope.
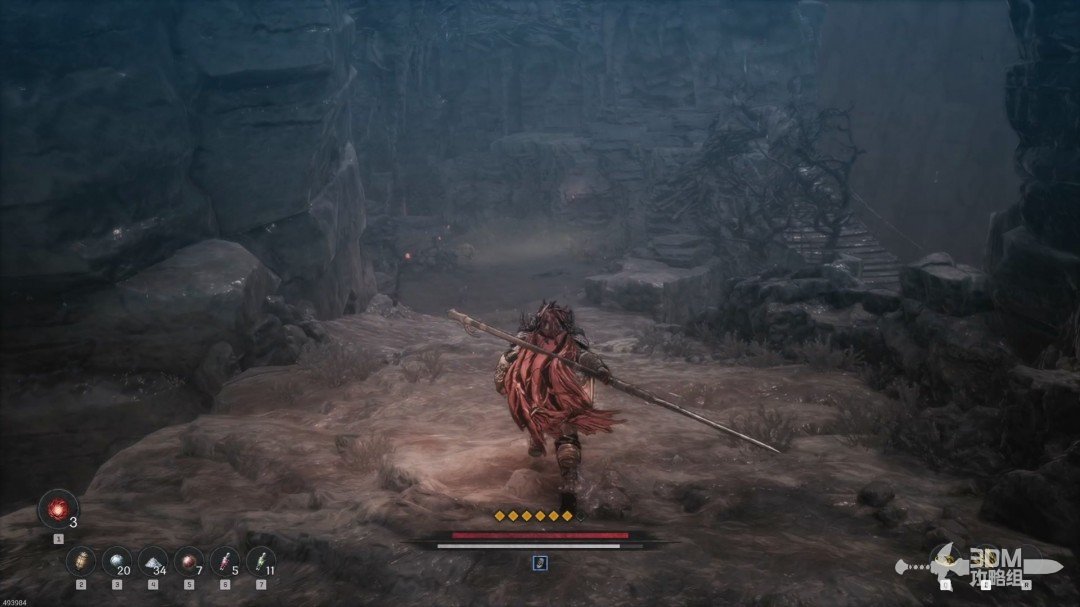
Spider nest down the upper slope: Soulstone and Man-Eating Spider Scroll · route image 14

Collect the purple item in the left corner.
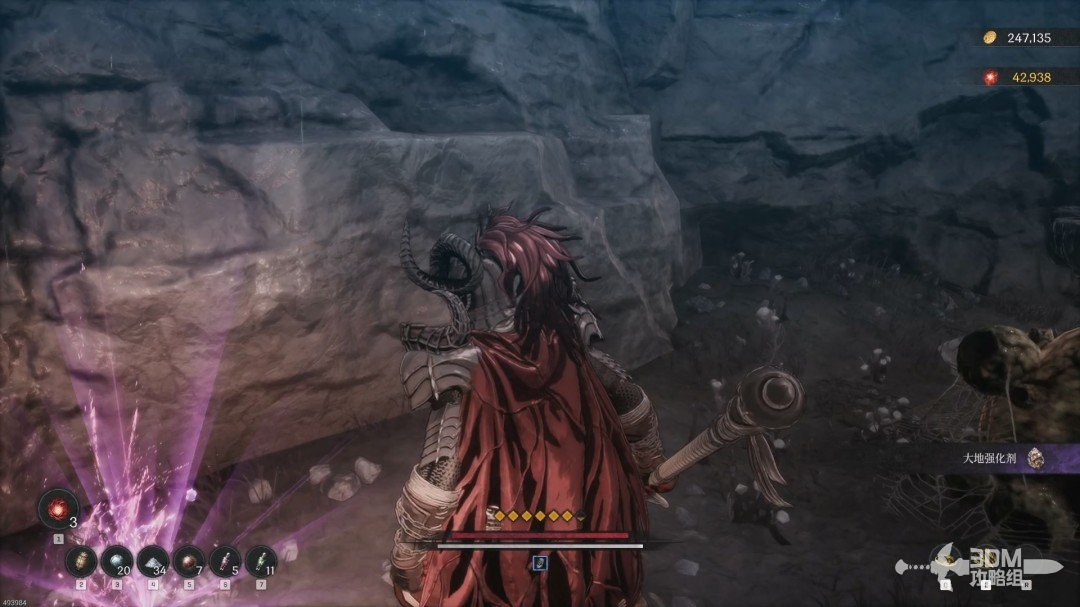
Spider nest down the upper slope: Soulstone and Man-Eating Spider Scroll · route image 15

Many spiders wait on the right, including a large one spawning smaller spiders.
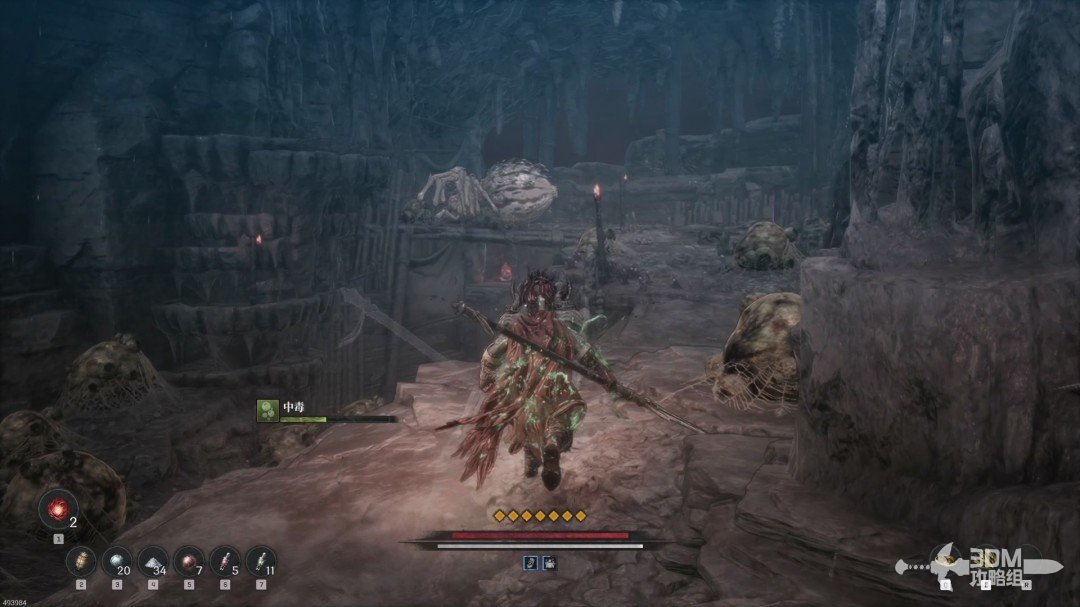
Spider nest down the upper slope: Soulstone and Man-Eating Spider Scroll · route image 16

Clear them and break the Soulstone on the right.
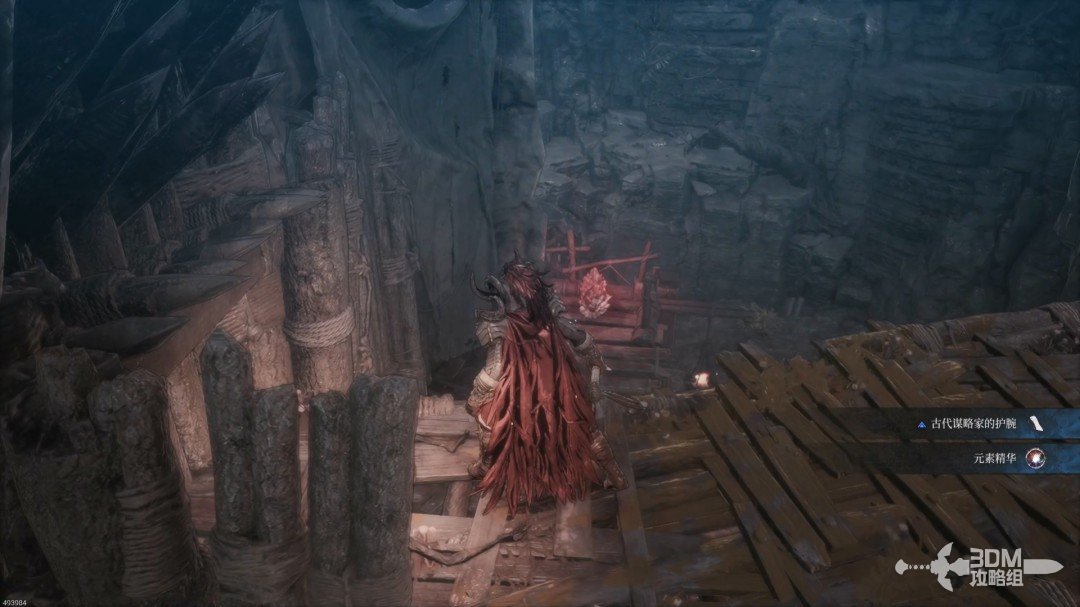
Spider nest down the upper slope: Soulstone and Man-Eating Spider Scroll · route image 17

Continue down and take the right branch for the Maneater Spider Scroll.

06Elevator beyond the stairs: descend to the rolling-boulder slope

Descend the ladder after collecting the scroll.
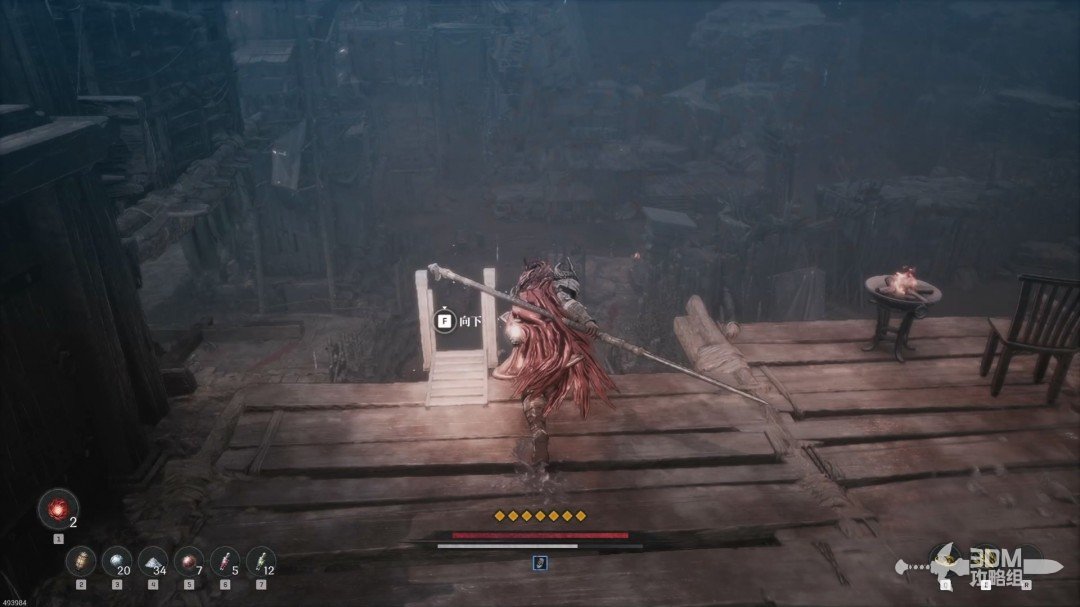
Elevator beyond the stairs: descend to the rolling-boulder slope · route image 1

Collect the item at the end of the left branch, then climb the stairs ahead.
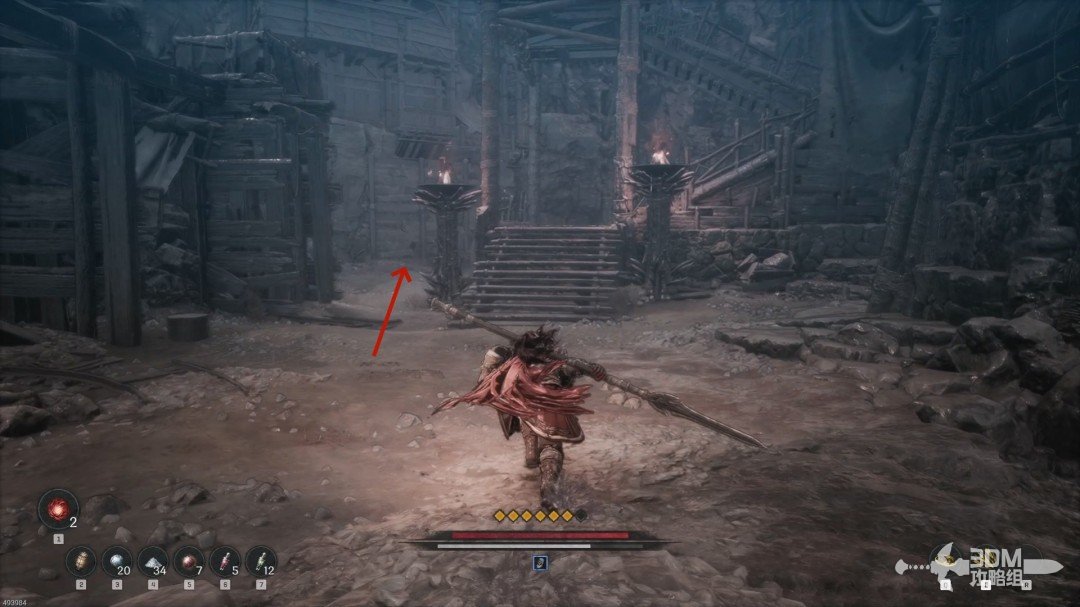
Elevator beyond the stairs: descend to the rolling-boulder slope · route image 2

Take the elevator down after the stairs.
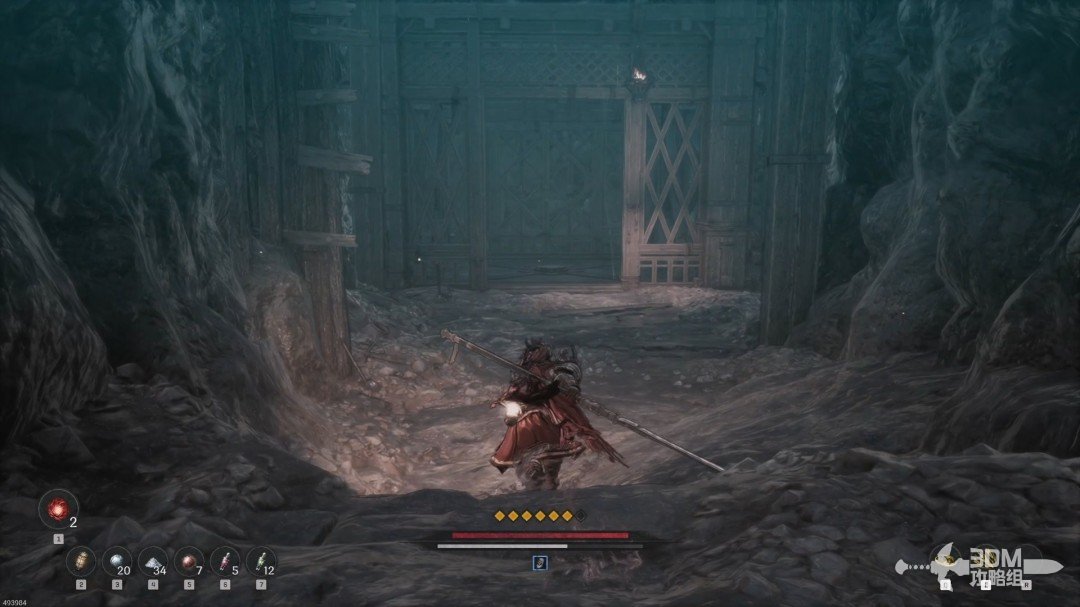
Elevator beyond the stairs: descend to the rolling-boulder slope · route image 3

Rest at the Nexus below.

Elevator beyond the stairs: descend to the rolling-boulder slope · route image 4

07Recesses on the boulder slope: climb up and stop the falling rocks

Boulders roll continuously down the road ahead. Use the recesses along its sides for cover.
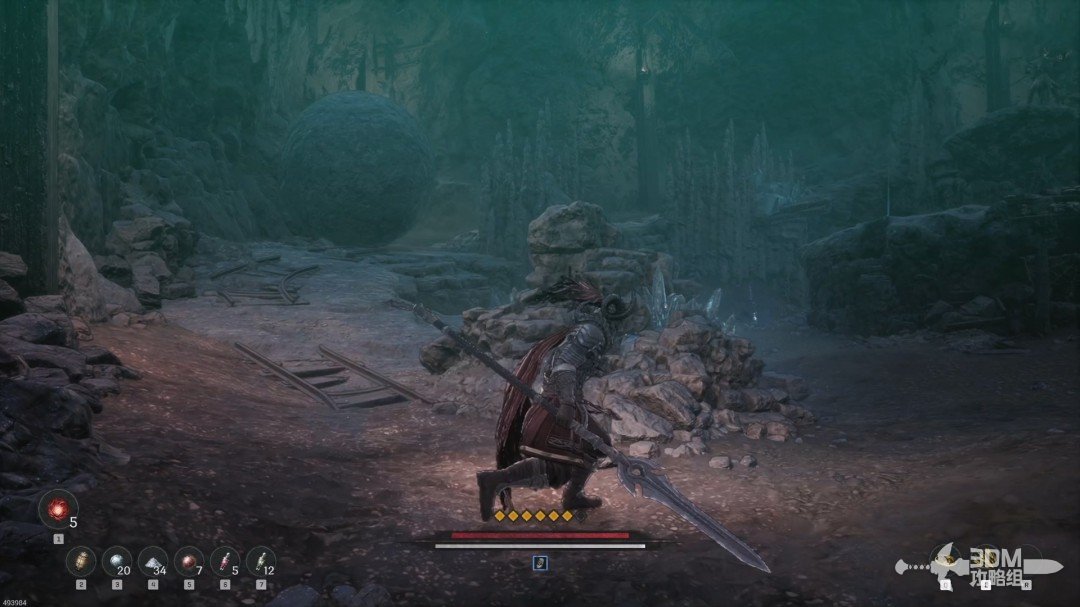
Recesses on the boulder slope: climb up and stop the falling rocks · route image 5

First collect the item on the central platform.
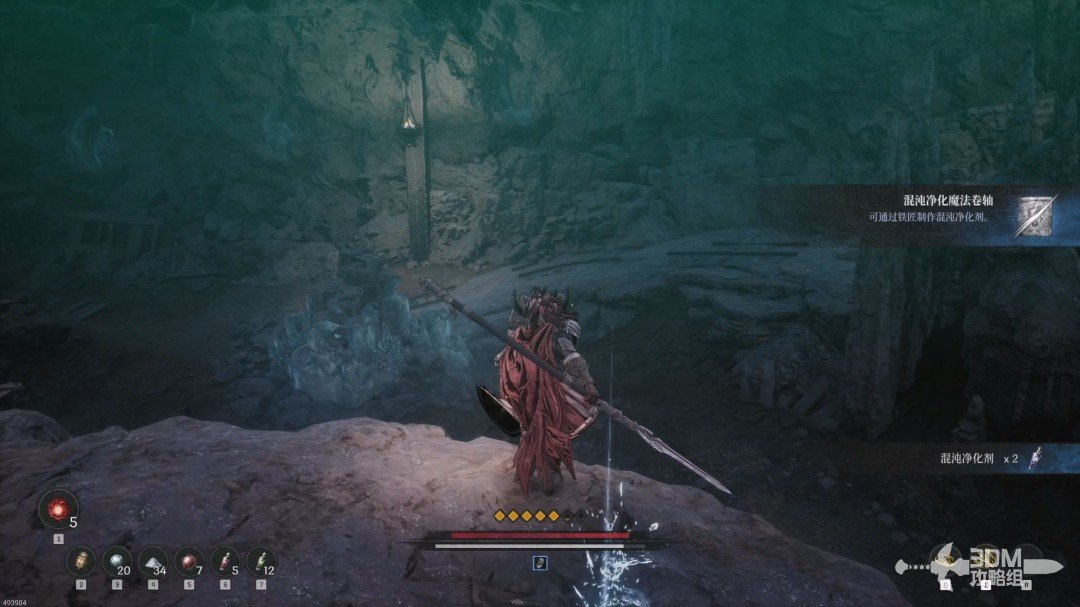
Recesses on the boulder slope: climb up and stop the falling rocks · route image 6

Climb the main slope and operate the mechanism by the entrance to close the boulder outlet.
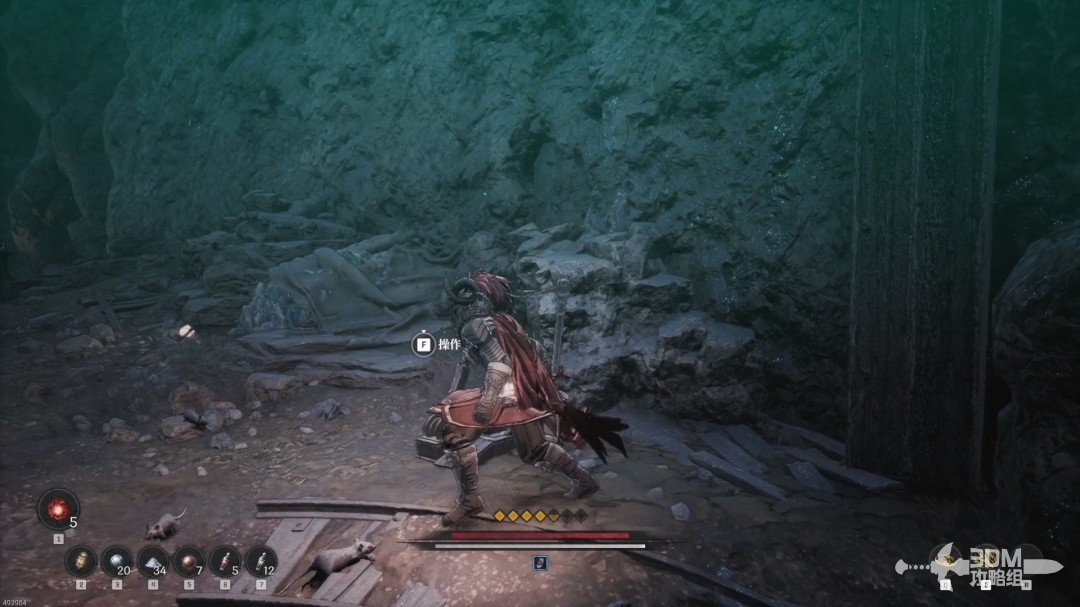
Recesses on the boulder slope: climb up and stop the falling rocks · route image 7

The memory ahead conceals a burrower.
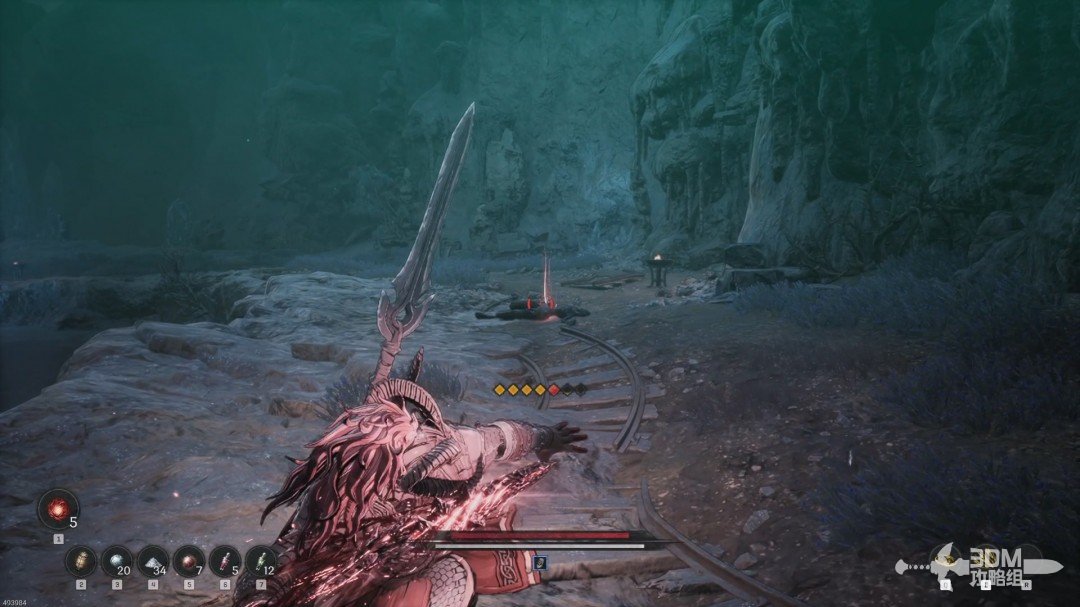
Recesses on the boulder slope: climb up and stop the falling rocks · route image 8

08Spider nest and lift: collect the scroll and meet Elamein

Clear the spider nest and cure poison as needed. The memory on the left must be reached from behind later.
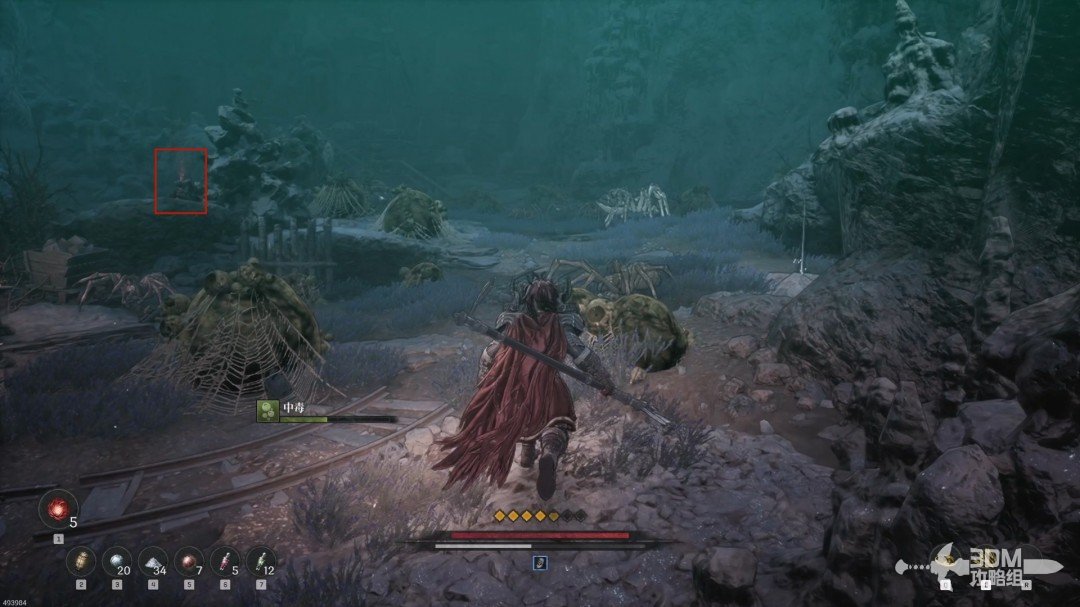
Spider nest and lift: collect the scroll and meet Elamein · route image 9

Collect the purple Poison Summon Scroll on the right.
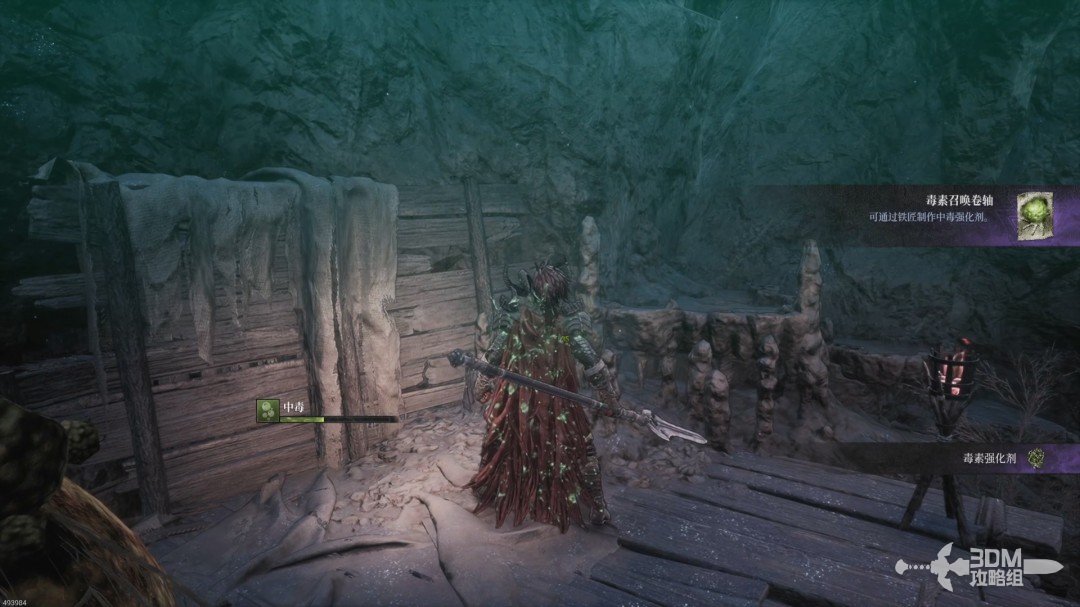
Spider nest and lift: collect the scroll and meet Elamein · route image 10

Activate the elevator switch after the spiders, then look behind for a descending side path before boarding.
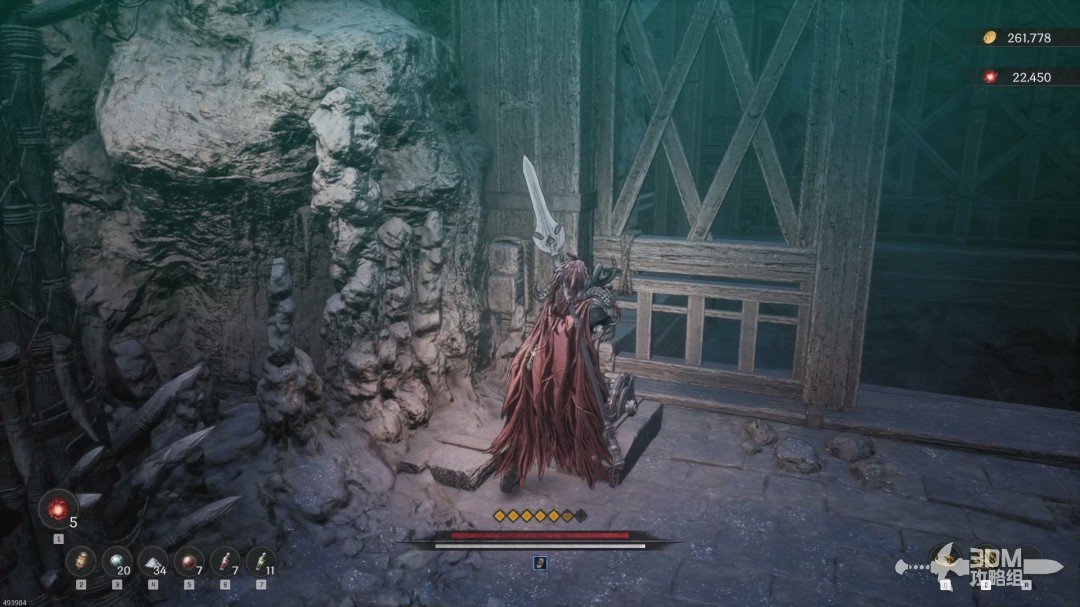
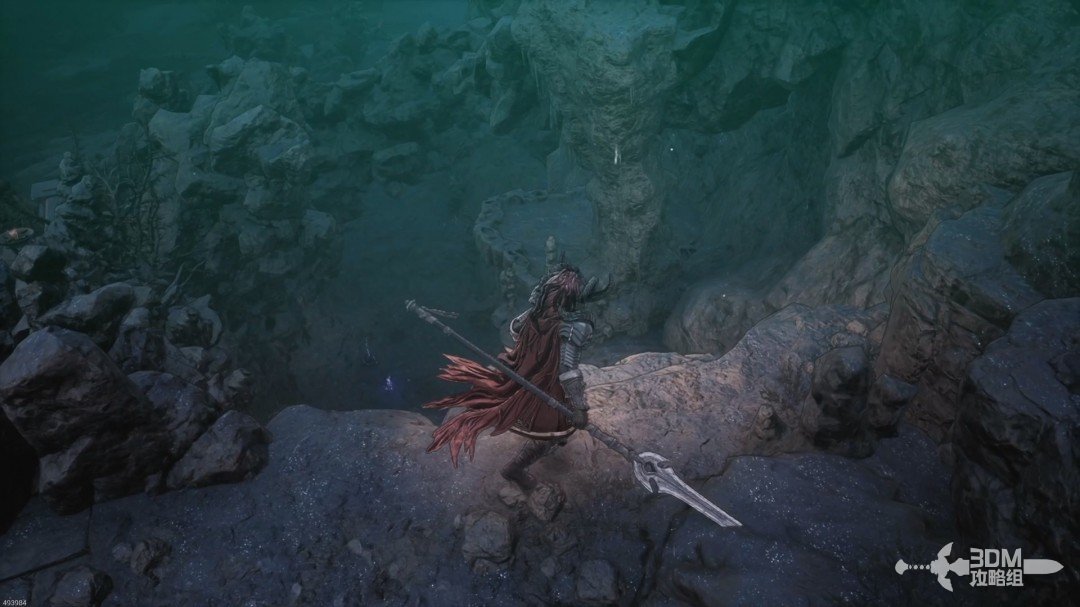
Spider nest and lift: collect the scroll and meet Elamein · route image 11
Spider nest and lift: collect the scroll and meet Elamein · route image 12

Absorb the memory ahead, drop down and return to the elevator.
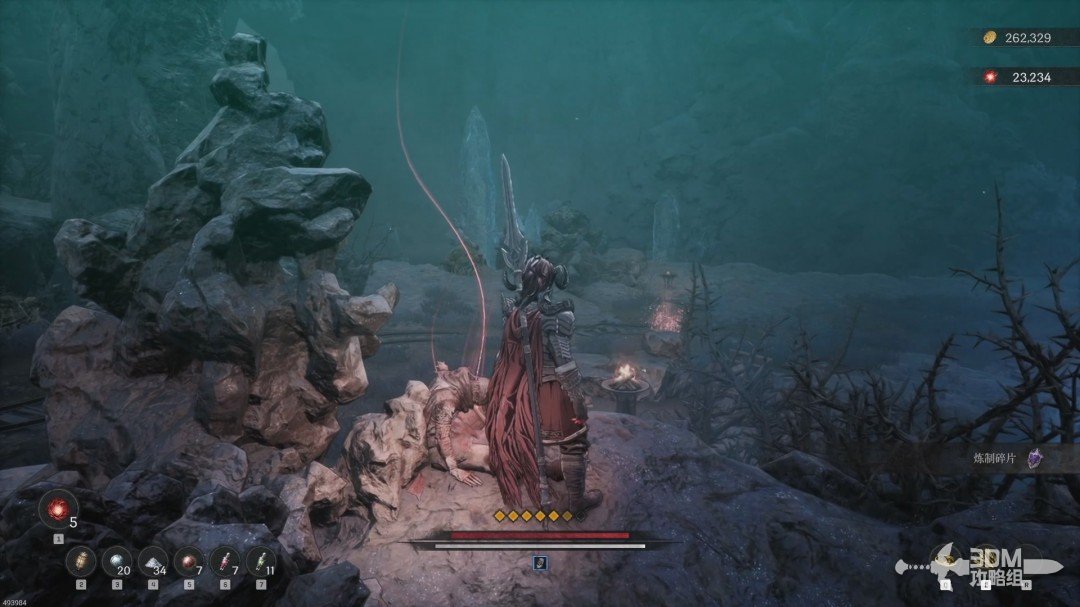
Spider nest and lift: collect the scroll and meet Elamein · route image 13

At the top, speak to Elamein, who has followed you.
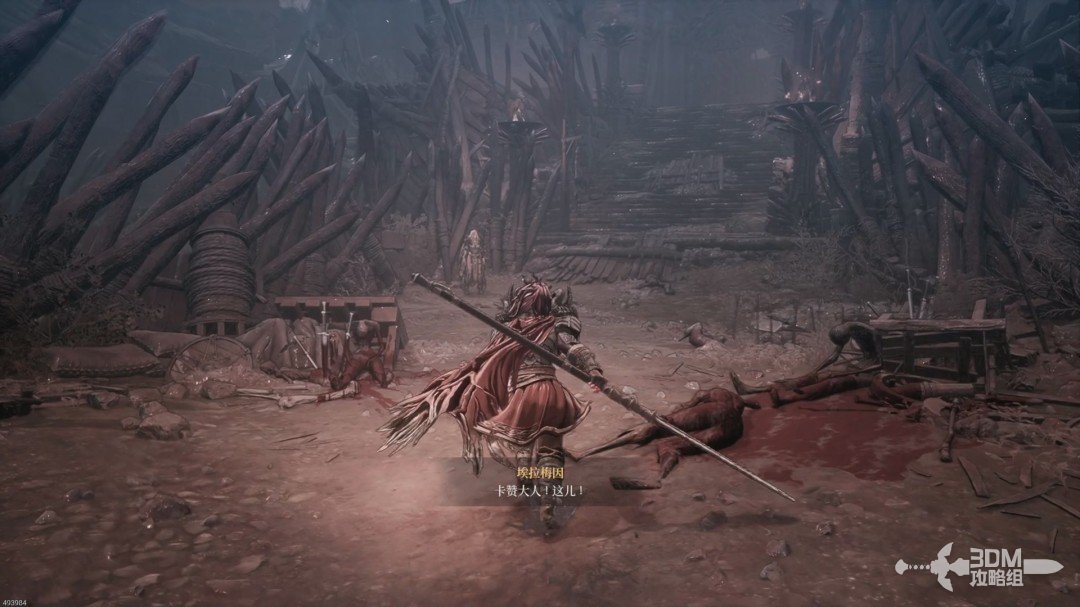
Spider nest and lift: collect the scroll and meet Elamein · route image 14

10Gate left of the Nexus: climb around to the Soulstone behind it

Continue to the Blade Nexus.
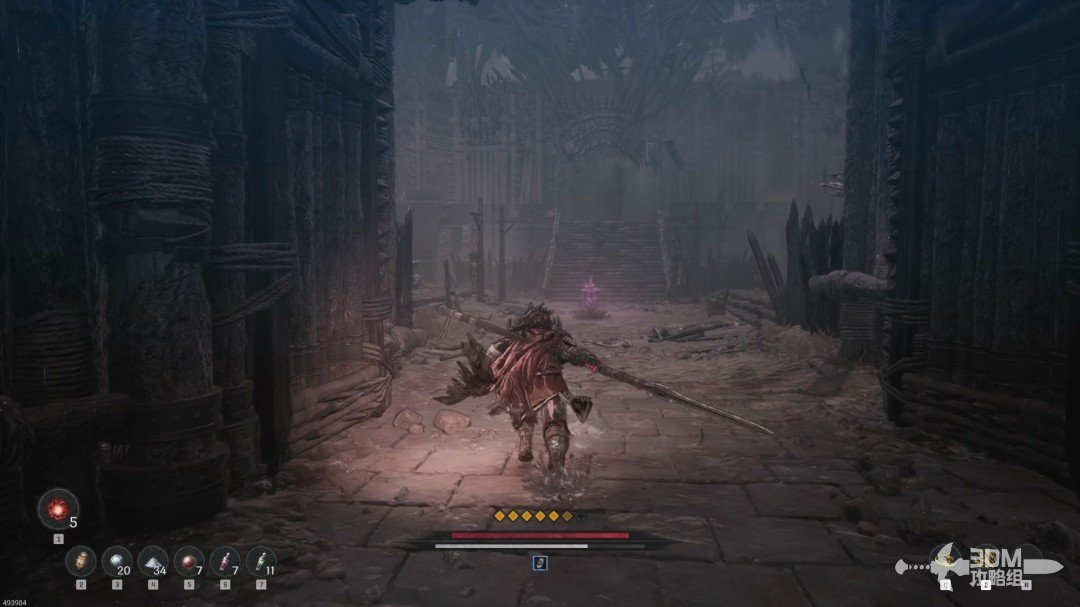
Gate left of the Nexus: climb around to the Soulstone behind it · route image 15

The gate left of the Nexus is locked. Circle behind it instead.
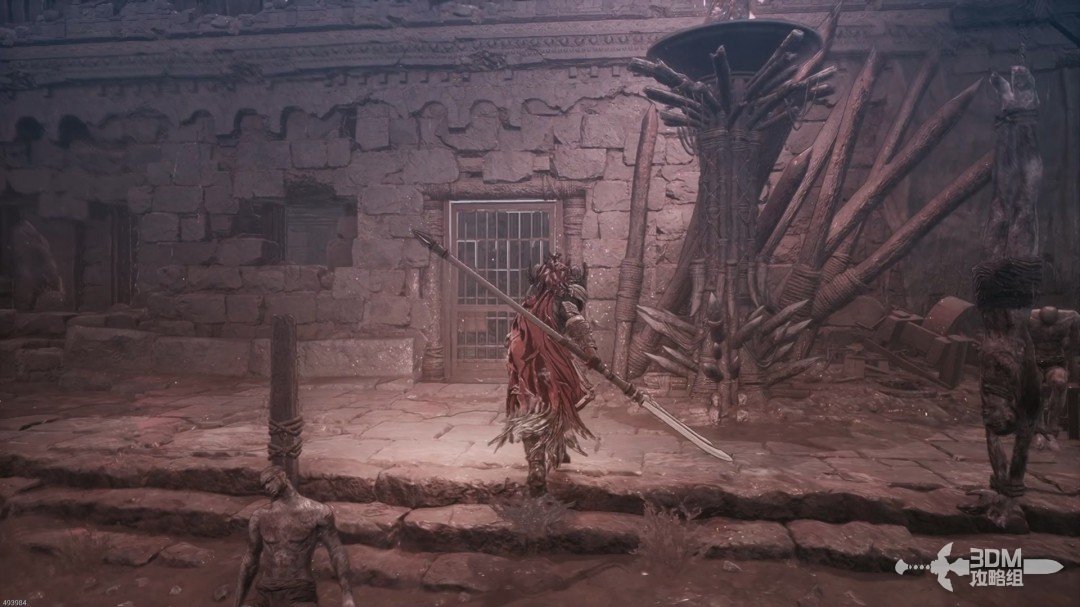
Gate left of the Nexus: climb around to the Soulstone behind it · route image 16

Climb this ladder.

Gate left of the Nexus: climb around to the Soulstone behind it · route image 17

Descend the next ladder to enemies and a Soulstone.
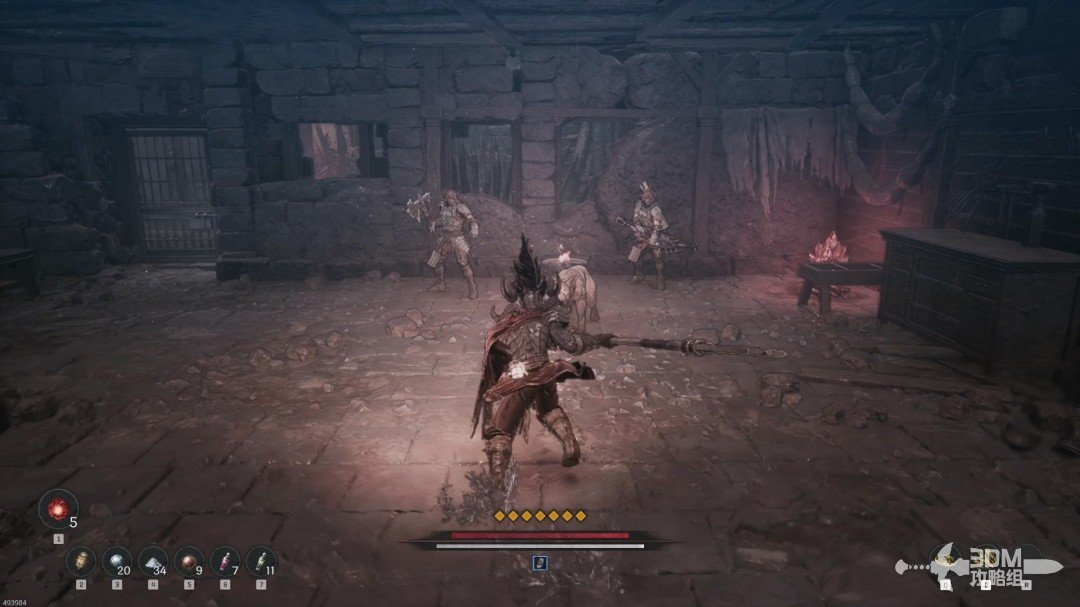
Gate left of the Nexus: climb around to the Soulstone behind it · route image 18

12Side house opposite the gate: circle upstairs to the lower chest

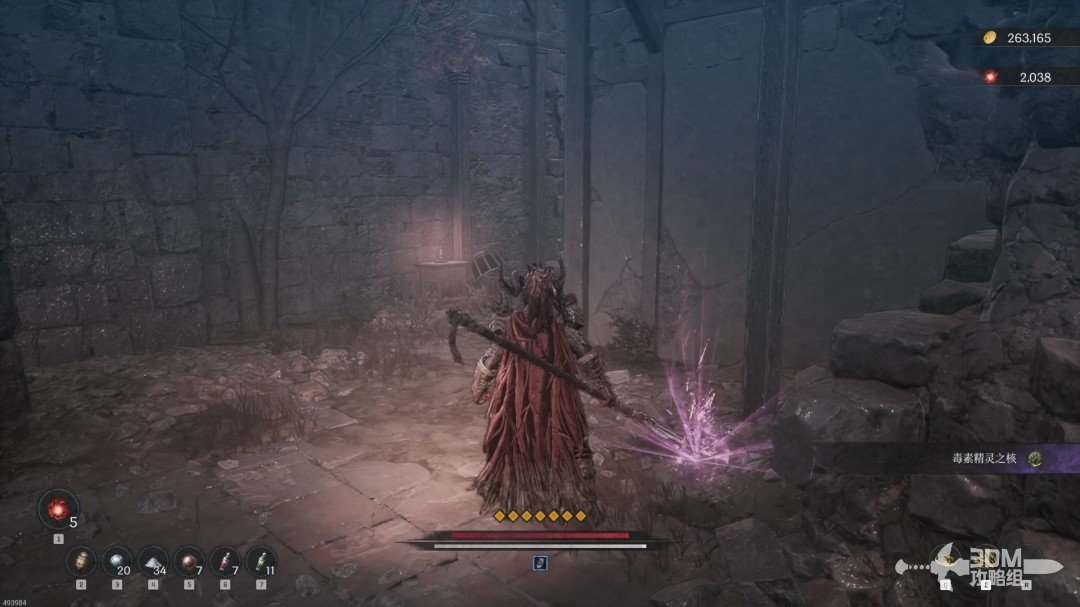
Open the gate after the Soulstone. Collect the purple item opposite the doorway.
Side house opposite the gate: circle upstairs to the lower chest · route image 1

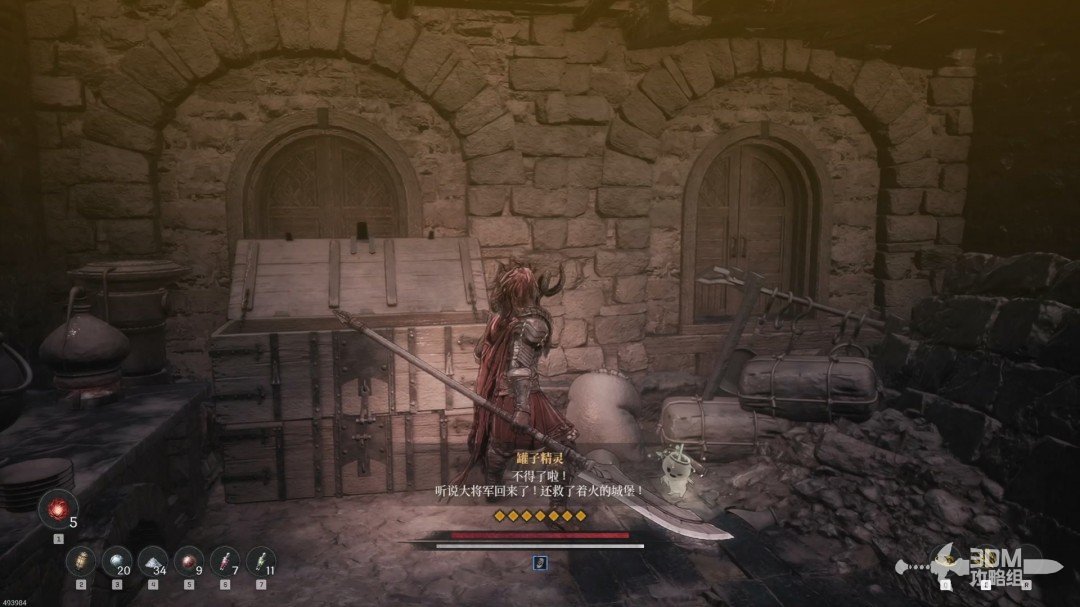
Enter the small side door.

Side house opposite the gate: circle upstairs to the lower chest · route image 2

Collect the white item upstairs.

Side house opposite the gate: circle upstairs to the lower chest · route image 3

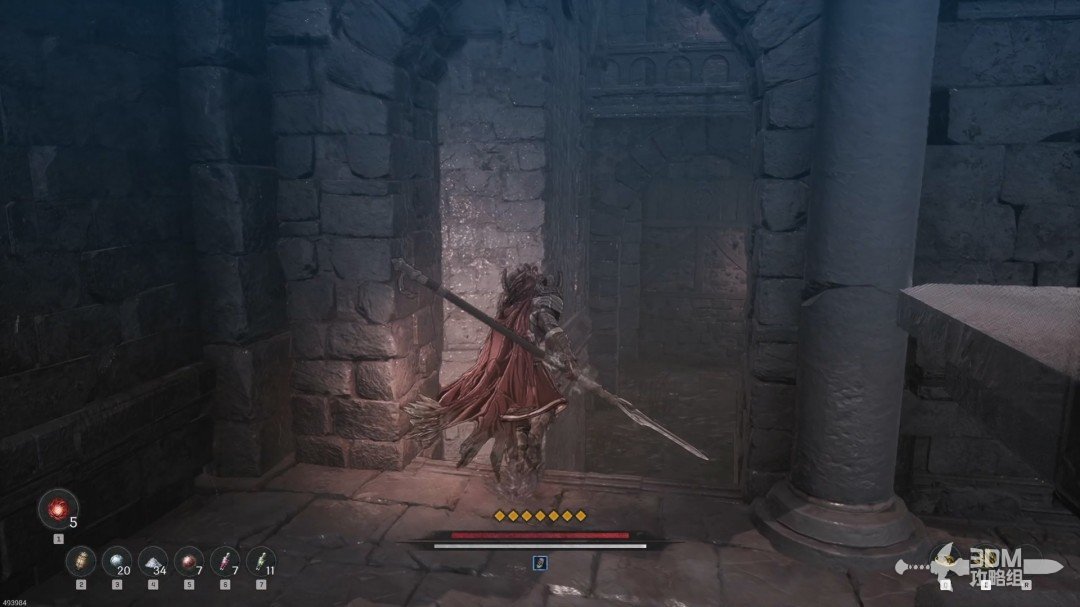
Go to the other side and drop down here.
Side house opposite the gate: circle upstairs to the lower chest · route image 4

Open the chest on the left.

Side house opposite the gate: circle upstairs to the lower chest · route image 5

13Gate and ladder beyond the chest: drop to the Soulstone platform

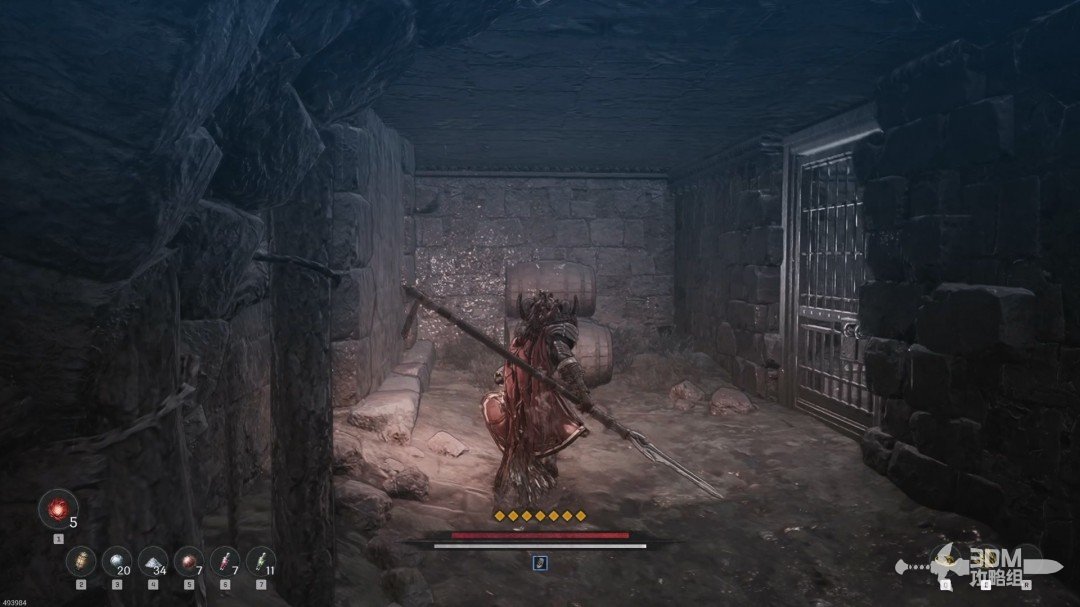
Leave through the iron gate behind you.
Gate and ladder beyond the chest: drop to the Soulstone platform · route image 6

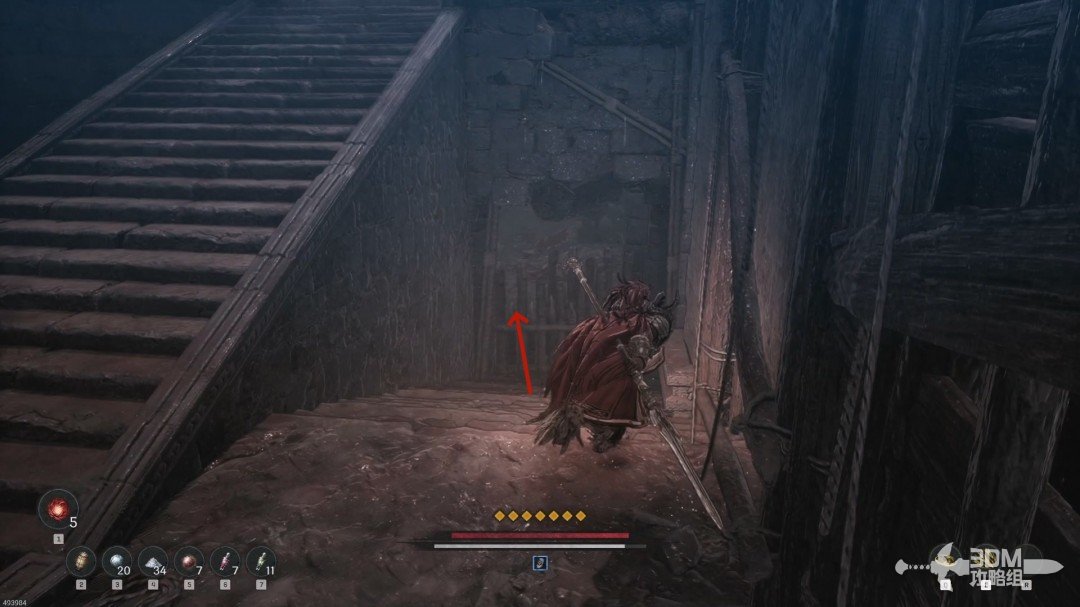
Climb the ladder.

Gate and ladder beyond the chest: drop to the Soulstone platform · route image 7

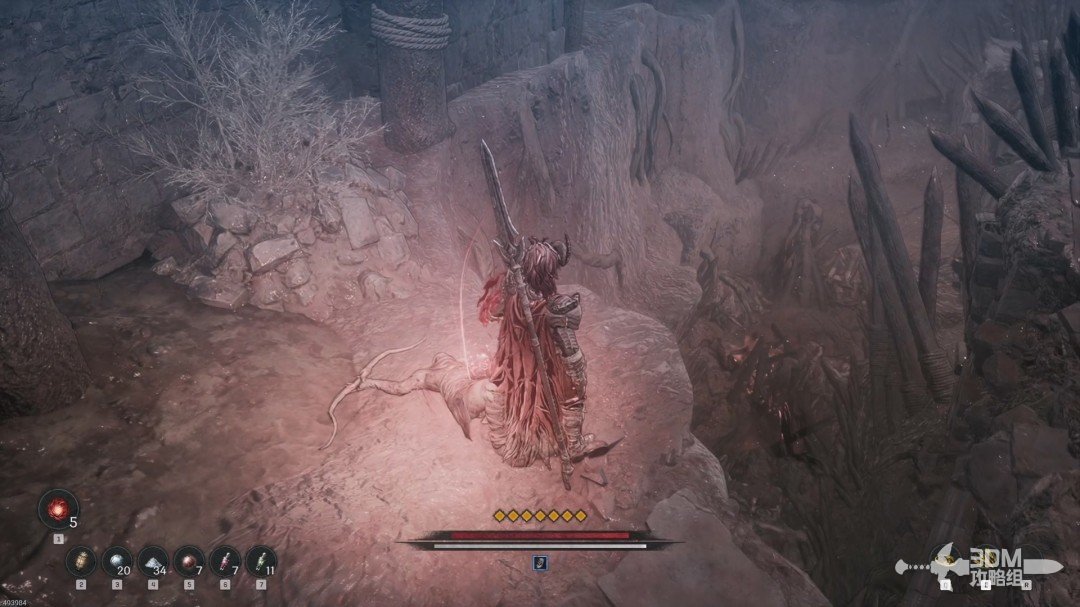
Drop from this position for another Soulstone below.
Gate and ladder beyond the chest: drop to the Soulstone platform · route image 8
Gate and ladder beyond the chest: drop to the Soulstone platform · route image 9

15Three-way fork at the Nexus: take the cave and right corridor first

Climb back up and continue forward.
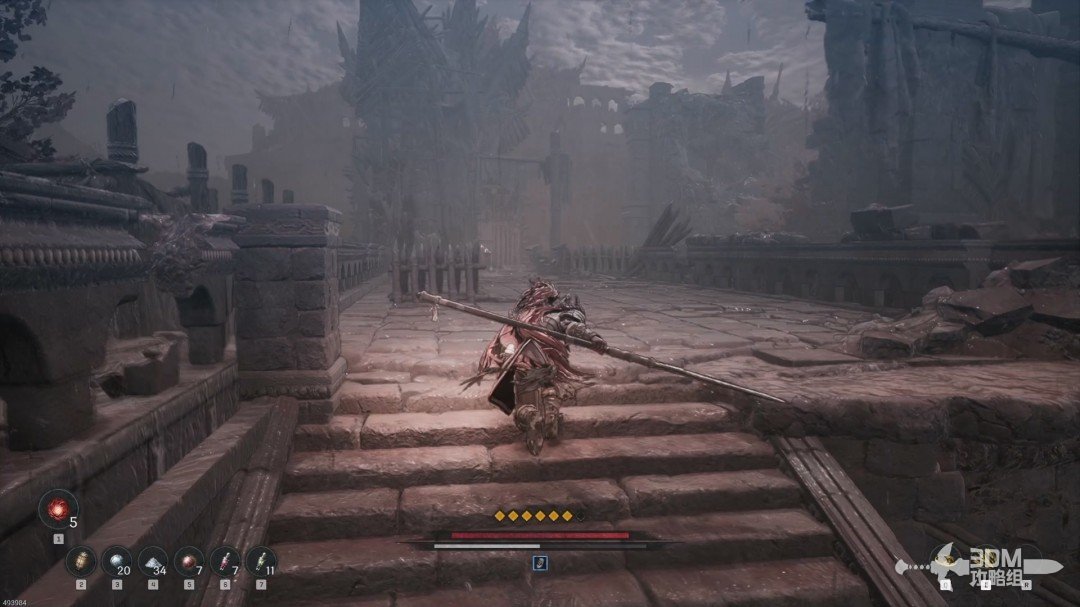
Three-way fork at the Nexus: take the cave and right corridor first · route image 1

Open the large gate to reconnect with the earlier Nexus.
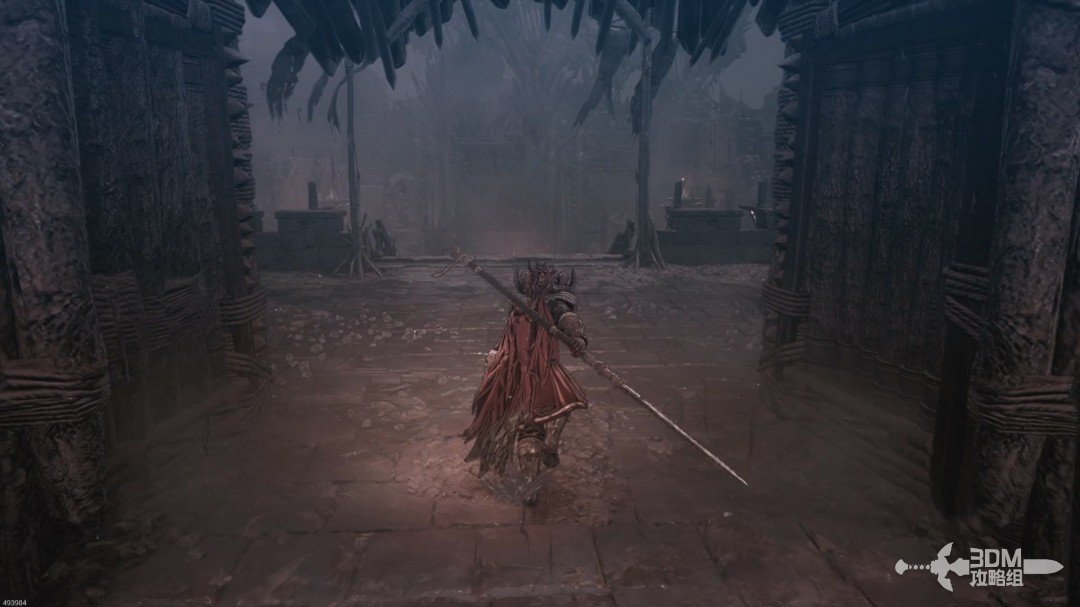
Three-way fork at the Nexus: take the cave and right corridor first · route image 2

Recover if needed, then return to the three-way junction. Explore the cave entrance first.
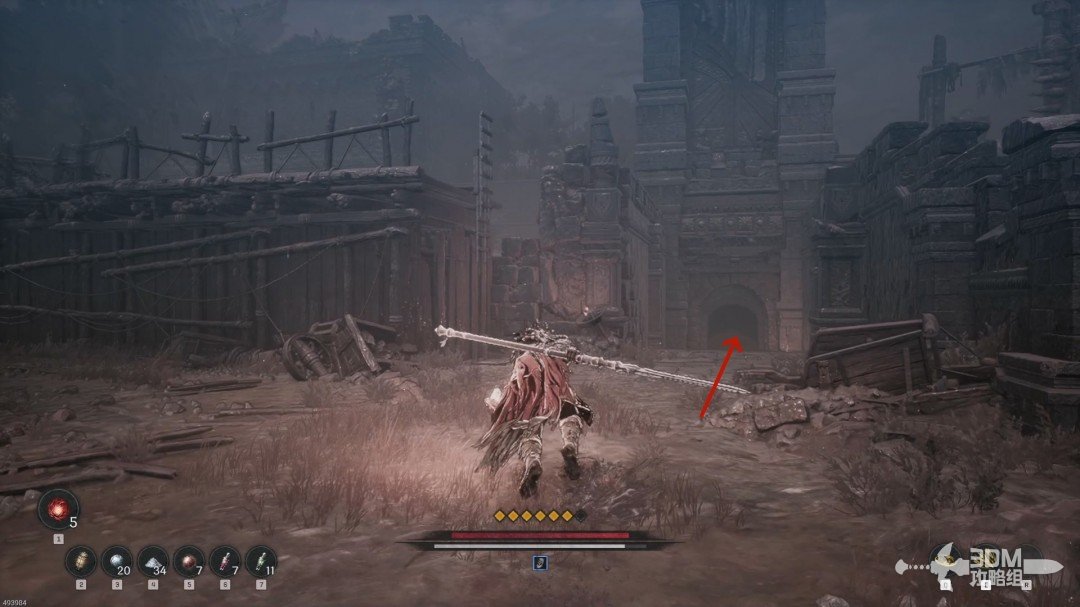
Three-way fork at the Nexus: take the cave and right corridor first · route image 3

Absorb the memory beside the descending path.
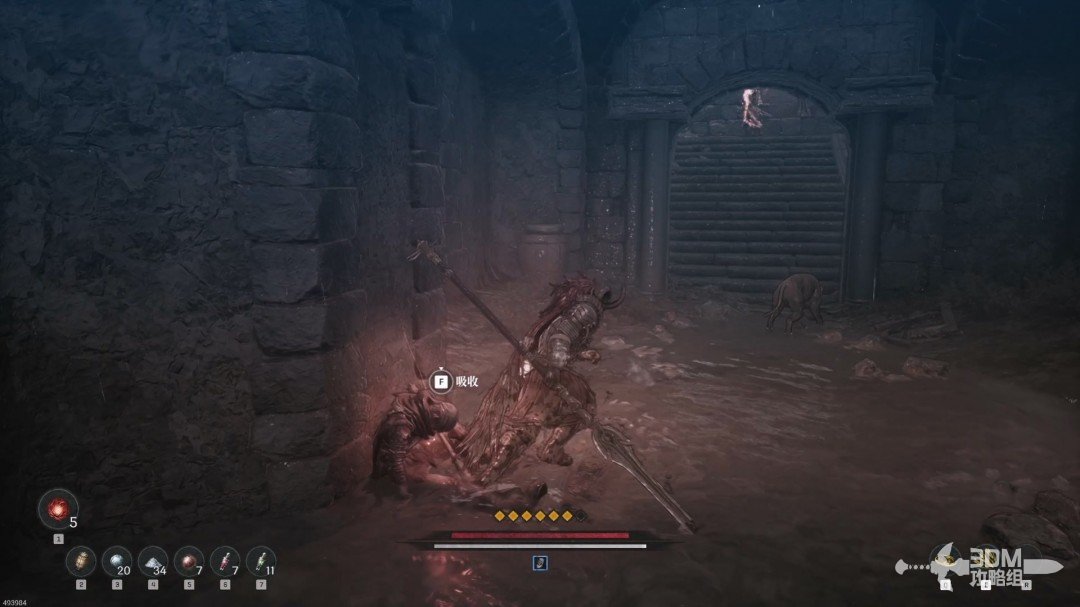
Three-way fork at the Nexus: take the cave and right corridor first · route image 4

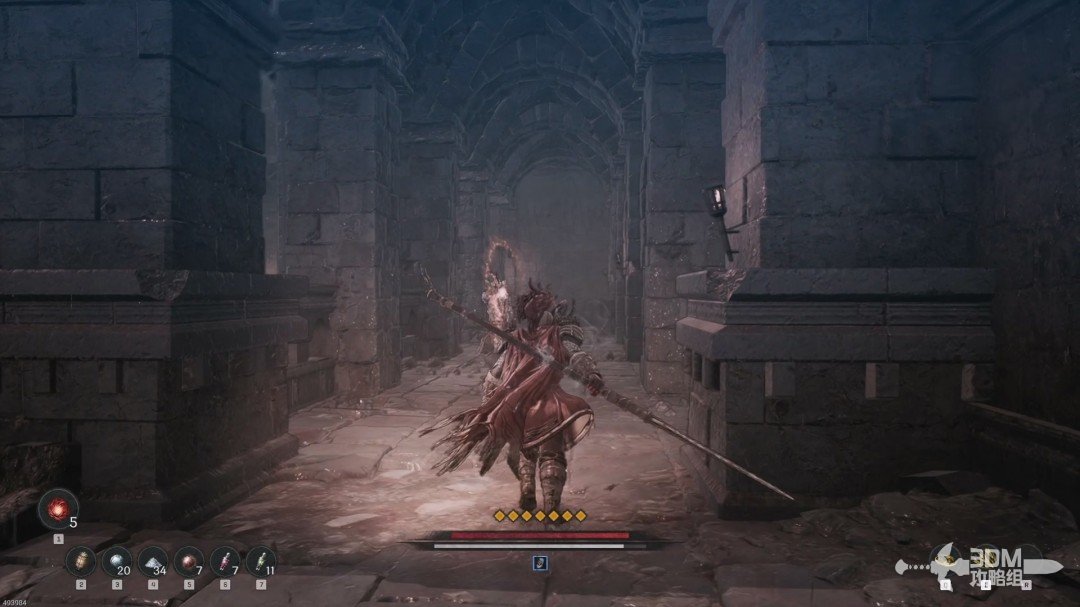
Follow the corridor and search the rooms on the right.
Three-way fork at the Nexus: take the cave and right corridor first · route image 5

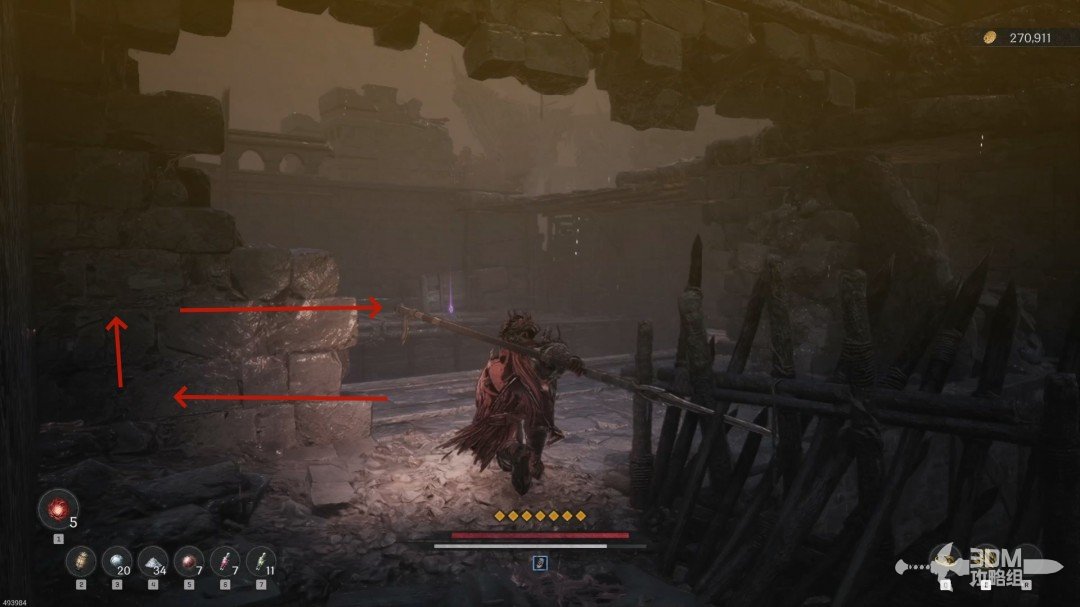
The second room contains a purple item.
Three-way fork at the Nexus: take the cave and right corridor first · route image 6

16Drop left of the ladder: search the courtyard rooms for the secret letter

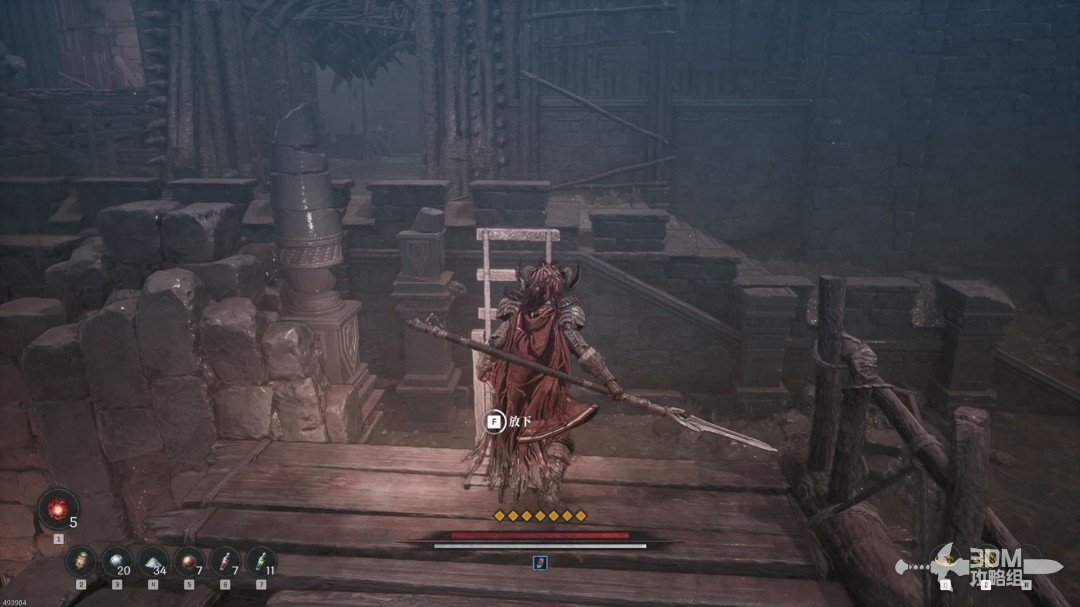
The ladder ahead leads back to the previous junction.
Drop left of the ladder: search the courtyard rooms for the secret letter · route image 7

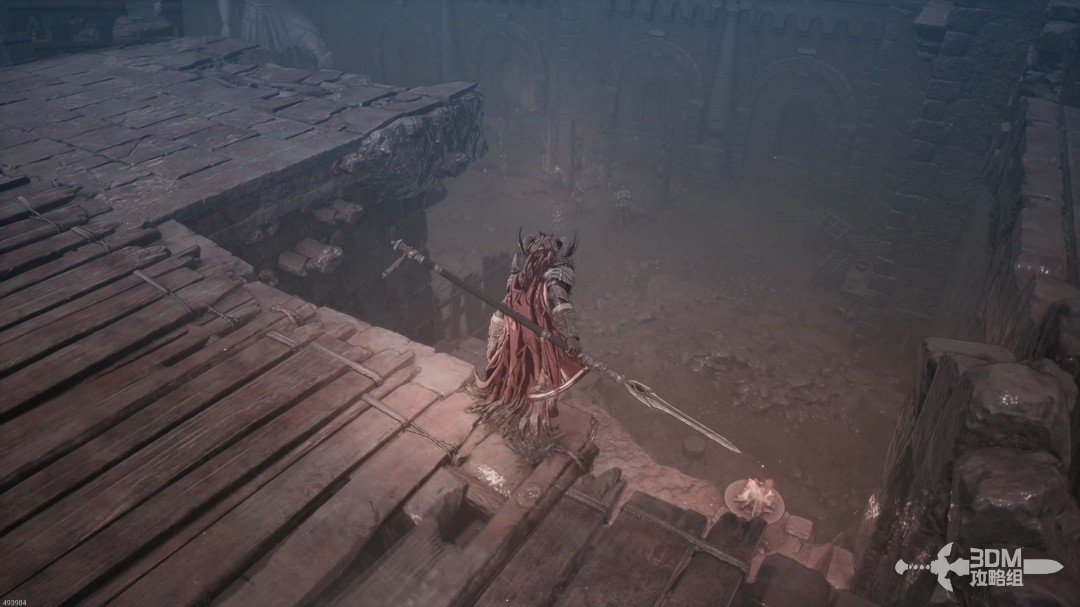
Instead of descending it, drop to its left into the large courtyard.
Drop left of the ladder: search the courtyard rooms for the secret letter · route image 8

Collect the purple item beside the corpse.
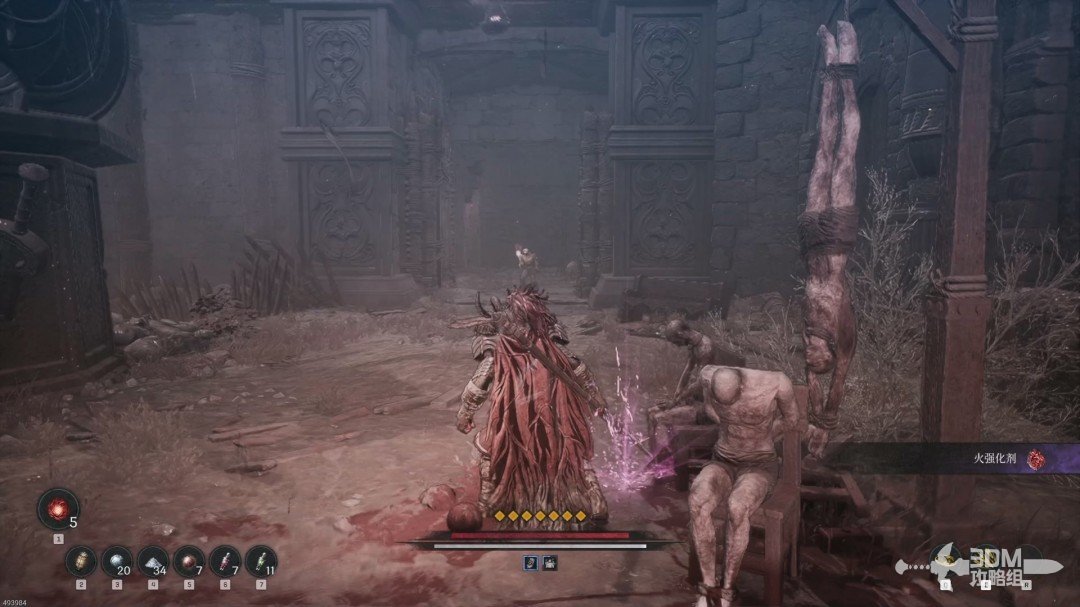
Drop left of the ladder: search the courtyard rooms for the secret letter · route image 9

Absorb the memory on the left.

Drop left of the ladder: search the courtyard rooms for the secret letter · route image 10

Enter the room and find the chest behind this door.
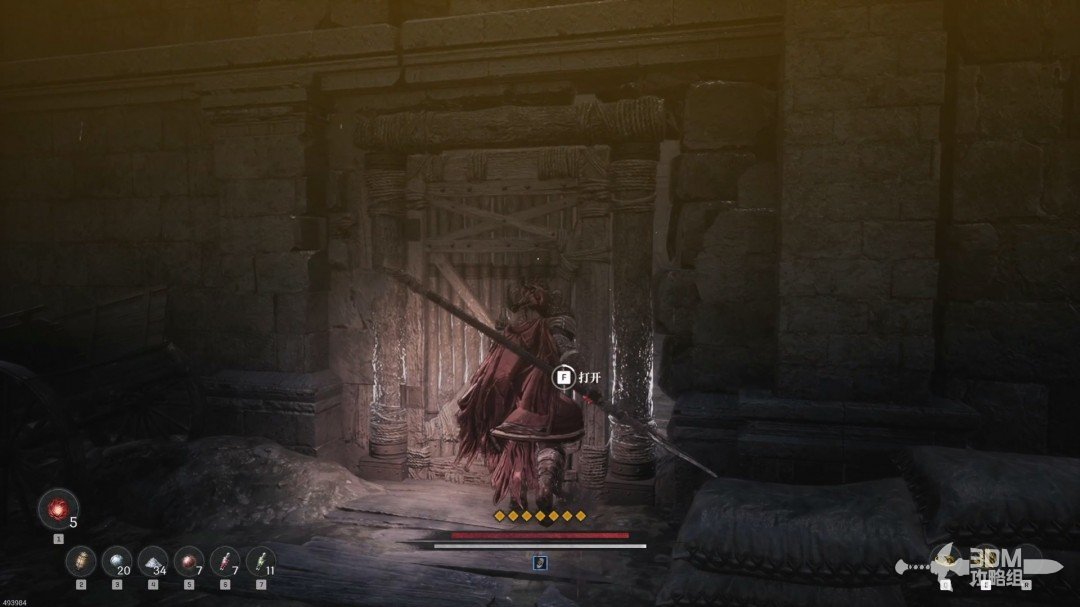
Drop left of the ladder: search the courtyard rooms for the secret letter · route image 11

Dodge after opening the chest: it explodes.
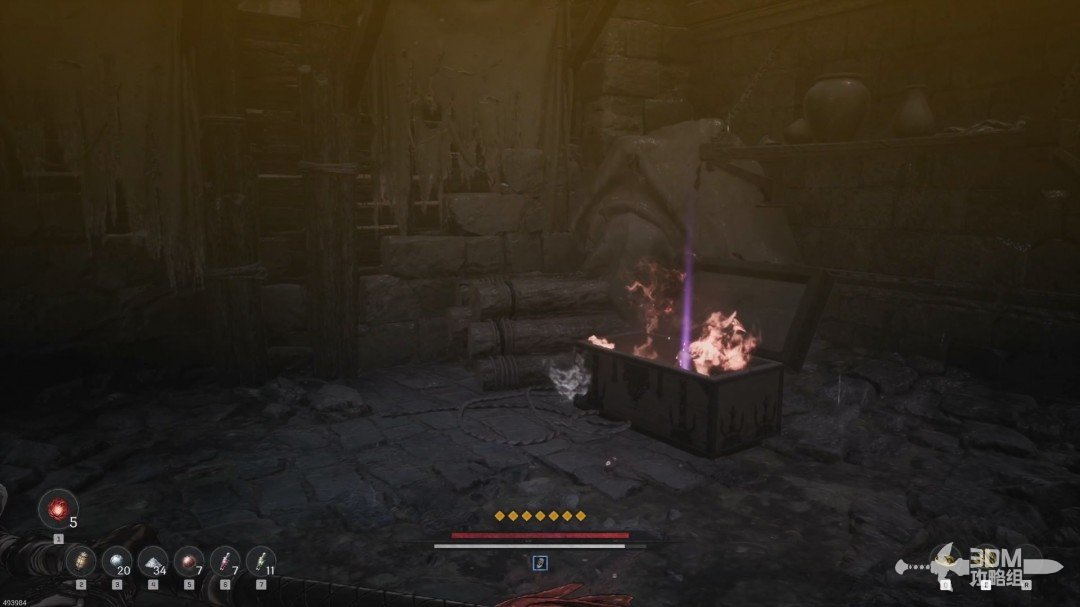
Drop left of the ladder: search the courtyard rooms for the secret letter · route image 12

The opposite room contains the Spy's Secret Letter.
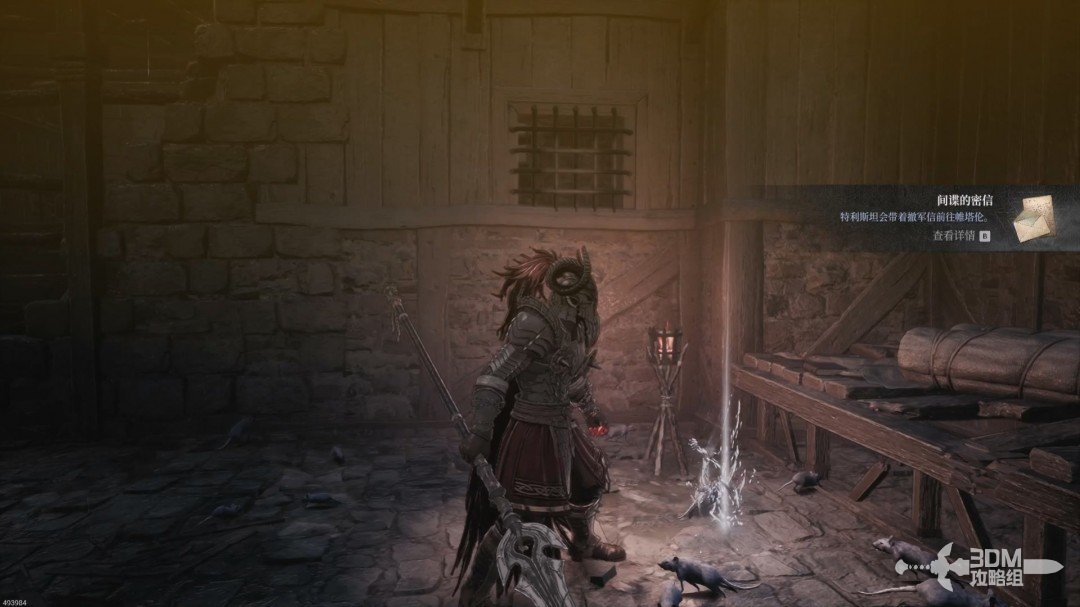
Drop left of the ladder: search the courtyard rooms for the secret letter · route image 13

18Boulder slope beyond the cart: shelter in the room and stop the trap

Collect the blue item behind the wagon outside.
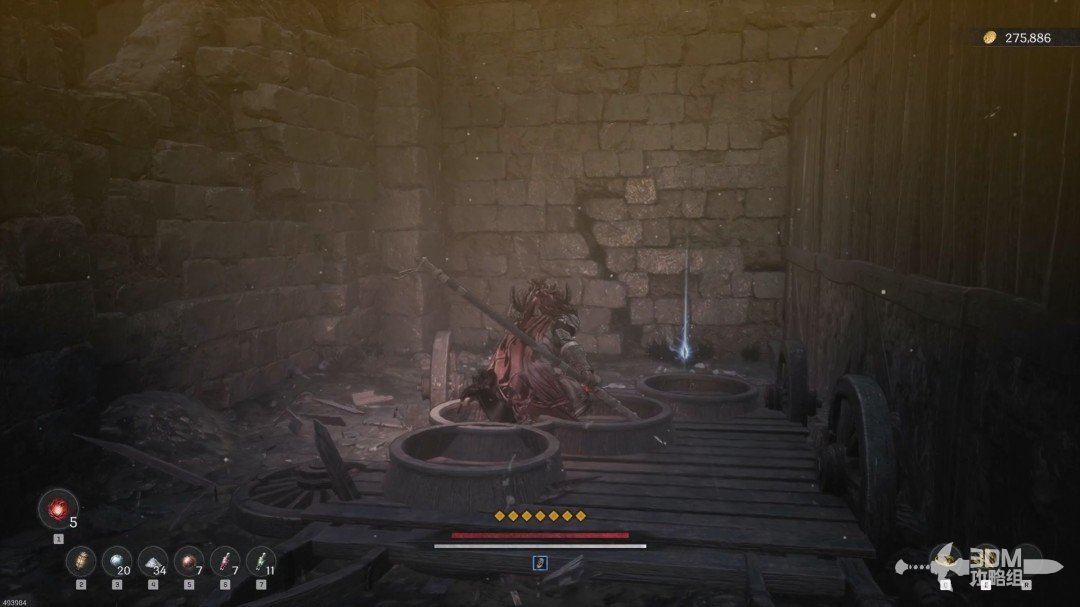
Boulder slope beyond the cart: shelter in the room and stop the trap · route image 1

After searching the rooms, follow the pictured route.
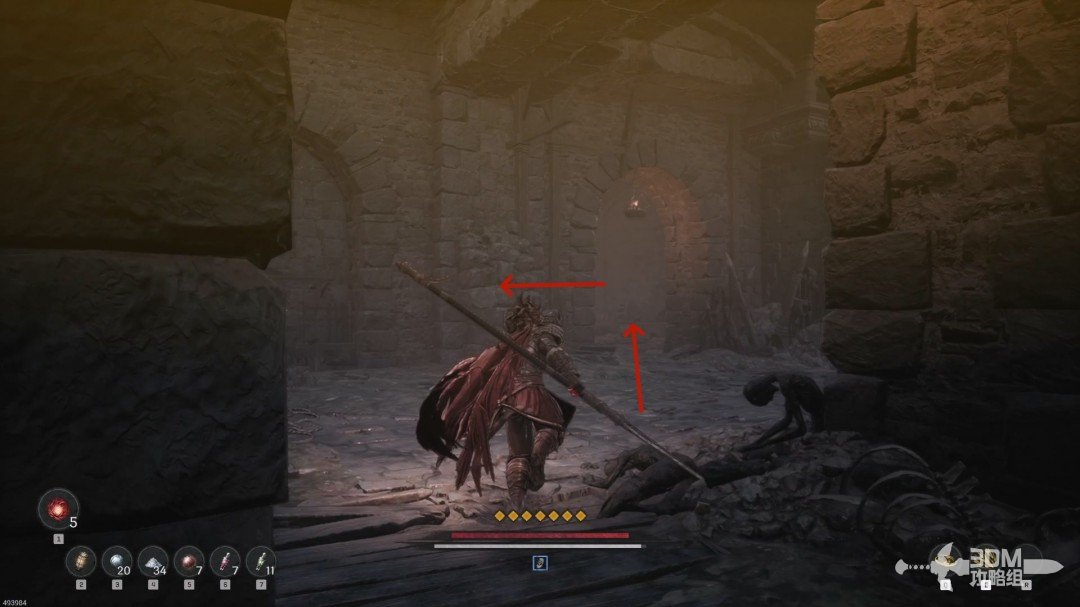
Boulder slope beyond the cart: shelter in the room and stop the trap · route image 2

Another slope below is swept by rolling boulders.
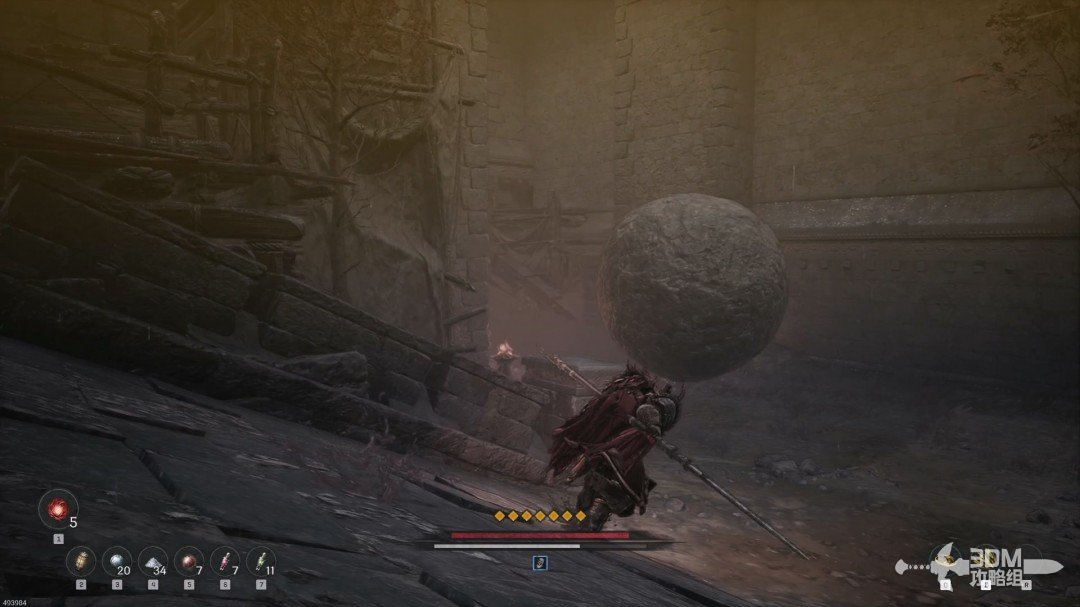
Boulder slope beyond the cart: shelter in the room and stop the trap · route image 3

Time your run uphill and shelter in the room ahead.
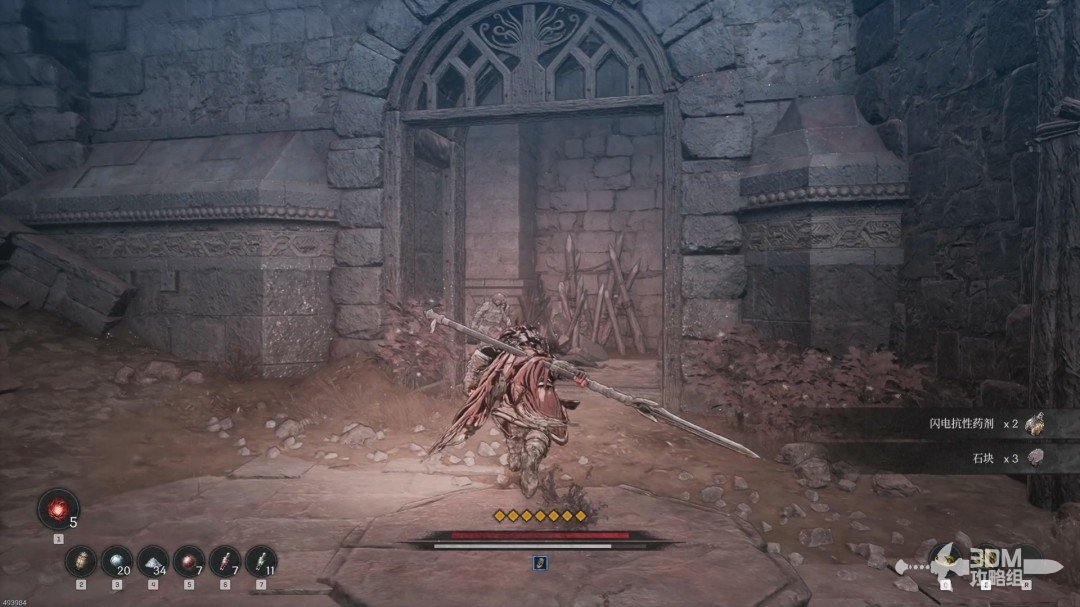
Boulder slope beyond the cart: shelter in the room and stop the trap · route image 4

Continue during a safe gap and shut off the boulder mechanism beside the door.
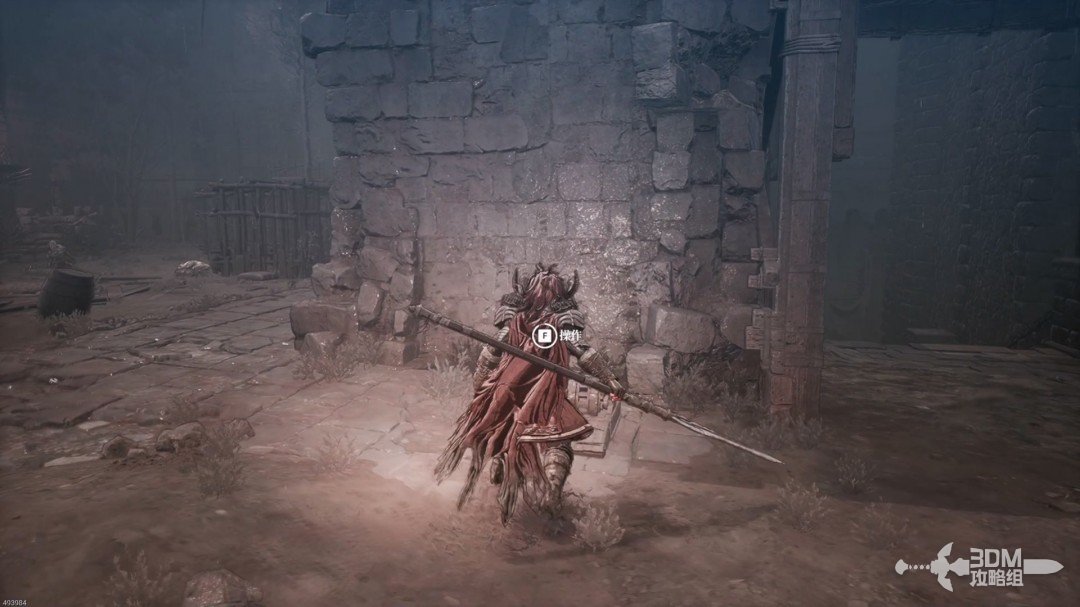
Boulder slope beyond the cart: shelter in the room and stop the trap · route image 5

19Courtyard and ruined house atop the slope: find the Jarling

Collect the blue item on the left. The nearby ladder is another shortcut.
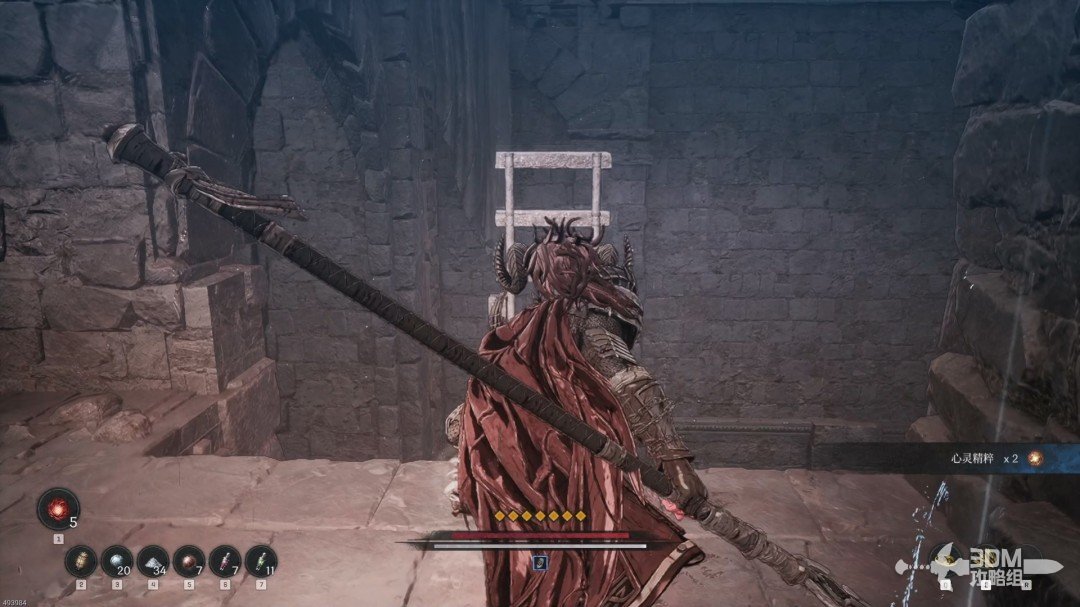
Courtyard and ruined house atop the slope: find the Jarling · route image 6

Clear the enemies in the neighboring courtyard.
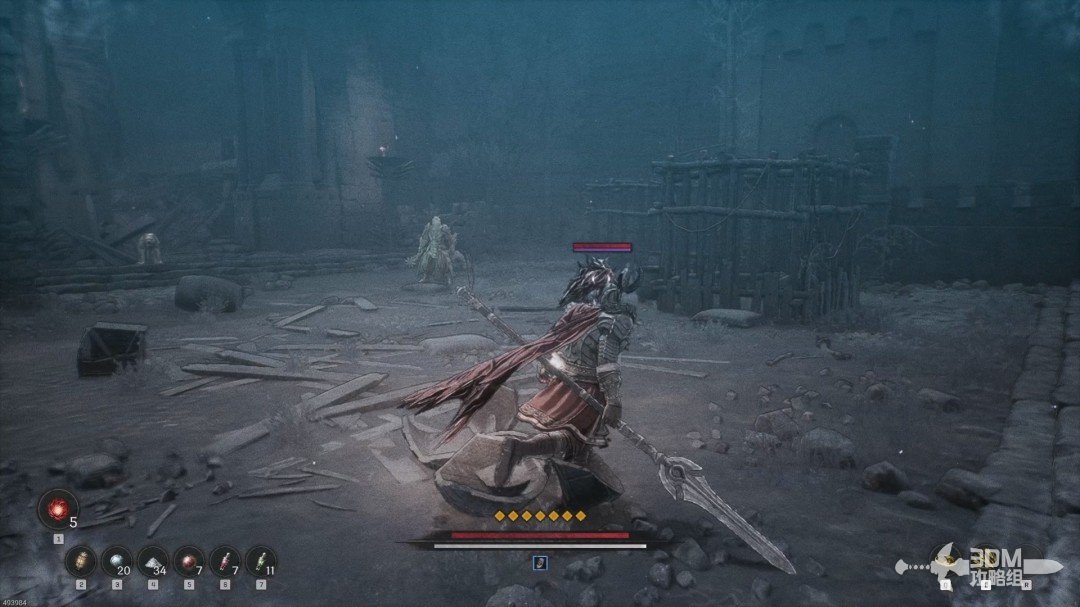
Courtyard and ruined house atop the slope: find the Jarling · route image 7

Collect the blue item inside the house.
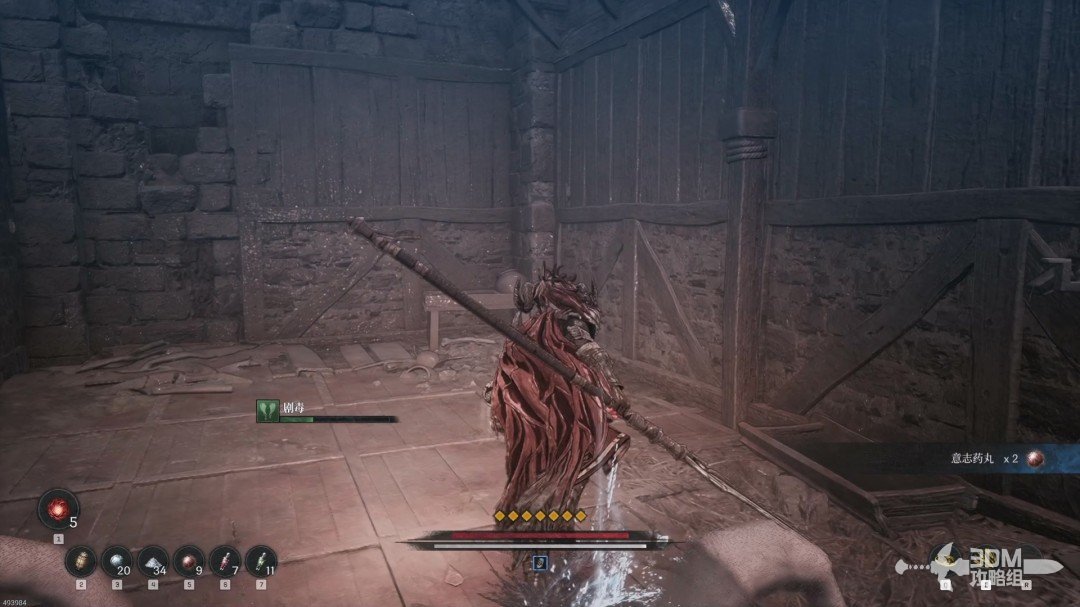
Courtyard and ruined house atop the slope: find the Jarling · route image 8

A Jarling hides inside the ruined house pictured.
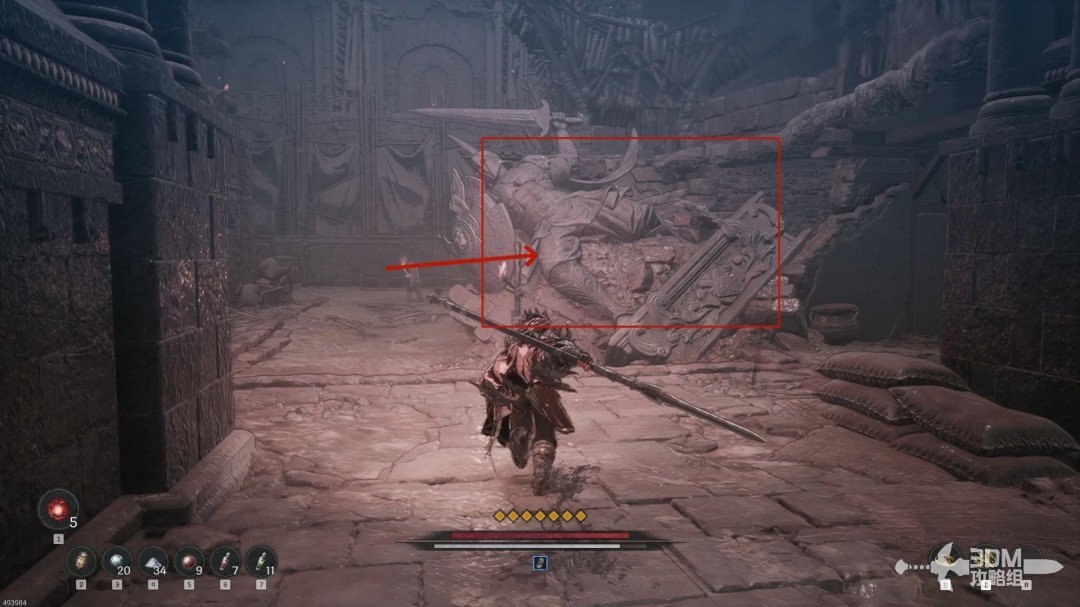
Courtyard and ruined house atop the slope: find the Jarling · route image 9
Courtyard and ruined house atop the slope: find the Jarling · route image 10

21Lower route beyond the ruined house: search the chest and reach the Nexus before the curtain

Continue inward and descend these stairs.
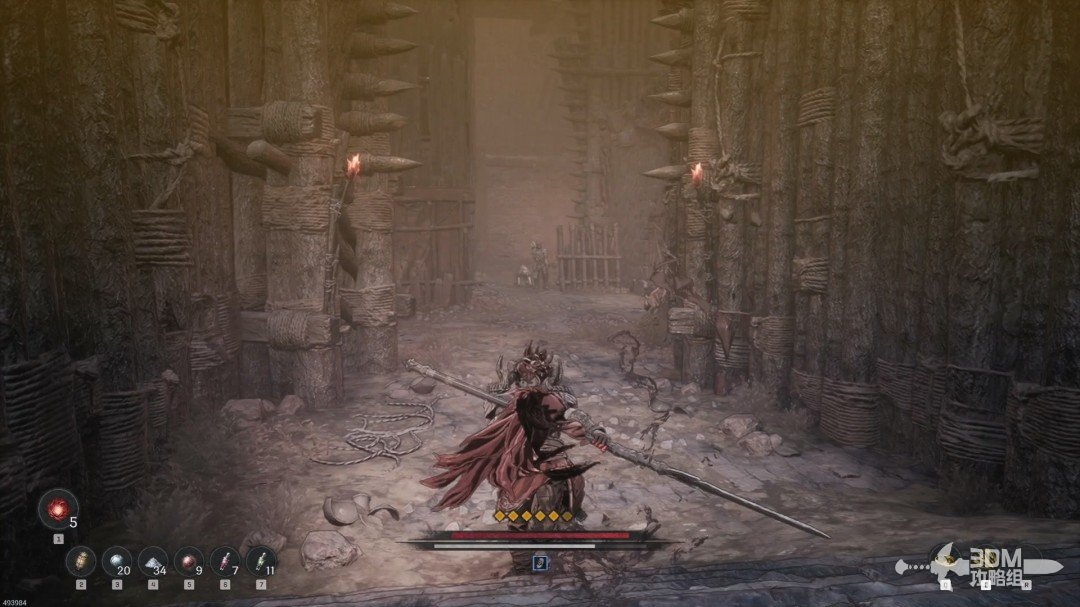
Lower route beyond the ruined house: search the chest and reach the Nexus before the curtain · route image 1

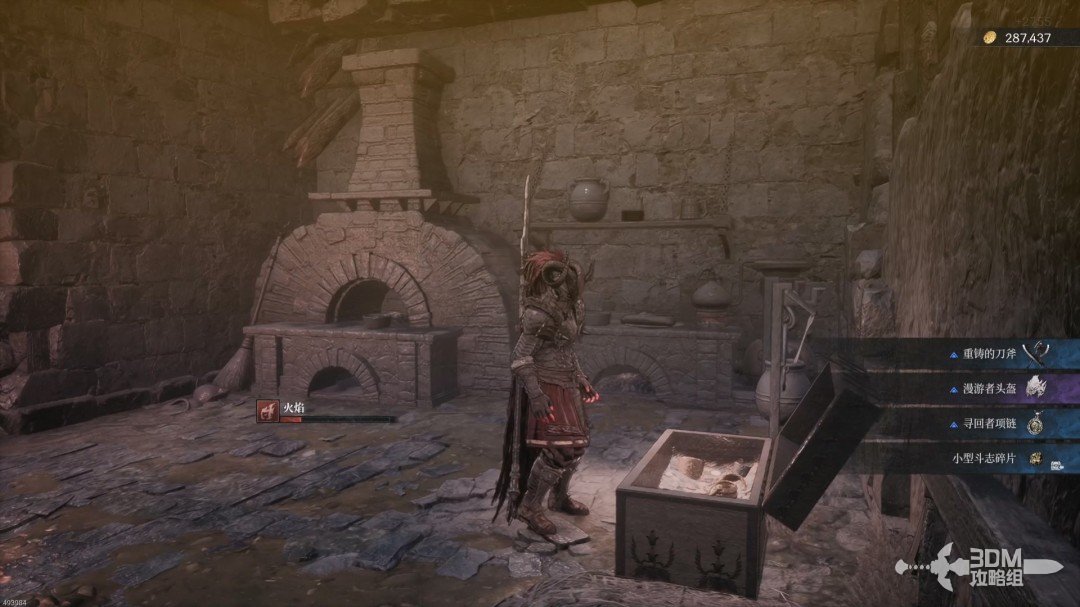
Open the chest inside the right house.
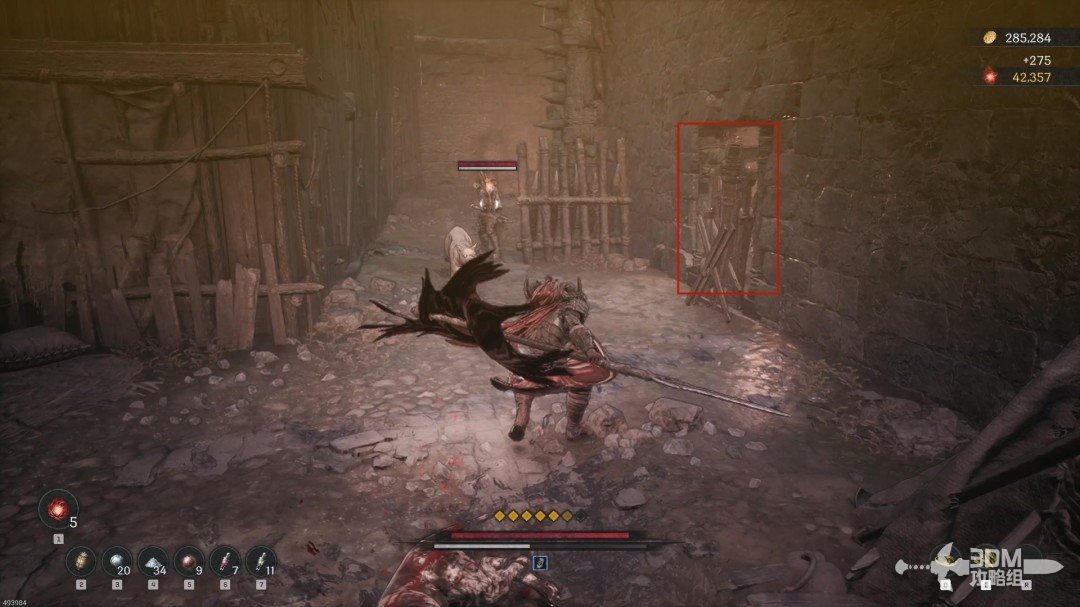
Lower route beyond the ruined house: search the chest and reach the Nexus before the curtain · route image 2
Lower route beyond the ruined house: search the chest and reach the Nexus before the curtain · route image 3

Leave and collect the purple item in the left corner.
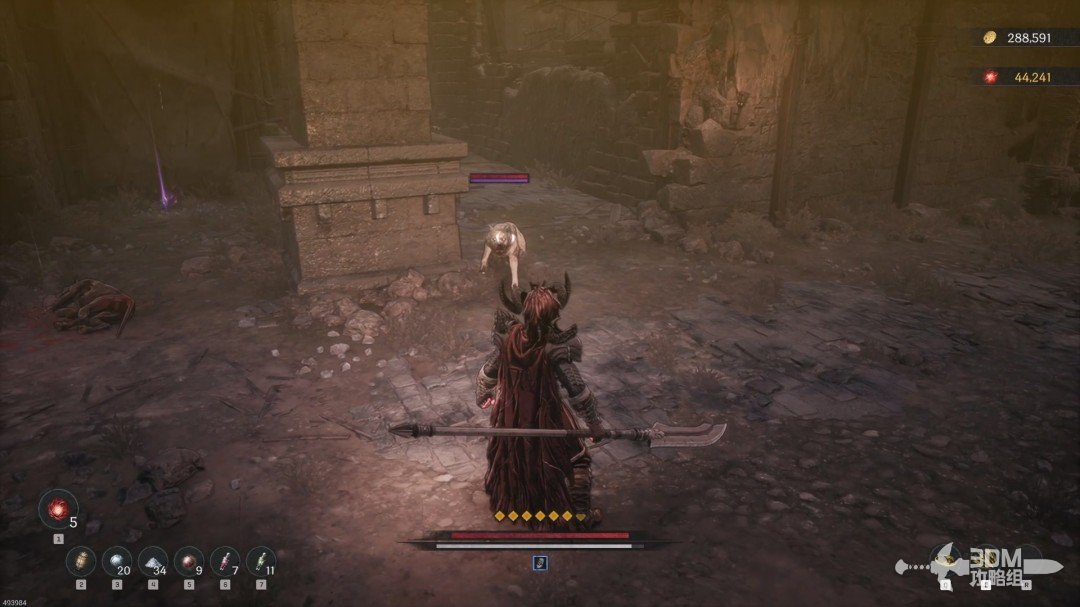
Lower route beyond the ruined house: search the chest and reach the Nexus before the curtain · route image 4

Continue to the Blade Nexus.

Lower route beyond the ruined house: search the chest and reach the Nexus before the curtain · route image 5

22Beyond the gate left of the Nexus: aim at the Soulstone on the right ledge

Open the left gate and look right for a Soulstone on the raised platform.
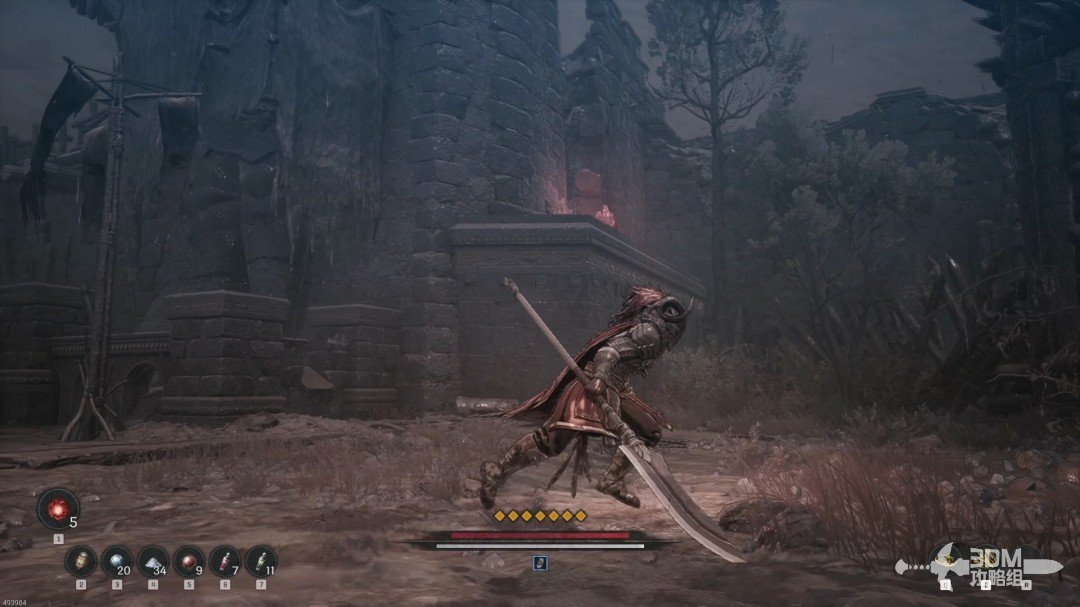
Beyond the gate left of the Nexus: aim at the Soulstone on the right ledge · route image 6

With the Soulstones collected, rest before the boss.
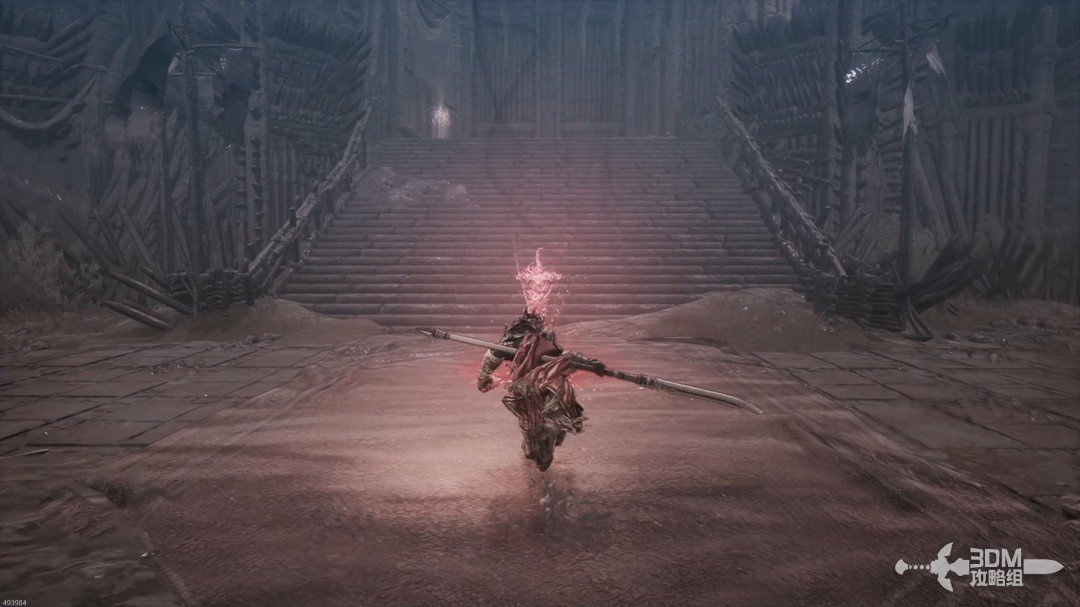
Beyond the gate left of the Nexus: aim at the Soulstone on the right ledge · route image 7

24Arena behind the curtain: Maluka's Greatsword phase

Enter the curtain to fight Maluka, the enemy Elamein mentioned earlier.
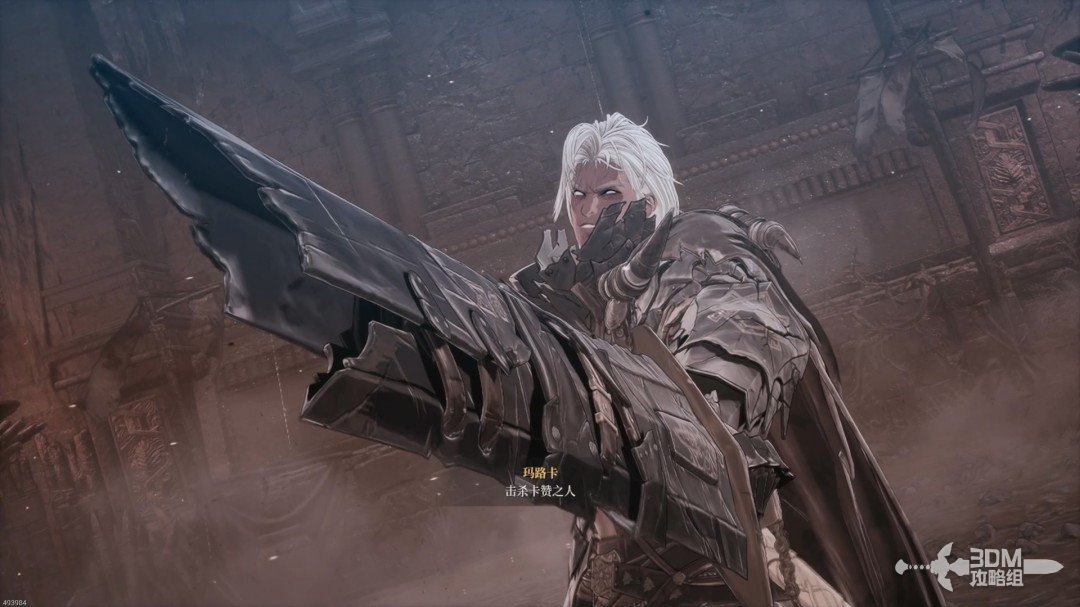
Arena behind the curtain: Maluka's Greatsword phase · route image 1

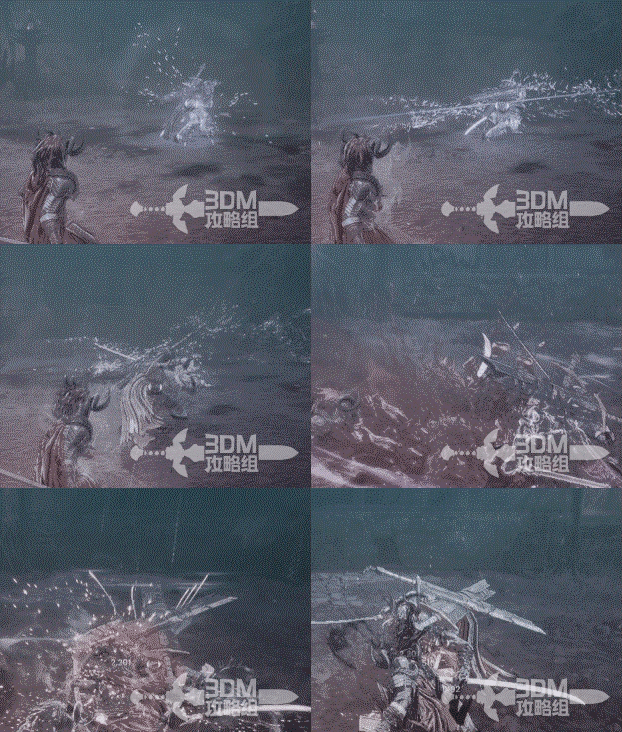
Maluka has two phases. His first-phase Greatsword attacks are slow enough to read clearly.

Attack ①:

One slow slash, sometimes followed by a second. Both can be guarded.
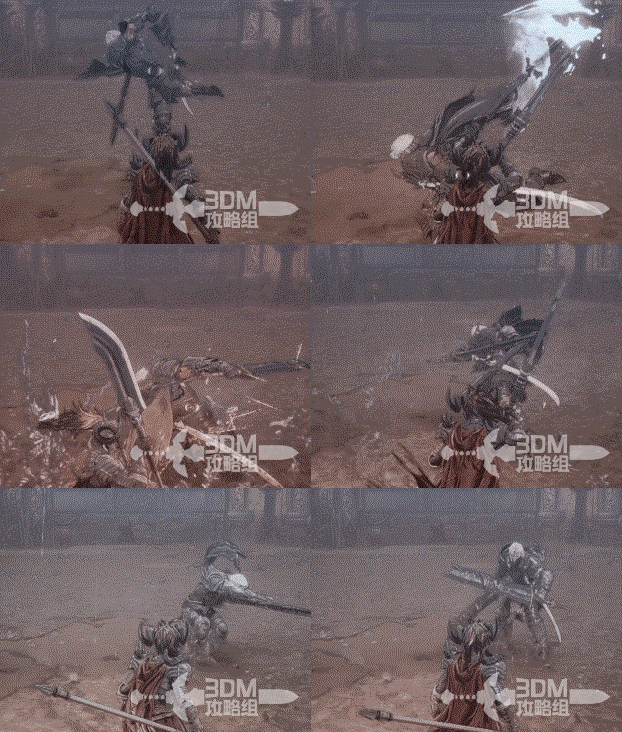
Arena behind the curtain: Maluka's Greatsword phase · route image 2

Attack ②:

A forward Greatsword thrust followed by three heavy slashes.
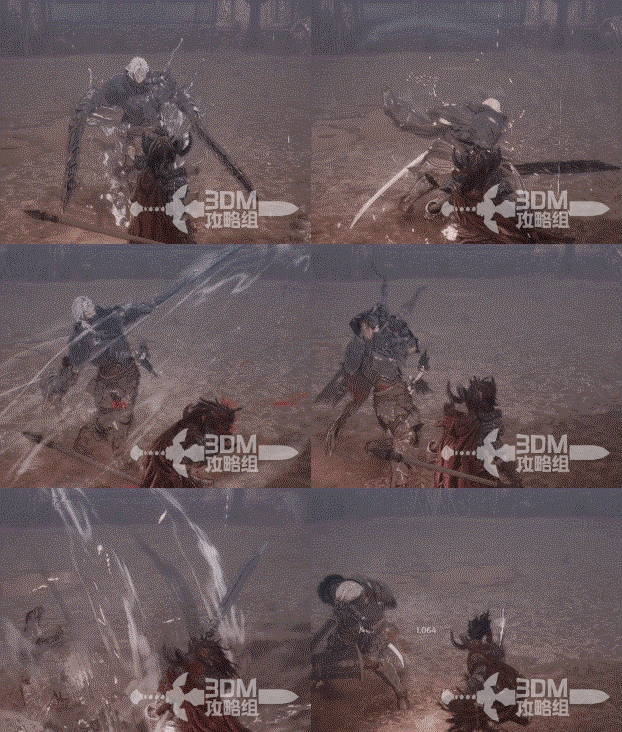
Arena behind the curtain: Maluka's Greatsword phase · route image 3

Attack ③:

An attack preceded by a marker, then followed by a kick. Dodge when the marker appears.
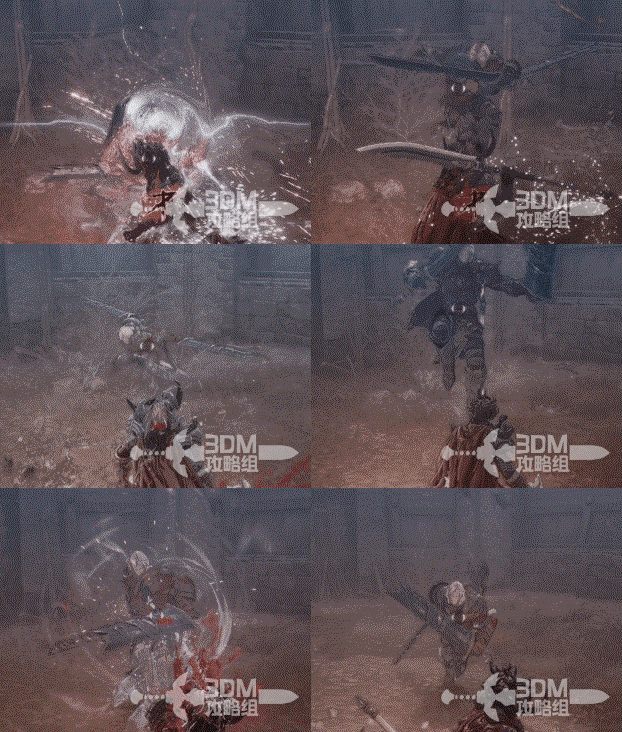
Arena behind the curtain: Maluka's Greatsword phase · route image 4

Attack ④:

A long Greatsword charge releases three shockwaves.
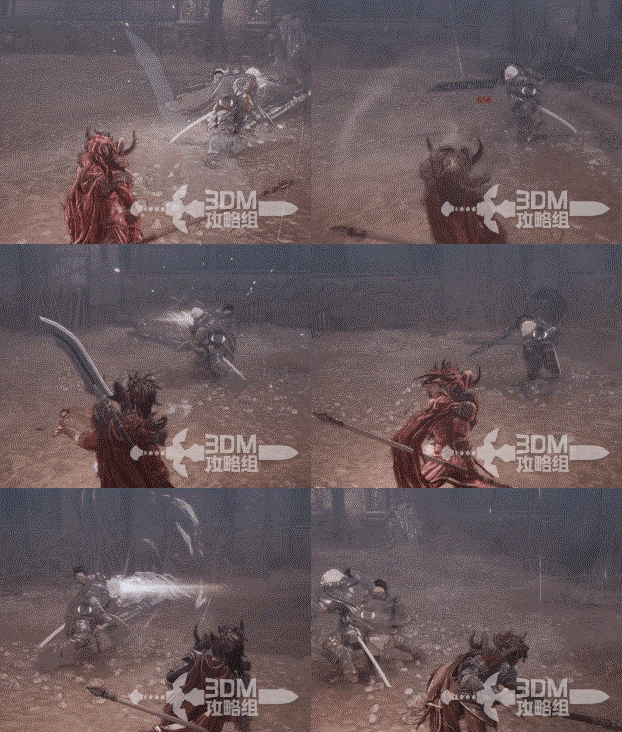
Arena behind the curtain: Maluka's Greatsword phase · route image 5

Attack ⑤:

A charged Greatsword ground slam with a large wind-up.
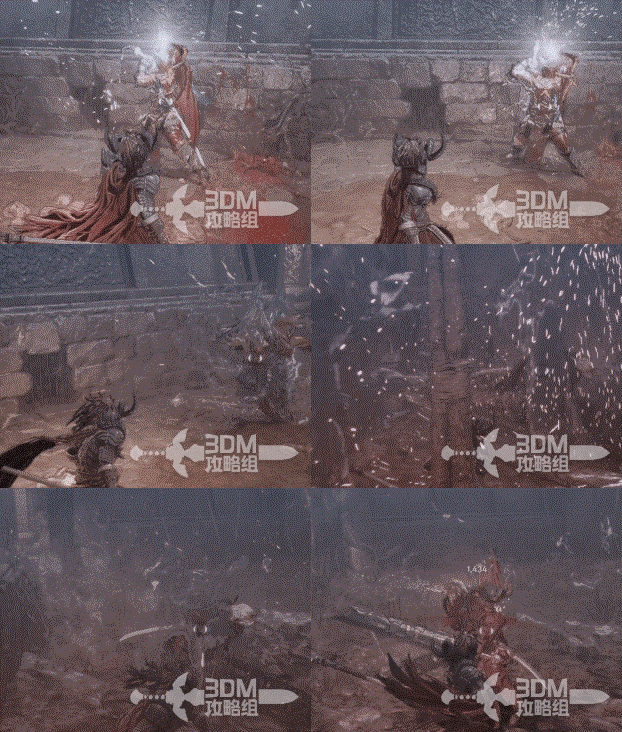
Arena behind the curtain: Maluka's Greatsword phase · route image 6

25Maluka draws his blade: nine-hit combo and contamination attacks

At half health, he adds a katana and enters phase two.

The opening three moves of this phase follow a fixed sequence.

Attack ①:

An aerial plunge plants his weapon in the ground and causes an explosion. Stay away or guard with precise timing.
Maluka draws his blade: nine-hit combo and contamination attacks · route image 7

Attack ②:

A charged slash uses a visual slowdown. Dodge it; being hit corrupts part of your health bar, which medicine can cleanse.
Maluka draws his blade: nine-hit combo and contamination attacks · route image 8

Attack ③:

He scrapes the ground before rushing into nine slashes. Most share a rhythm, but the last two are slower.
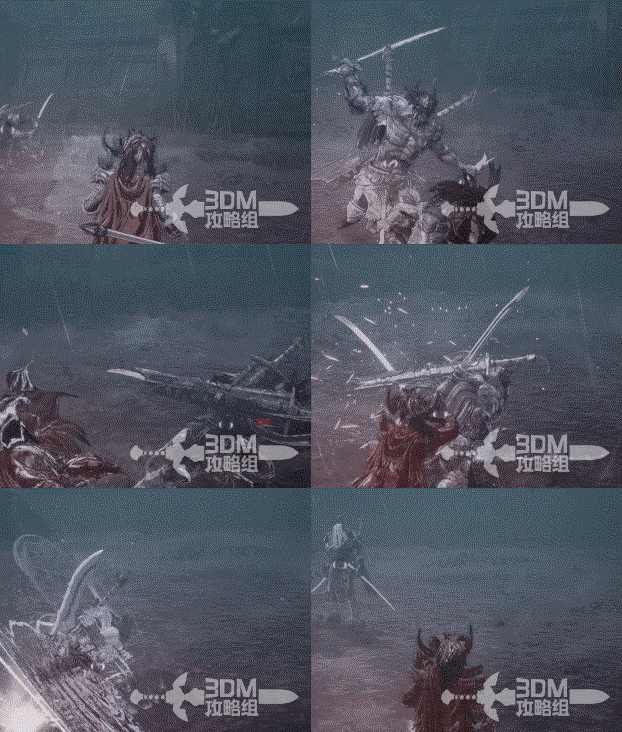
Maluka draws his blade: nine-hit combo and contamination attacks · route image 9

Attack ④:

A clearly charged draw slash can be answered with the dodge counter, often exhausting him.
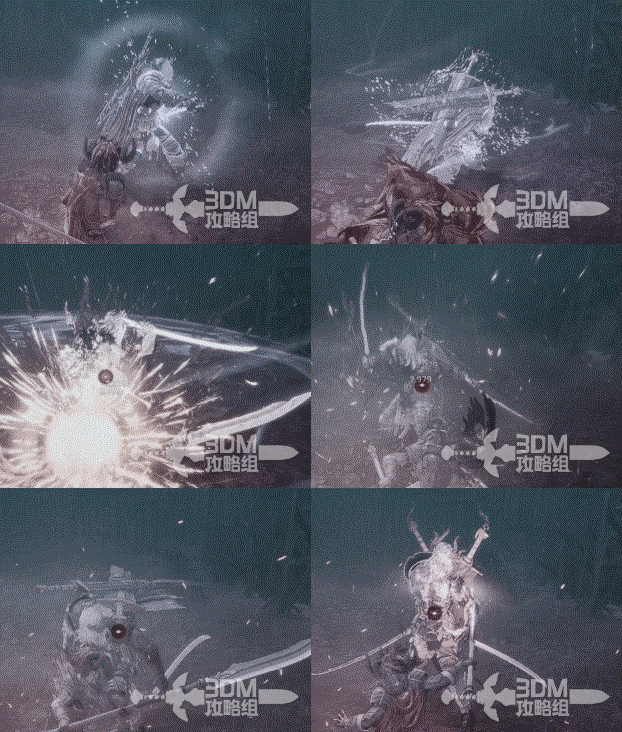
Maluka draws his blade: nine-hit combo and contamination attacks · route image 10

Attack ⑤:

Two very wide slashes, one horizontal and one vertical.
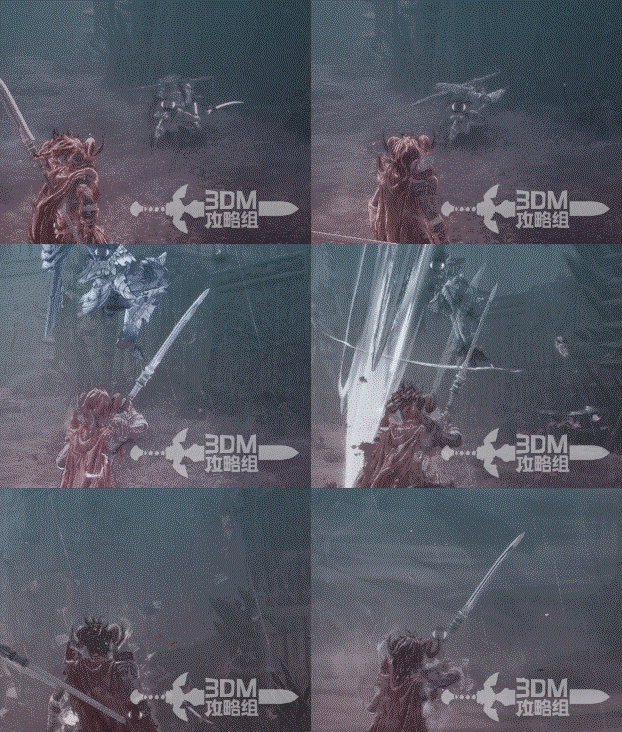
Maluka draws his blade: nine-hit combo and contamination attacks · route image 11

Attack ⑥:

A charged grab with a visible wind-up.
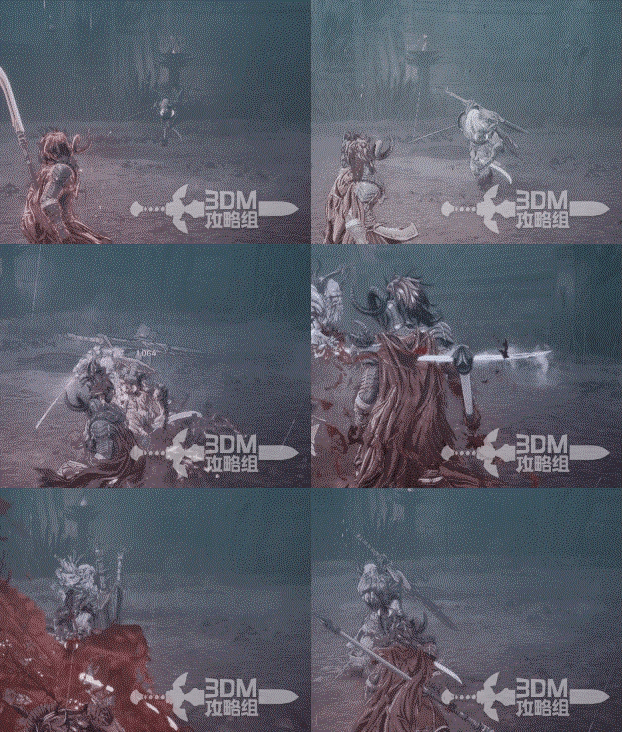
Maluka draws his blade: nine-hit combo and contamination attacks · route image 12

Attack ⑦:

An uncommon charged attack leaps three times across a wide area.
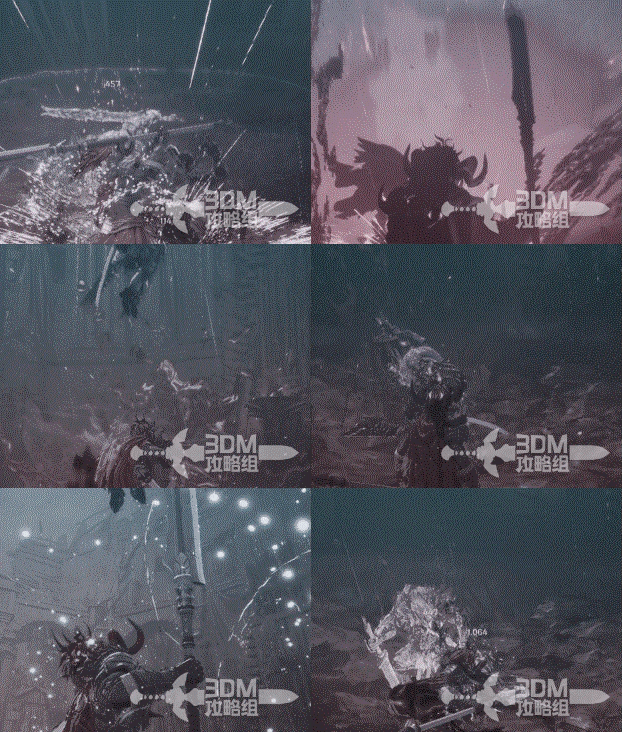
Maluka draws his blade: nine-hit combo and contamination attacks · route image 13

26Quell the chaos: discuss the next destination with Elamein

Defeat Maluka for equipment and a cinematic.
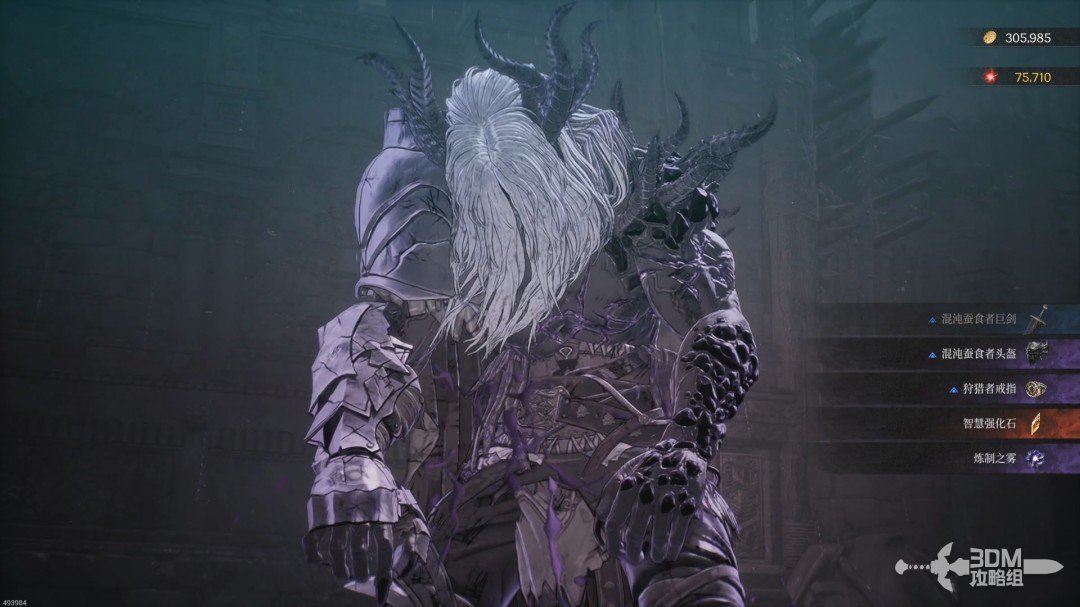
Quell the chaos: discuss the next destination with Elamein · route image 14

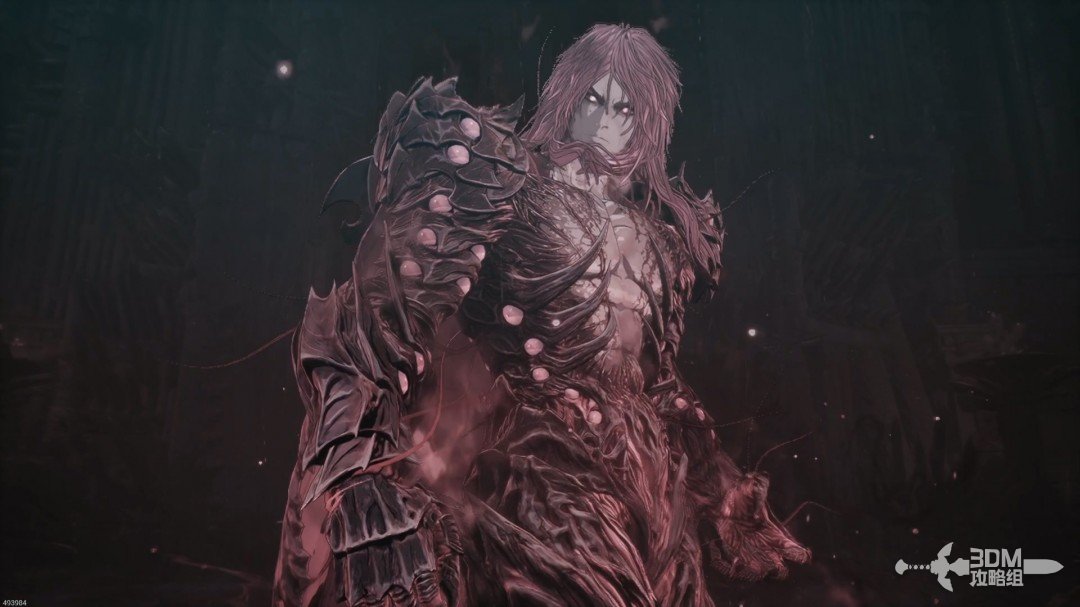
Blade Phantom provides new power against the corrupted Maluka. His soul vanishes after defeat, an unnatural event that prompts the search for chaos's source.
Quell the chaos: discuss the next destination with Elamein · route image 15

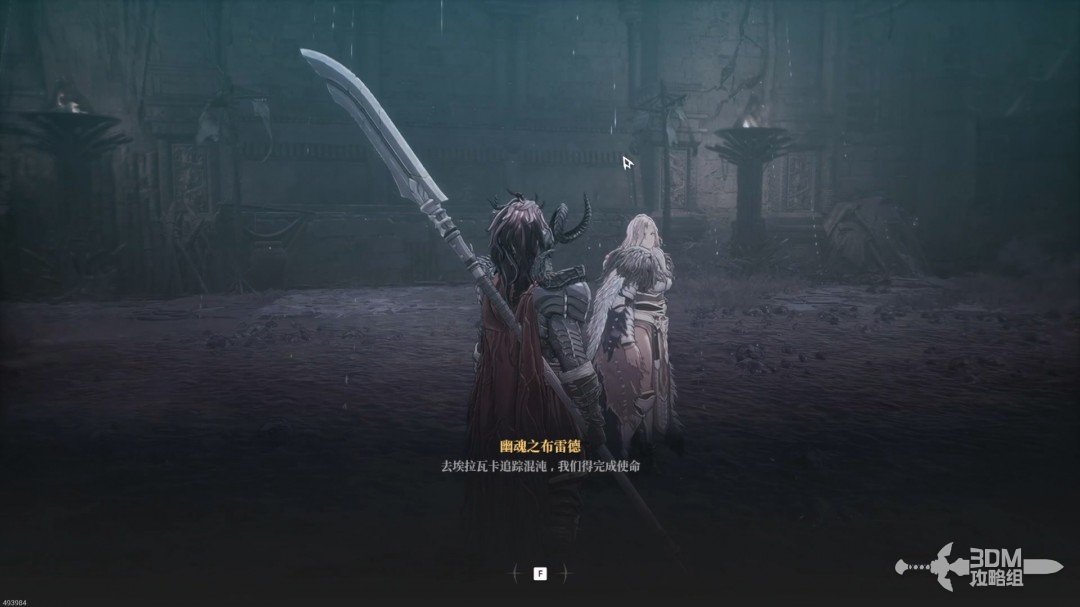
Speak to Elamein afterward and prepare to investigate El Ravaca.
Quell the chaos: discuss the next destination with Elamein · route image 16

Related side missions

  1. Silent Temple →

    Accept from Oksana to unlock gear modification and inheritance.

  2. Human Xilence →

    Finish the hub conversations and select Human Xilence.

  3. The Final Subjugation →

    Continue Xilence’s mission chain after Human Xilence.

Reference: 3DM Guide Team

GAME NOTE has reorganized and rewritten the routes from this walkthrough.