Skip to content

First Act of Revenge

Guide editor: GAME NOTE

GAME NOTE CLASSIC · GUIDE LIBRARYThe First Berserker: Khazan

Cross the village and warehouse, then unlock the cart shortcut before Volbaino.

Pickups in this mission

01Red portal in the Crevice: meet Duimuk and set out for the village

Back at the hub, speak to Daphrona and spend the three new Soulstones if desired. She opens another portal.
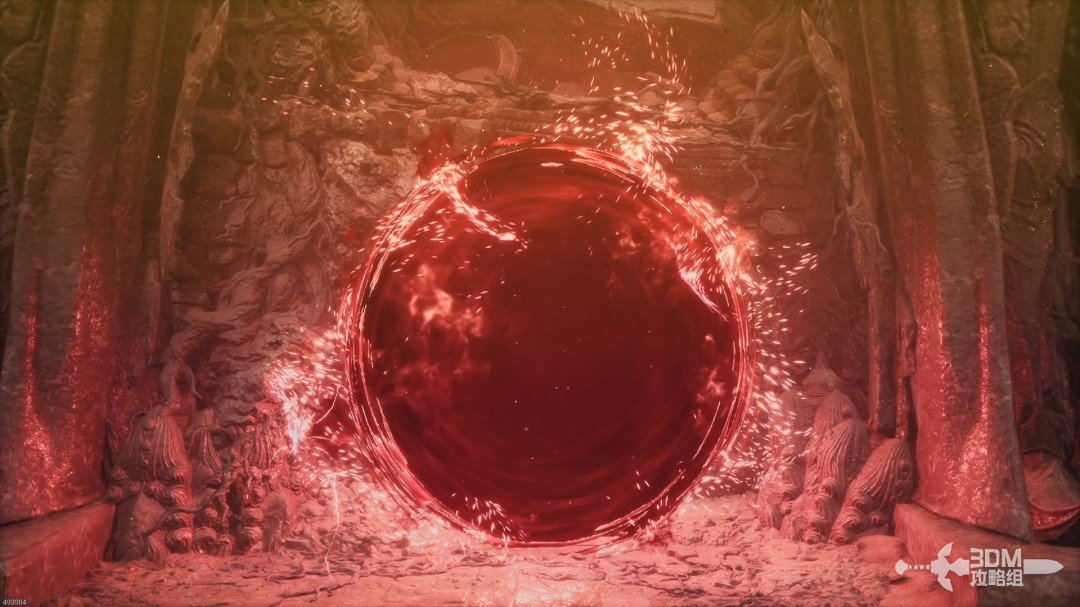
Red portal in the Crevice: meet Duimuk and set out for the village · route image 1

The monster codex is now available. Some entries include optional challenges with rewards.
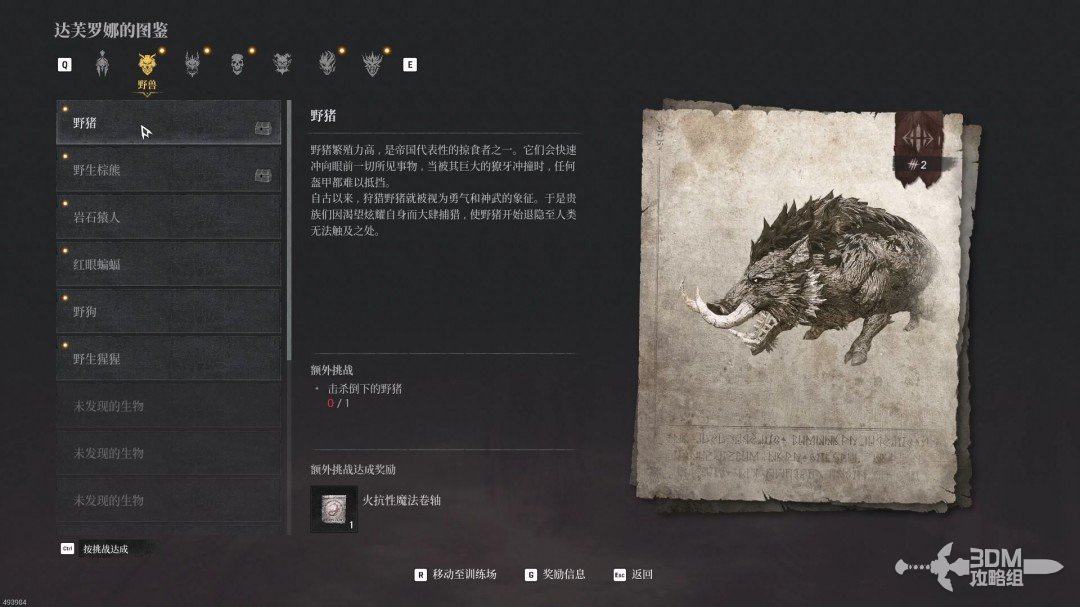
Red portal in the Crevice: meet Duimuk and set out for the village · route image 2

Beyond the red portal, speak to Quimuk's grandson Duimuk, a merchant. His news about Pavel unlocks the next area.
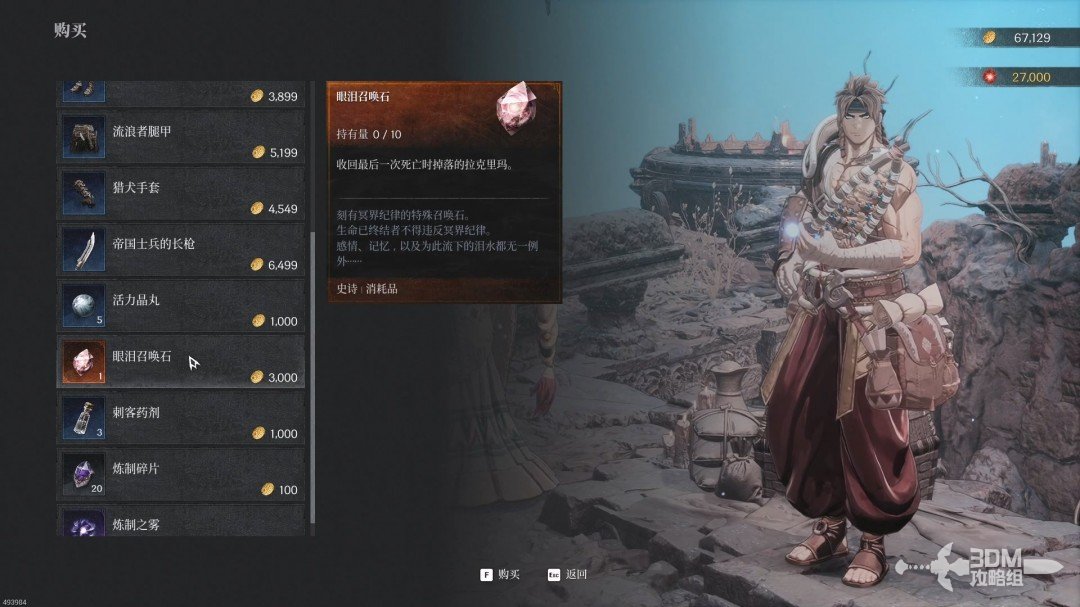
Red portal in the Crevice: meet Duimuk and set out for the village · route image 3

Return to the Crevice and select Phraugh Village.
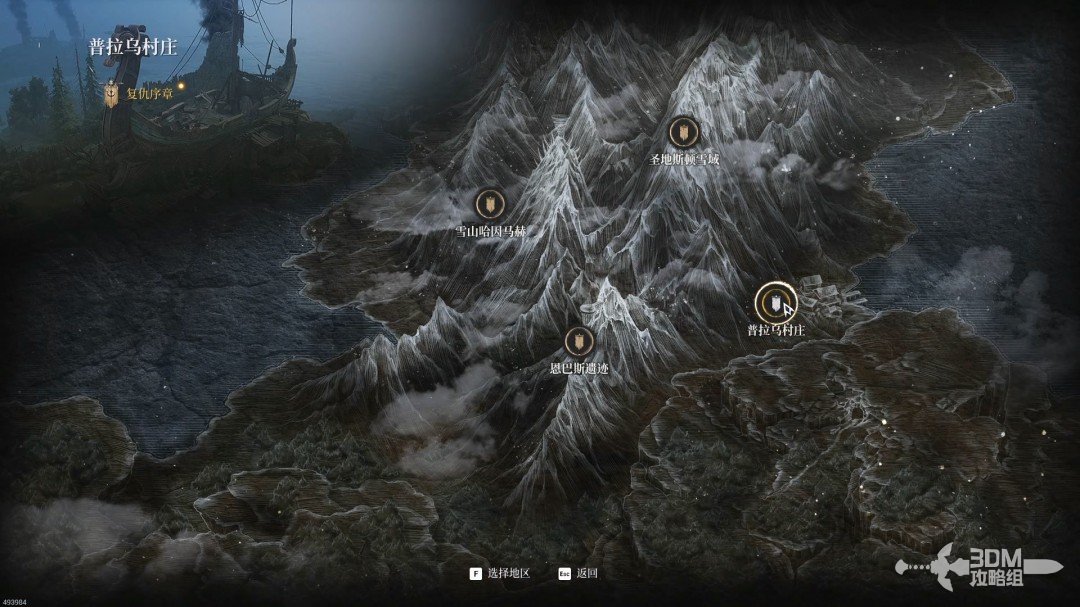
Red portal in the Crevice: meet Duimuk and set out for the village · route image 4

02Phraugh village entrance: speak to Duimuk and search the right caves

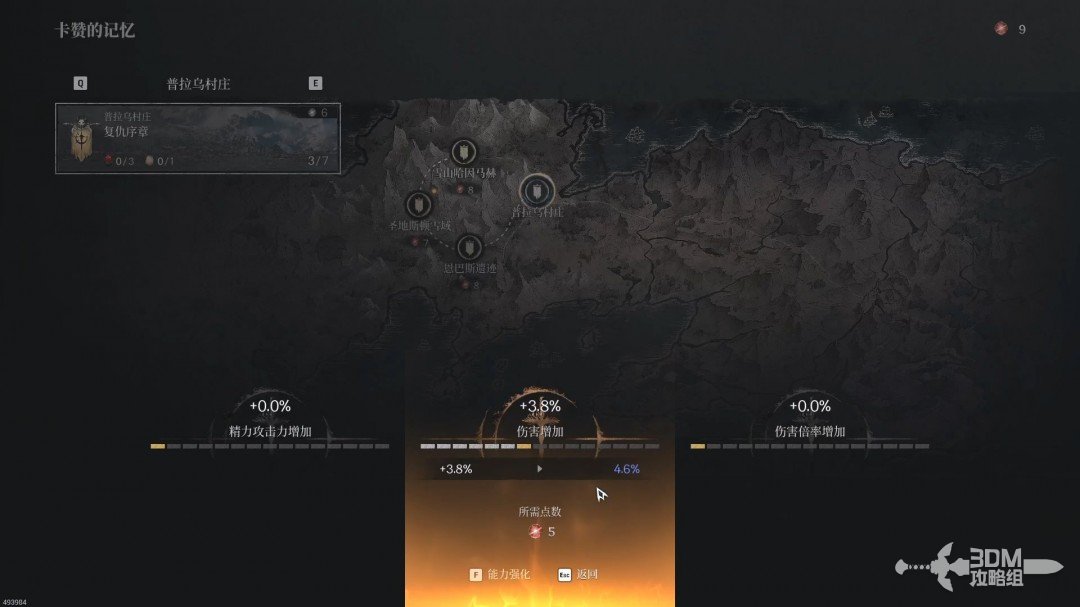
Rest at the Nexus on the right after entering and spend any available upgrade points.
Phraugh village entrance: speak to Duimuk and search the right caves · route image 5

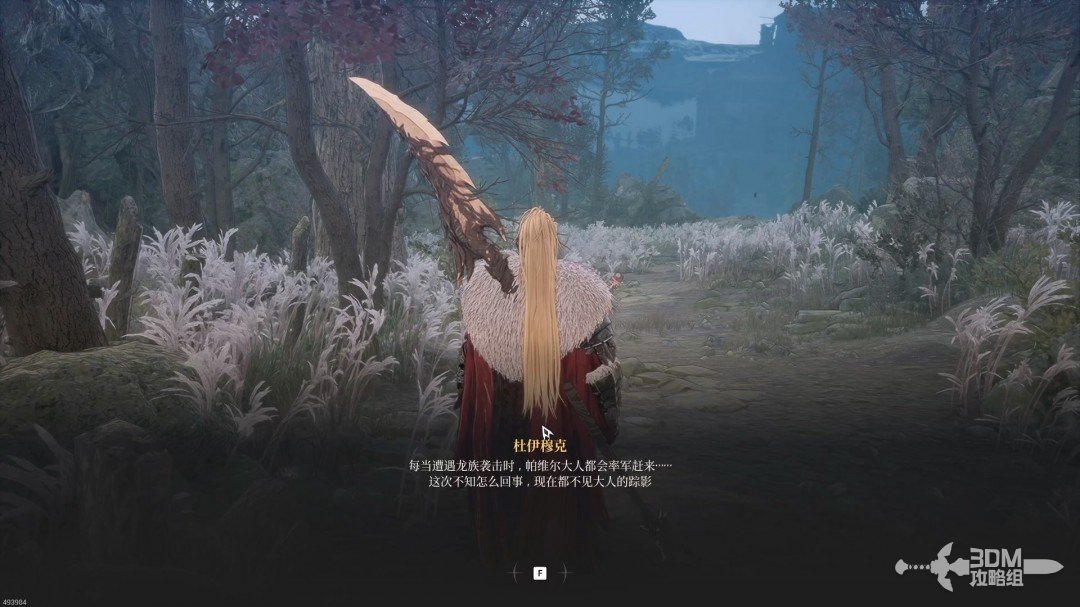
Speak to Duimuk at the village entrance for story information.
Phraugh village entrance: speak to Duimuk and search the right caves · route image 6

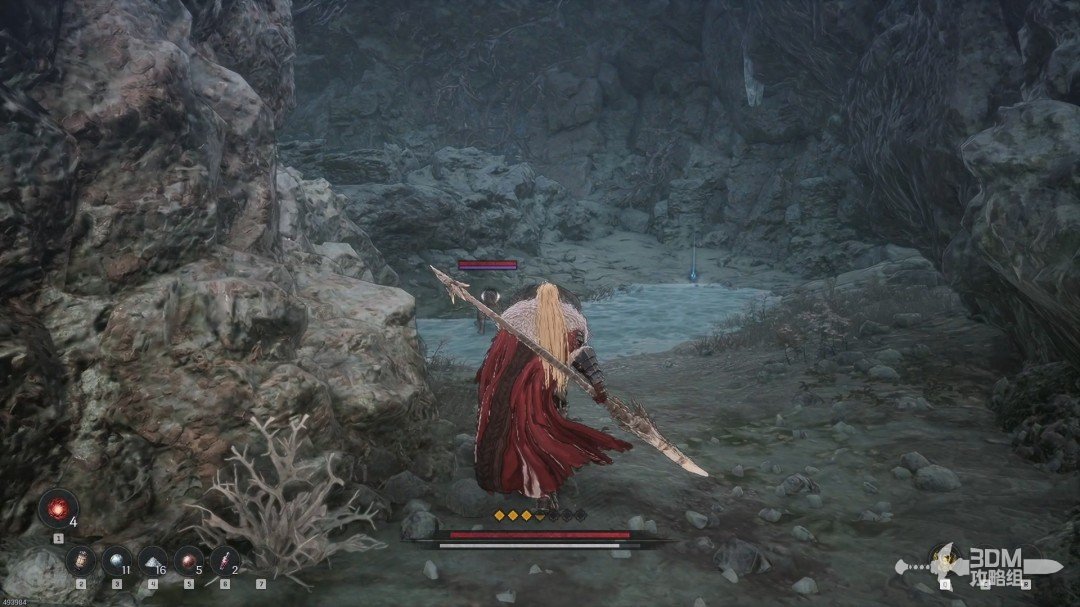
Take the right branch ahead and enter the cave for a blue item.
Phraugh village entrance: speak to Duimuk and search the right caves · route image 7

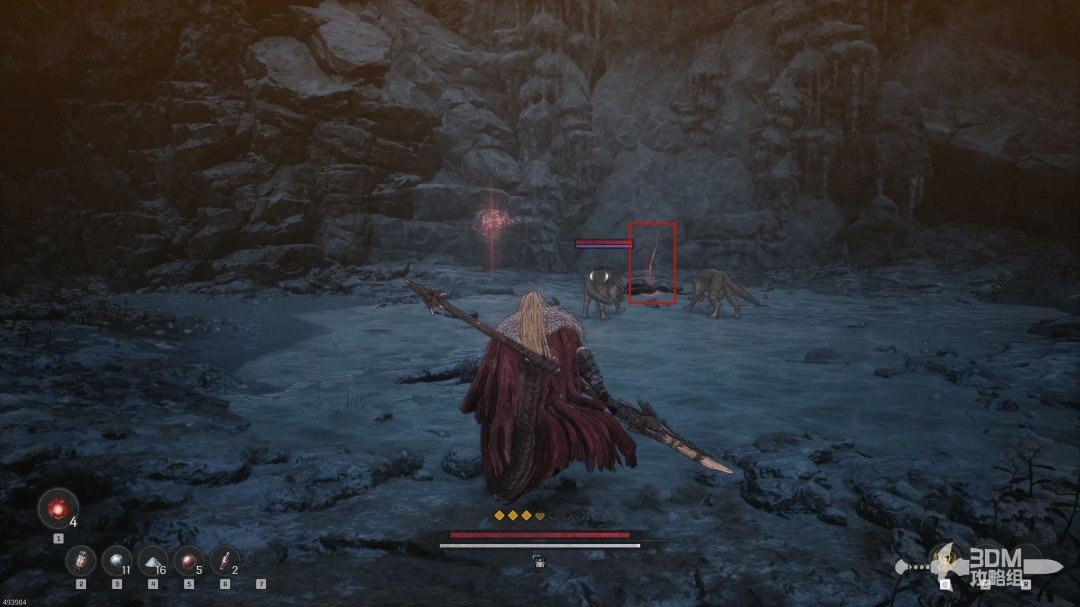
The two caves connect. A false memory in the left cave conceals a burrowing predator. Kill the wolves, then use Javelin to strike the trap early. A red aiming reticle reveals fake memories and can help with the monster challenge.
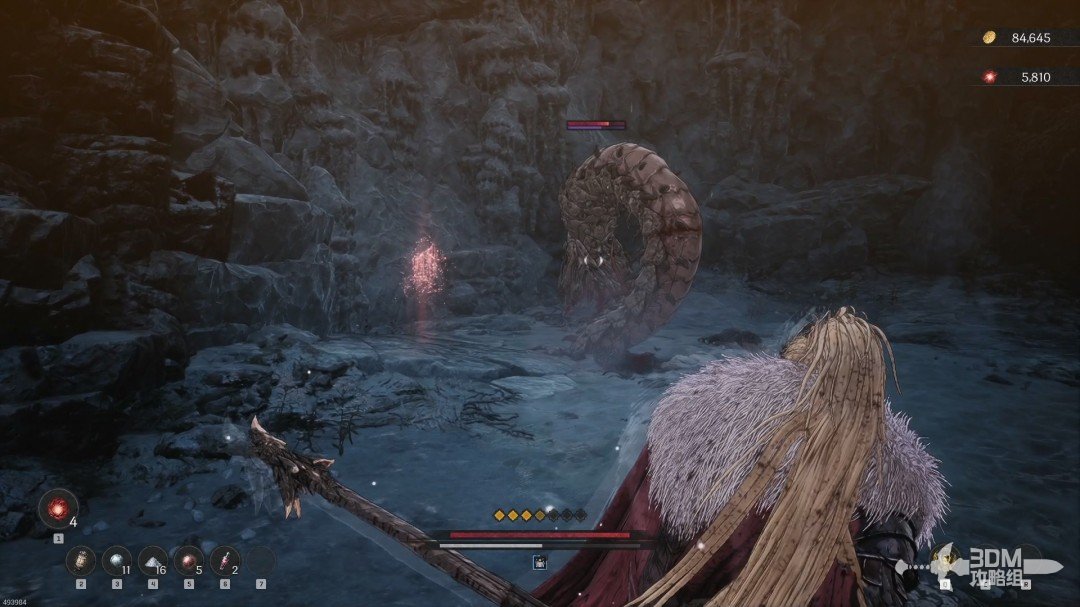
Phraugh village entrance: speak to Duimuk and search the right caves · route image 8
Phraugh village entrance: speak to Duimuk and search the right caves · route image 9

The memory at the cave entrance is genuine. Absorb it.
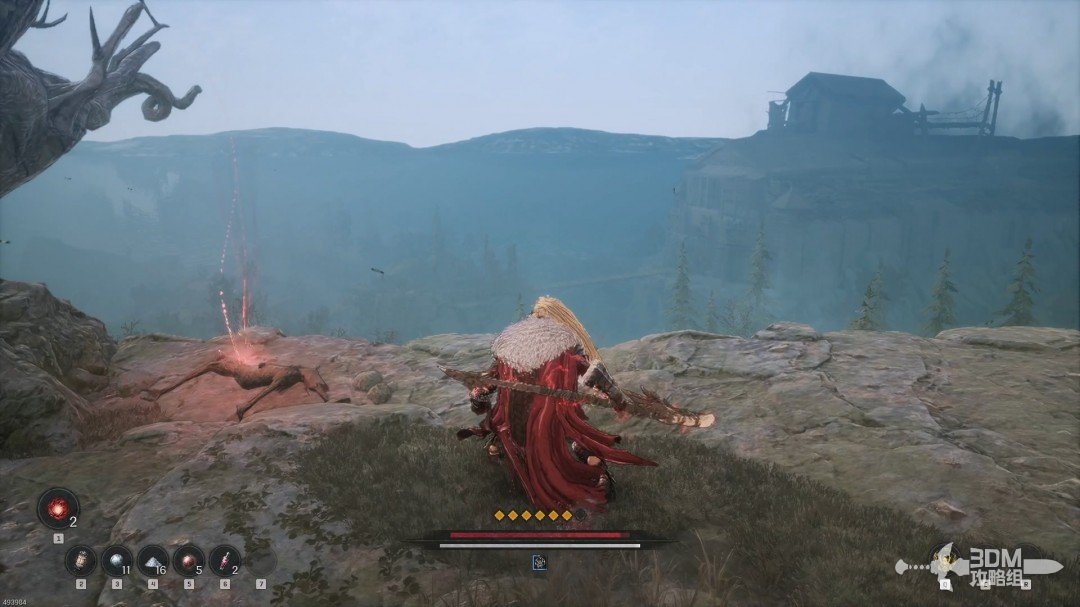
Phraugh village entrance: speak to Duimuk and search the right caves · route image 10

03Left mountain path and burrower cave: climb to the high Soulstone

Return to the fork, go left and collect the blue item on the roots to the right.
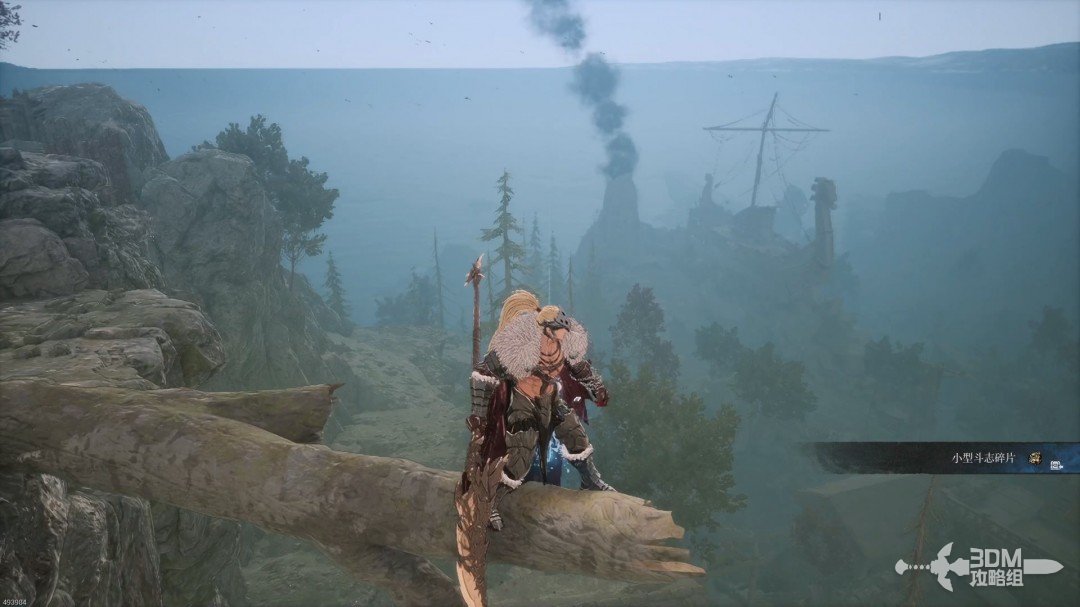
Left mountain path and burrower cave: climb to the high Soulstone · route image 11

Another false memory conceals a burrower on the descending mountain path. Strike it before approaching.
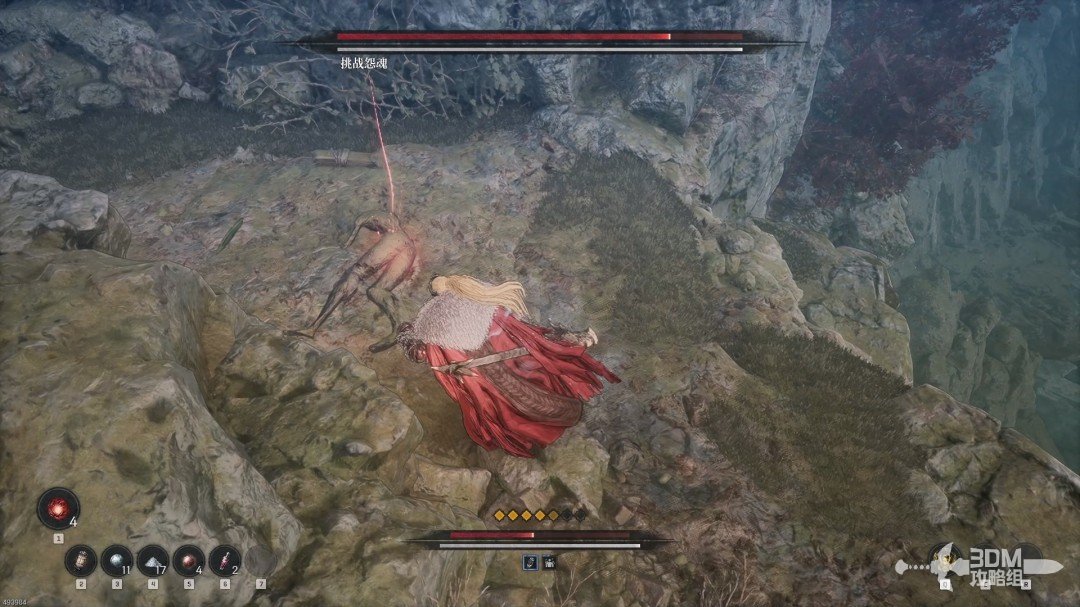
Left mountain path and burrower cave: climb to the high Soulstone · route image 12

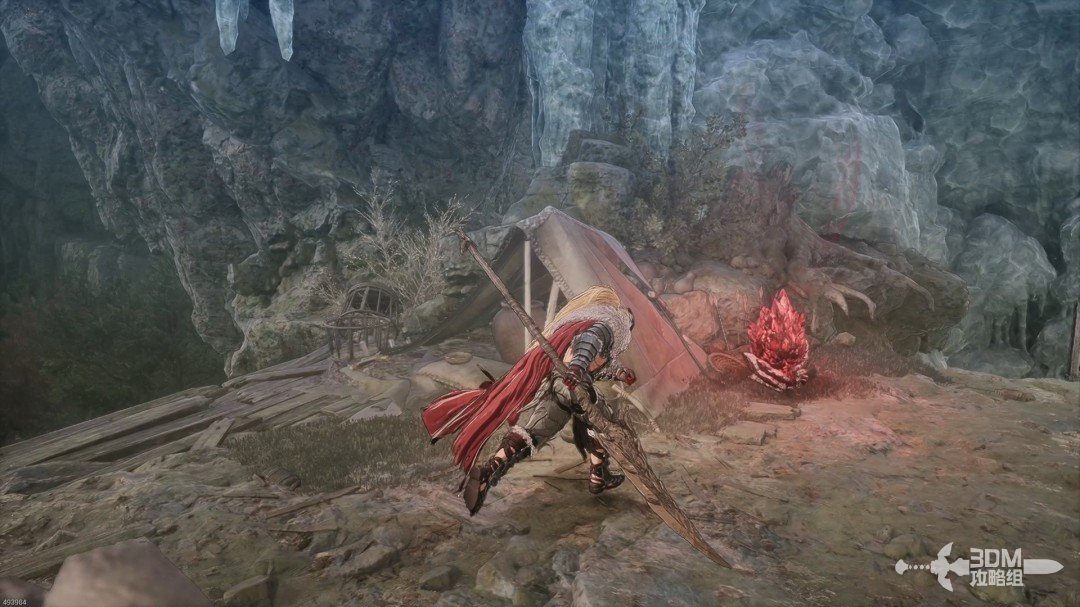
Enter the left cave, where several more burrowers hide. The memory deeper inside is another trap.
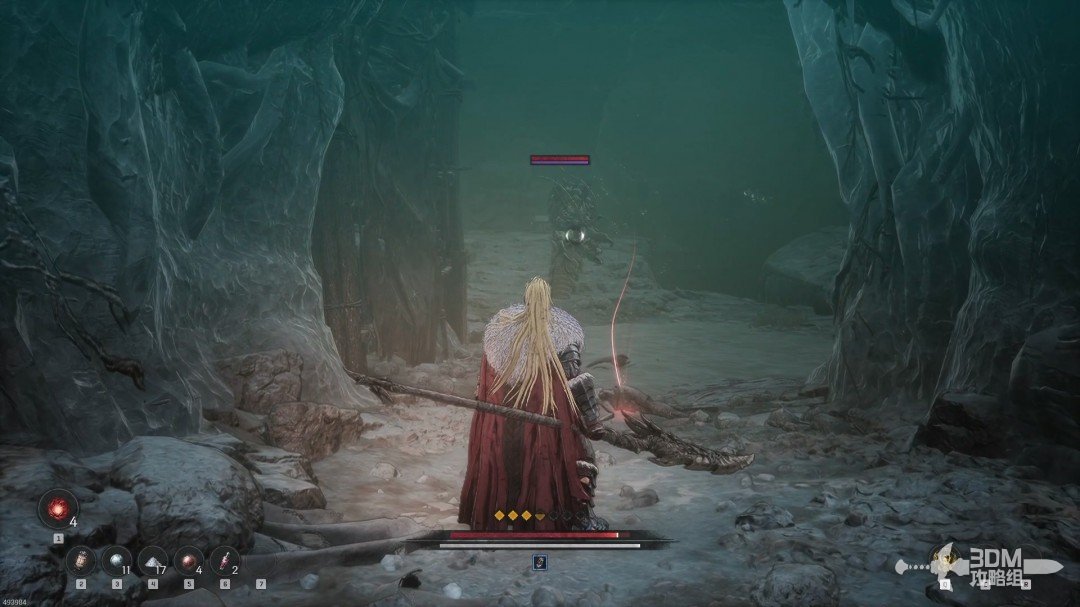
Left mountain path and burrower cave: climb to the high Soulstone · route image 13

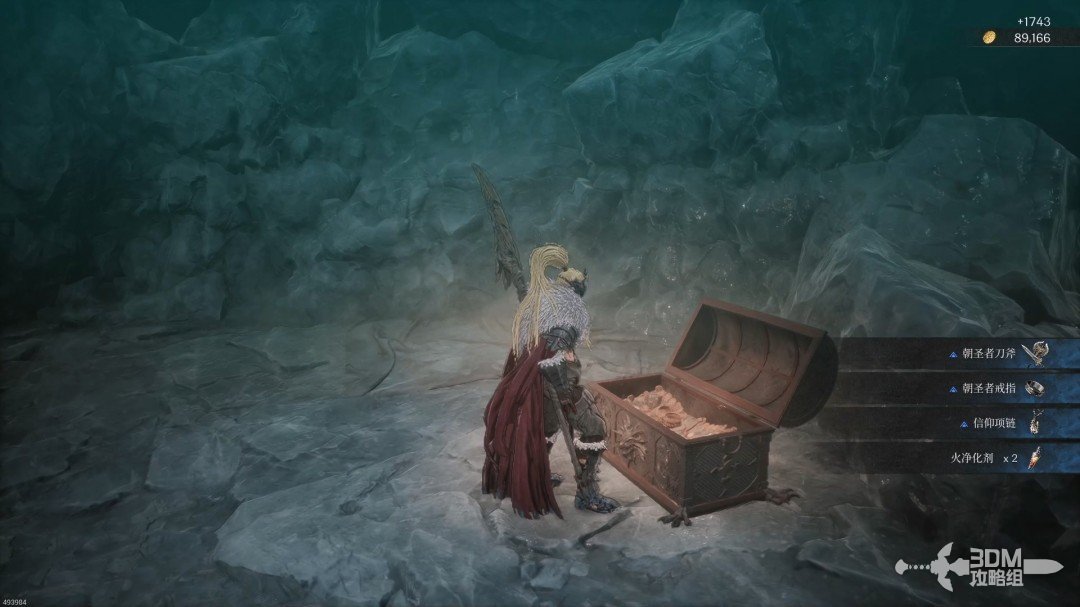
Open the chest beyond the burrower.

Left mountain path and burrower cave: climb to the high Soulstone · route image 14

Climb the ladder on the right near the cave entrance.
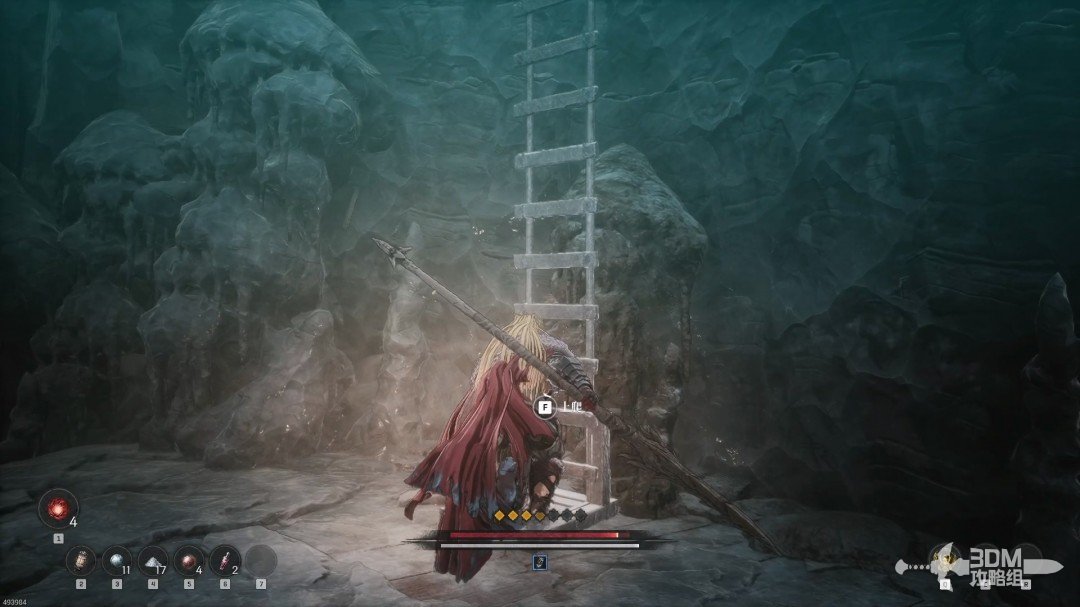
Left mountain path and burrower cave: climb to the high Soulstone · route image 15

A Soulstone waits at the top.

Left mountain path and burrower cave: climb to the high Soulstone · route image 16

05Lower village road and wharf: rescue the villagers and reach the Nexus

Descend on the left.
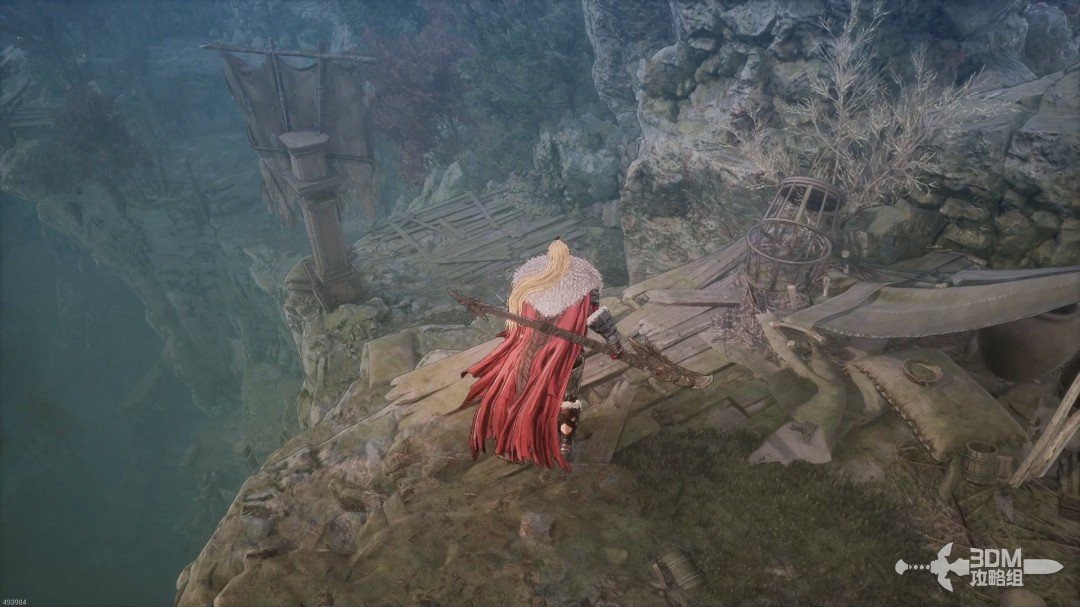
Lower village road and wharf: rescue the villagers and reach the Nexus · route image 1

At the bottom, a cinematic shows villagers being chased. Defeat their pursuers.
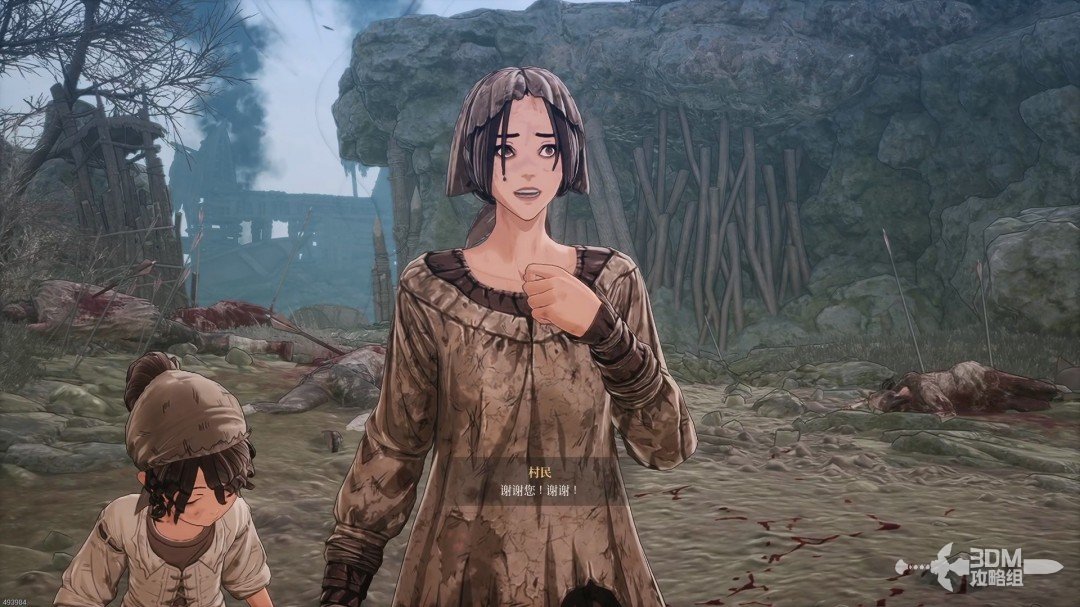
Lower village road and wharf: rescue the villagers and reach the Nexus · route image 2

Continue to the Blade Nexus at the dock.
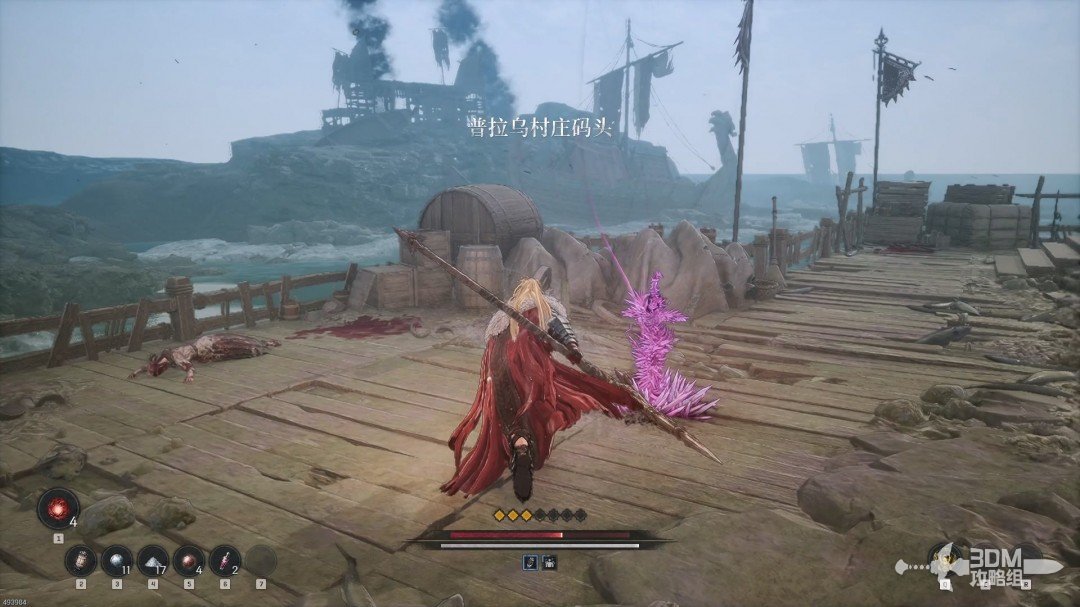
Lower village road and wharf: rescue the villagers and reach the Nexus · route image 3

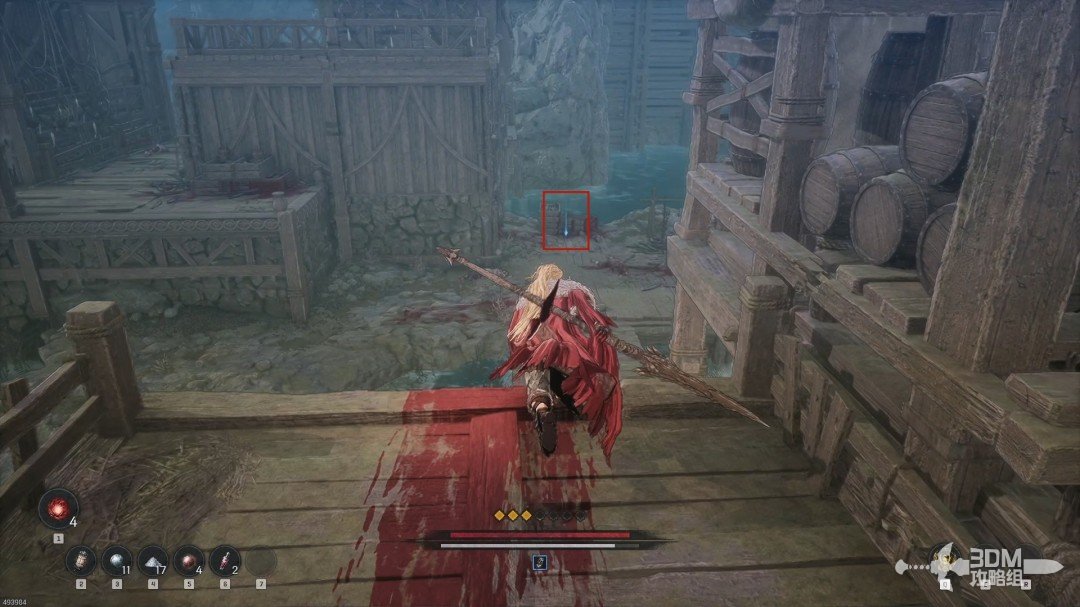
Collect the blue item ahead.

Lower village road and wharf: rescue the villagers and reach the Nexus · route image 4

Another item lies on the left-hand rock.
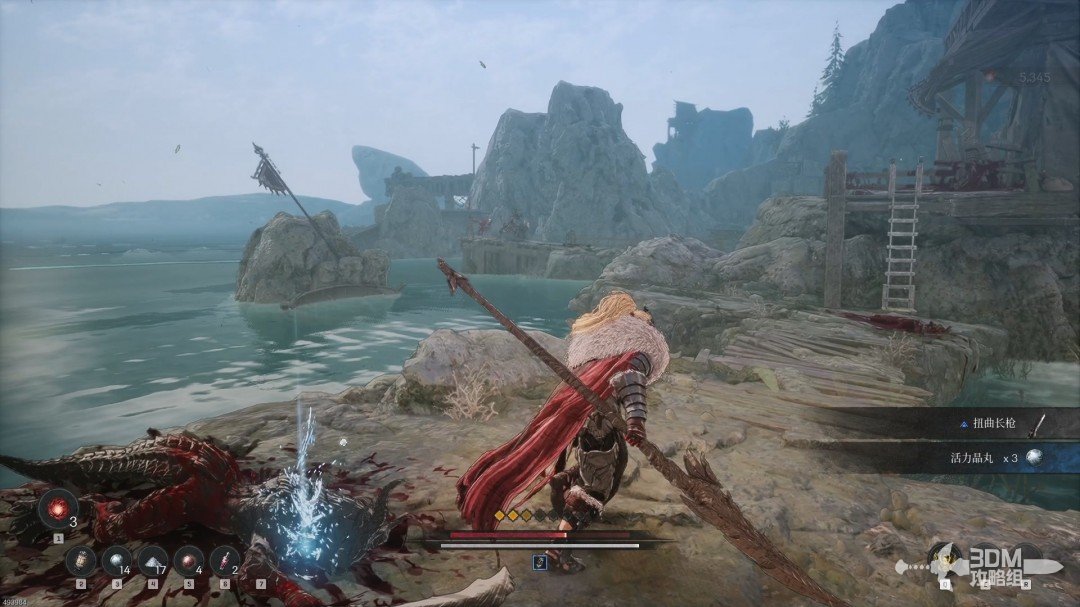
Lower village road and wharf: rescue the villagers and reach the Nexus · route image 5

06Wooden gate beyond the bridge: circle behind the lookout for the Soulstone

Climb the right stairs and ambush the medium dragonkin on the bridge.
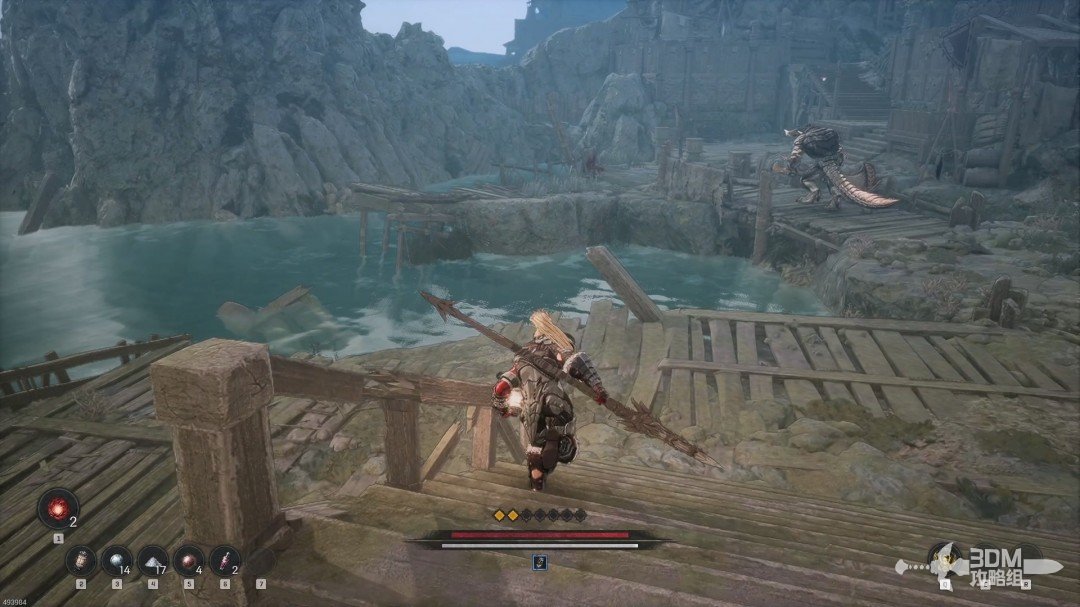
Wooden gate beyond the bridge: circle behind the lookout for the Soulstone · route image 6

Continue inside and open the wooden door.
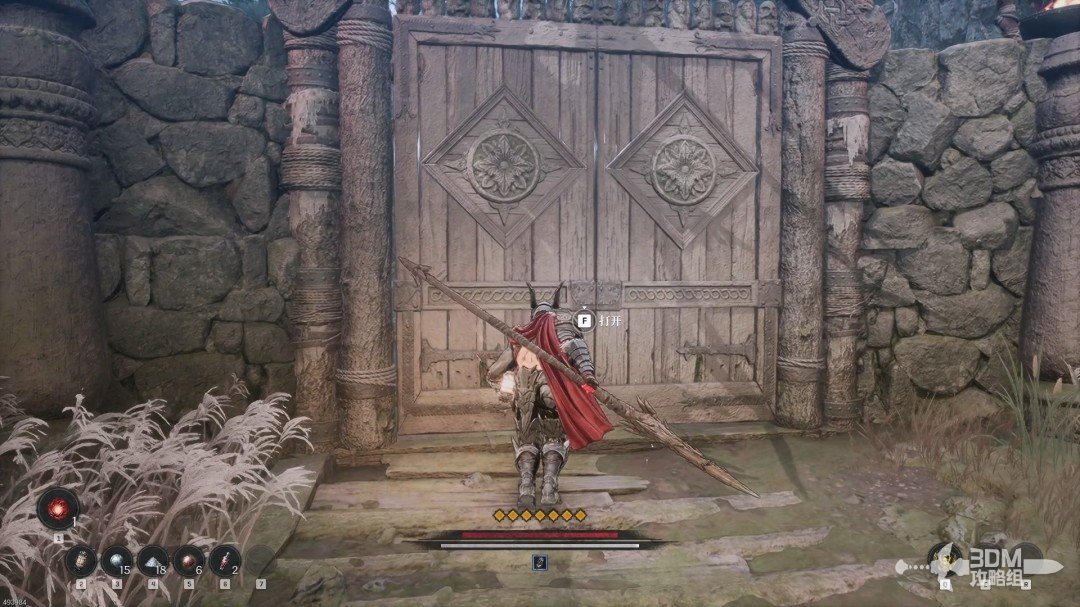
Wooden gate beyond the bridge: circle behind the lookout for the Soulstone · route image 7

Beyond the door, find a Soulstone behind the left lookout tower.
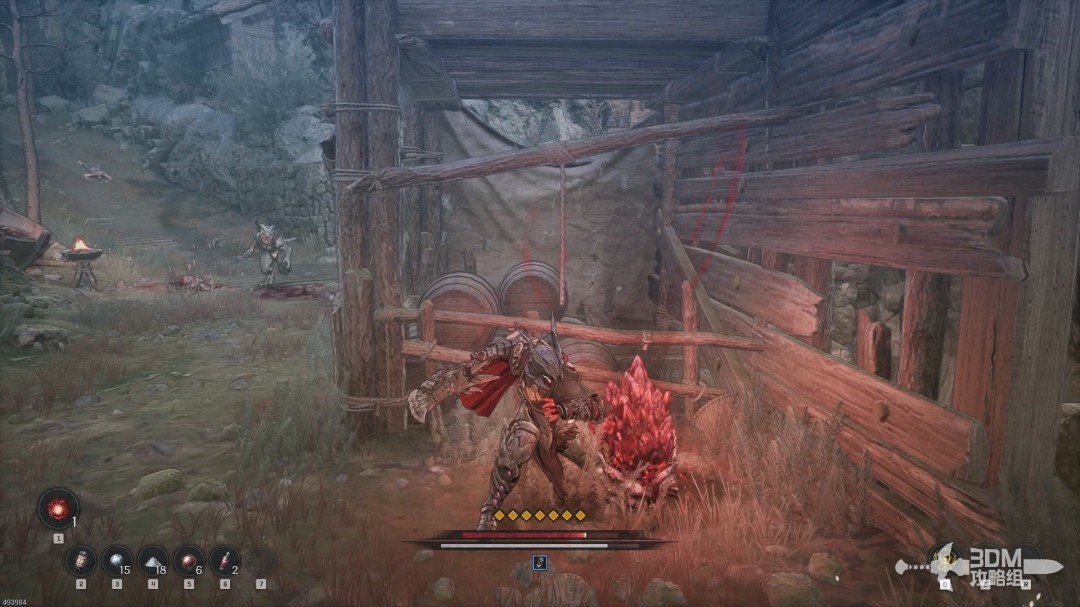
Wooden gate beyond the bridge: circle behind the lookout for the Soulstone · route image 8

08Cargo yard and indoor ladders: enter the warehouse district from above

Advance a short distance and collect the blue item on the left platform.
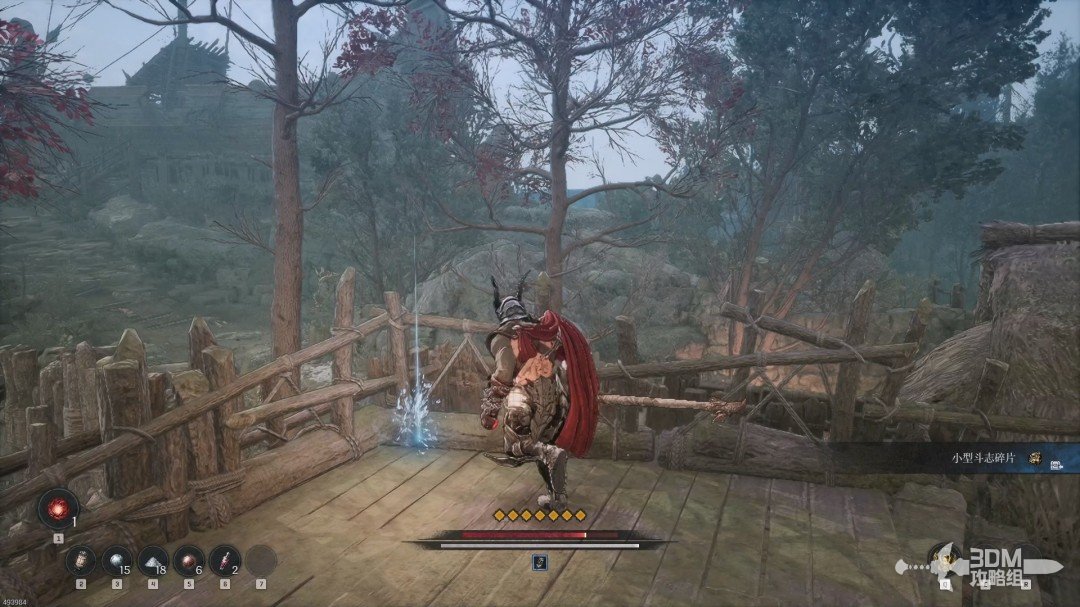
Cargo yard and indoor ladders: enter the warehouse district from above · route image 1

The tutorial shows environmental Javelin attacks: break the support above enemies to drop suspended cargo onto them.
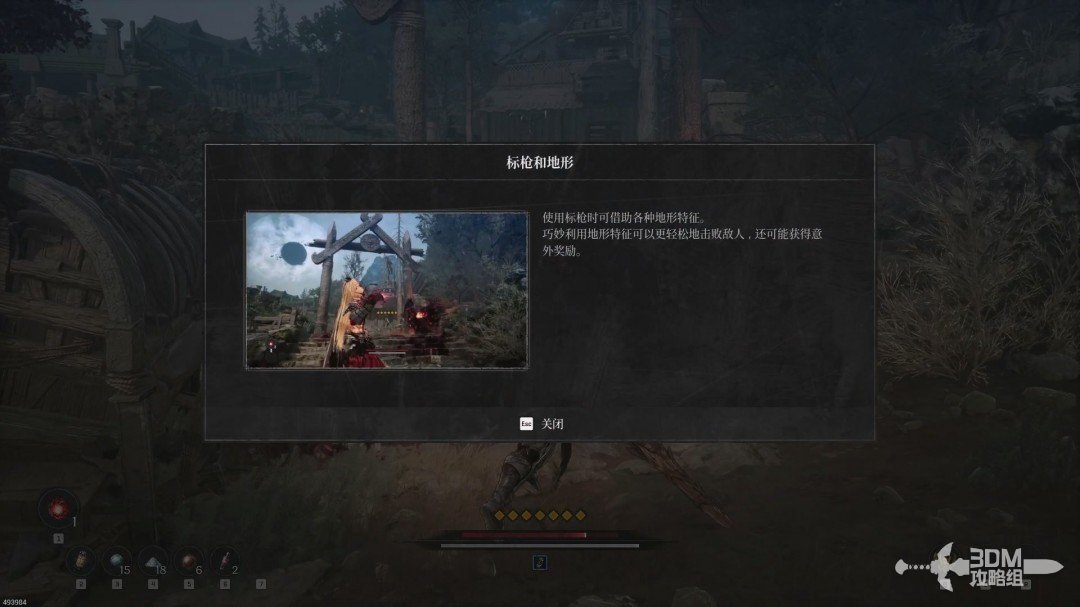
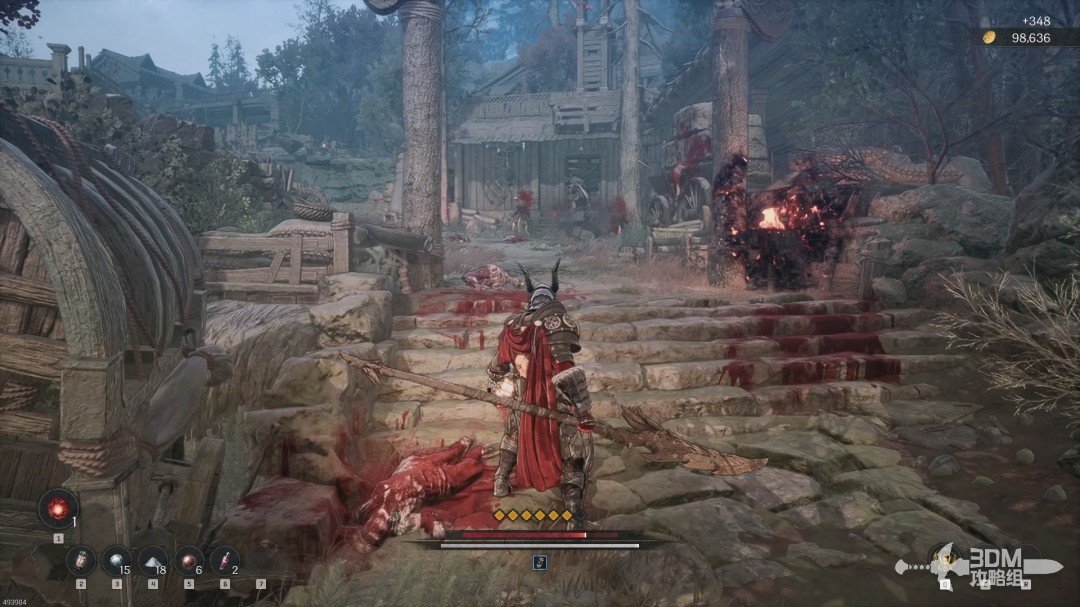
Cargo yard and indoor ladders: enter the warehouse district from above · route image 2
Cargo yard and indoor ladders: enter the warehouse district from above · route image 3

Collect the purple item inside the left enclosure.
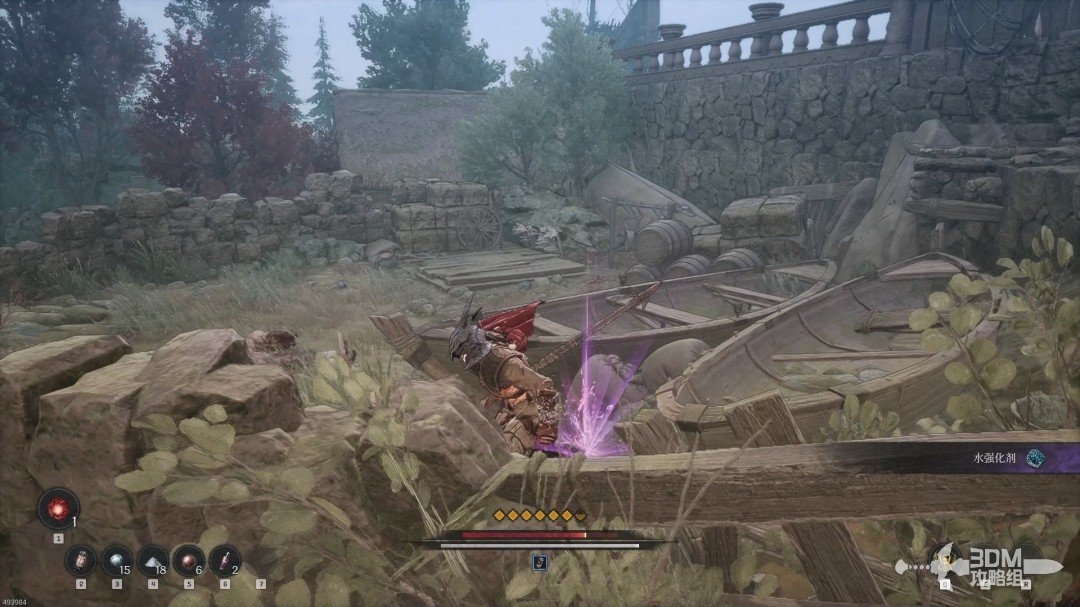
Cargo yard and indoor ladders: enter the warehouse district from above · route image 4

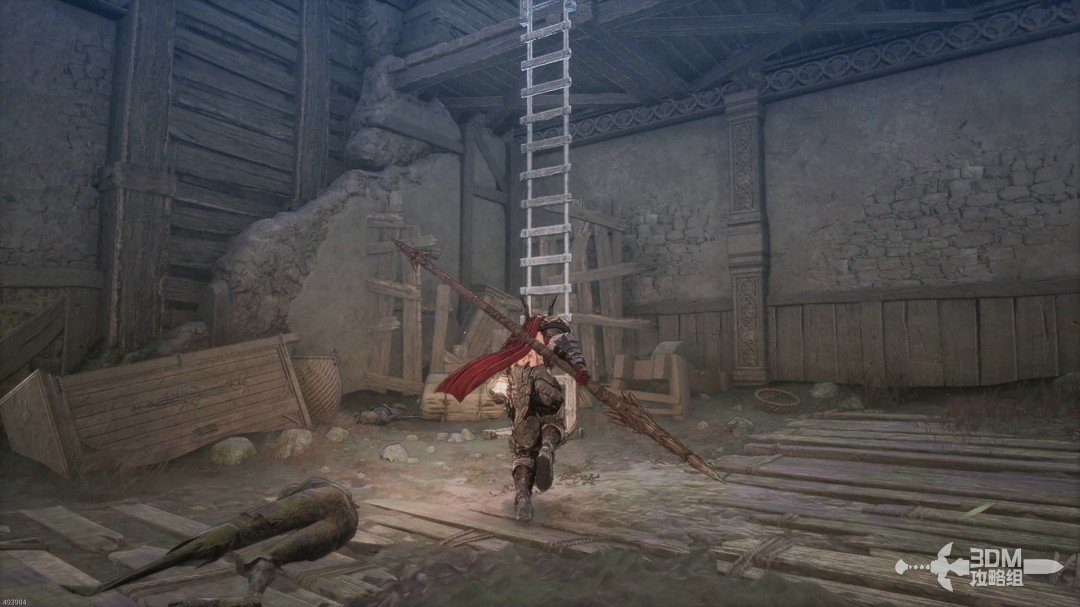
Enter the building ahead and climb its ladder.
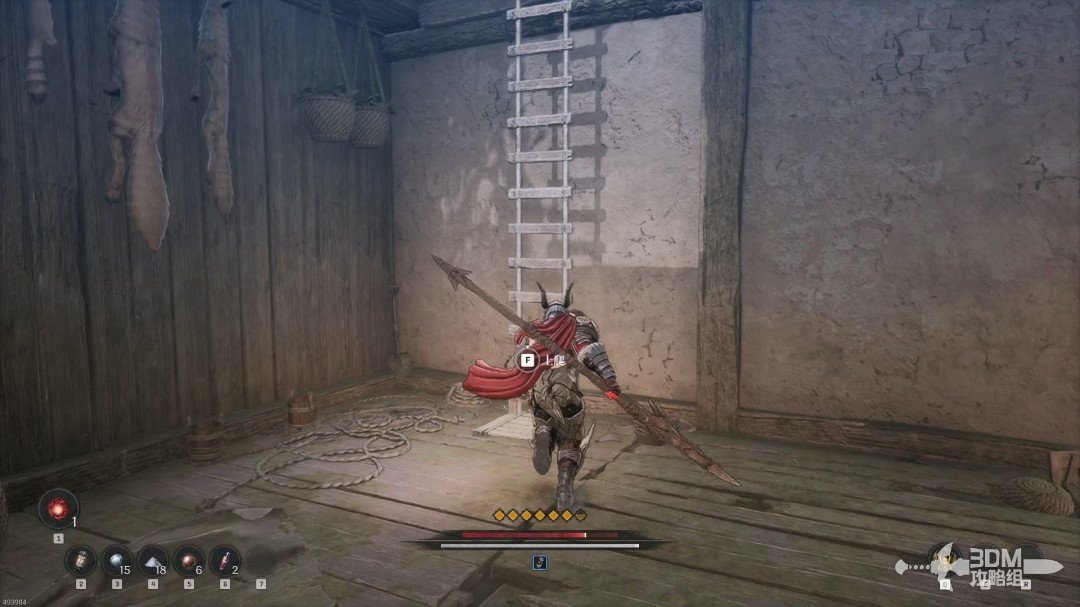
Cargo yard and indoor ladders: enter the warehouse district from above · route image 5

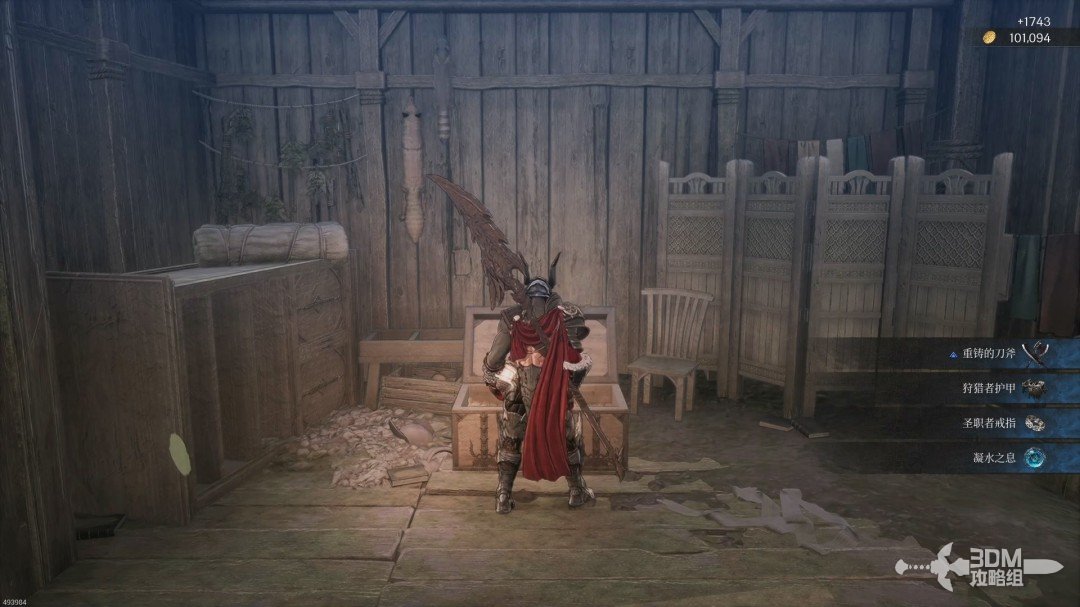
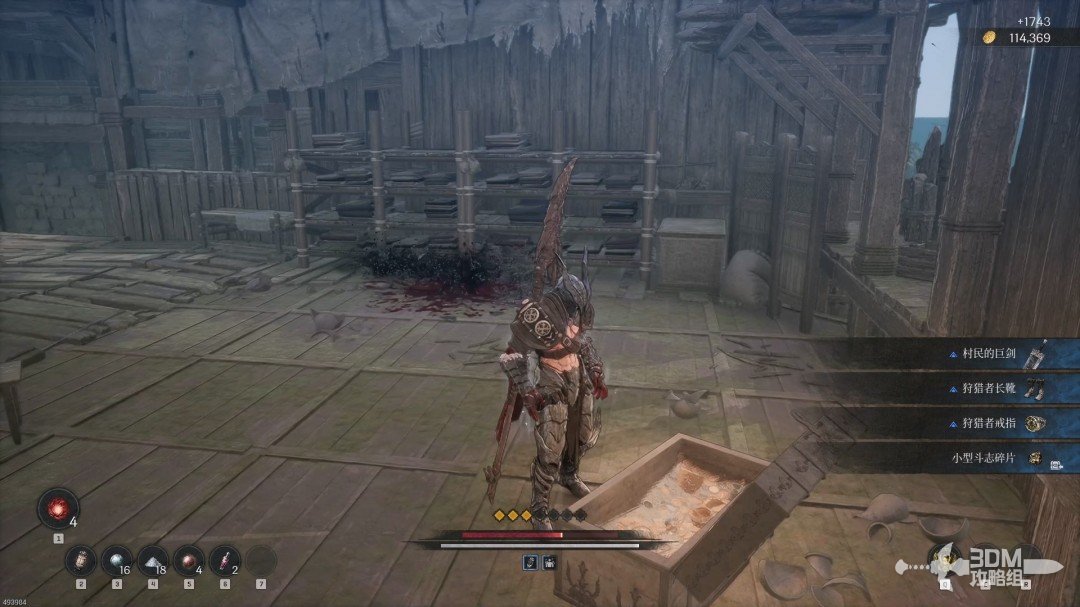
Open the chest ahead on the left.

Cargo yard and indoor ladders: enter the warehouse district from above · route image 6

Drop from the pictured position for a purple item.
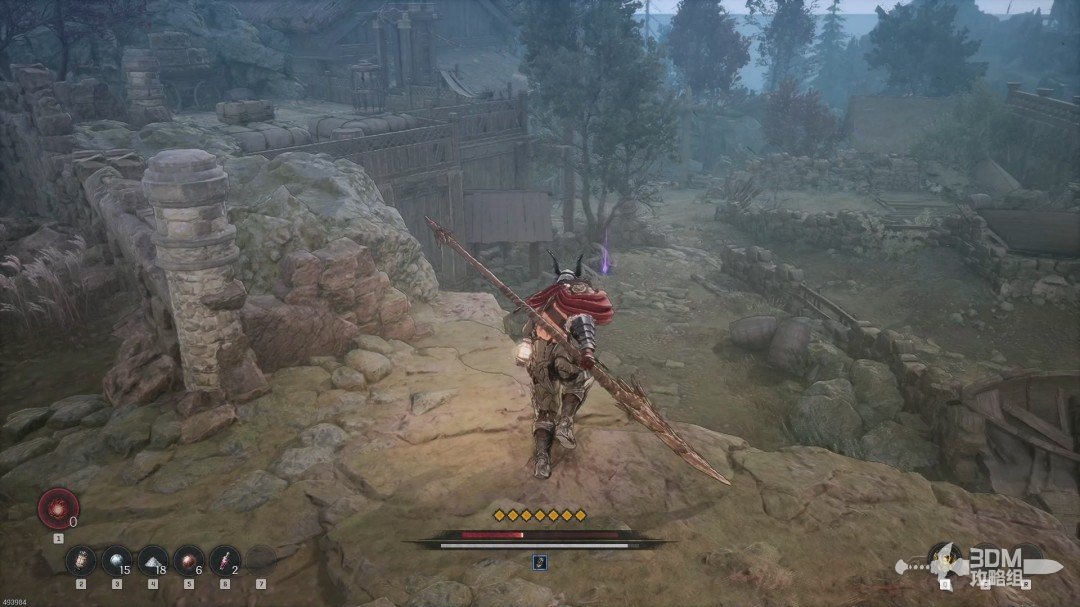
Cargo yard and indoor ladders: enter the warehouse district from above · route image 7

09Wooden bridges between warehouses: pass through to the Nexus

Continue inward after landing and drop again here.
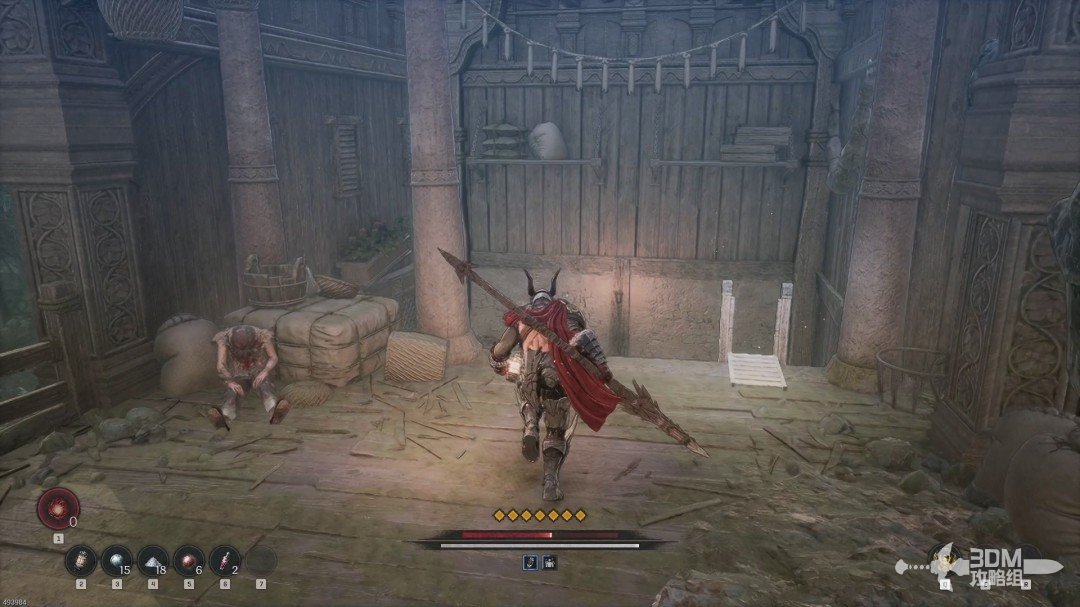
Wooden bridges between warehouses: pass through to the Nexus · route image 8

Collect the white item right of the entrance.
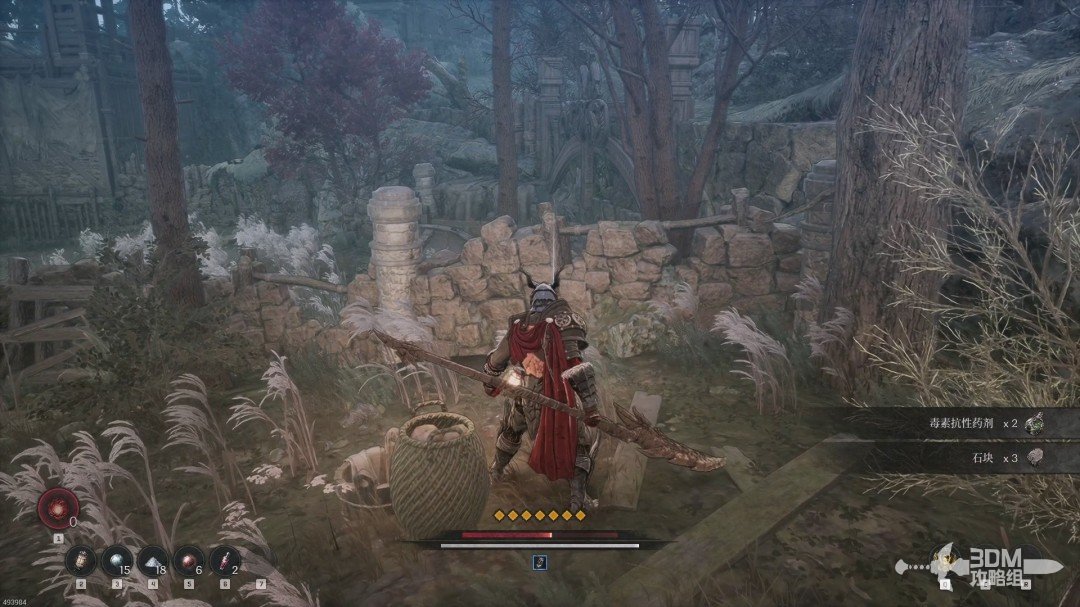
Wooden bridges between warehouses: pass through to the Nexus · route image 9

Ambush the dragonkin around a blue item inside the right building.
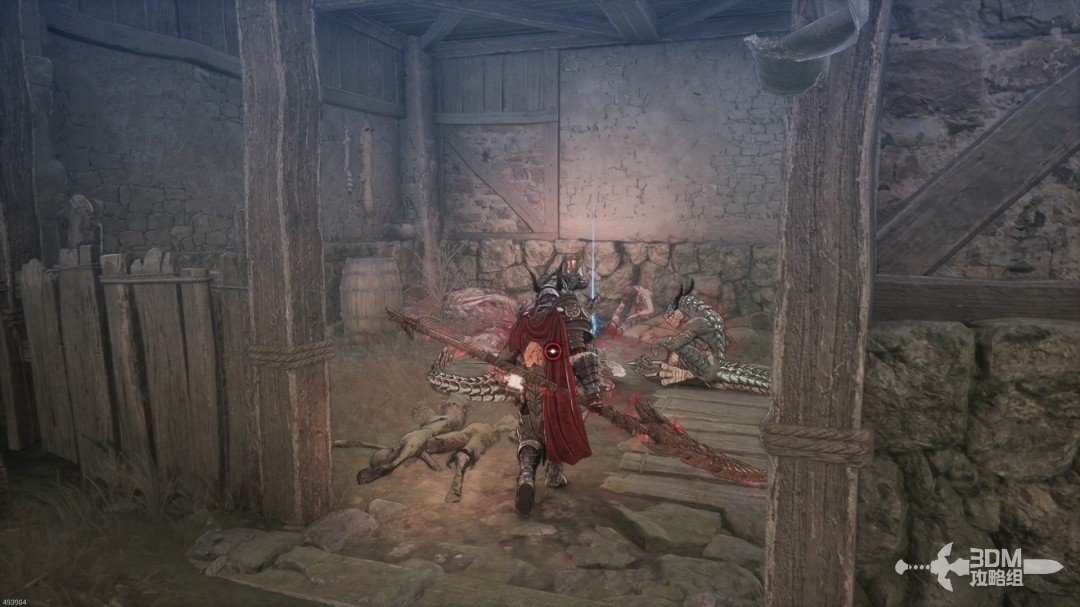
Wooden bridges between warehouses: pass through to the Nexus · route image 10

Continue across the bridge and climb the stairs.
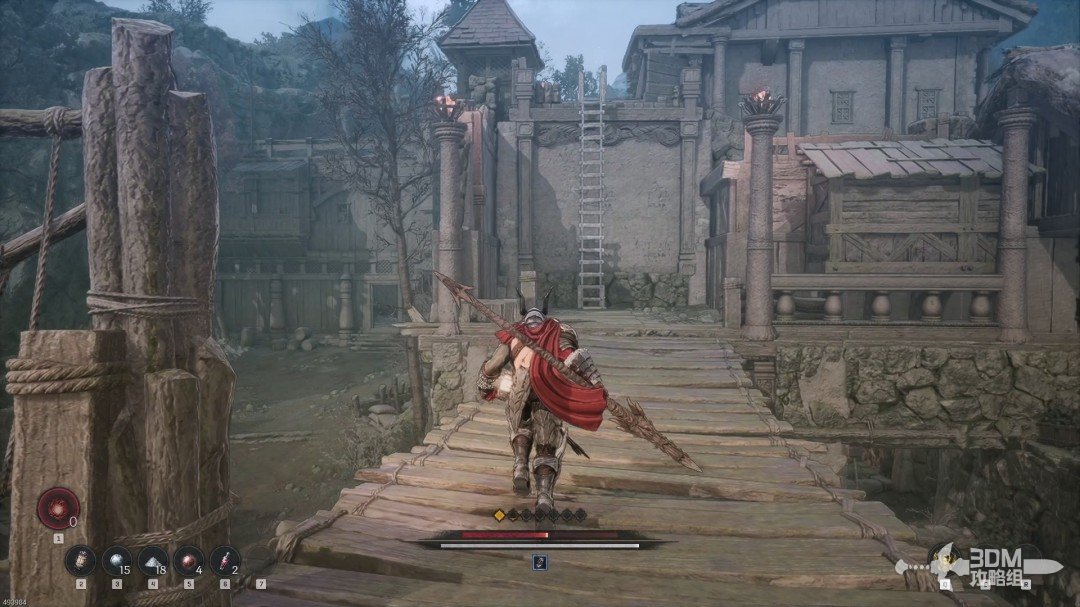
Wooden bridges between warehouses: pass through to the Nexus · route image 11

Collect the white item beside the corpse.
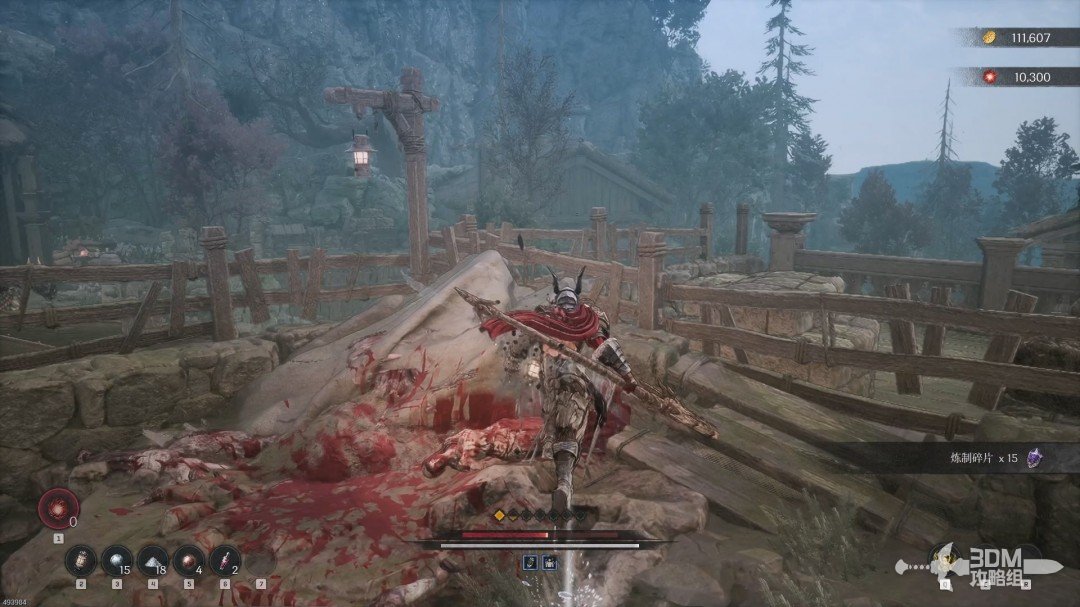
Wooden bridges between warehouses: pass through to the Nexus · route image 12

A new Blade Nexus stands on the left.
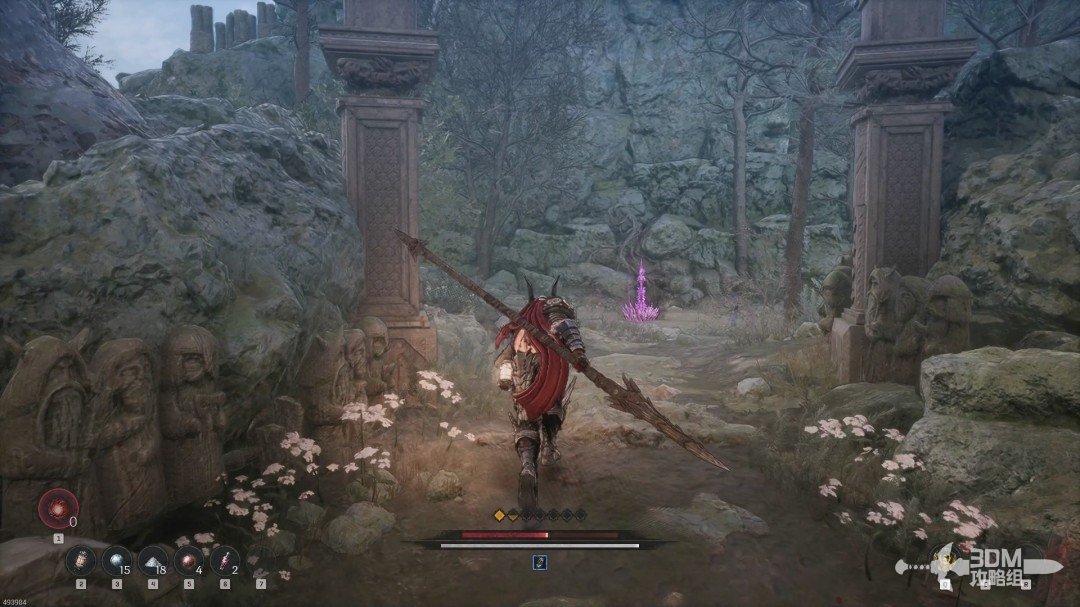
Wooden bridges between warehouses: pass through to the Nexus · route image 13

10Rooftop detour: drop from the chest platform to the Evacuation Order

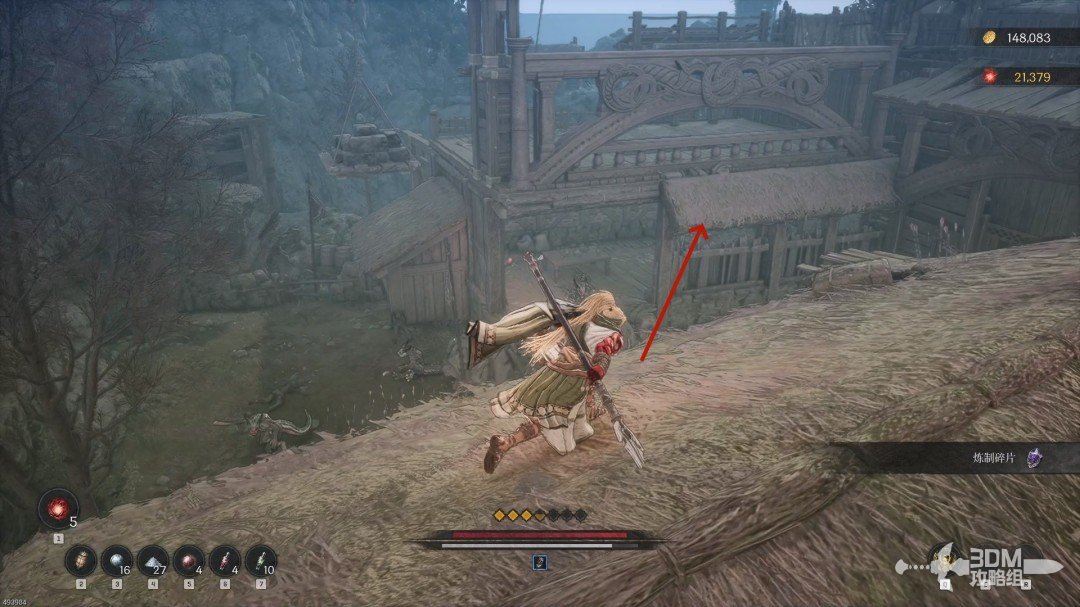
After resting, follow the pictured route.
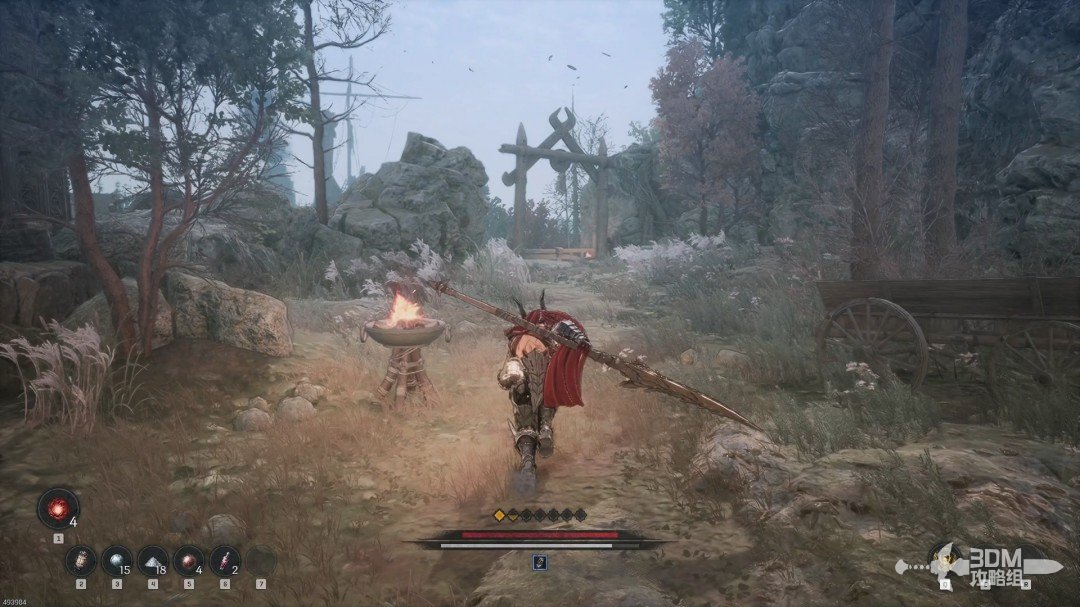
Rooftop detour: drop from the chest platform to the Evacuation Order · route image 14

Drop from the roof and collect the white item in the corner.
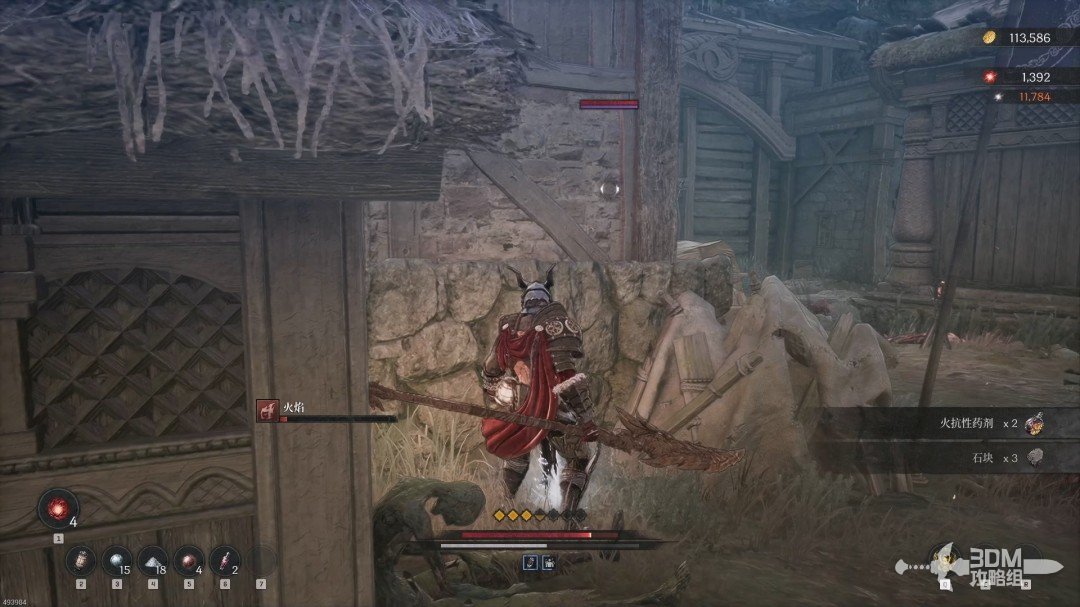
Rooftop detour: drop from the chest platform to the Evacuation Order · route image 15

Take the blue item inside the next building.
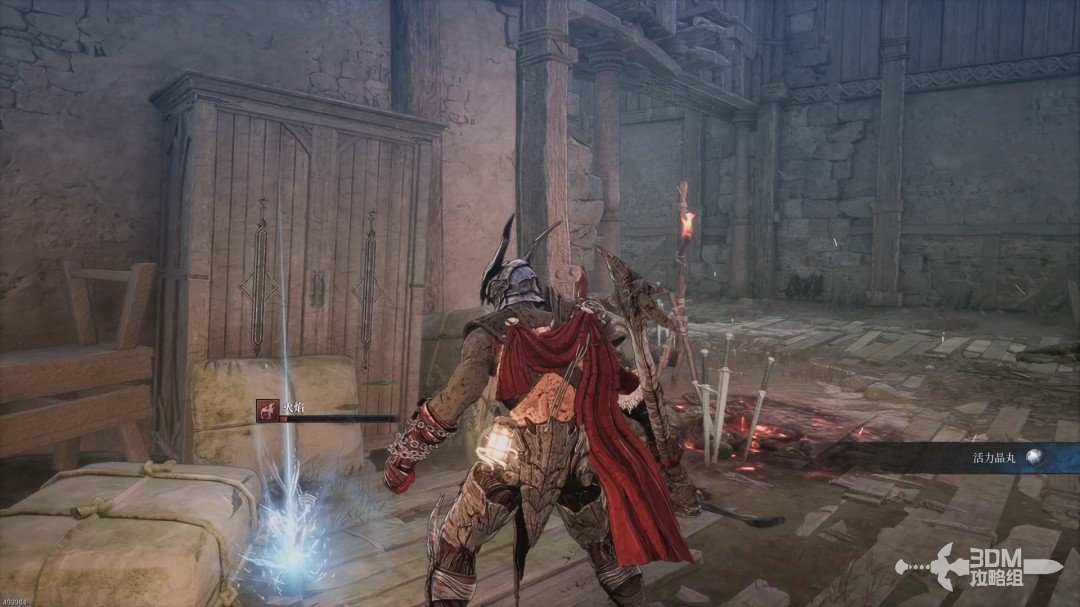
Rooftop detour: drop from the chest platform to the Evacuation Order · route image 16

Climb the ladder here.

Rooftop detour: drop from the chest platform to the Evacuation Order · route image 17

Loot the chest upstairs.

Rooftop detour: drop from the chest platform to the Evacuation Order · route image 18

Before returning downstairs, descend from the pictured spot.
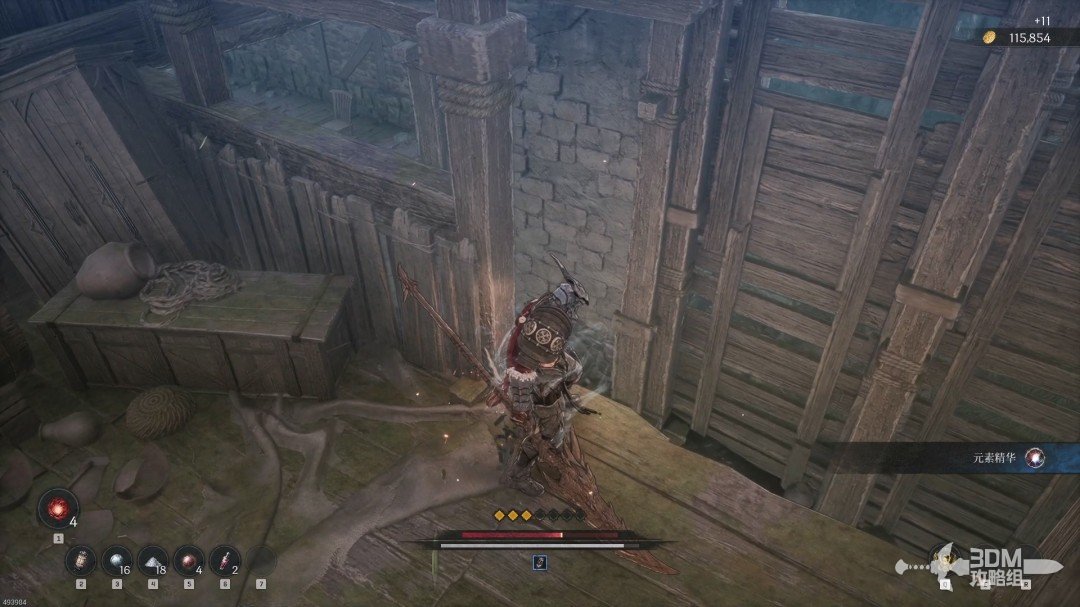
Rooftop detour: drop from the chest platform to the Evacuation Order · route image 19

Two items lie ahead; the right one is the Evacuation Order. Drop left afterward to rejoin the route.
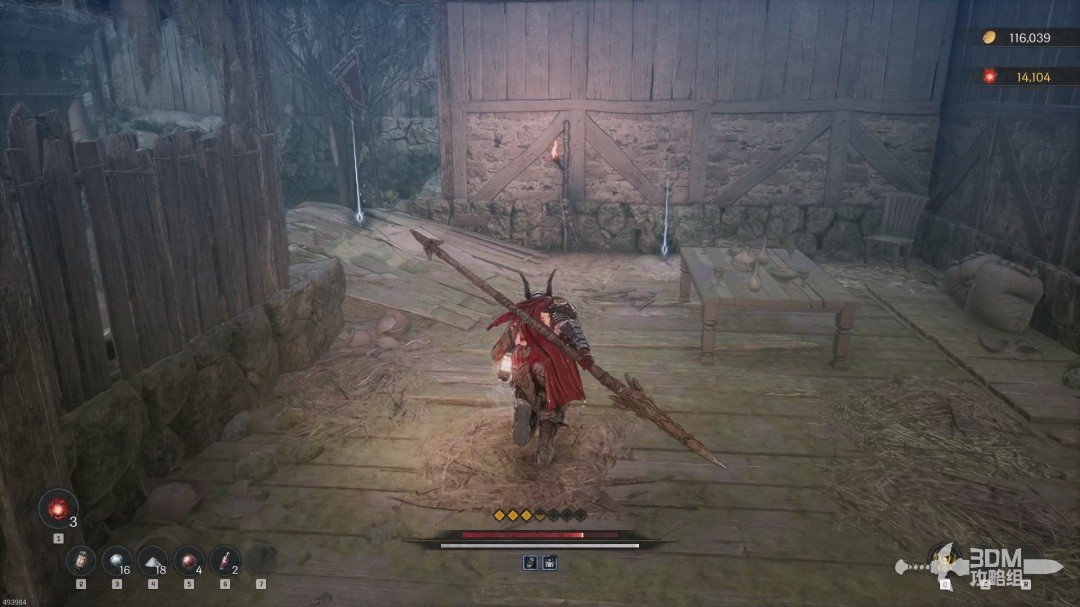
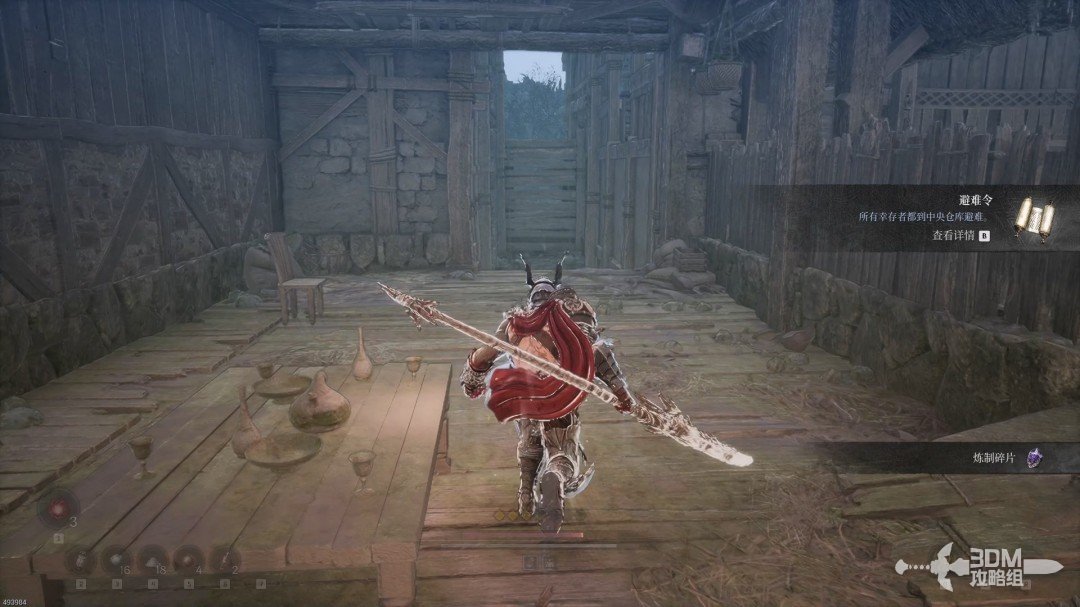
Rooftop detour: drop from the chest platform to the Evacuation Order · route image 20
Rooftop detour: drop from the chest platform to the Evacuation Order · route image 21

12Lightning dragonkin at the gate: use the boulder and hit the overhead Soulstone

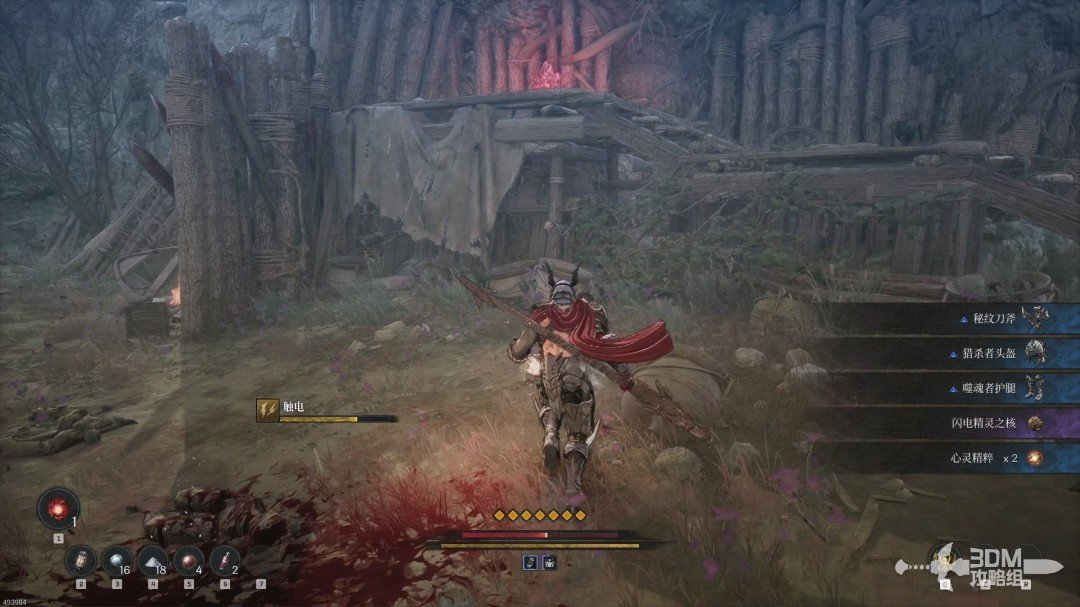
Open the next gate and defeat the lightning dragonkin Powerful Enemy. If necessary, lure it toward the rolling boulder on the right.
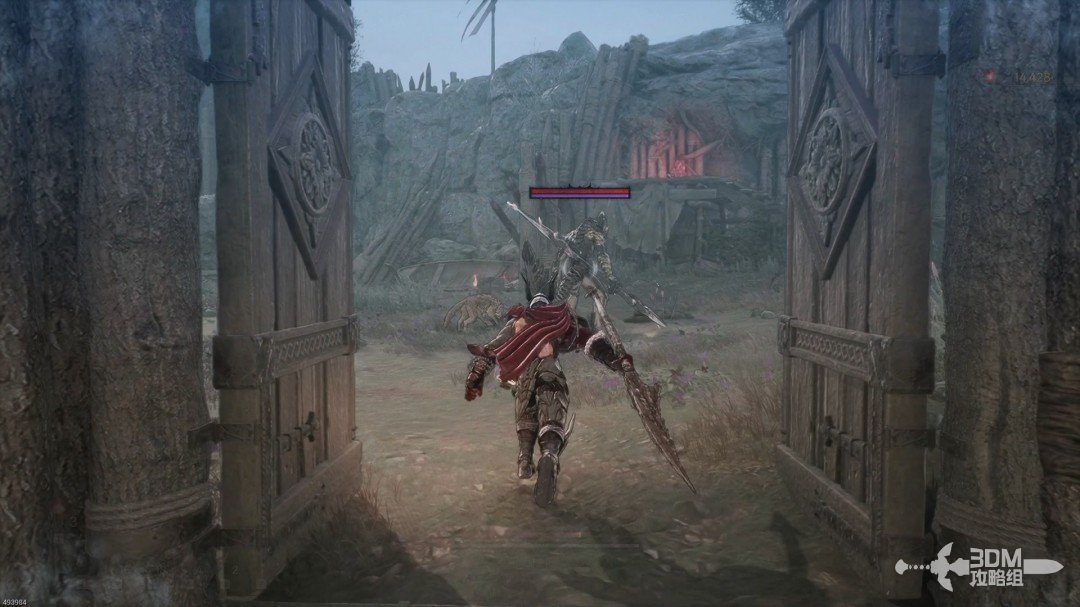
Lightning dragonkin at the gate: use the boulder and hit the overhead Soulstone · route image 1

Collect its equipment and destroy the Soulstone overhead.
Lightning dragonkin at the gate: use the boulder and hit the overhead Soulstone · route image 2

14Boulder-blocked slope: lure the rock down and enter the scholar's house

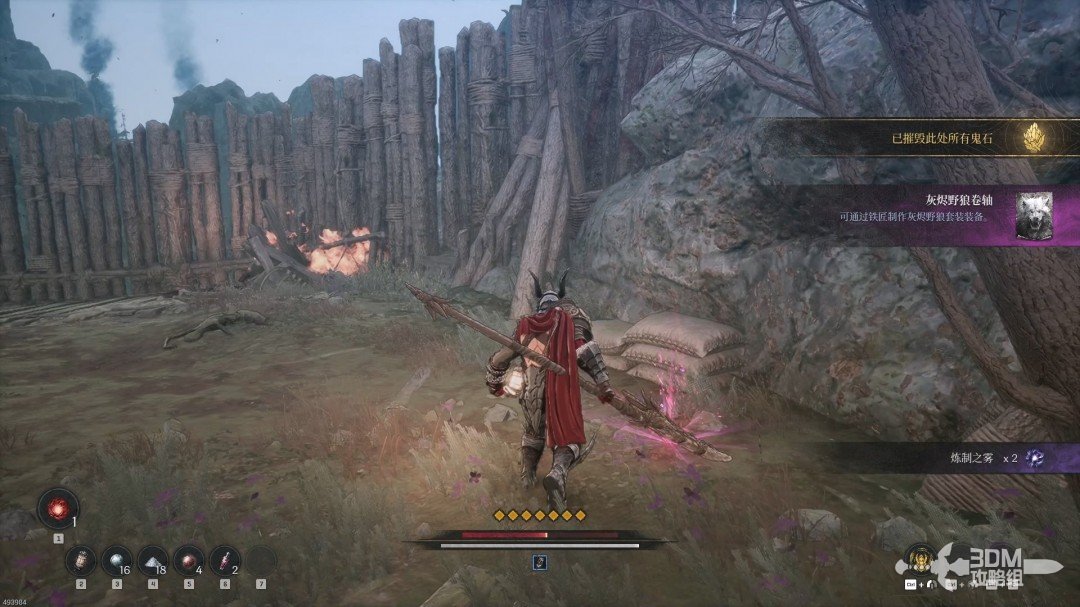
Go left after the Soulstone to collect an equipment crafting scroll.
Boulder-blocked slope: lure the rock down and enter the scholar's house · route image 1

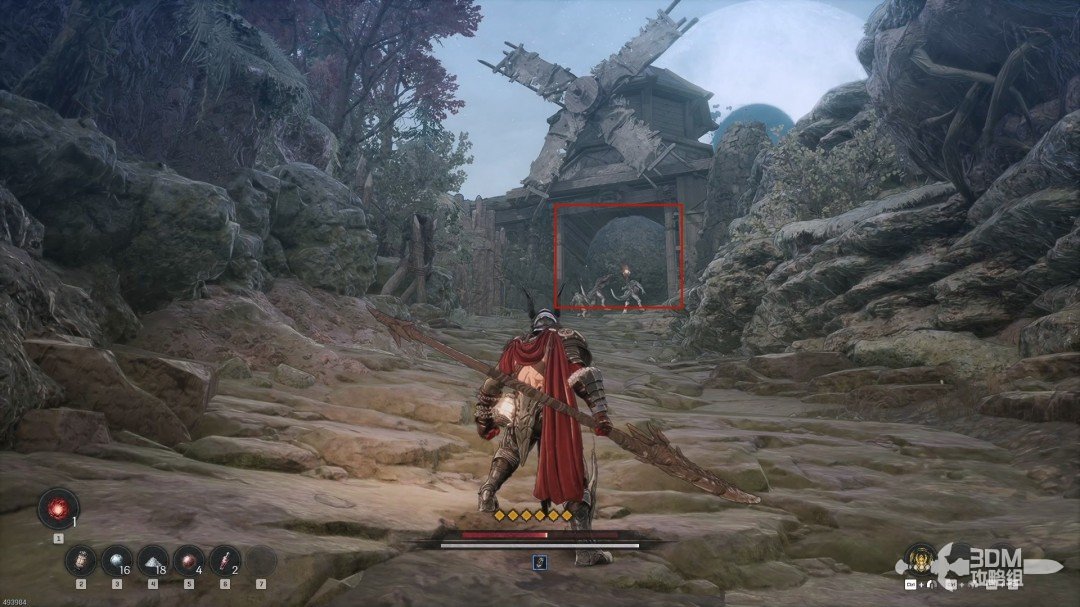
Follow the main path right toward a boulder blocking a doorway. Approach to trigger it, then retreat early to avoid being crushed.
Boulder-blocked slope: lure the rock down and enter the scholar's house · route image 2

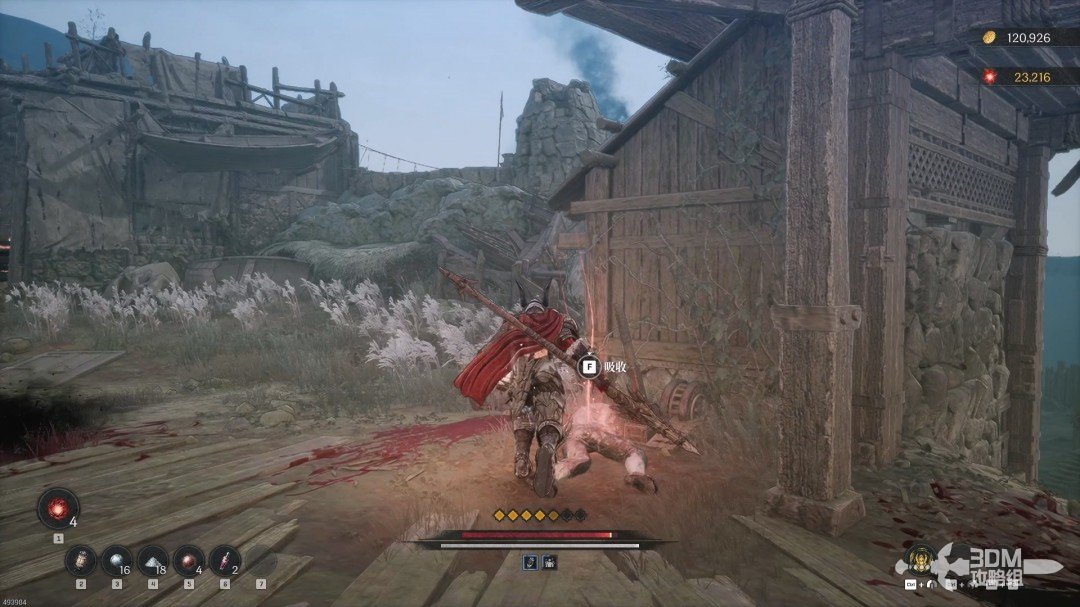
Enter the doorway and absorb the memory on the right.
Boulder-blocked slope: lure the rock down and enter the scholar's house · route image 3

Fight the dragonkin on the main path and collect the purple item in the middle.
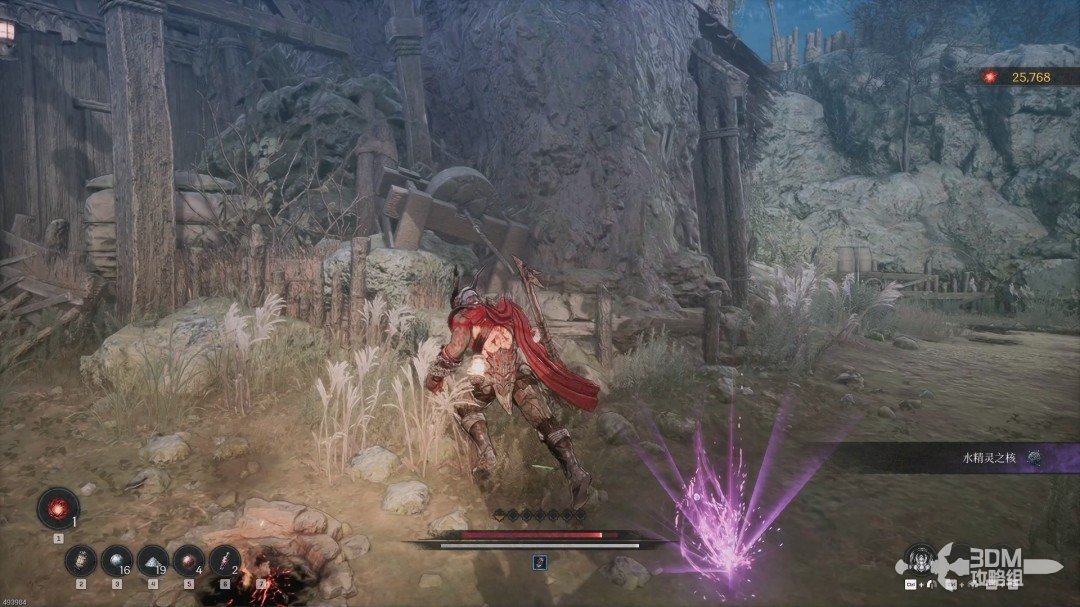
Boulder-blocked slope: lure the rock down and enter the scholar's house · route image 4

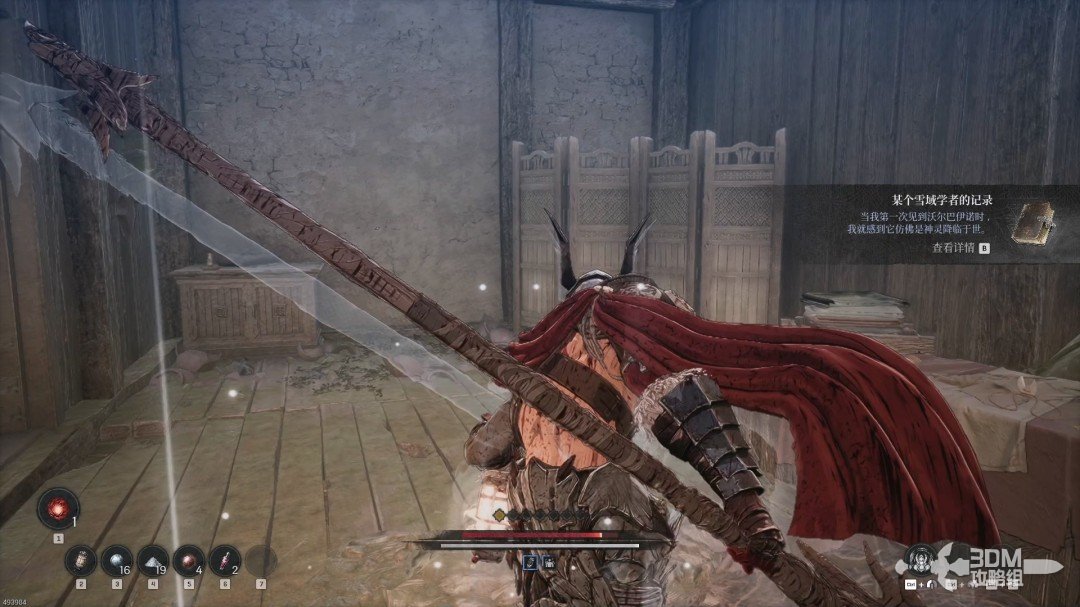
Continue to the house containing a Snowfield Scholar's Record.
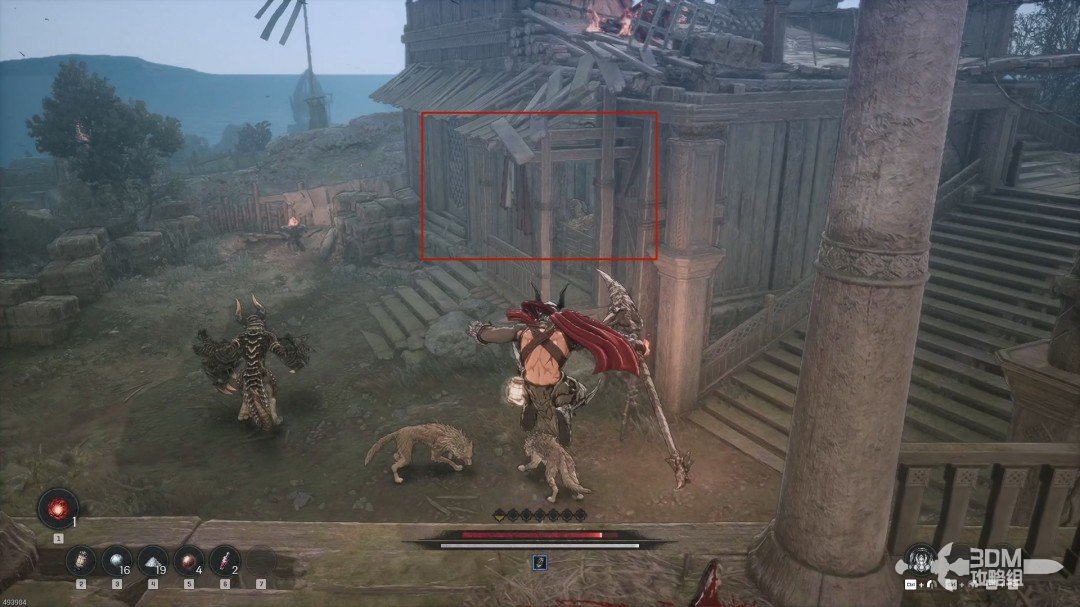
Boulder-blocked slope: lure the rock down and enter the scholar's house · route image 5
Boulder-blocked slope: lure the rock down and enter the scholar's house · route image 6

16Dragonkin bridge and cart: open the shortcut before the boss

Follow the sole route ahead, defeating the dragonkin guarding the bridge.
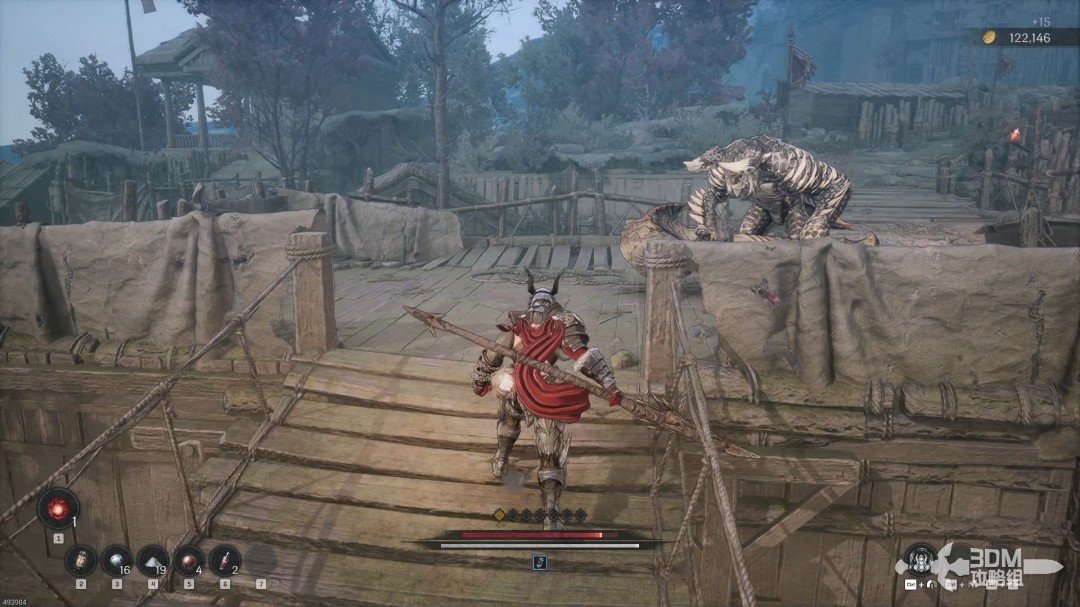
Dragonkin bridge and cart: open the shortcut before the boss · route image 1

Collect the blue item at the end and push the cart to its left.
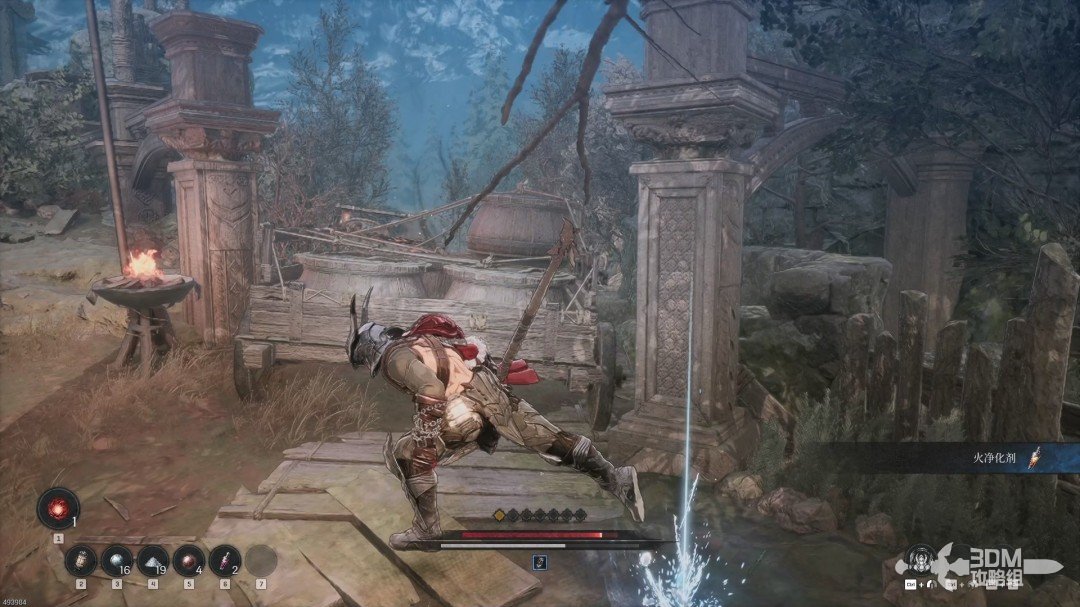
Dragonkin bridge and cart: open the shortcut before the boss · route image 2

The cart opens a shortcut to the earlier Nexus. Rest before the boss.
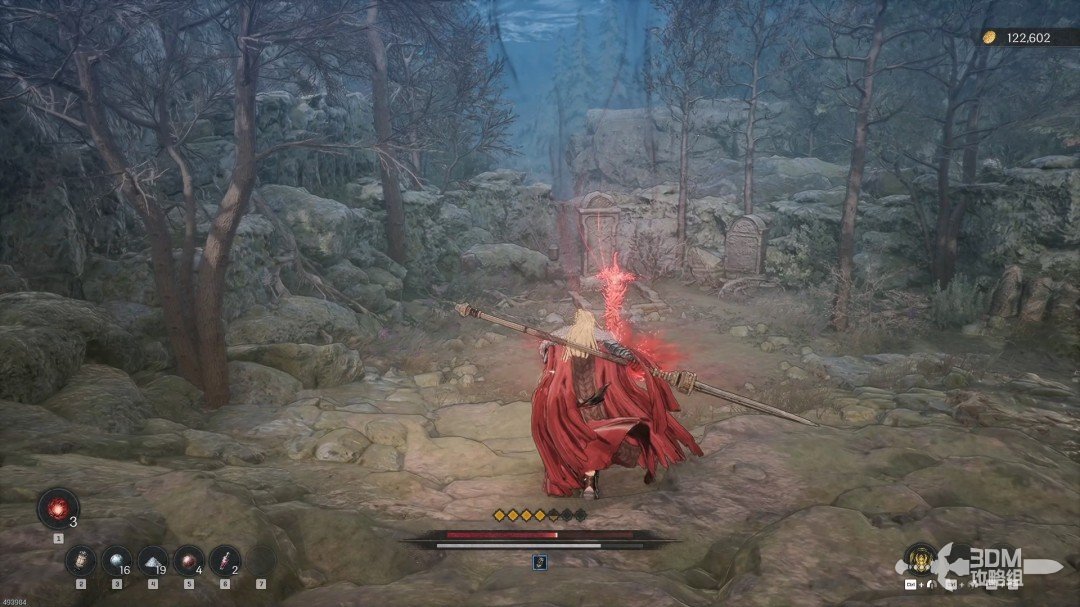
Dragonkin bridge and cart: open the shortcut before the boss · route image 3

17Volbaino's two-level arena: hammer blows and spikes

Beyond the gate, villagers are being chased by a deer-headed creature. Khazan intervenes.
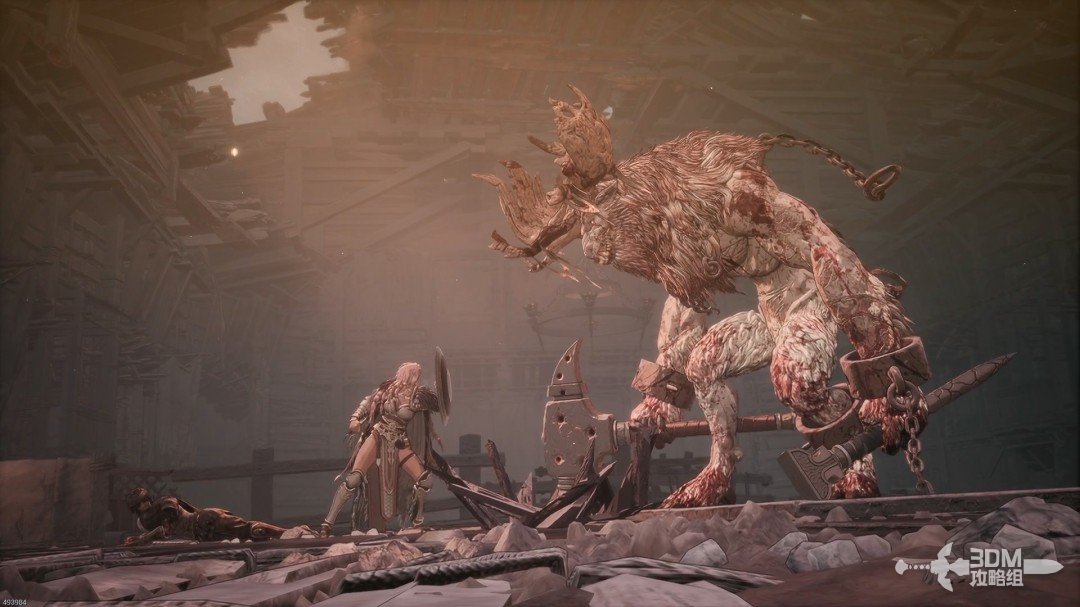
Volbaino's two-level arena: hammer blows and spikes · route image 1

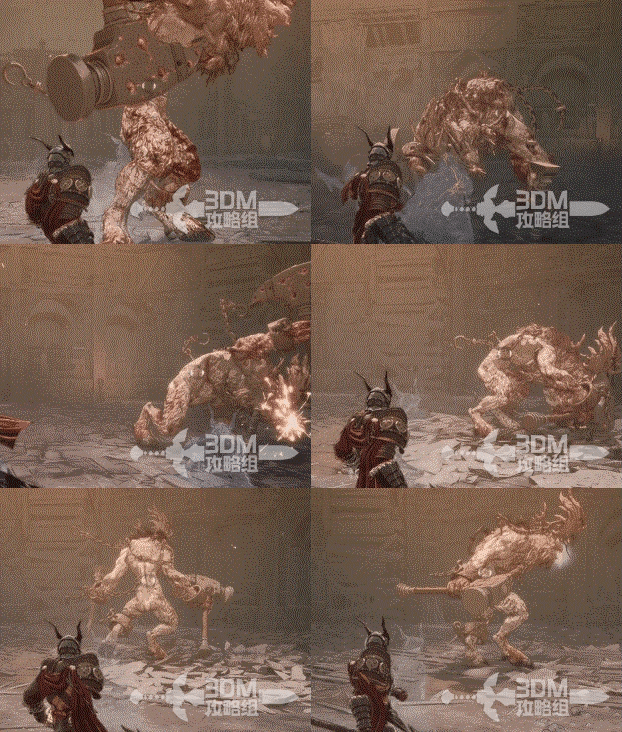
This is Volbaino, a two-phase boss.

Attack ①:

Two simple, easily evaded hammer strikes.
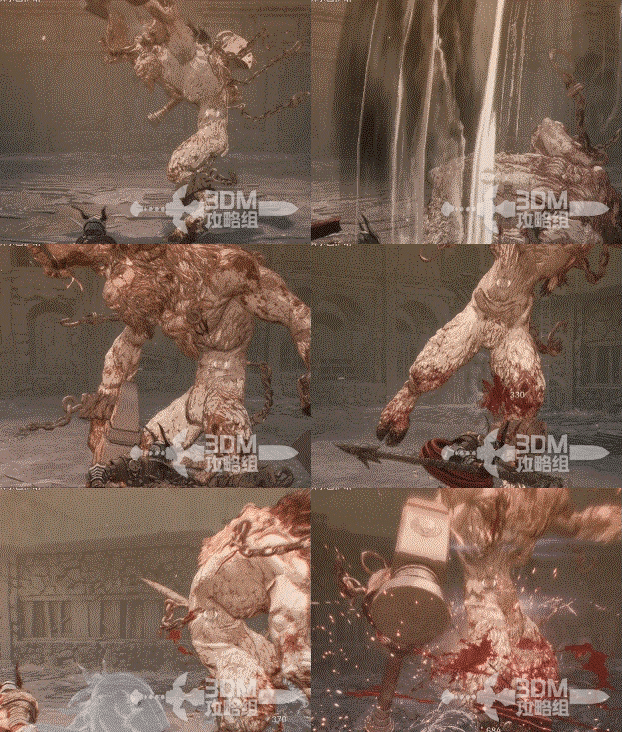
Volbaino's two-level arena: hammer blows and spikes · route image 2

Attack ②:

It turns sideways before throwing its hammer forward. Watch for the turn.
Volbaino's two-level arena: hammer blows and spikes · route image 3

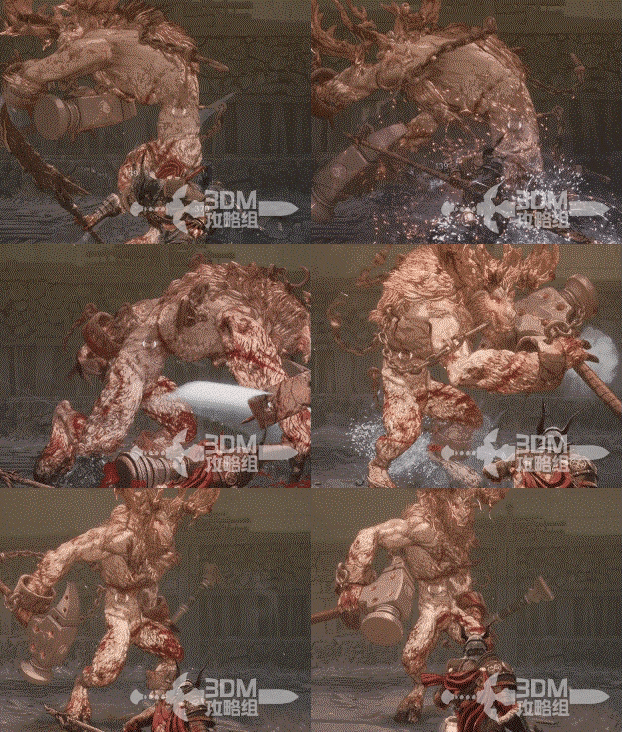
Attack ③:

Two clearly telegraphed nail strikes. Stay away or dodge; guarding the second can empty your stamina.
Volbaino's two-level arena: hammer blows and spikes · route image 4

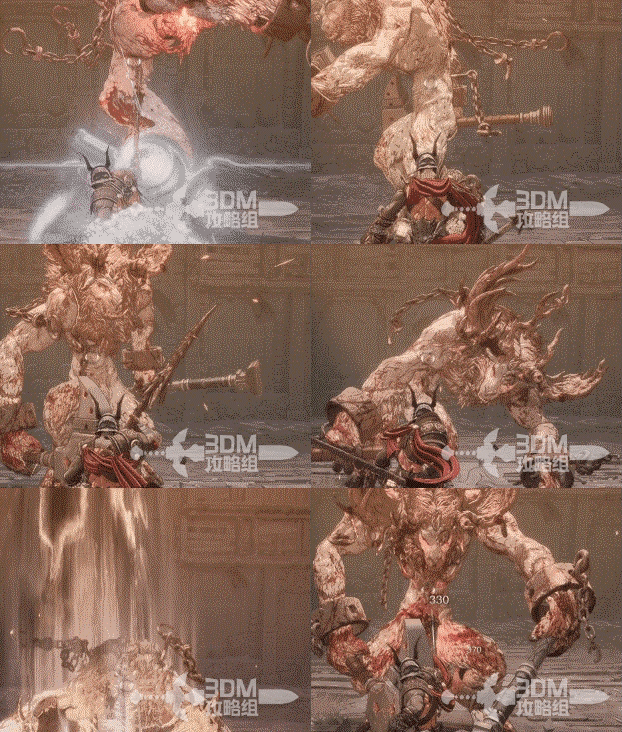
Attack ④:

A short sweep followed by three relatively slow ground slams.
Volbaino's two-level arena: hammer blows and spikes · route image 5

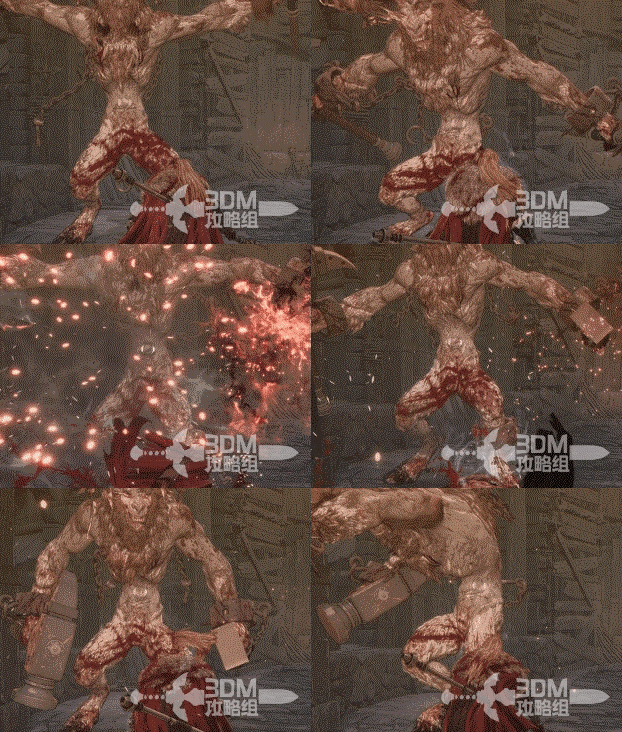
Attack ⑤:

A slap preceded by spreading its arms. Dodge on that tell, and watch for a possible second slap.
Volbaino's two-level arena: hammer blows and spikes · route image 6

18Burning floor and upper level: change floors during the fire phase

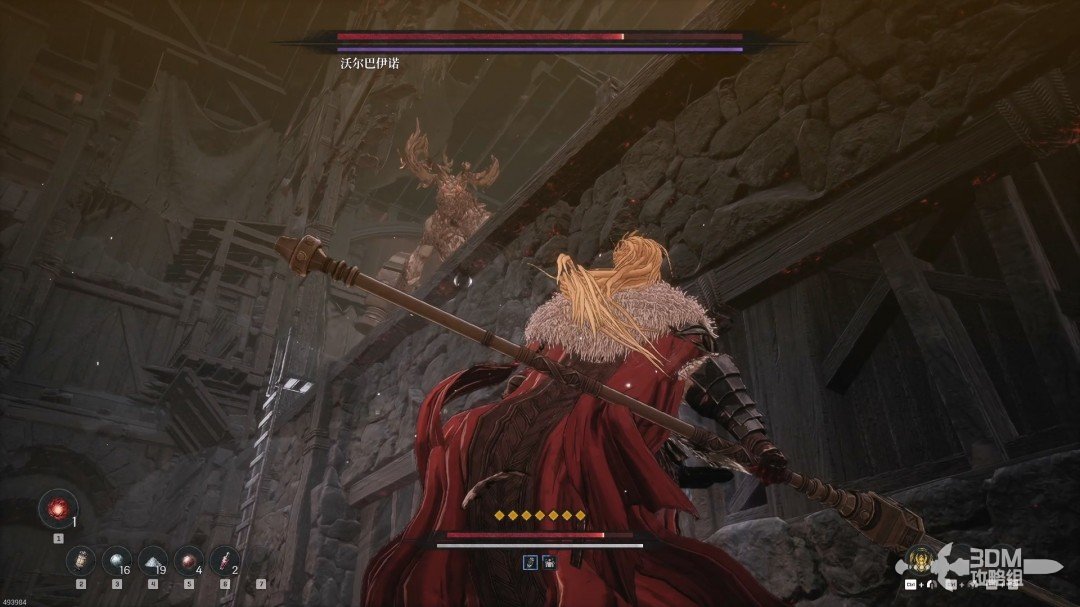
At the phase transition, it jumps to the upper platform. You can follow, but waiting safely beside its predictable landing spot is easier.
Burning floor and upper level: change floors during the fire phase · route image 7

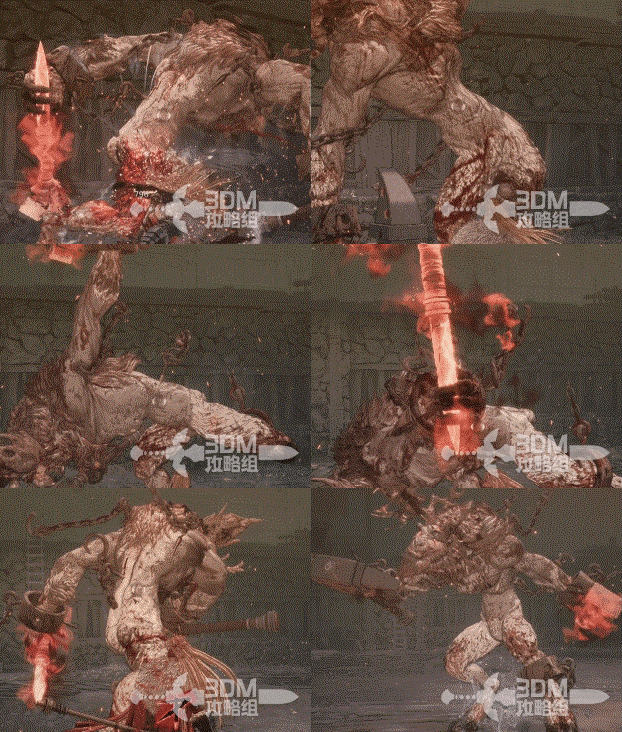
Phase two strengthens the earlier attack patterns.

Phase two — Attack ①:

Its first landing sequence turns into seven consecutive hits, ending with a Burst Attack.
Burning floor and upper level: change floors during the fire phase · route image 8

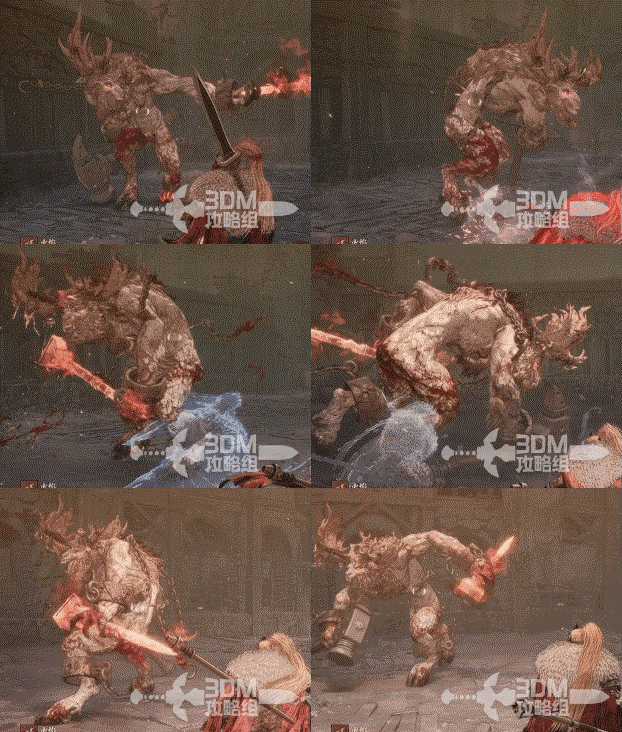
Attack ②:

Three consecutive sets of sideways swings.
Burning floor and upper level: change floors during the fire phase · route image 9

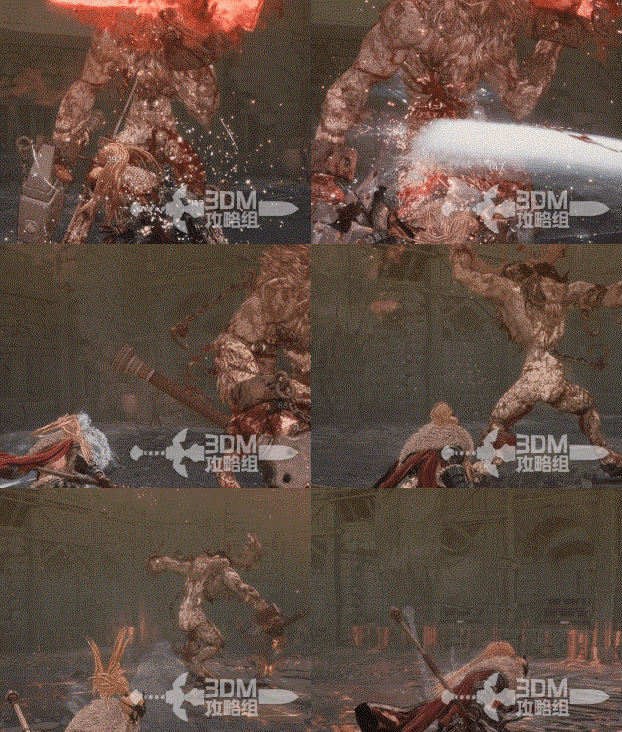
Attack ③:

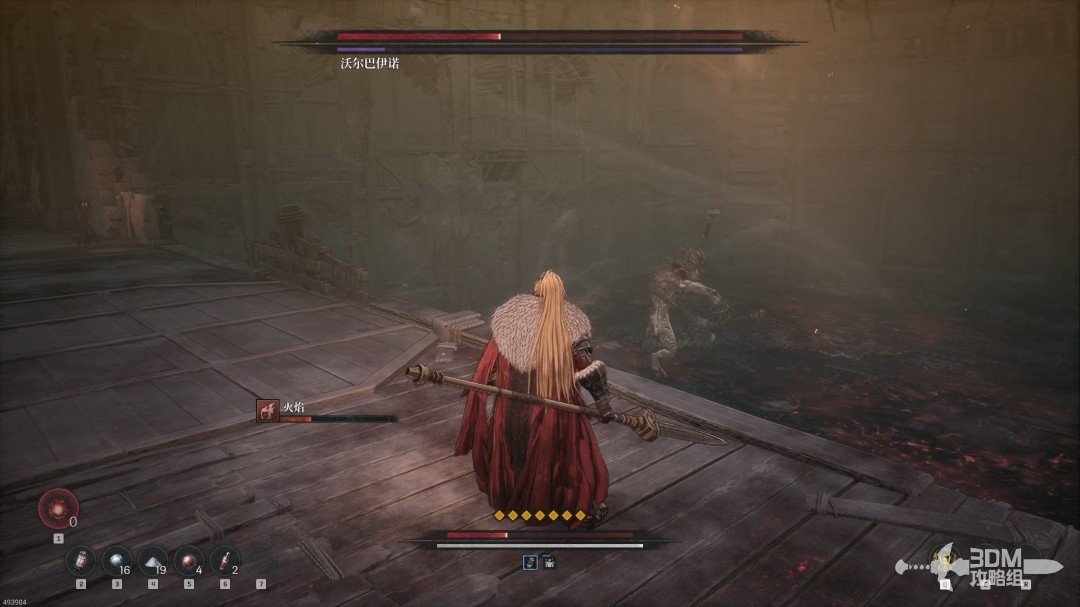
It heats the nail and drives it into the ground, setting the arena ablaze. Climb the nearby stairs to change levels and avoid the burning floor.
Burning floor and upper level: change floors during the fire phase · route image 10
Burning floor and upper level: change floors during the fire phase · route image 11

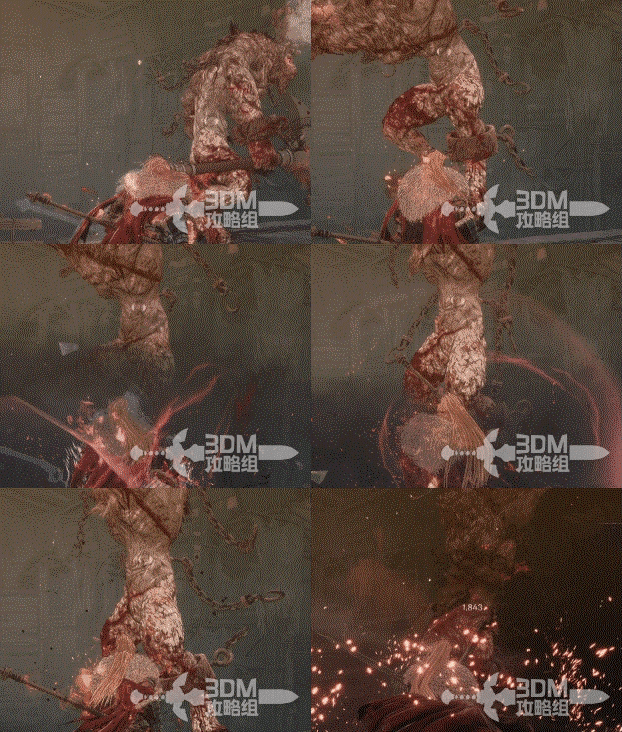
Attack ④:

It plants the nail and begins stamping its feet.
Burning floor and upper level: change floors during the fire phase · route image 12

19Meet Elamein after the battle and head to the caves

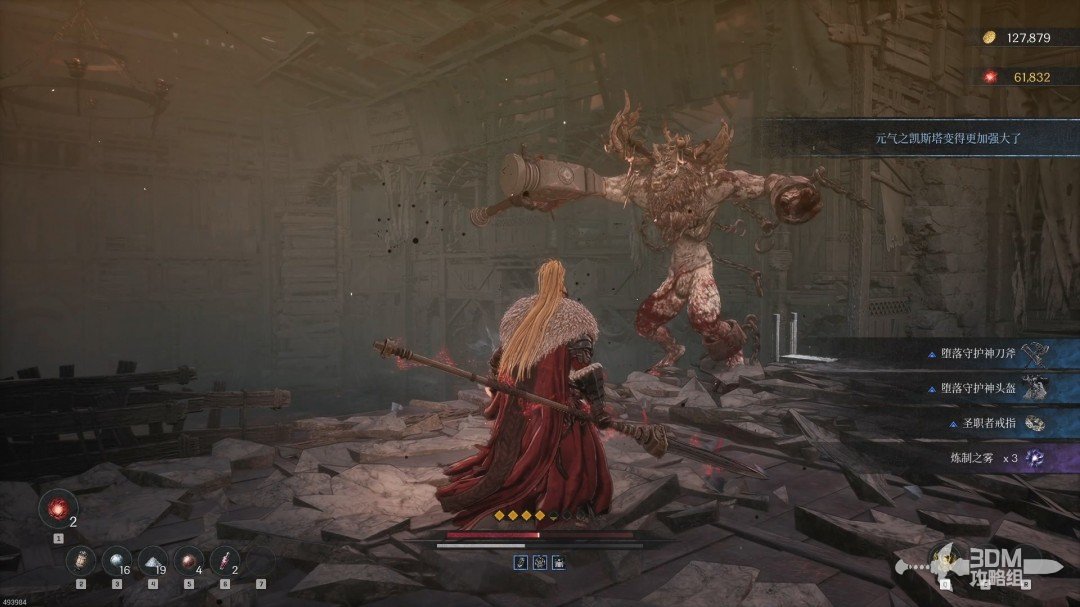
Defeat Volbaino for equipment.
Meet Elamein after the battle and head to the caves · route image 13

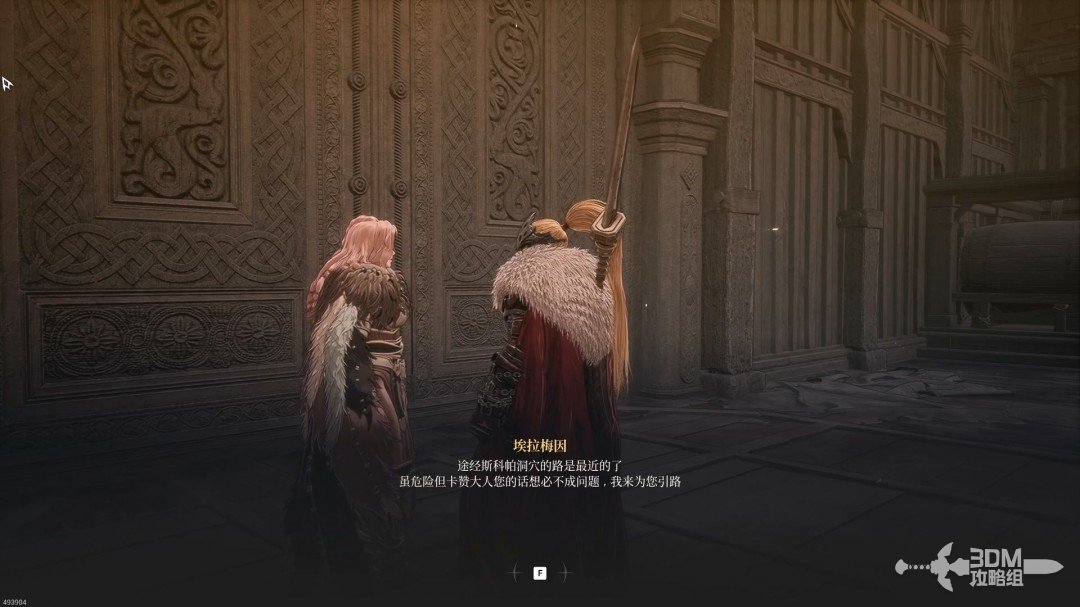
Speak to Elamein afterward. She leads you toward Pavel; choose to proceed or first resupply at the Crevice.
Meet Elamein after the battle and head to the caves · route image 14

20Revisit Central Warehouse Entrance: circle behind the house

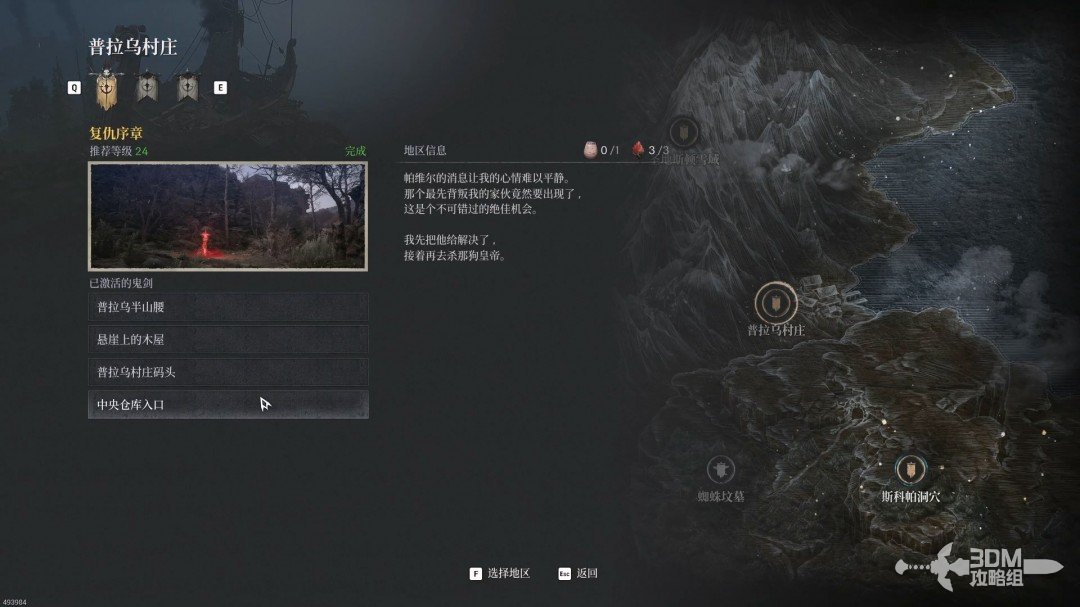
Travel to Central Storehouse Entrance.
Revisit Central Warehouse Entrance: circle behind the house · route image 1

Descend from the checkpoint and look left, then turn right at the junction.
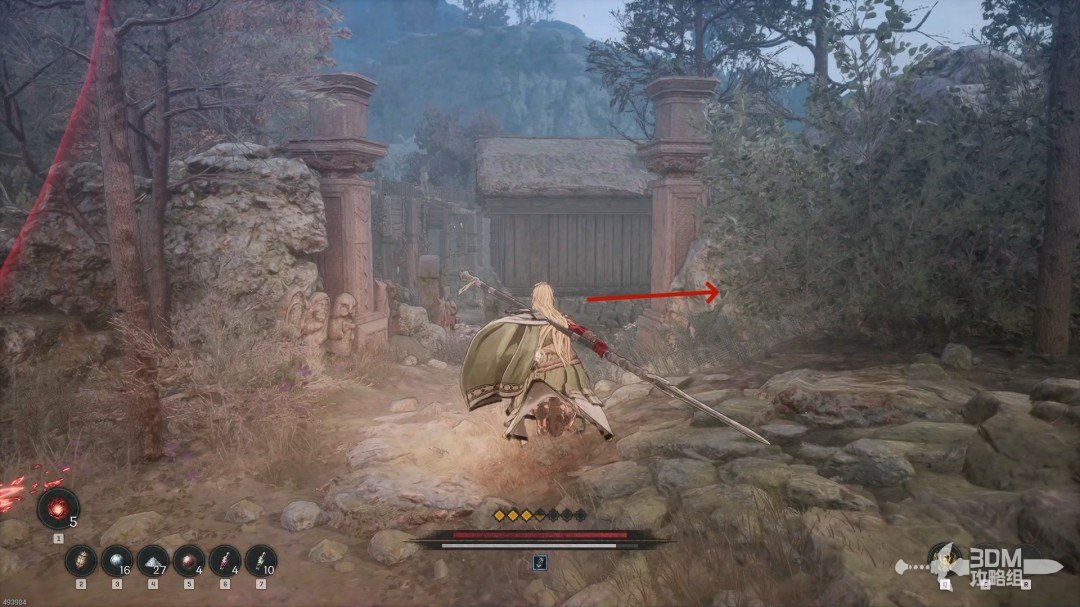
Revisit Central Warehouse Entrance: circle behind the house · route image 2

The Jarling is behind this house.

Revisit Central Warehouse Entrance: circle behind the house · route image 3

Circle around from the front to reach the pictured jar.
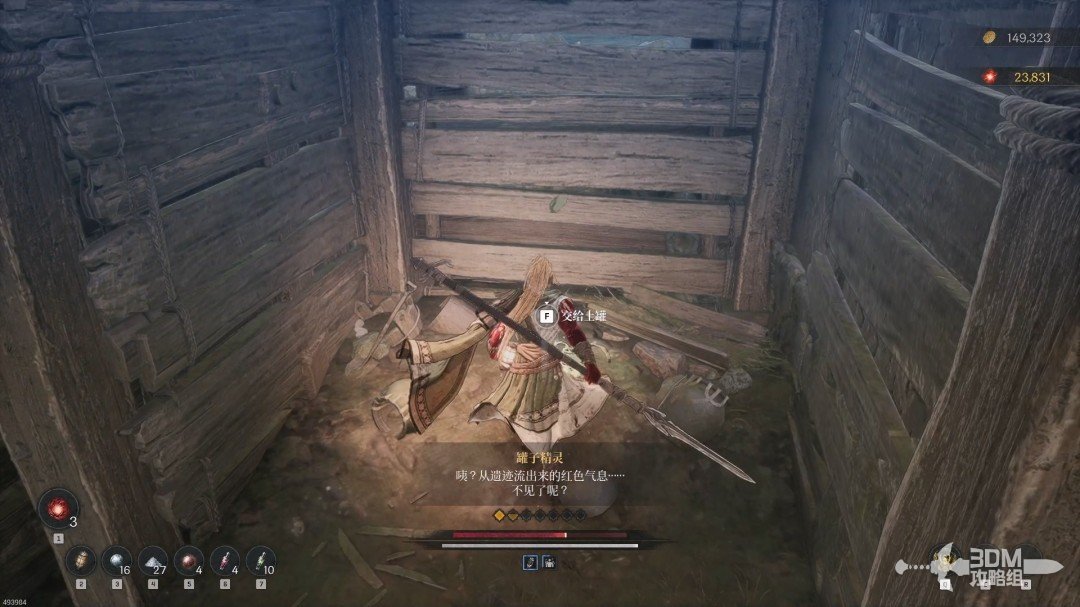
Revisit Central Warehouse Entrance: circle behind the house · route image 4

Continue

Back to mission index →

Reference: 3DM Guide Team

GAME NOTE has reorganized and rewritten the routes from this walkthrough.